If the hole where the vacuum fits is sealed or at least fits well, you’d be surprised at how much it’ll hold down. Most shop vacs work well with this. Just be sure that the holes aren’t outside the stock or if any wind up outside your stock, just tape them over. That shouldn’t be a problem since this, if built, would be built for your specific job.
As for the dust, if the holes are under the stock, as they should be, or sealed off, won’t do much for the dust until you remove the stock…
If you want, I can do up the plans and the code for this…I’d need to know the size of your stock.
Another option is vacuum pucks and a small vacuum pump. I’d be worried about the long term effect of dead heading a shop vac, which isn’t designed for that.
This is all great information. I’d like to hear how other people do things. No sense re-creating the wheel if someone’s already done it. I am a retired NASA design engineer, so got it covered.
Best thing about a vacuum fixture. Is this great for turning out lots of product.
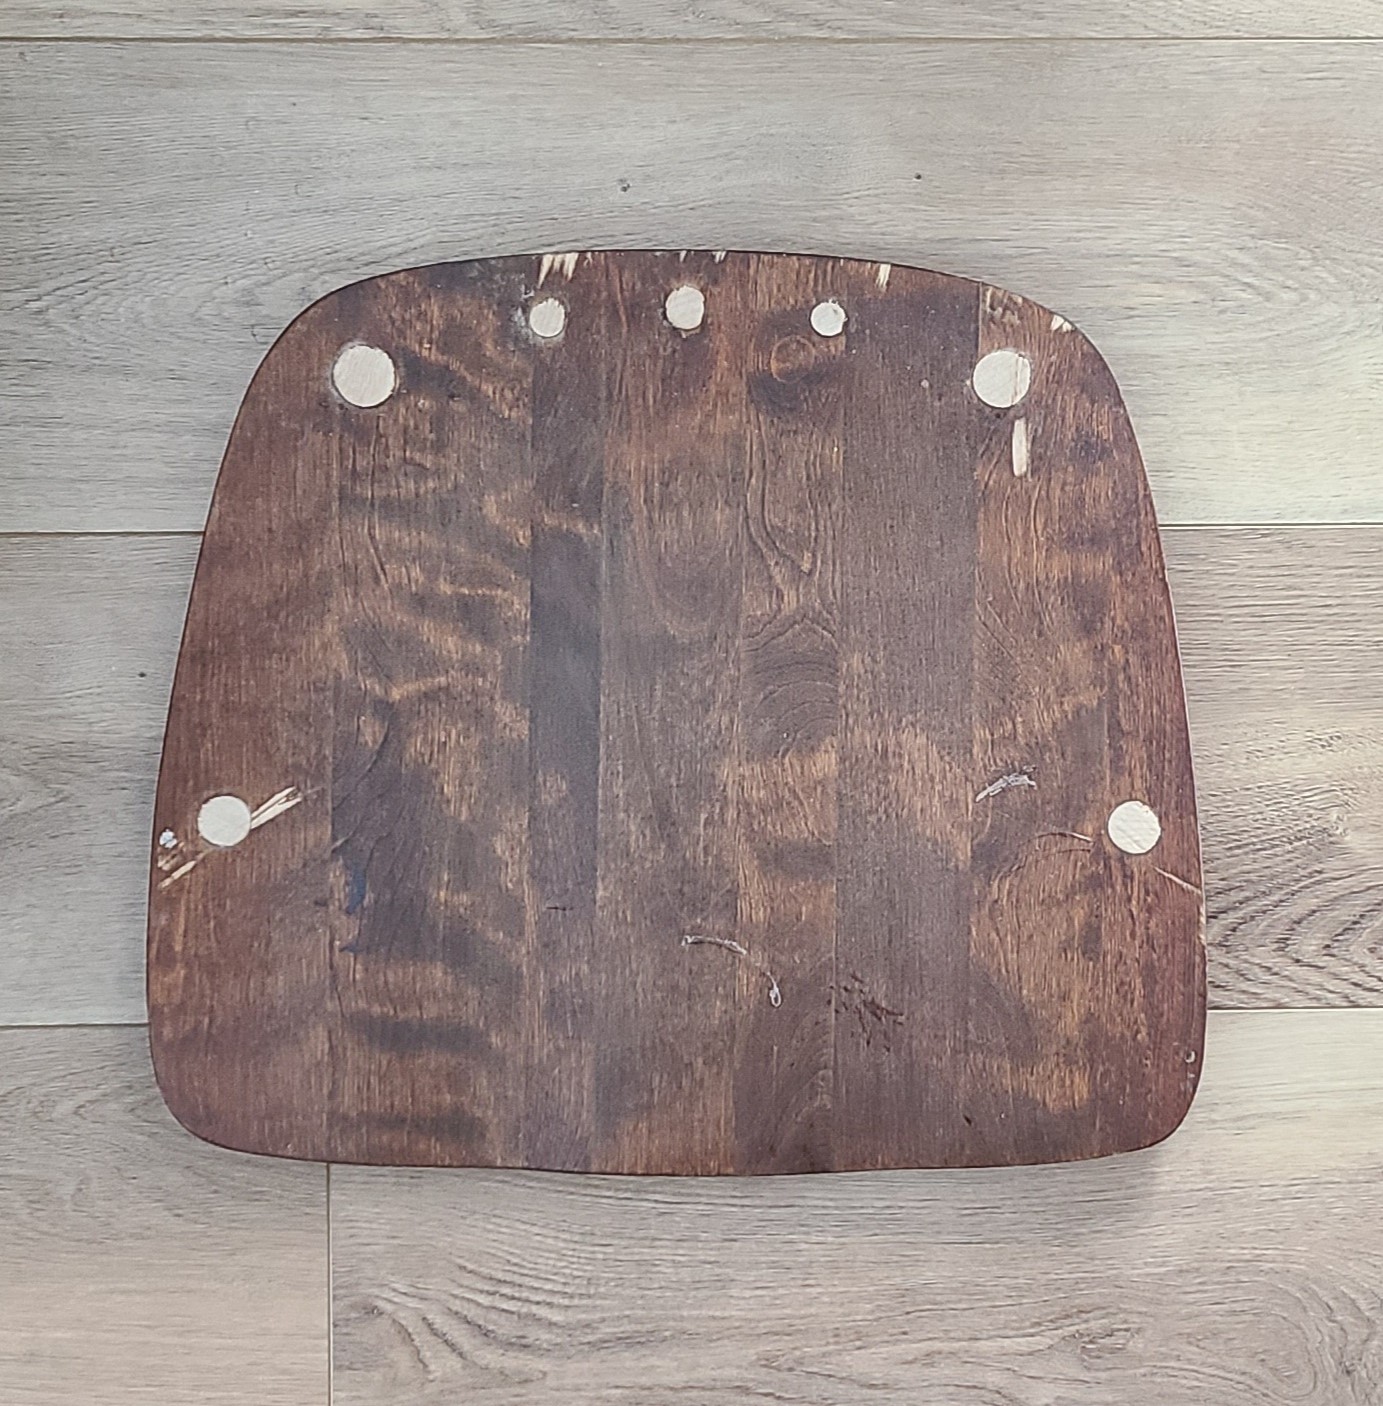
Existing fixture, I cut out a pocket to make sure it was level and provide good alignment. Every time I can probably turn that one into a vacuum fixture, and may not even need the holder clamps. I would make quick turnaround and worth the effort.
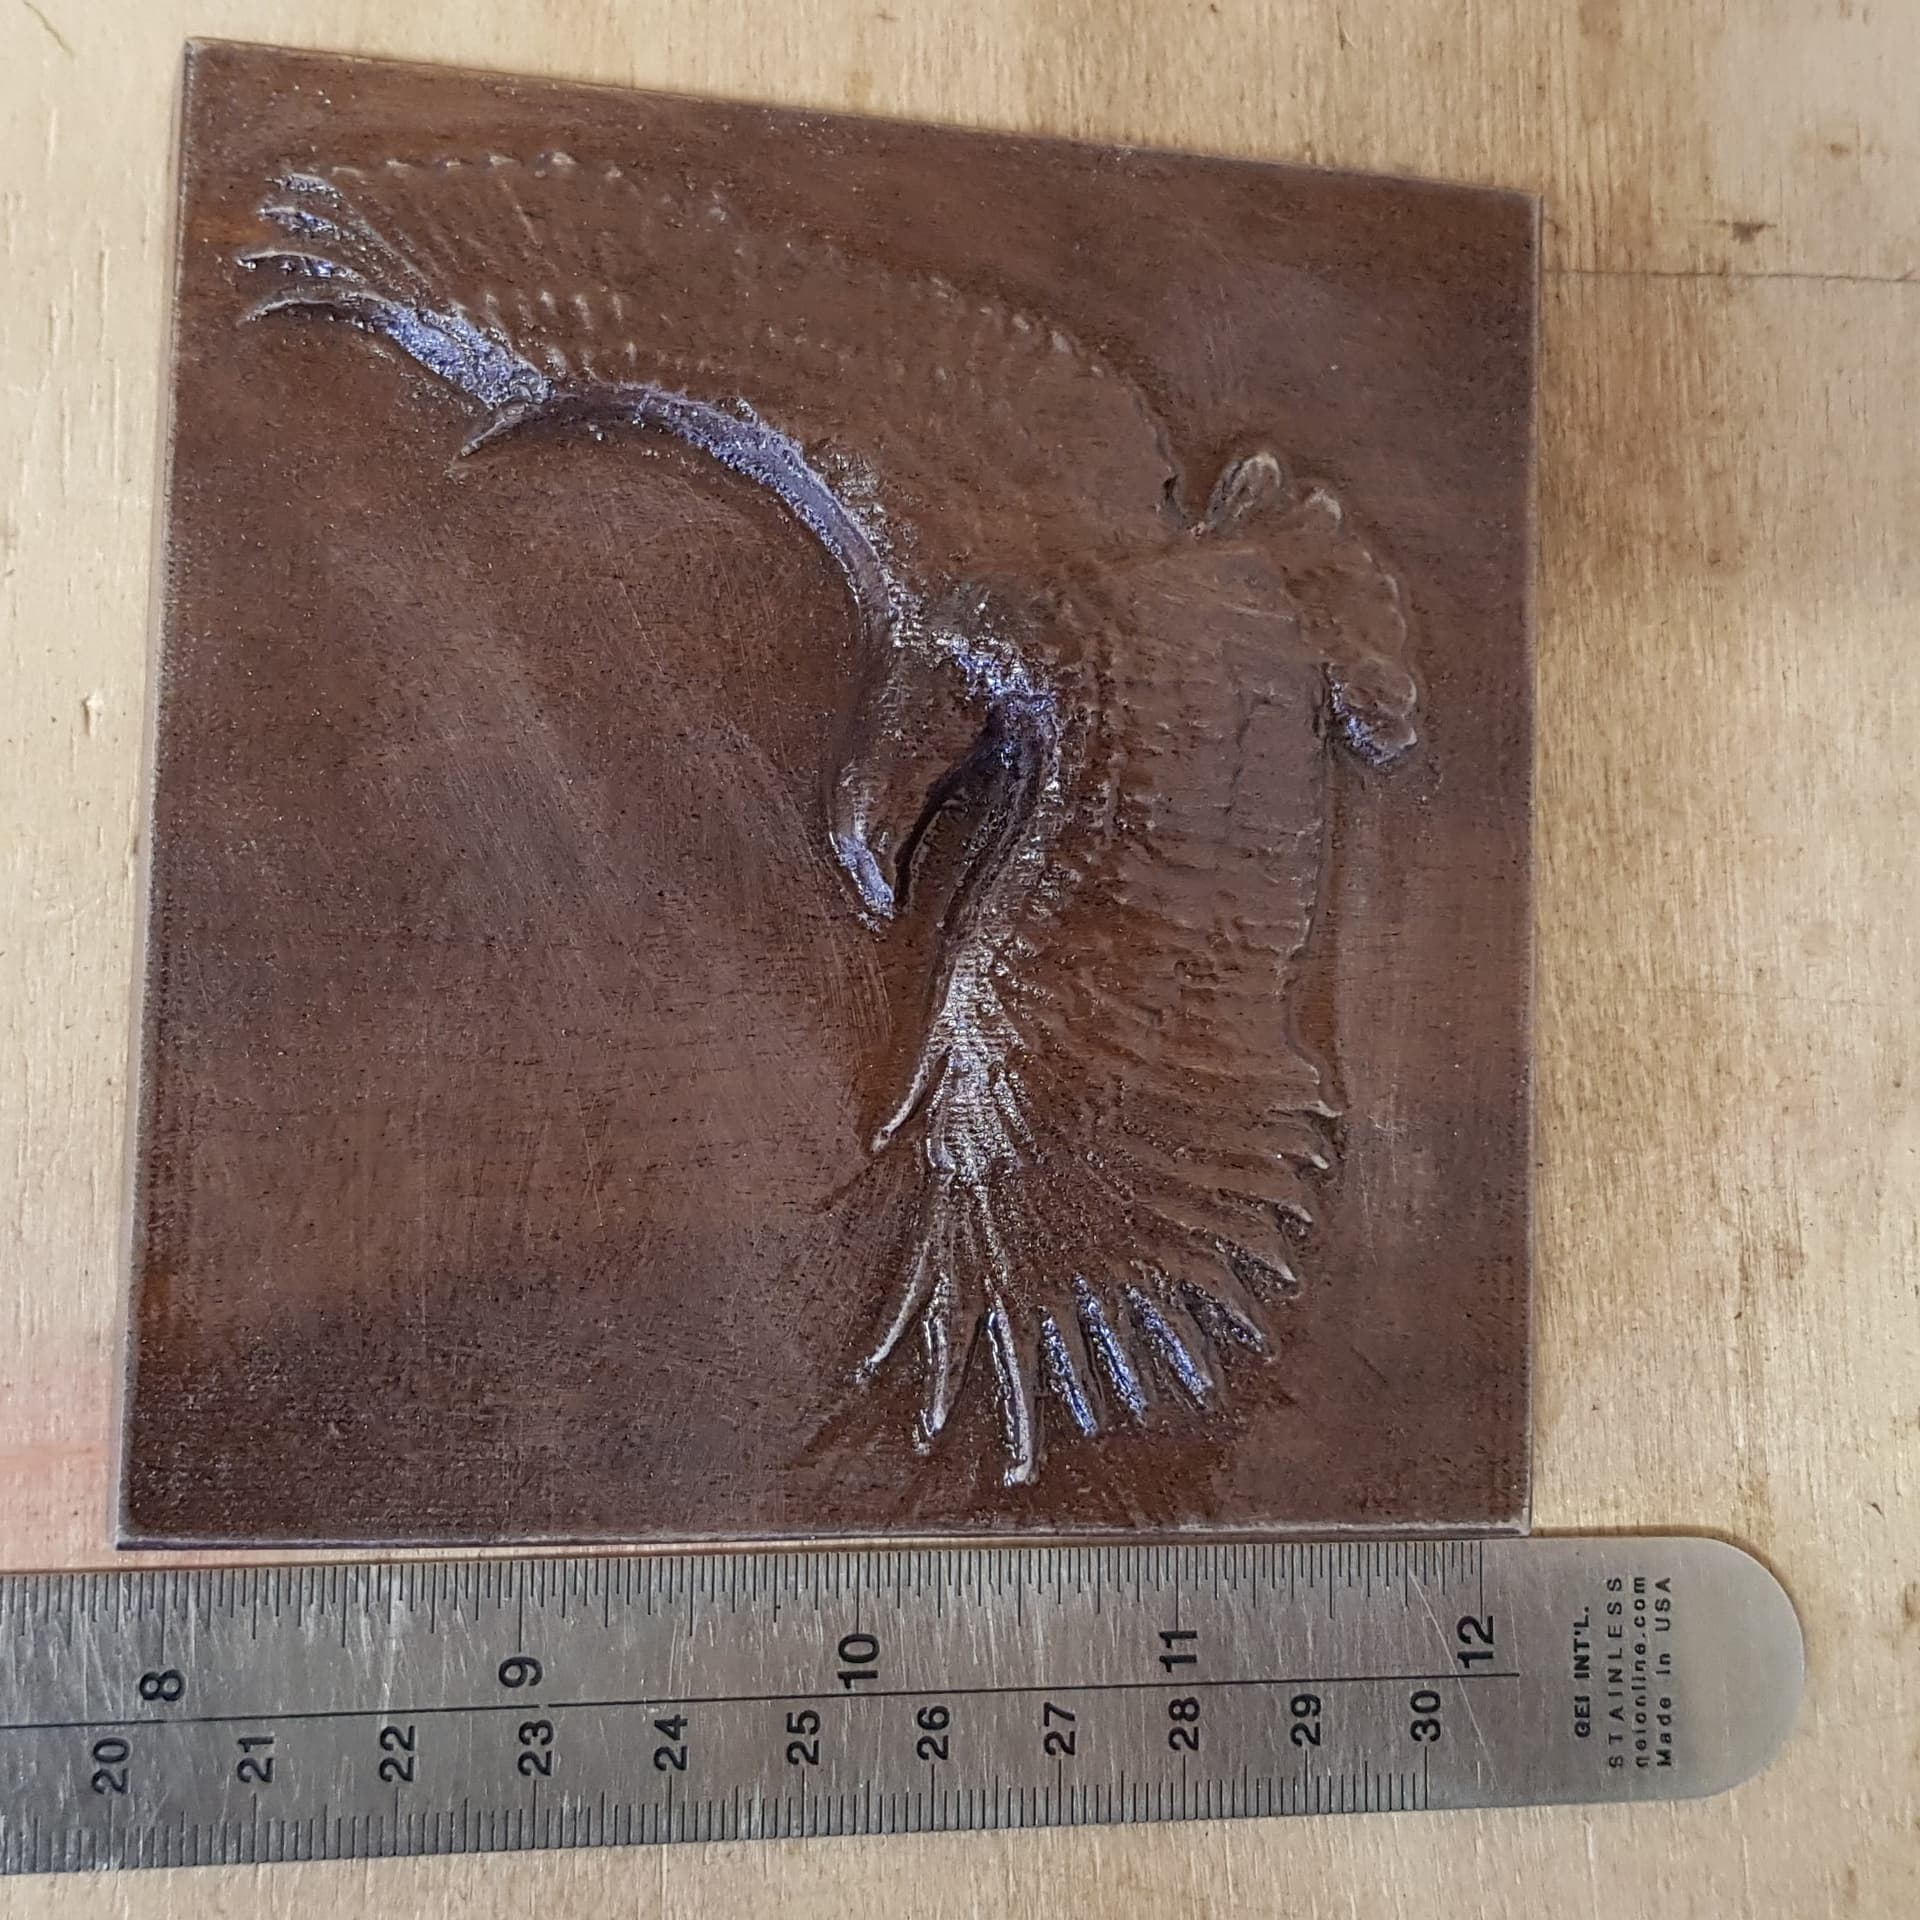
4" square, 1" thick, overall. Height of eagle 1/2".
And no, nut cut on my Shapeoko (it would have taken forever!) but the wooden pattern used to produce the mould was. The image is how it came out of the sand.
This is a free “Design & Make” file that came with my V-Carve Pro purchase.
What I really want to cast is the 3D “Mushroom Man” which has been shown here recently, I thought that it would be best to try something a little less detailed first. Now I need to find some time to cut him, and polish and patinate the eagle.
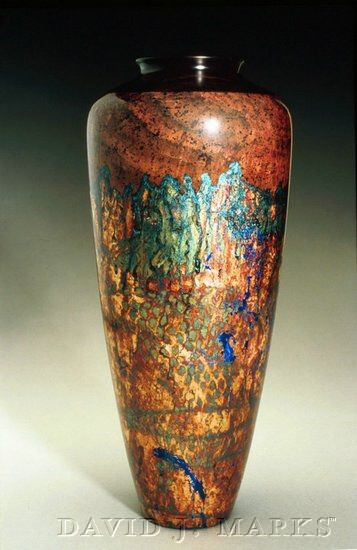
Take a look at David Marks site. He has a patinate process that he pioneered. He used to have some woodworking shows and has a studio in northern California.
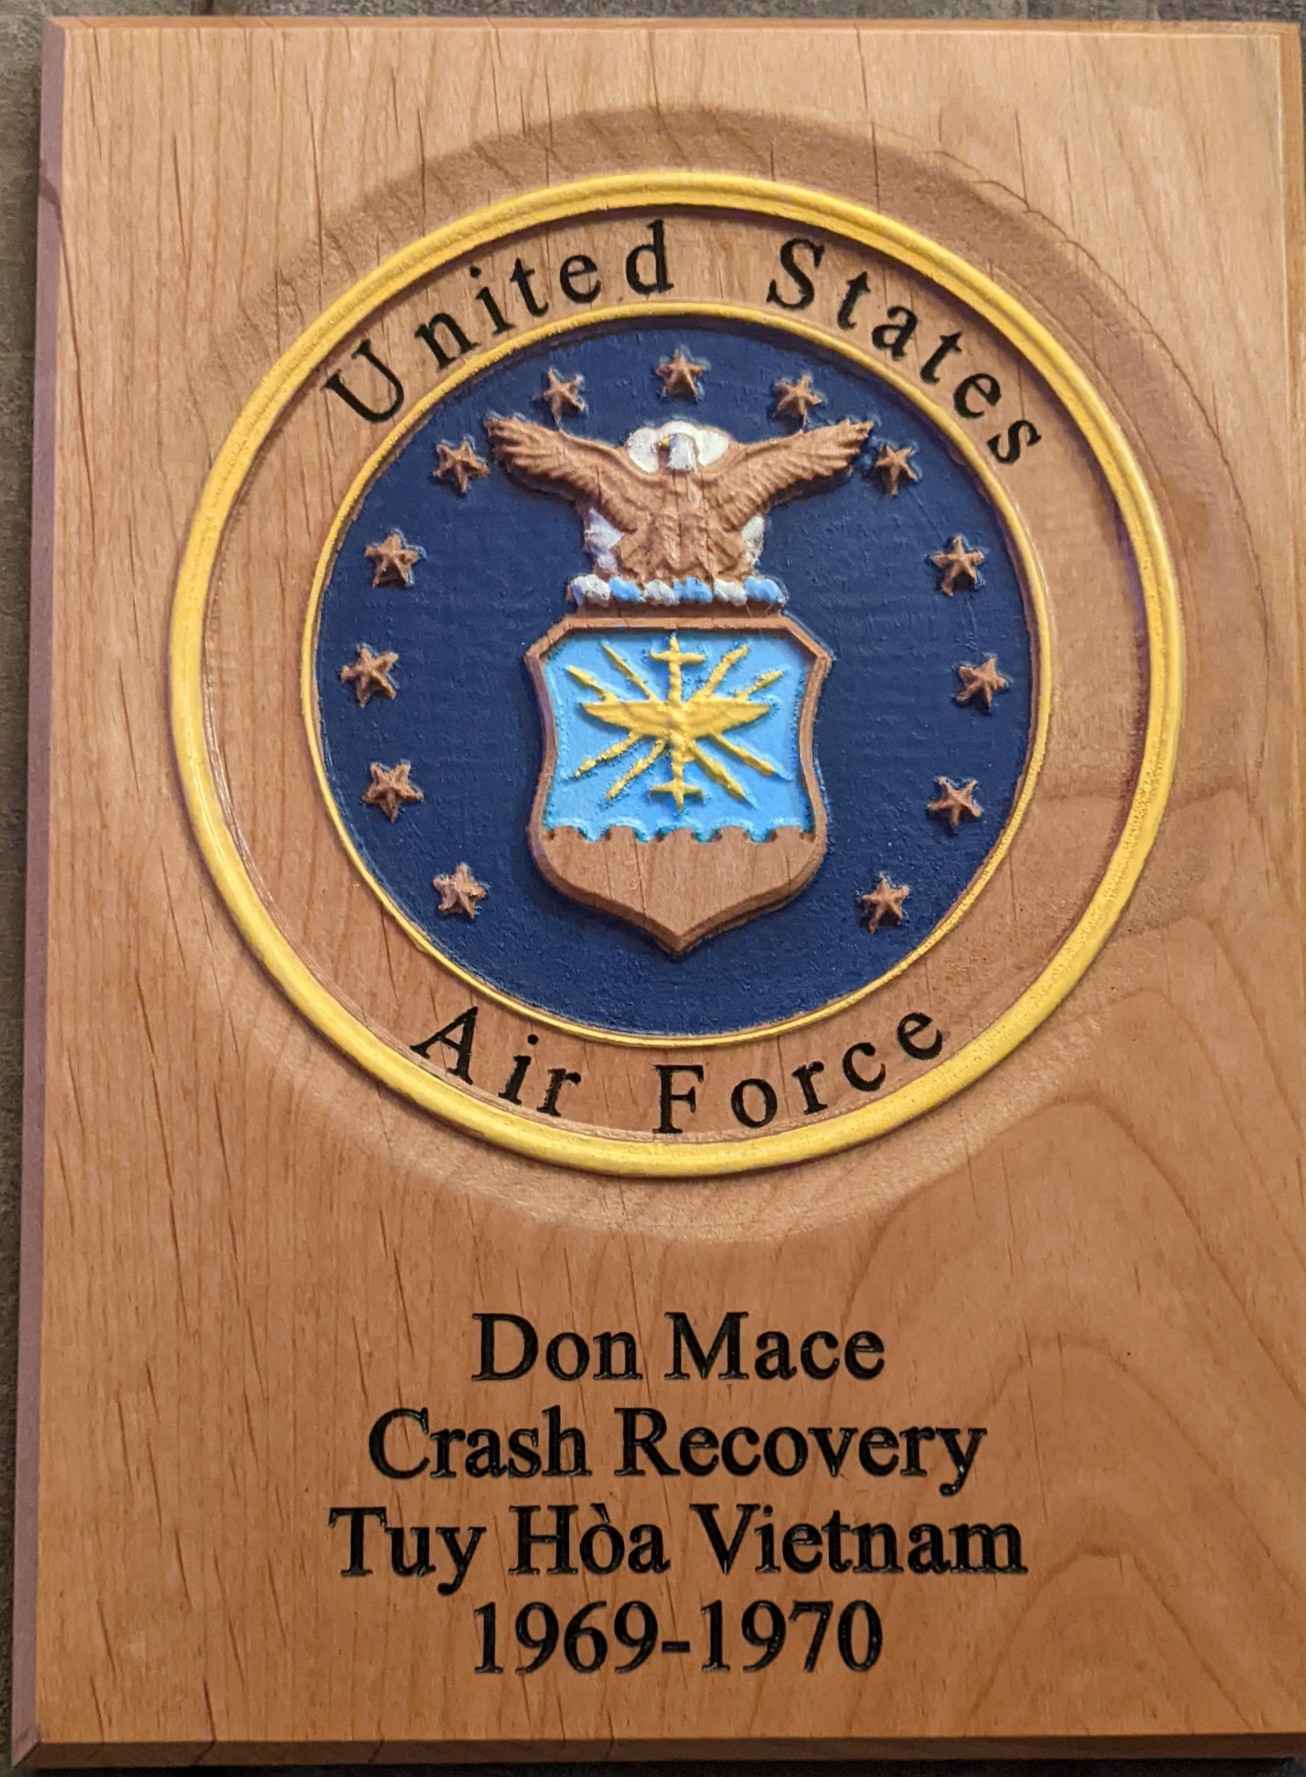
I purchased the Air Force emblem on “Design and Make”. Here I the process I used to make this plaque. I sprayed lacquer over the blank sanded piece. Masked with stencil film for the bottom text. I did my designing on VCarve Pro. When I did the 3D finishing tool path for the emblem I worked my way down to a .25 mm tapered bit (I probably didn’t need to do that but I did get some extra detail. I did unfortunately get some chipout with the stars. It was most likely the variety of wood and my feeds and speeds were too fast for the stars. I did the vcarve for the text. I had to add the text on the emblem since it didn’t come with the file. I airbrushed the bottom text. I did try using masking on the “United States Air Force” text but with the small profile to adhere the masking it pulled all up. I cleaned up the piece with some sanding. Sprayed again the whole piece and then hand painted with acrylic paint. I sprayed with lacquer first before painting so if I over brushed paint on the bare wood I could easily wipe it clean. Maybe this is more than you wanted to know.
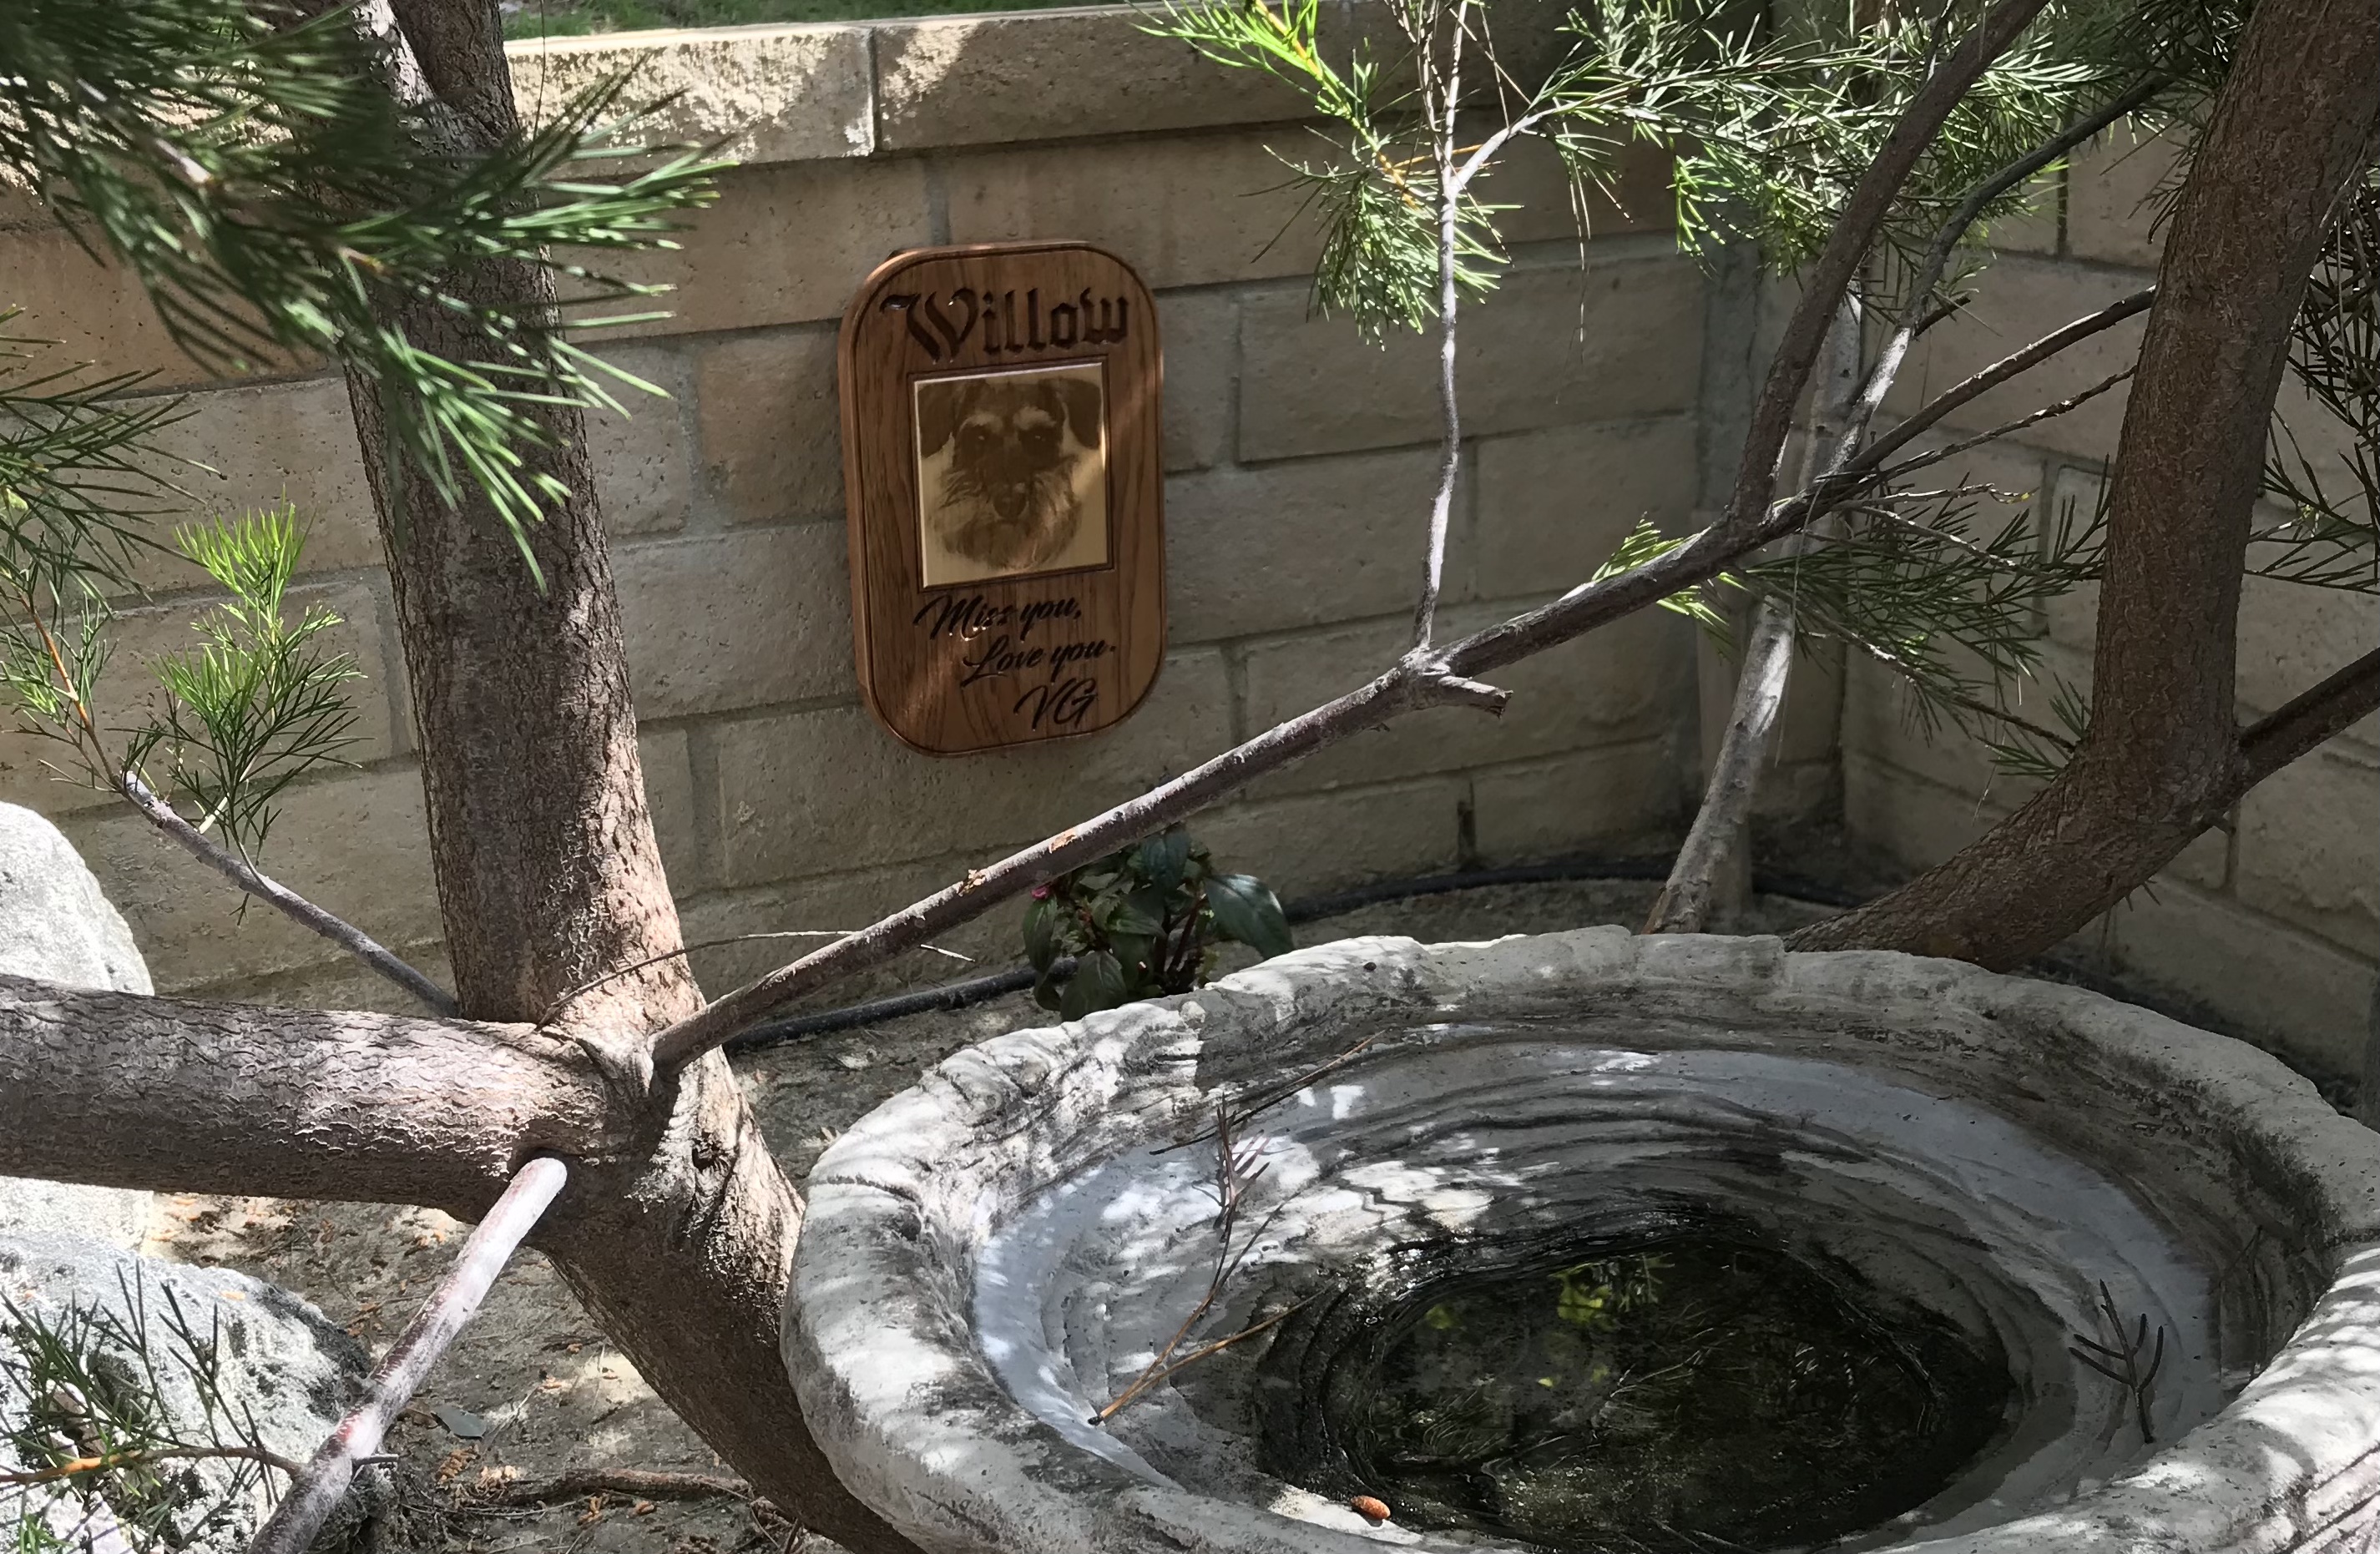
@MikeG the vinyl stencil was done in another software but it’s called “Rockstar Regular”. It appears like you can download the TTF files for free online.
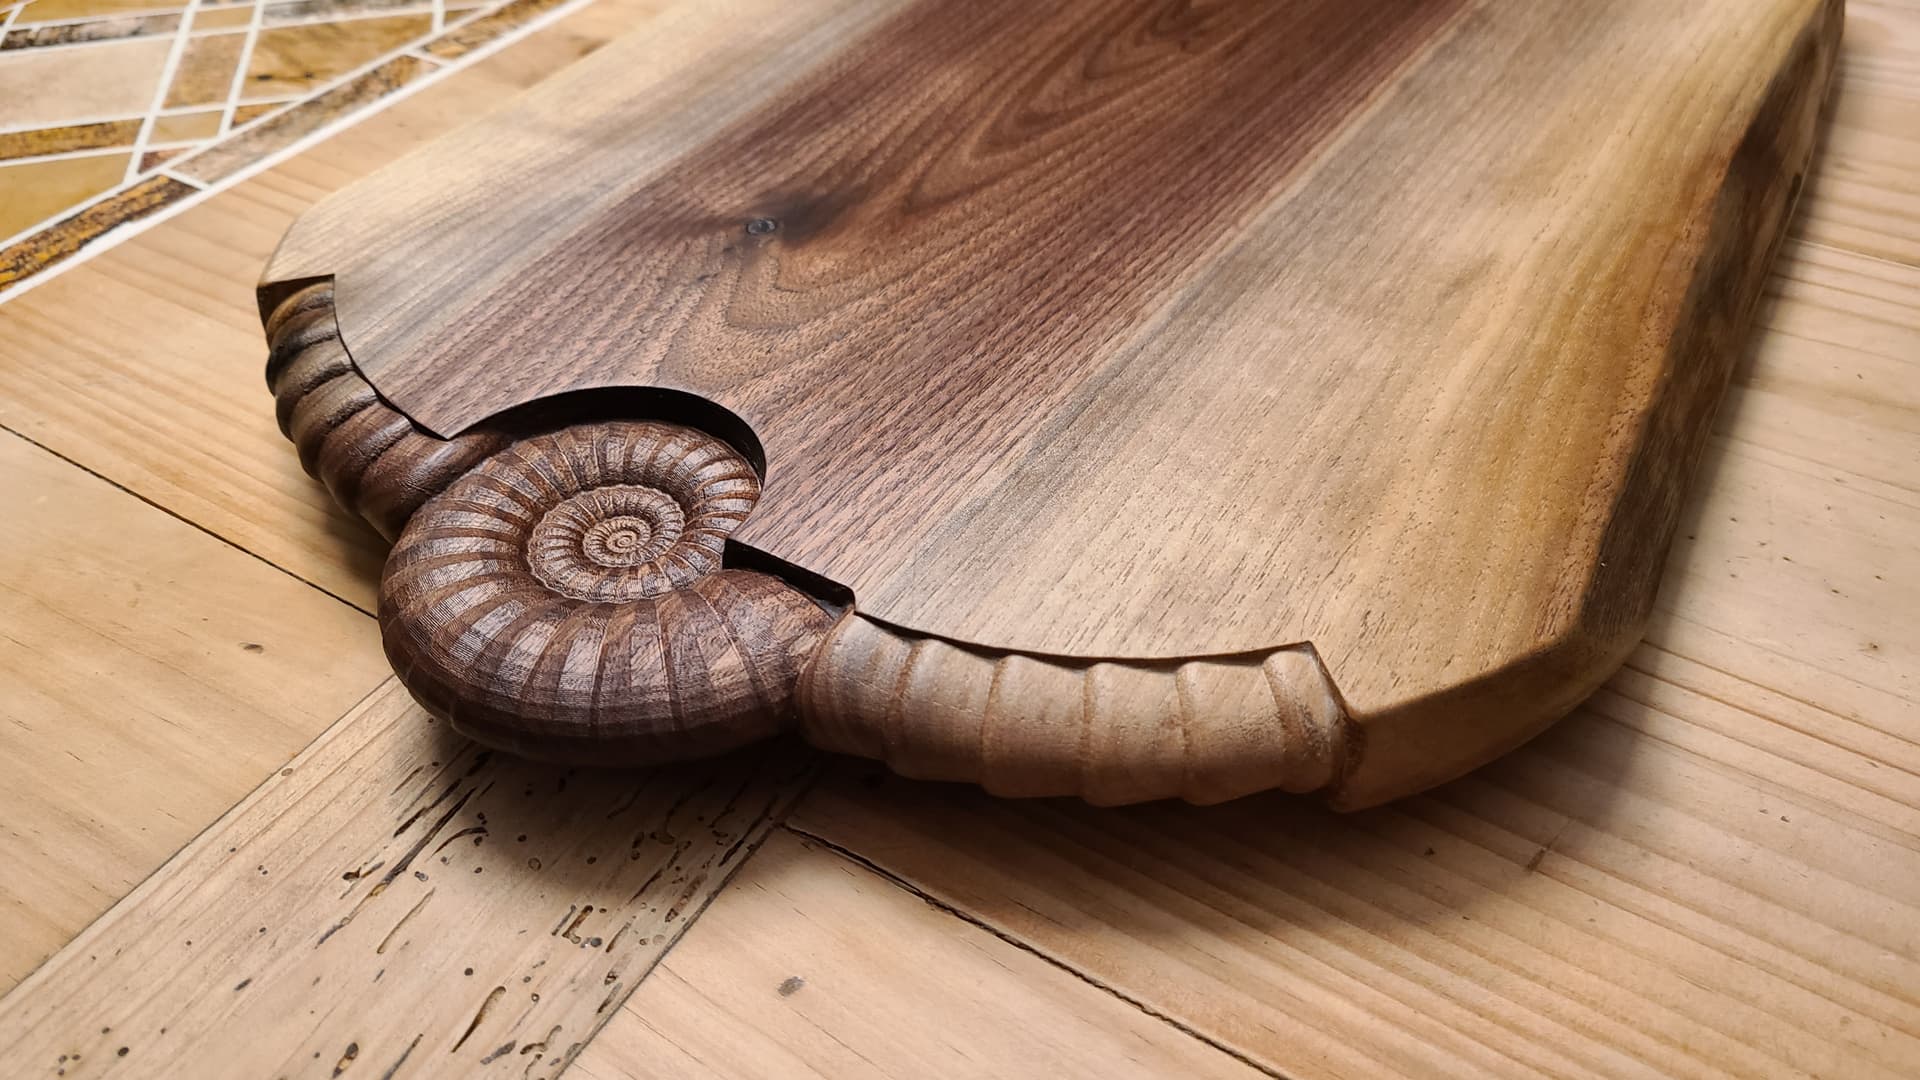
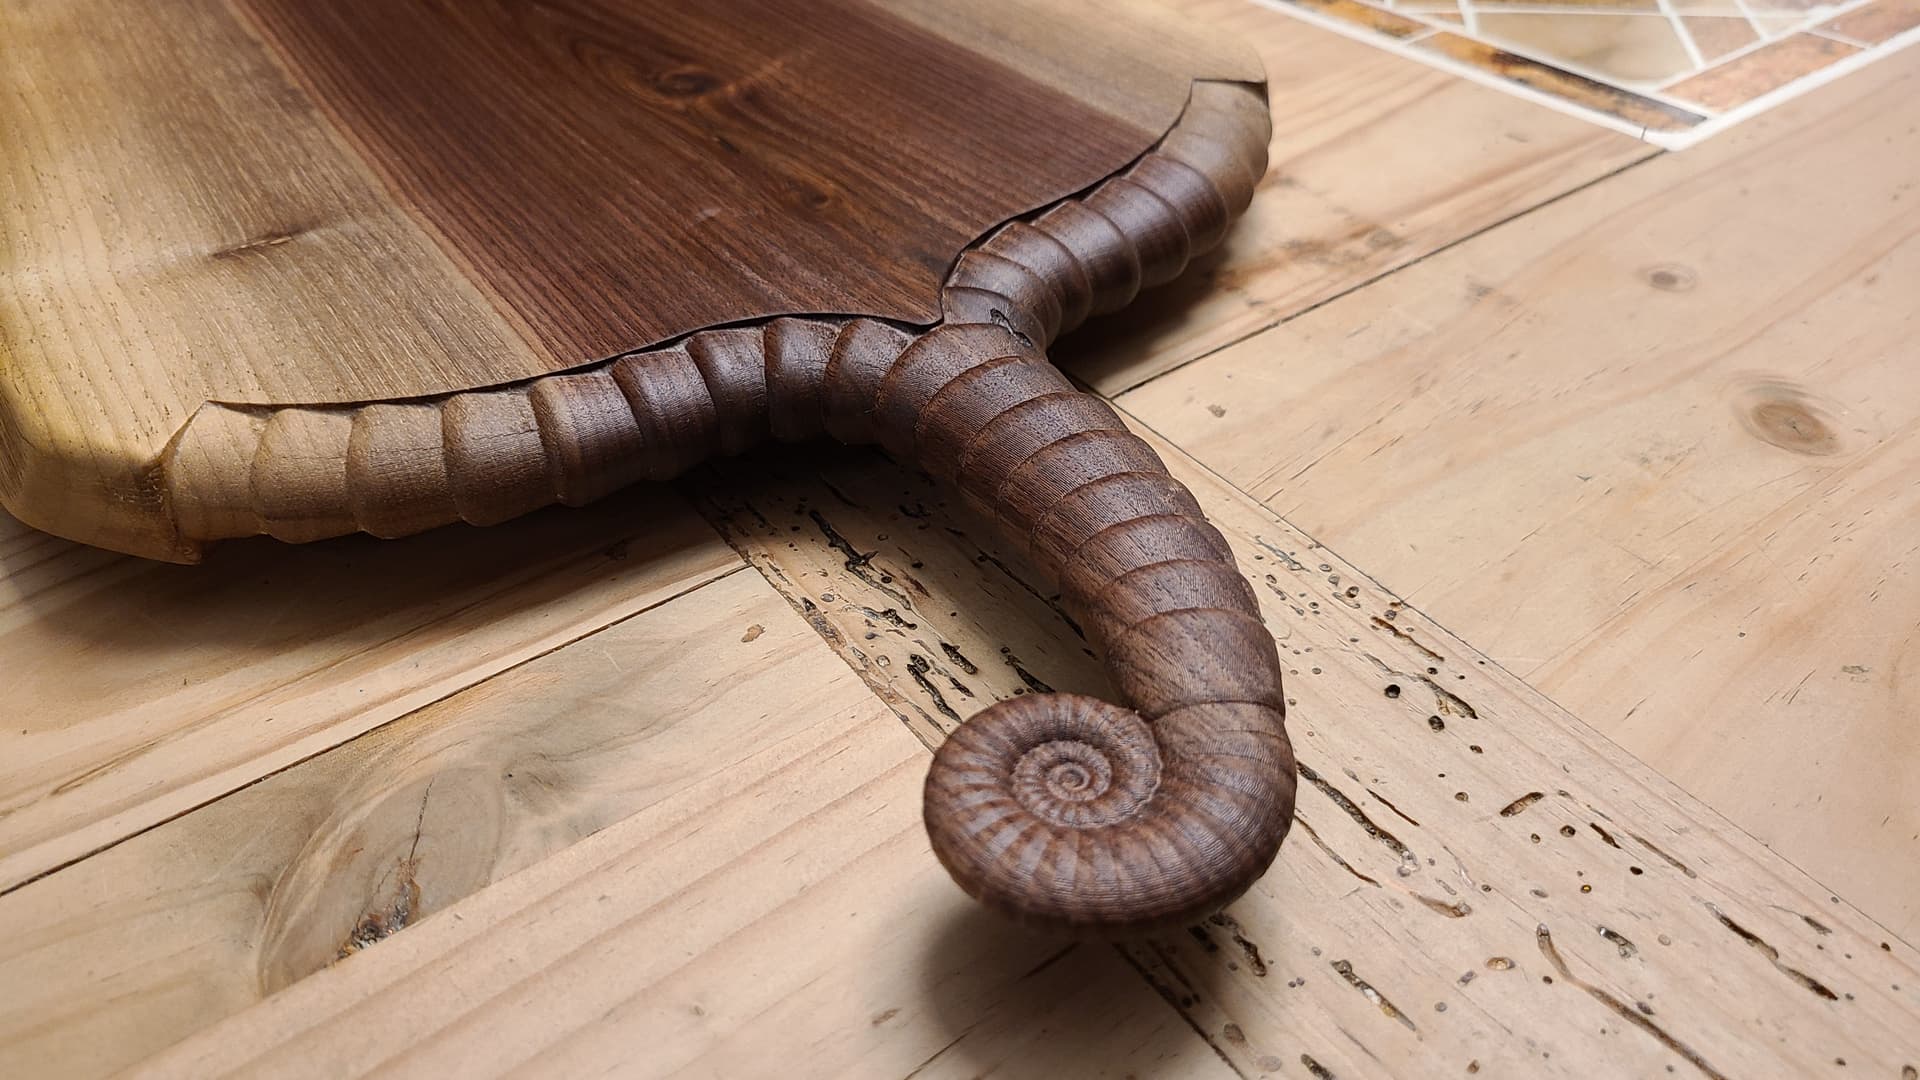
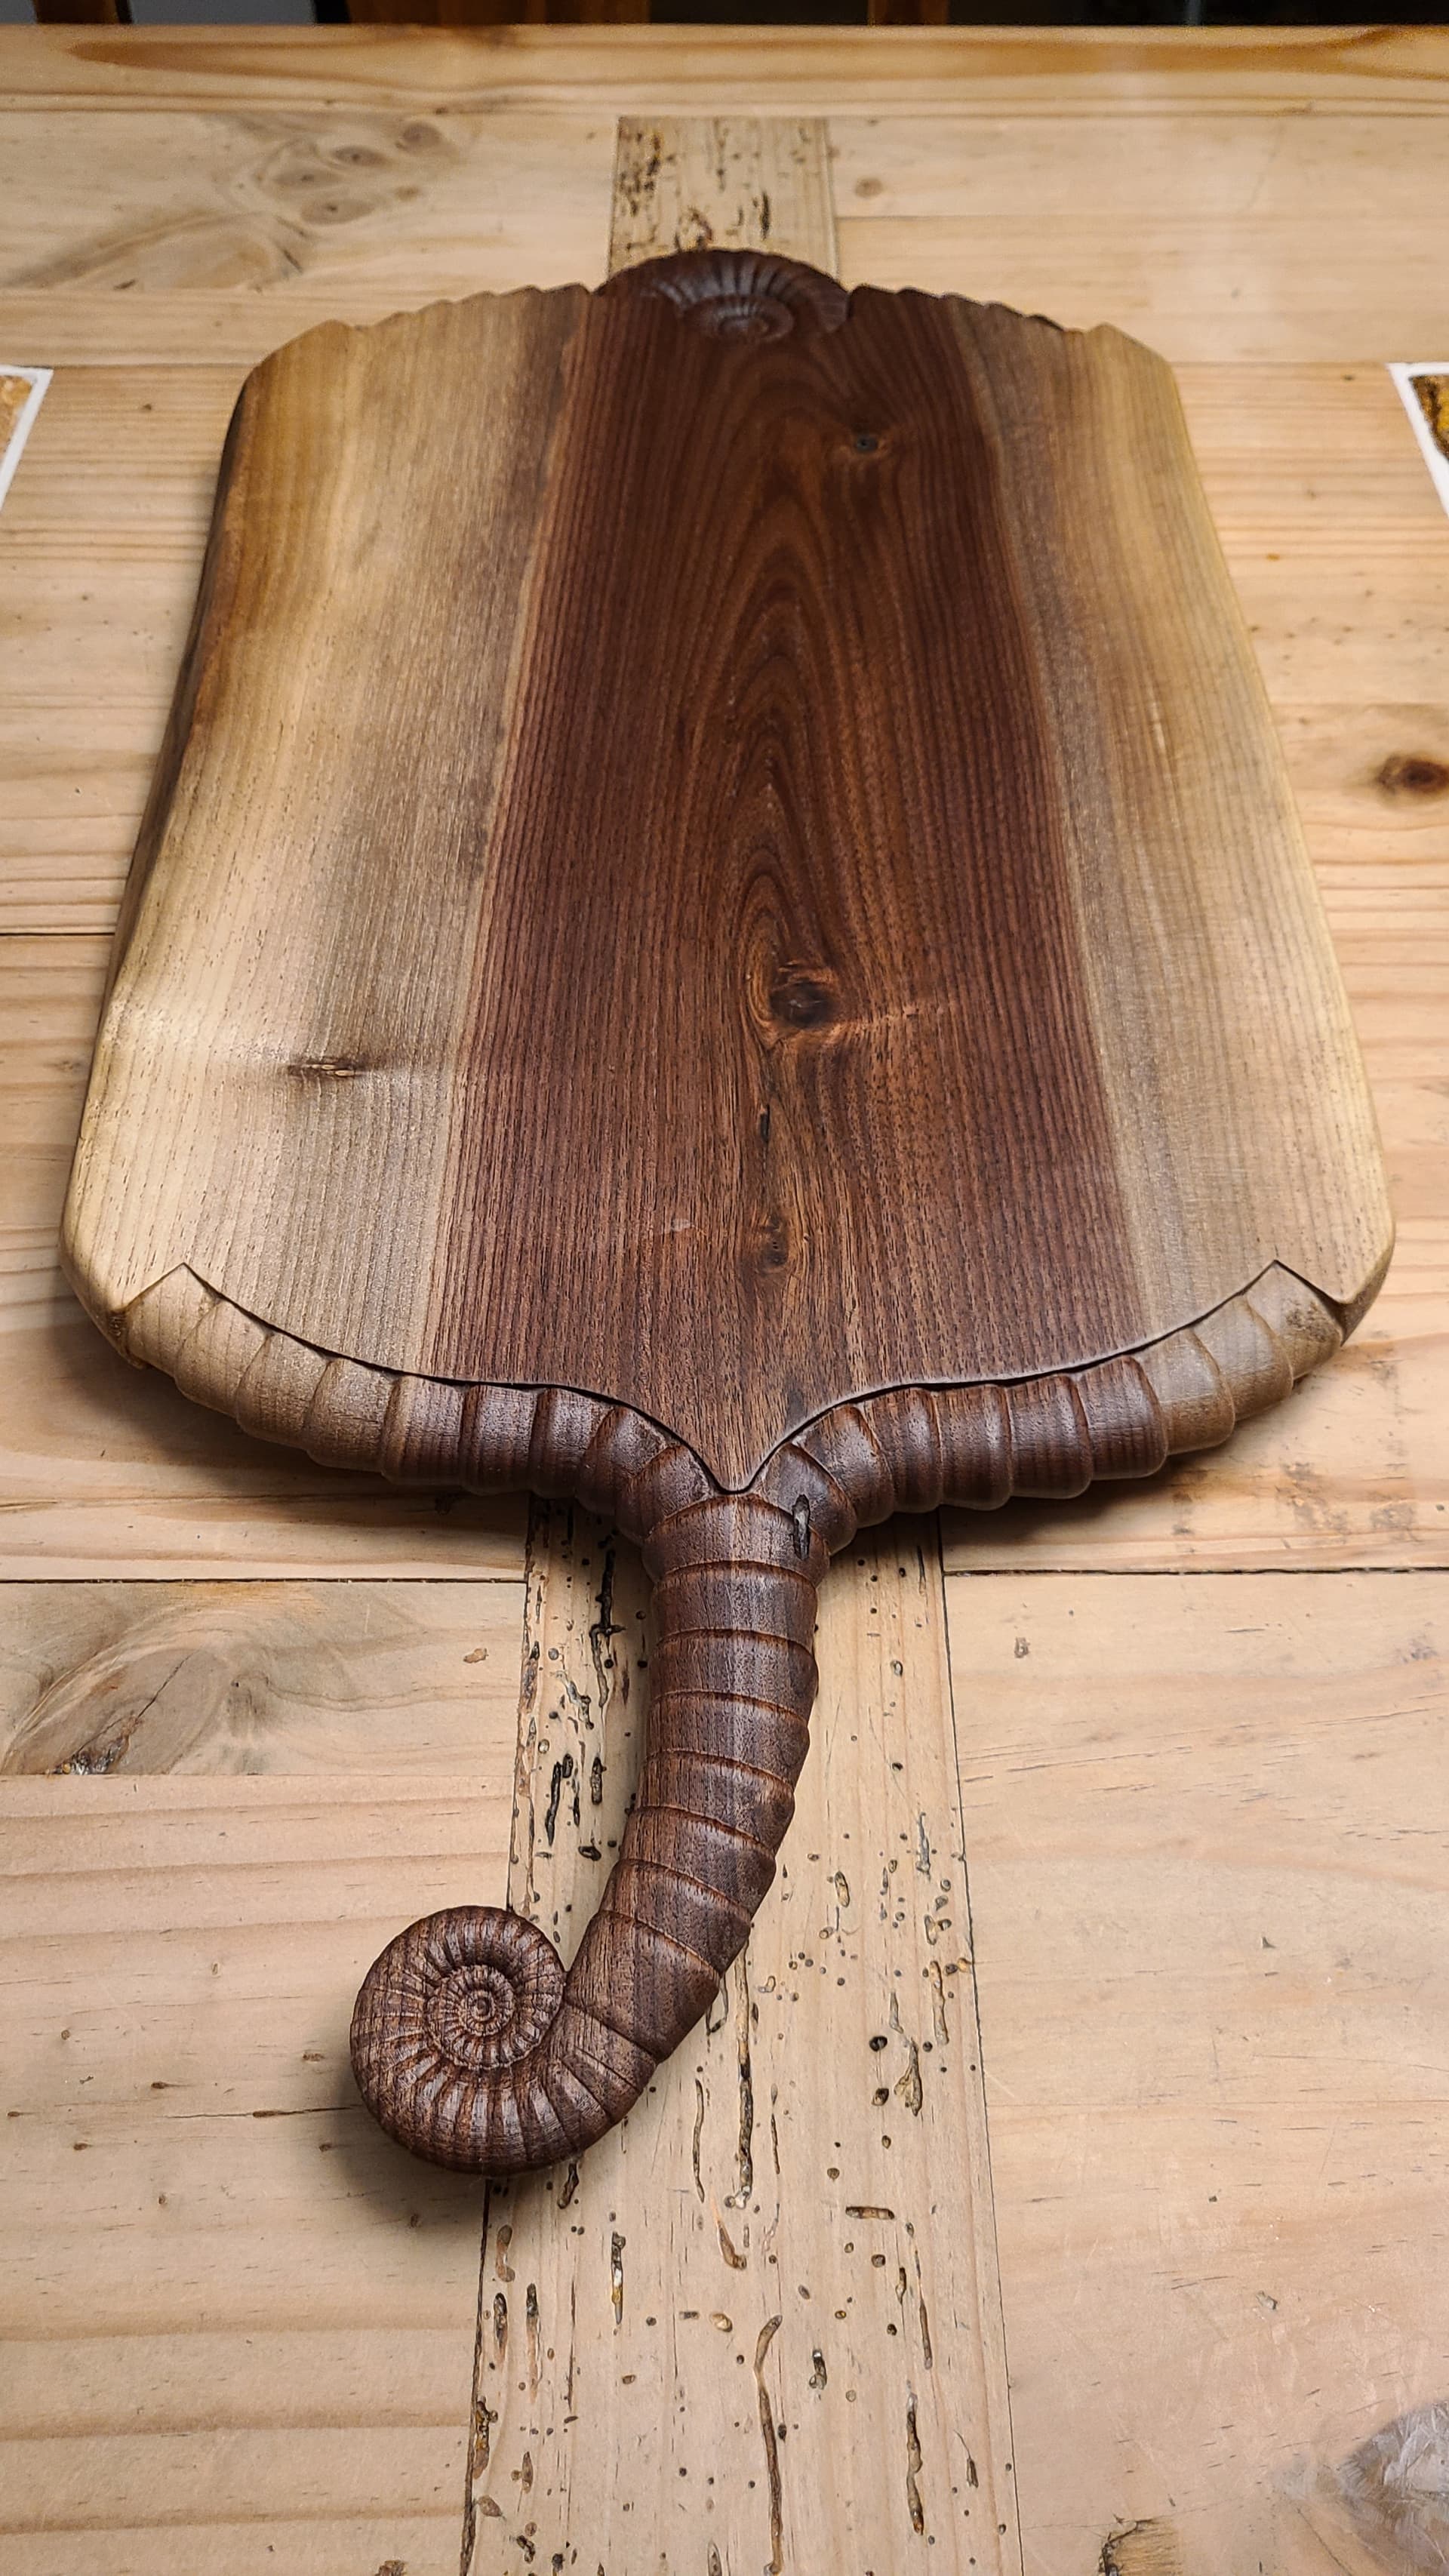
Once the mesh was completed I imported it into Fusion 360 were I also imported a picture of the unmachined board to incorporate my mesh with the live edge of the board. Fusion 360 did struggle at times, I don’t think it handles large mesh files very well but managed to get my toolpaths done. If I continue to do alot with Blender mesh files I’ll have to look into getting another program to deal with these designs better.
Sounds reasonable. The kerf on my laser cutter (Not Carbide3D) is 0.005". That makes the slots 0.0025" larger on each vector and the tabs 0.0025" smaller on each vector . . . voila! . . . 0.005" glue gaps. Plus, the fuzzy velvety cut edges make for a comfortable friction test fit of the pieces.
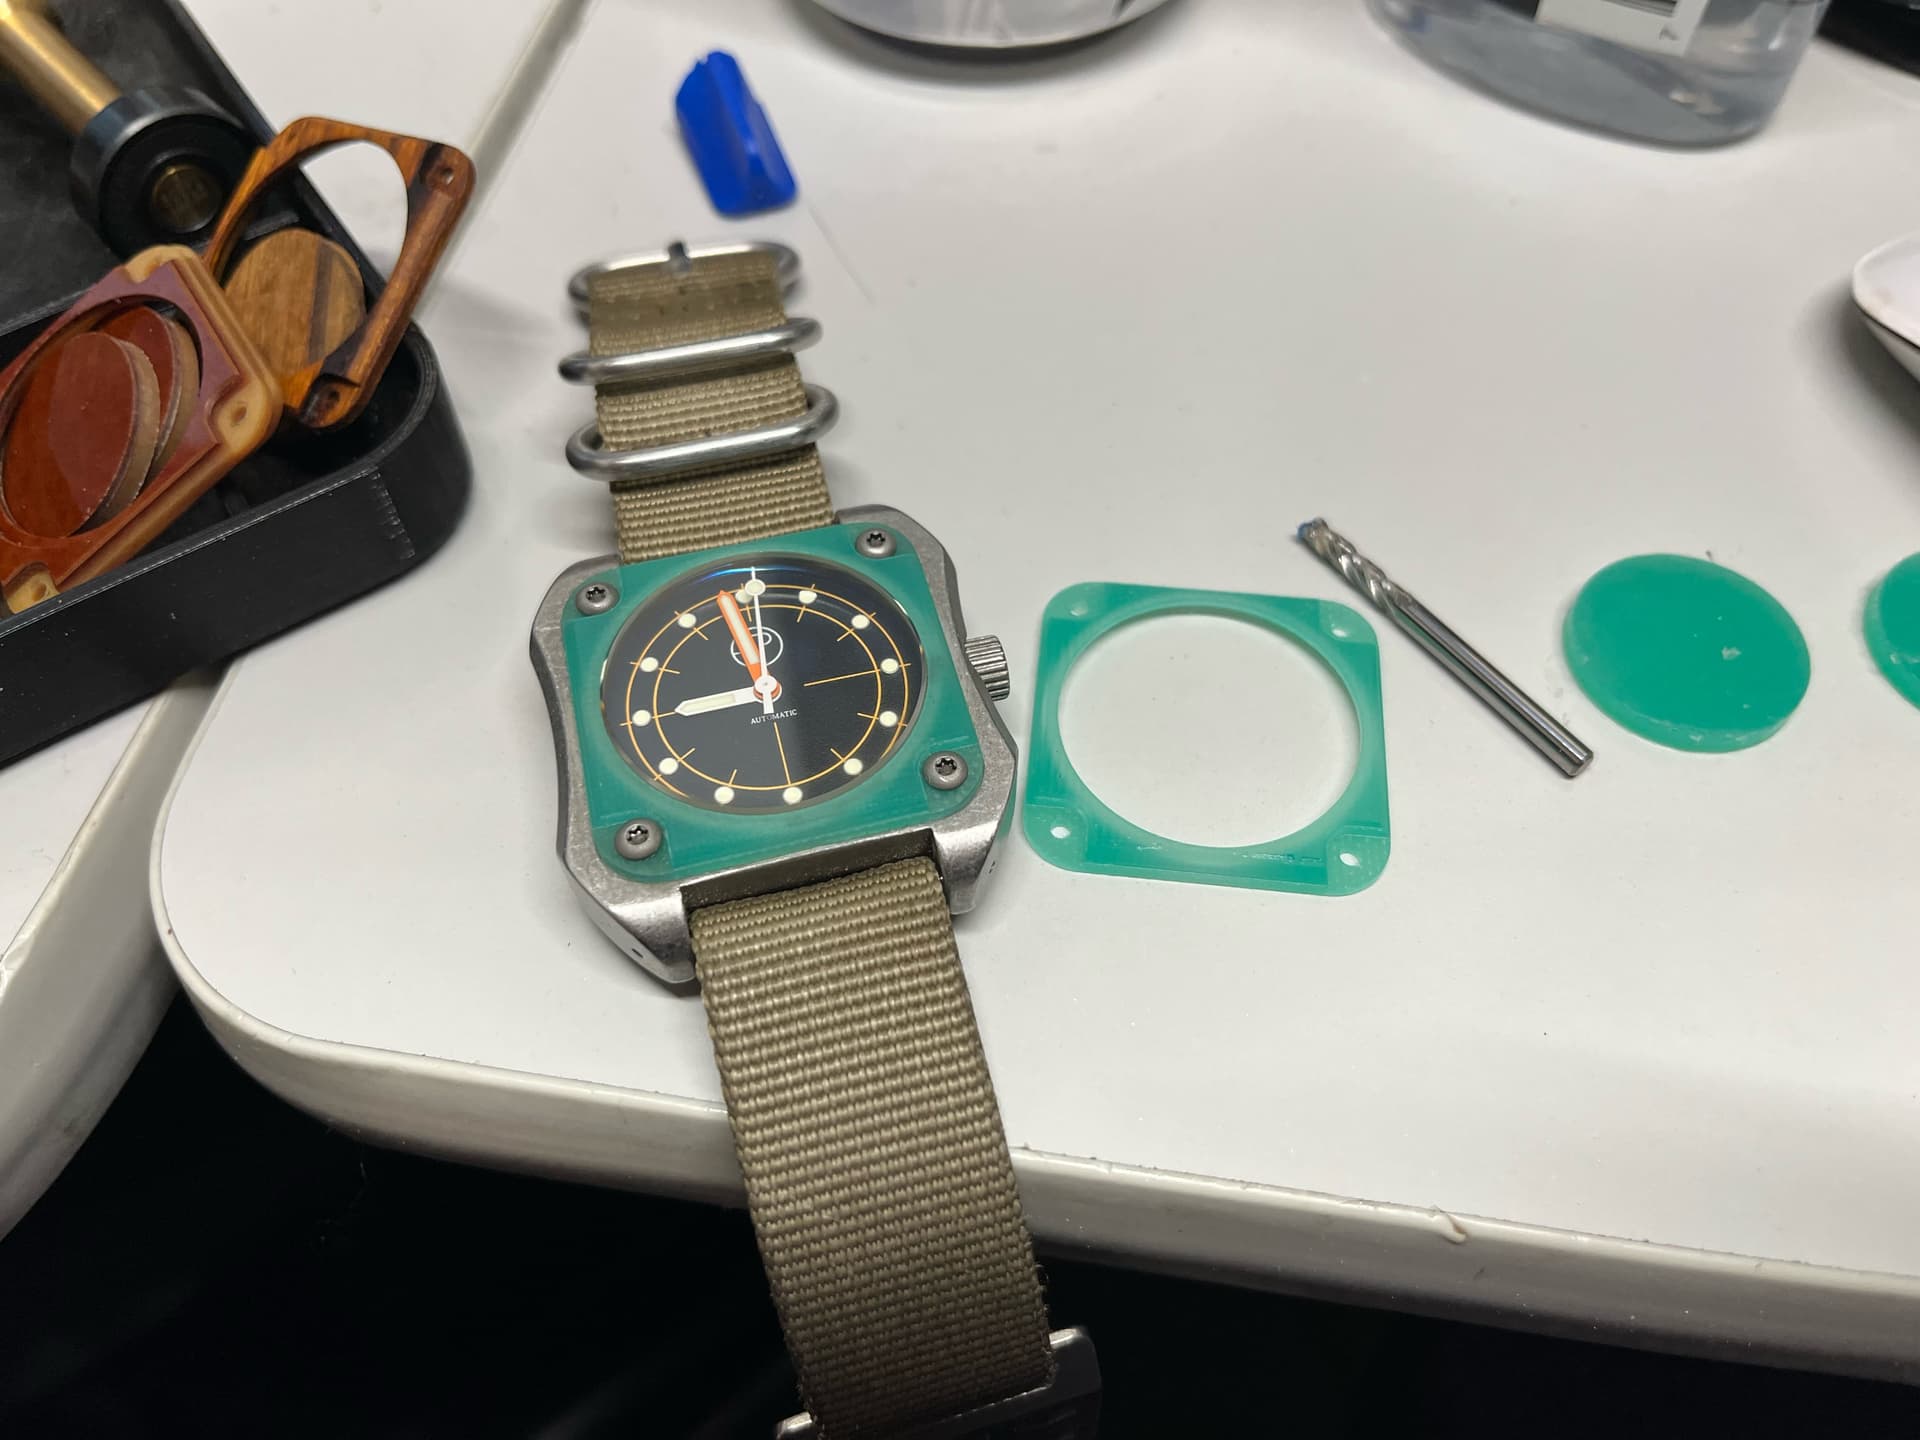
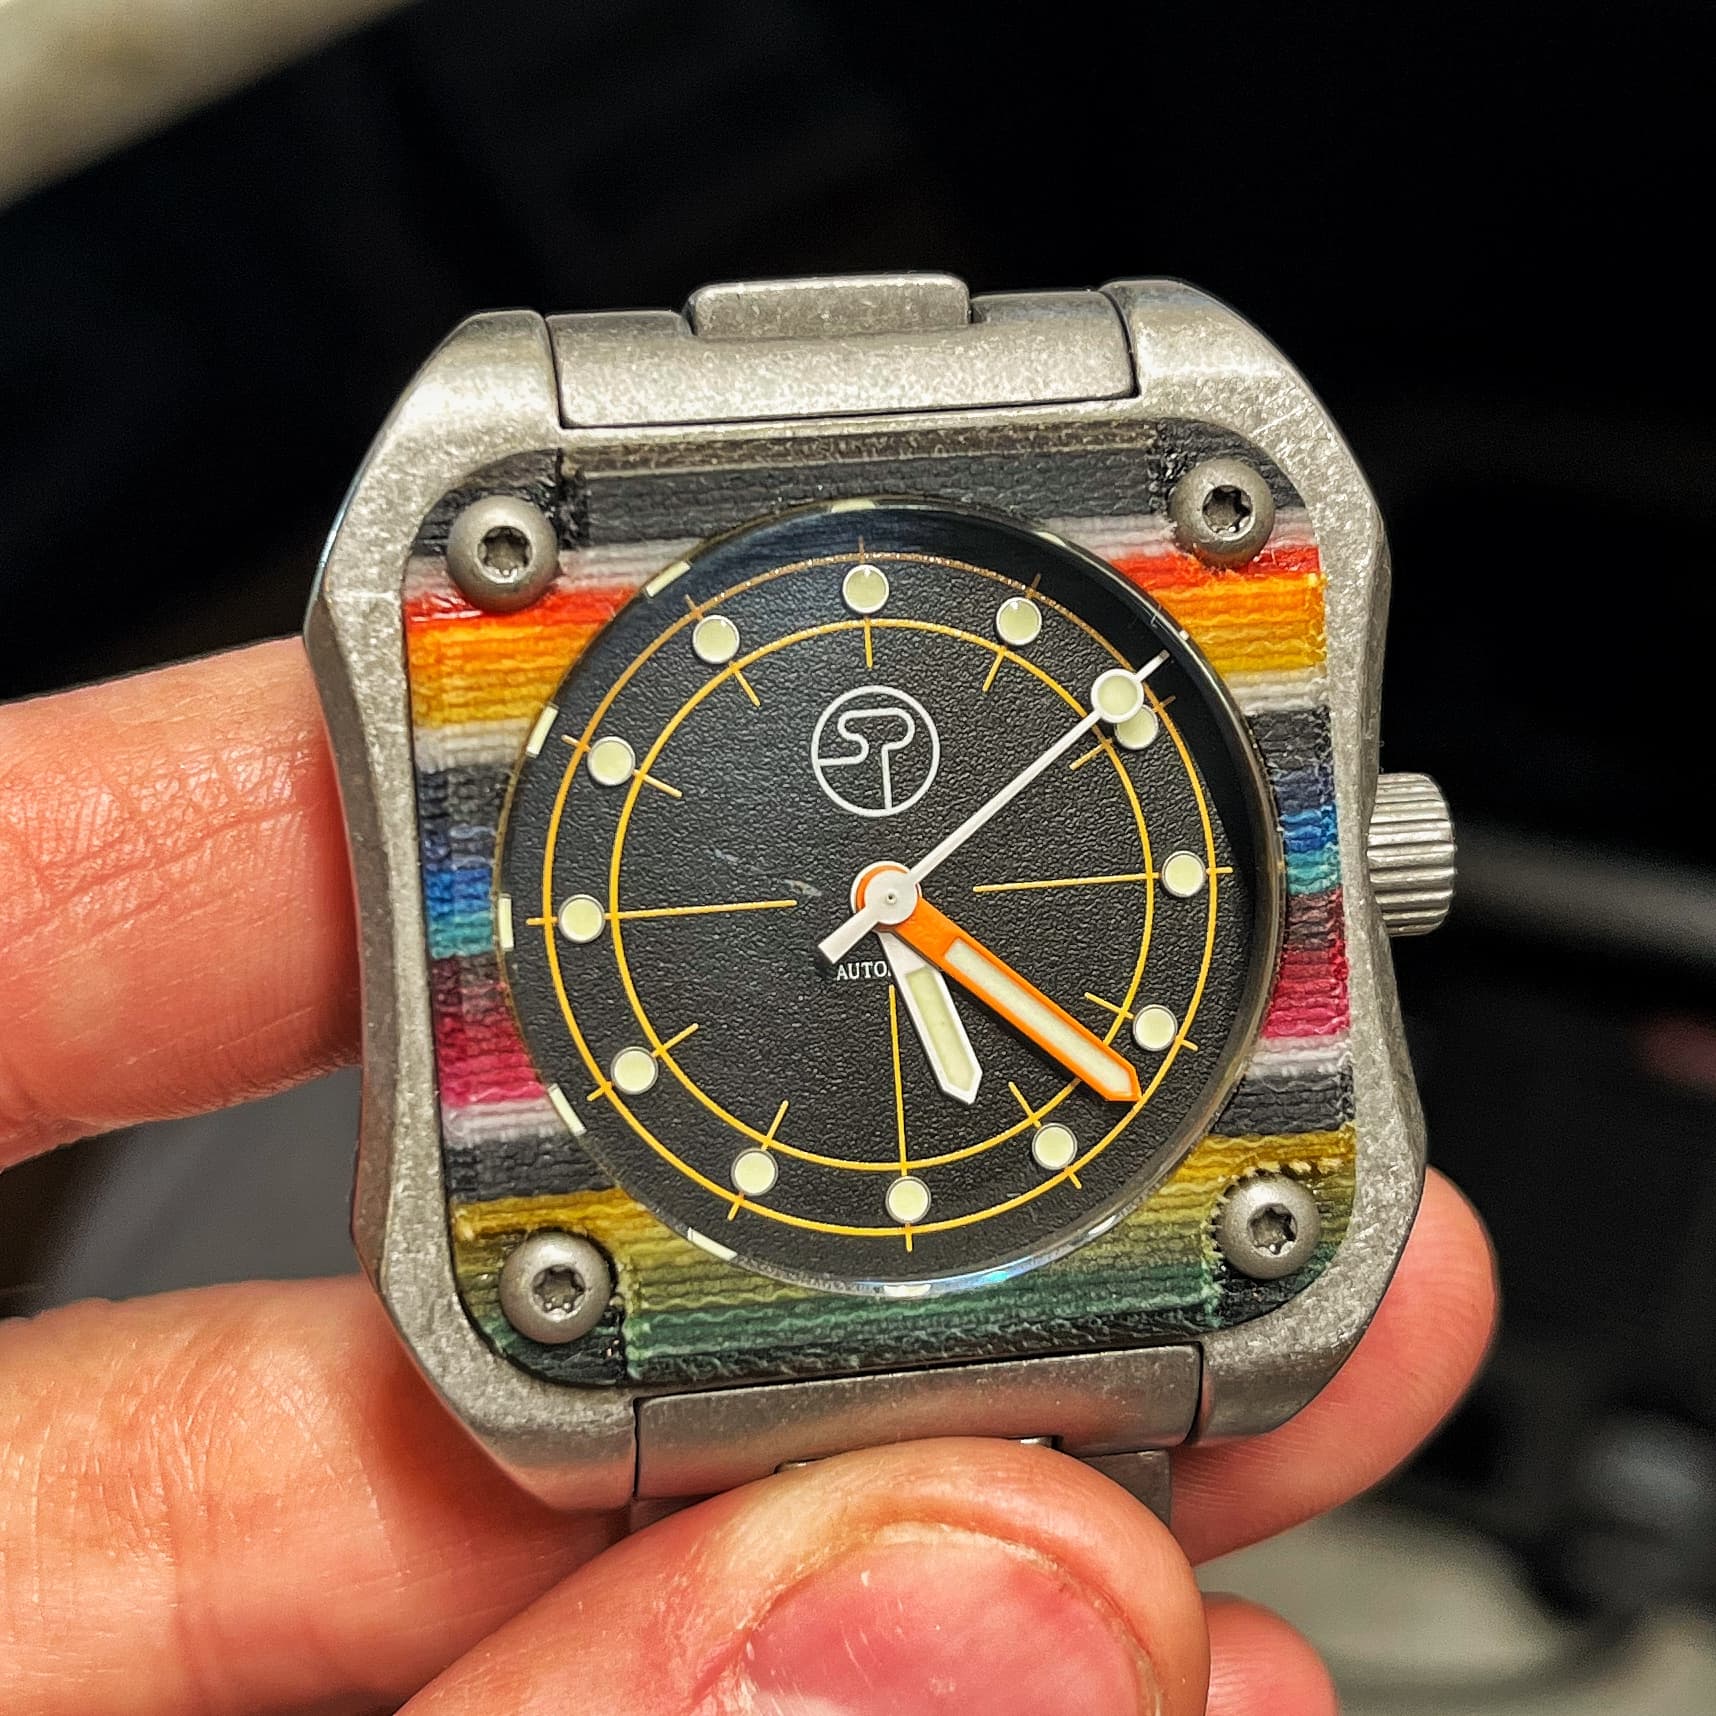
Byproducts of recent Nomad shenanigans. Been making myself some replacement bezels for a customizable watch that I own. Consequently, I’ve sold a few as well.
Mostly been cutting phenolics with it at the moment, but brass, aluminum, and some other metals are on the docket for the near future. Fingers crossed the Zirconium doesn’t burn down the Nomad and the house.
A mixture of materials. The top row is a red G-Carta, the second column is a vintage paper micarta, and the furthest right is another G-Carta color variant.