Oh my, harsh and panic !
1 Like
I will state the obvious and say that you could cut the strips to fit and not show. But the funny thing is that if I were doing the project, I wouldn’t have thought of that. ![]()
4 Likes
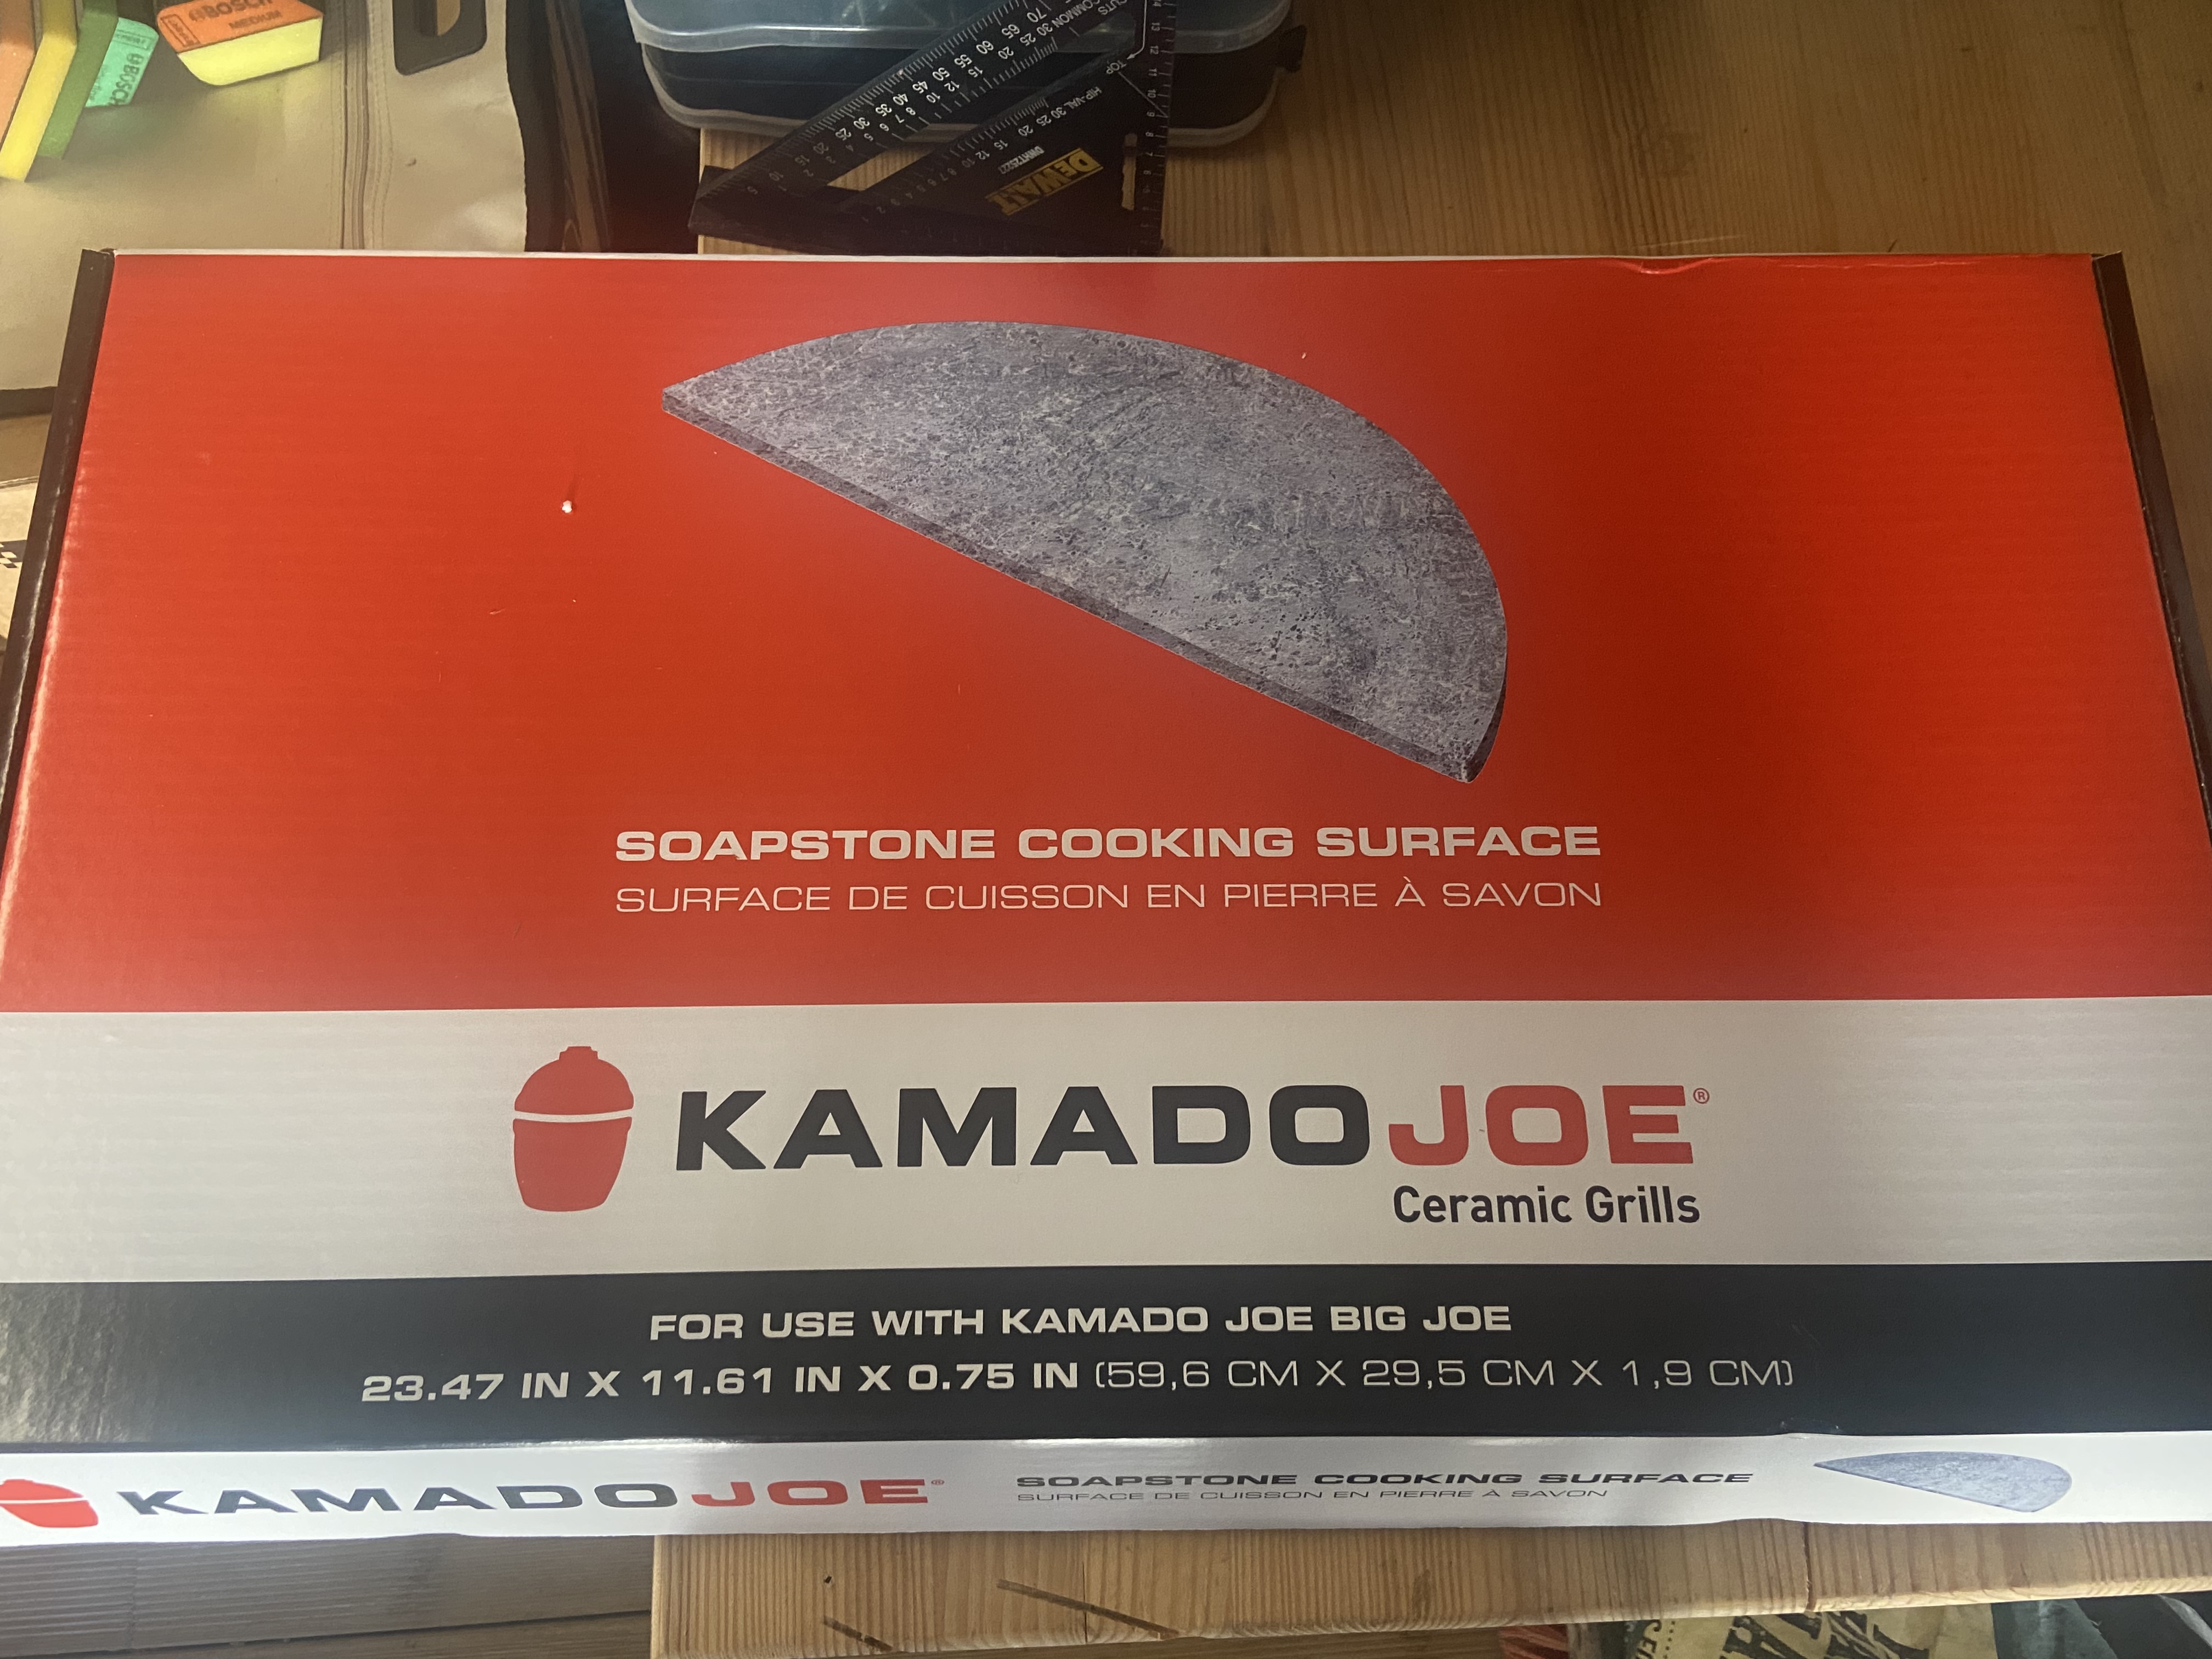
My friend bought a dirt cheap Soapstone for his Kamado BBQ during black friday, but it doesnt fit as his BBQ is smaller than the one its intended for.
During a fotball game and some beers I said, “No problem, ill take it on the CNC”
Luckily @45rpm John Clark had a excellent Youtube video about it here so I realised its actually possible and im not in above my head.
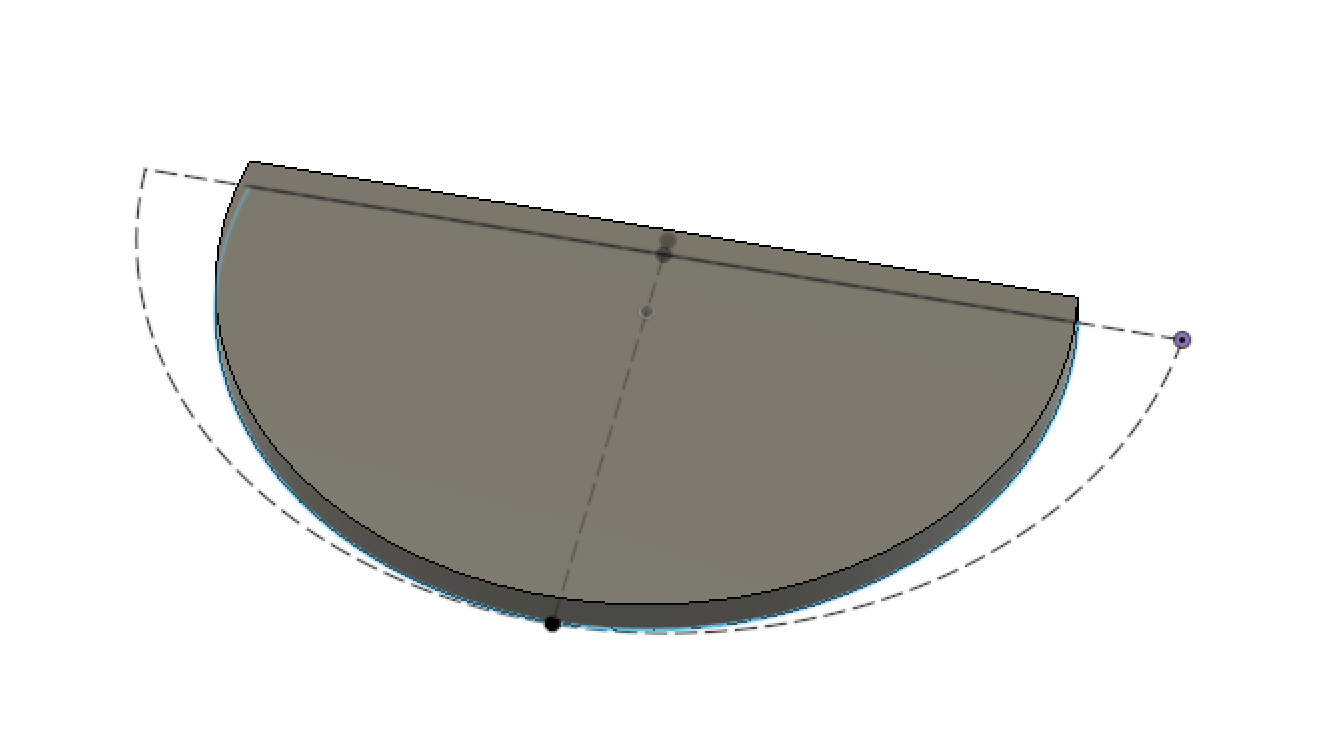
Drew up the 24" halfmoon stone that he purchased and drew a 19" cricle and positioned it to make the most out of it. 19" is suitable for his setup
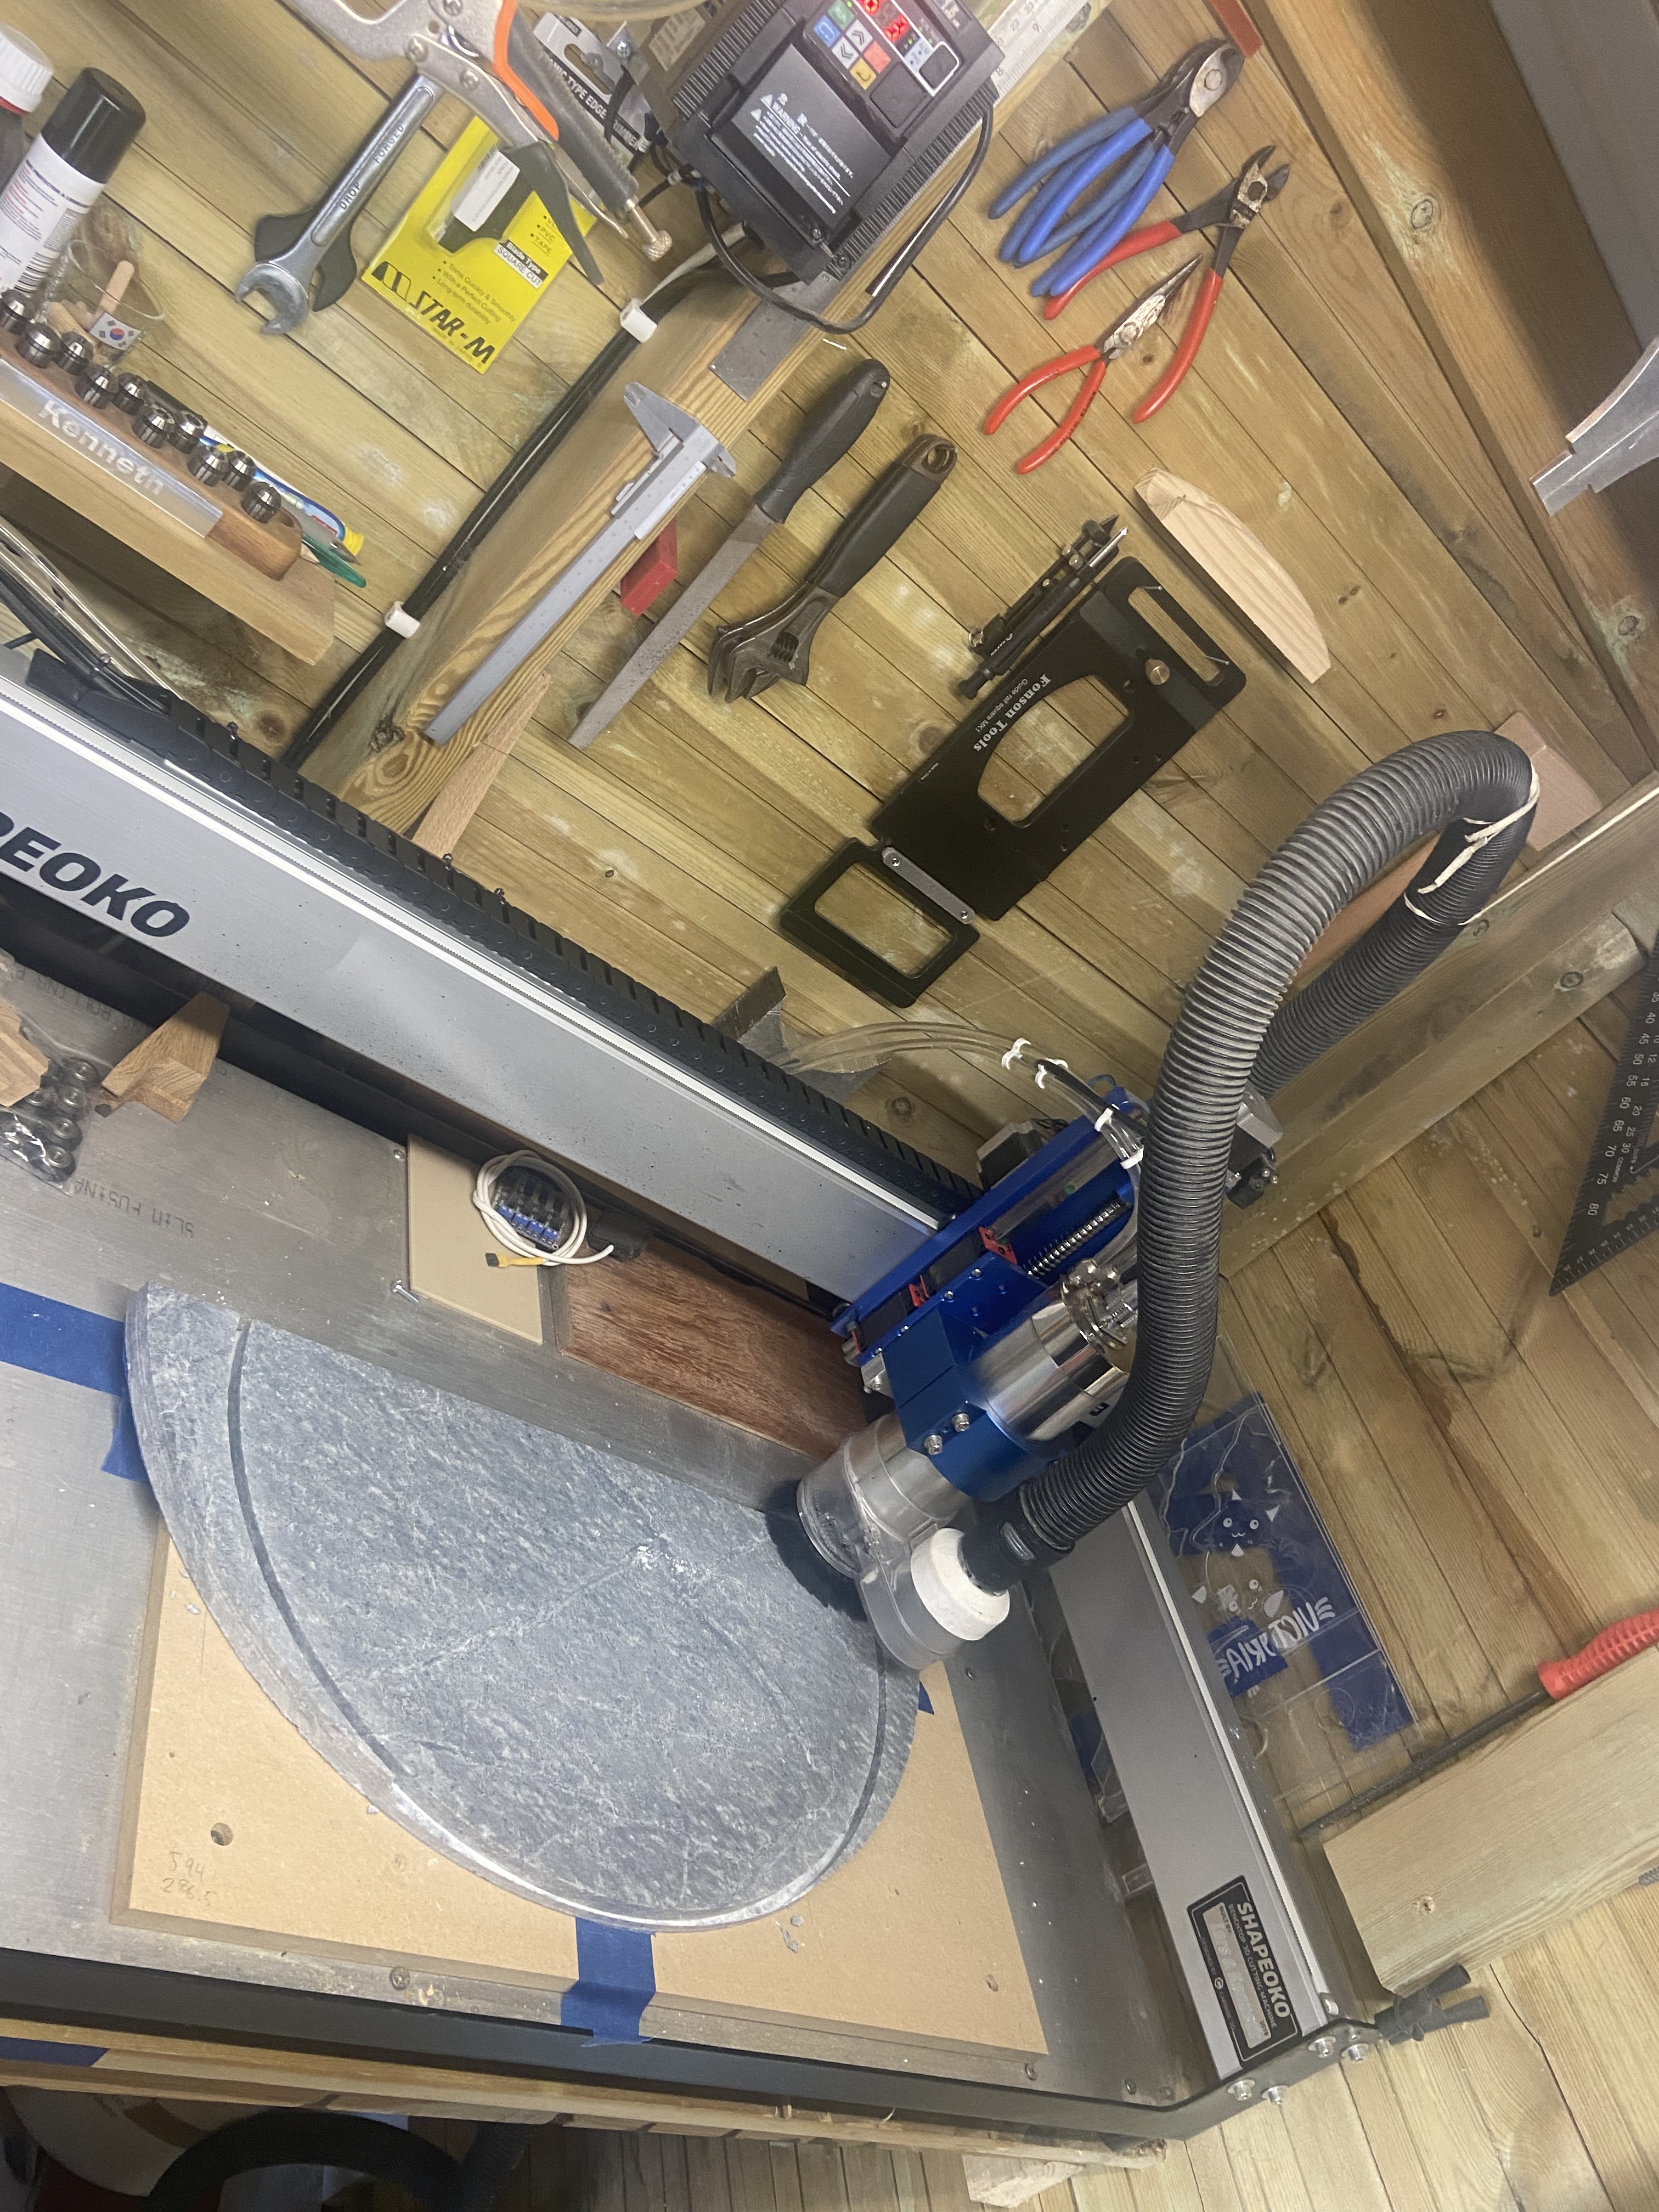
Machined well with great surface finish. Conservative F/S, 0.03mm pr tooth at 15000rpm and 0.3mm DOC.
Used a retired #201 end mill as I did not know if contribute to high toolwear. It didn’t seem to do so.
12 Likes
I had no idea soapstone was used on grills as I have only ever used it to mark steel for various fabrication jobs.
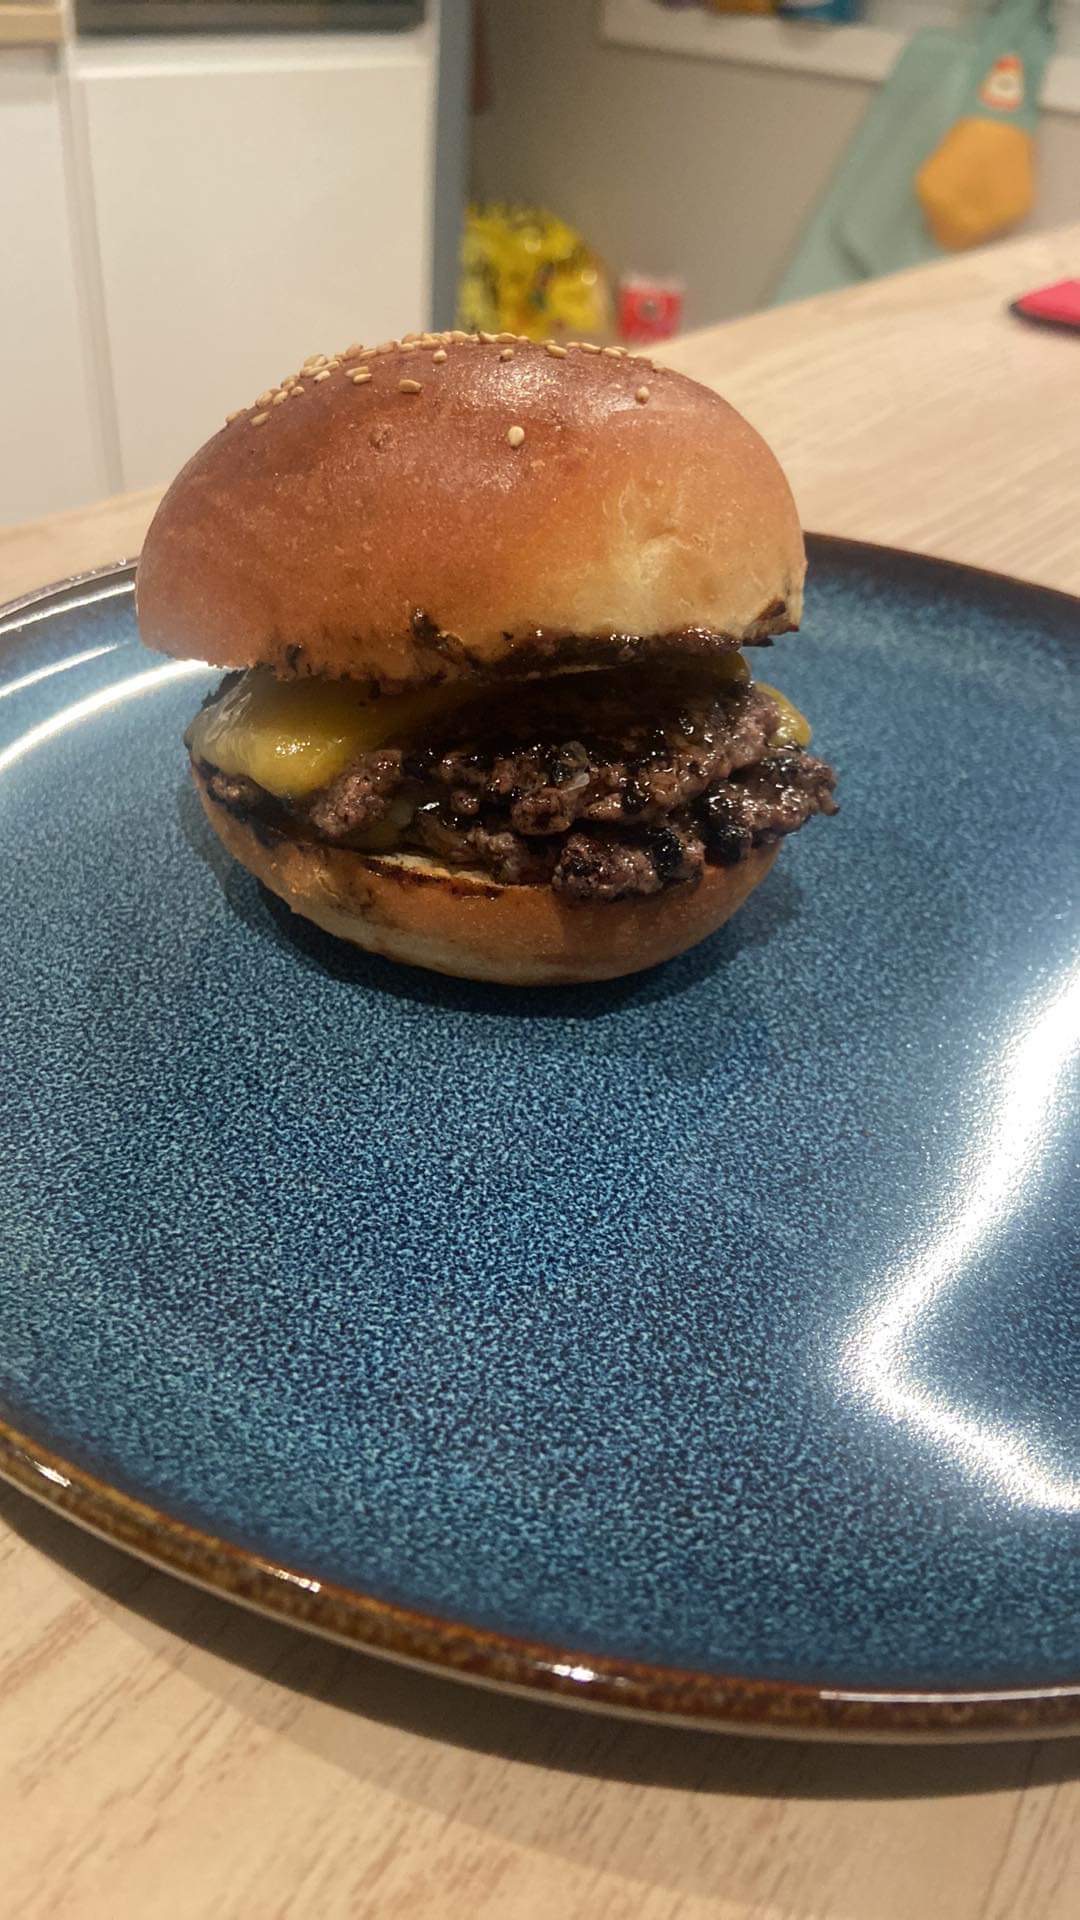
its more or less the same as cast iron when it comes to cooking. But easier to clean, doesn’t rust and has a better surface area due to no pores. Excellent for smash burgers
I just got paid for this job in form of smash burgers made on the soapstone. ![]()
![]()
9 Likes
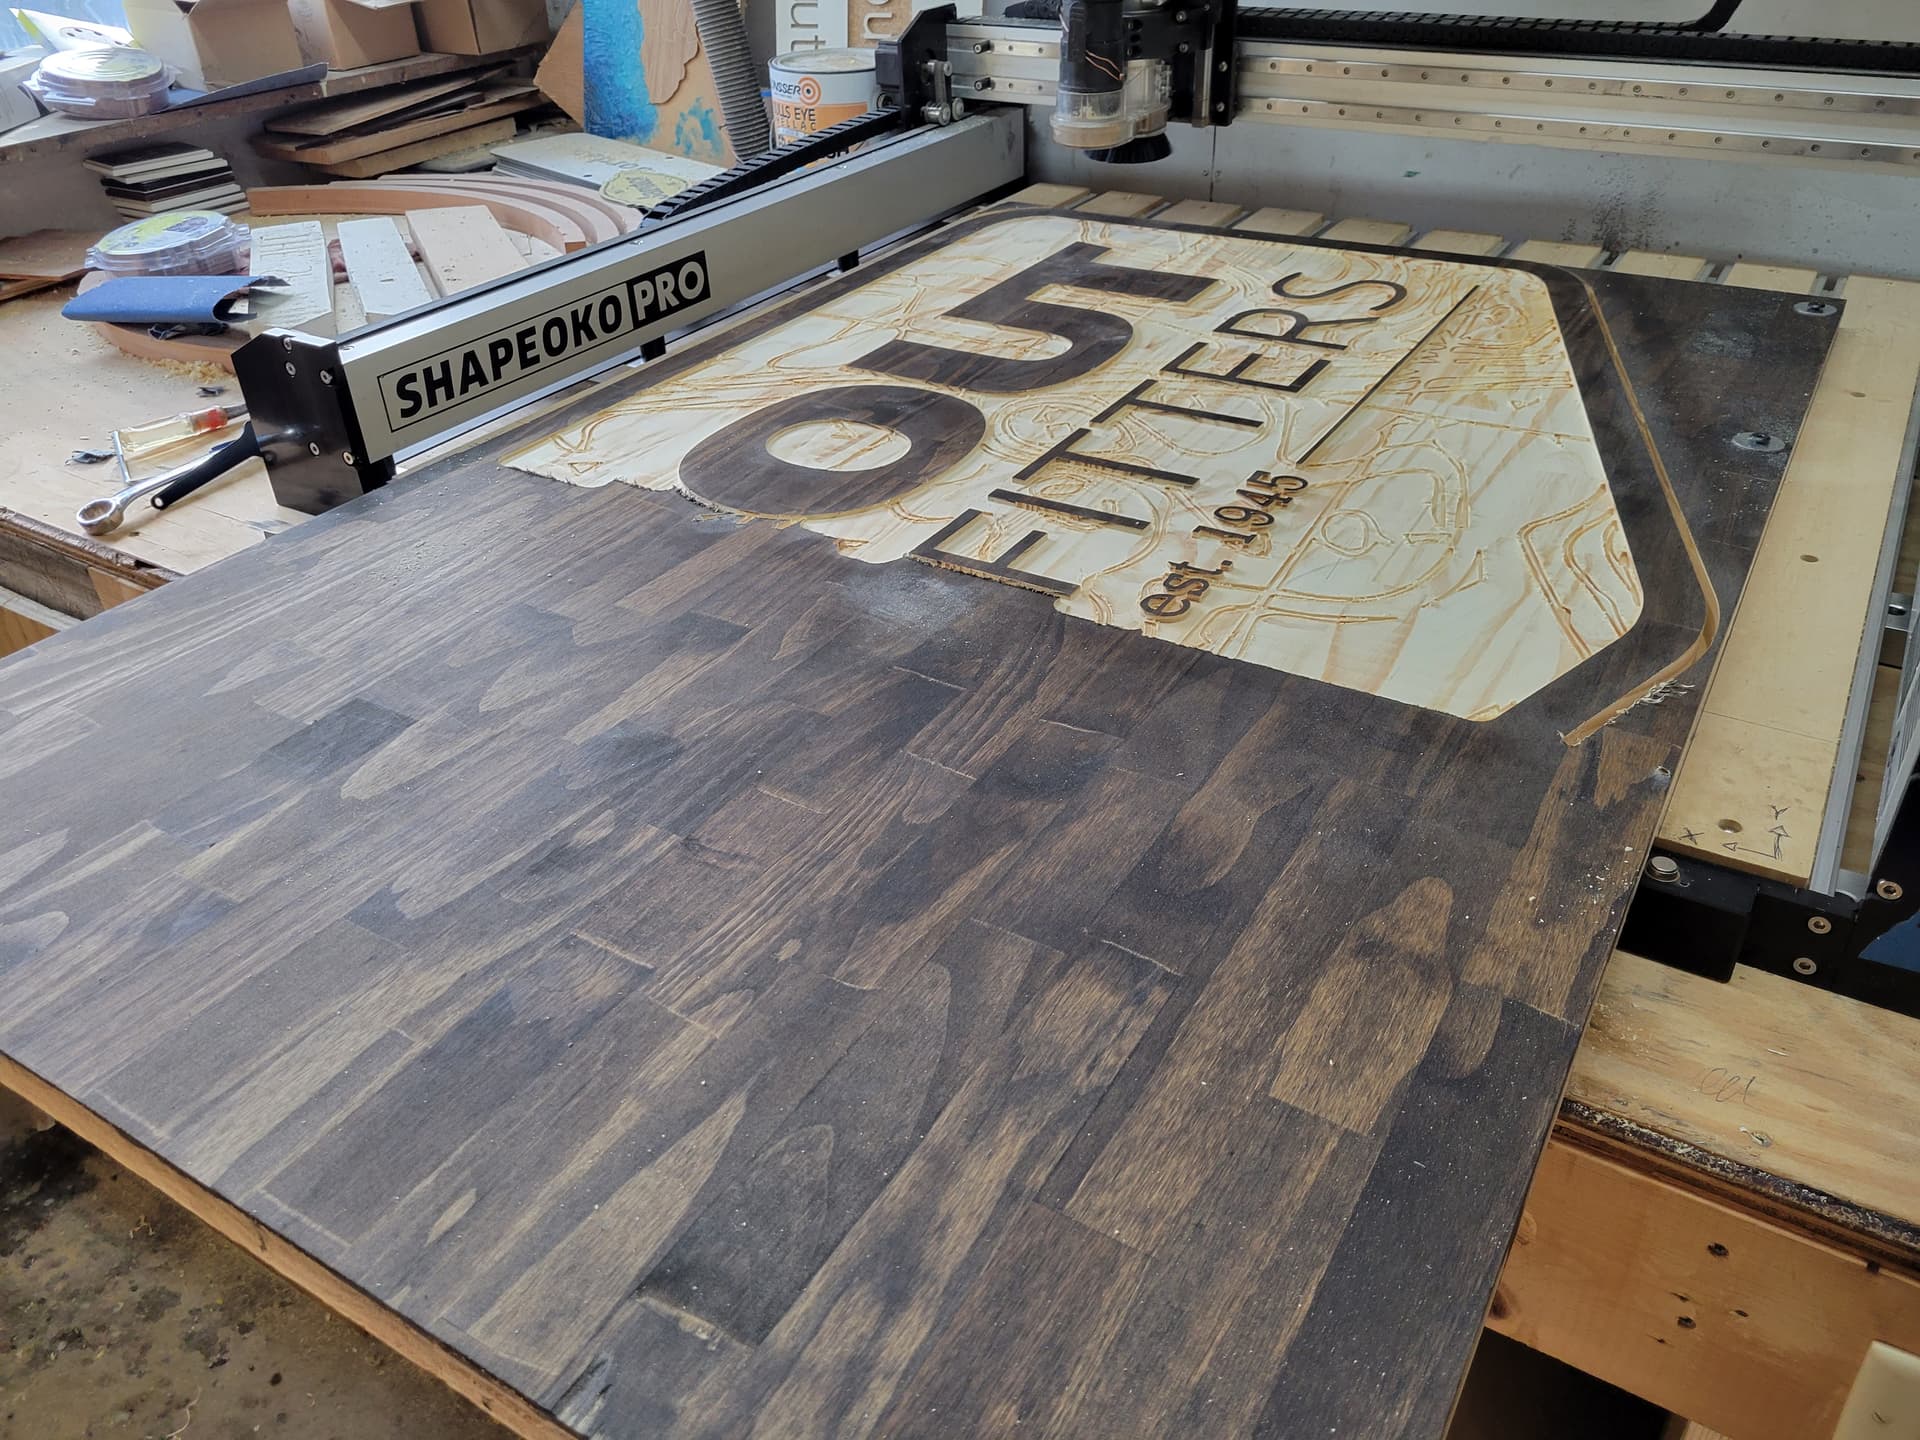
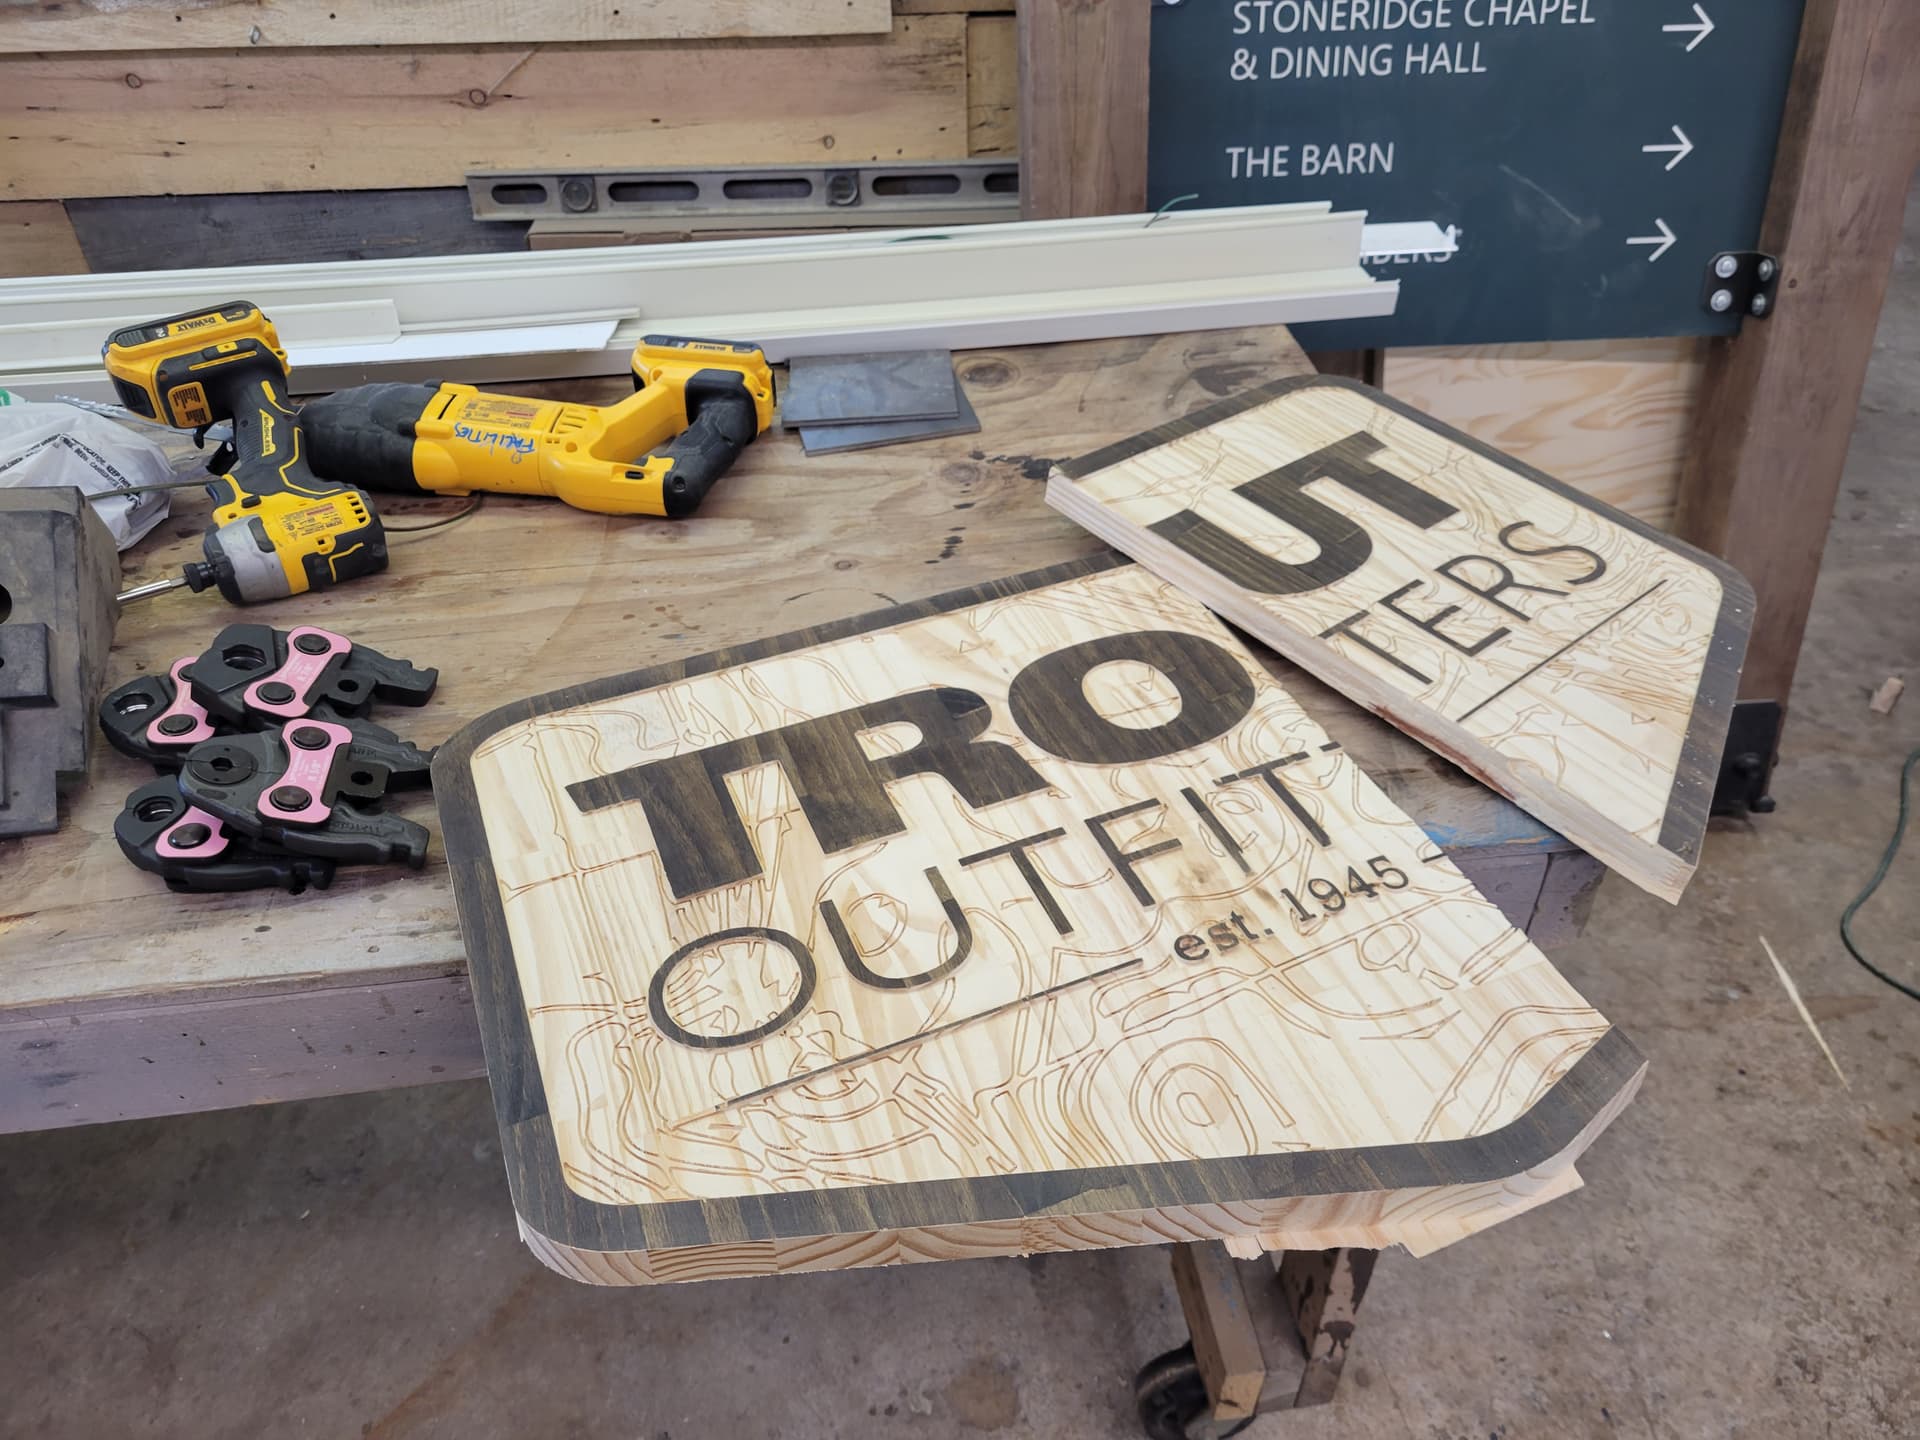
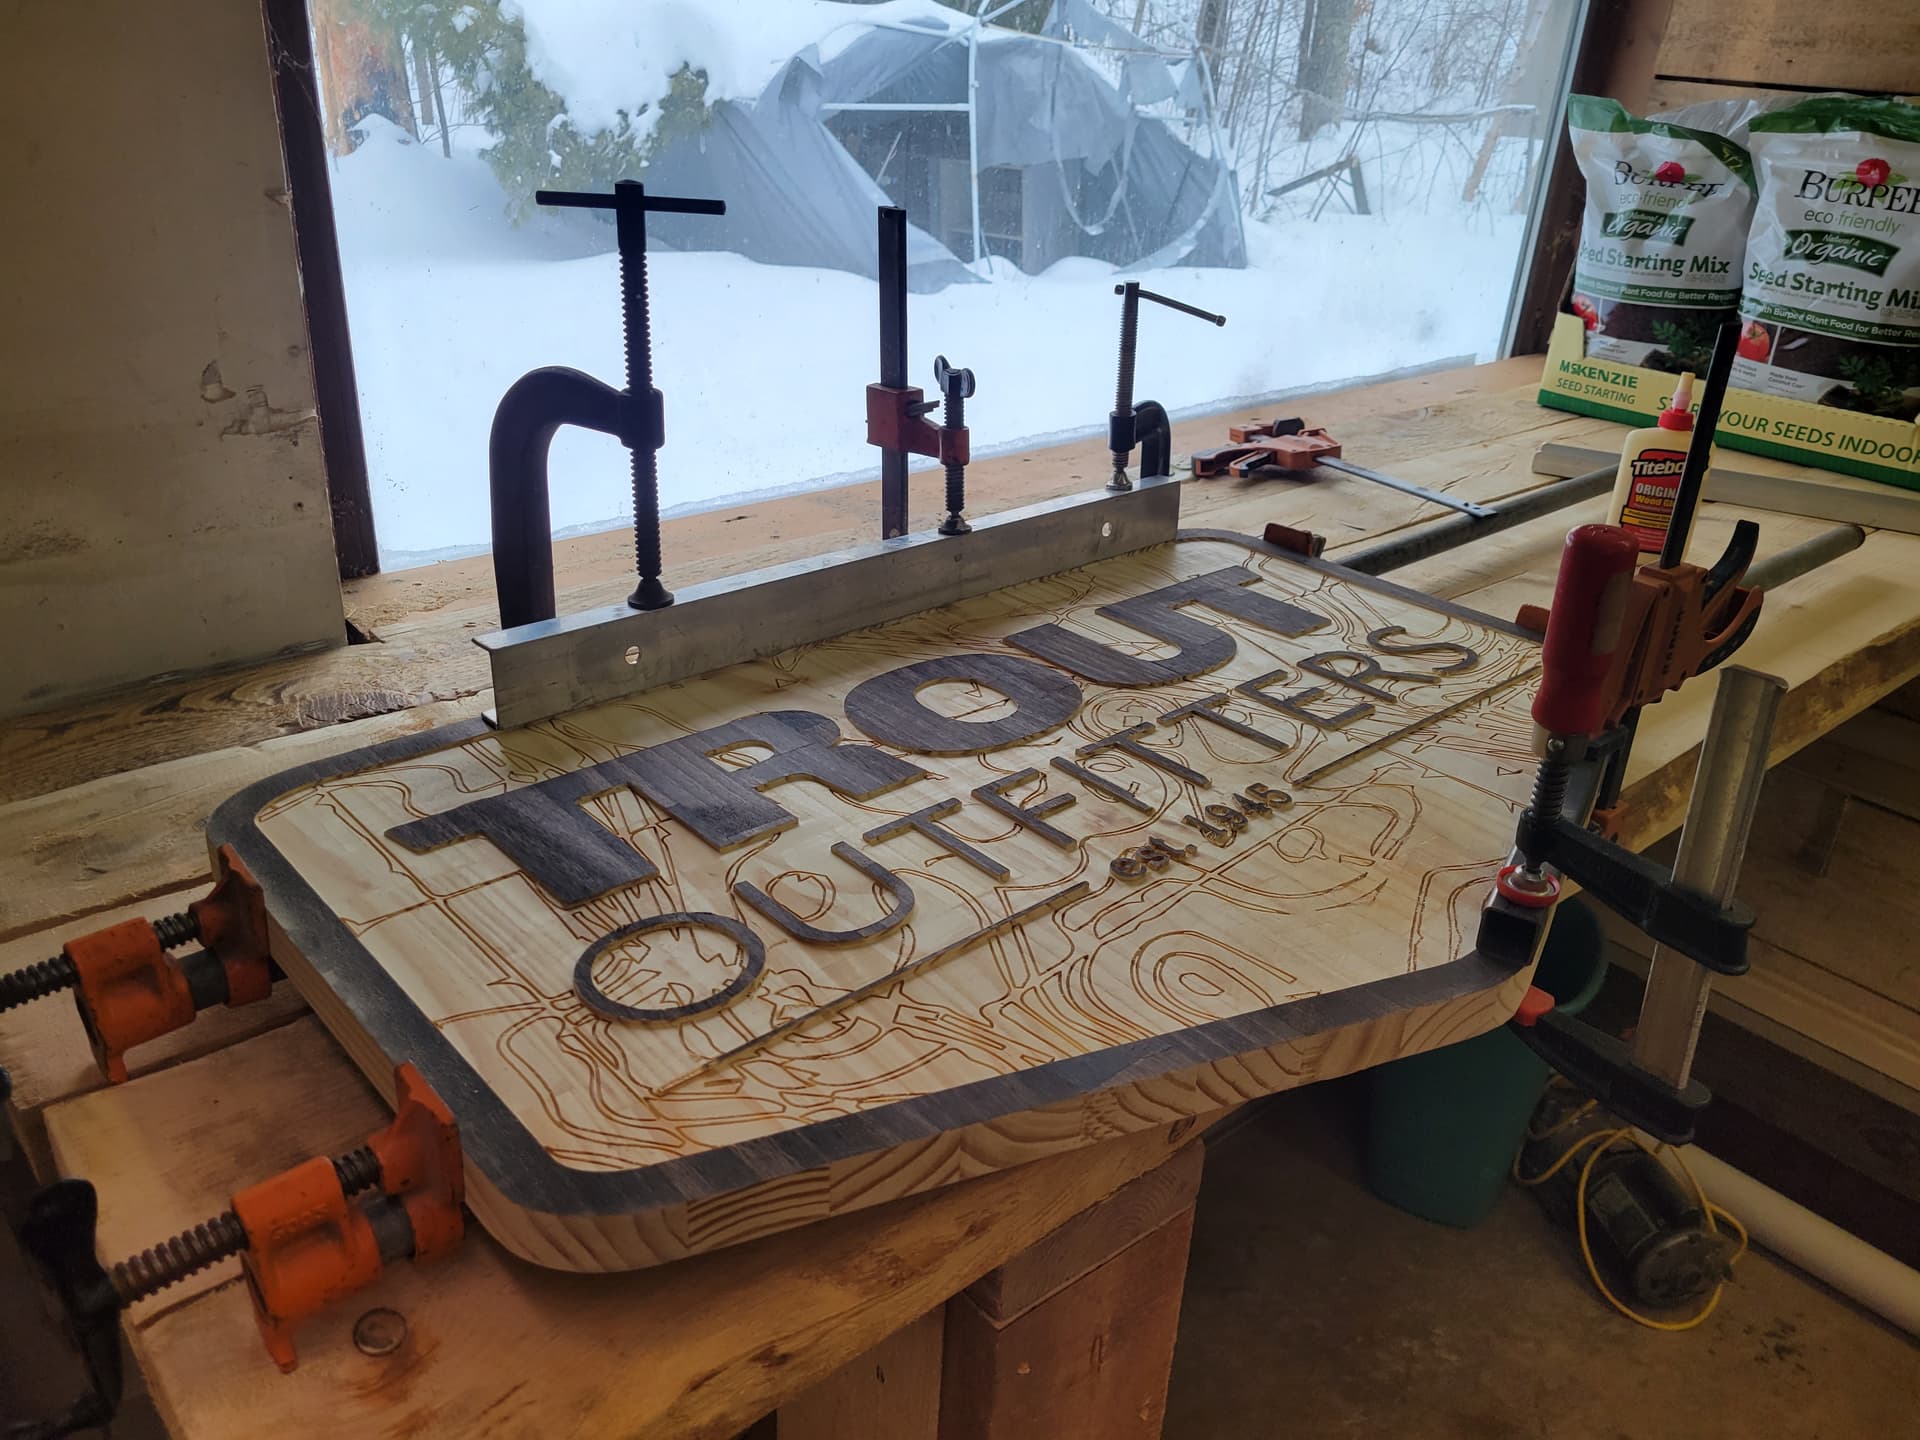
On the first, second and third try Ever on my new Shapeoko Pro with VFD i managed to draw and cut these… How cool is that… As you see i haven’t mastered the finesses yet, but the learning continues…greets from The Netherlands
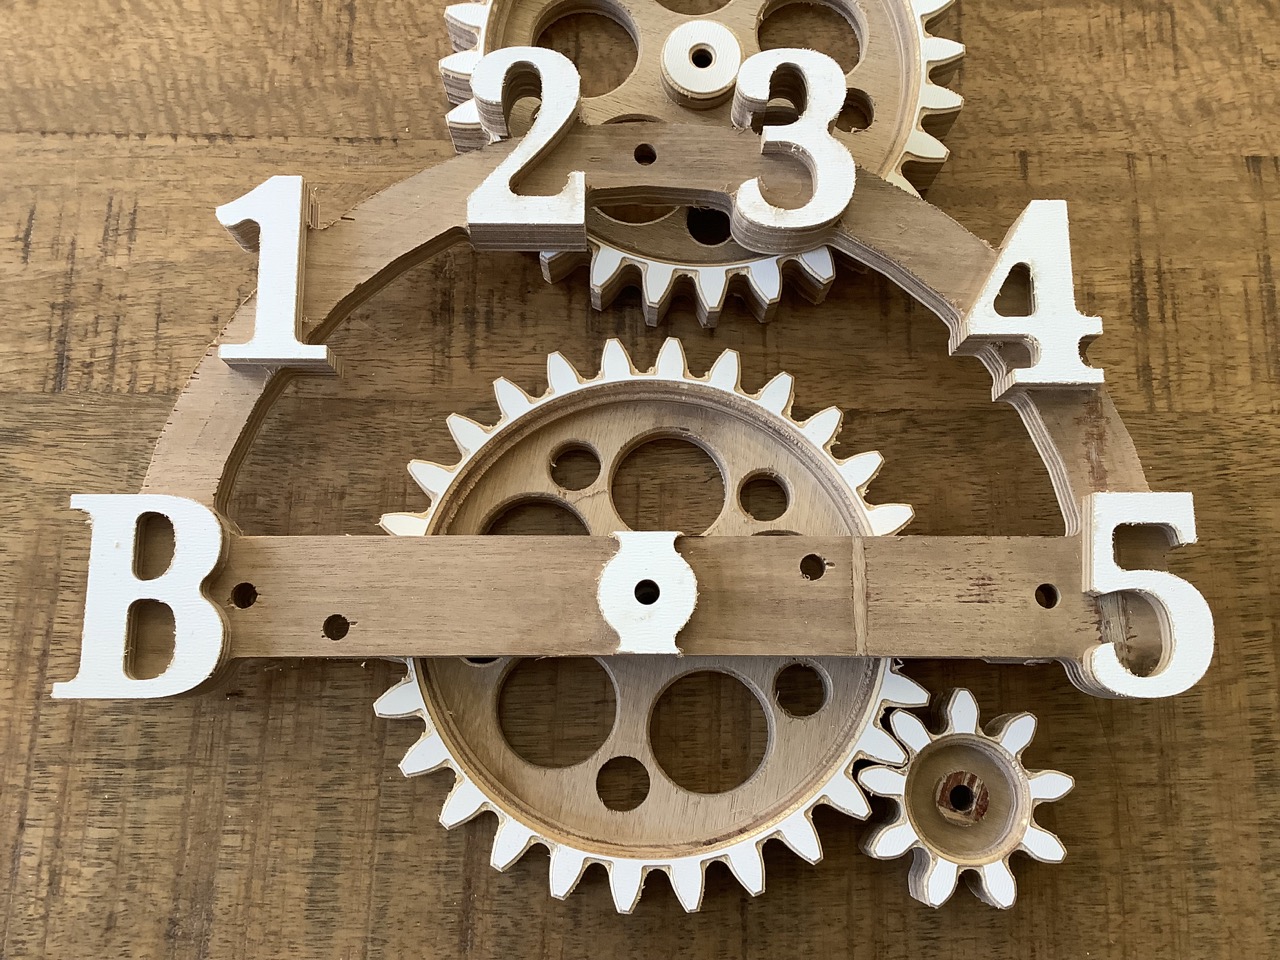
13 Likes
To be totally honest, also this happened:
Still have to find out if a 6mm compression bit doing a 18mm cut in one pass is a good idea…
8 Likes
It’s how they are supposed to work, but that’s a deep cut, and would require speeds and feeds which are appropriate to it.
I usually just use a downcut endmill in plywood and leave an onionskin at the bottom which can be cleaned up with an X-acto knife/razor saw/file.
2 Likes
It’s how they are supposed to work, but that’s a deep cut, and would require speeds and feeds which are appropriate to it.
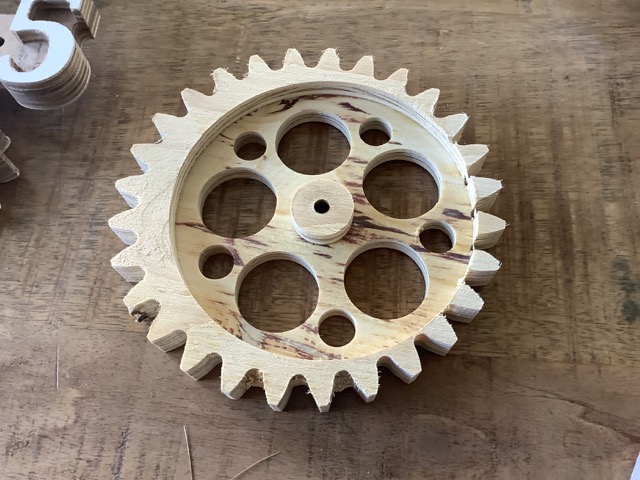
in the end I settled for a cut in two passes, downed the rpm/feed to 12000/1200 if i recall correctly… the mill is then deep enough to do up/down both, and with a bit of screaming it seems to do the job without getting hot.
in that crooked example i tried half the feeds/speeds that the manufacturer supplied, they were so shockingly high that i figured no way the machine could do that…
(12000-16000 / 3000-4000 mm)
But anyway, i find that the steepest learning curve, figuring out what those mills can or cannot do, and understanding when…
That looks great.
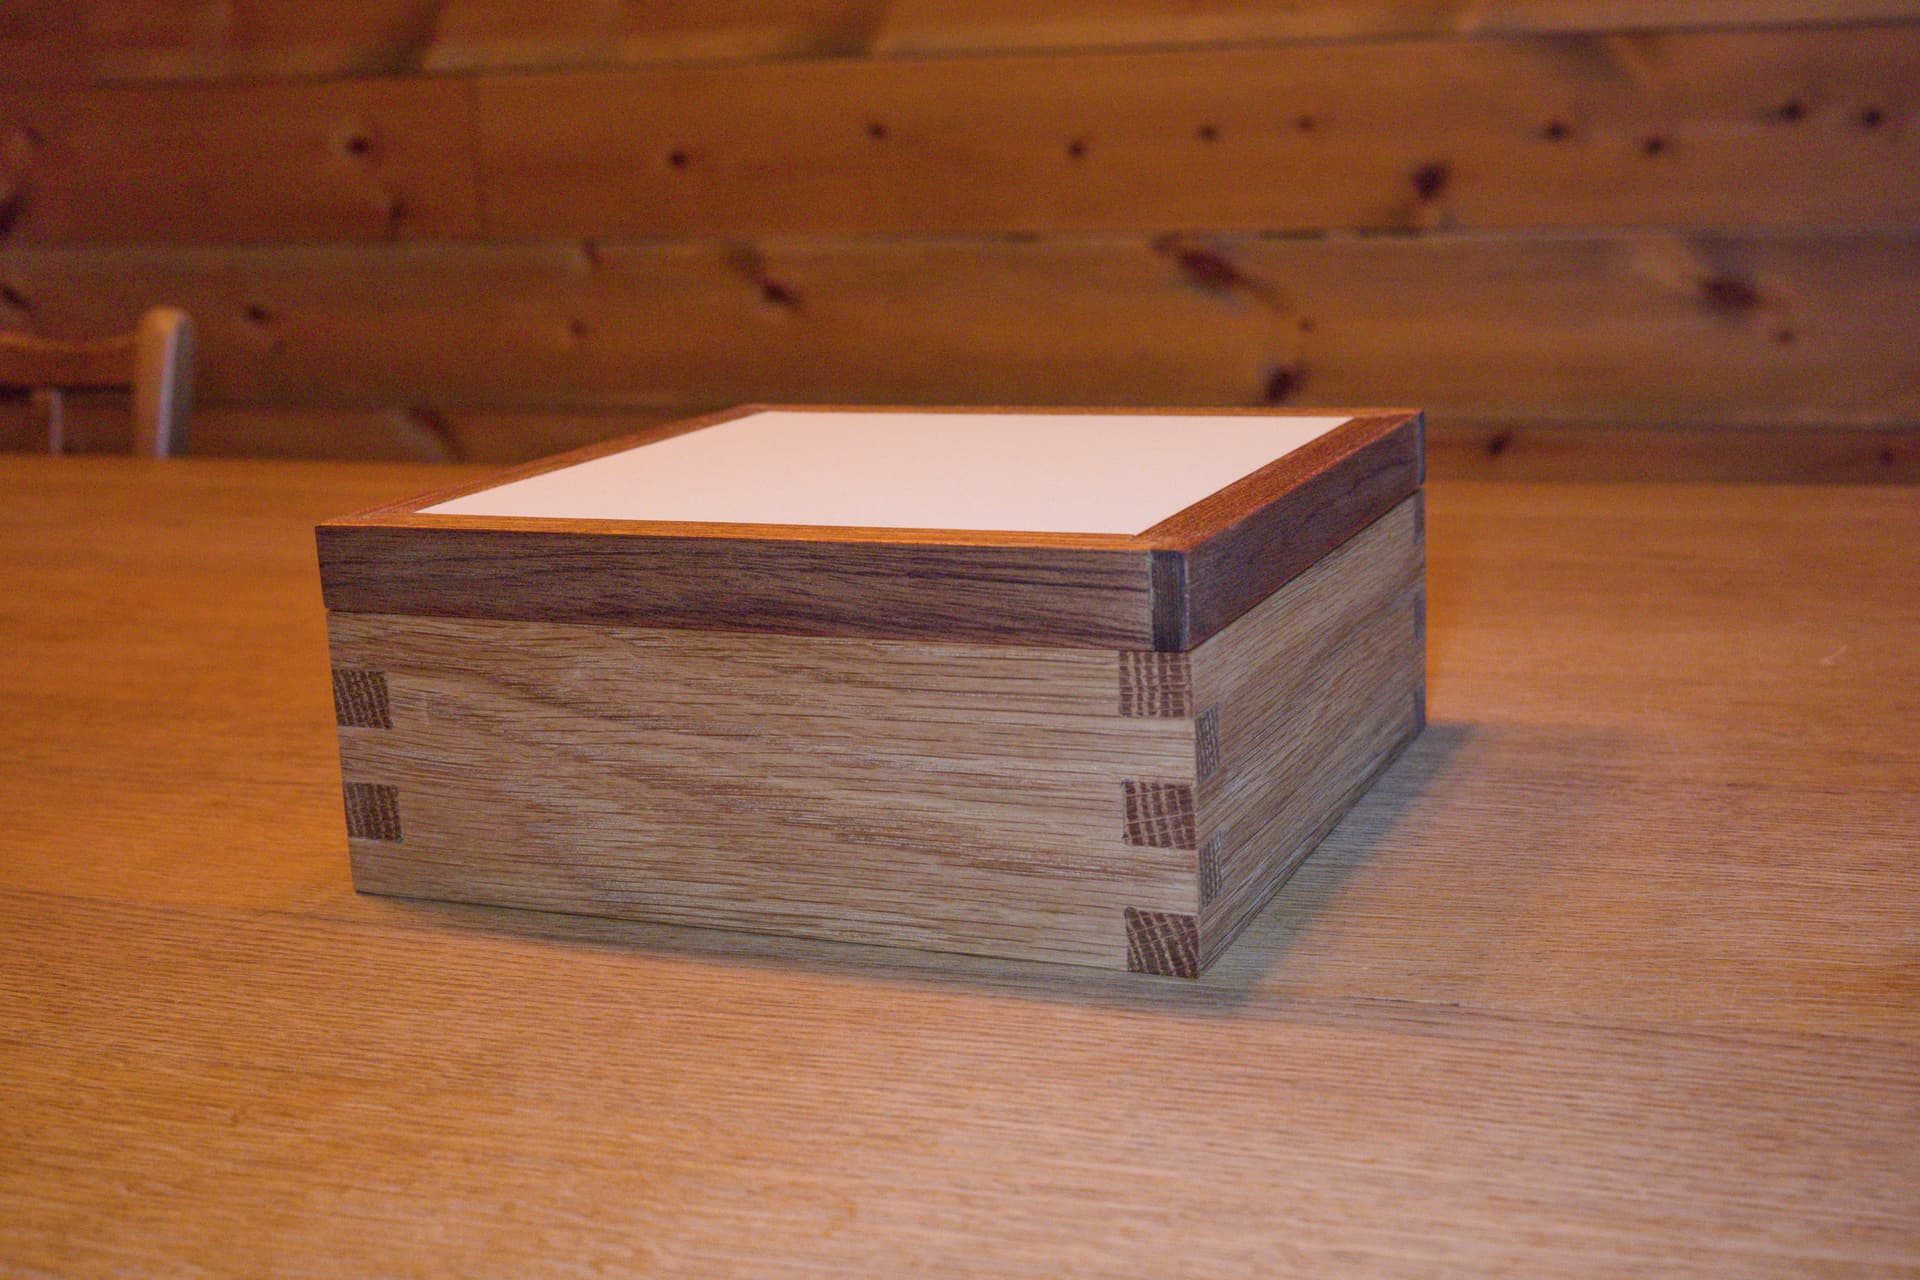
Did you machine the acrylic using the new inlay mode?
How did you flatten after the gluing? I would be worried that the using and endmill would scratch up the acrylic pretty bad. Does it sand out ok?
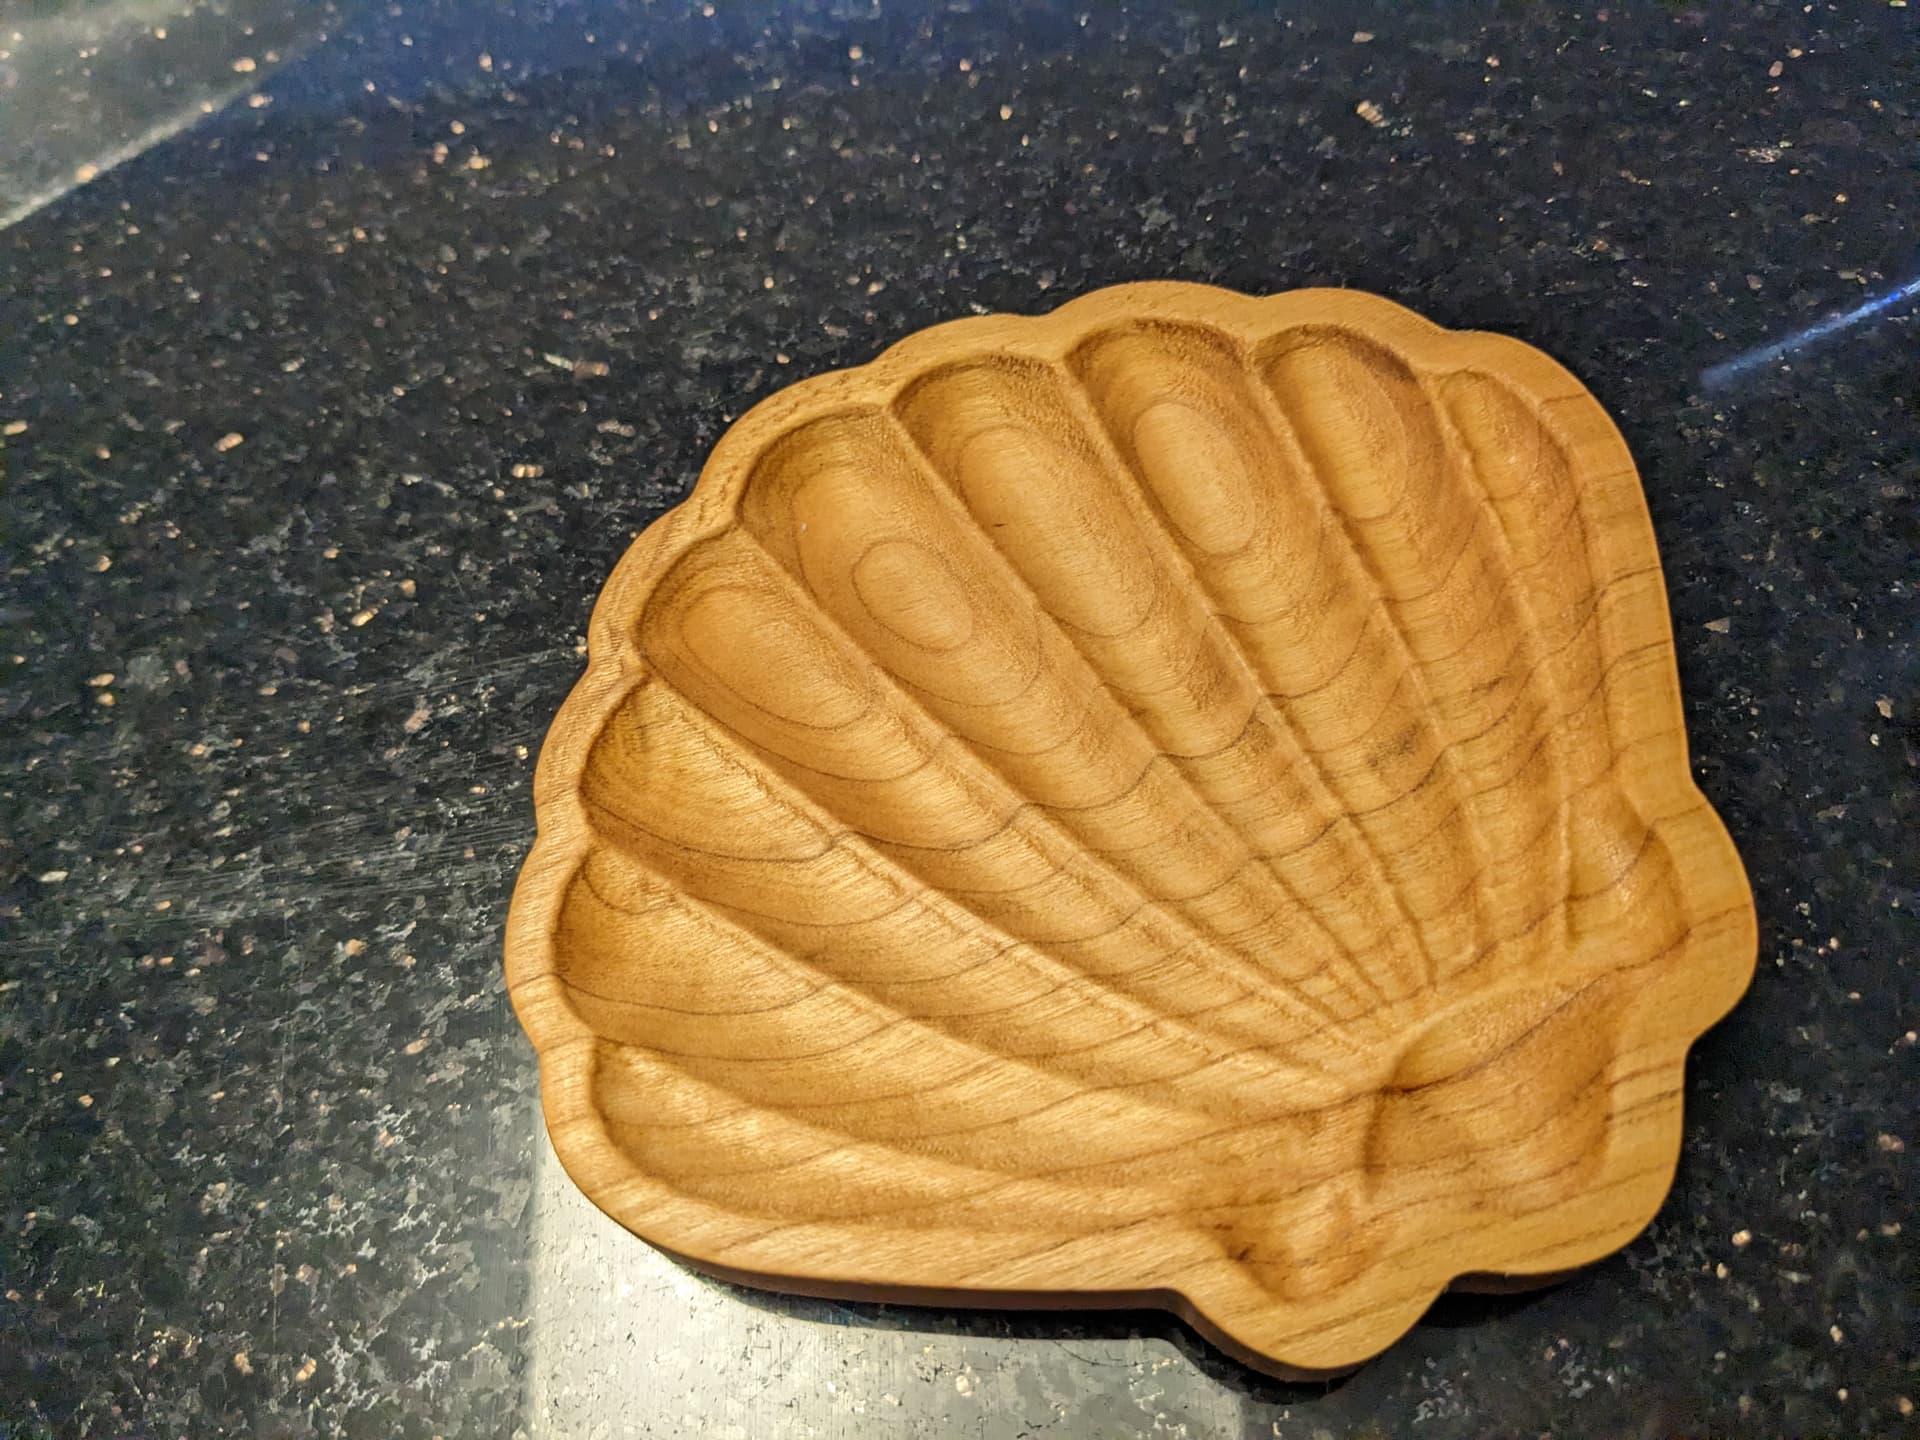
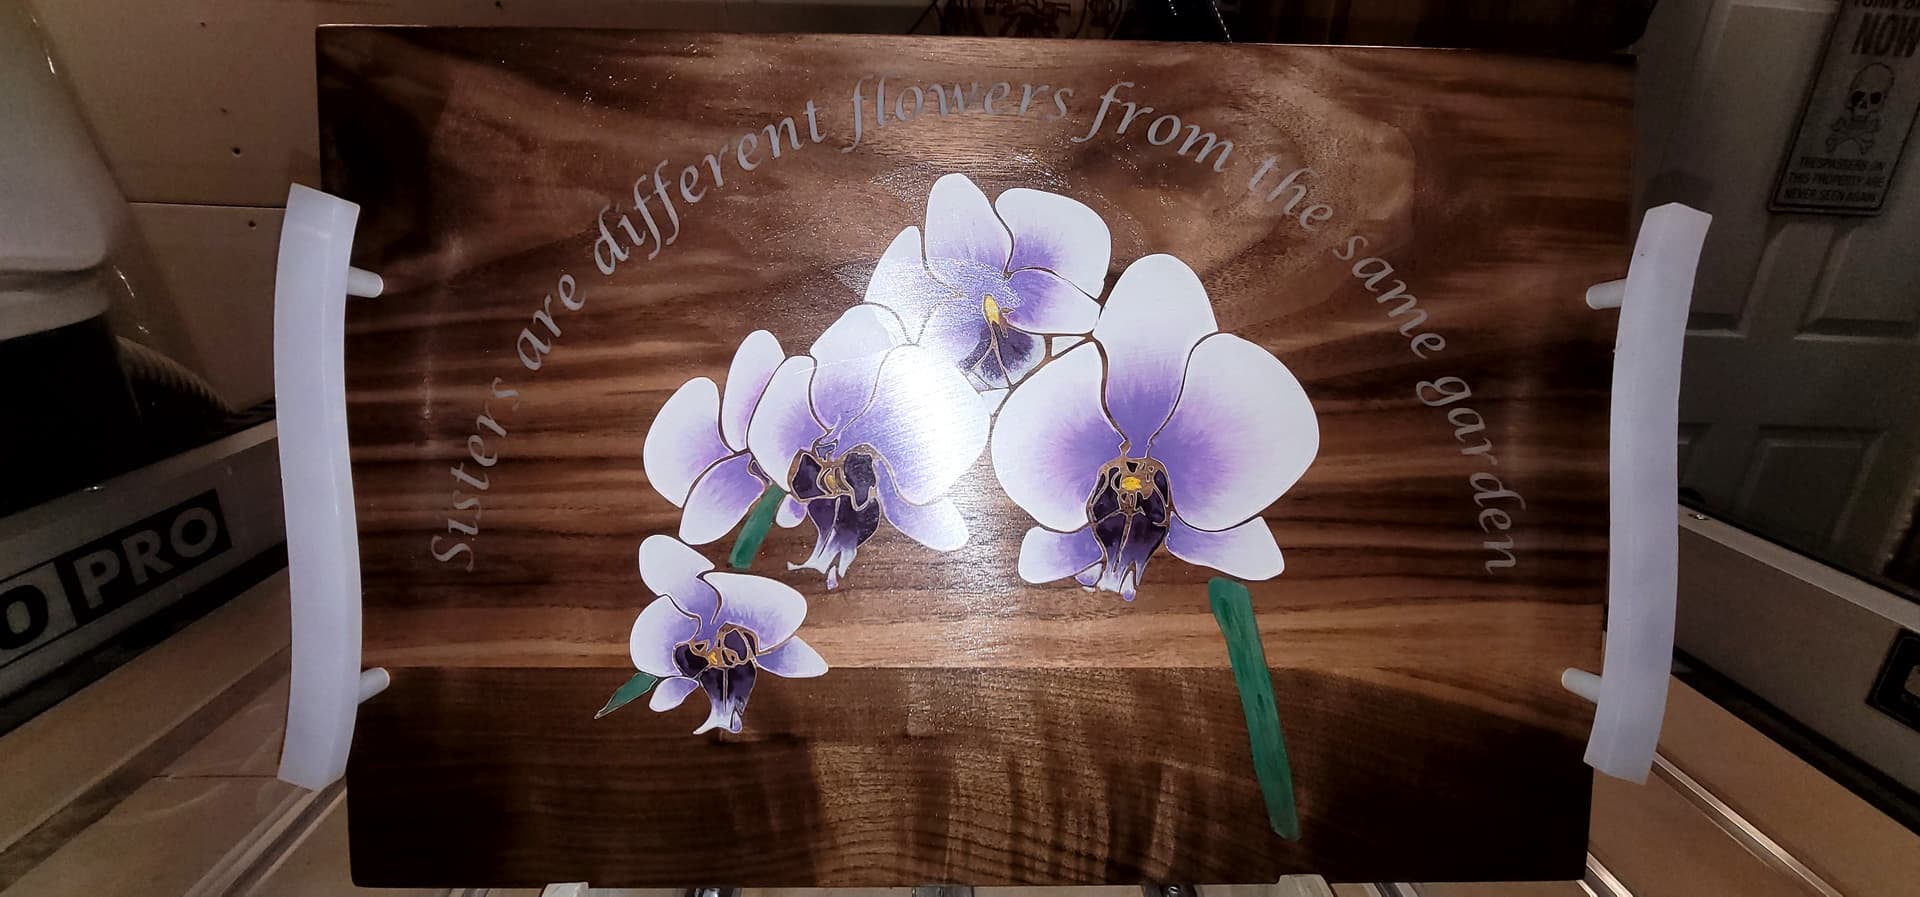
Thank you, I cut it out in the cnc, on this specific board I sealed it, painted, sealed again, poured the acrylic in the various colors, then plane the surface, sand all the steps up to 1500 and put two coats of my board conditioner on that I make. No gluing, not cutting acrylic on this one, there are some that requires that though.
Congratulations Patrick @Caffein8ted on being featured in our first Hump Day Highlight on Instagram. Keep up the outstanding work.
https://www.instagram.com/p/Cp0WMG0Jtof/?igshid=YmMyMTA2M2Y=
14 Likes
Wow that’s awesome and completely unexpected!!! Thanks for the shoutout and this means a lot especially from a community that has many makers/craftsmen that I feel are super talented. This made my day and is very encouraging for me to keep moving forward into my next projects.
12 Likes
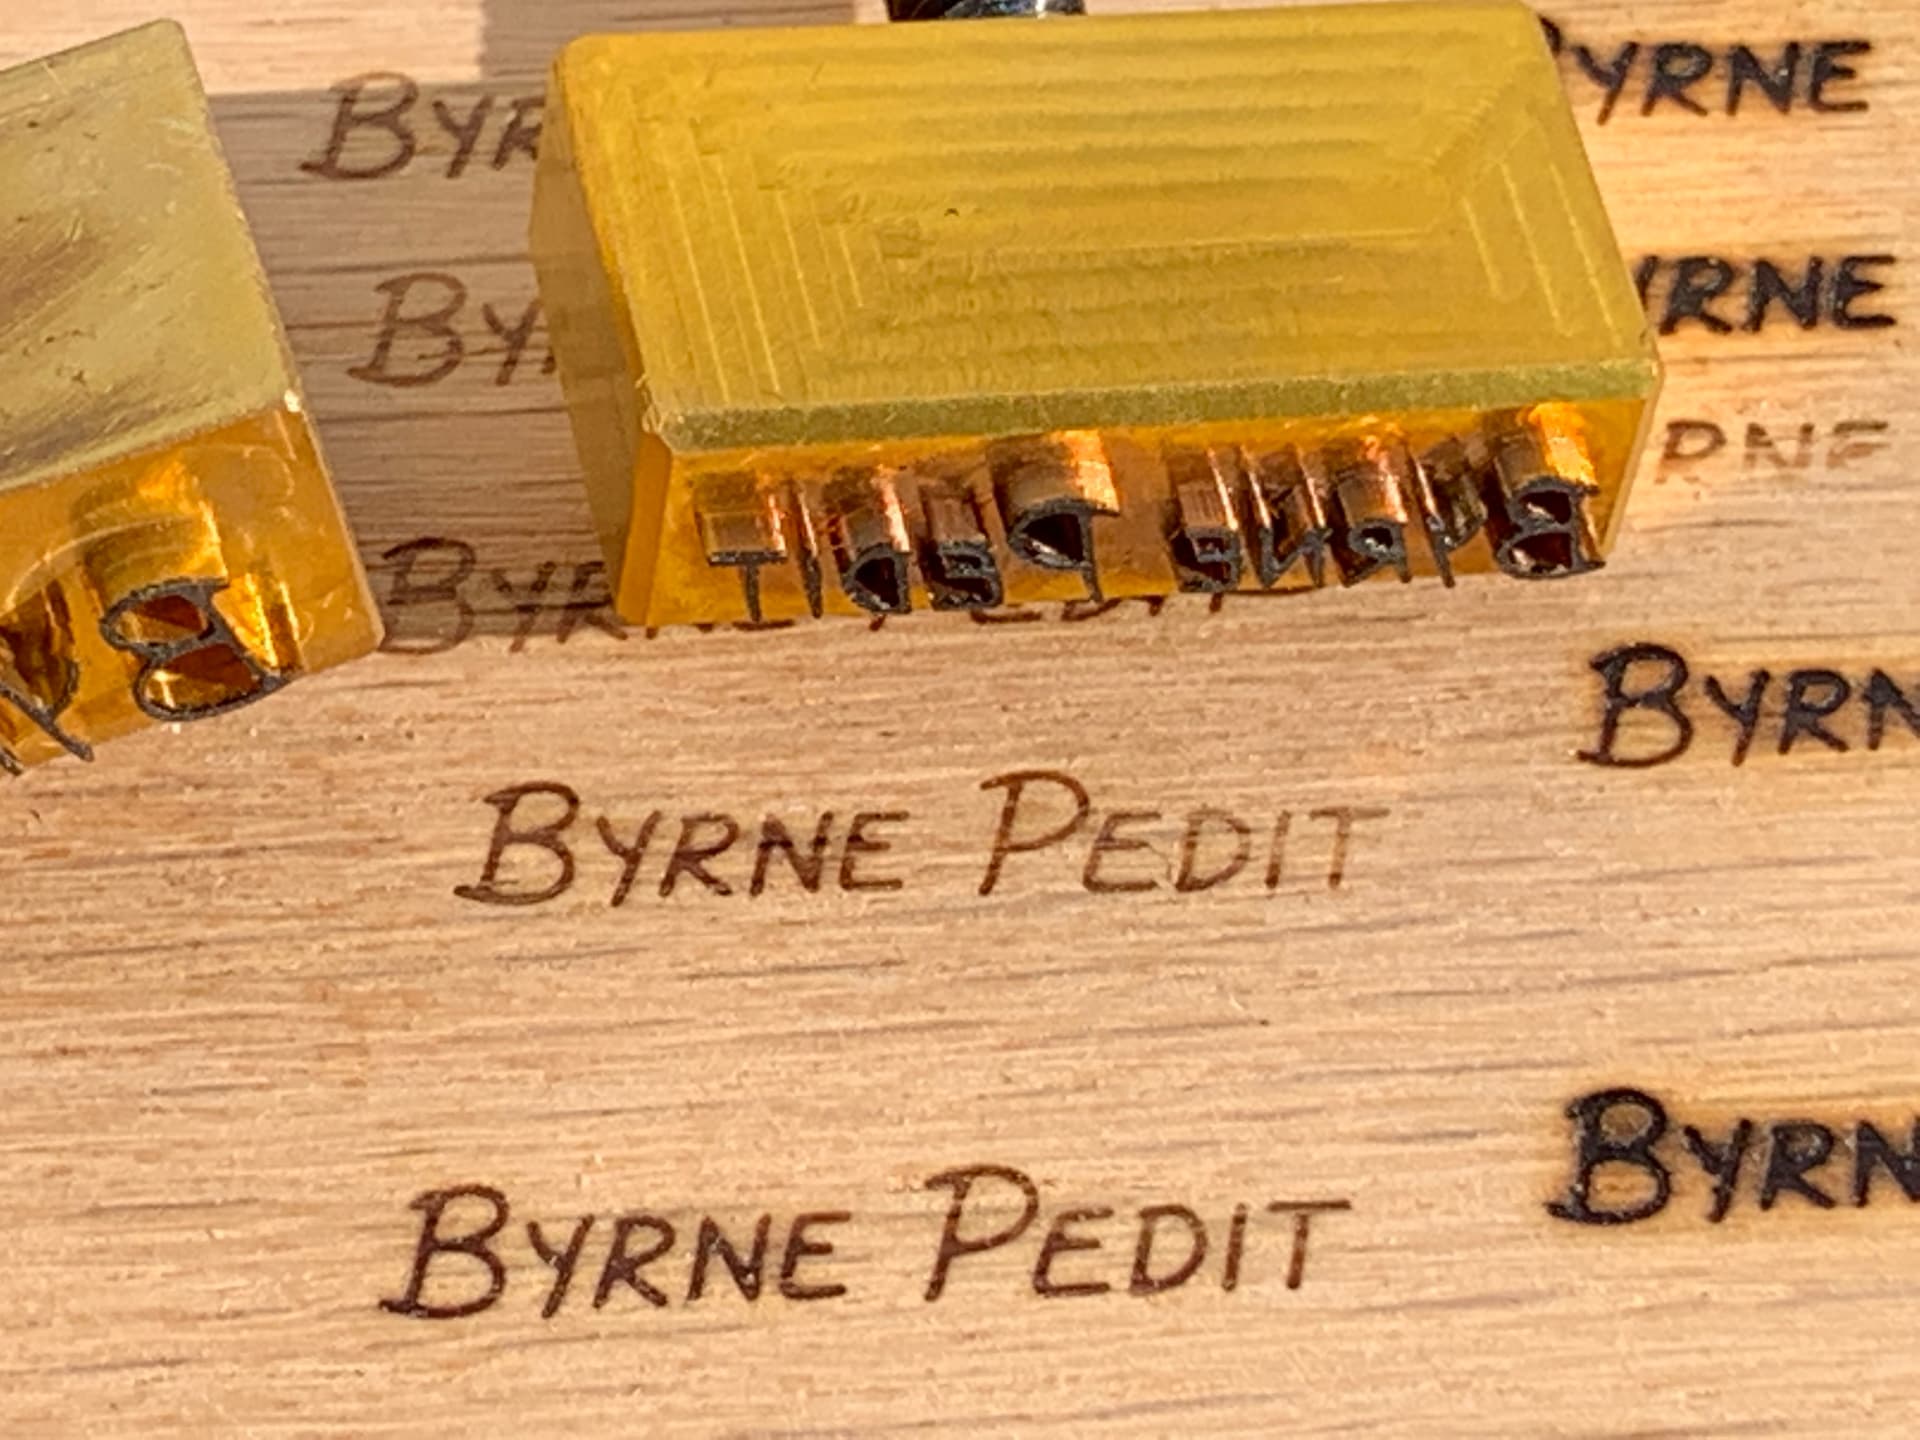
I finally made the branding iron I’ve wanted since I was a luthier. Thanks to Winston Moy for the data on feeds and speeds, the idea of reducing thermal mass and for showing it can be done. One difference for my adaptation is that it’s my signature (non-cursive).
I began by writing my signature on an iPad within a vector app. I then traced vectors over the handwriting and cleaned up the slop while preserving my style in best form. I then made the vectors a particular line width (in mm) and used the Expand Stroke function of Affinity Designer to yield an outside and an inside line to the text.
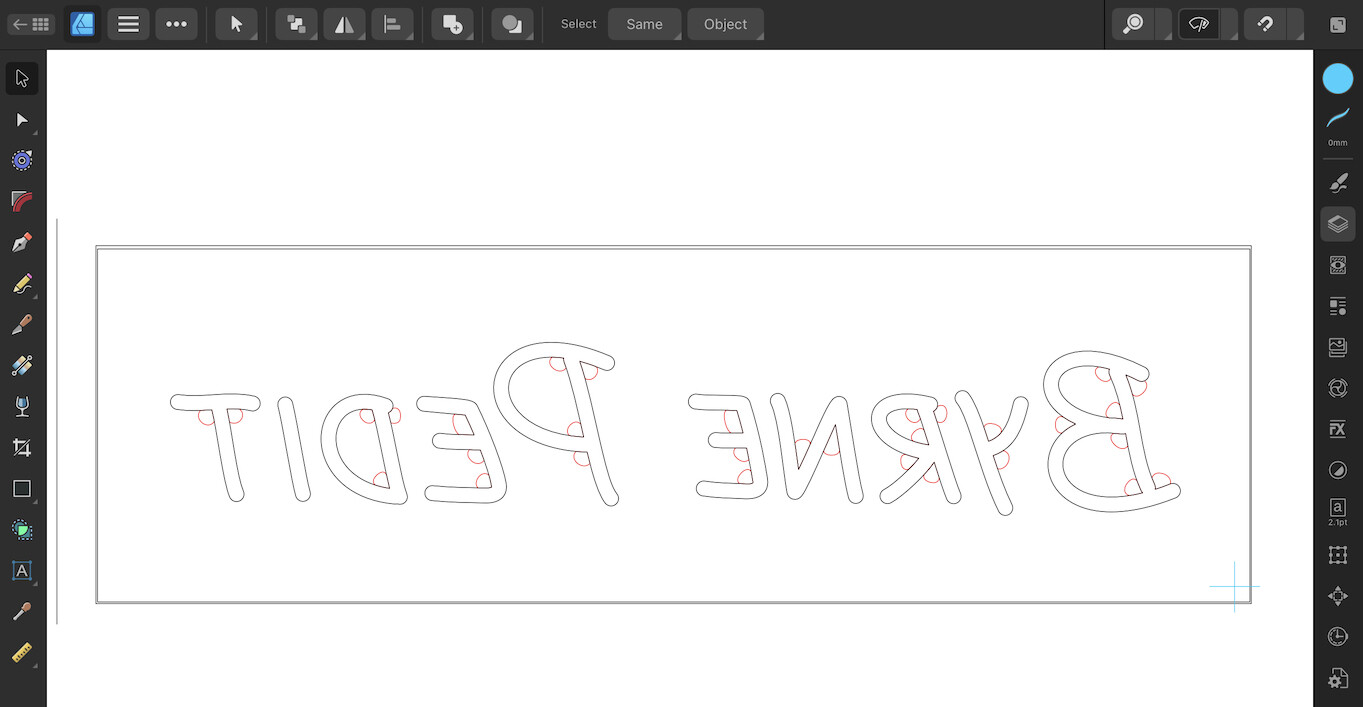
The little red pockets are for the last pass, sharpening corners. Due to hardware restrictions I’m unable to run on of the newer CC iterations with the automated version of this, I forget the term.
The first iteration, in 360 brass, turned out useable but too large (far left in pic). The one pictured in the center and used for the test burns is 28.5 mm wide. All bits used were standard end mills ranging from 3.175 mm (1/8") down to 0.381 mm for the final entire profile plus a 0.254 mm for cleaning up the sharp corners. That last bit was slow going with a DOC of 0.060 mm. Except for the last bit, the total depth of the lettering is 1.80 mm.
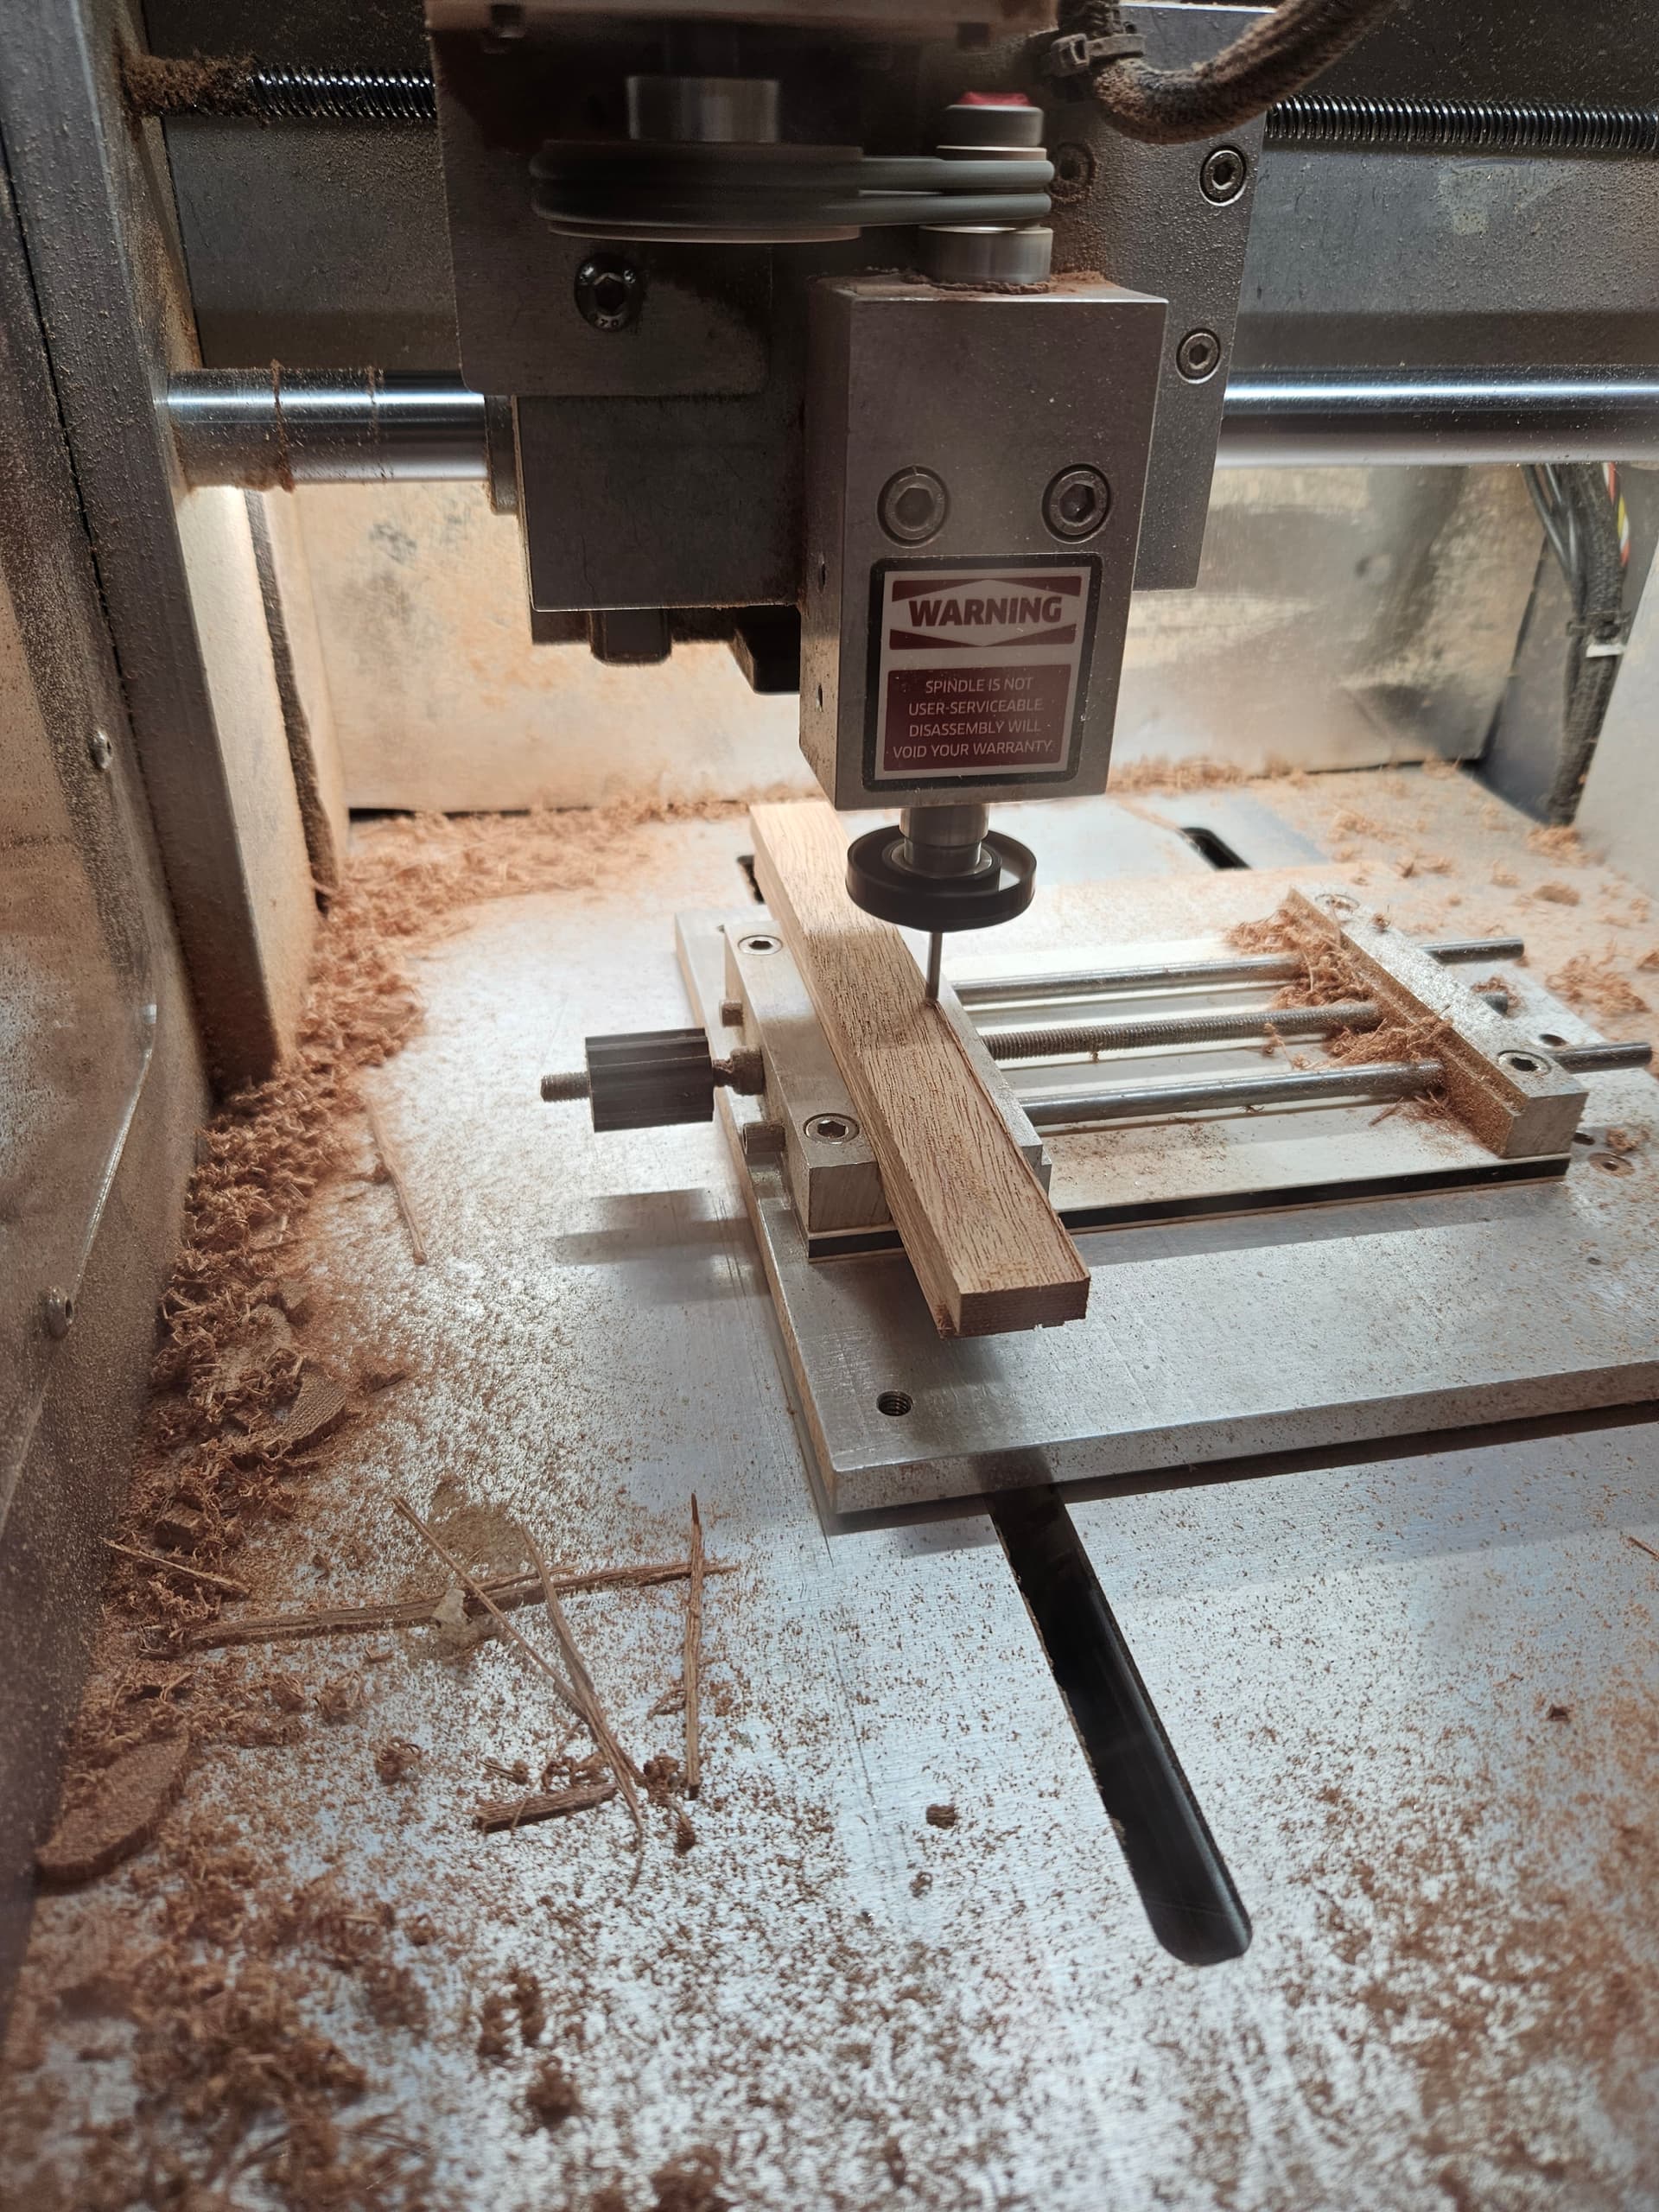
I spent a couple days deliberating and window shopping for vices, not something I generally need for my MO. I finally ended up making the following for $4 worth of T-nuts and screws and some oak cutoffs. It works great for this particular task.
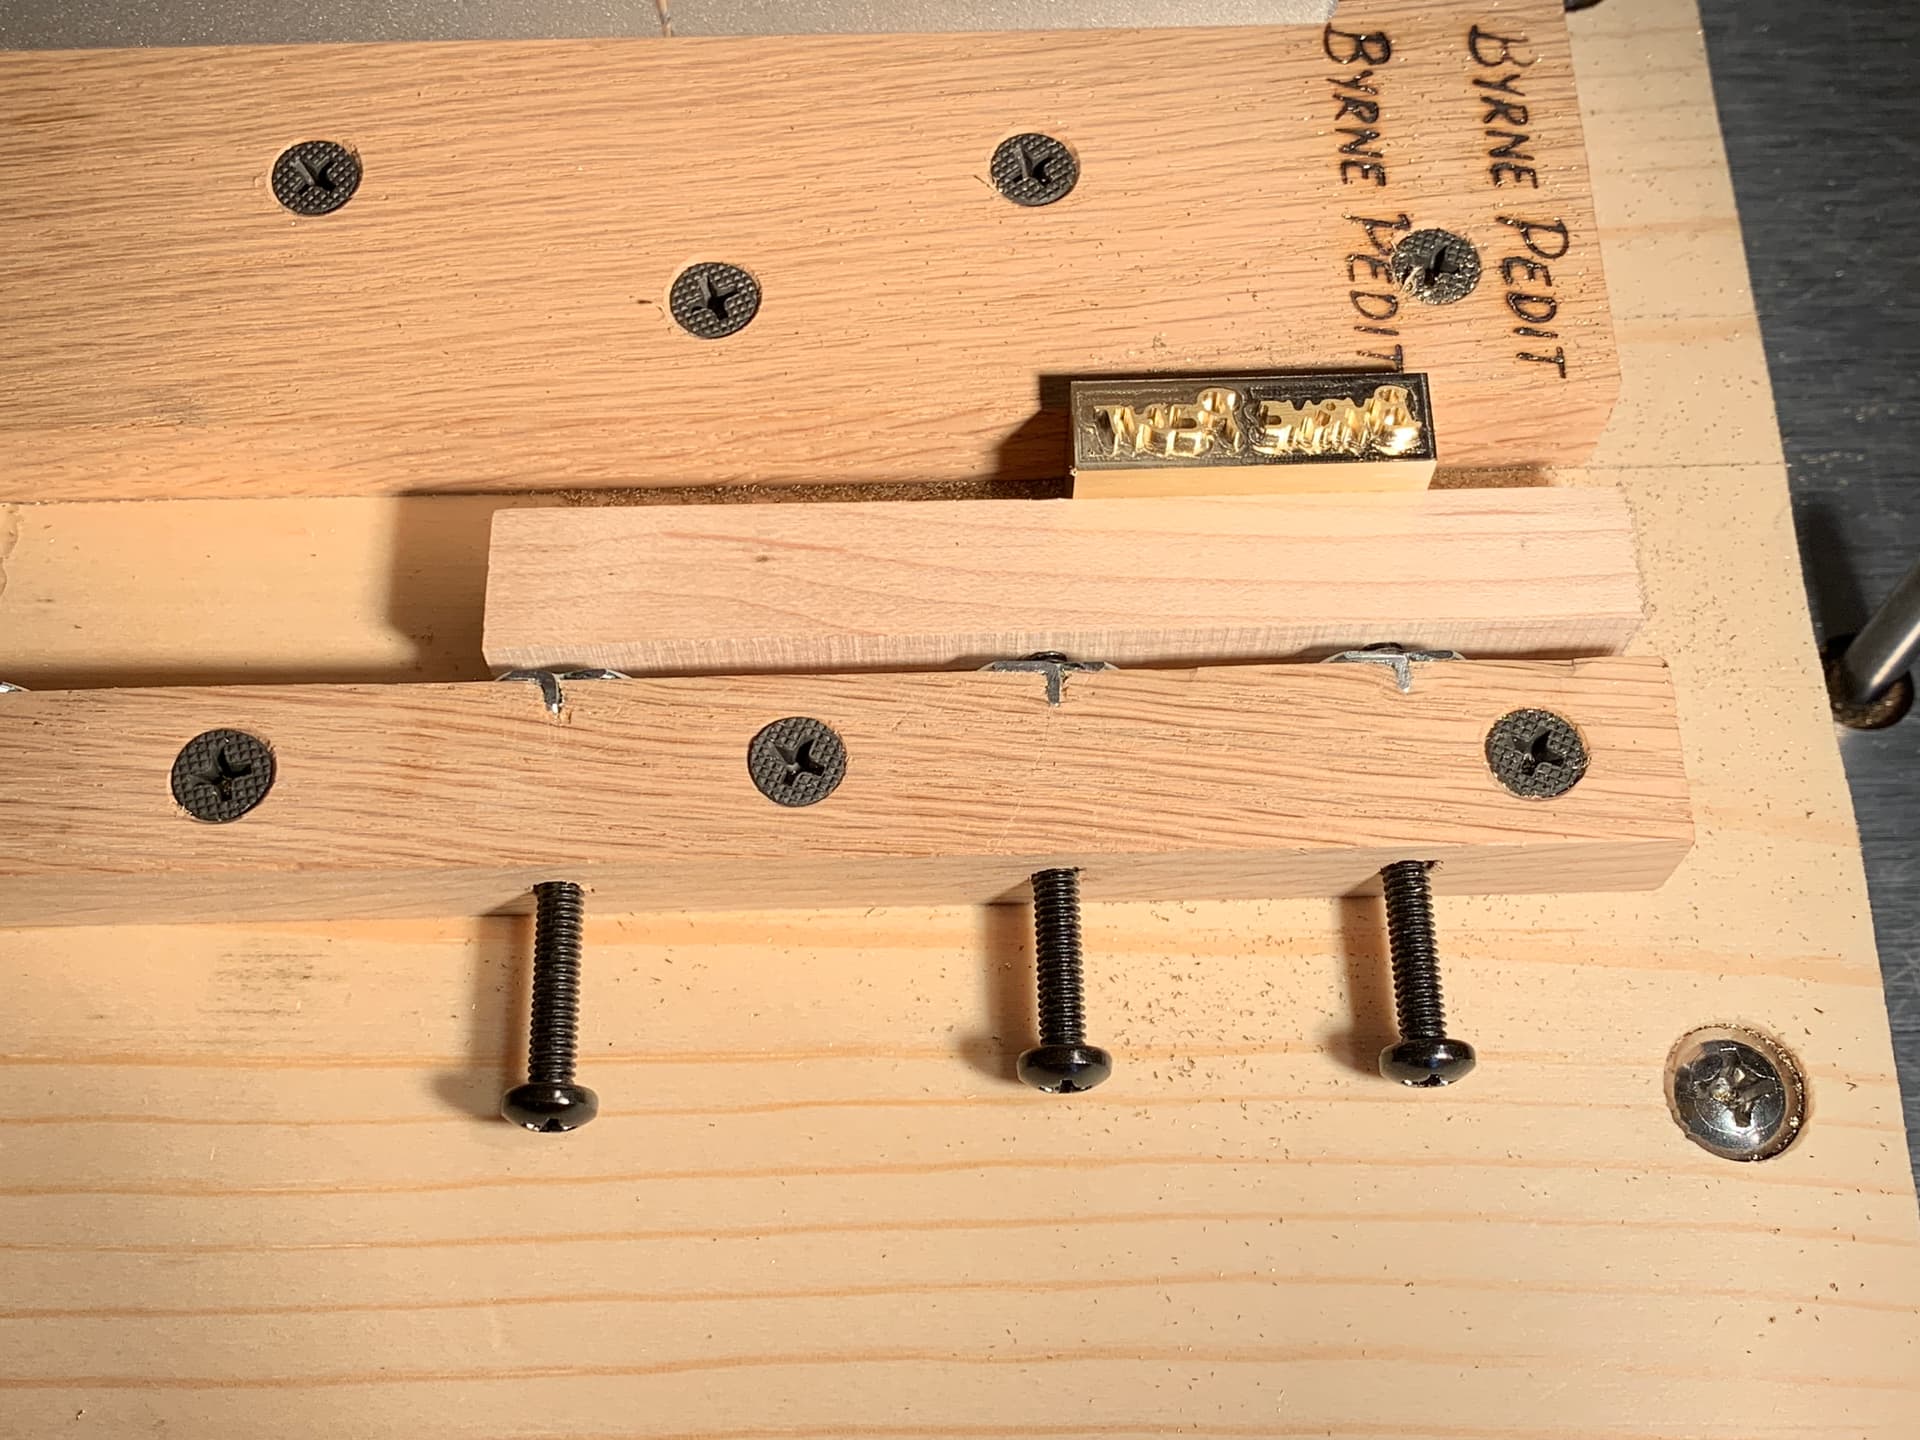
Cutting brass is fun, so much more predictable than wood with its grain irregularities for using small bits. I’m trying to think if any of my friends need a branding iron.
22 Likes
That looks good. A friend had a custom made branding iron but had trouble with getting an even burn. I suggested he make a box to go around the branding iron to get the brand placed correctly and brand evenly. He made one and his branding improved.
1 Like
It’s called a noodle board because it’s big enough to roll out a bunch of dough the cut into noodles… it’s an Italian thing if you call it a pasta board!