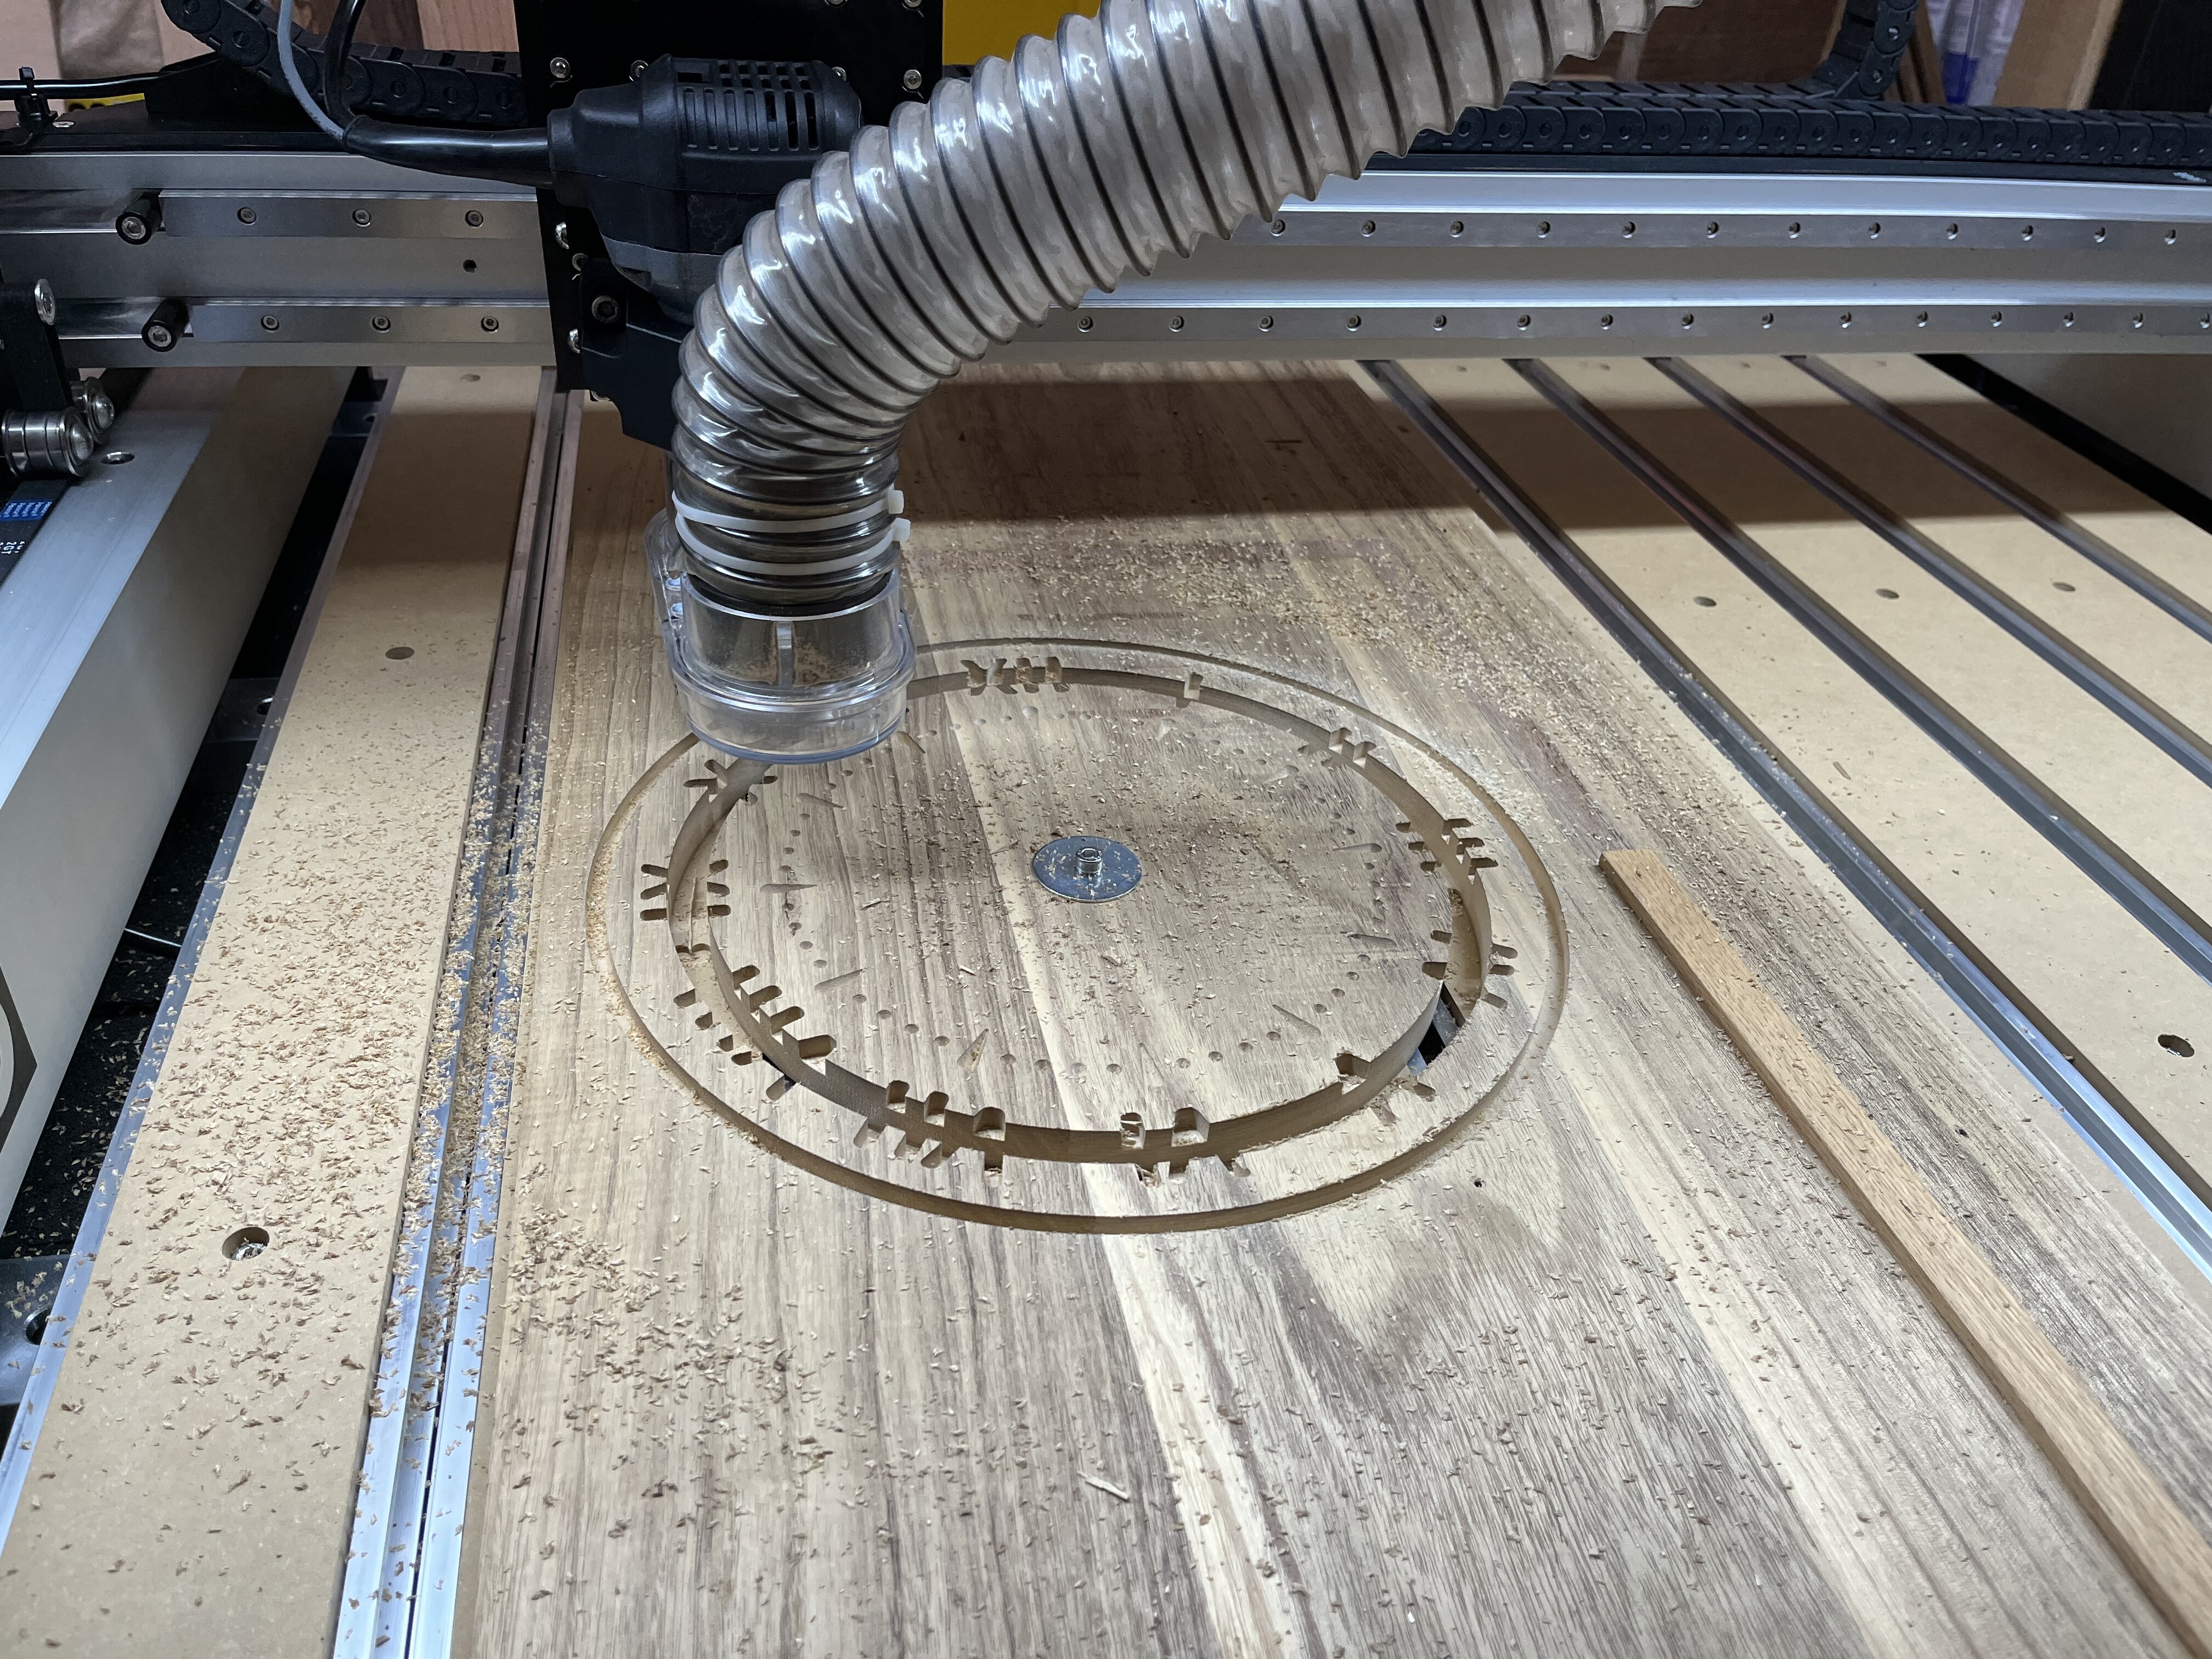
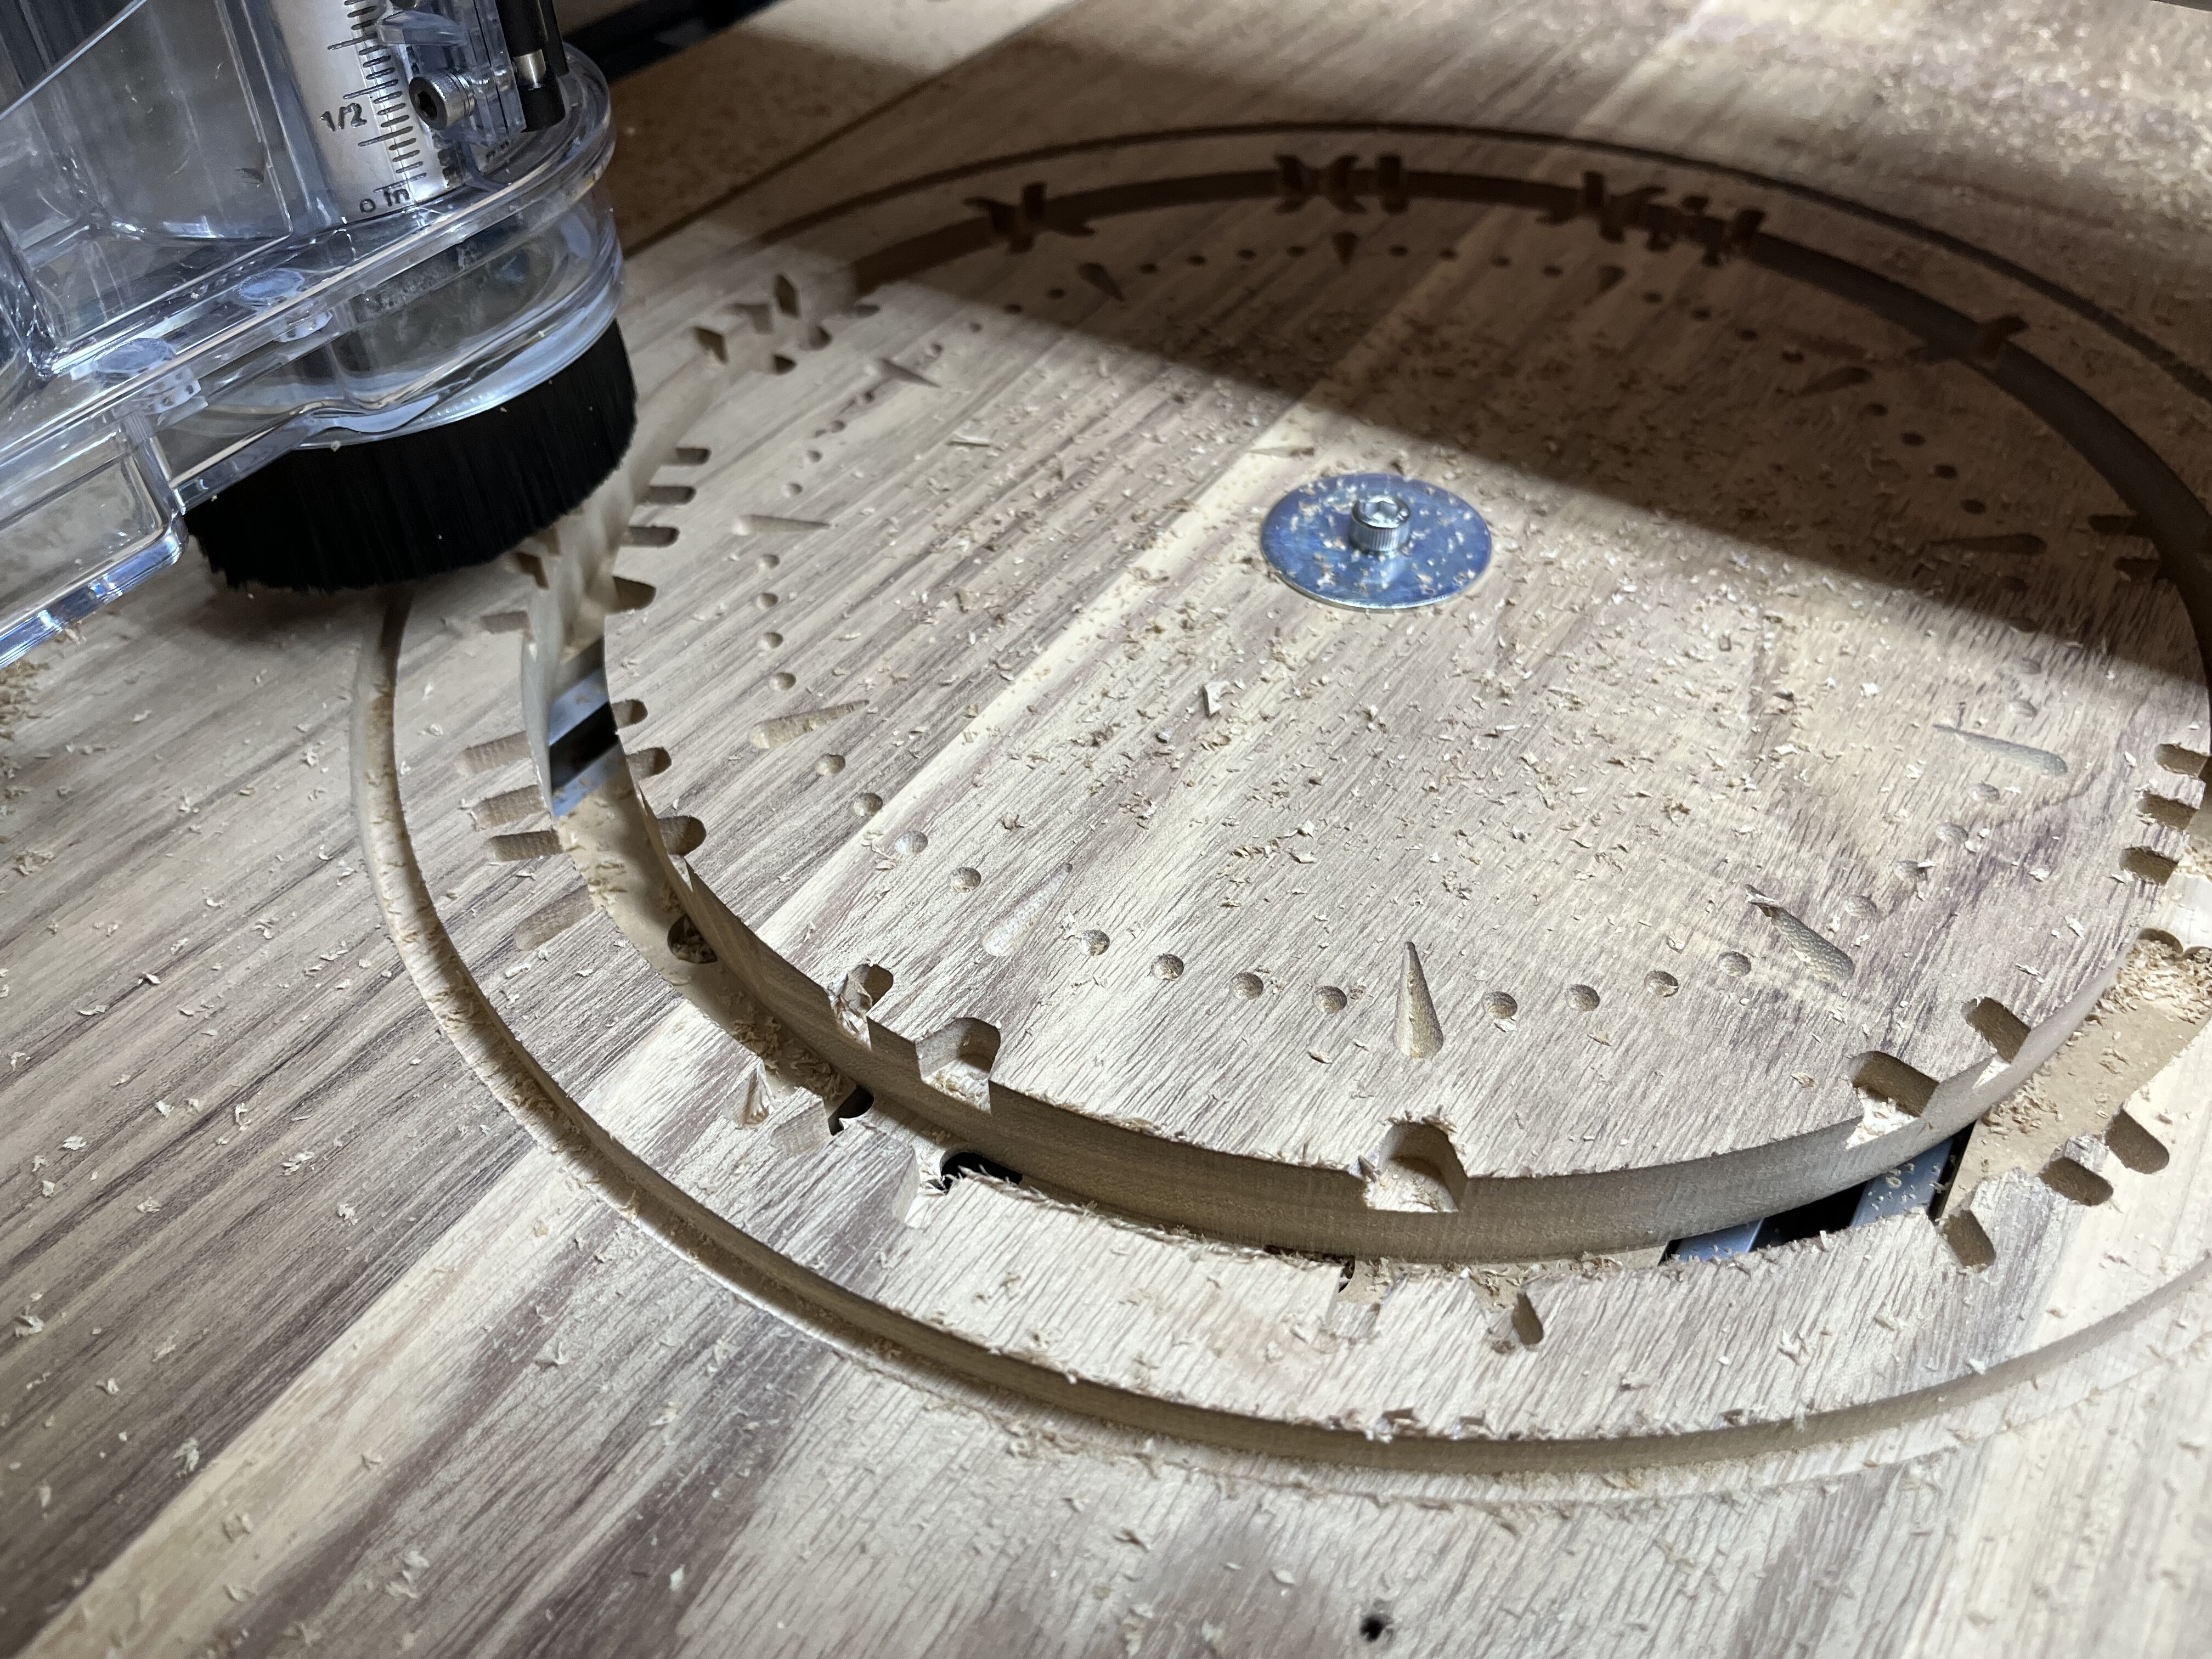
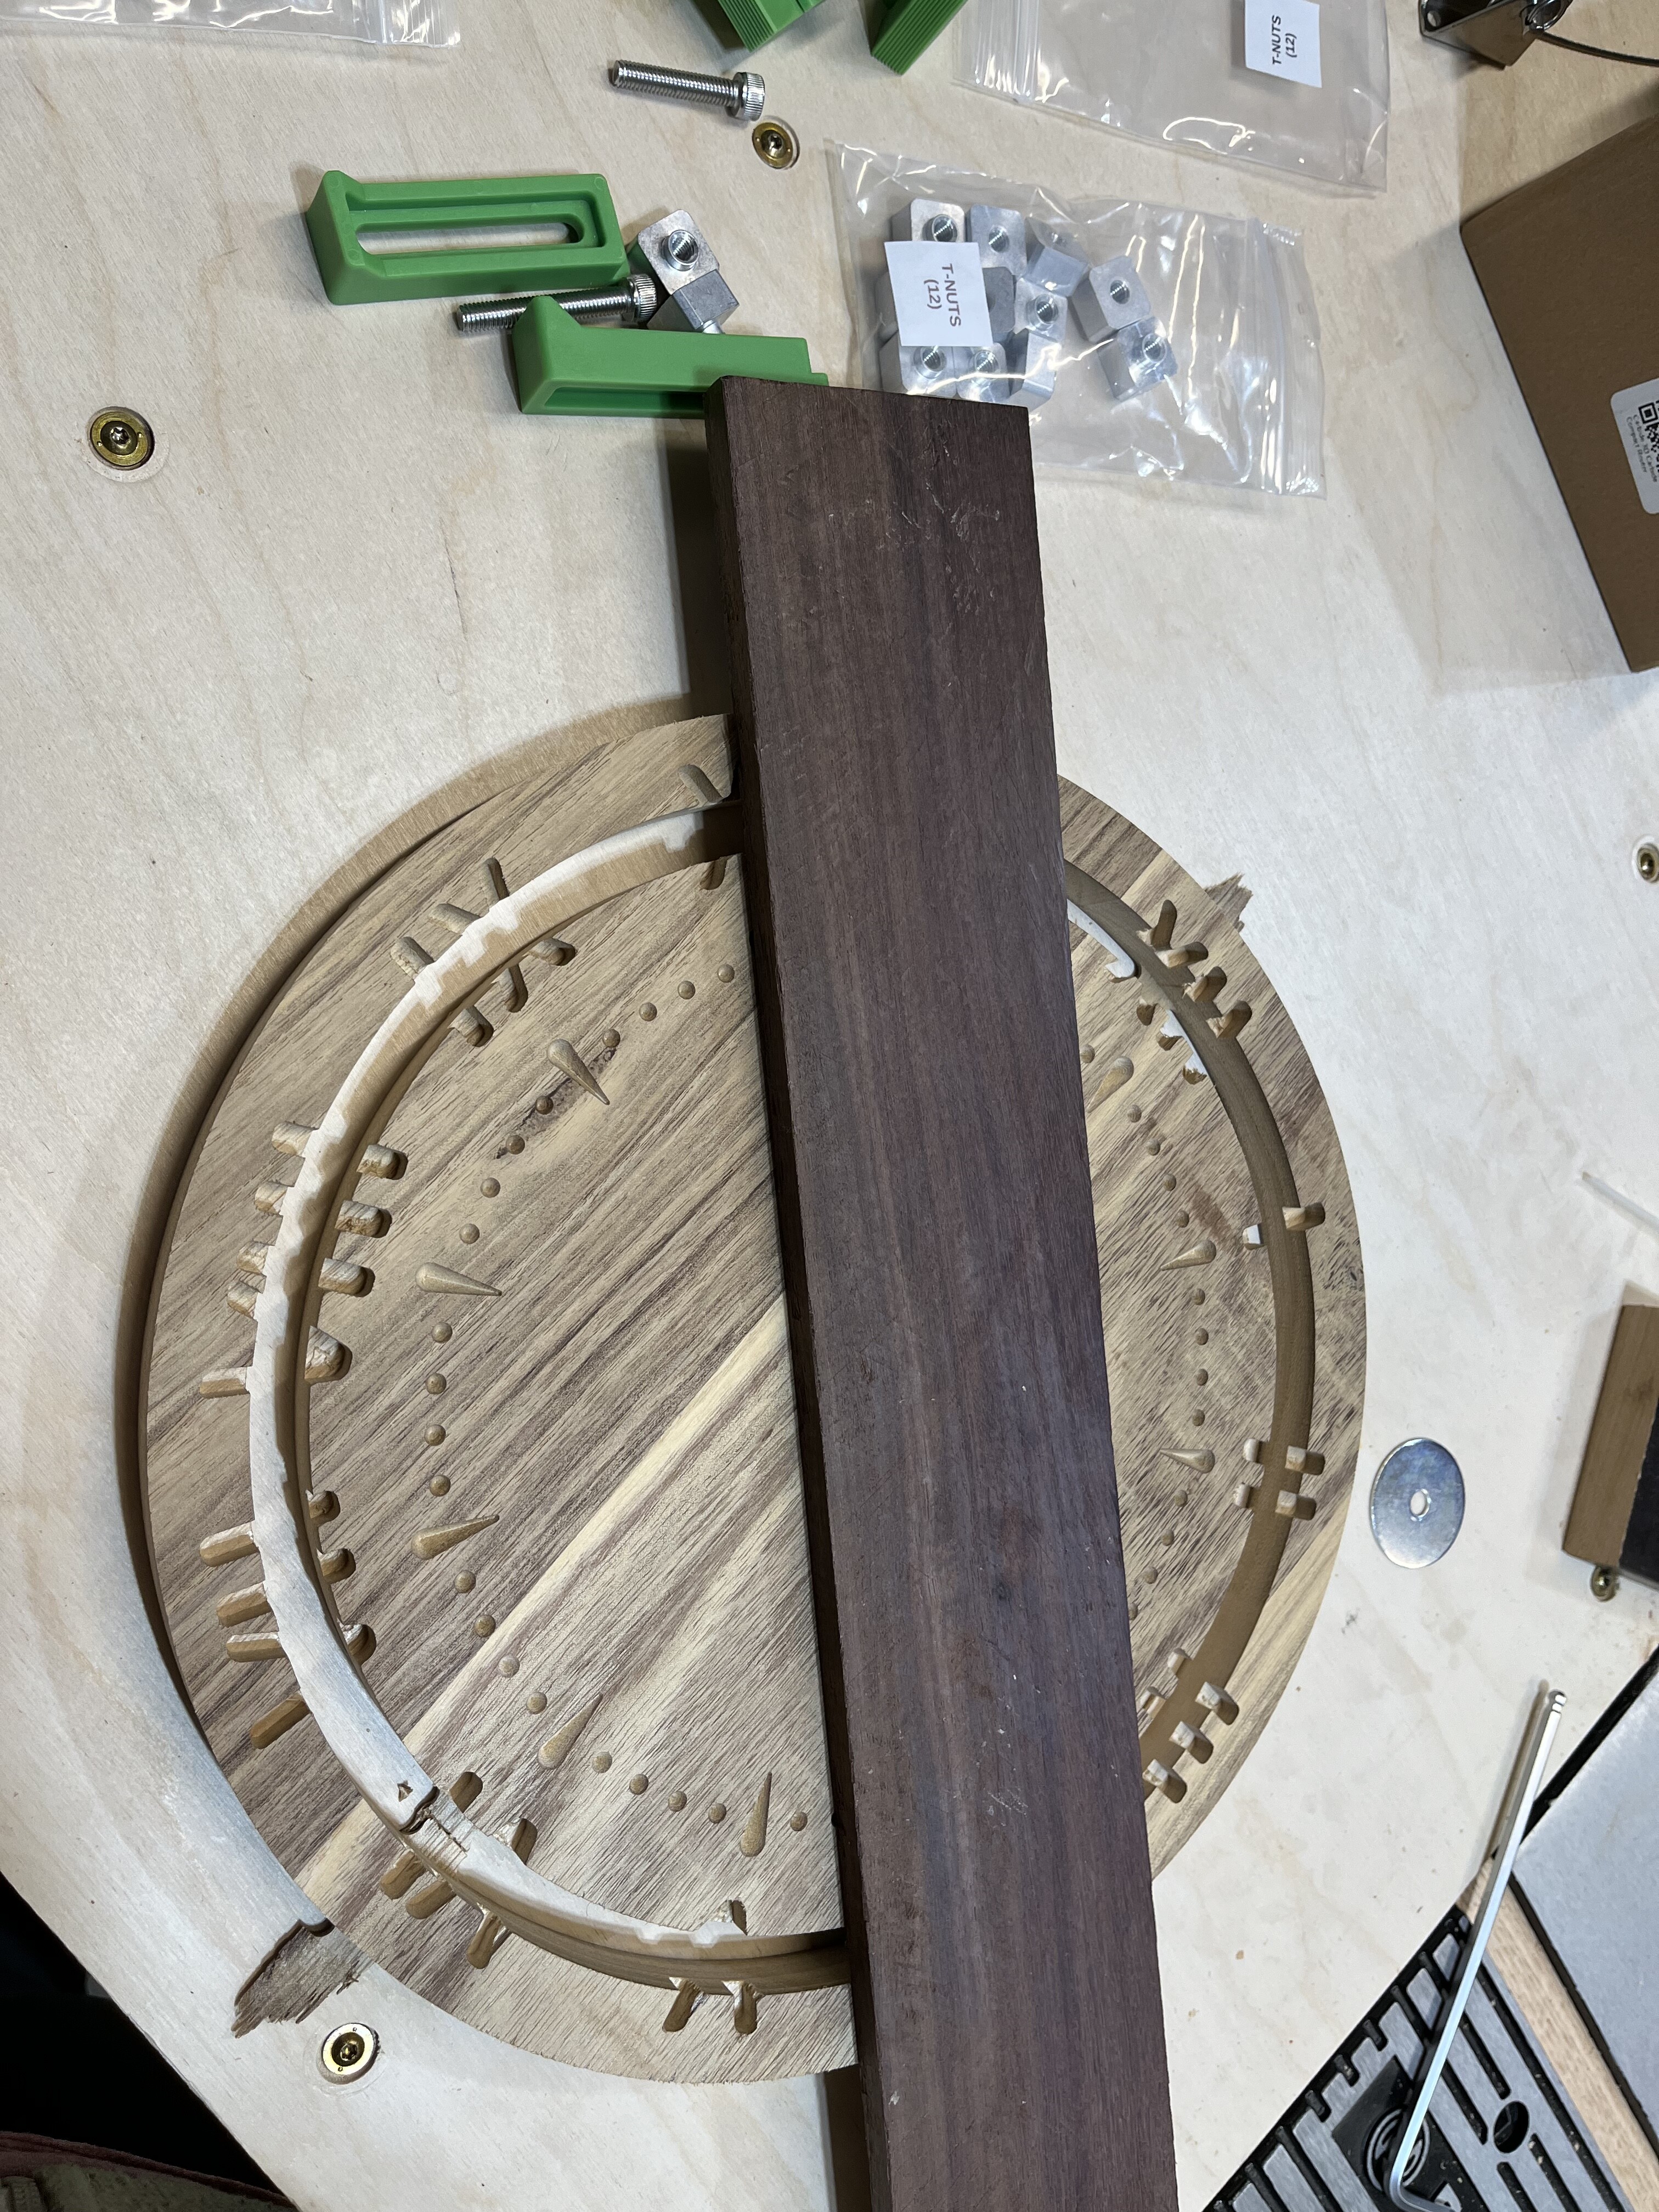
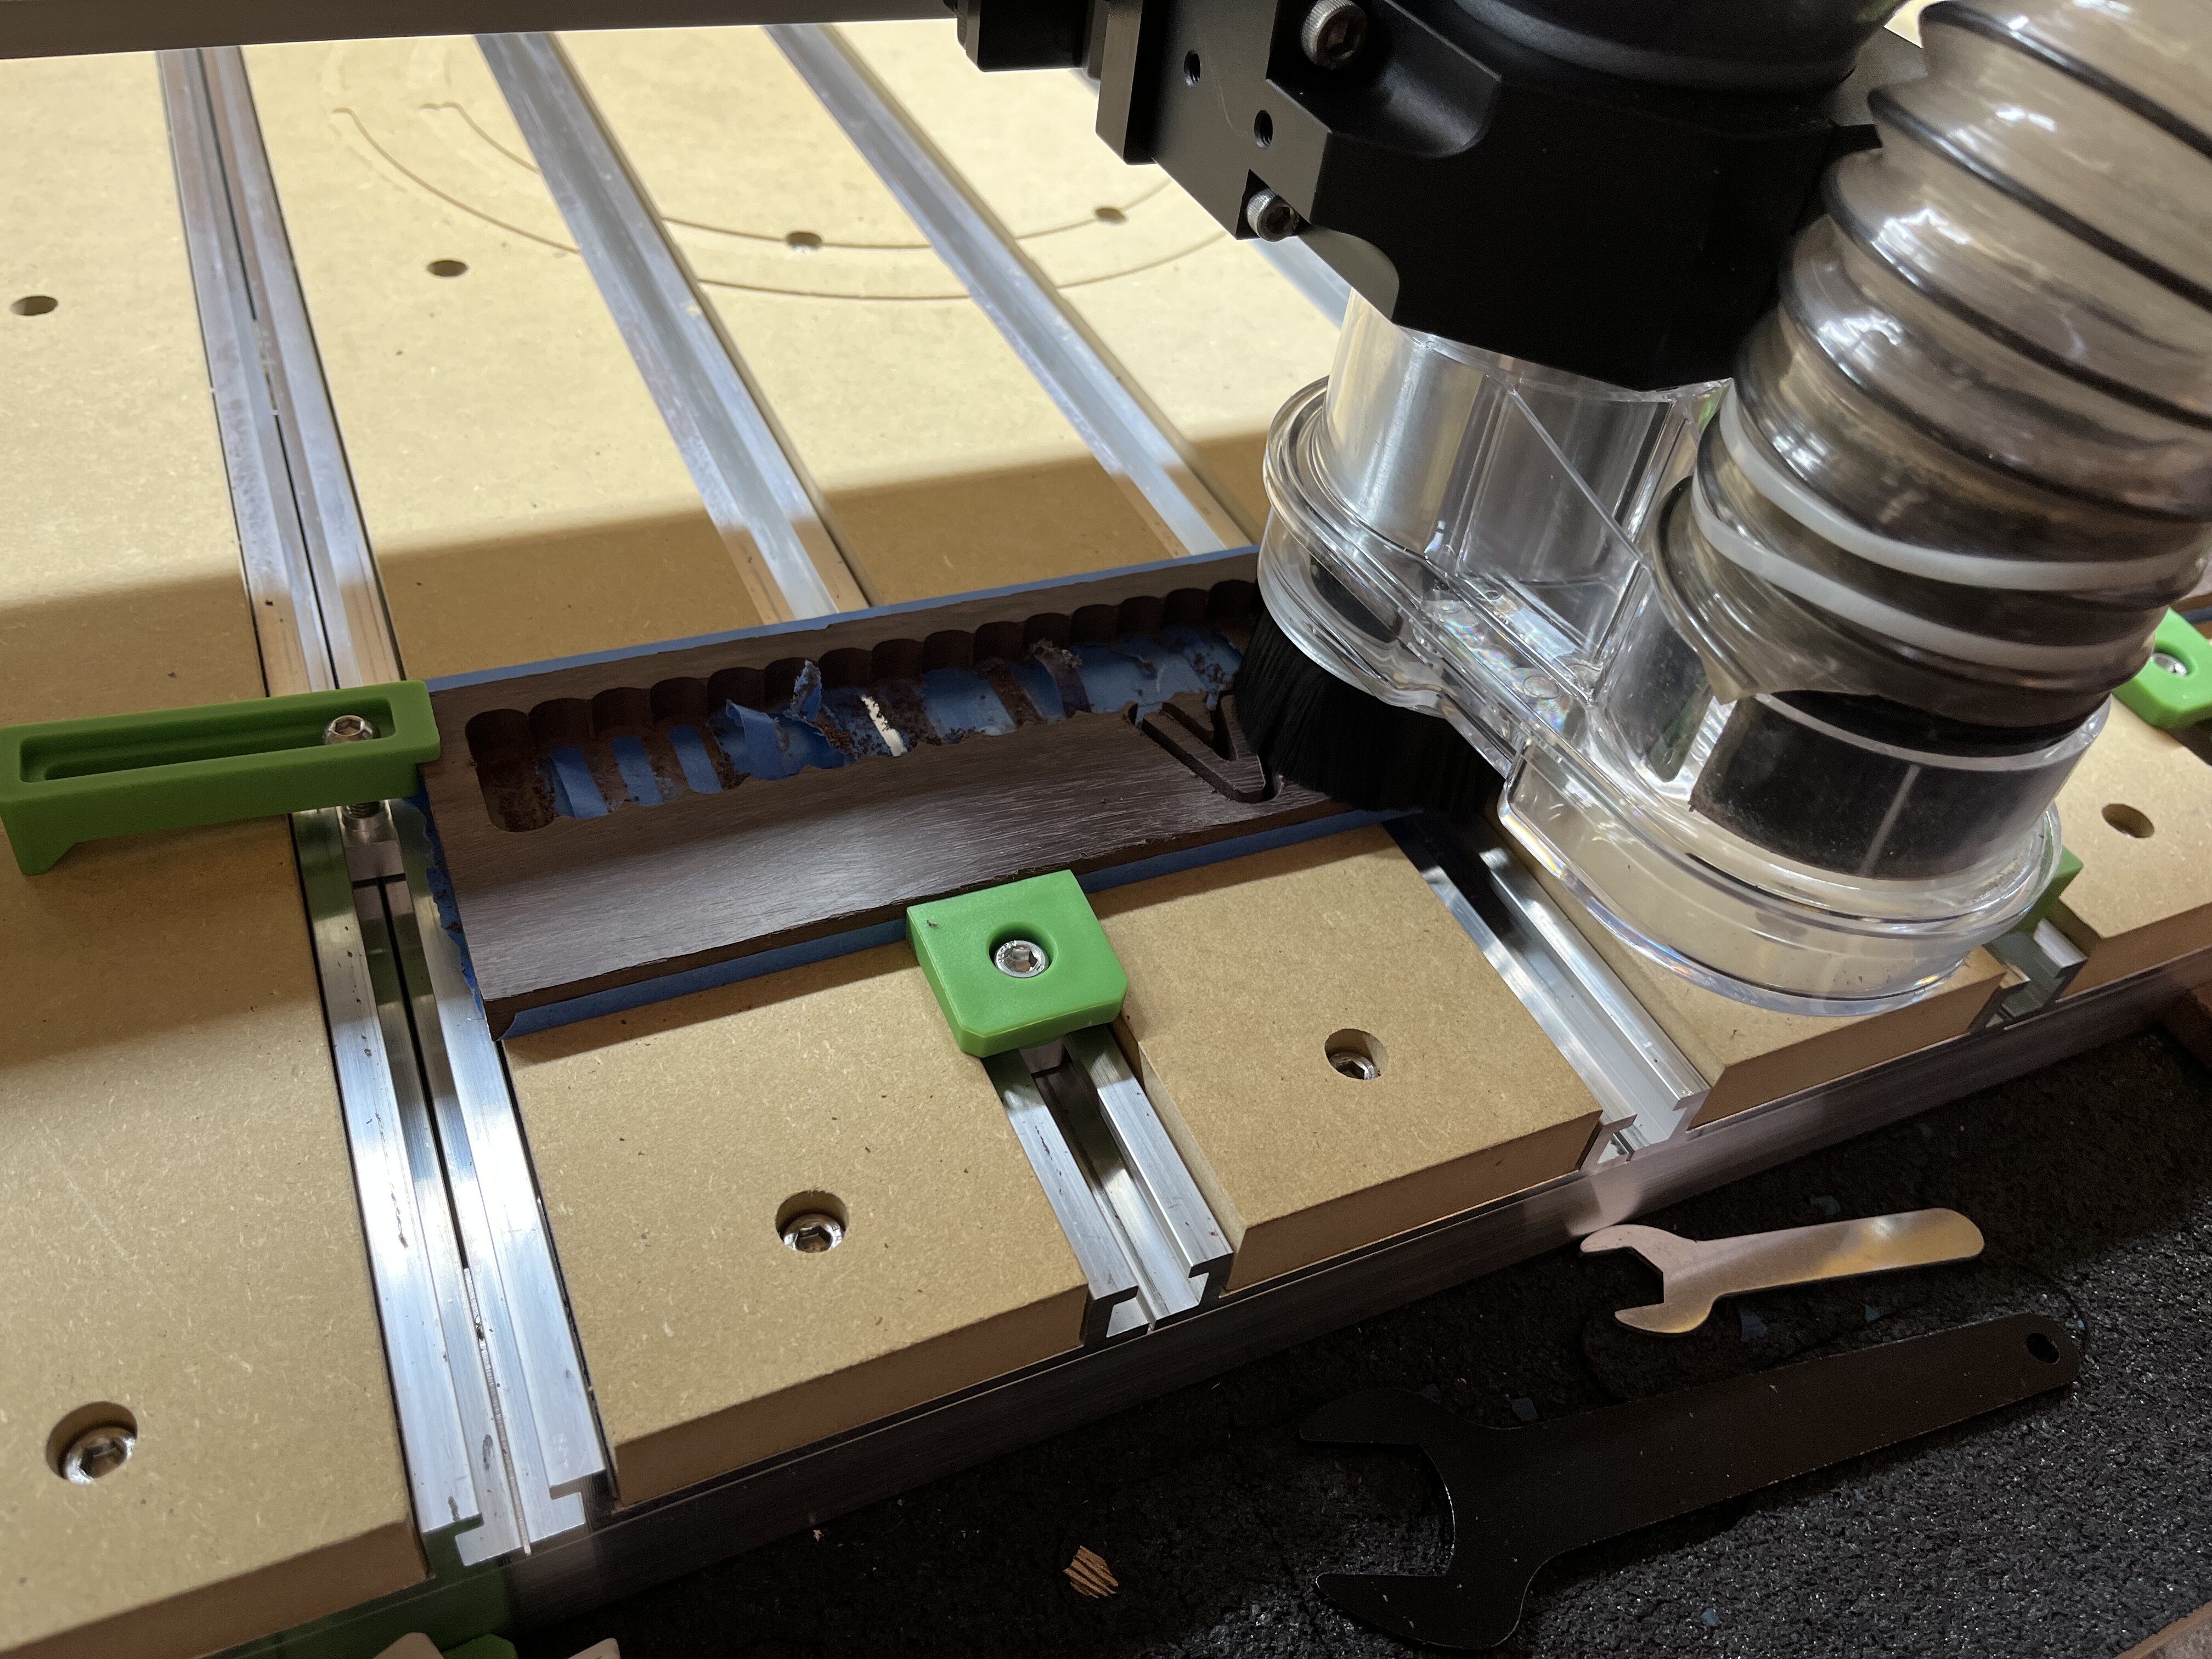
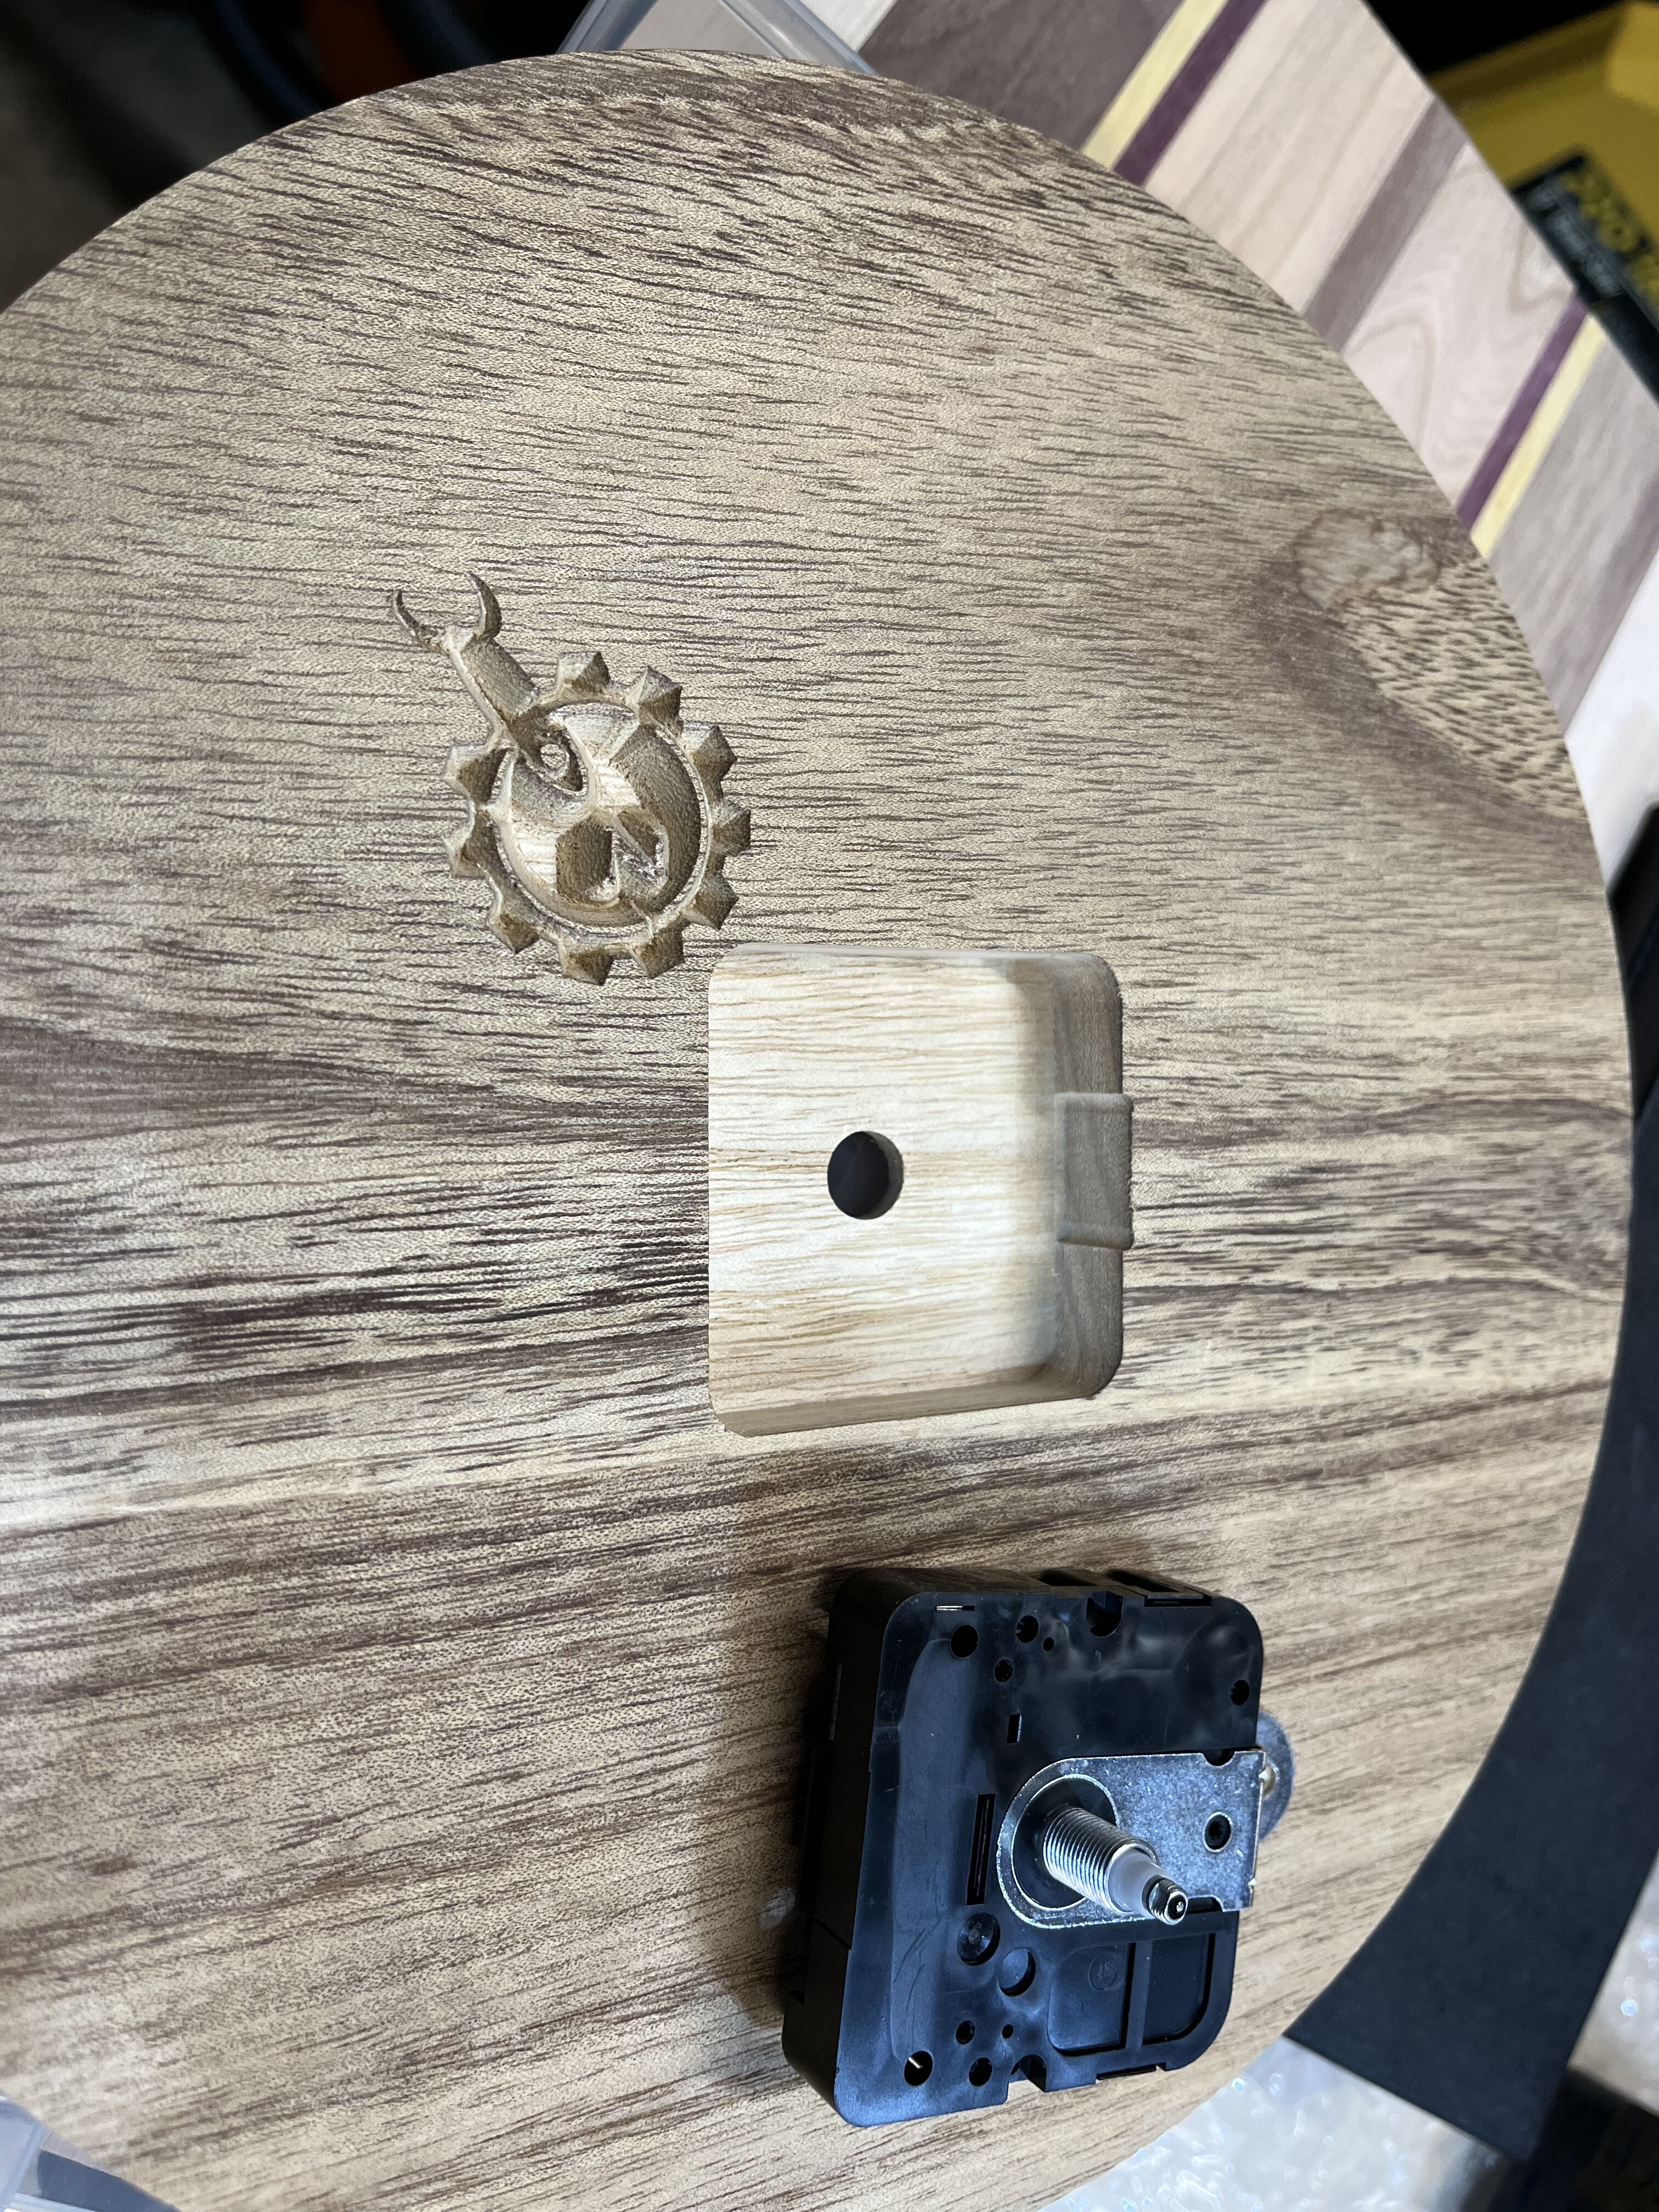
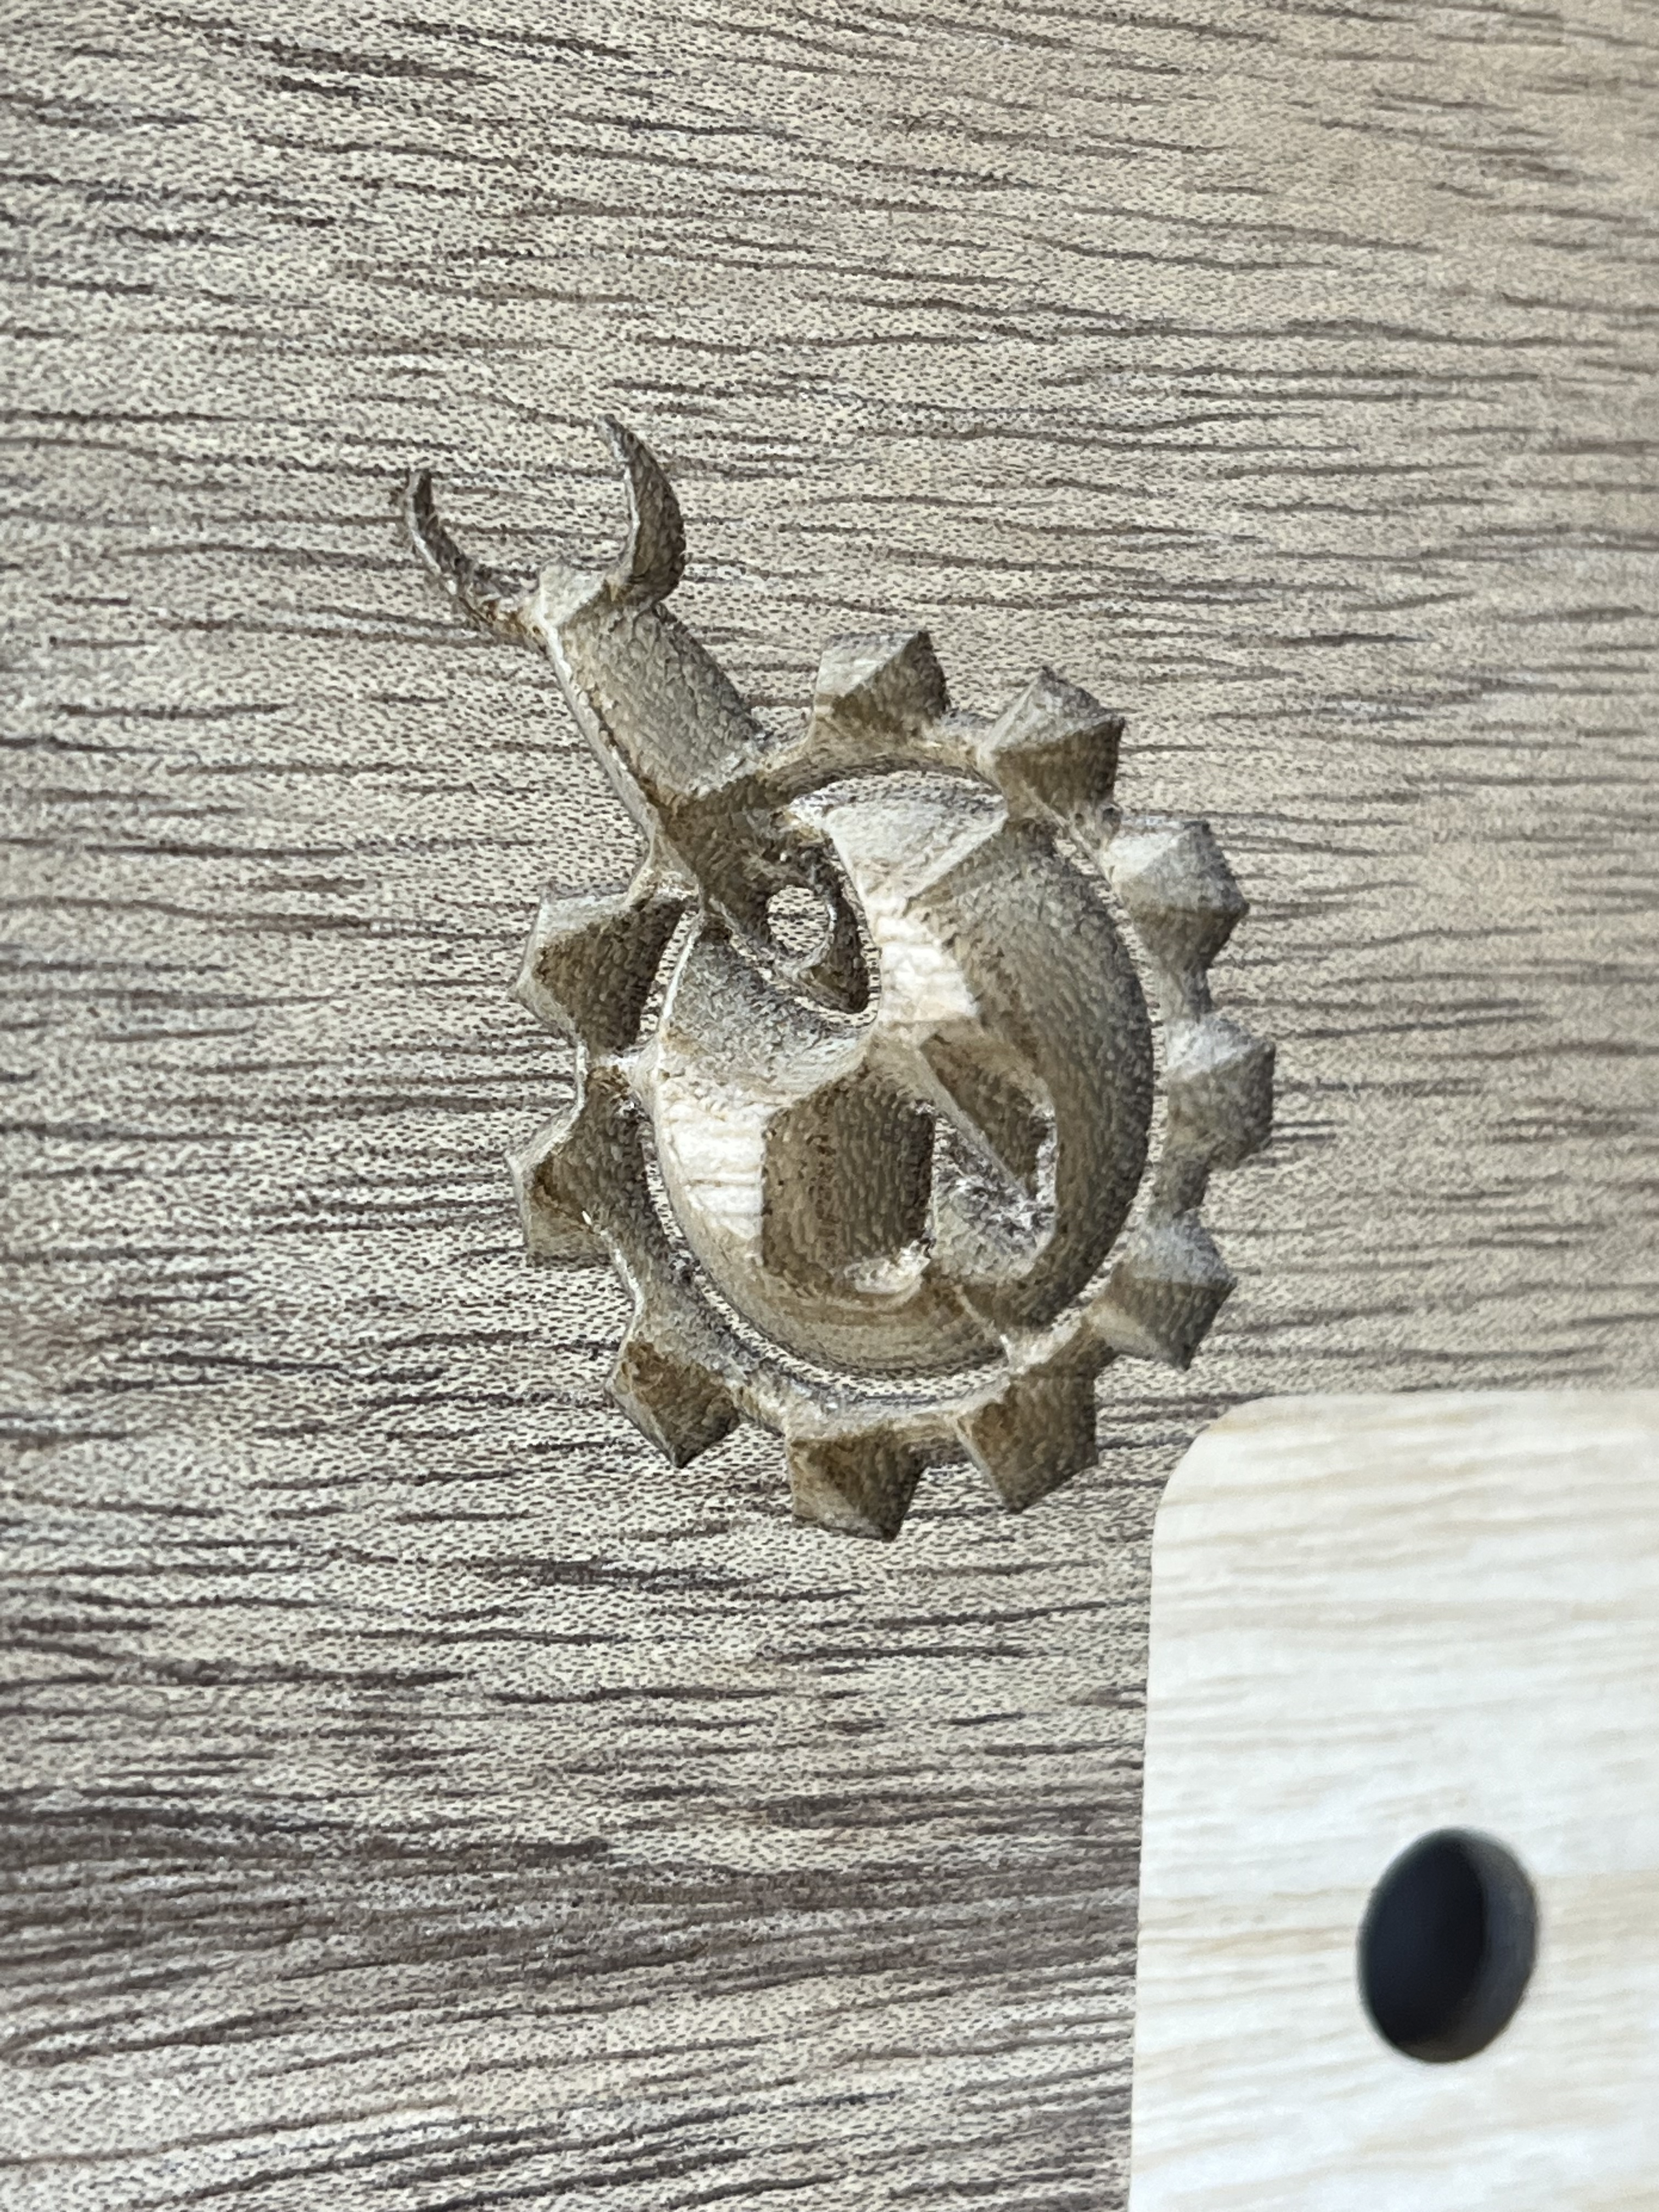
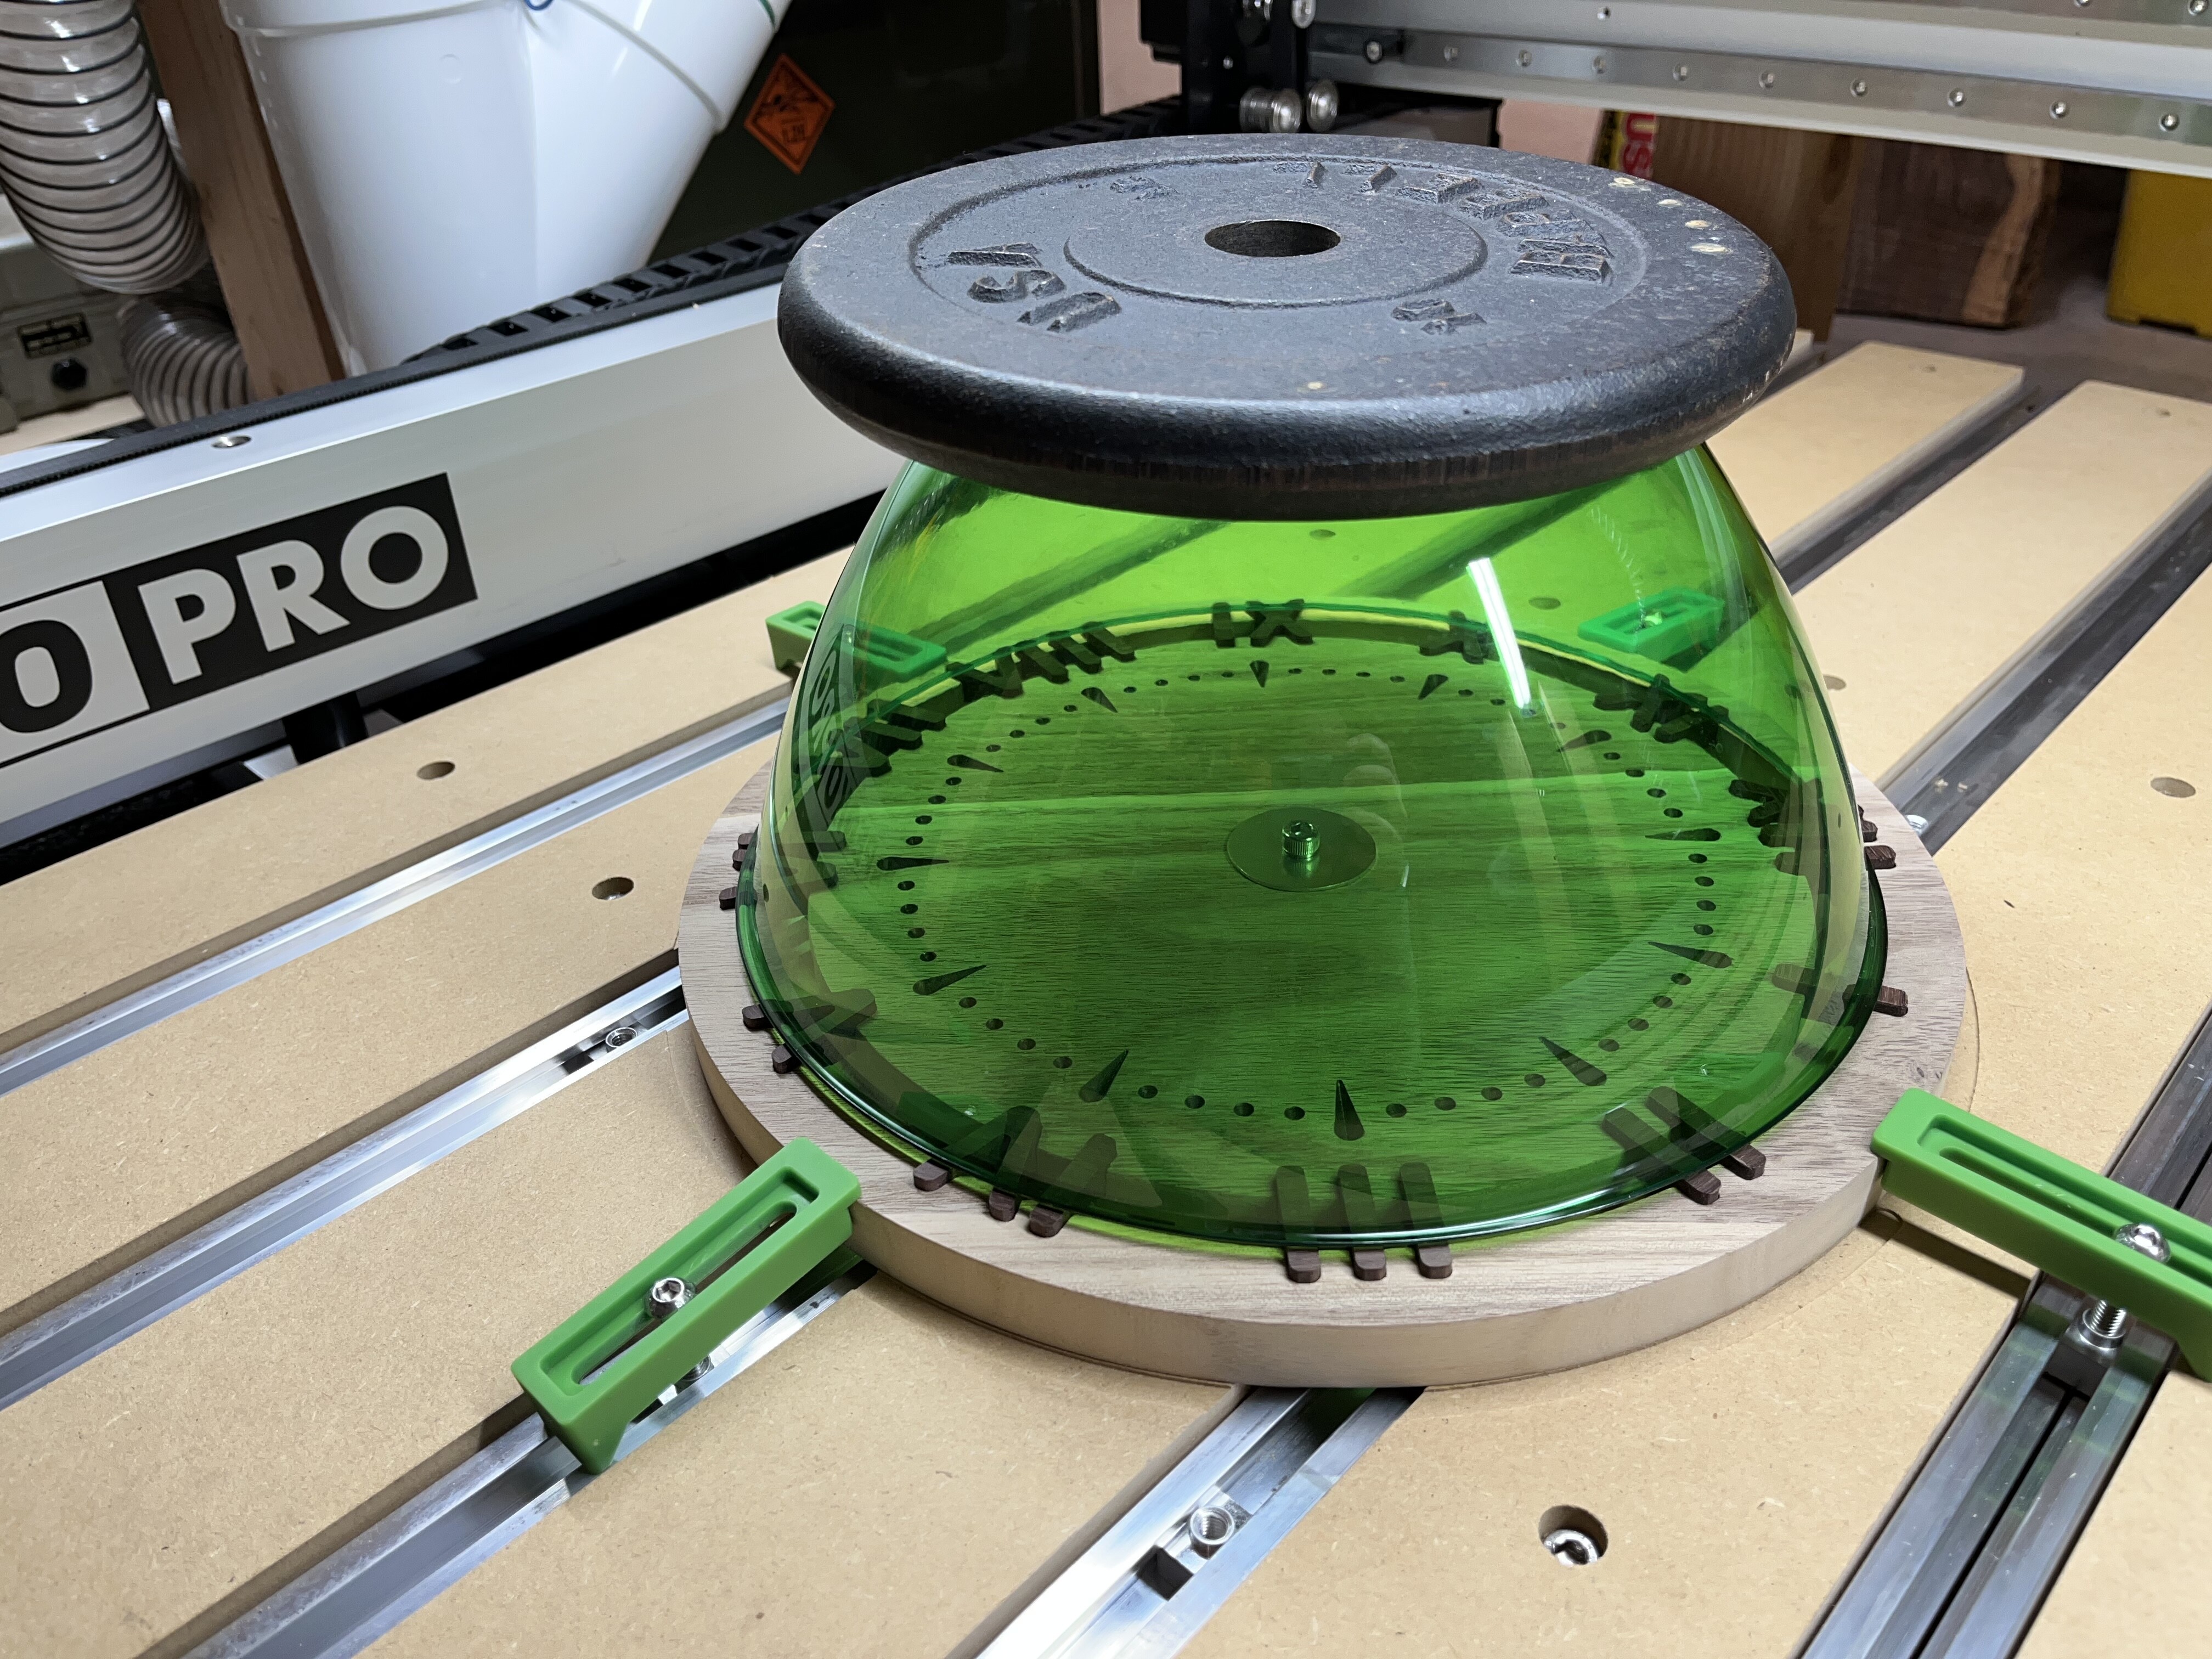
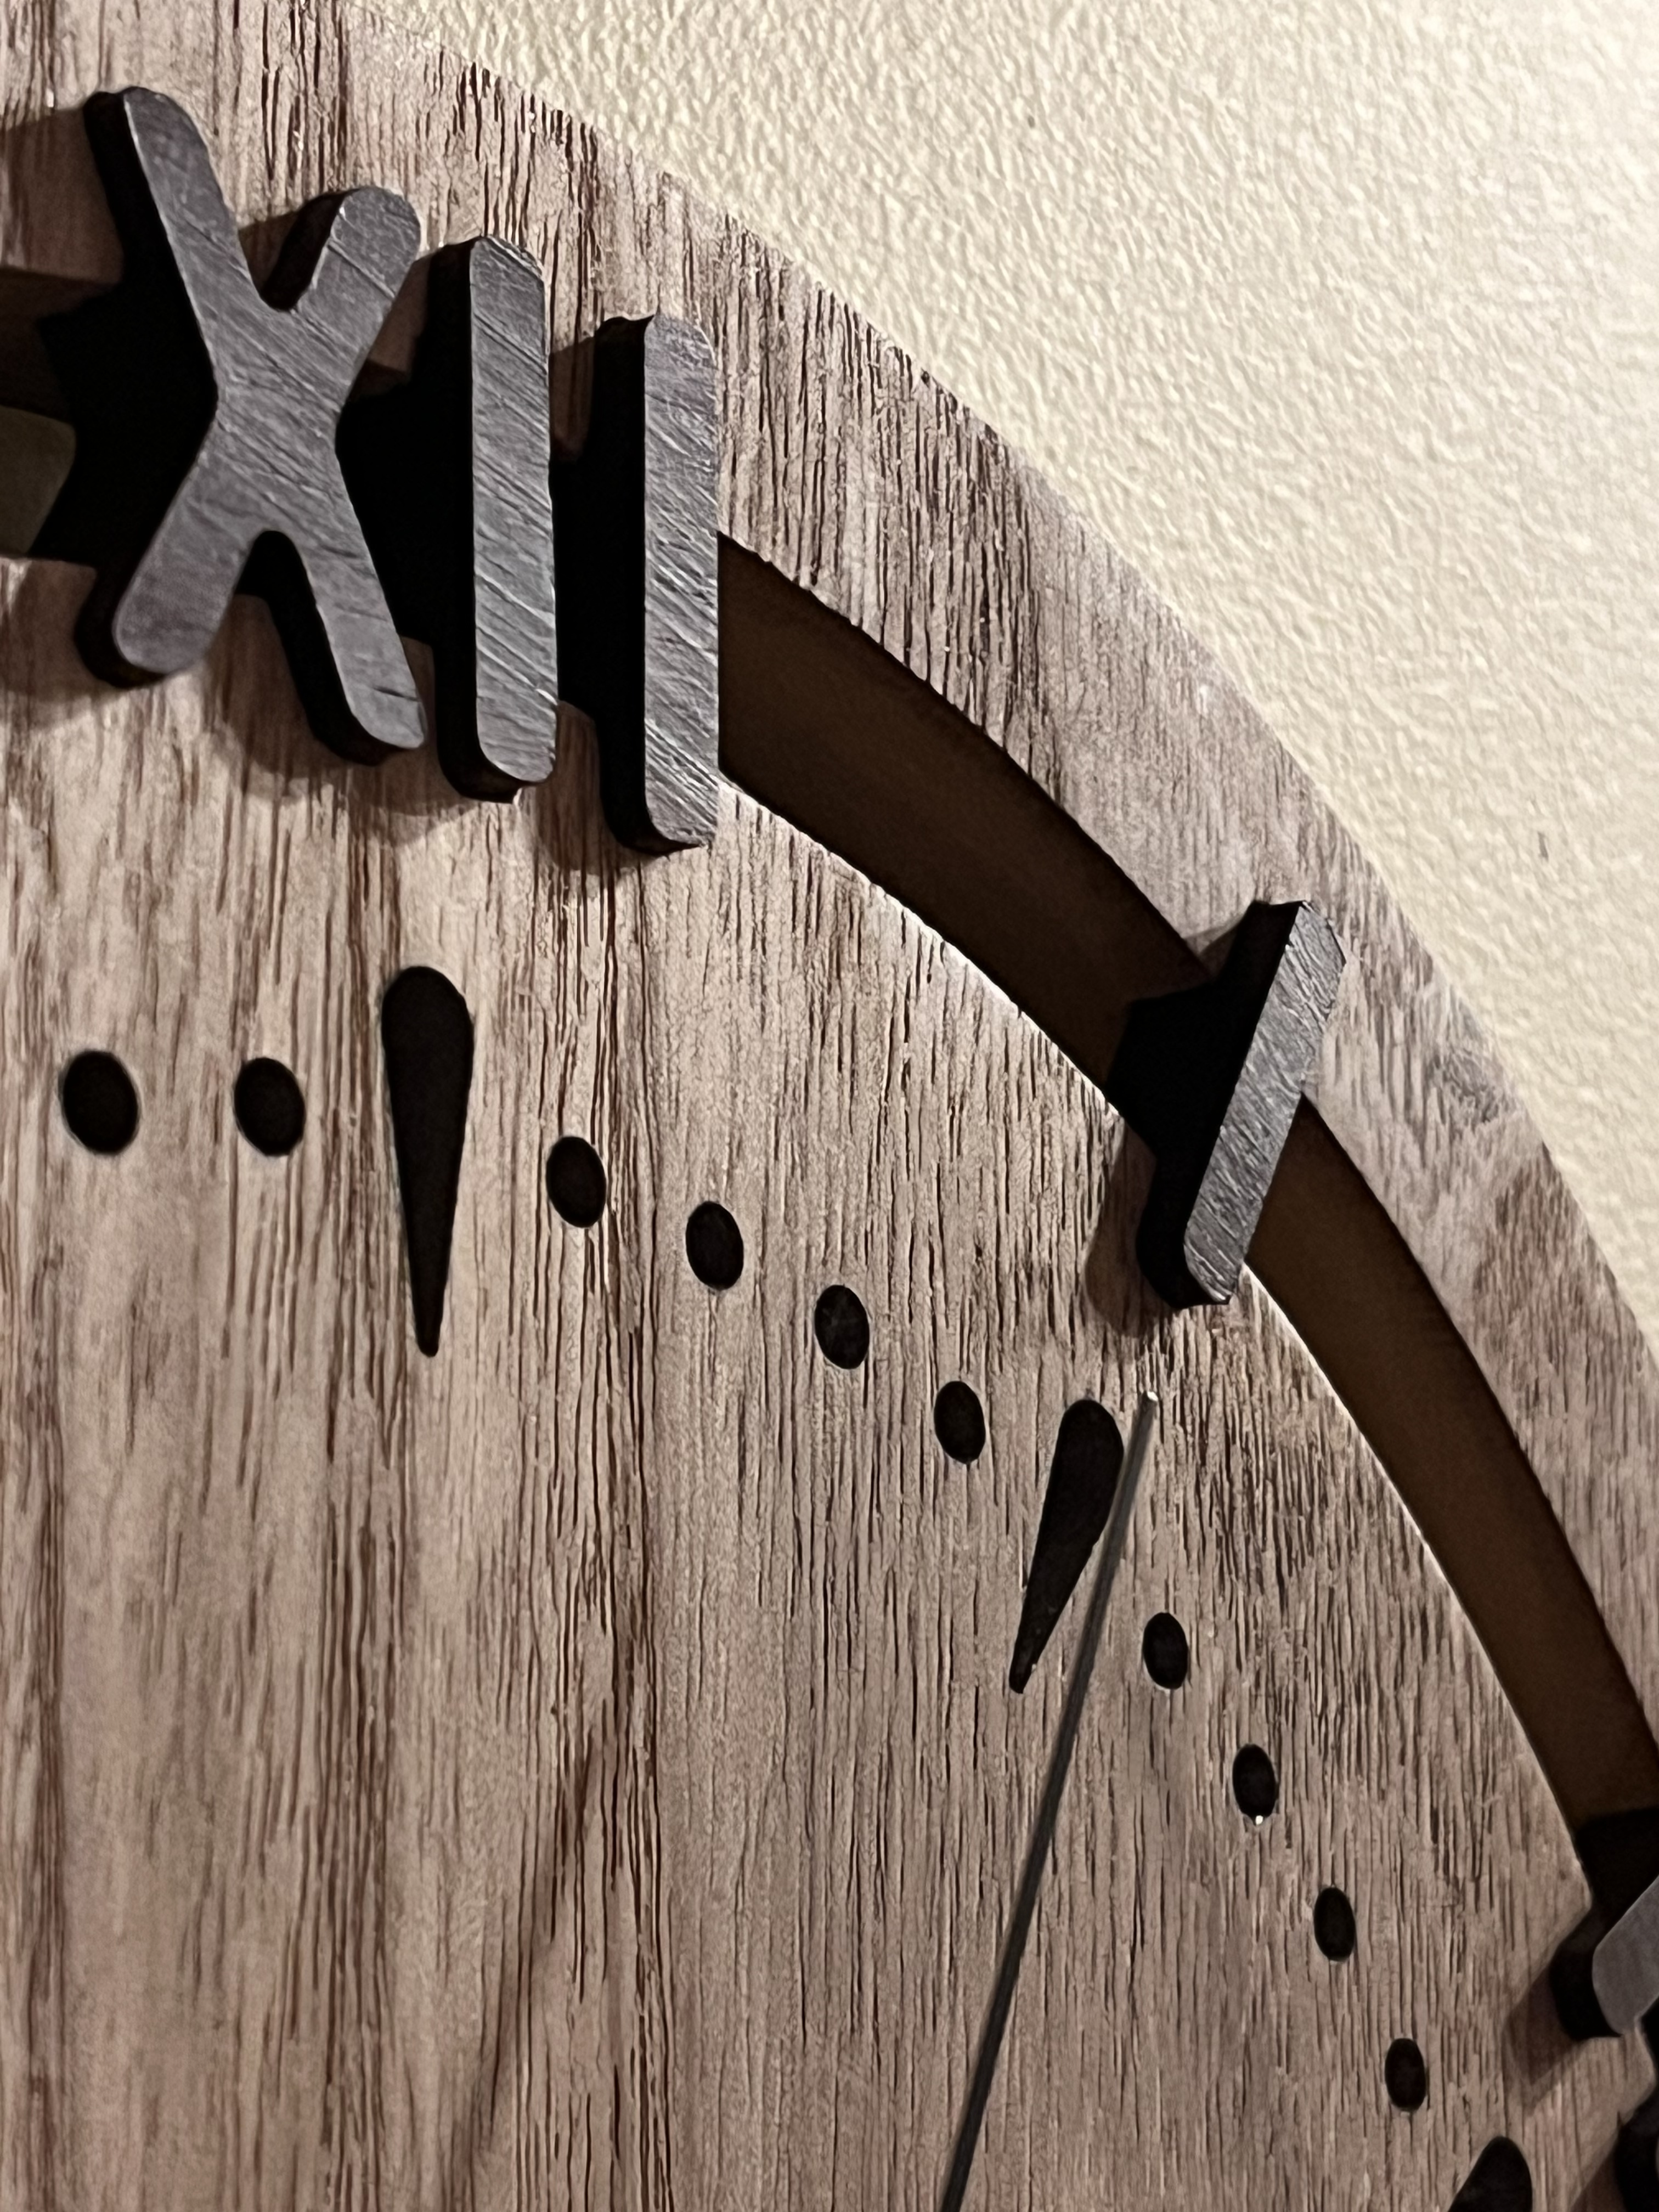
After getting my Pro XXL set up and through the first couple cuts I asked a friend for an idea to test out the machine. She sent me a picture of a clock she liked so I drew up something similar and started cutting. I had a piece of poplar around for the main body and picked up some katalox for the numerals. I cut everything out on the machine, two sided for the main clock body. I flipped it face down and put the board I cut it out of back down to re-zero off the original stock corner to dial in the backside (bitzero). It worked pretty well. I used Carbide3d cutters and default speeds and feeds right out of carbide create. Everything went pretty smoothly. 1/4” 3 flute for the body cuts and numeral pockets. 60deg v-bit for the dots and teardrops. 1/16” 2 flute + 60deg v-bit for the logo on the back. 1/4” + 1/8” for the movement pocket on the back. 1/4” 3 flute again for cutting out the numerals. I used the tape an CA glue method when cutting the numerals and stood by with a pair of hemostats to grab any pieces that popped loose while it was cutting. Katalox is also known as Mexican ebony and is super hard so even the couple numerals that popped loose after the cut finished didn’t get nicked up by the cutter which was a nice surprise. The Green Party bowl and weight were for gluing down all the numerals. I used a syringe and Titebond III to glue each one and then placed the bowl and weight overnight. It all got a coat of clear minwax satin to seal it.
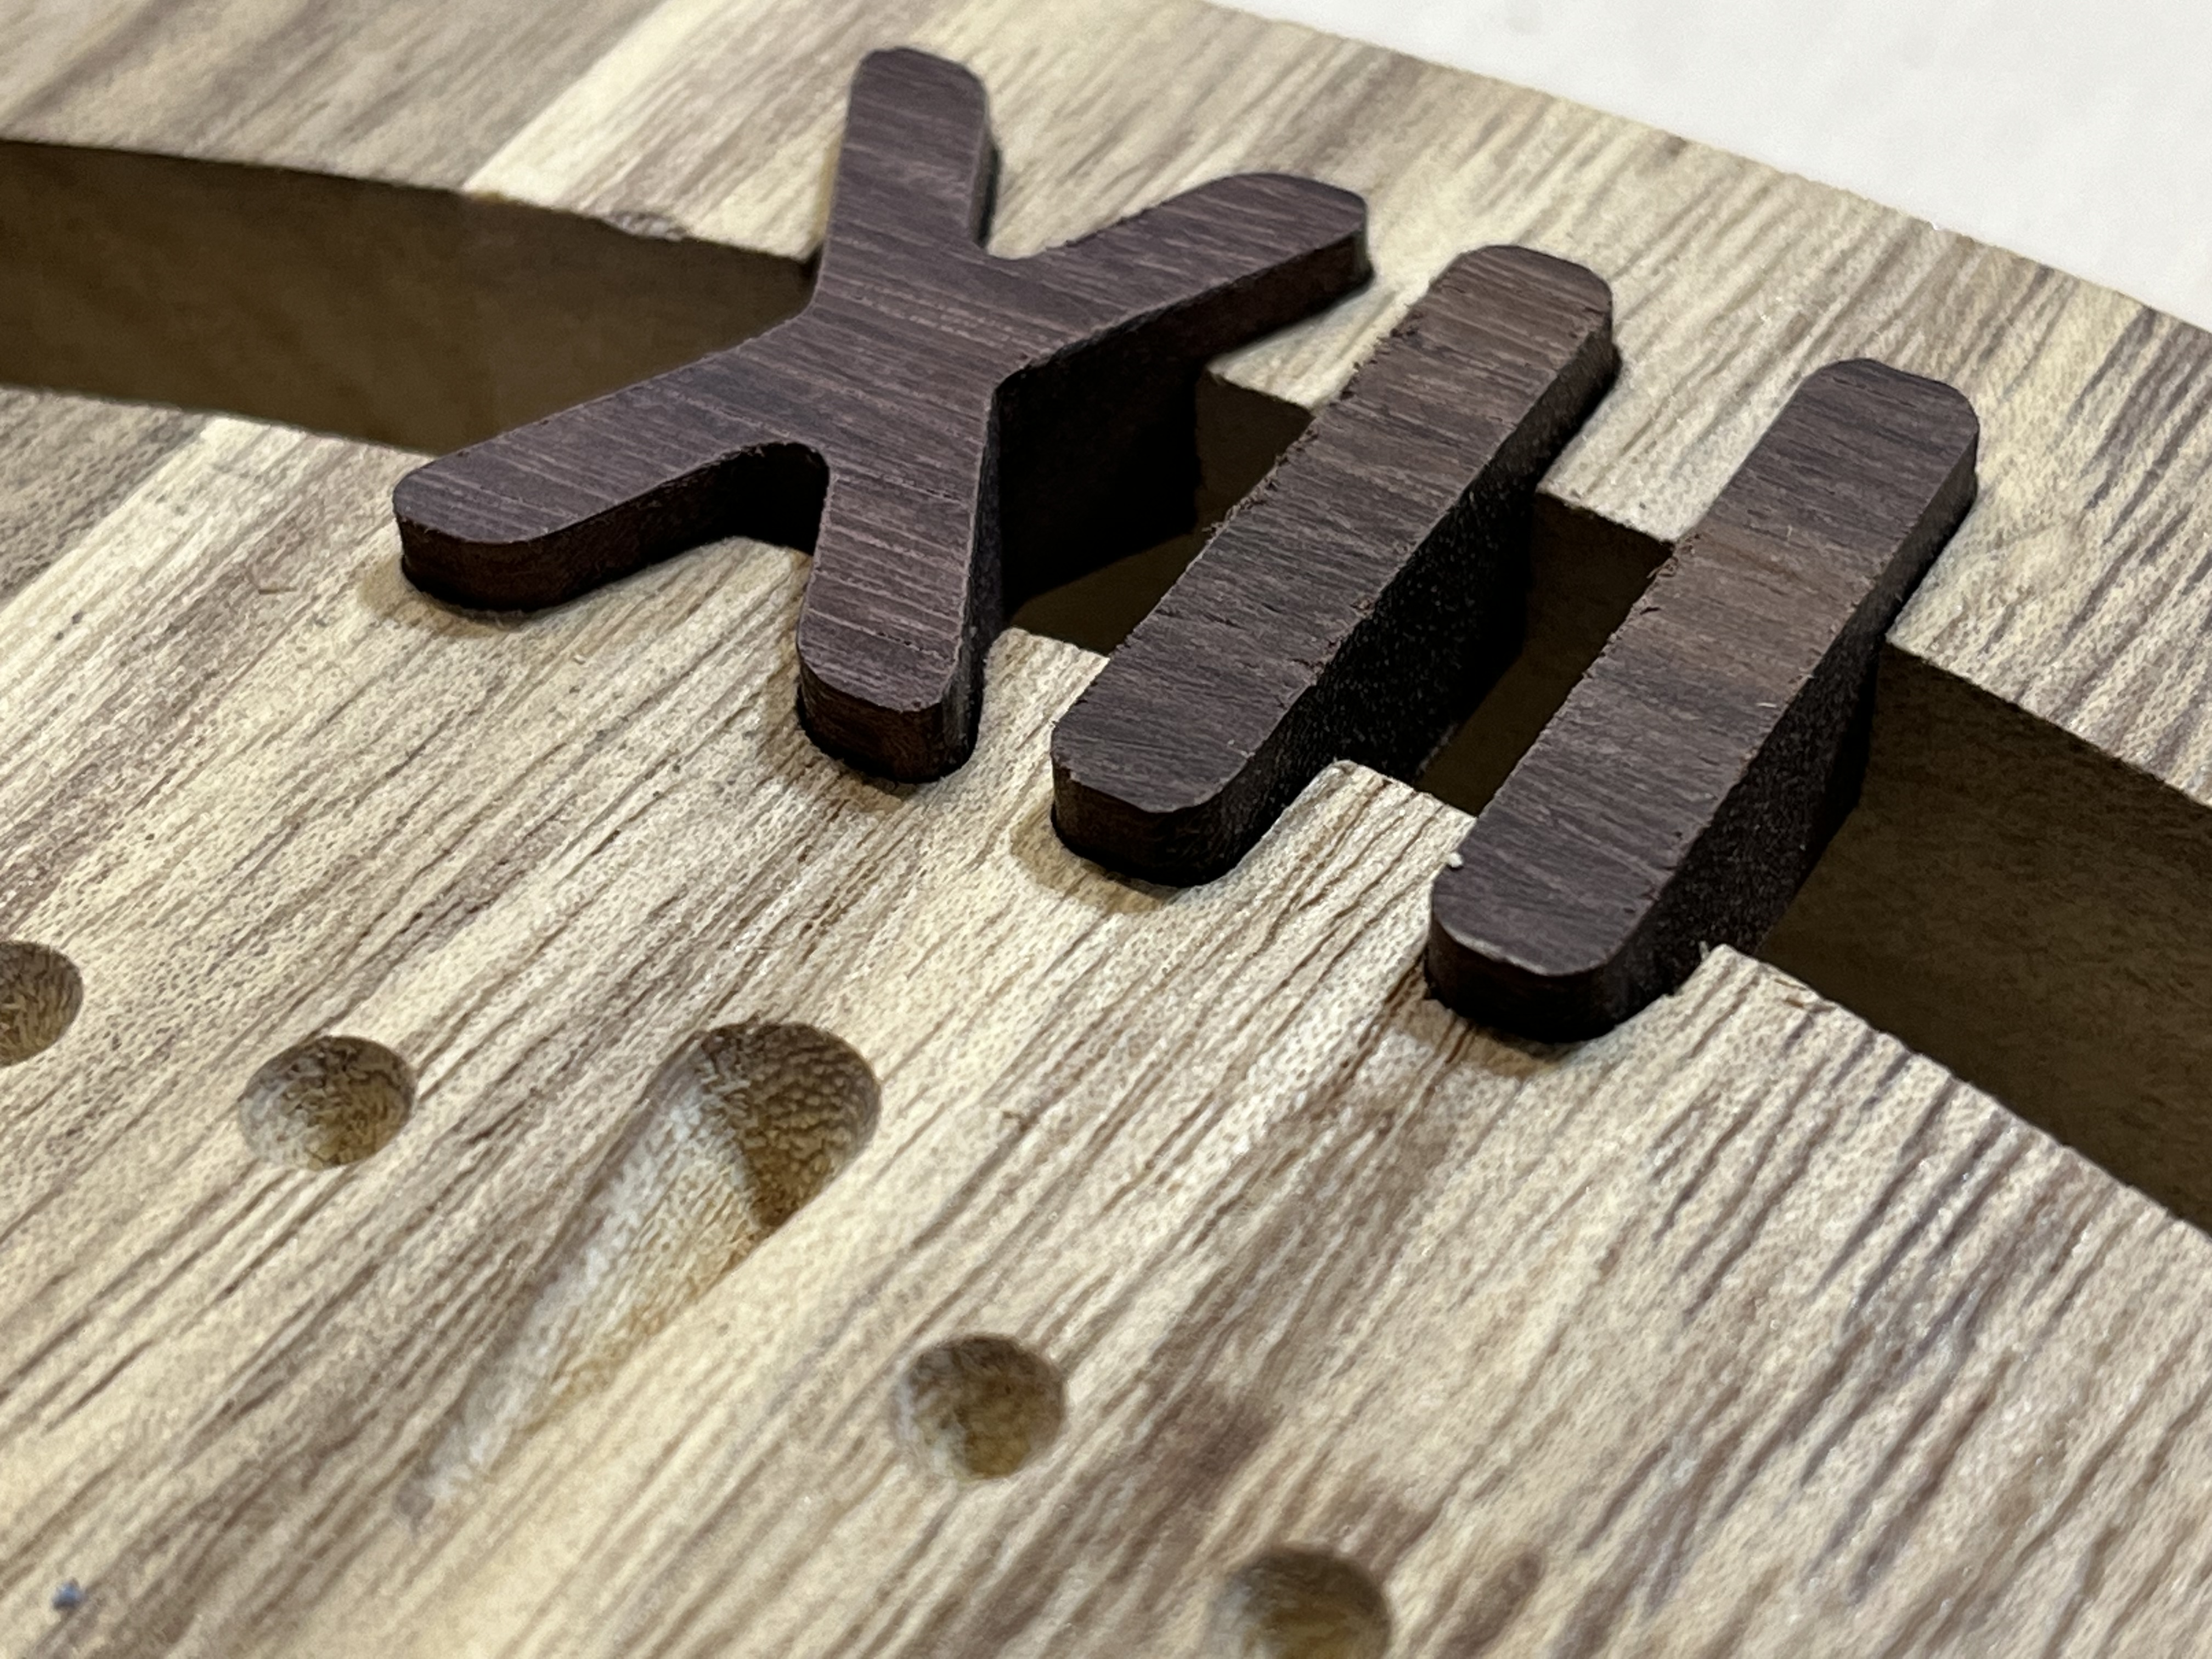
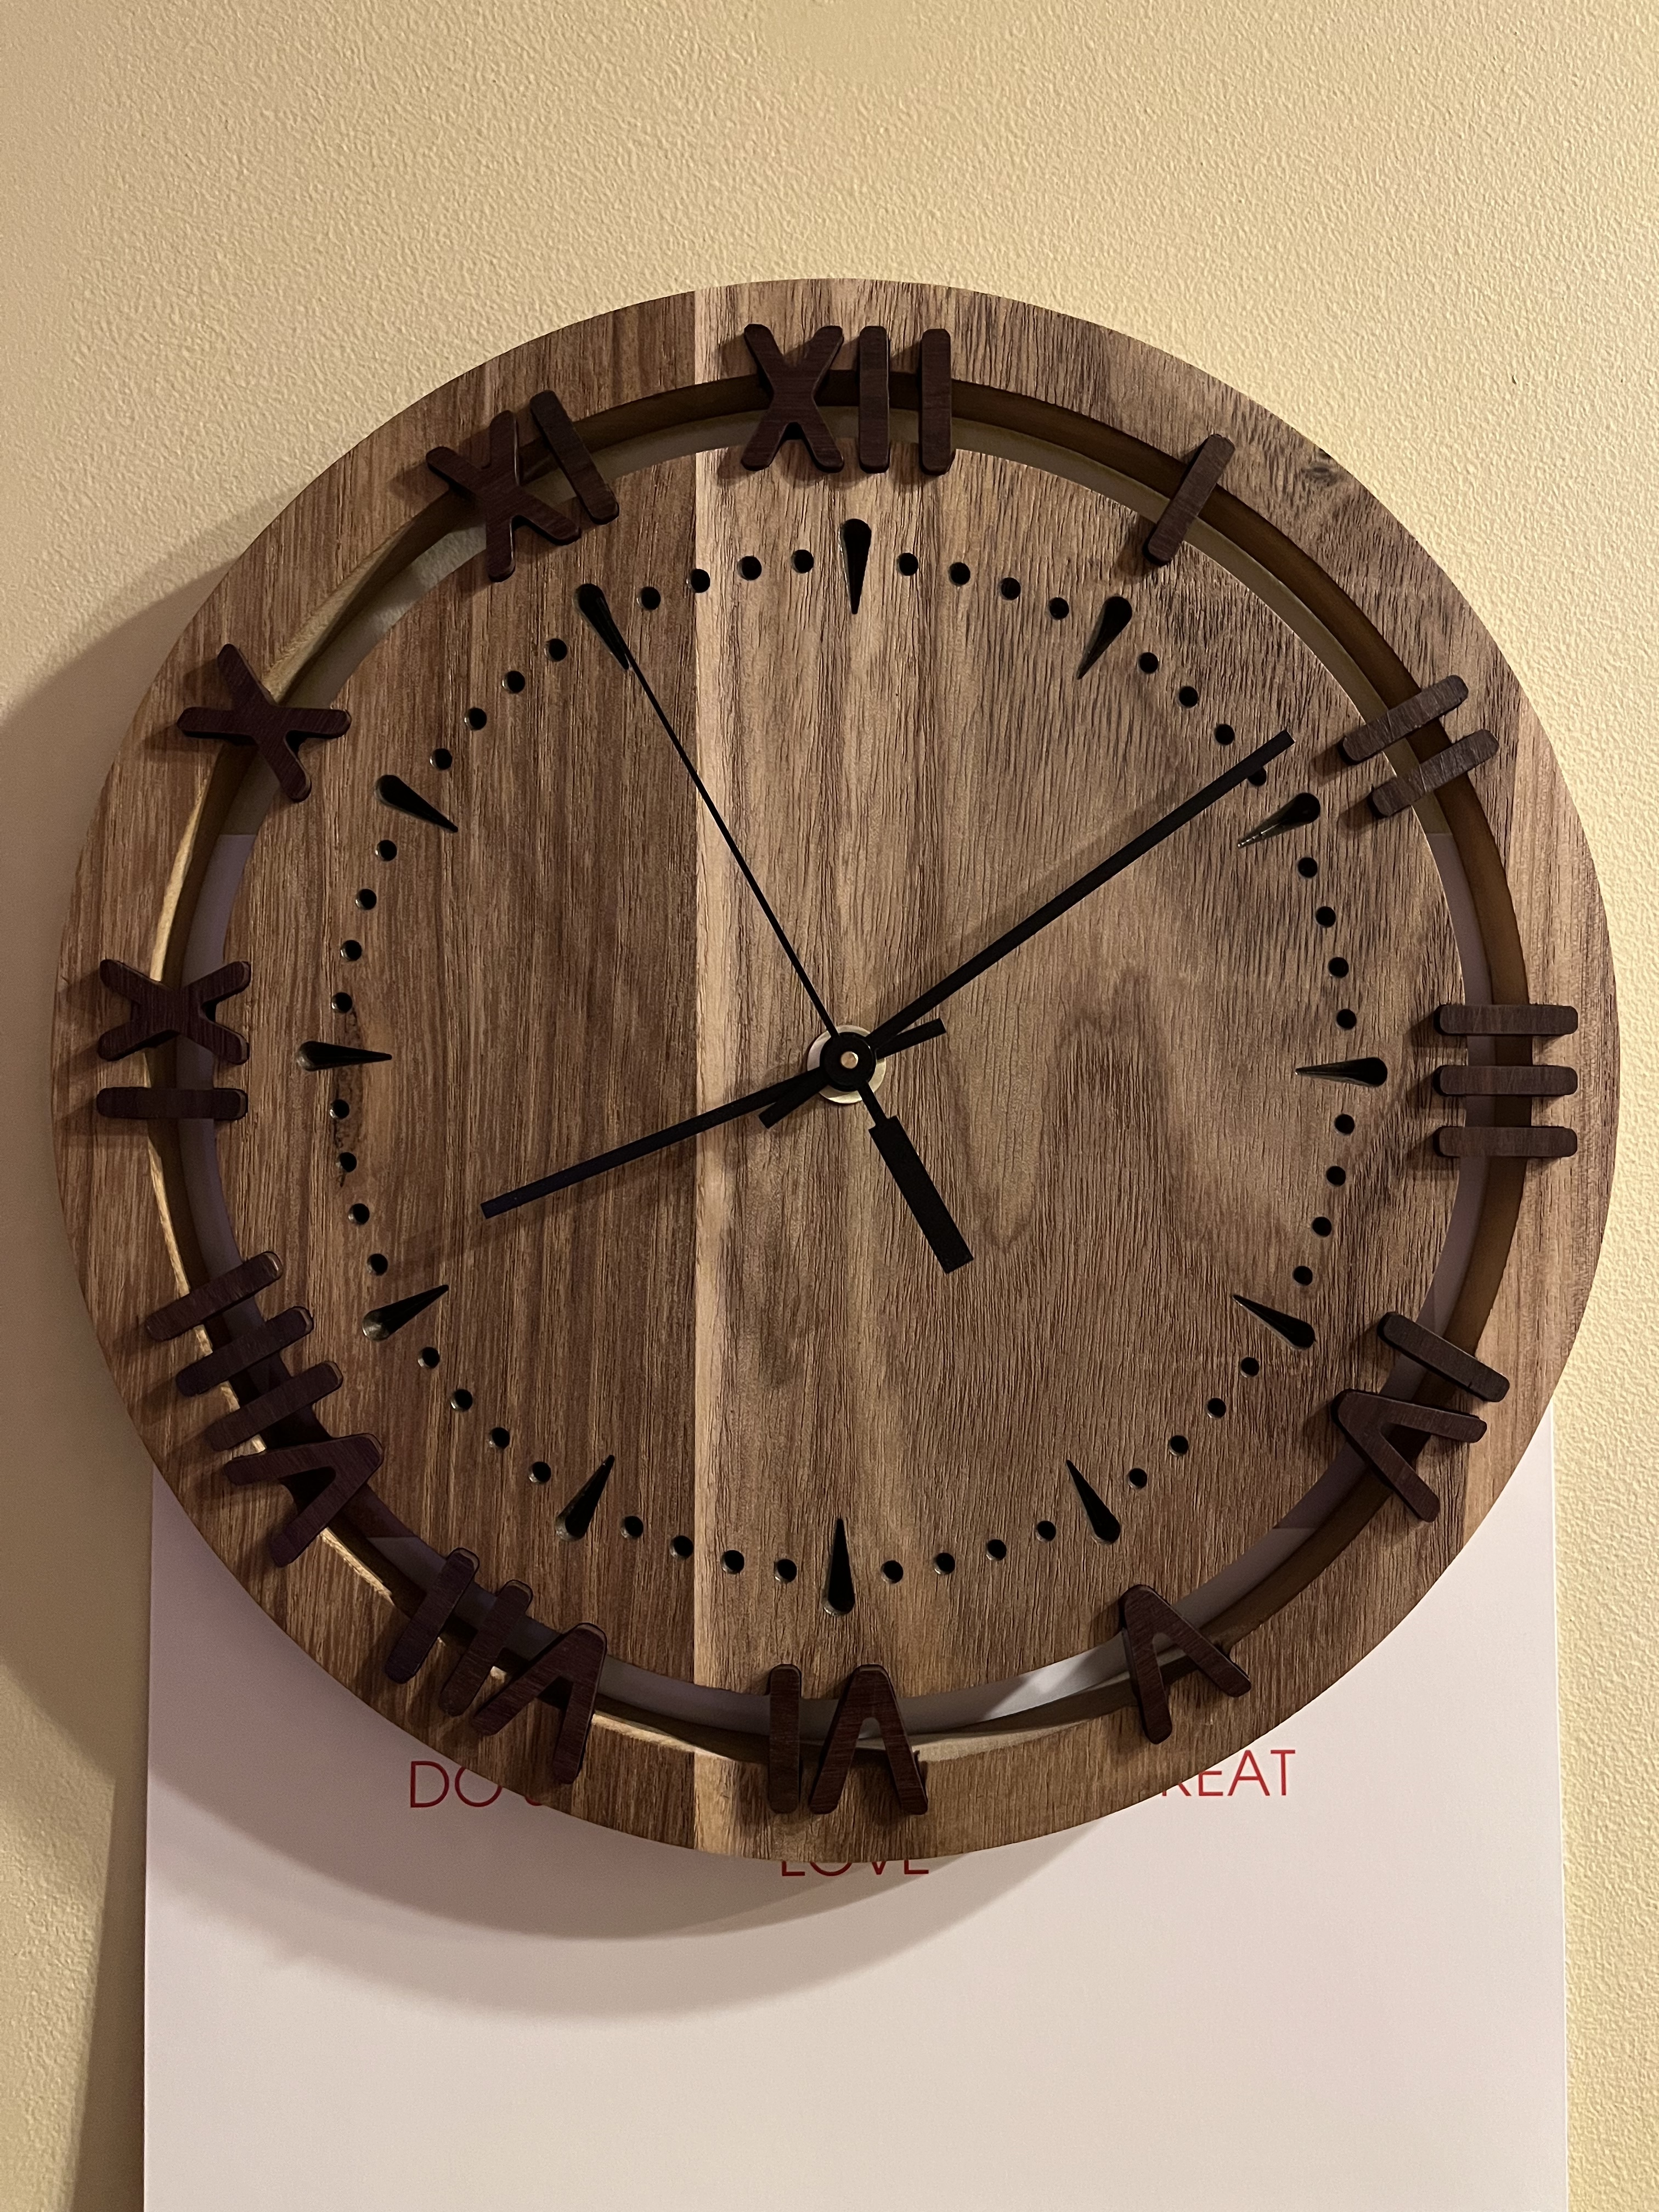
Intentional, or not (?), I love the way the grain turned out a bit like fingertips!
Hah, thanks! I did want the grain to run that direction so it’d be a bit more stable, but that’s an unintended feature (or a happy unplanned accident).
This clock looks great, it’s such a cool design
Thanks! I’m amazed by all the great stuff people have posted to this thread (and the rest of the site). It’s a really great group of people here.
Gorgeous evening and the burn bucket. Mostly offcuts a few mistakes, and a little bourbon. A very enjoyable evening.

Love the clock. Maybe a lighter wood, but still gorgeous.

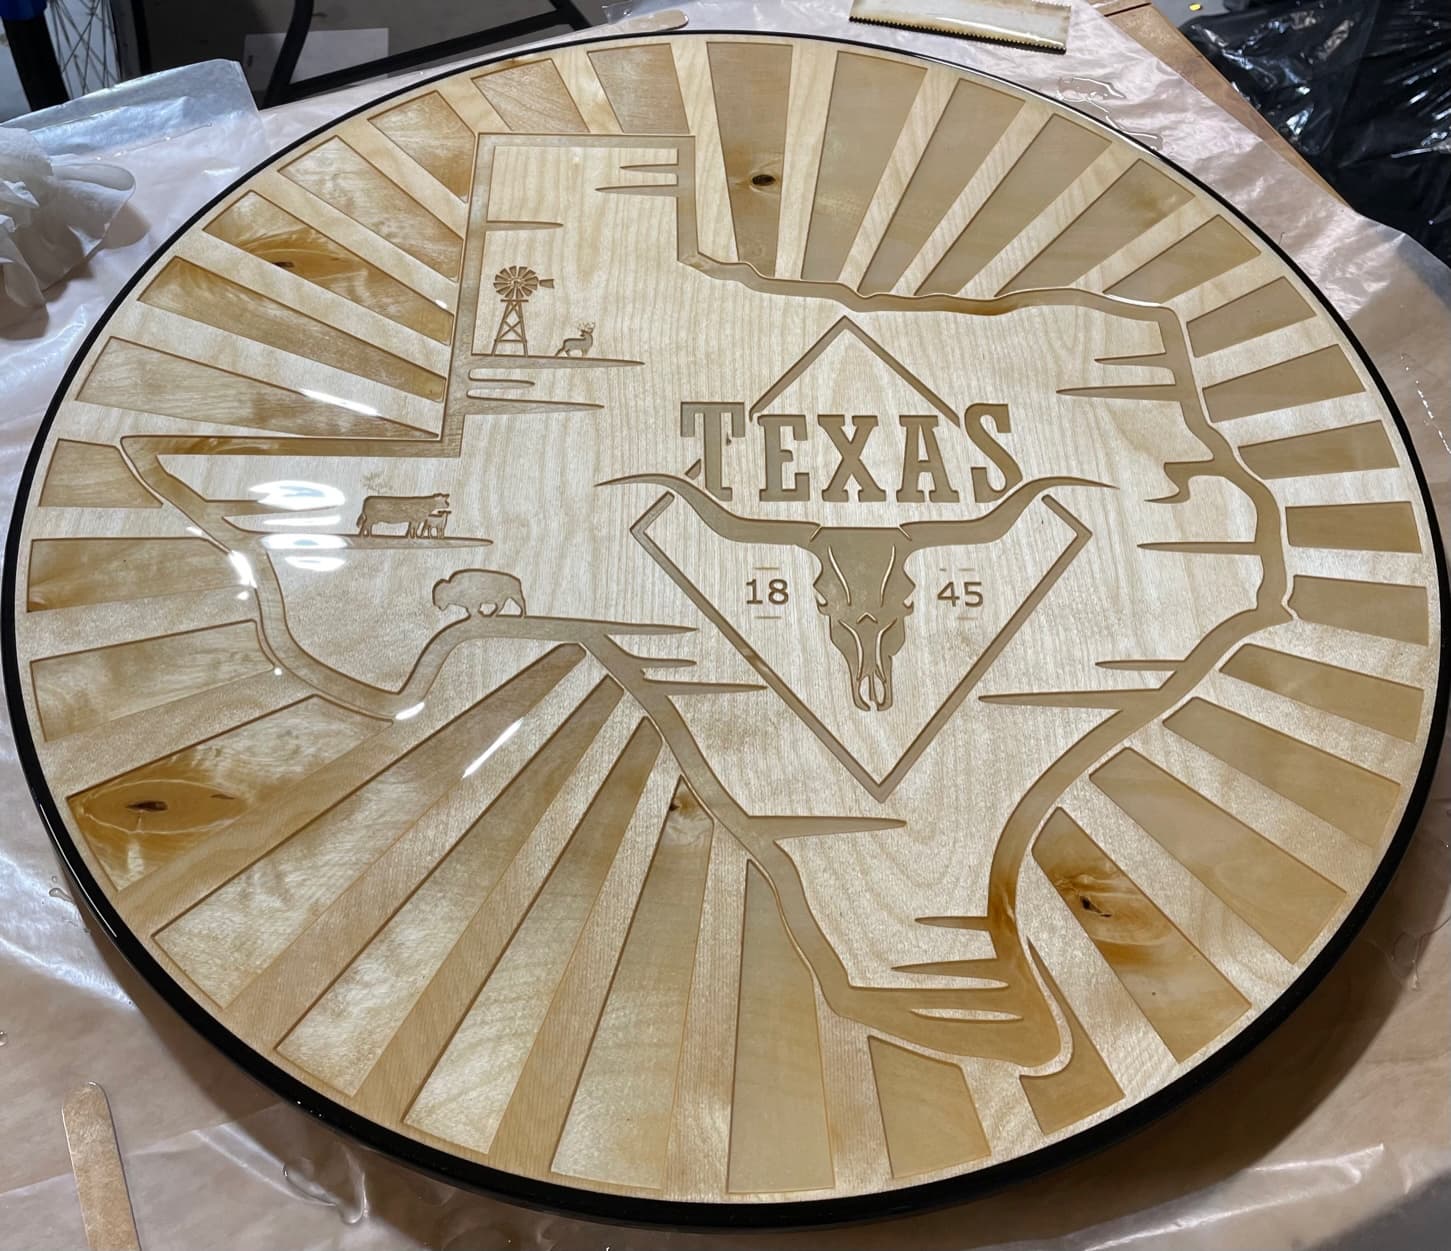
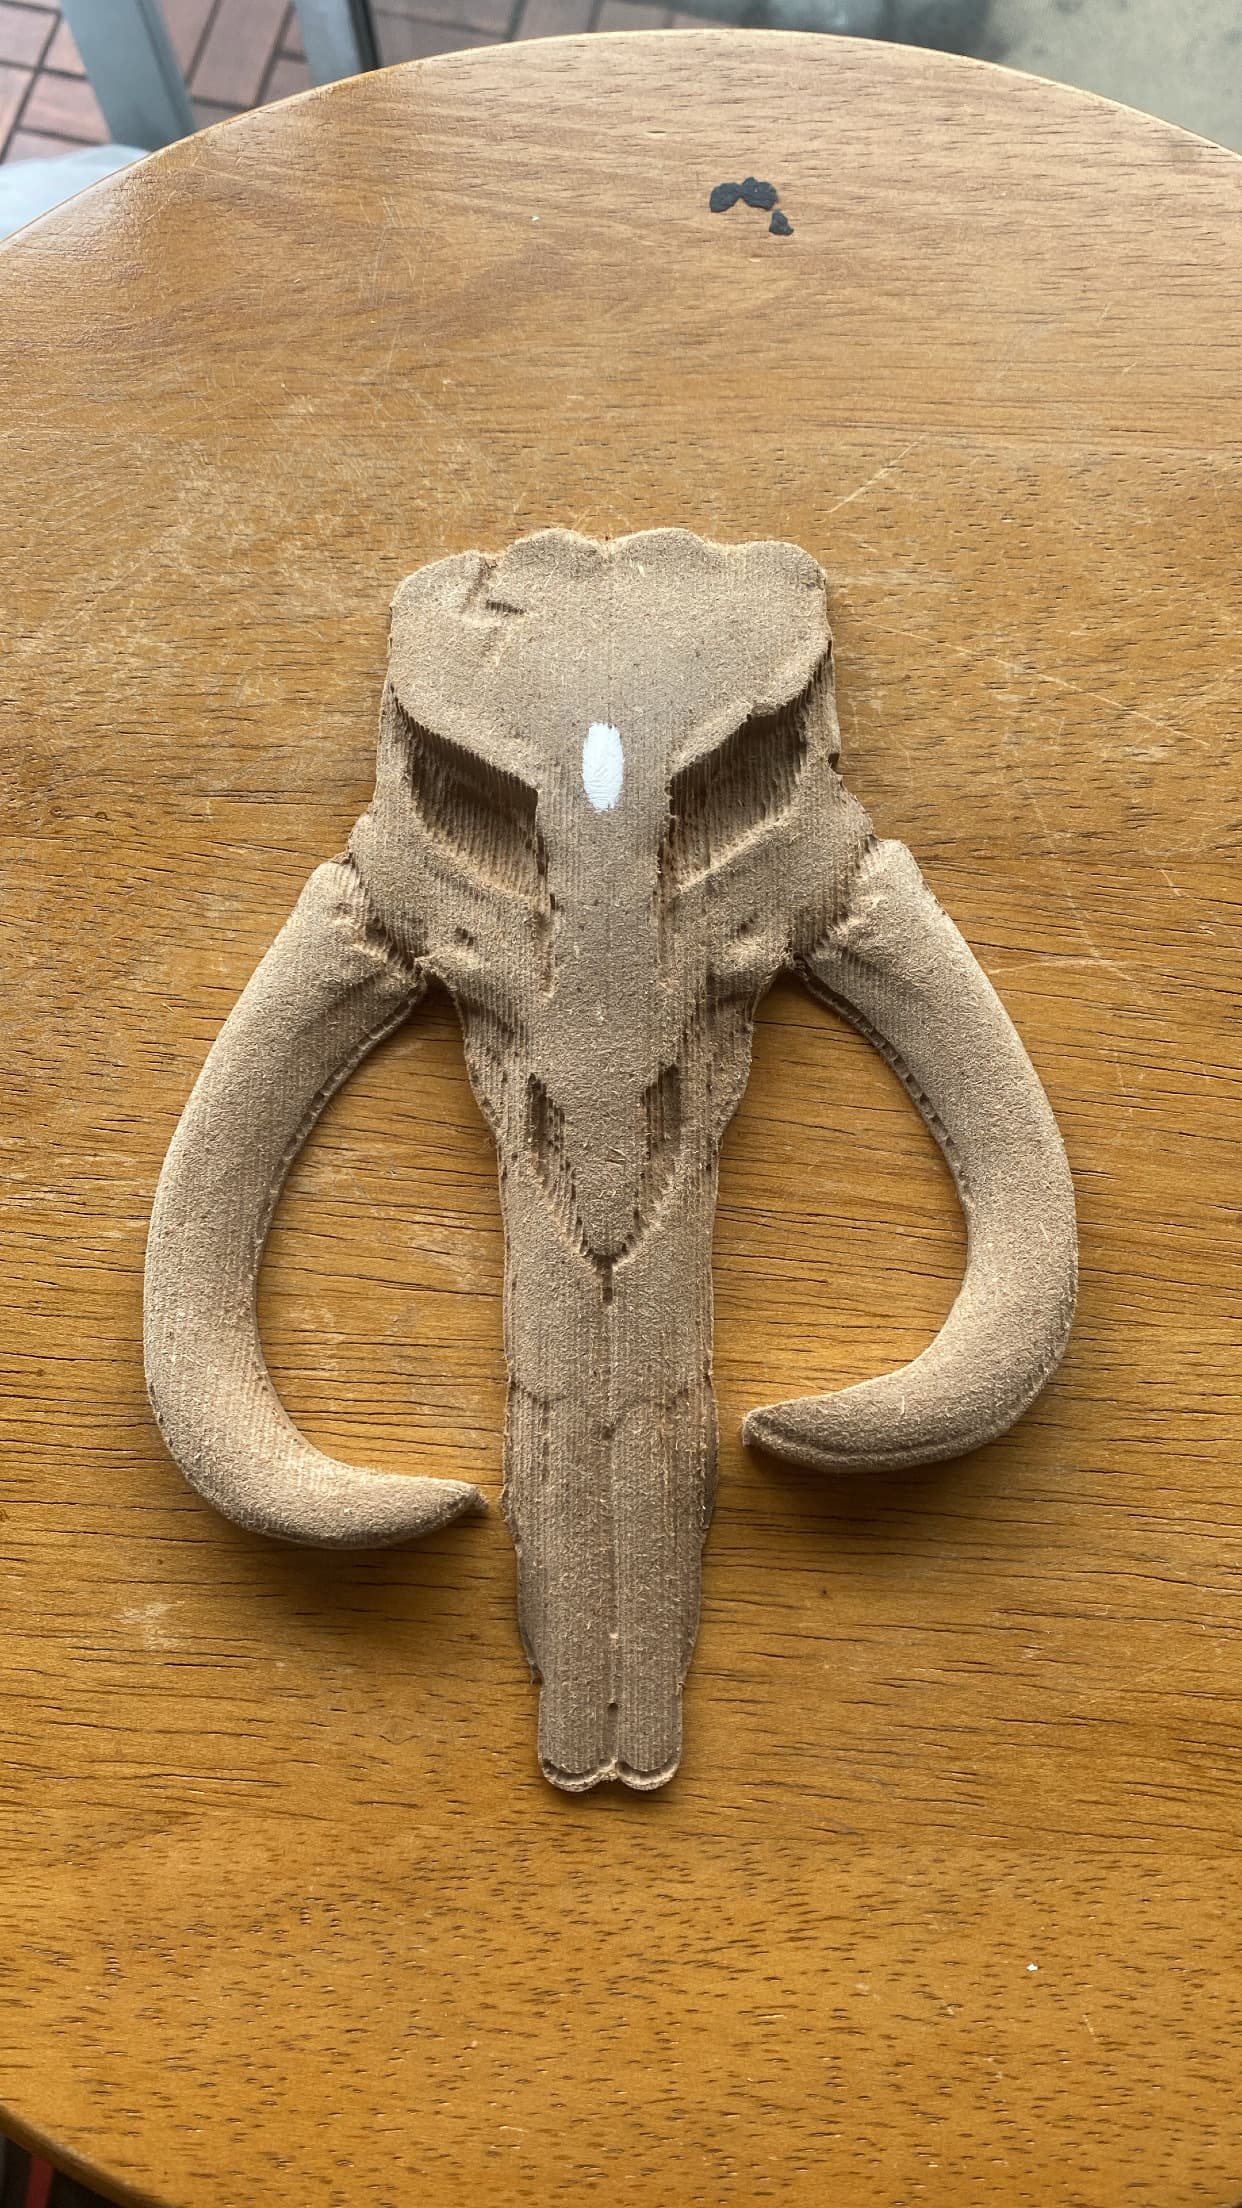
I made this for my wife who will be selling some of her work at our local public market.
I used plywood as my base. Created a surface pocket and a profile cut that didn’t go all the way down so I could do the first pour (white). Then I ran my machine to surface the white epoxy level and then did a clear epoxy pour and let the epoxy run over the sides. Also I did have to take off about. .1in on the backside to eliminate the view of the wood on the sides.

I then did my black and red epoxy pours. and then resurfaced again.

I happy with the ‘crisp’ look that epoxy has for this kind of signage.
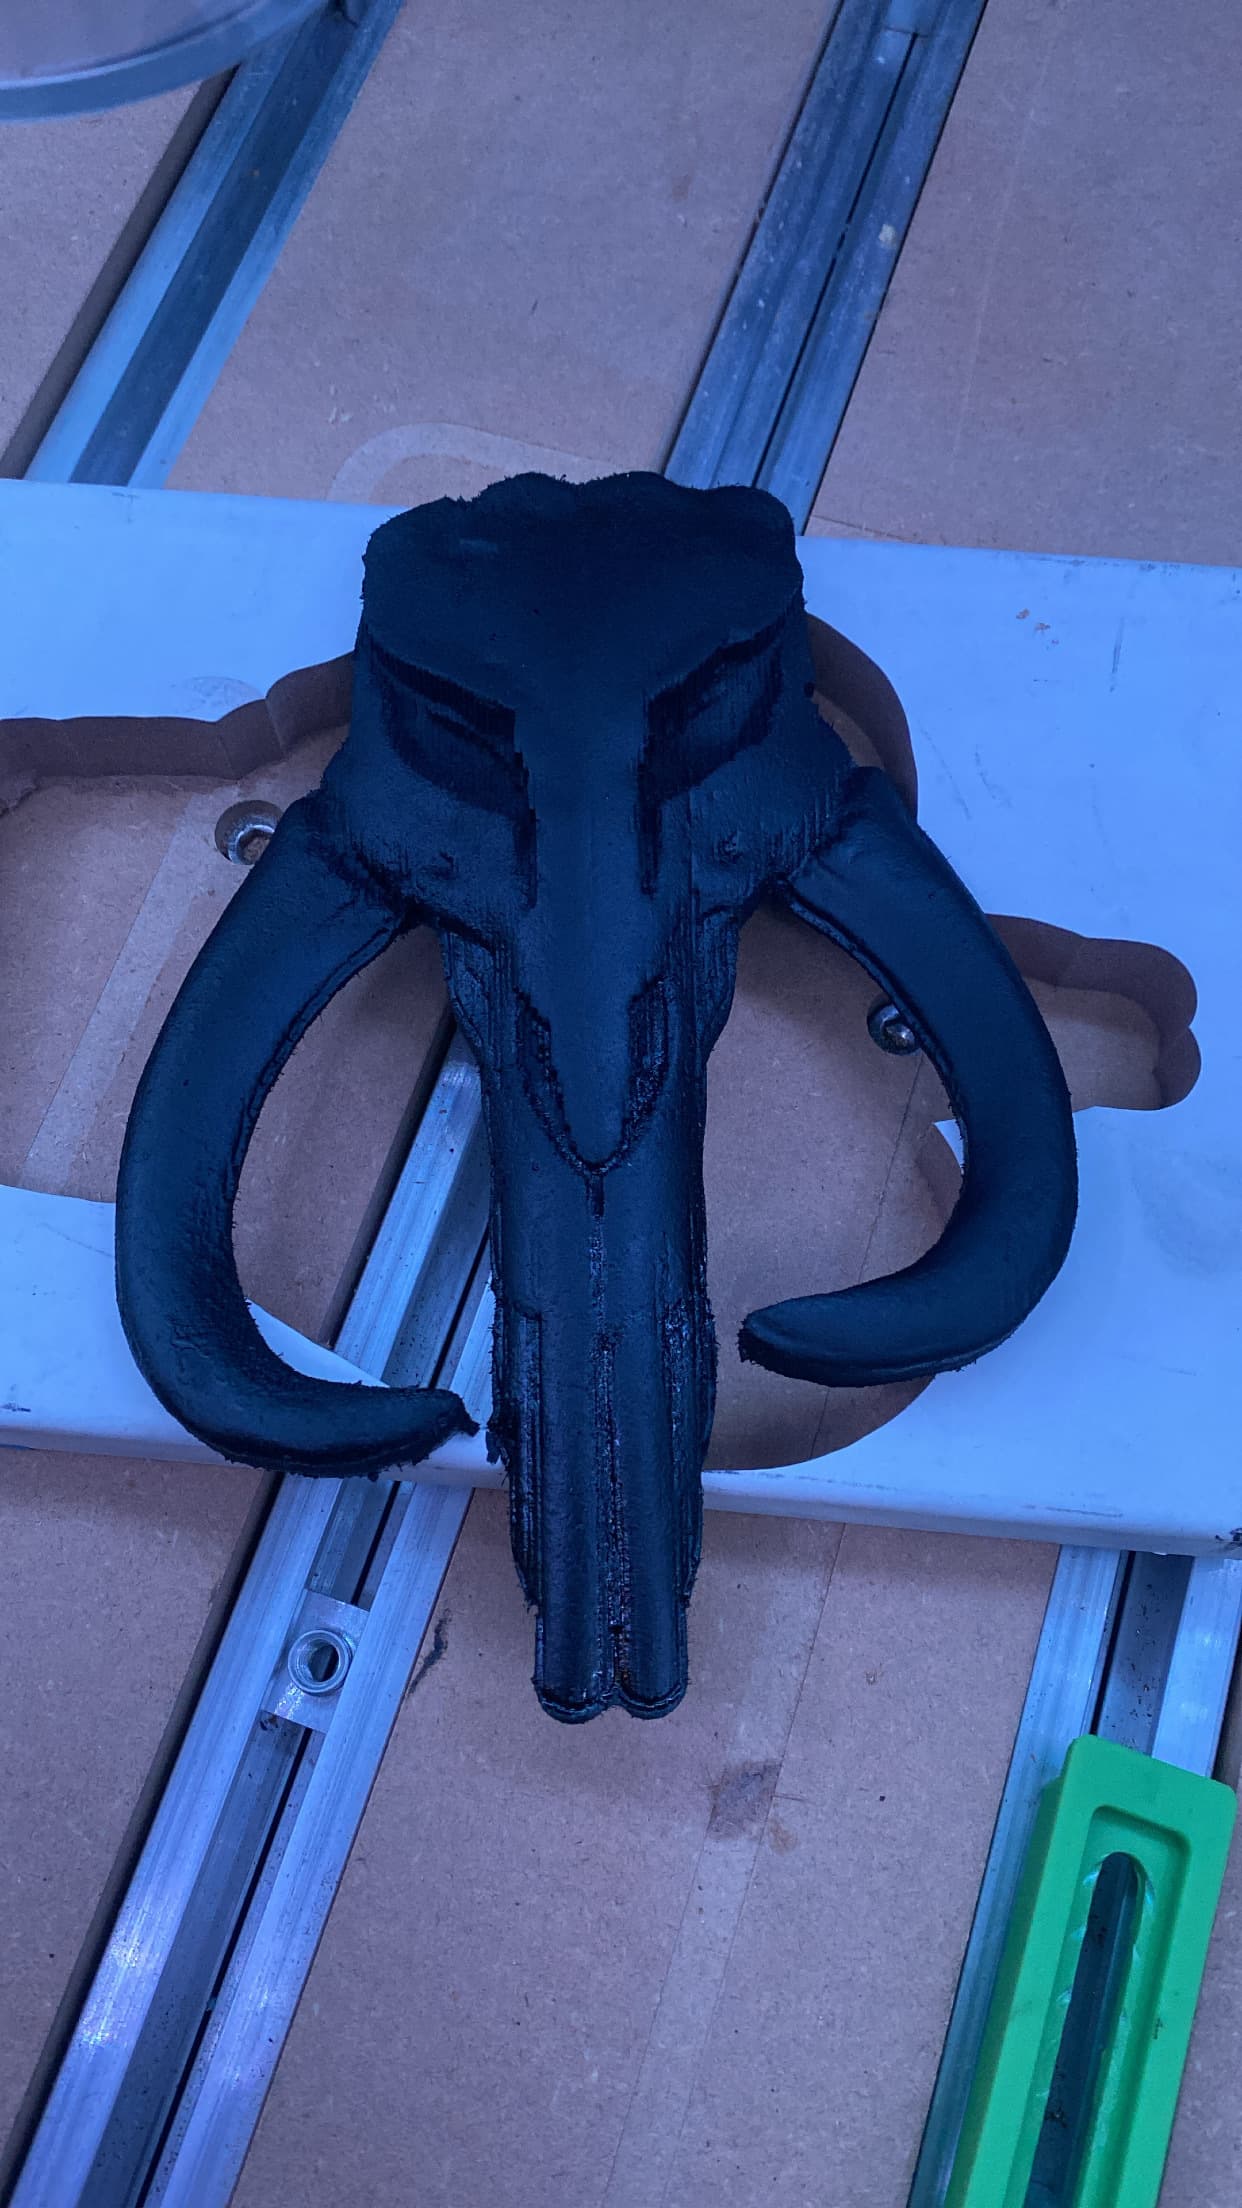
The white resin is .2 in in depth. I did vcarve tool path using a 30 deg bit and a 0.125 in endmill with a depth of 0.15 in. With whatever wood you use plywood or mdf it helps to paint the wood the color that your base resin pour will be so that you don’t have to use so much dye to hide the natural wood color. I use Ecopoxy which doesn’t take a lot of dye to get the desired color you want.
Here is a link to another sign that I did with pictures of the process:
Love it. What’s the shine? Is the whole thing high gloss?
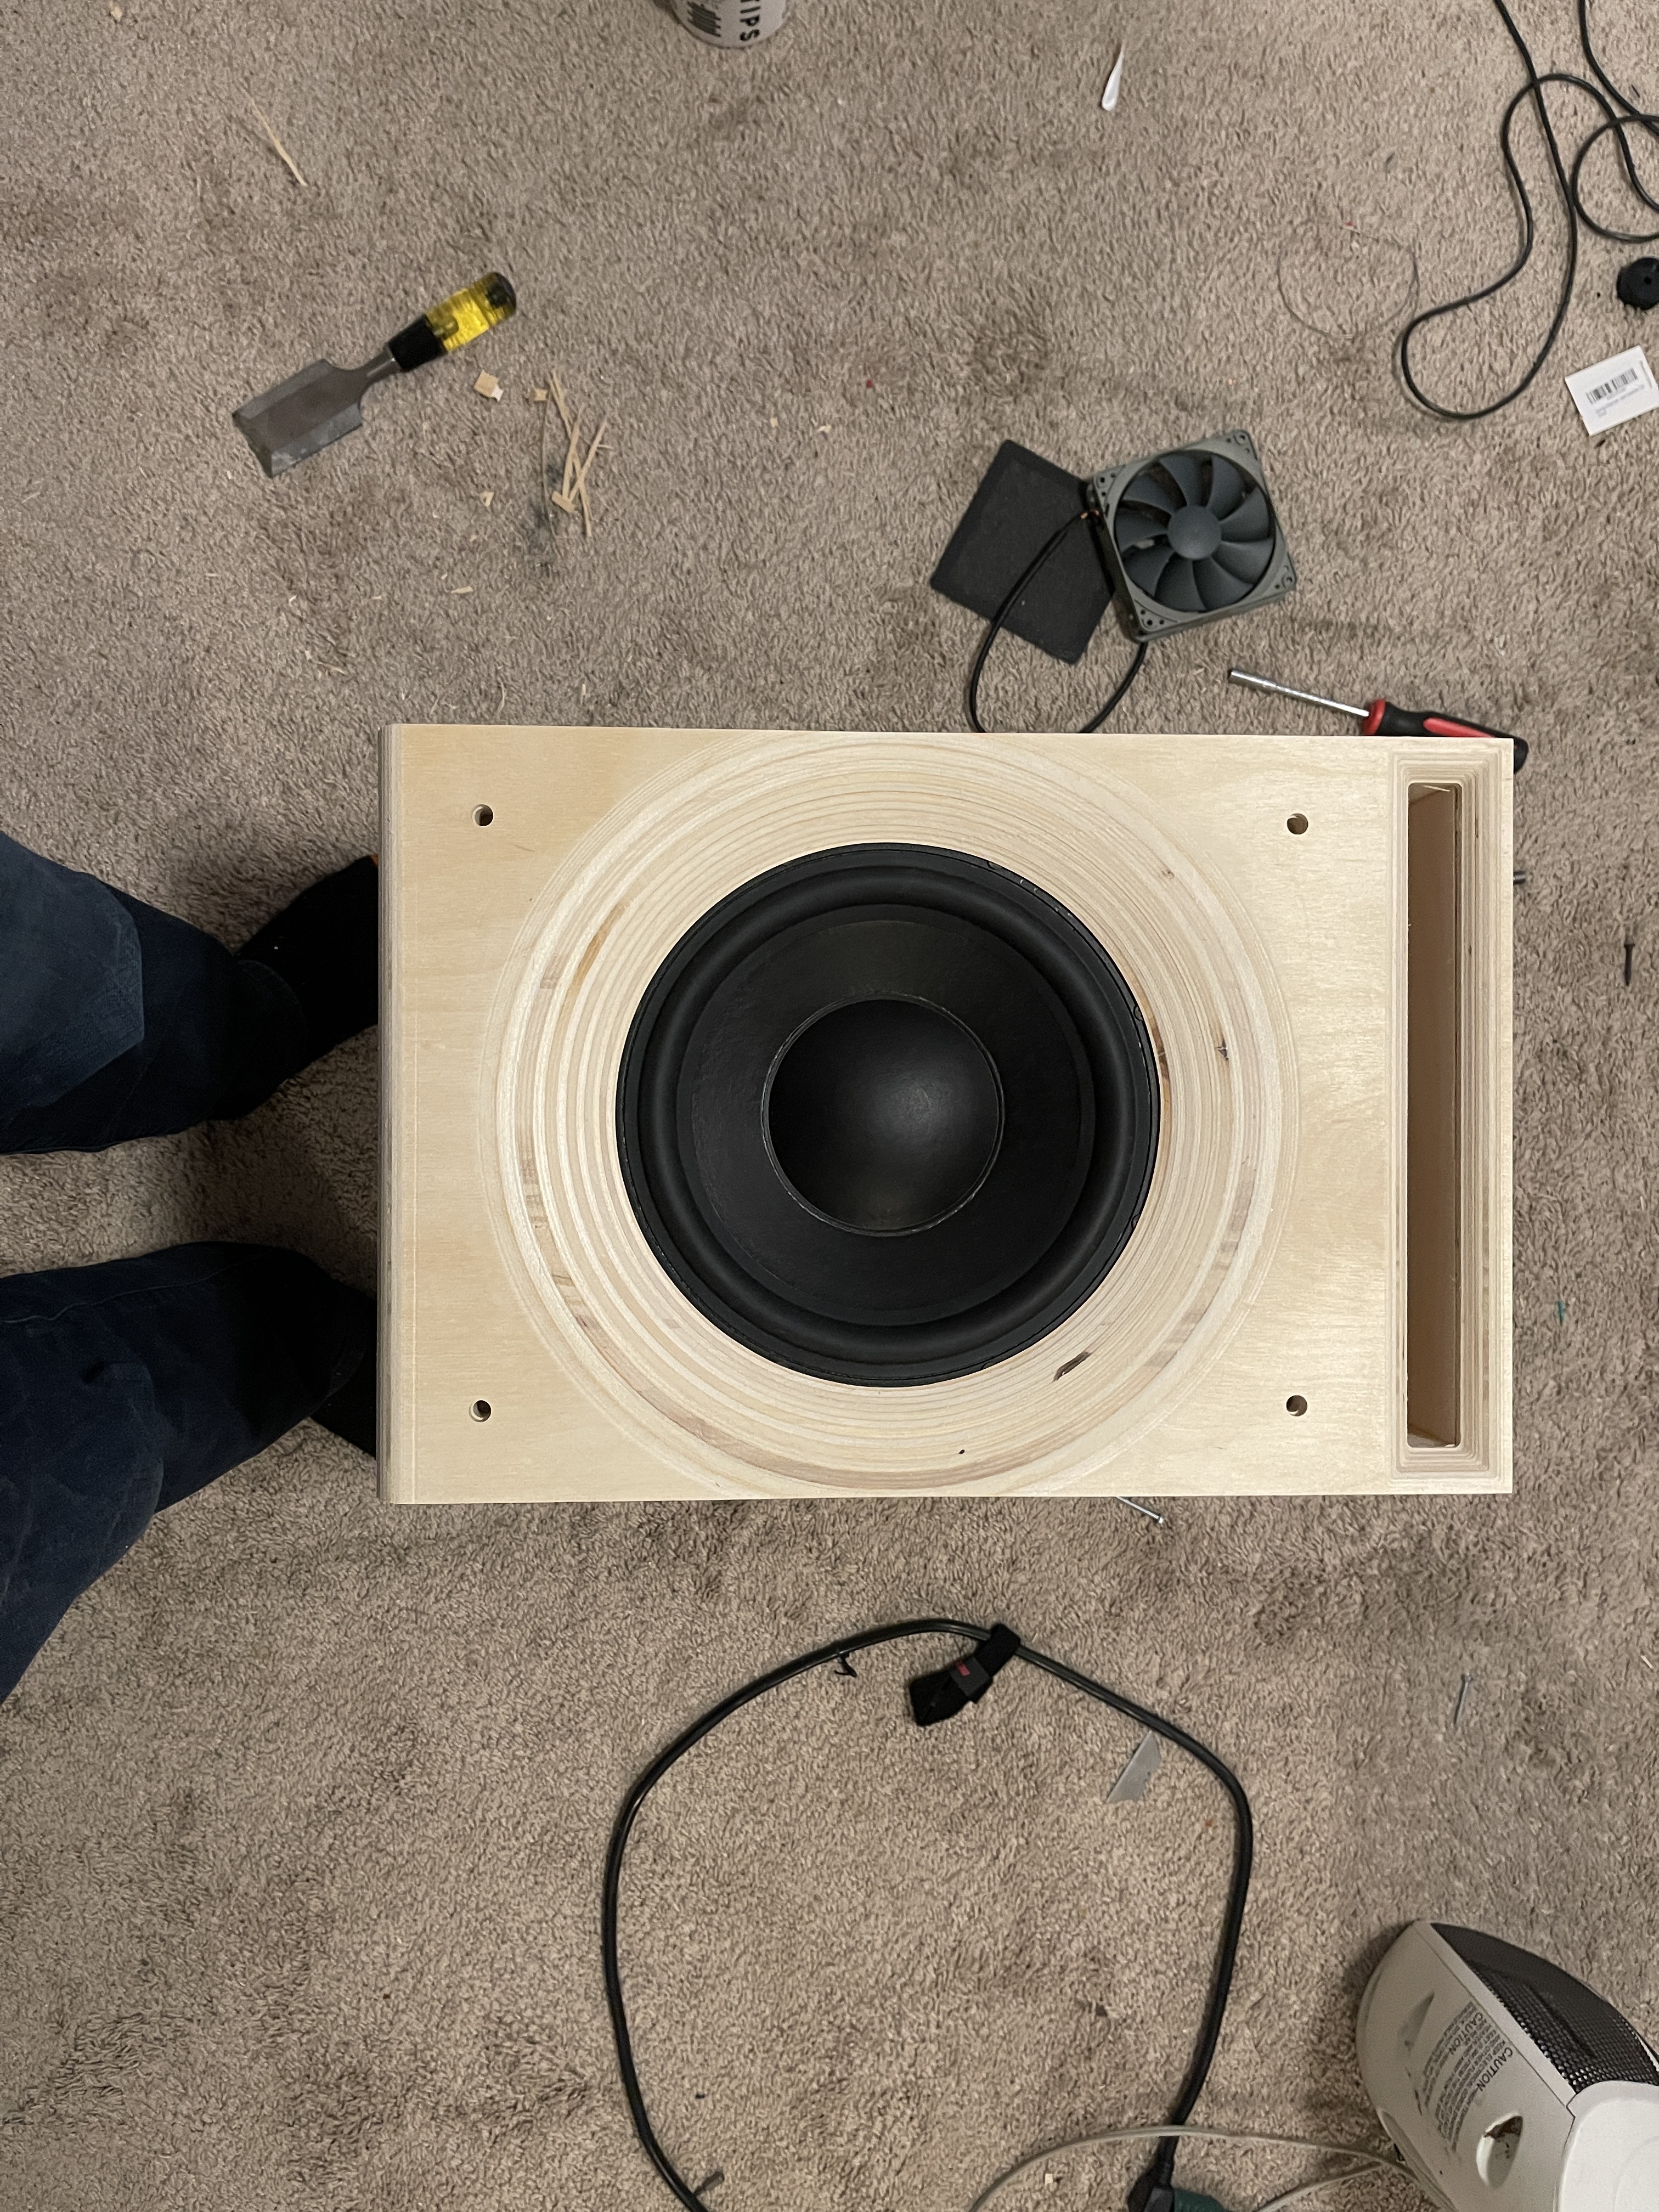

Made a front beauty cover for my 10” Ciare HS251 subwoofer. I made some nice matching main speakers and am hoping to finish the project and sell it.
it is just a layer of epoxy. The wood and contrast worked so well I didn’t want to do any stain etc… 30" Baltic Birch.
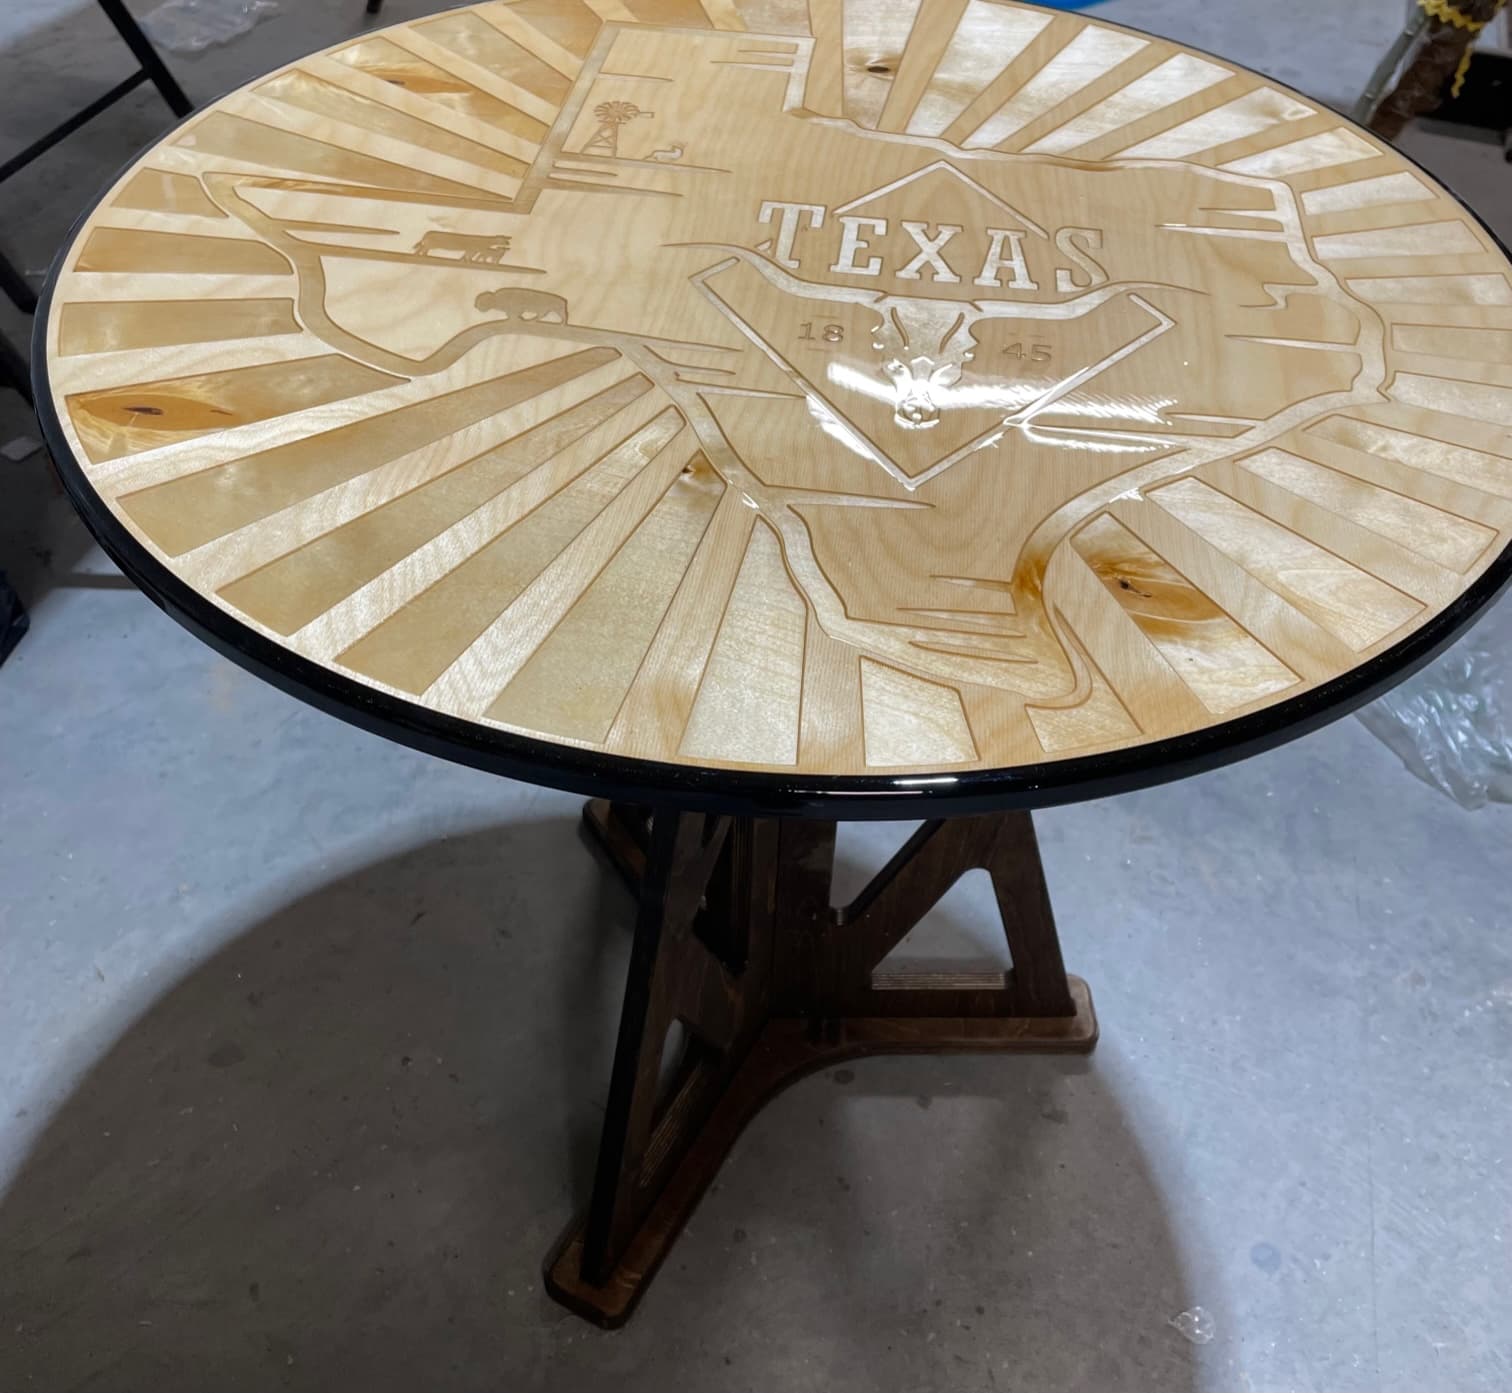
Dont mess with Texas, Yee HAAAAAA!!!
What do you use for the resurfacing after the epoxy? Regular end mill with a small step over or a more aggressive flattening bit?
I used a 0.25 end mill. I don’t like using anything more than that. I’ve had between different colored epoxy pores small details pop out because they didn’t bond enough to the other epoxy pore.
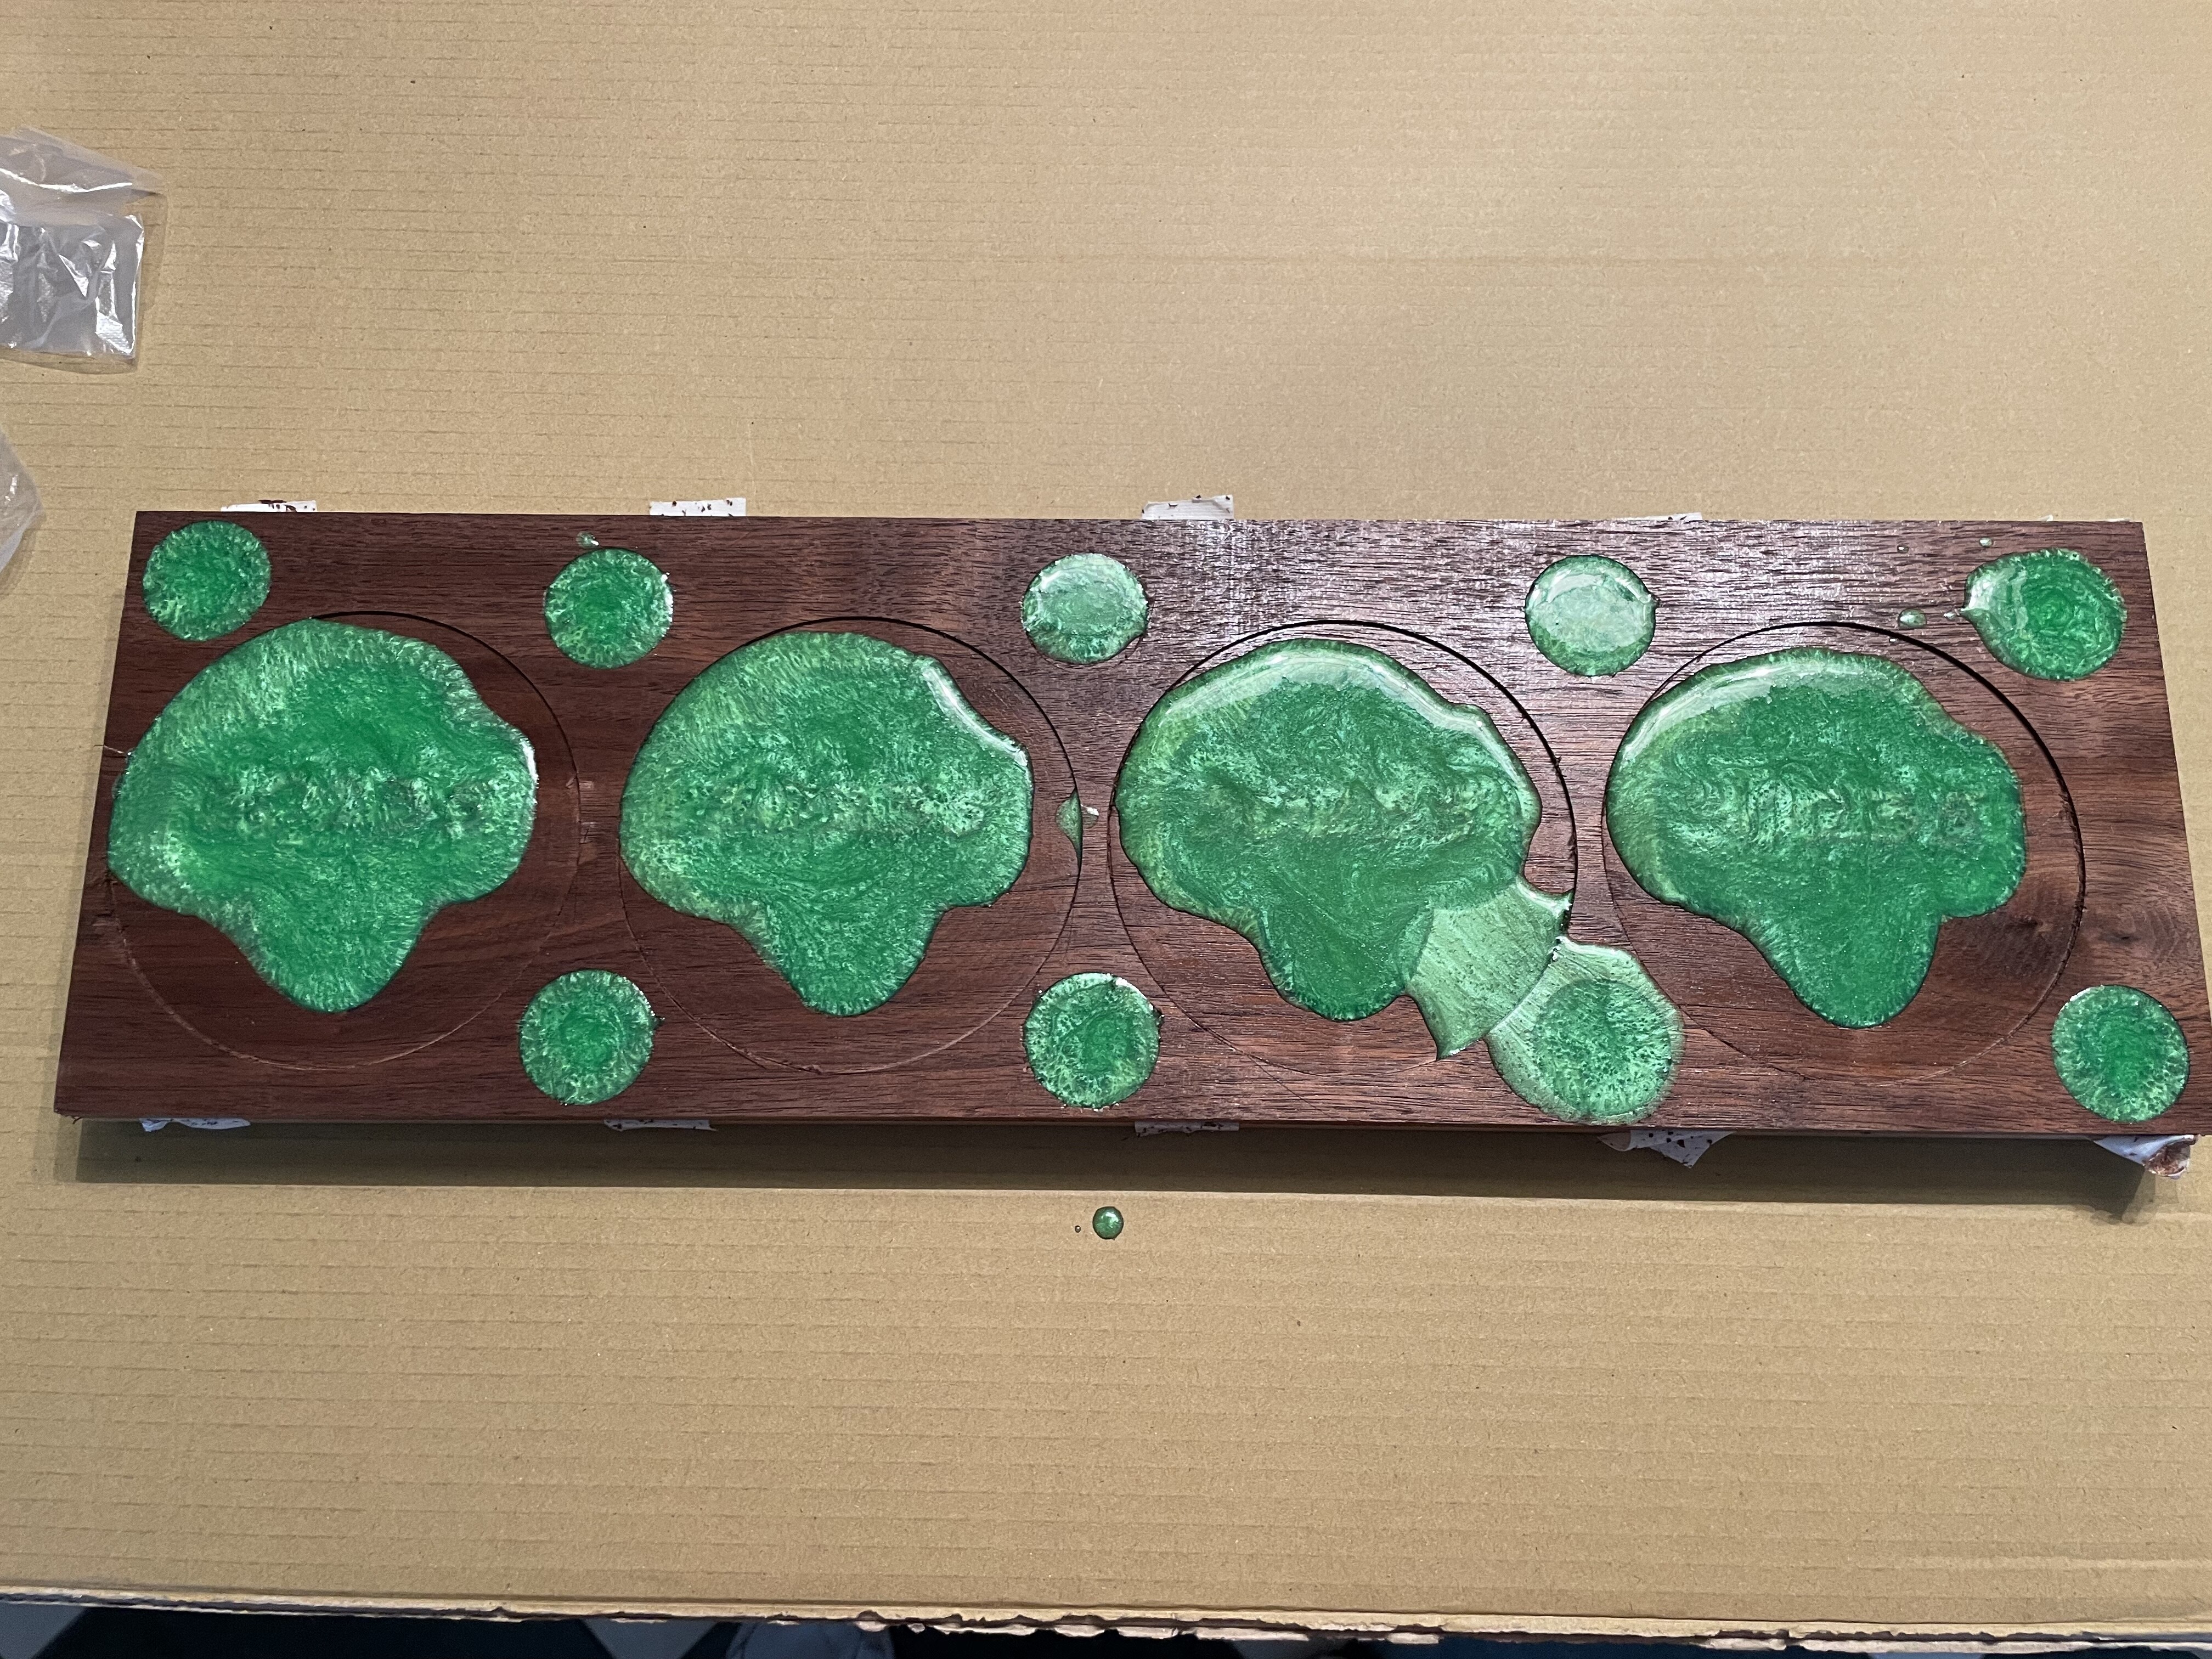
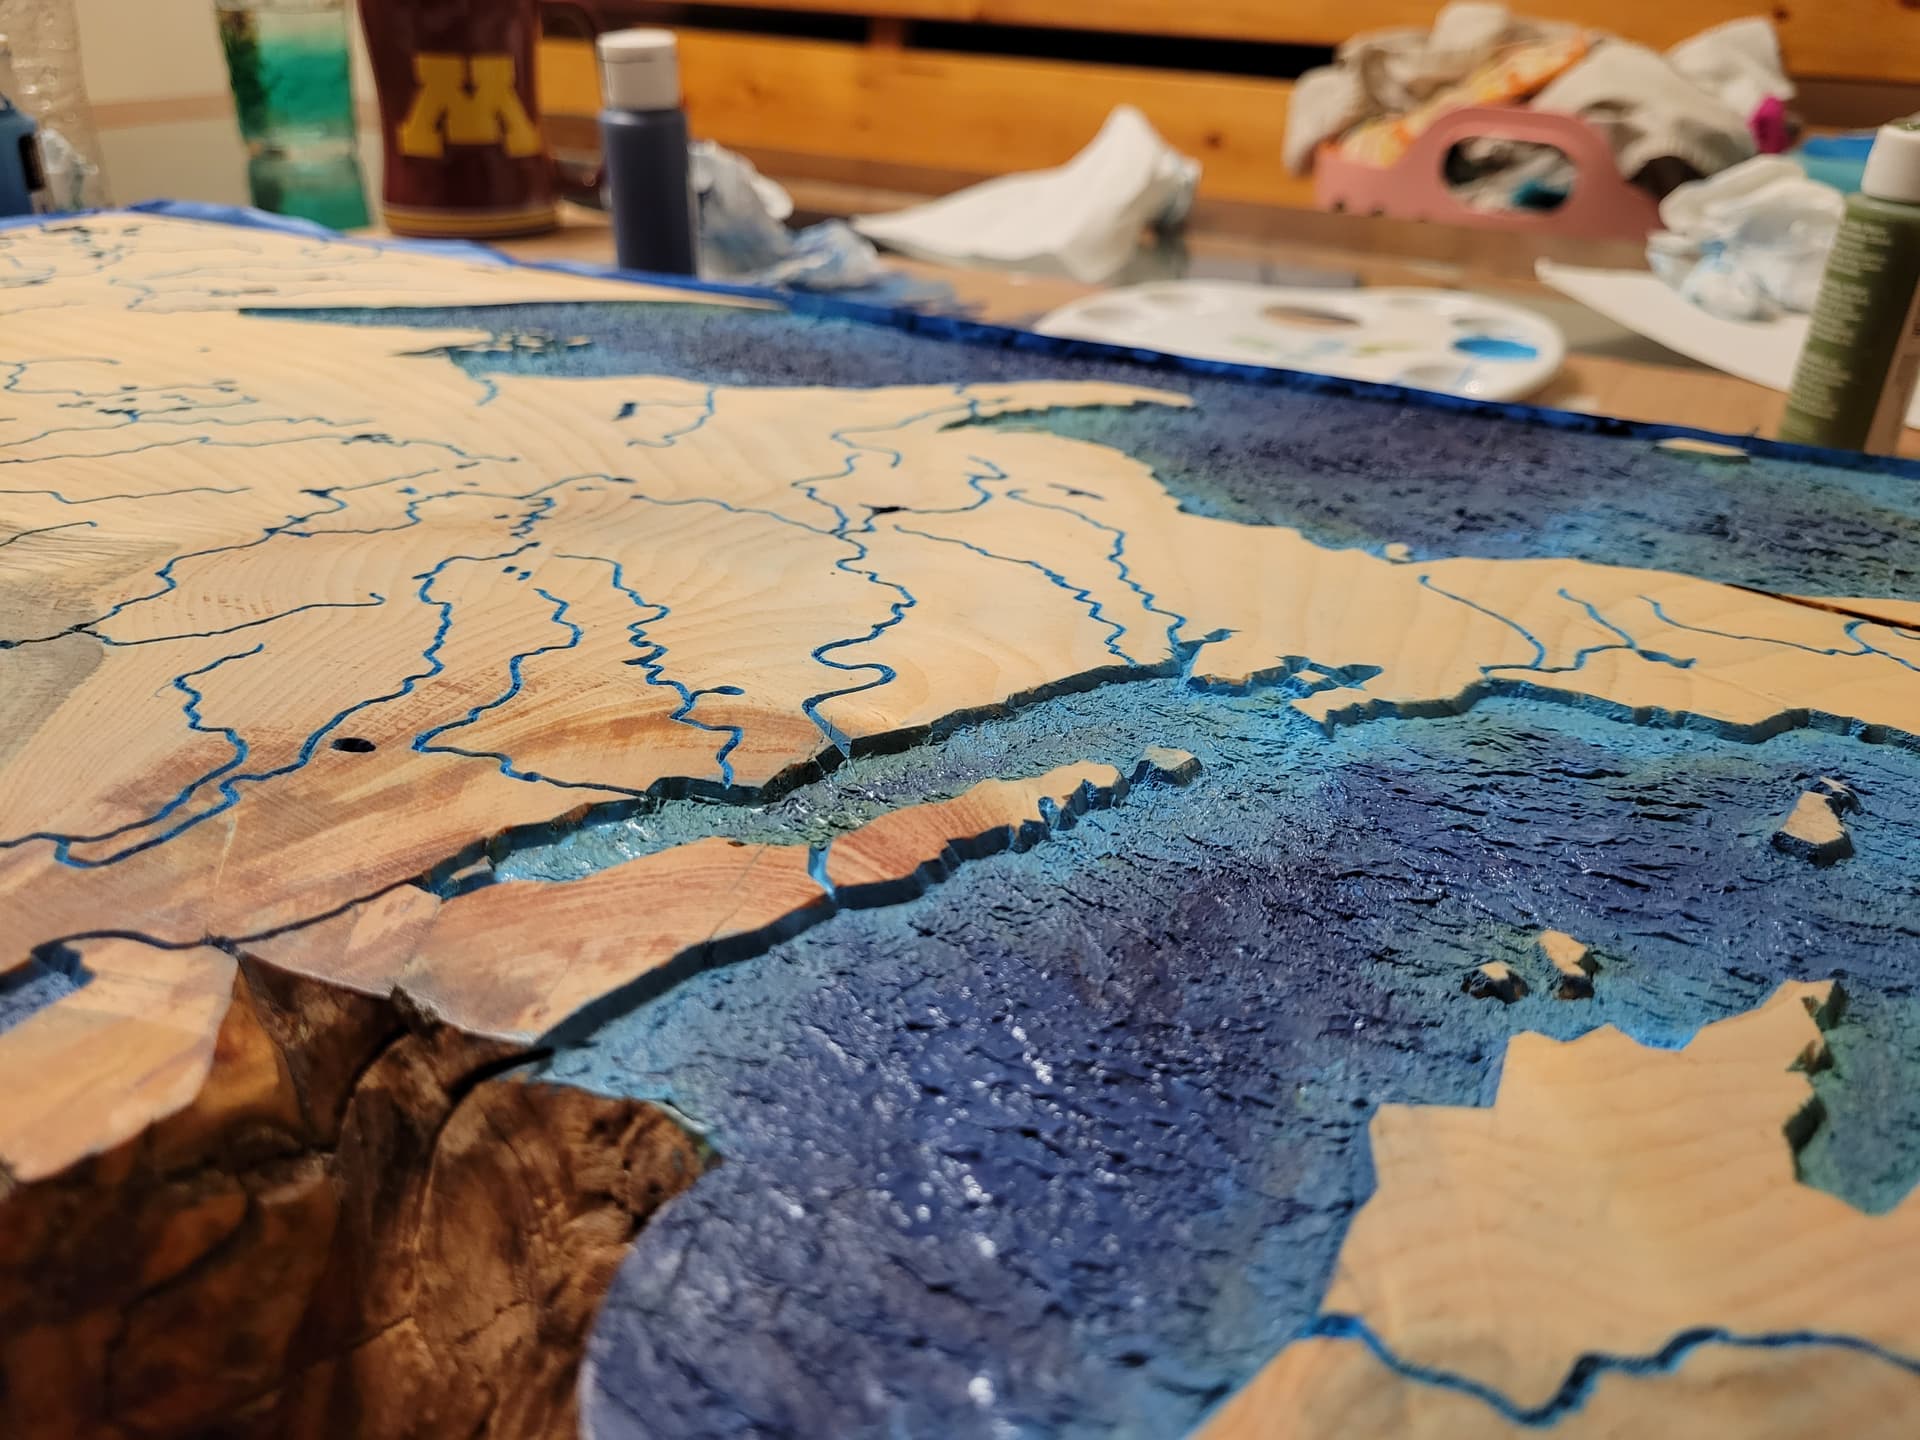
Thanks. I have a set of coasters curing now and thought about using the planer to save time as some have suggested but I am worried about snipe or going a little too deep. There are raised numbers in walnut under the green blobs. In the end it should be the Girl Scout troop number sitting inside the green logo on a walnut coaster.
I recessed the overall coasters slightly because the walnut was a little too thick and I wanted to build pockets to hold the epoxy flow. First time I am trying it. I had room on the wood so a carved a bunch of medallions as well to not be so wasteful. Hopefully I will have time to finish on Friday.
BTW, I ordered a butane torch as well. Got a few bubbles in this but I am hoping they will disappear with the flattening. If not, try again.