A couple of suggestions. The planner can be used to flatten your project but it may not be the best choice. The planner does not like epoxy and it is a very violent operation to remove epoxy. A better alternative is to use your Shapeoko to surface the epoxy off or 60 grit sand paper will remove the epoxy.
Epoxy gets air bubbles in it from simply mixing it up. Depending on the type and cure time one thing is to just let it sit for about 15 minutes in the cup and a lot of bubbles come to the top. If you have a blow dryer or a heat gun that can also be used. The hair dryer does not get as hot as a heat gun but does work.
A torch is the best method but you need to be aware lighting a flame of an intense heat is dangerous. So be prepared with fire extinguishers nearby. No one sets their shop on fire on purpose but it can happen.
Benzomatic makes a propane and a map torch. The propane torch gets plenty hot for busting air bubbles. The map torch gets very hot but has purposes other than busting air bubbles around the house. The torch heads are not interchangeable so the blue propane and the yellow map gas bottles are not interchangeable for the respective heads for the torch.
When using the propane torch you typically hold it upside down to hit the surface of your epoxy. The torch can sputter and go out. The propane safety about propane bottles used for your BBQ pits tell you to never turn the bottle upside down. The propane is a liquid inside the tank and is turned into a gas when it is dispensed. If the propane bottle is upside down you get liquid flowing instead of gas. The liquid is burnable but tends to drizzle out and causes your torch to go out. When this happens take your finger off the trigger to avoid excess gas coming out. The torch nozzle is angled at about 45 degrees so to hit a horizontal surface you think you have to turn the bottle upside down to get the fire on the epoxy. Just keep the bottle horizontal with the floor for best results. Also keep the flame moving and do not dwell in one spot too long. You can damage the epoxy or the project by lingering too long. Move slowly but steady for the best action. You can also torch the epoxy in the mixing container before pouring it. Just be careful if using a plastic container. Keep the torch moving and do not linger.
Thanks. I do have a small butane torch on order. Based on the videos I have seen it should be sufficient for smaller projects and a little easier to handle. Same safety precautions apply for sure.
If I graduate to a larger pour then using a propane one would be better I am sure.
I am not super happy about the coloring here. It is kind of mottled. It will work for my case but I am guessing the liquid dyes would provide a lot more consistent color than the mica powder. Or maybe I just didn’t stir enough.
note also that you get far fewer bubbles if you warm up the epoxy components before mixing… especially in winter or colder climates
(to “just above luke warm”)
I was too lazy this time and didn’t really want to set up a water bath. I wonder about a USB coffee cup warmer under the cup containing the epoxy while I mix.
Brand new to all of this. Recently got an SO5. This is one of the first things I’ve made. Design from cutrocket but edited for the acrylic I had on hand. This was like version 6 . . . . Pretty steep learning curve but fun so far!
When mixing epoxy when you are through mixing mix some more. I have used transtint dye and also powders. Either will work but many powdered colorants give that swirly look. Do more research if you want opaque color that is a solid color. Transtint dye gives solid color where most powders give that mottled or swirly color. On deep pours before your epoxy sets and is in a jello state stir because the color tends to sink to the bottom. When in the jello state the color will not sink back to the bottom as it does when first poured. For shallow pours that may not be practical.
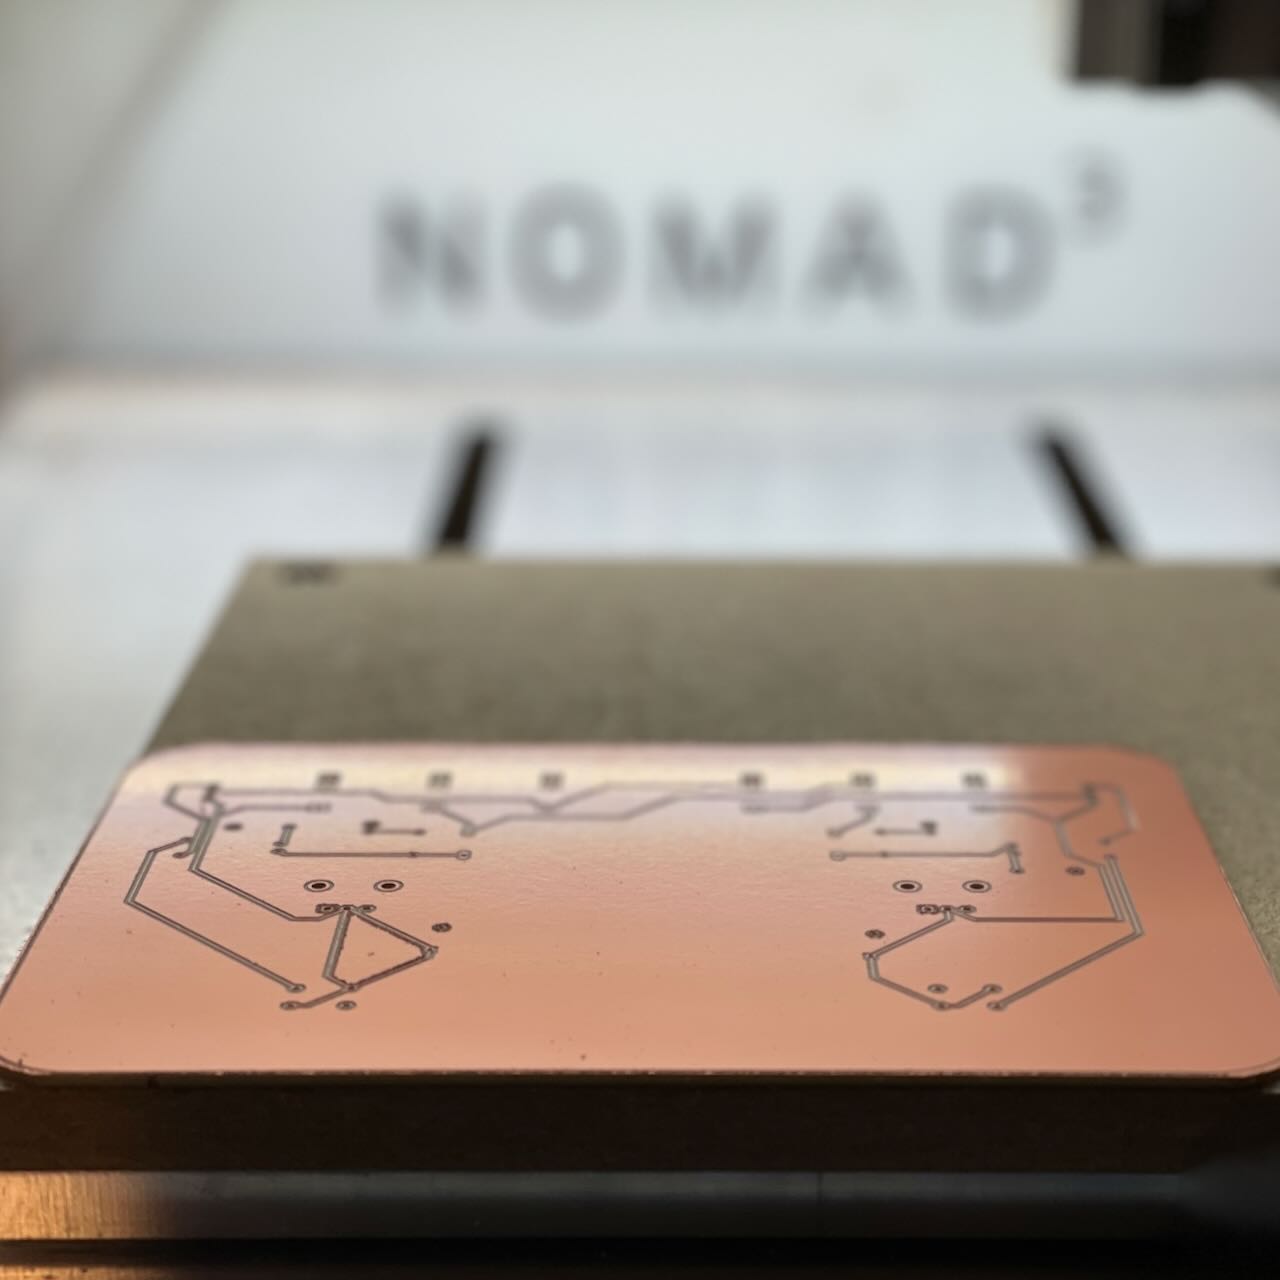
I’m getting closer to my goal of building my own musical synthesizer instruments (almost) completely with a Nomad! Enclosures and knobs are the easy part. But machining PCBs are something else entirely. I made some progress last week on machining my first PCBs. Definitely requires a bit of optimizing both the machining parameters (feeds and speeds, currently using 501/502 engravers for FR1 copper clad), but I’m finding more work is needed on the layout/design side (optimizing trace widths, spacing, isolation passes, and pad sizes to allow for easy component assembly and soldering). Once I found a good set of design/machining parameters - being able to modify a pcb design and machine a new board the same day is invaluable for quick prototyping of early circuit designs!
There are millions of mad scientists working in their garages creating all kinds of things. I have been a woodworker for about 50 years. I used to live in a suburban neighborhood in Kingwood Texas. My 2 car garage was packed with woodworking equipment. In front of my house was the gang mail box and my neighbors would come up to the open garage doors and oogle my equipment. Most could not believe that I made stuff. There are just too many people that do not make anything but trouble.
Good for you that you are making things. We need more makers in this world and less takers.
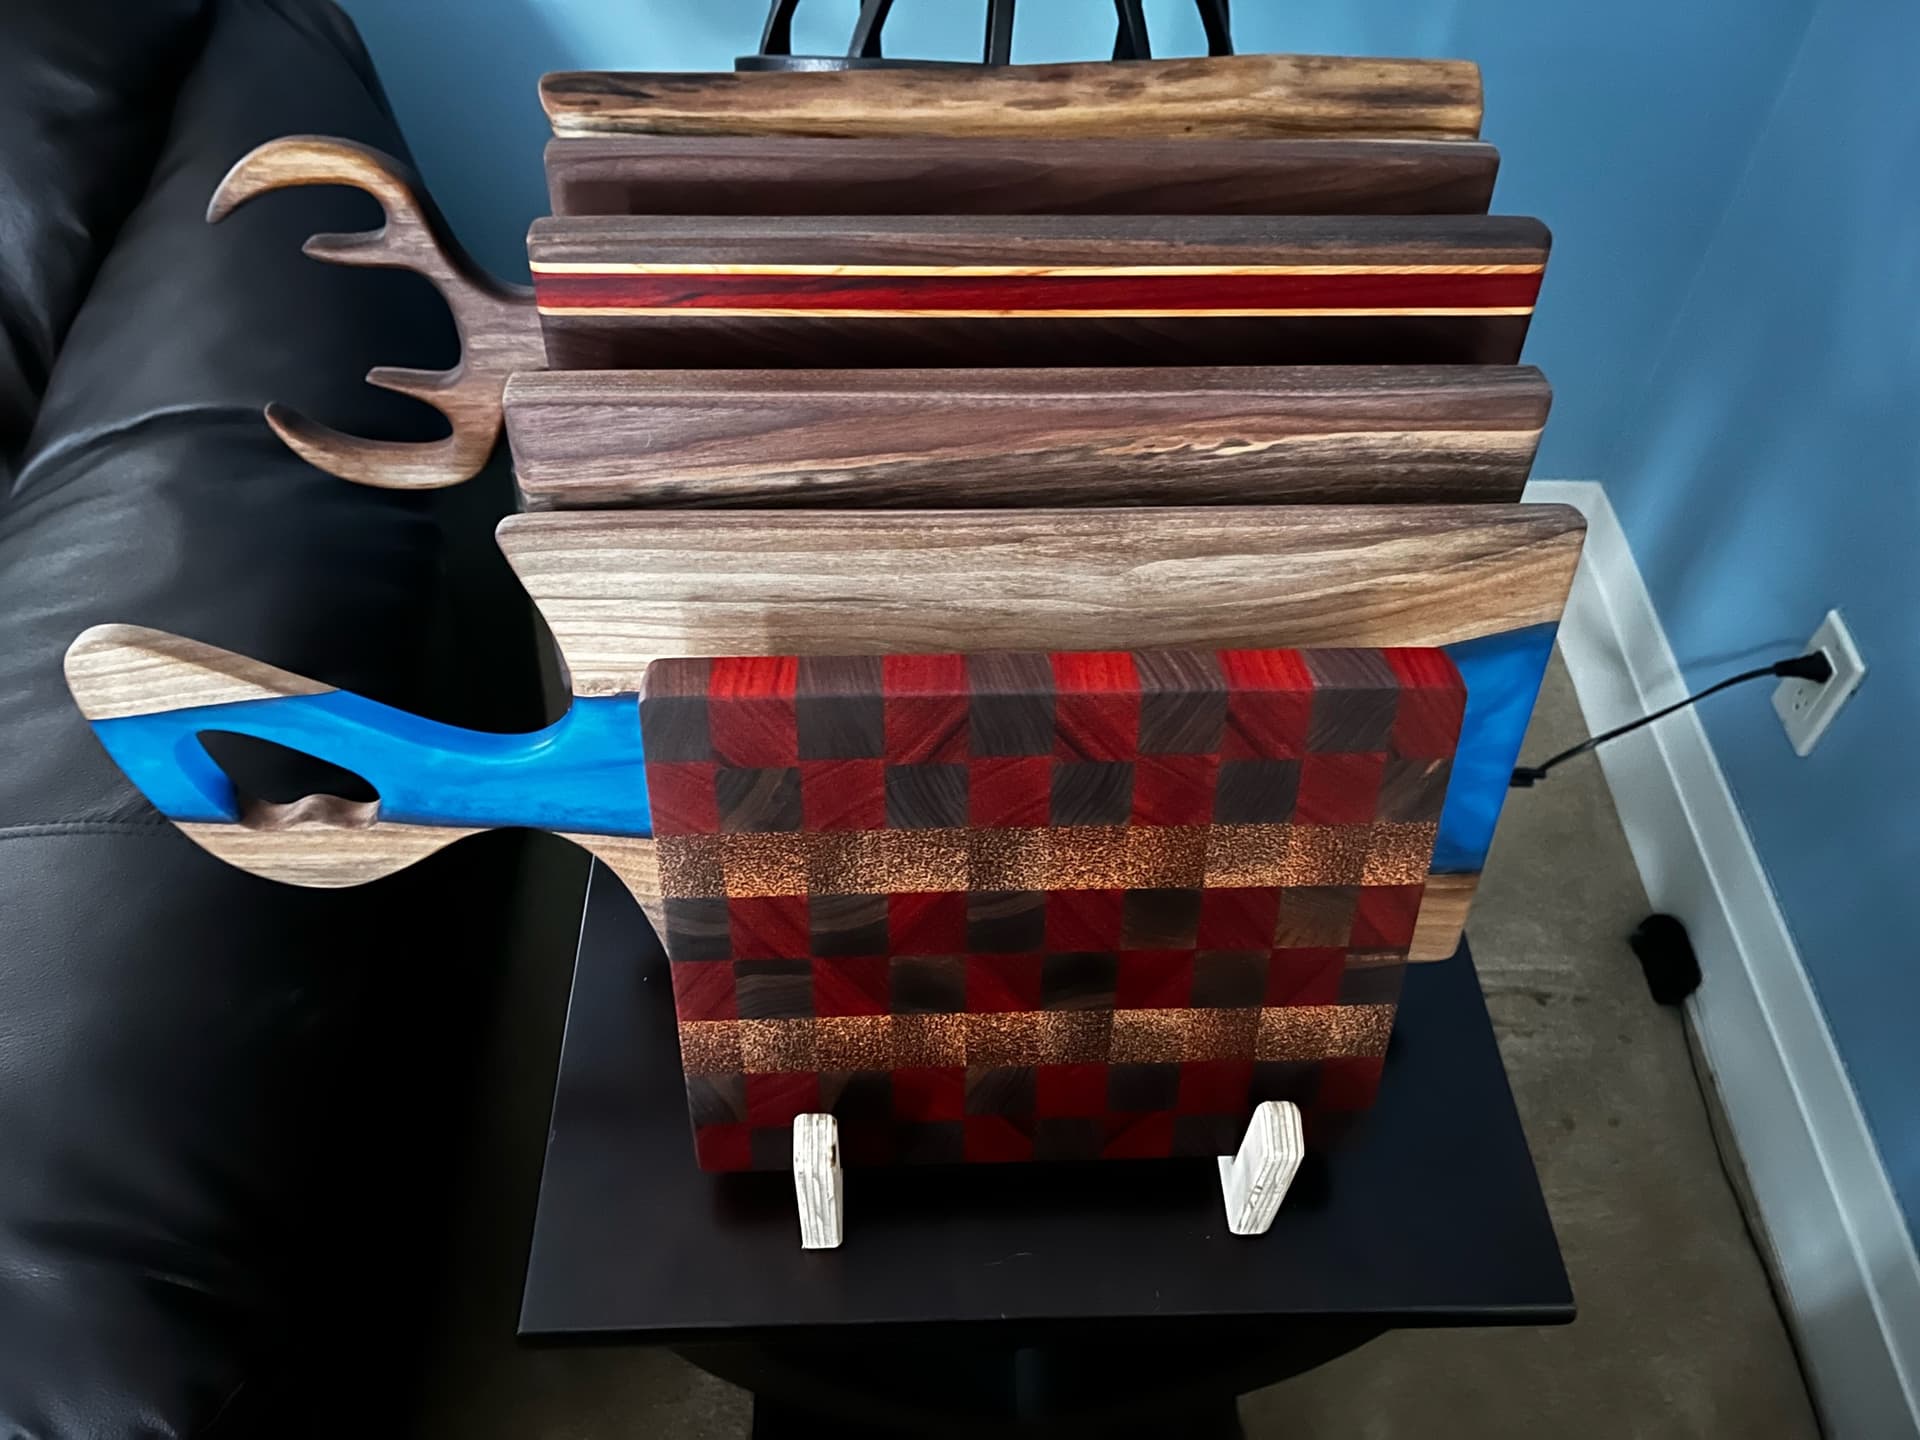
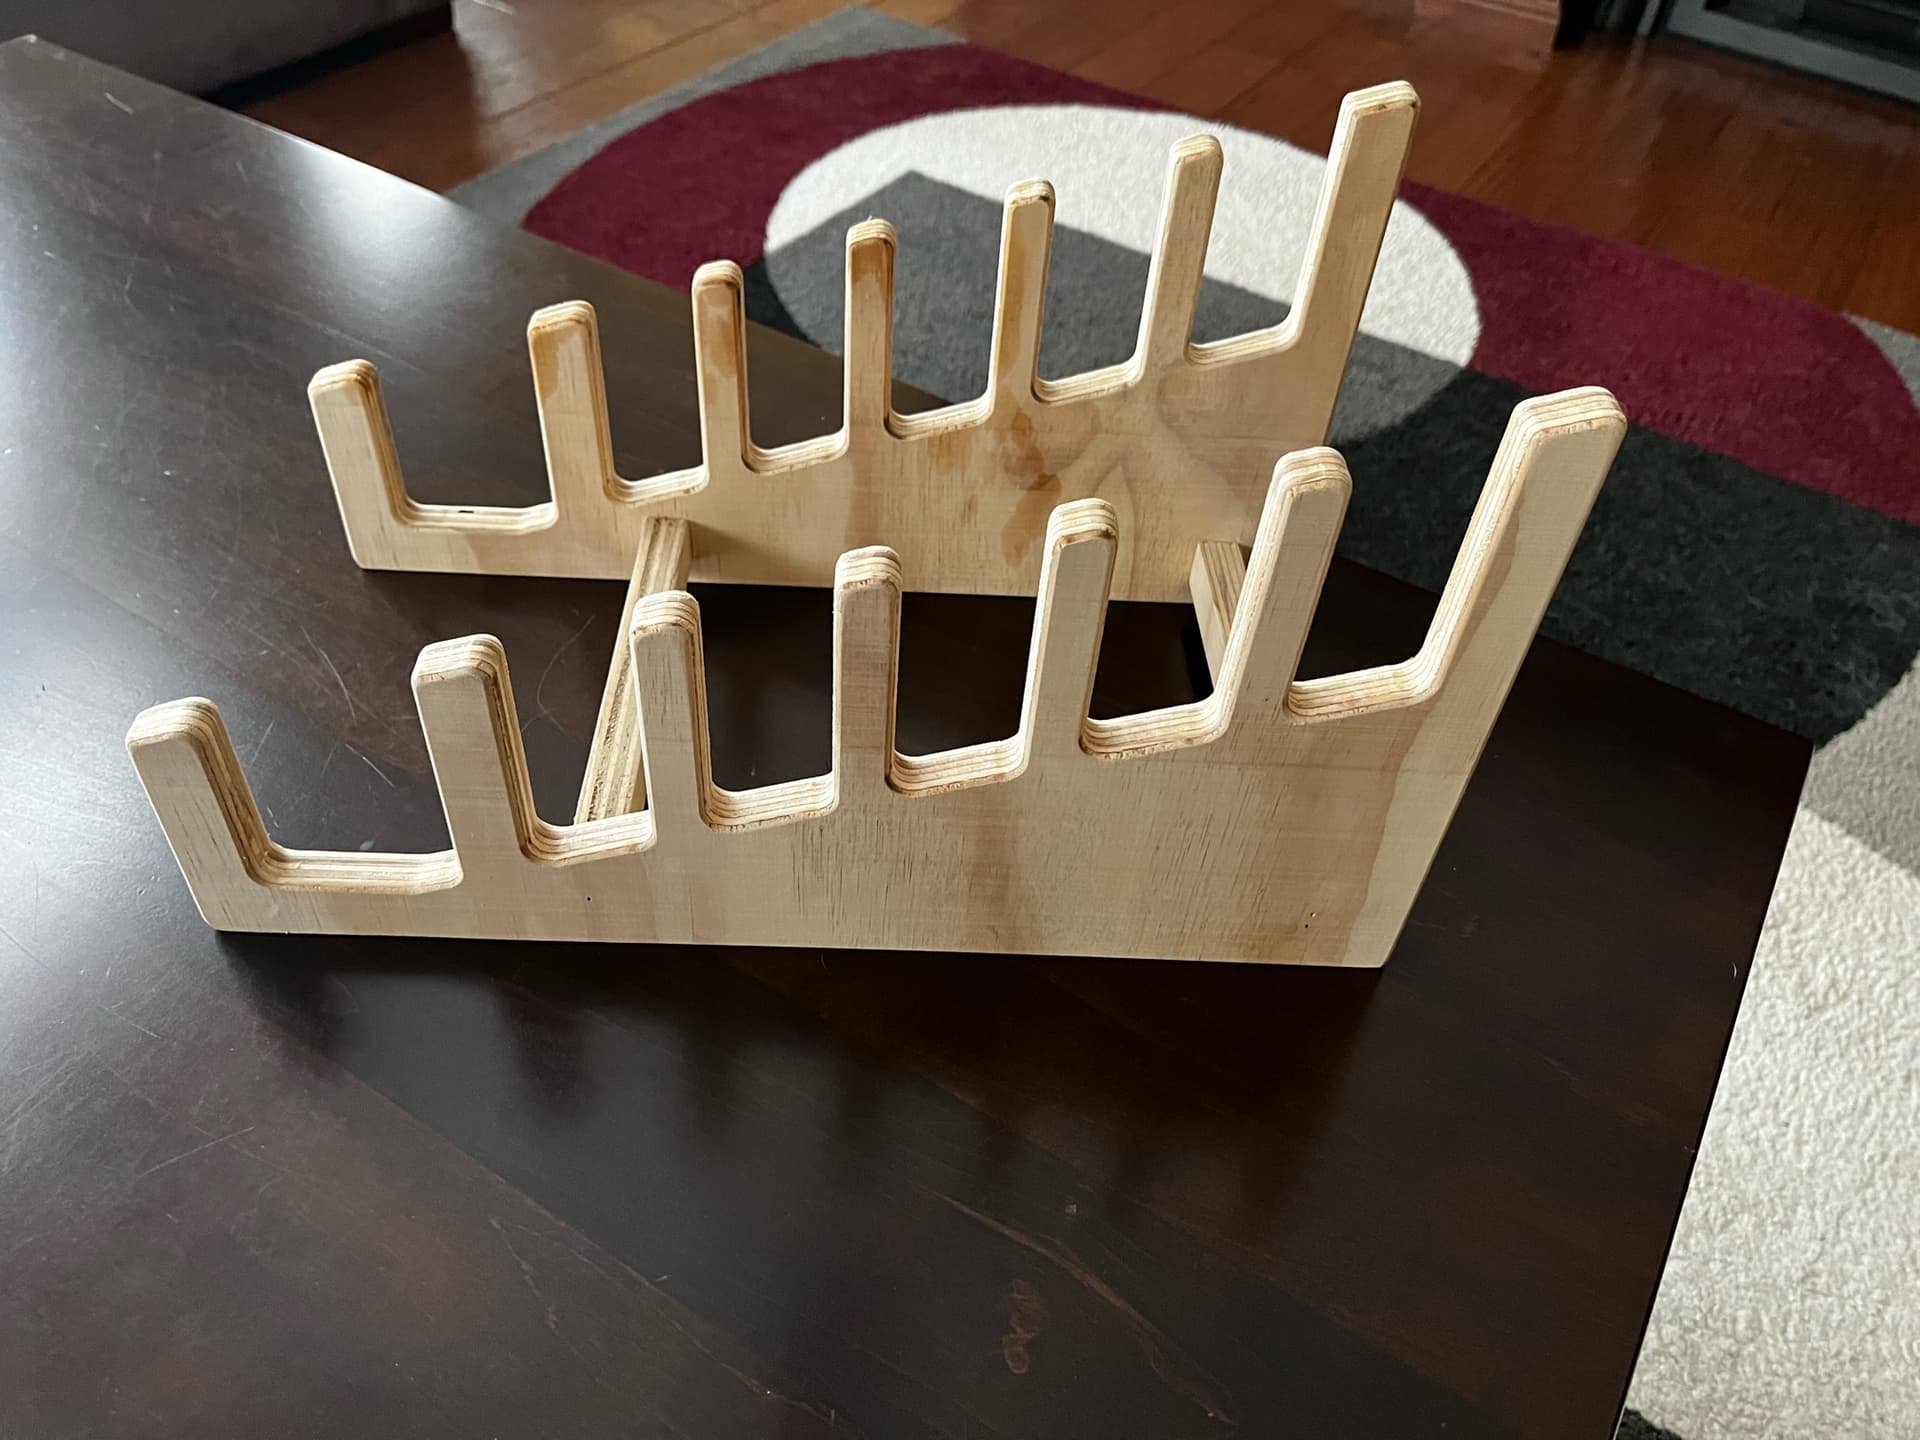
I just recently purchased my 4XXL and new to the CNC world. This is one of my first projects. Just a basic stand to hold my cutting / charcuterie boards. It’s a side business I started with my daughter so she can learn how to run and operate a business. I am still learning how to design and set proper toolpaths with Carbide. The projects everyone is making are incredible! I look forward to just keep expanding my knowledge and enjoying learning something new. This community is incredibly helpful! Thanks all!
I’ll second that. I bought a used Pro XXL a couple of months ago and have done a few small things. I just spent the last week reading this thread from the very beginning to get ideas and inspiration and wisdom.
The skill and creativity exhibited is amazing. I saved off many posts to refer back to later when I am ready for projects of that caliber.
I think all newbies should be directed to this thread and instructed to devour it. One thing that I would like to see is a curated list of projects that are good starters to get newbies familiar with the technology and various common techniques. Maybe 5 or 6 good starters along with some real pictures of the output for people to be able to gauge their work against. Perhaps this exists out there but I have not found it yet here or in cutrocket.
My biggest problem now is time to try all the amazing stuff. I feel like I need to quit my job, divorce the wife, put the kids up for adoption and find a homeless shelter with a couple spare power outlets so that I can devote enough time to explore and improve.
I have been doing traditional woodworking for a long time, but those skills were developed in my single days, just more honed over the intervening years.
Excellent Will. Thanks, I went through some of the material on the Carbide site but did not see that one. I was probably just too excited to get cutting.
Probably better that way, now I know better about what to glean from the videos.
So the epoxy turned out not to be an issue but the depth was. I was concerned about that and decided to cut some pockets in a piece of test MDF with 3 different bits and 2 different depths so that I had a good idea of what I wanted to do. Oddly all of my test pockets were deeper than expected by .02 to .03.
Anyway, I wanted a .06 pocket to flatten the epoxy so I decided to create one file with a .03 and then another with .01 so that I could sneak up on the correct depth. But what I got was much deeer.
Here was my process
cut test holes in MDF (thinner material, manually set Z). Used 3 bits.
mounted final workpiece
hit the tool change button. It asked for the 201 for some reason but I put in a 1/4 downcut bit.
used bitzero V1 to set zero on the top of the wood even with the top surface of the pocket that was already there.
removed bitzero and jogged to Z+6mm and then eased closer. It looked good.
loaded job and hit start
CM asked for the specified tool which was already in and the one I had set zero with.
it used bitsetter to recheck and then started the job.
I could tell it was too deep as soon as sweepy got out of my way but I let it proceed.
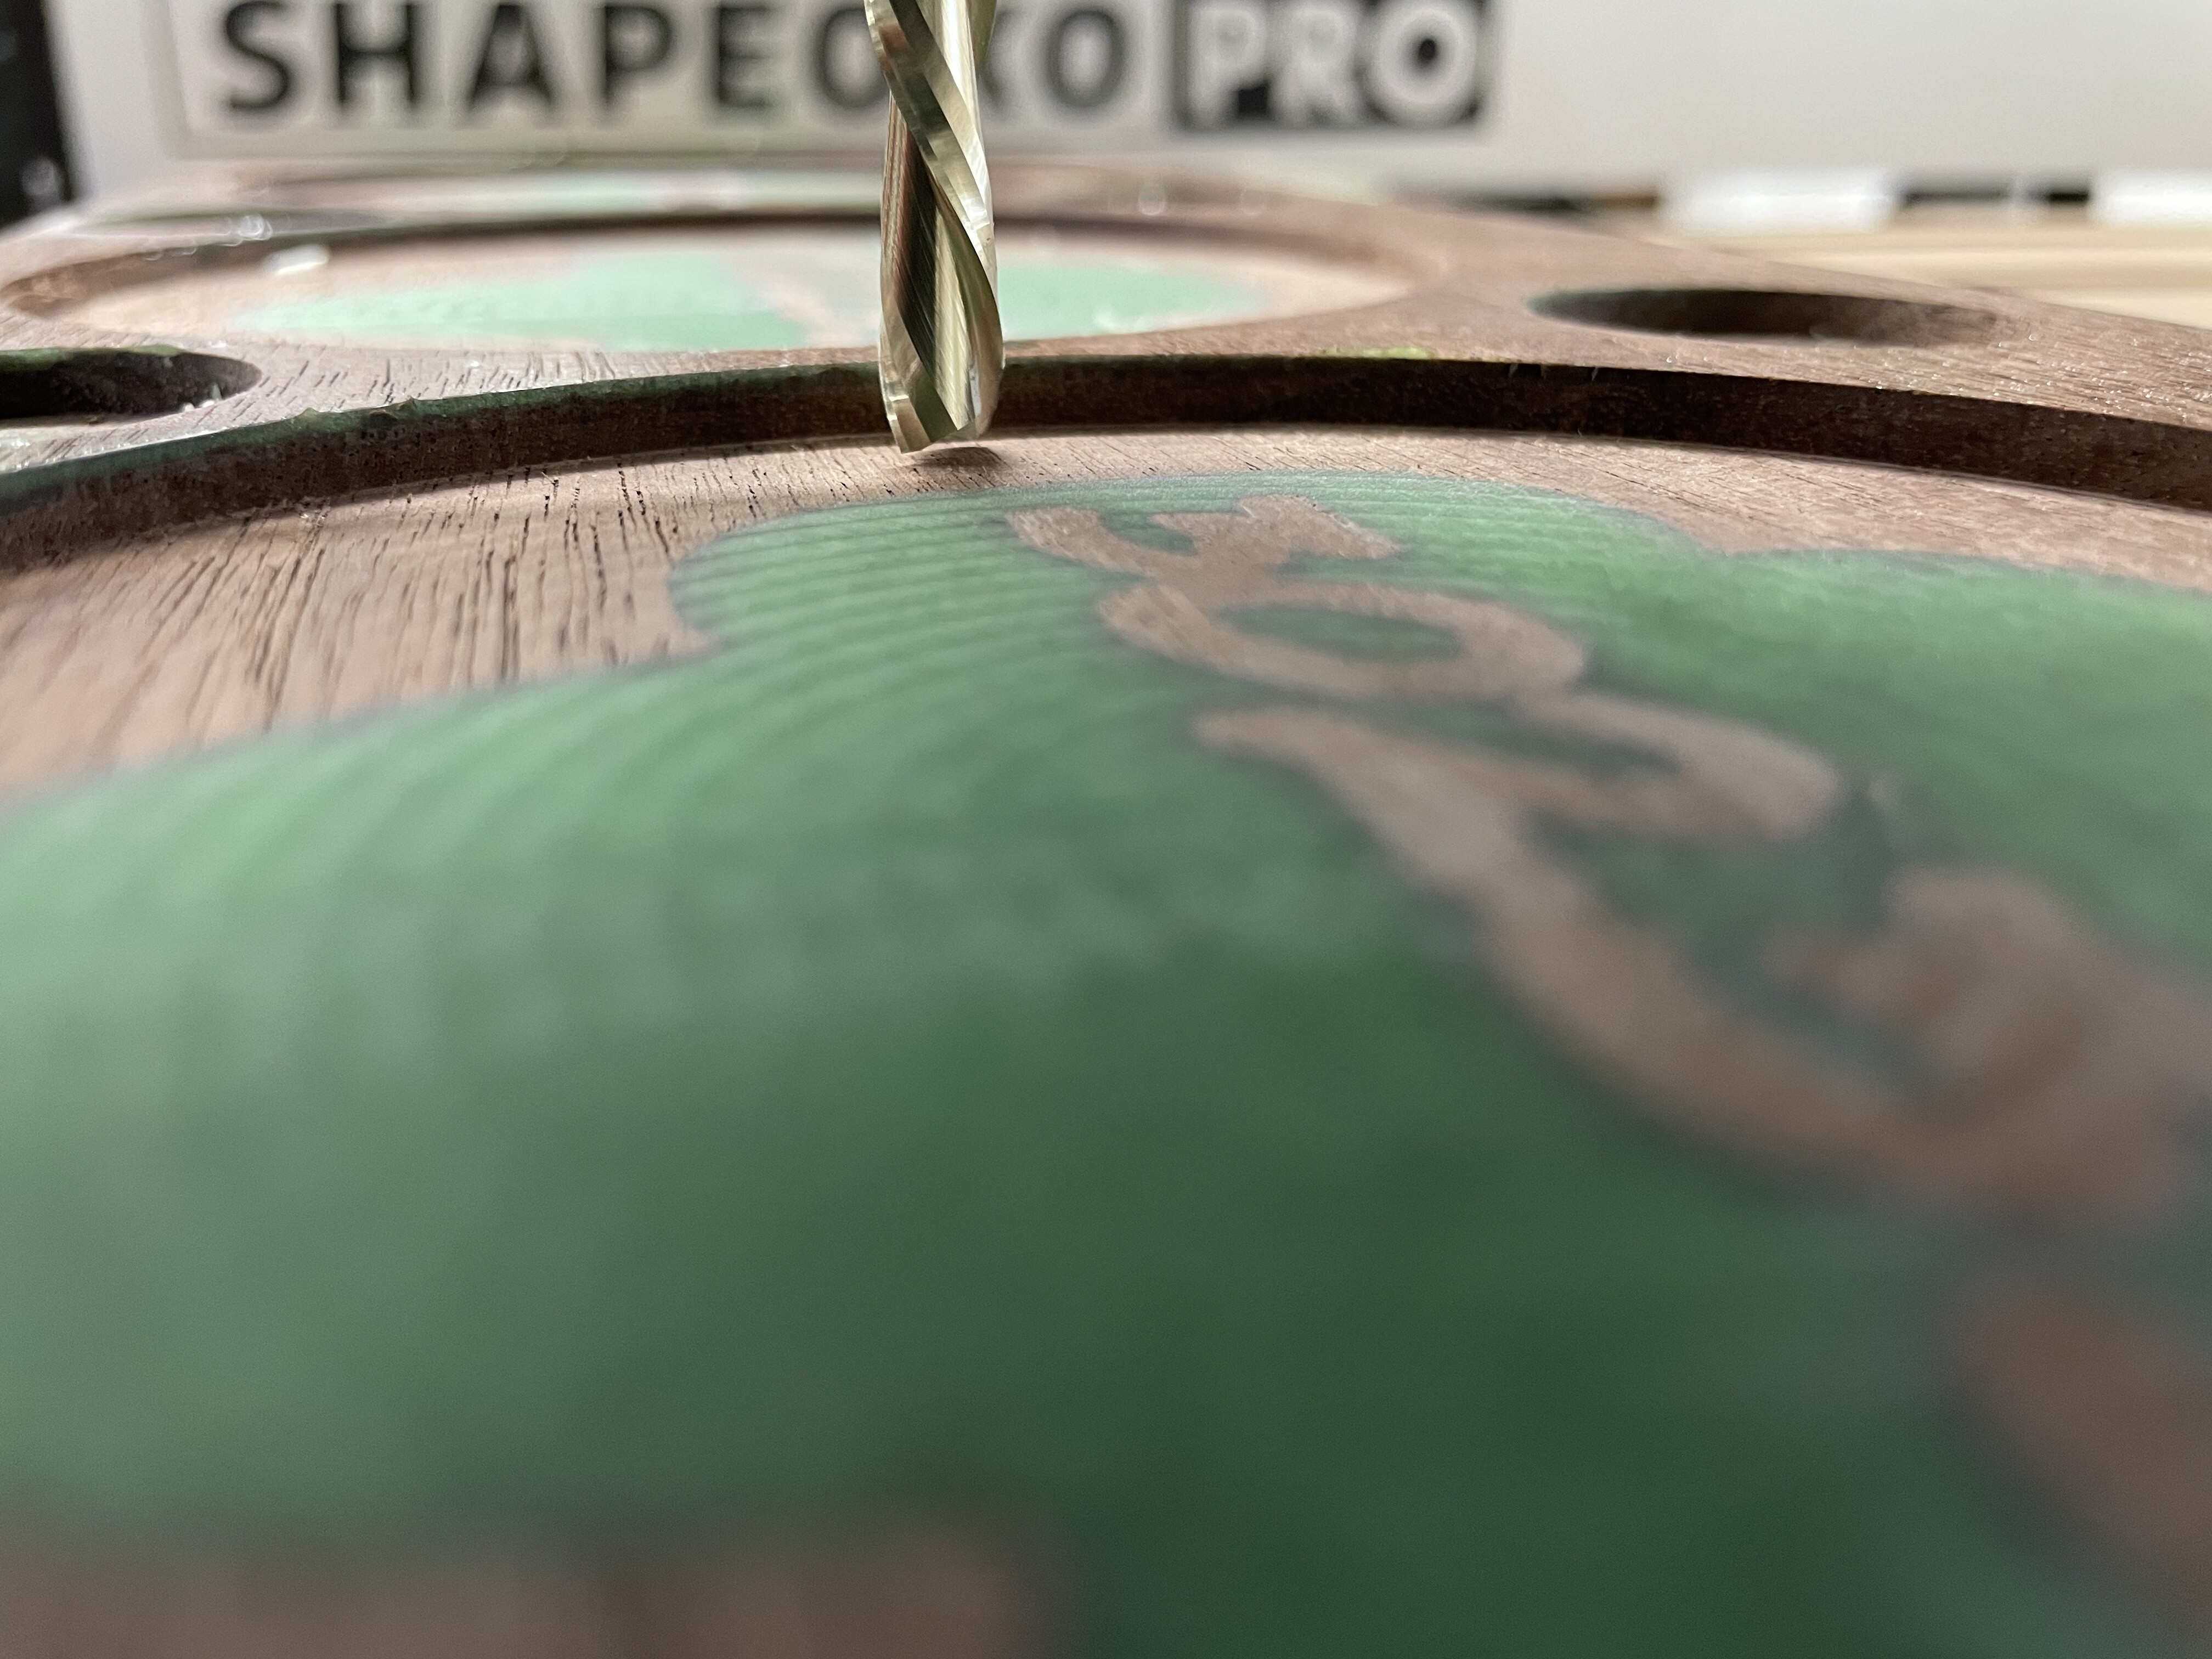
Actual depth was closer to .14. When the job finished I jogged over into one of the pockets and jogged to Z+6mm and then slowly lowered to zero. You can see in the pic that it is barely above the surface, so if Z had been correct the .03 would have probably been about right.
I am not sure what happened there. I guess after that final bitsetter operation I should have checked the zero again. I don’t know if it has anything to do with the previous test job being thinner and having a lower zero, but I did readjust in step 4.
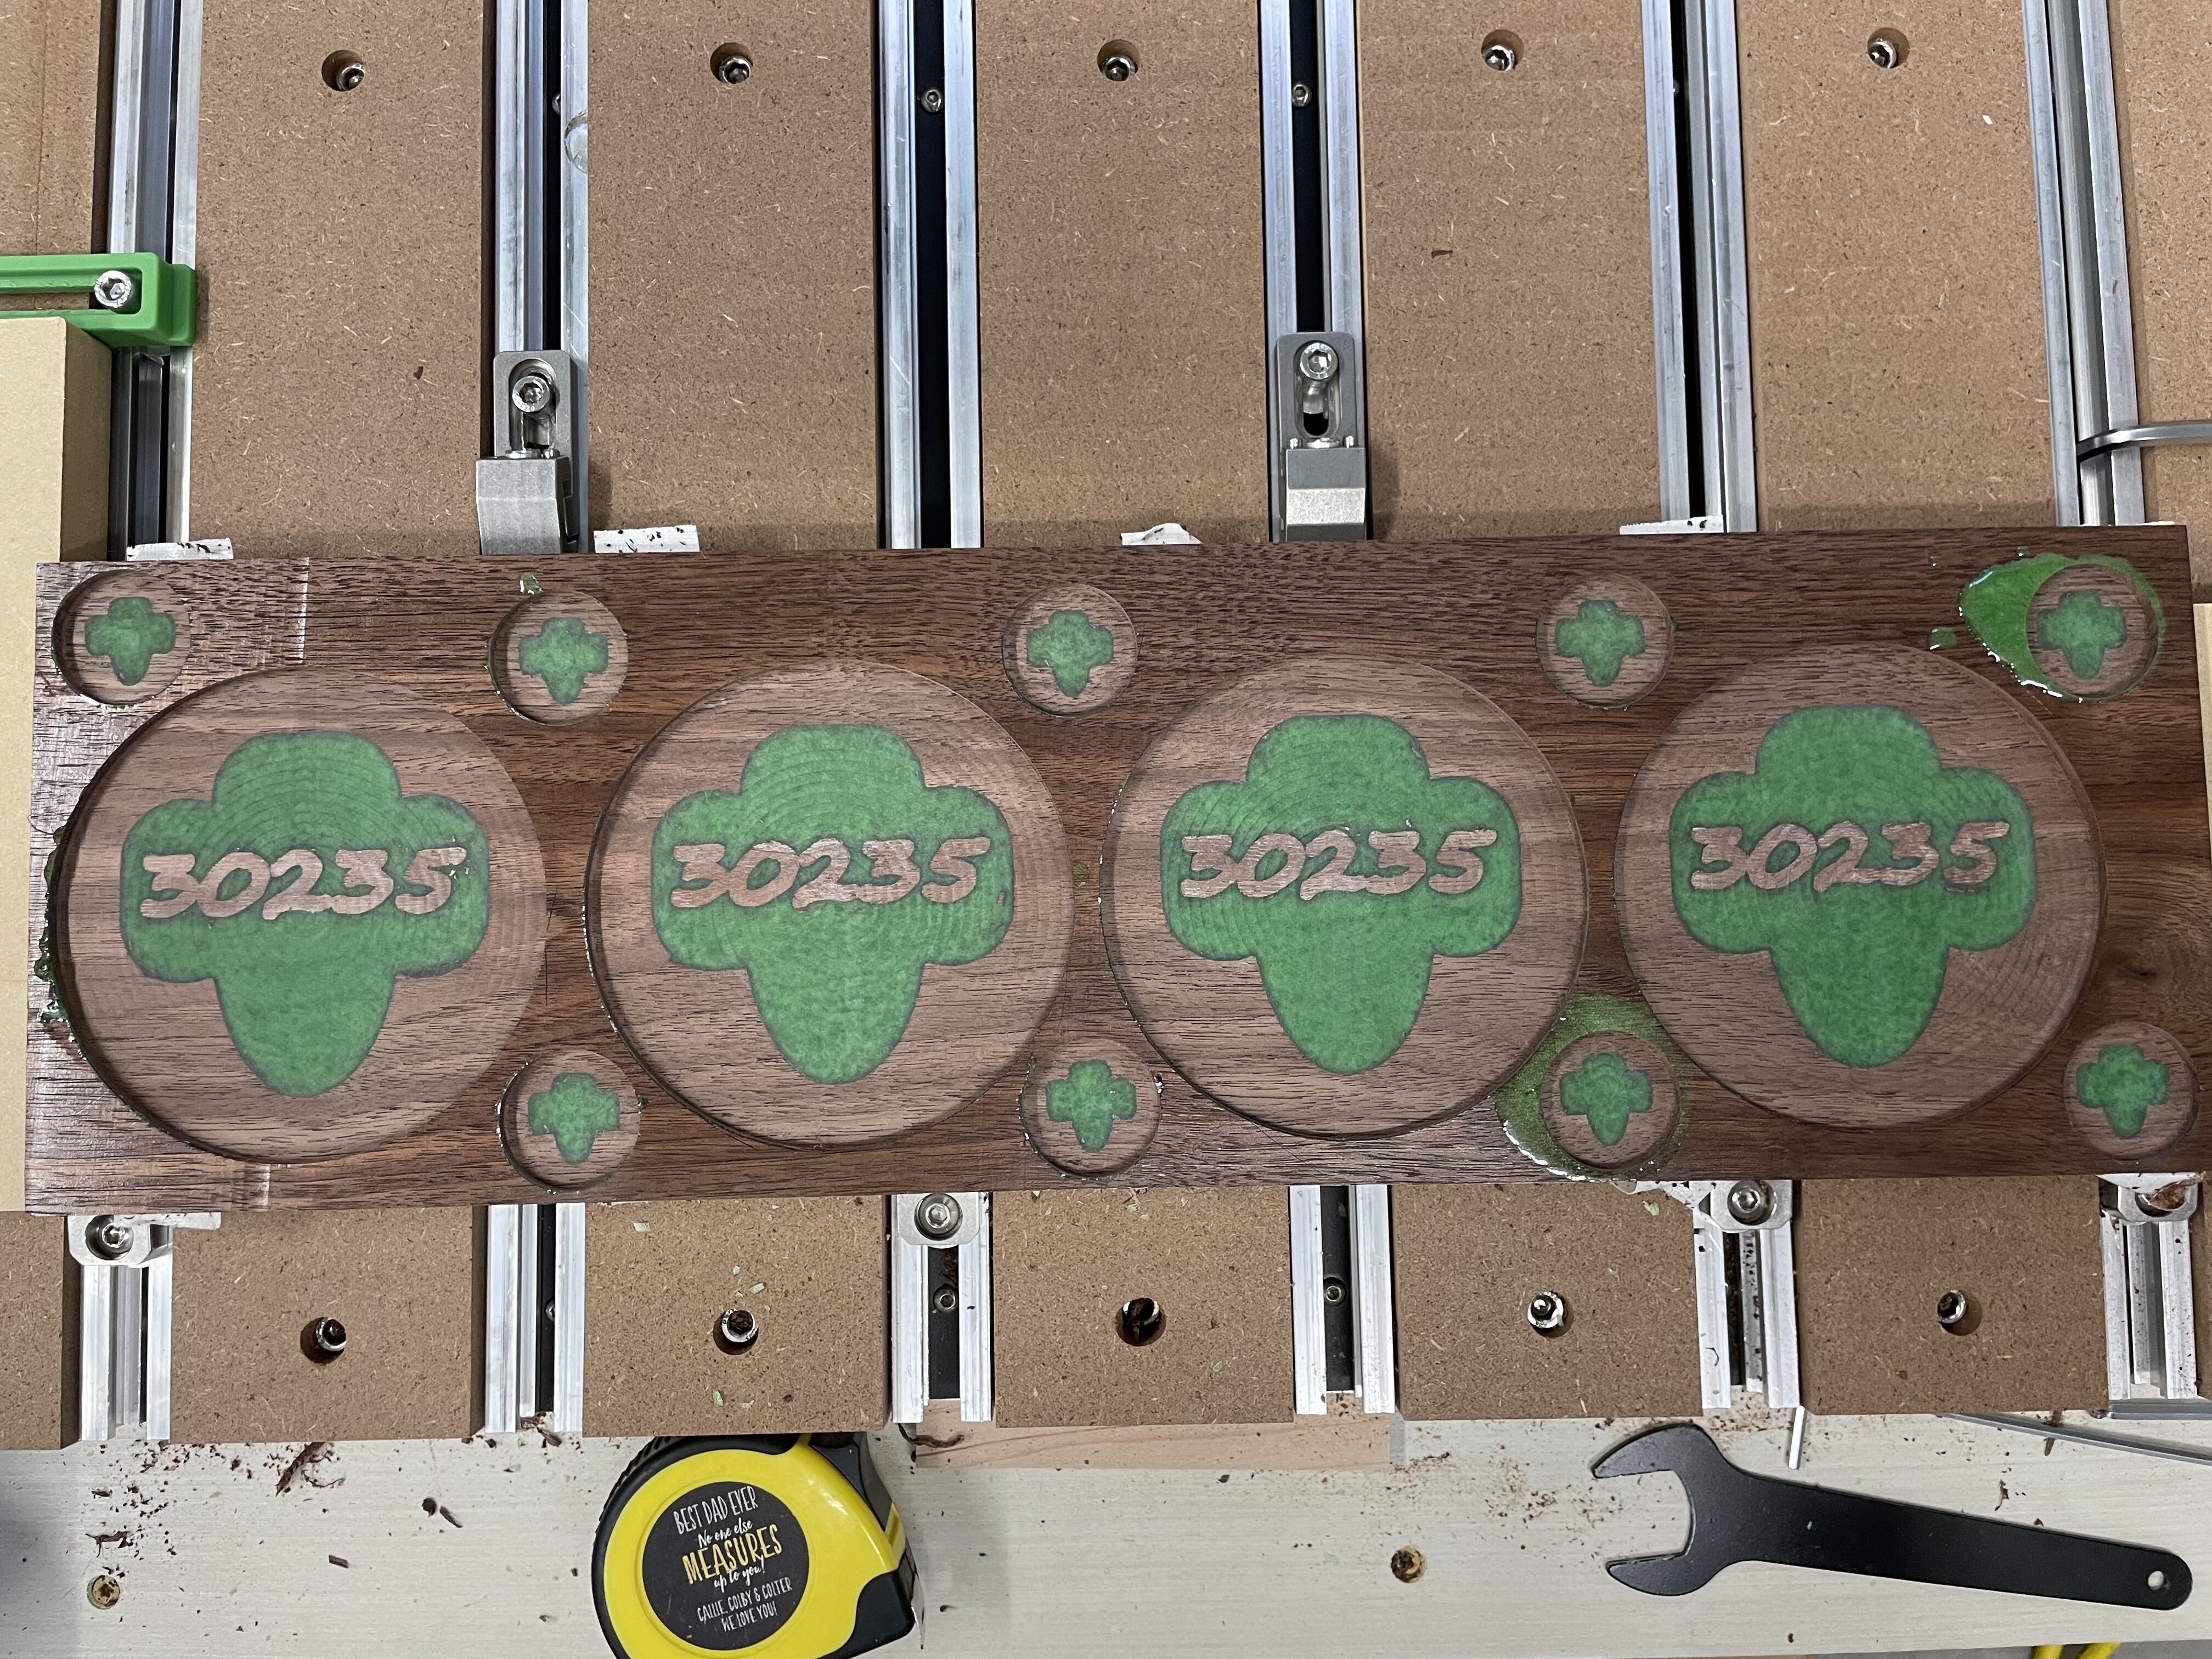
These are still sort of OK, the numbers are just a little too thick and some bad spots I didn’t cleanup from the V carve show through. I didn’t expect to go that deep so I wasn’t worried about them.
My next step was going to be a small vCarve operation with kid names in each one and then a coat of black epoxy and reflatten. I’m not sure these would be useable at that point but I will go ahead and do it for the experience.
All in all, it was OK for a first epoxy experiment. Waiting days between cuts sucks though.
Most Z inconsistencies that are that far off are due to a lapse in the procedure for the BitSetter from what I have seen. Give this a look over and see if it helps. Basically never remove and install anything in the collet unless you’ve hit the “Load New Tool” button, or prompted by the program you’re running. It sounds like you did, but just in case…
Did you have your BitZero fully on top of the material when you reset Z and not off the side like for an XYZ probe? Is your program expecting the top of the whole material (not the pockets)?
Yes I only changed the bit with the Load Tool option and yes, in step 5 after bitzero I validated zero at the top of the walnut, not inside the existing pocket.
That existing pocket was .06-.07 deep and I was trying to get the epoxy back down to that level or slightly lower.
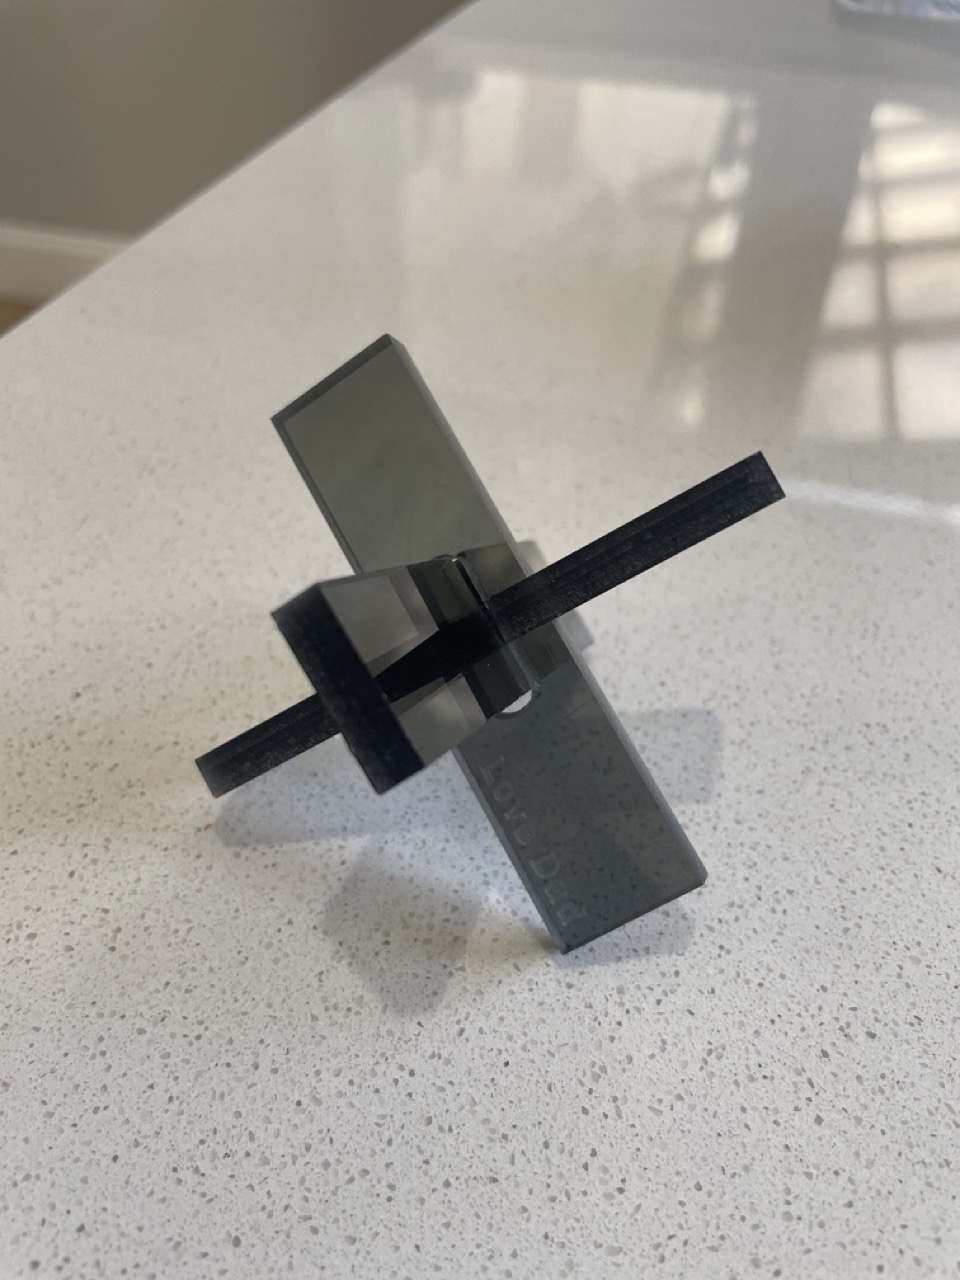
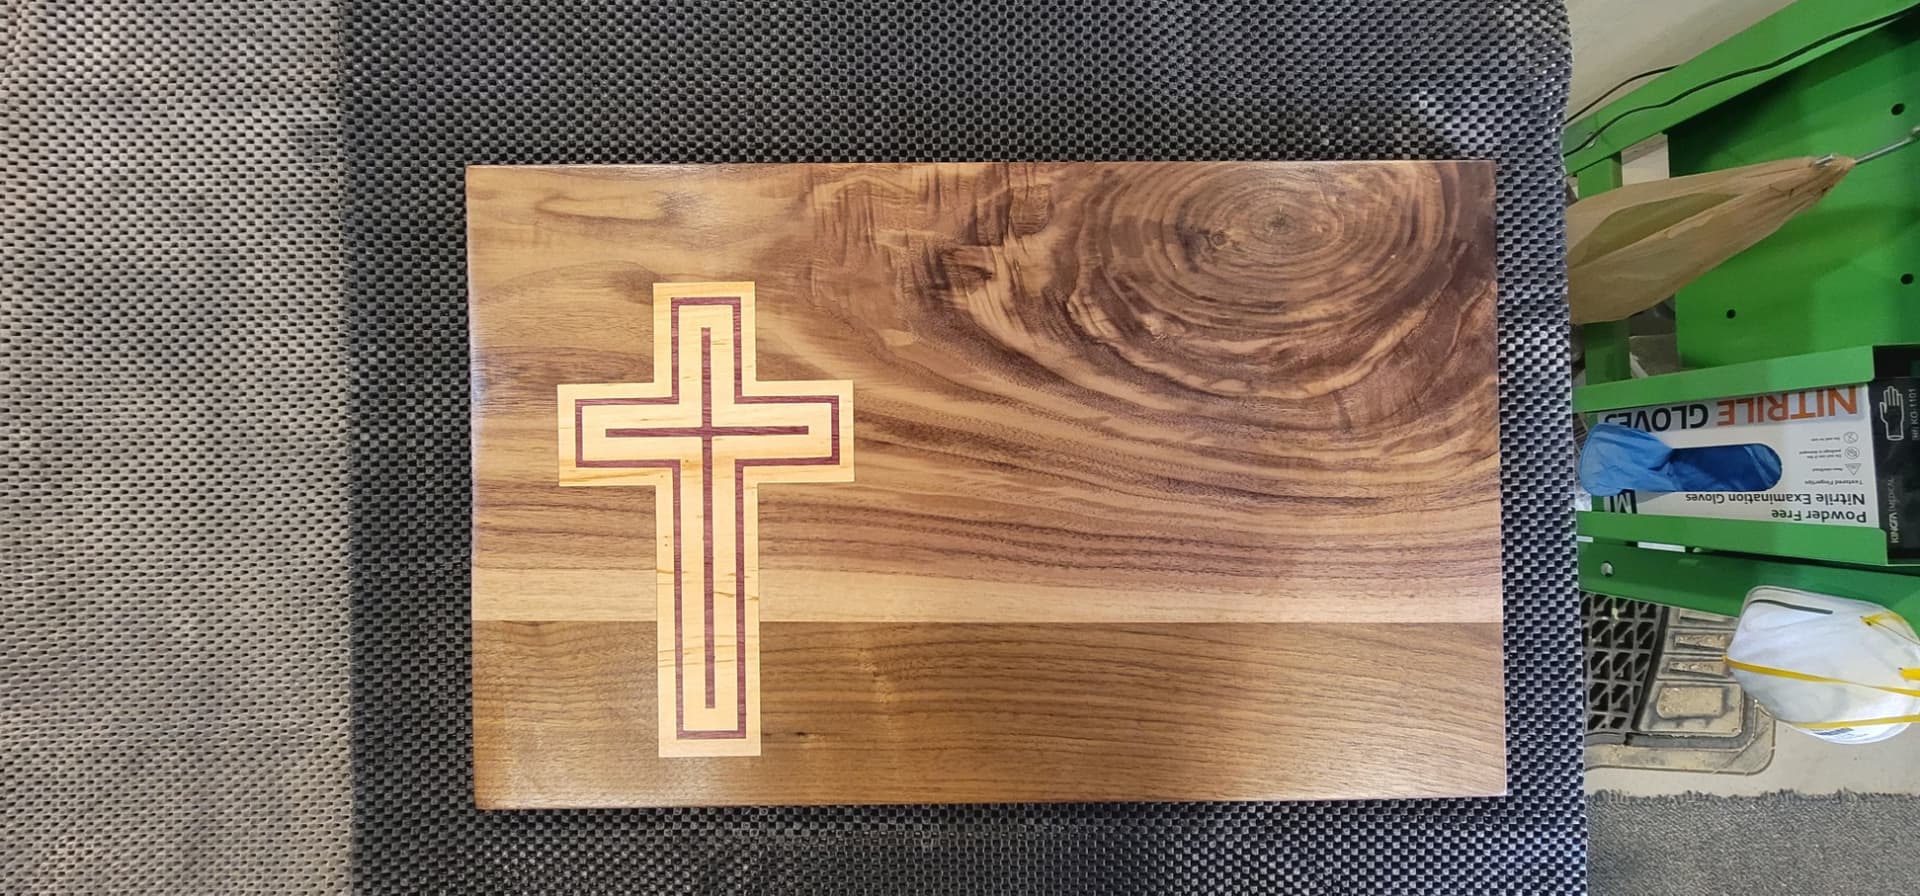
My first inlay, Walnut board with alternating maple and purple heart. The board is 12" X 20". The cross is 9" tall. This board turned out better than I could have ever imagined. I will be donating it to my church, I feel it belongs there.