What did you cut on your Shapeoko/ Nomad today?

I finally finished a set of coasters for part of my daughter’s Girl Scout troop. I used advanced v carve to create the emblem and leave the troop number proud. Then filled with green epoxy. Then I used a regular v carve on the lettering and filled with black epoxy and then flattened and cut. Waiting for epoxy to dry is painful.

I used the circular text feature in CC and then “personalized the coasters by rotating the circle such that a different girl’s name is at the top of each one. I figured that would make them seem more special.

The difference in the thickness of some of the letters is due to having to flatten deeper on some of them which I am still not sure what happened. They were on 3 different pieces of wood but all were planed to the same thickness and the initial flattening prior to carving was the same depth on all. Anyway, it’s workable.

I have 5 coats of poly on them now and still need to buff smooth.

24 Likes

Those look great! +1

1 Like

Thanks. It was hard to get a good pic of the whole group.

I lost the dot over the i in the “Juniors” on a couple. Next time I may go a little deeper to get more epoxy in there.

I thought about using black CA glue for the fiber letters but a test with that didn’t turn out so well. I cheaper out and didn’t buy the accelerator. Maybe that would have helped out.

I have done several community projects lately for different organizations. I really enjoy making things for other people. I make plenty for myself and family but it is very rewarding making things for others. My last one was making cabinet doors for some existing bookshelves for a senior citizens center. They have sewing classes and needed a place to store the machines and their projects. What was so incredible was making 3 doors that were about 5 feet tall and 24-30 inches was $350.00 for clear pine and paint. Originally the senior citizen center was going to pay for the material and labor donated. However our club ponied up the whole amount. Another project was also for a nursing home where several of us built a book case to store one ladies 300+ books so the whole facility could use it as a library. I carved the home’s name and the ladies name on the front face frame.

So glad you support your kids and her troop. I think the coasters look great. I can see it was a lot of work but the effort was worth it. You might be surprised that those coasters turn up in 50-80 years at one of the girls estate sale and she kept and treasured for years and years

4 Likes

Thanks. My hope is that they will remember the good times they had with the other girls this year and this will remind them of the names.
I am probably going to do something similar for the stable where she rides.

If they turn up in 50-80 years I won’t know anything about it :joy:

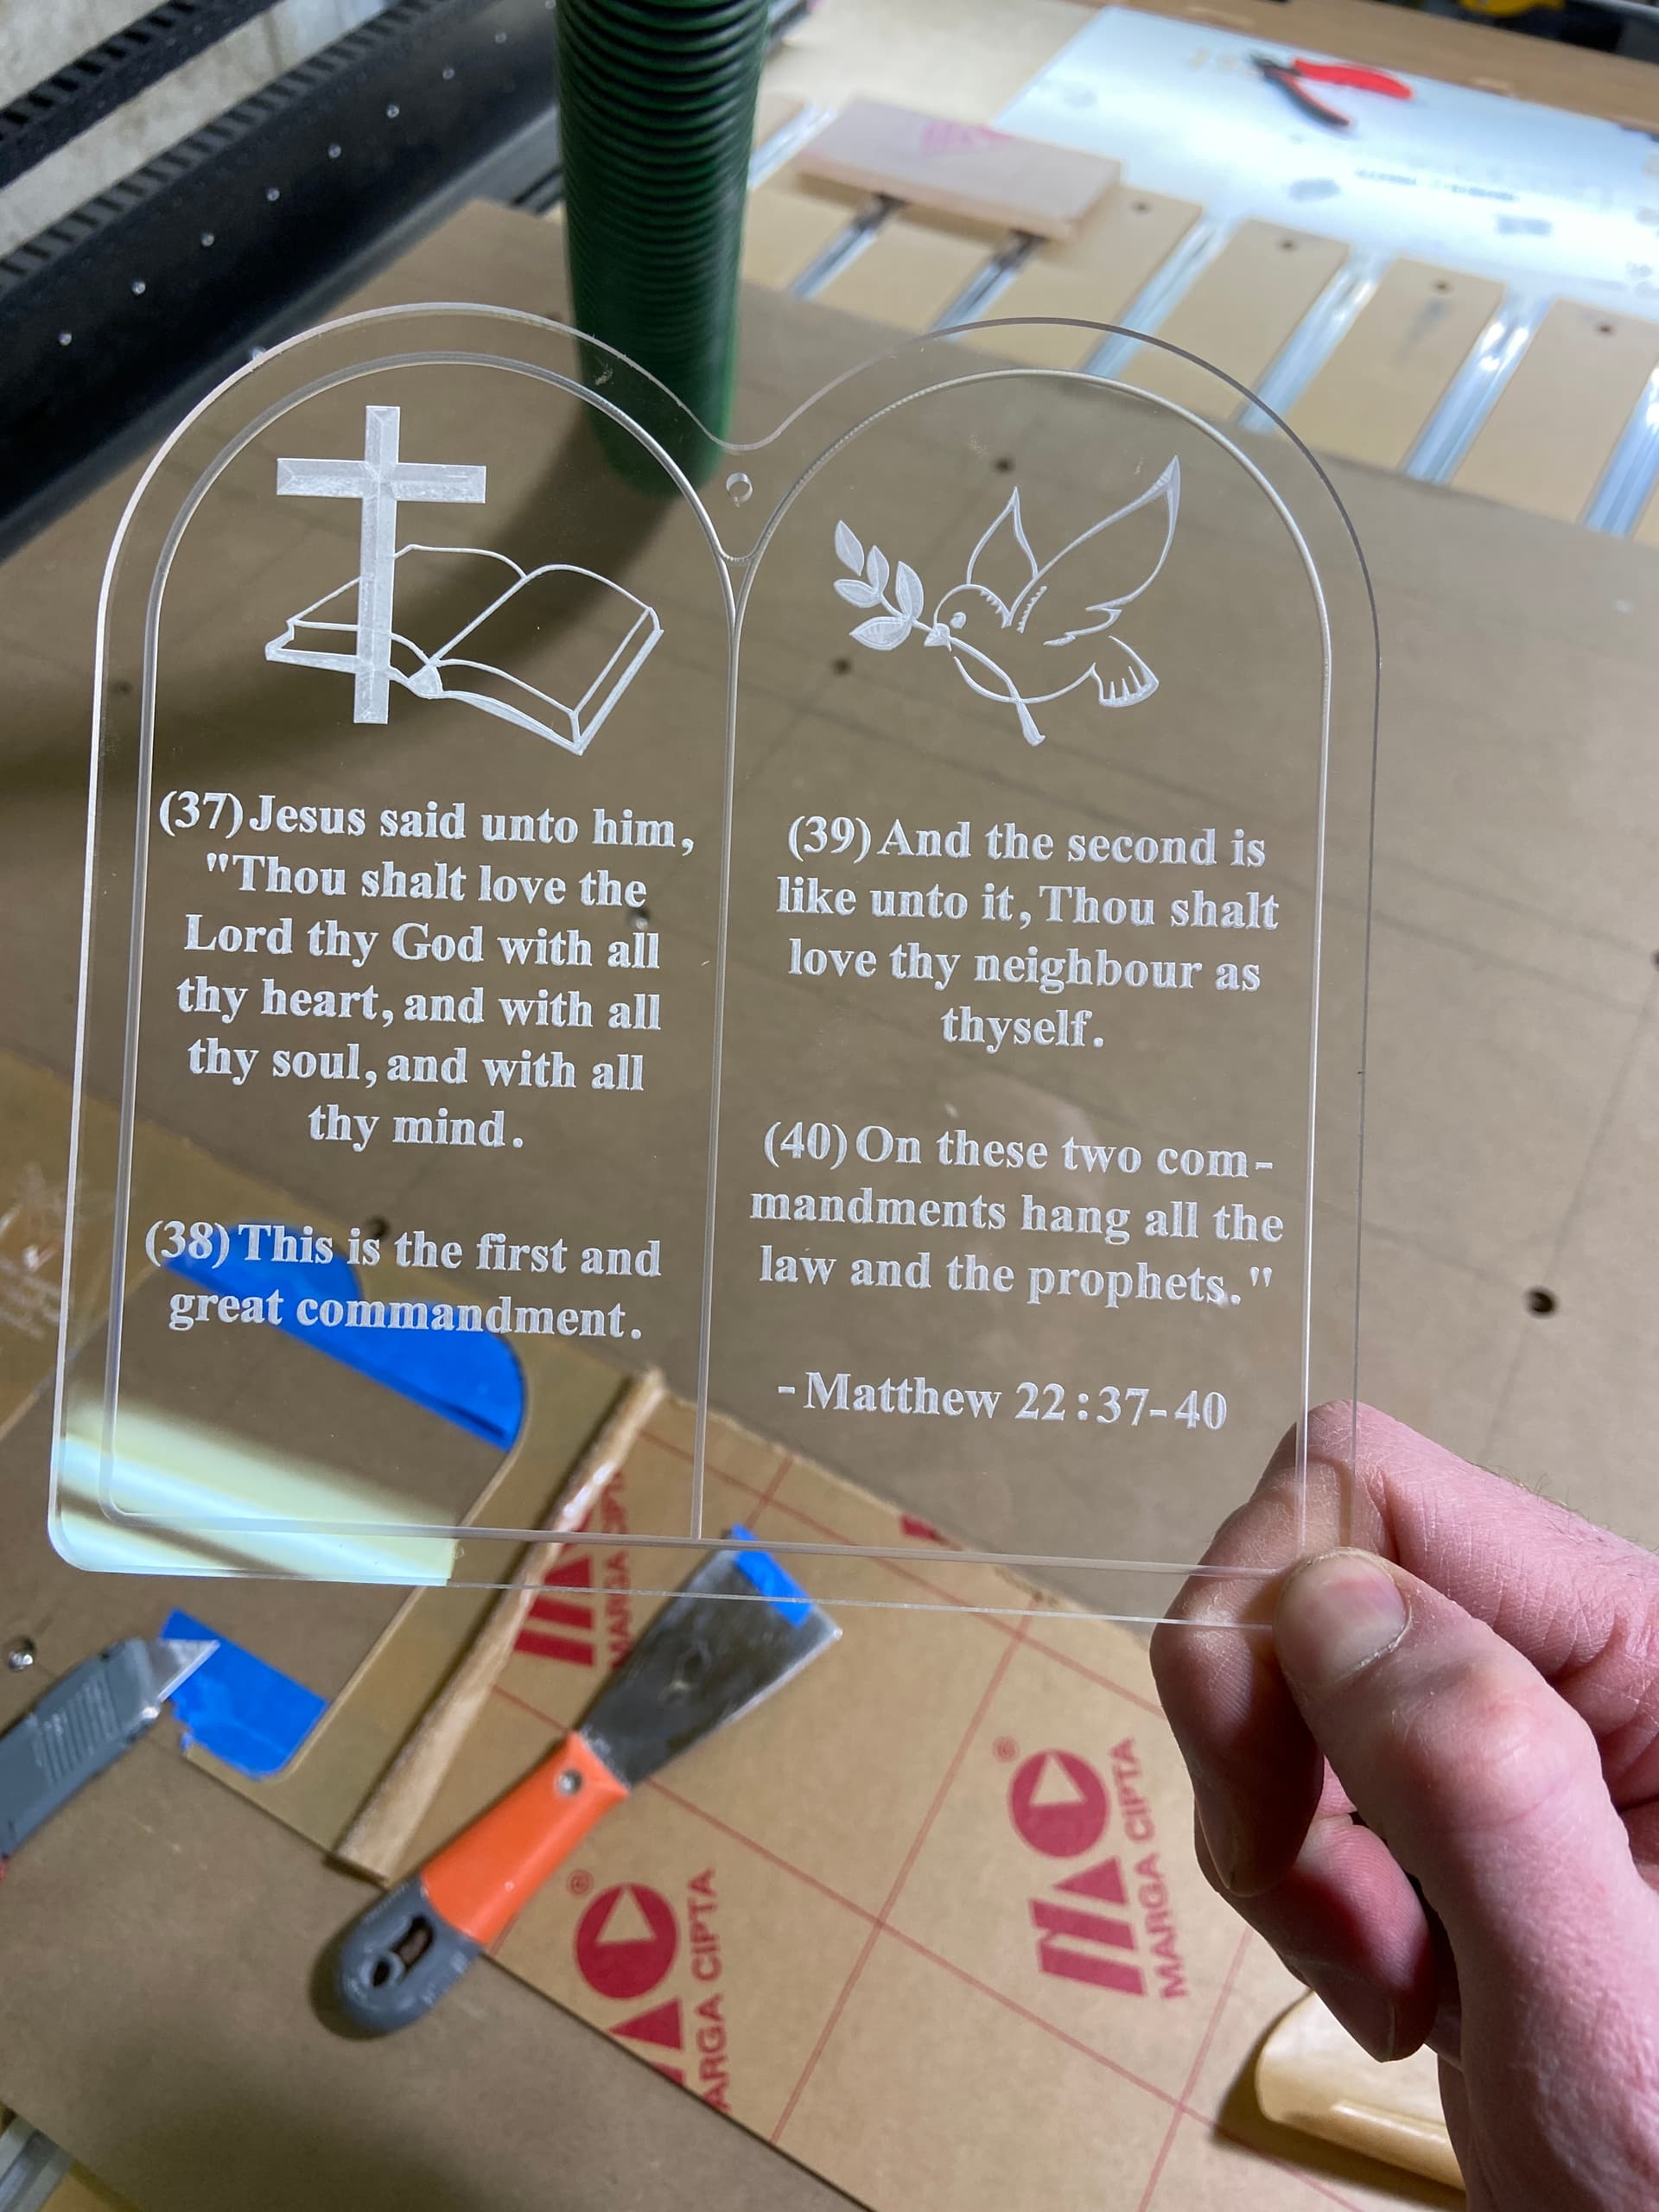
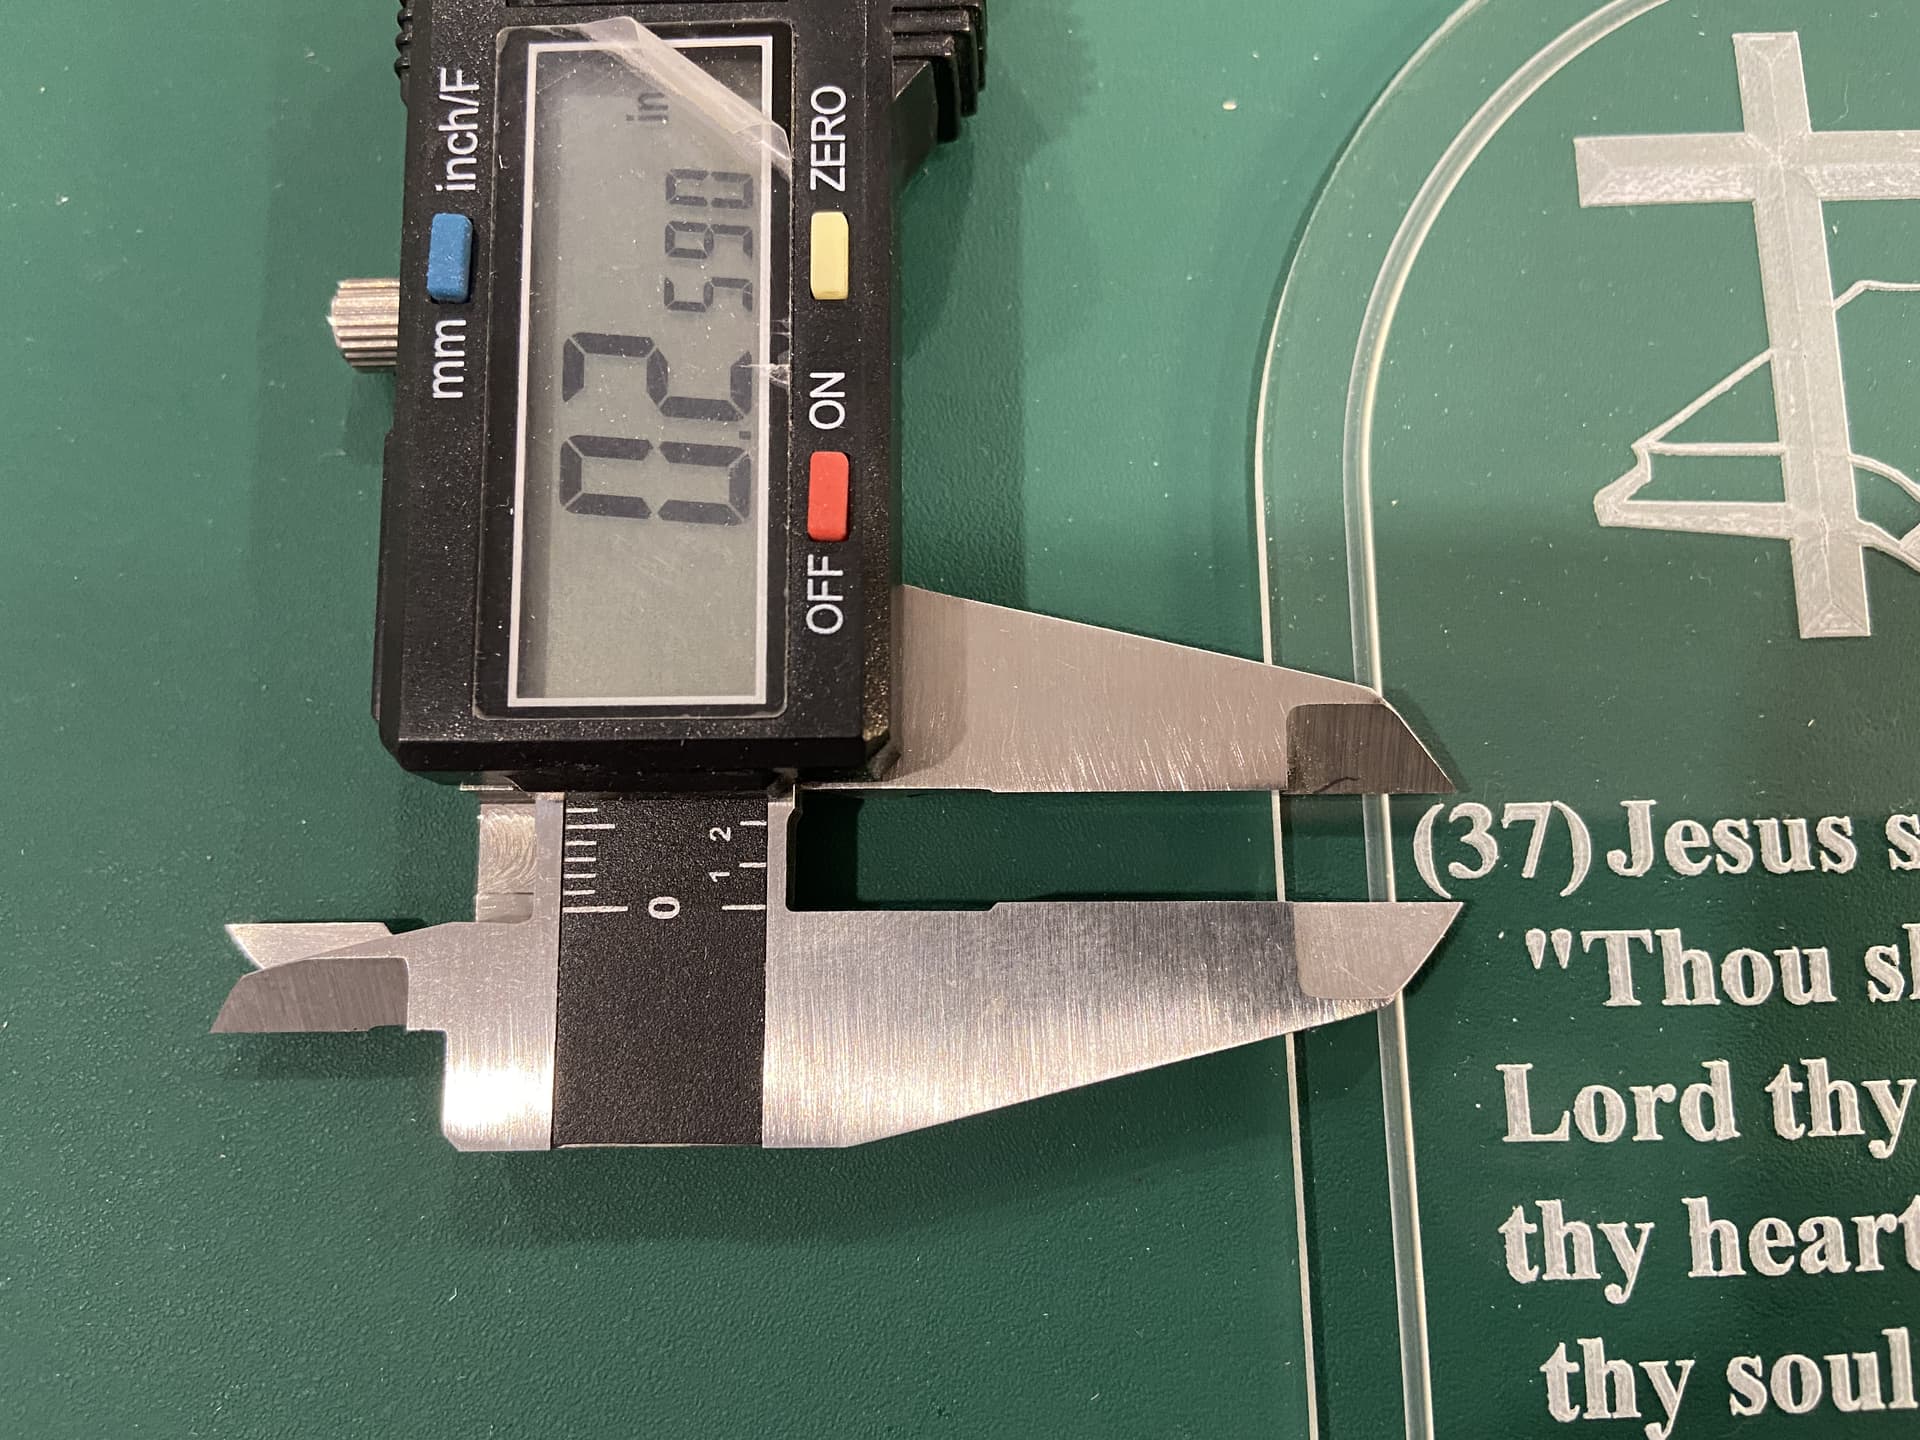
My dad asked me to make a gift for another family member, and I finally had some time to run the design. I ran through quite a few attempts with all the rotary bits I had, but they all had problems making the small text, so I bought the MC Etcher bits. The text came out great, and actually ran the file faster than the v-bits and end mills. I made the text in Illustrator, using a “bible-looking” font, then exported the outlines as svg, thanks to help here. I made the design in CC, then mirrored it so it was carving from the back, and it looks polished when reading. Great fun!


20 Likes

That looks really nice. I have an MC Etcher in the box just looking for a good project.

Is that plain acrylic or something special?

Thanks! It’s plain clear cast acrylic, 0.107" or so thick. I got a bunch of cut-offs from a sign shop, some have tint, some are frosted. The frosted looked nice too, but it wasn’t big enough for this project. I cut out the shape with a SpeTool 0 flute bit. It was a bit scary how fast it went through the plastic, but the edge is beautiful. The inner border was done with a 1/16 ball point #111.

3 Likes

Finished a couple of these yesterday.
I tried to go all natural and finished the wood with linseed oil and wool fat. Probably overdosed the fat, you see fingerprints on some boxes.
Will return to bees wax next time :wink:


31 Likes

Hi Julien,
to answer your questions…
The molding inside the stiles and before the panel is a doucine. The molding on the panel is a plate-band. (there are many kinds of strips).

it’s a good idea you had. i don’t like to strip either.

if you have a little play in the panel, you might have a little square between the stile and the panel.

1 Like

Superb. I really like the interlocking lip on the box pieces. I assume you glued the walnut on before doing the machining.

Makes me wish my glasses weren’t on my head 100% of the time.

Thanks.

No, the glueing happened after the machining.
That way I can do a contour cut instead of pocketing.
The inner cut out part is good for further machining into bottle openers :slight_smile:

Ignore all the other rough nonsense, just look at that clean bore and slot for smw 6mm fixturing pins. They’re a fantastic fit :smiling_face:

With these, i can take the molds on and off of the nomad. This enables recutting of features and running additional ops if necessary. Set the origin in the center of that bore, the slot constrains rotation. Beautiful :cook: :kiss:

Snuck up on the dimension. Left .1mm stock then ran a full depth finishing pass to final dimension. Had to re-run the bore with an additional -0.01mm stock to leave to get the pin to juuuust fit…i should really just get a reamer :melting_face:
(Edit: just realized i didn’t deburr or chamfer before testing the pin fit… that was probably dumb :person_facepalming:)

10 Likes

Just WOW!! Thank you for sharing on this blog. Inspiring.

1 Like

I can’t get over seeing this as an optical illusion!

2 Likes

Maybe applying a darker blue in the recesses of the door to make the panels POP out - and then apply some contrasting (maybe gold paint) motifs on all of the doors for a classic look would forestall any sanding? Just an idea. Maybe take a photo and place it in a graphics program to play around with ideas to see what works for you!

1 Like

I made this box as a gift for my niece’s confirmation. ( I blurred out her last name to be safe with the posting) Made from walnut.


23 Likes

Very Nice. Something she will treasure.

One thing I have learned the hard way is to ask for name spelling. Examples:

Dillon. Dylan
Deborah. Debra
Jesse. Jessy. Jessie,…

Relatives you likely know but when making for a commision always get the spelling.

2 Likes

Always get a sign-off which shows the actual piece, and spells out in plain text in a simple font, all of the text, esp. proper names.

4 Likes

Trim Fixture for this part

image

5 Likes