What did you cut on your Shapeoko/ Nomad today?


Hi all,
After much too long, I dusted off my Shapeoko 3, added a Bitsetter, and discovered carving cast acrylic. I’m very happy with the clean cuts, discovered after much trial and error. In a previous version, I had the bits too tightly held, and too close to each other, which led to a cut on my thumb when struggling to pull them out. I spaced the bits about 1 inch apart, and let them sit loose in their pocket holes. Much better now. Now that I have a day job allowing a better work-life balance, I’ll spend some more time in the garage.
Happy New Year!

19 Likes

Cut my first 3D ship scene out of Padauk.


18 Likes

Would you mind sharing your recipes with the community ? I’ve been known to obsess over acrylic wall finish, and still looking for definitive tips and tricks on the matter

1 Like

I use Vcarve Pro software. I did a roughing cut with a 1/4 ball nose then a finishing pass with 1/8 ball nose. I added an additional finishing pass with a 1/4 20 degree profile engraving bit. The detail is really good. Don’t know why I didn’t pull the trigger sooner on getting my Shapeoko 4XXL I love it.

1 Like

Hi Julien,
Well, by no means am I an expert with acrylic, but I’ll share what I can. This was only my second project with it. The only ways I’ve come across getting nice clear edge walls were sanding/torching on the edges, and an upcut single-flute bit for the cleanest smaller cuts. If you don’t want to do any torching, one trick might be to rub some butcher block oil on the edges, which won’t create a mirror-smooth wall finish, but could clear up some residue and get it a little closer to clarity. I tried it on some polycarbonate/Lexan, which was a mistake to use in the first place, but it helped clear things up a bit.
The only other thing I can think of to try is to get into microgrit sanding, which would be a LOT of work, sanding through progressively finer sandpapers, then liquid microabrasives and polishes. That’s how pens are finished on a lathe with CA glue, or also in acrylic, but they’re a lot less work than sanding and polishing edge walls by hand.
Update: Ok wow! I read more of your journey in getting clean cuts on curved wall edges through actual advanced mastery of the software and hardware. Reminds me of Zeno’s paradox about a rabbit never actually being able to catch a turtle by creating a perfect zero distance between itself and the turtle. When I wrote that I enjoyed clean clear cuts after much trial and error, I meant in contrast to the frayed, messy cuts I had been getting with wood and gunked up Lexan, which melted, versus much cleaner-cutting cast acrylic. I learned way more from reading your discussion than any advice I might give as a rookie lol. My hat is off in respect.

2 Likes

This is going to be my next project…
A SENET game board. This is an ancient game believed to have originated in Egypt.

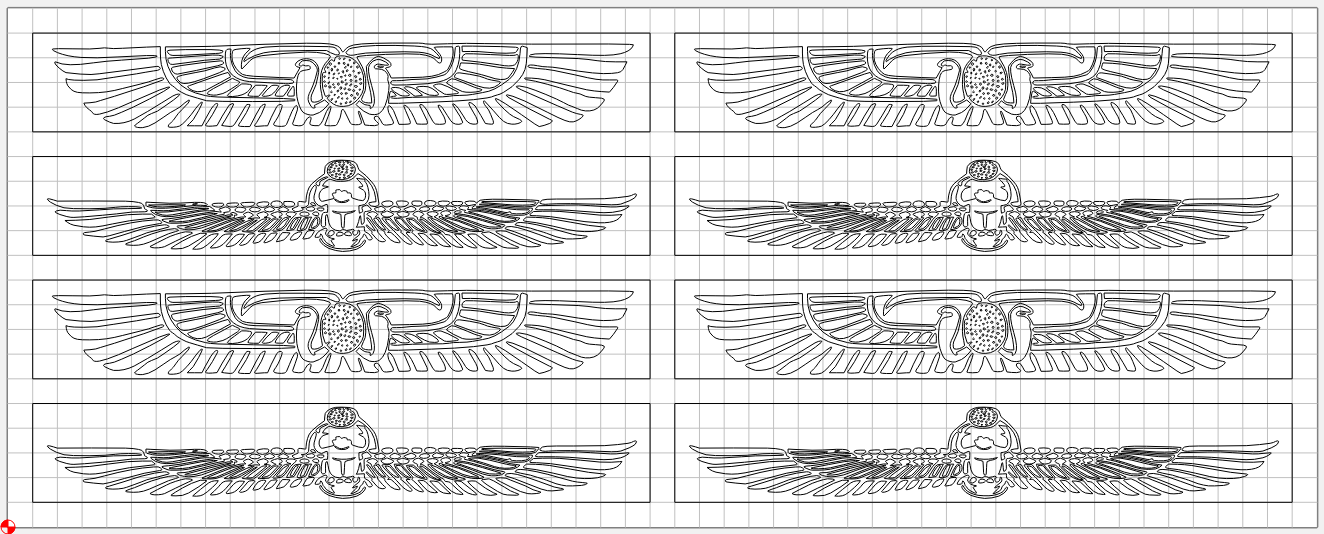
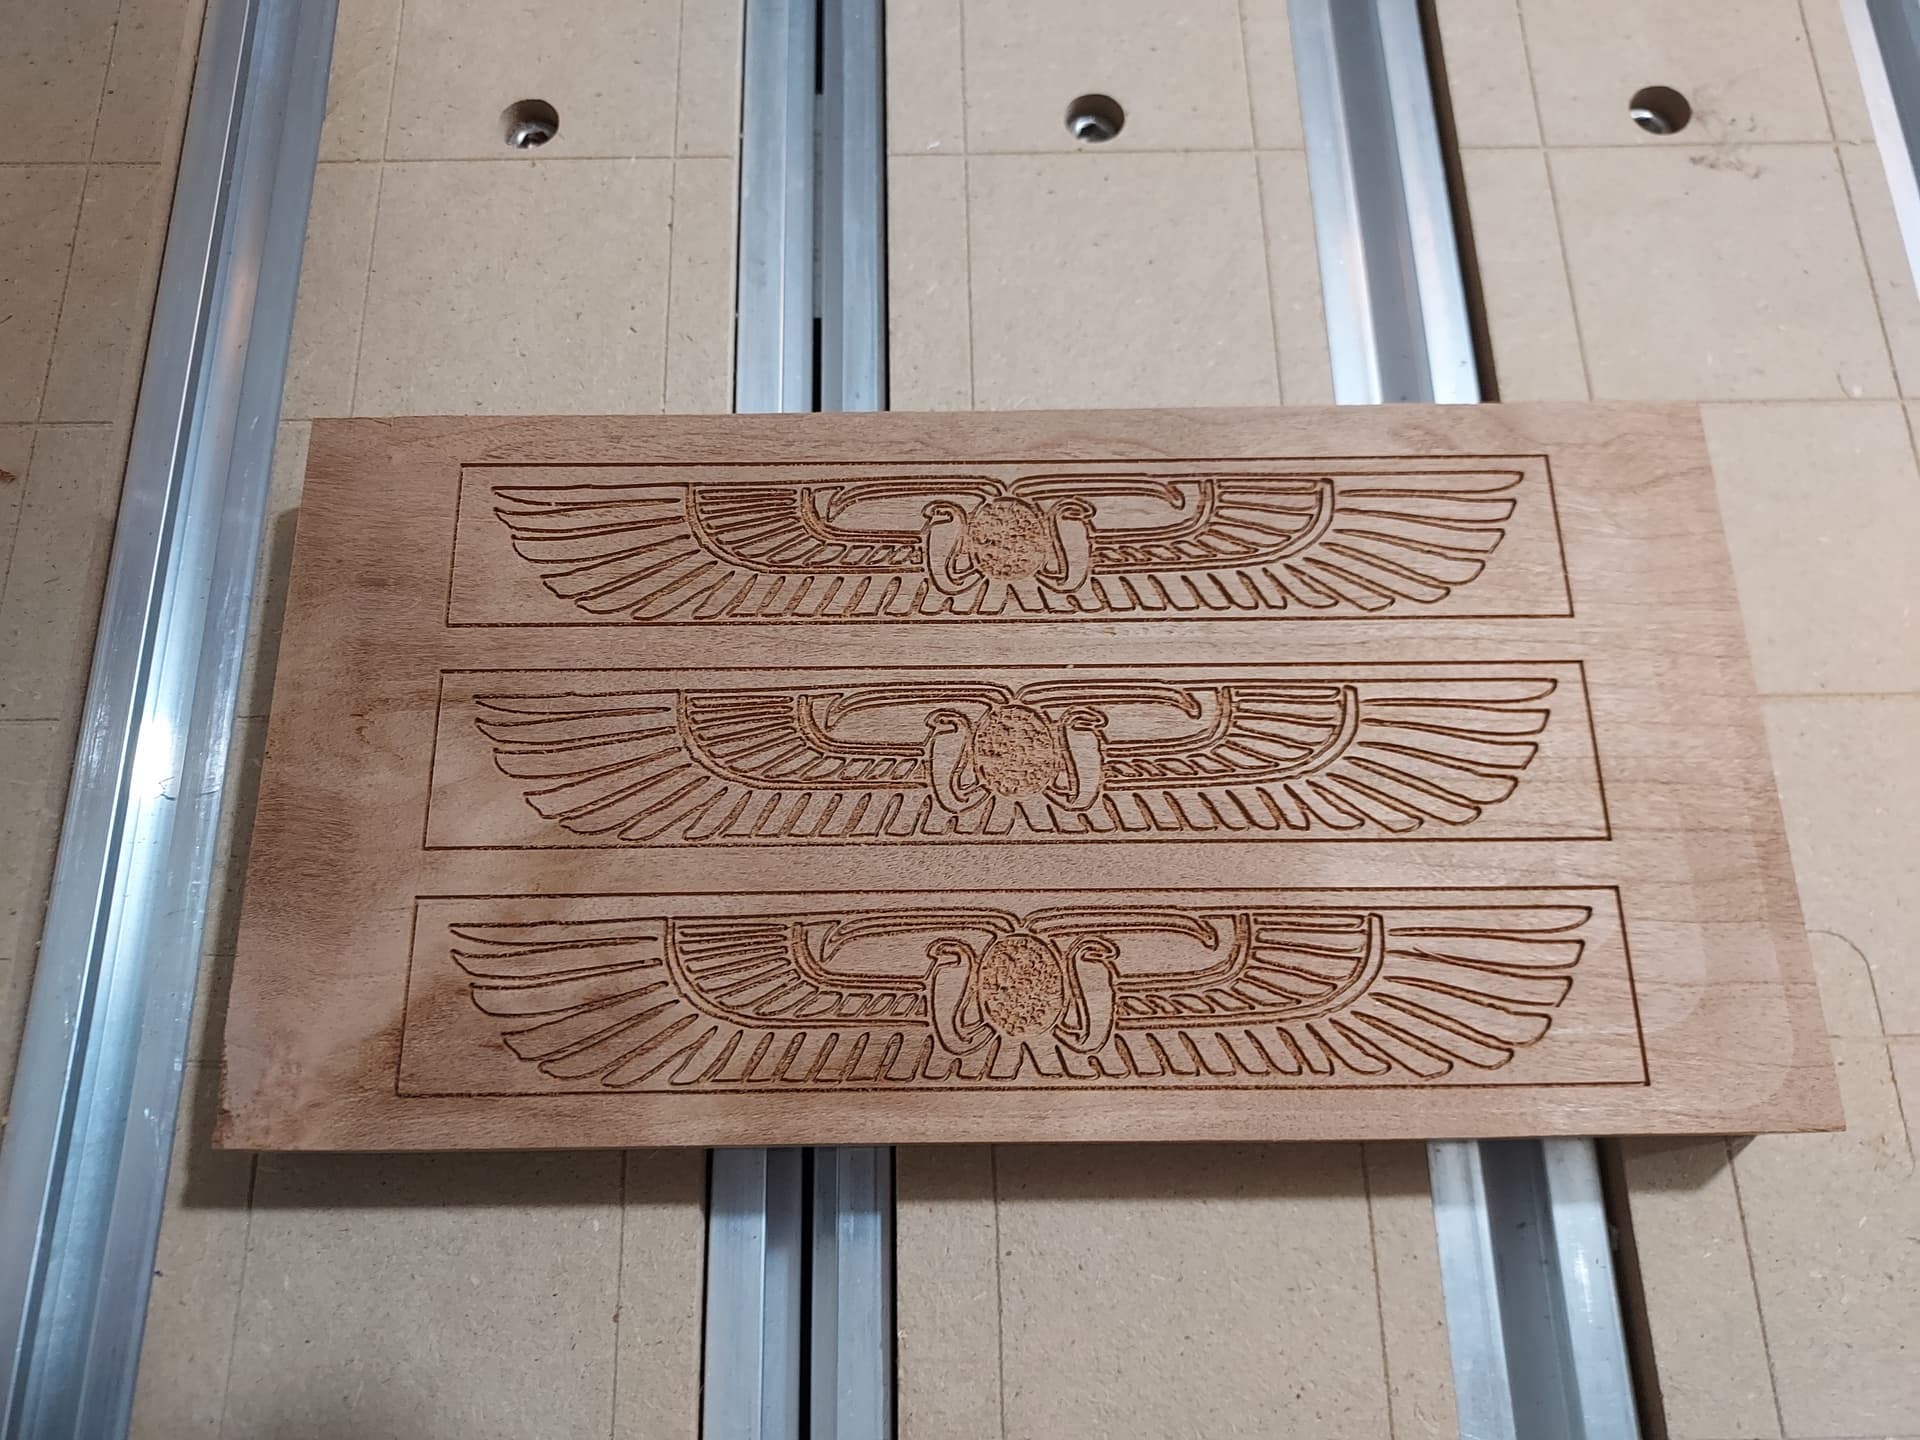
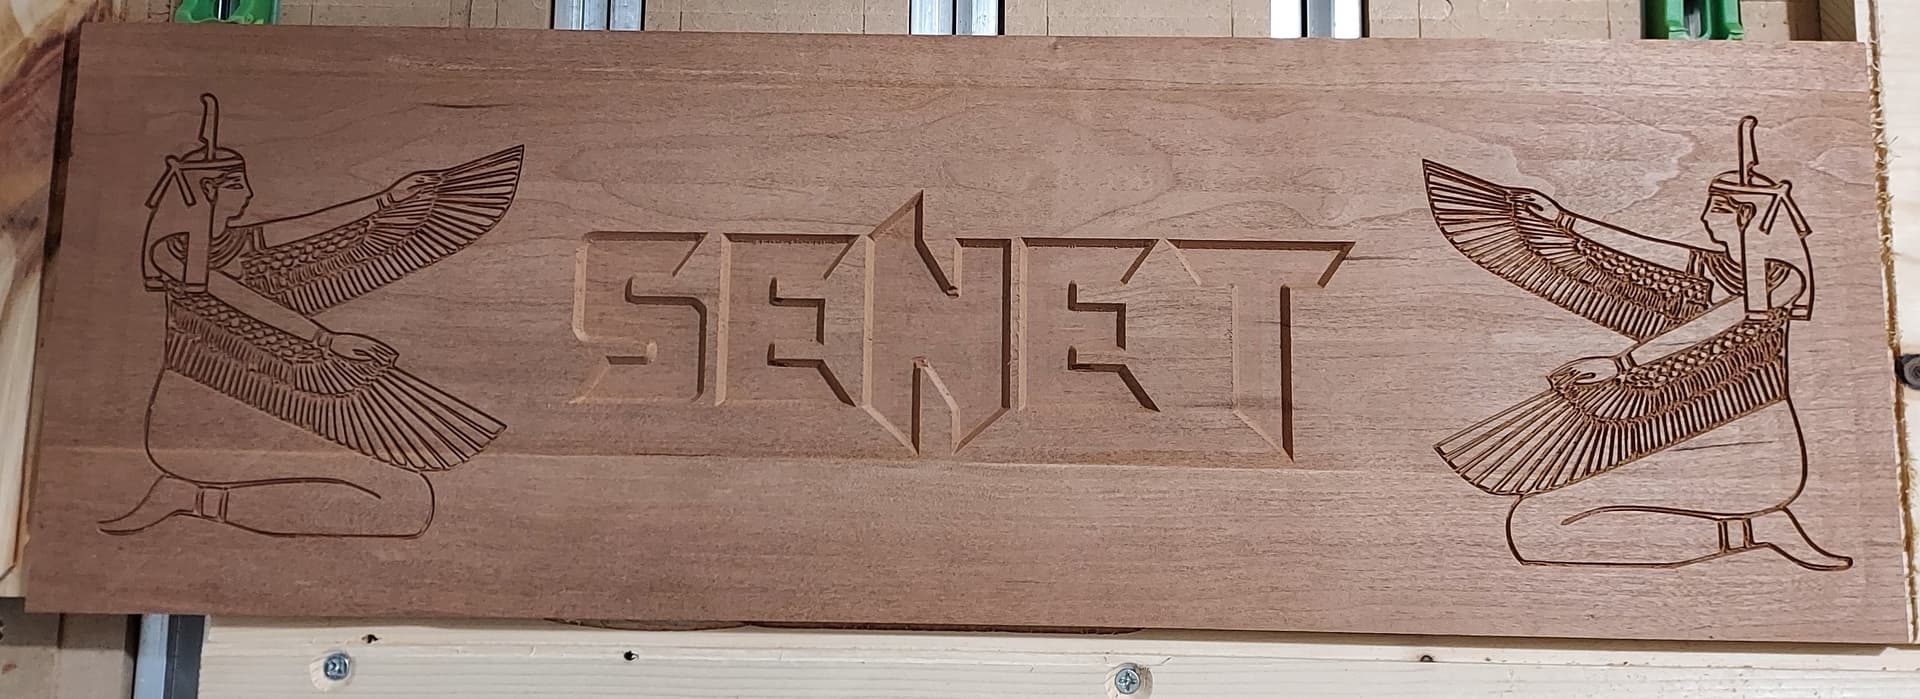
This is the Top for the game box

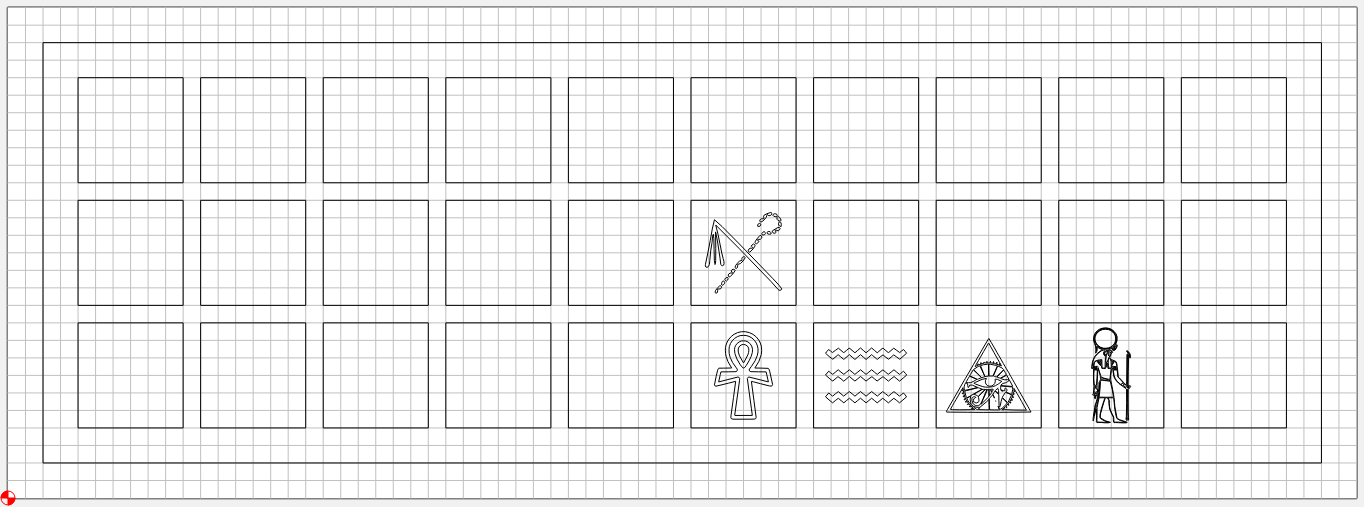
This will be the actual Gaming board. (This is the flipside of the top.)

Sticks are used in place of dice. Only 5 are needed but I had to have things symmetrical.

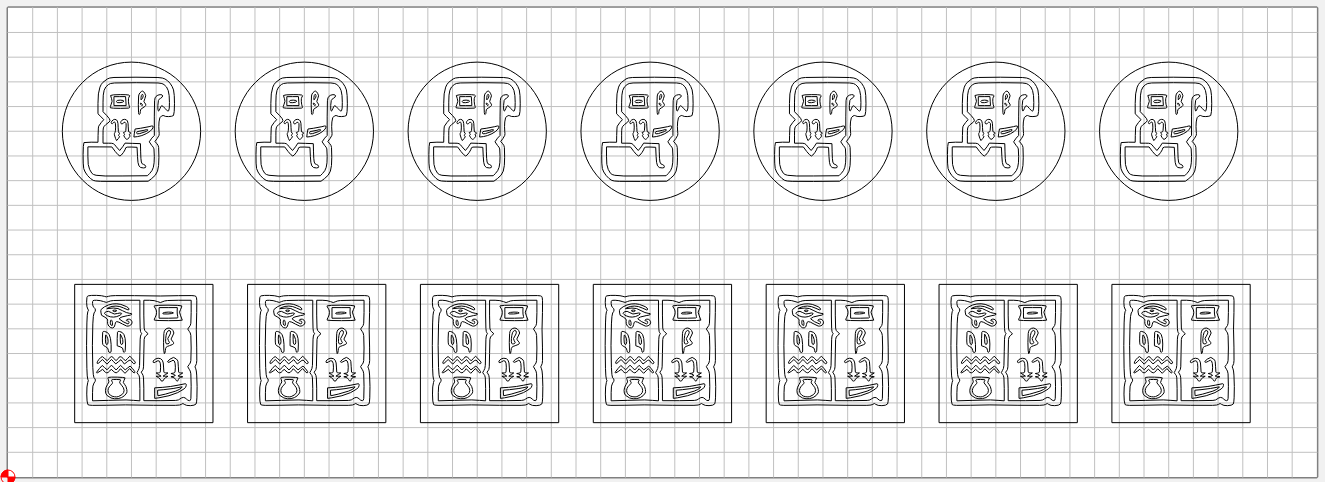
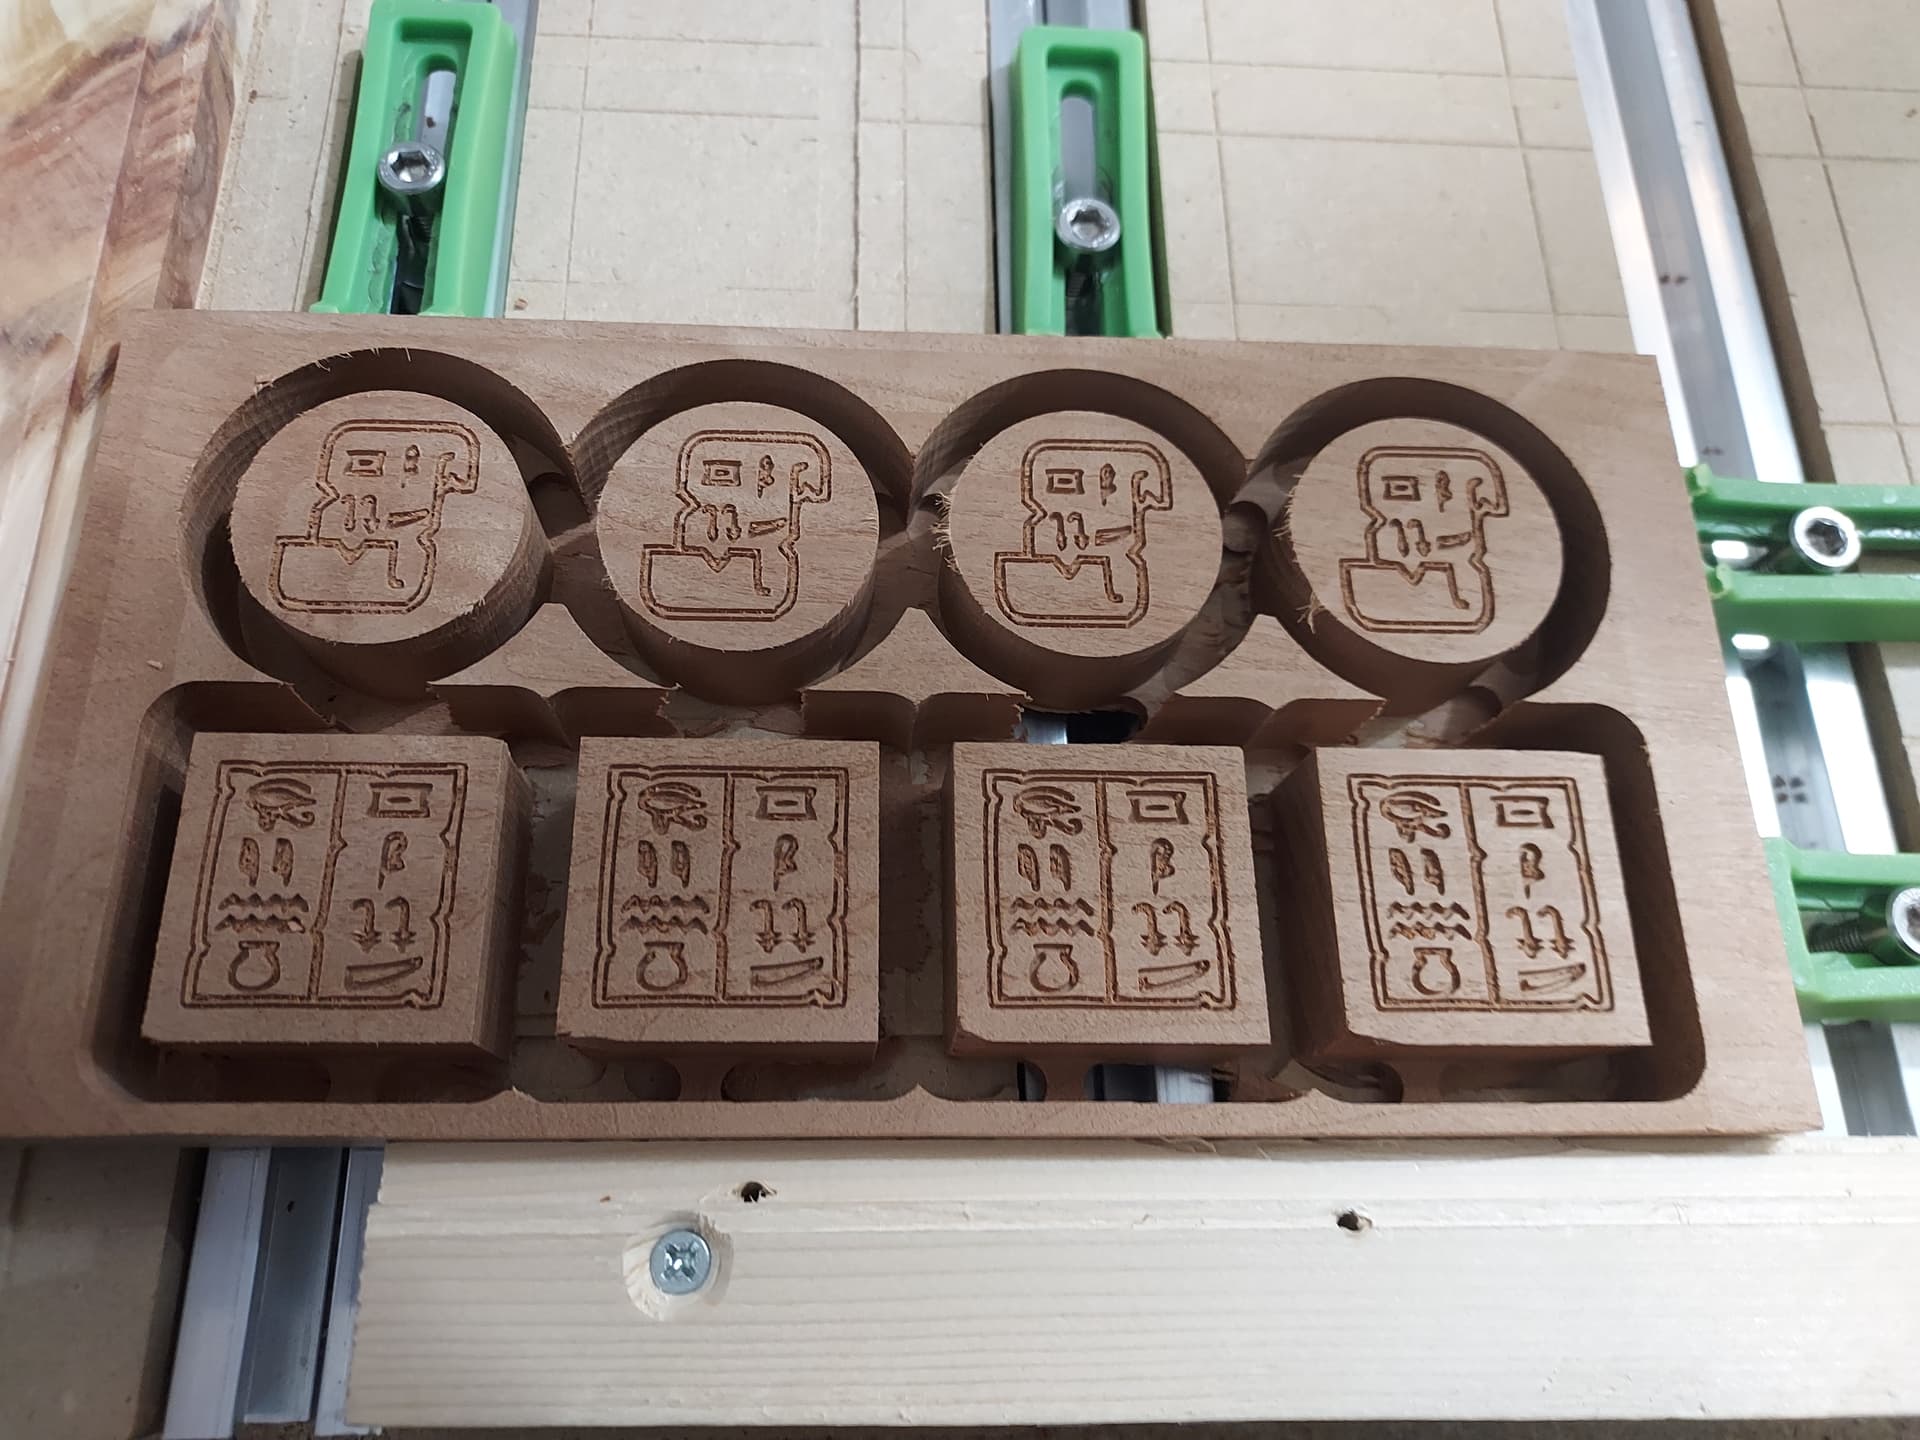
Game pieces are also used. There can either be 5 or 7 since there are several variations as to how the game is played.

I will be showing the finished product as soon as it is completed but this is a fairly long run due to the advanced V-carving.

Ok the first part of the gameboard went well as you can see.
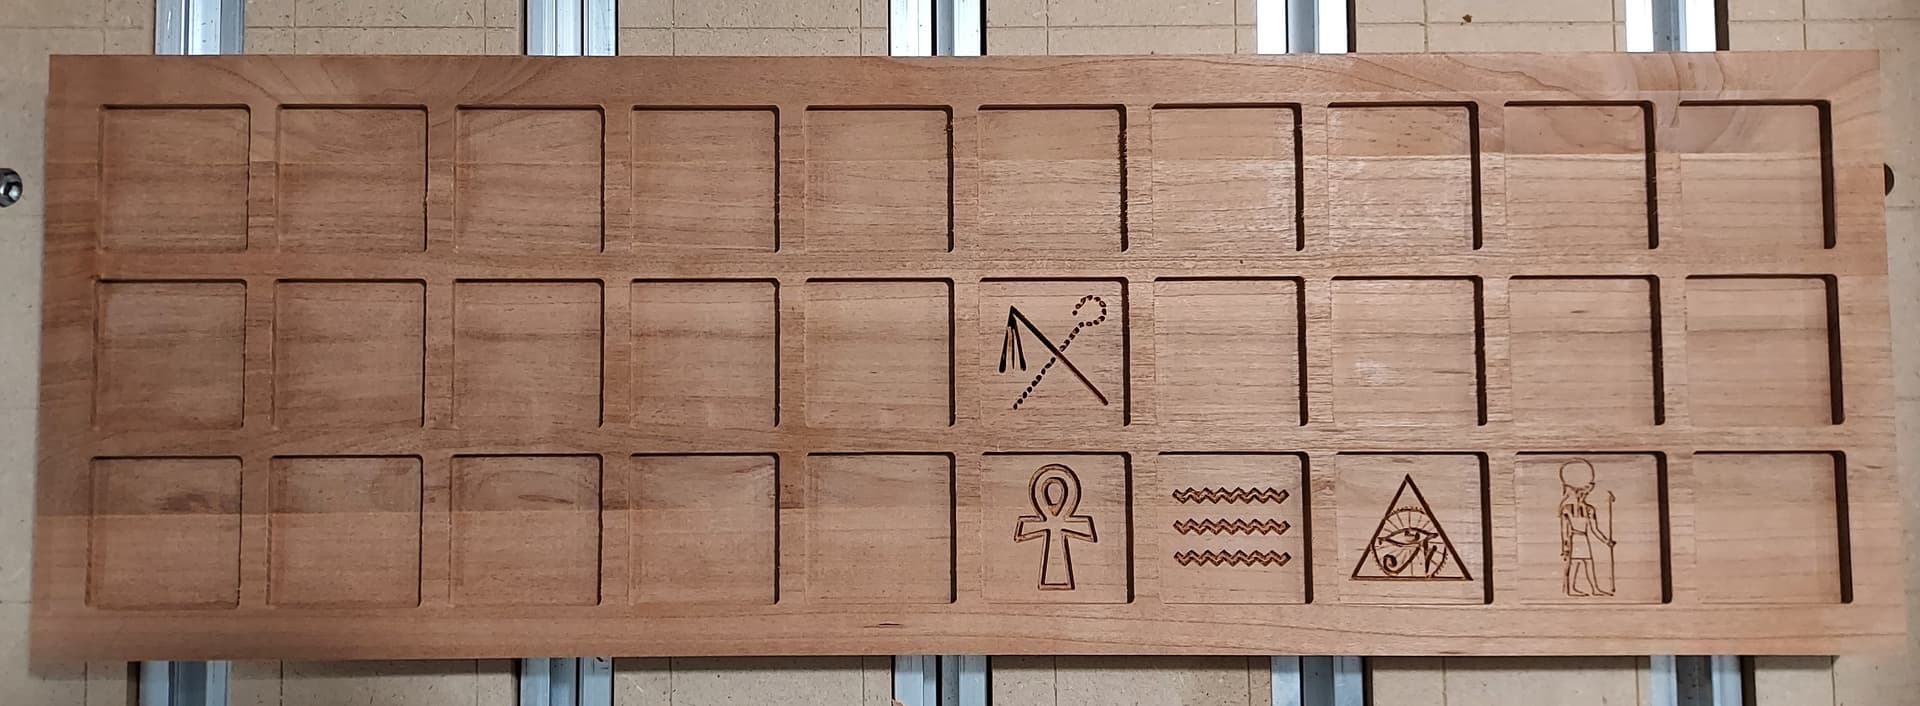

I was very pleased.

I flipped the board for the Top of the box, and this happened…

The cut went way too deep. Not sure how when I went bac to CC I didn’t see anything out of the ordinary. Sometimes this happens.

I had a weird grinding while jogging this may have knocked something wopper-jawed? re-initialized and all is well as far as I can tell. Have to recut the gameboard though. (@#&*$%#@)

Here is how the game sticks are going so far.

Also the Game Pieces are looking good too.

More to come…

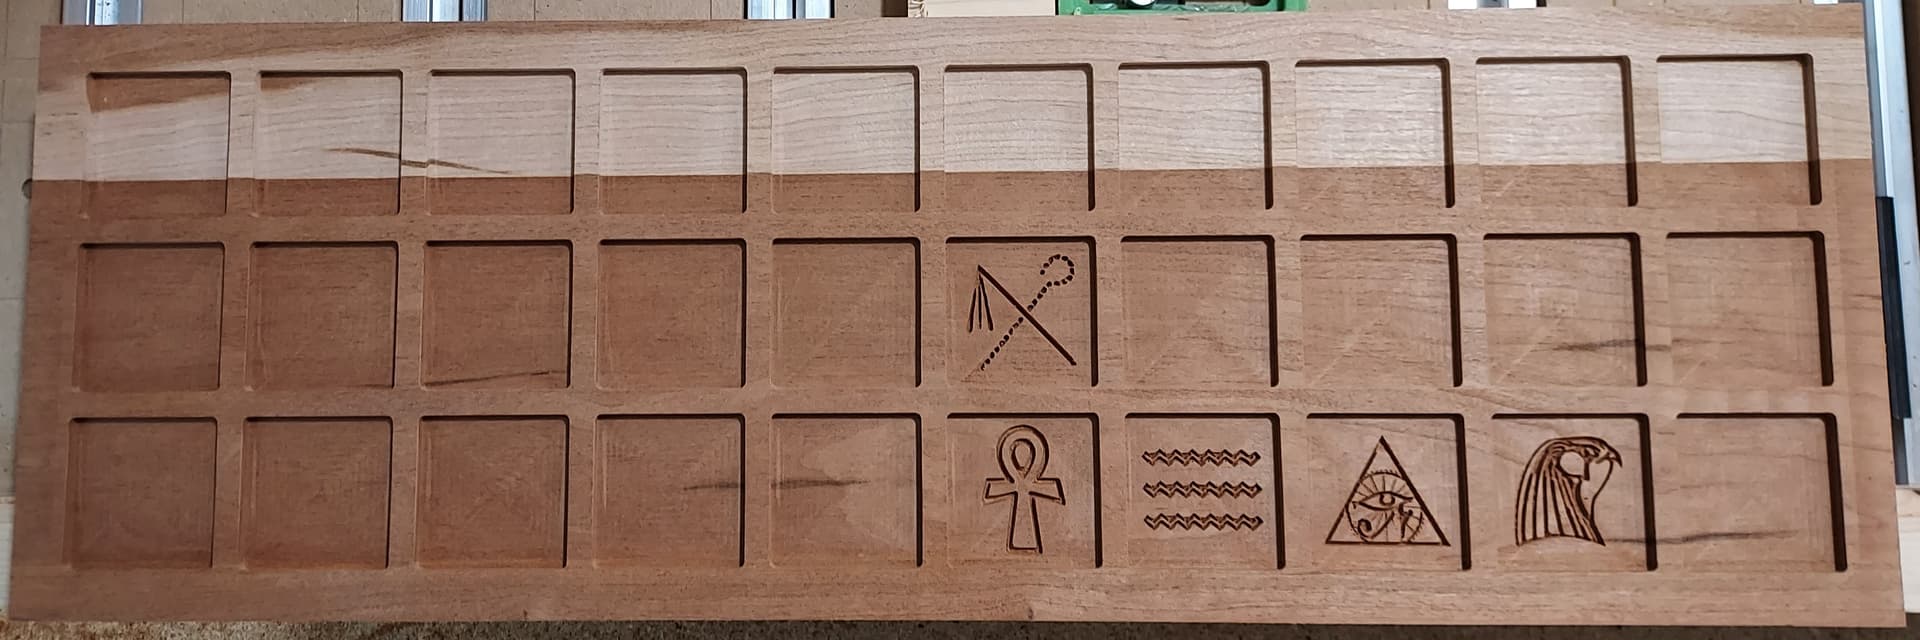
Recut the gameboard. I changed the last graphic because I thought it looked too thin compared to the rest.

Flipping it over for the actual game top.

All that is left is to complete the box portion to hold the pieces and sticks.

BTW, I cut the sticks out on my table saw. I will be rounding the bottom of the sticks so they can’t land on a side. They will be face up or face down.

11 Likes

Tom,

I think this looks so cool! Great job, and thank you for posting. Do you have a supplier to recommend for the carving cast acrylic? I’d like to play around with this material.

Thanks,

Bill

Thanks Will see, just got some from Tap Plastics. Amazon also had cast acrylic listed, but best to check the reviews, as quality may vary.

Been a while since I could get the time to work with my SO3. Decided to do a little work with Vectric Vcarve and experiment with inlay.

This one came out pretty well. Needs a touch more work on the file because it will continue to loose the very tip of the Antarctic Peninsula. Need to weight the needs of accurate cartography against the needs of a clean inlay.

Hackberry in cherry.

8 Likes

Hi - Question on the Quinn Sign. Did you machine through the blue masking plastic and then spray paint just the machined out areas through the plastic? Does the plastic not um up the bit? Looks a lot easier than painting the wood entirely then sanding it off!

Good morning.
Yes, the blue film is Oramask 813. It comes in a roll (I think it was like 50ft, around $40 on Amazon) I saw the technique on YouTube and it has been working great for me. I’m copying a link to the video, but if for some reason it doesn’t play correctly, I will send a screenshot of where you can find it.

You asked if it gums up. Personally I haven’t had that happen yet, but I suppose if it does you could simply pause the cutting, stop the router, clean it, and then resume.

I didn’t want to paint the object then sand off the paint that I didn’t want. Or, like some do, use a fine brush and hand paint the letters after cutting them. That seems like it would be very time consuming, and I don’t think I would have a steady enough hand for that kind of detail.

I hope this helps. Let me know.

.

3 Likes

Where do you get your Richlite? I can’t find anywhere near me that sells it.

We have it in the shop:

3 Likes

A bit more experimenting with 3d carving (OK, OK, 2.5d carving).

Poplar with a dark walnut stain. Used a 1/8" downcut endmill for the roughing pass and a 6* (I forget the actual angle, might be 6.4*) and 0.75mm diameter end. Need to work out the feeds and speeds to speed it up. But that’s why we make test cuts, right?

11 Likes

Just got a shapeoko 4 for Christmas (wife hooked it up!). Been playing with it daily and am hooked. Today I made a test sign for my buddy’s company and I plan on doing a black epoxy inlay tomorrow.

12 Likes

9 Likes

Looks really good! If you care to prevent the bleed from the epoxy try spraying a few layers of shellac prior to pouring the epoxy to seal the wood and then just sand it off when you sand down the epoxy fill as well.

4 Likes

I was so :angry: about the bleed. Especially because I already did a pour in this same piece of wood and it looked CRISP. The mask this last time was maybe ~1.5mm above the model top, which is too thick of a mask really. I couldn’t believe it soaked in like this, into the walls of the carving. My guess is that I used too much pigment and it made the epoxy kind of runny and able to soak deeper.

It doesn’t really matter what you use, the fibers are there to wick up the liquid. The idea is to seal those fibers as Nick says.

Even if you shellac the area, there still can be dips or gouges under the mask. You can only hope (and use a thin mask) to roll across the mask with enough pressure to seal most of these leaky areas.

1 Like

Ehh what I call a “mask” is actually a pour of epoxy, not an adhesive mask. First cover the general area in epoxy at a depth of like model top + 0.5mm, and then, once that’s dry, carve through it. This kind of “mask” does keep the letters very crisp while still allowing a full bond of the epoxy to the wood. I try to avoid the sandwich of shellac in the middle… but like, it probably doesn’t matter? And then again… who would trust this advice considering the image I just posted :laughing: