Can you please share what tutorial you used? I need to find one.
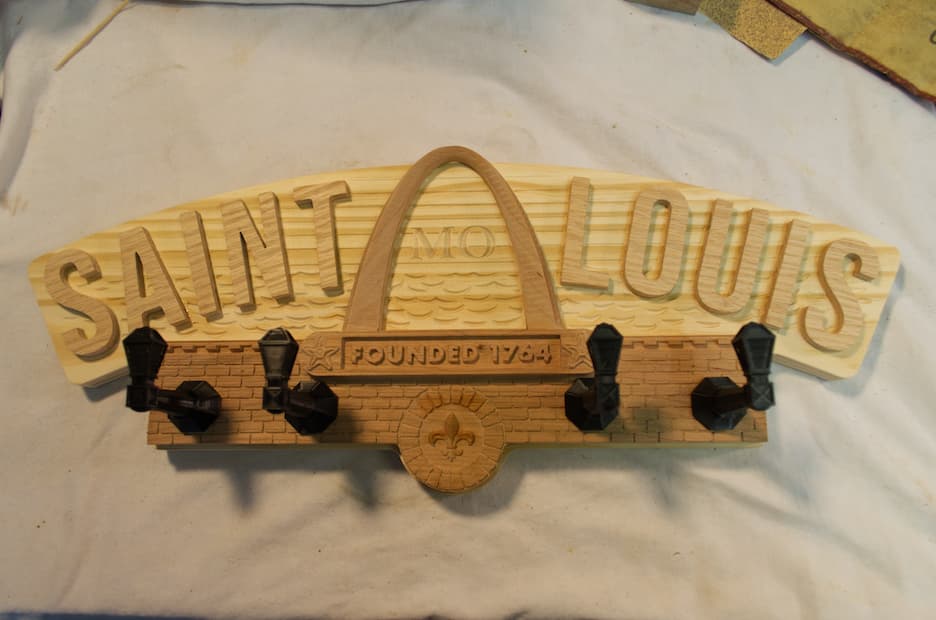
Tried the stl import for the first time after upgrading to CC Pro on this key hanger I’m making for my daughter. Needed a lot of cleanup even with the 1/32 round nose but overall I’m pleased. Will paint and attach the 3D printed hooks/streetlights.
13 Likes
Hopefully there are enough clamps here:
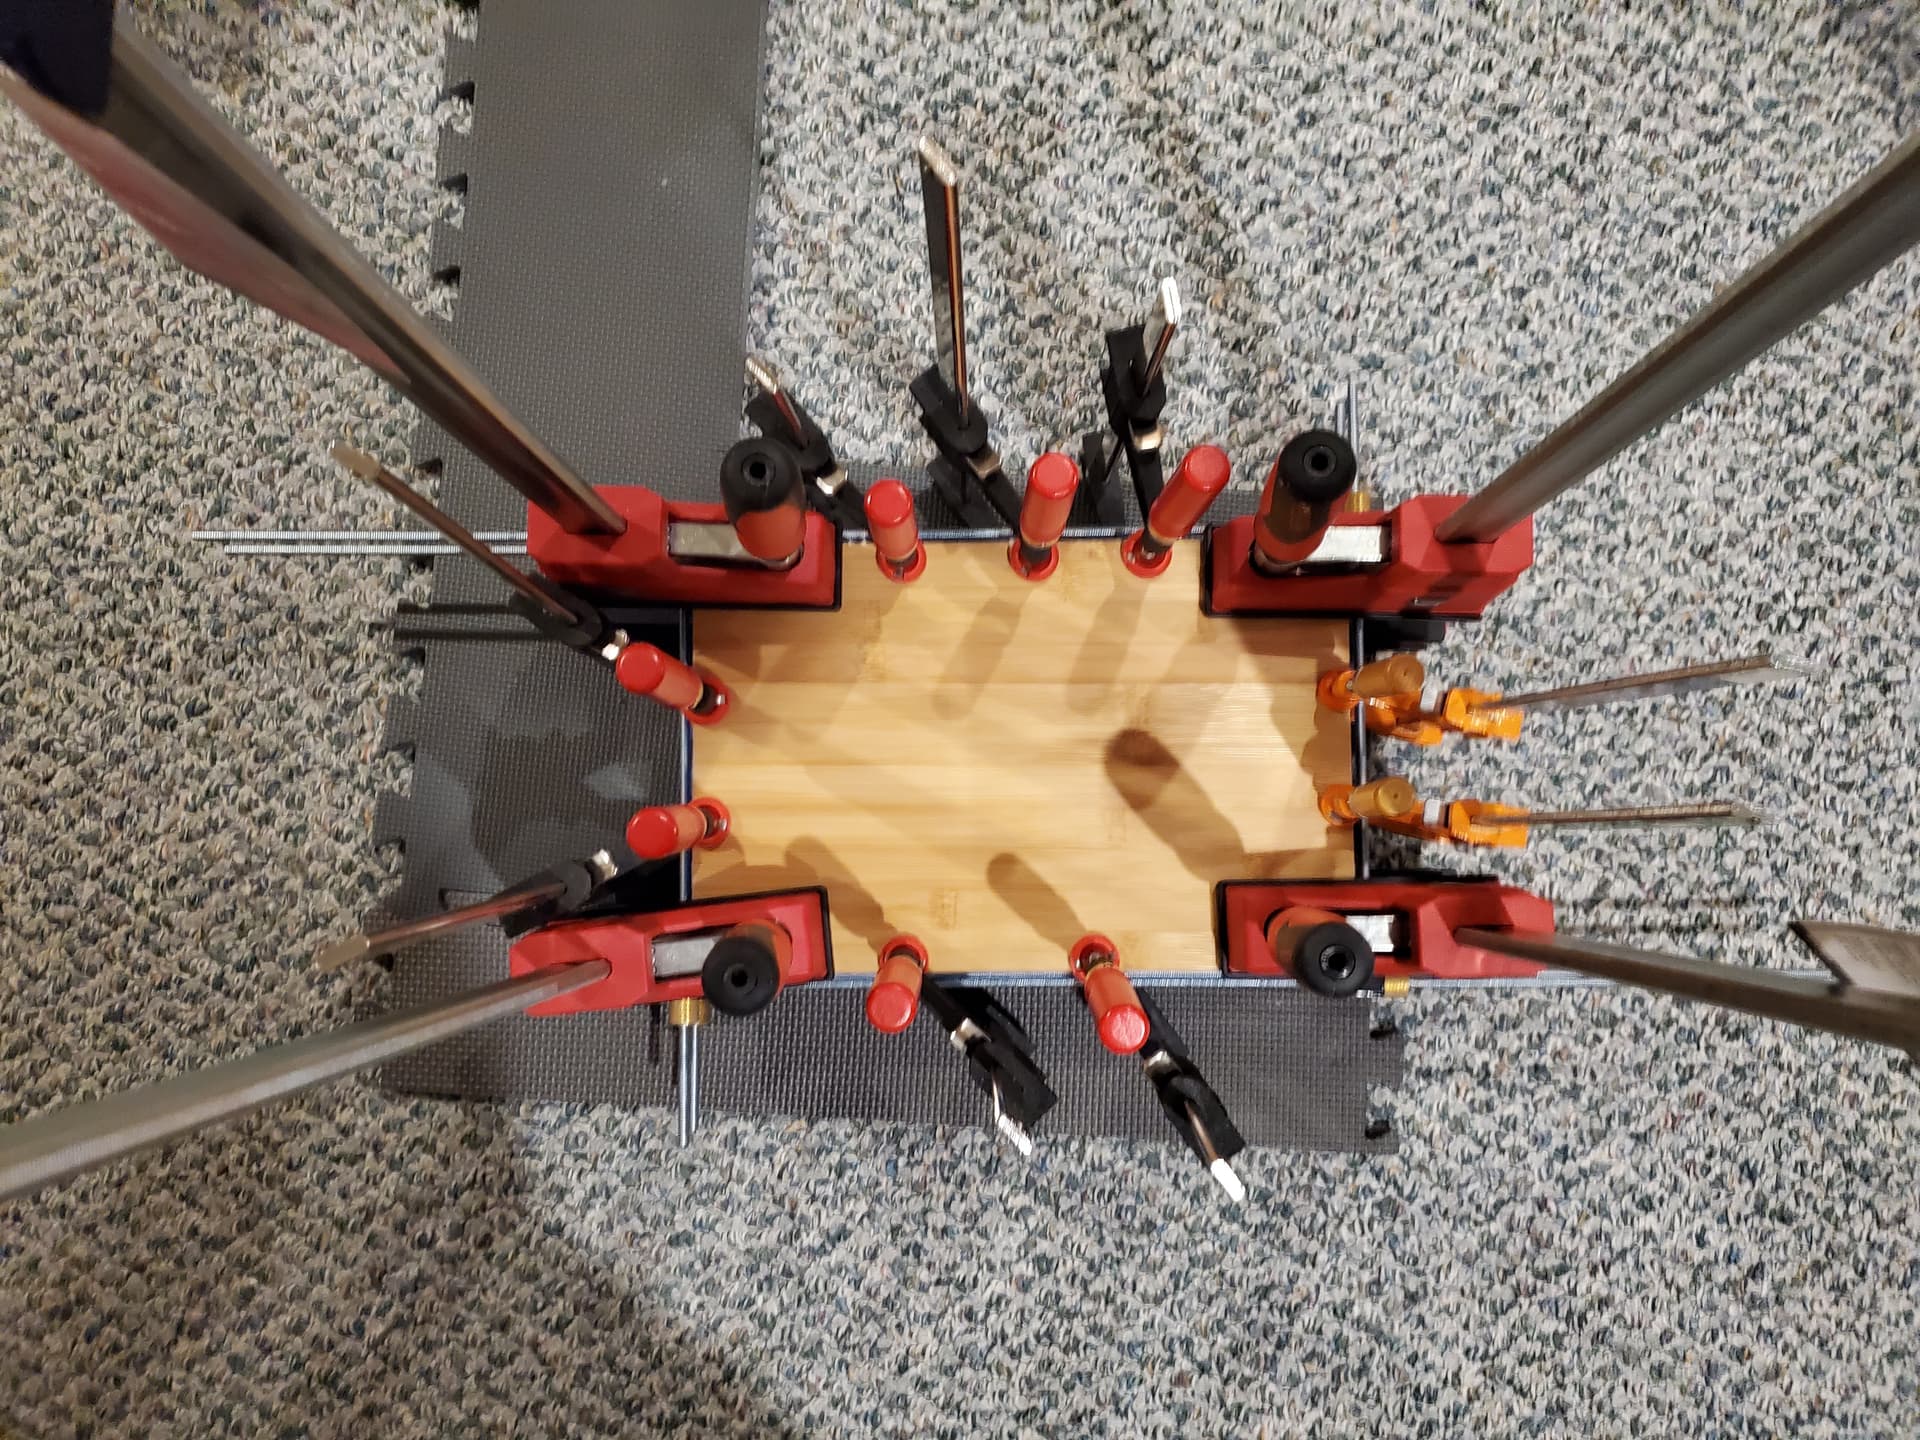
(current project, there are seven pieces clamped up there, and two more which need to be added, plus two piece of hardware, then I need to cut and put together eight more pieces with eight hinges)
4 Likes
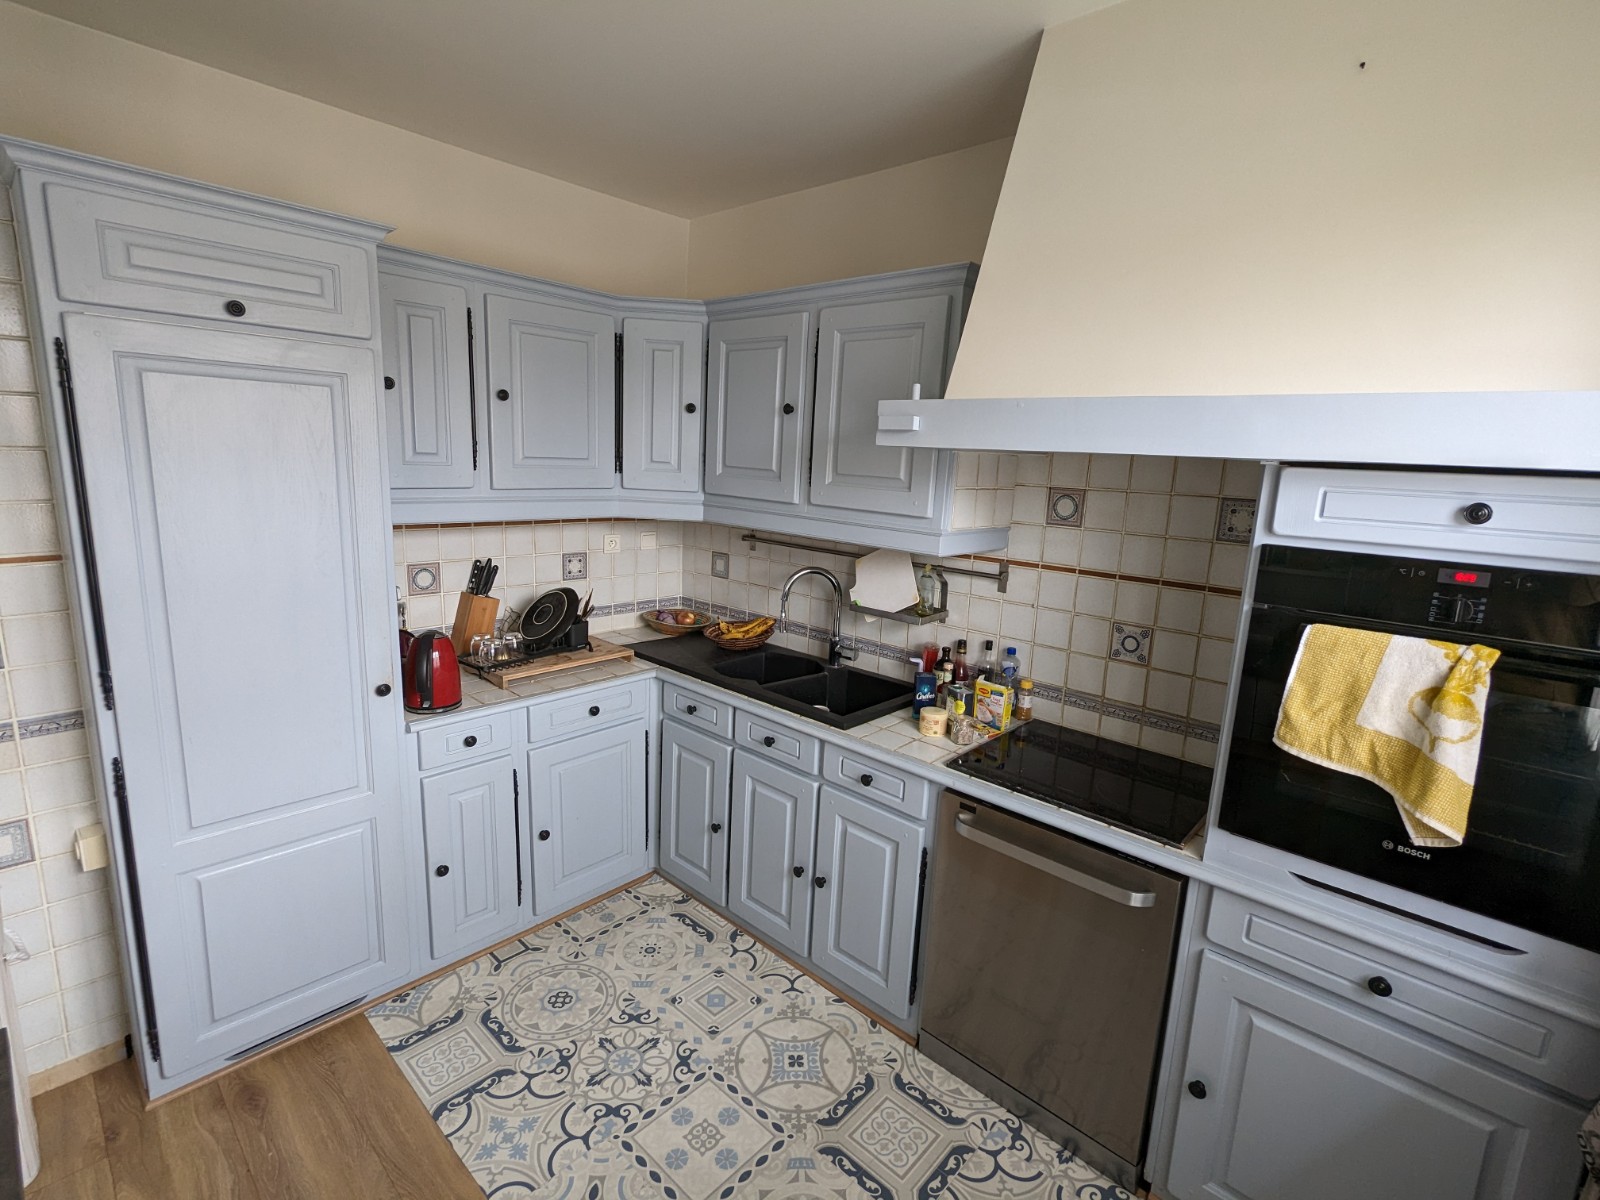
Today is when I start remodeling my kitchen. These are good old oak cabinets that were painted over a couple of years ago, and while this now looks outdated, I’m not one to throw away good solid wood to replace it with ikea-grade cabinets. So I figured I would “just” sand everything, remodel the doors to a more modern look, reusing everything as much as I can.
A surfacing pass revealed very nice wood under the cheap paint,

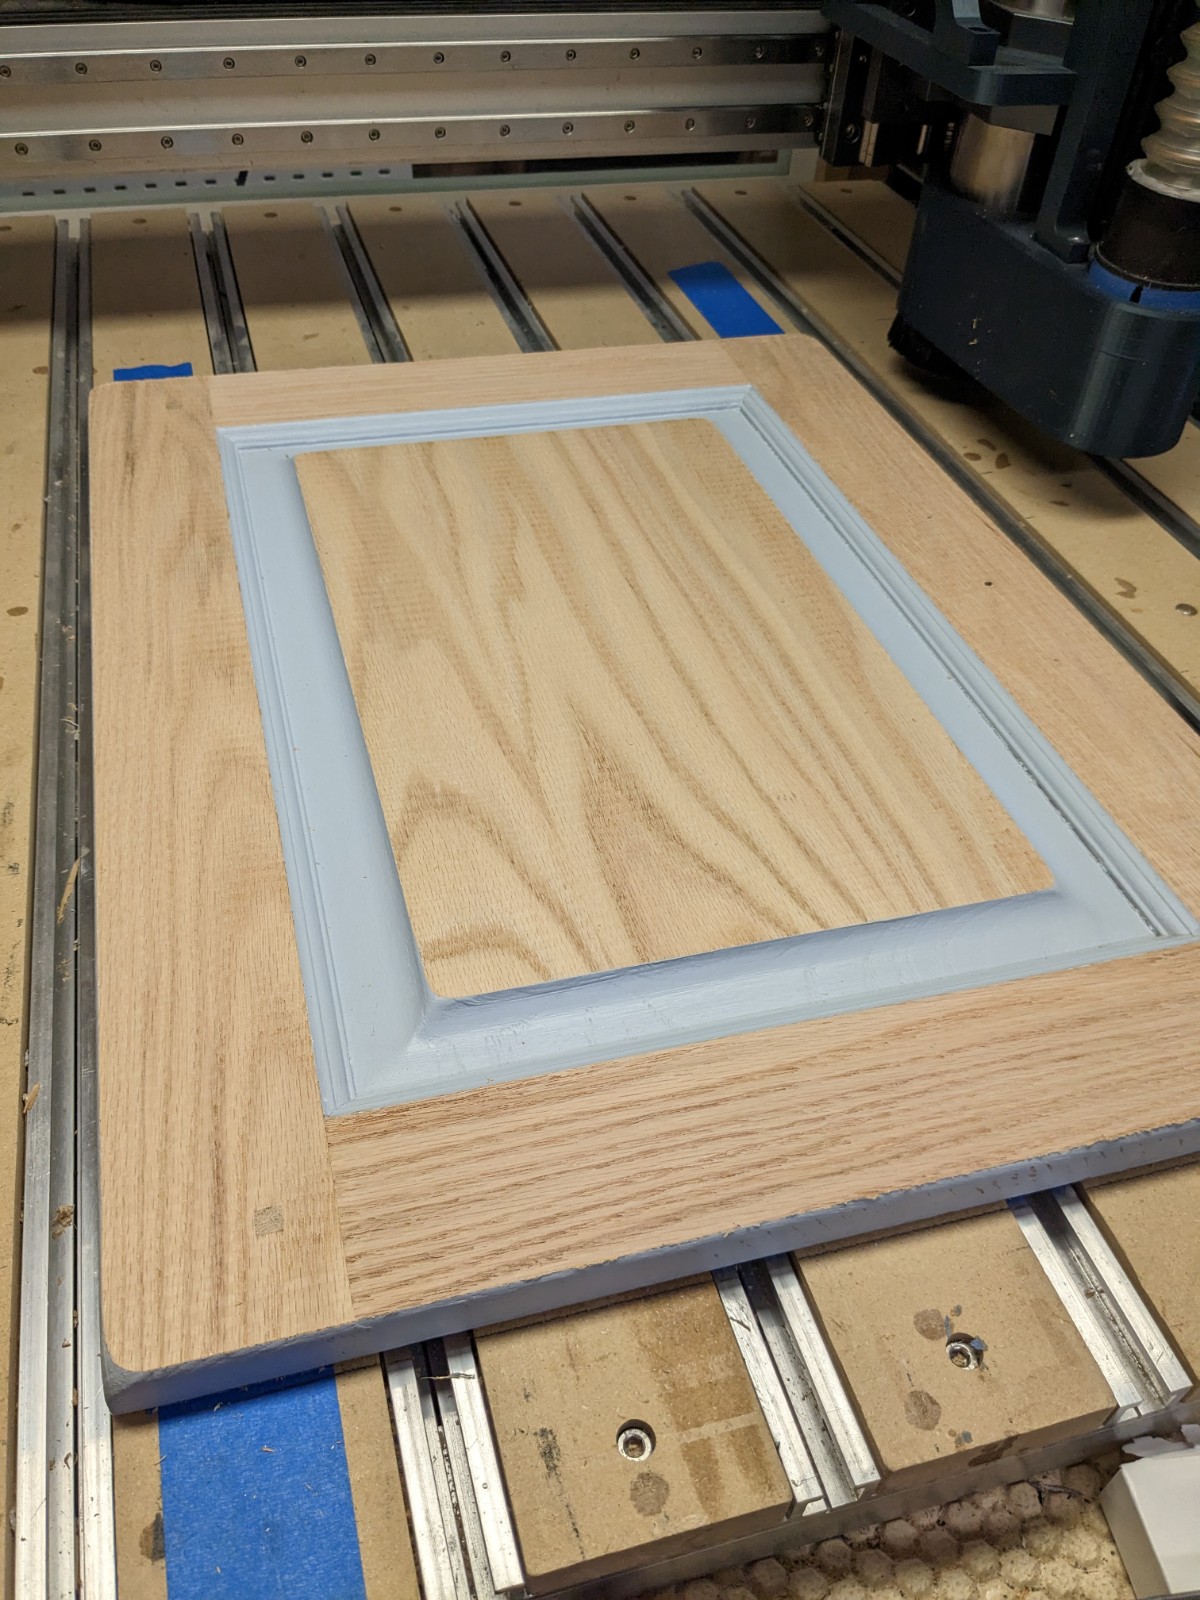
And I then used a 45° vbit to mill away the old-school rounded thingies (not sure what the word is for the parts that are all around between the stile and the recessed panel)
The 45° chamfers on all edges give the door the more modern look I was after, and milling everything on the CNC produces a clean sharp door that looks as new. Success so far.
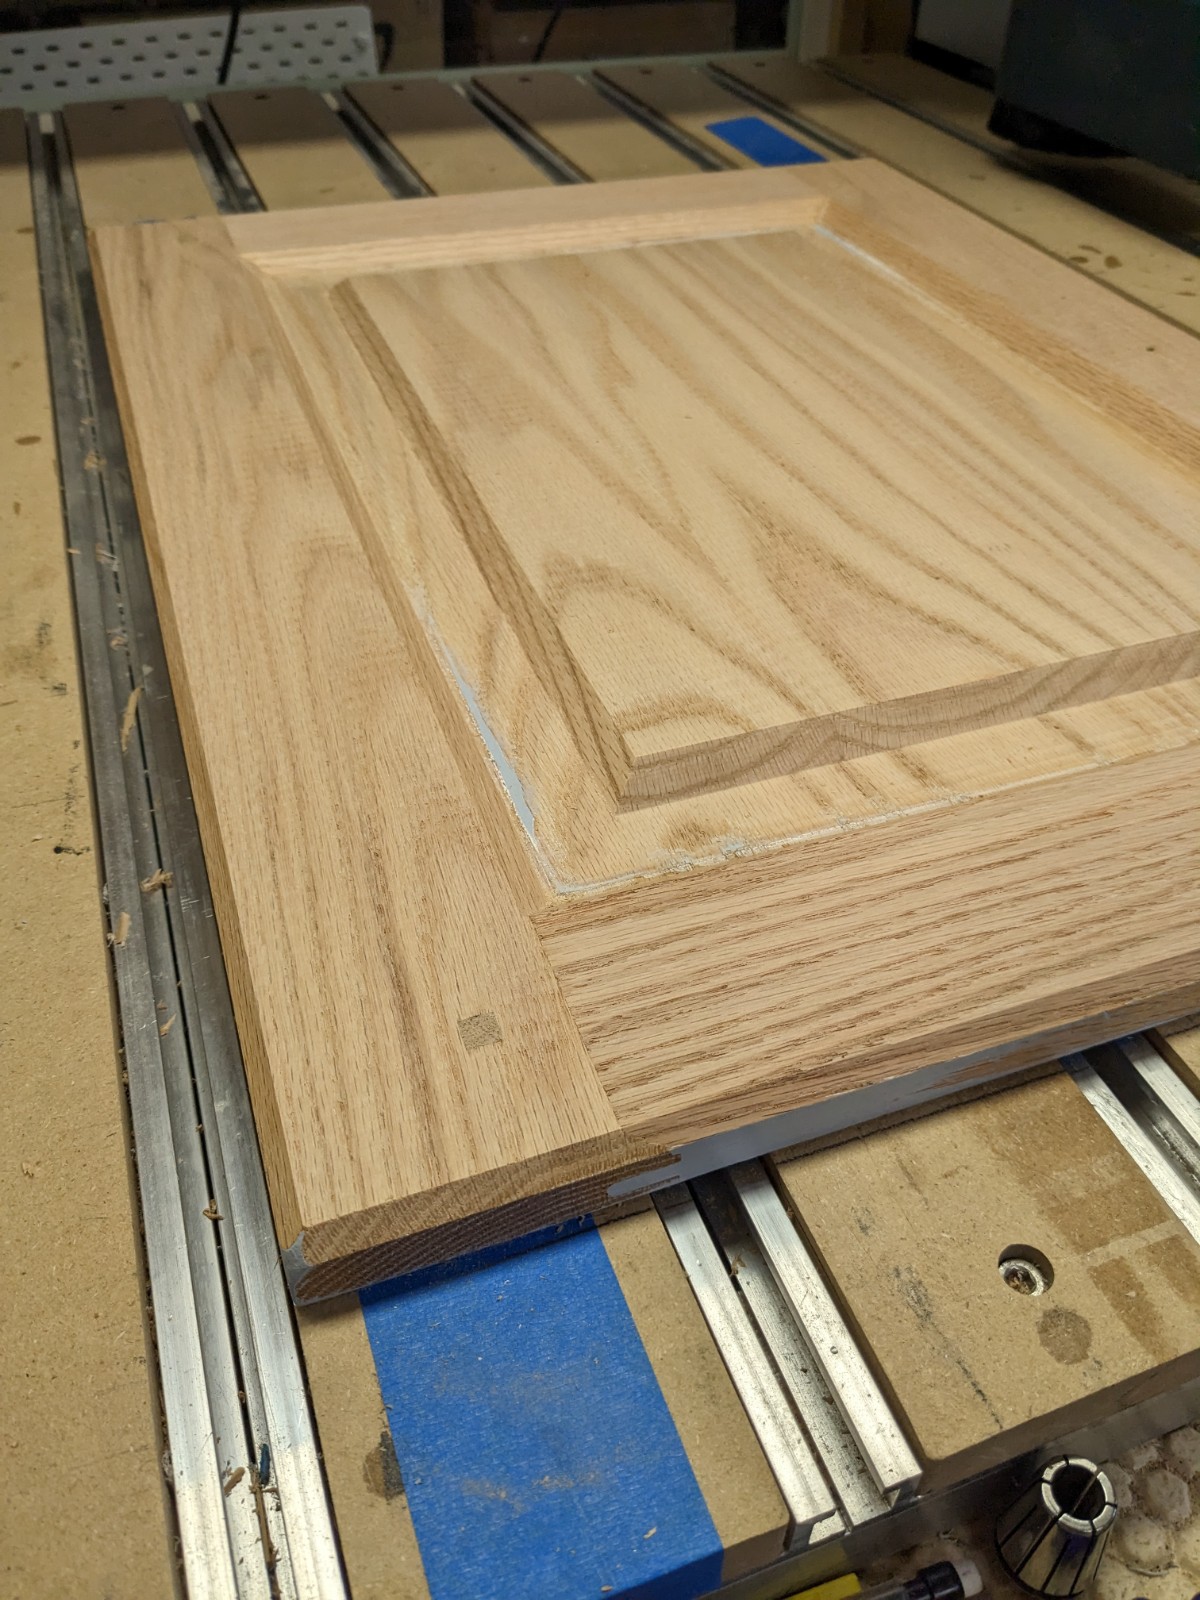
Now to do the same of the other 19 (!) doors/drawers, without messing a single time in a toolpath or zeroing or anything, since I only have one shot at this. Stressful!
26 Likes
The central part is usually known as a “panel” and the left and right are stiles, and top/bottom are rails, and the decorative element which was removed with a chamfer a framing bead (framing edge is used for a similar treatment along the edges).
Nice Arts and Craft detail with the square pin/tenon! Have you considered getting a bit of ebony and drilling and mounting a decorative element there?
What finish will you be applying? Is fuming or ebonizing an option?
4 Likes
Don’t worry if you mess something up it is not that hard to make a replacement. Just have fun doing it.
4 Likes
Thanks for clarifying the lingo.
After consulting with the Chief Decorator, she said she does not want the visible wood grain look, so back to my initial plan of applying a filler and then a colored resin (for easy cleaning and for durability)
4 Likes
Find someone with a similar kitchen done in maple and swap? It’d be a lot easier.
Removing visible grain from oak verges on mission impossible/Task of Sisyphus.
The best thing about wood grain in a kitchen is it hides fingerprints.
7 Likes
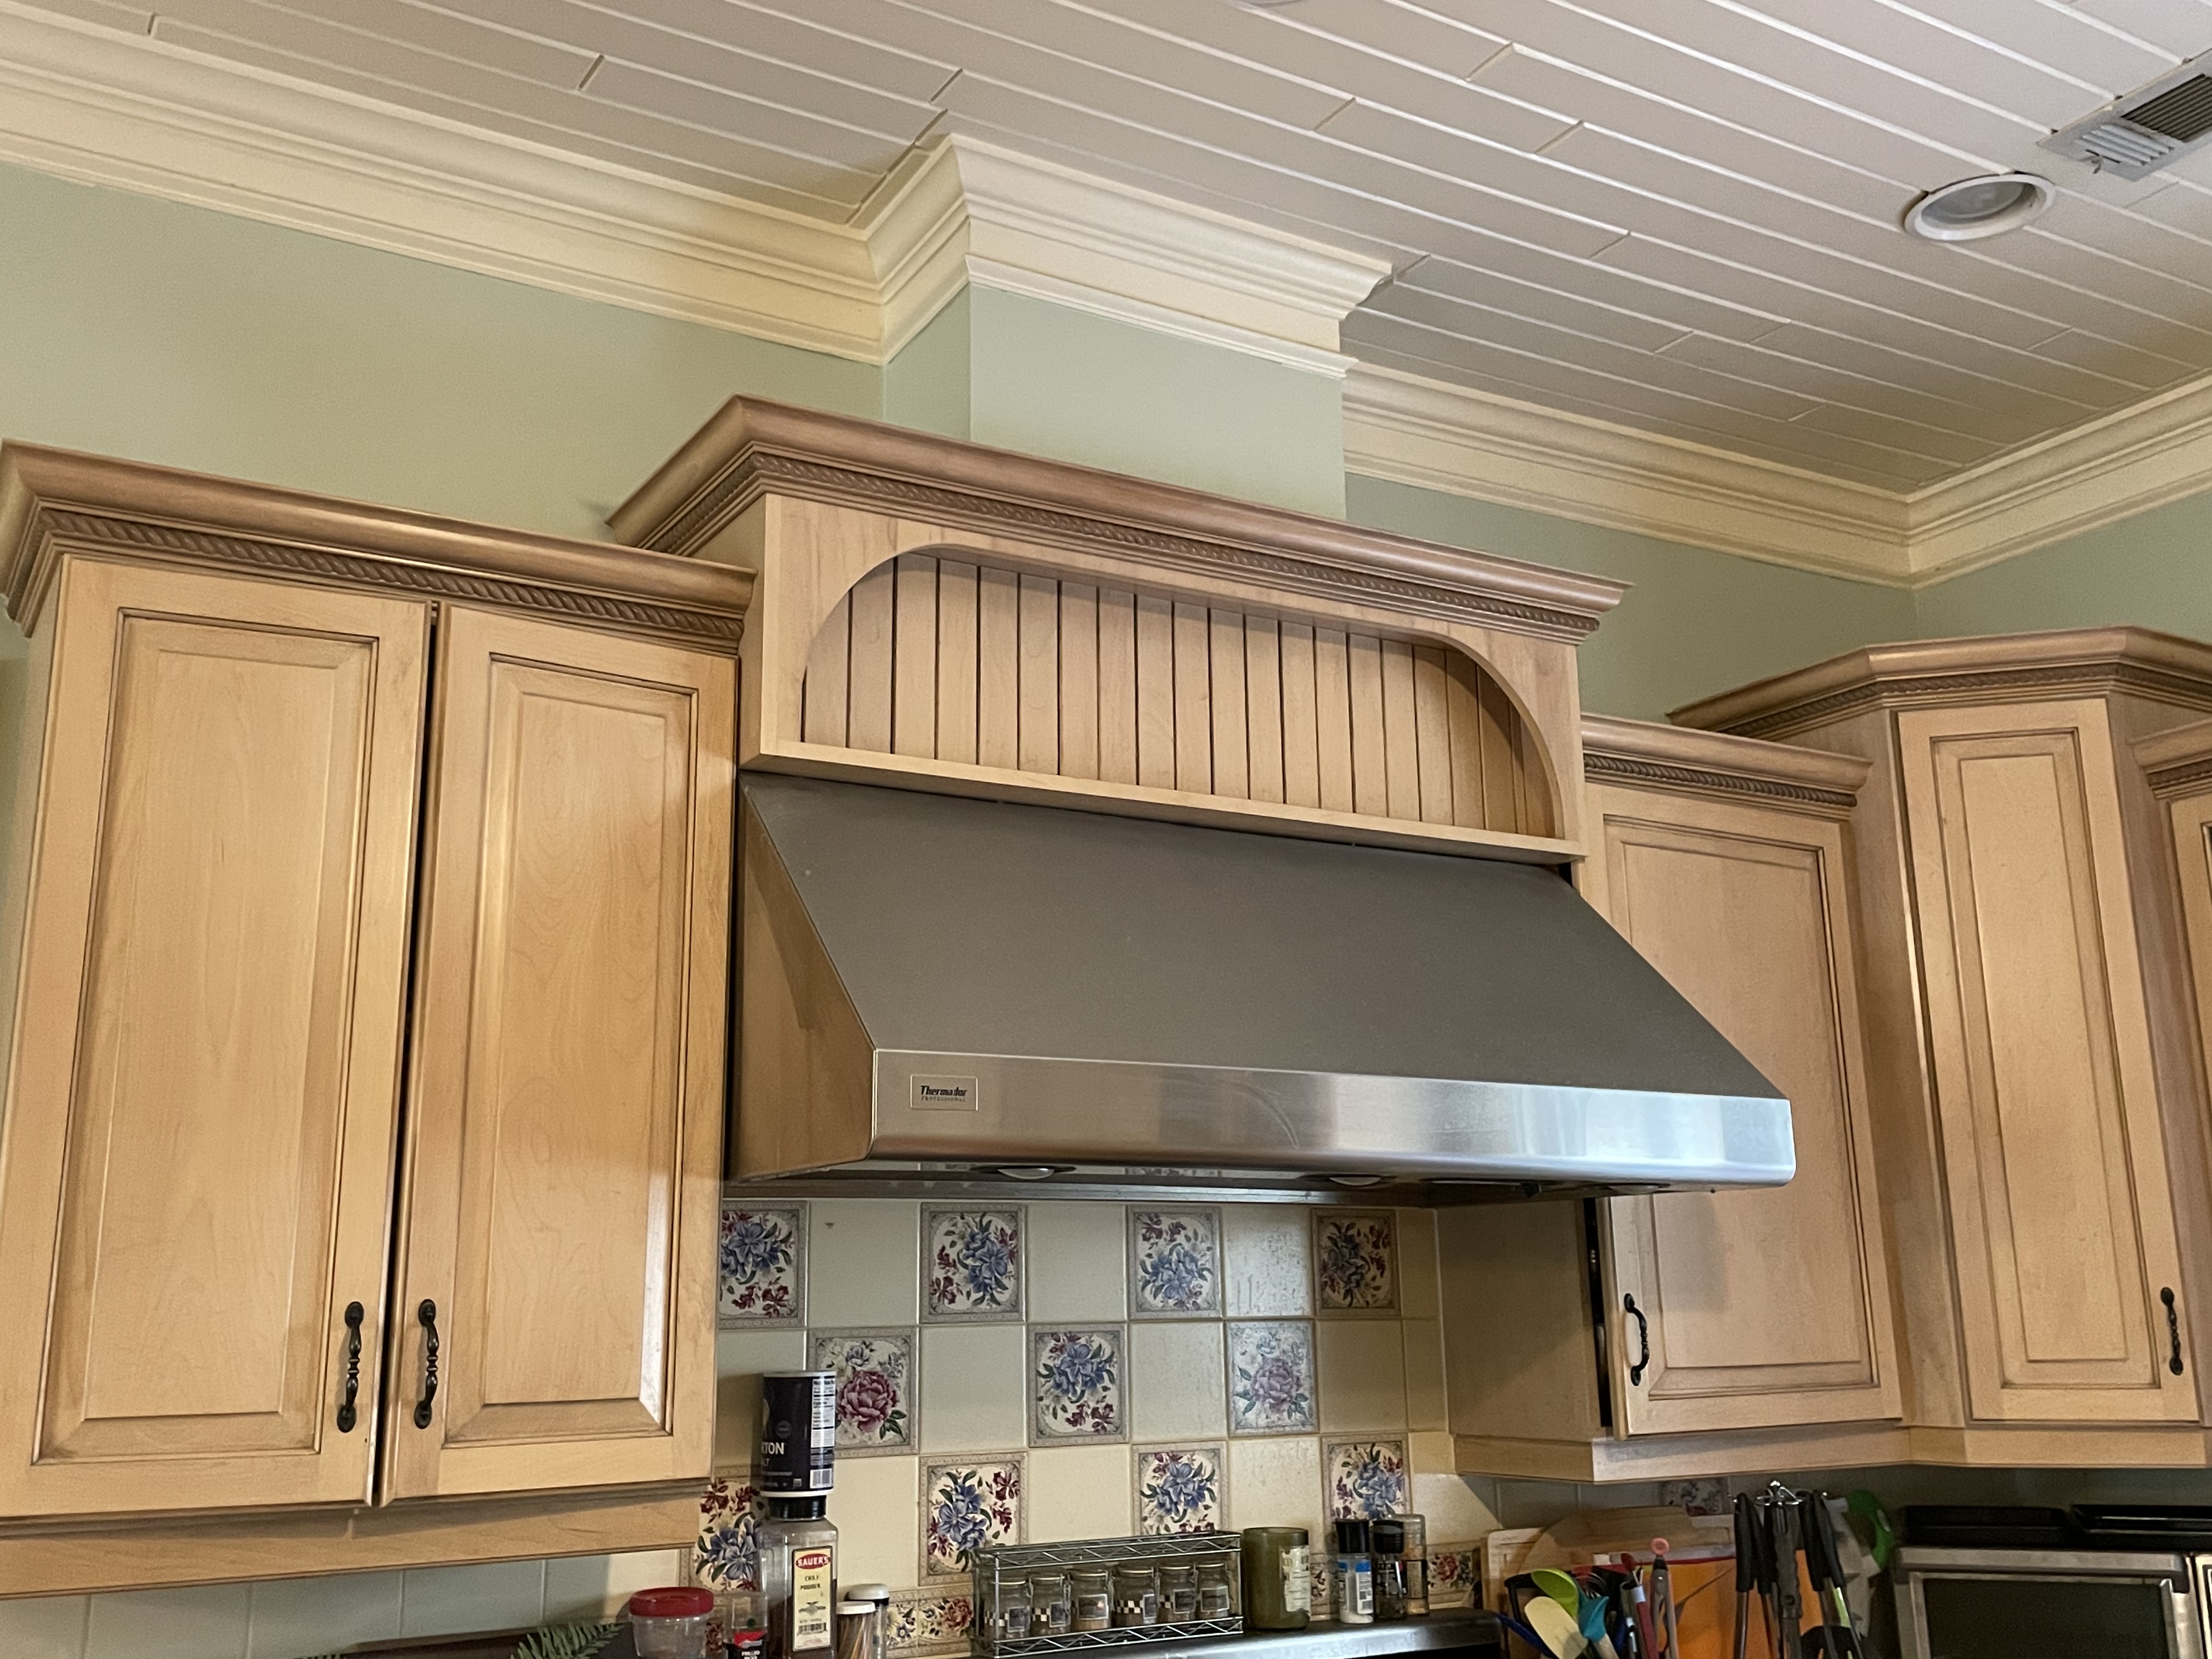
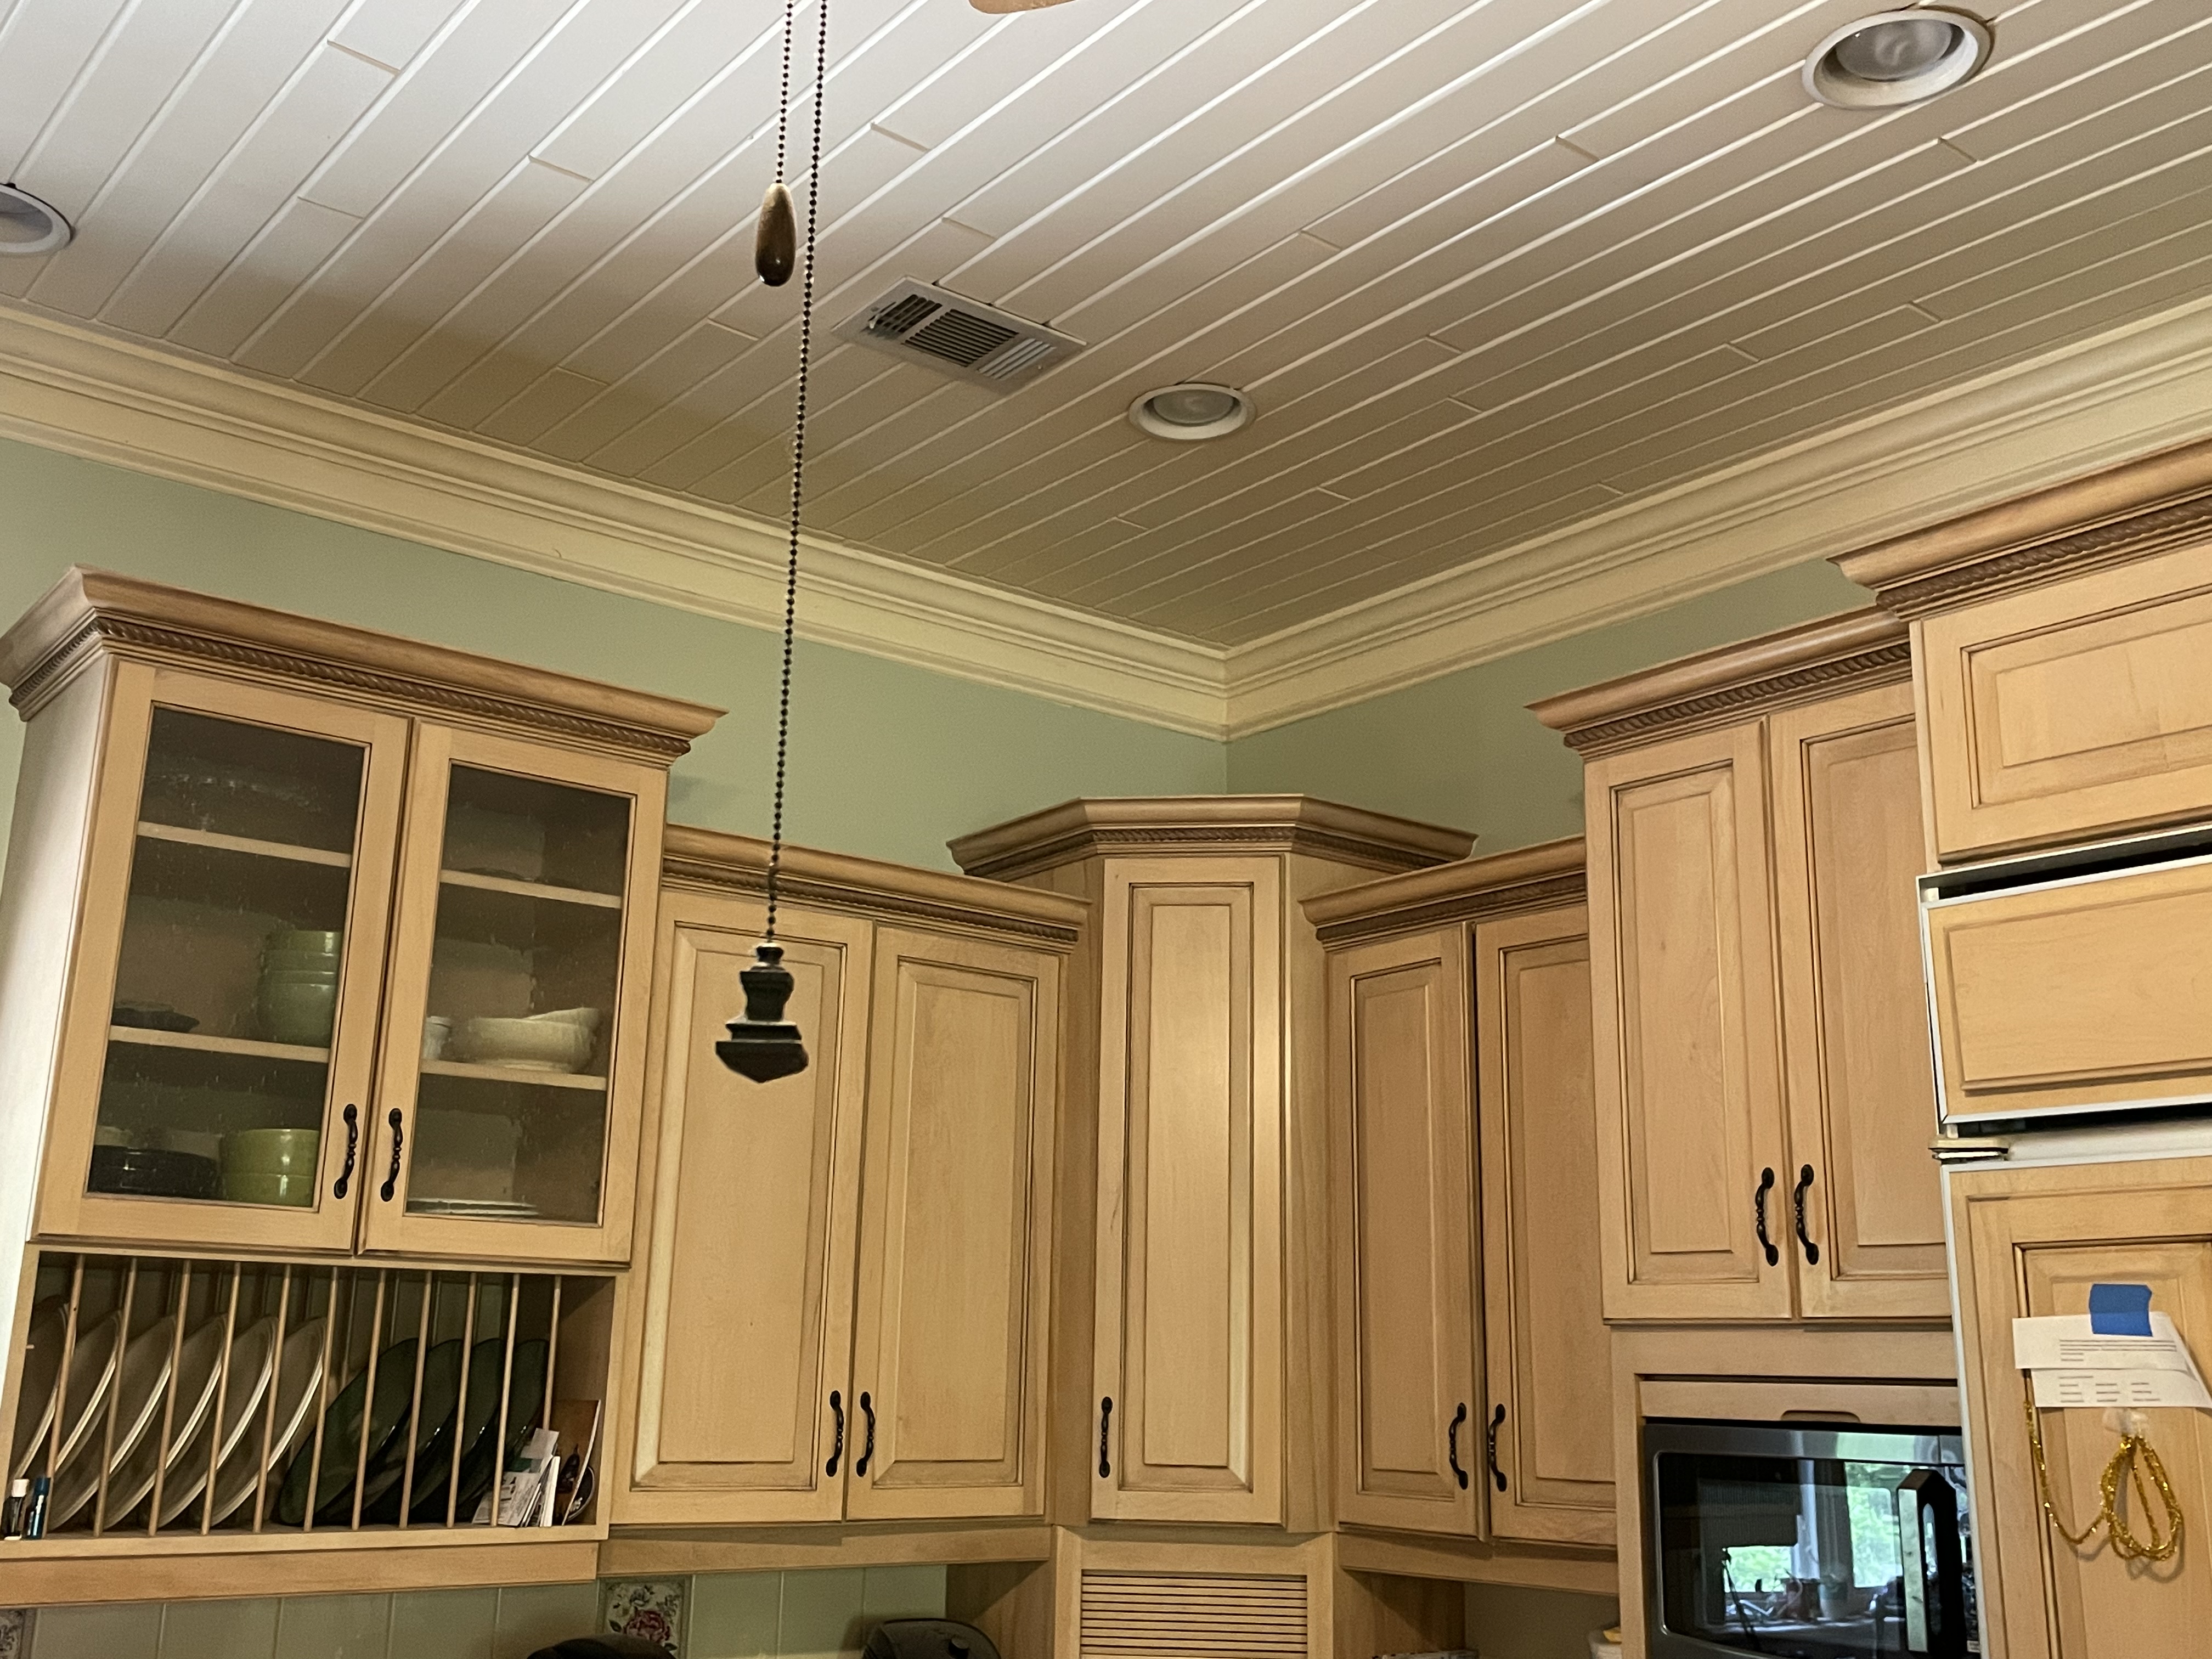
We have probably 26 cabinet doors and 14 drawers plus the matching fridge panels in I think maple with a glazed type finish. My chief decorator has wanted something done to modernize for years but I have a real hard time with the idea of painting over that beautiful wood. There is a ton of crown and intricate dentil molding on it though so anything else would require a ridiculous amount of sanding or a pretty significant re-do of portions. Thus far I have been successful at procrastinating.
3 Likes
Yeh, this makes me sad to cover up that beautiful grain. ![]()
4 Likes
Maybe we just have to wait 20 years for it to be back in style.
As a home renovator, I have dismantled/rebuilt many kitchens - even a few re-facings. If there was one thing I wish I had been able to do with some of those old kitchens, it would have been to have saved the solid wood cabinet doors for future CNC project stock material.
I would never wish the task of refinishing cabinet doors on anyone - the tedium is mind numbing & the results can be too little gain for effort/time spent. Part of a successful kitchen reno is re-designing the space for how you would like it to be instead of putting up with how it is.
I believe the only time I successfully refinished a few doors, I used a chemical gel product to soften the old finish so it would easily scrape off for the most part.
4 Likes
Yikes! As great as it is to use the CNC to clean off the old finish, why bother if you don’t want to reveal the grain with a new finish?
2 Likes
Can’t argue with the Chief Decorator. But my evil plan is as follows: I’ll postpone the painting part to the very last step of remodeling the kitchen (I will also be installing a new countertop and removing the tiles on the walls). Who knows, she may get to like the wooden look and “suggest” to keep it this way then.
Anyway, my hatred for sanding is such that everything I can let the CNC do, I will ![]()
I need those chamfers anyway. Also, I need an excuse to use my Shapeoko, it’s not been getting enough love recently.
10 Likes
I would further suggest sourcing some similar oak and making some kitchen accessories out of it, using various finishes — I am very fond of ebonized oak, but that’s because it was used in one of my most successful woodworking projects:
1 Like
Live in South East GA by any chance. I have been trying to find a bathroom remodeler. Had 5 come out and only 2 quote. Seems odd.
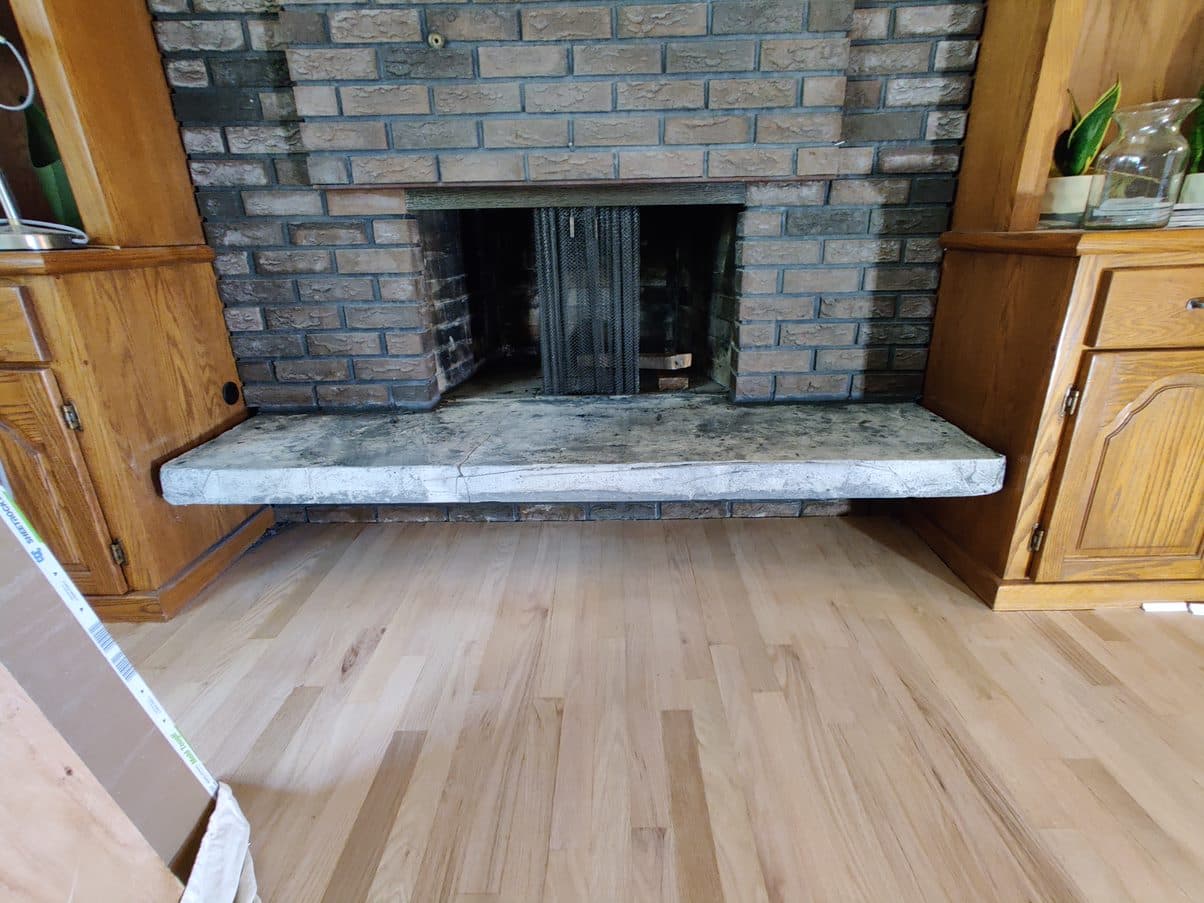
Here are the cabinets I don’t want to mess with.
4 Likes
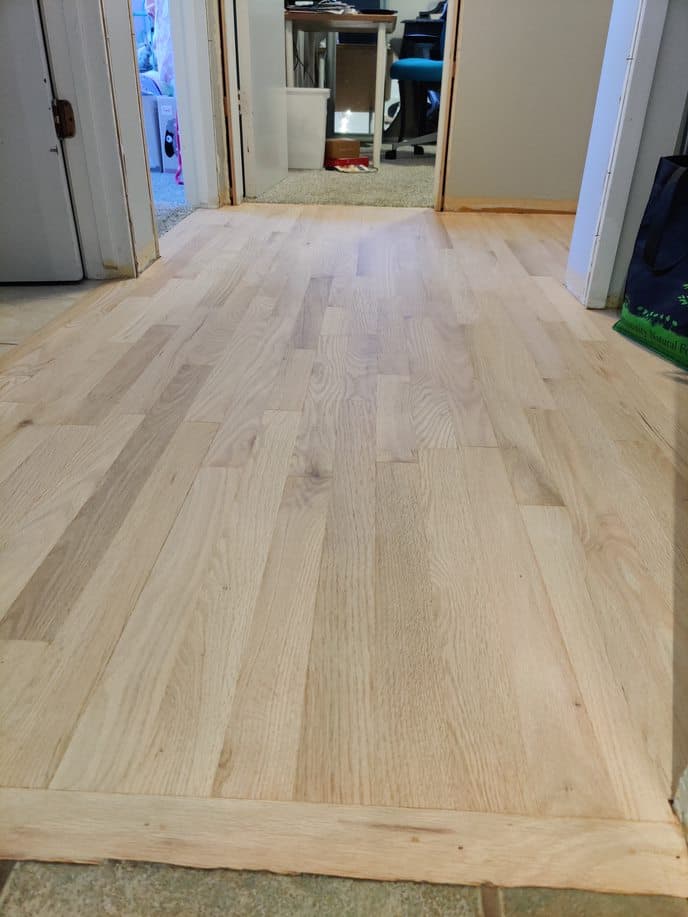
Another finish option is one which does not cause the wood to become amber/orange - I quite like the grain of oak, the old finishes which amber/orange the wood, not so much. My sister & brother-in-law had their oak flooring re-finished about a year ago. The flooring specialist used a product I had not known existed, but it kills the tanins in the wood & keeps it looking the natural colour. Really made the floor look completely different as there was no longer the overall amber/orange tone covering everything.
5 Likes
I’m in west coast Canada. Those are a really nice set of cabinets - definitely not the kind you re-finish unless the finish is somehow peeling off. Cabinets like those I would look to remove/re-sell/replace. Modern kitchen design is utilizing clean/simple lines without all the various height/detph differences & often utilizing tall upper cabinets for which the space to the ceiling can then be closed off with finish panel.
2 Likes
This would be the only other way I would want to do it…
2 Likes
