I can attest to midwest steel, I order various kinds of aluminum from them all the time since I’m located about a 45min drive from them. Even so their shipping charges seem to be reasonable as well.
1 Like
interesting, i might have to check them out for projects where flatness and internal stress are more important.
I’ll echo the recommendation for midwest steel. I have not had any problems the few times that I have ordered from them including a fairly large (350mm x 375mm?) atp5 sheet.
For extruded bar stock, I like fastmetals.com too. They have lived up to their name and were quick to resolve the issue when they accidentally sent the wrong thickness of stock.
2 Likes
17 Likes
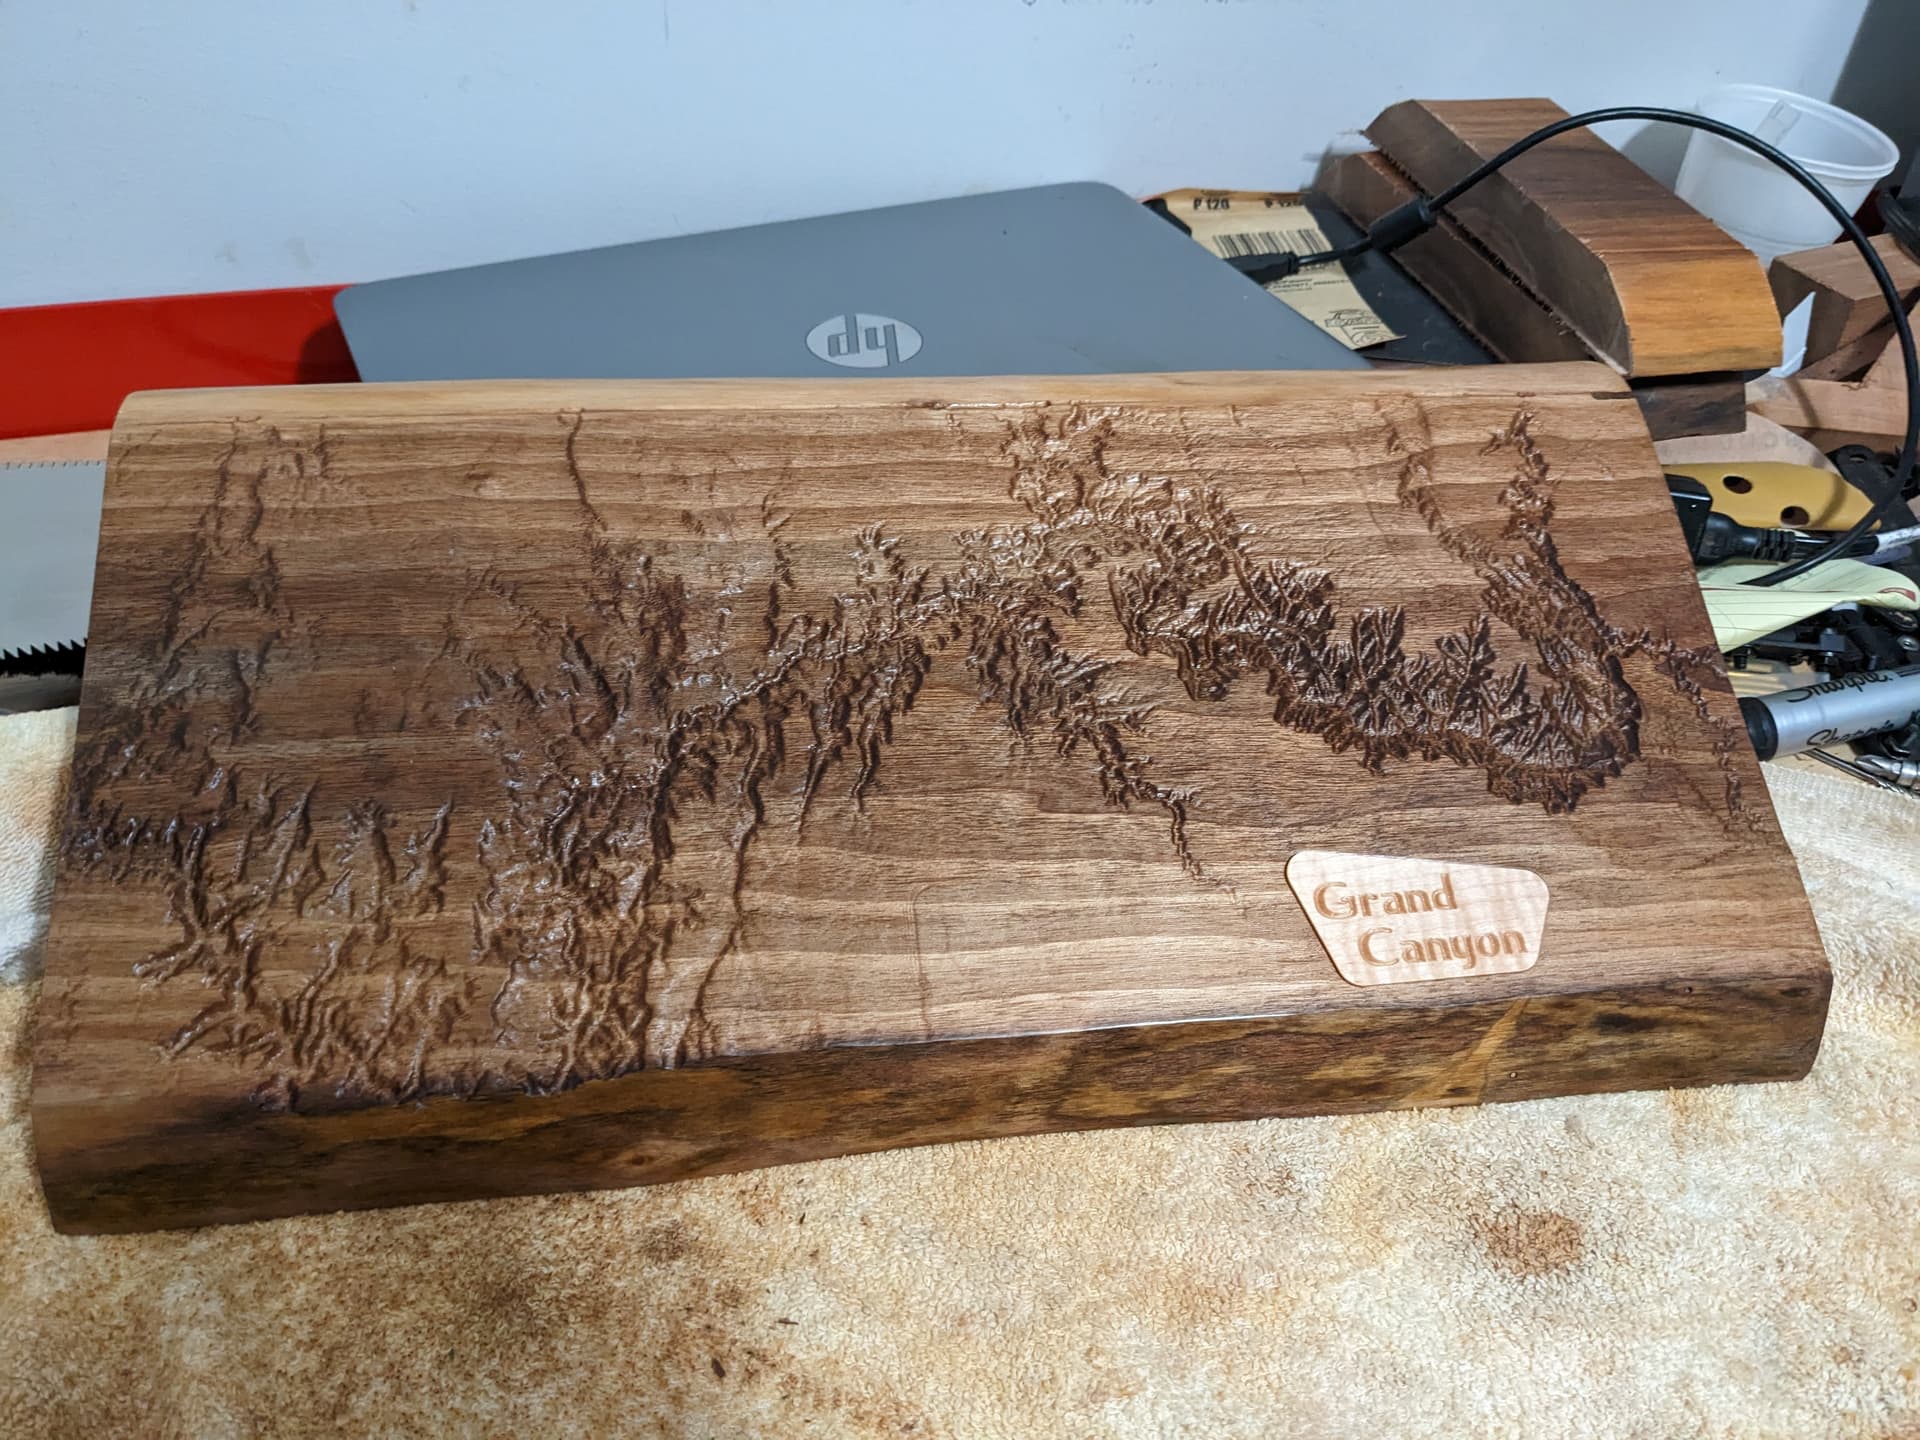
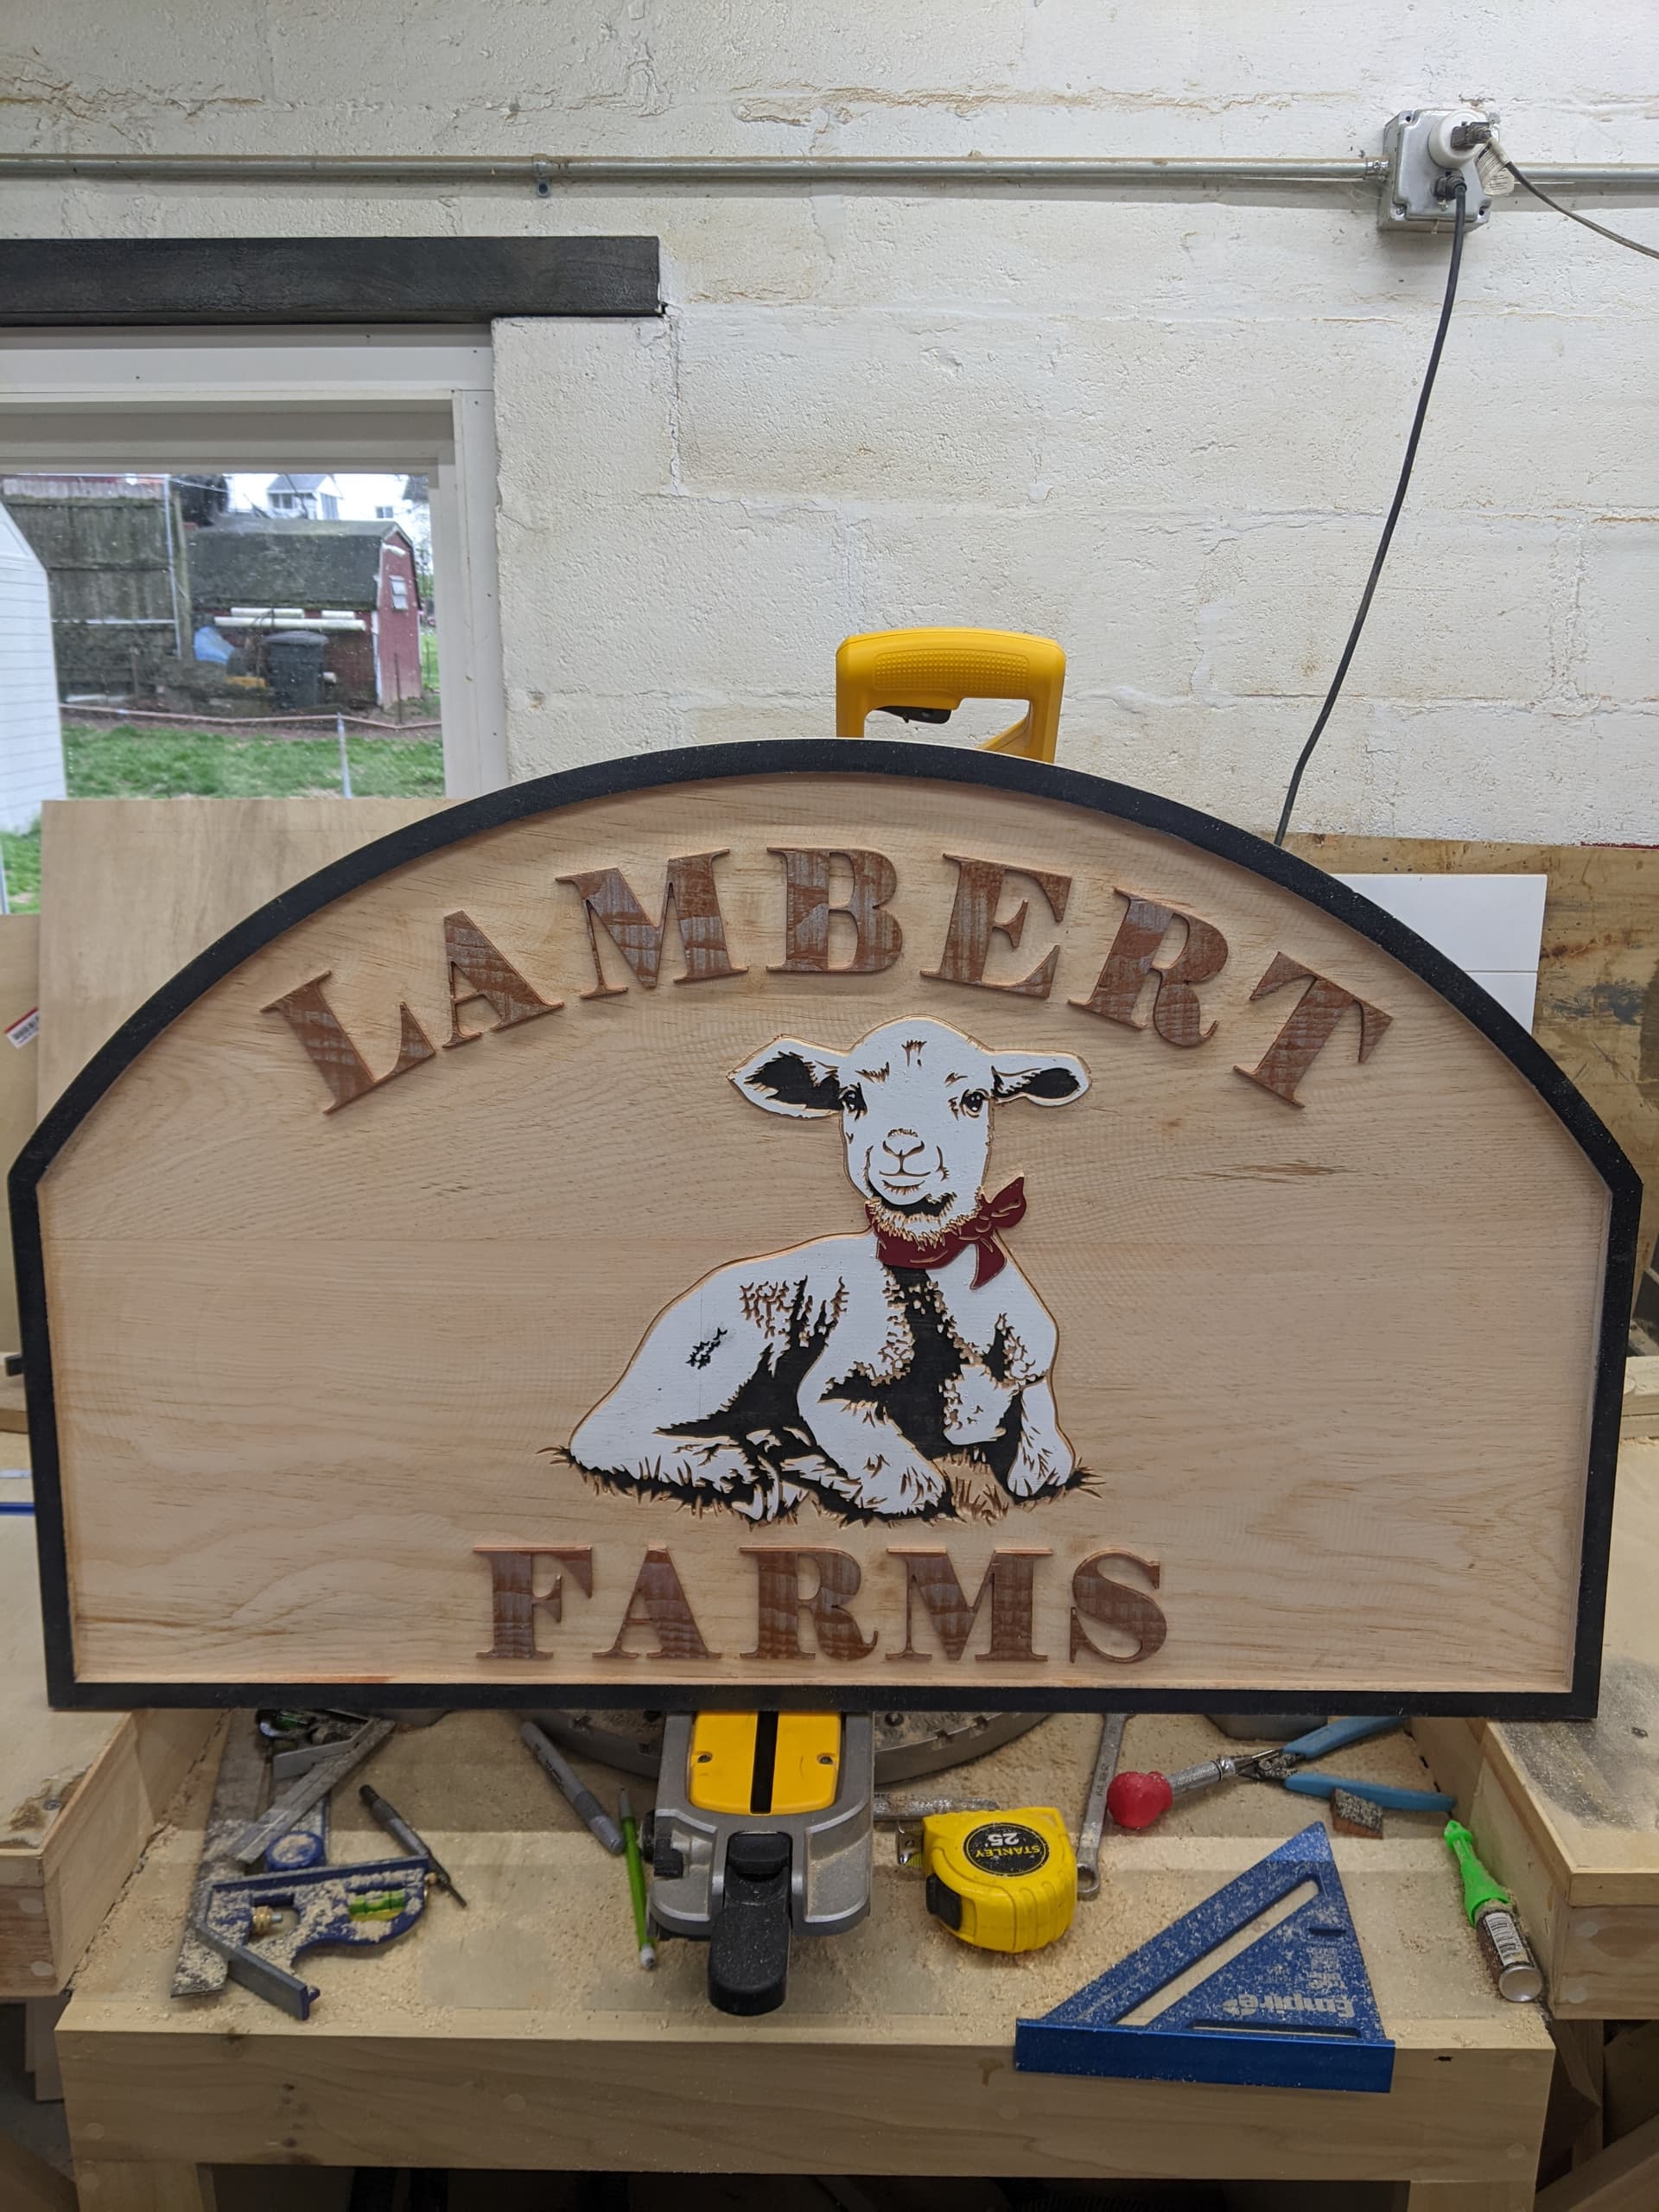
It doesn’t seem like much, but my Intel i7-8700k processor was sweating over generating the tool paths for that lamb.
21 Likes
Unfortunately no matter how many cores are in a Windows CPU seldom is more than 1 used at a time unless the application has been specifically tuned for the multicore processors. It is just the nature of Windows.
Dont sweat it because before long AI will probe your mind and make for you what it wants and “thinks” you need. Whatever it decides for you will be done in milliseconds on the quantum computers. We will be in pods similar to The Matrix and we will have our projects projected directly into our brain along with the simulation that we cut the project out. What a brave new world.
5 Likes
Flying High on the Flying V. Are you going to use my stand idea?
1 Like
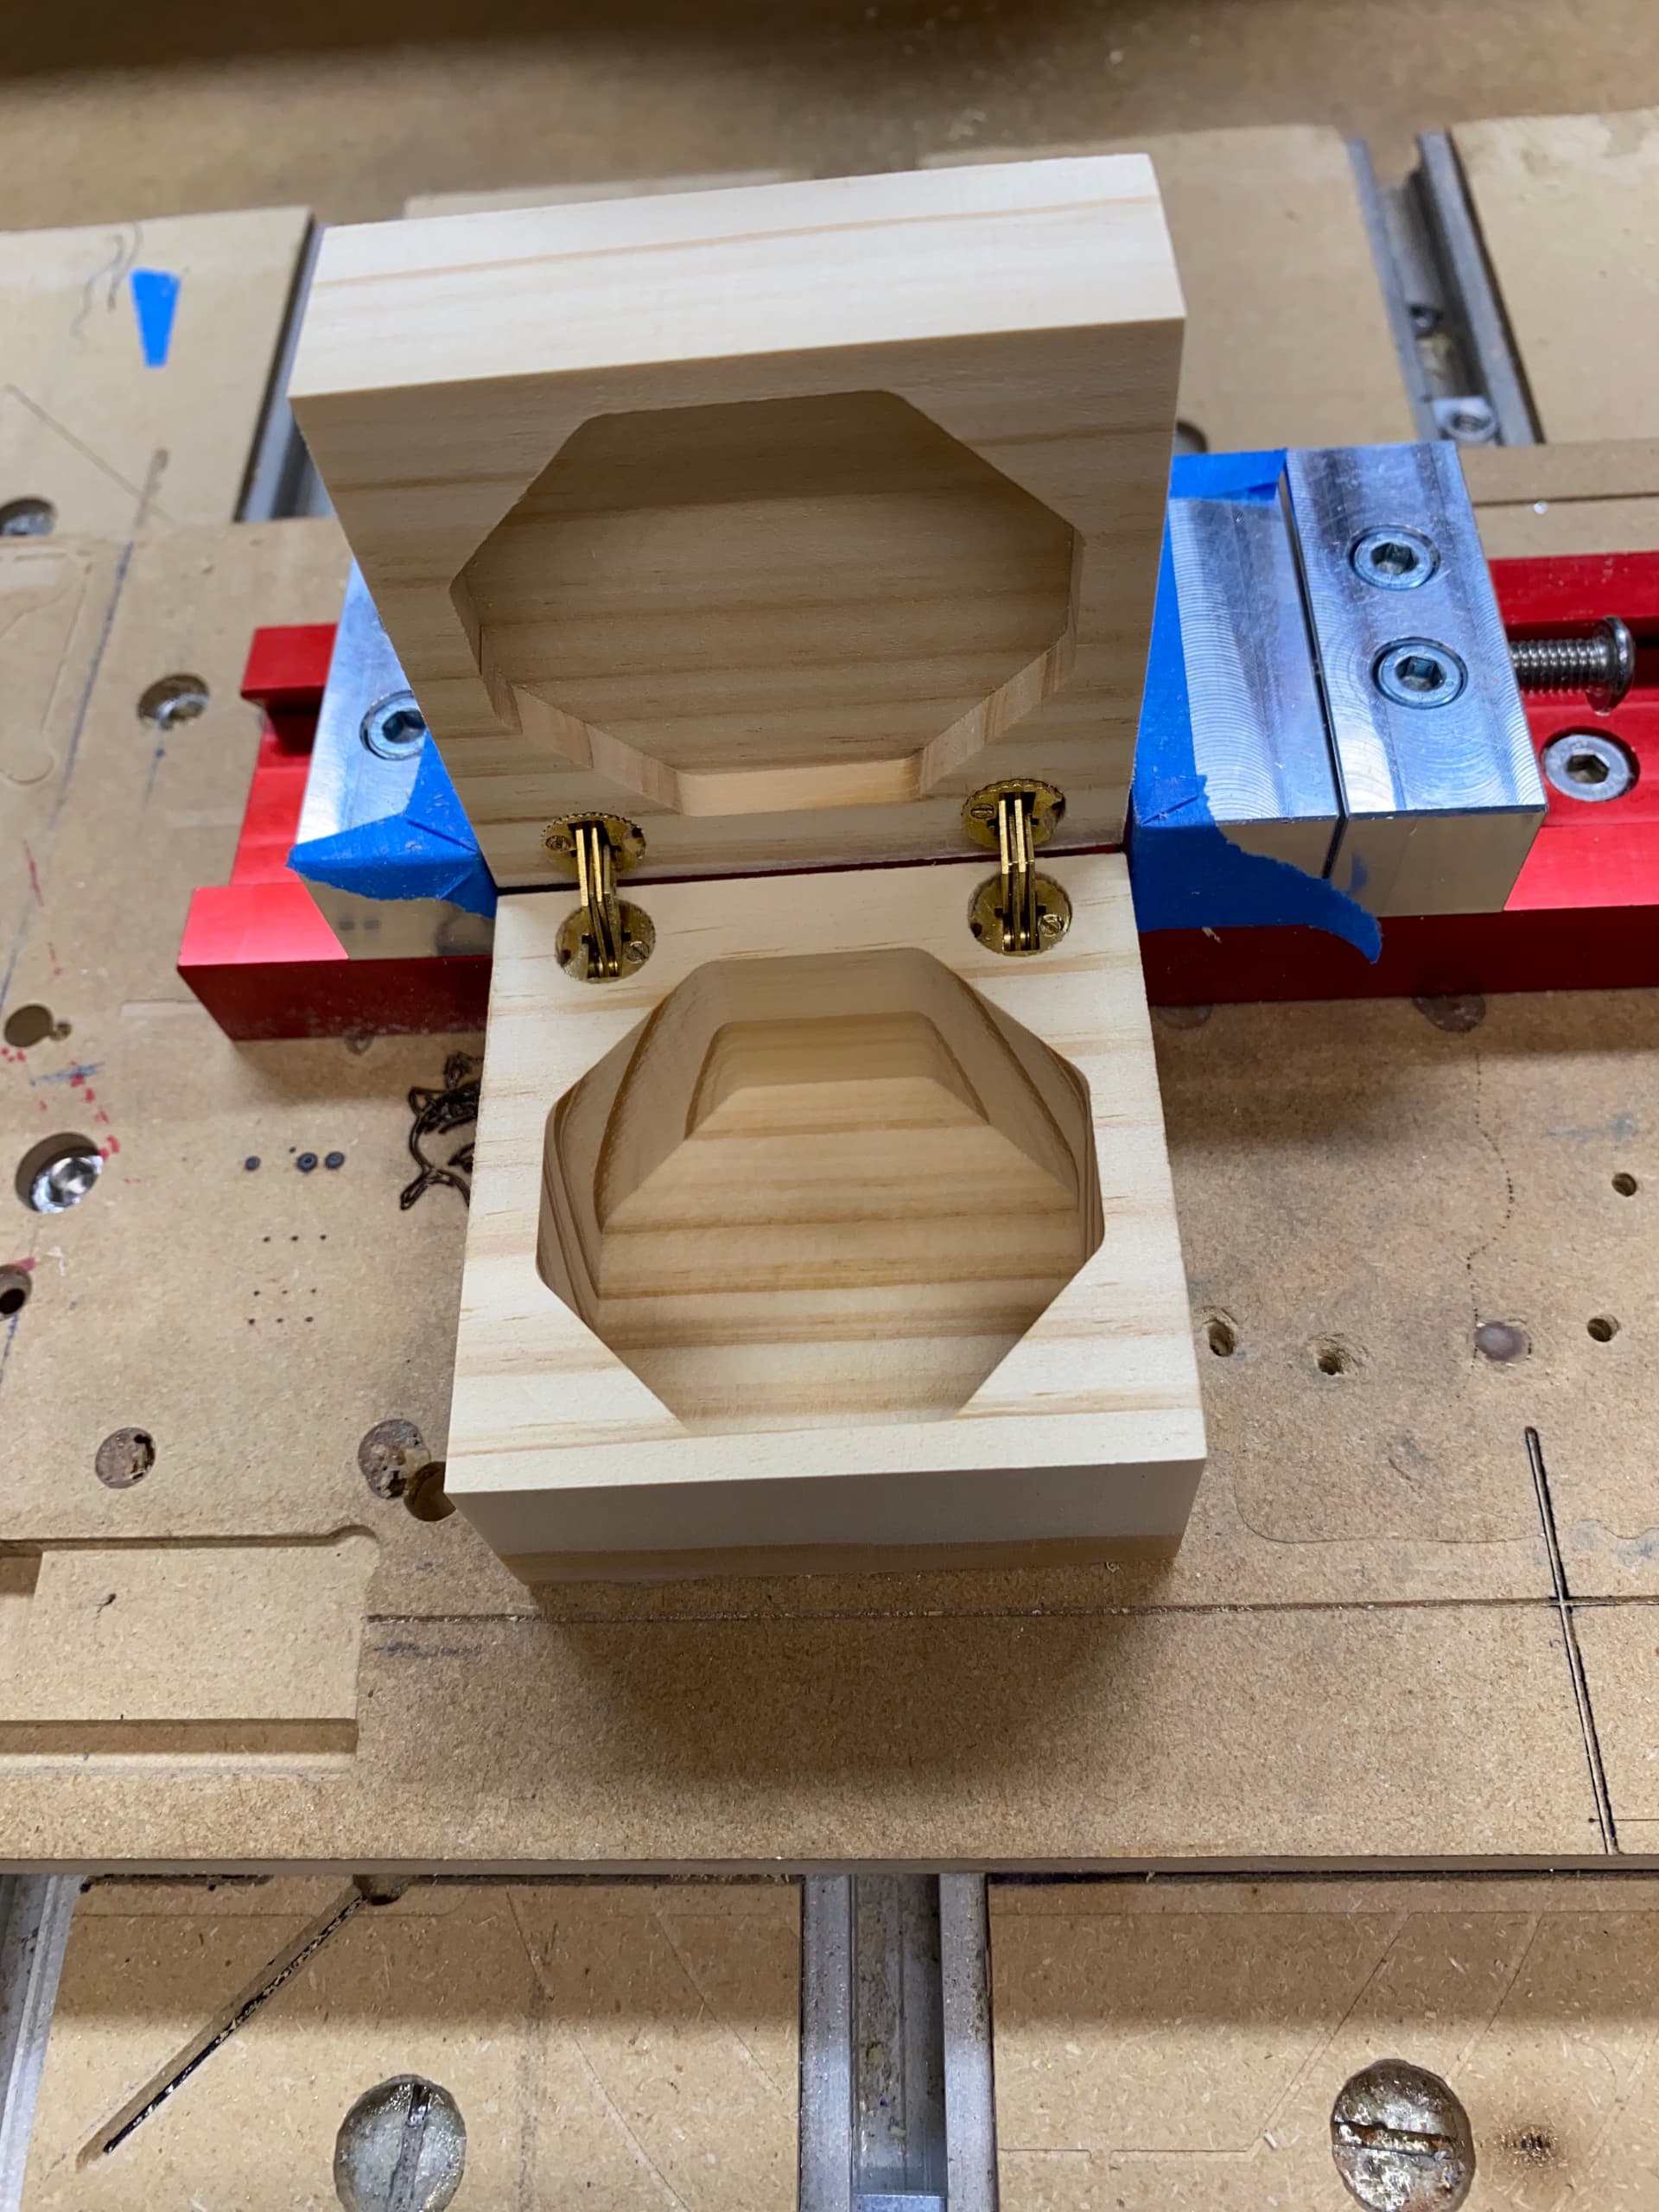
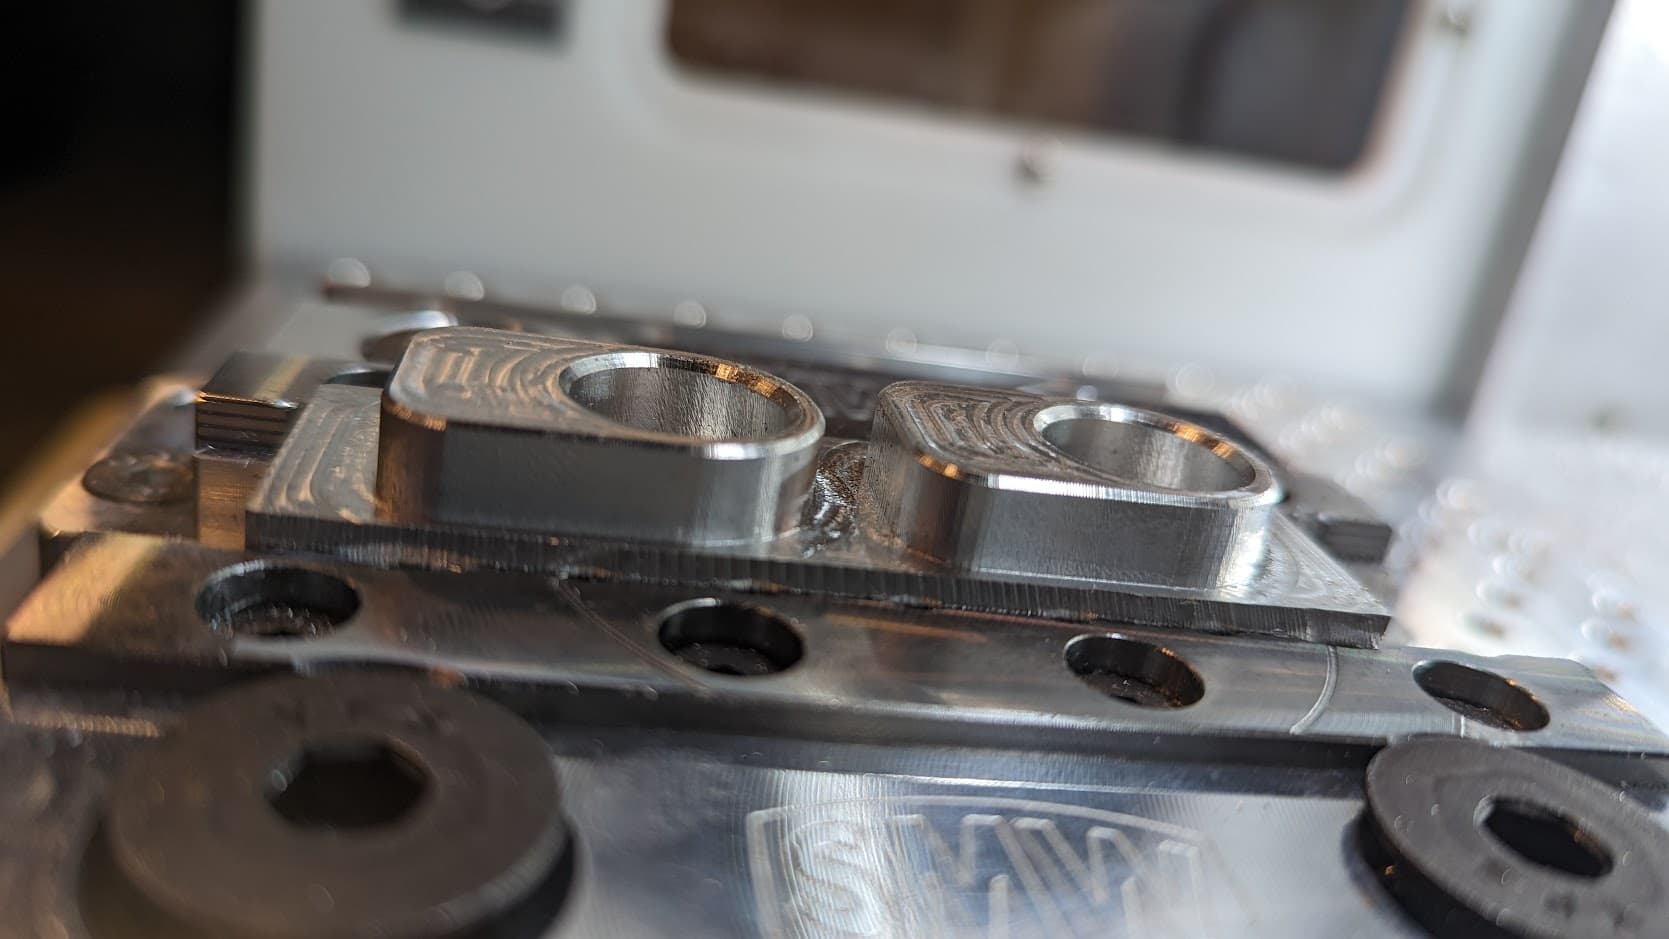
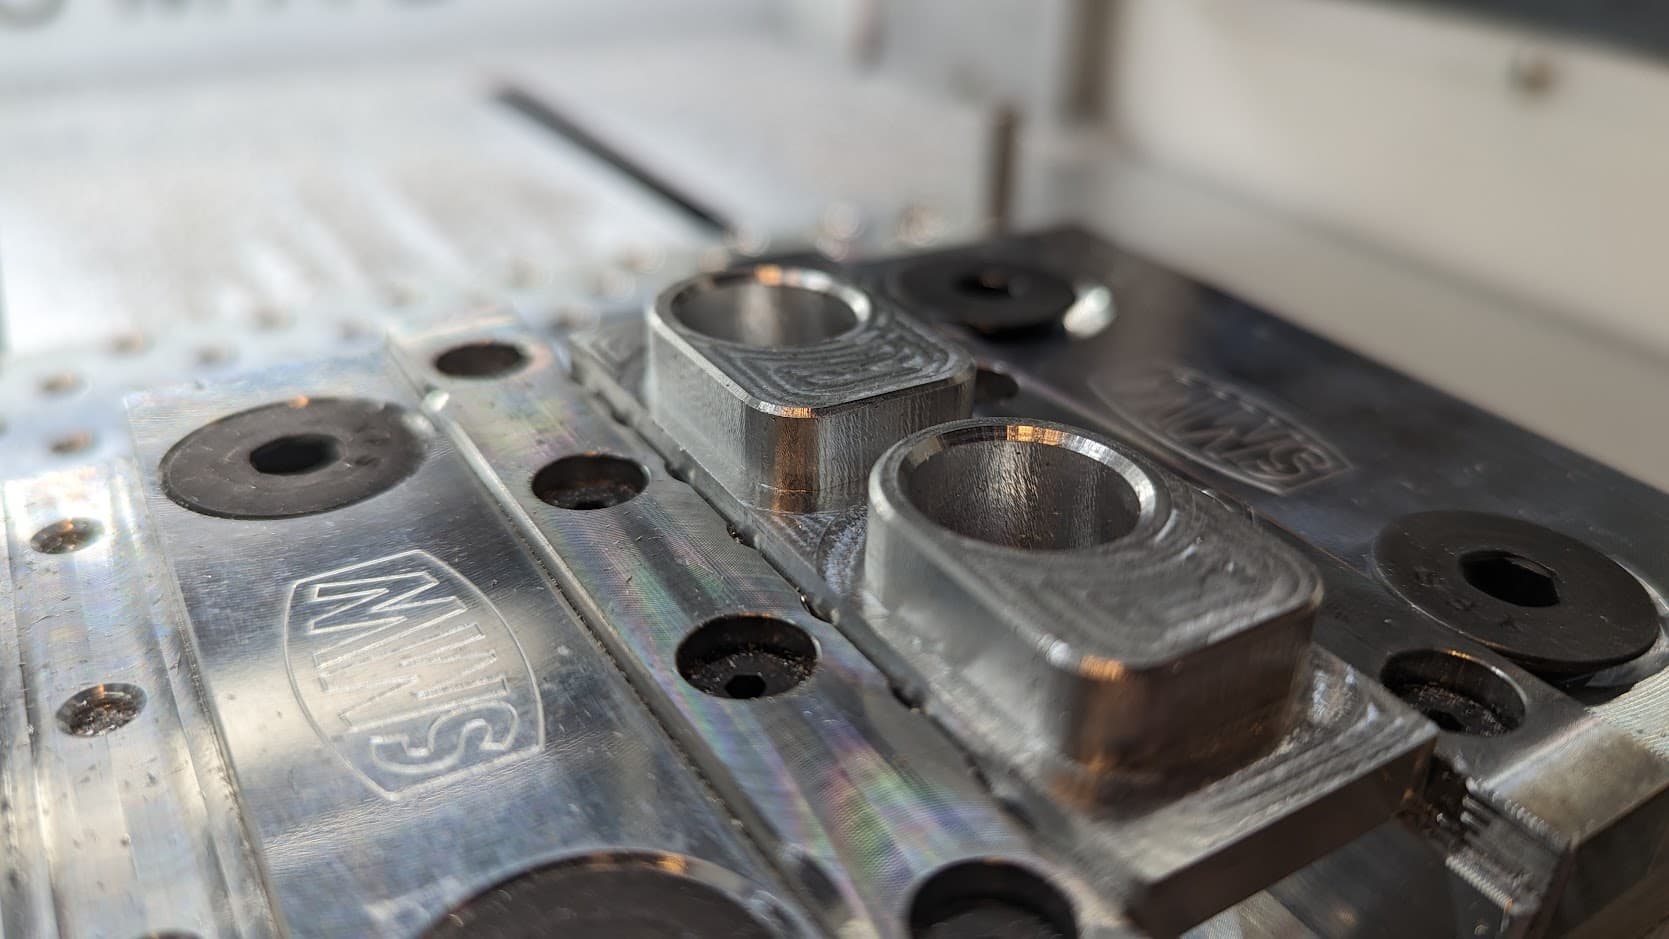
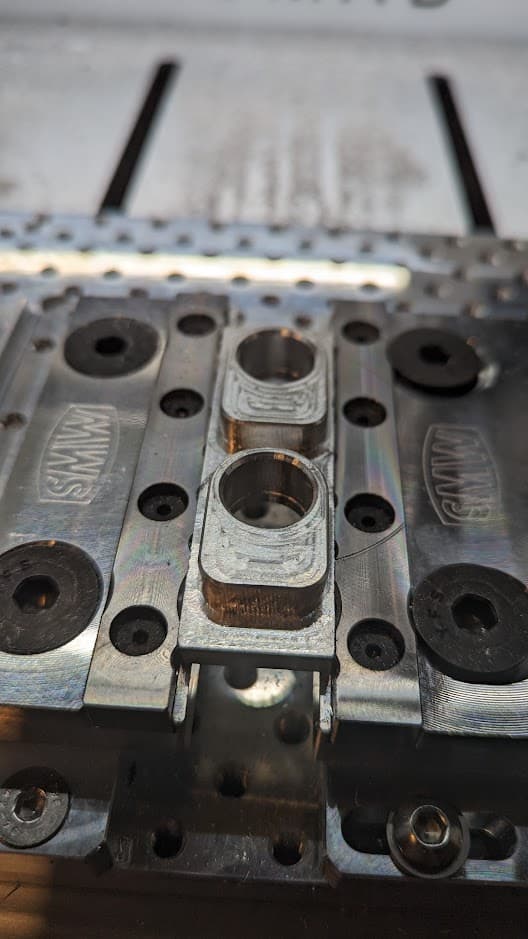
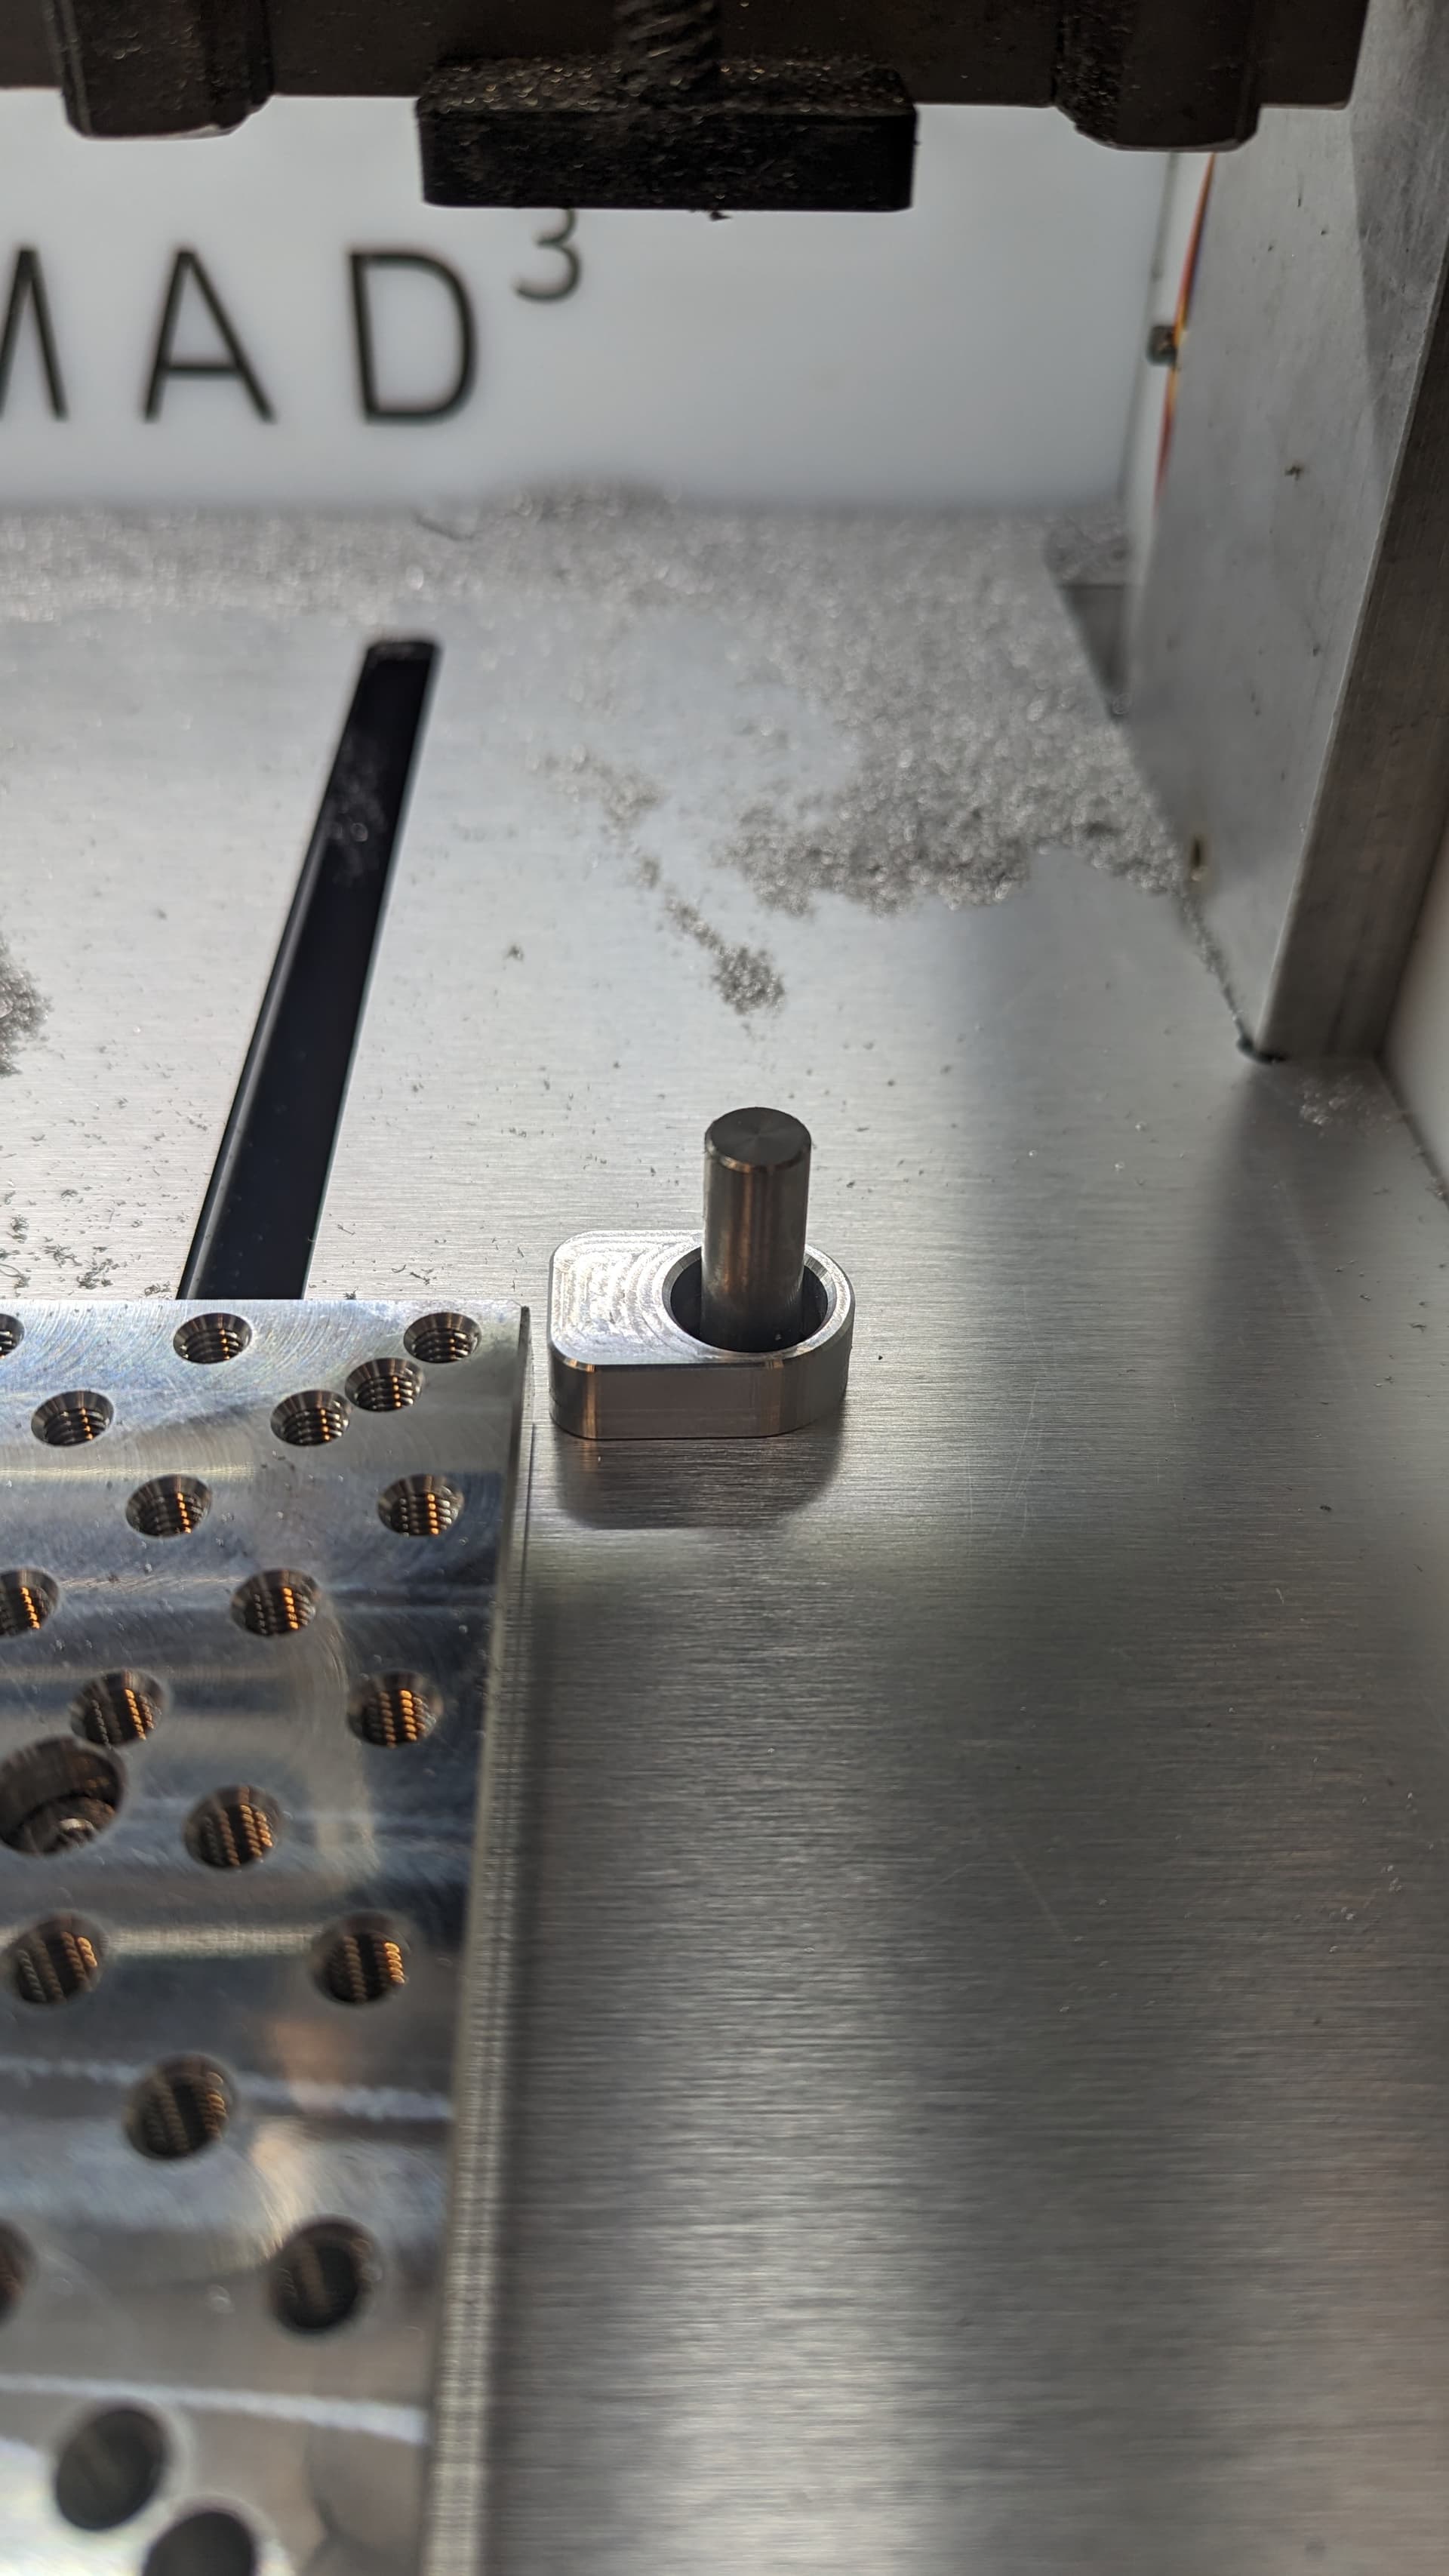
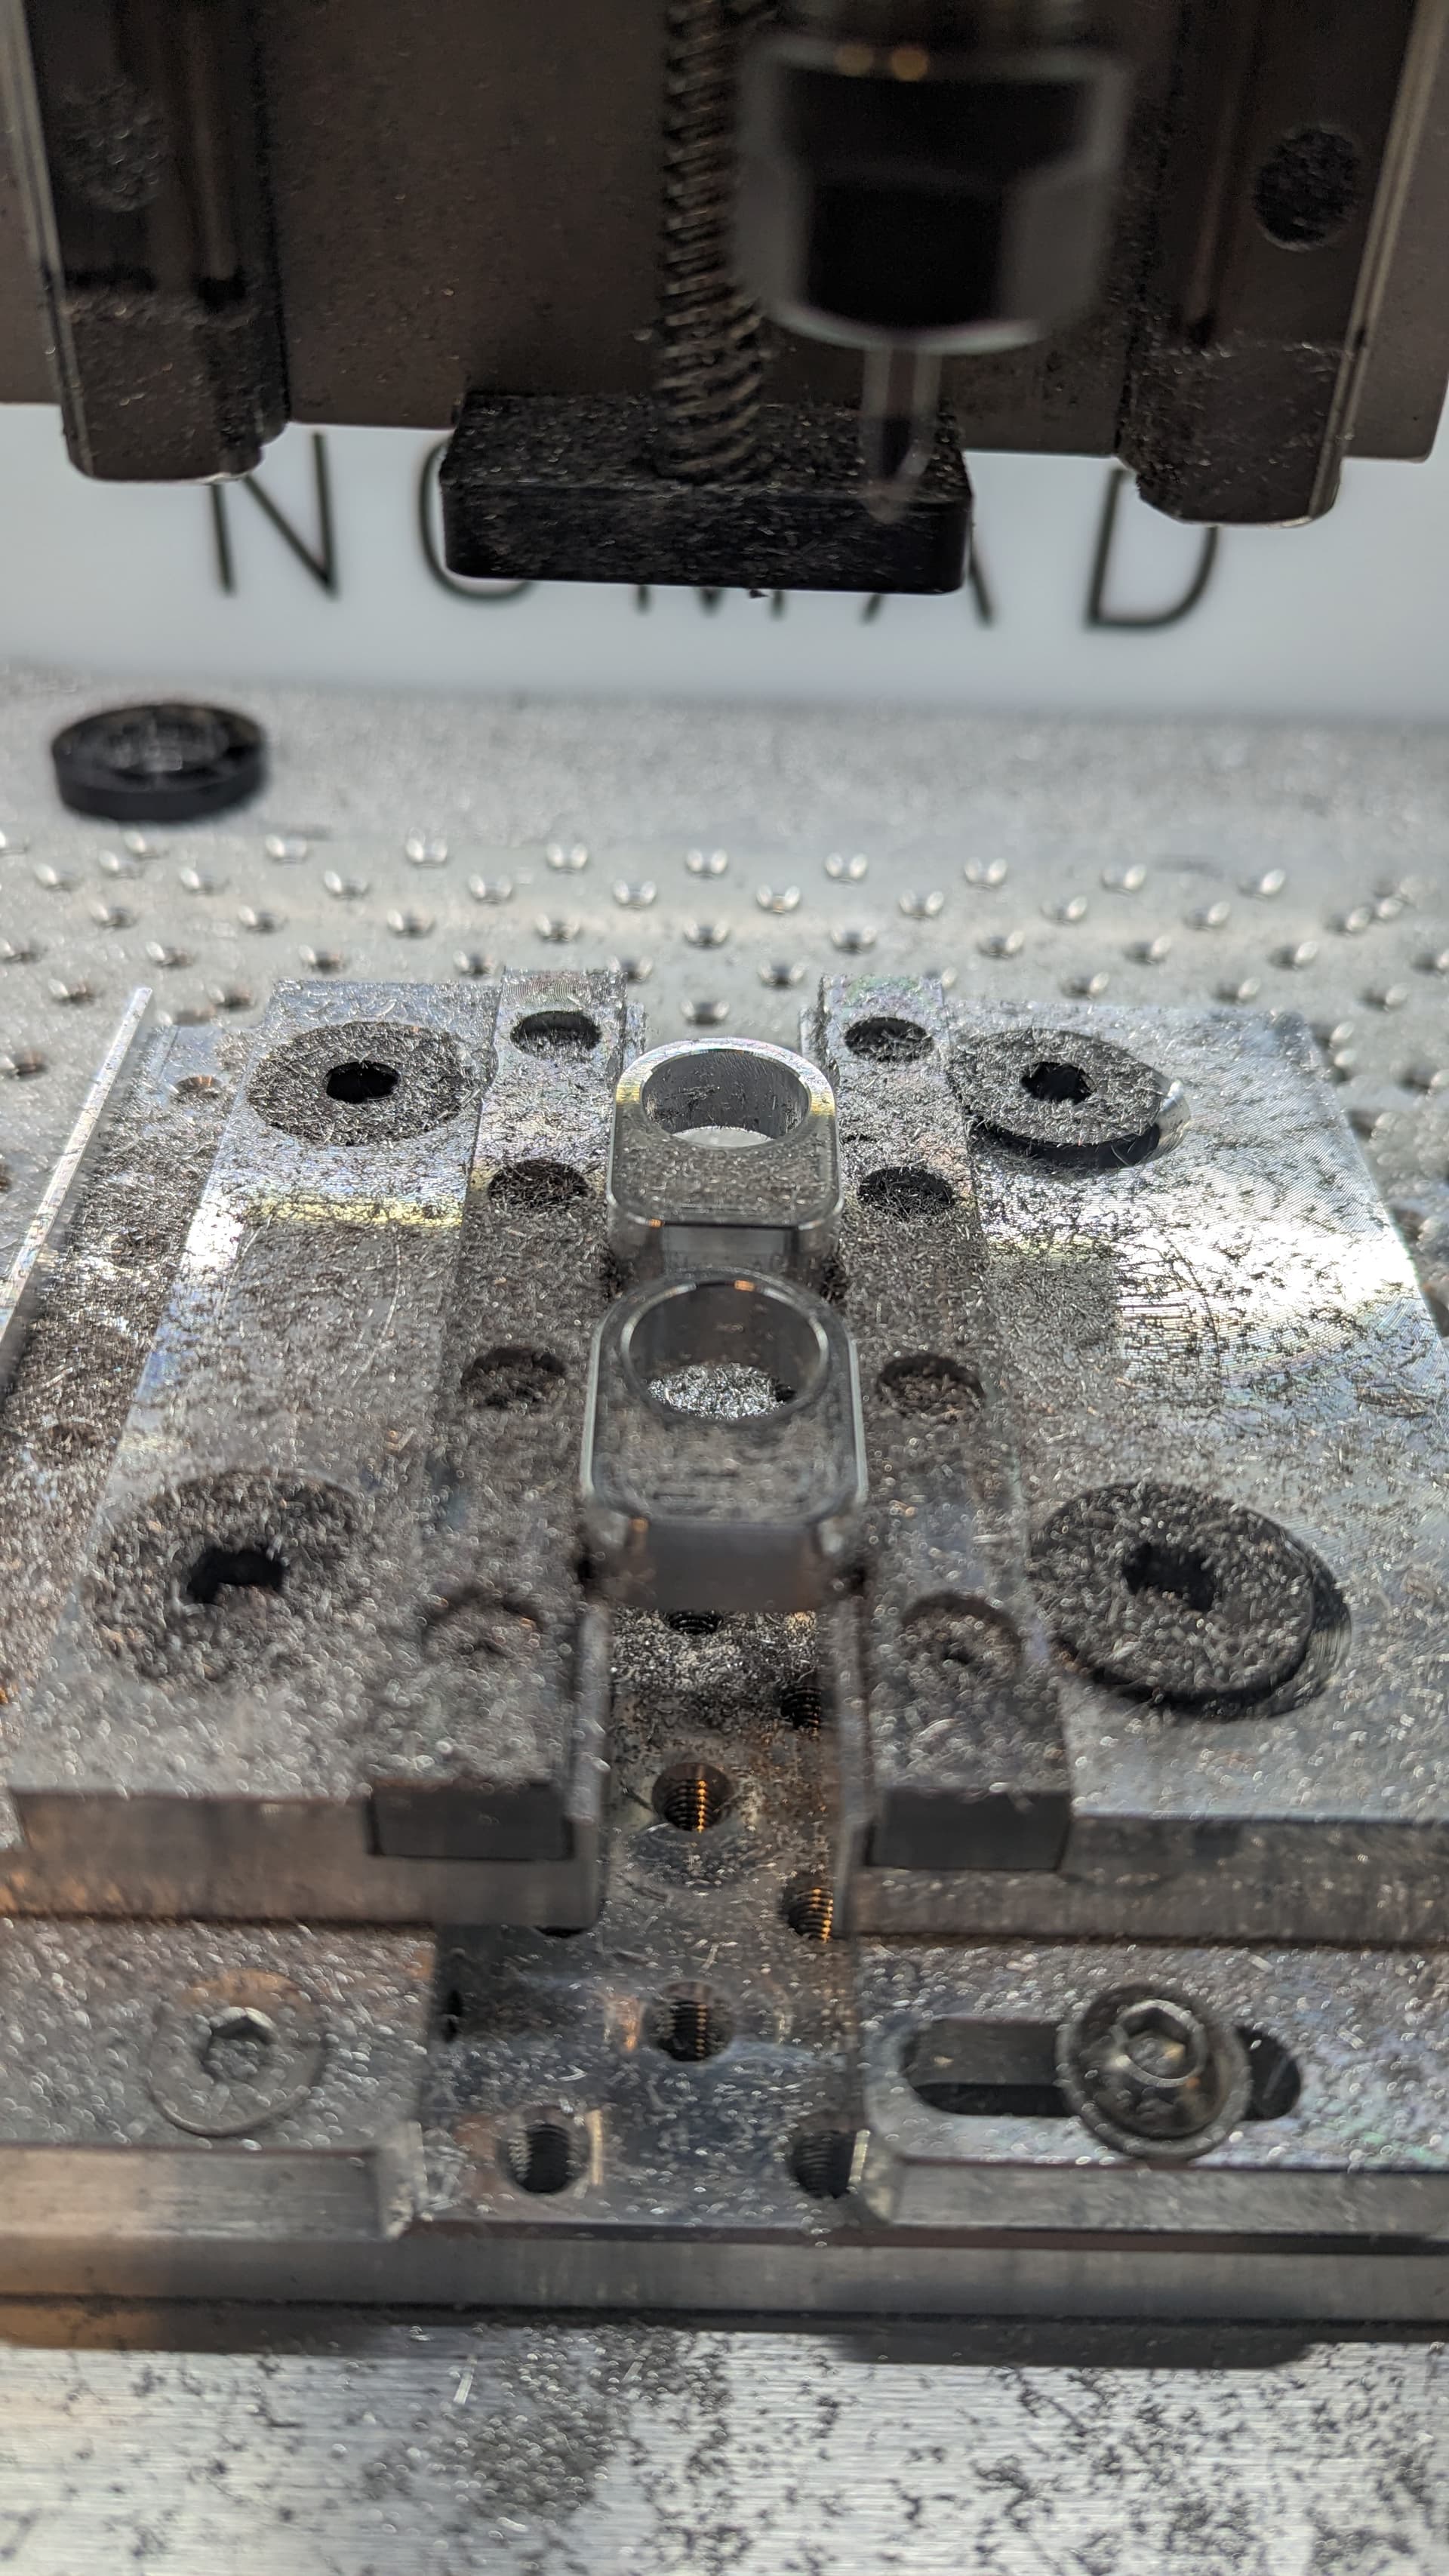
side A of a fixed point to use for setting the tool length on the amazon touch probe that has become popular with the nomad folks.
top side surface finish is ![]() but my chip fan seems to have loosened up and now wont stay in place, so my pocket & wall finishes are
but my chip fan seems to have loosened up and now wont stay in place, so my pocket & wall finishes are ![]() okay enough for me, but they could definitely be better.
okay enough for me, but they could definitely be better.
those chamfers are what do it for me though. ![]()
11 Likes
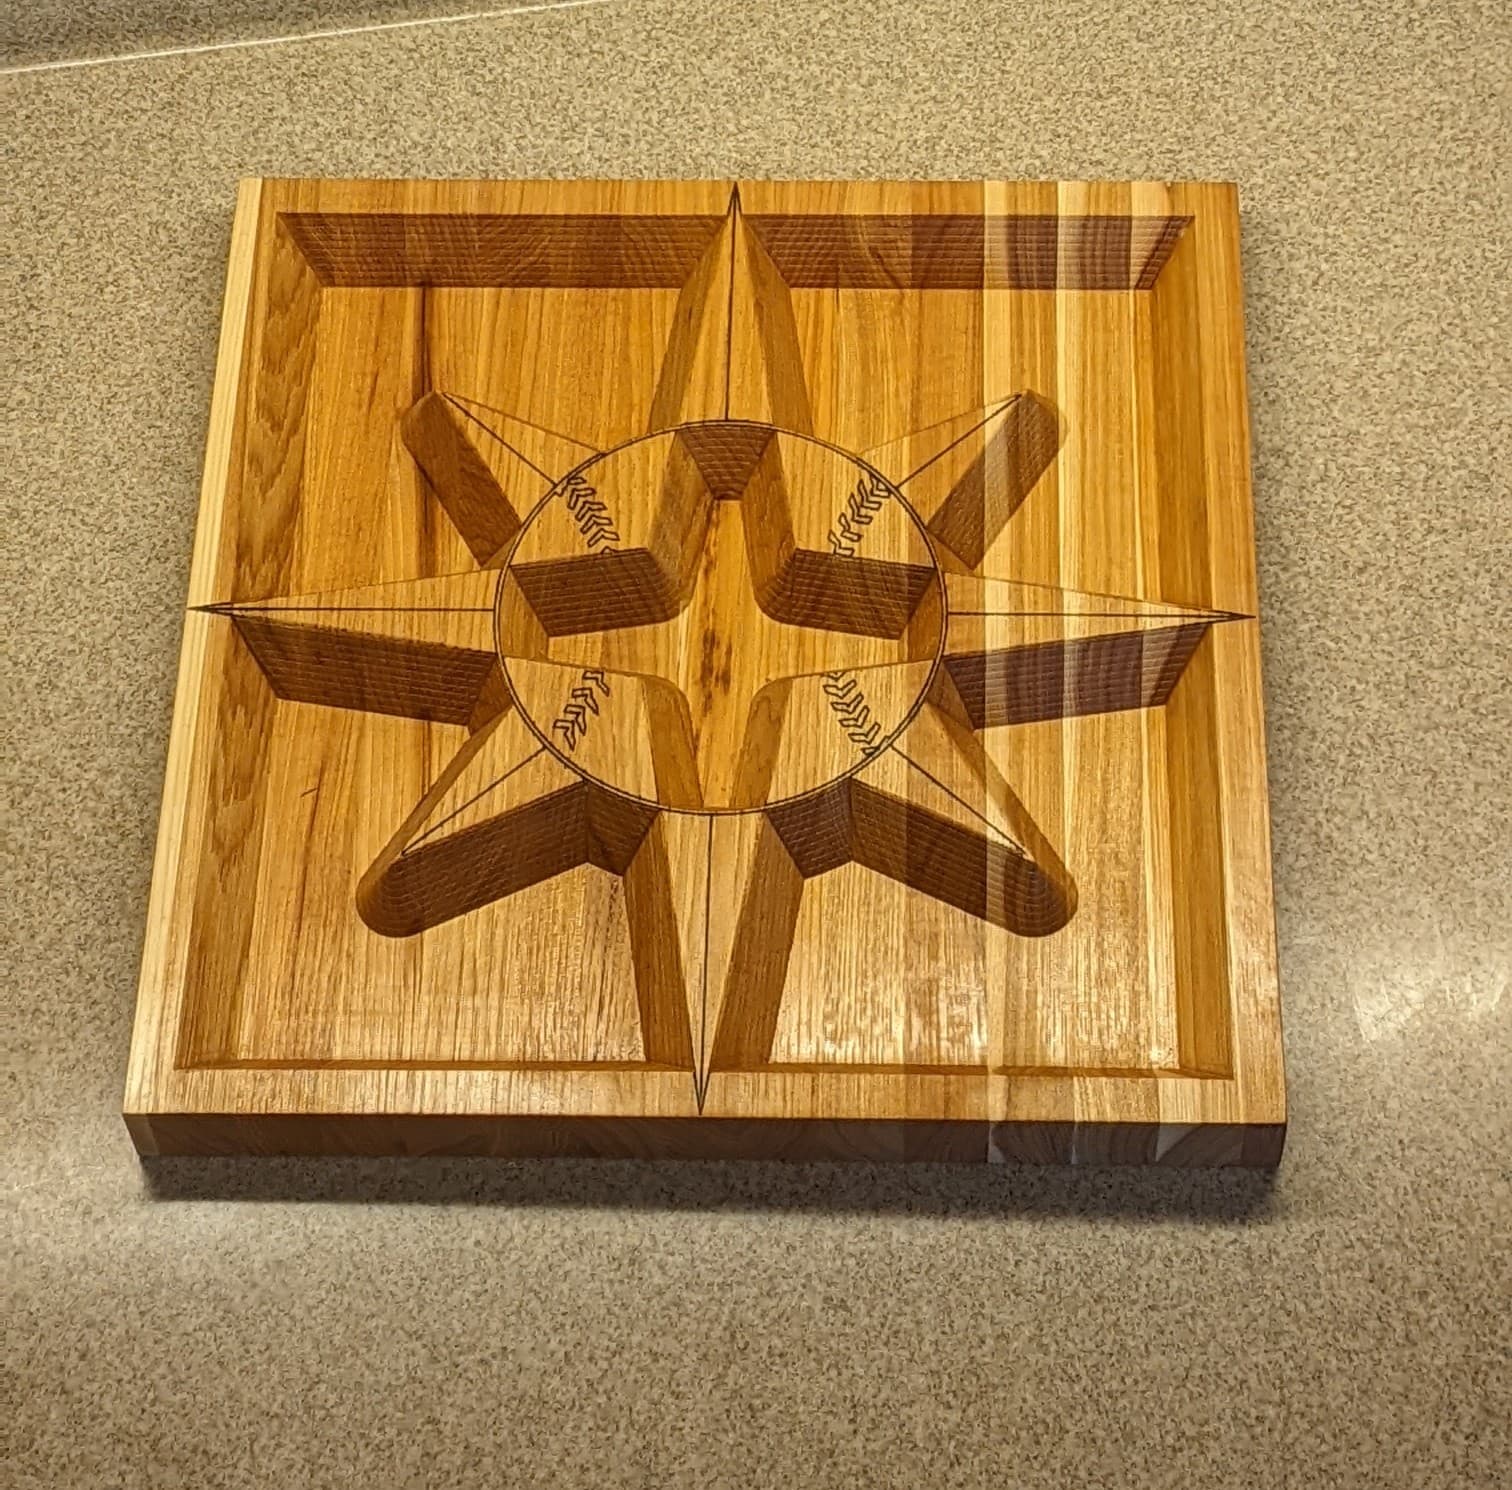
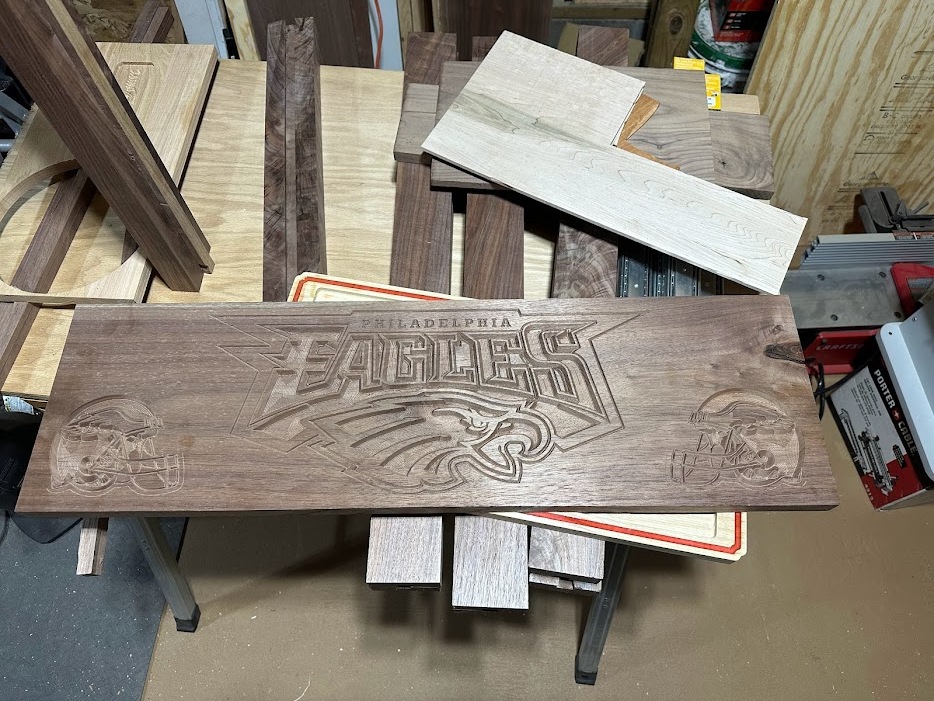
Love that, I just getting started with my SP5 and getting the inlays figure out… this is my first big project I am working on… for another Eagle’s fan…
16 Likes
Just got my SP5 online little over a week ago, loving this thing WAY more than what I was expecting, after multiple videos and research and trial and error finally I think I got my head around a good method to a successful inlay. Here is my first try at it.
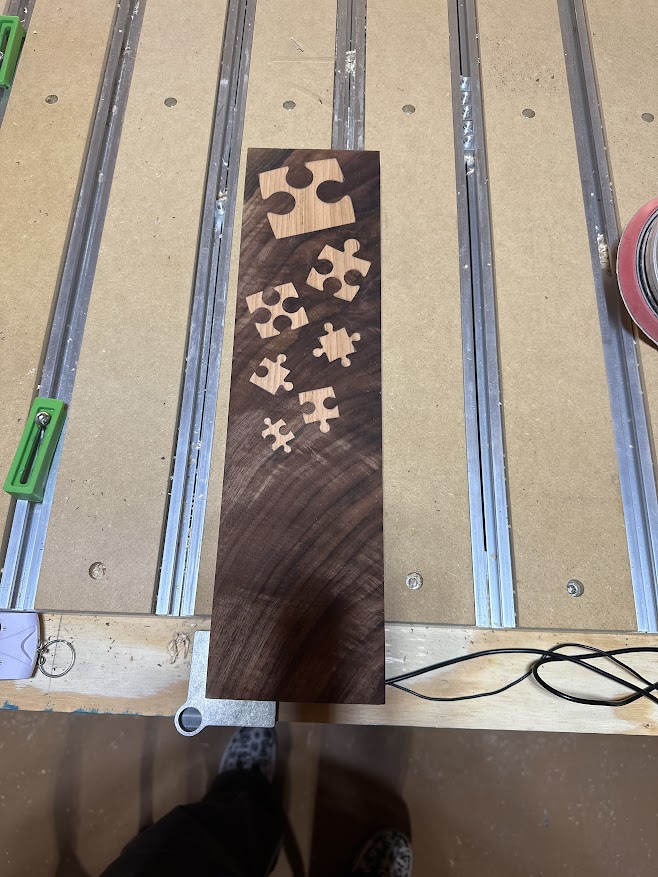
23 Likes
Share your successful method.
I have tried some maple / walnut pairings and have not gotten what I hope for so far. The inner piece in my case has some pretty small details but even a less complicated test left some small gaps here or there along the edges. I was using a 60 degree but but have bought a 3 degree based on some recommendations here. I haven’t had a chance to repeat the tests yet due to a couple of other projects.
I am curious as to your bits and whether you are using the inlay mode and what thickness and depths.
I have the Pro XXL but would expect similar results for this type of operation.
1 Like
and complete!!
i ran my wall toolpath too fast and it came out like poo on the first op, but second op wall finishes are 9/10 imo.
and the level of difference on the flip machining marks is so miniscule. im very happy with how these turned out.
8 Likes
Ok, so I started by following this video, step by step, and I watched multiple times, and I mean ( MANY times) How to Make an Inlay Cutting Board with Carbide Create|How to Make a Cutting Board - YouTube and I don’t know where I missed the boat on his instructions, but my pocket and the plug would not fit together at all. After looking around some more, I found this guy, Easy Inlays with Carbide Create -- MIND BLOWN! - YouTube that also does a step by step and the thing that I found helpful was making an outline on the inside of the plug so basically your plug end up being couple mm smaller than the pocket.
When It comes down to the Bids, I used 1/8 for the small details and 60degree v-cut.
This is the short story of how I got to this point. I follow all the settings on video one, and used the little trick of creating the outline from video 2. hope this helps.
4 Likes
I haven’t had a chance to watch the videos yet, but from you description it sounds like you are not using the new inlay mode in CC?
For the inlay mode see:
1 Like
SWEET!!! I will give it a try tonight!!! Thank you…
I got a new tool. I spend a lot of time sanding for projects and as you probably know, dead flat is a good thing especially with bigger panels, etc.
This beauty saves me a ton of time sanding and can handle panels up to 32". I bought it as a luxury, but it’s quickly become a necessity!
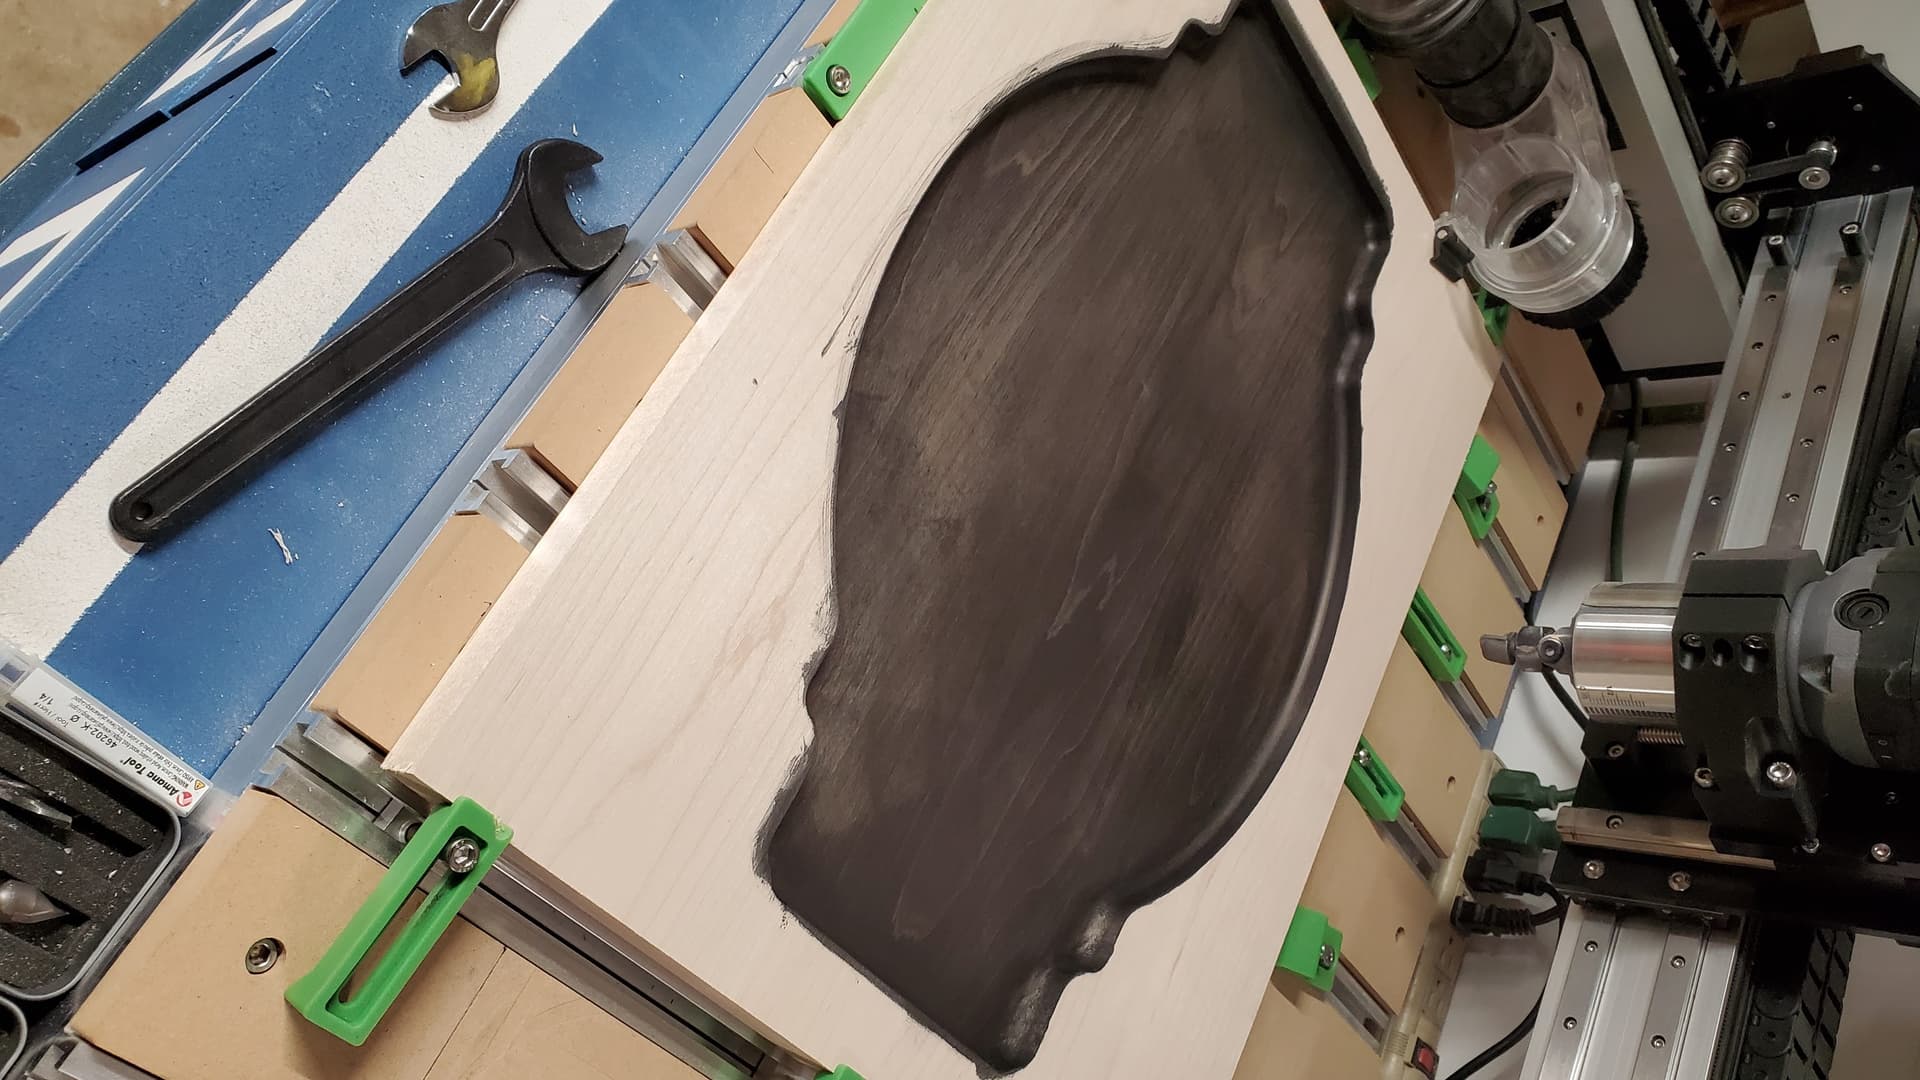
Example of a 16 x 22 panel carved out for a tray. If you’ve seen my earlier posts, you saw the Cowboys tray. This will be a Raiders for a buddy.
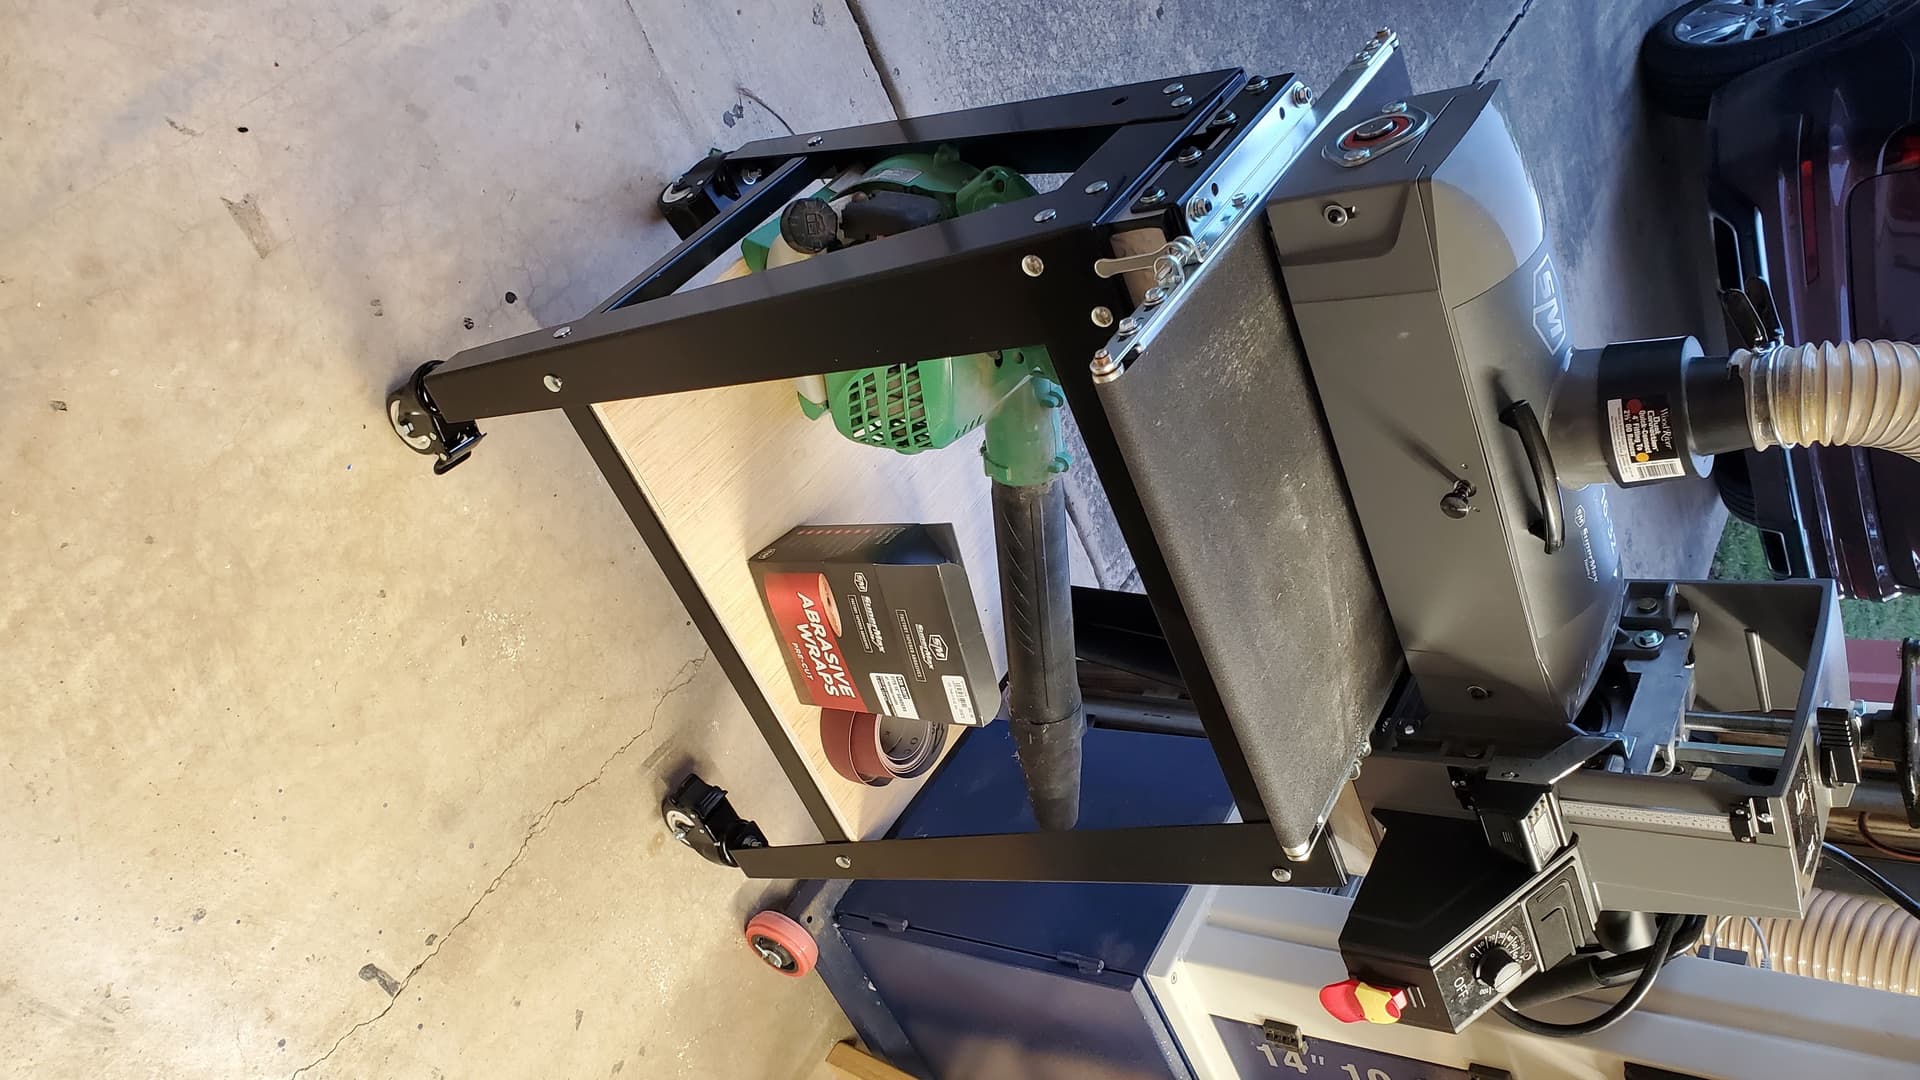
So much quicker sanding and eliminating glue lines with the drum sander.
Also very happy with my first bowl bit experiments! Got this unit of the AMZ: https://a.co/d/cxzL73c
Impressed with the quality/cost.
Props to Andy Bird Builds at you tube SUPER Smooth Finish With ZERO Sanding! CNC Tutorial - YouTube for a really good tutorial for bowl bits. I get super smooth results with very little sanding!
7 Likes