EAGLE NEW.c2d (68 KB)
2 Likes
Here is one I did not too long ago.
Eagles 2.c2d (224 KB)
3 Likes
I made an attempt to continue to learn after messing these coasters up: What did you cut on your Shapeoko/ Nomad today? - #2133 by CullenS
Something went wrong with the Z on that and I never really figured it out but I forged ahead to finish the process and gain some experience.
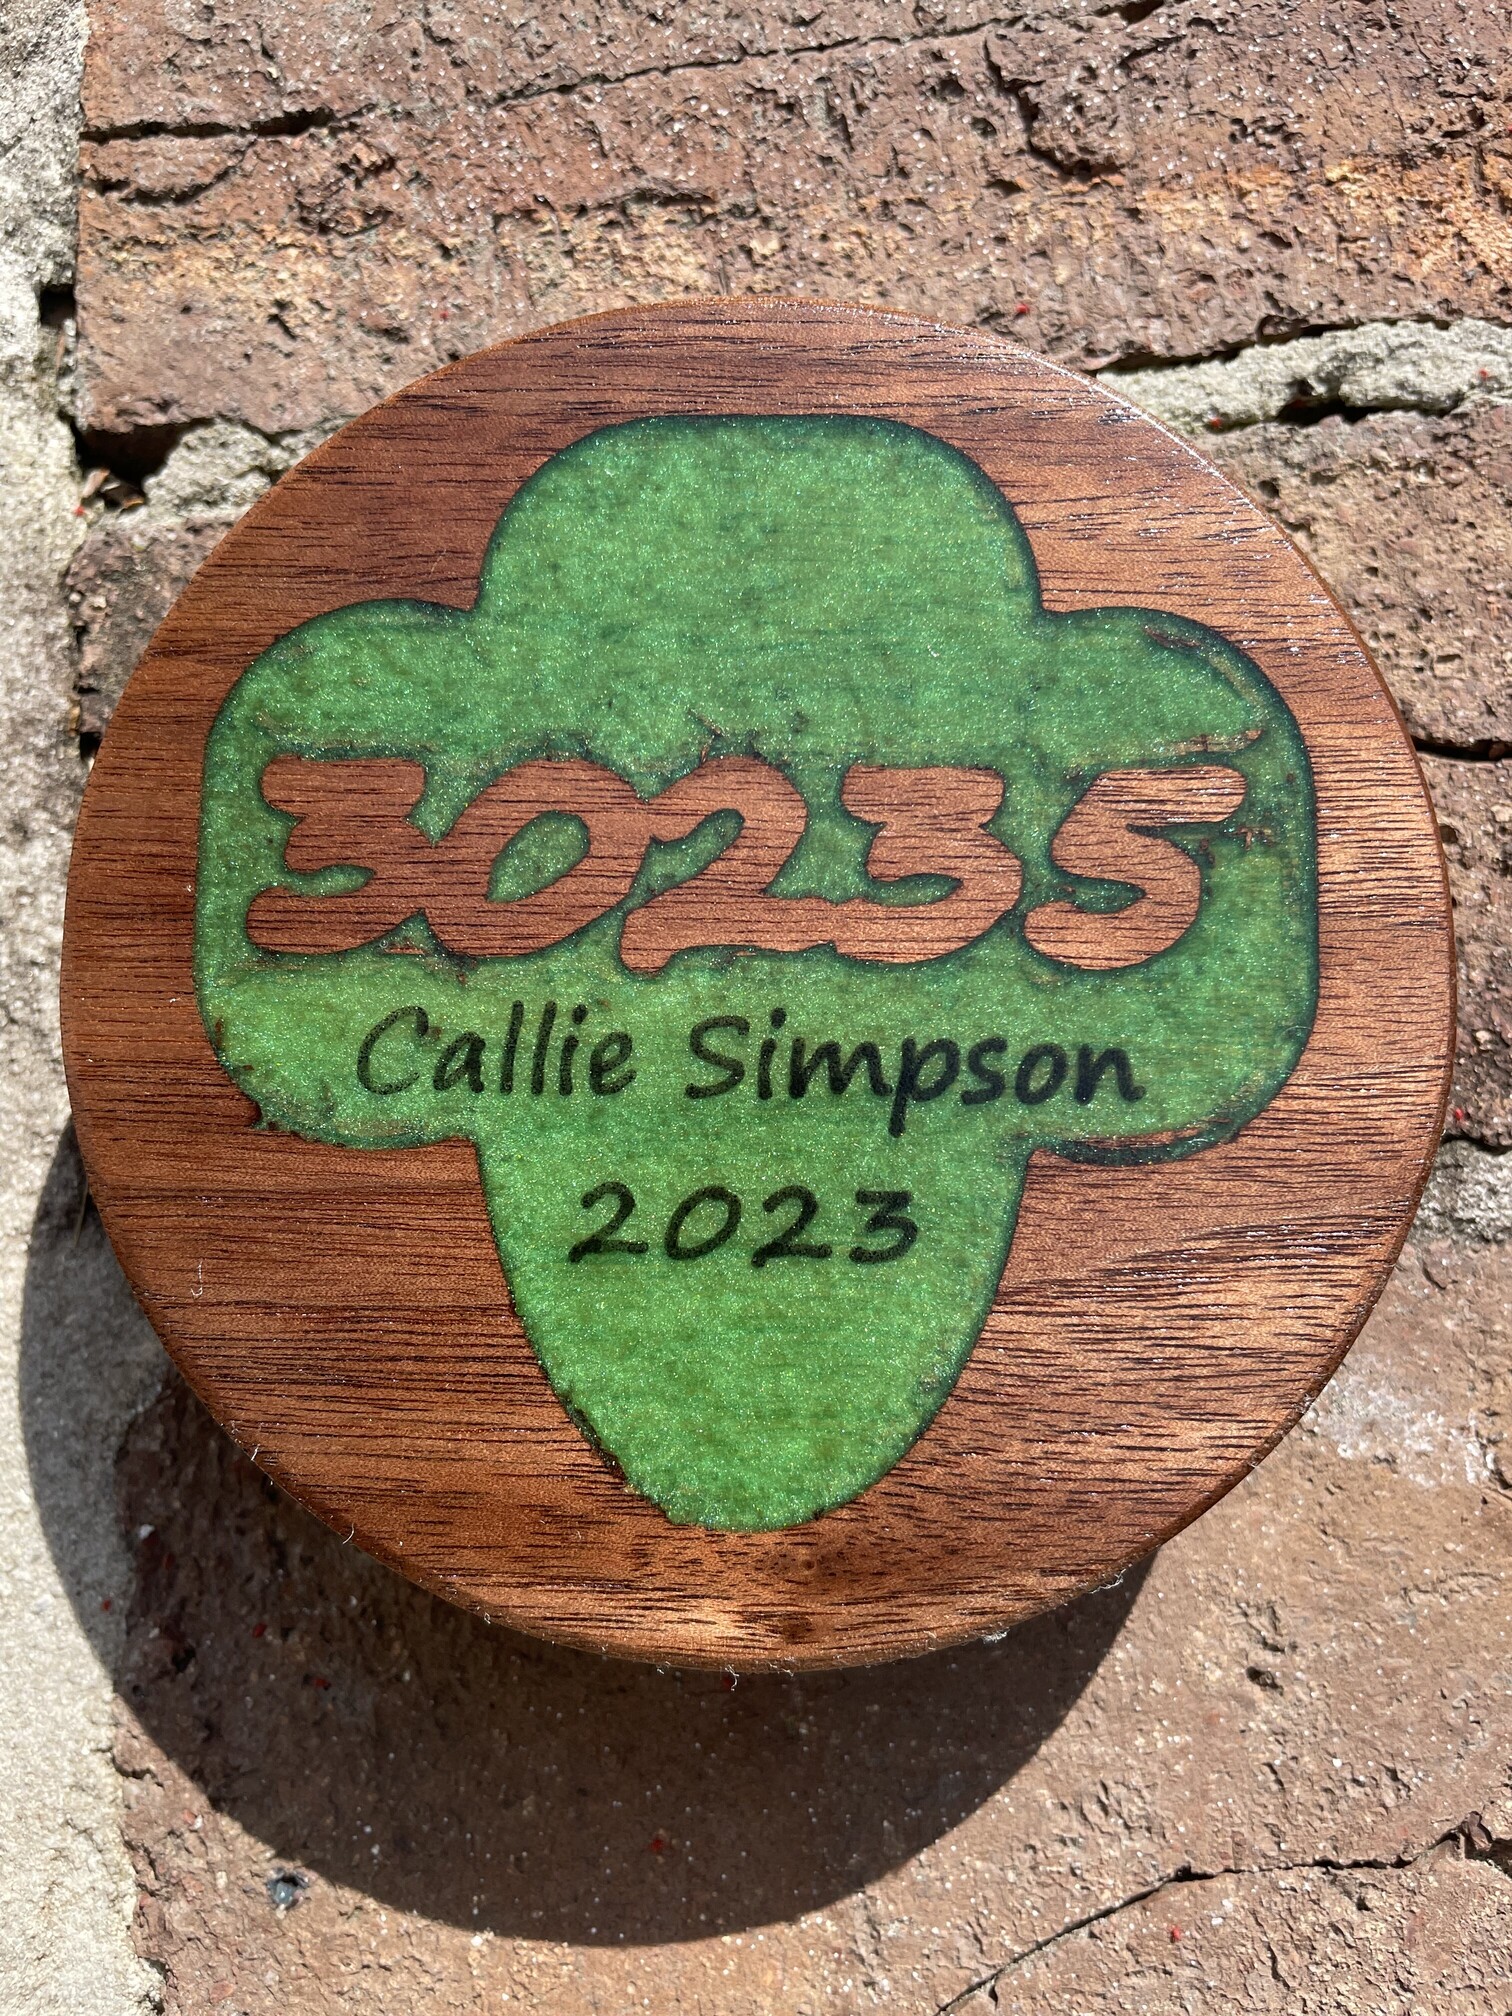
I vcarved names into the green epoxy and then layed in a layer of black and then flattened again. Due to the issues with the Z earlier the tool numbers look blurry and in spots some wood is showing through because I didn’t clean it all up given that it should have been buried in the epoxy.
Anyway, a few coats of laquer and they turned out ok. I will remake and watch that Z more closely.
Certainly not what I aspired to for my first epoxy job but I will keep going.
6 Likes
Love it. This was going to be one of my next projects. I want to do some fun game designs for my son’s room.
I don’t suppose you’d be willing to share your file so I can copy the dimensions and save some hassle?
Finished this one yesterday. Just a fun one to put on top of the front door. My wife and I always wanted a sign like this. We always like to tell folks it means, Welcome to Our Home ![]()


12 Likes
That’s excellent LOL!
Did you cut the outlining pocket and hand-paint the details?
1 Like
Yes, this was just a pocket job for the majority and then a light contour trace on the leprechaun with the V-bit. I did a natural stain on the whole thing and then handpainted the details. The cut was very fast, but the sanding and painting took quite a while.
1 Like
Looks really good!
Sanding always ends up taking more time than it feels like it should. LOL
Awesome! My wife actually got that saying tattooed on her leg! Yeah, she is Irish… with the attitude too. ![]()
2 Likes
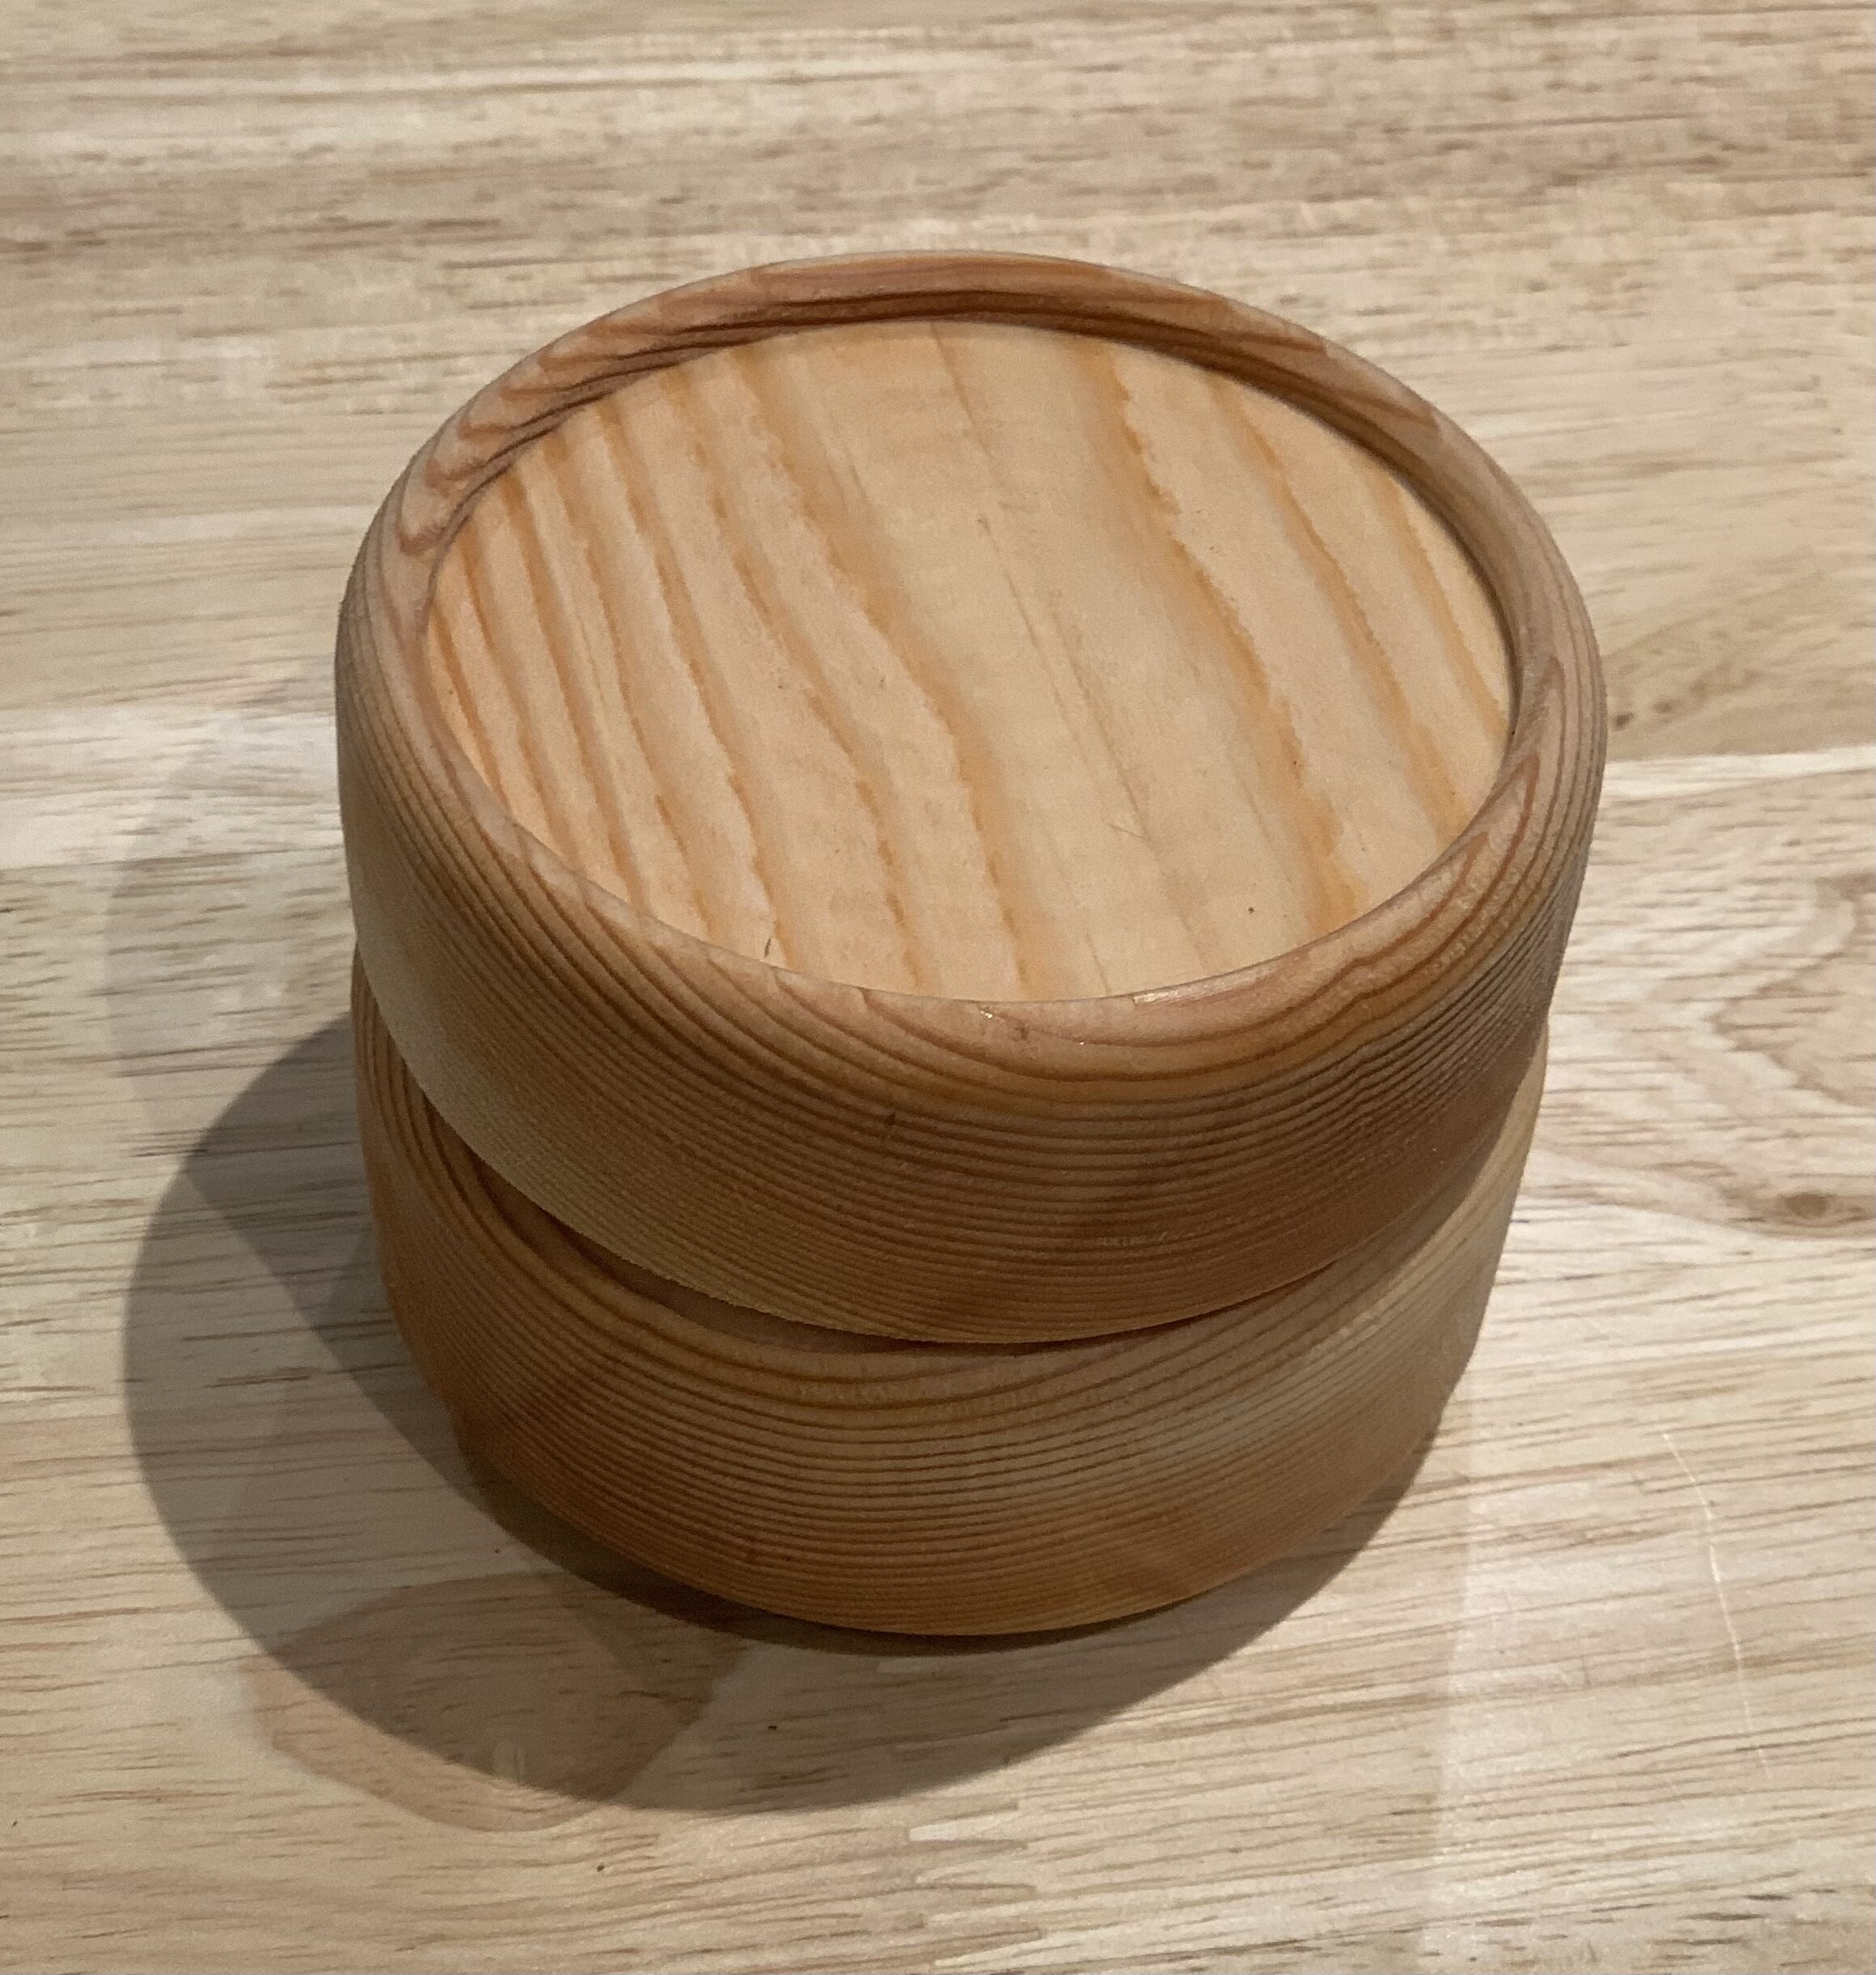
I made some more stackable plant stands. This time I tried out some new metal pins I got for the flipping alignment. It’s nice because the wood dowels I had I had to cut down because they were too long.
Some basic pine construction wood ones:

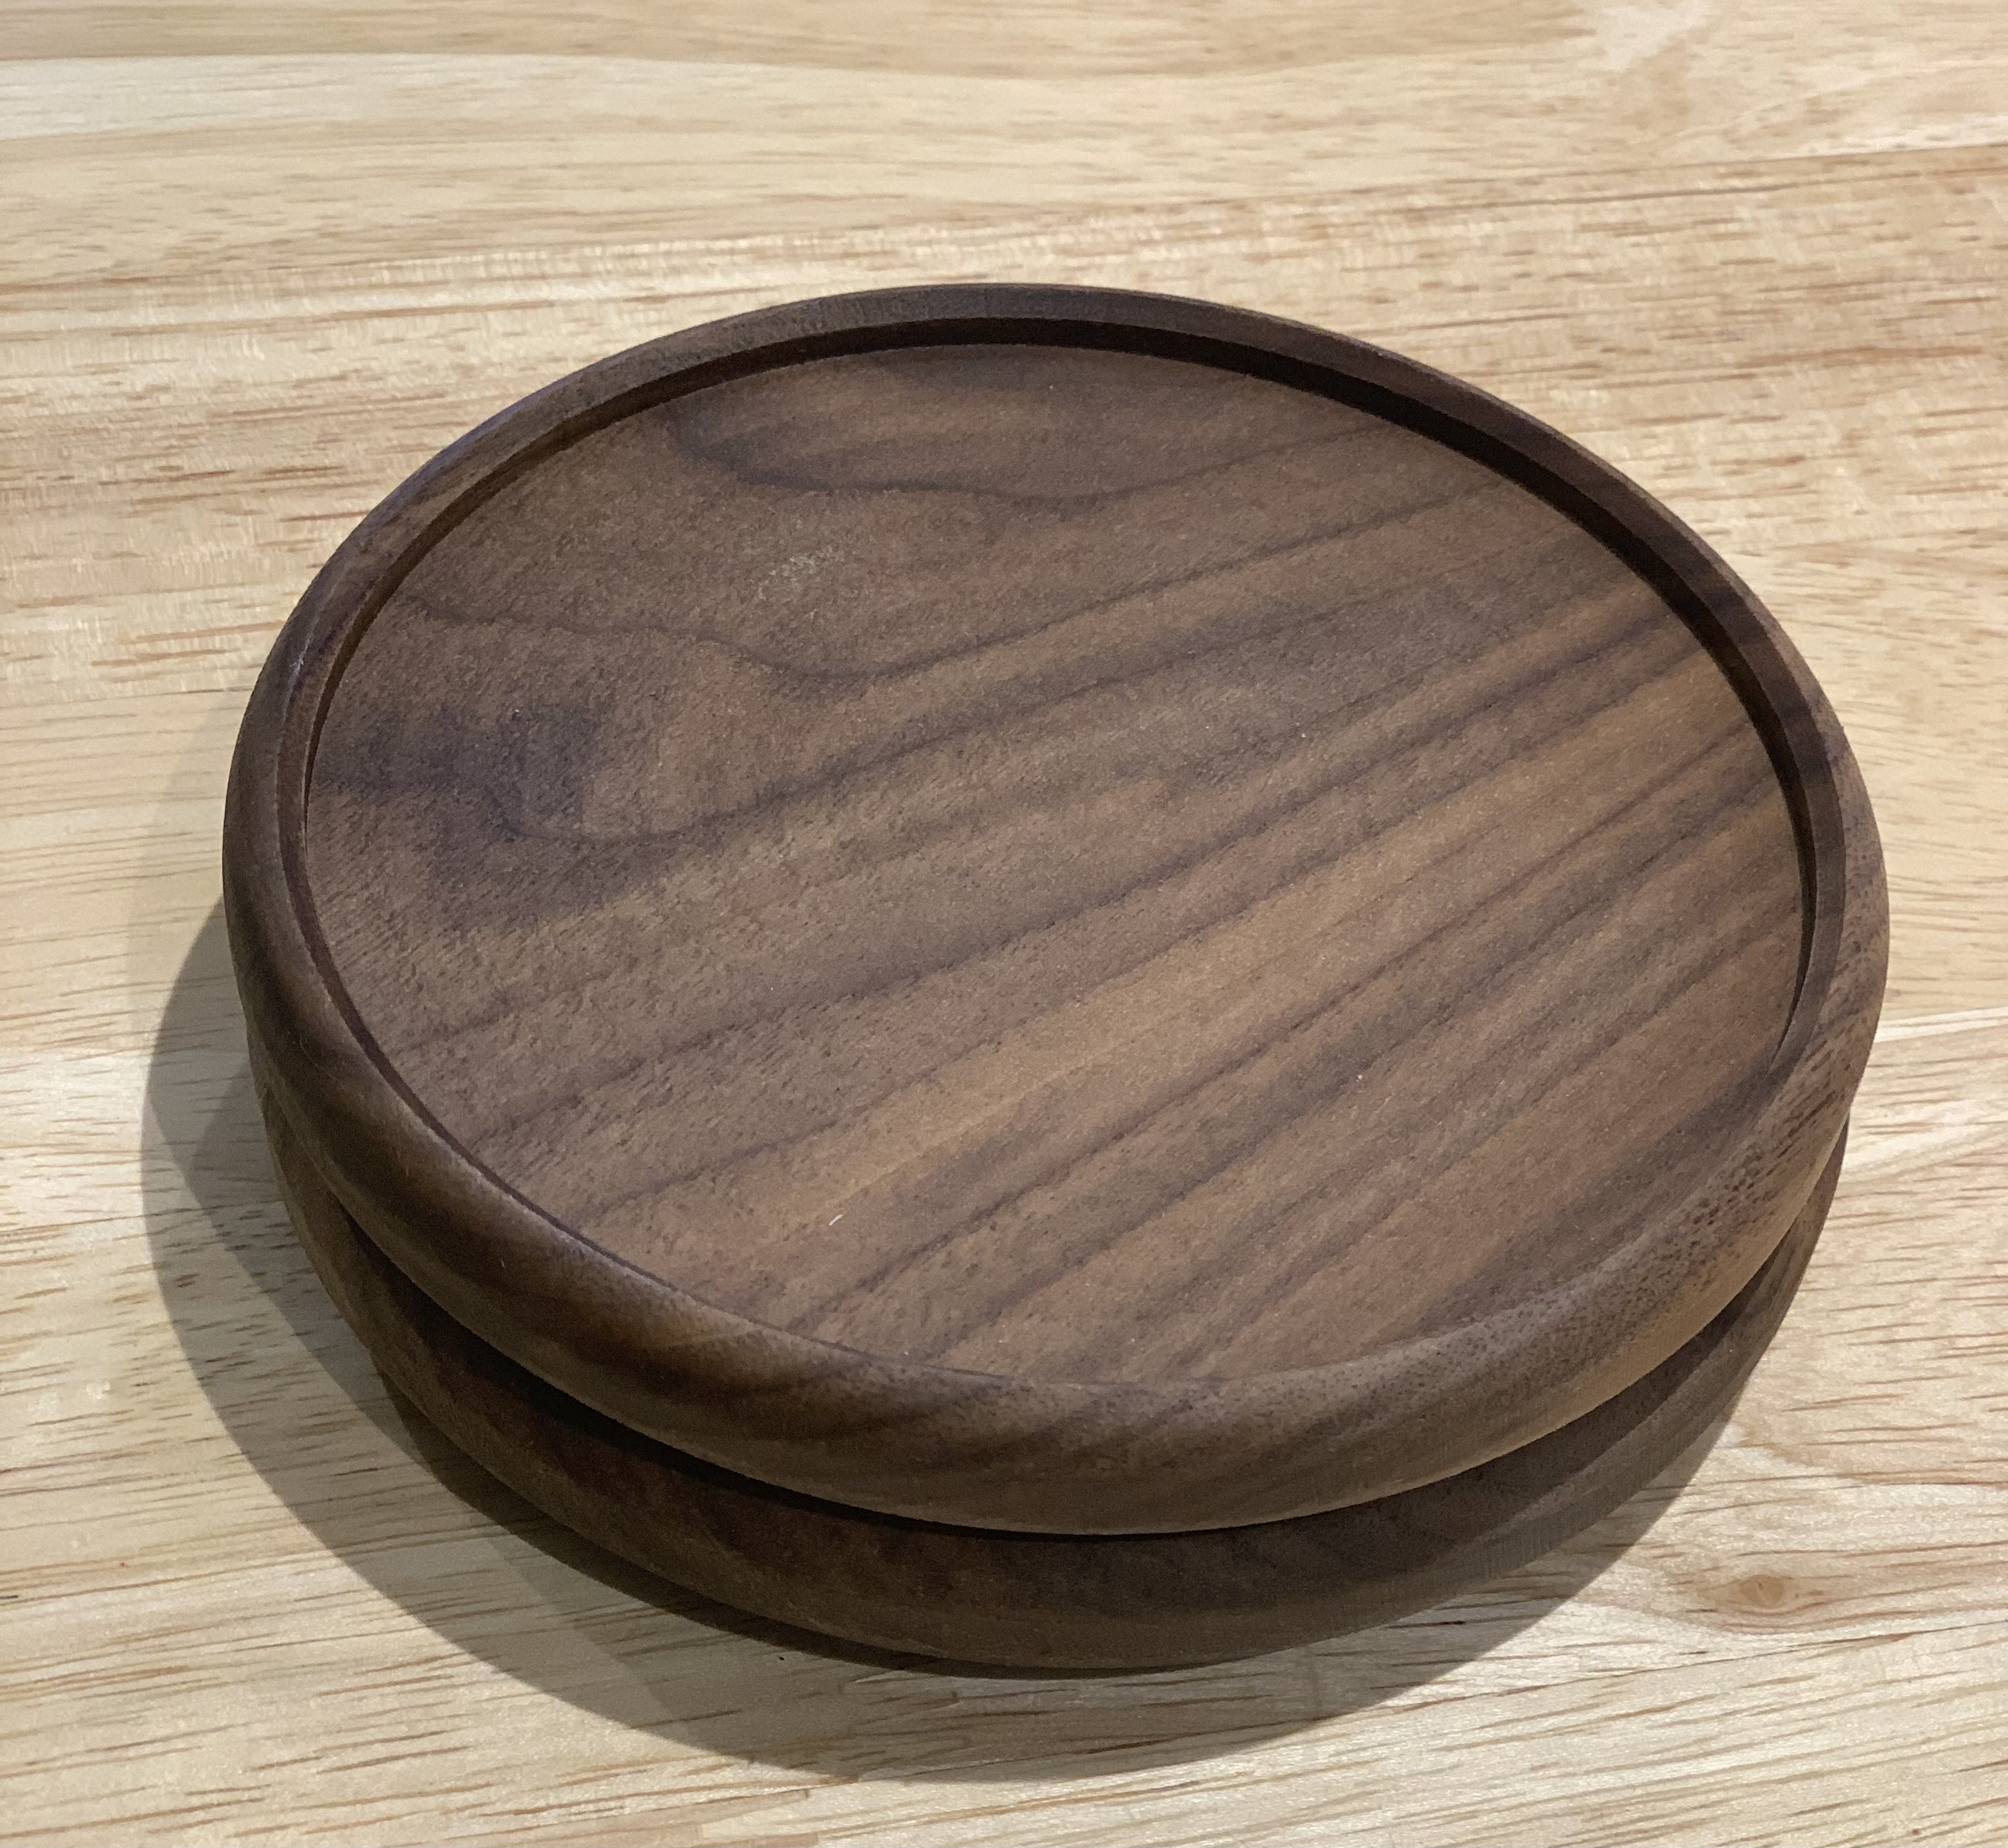
Then I decided to make some wide but short ones out of Walnut. I would have made them thicker but the Walnut I currently have is only this thick.
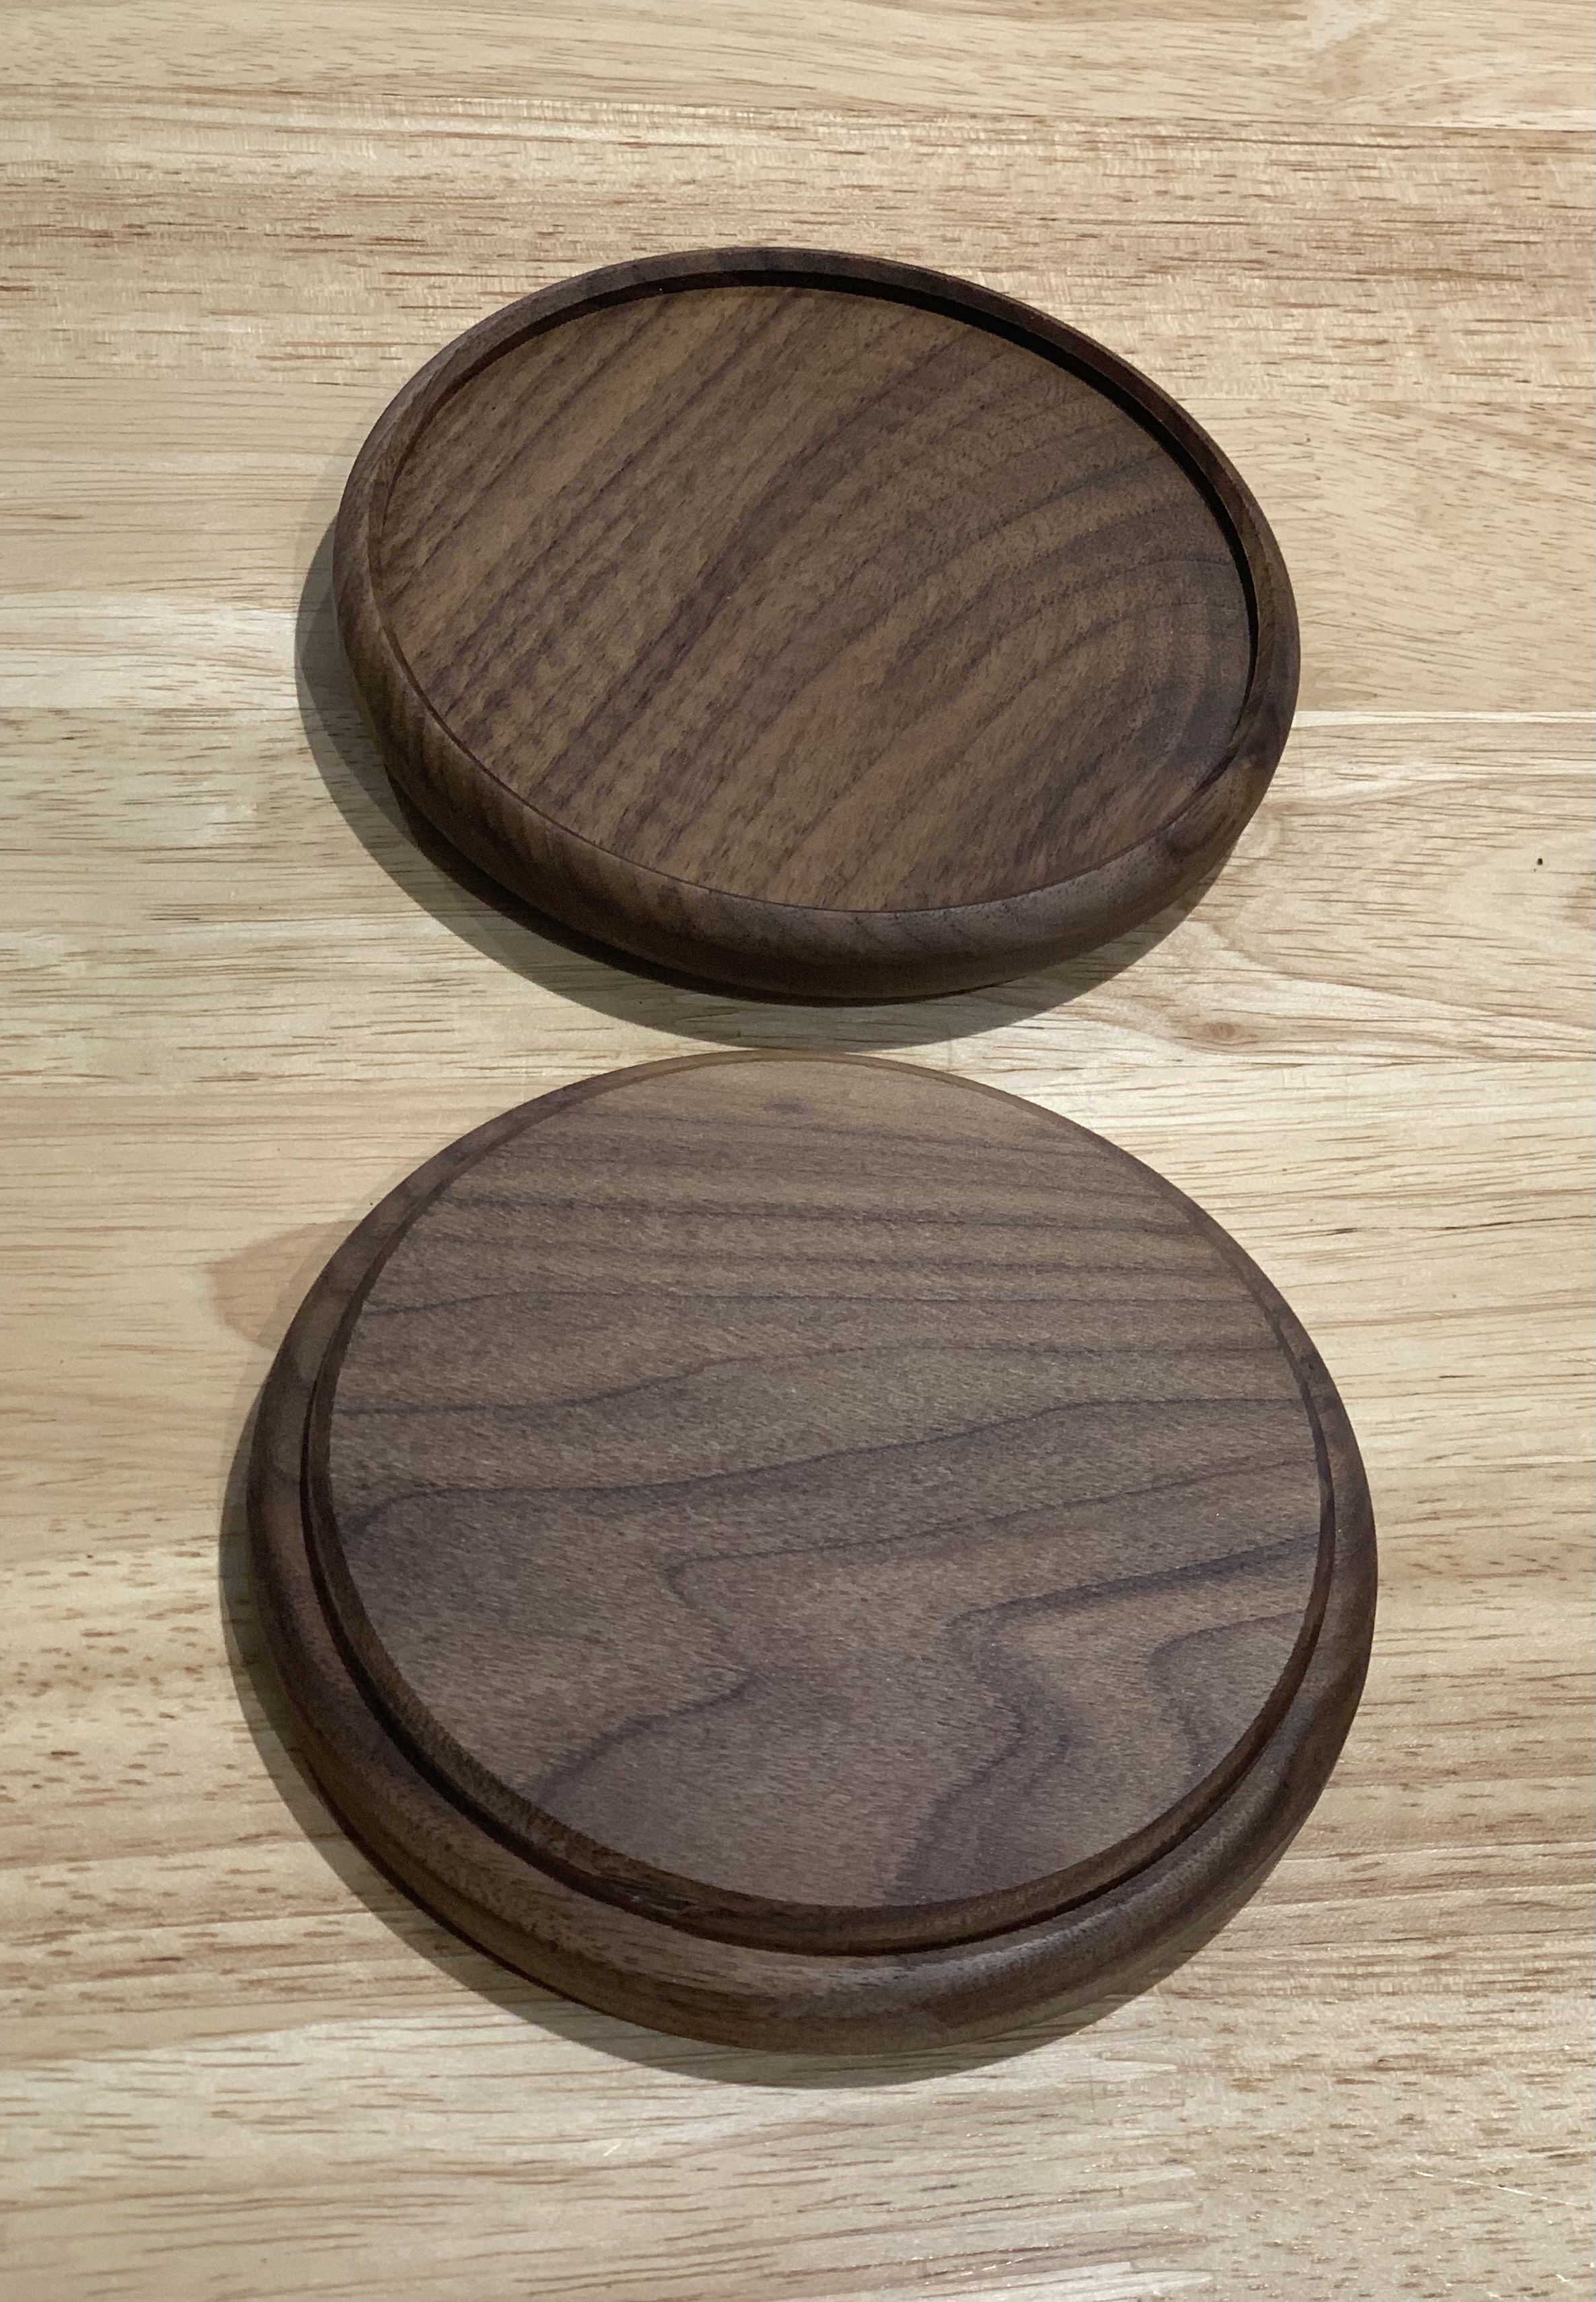
Then I made some random trays out of Maple and Walnut:
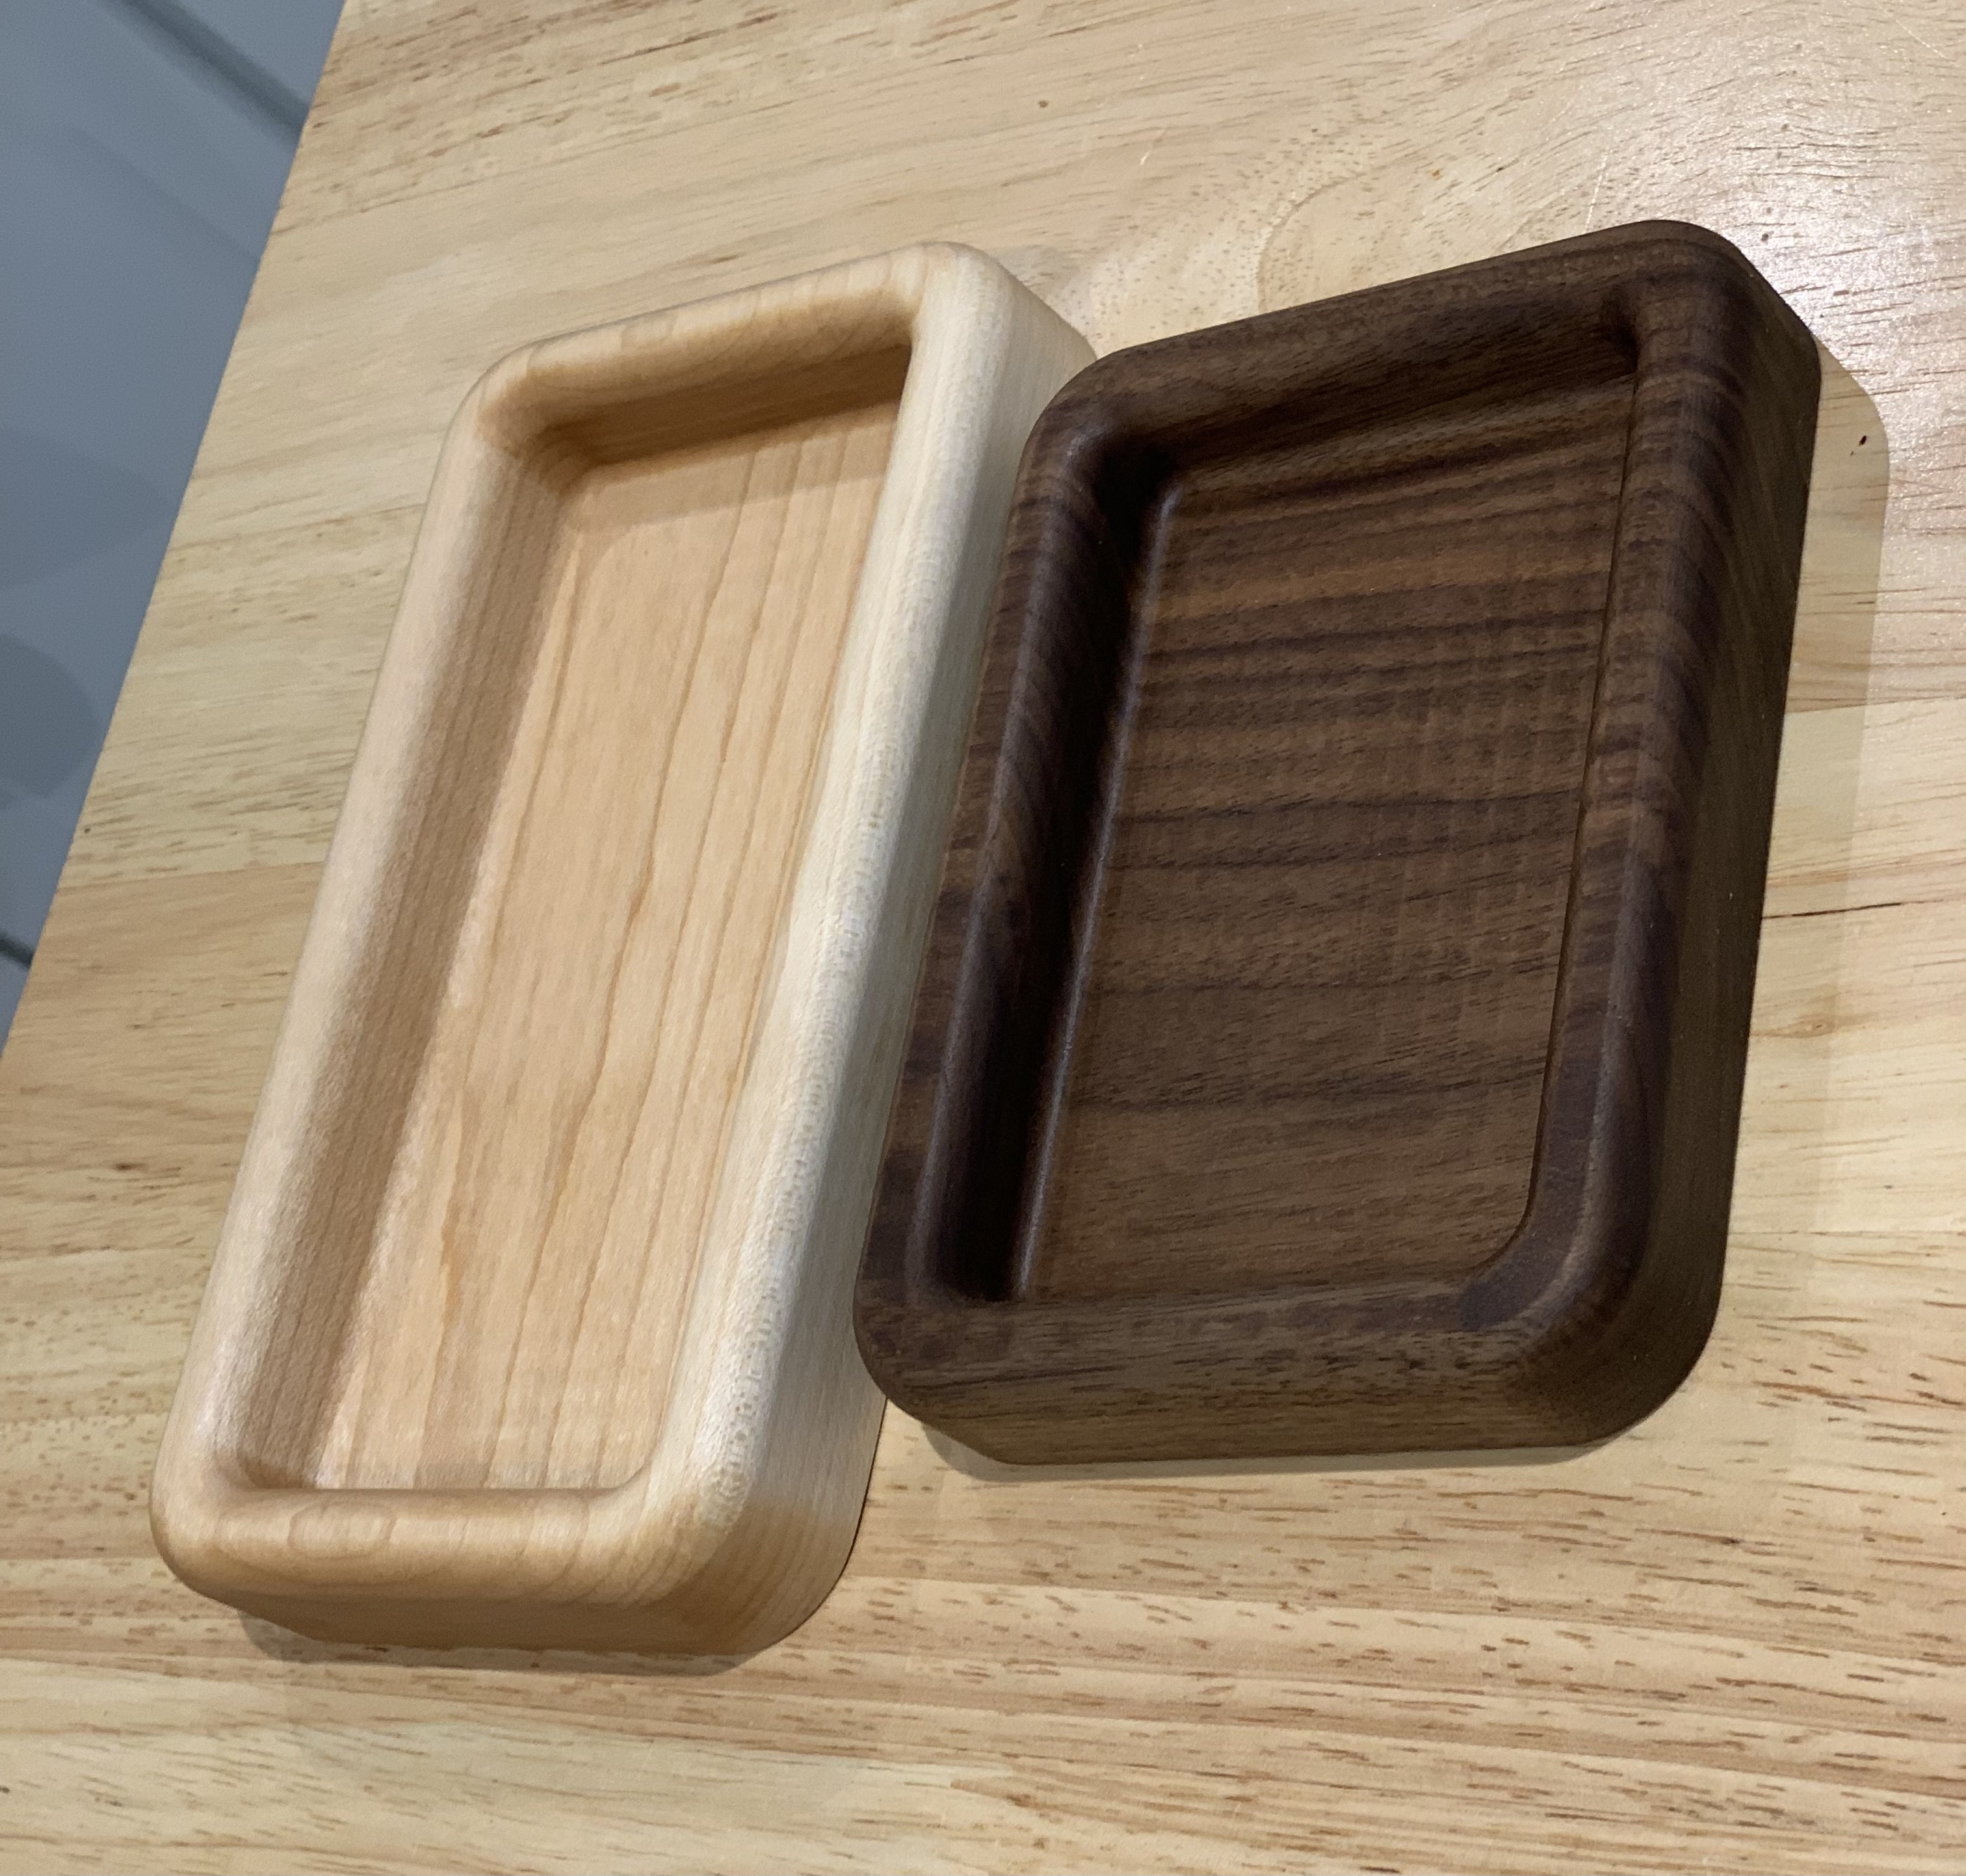
Cutting Walnut was like butter… super enjoyable. The Maple was much harder and required slower speeds.
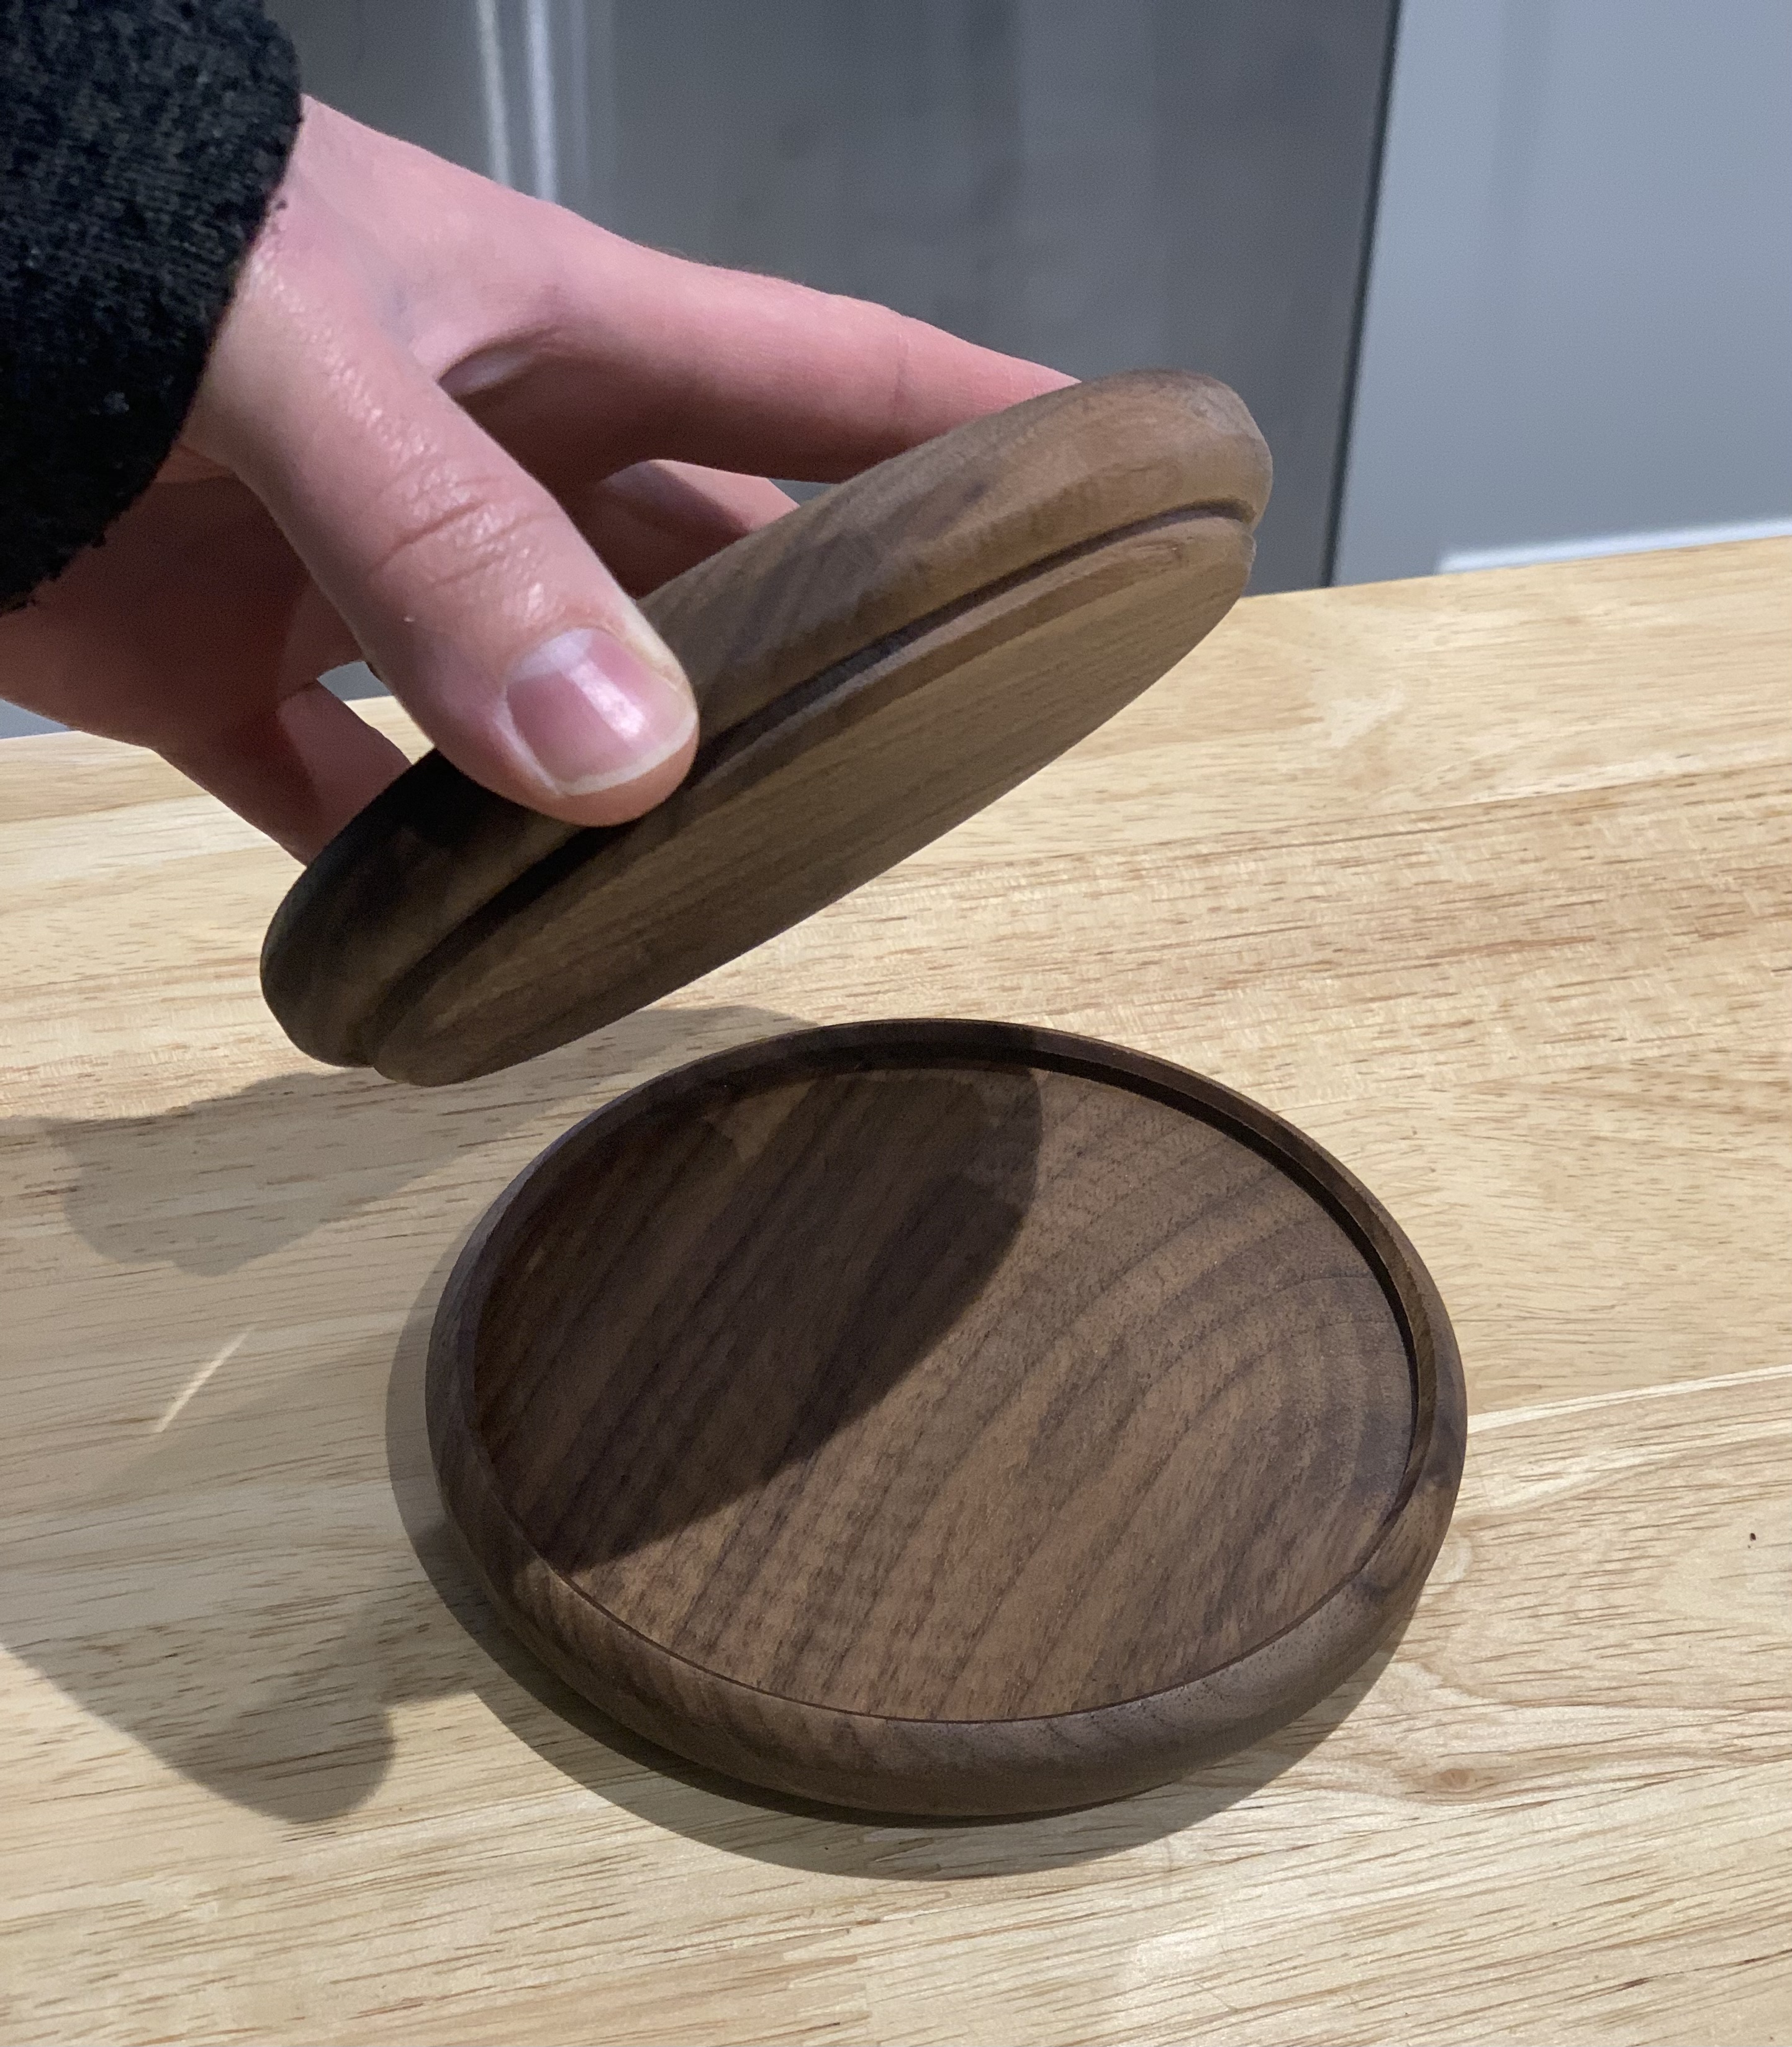
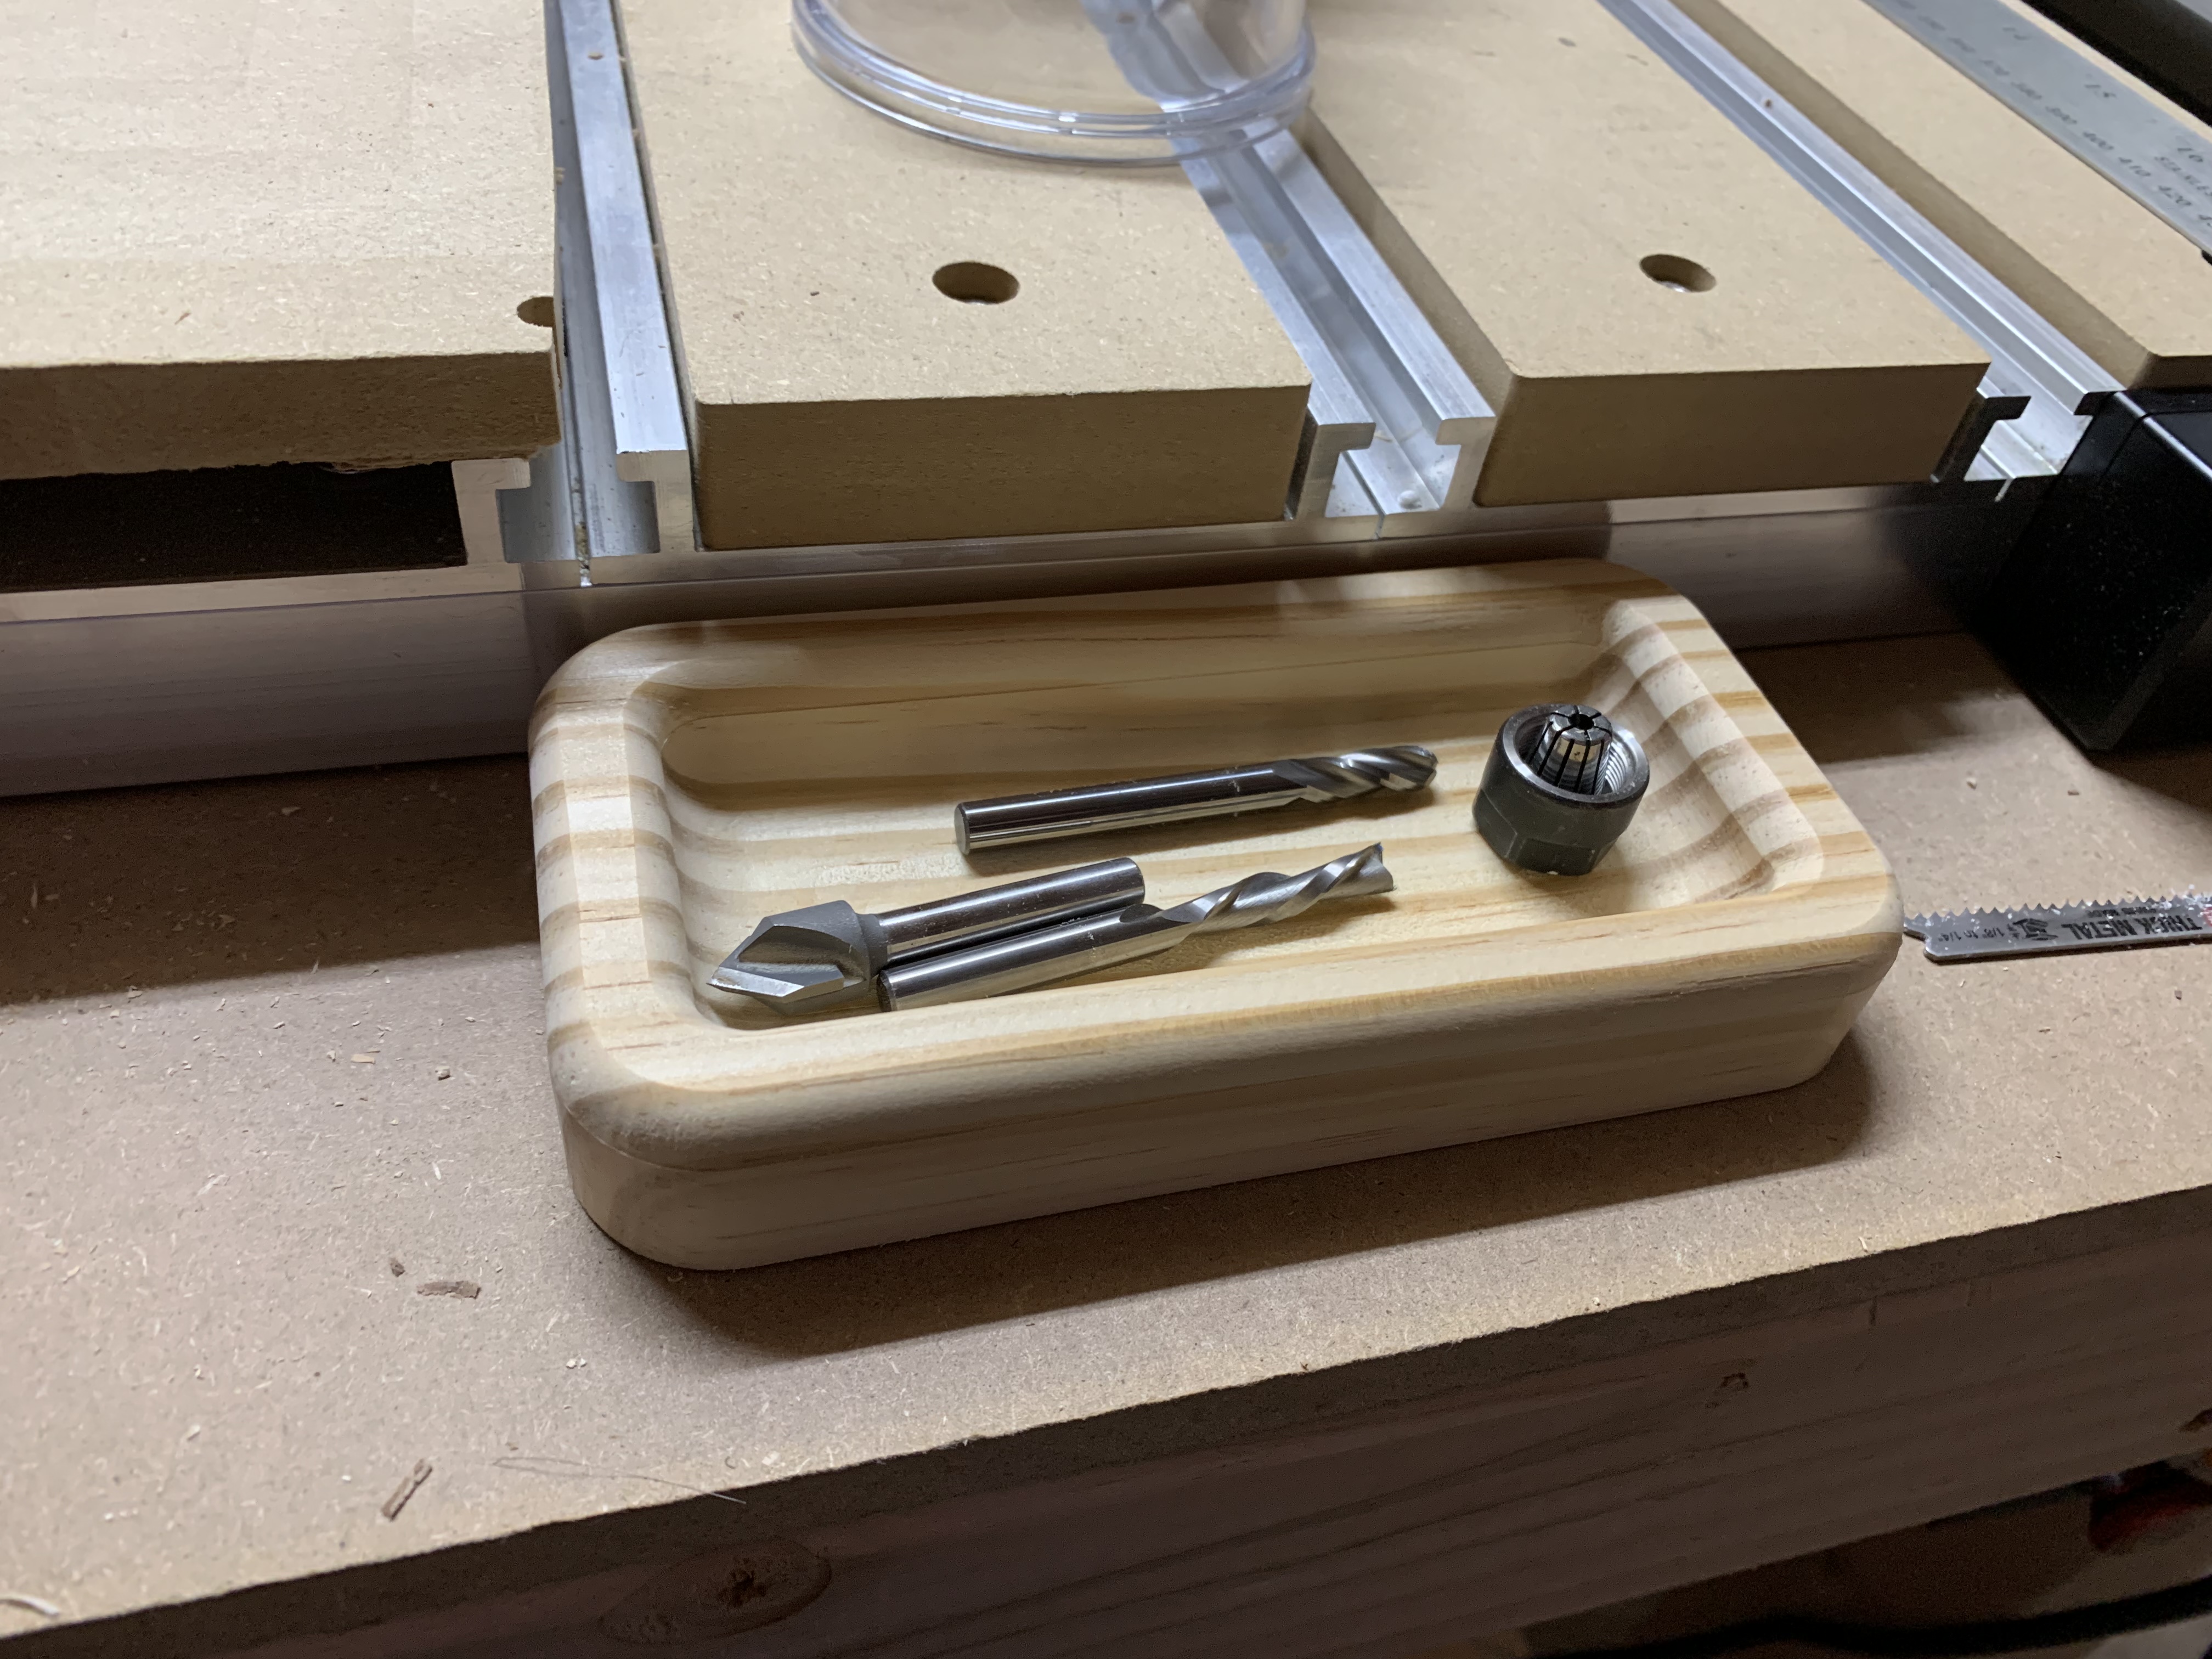
I made the inner fillet .125” so I could use my .25” ball endmill. Id prefer a larger fillet but didn’t want to bother with it on these ones. Since then I made another tray out of pine with a larger fillet and used a scallop tool path to make it happen. It turned out well but I screwed up by thinking I knew the materials exact thickness so the outer roundover didn’t turn out as tangent as I’d like:
20 Likes
how did you round your edges?
1 Like
I used a roundover bit!
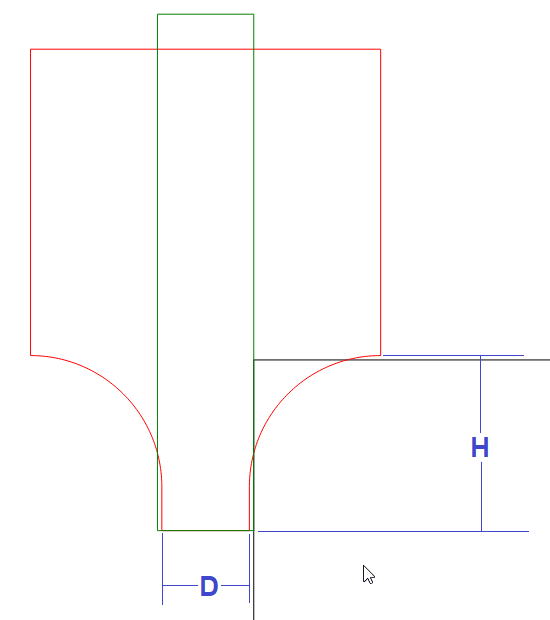
I learned the hard way that you should buy from a reputable company (i.e. Whiteside or Amana) for these bits otherwise the radius won’t actually match the description exactly, which means you won’t be able to make roundovers with tangent edges, which is important. You can see in the last picture the edges aren’t tangent because I didn’t rezero my Z but the earlier ones they are tangent and beautiful.
You probably could also use a ball endmill and a scallop toolpath in Fusion, but it will take a lot longer.
3 Likes
For more on using such tooling see:
2 Likes
Even when running a hand router, I generally leave just a tiny bit of clearance to avoid a step. It could be as small as 0.001 - 0.002". A quick dusting with some 220 grit rounds it off nice. Trying to get perfectly tangent, I think, is futile.
10 Likes
Good point! I actually made a pepper grinder coaster yesterday and tried to make it a full round, i.e. 0.5in thick wall with 0.25in radiuses, so that it’s a half circle on top. Funny enough, I found that even though the radius is right on, the width of the radius tool is actually slightly less than the actual radius by maybe .75mm. So that means I get a 1.5mm flat on top even when trying to get the full roundover!
So I suppose if you really want to get that nitpicky, a ball endmill with scallop or other toolpath can likely get you exactly what you want, especially if you don’t have a roundover bit that is the right radius. The con is it takes longer because it takes many passes.
2 Likes
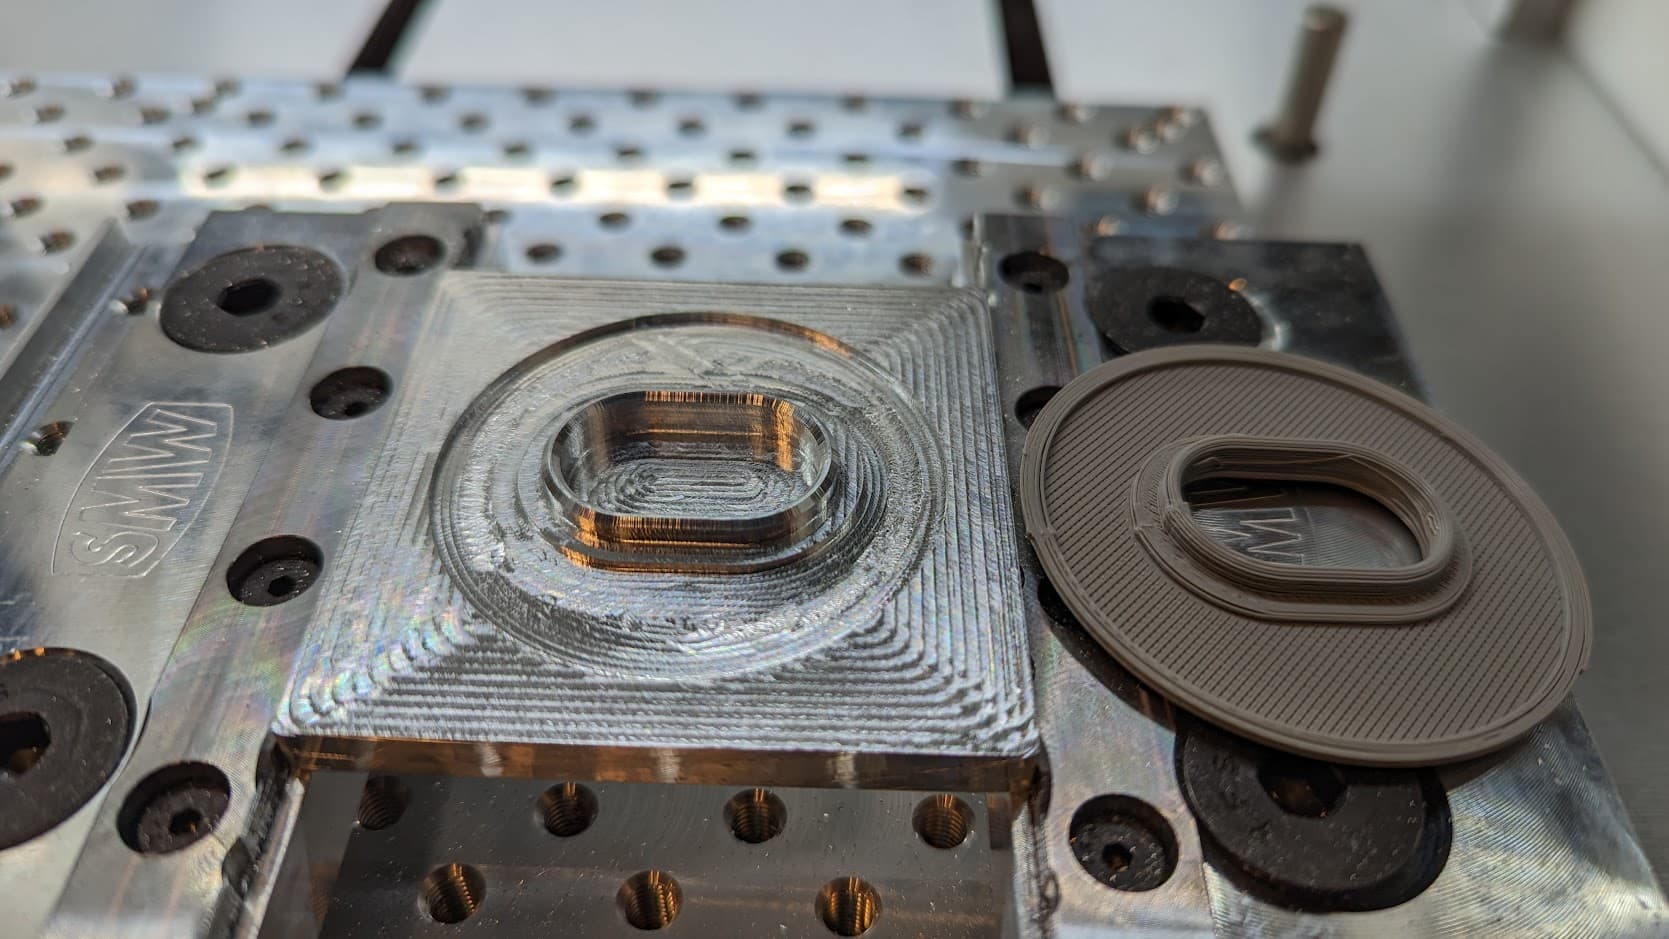
finally making some chips after installing a bunch of SMW goodies, and moving over to gSender & getting the touch probe working.
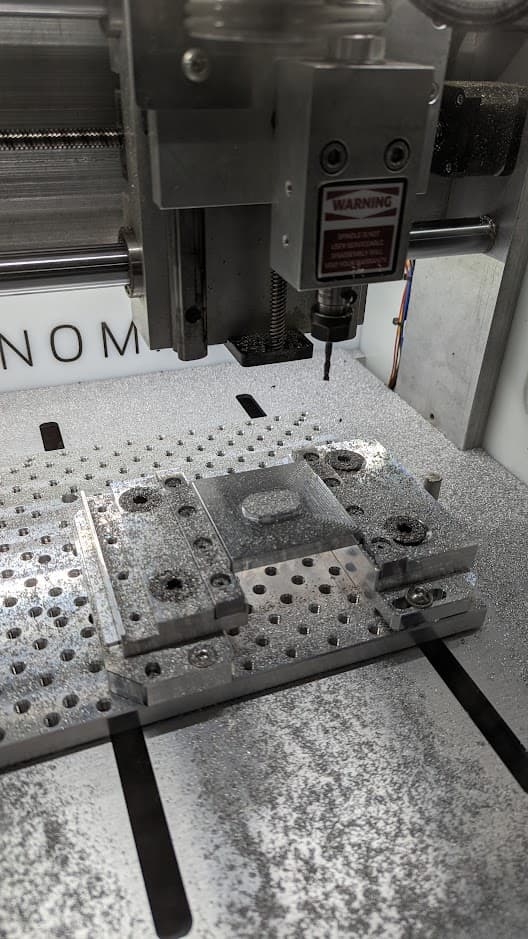
3d printed prototype next to the bottom side of its brother in aluminum.
9 Likes
“finished” parts.
I screwed up my stock thickness, and resulted in slightly screwing up this part, but overall came out well, certainly for a first prototype.
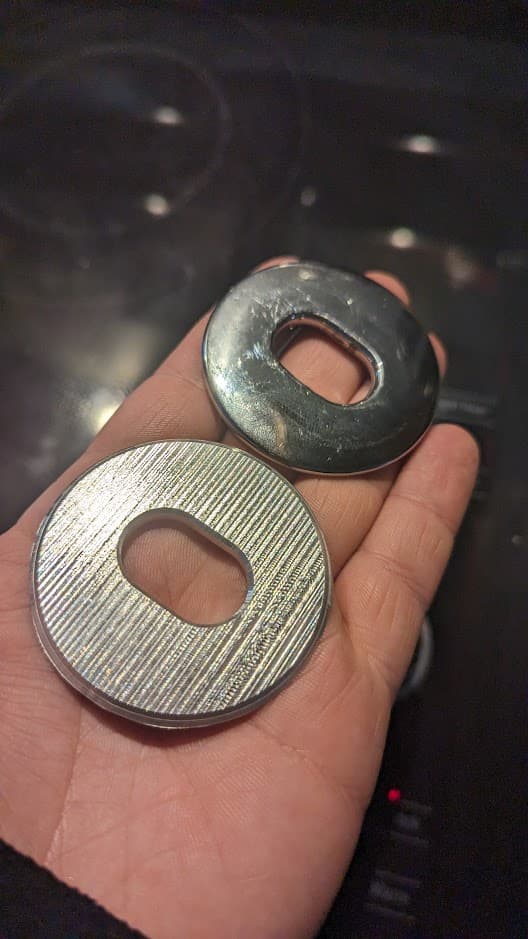
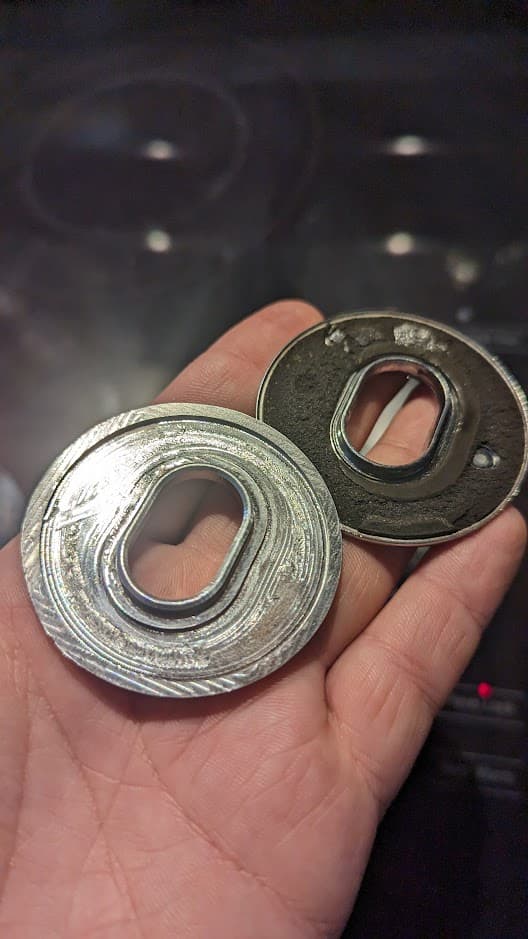
the original part is definitely some form of steel, and the replacement is 6061 aluminum (extruded 6061 off ebay, which definitely twisted a bit…which was annoying, but the way my bank account is set up, i got a checking and a savings…and all the money is in the savings…so no MIC6 or similar for me.)
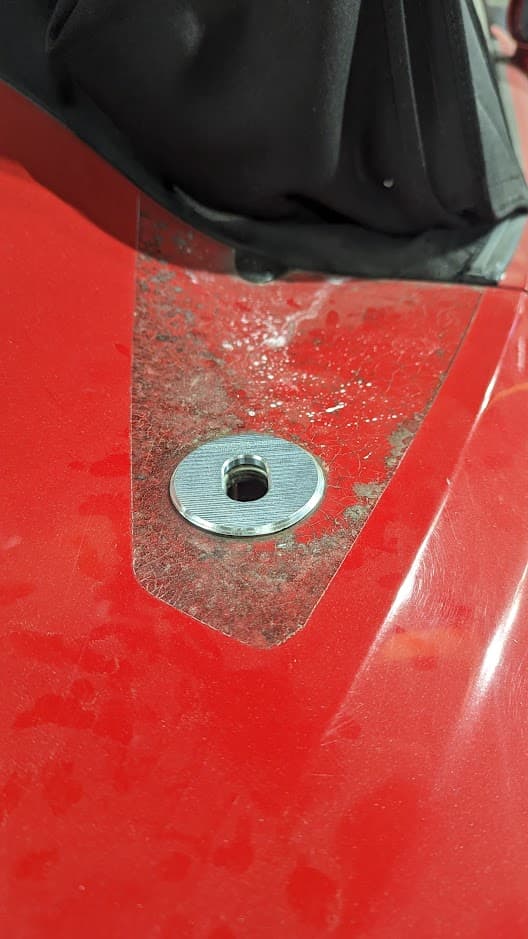
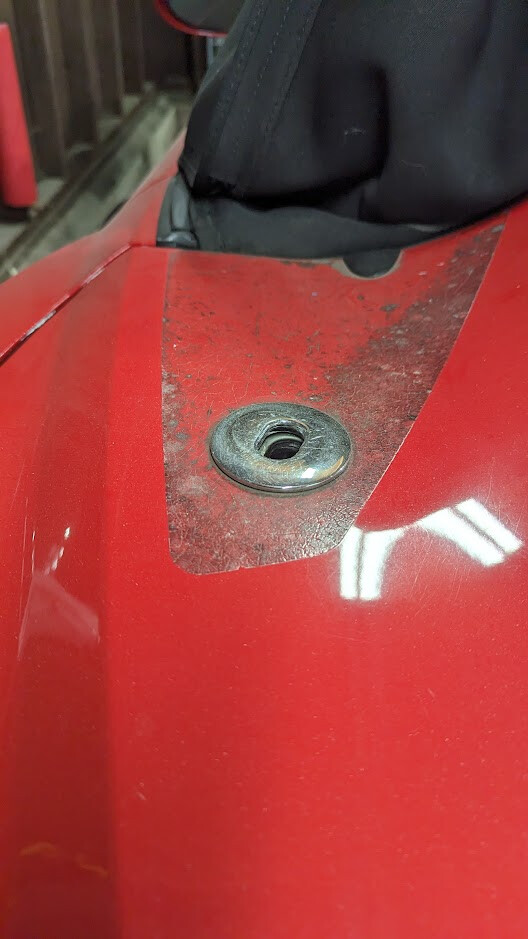
both parts on the car, new & old
as you can see, the protective clear wrap has seen better days, so i figured while i replaced the wrap, would reverse engineer this protective bushing since as far as i know they are discontinued (problems with owning a sky…)
13 Likes

When the grandkids are over, papa makes eggs
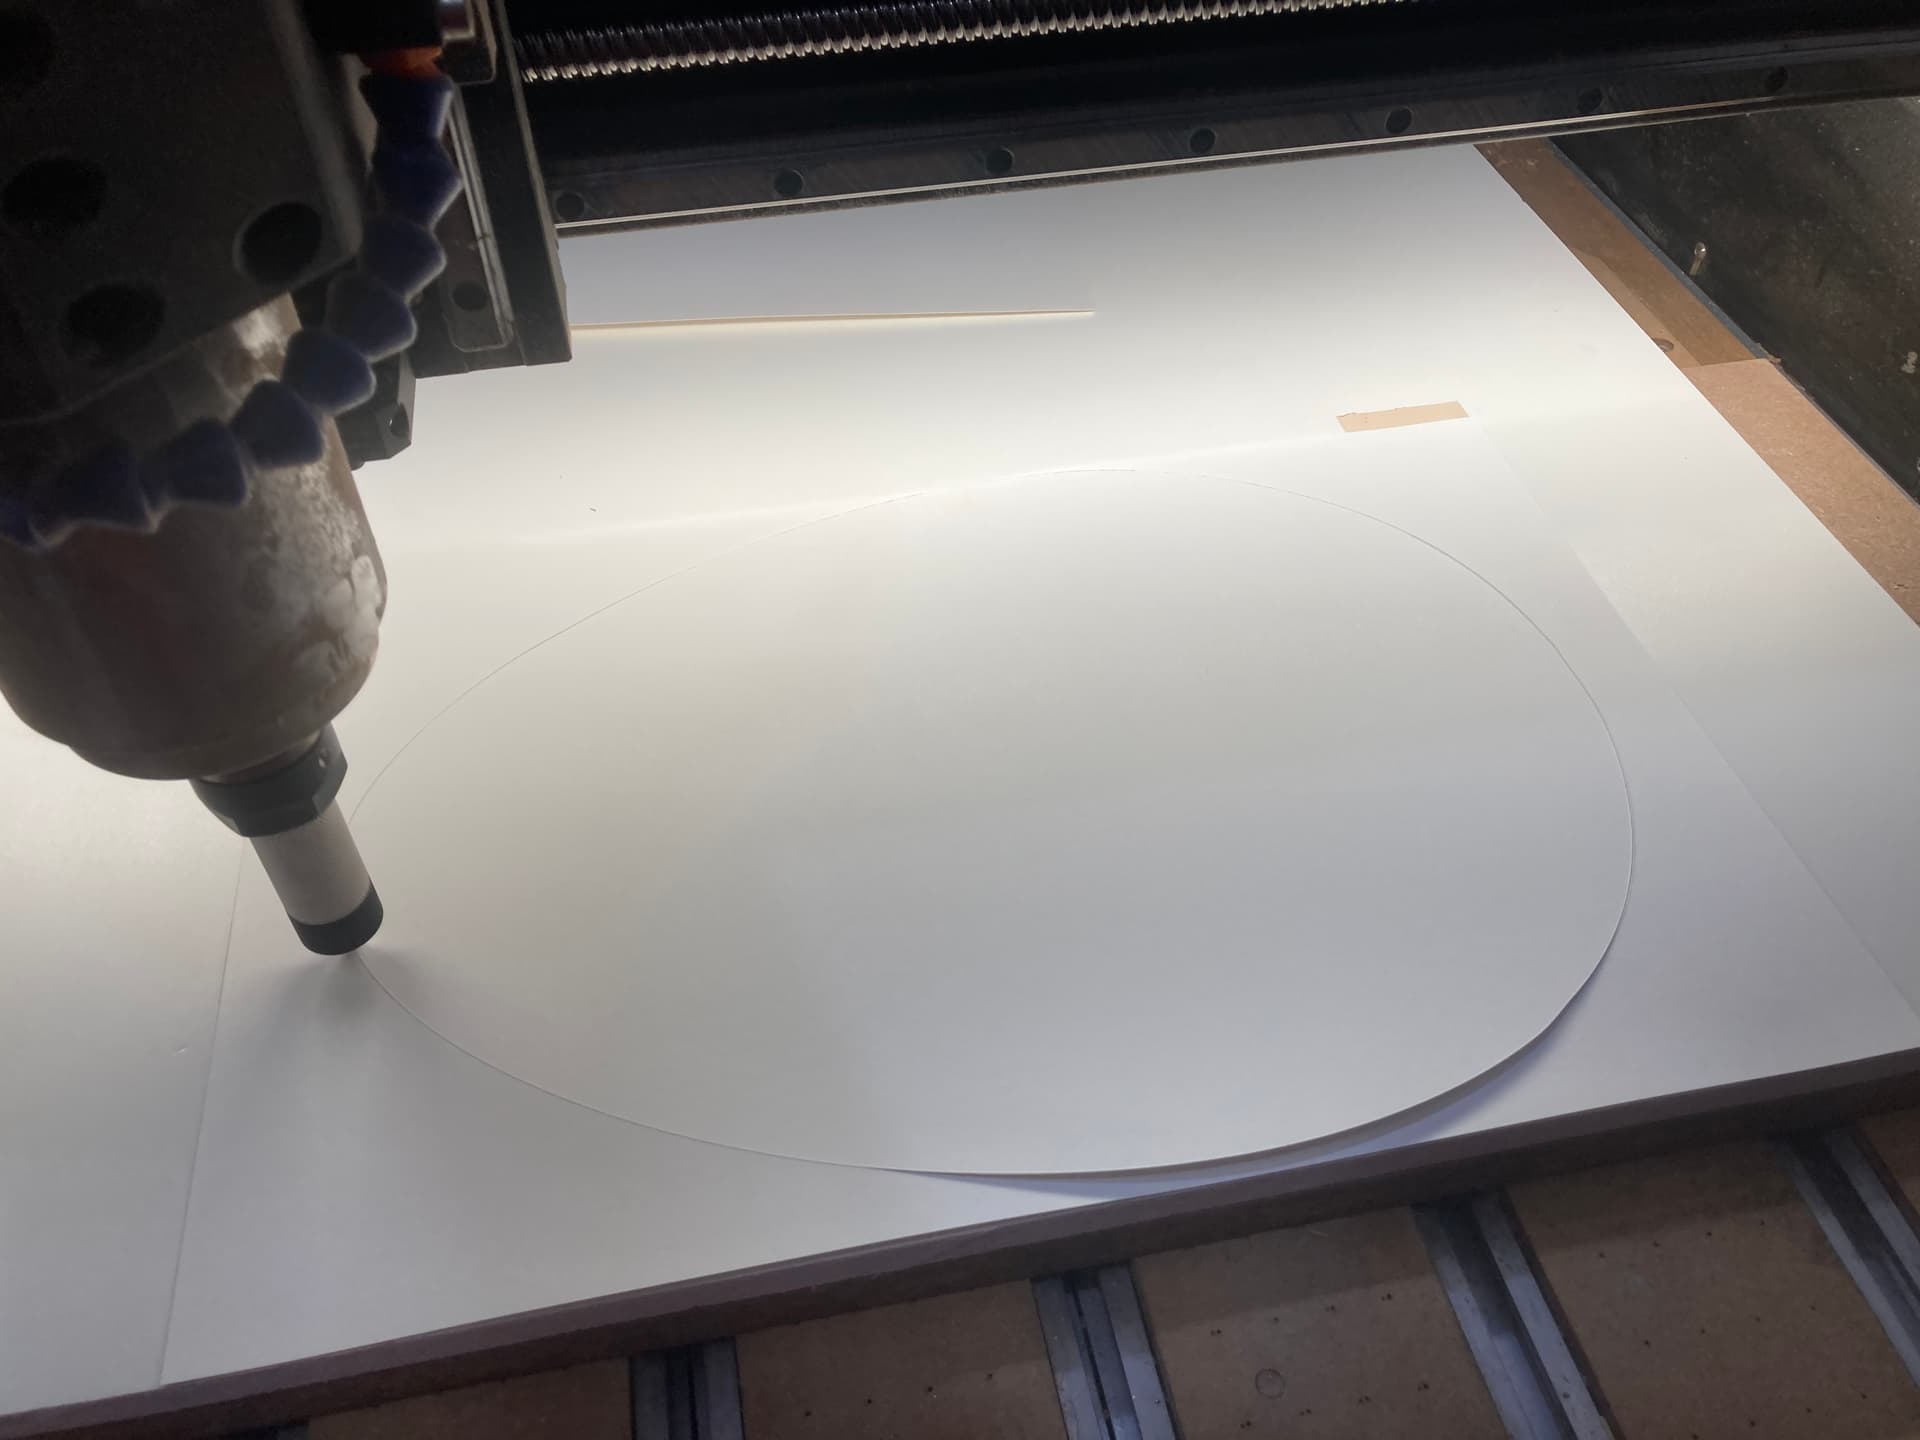
Then the drag knife gets stuck & I have to keep putting it back in the holder ![]()
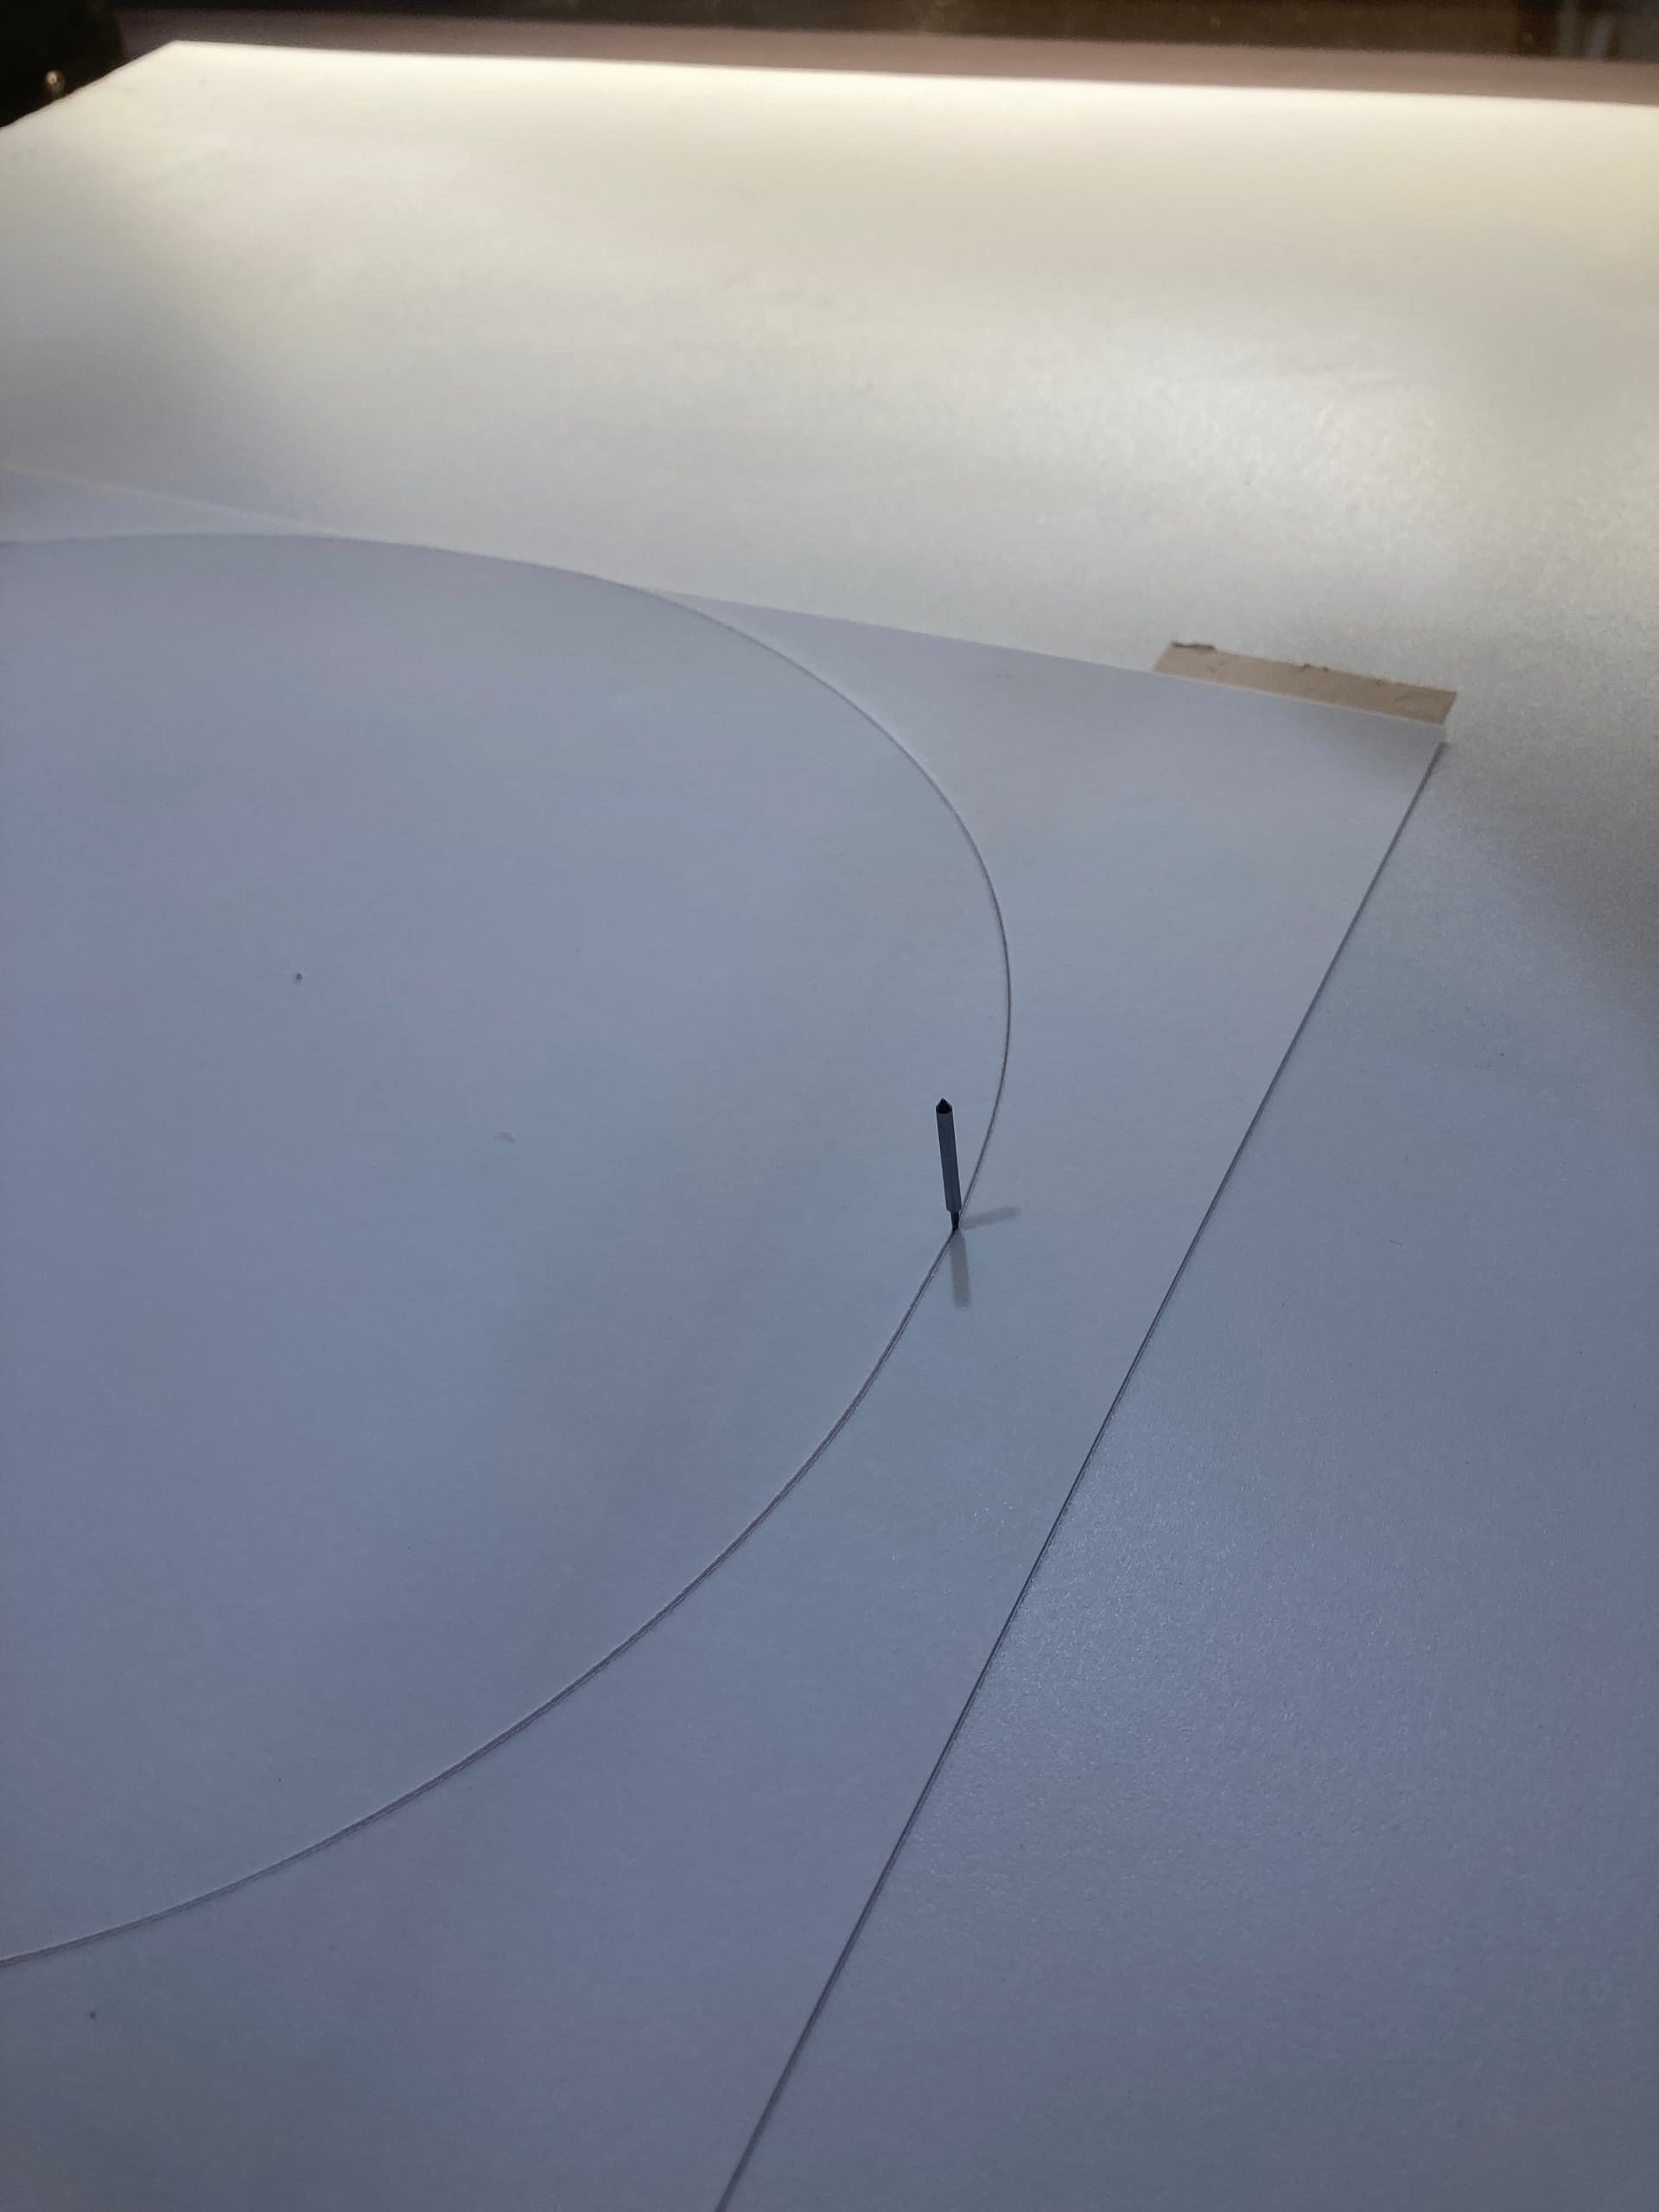
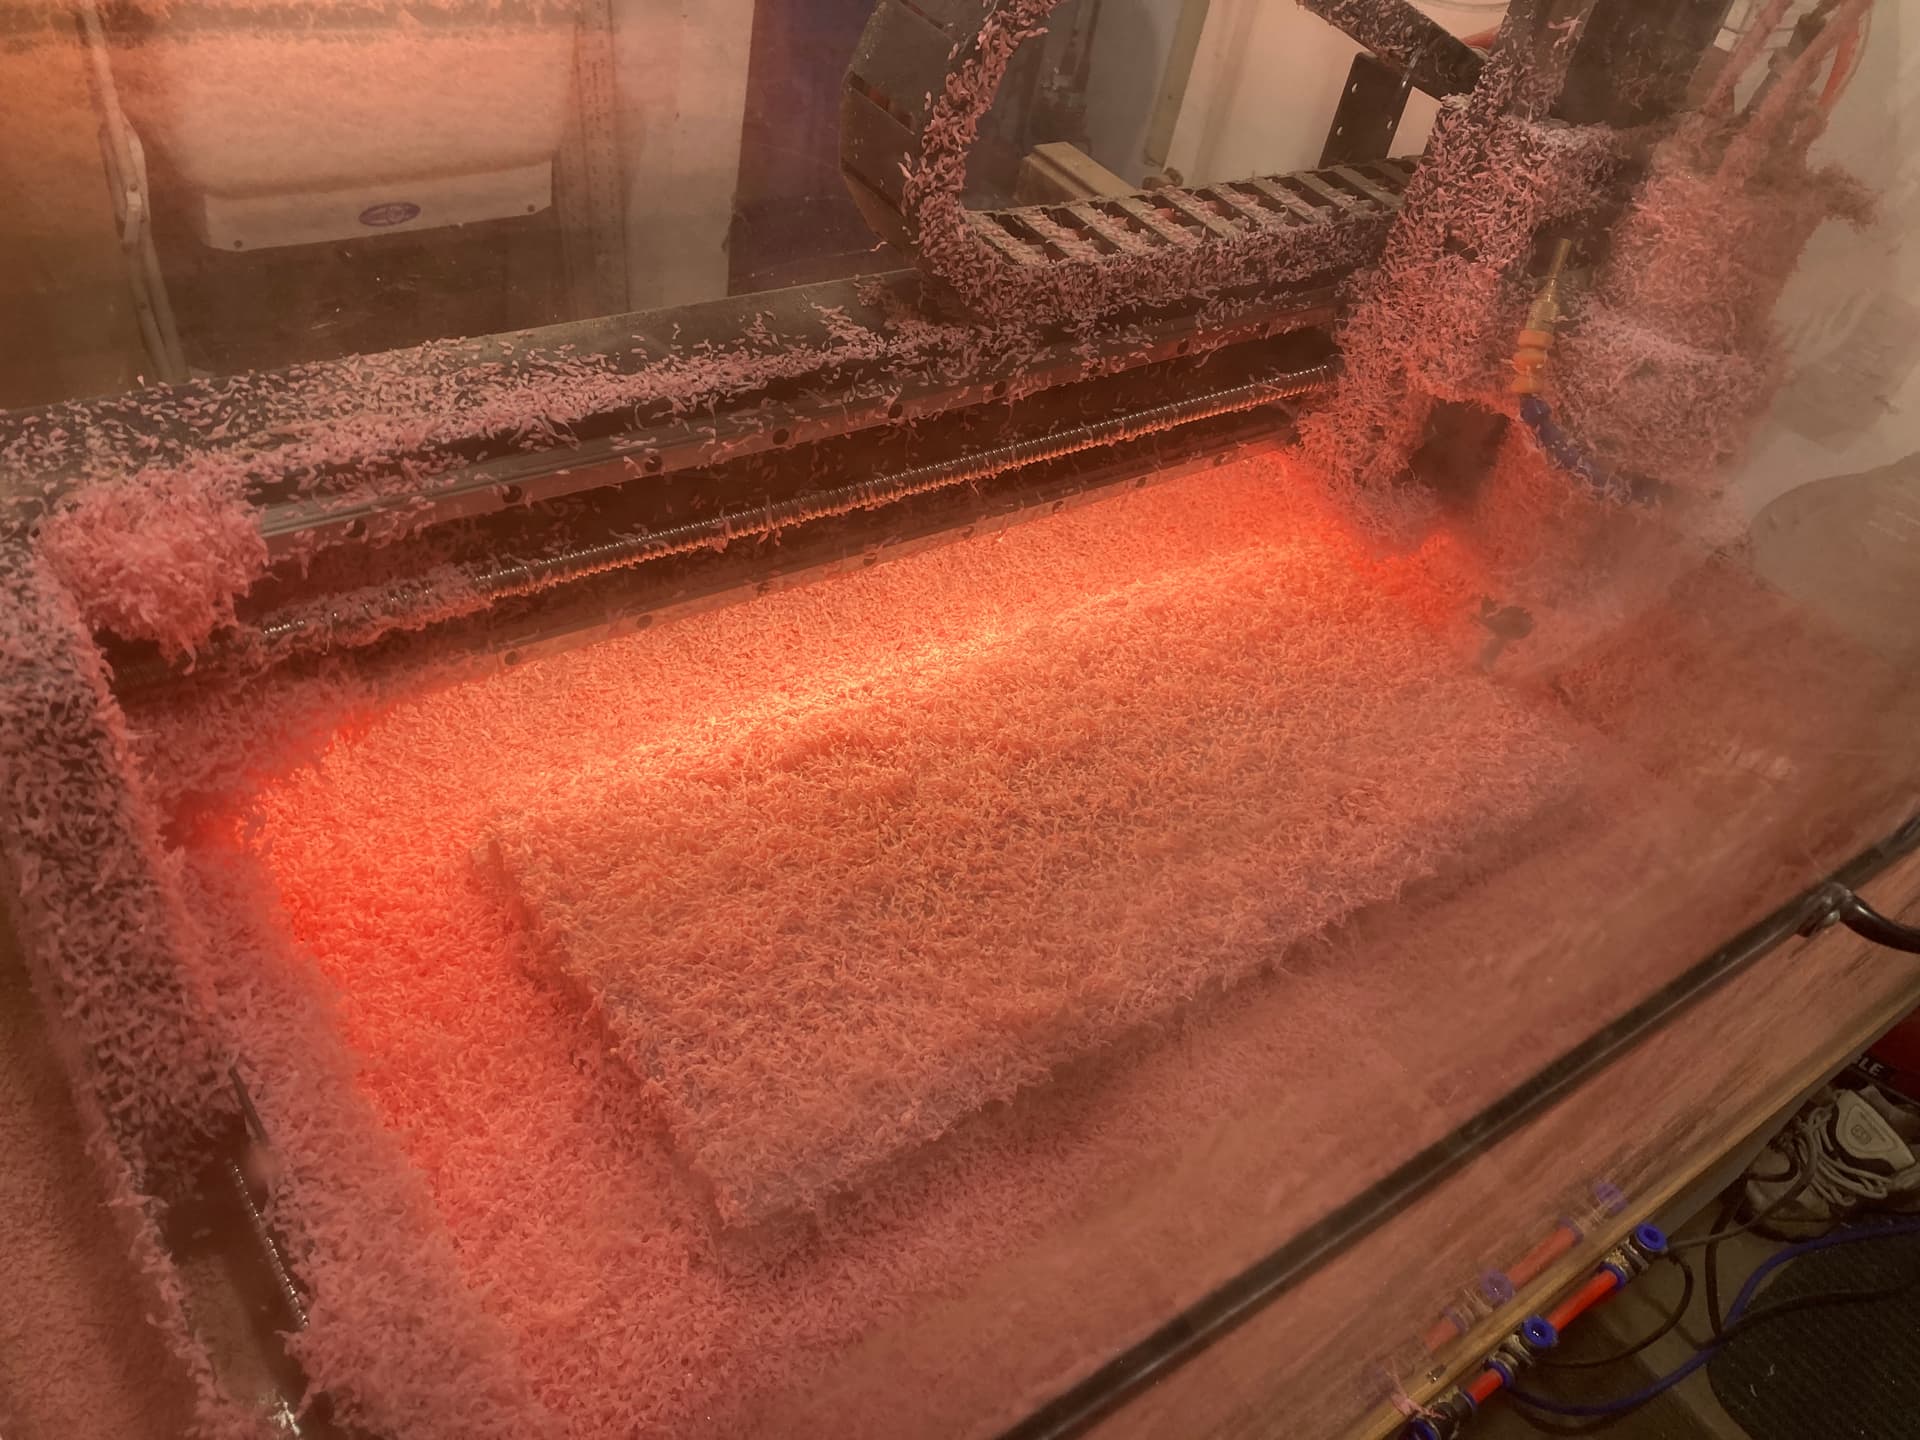
Machine decorated for Easter. Cutting red HDU makes pink chips
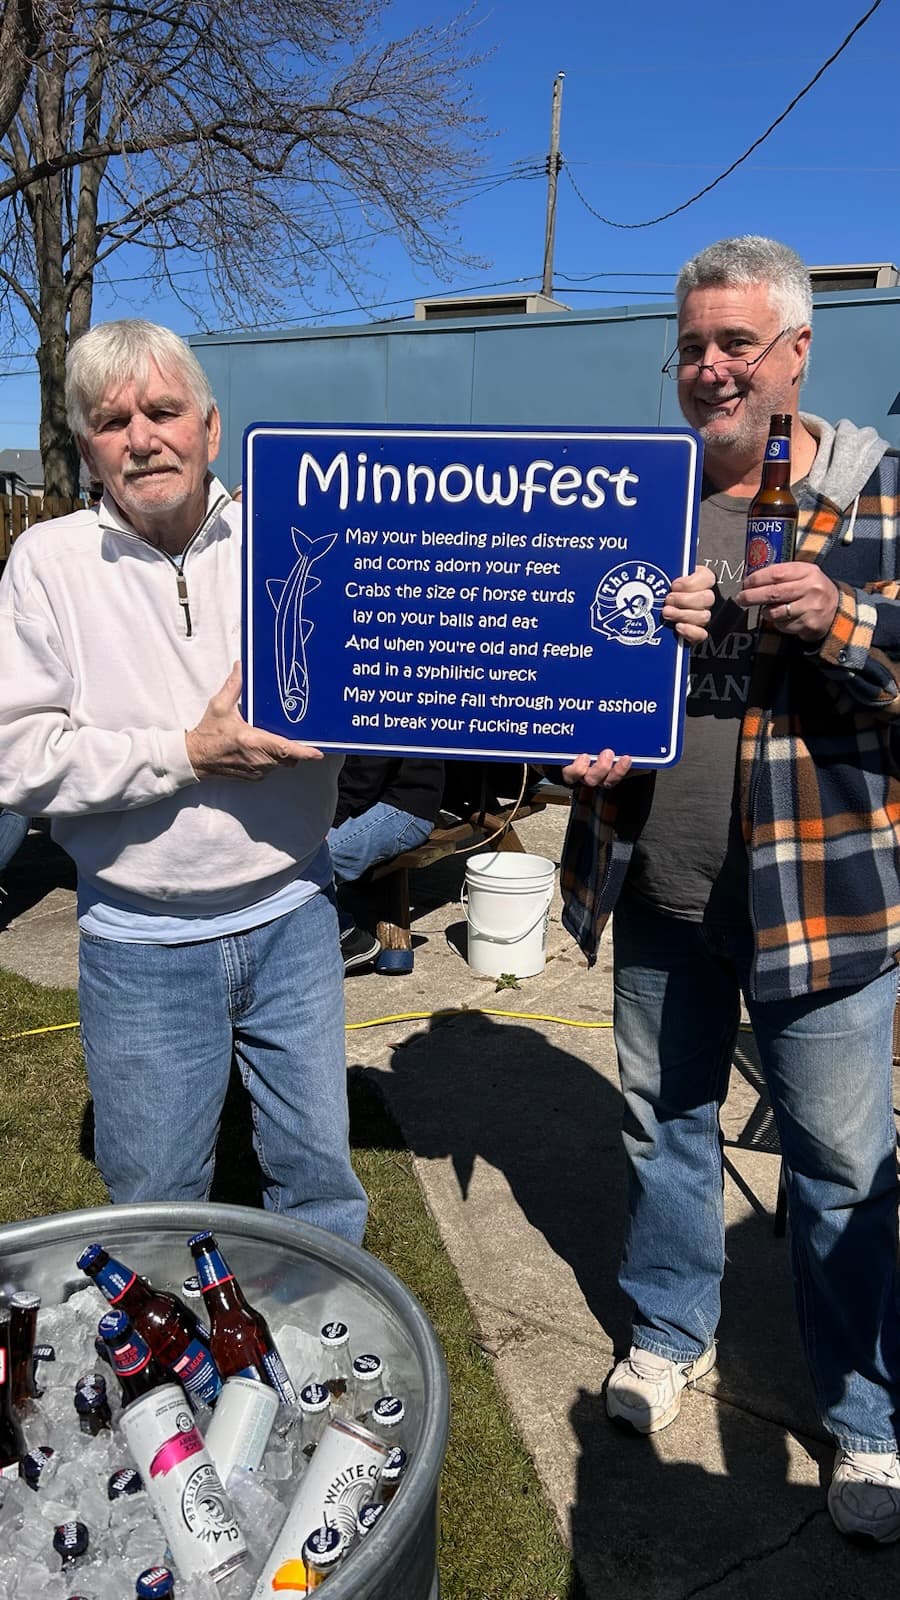
Then I made a sign for the bar owner down the street
12 Likes
No idea what you paid but you might want to check out Midwest Steel. Here’s a link quoting pricing for their version of Mic6, ATP5, 4 each 6x6 pieces of 1/2” ATP5. $10.85 per piece.
Sorry, misstated, you fill in the blanks on the linked page.
2 Likes