BeeGee’s were a band. The air racer was a GeeBee as I recall, built by the Granville Brothers. Gotta keep everything straight, right?
3 Likes
The GeeBee’s record for being difficult to fly (deadly difficult) goes along with the BeeGee’s record “Stayin’ Alive”. ![]()
4 Likes
Are you making fun of my dyslexia?? ![]()
![]()
1 Like
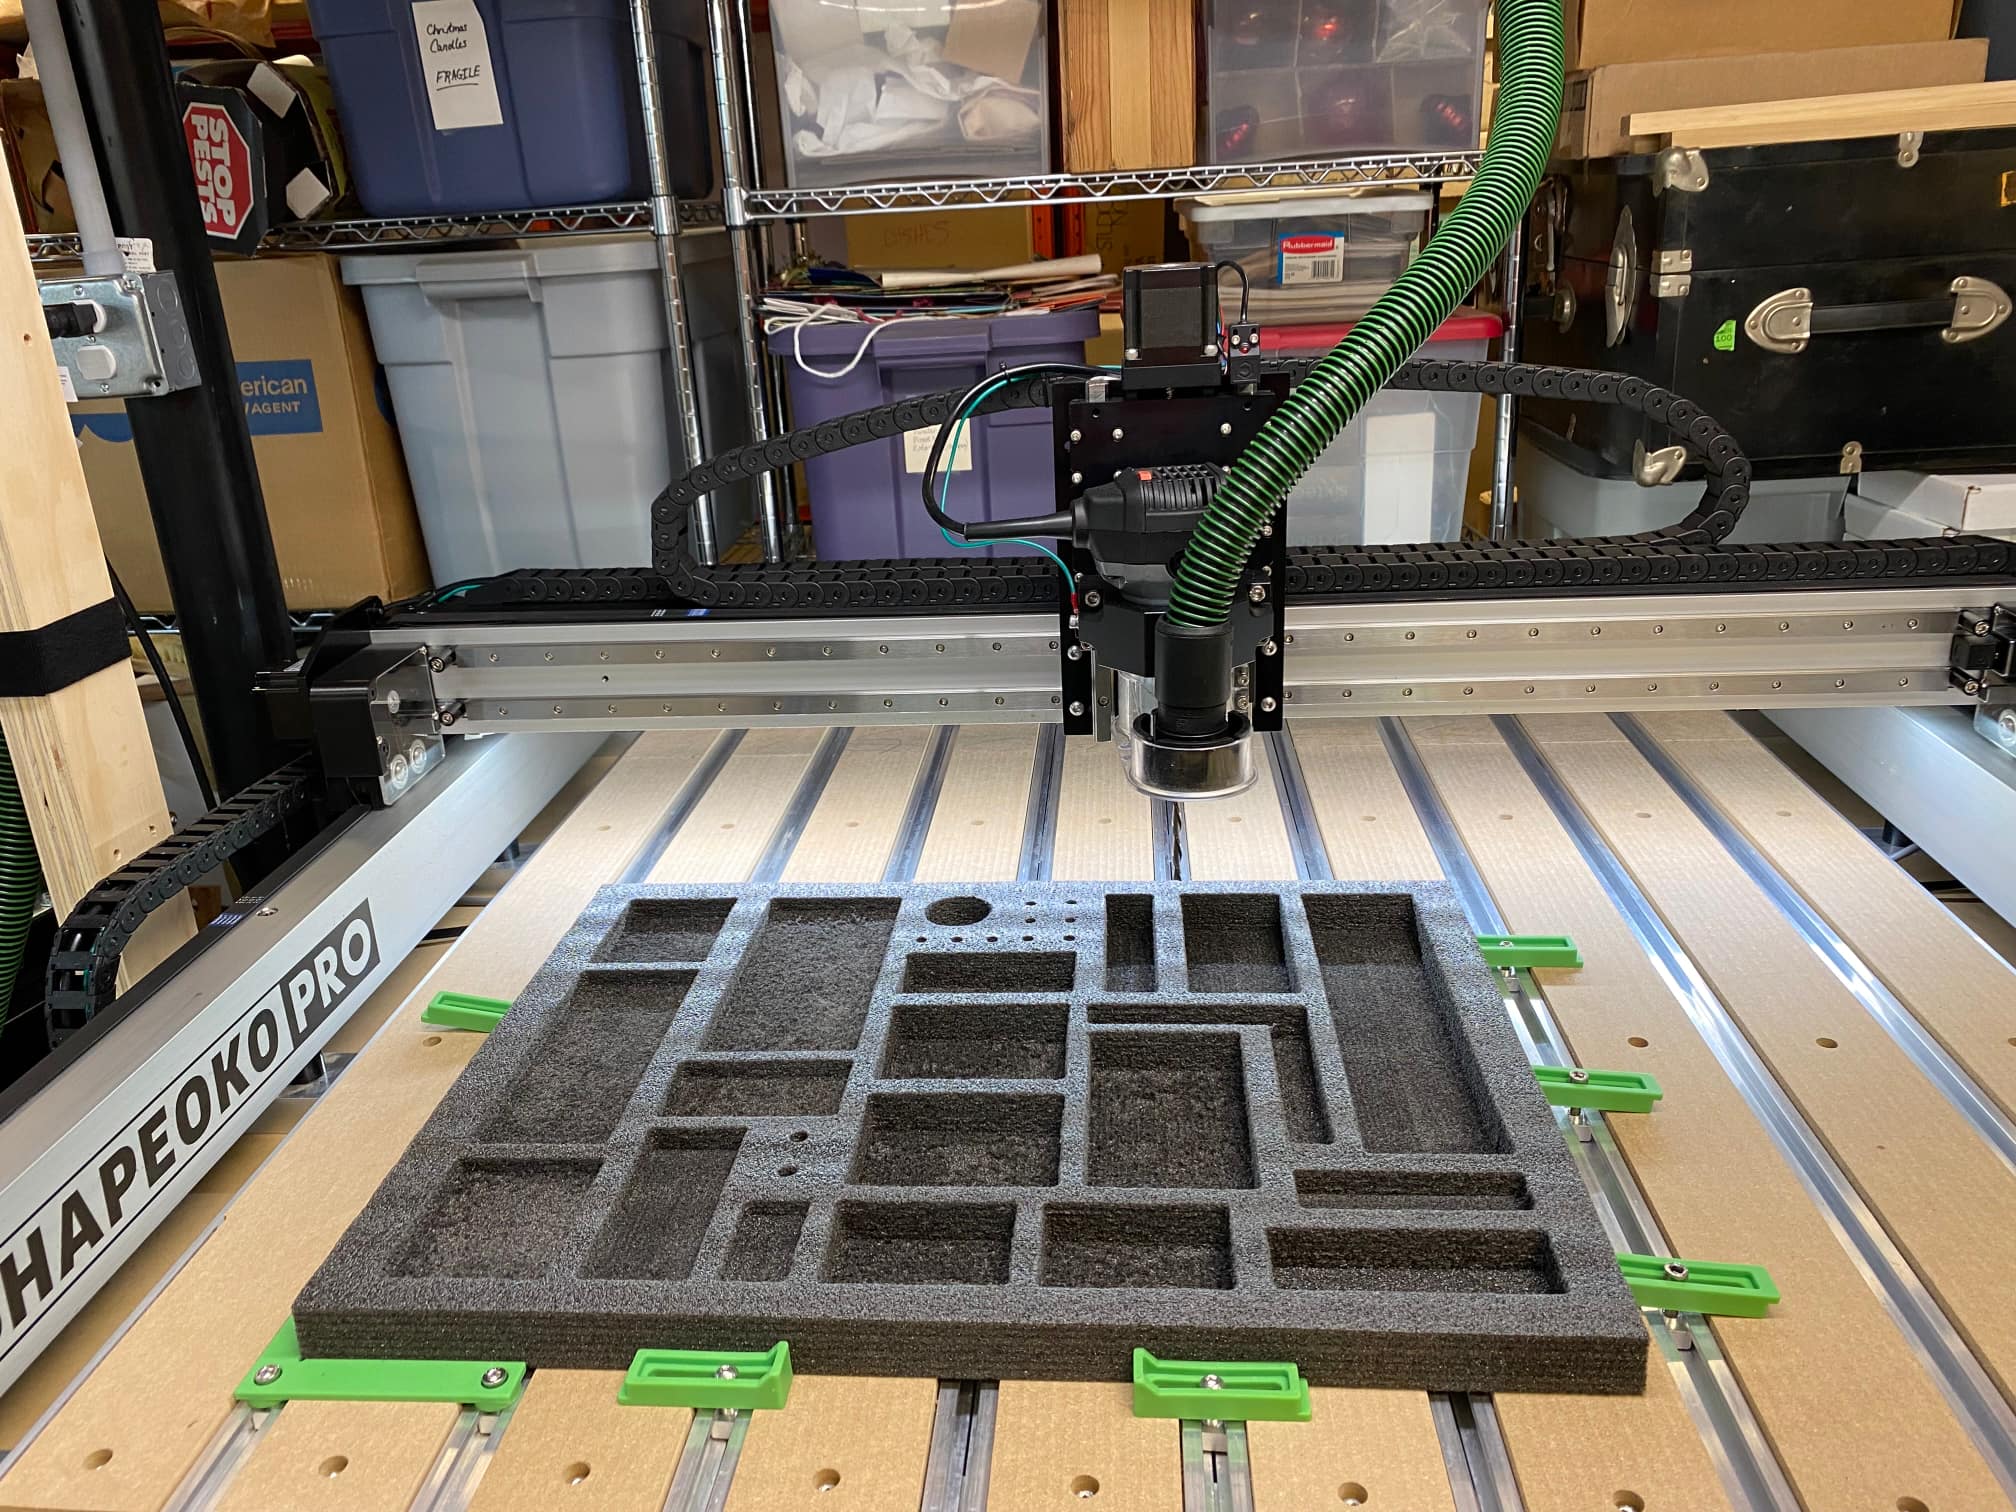
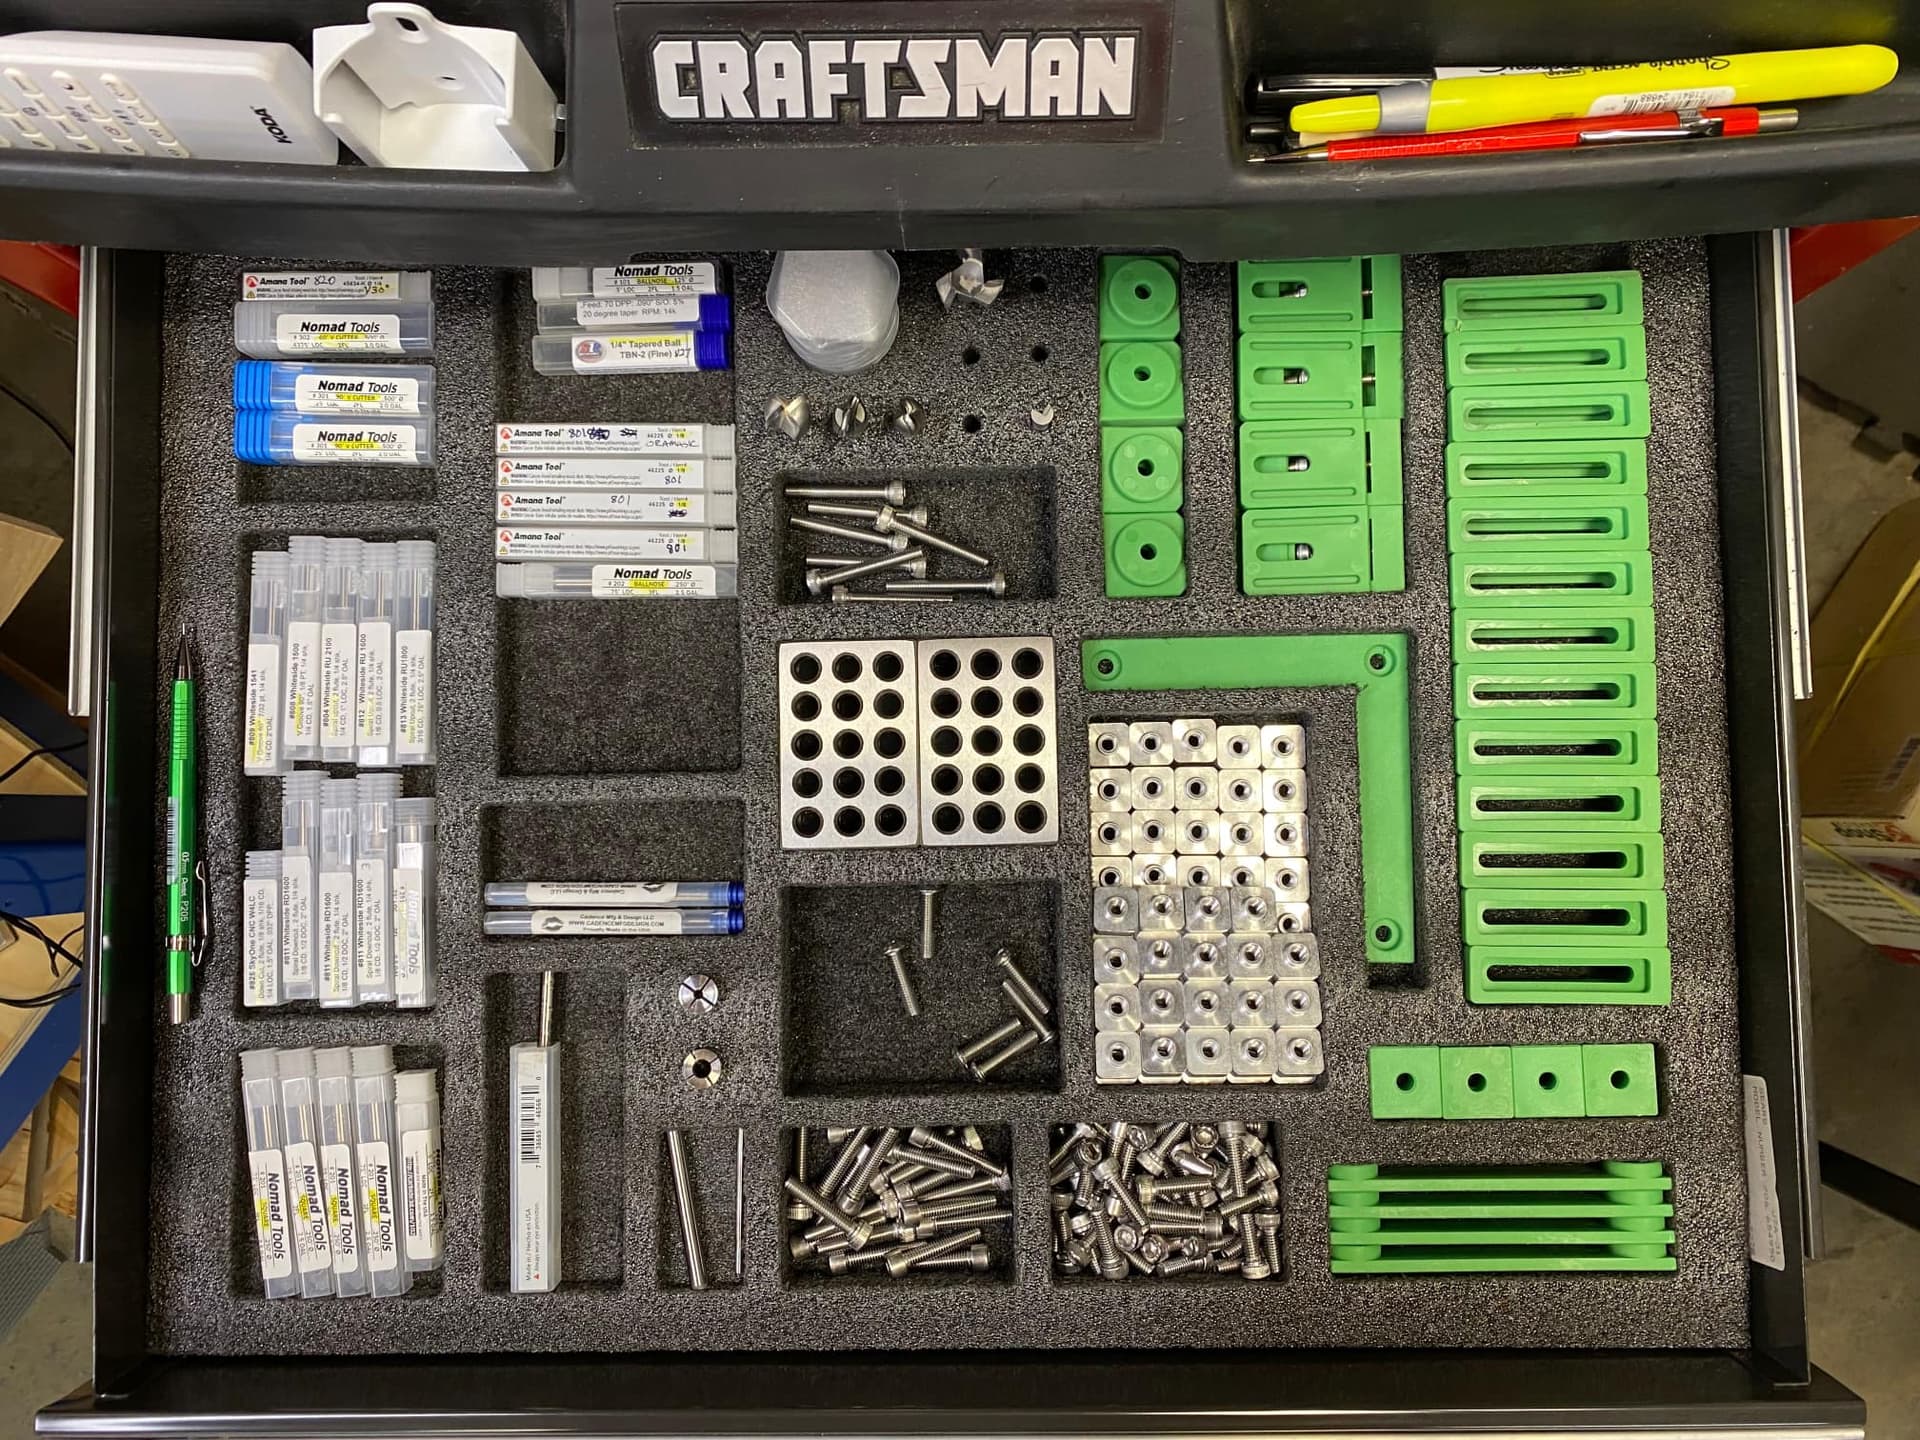
First project with Kaisen Foam. I had some Kaisen Foam sheets in my shop left over from an unsuccessful attempt to make drawer organizers with the foam using a utility knife several years ago. I decided to create a tool chest drawer organizer for my end mills and clamps. I cut the 1 1/4" thick sheet down to size on my table saw to fit in the drawer which measures 16 1/4 x 22 1/4" inside. Attached the foam to my Shapeoko Pro spoil board with double sided tape. I also employed clamps for extra security. The Amana downcut foam cutting bit 46566K was used for all operations. Designed in Carbide Create. Depth per pass .160, Stepover .125, plunge rate 8, feed rate 140, RPM 18000. The foam cuts into strings which occasionally wrap around the end mill. I paused the machine several times during the cut to remove the buildup on the cutter. The bottom of the pockets is not as smooth as I would like in some pockets, probably a function of the bit tearing the foam when the pocket bottom is near a lamination point in the foam. This was also the first time I have paused a cut in process, left the machine for two hours, and returned to start again. Overall I was pleased with this first effort cutting foam.
31 Likes
If you foam is similar to what I had the rough bottom is when you happen to end your cut at the glue line between layers. That happened on some of my pockets and others that were slightly deeper or shallower were beautiful.
Note that the Fastcap folks make a spinner to clean up the bottoms of pockets:
3 Likes

Daughter playing in first sand national tournament. Working on a multi part pour medallion for her. Epoxy can humble you quick…
23 Likes
Your experience is what I observed in cutting. The cuts on the glue line show evidence of pilling, while the cuts bottoming in foam between layers were smooth. Seems to be a function of the construction of layered foam. The spinner Will Adams mentions, to clean up pocket bottoms, may be worth trying.
1 Like
Yep. I may try it when I get back in town.
I made a 2x4’ drawer and filled it with the foam. I still have an extra 2x4 piece and have been trying to decide how to use it.
My drawer is deep so I may make a 2x2 piece for a second level that can slide from side to side. So, I may yet have need for the spinner.
A little epoxy inlay & some texture…
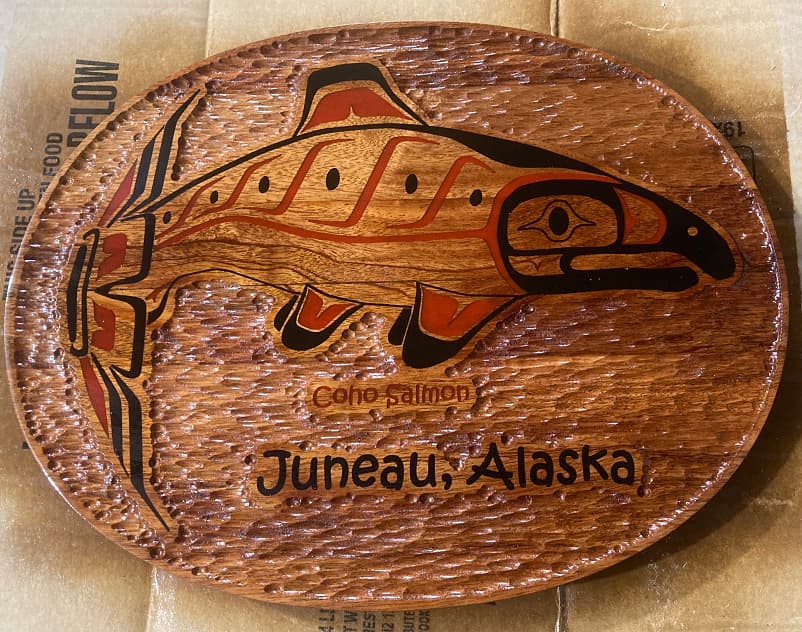
Note: the texture toolpath was even more painful to watch than an Advanced V-Carve path.
Very inefficient!!!
29 Likes
Nice sign. I like the deep grain. Something I’ll have to work on.
As in your Z-axis got it’s workout for the month (retract, rapid, …)?
Exactly! There’s a LOT of red in that simulation! ![]()
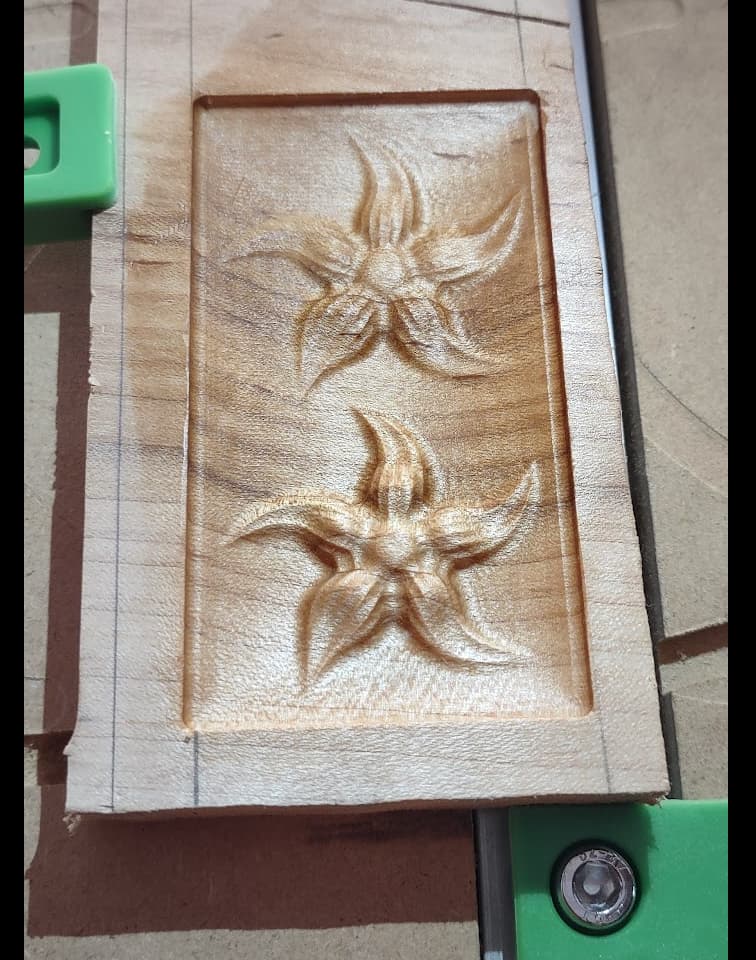
Took a step back this week to relearn some 3d drafting :-D. Downloaded lots of different software, watch lots of tutorials. Then made a flower and cut it :-D. I still have a good bit to learn… But had fun none the less.
18 Likes
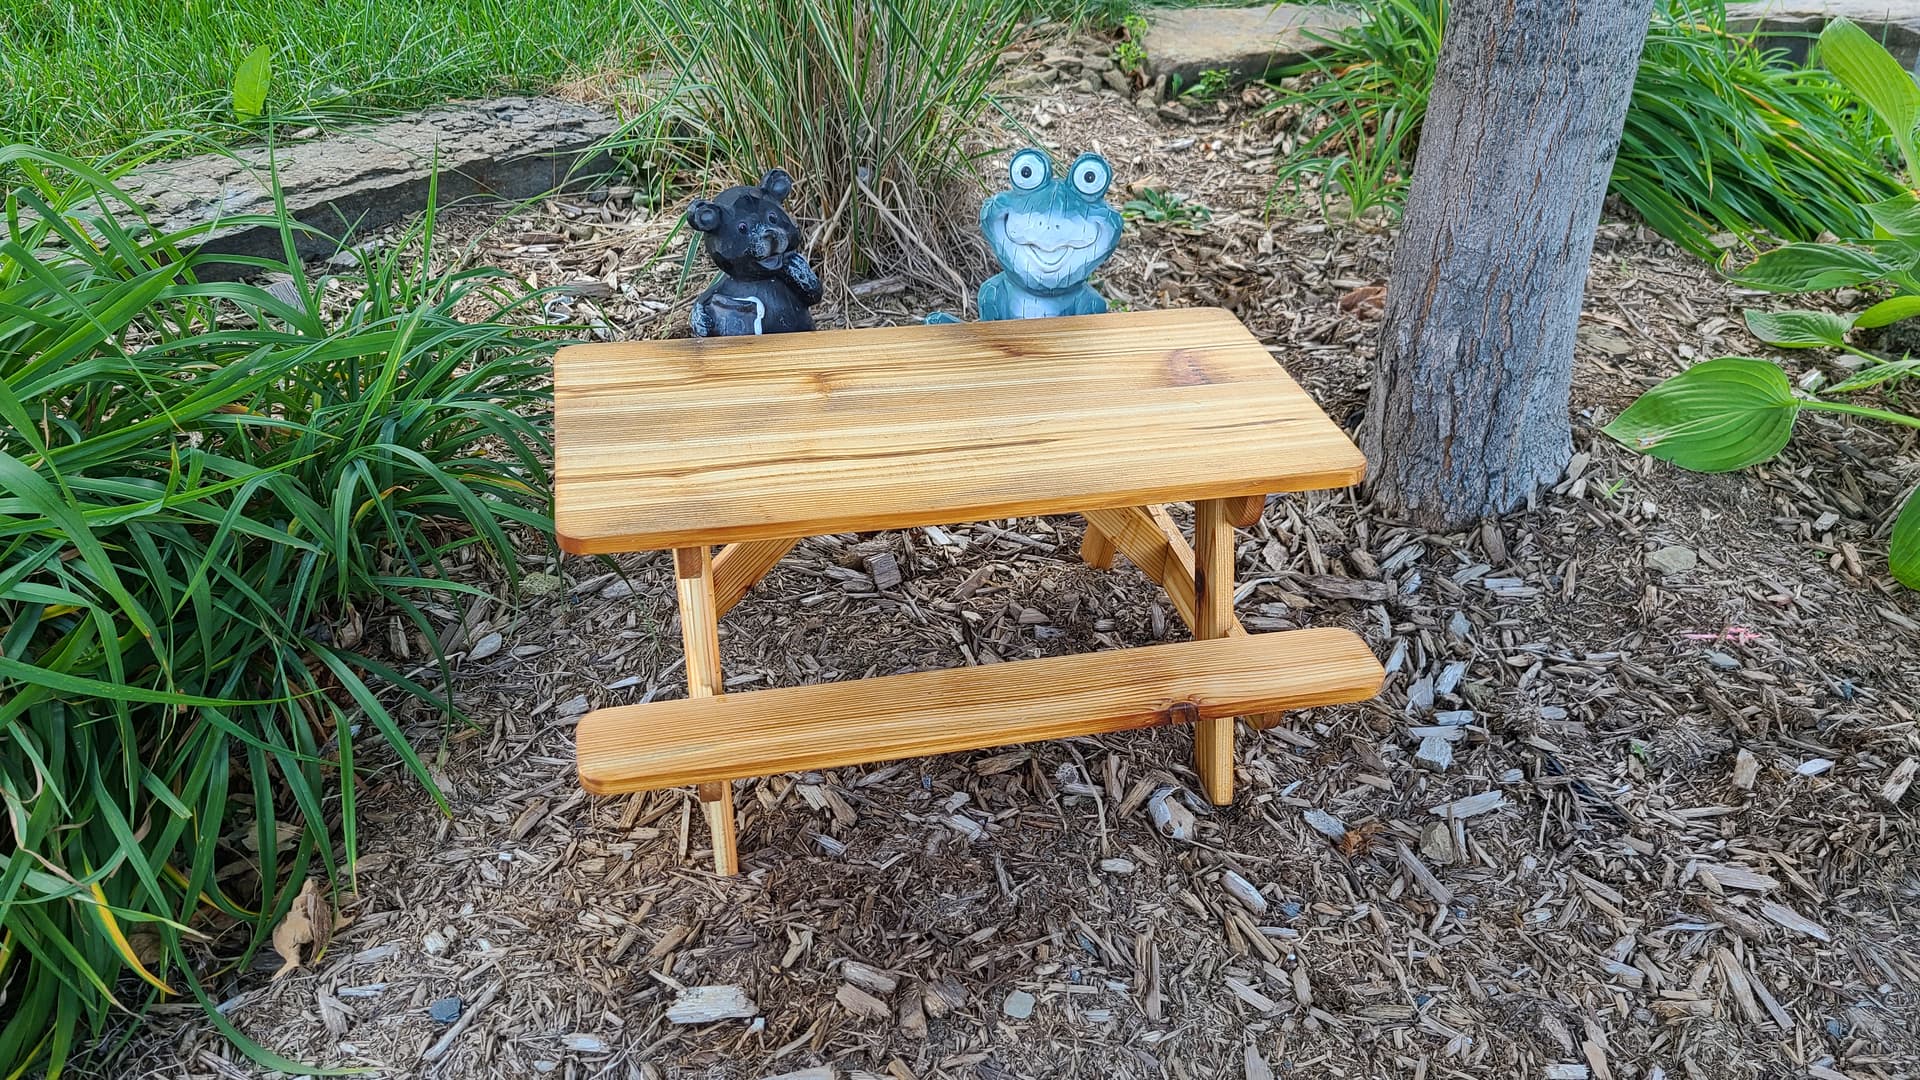
It’s been a while but I made another one of these miniature picnic tables to see if it sells at the market, it’s either a garden decoration or fun way to feed backyard visitors (wildlife).
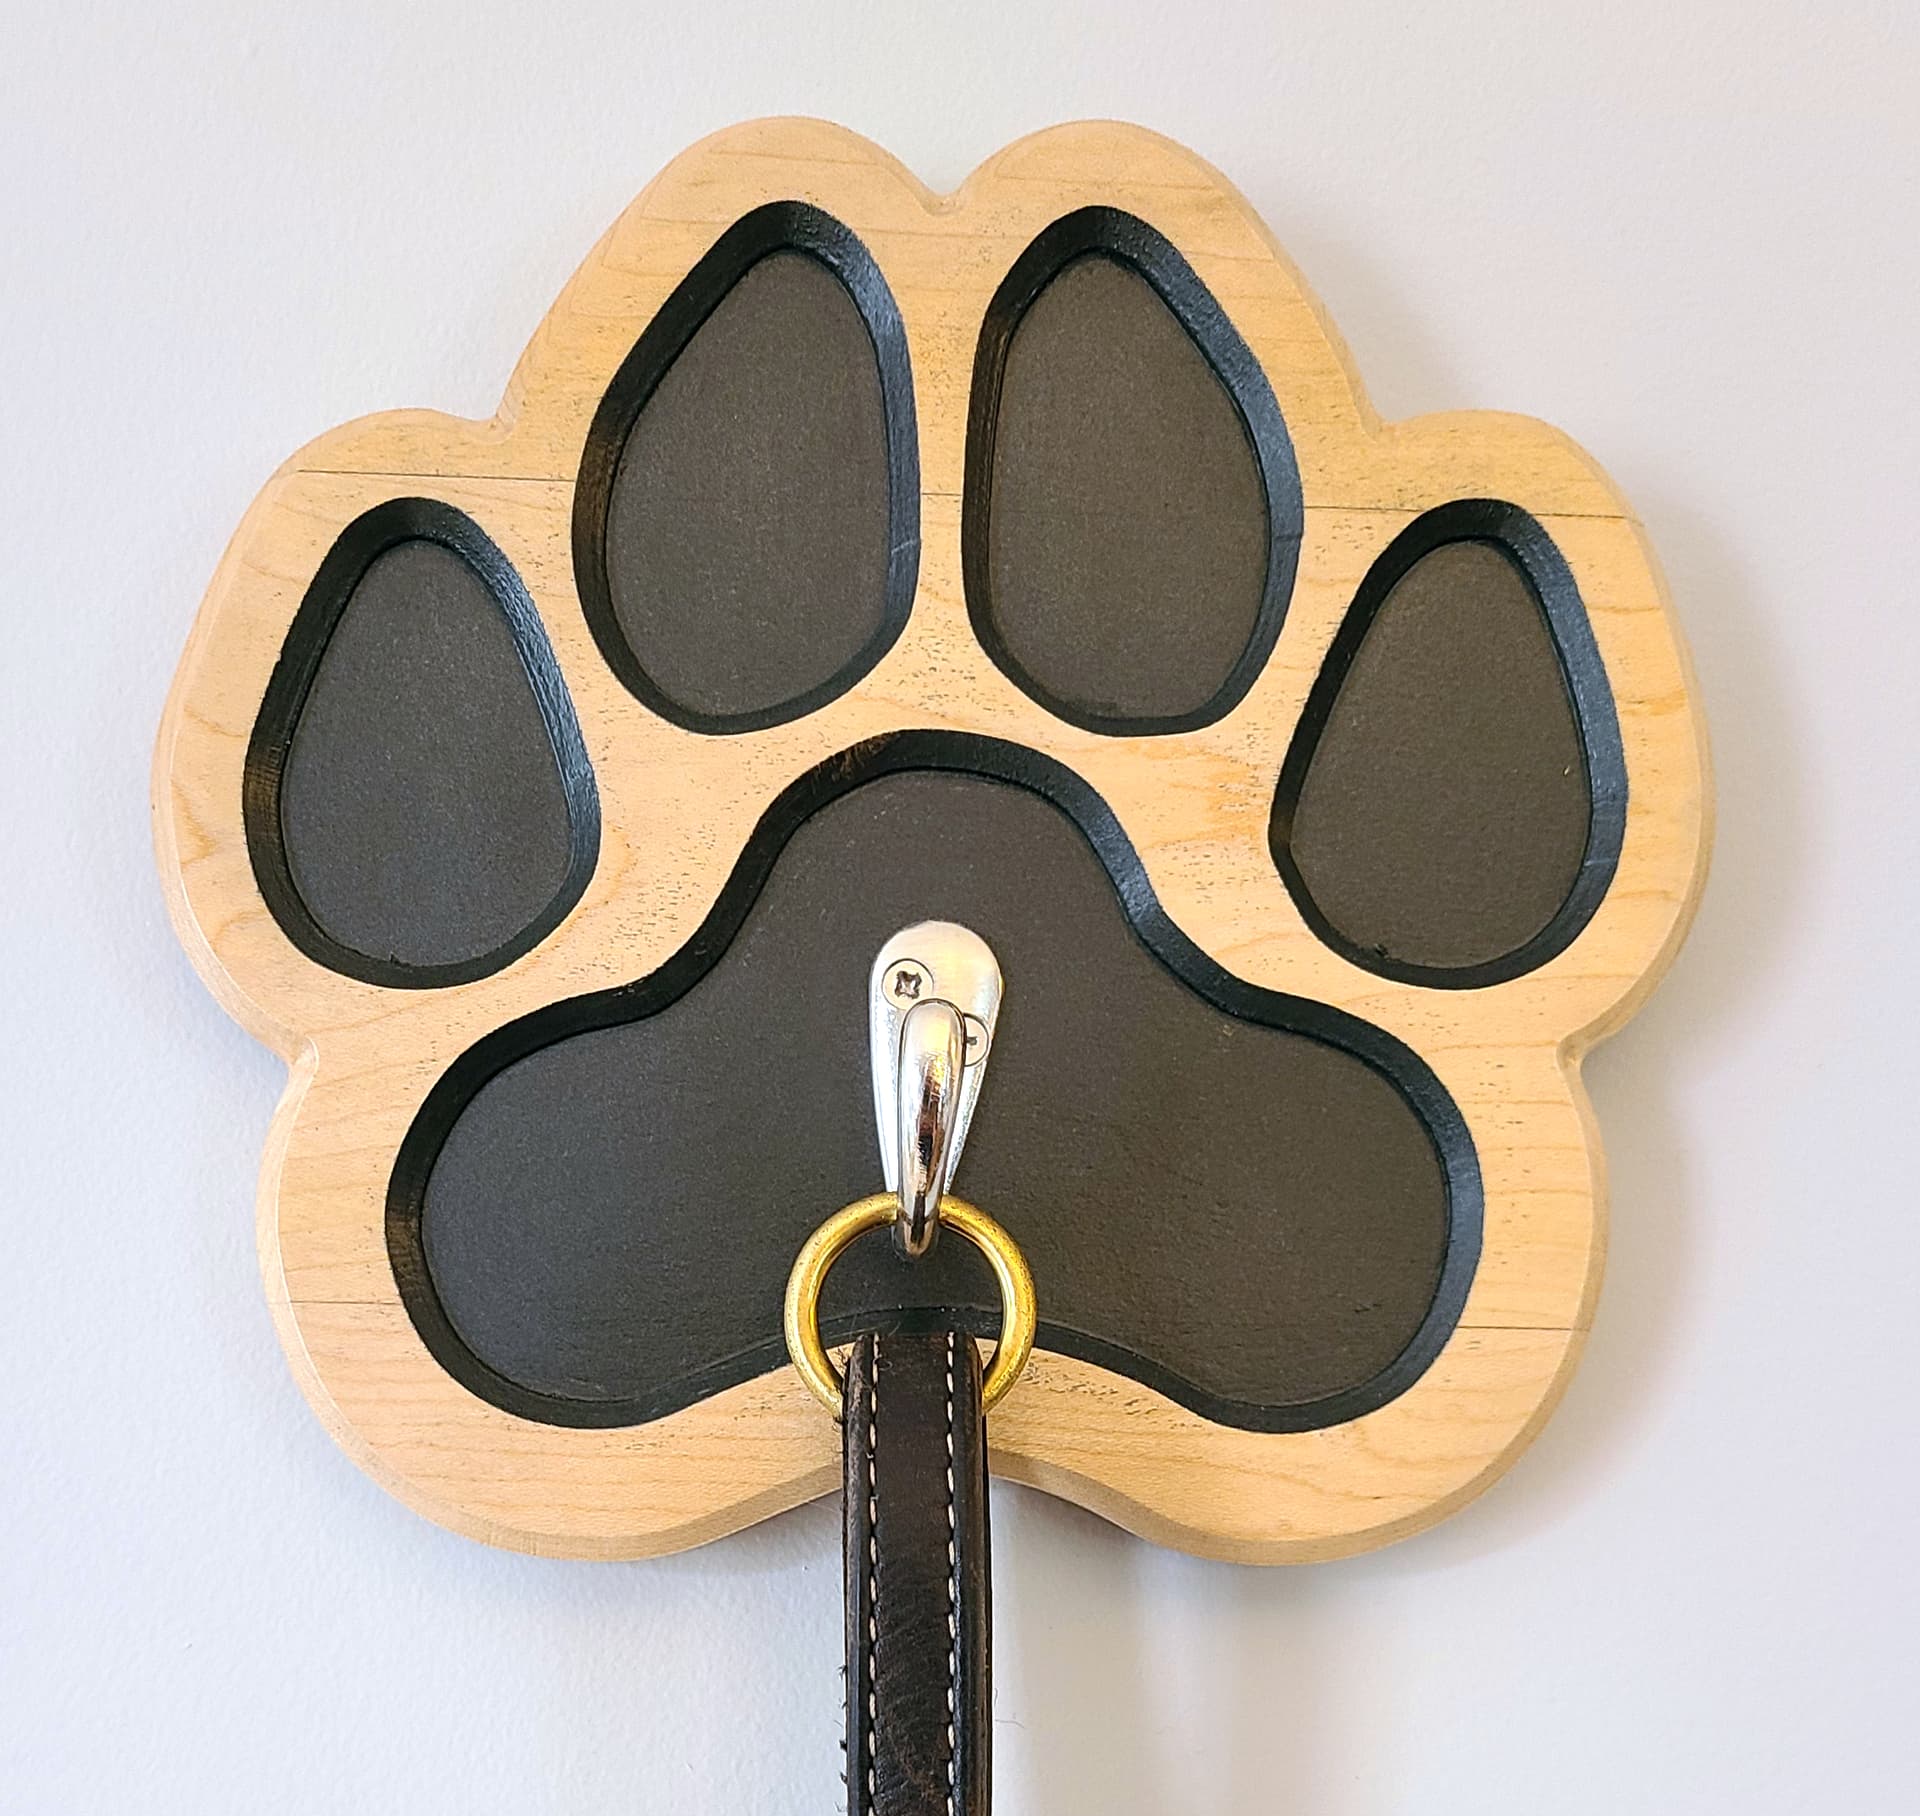
Our 4 legged friend is part of the family so figured he deserved his very own hook in the front entrance for his leash. Also made a few extras to sell at the market, pretty sure it was on our C3D community somewhere that I saw one of these recently so thanks for the idea.
21 Likes
I did use tabs, probably not enough of them.
I don’t remember how much cleanup I had to do on the artwork. I hacked it together with Vectornator on an iPad.
Finally got around to finishing the “WELCOME” coat rack with the hooks, paint and clear coats and ready to bring it to the artisan market tomorrow. I staged these pictures on the floor by the patio door and my wife was looking at me like I was crazy… but in the end she said I pulled it off and created the illusion it was on the wall, LOL.


37 Likes
Yep,
Looked like a wall to me until you confessed.
3 Likes
How did you create the background effect on the sign?
5 Likes
First part of a tool holder tray cut on my hdm today.
9 Likes