School owned ambulance hood ornament?
Finished product. Epoxy filled and topped with tung oil. Whole piece was sanded to 320 and it feels amazing in the hands. Only flaw I dont care for is some of the black epoxy seeped into the “h” at the top in “she.” Torched it to bring out the grain and enhance the whole Phoenix theme. Unfortunately this cupped the board but after some searching on YouTube I was able to get it back to flat by ironing the cup out. It worked great.

27 Likes
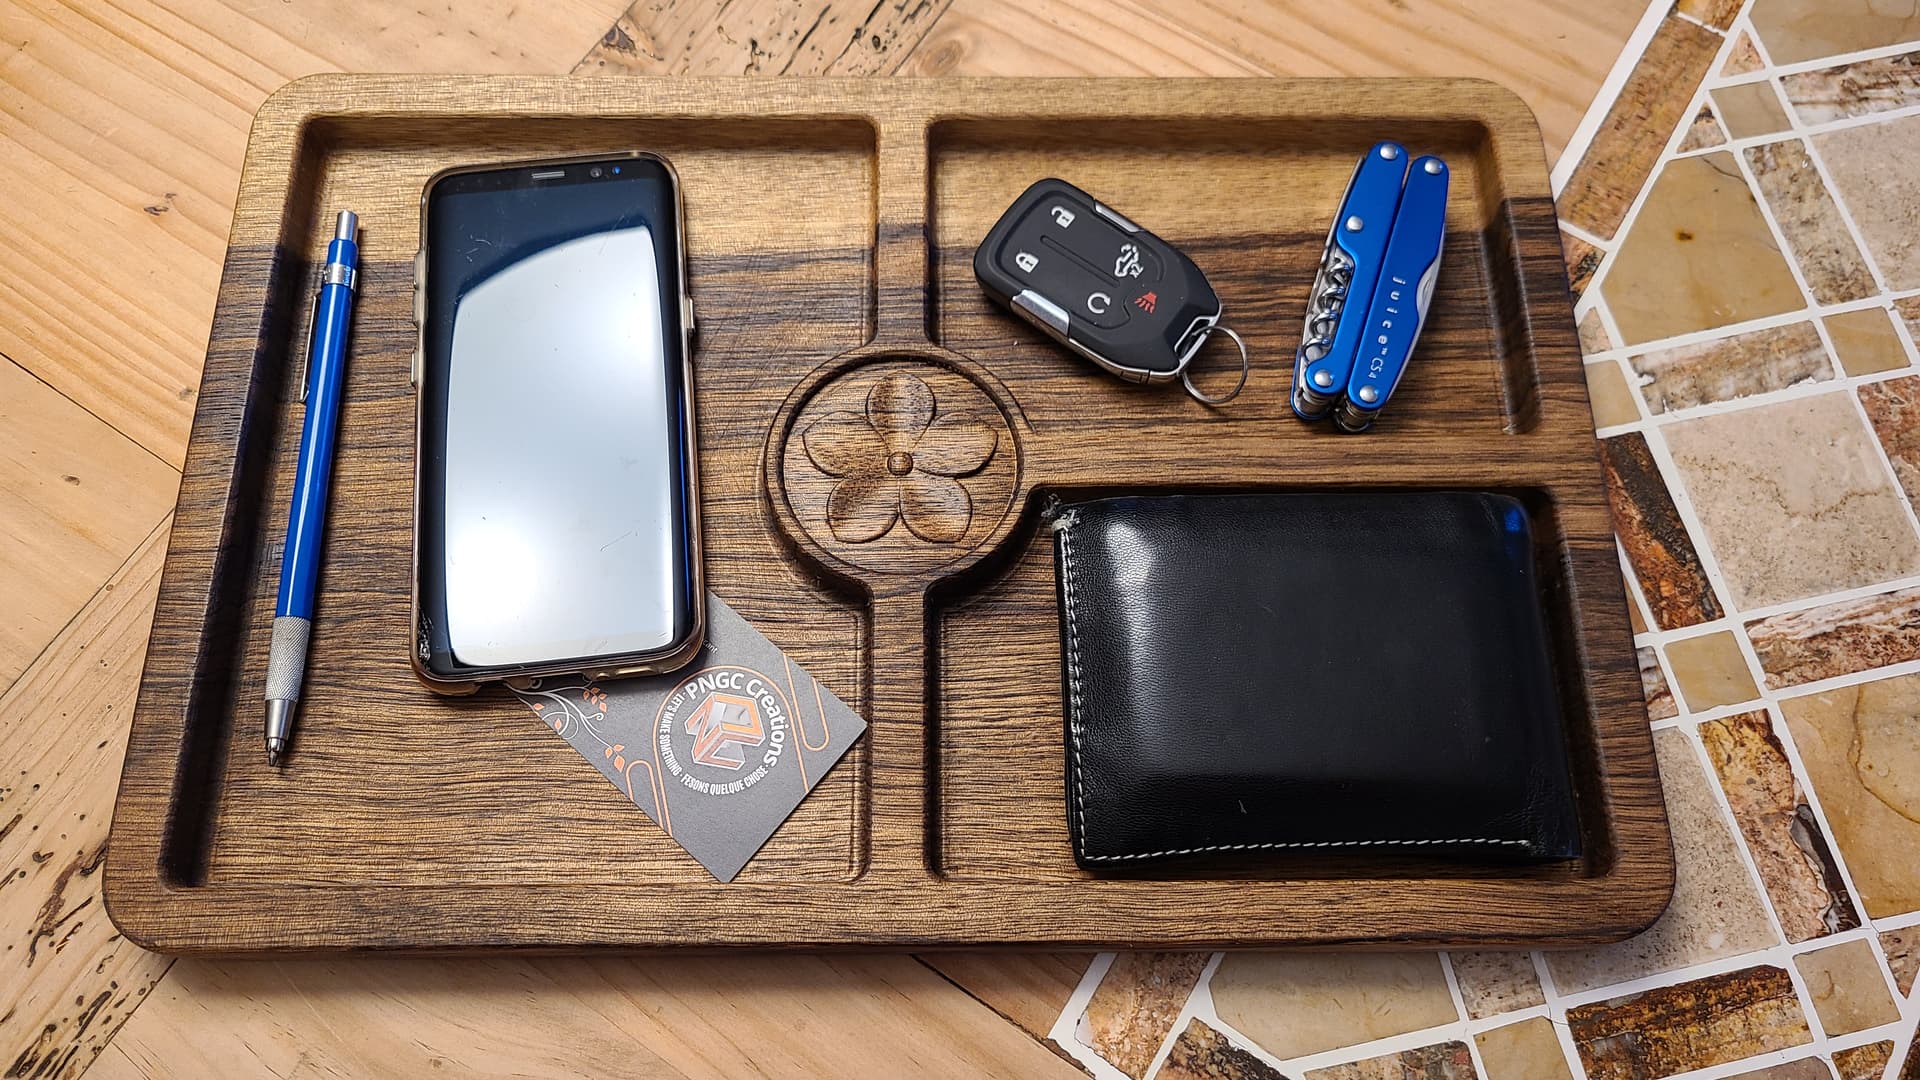
Catch all tray, was thinking it could also be a serving tray but the Black Limba is actually very porous so I may make more in walnut, maple, … Could also swap out the flower in the center for monogram, logo, …
26 Likes
Nice tray! but i want the juice! juice is my favorite Leatherman and they stopped making/repairing them!
3 Likes
I’ve had mine 18 years now I think. Better take care of it if they are no longer making them and yes I love it.
1 Like
Nice looking! Unfortunately I always end up with much more in my pockets at the end of the day, a tape, change, nuts and bolts, etc. so have gone to more of a basket.
1 Like
@AlphaHD, the days I work in the workshop I 100% agree and I’ll confess I have a plastic container as well where I dump such things into and bring it to the workshop and reorganize/sort out on occasion.
All those that are married can relate to this story. I was a field engineer for years. Every night I would dump my pockets out into a catch all tray. There were always some screws and misc hardware. I would leave them in the catchall tray and eventually move them to my tool kit for spare screws. Well I came home one Saturday and my catchall tray was empty. The wife was “cleaning” and threw them away. Now these parts were not strewn all over the dresser but were all in my catchall tray.
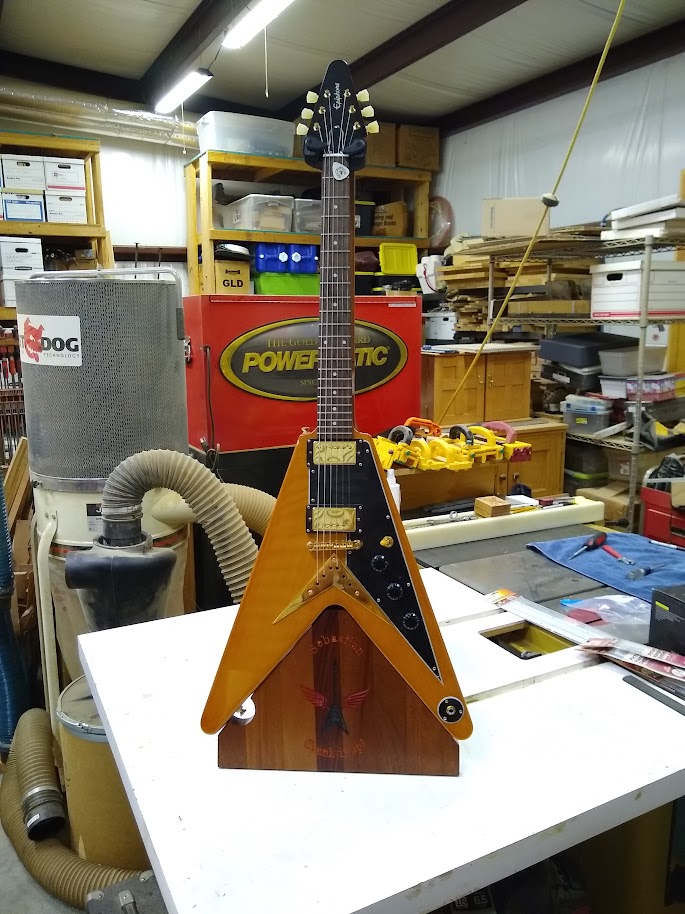
Nice catchall tray. I recently made a Flying V guitar stand. The original Flying V guitars were made from Limba. I could not find any to make the stand from so I used mahagoney. The original guitars made by Gibson were made from Limba for its tonal quality.
These are some catchall trays I have been making for a craft show coming up. It is just scraps left over from other projects. I have cherry, walnut and sweet gum.

I have a bunch more to make with other vcarving in the bottom. I just used Watco Natural Oil for the finish.
12 Likes
Hey, Snazzy! I like them. Excellent work.


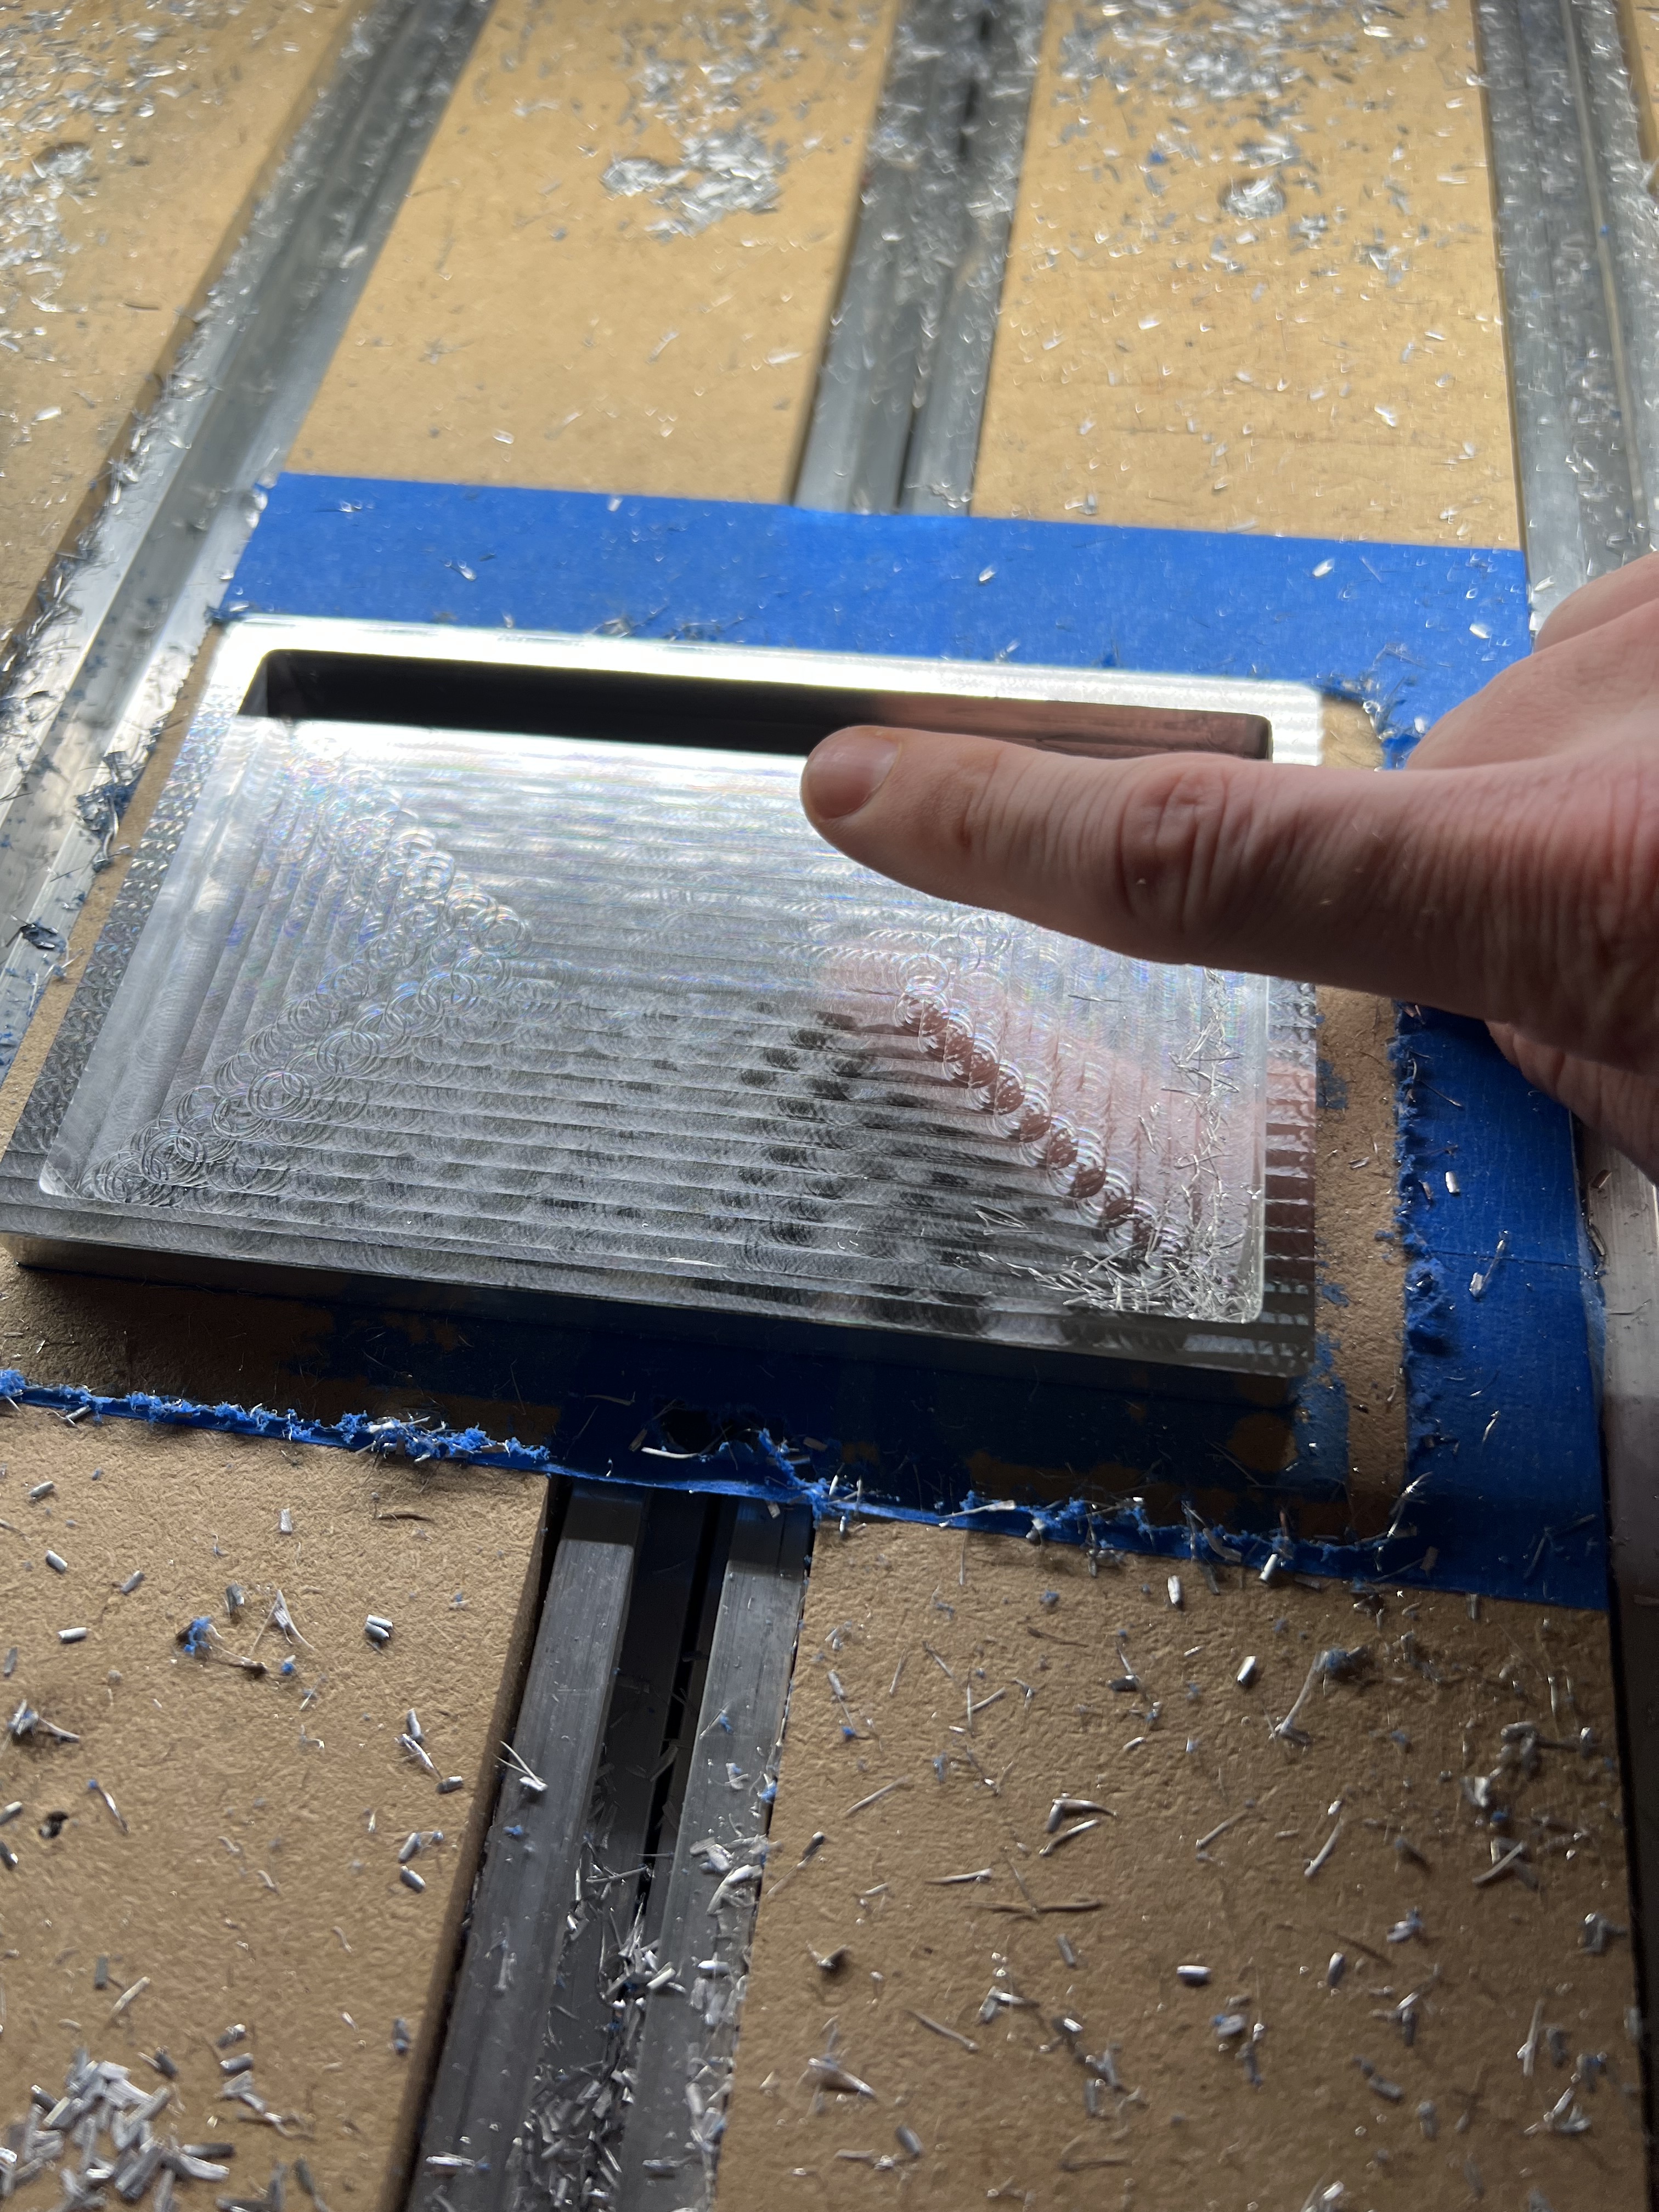
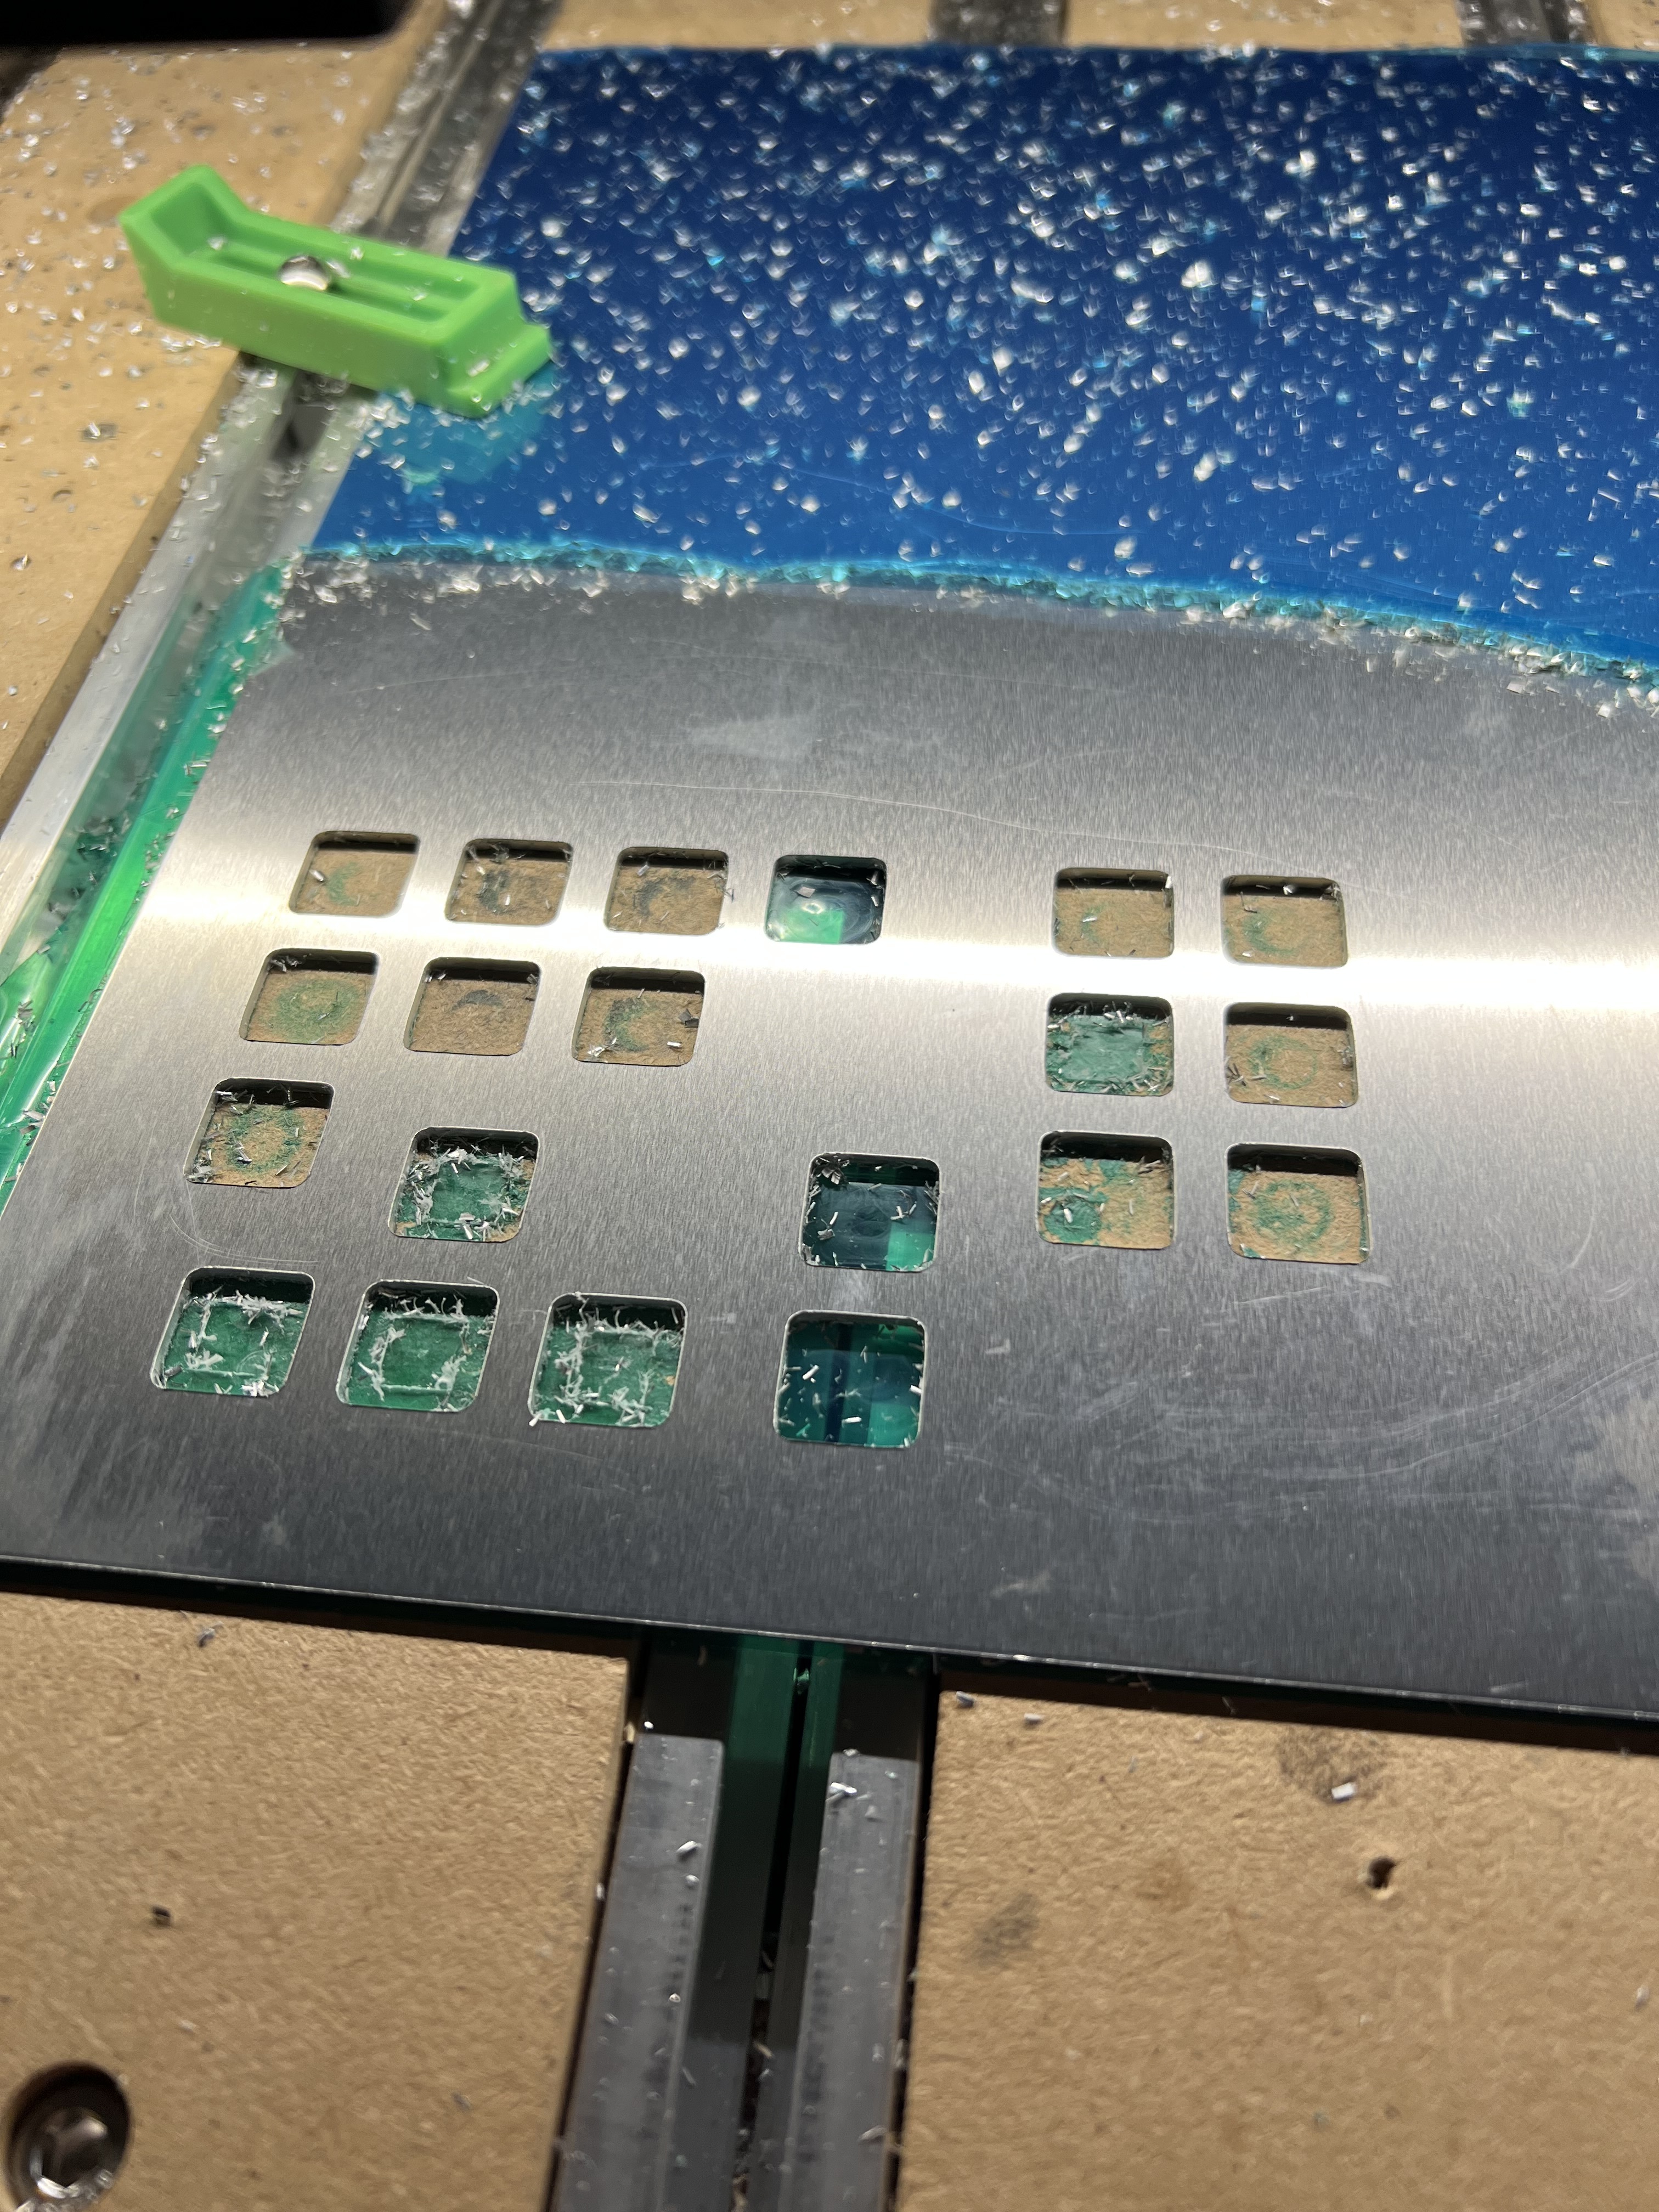
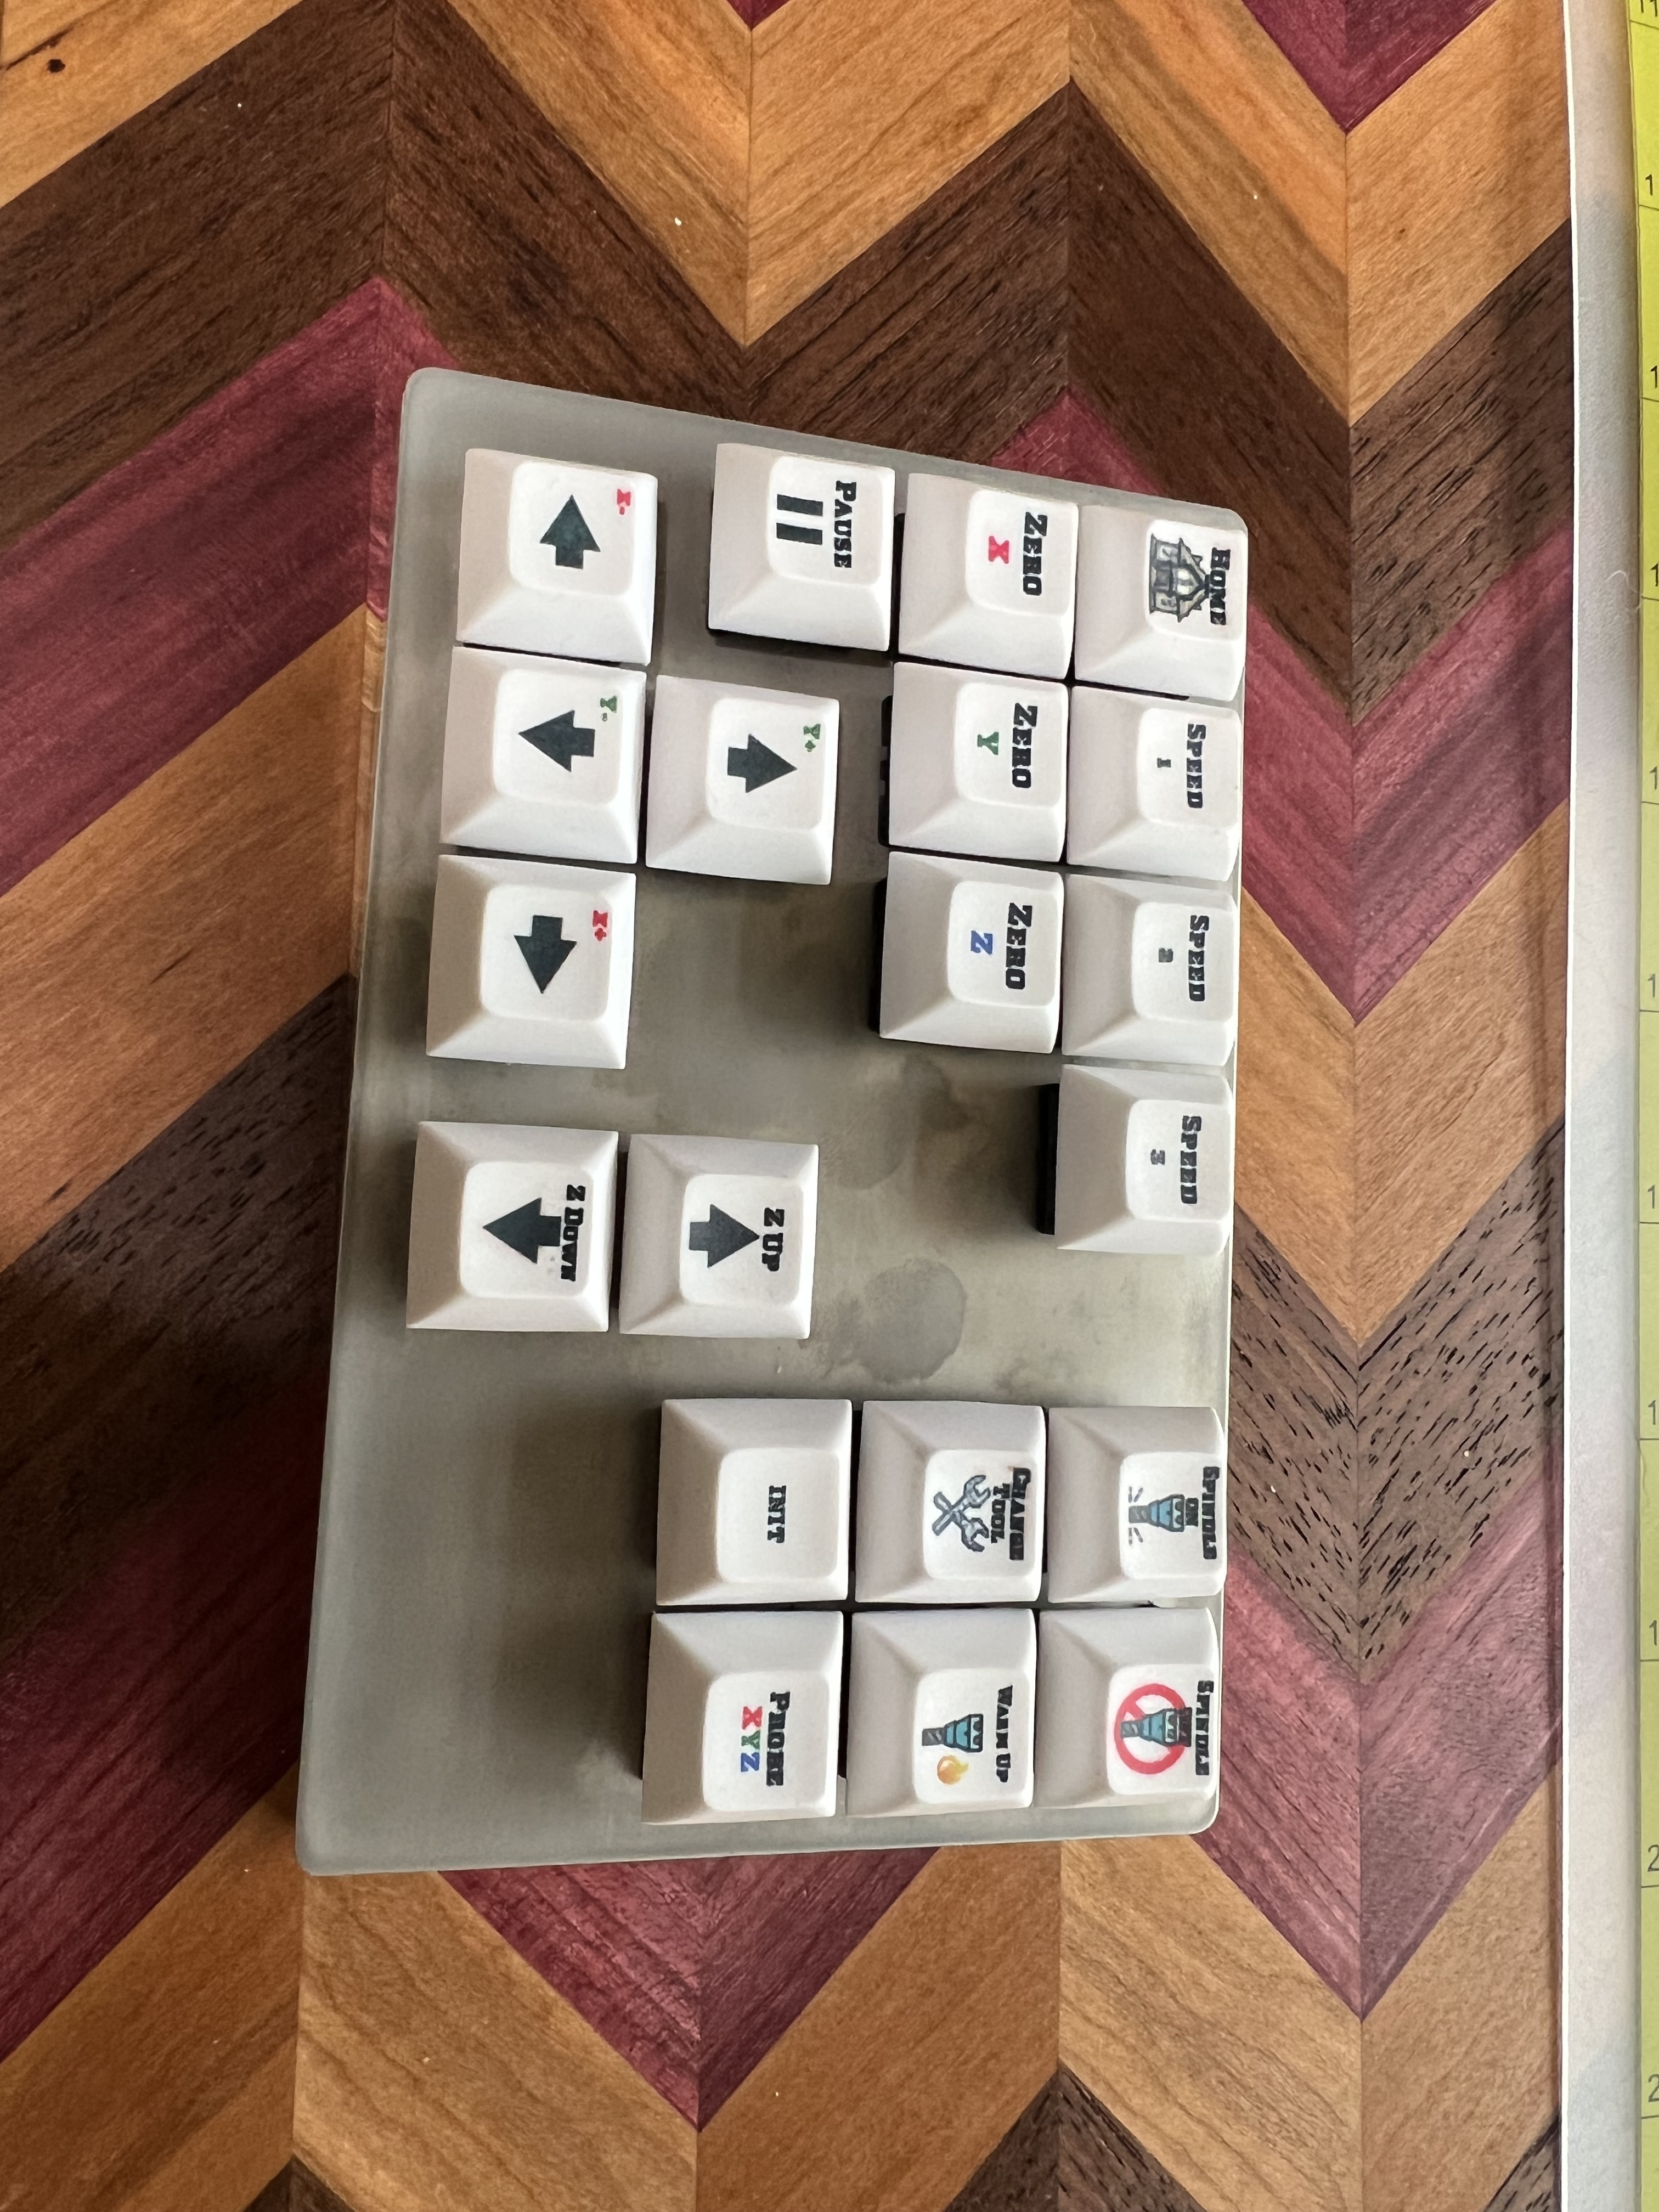
That is awesome! Any chance of doing a write up on the electronics side of it?
Sure, I can put together a write up on the electronic/software side as well as the dye sublimation for the keycaps if people think that would be useful. Are you just looking for the gerber files/schematics and source code or more in depth?
3 Likes
Wow!
What a talent you have. Im impressed in so many ways.
1 Like
Doesn’t pop up a “Are you really really sure” message when you hit the zero buttons ![]()
I am sure I would accidentally hit those at the wrong time.
Although it does not currently pop up a confirm message, it would not be to hard to implement that feature.
Any and all info you are willing to share and write up. I am just in awe with how professional that looks.
2 Likes
This forum has a lot of mad scientists working in their garages. Nice work. Looking forward to your write up.
3 Likes
Wrote some stuff up that can be found here
1 Like
Very nice tray, what are the dimensions and can you share the file? Thank you.