Maybe this will work?
1 Like
Looks perfect. Thanks.
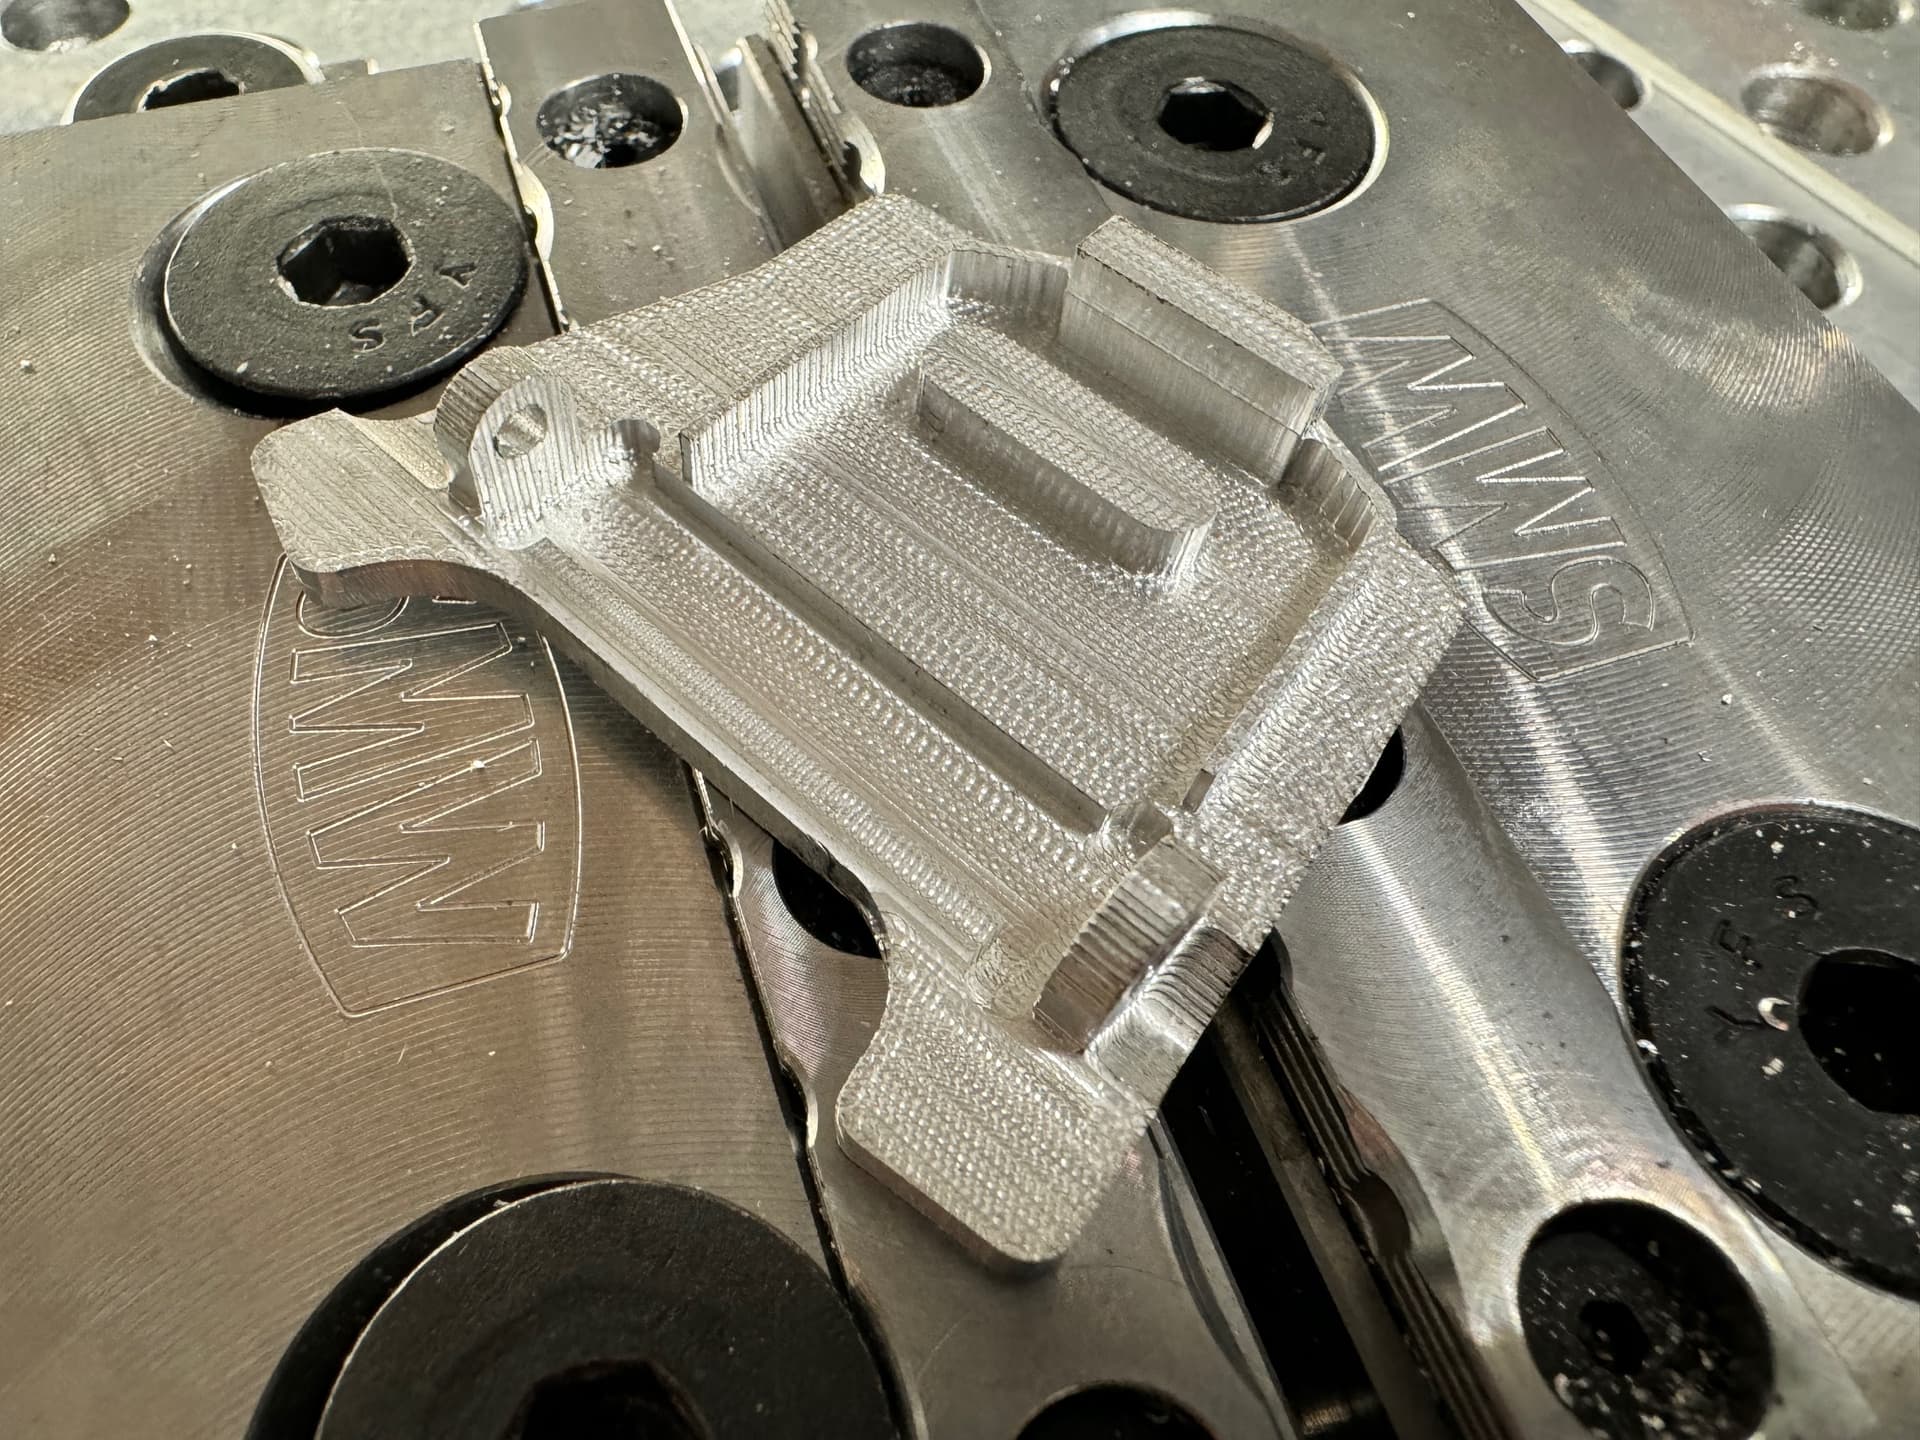
not necessarily something I “cut” on the nomad, but something I cut for the nomad with a dremel to finish it off. lol.
an airblast & dial indicator bracket.

thread with a link to the part so you can make your own in the Nomad category.
4 Likes

I know exactly where I would fish for bluegills with that pole! +1 ![]()
2 Likes
I can see it now… The all new Shakespeare Duckly Stik. ![]()
1 Like
At first i thought that was a dock cleat.
Very neat project!
1 Like
13 Likes
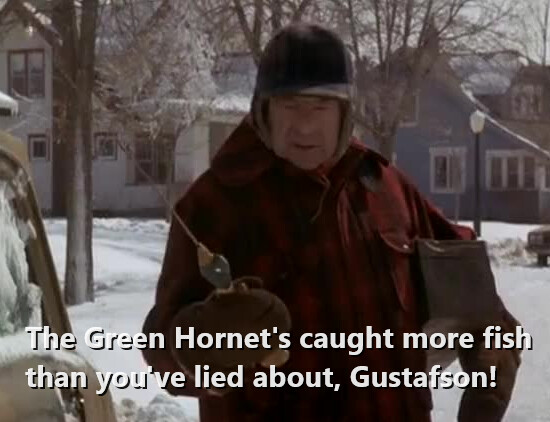
The Official Movie of CNC Operators everywhere. ![]()
2 Likes


12 Likes
You are Quacky! ![]()
![]()
![]()
![]() All your ducks in a row.
All your ducks in a row.
1 Like
Not made today but delivered today. Here are two little plaques I made for a competition at work. We had two categories (Sweets & Meats) for who brought in the best tasting weird food. Like someone brought in “green chili ice cream tacos” and another brought in a hand looking dish of meat and cheese.


11 Likes

ran my first operation after getting my airblast system functional, engraved the initials & my logo on to these christmas presents I made for my secret santas. A fun simple little keychain fob thing out of brass. Used a .020 engraving bit from lakeshore carbide after watching the SMW video about engraving with them.
my improvised work stop, which worked surprisingly well, because I got tired of re-zeroing my XY position after like the second one. I have the kowalski cnc work stop on my christmas list lol.

some nice close up shots of them, and of course, had to set them on the table I made.
my sister, Maddi, my wife Danica (i made her one…because wife.) and Logan, the sister-in-law
the wife got a different font because the D in the font used for the other initials was terrible

love how my logo looks

there is some error from the flip, because I didnt have enough stock to just do one profile pass across the entire fob, so I had to re-zero on the second side off the keychain hole, but the error is like .1mm or less (at least on my amazon calipers) which is good enough for these silly gifts.
12 Likes
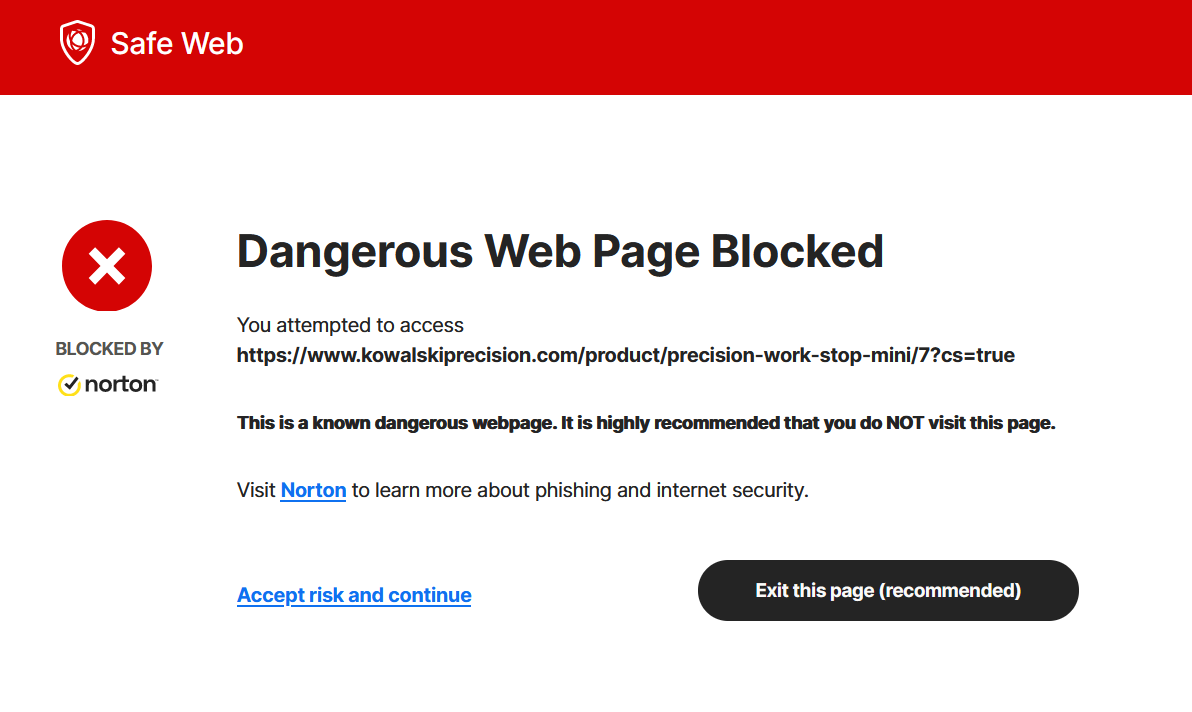
lol. idk why. I dont really hold any faith in antivirus software all that much though.
I get to join this thread for the first time! My 1st and 2nd cuts today! WOO!
3 XXL, purchase secondhand but unused. I am super excited to be cutting!

18 Likes
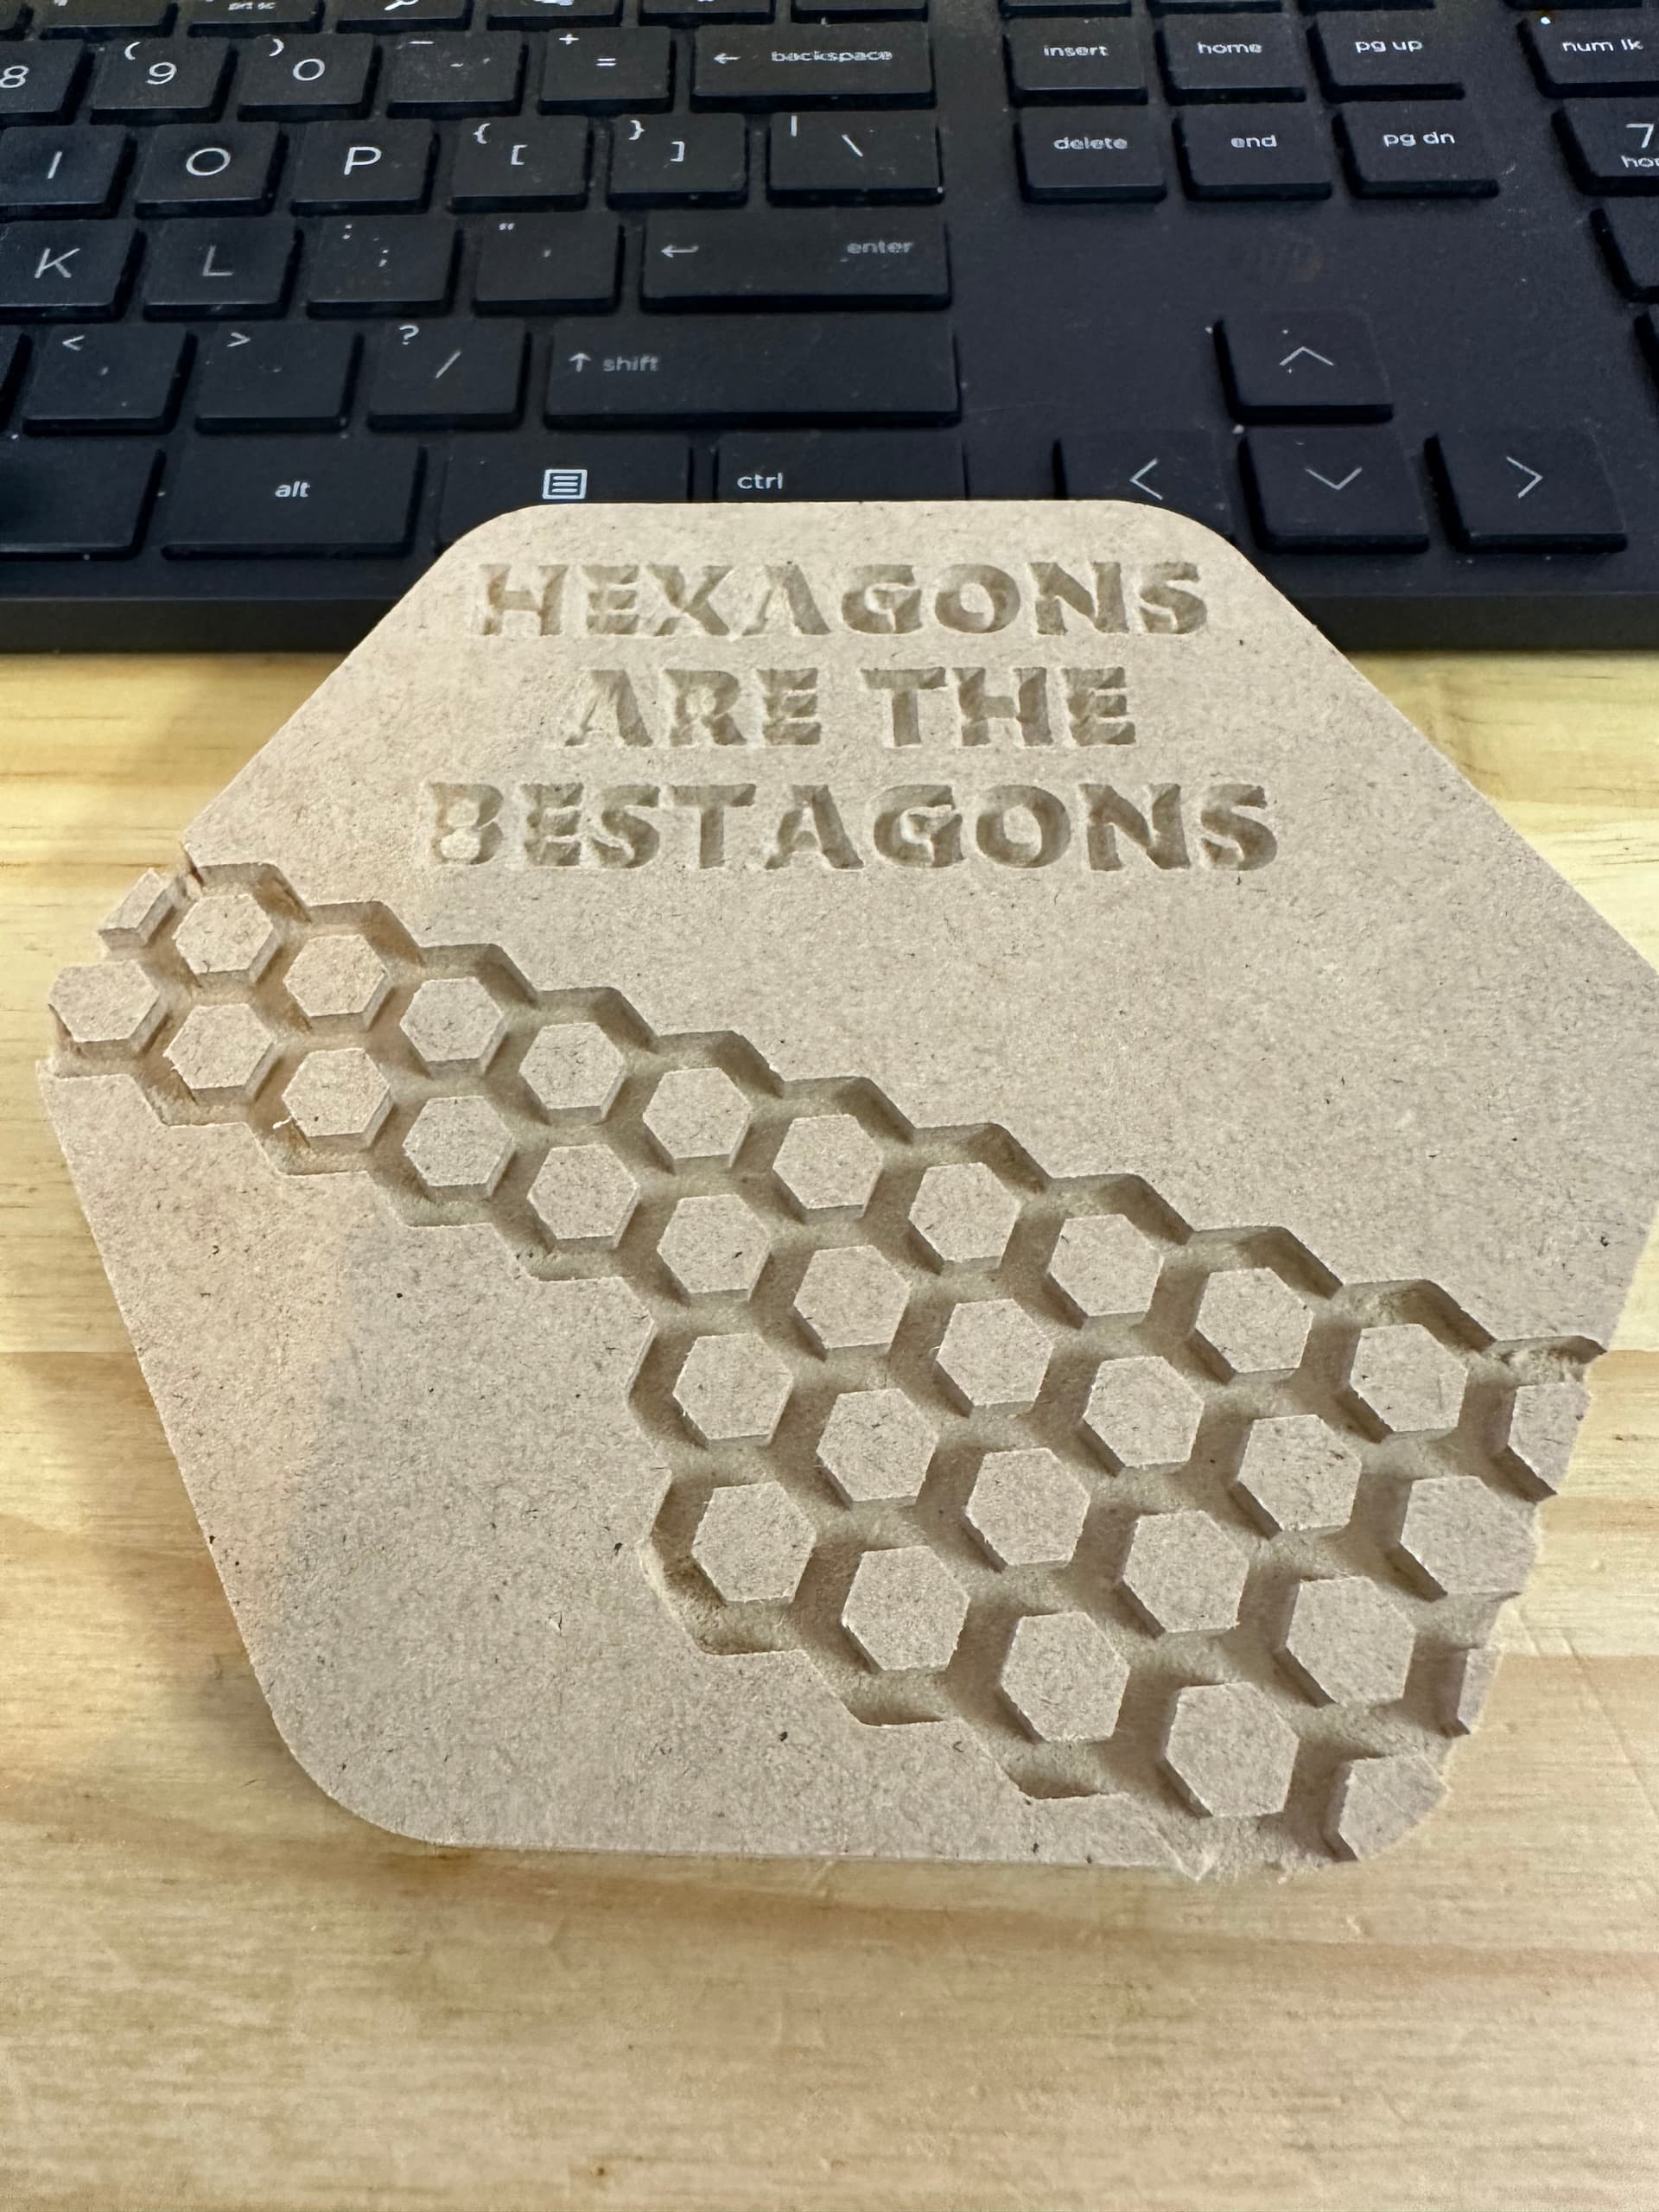
Love the CGP Grey reference.
haha, yes!
I learned pretty quickly on this one that small details don’t last in mdf. Hopefully they will stick around in cherry or walnut.