I love what you have done. What did you use for a power supply for the lights?
Thanks,
Thanks so much. It’s a 5v 10amp power supply from AliExpress:
https://www.aliexpress.us/item/2255800224457590.html
1 Like
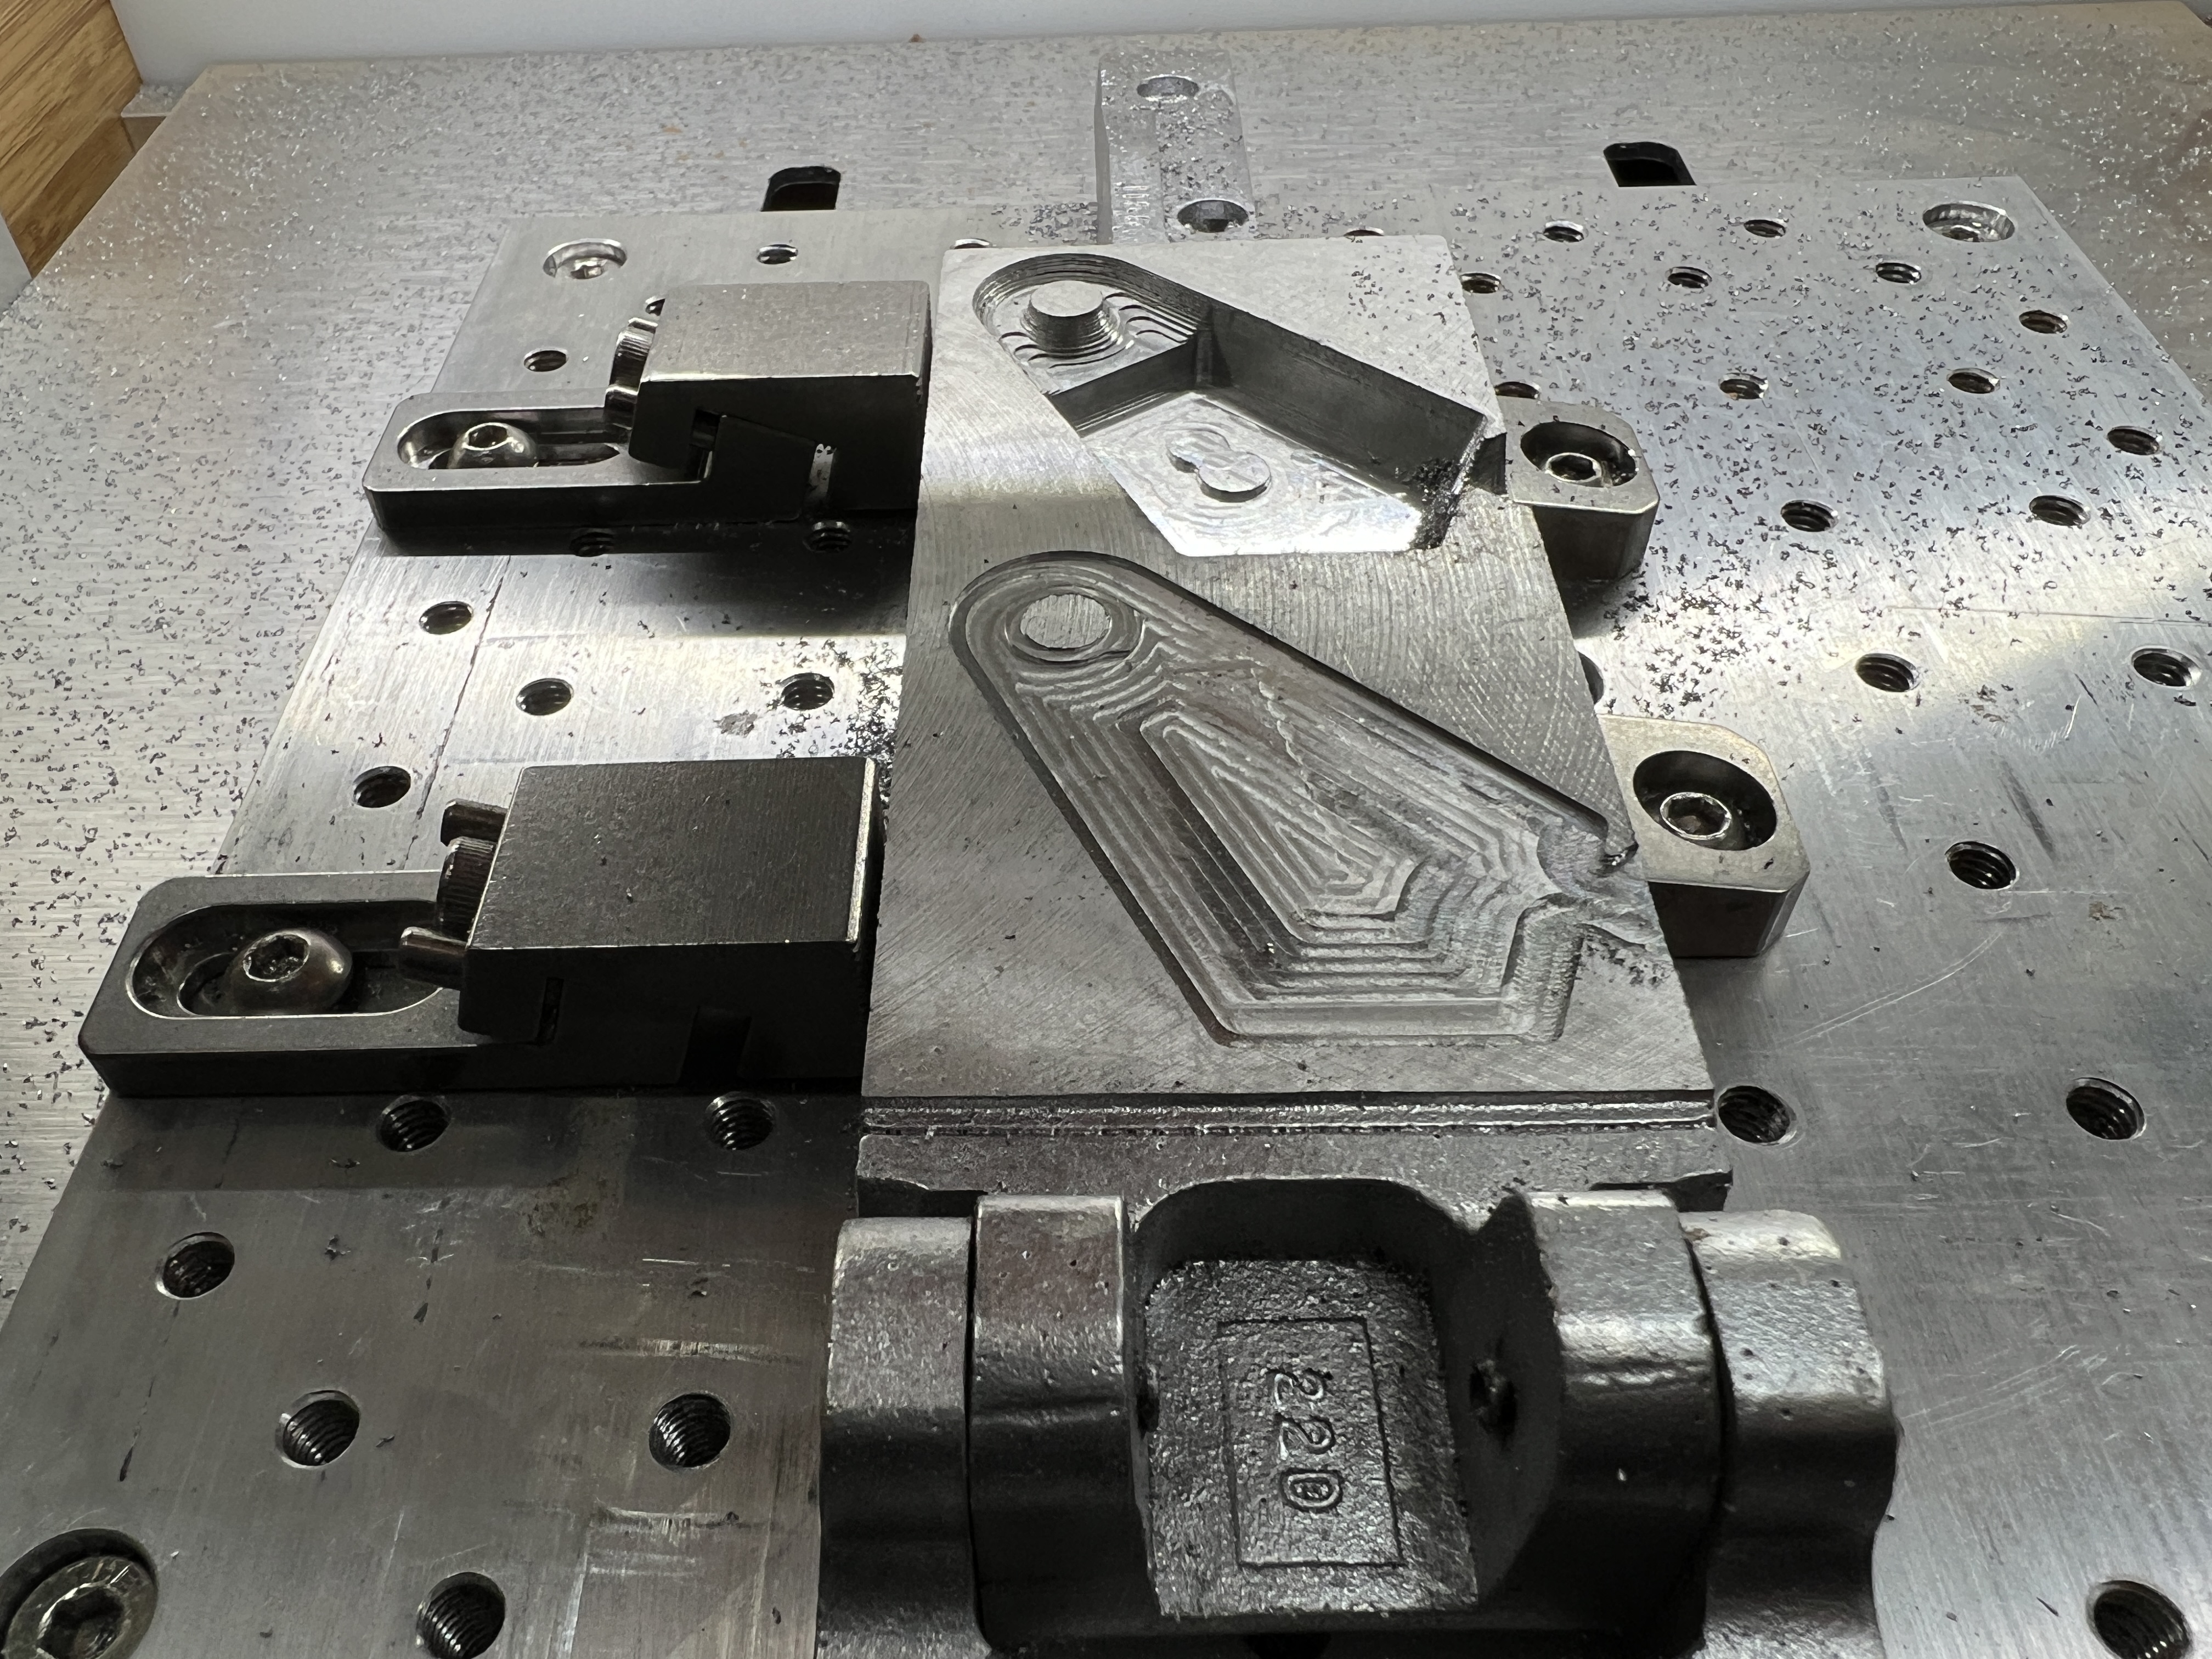
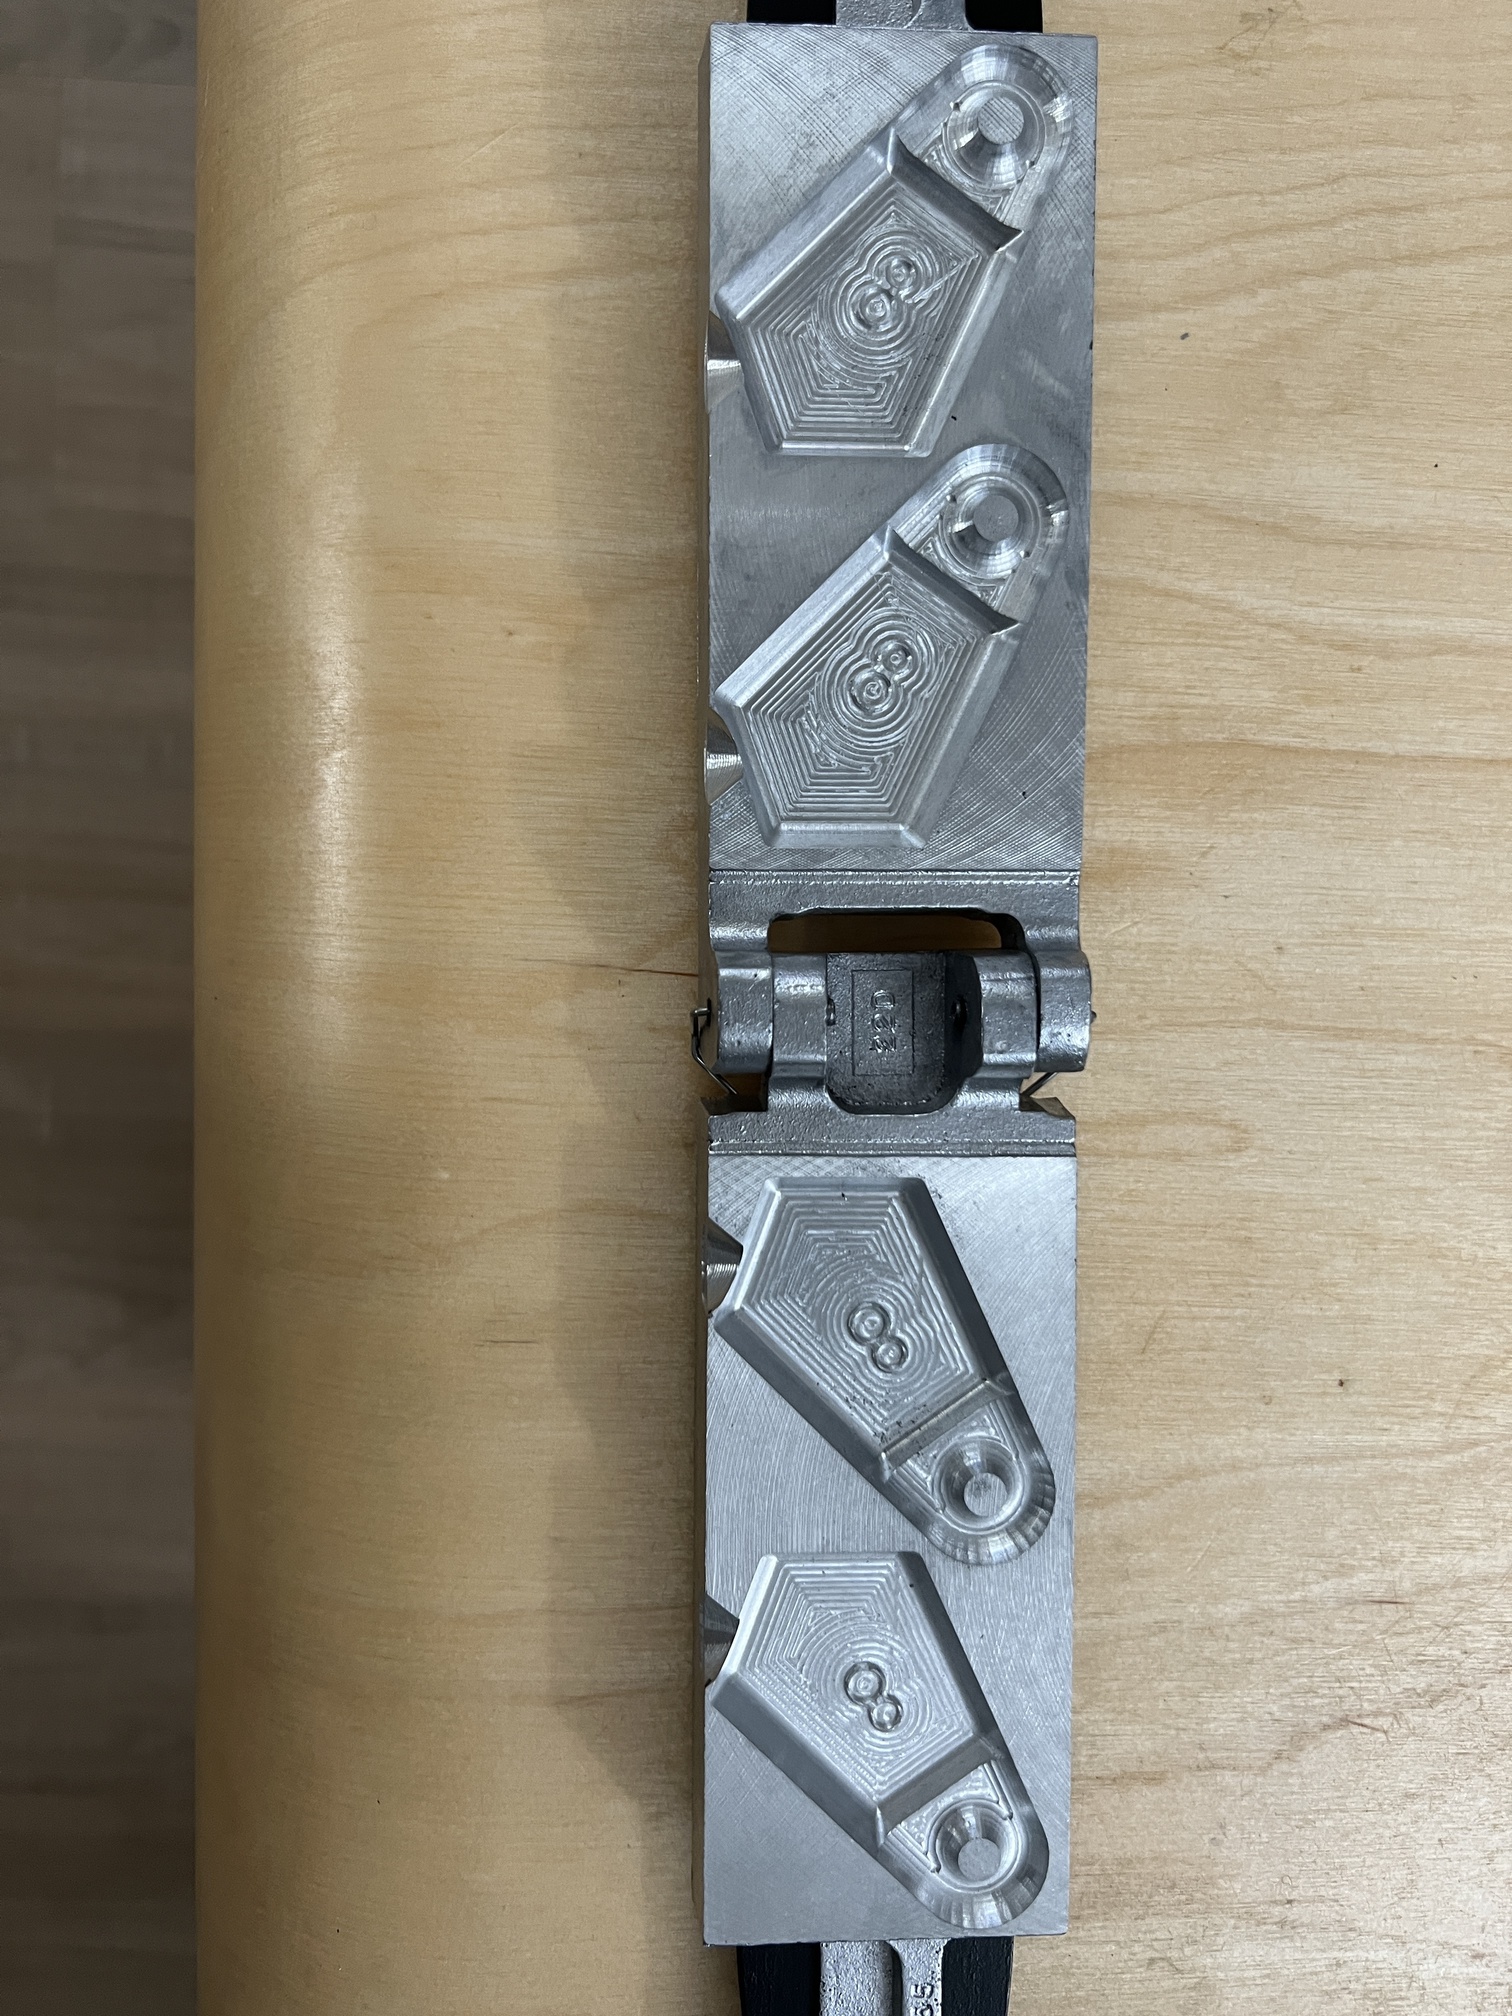
Made some lead weight molds for a fisherman coworker who dives for lost lead weights and then melts them into the particular flat bank sinker he uses when fishing. I work for fish ![]()
![]()
he wanted some custom molds. This is the first one with 2x 8 ounce flat bank sinkers. The harder ones I’ll take on next. Took maybe 3 hours to design on fusion 360 CAD and CAM. Took 2.5 hours to cut on the nomad 3. I stopped a lot to vacuum up aluminum chips. I used a blank mold they sell on the Do-it mold website so I wouldn’t have to start from scratch. $50 for the blank mold. I used some isopropyl to help keep it cool.

19 Likes
15 Likes
Guy,made the mistake of showing the grandson and guess what he wants one.Looked on google and can not get to anything near funky gear for this,could you point me in the right direction,thanks
I’m not @gdon_2003, but here’s the link. I too had a hard time finding it.
3 Likes
Thanks Steven,will try now
Sorry spelt your name wrong Steven
It was Guy’s post, so you got it right! ![]()
@Graham @Brew @gdon_2003 i have been subscribed to Steve for years, solid plans and templates and fantastic guy that gives back to the community scroll saws but we can use them on the CNC. Enjoy
1 Like
I’ve since bookmark the site. Definitely a lot of great stuff there.
1 Like
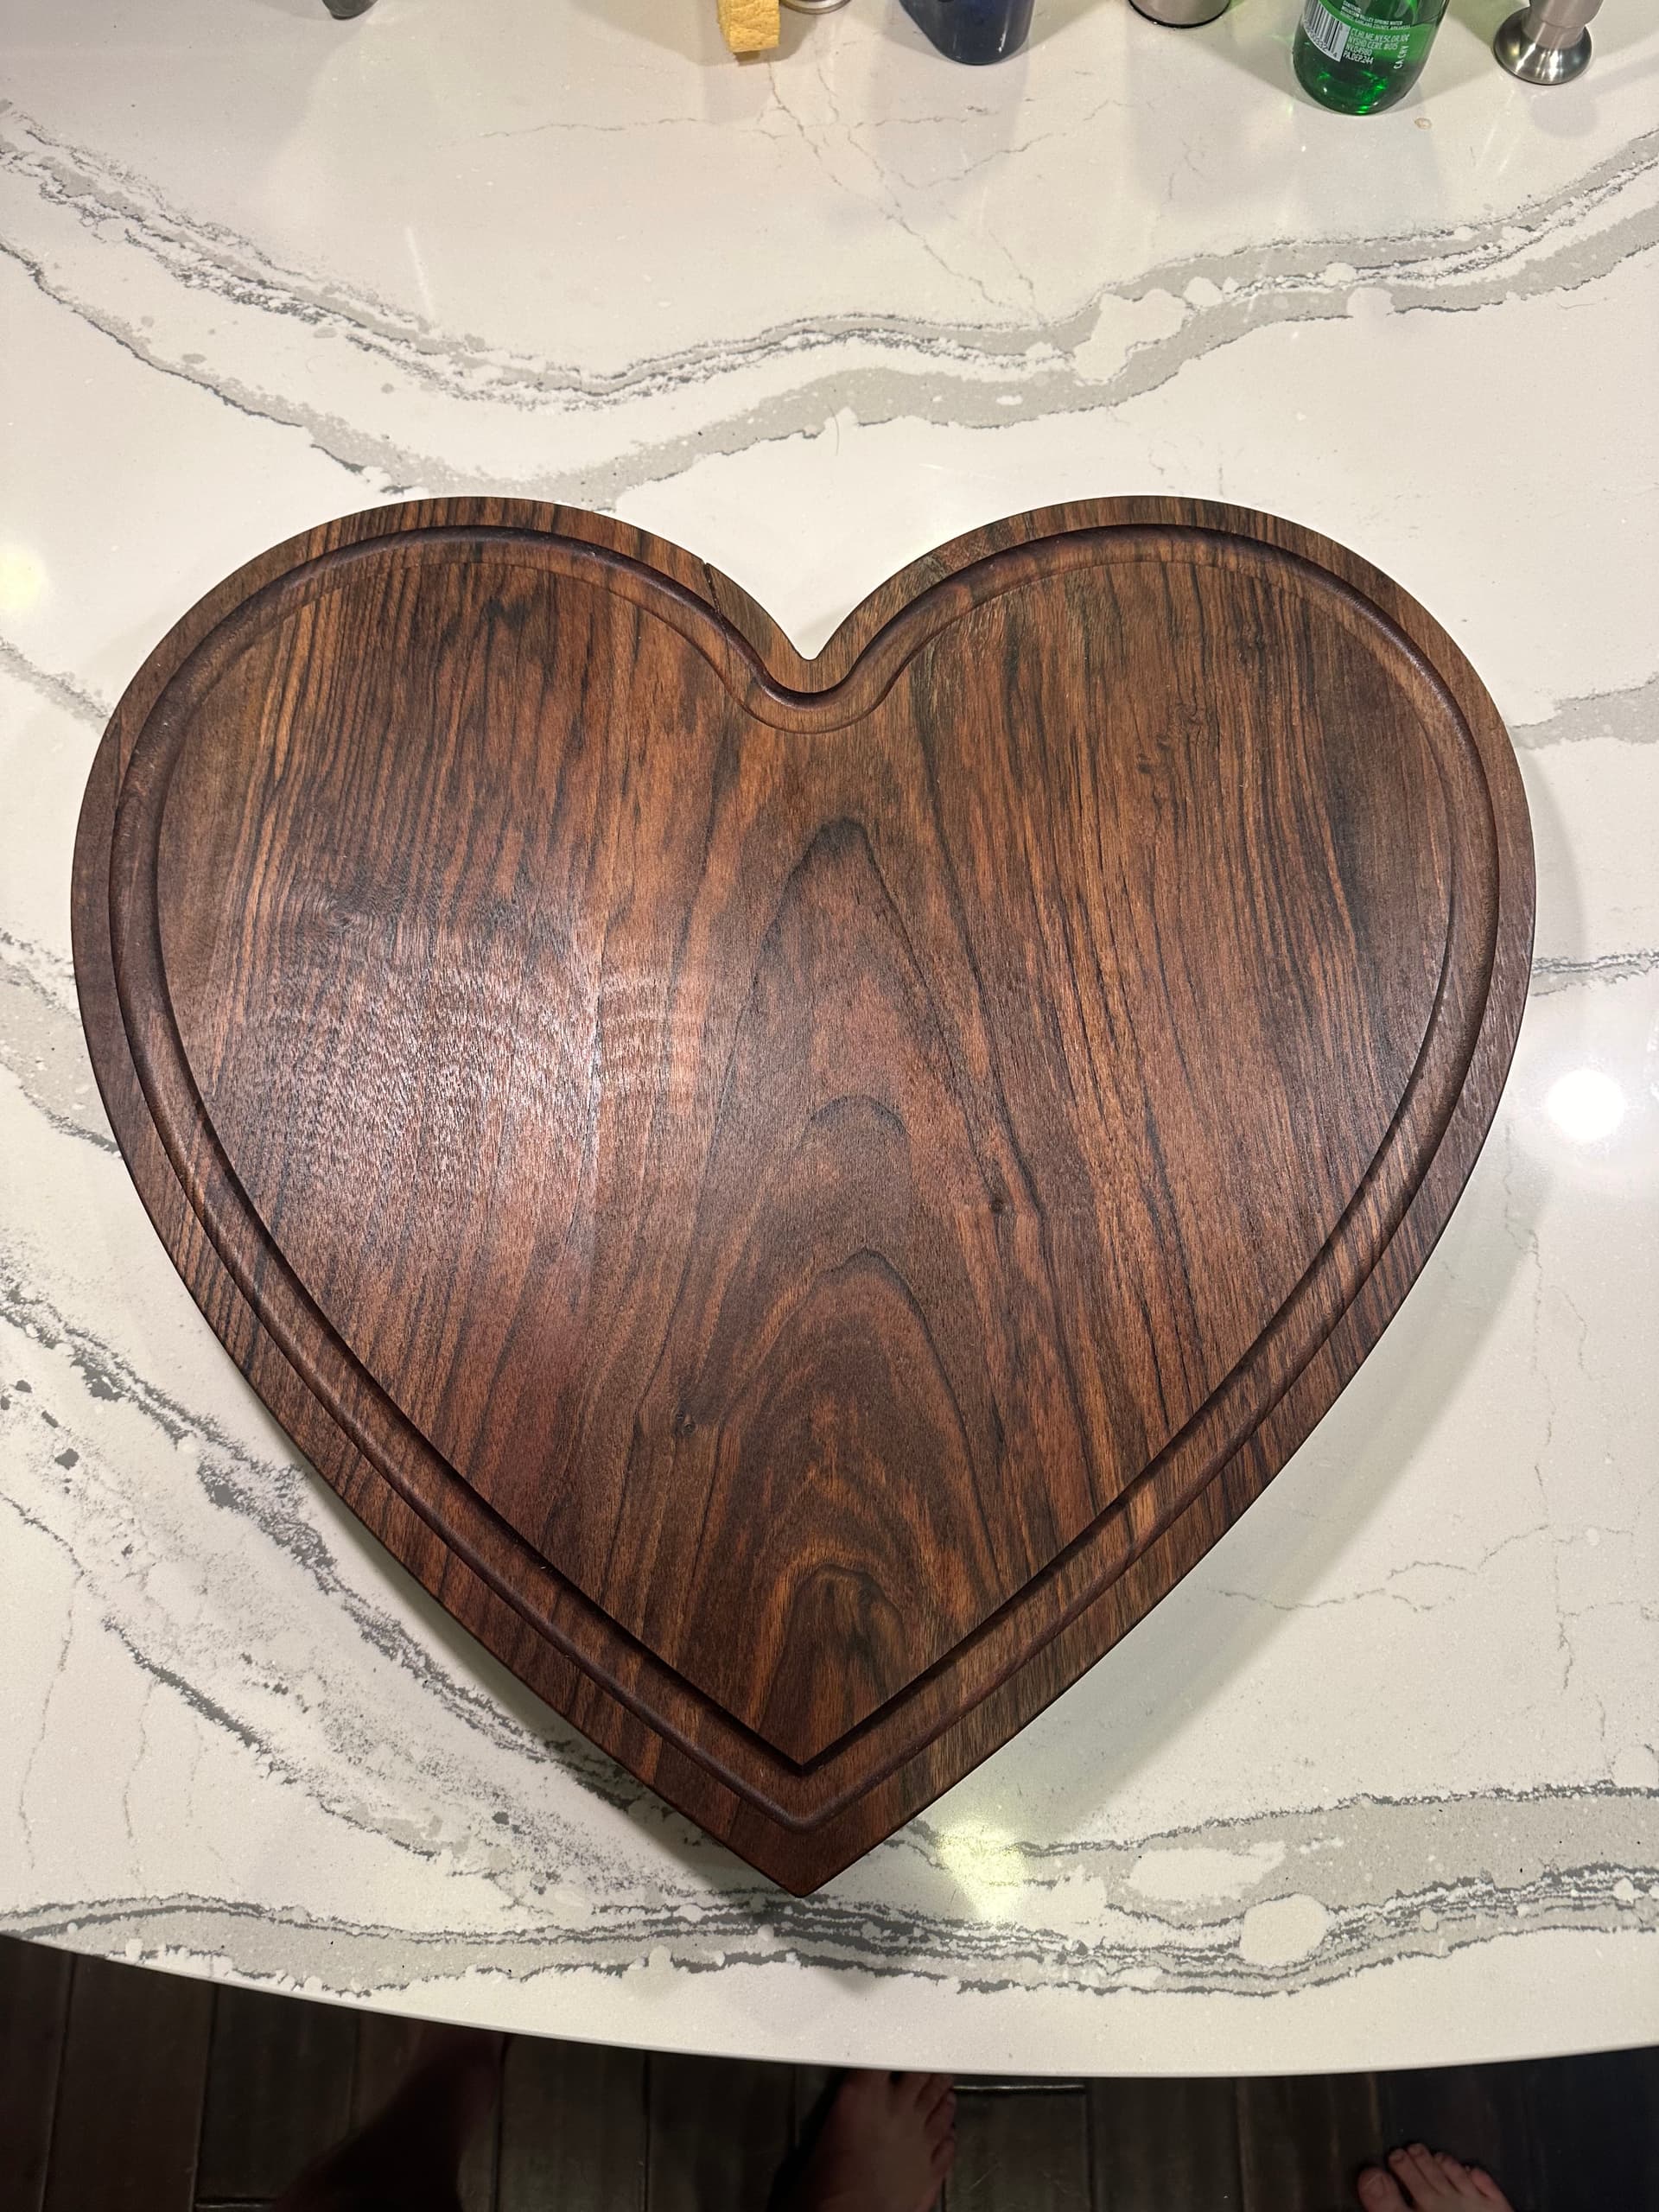
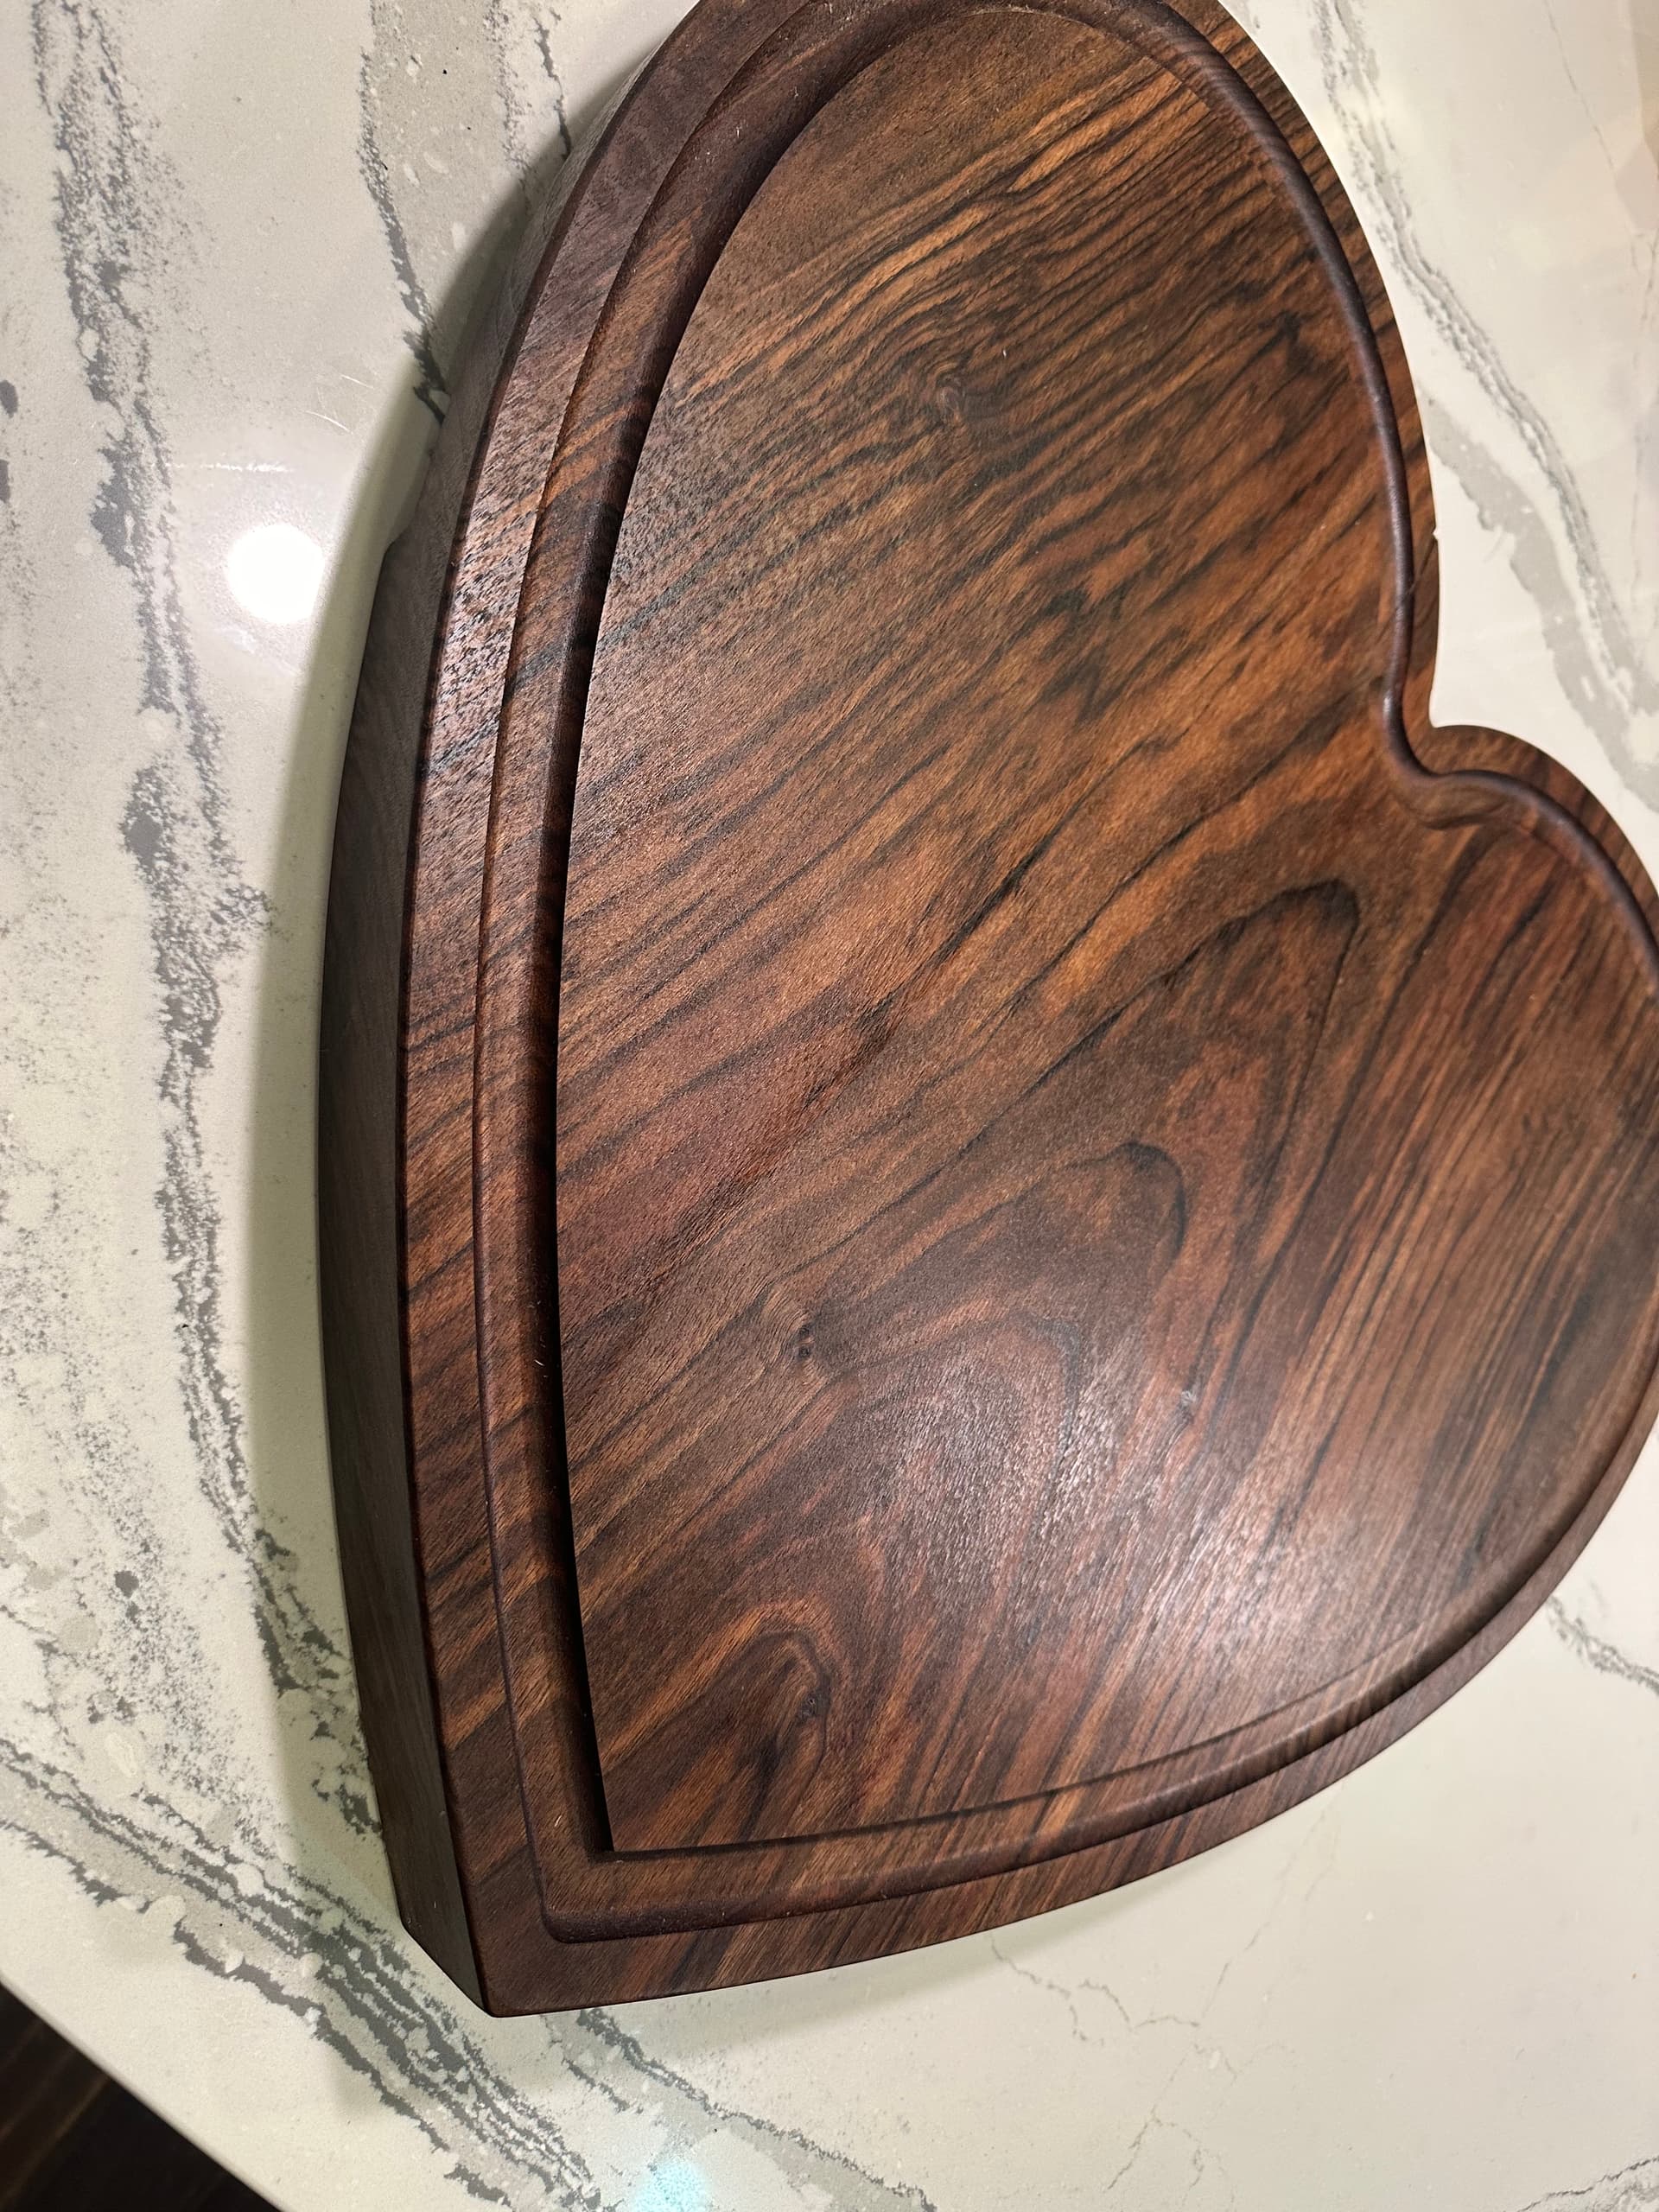
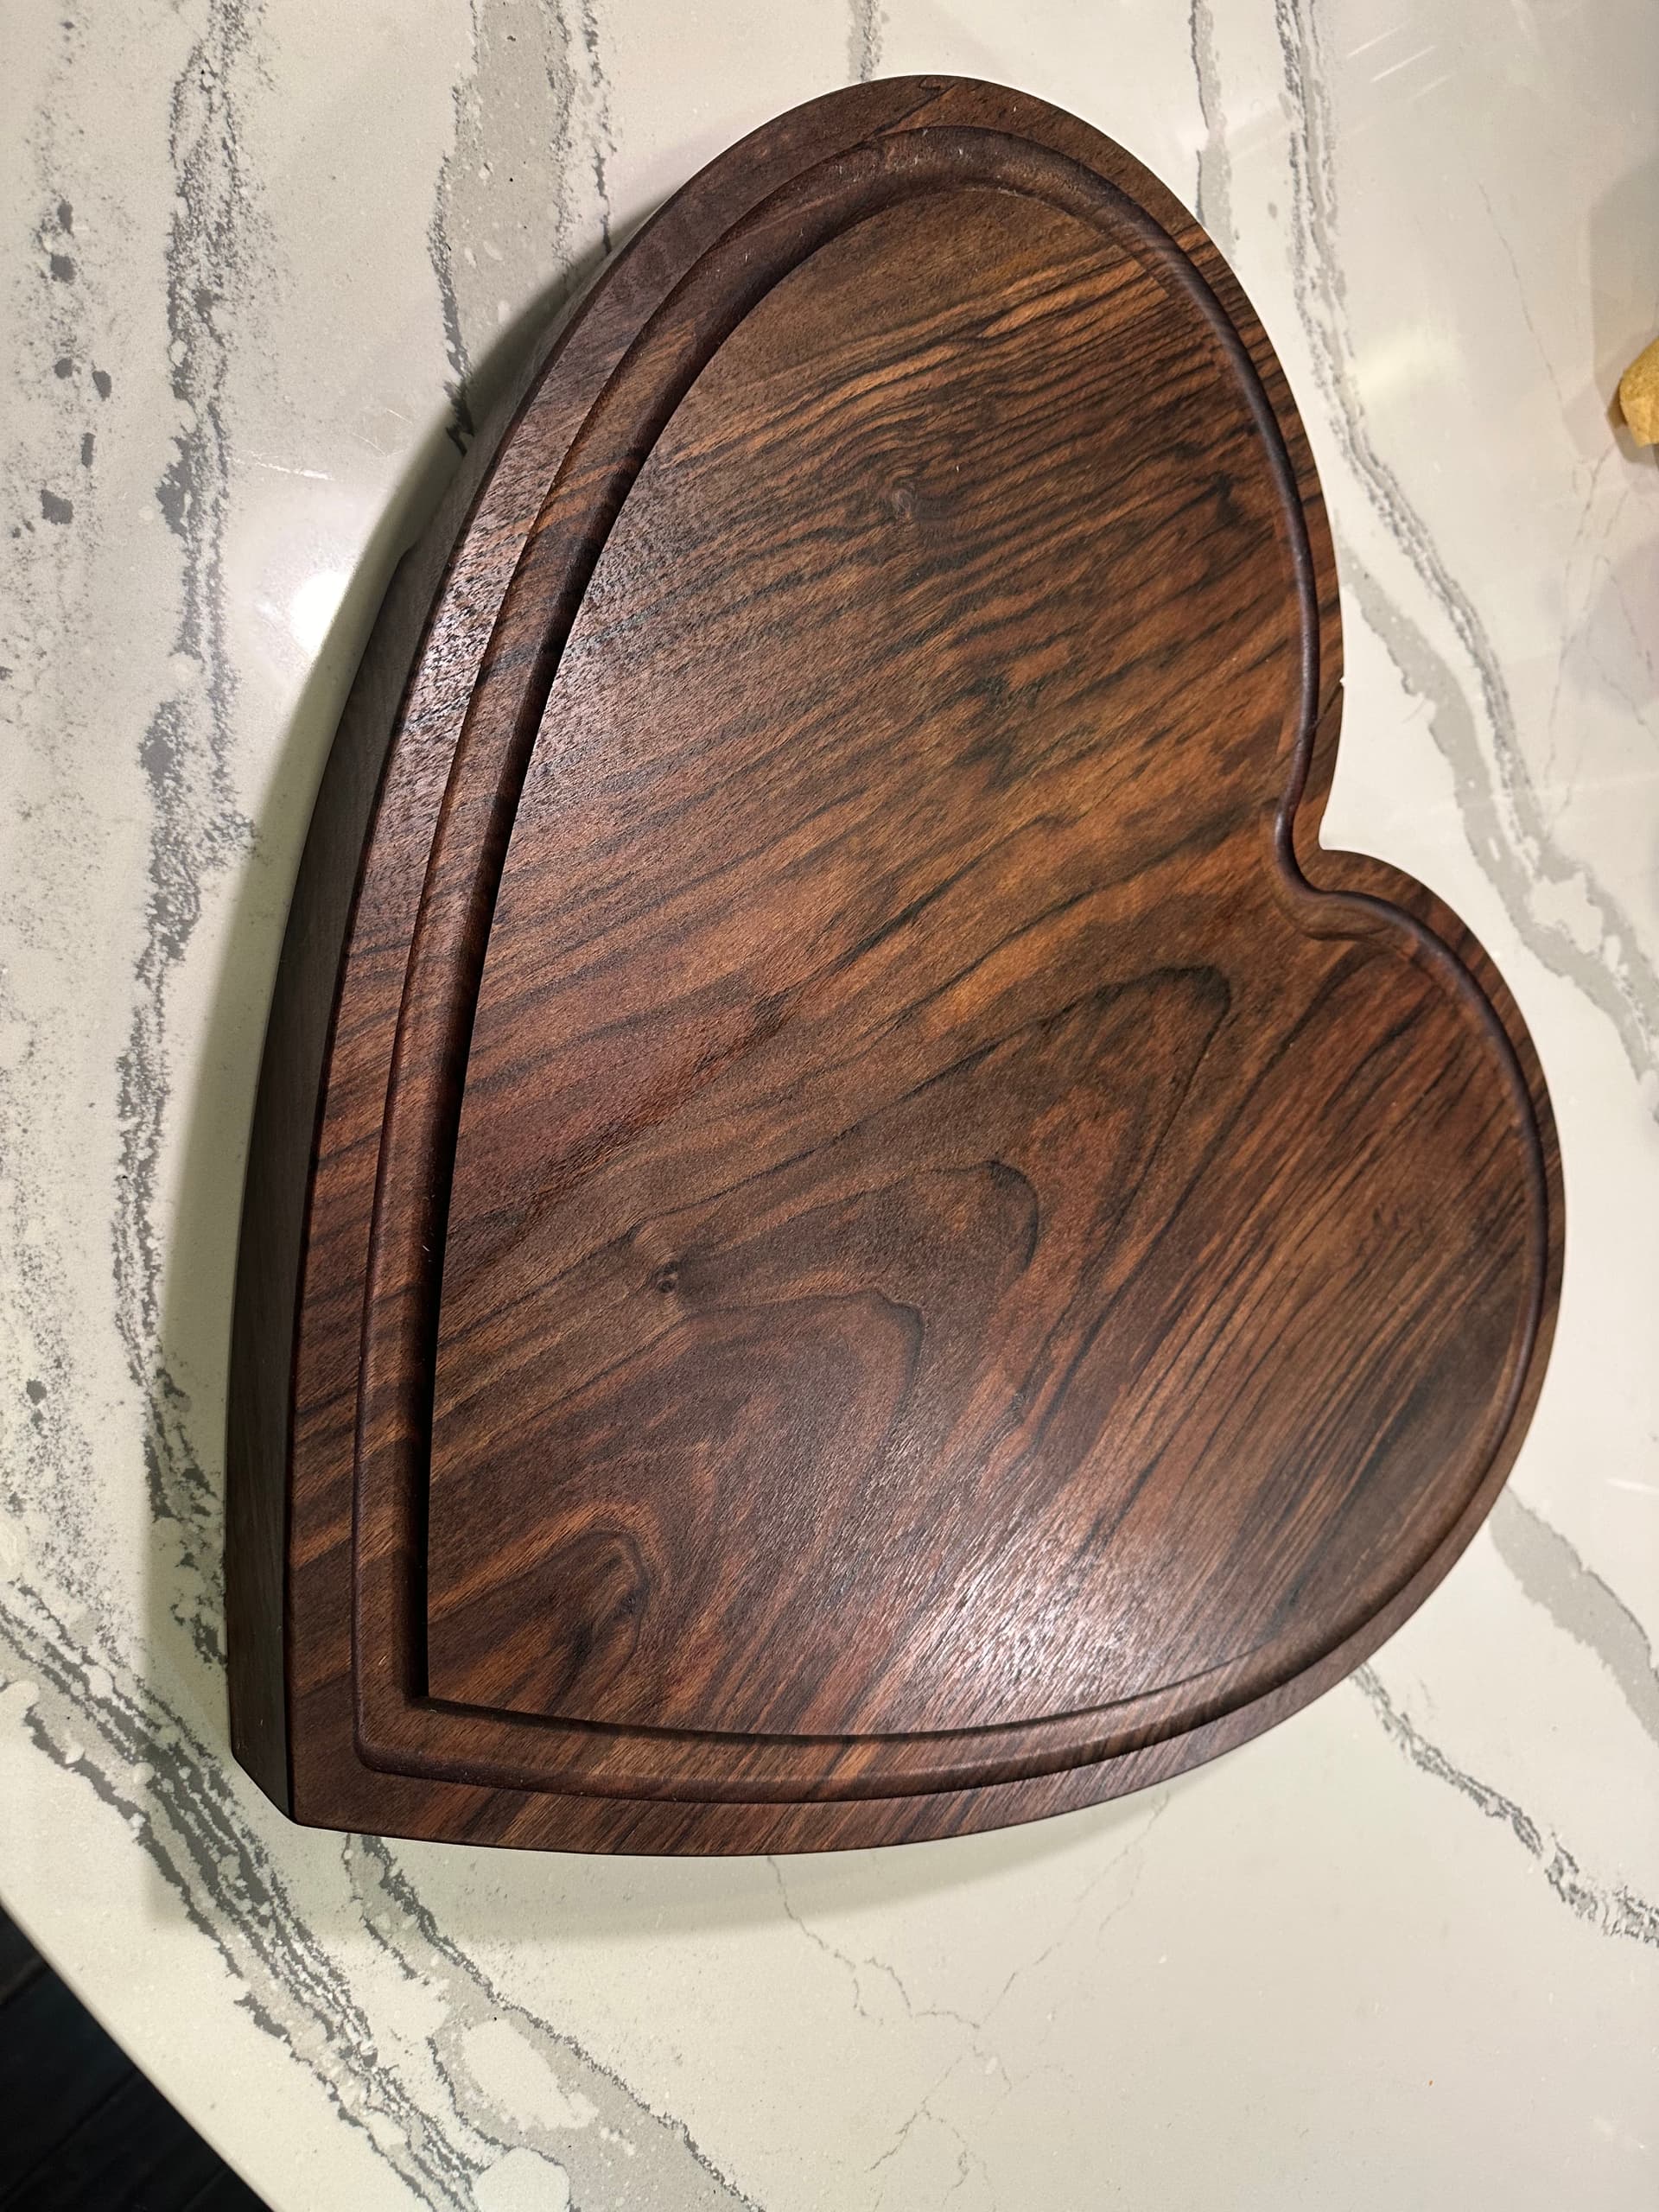
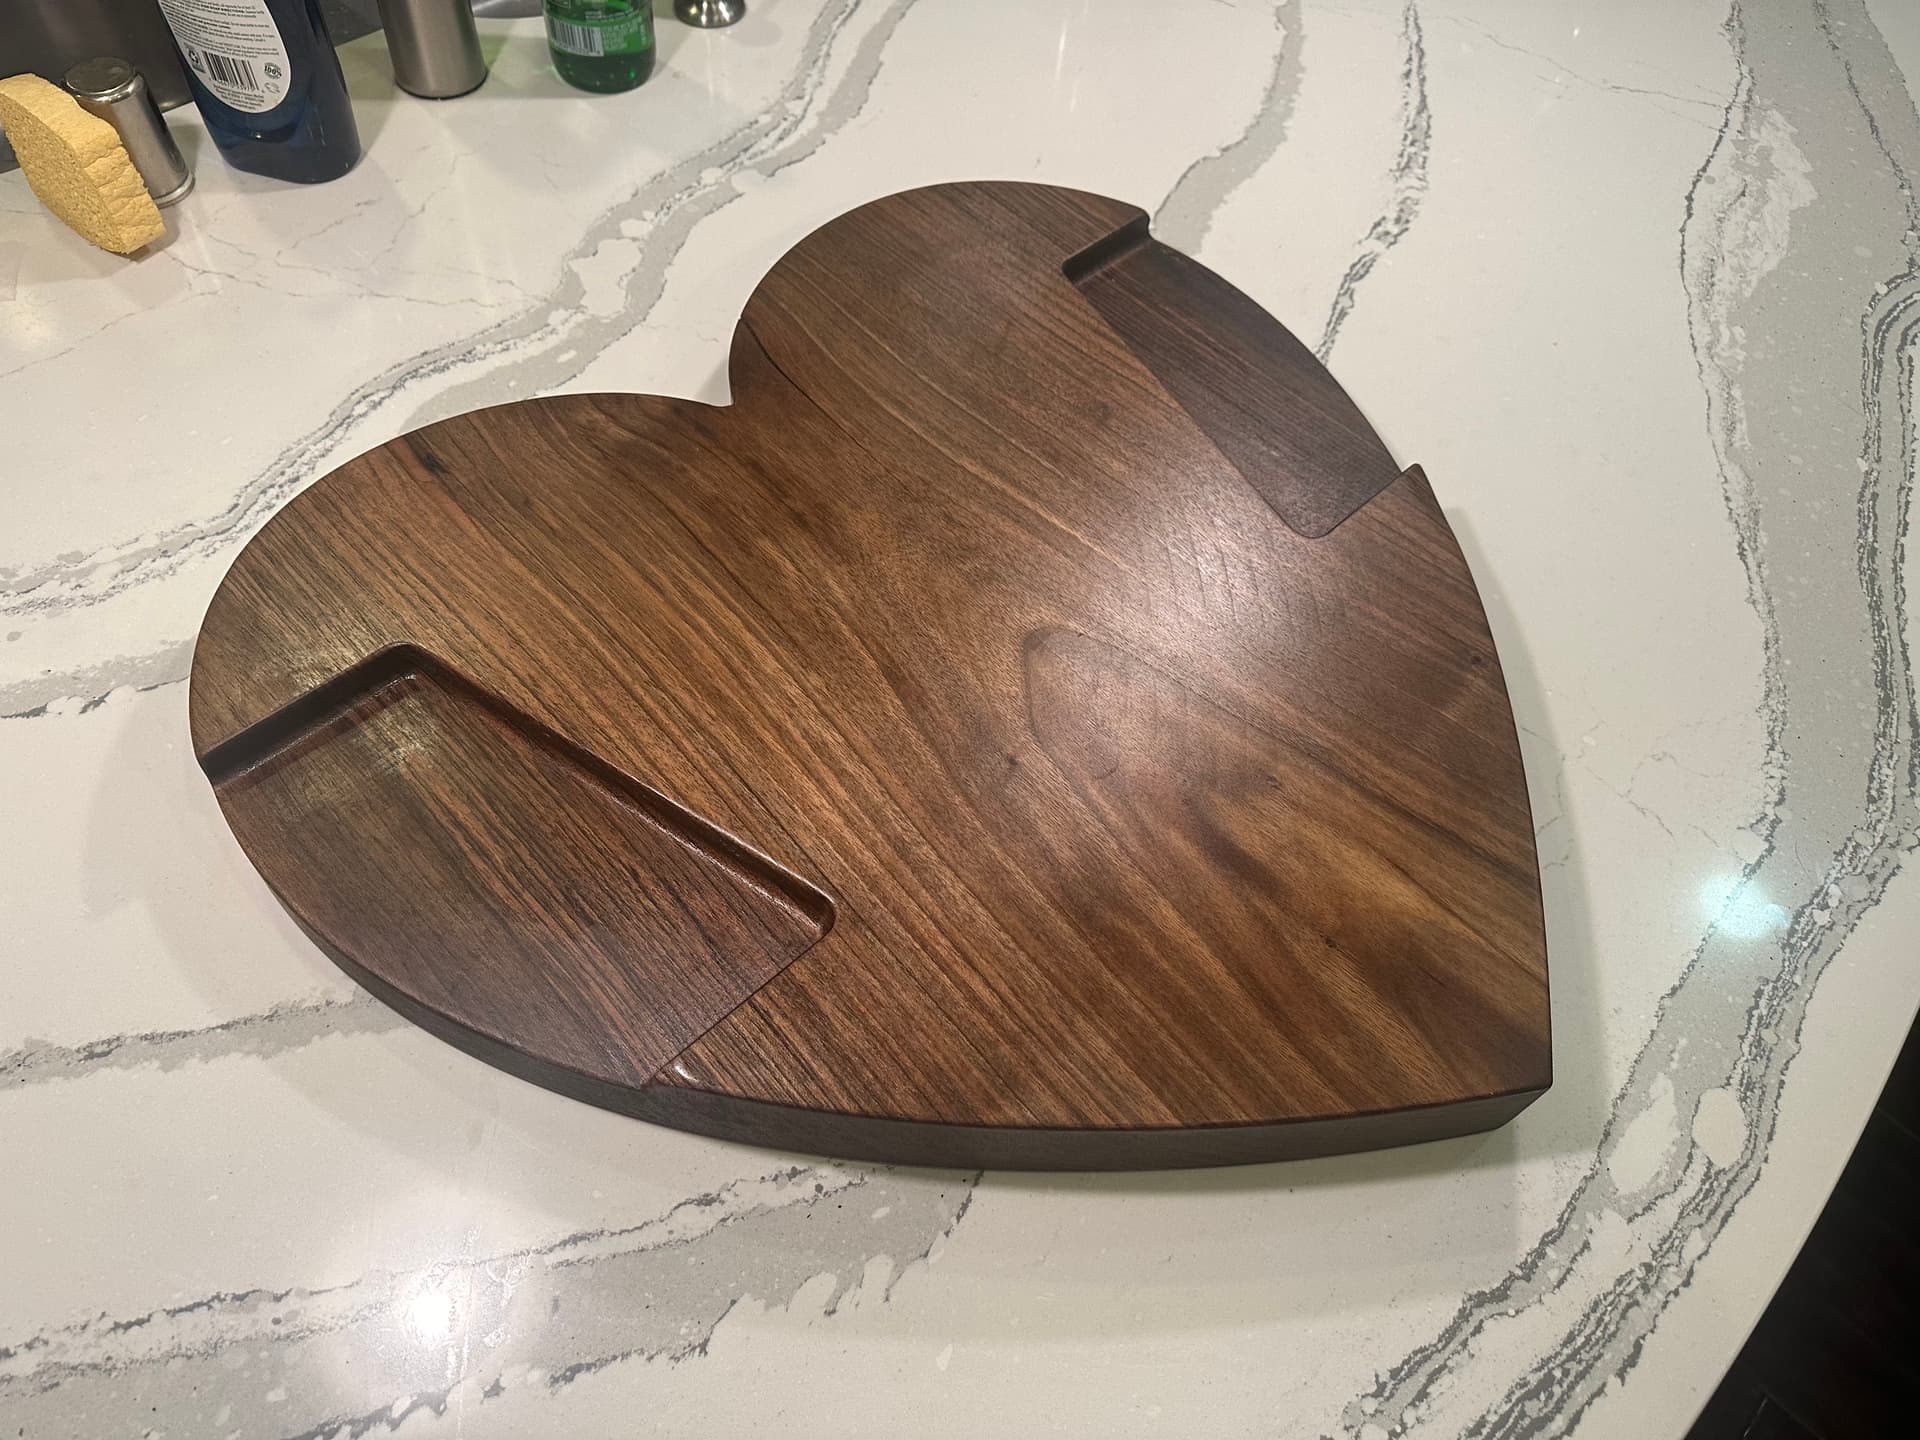
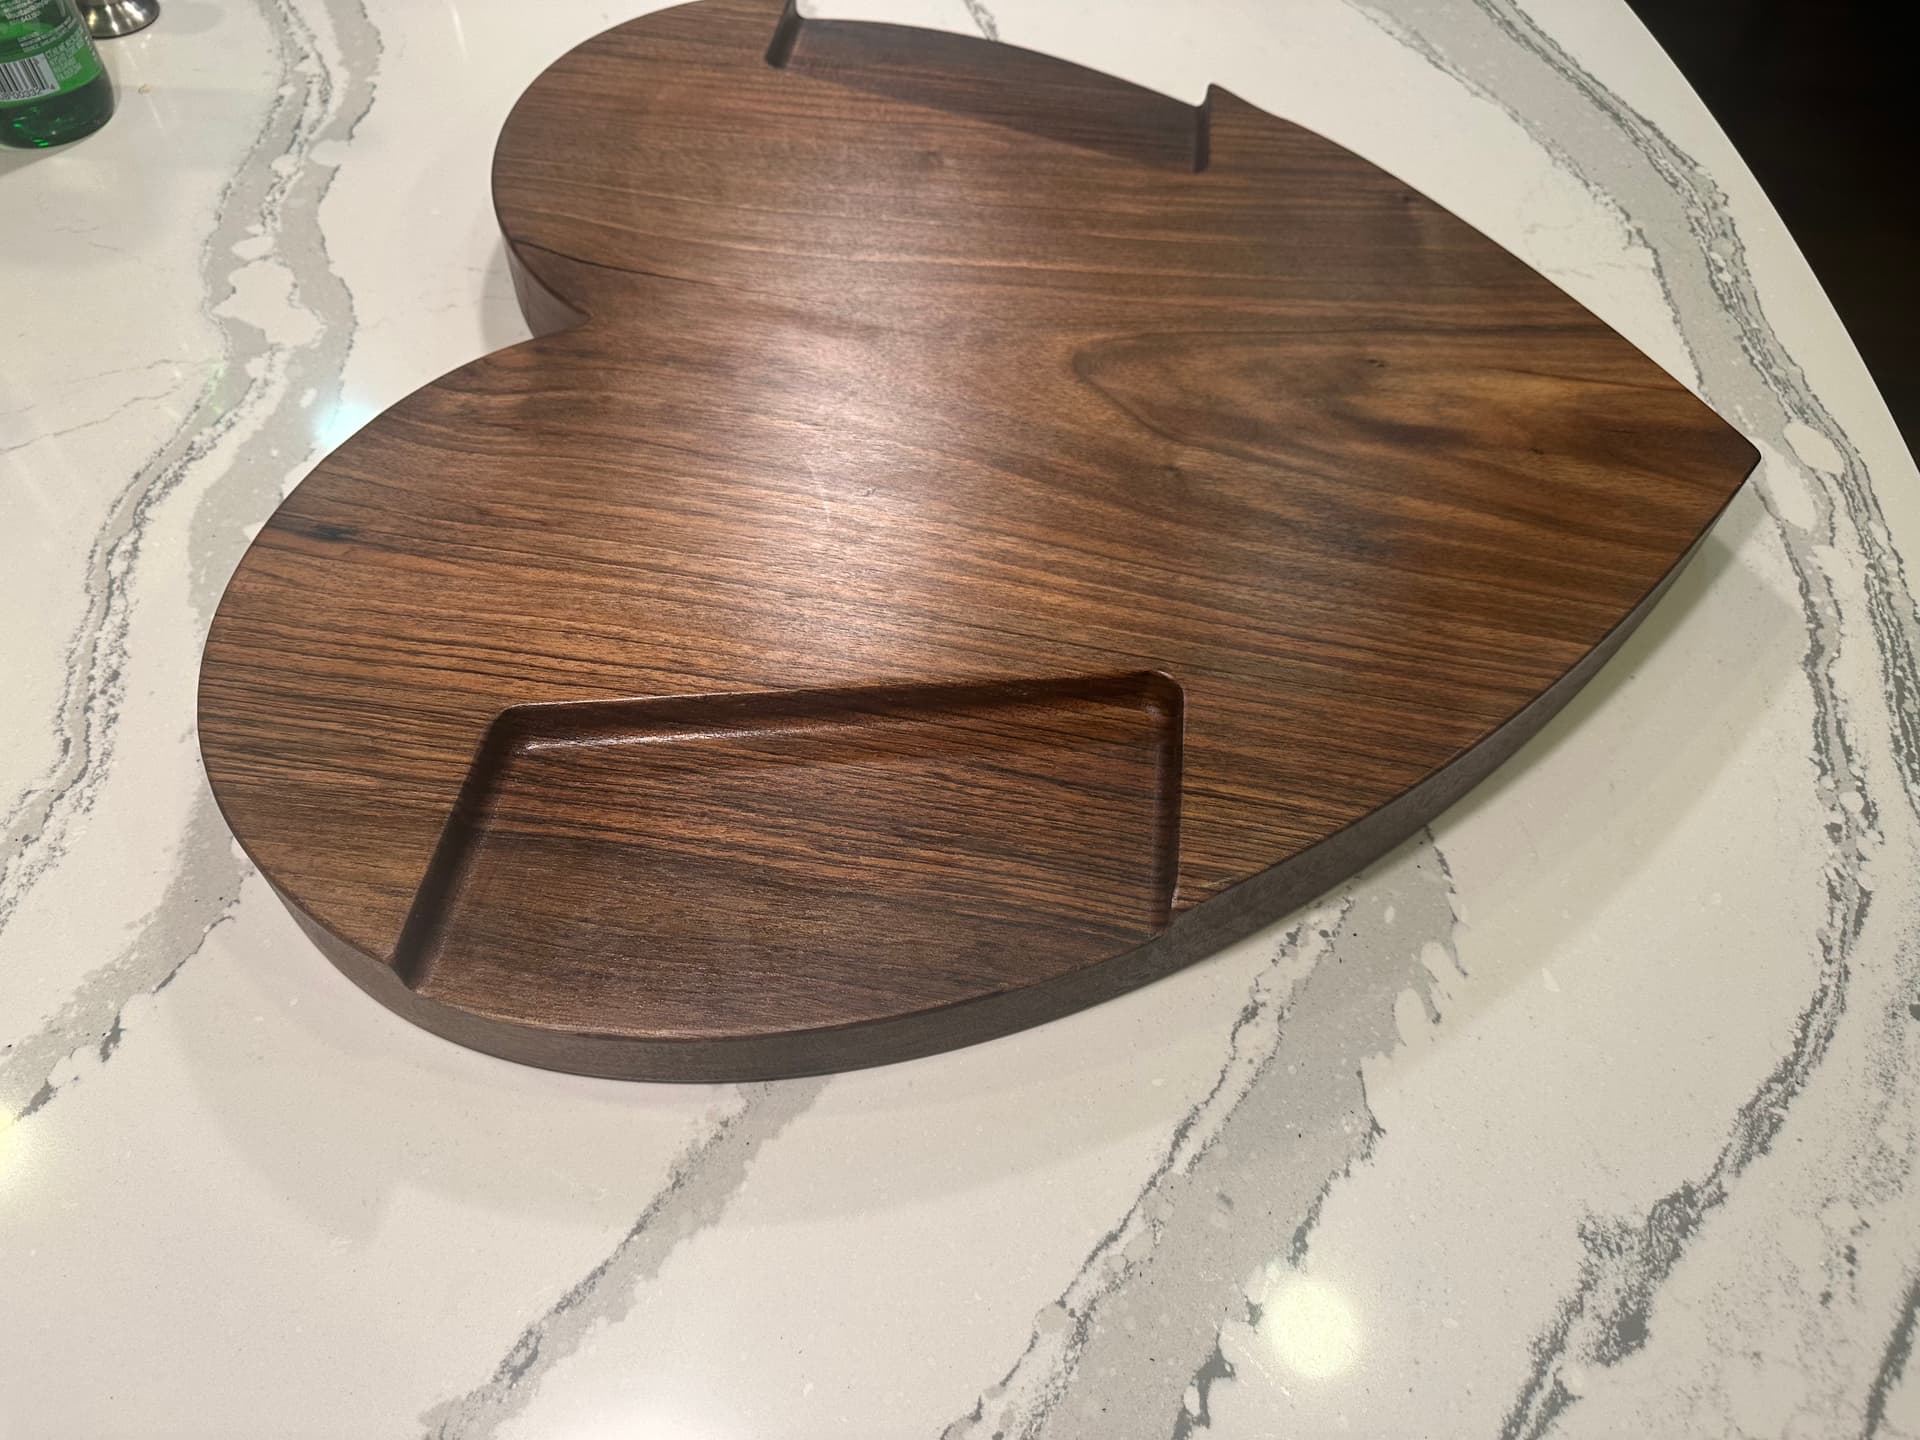
I have made a few cutting boards and charcuterie boards on my machine. Last year, my wife asked me to make a 24" x 24" heart-shaped cutting board. At first, I was like, “Yeah, not a problem.” I bought some wood, glued it up, and cut it out… Well… She didn’t like it. She then said I want it made from one piece of wood. I went to the local “Slab” wood vendor, and everything they had was glued together as a panel or $1500.00. No way was I going to spend $1500 on a whole slab just to cut it into a cutting board.
After some searching, I found a vendor about 400 miles away. He sent me a photo of a small slab he had. It was perfect. 8/4th Walnut with only a small crack in it. He cut it to 24" x 24" for me and sent it.
I opened the packaging and let the piece rest in my shop for about four weeks. It was coming from NorCal, and I live in SoCal. I didn’t want the piece to warp after I carved it.
Long story Long. The Cutting Board turned out FANTASTIC. I finished it with some Mineral Oil and BeesWax. Wow.
16 Likes
That’s a really interesting piece. Cool to look at and serves a learning purpose.
I’m old, so “nifty” is the word… lol
Cheers,
M
Very Nice! Well Done!
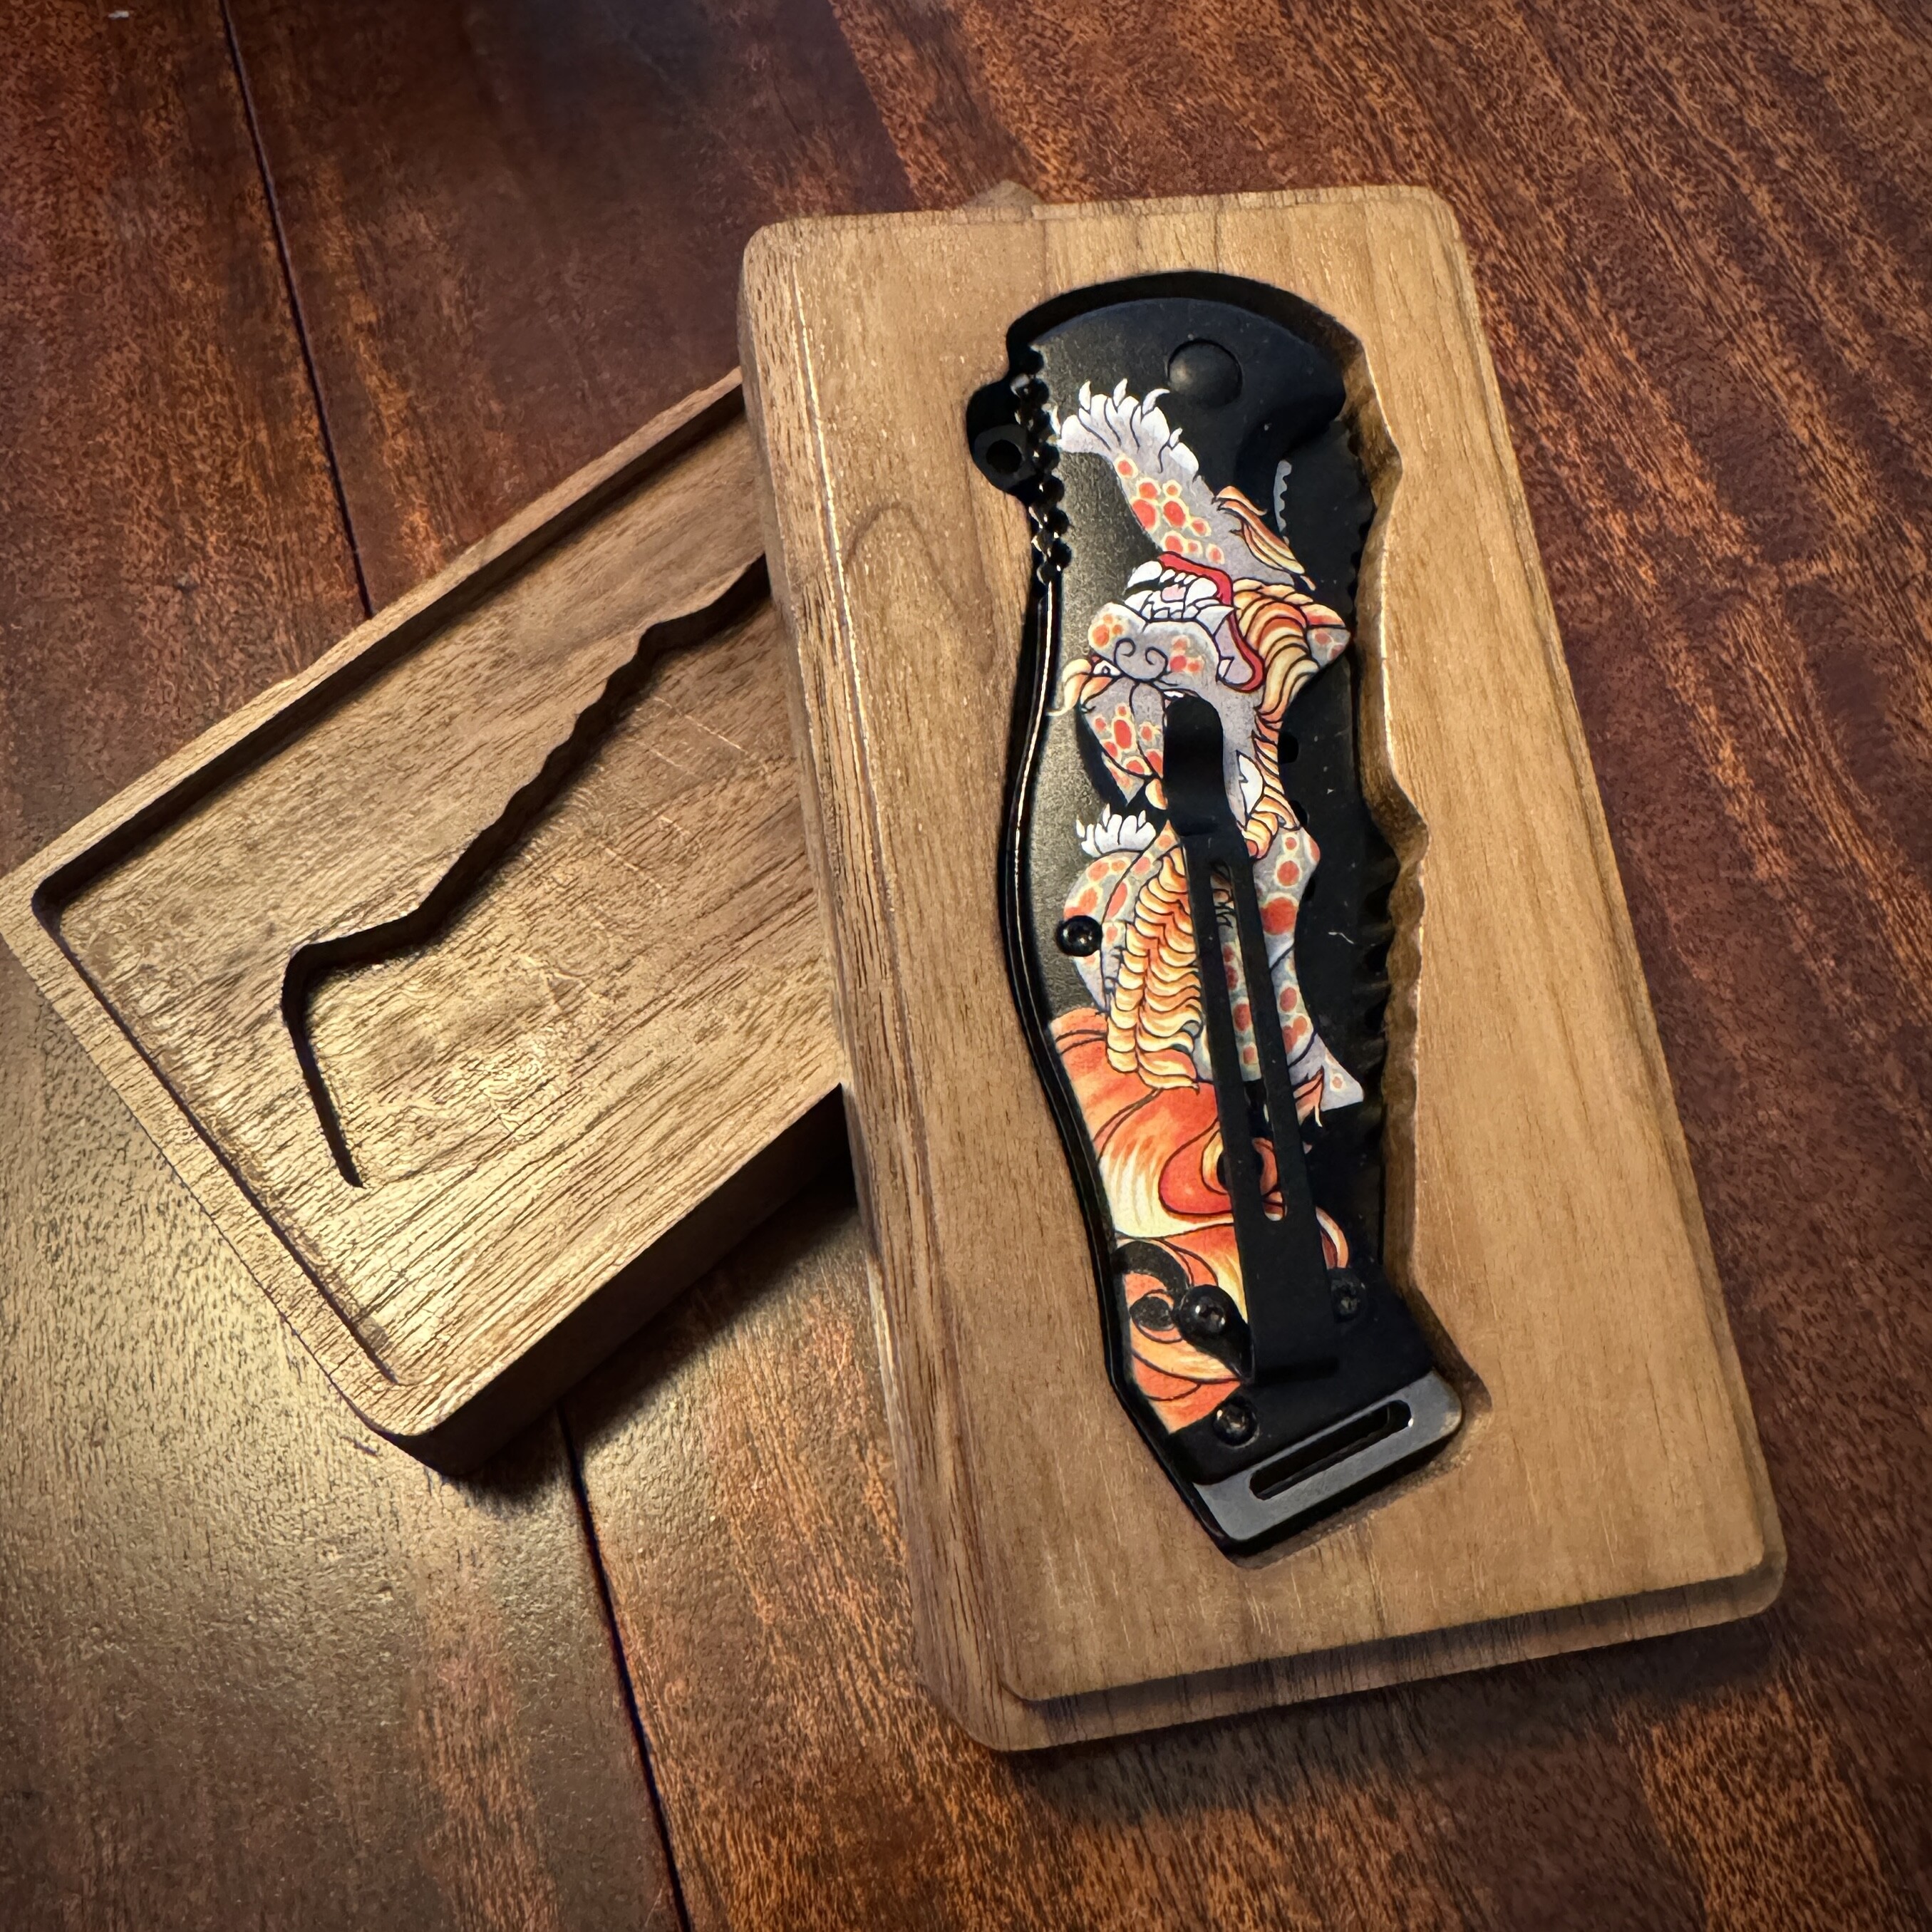
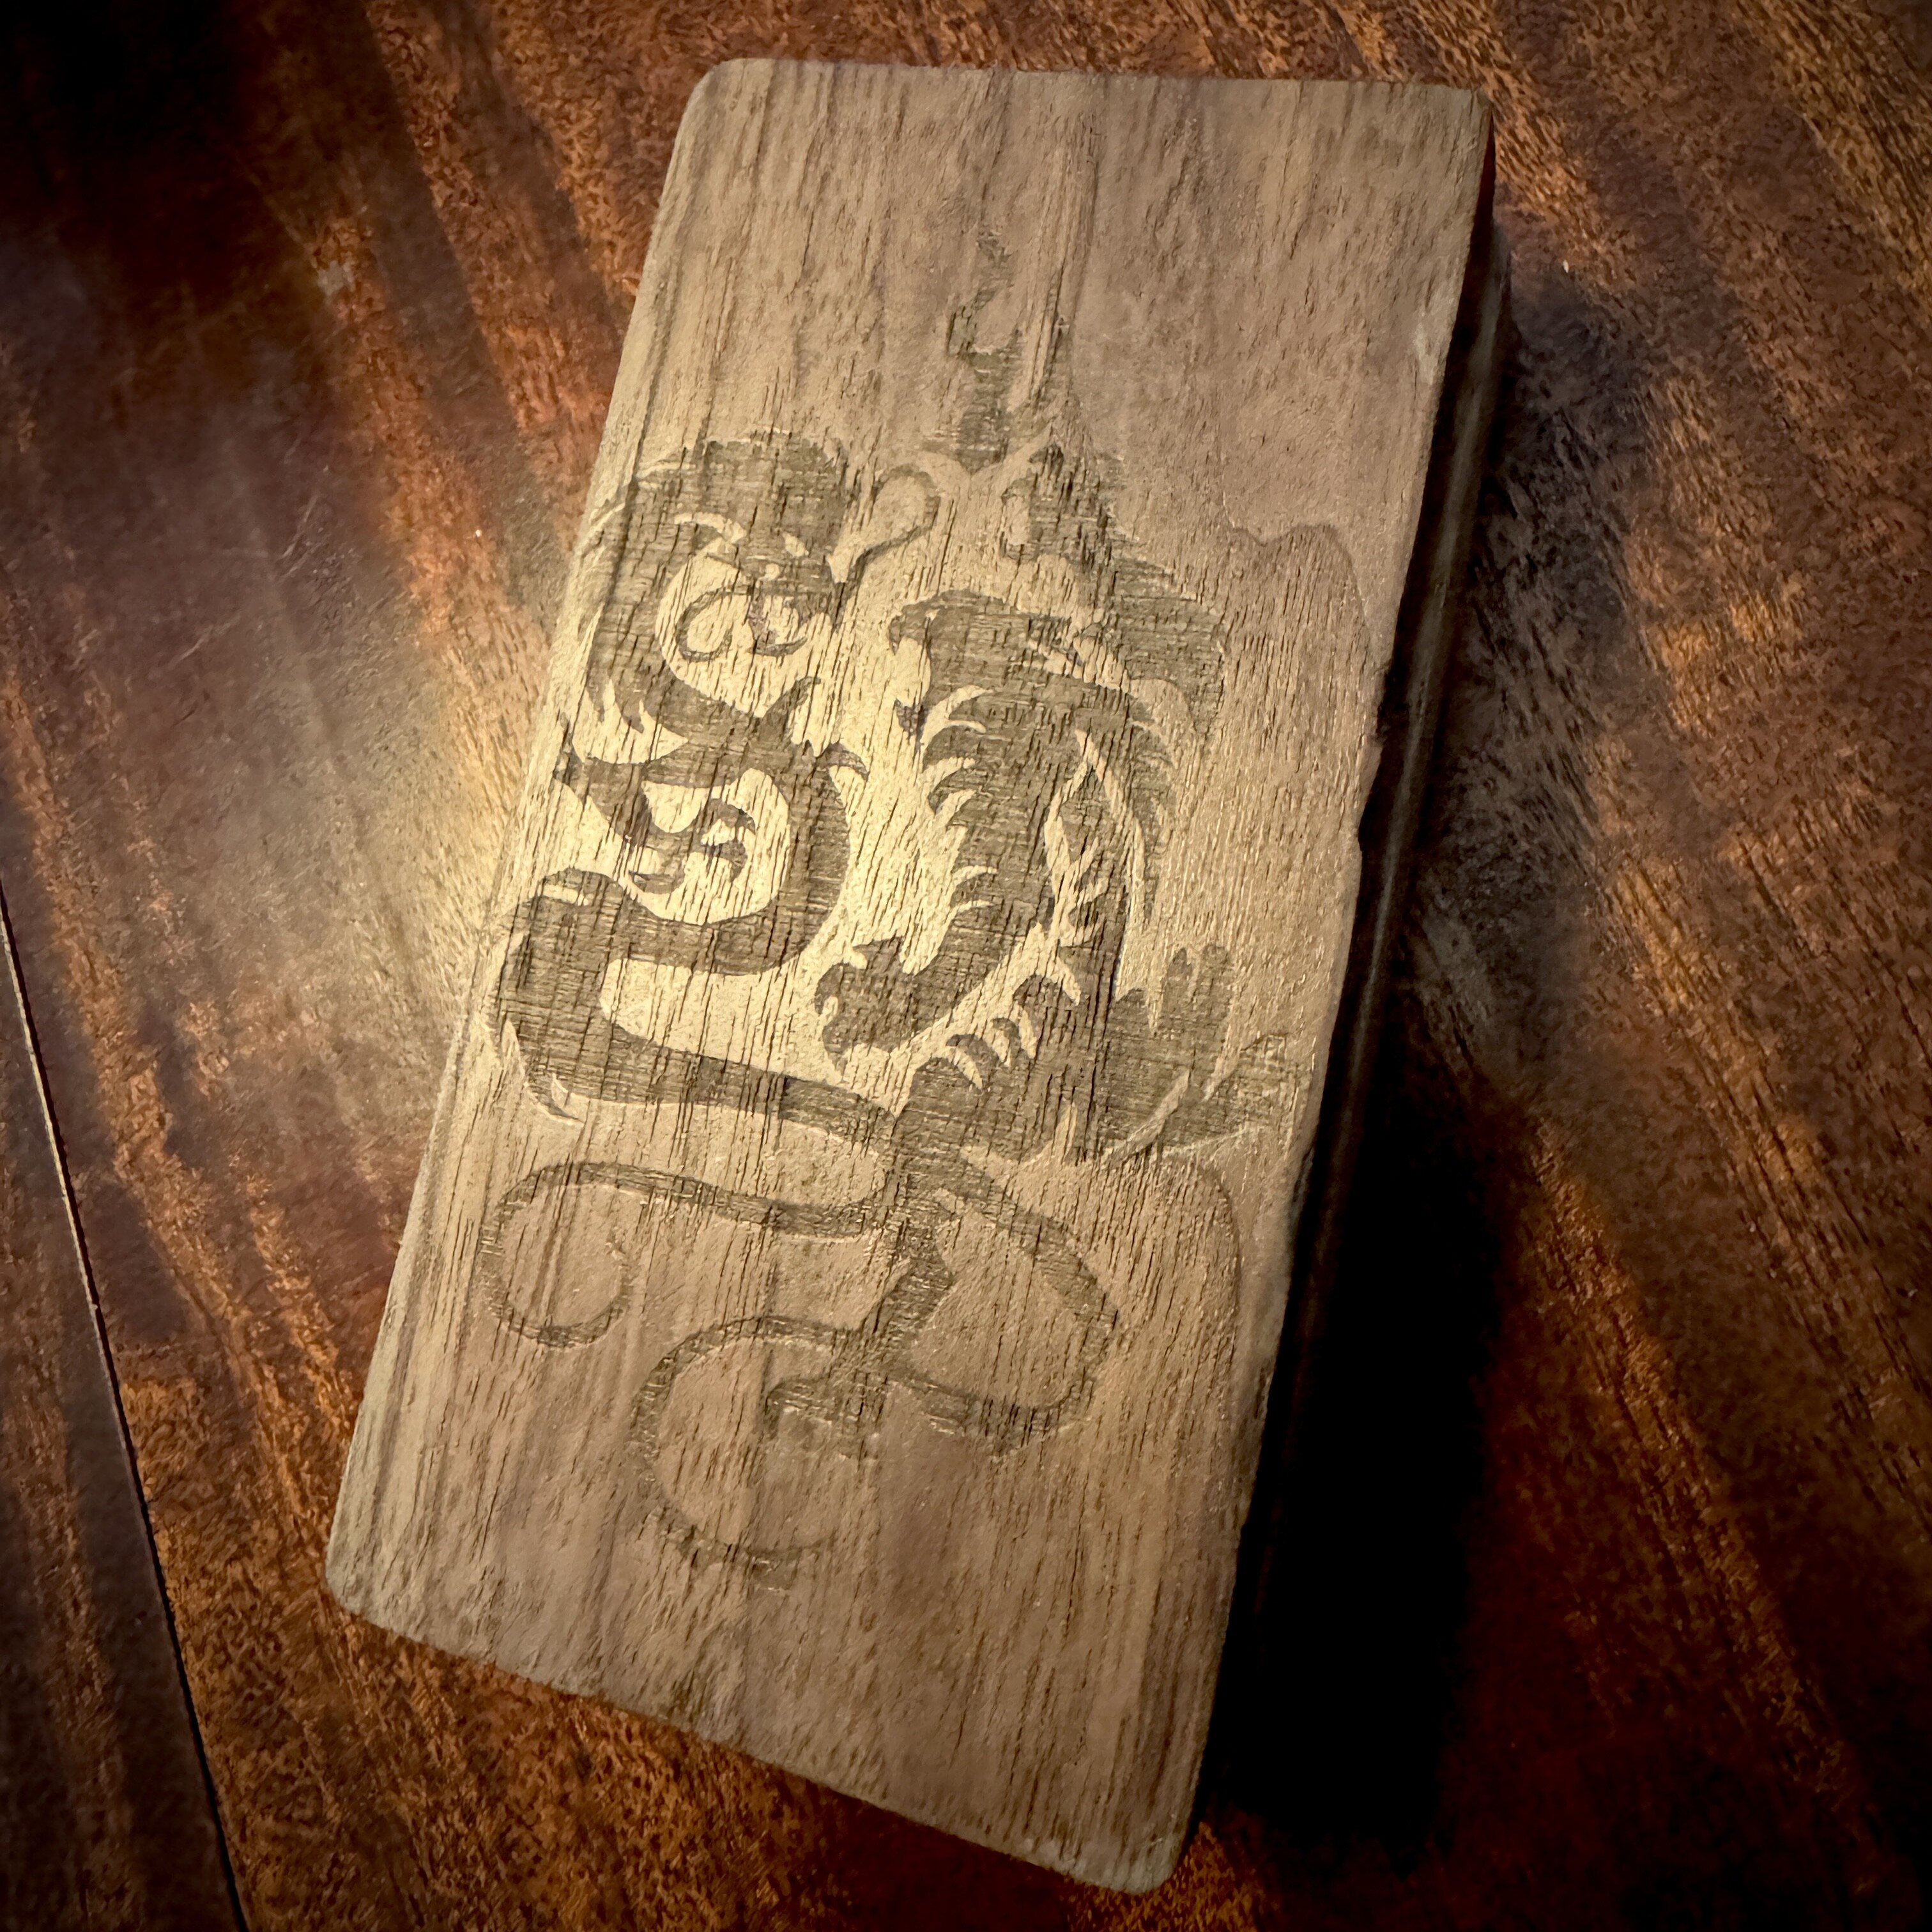
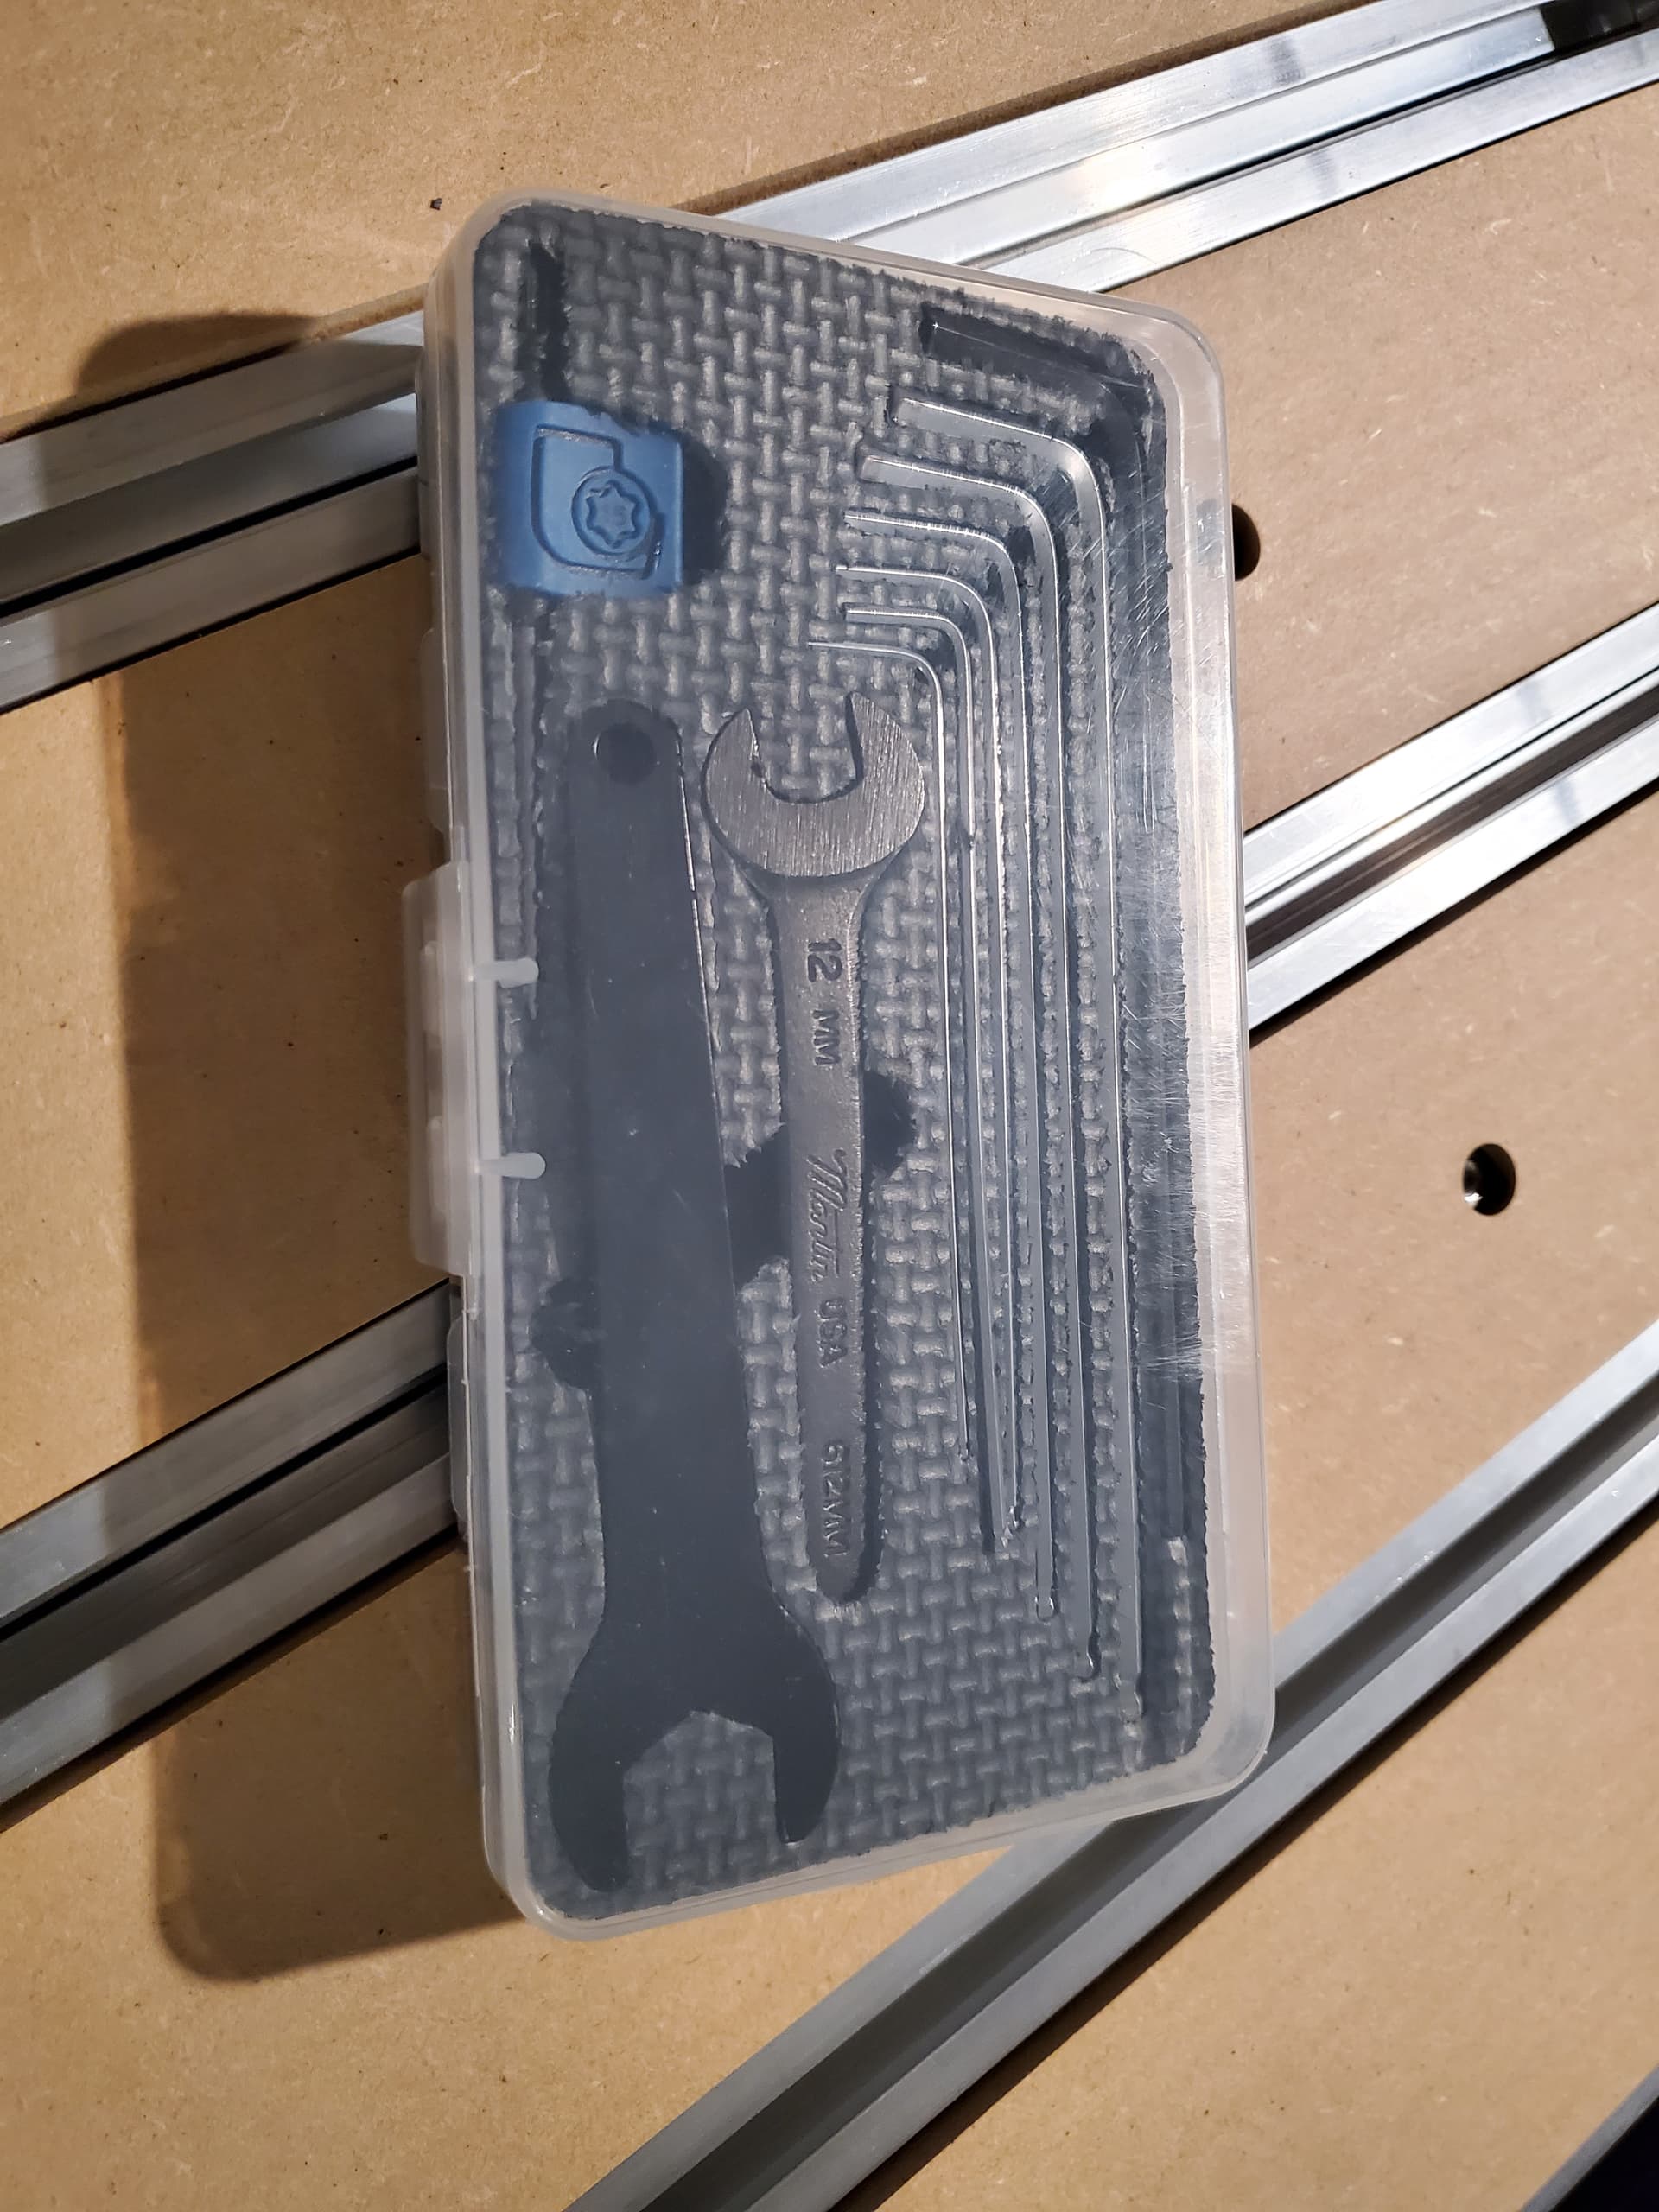
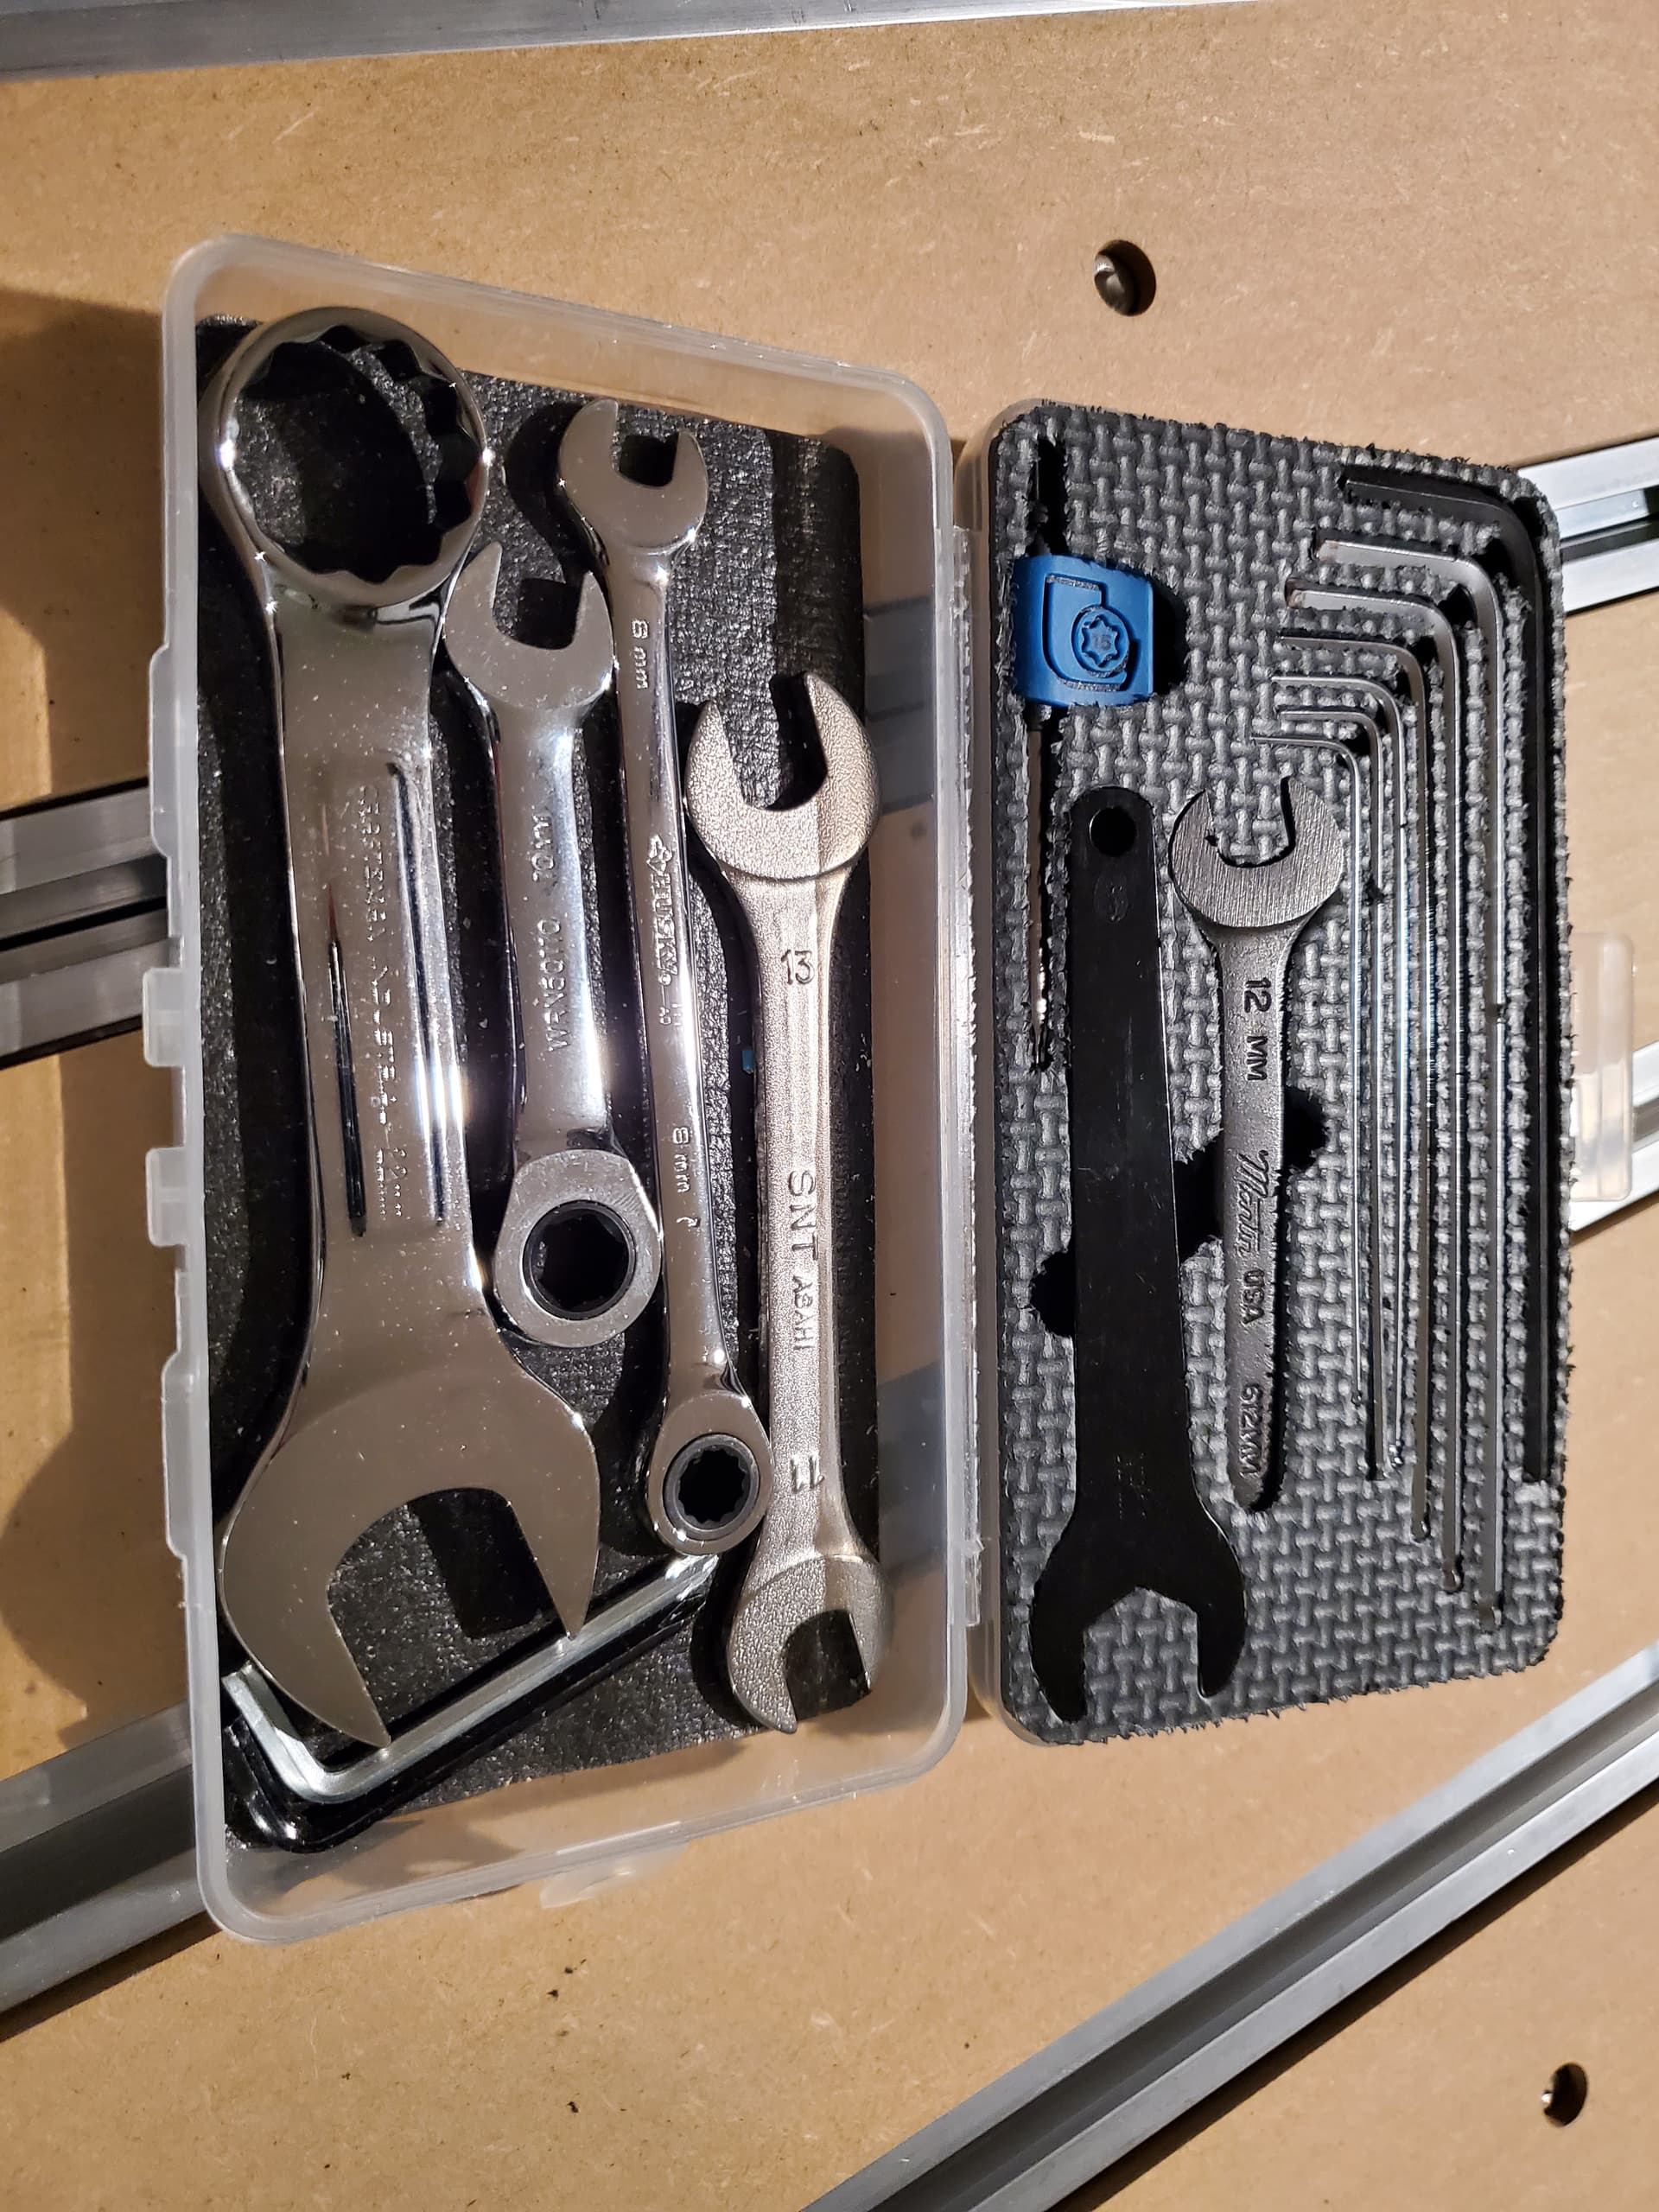
My son is 12, a scout, good kid but grandpa got him a knife which I thought a bit larger than his usual so instead of getting weird about it I thought if I made a nice box for it it might not have a tendency to float away or go places it shouldn’t. Involved him in the process and picked the imagery for a light laser engrave finish. Few coats of poly and it has a nice snug but not overly tight finish.
26 Likes
Someday in April 2023 I started remodeling my kitchen with the help of my Shapeoko:
Well, today is when I declare the remodeling finished, and since my Shapeoko was used to cut the wood floor along the irregular perimeter of my new hexagon tiles, I figured it belonged to this thread (even though technically this is what I have been working on and off for the past 9 months…not “today”)
Before:
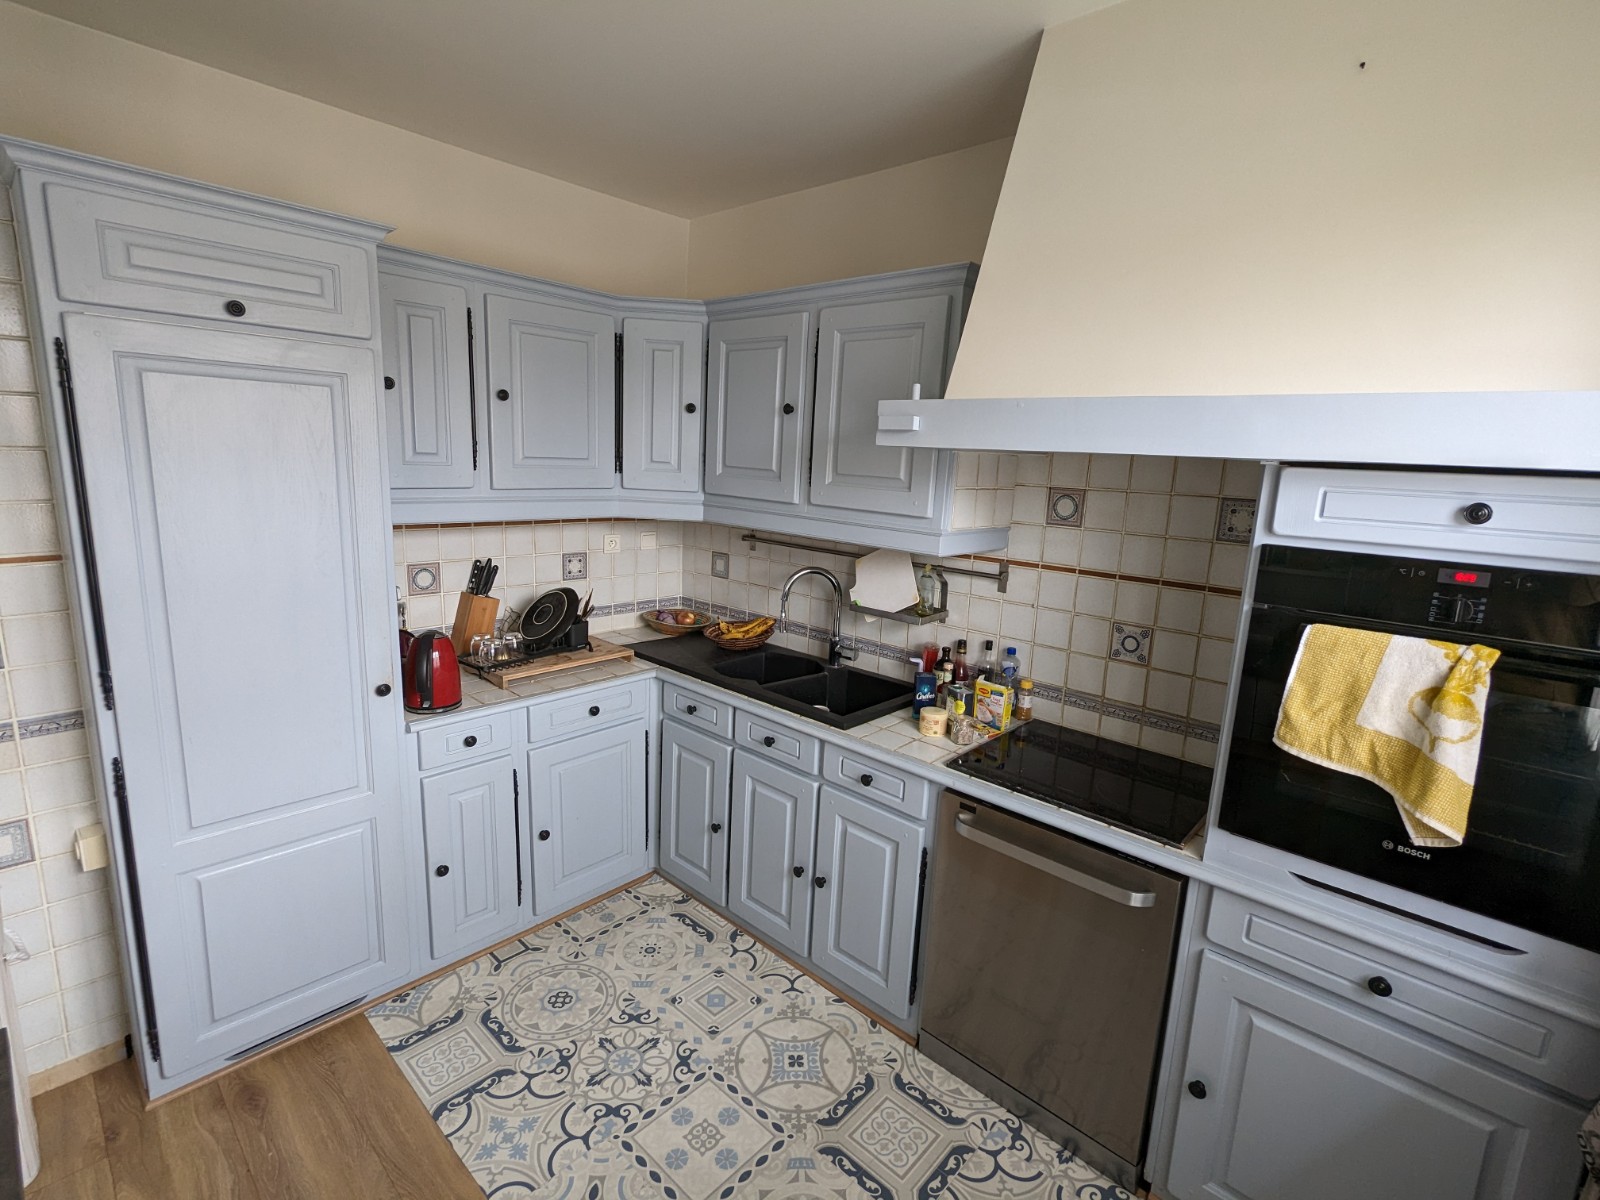
After:

My new favourite extreme sport is milling things while having exactly one shot to get it right, and do it repeatedly (19 times in my case, that is how many of the original wooden doors/panels I resurfaced and reshaped on the Shapeoko)
What began as a “mmh, I wonder if I could refresh my kitchen cabinets” moment ended up as a black hole consuming my week-ends (and keeping me away from the community forum too, sigh). On the bright side, it took so long that my wife has explicitly forbidden that I even consider starting any other remodeling activity anywhere in the house for the next 6 months.
Anyway I guess my point is : this would have been near impossible to do without the help of my Shapeoko
44 Likes
Great work. Also love the touch you did for the flooring and creating a far more natural transition.
1 Like
Beautiful work Julien! Really like the floor transition, very unusual.
I really like the natural wood cabinets. The trend over here is to paint - everything. Ugh.
2 Likes
Great job and very practical approach with your Shapeoko! The floor is incredible. Unique and a perfect fit!
2 Likes
Beautiful, Awesome job. The transition looks great.
1 Like