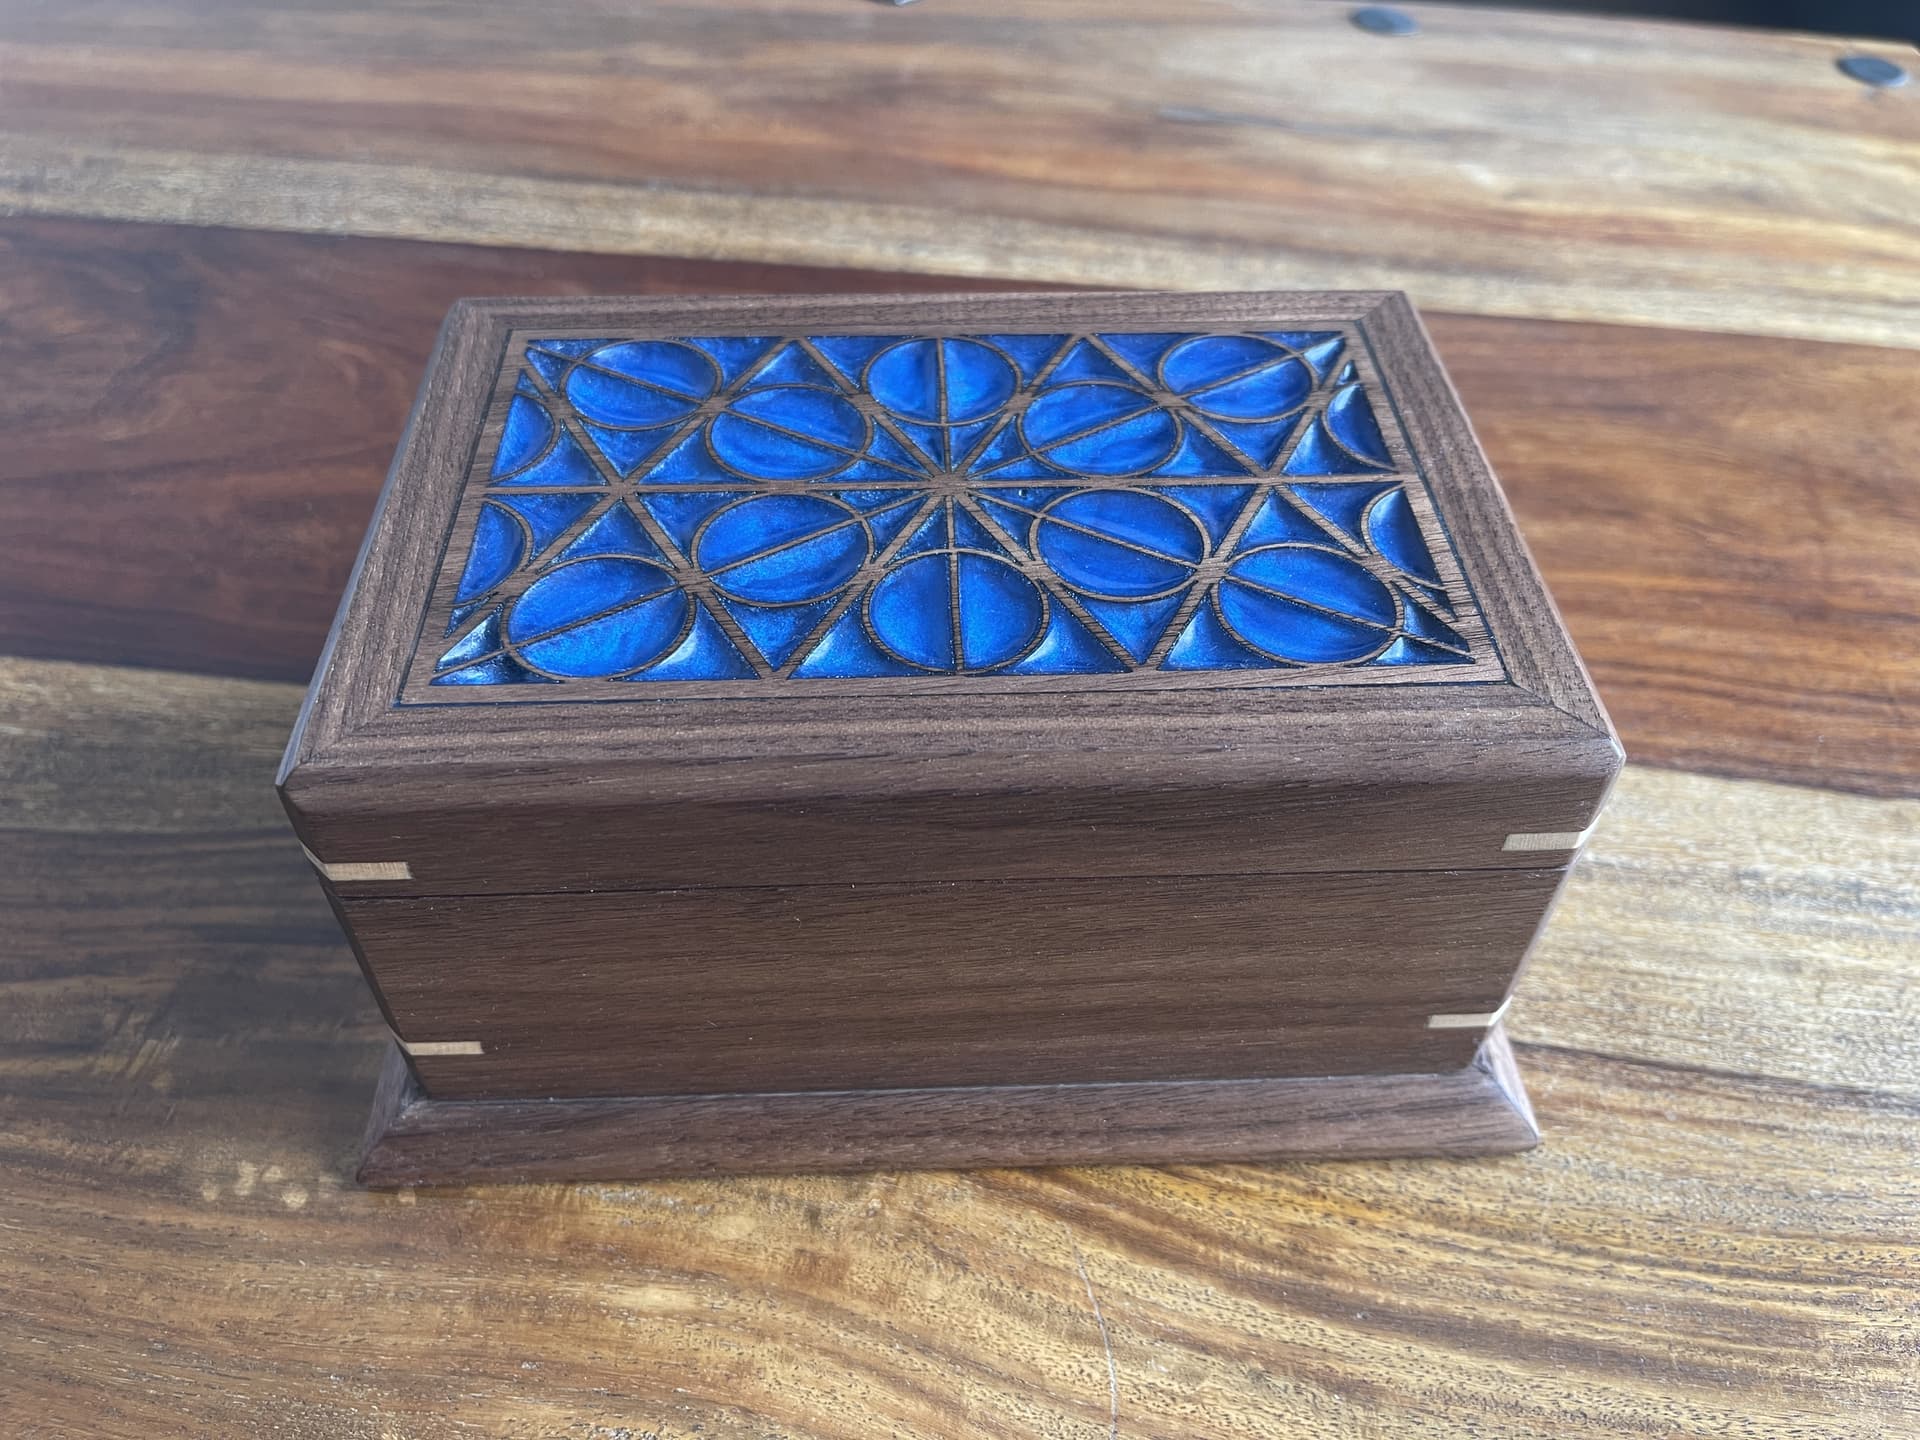
I recently put Osmo oil on an epoxy inlay, it just made it shiny. I think epoxy is pretty resilient once it’s dry. Still should try on some scrap first. Very nice tray!
13 Likes
I liked how you achieved a bit of an outline on your letters in the epoxy. Happy accident or was that planned? Looks great regardless.
I’ve done some staining on cuts filled with epoxy and have managed to keep it exposed by applying thinned layers and a lot of rubbing it off the epoxy areas. In a couple of cases I used mineral spirits to clean off the epoxy.
For my earlier projects I wish I had known about the ‘painting white in the pocket before filling’ tip another forum member posted which would have helped the epoxy stand out more with the stain.
I hope there are other and more-experienced replies on this one, because I’d like to learn more on this too.
Actually I think that was because I had to hit it with 60 grit for awhile because I forgot to apply the clear first to line the pocket - I lost like 1/8 inch due to it getting absorbed into wood. Instead of refilling and mixing again, I sanded down the whole board for like 20 mins with 60 grit until I was at the epoxy layer. I think that took the sharpness off the letters, but led to a nice outline look. Overall I like how it turned out, and I have the design several more - trying to hone in feeds, speeds, and retract so I can decrease time.
2 Likes
To me it looks like the epoxy tint is very light, so the depth of the letters are showing through. You can see on the outer shape the same effect; it’s the wall of the carve looking like an outline.
2 Likes
I highly recommend this 30° bit. It’s pricy, but worth it.
8 Likes

This is likely more about how having a CNC had changed my prospective. Normally I’d just break out the jigsaw and sander, now the CNC can do some of the work while I sit and watch.
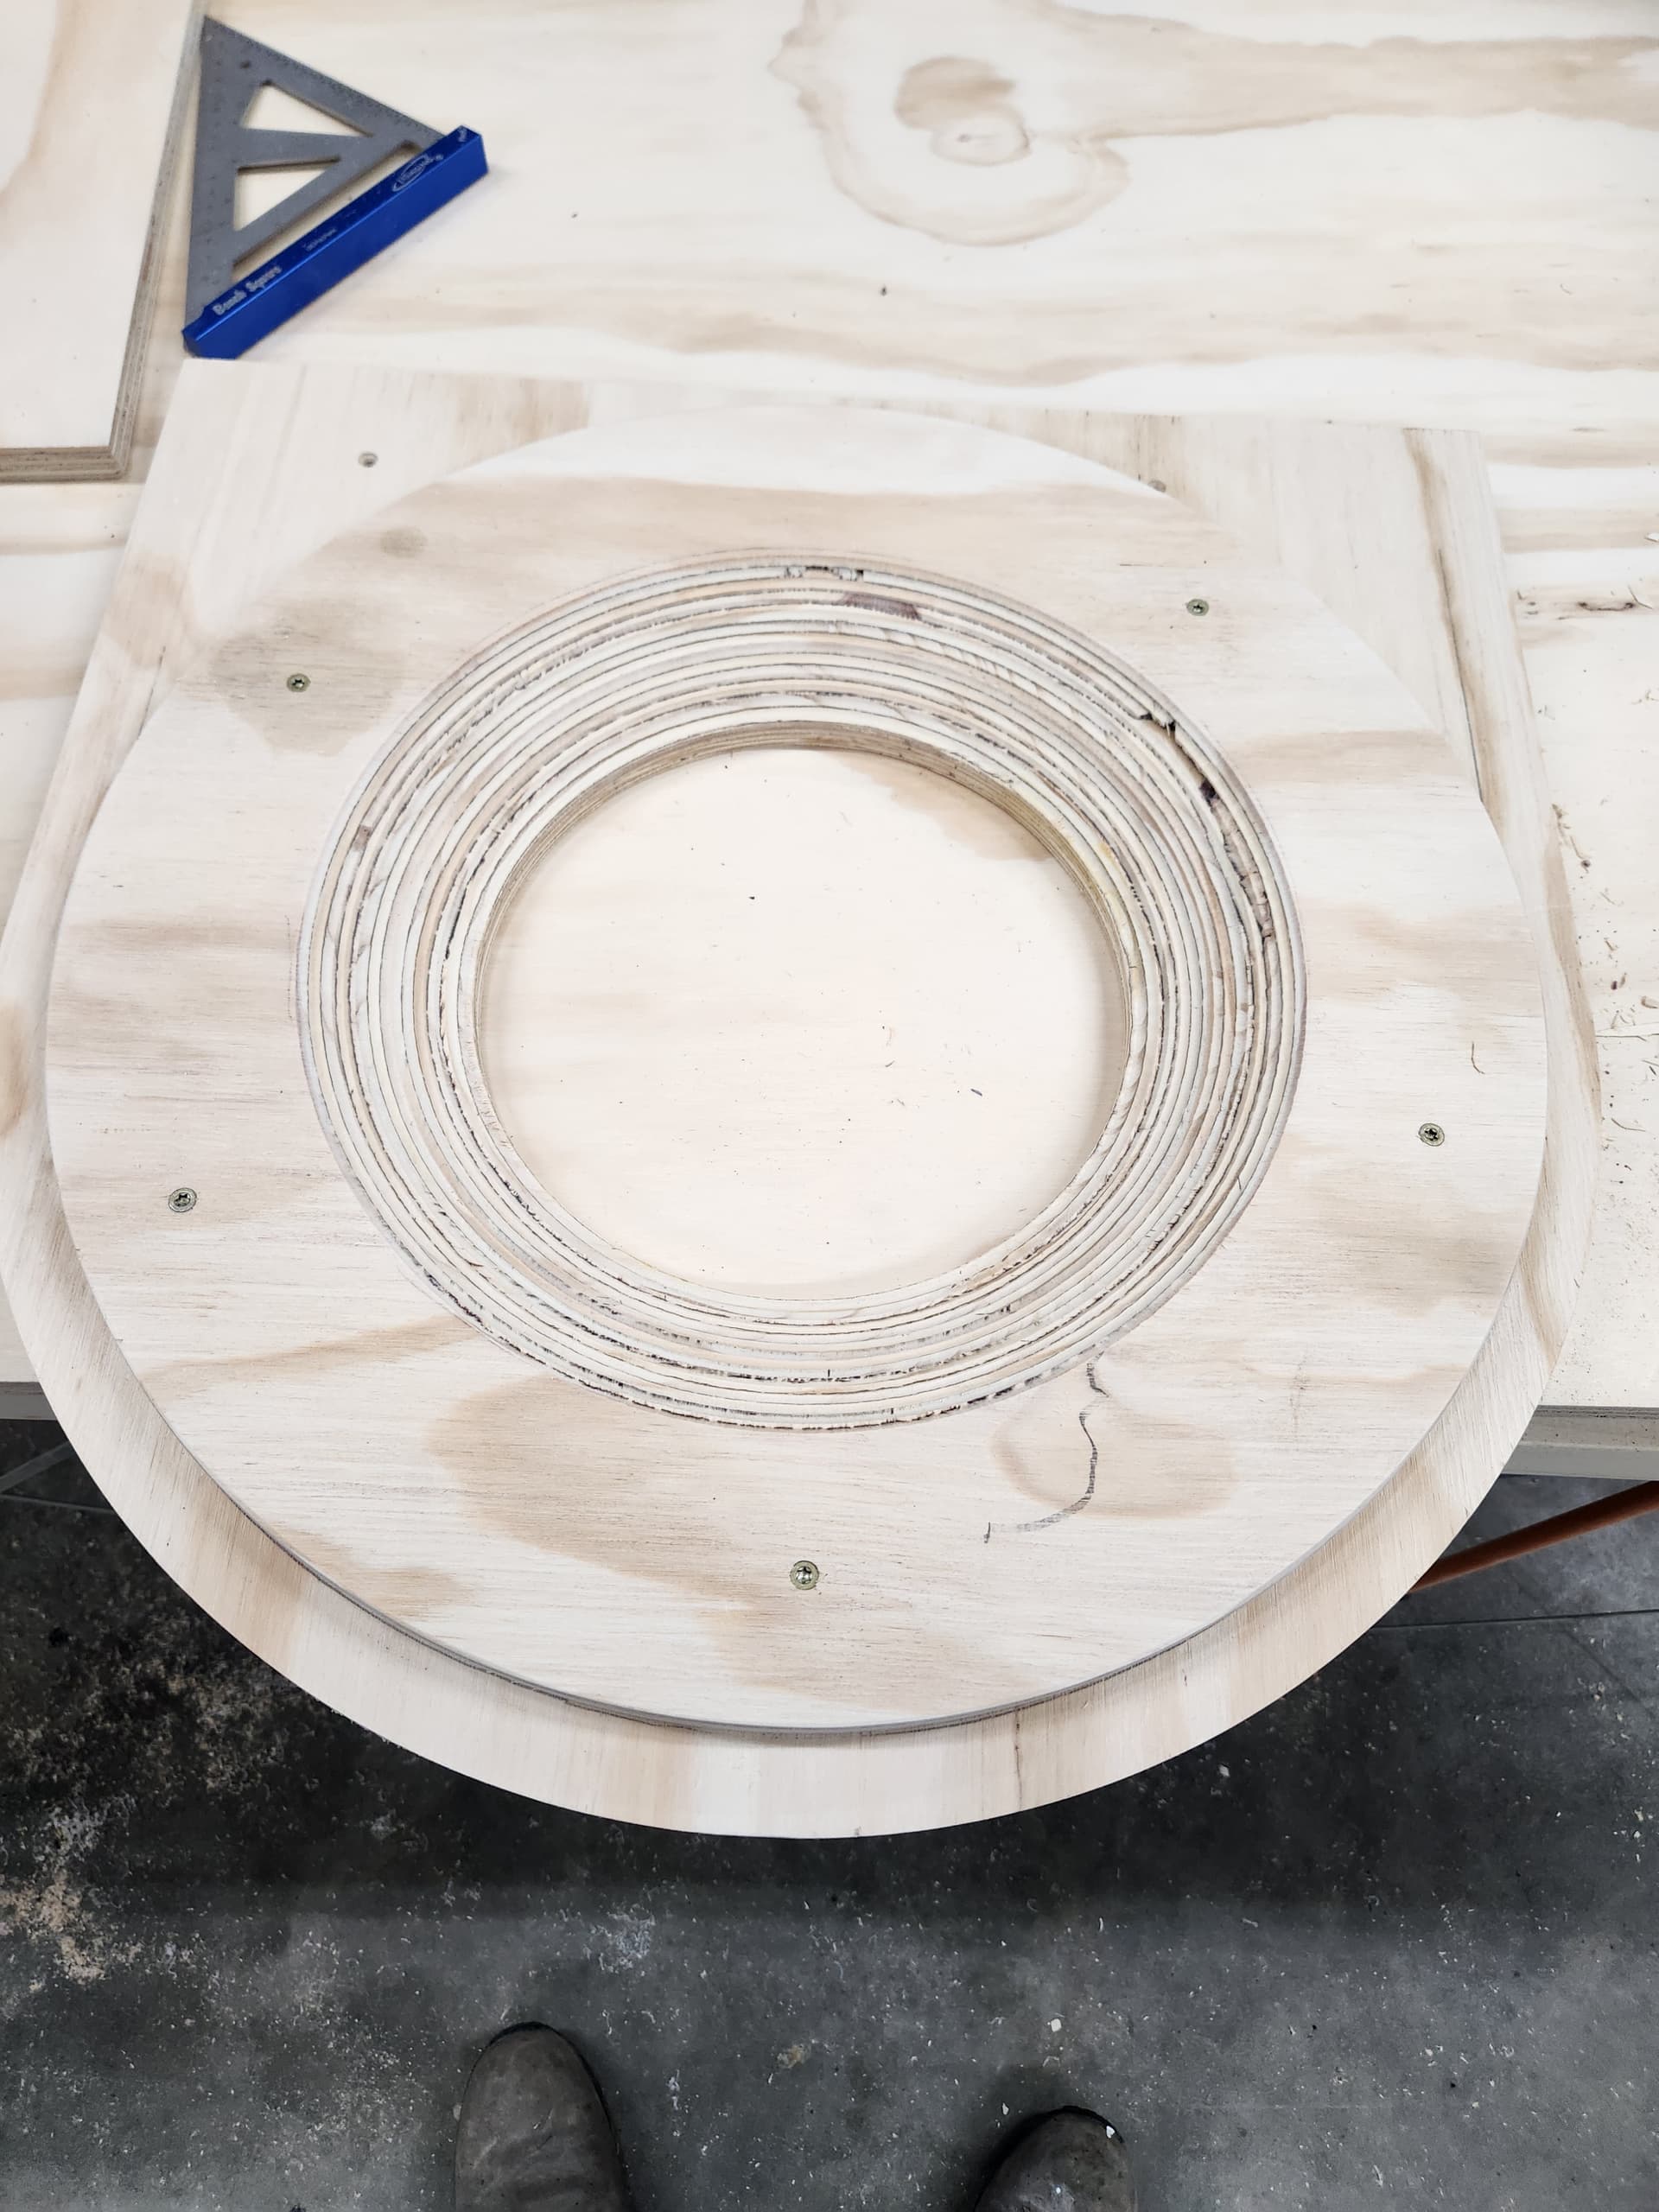
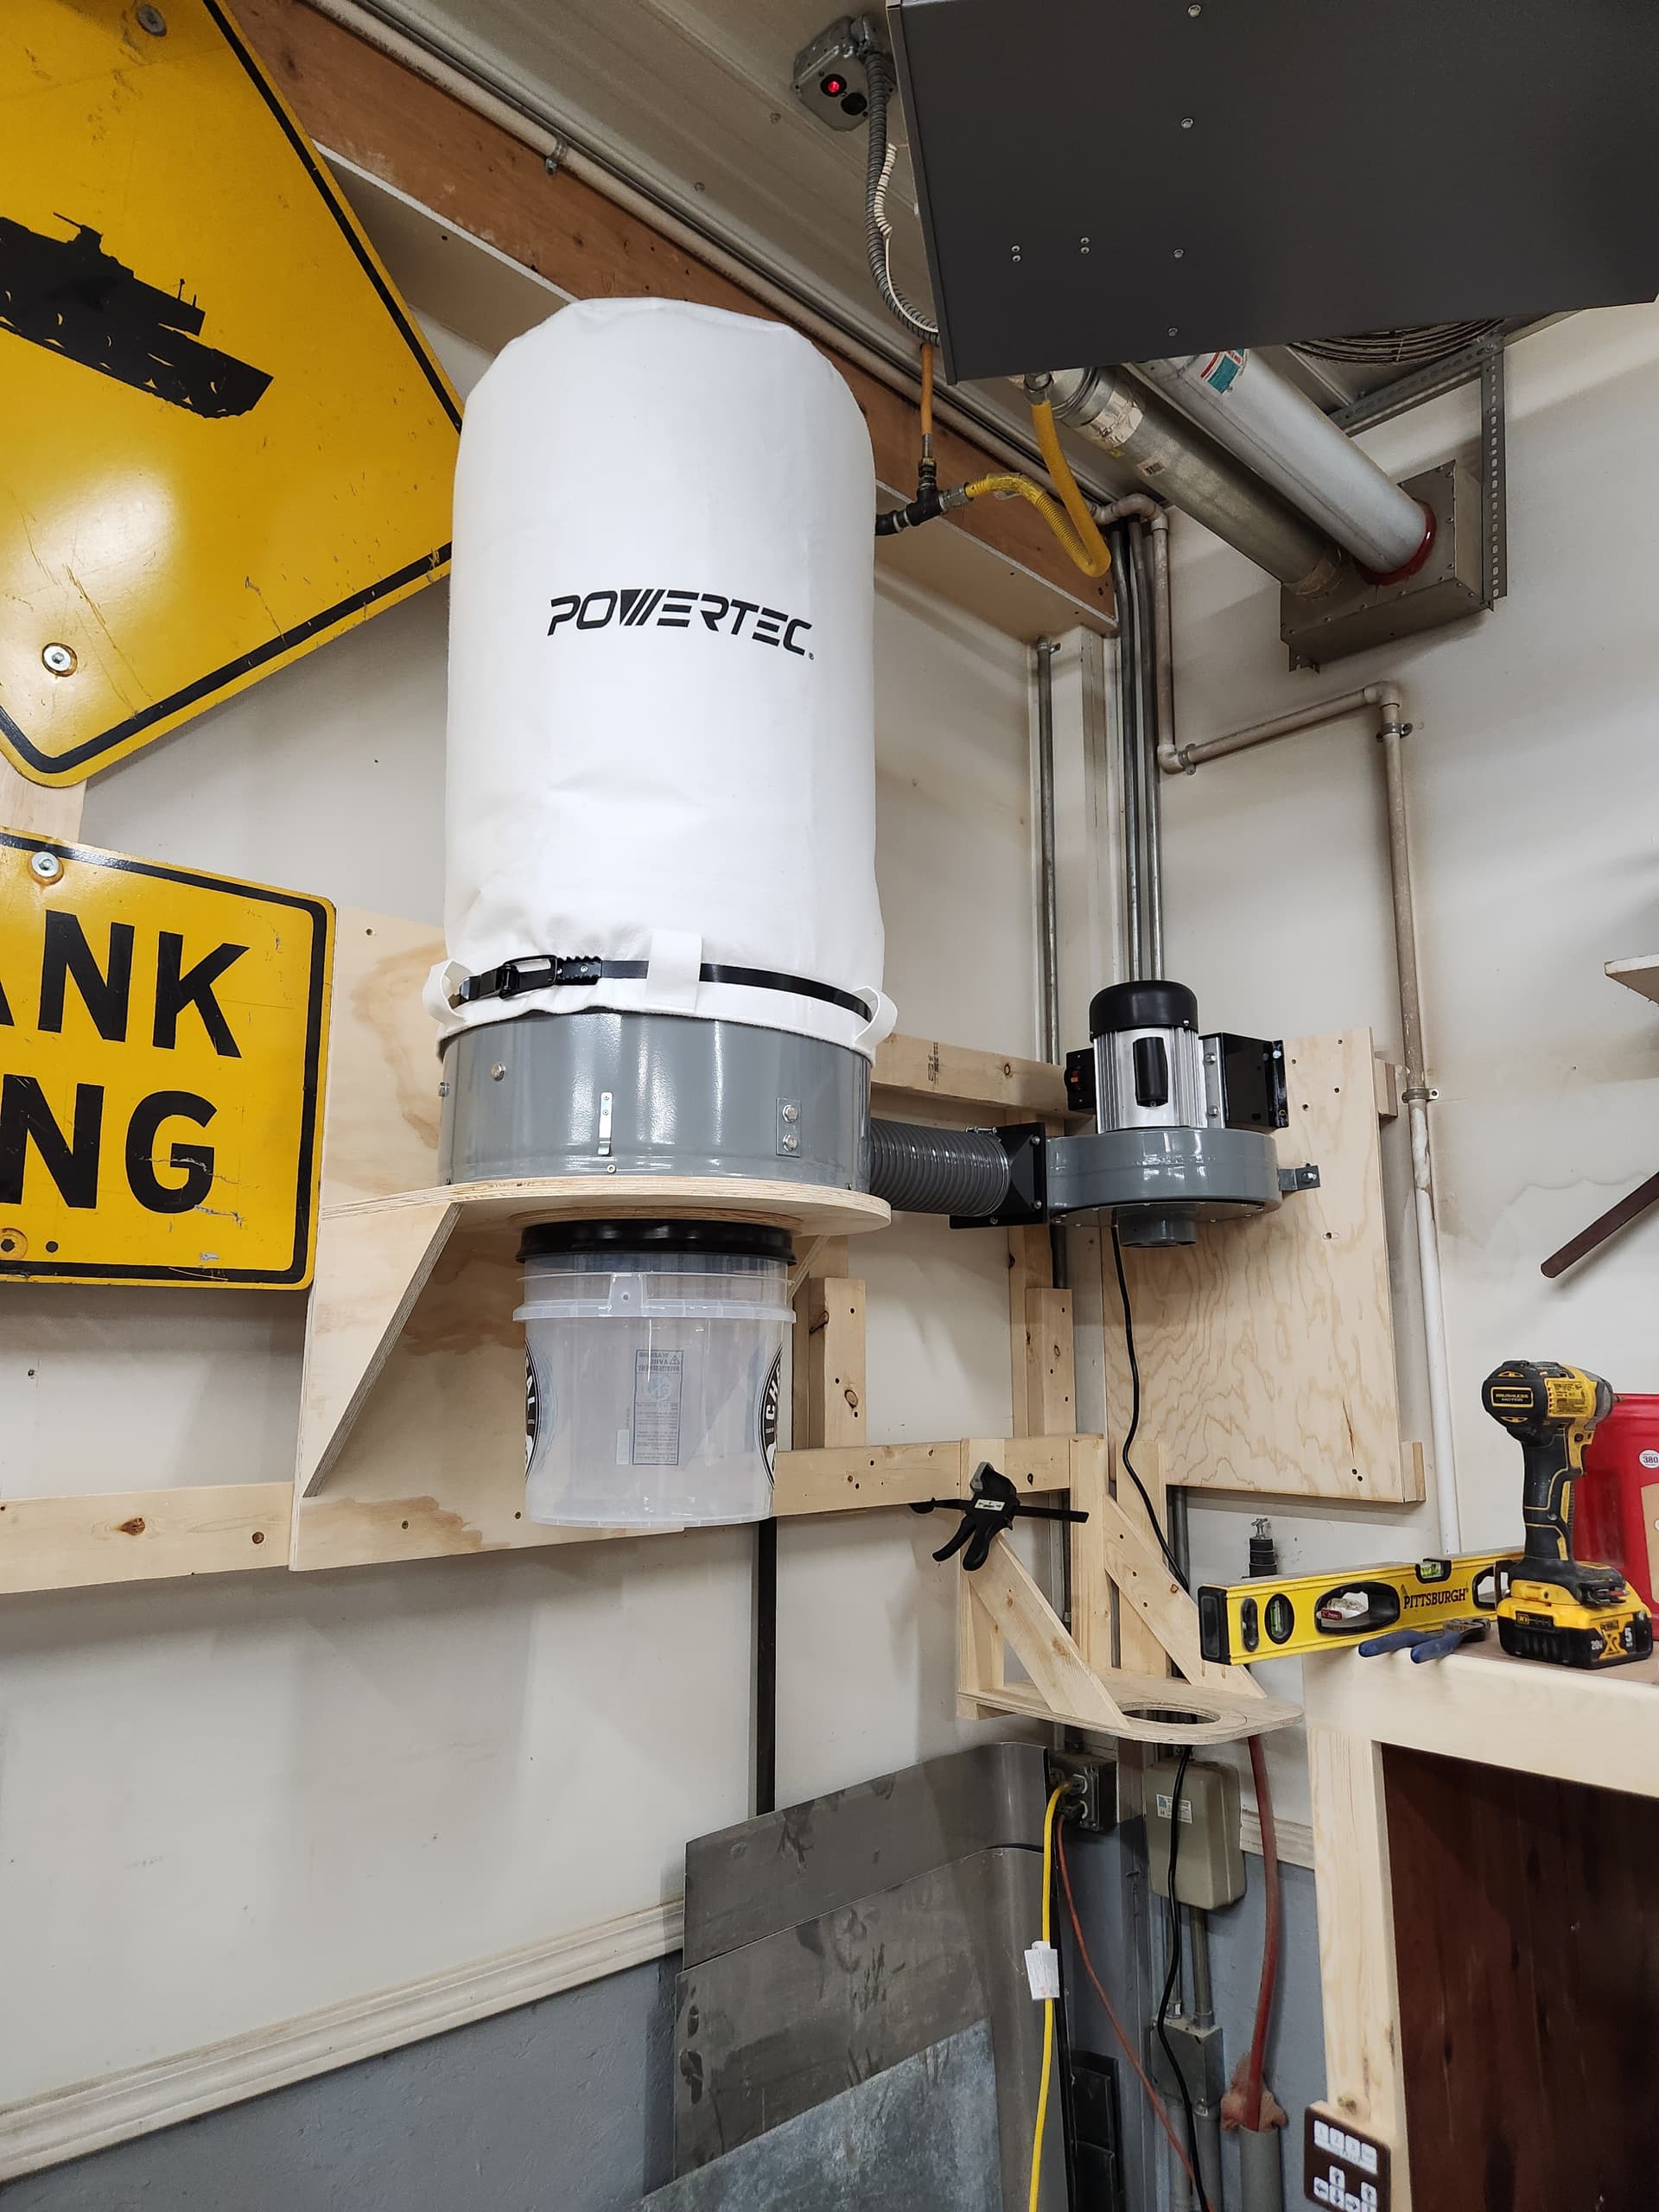
Changing up the dust collection in my shop and wanted to make a mounting plate. Now, just have to finish plumbing it through the dust deputy.
14 Likes
@dustmite
Wow! Clever setup! Really elegant solution
1 Like
Thanks, can’t take credit for the design. I researched a bit and copied a couple ideas on the internet. Designing it was lots of fun, still haven’t used it tho.
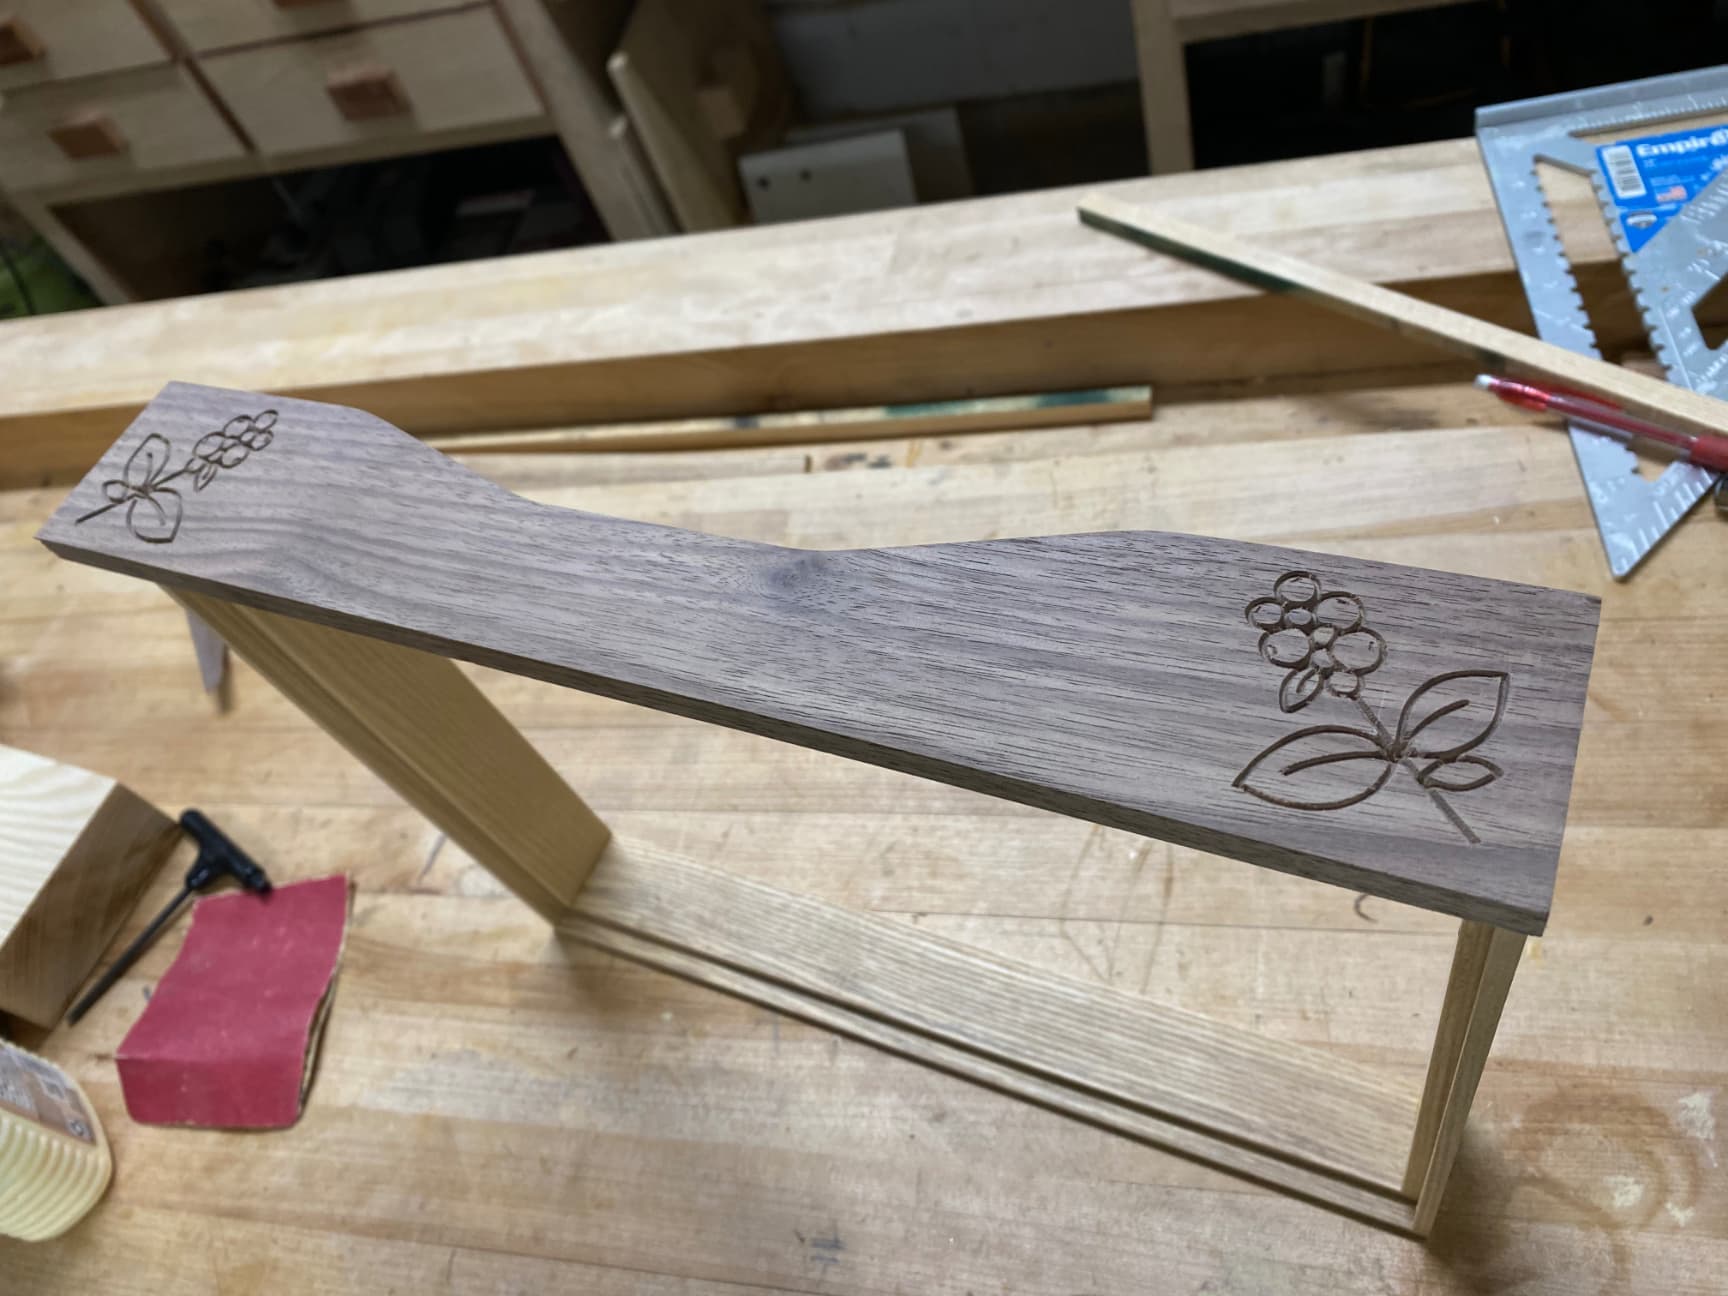
Very excited today. Used my Shapeoko Pro to cut out and decorate of front panel of a drawer I am constructing for a coffee server tray. The finger pull notch was cut out on the machine and well as the decorative touches on each end of the panel.
This is one reason I wanted to invest in a CNC machine, because you can easily and repeatably cut out elaborate pieces for multiple instances of a particular project. So cool; loving it!
20 Likes
Nice!
What sort of joinery are you using?
How are you cutting it?
Hey, Will.
So as not to mar the from drawer panel, I am relying on glue as the main joinery technique. However, the rear corners of the drawer will be re-enforced with small finishing nails driven into pre-drilled sockets.
The front panel will be further held in place with a glue bead along the front edge of the drawer bottom.
I used three tools paths in total. The first one cut out the finger notch with a number #102 1/4-inch bit. The two formal decorations were done with a 60° bit. I am recording the entire process and will be posting a video on YouTube. I’ll share the link when it is done.

4 Likes
I am not an accomplished woodworker, so I go to this site for inspiration on how I want to do it. 7 Wood Joinery Methods That Use No Metal Fasteners
With the face attached to the side rails as you have, you could do a Mortise-and-Tenon. It would give you a bit more strength.
Looks great Sir
2 Likes
Thanks for the link, Mr. Zman. A few days ago I constructed a jig to cut finger joints. I’m still working on perfecting its use and the results. I really love the sliding dove tail joint, but I think I would need more thickness to pull that off.
For the rear corners, I do think I will use 1/8" dowels for reenforcement.
Thanks again for the input. This forum is awesome for learning and sharing information. Much appreciated.
1 Like
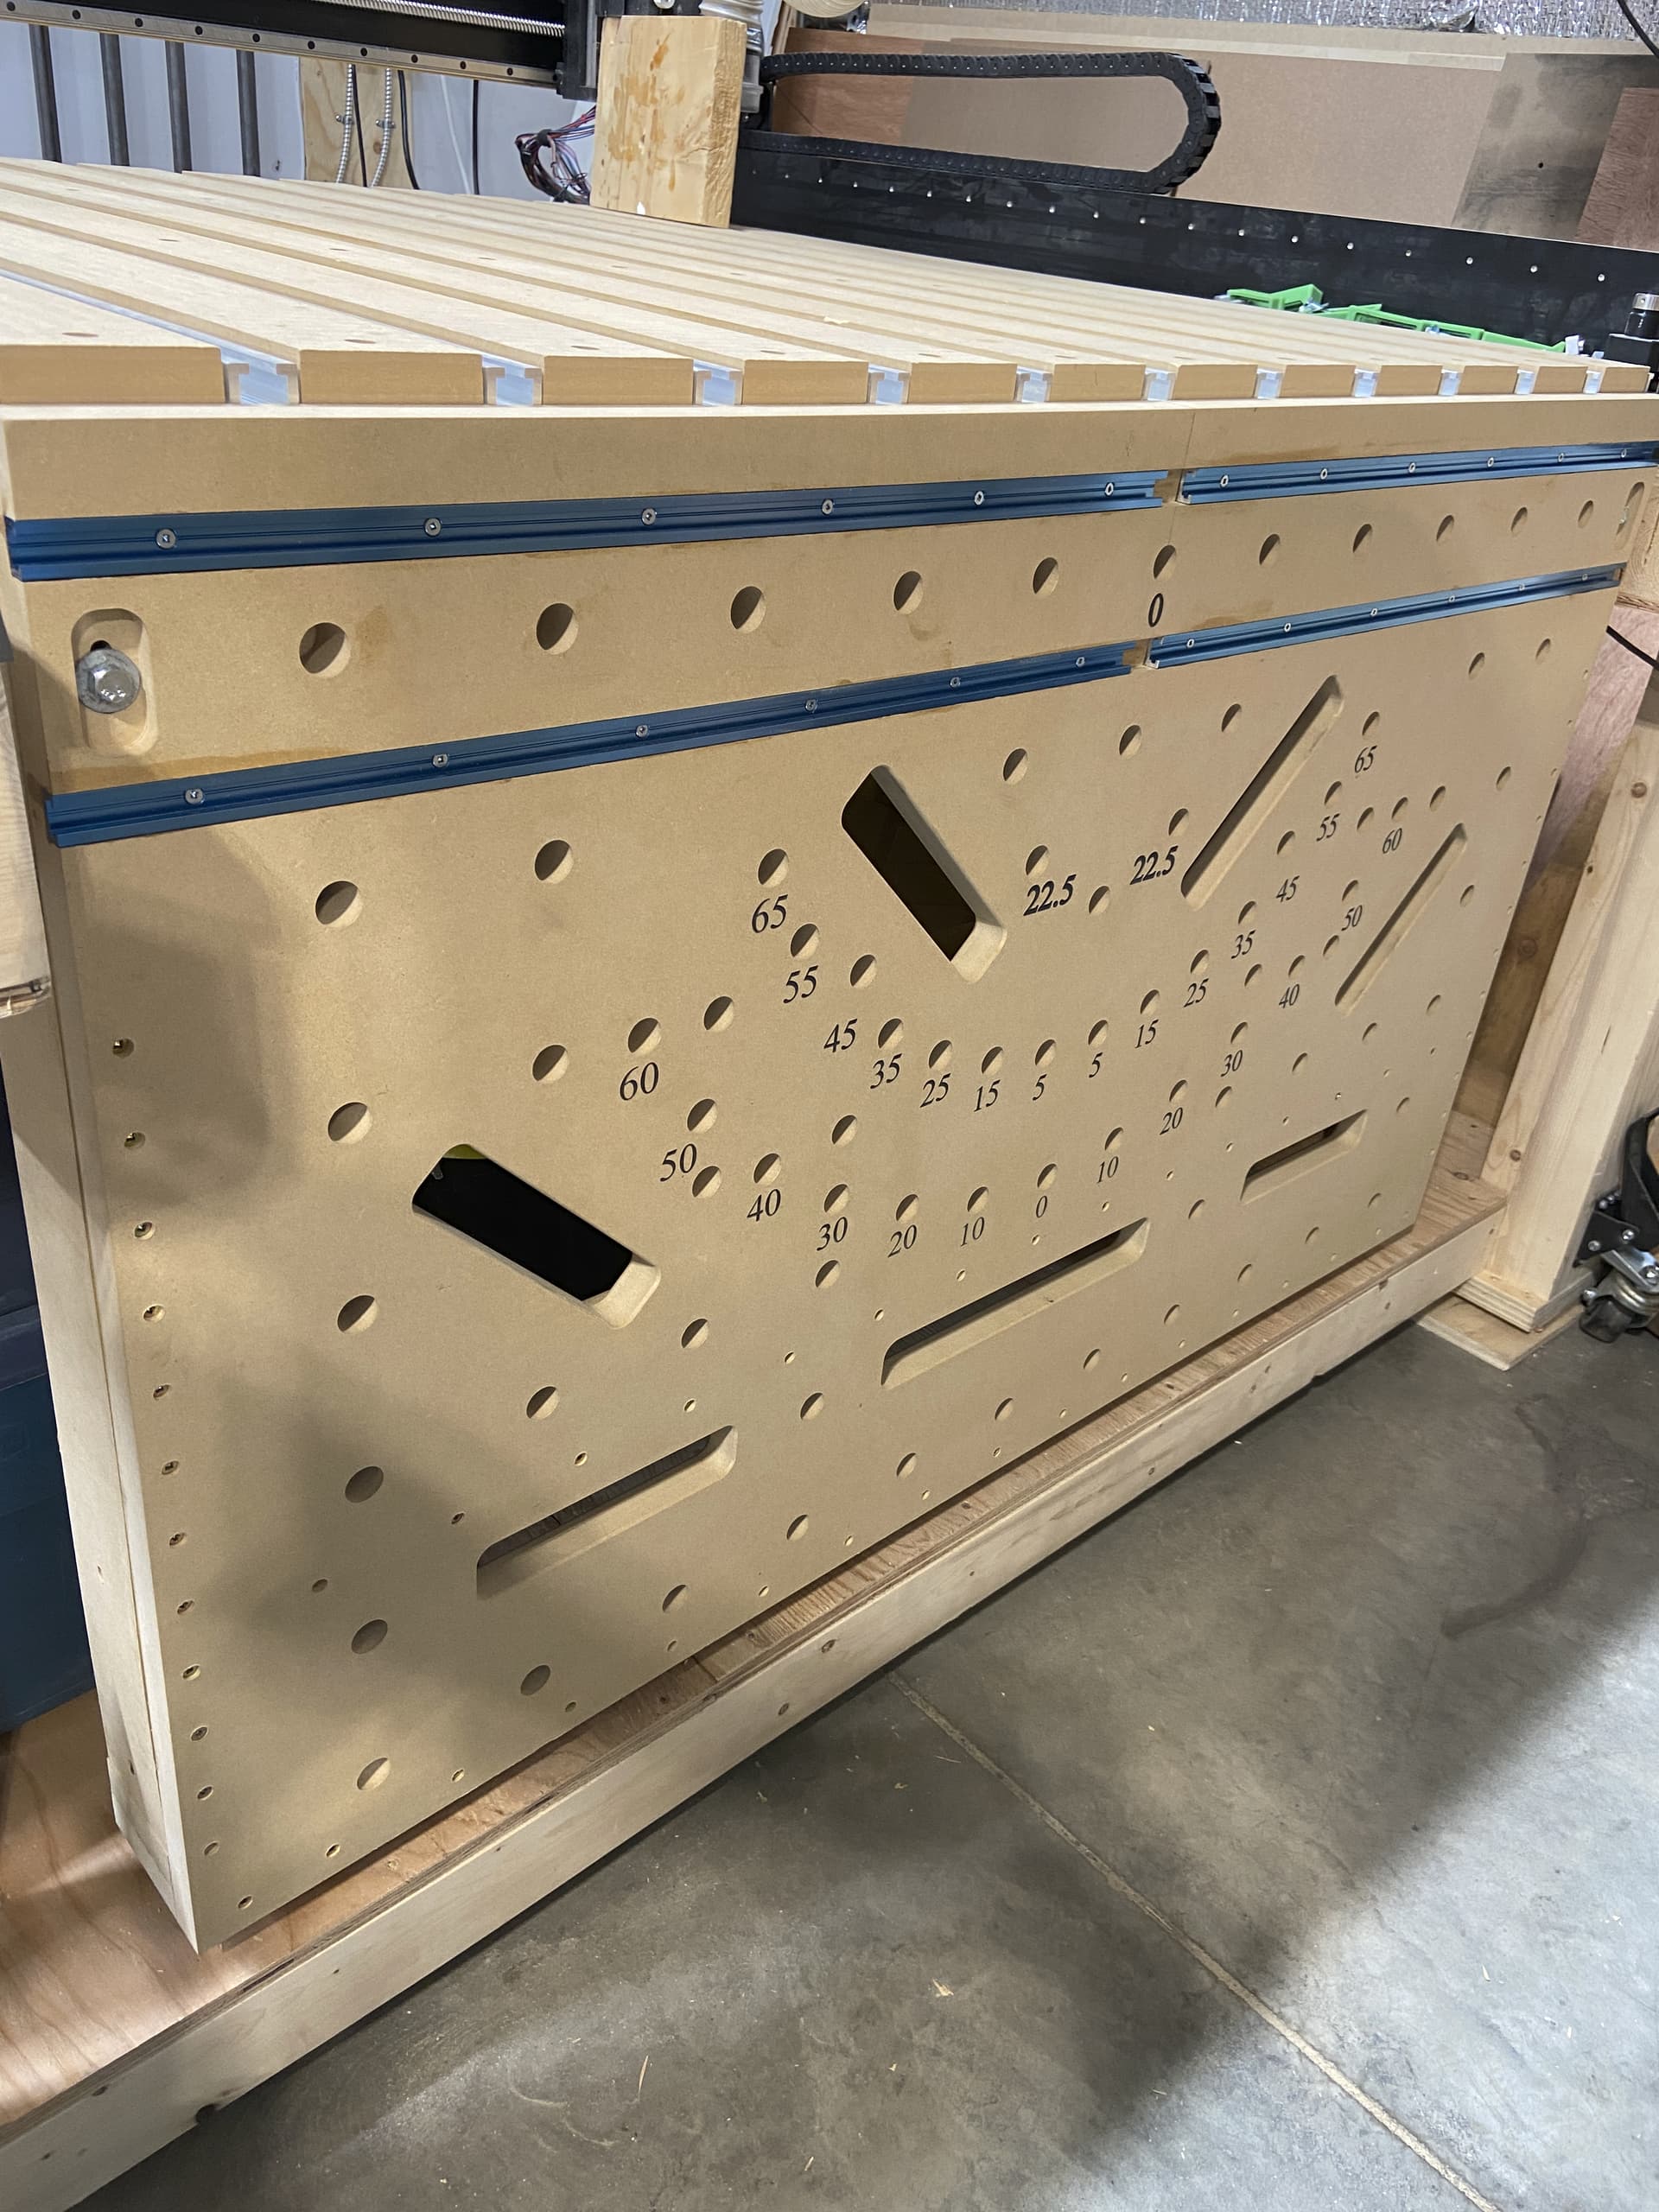
Unfortunately, those links aren’t well-suited to the CNC, and most of them, if cut on a CNC would require a vertical fixture (I made one a while back for my SO3: Fixture for cutting vertical joints by WillAdams ) which is a bit fussy since it requires a minimum of 3 setups:
- cut parts to length and machine any internal features
- secure all 4 boards on the fixture, 2 horizontally, 2 vertically in alignment, and cut two corners
- rotate all boards 180 degrees (in the correct orientation) and cut the other two corners
and have used it for:
Box joints:
Dovetails:
Knapp (Cove and Pin) joints:
@daveyJ There are a couple of joinery options which have been explored pretty thoroughly:
Rabbets (Rebates for our friends across the pond) are so easily done that they are termed “The Simple Box” in one video:

c.f.,
I’ve been exploring joinery for a while now, and one promising option is quarter or full-blind box joints:
see the gitbook above for a bit more on those.
5 Likes
Made a box for our expansion mics at church. We only use these when we do a big event that requires more than the 8 wireless mics we have built into the system. This will protect the equipment, keep it all together, and the box will sit right on top of the equipment I already have in the sound booth. I can’t imagine trying to cut that mic tray without the CNC. It could be done, but this was SO much easier.


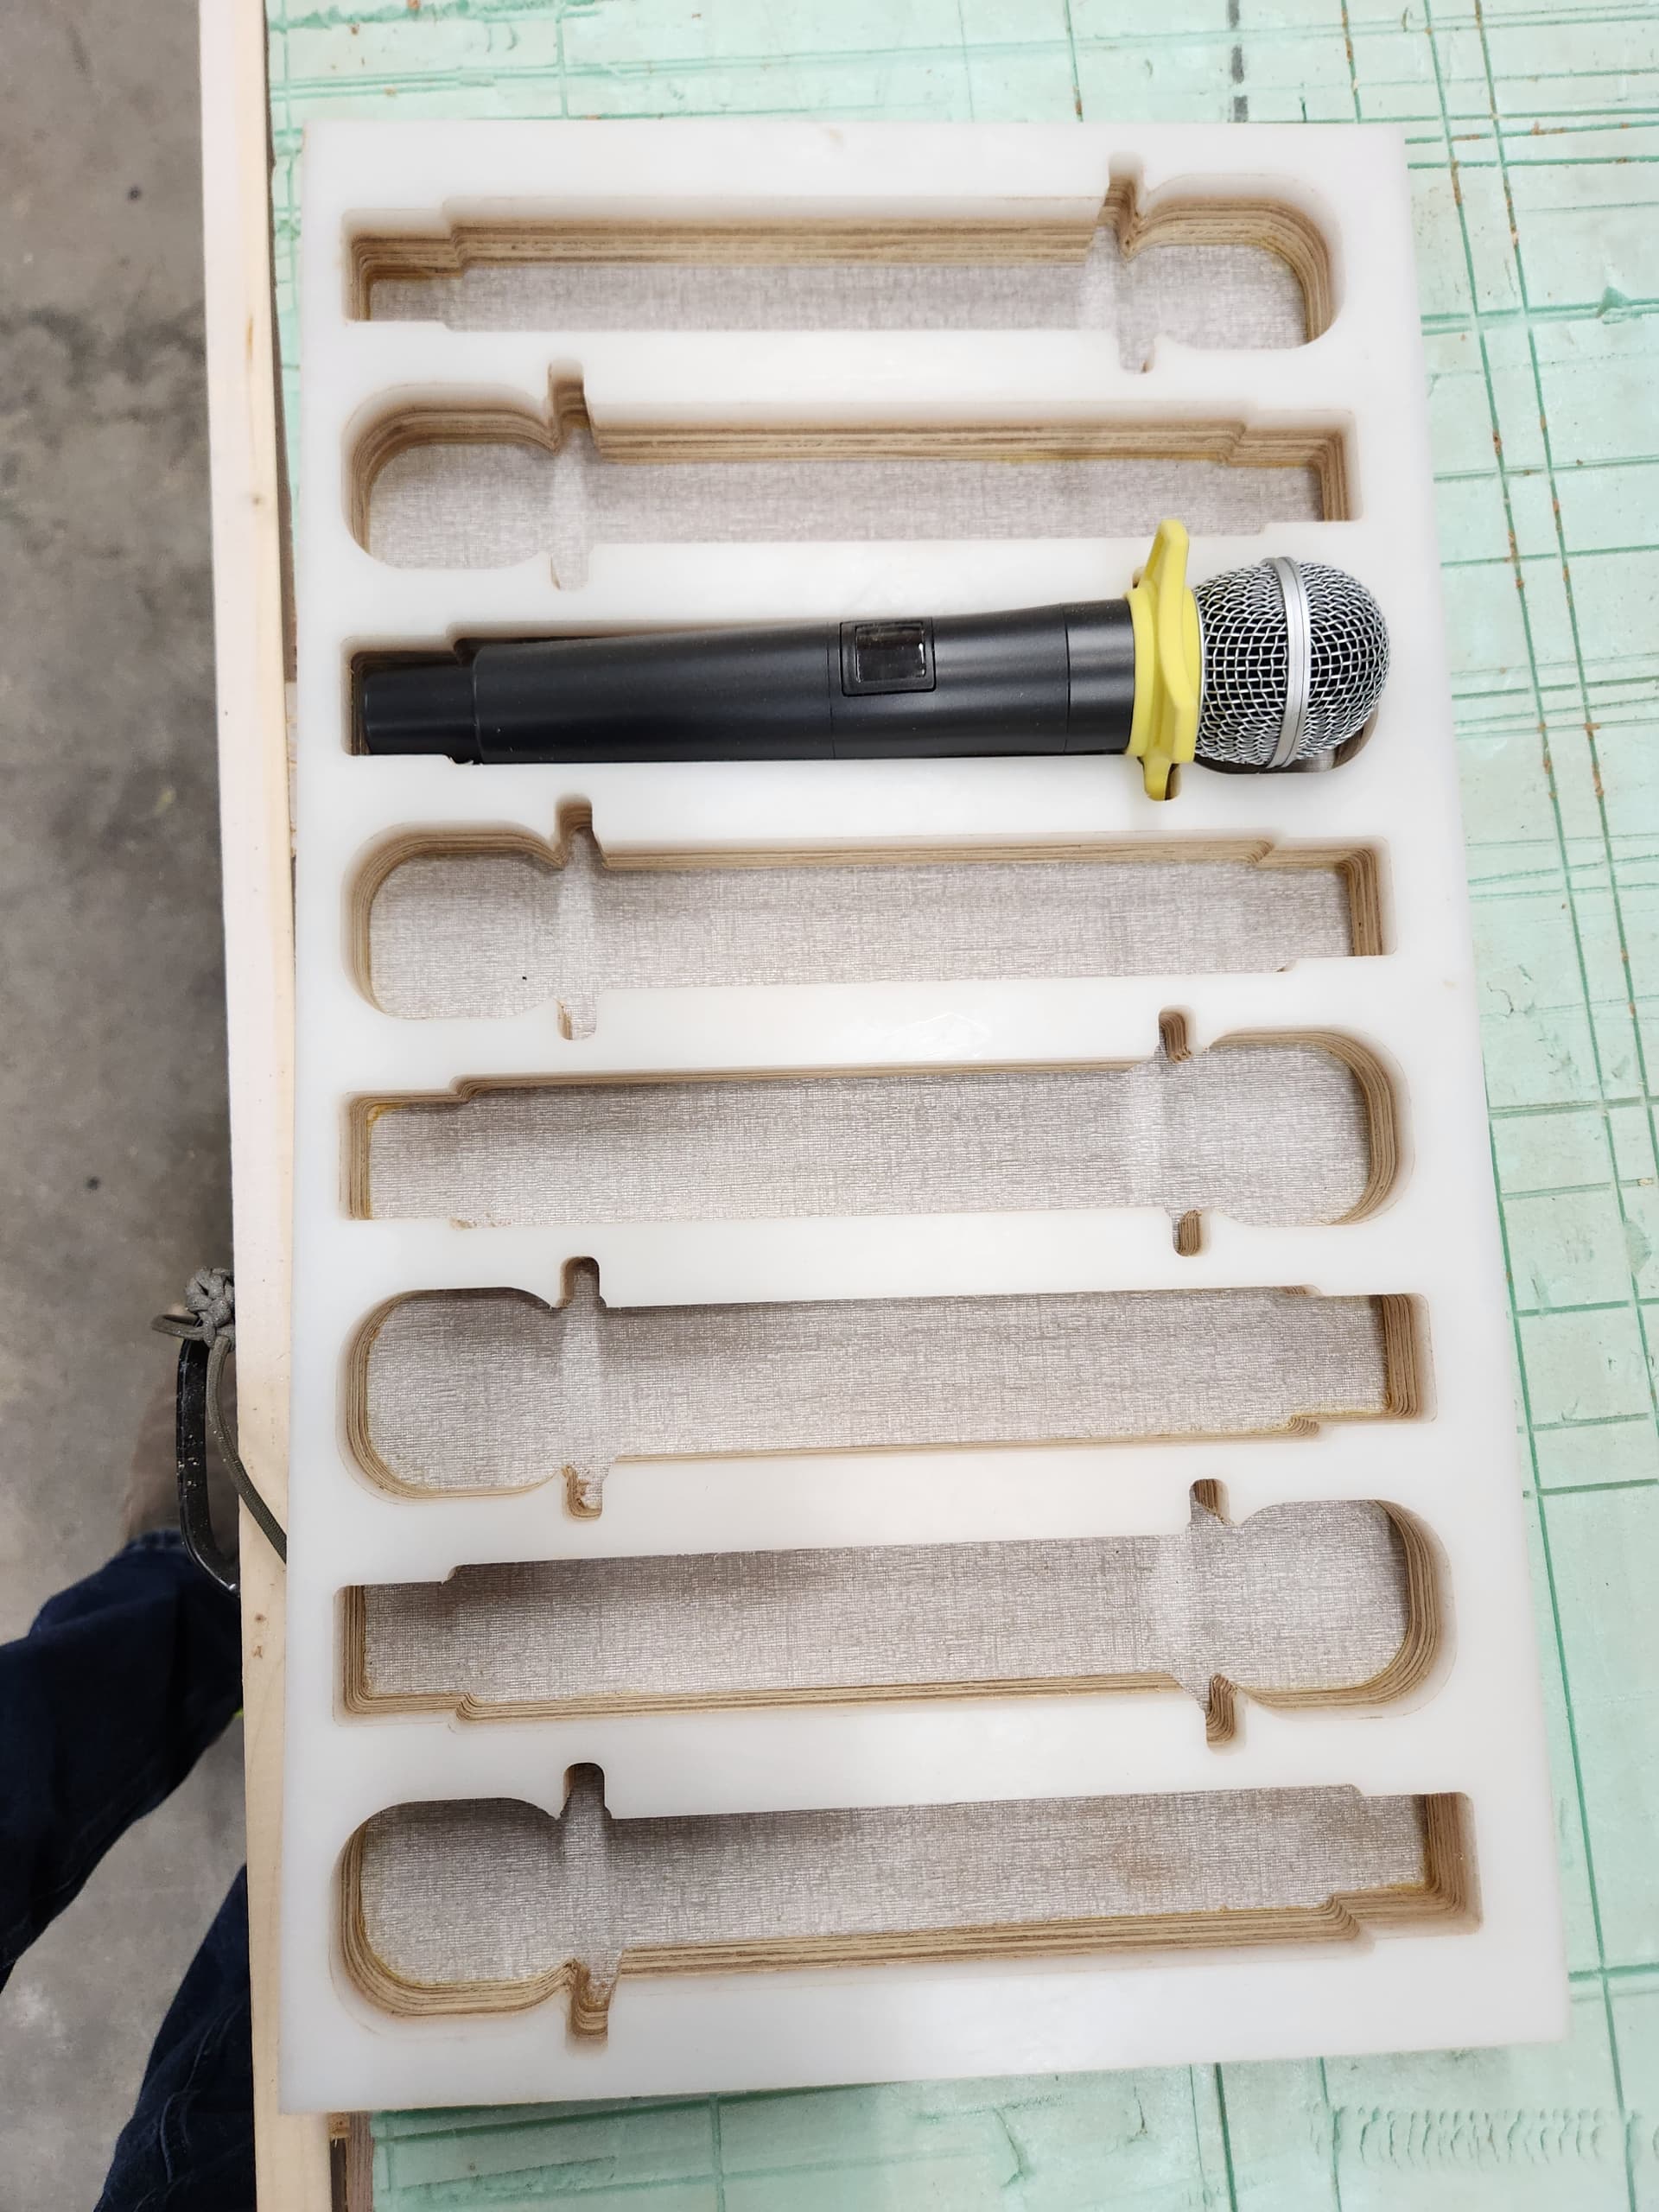
Just remove the tray, pop the antennas up through the lid, and you’re ready to go to work.

16 Likes
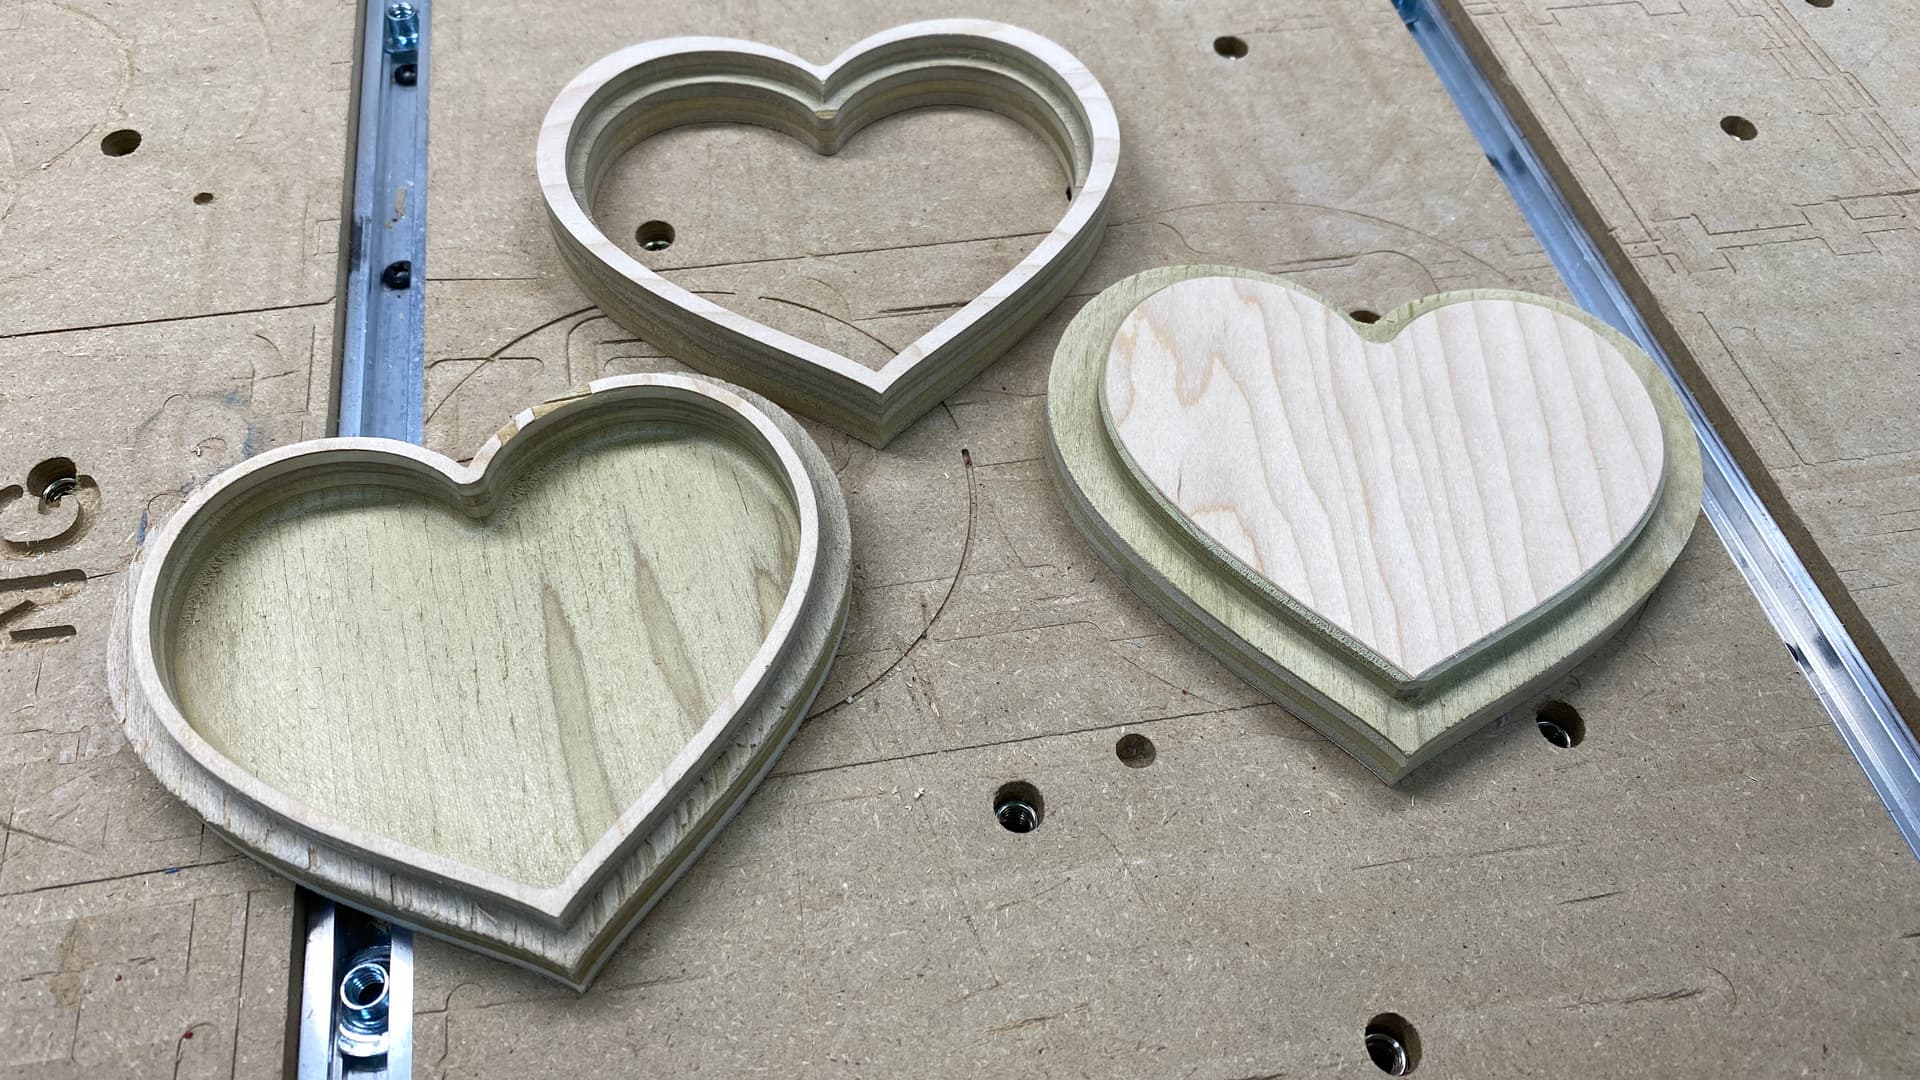
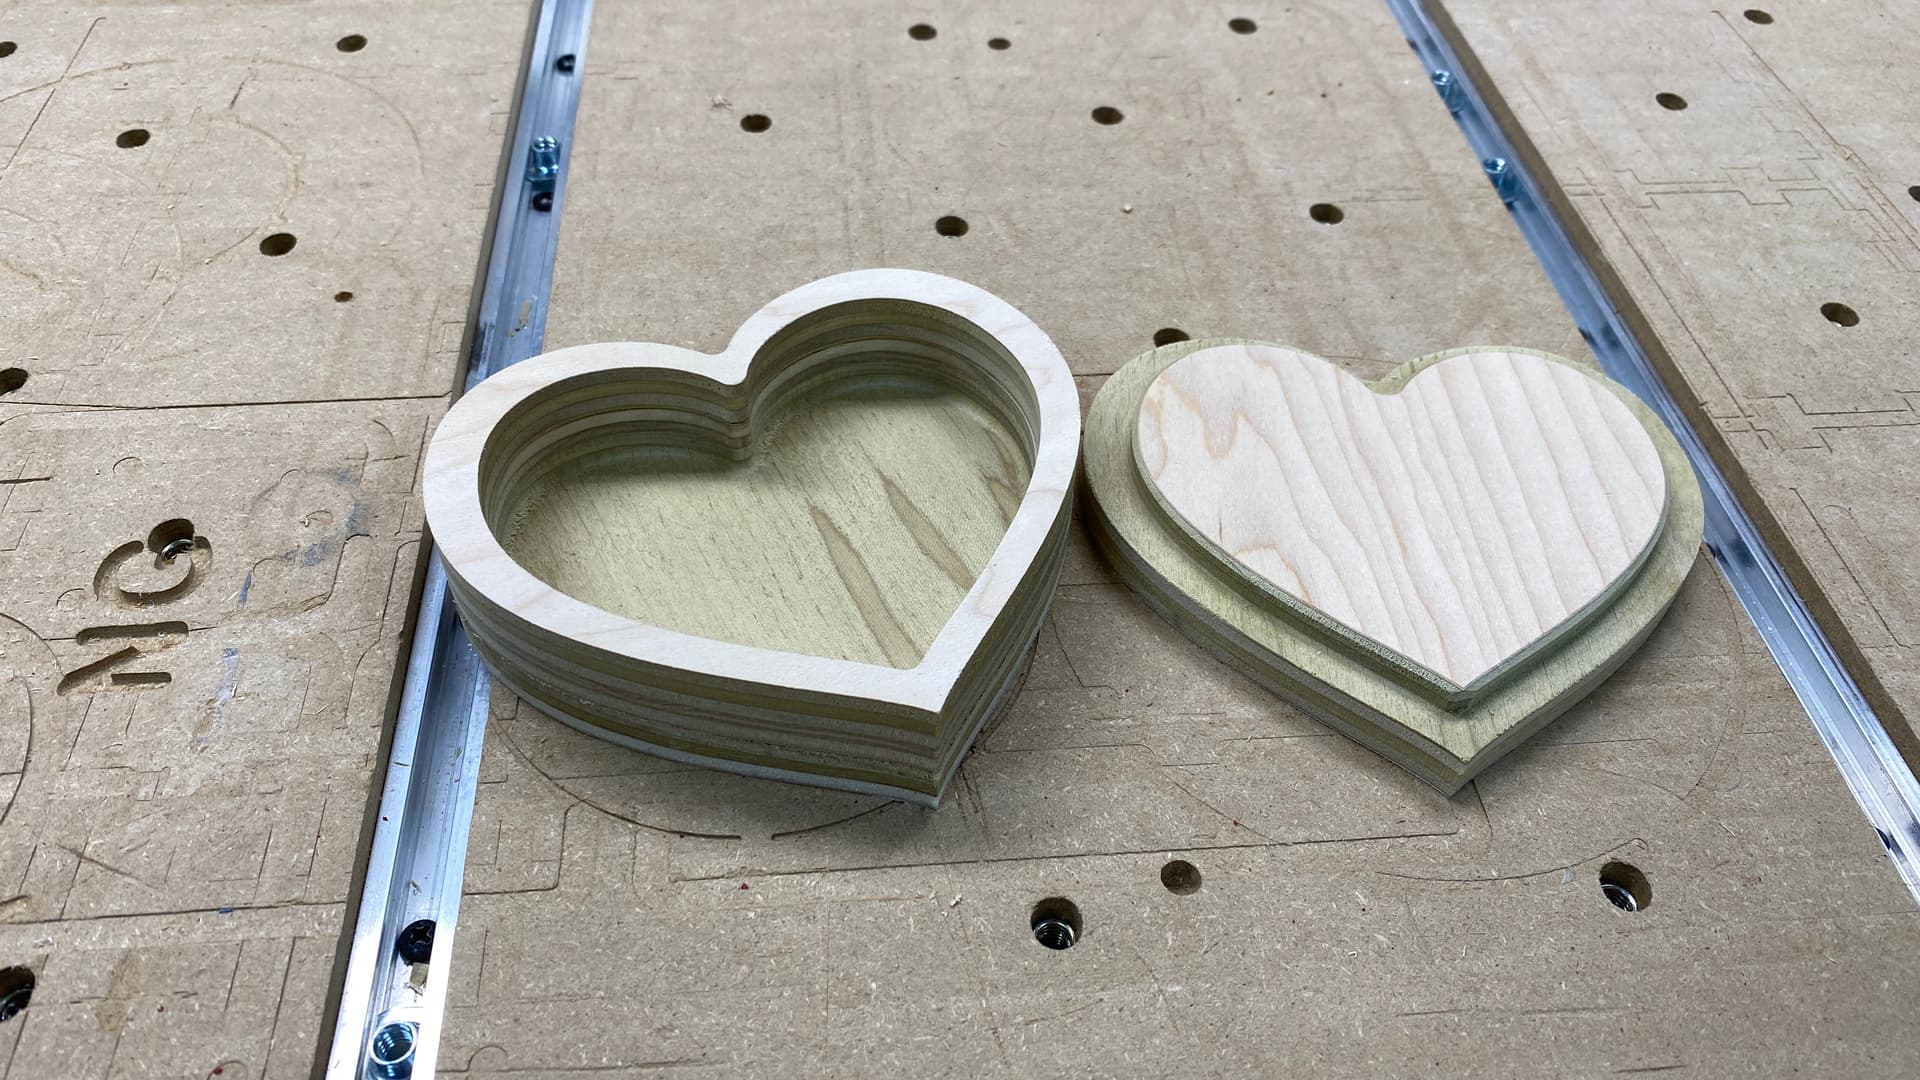
I am making a heart shaped box for the wife. Before I commit to the purpleheart wood, I tried the cut using some scrap plywood that I had laying around. I also enjoyed the challenge of swapping out the Dewalt router after the first toolpath ran.
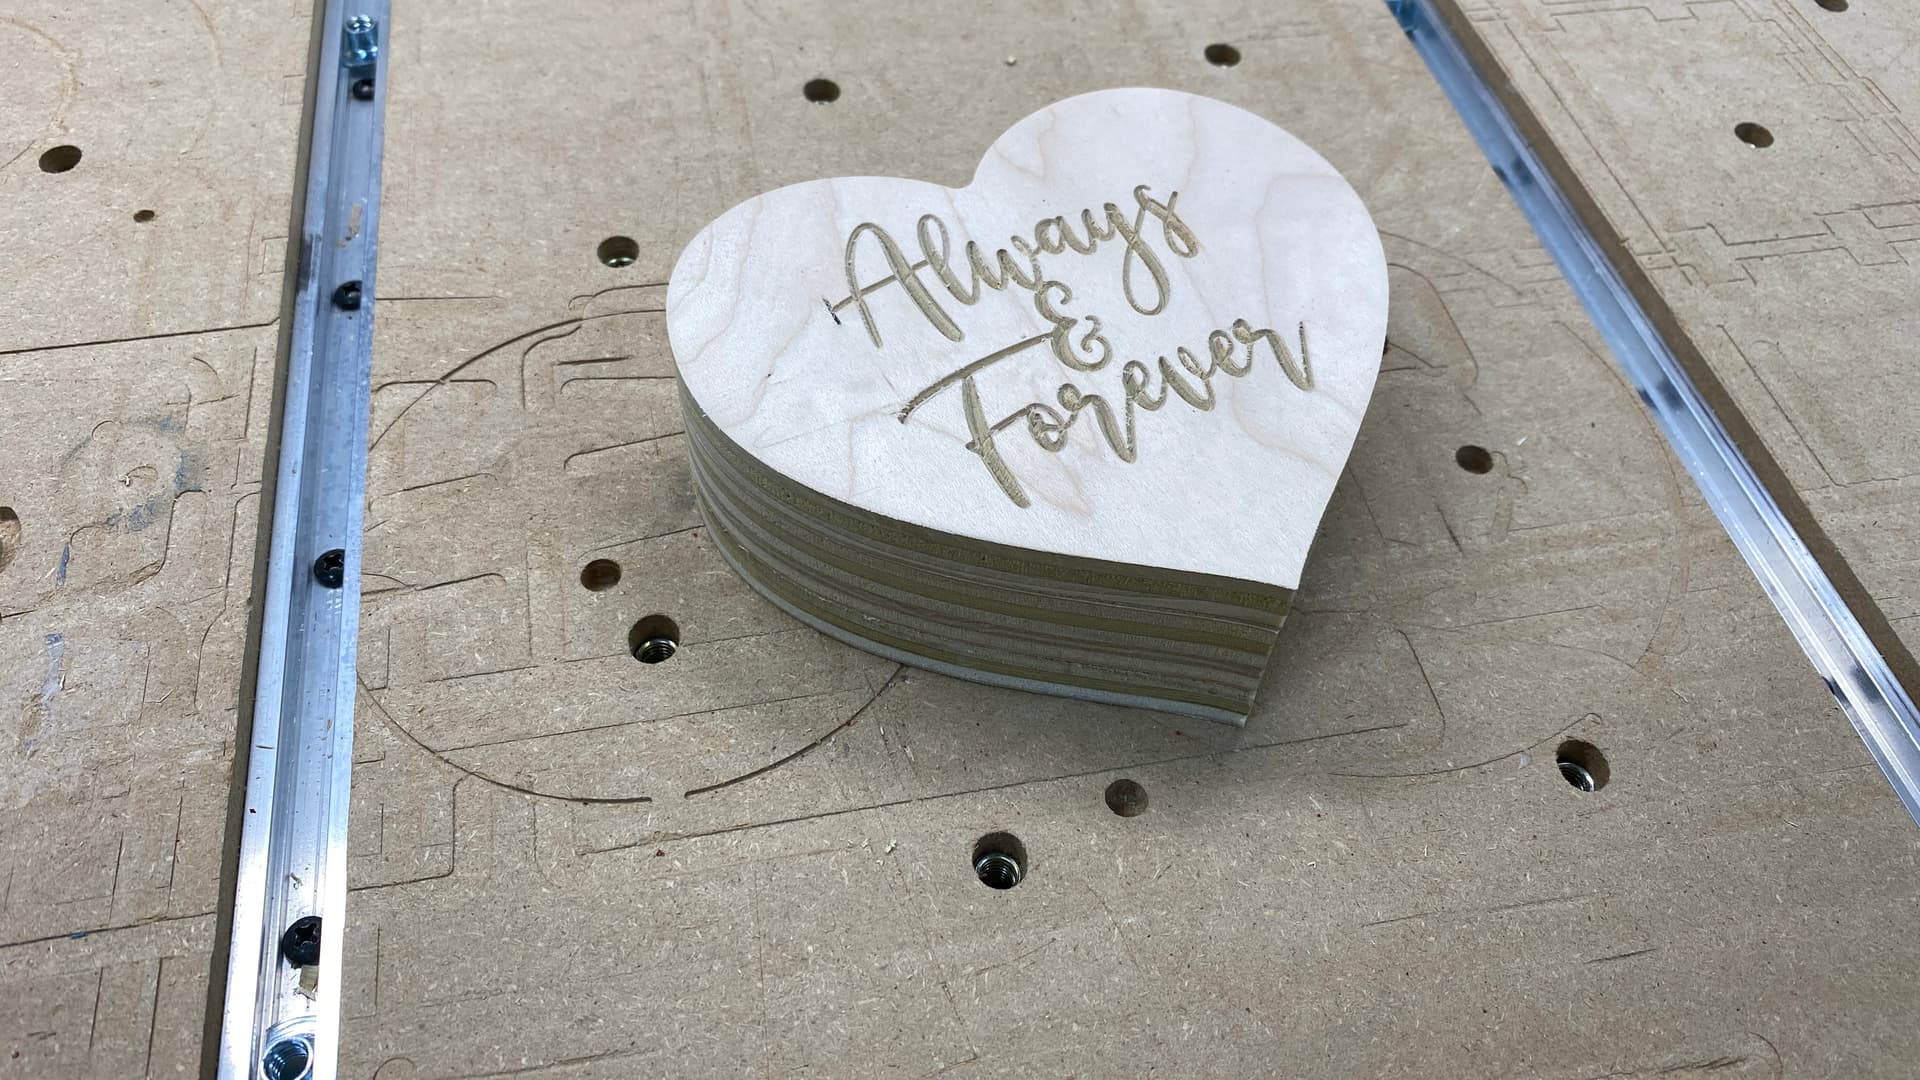
17 Likes
Heading to see some family I haven’t seen in a decade so I thought to run something… got lost in ideas for far too long. Had a piece of hard maple from a lumber run and was wanting to do something a bit more creative/nature/natural oriented so this was made. Then I tossed it under my laser and slapped their name on it. Few coats of lacquer and we’ll call it good.
Hopefully it will be well received. I feel a little bad its a wee bit large and if its unloved well, I’ll tell them it can burn. ![]()

edit: sorry gdon, I didn’t realize I was replying to your post. hehe!
22 Likes
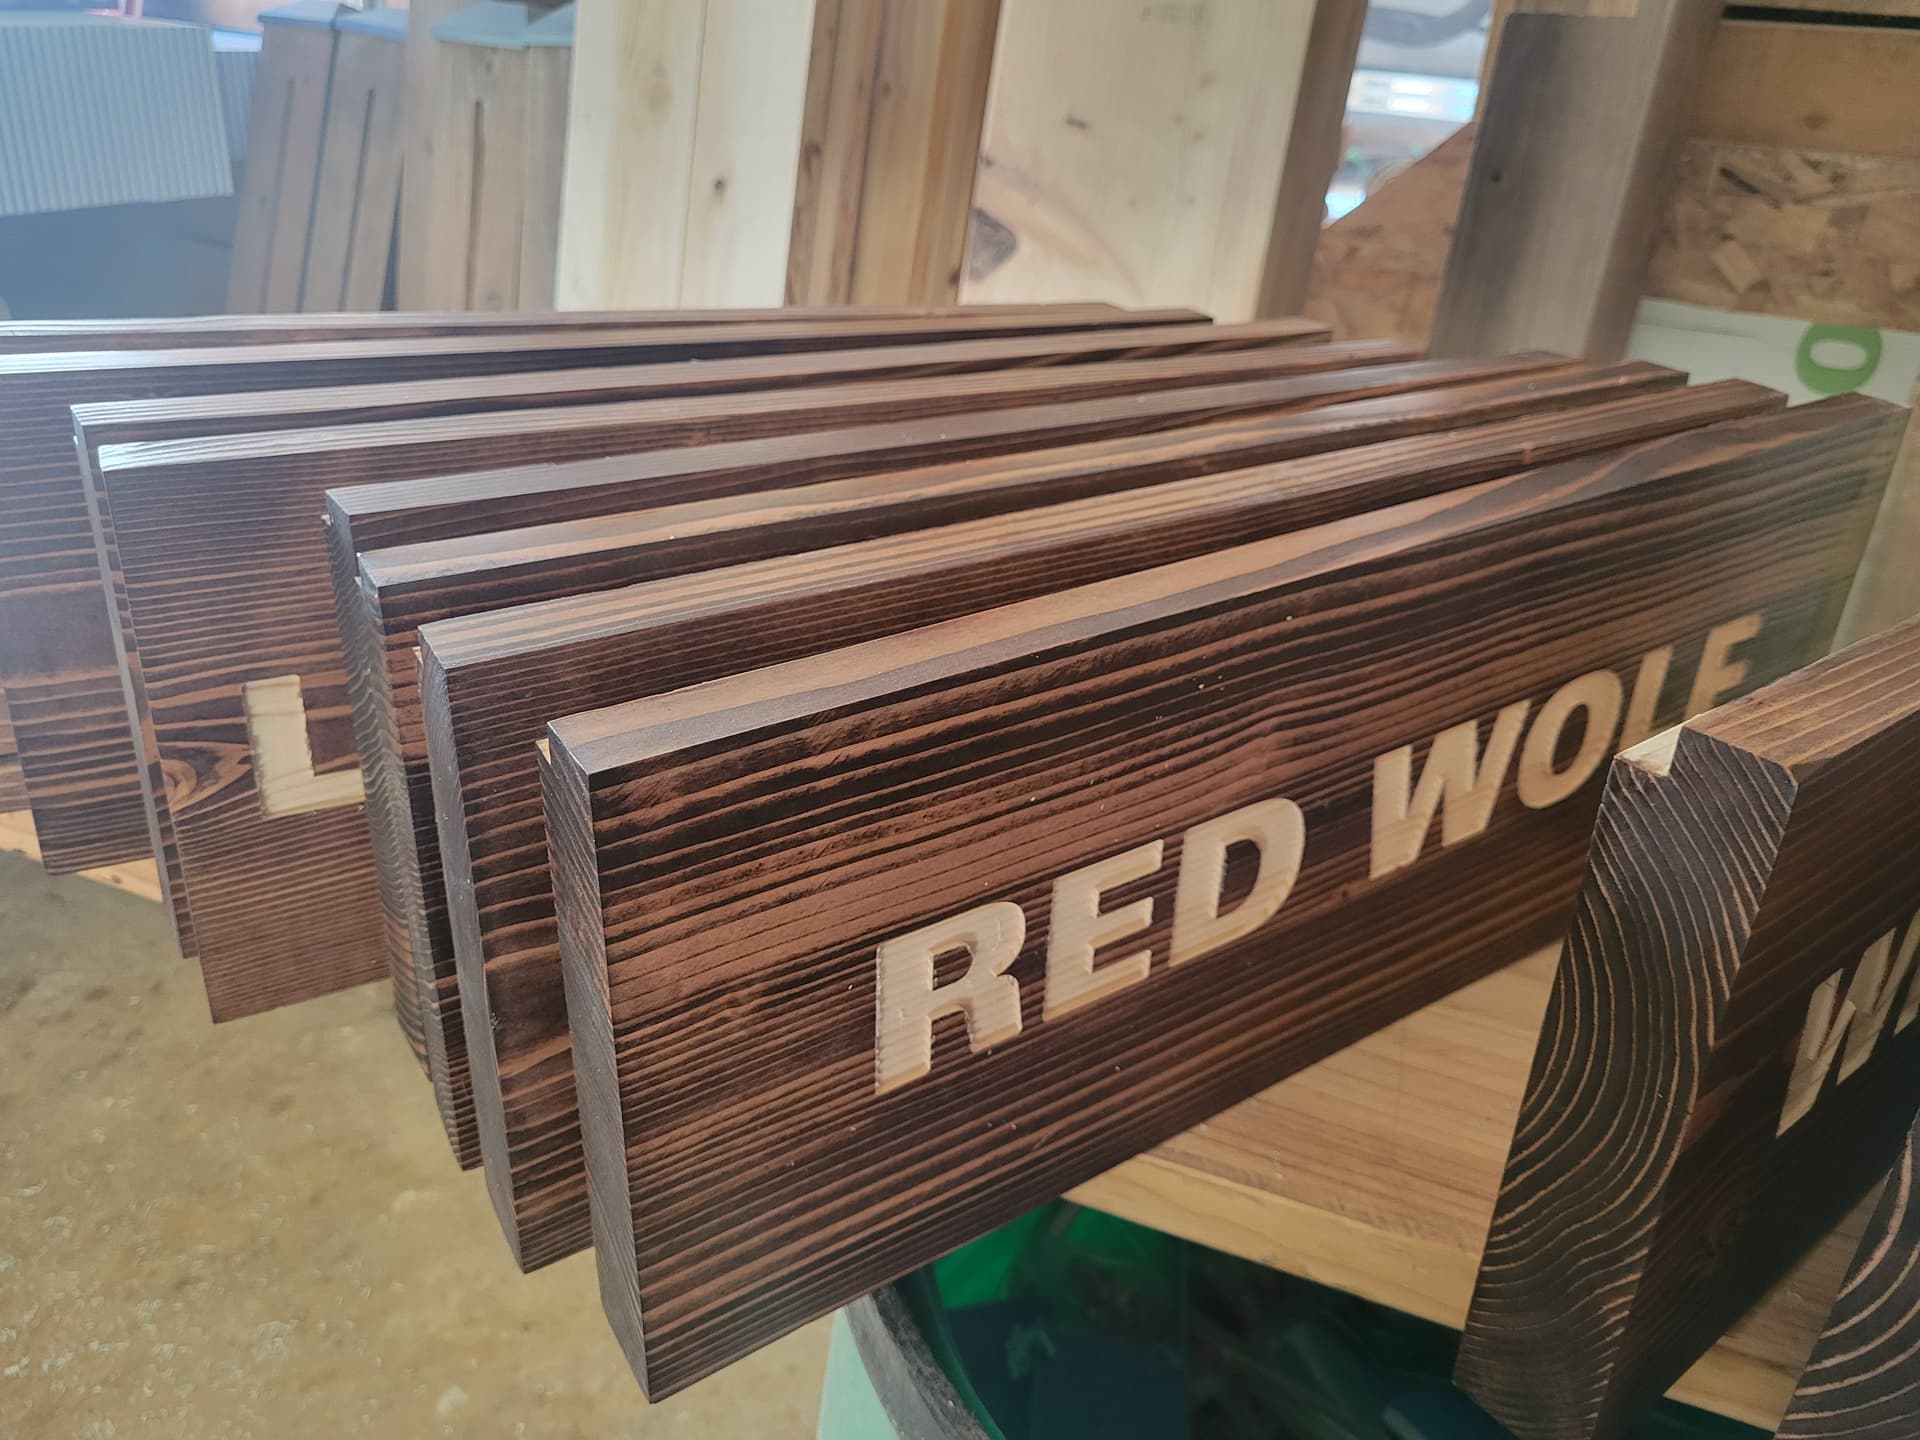
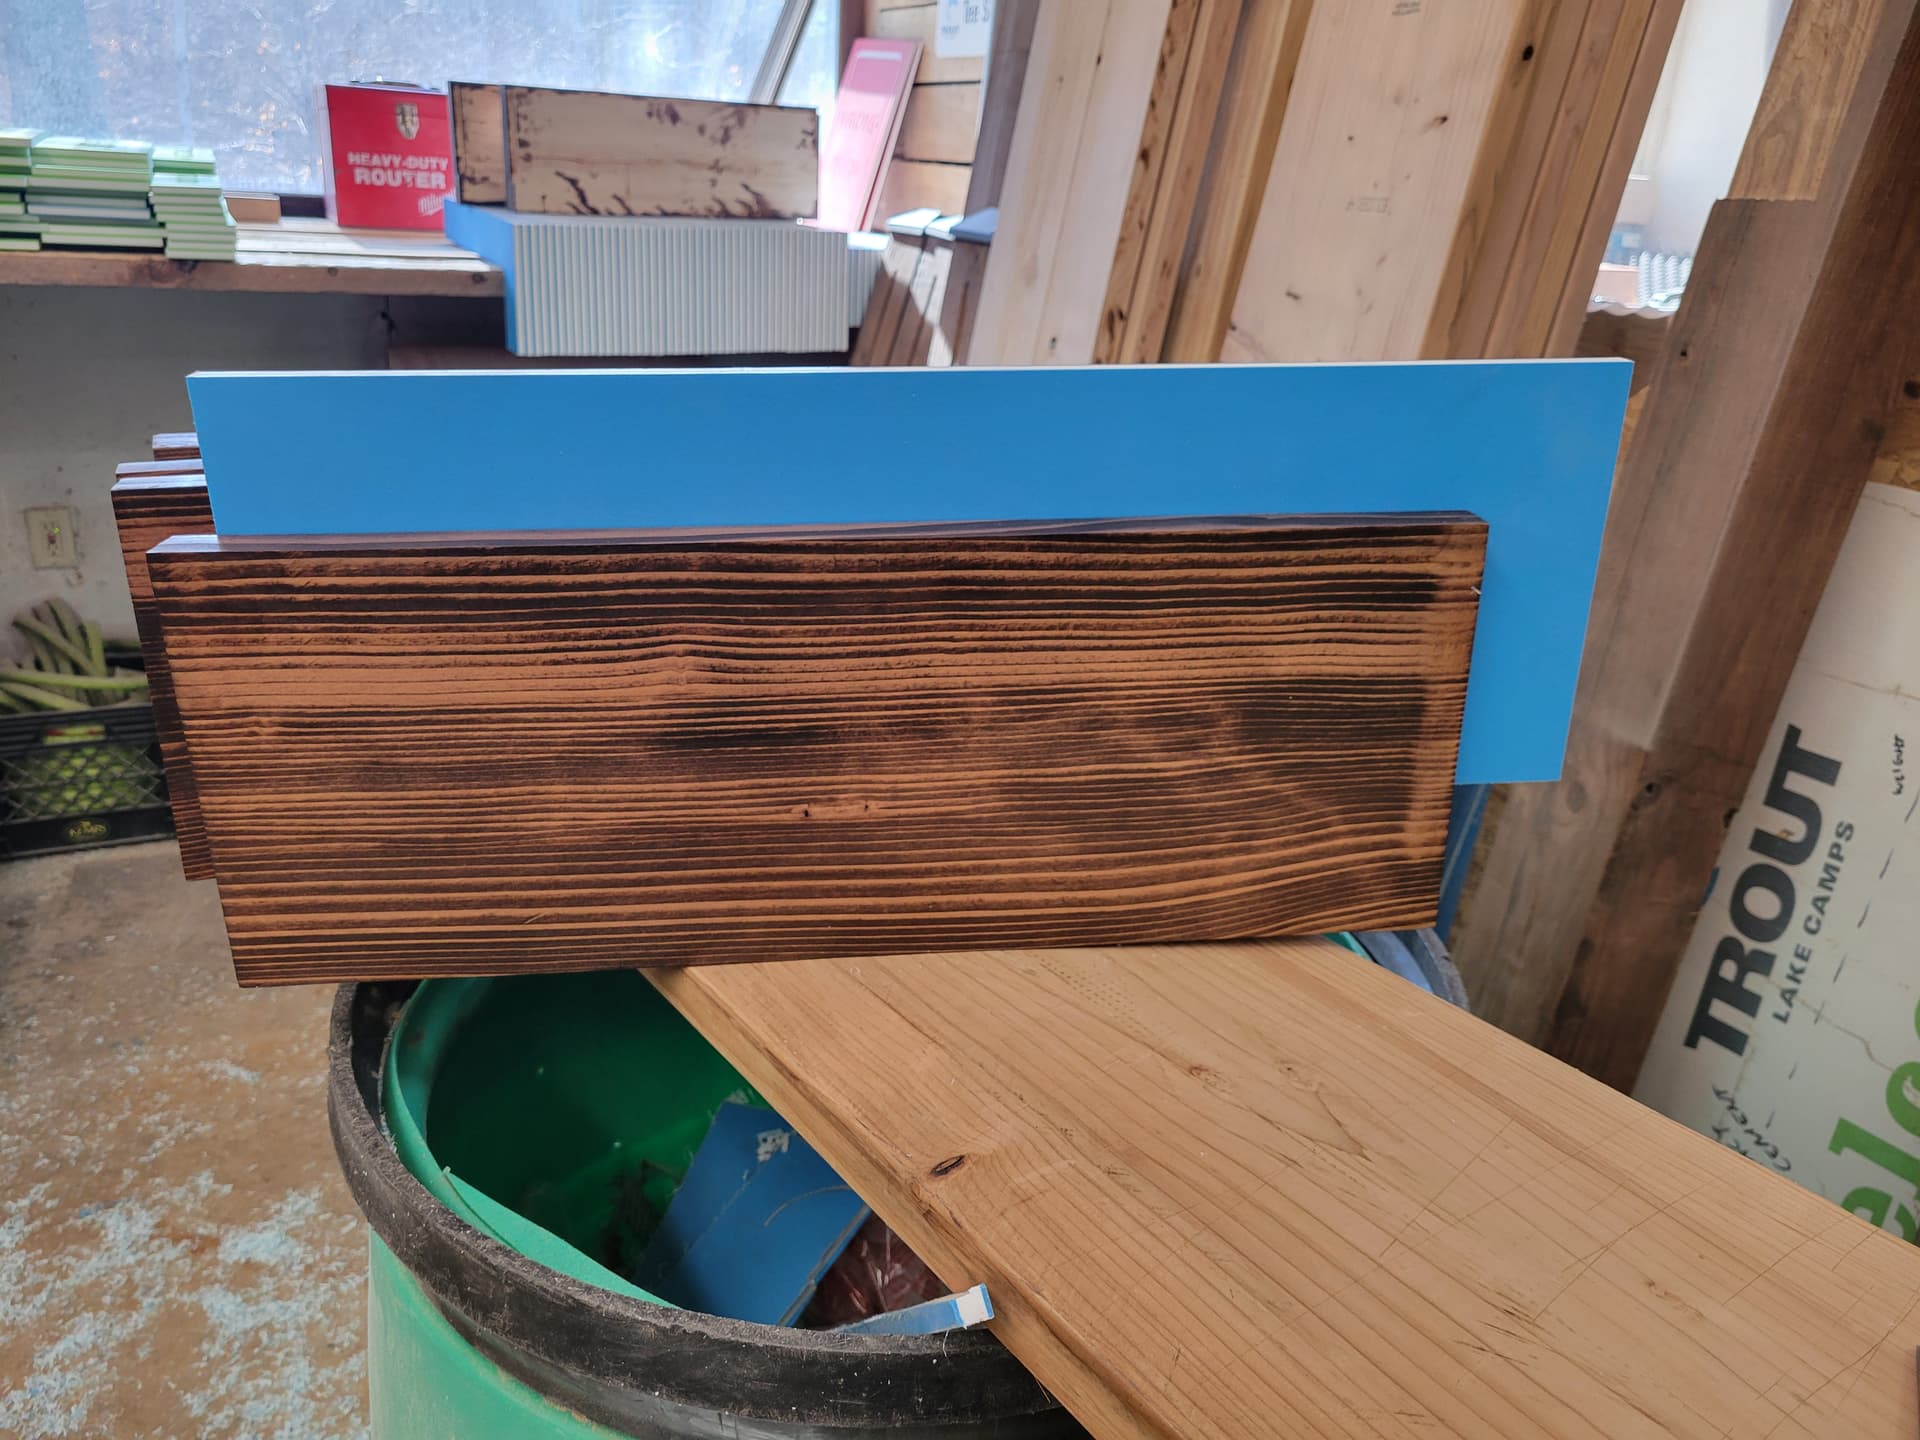
Hey Mark, what are we looking at here? Did you ebonize/carbonize/flame the boards yourself? I like it.