David
I use this set. It has done the job for me.
4 Likes
Those vcarvers are good when limited to the shank size and collets of 1/4. All of my vcarvers are fine points and I have every angle they offered for me to use. I have carved a Jack of Hearts and Jack of Diamonds on a board part of a project where the cards were 1.75 wide and 2.5 inches tall. They were both stacked and the finer details needed to be done in a sharper point carver. I tried the 60 degree and it blow out many parts of the cards.
1 Like
Awesome! Thanks for the tip. Not a bad price for four bits.
Bought some new crush it clamps ahead of a big job. I knew they looked nice but I’m loving them. I keep nerding out and showing them off to the other maintenance guys who usually just roll their eyes.
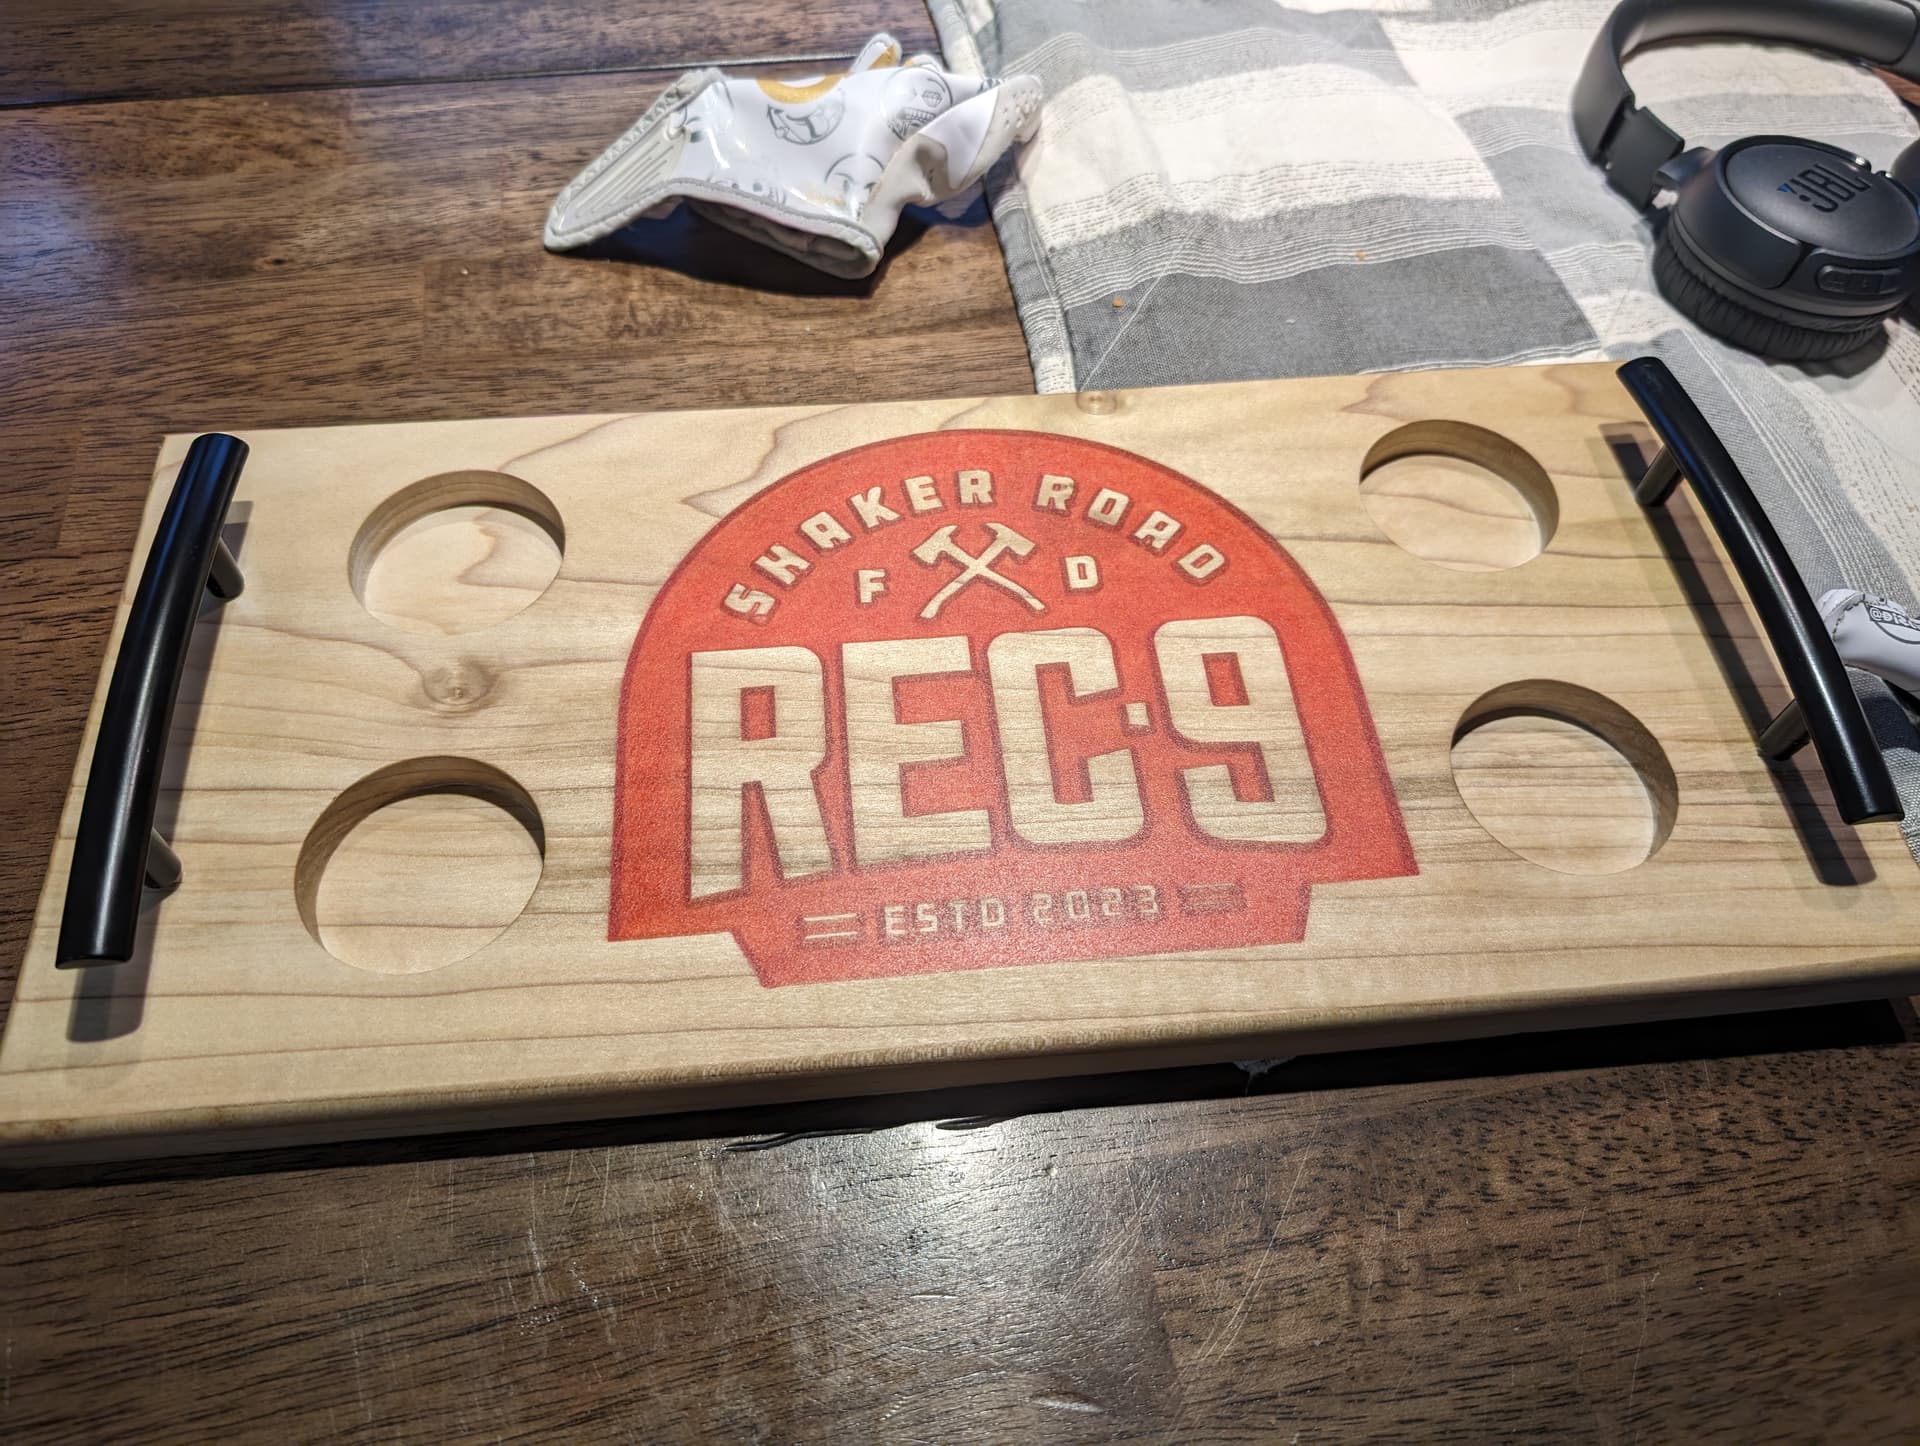
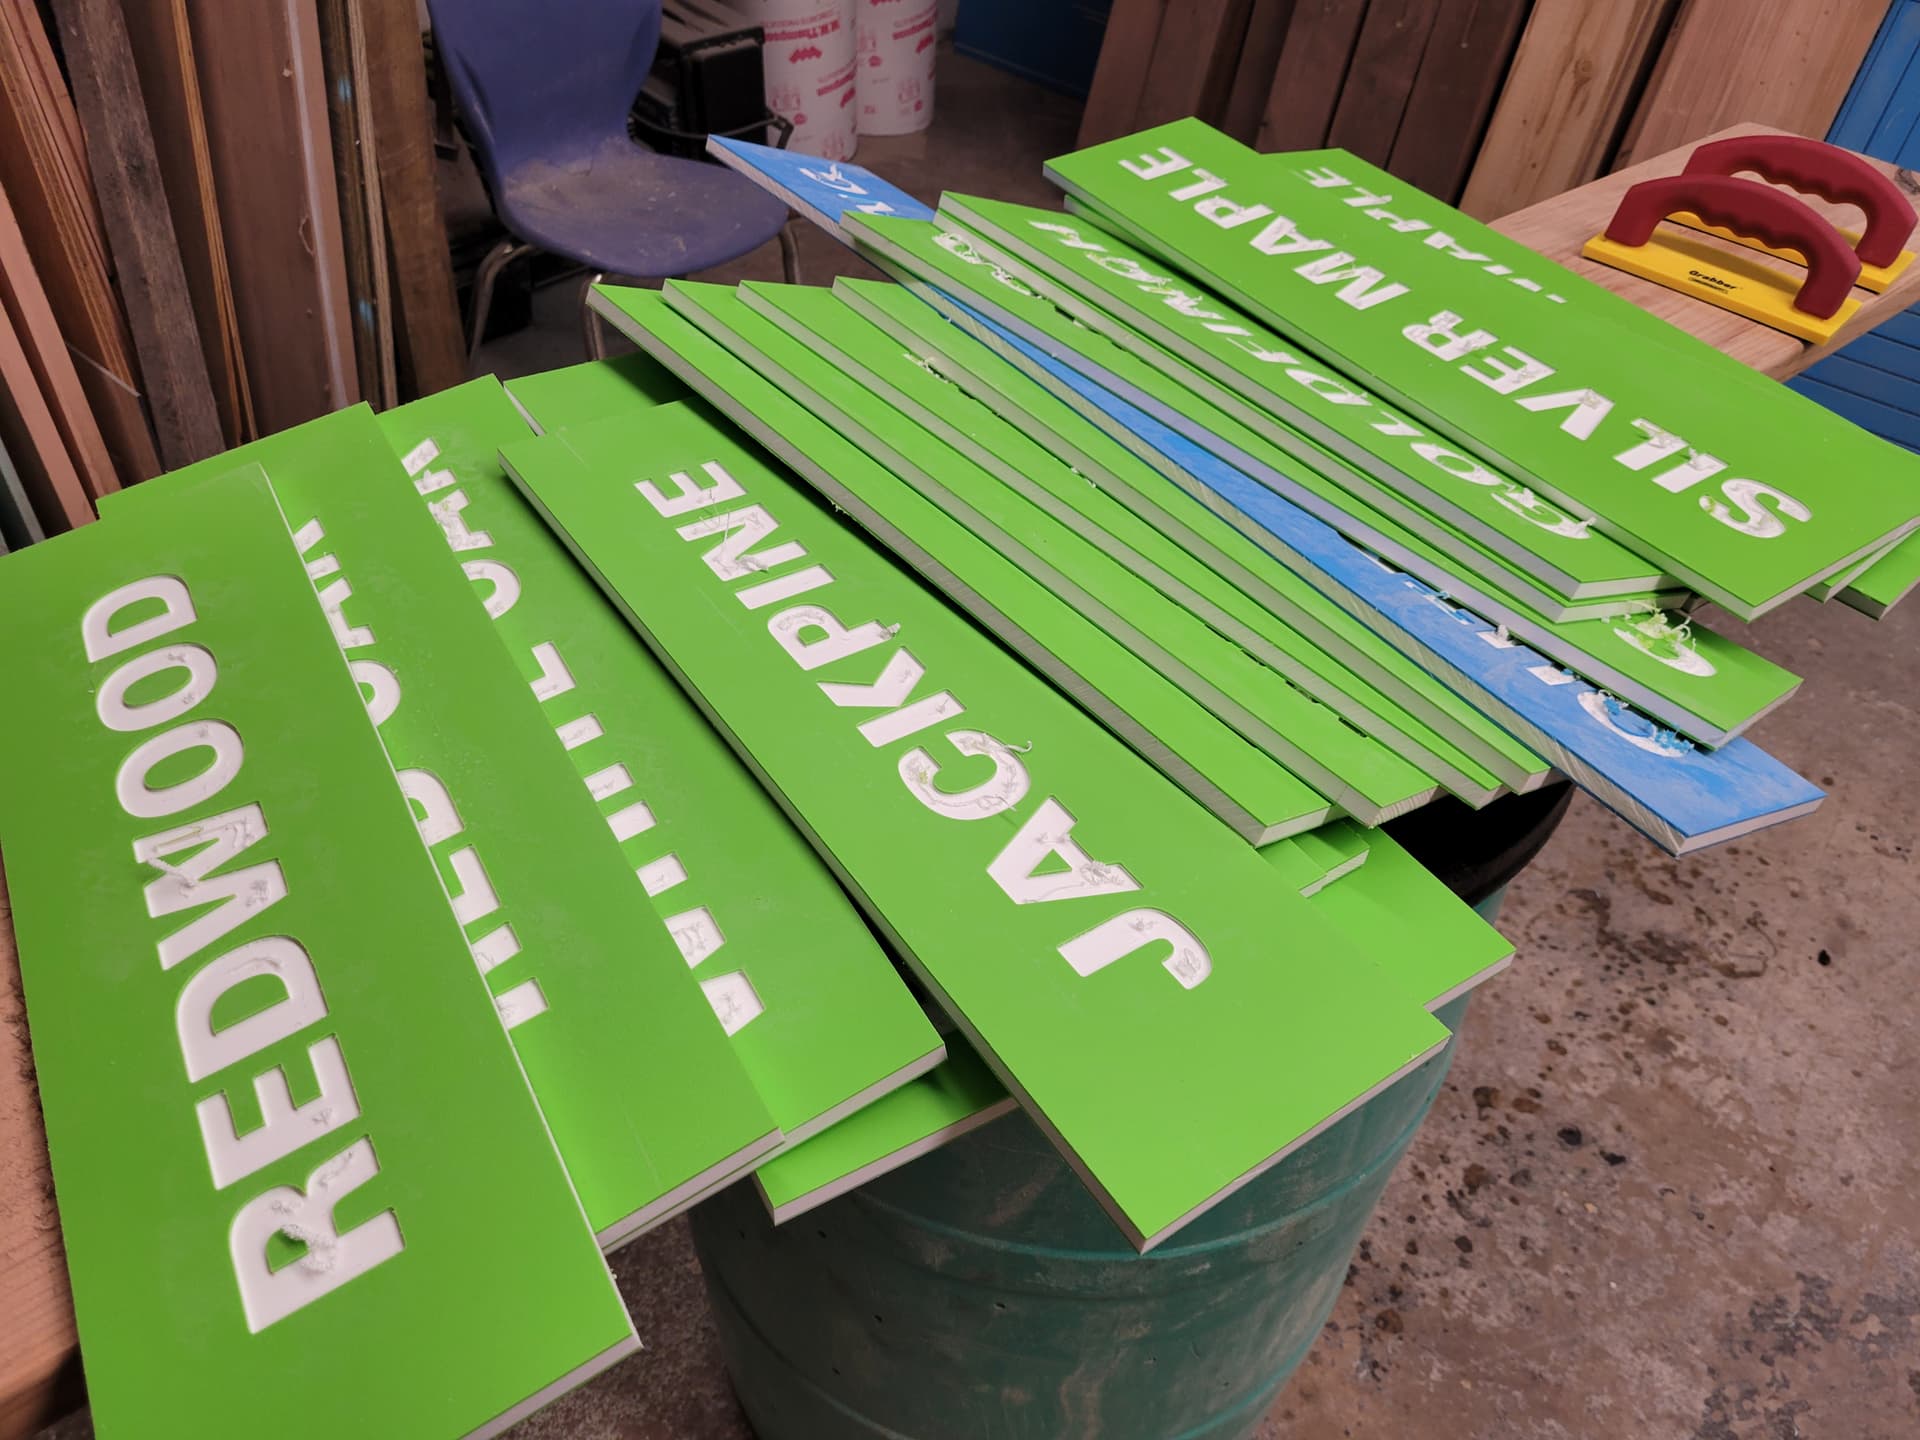
A few styles. All will have color core plastic and wood. 0 done, something like 150 to go.

13 Likes
Did you ever quote it out to a sign shop? Just wondering what the price difference would be, doing it yourself. The Colorcore is expensive.
I couldn’t tell you the difference, honestly, but I can’t imagine a pro not including the cost of the same material. Mid winter is the sweet spot for our staff building and improving the property because guests are usually not here mid week. My hours are a lot cheaper than pro’s.
Everything we build has an element of volunteers too, mainly retirees. I’ll have some ladies hand paint the inside if the letters that are carved in wood. They love doing it and helping this place, saves me many hours and oramask costs.
We the up building a bunch of building for well below cost. People donate land for trees. Volunteers run a mobile mill on site and off. We trim out buildings and do flooring with our staff and volunteers.
7 Likes
Looks great. I wish I could get my hands on some.
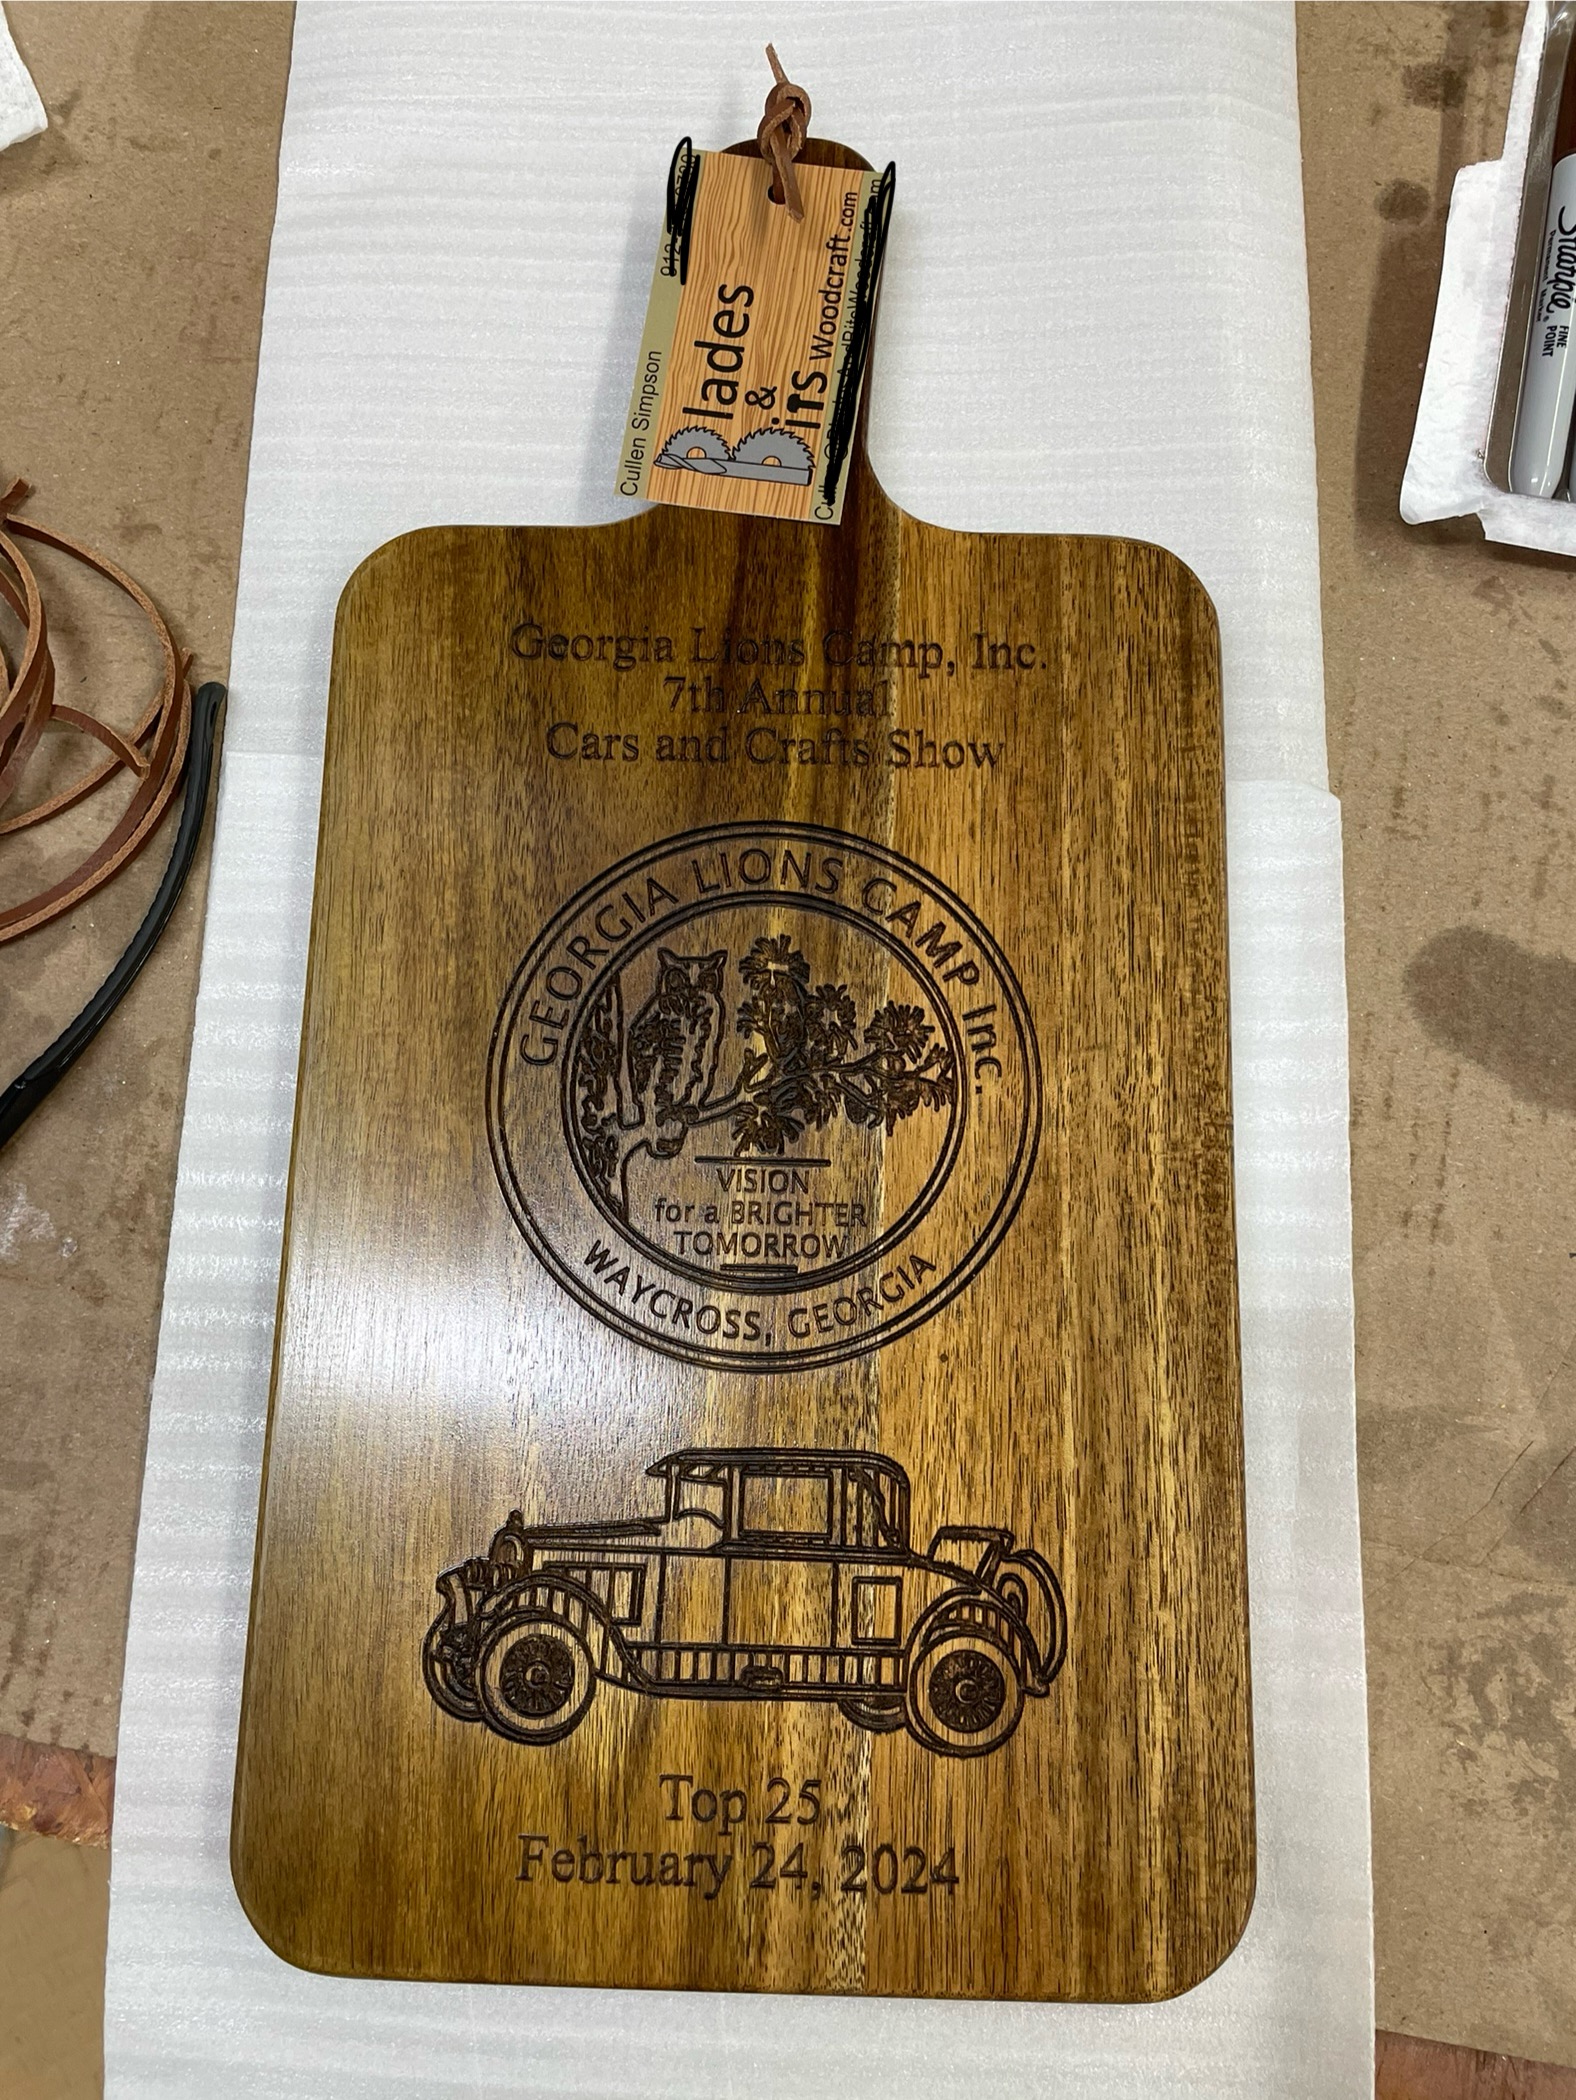
To try an upsell on the plaques I made I used the NextWave Shark Tooth and a pen to write on the back of business cards that I attached to the plaques. The letters were too small for a Sharpie but the regular Bic pen worked well.

I tied the card on with a length of leather cord and then put each one into its own foam pouch.

Those of you reading my other thread will know that I was trying that Shark Tooth with an xacto as a drag knife. I haven’t gotten that working yet. Still trying though ![]()
8 Likes

Hope the photo is attached fist picture I tried to send.
First cut on my machine. Got it yesterday and finished setting it up today.
Nothing to fancy but pretty excited for being my first one.
11 Likes
Do you have a picture you could post of your carvings? I would like to see them.
I was thinking that maybe I had a picture of some of these finer detailed carvings and looking into my pics, I released that I didn’t. I have a pic of the cards on the bigger project, which was one of my earlier projects. Here is a close up view of the cards. Sorry the quality of the pic isn’t too good. No matter how I moved the lighting, it seemed to take more out of the carving then desired.
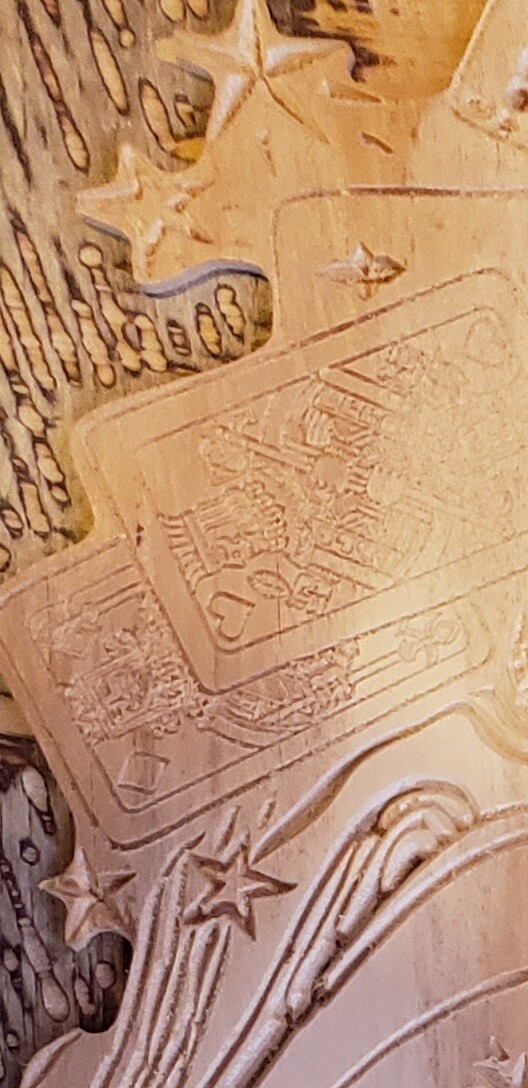
The cards were cut with the 45 degree carver. There could be improvements on these cards and the carving around it, but this carving was a first of the type. The person I made it for was happy with it and they didn’t want any stain on the wood. That was their call.
Anyways, I have gone out of state for some work and will be gone for a few more weeks. Not going to be able to take pics of any other carvings until I get back home. I’ll reach back out to you daveyJ and send you some pics of the finer stuff after I get back and settled back in.
5 Likes
Whoa! That is some intricately carved detail. Thanks for sharing these pics. I am assuming that is hard wood? I can’t imagine trying to do something like that in pine or plywood.
I’m going to invest in some bits, maybe a 45° or even a 30°. Looking forward to subsequent posts. Be safe, take care.
Easy cut, but I wanted a frame for a few pictures that would fit around the thermostat and clock in my shop. Cut from .365 plastic I had laying around with .25" plexiglass covering the pictures. I need to get two more pictures printed to put into the lower frames yet, but this got rid of the individual picture frames that were never straight and were mismatched anyway.
Happy Monday!

12 Likes
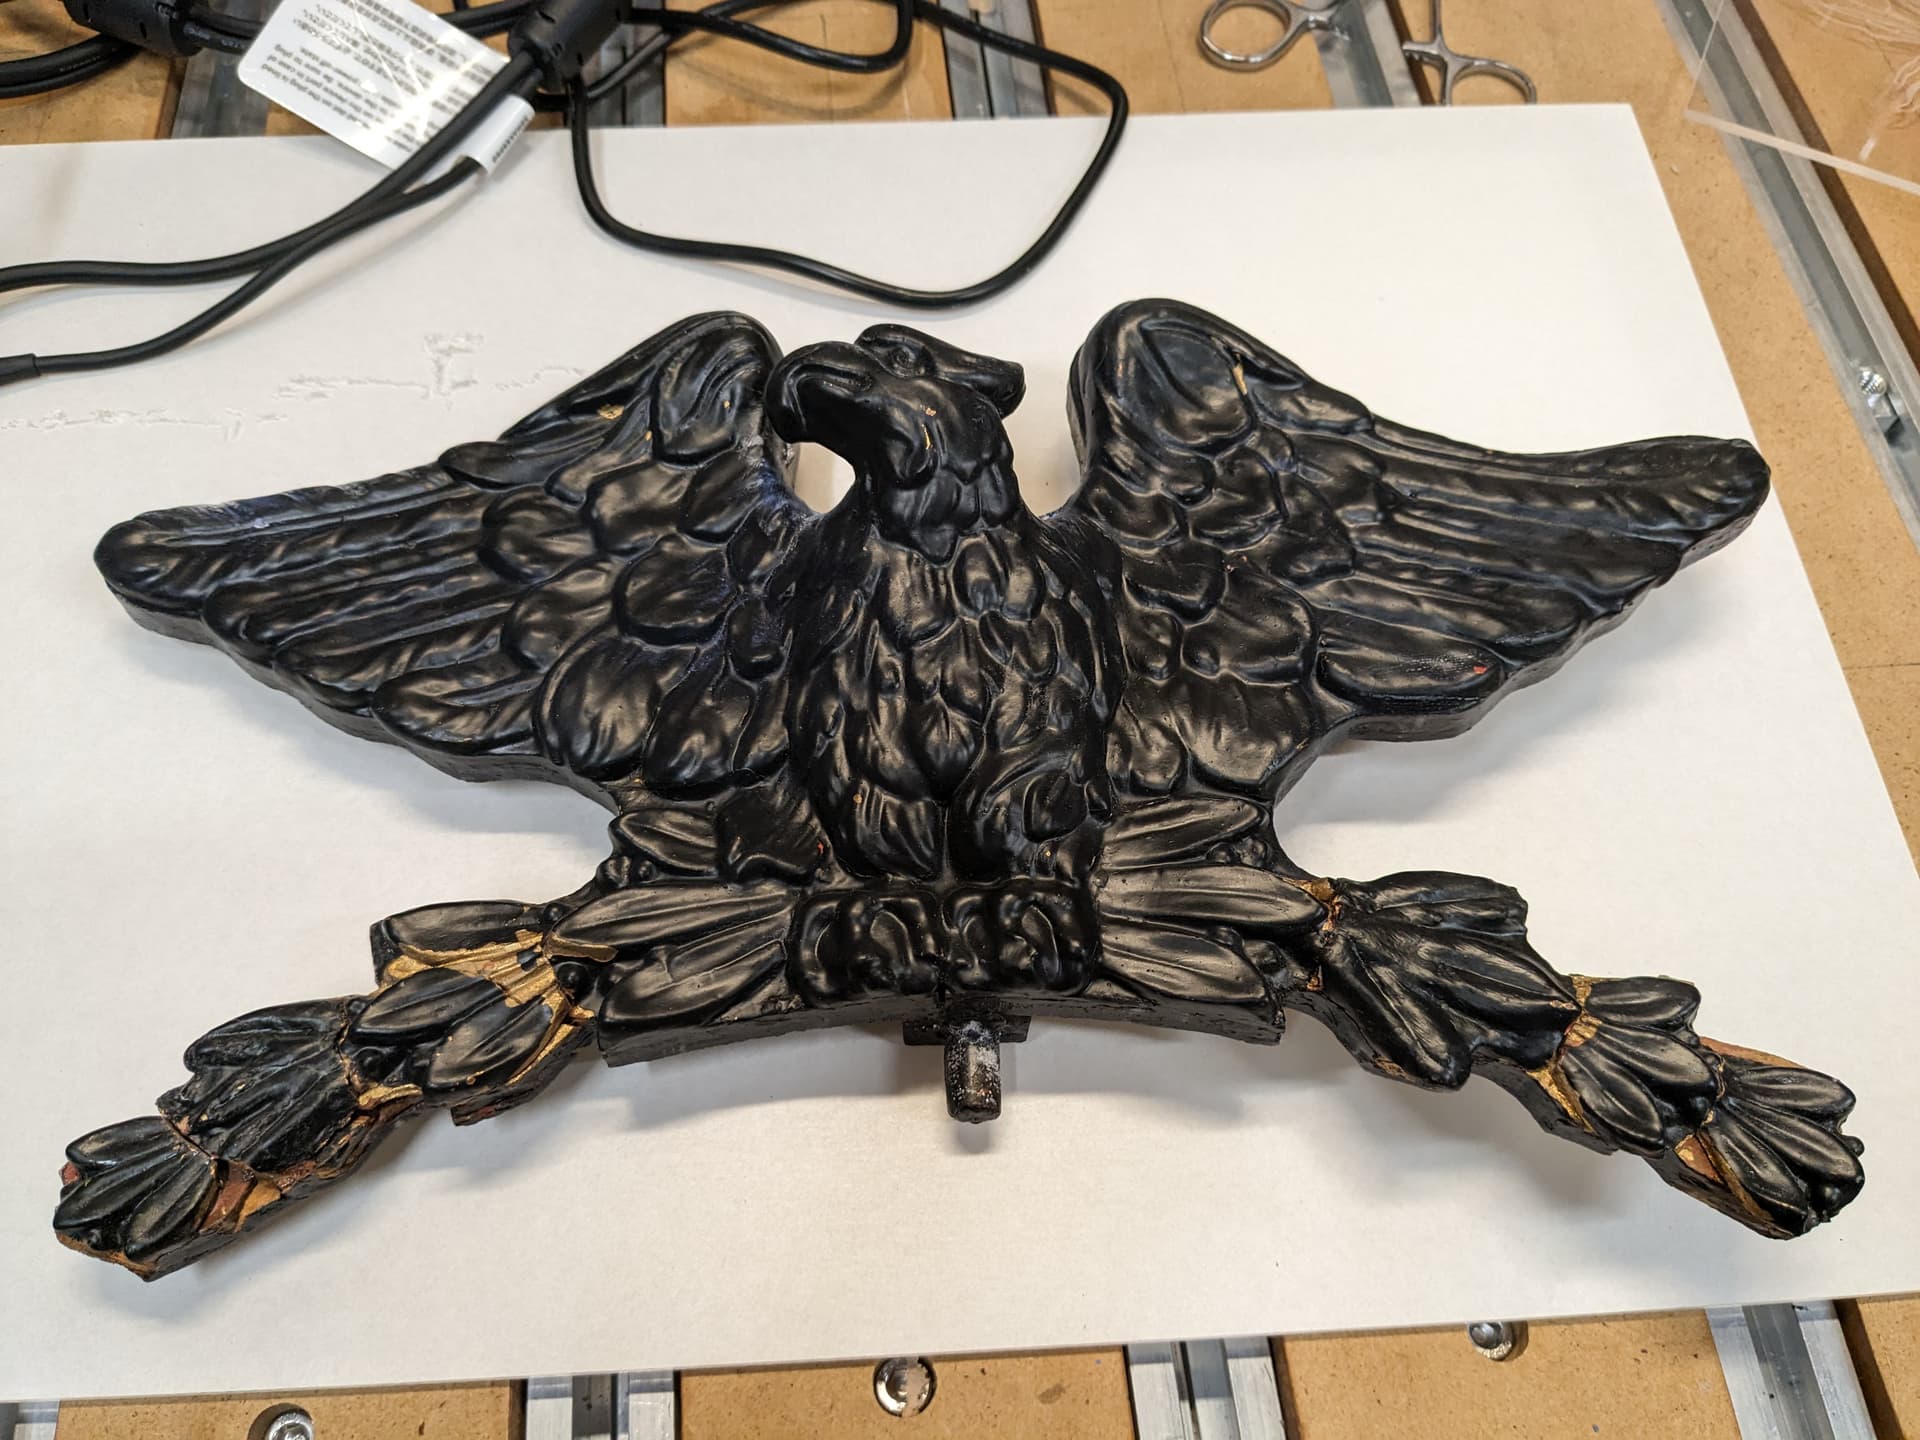
Eagle Rev 2.
I finished my second attempt at replicating an Eagle that my sister had.
Many hours and lessons later, this is the result.
I lost a lot of detail due to inexperience handling 3D scan data, but I know where I made mistakes.
All good in my book. Rev 3 in the future.

18 Likes
That looks great!
Did you cut a 0.25" edge on the backside for the plexiglass or is it fitted in front?
That looks beautiful with the flower and hummingbird.
1 Like
I did, 1/4" x 1/4" recess on the backside and then hot glued the plexiglass into the frame. Although in the interest of full disclosure, I cut the backside with a palm router rather than with the CNC. lol
4 Likes
Thanks, Tom. I made lots of mistakes on the way to the finished product; but in the end it came out pretty good.
Blasphemy! ![]() LOL
LOL
That’s great! I’ve been wanting to make some frames, but keep putting it off because of the flip cut and time it would take. Hand routing sounds like the way to go.
1 Like