The reason there are erasers on pencils is because we make mistakes.
You said you are using lacquer. Have you used Danish Oil? It is a great for one and done finishes. On the inside details I use an acid brush to get in the small crevices. Lacquer is good but it takes a lot of coats and the smell is terrible.
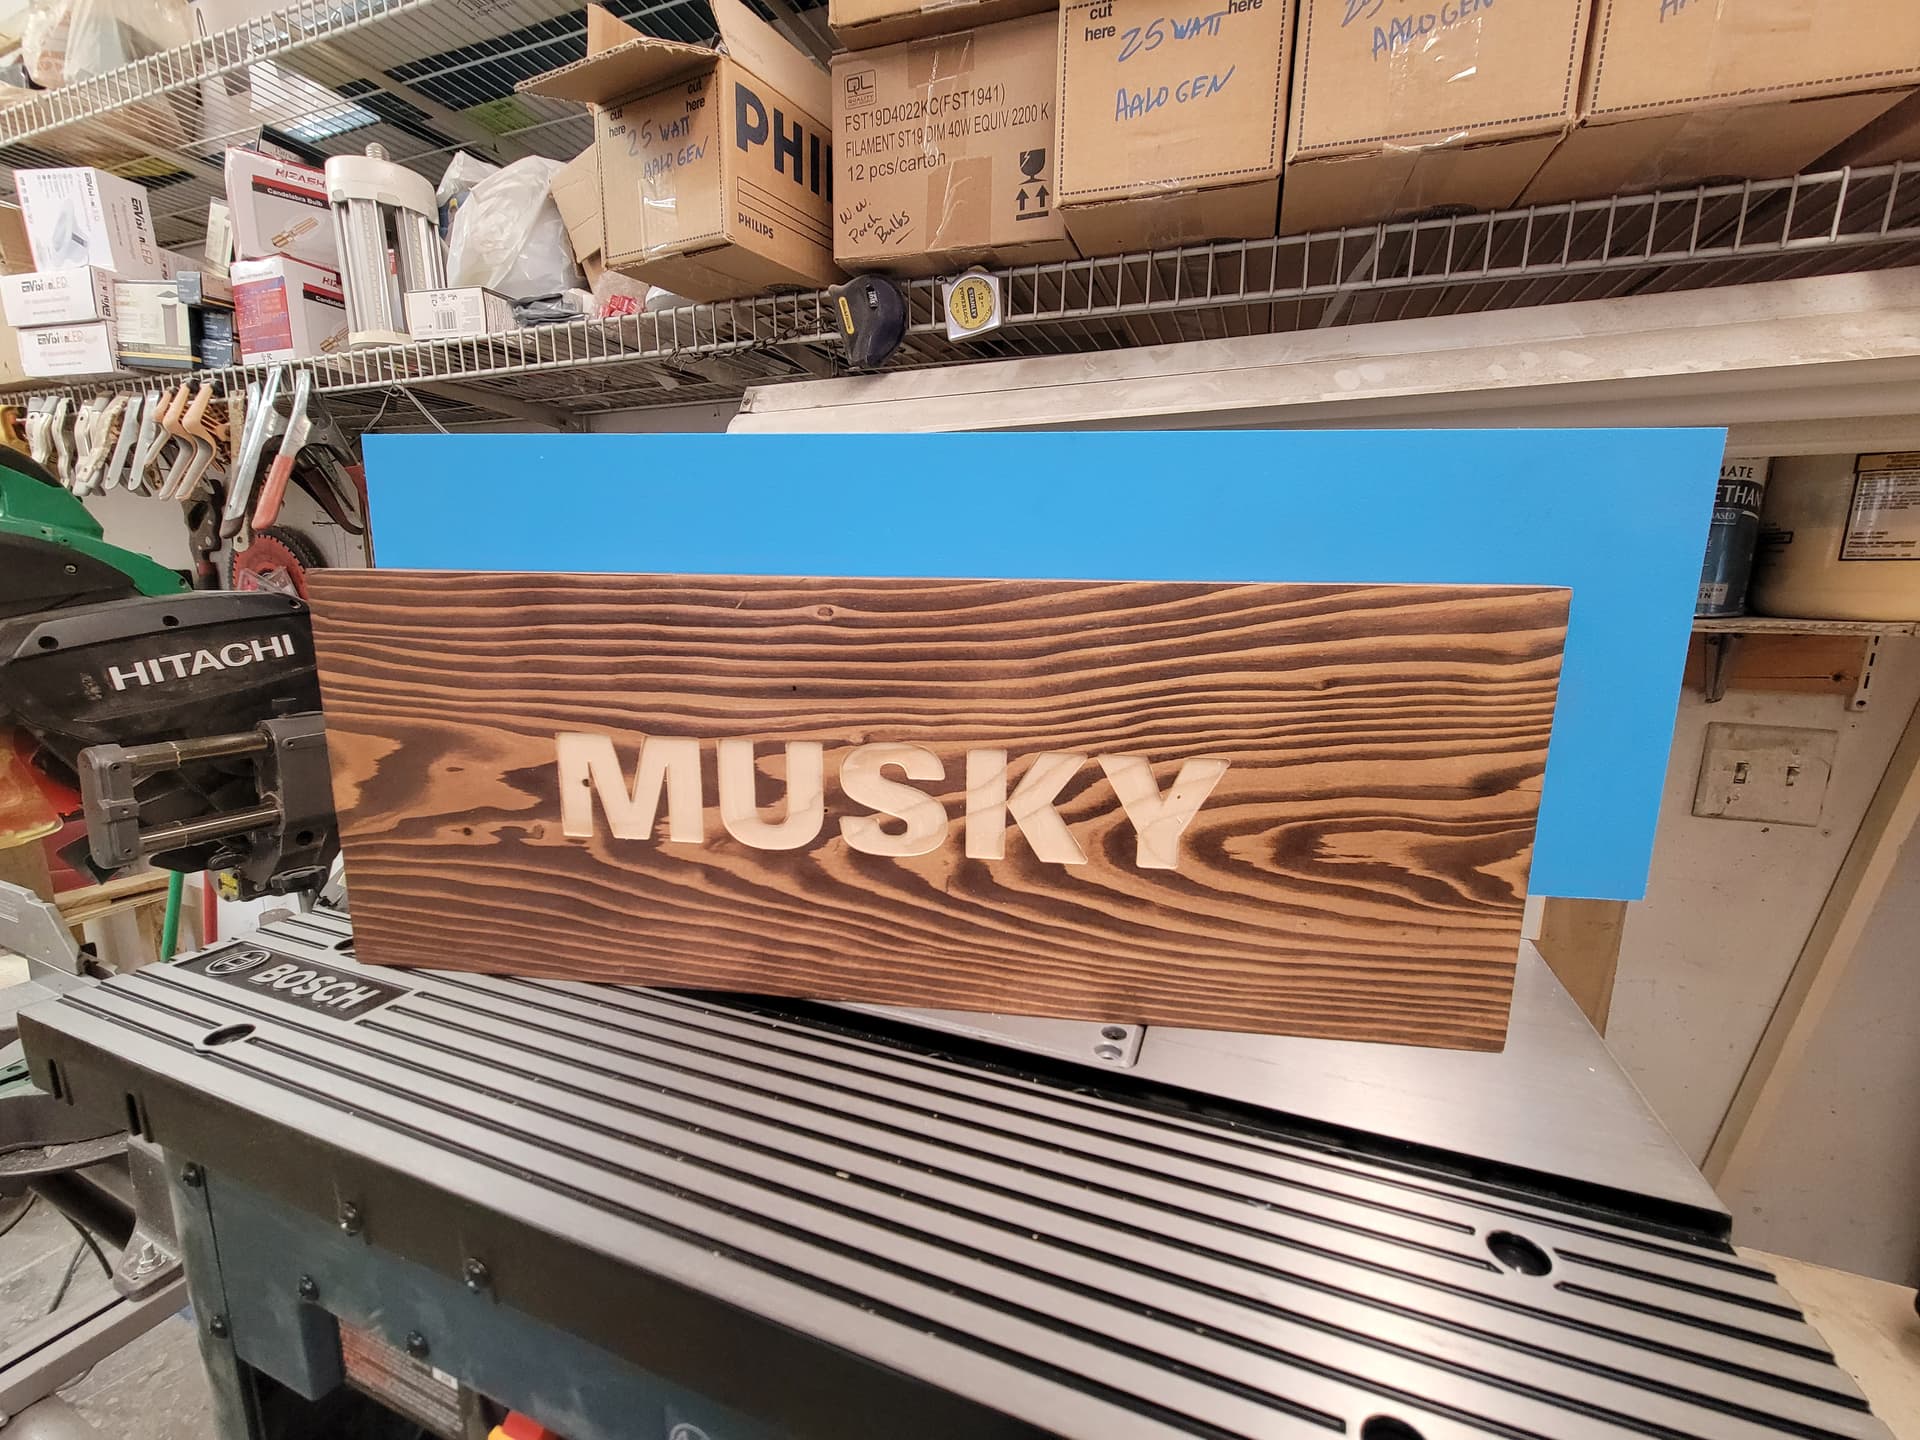
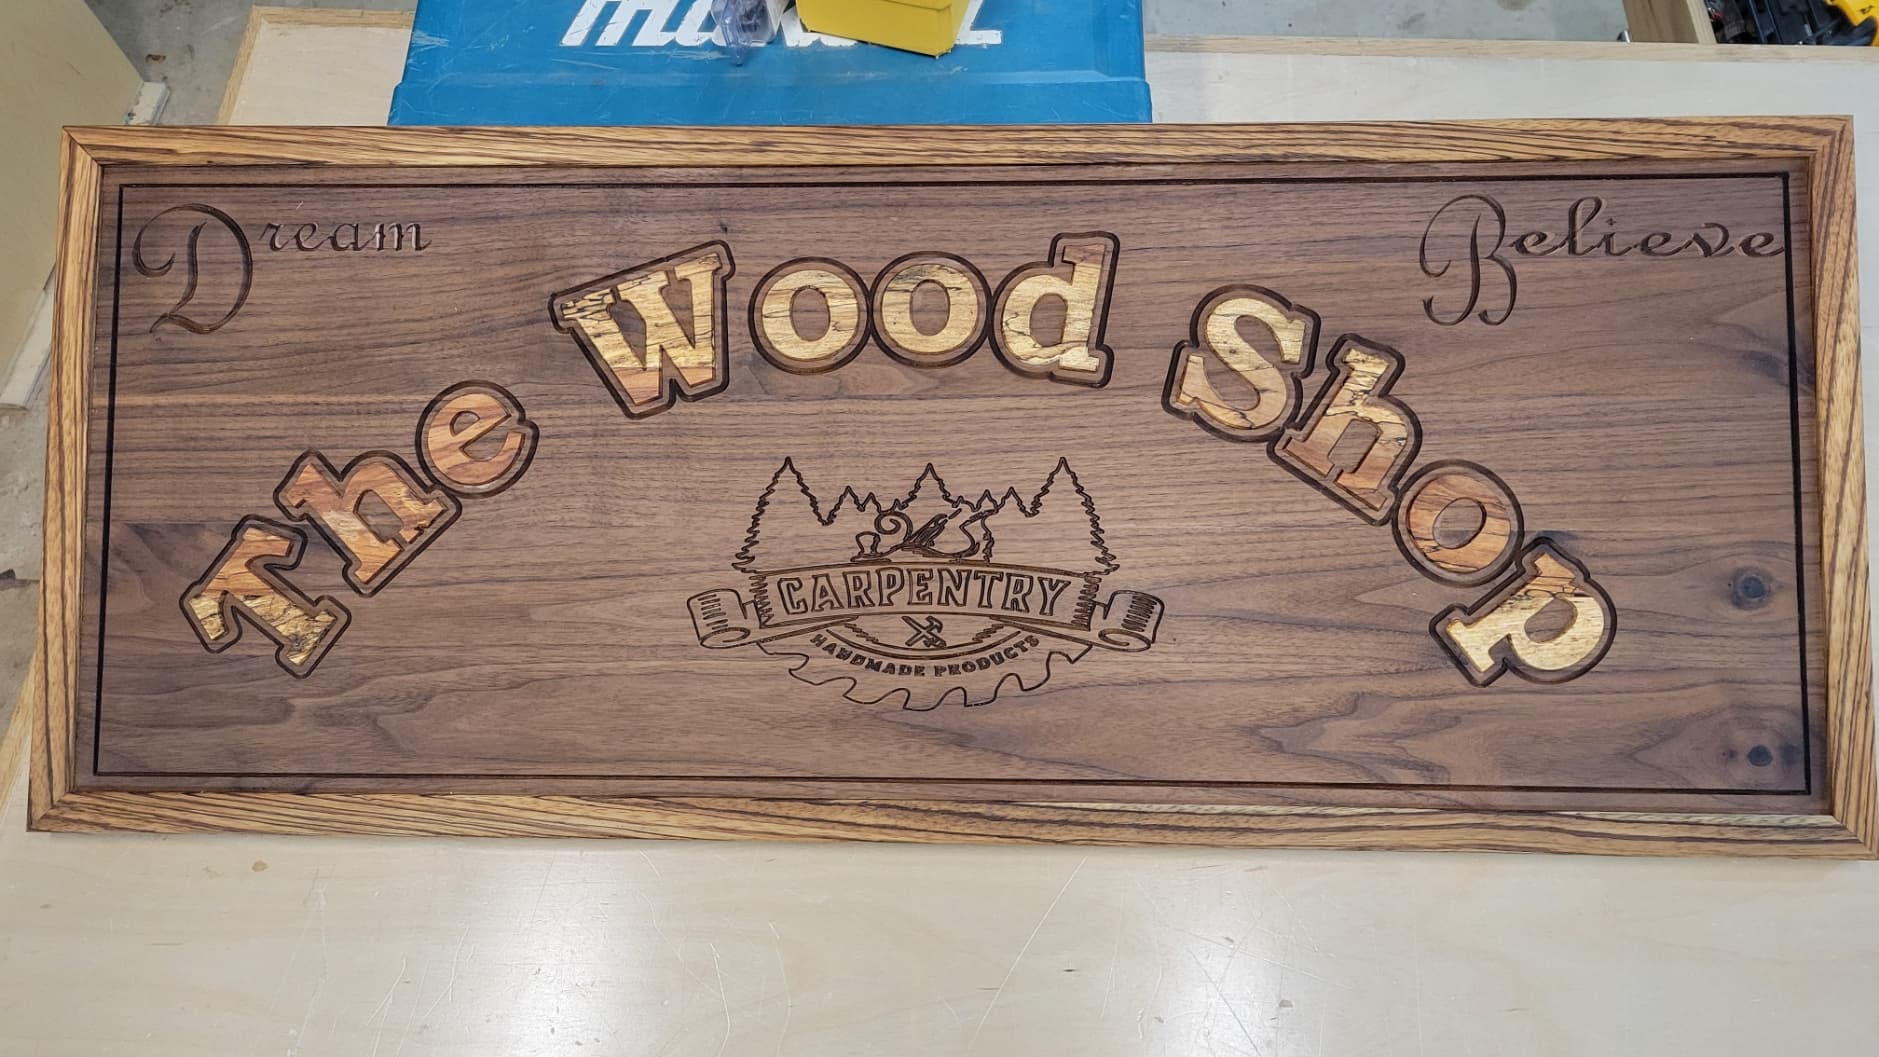
Dimensional pine, ripped for square edges. Bunch of sanding. One coat Varathane Red Mahogany. No preconditioner gave it real zebra levels of contrast. It looks great on a solid brown building.
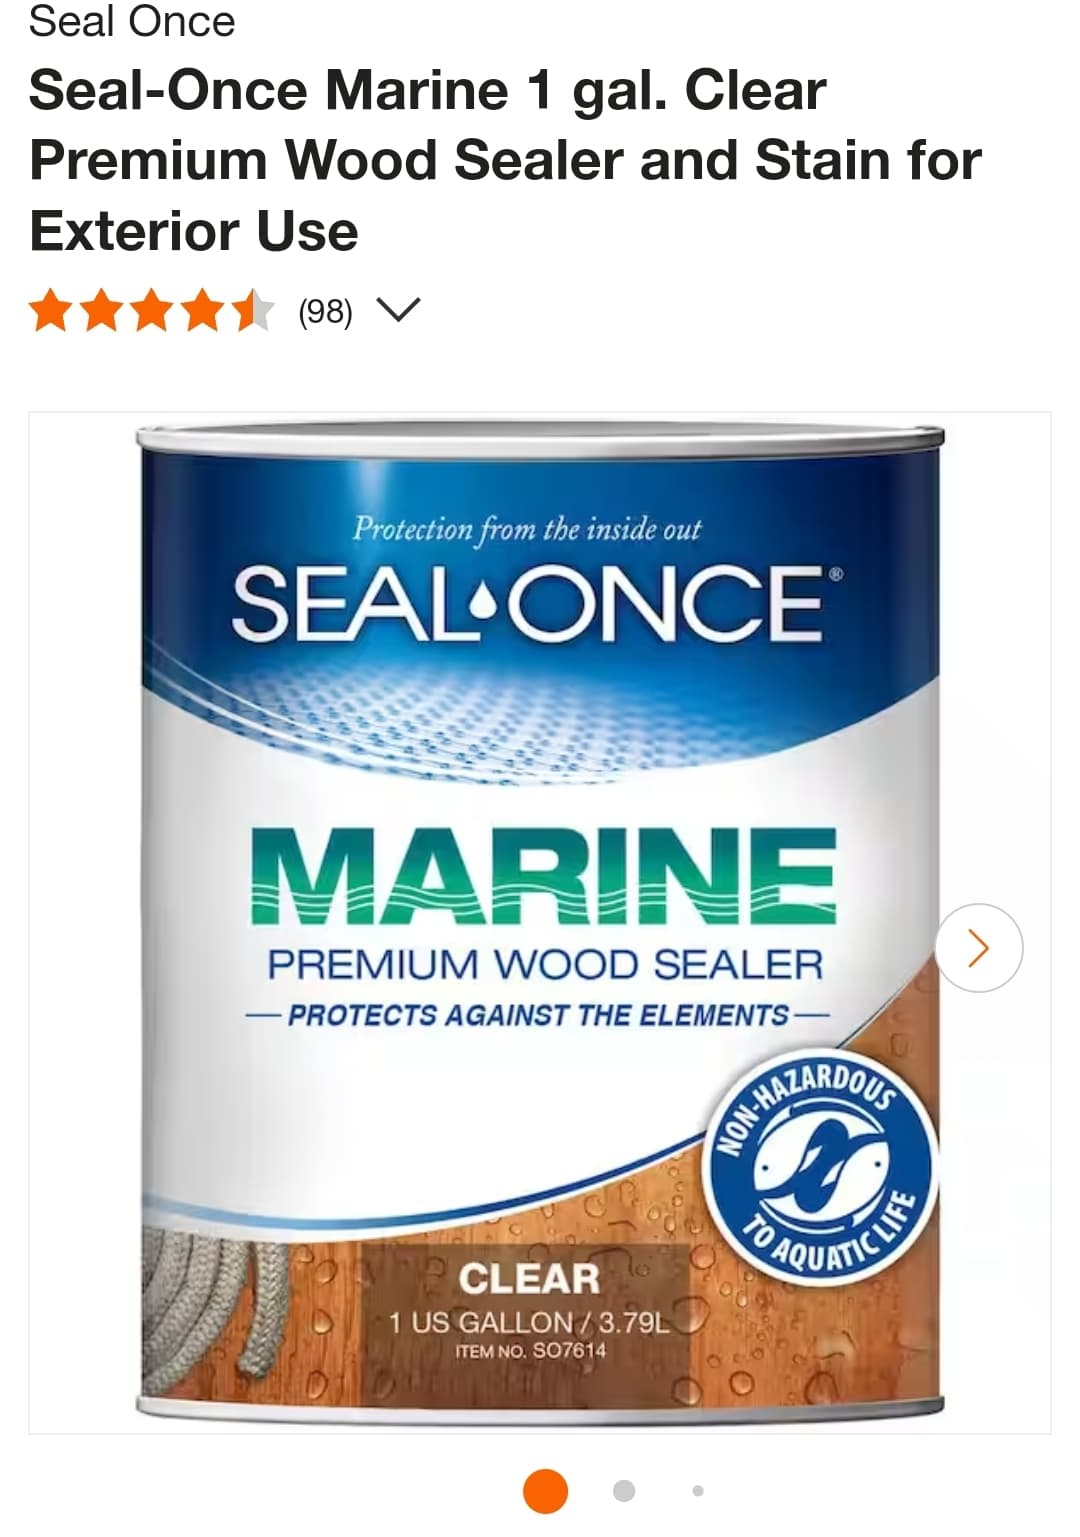
Trying a new water sealer from Home Depot meant for docks. It’s given it a great satin look. I’m really impressed but it’ll take some years to see if was lying about the durability.
I was out of everything quick acting. My shellac. Out. My spar. Nozzle locked. My can of spar, too little too old. I have polys but I didn’t want to deal with the brush. Usually I’ll just wax and feed or finishing paste a lot of things but I wanted a little more here. I don’t like that I used laq, it’s just not made for weather. But danish, I have actually not used so I’ll add it to my shopping list.
I like to use danish oil but I usually topcoat it with something. Usually shellac, but a recent project I used wipe on poly as the items were
Going to have some outdoor exposure.
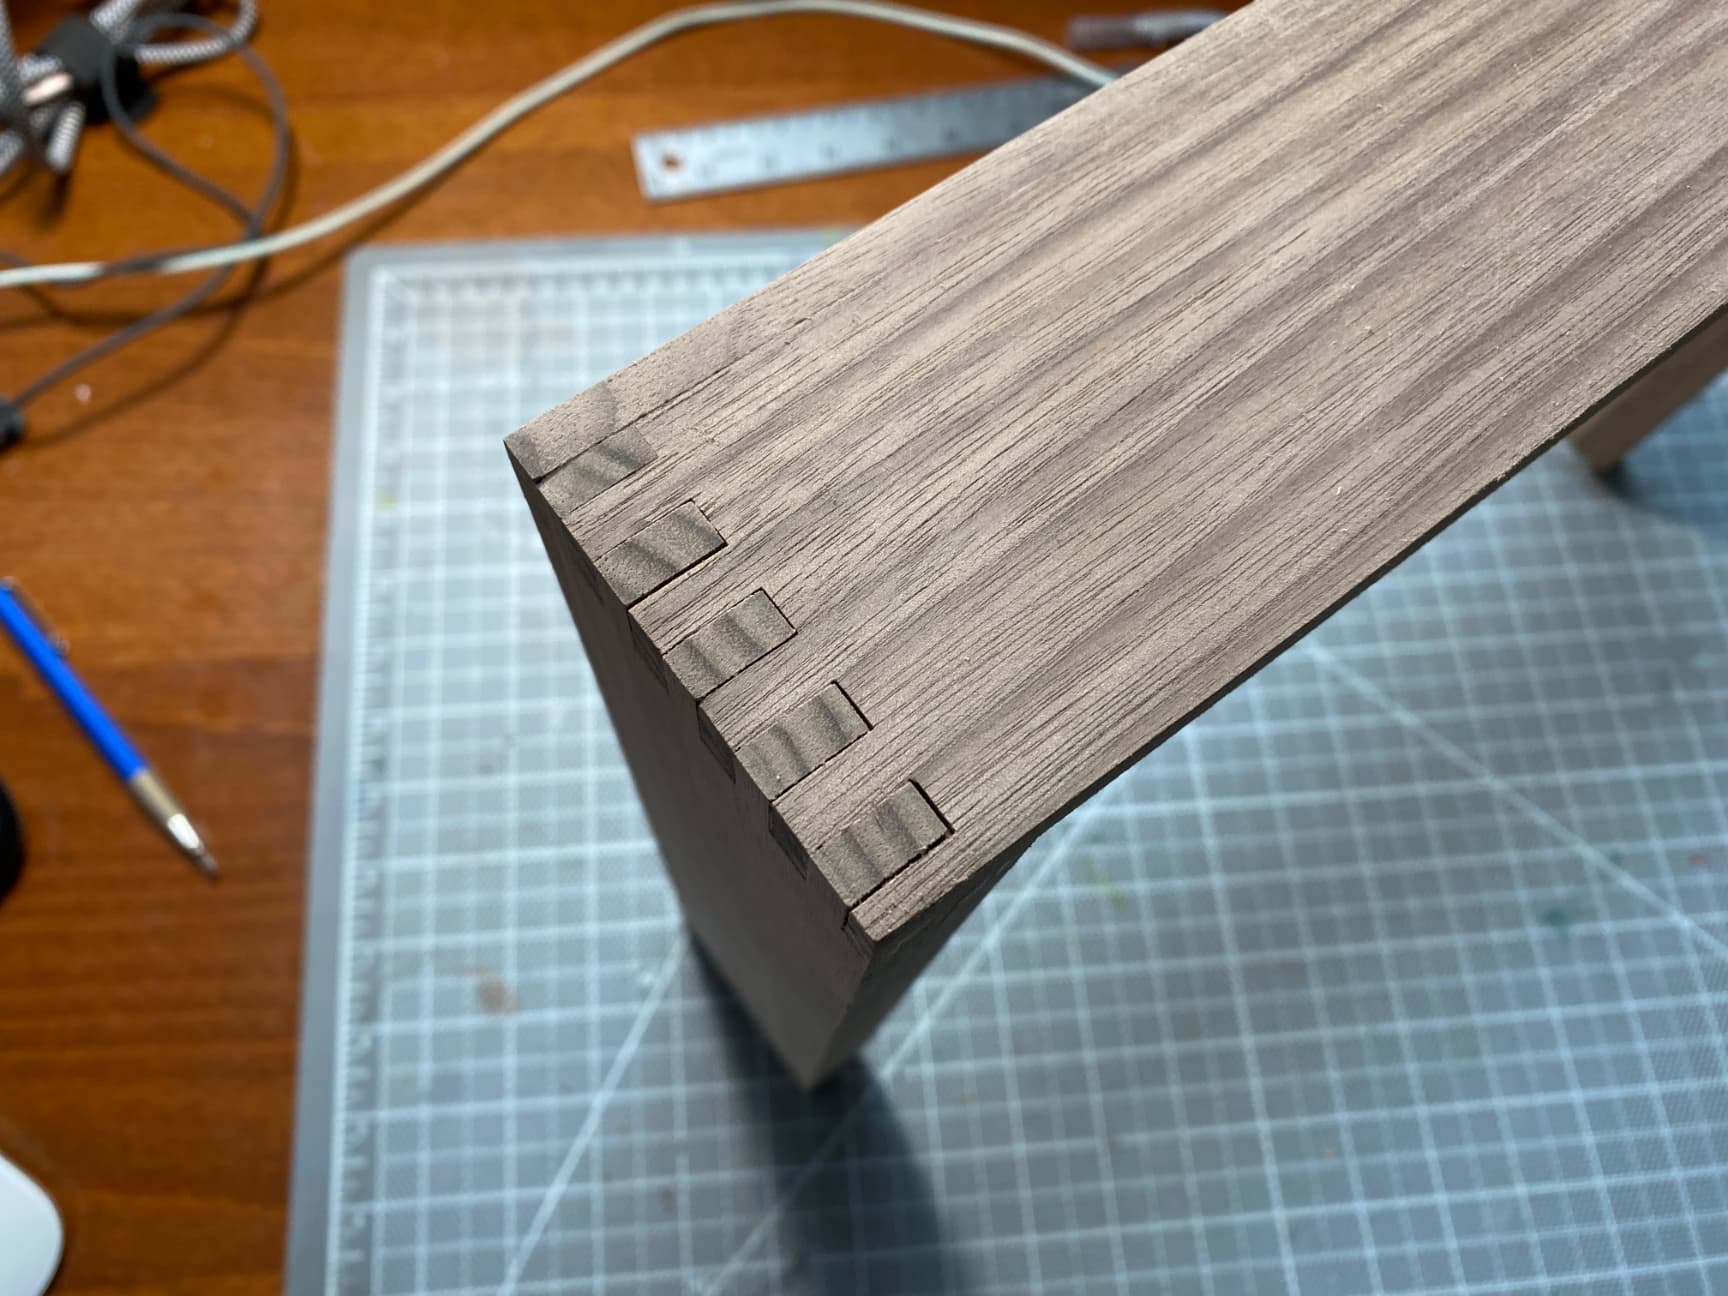
For your front face of the drawers, relying solely on glue to hold is a bit dangerous for the long run. Your best bet for holding your front face on without any other connection would be best done with a couple dowels per side. They would make a better connection, hold for the long run, and wouldnt affect anything with the front face of the drawer.
Glue alone can tend to rip out wood if the drawers are a bit heavy and the pull force is harder then your tensile strength of the wood glue. Might be an idea for you on connecting the face to the side rails of your drawers. Love the design you chose. It is simple but elegant.
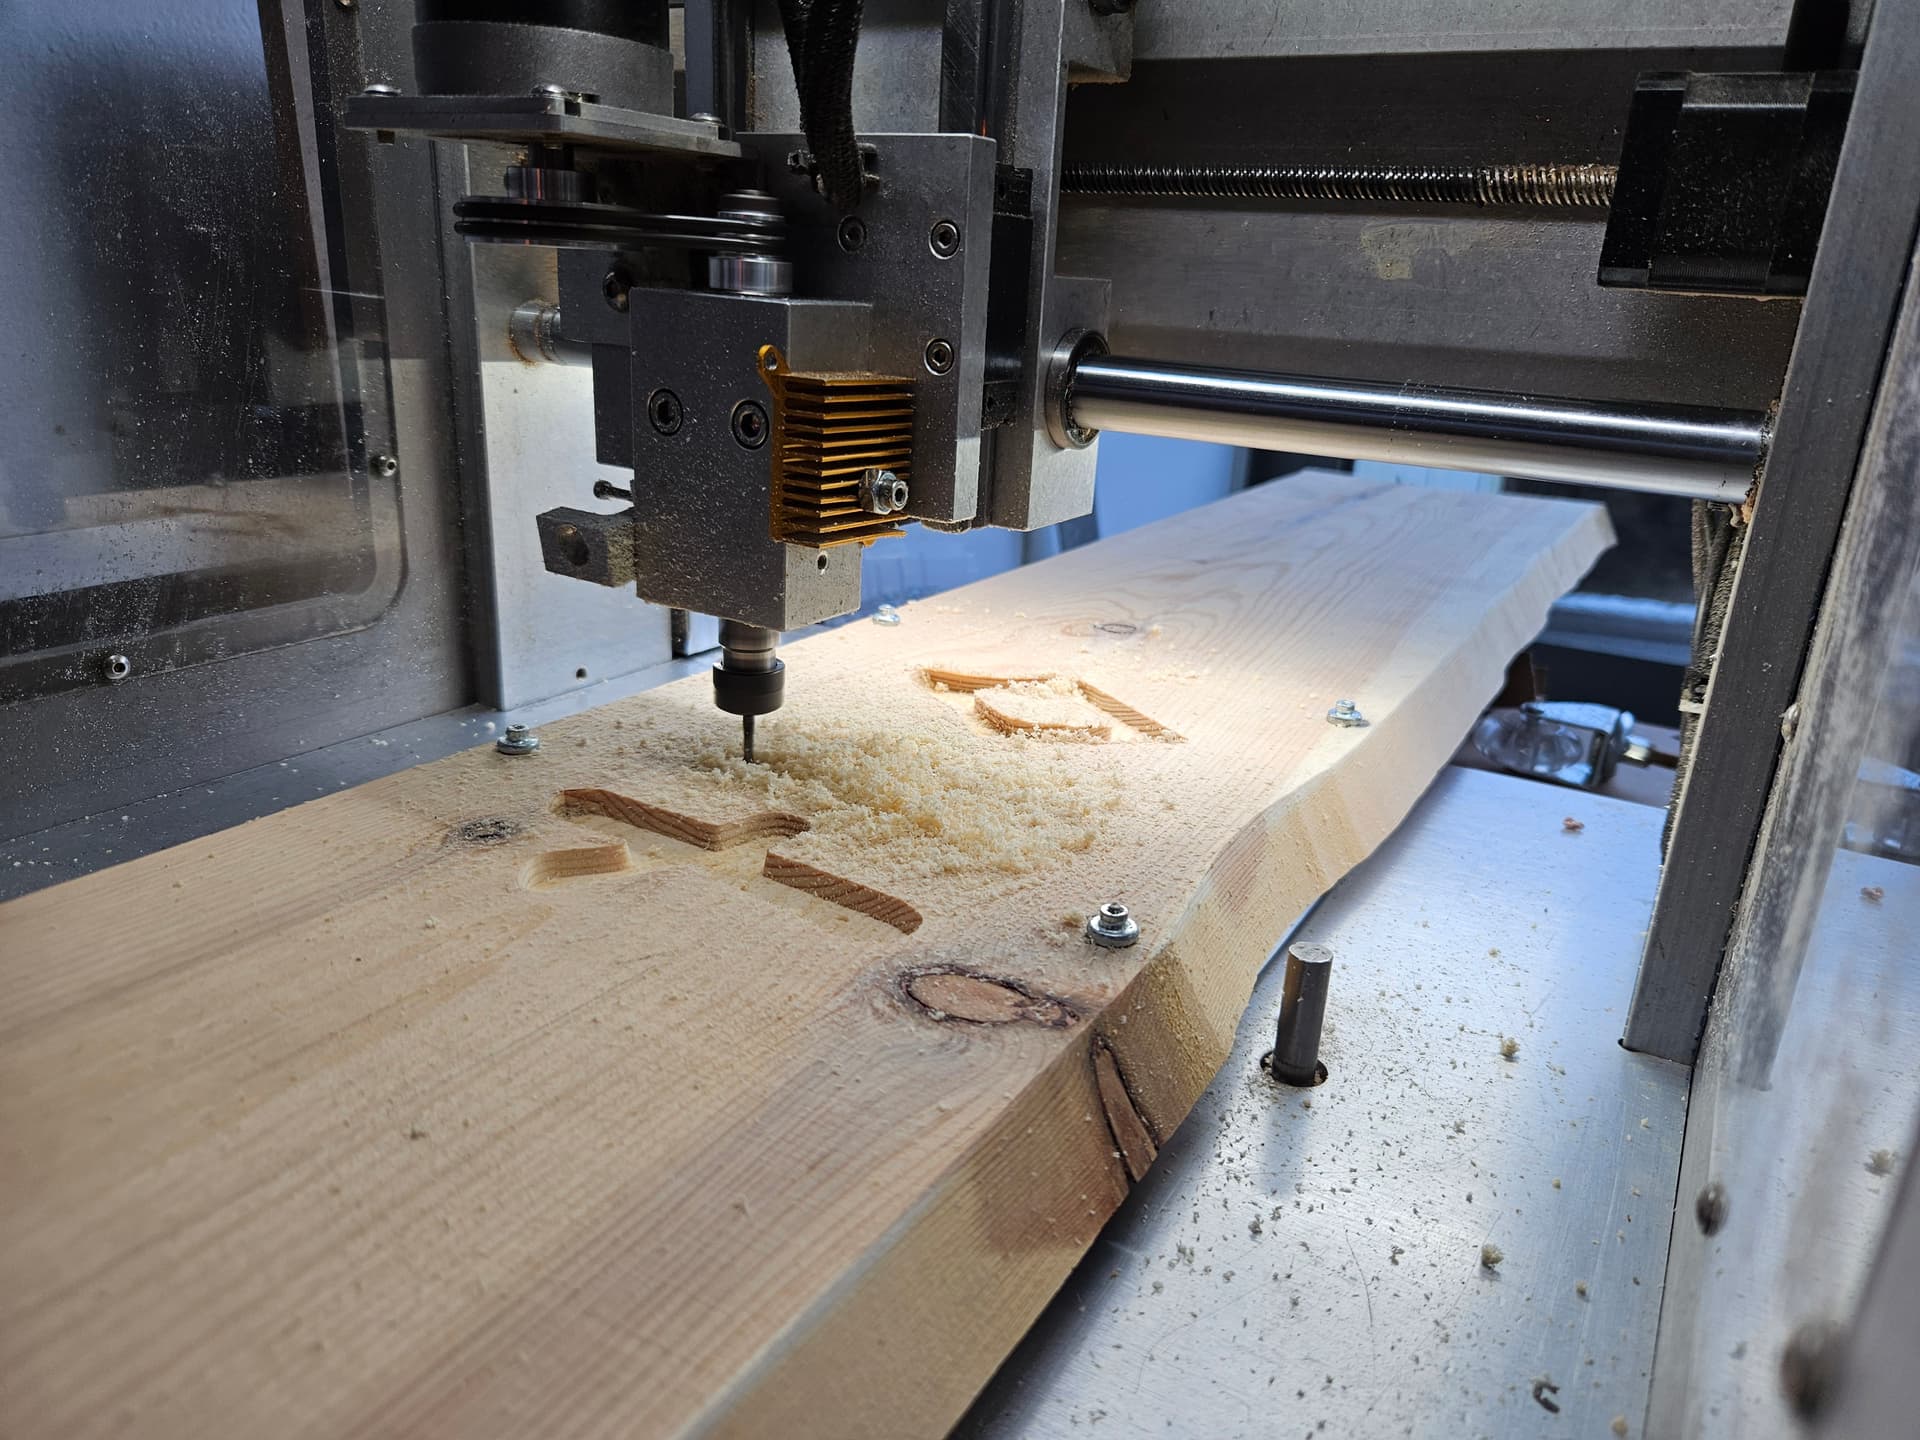
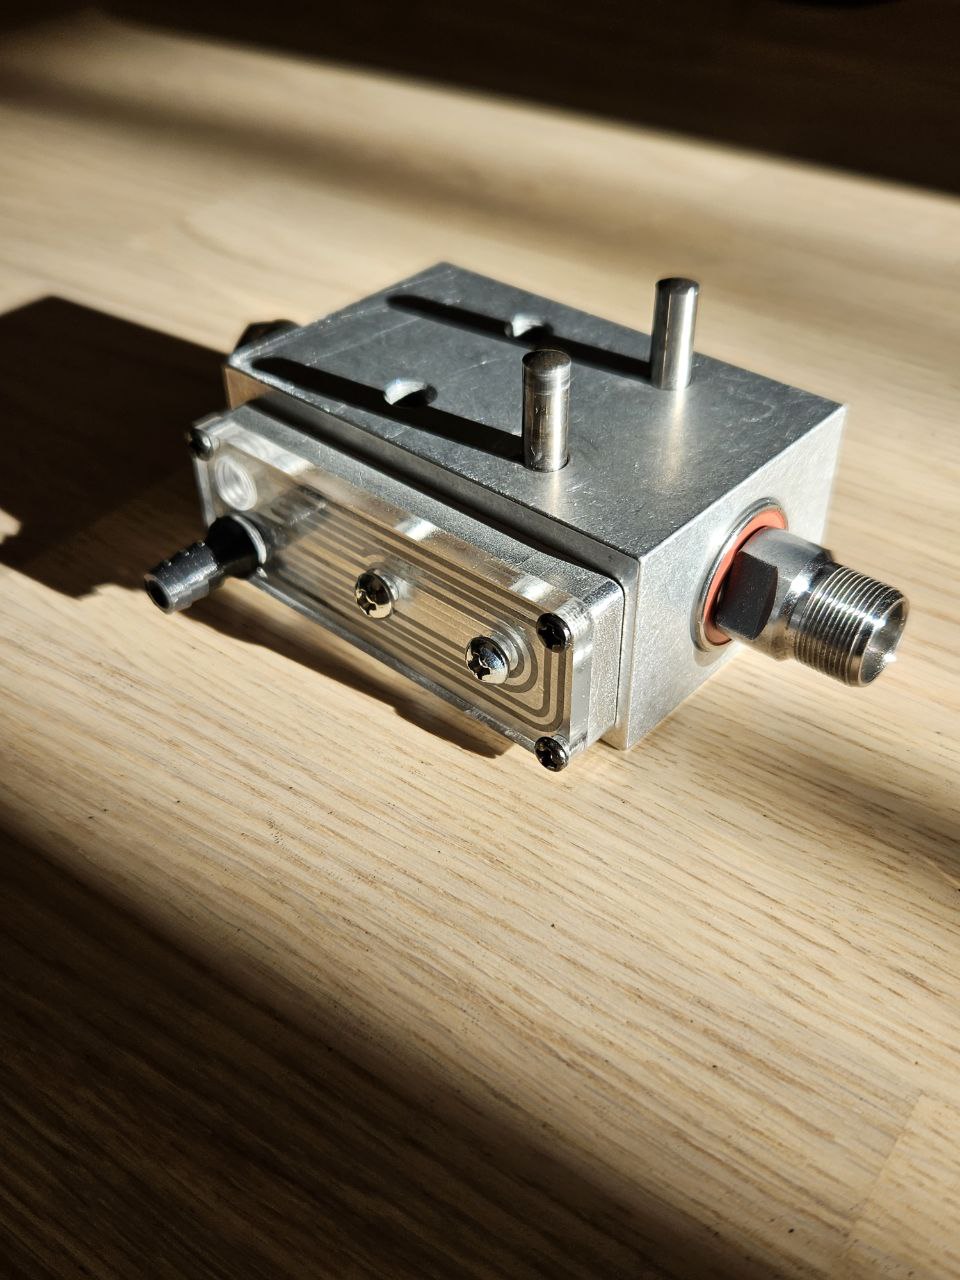
Ignore that. There was already a hole in the heatsink so why not. It gets insanely hot.
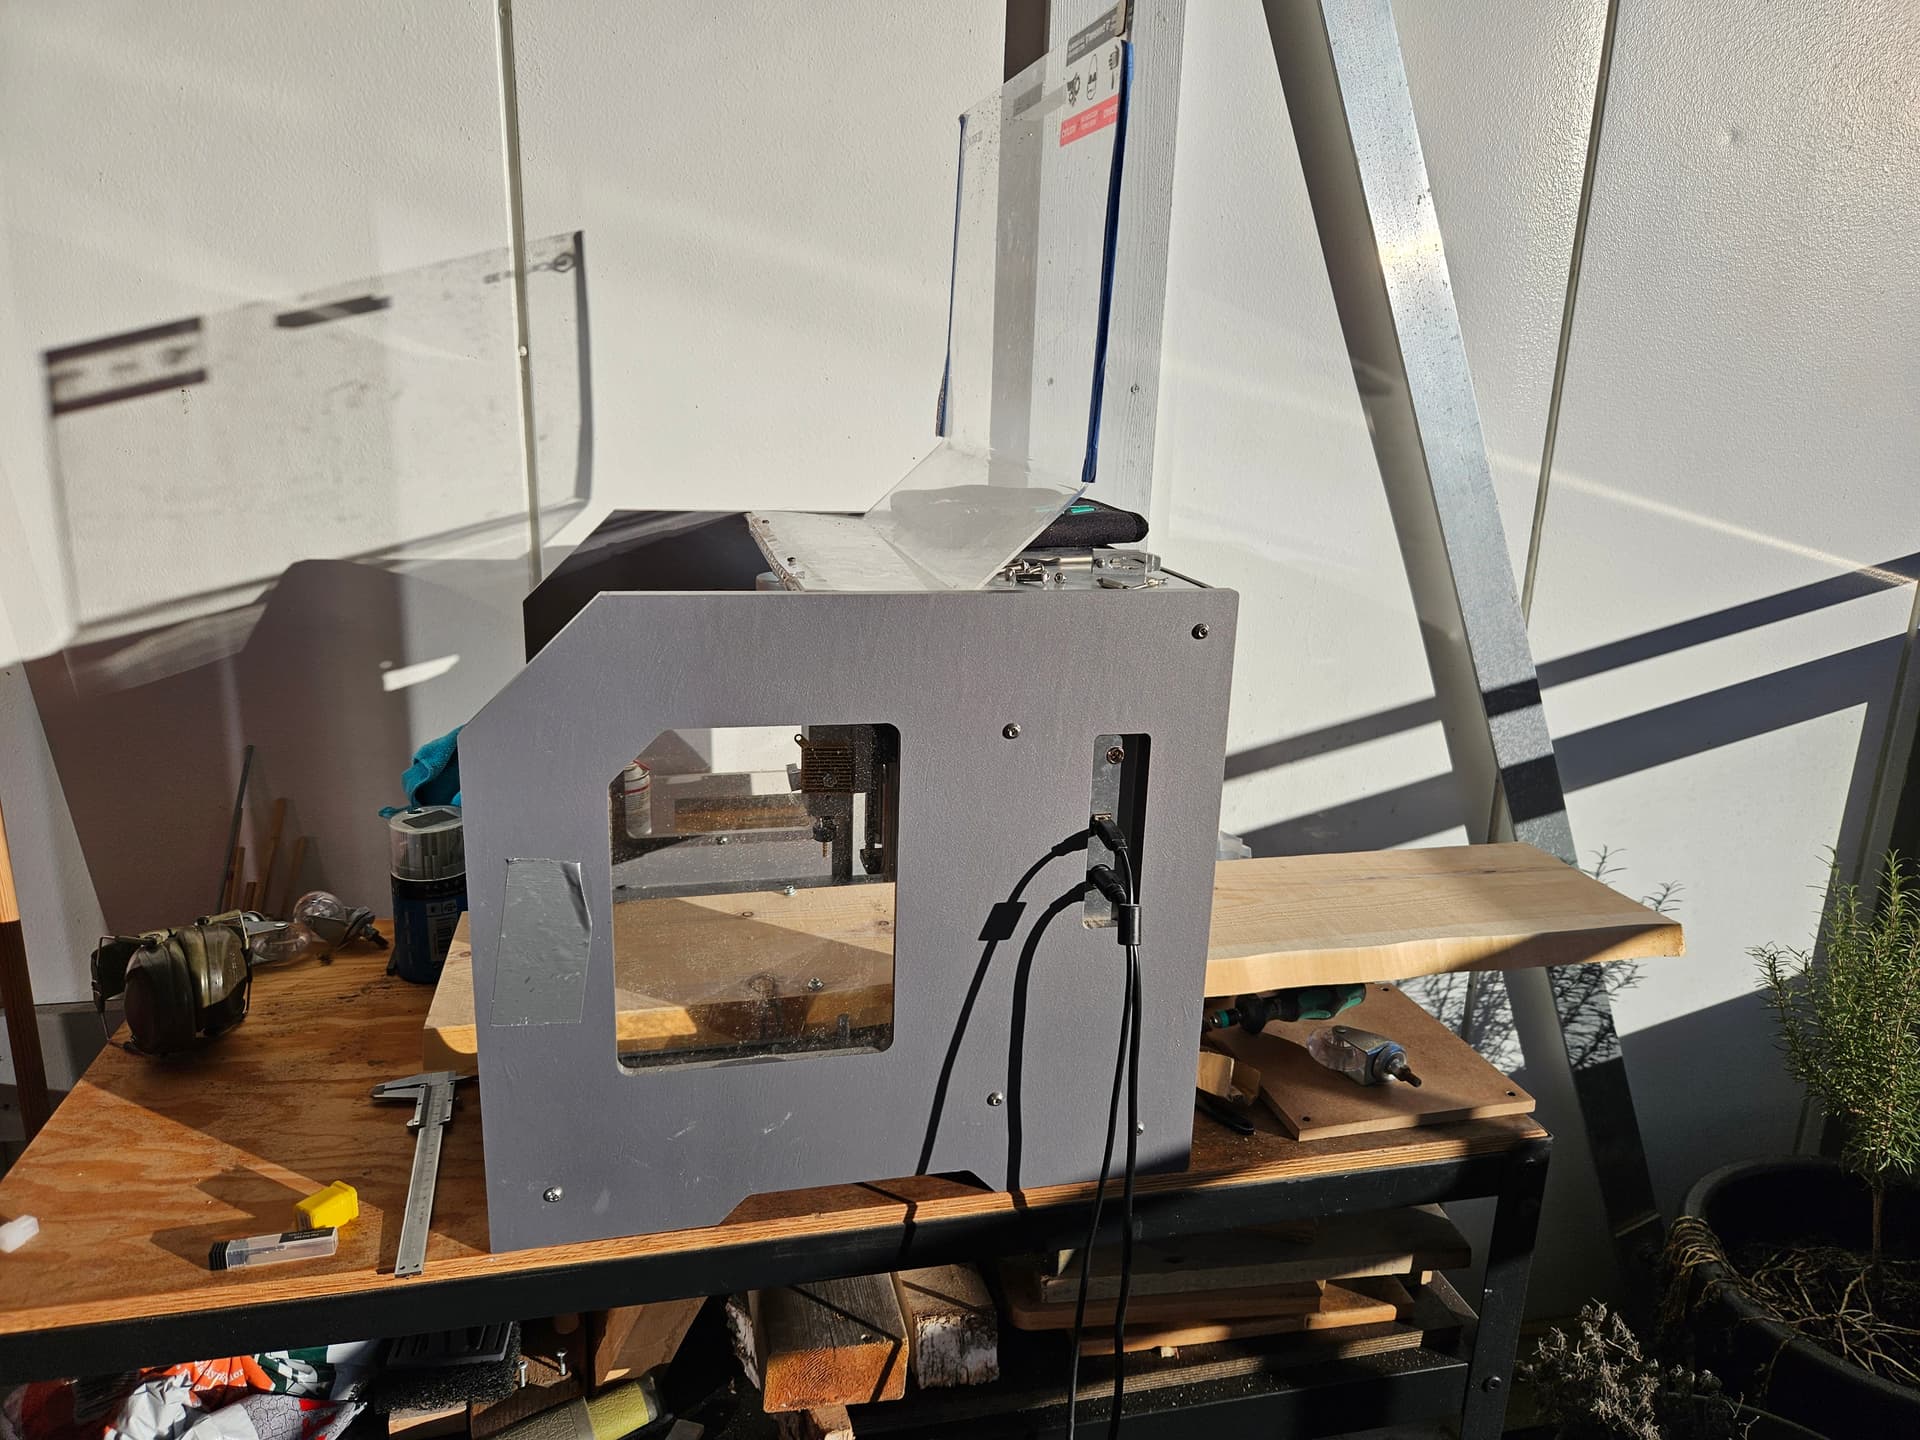
Working on watercooling for it. Just have to turn some fittings that don’t leak like the printed ones do.
I actually agree, Dowels would have been a good solution. I thought about it for a long time. I just did not want dowels showing in the front next to the carvings. To get around that the front panel is also held on with a long bead of glue along the front edge of the bottom of the drawer, which butts up against the back of the front panel. Hopefully my wife won’t rip the front panel clean off. Thank you for your input. Appreciated.
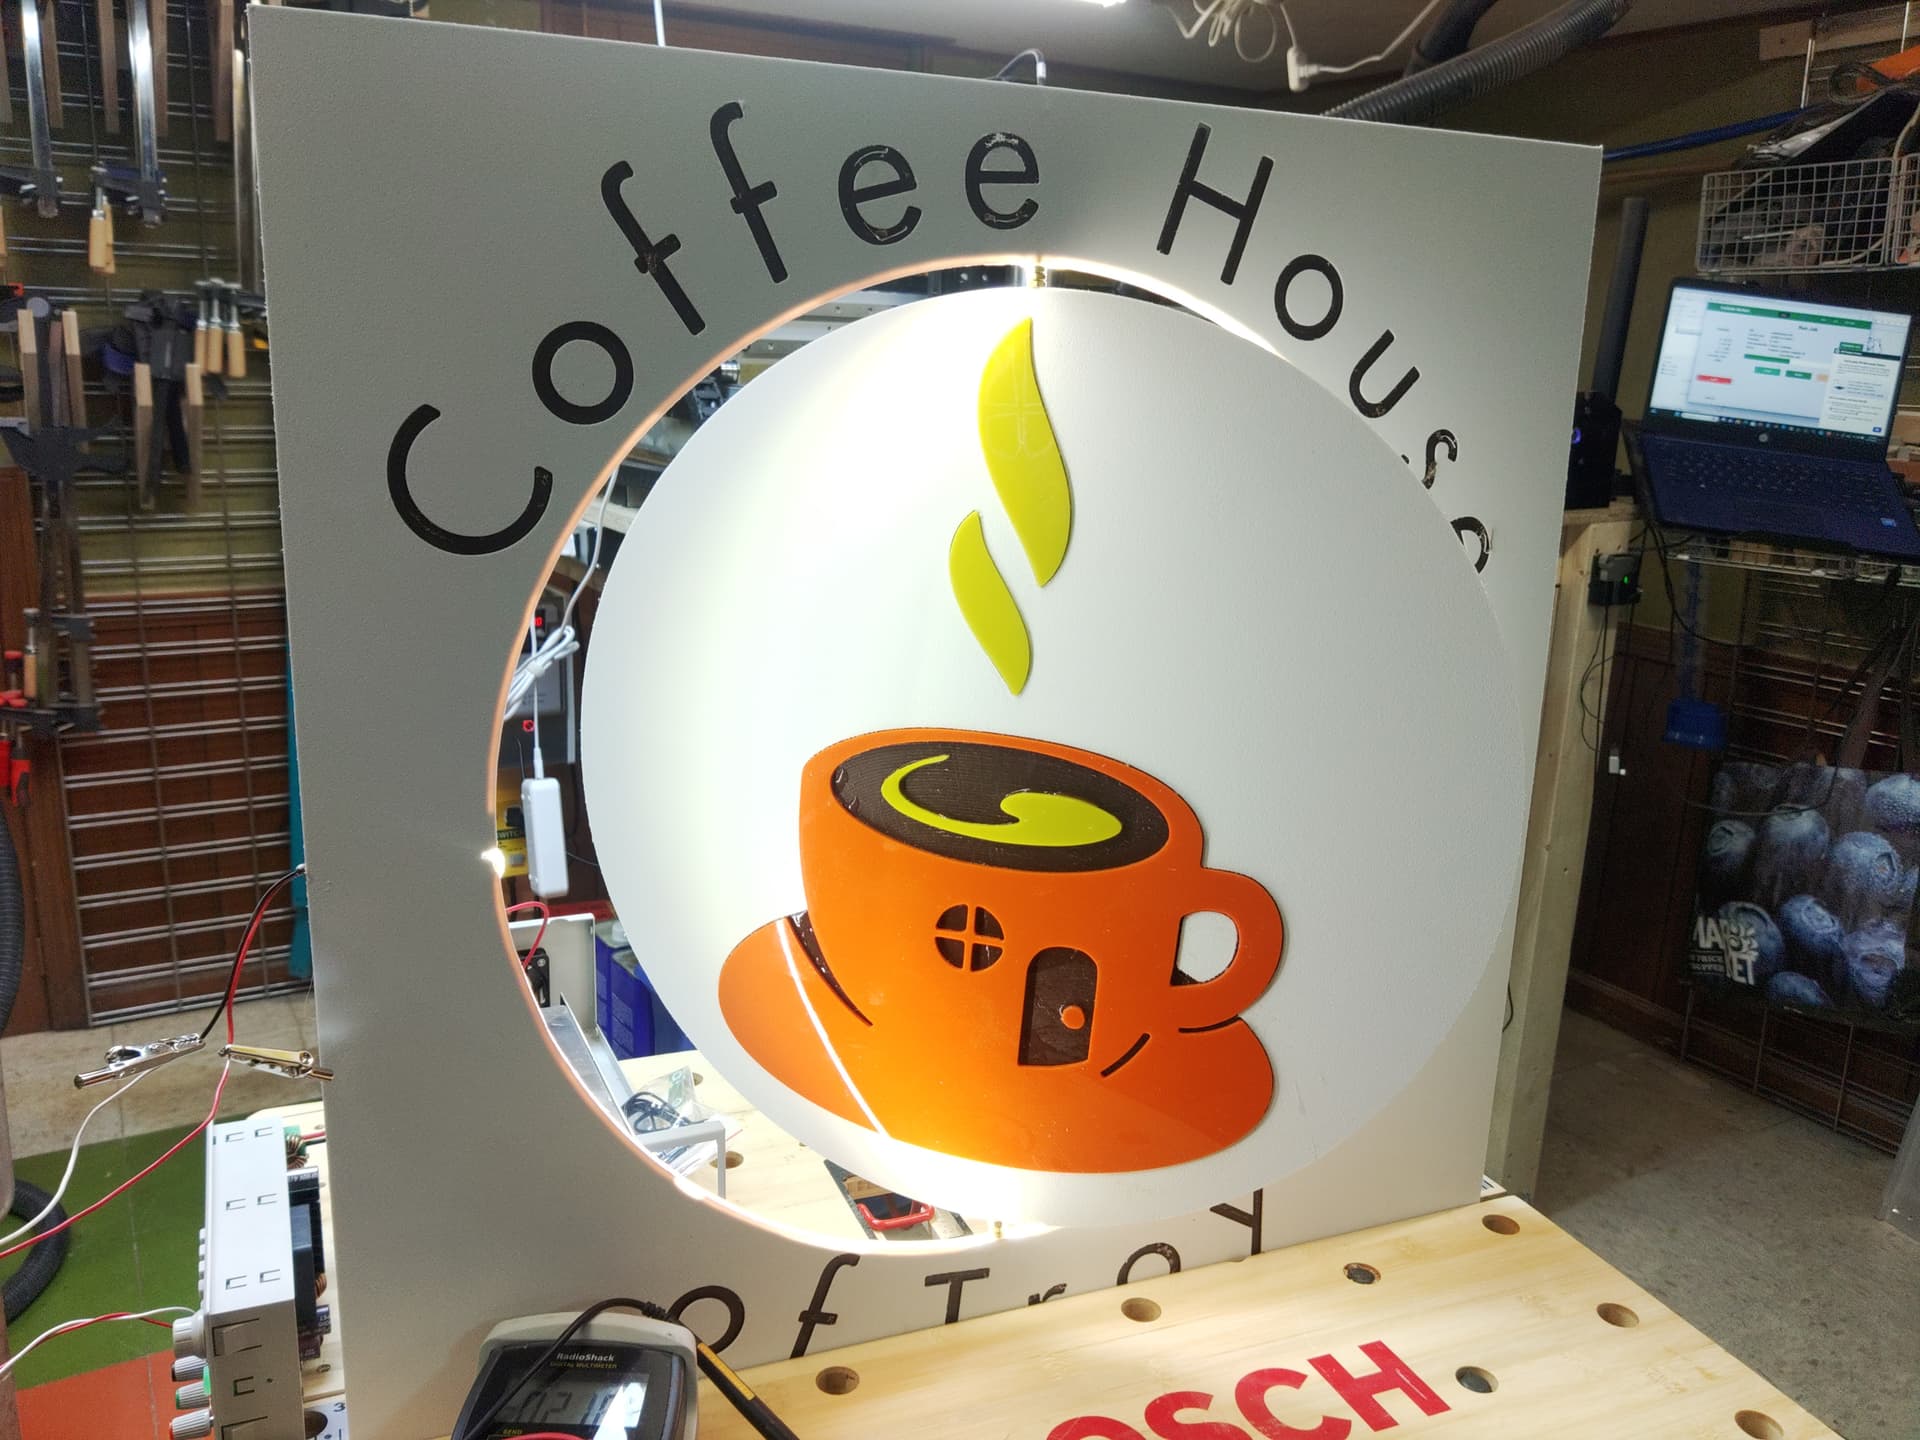
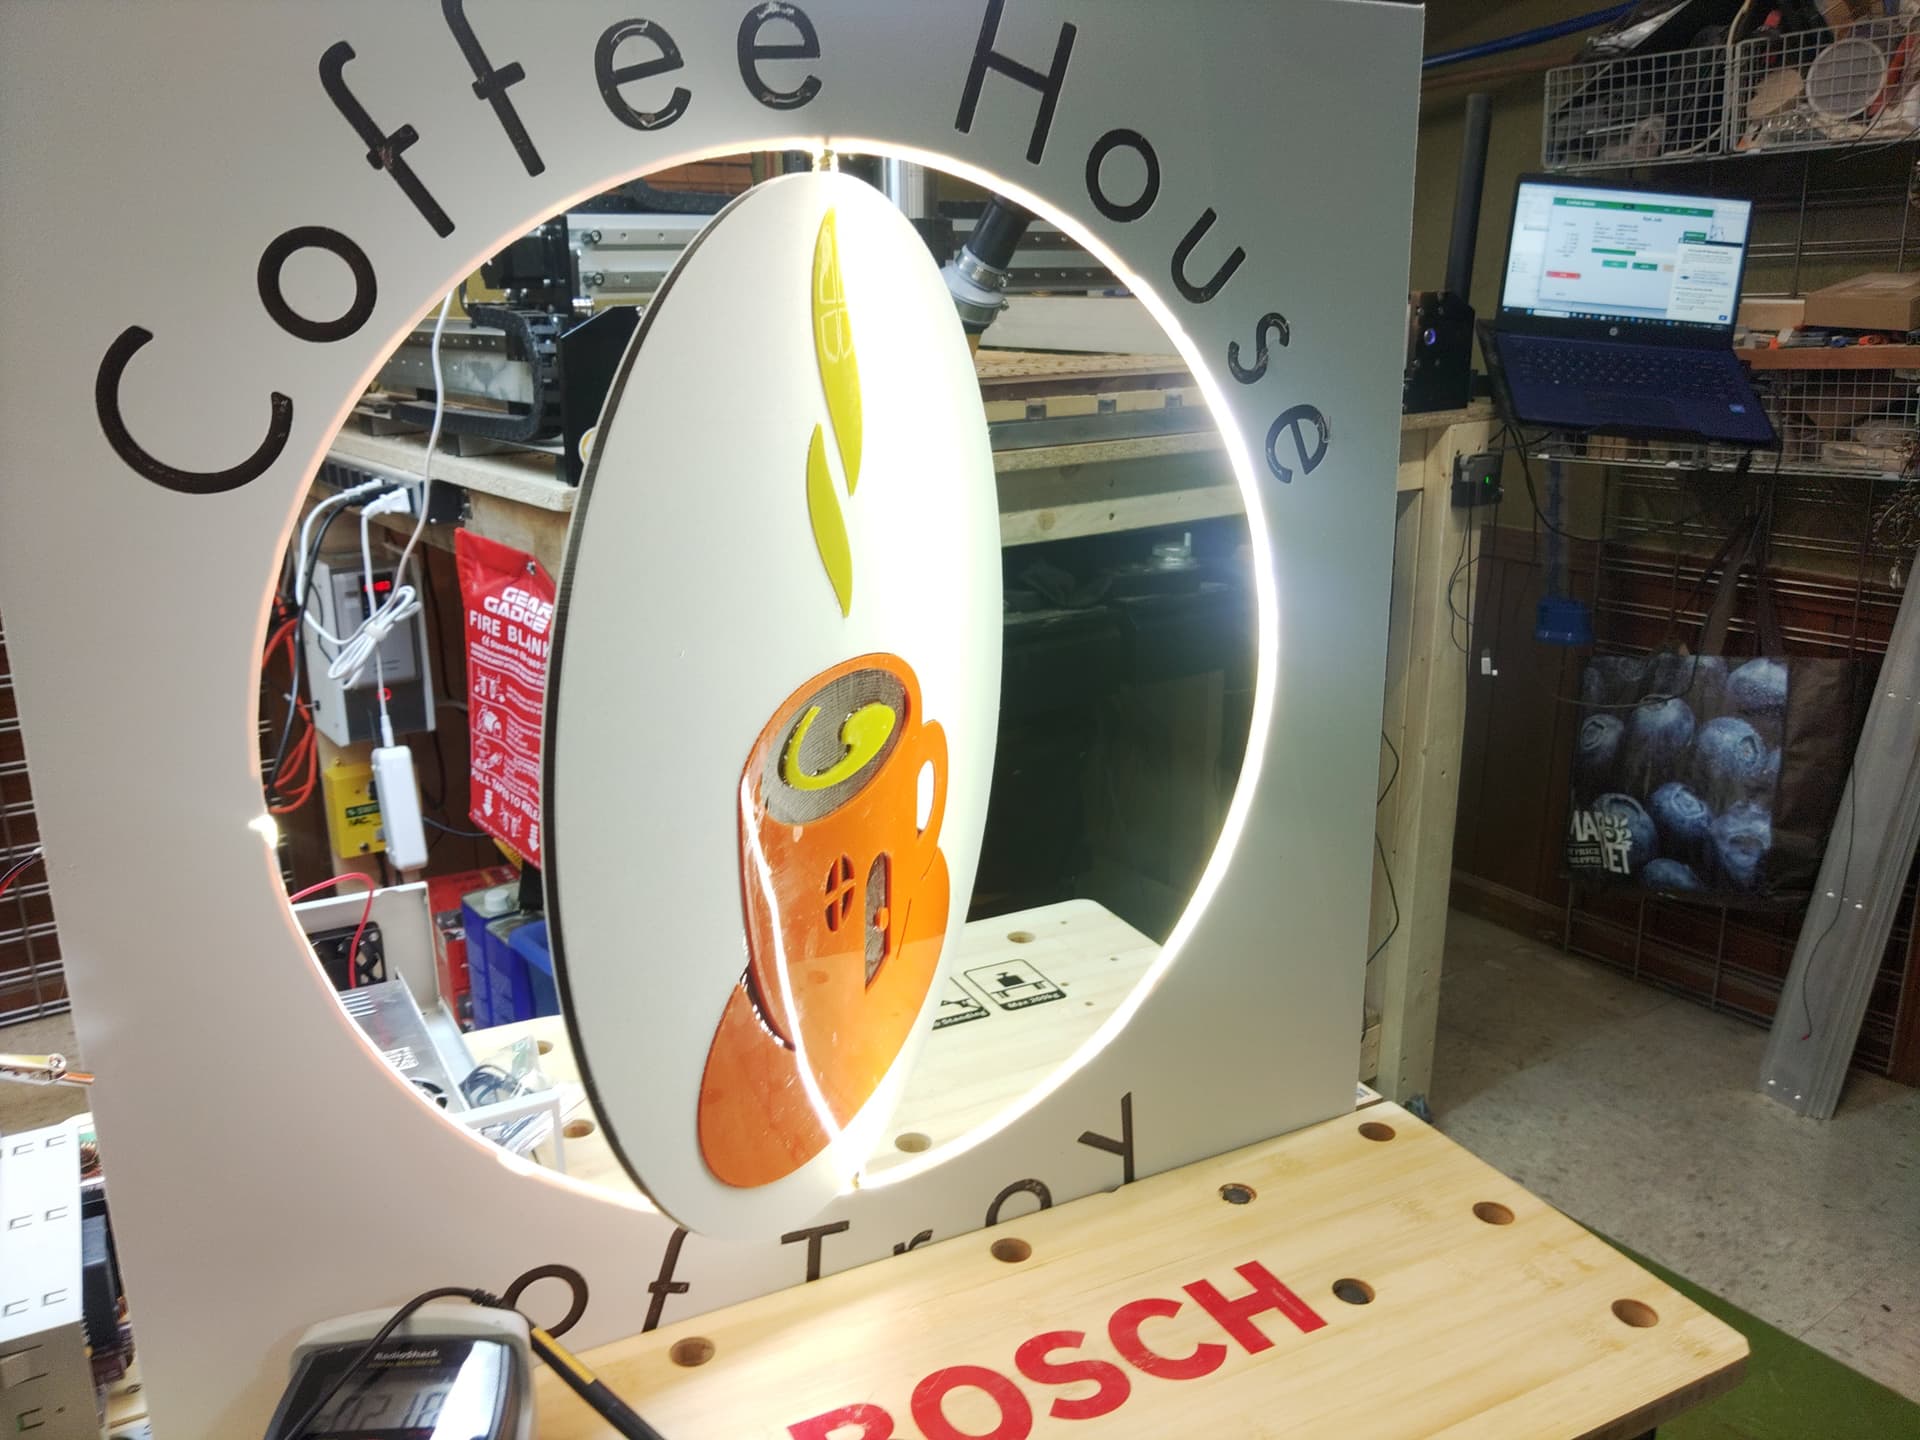
sign for cafe, its a windy corner, we hope will spin in the wind. Inlays are acrylic, base is colorcore (HDPE) white/brown/white 1/8 inch.
They all say HDPE is diffilult to glue: yes. I tried first with acrylic glue what glues acrylic almost better than welding, did not hold -of course (hoped it would), now it is glued with 2-component-epoxy. Should make it. Does not look perfect, sign will be seen from afar, so acceptable…
Since you have this setup already together why not put some flat metal angle brackets that have short screws in the face plate as well. I just have a feeling you will have issues with the face coming off over time of normal wear and tear on using the draw so often. If you used dowels for projects like this in the future, you can make sure to only go deep enough to get a bit of the dowel into the front face in the back and not have any affect of the front face. I have straight glued surfaces together and after using them over time the glued sections ripped apart by pulling wood apart.
It will spin in the wind if you add some thickness to a leading edge and the same on the opposite side. The wind needs to “catch” on something or it will just be a weather vane!
Those joints look good for your first time. Besides, they won’t be seen inside the drawer slot. As long as you have enough glue on every spot where wood touches, then you shall be good to go.
Keep on pushing yourself to do more and better every time. Doing well.
Like alanb stated, inlays have to be offset a little bit in order to fit right. There are a few videos on YouTube that help explain this offset as well. Do a little more research on the enlays and then try again. We learn by striving to learn.
Texan, TY! I thought about a kind of an edge, now I got some encouragement from you… Will do so next week, and publish here. Next week will be busy in the office, so possibly another week…