There is one thing someone on their death bed never says:
“Lord please give me 5 more minutes at work”
Work is what feeds us but never make it your life.
There is one thing someone on their death bed never says:
“Lord please give me 5 more minutes at work”
Work is what feeds us but never make it your life.
That’s the technique I used when I did my last inlay. I made a pocket, and then played with scrap, adjusting the male piece’s size until it fit like I wanted. It worked out very close to that offset.
job lets me run the shop.
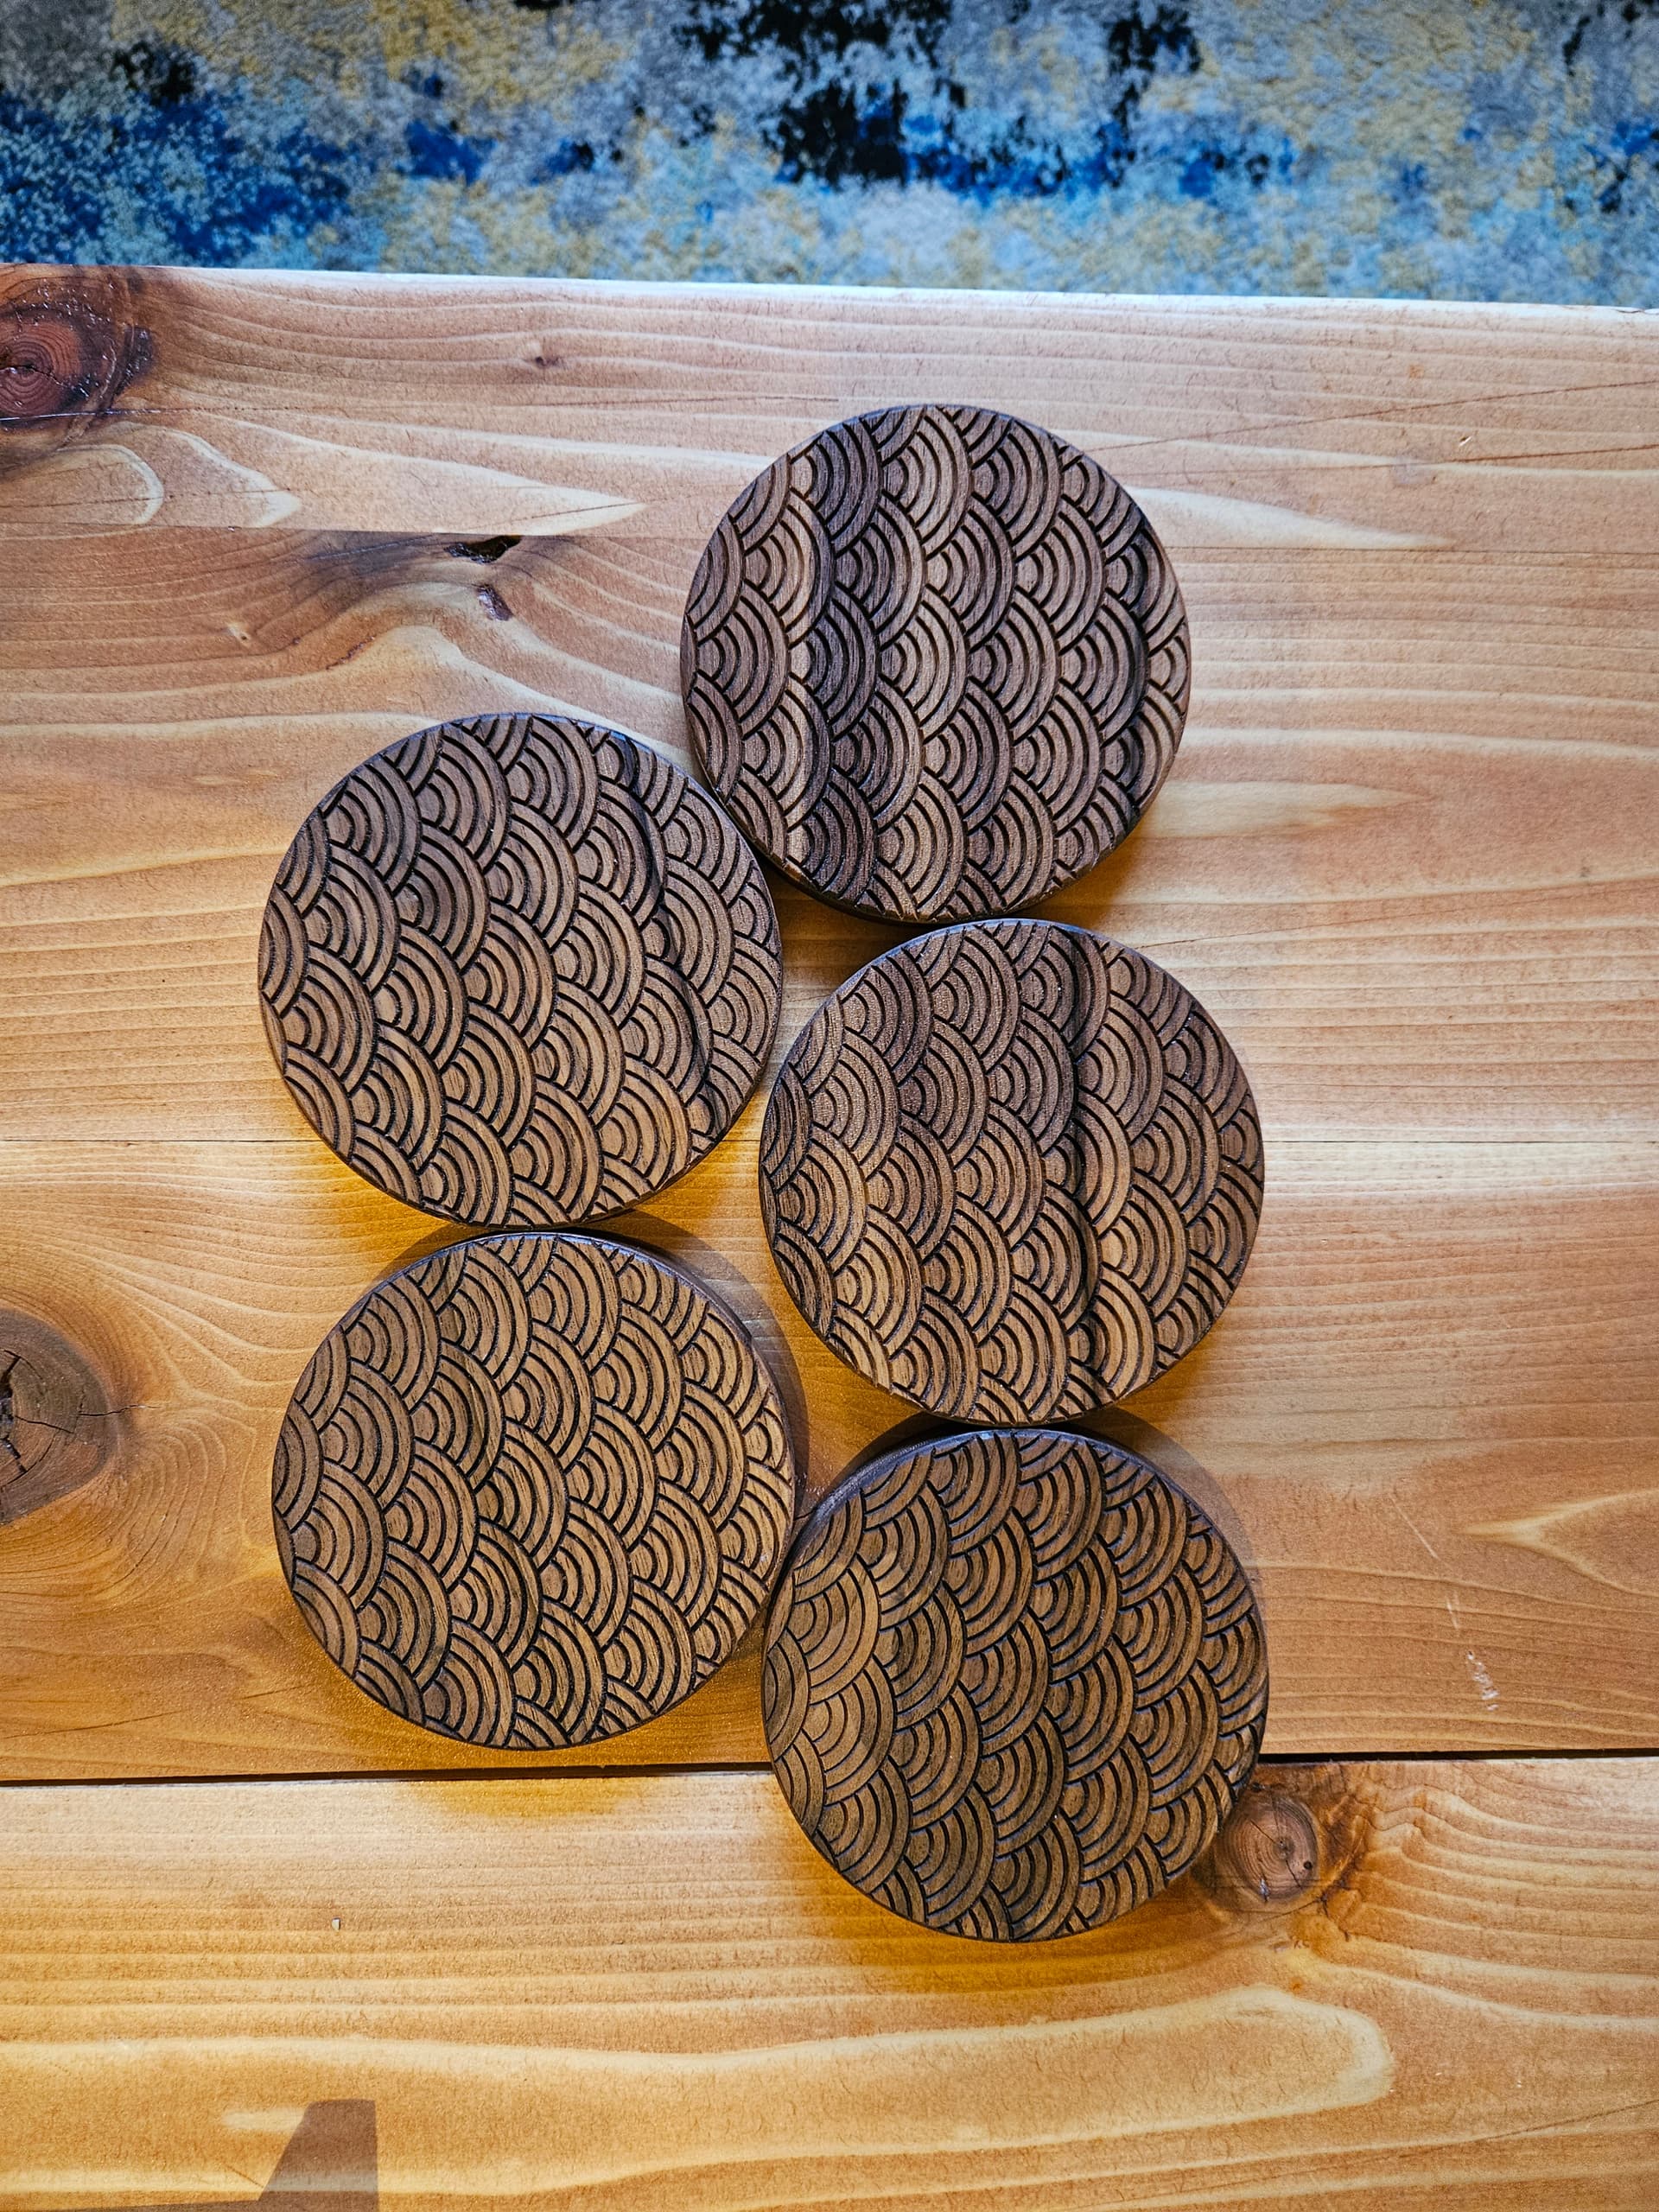
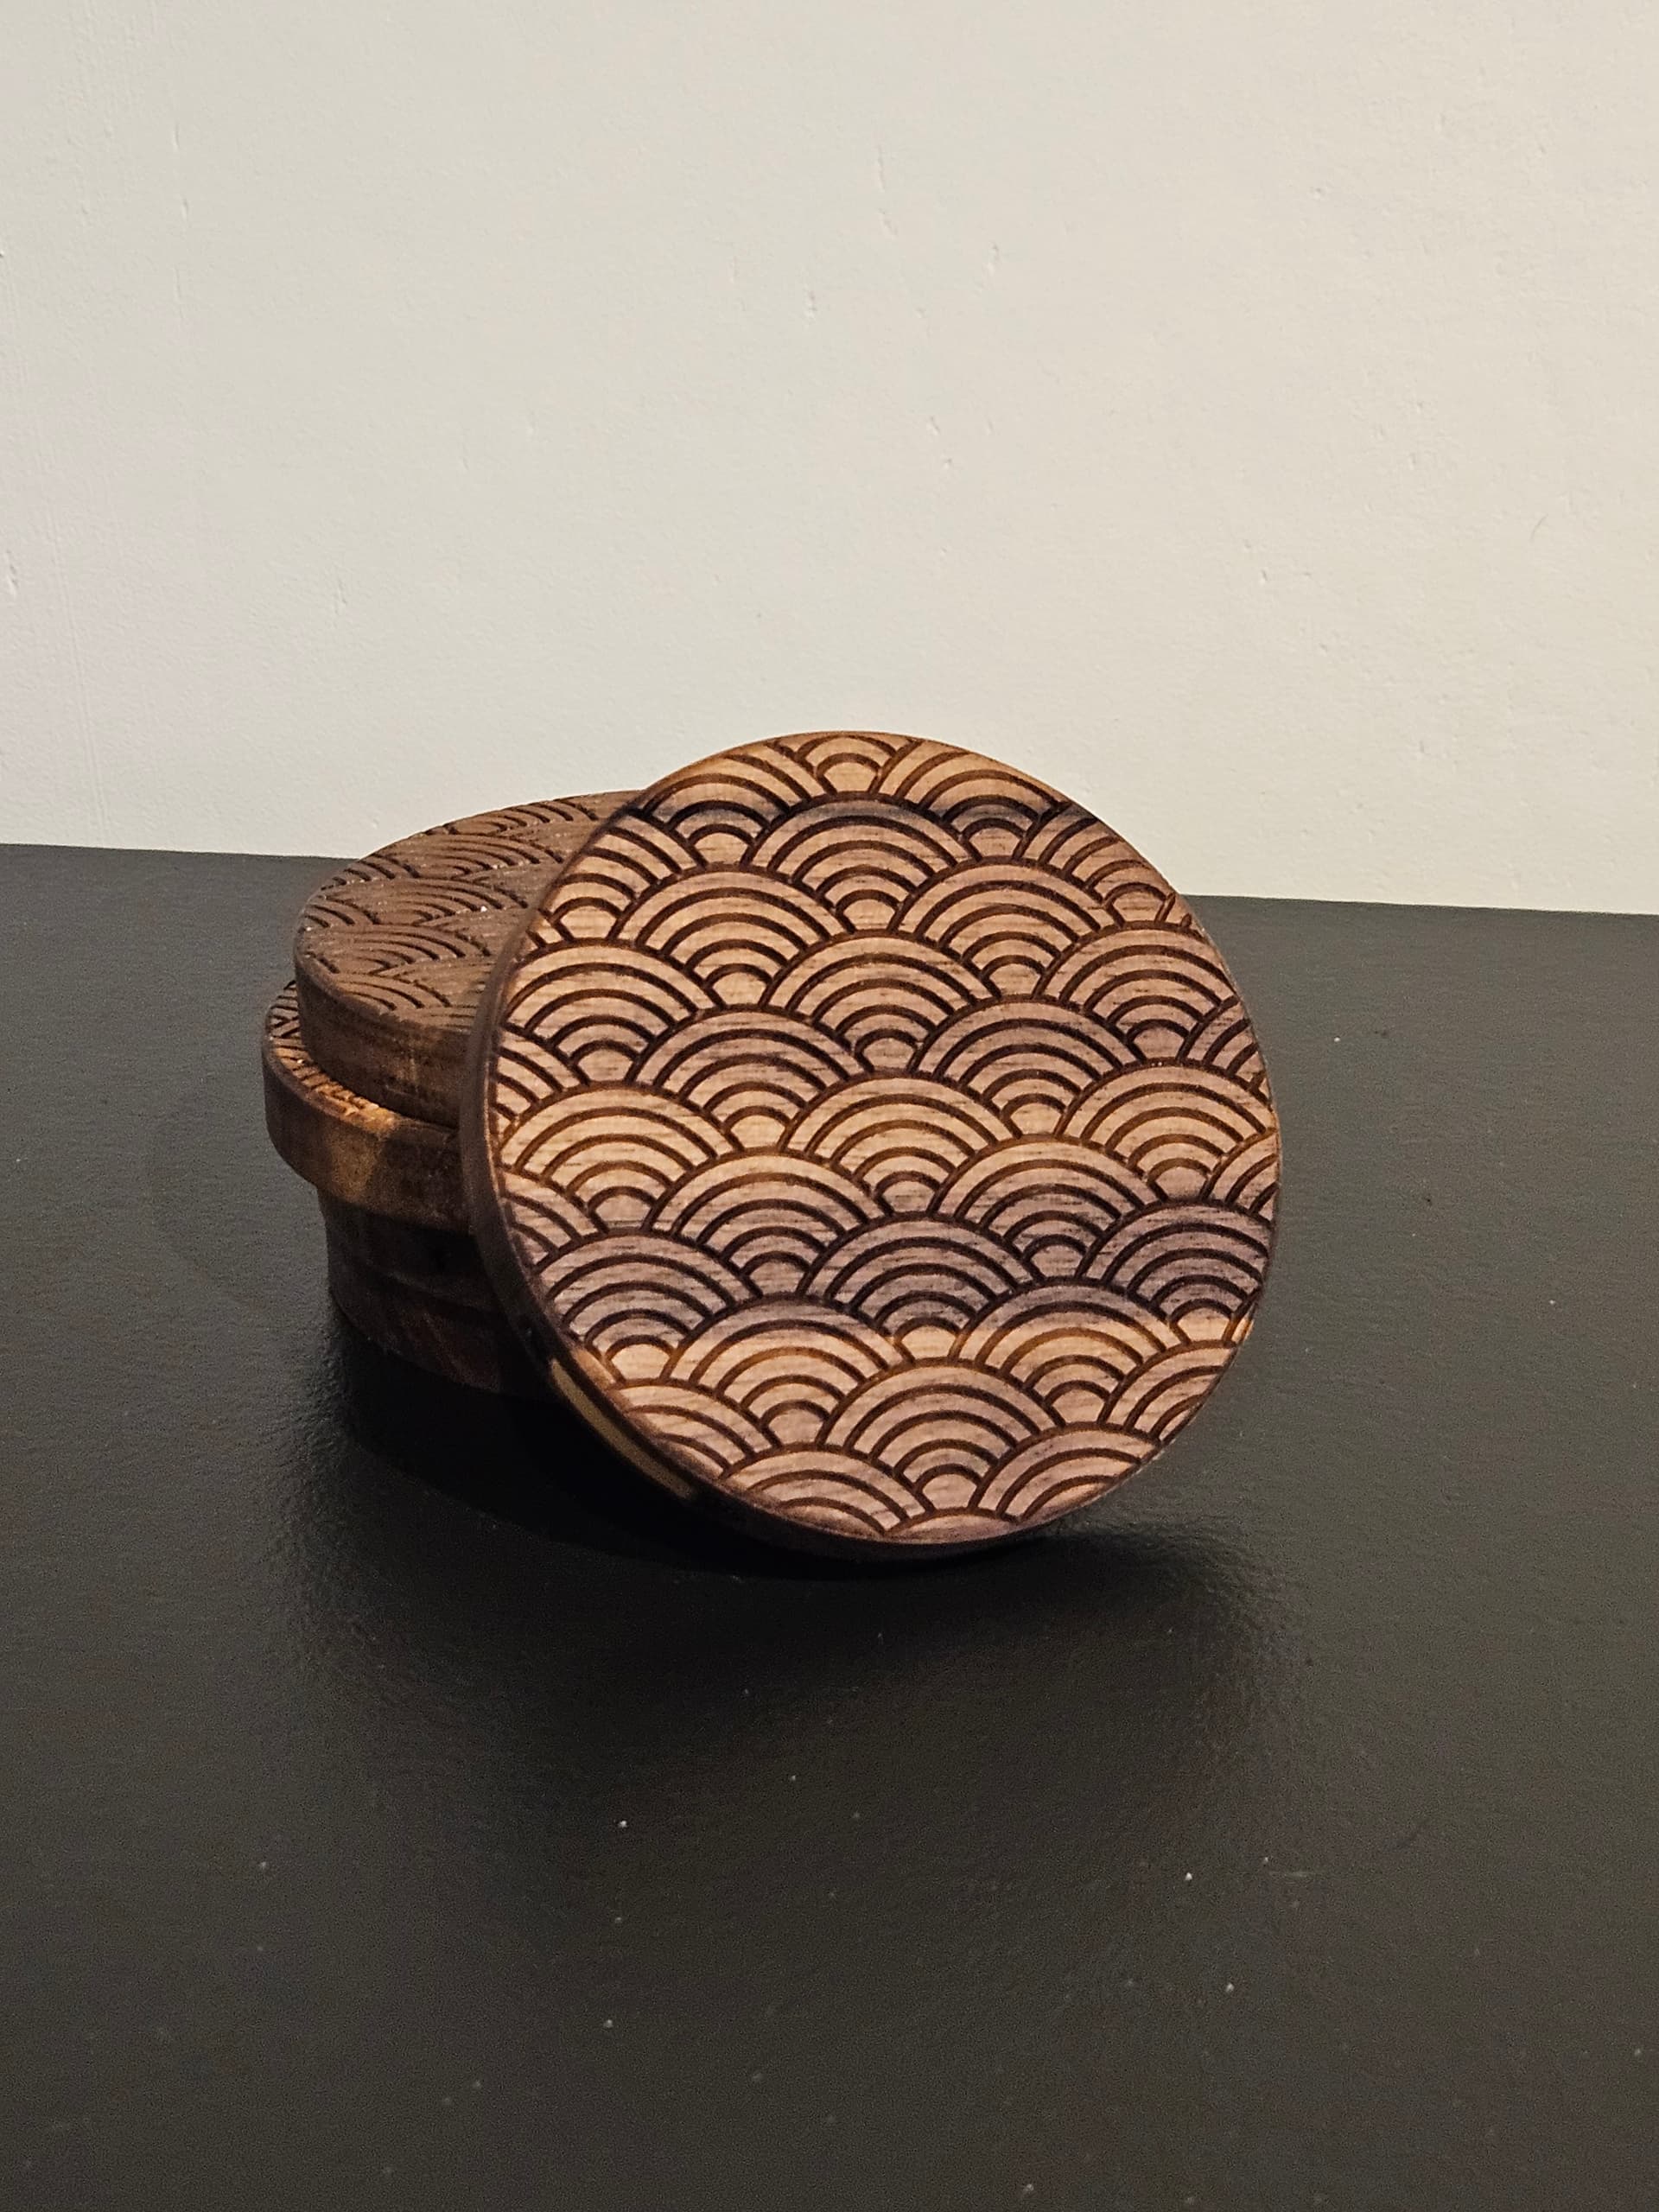
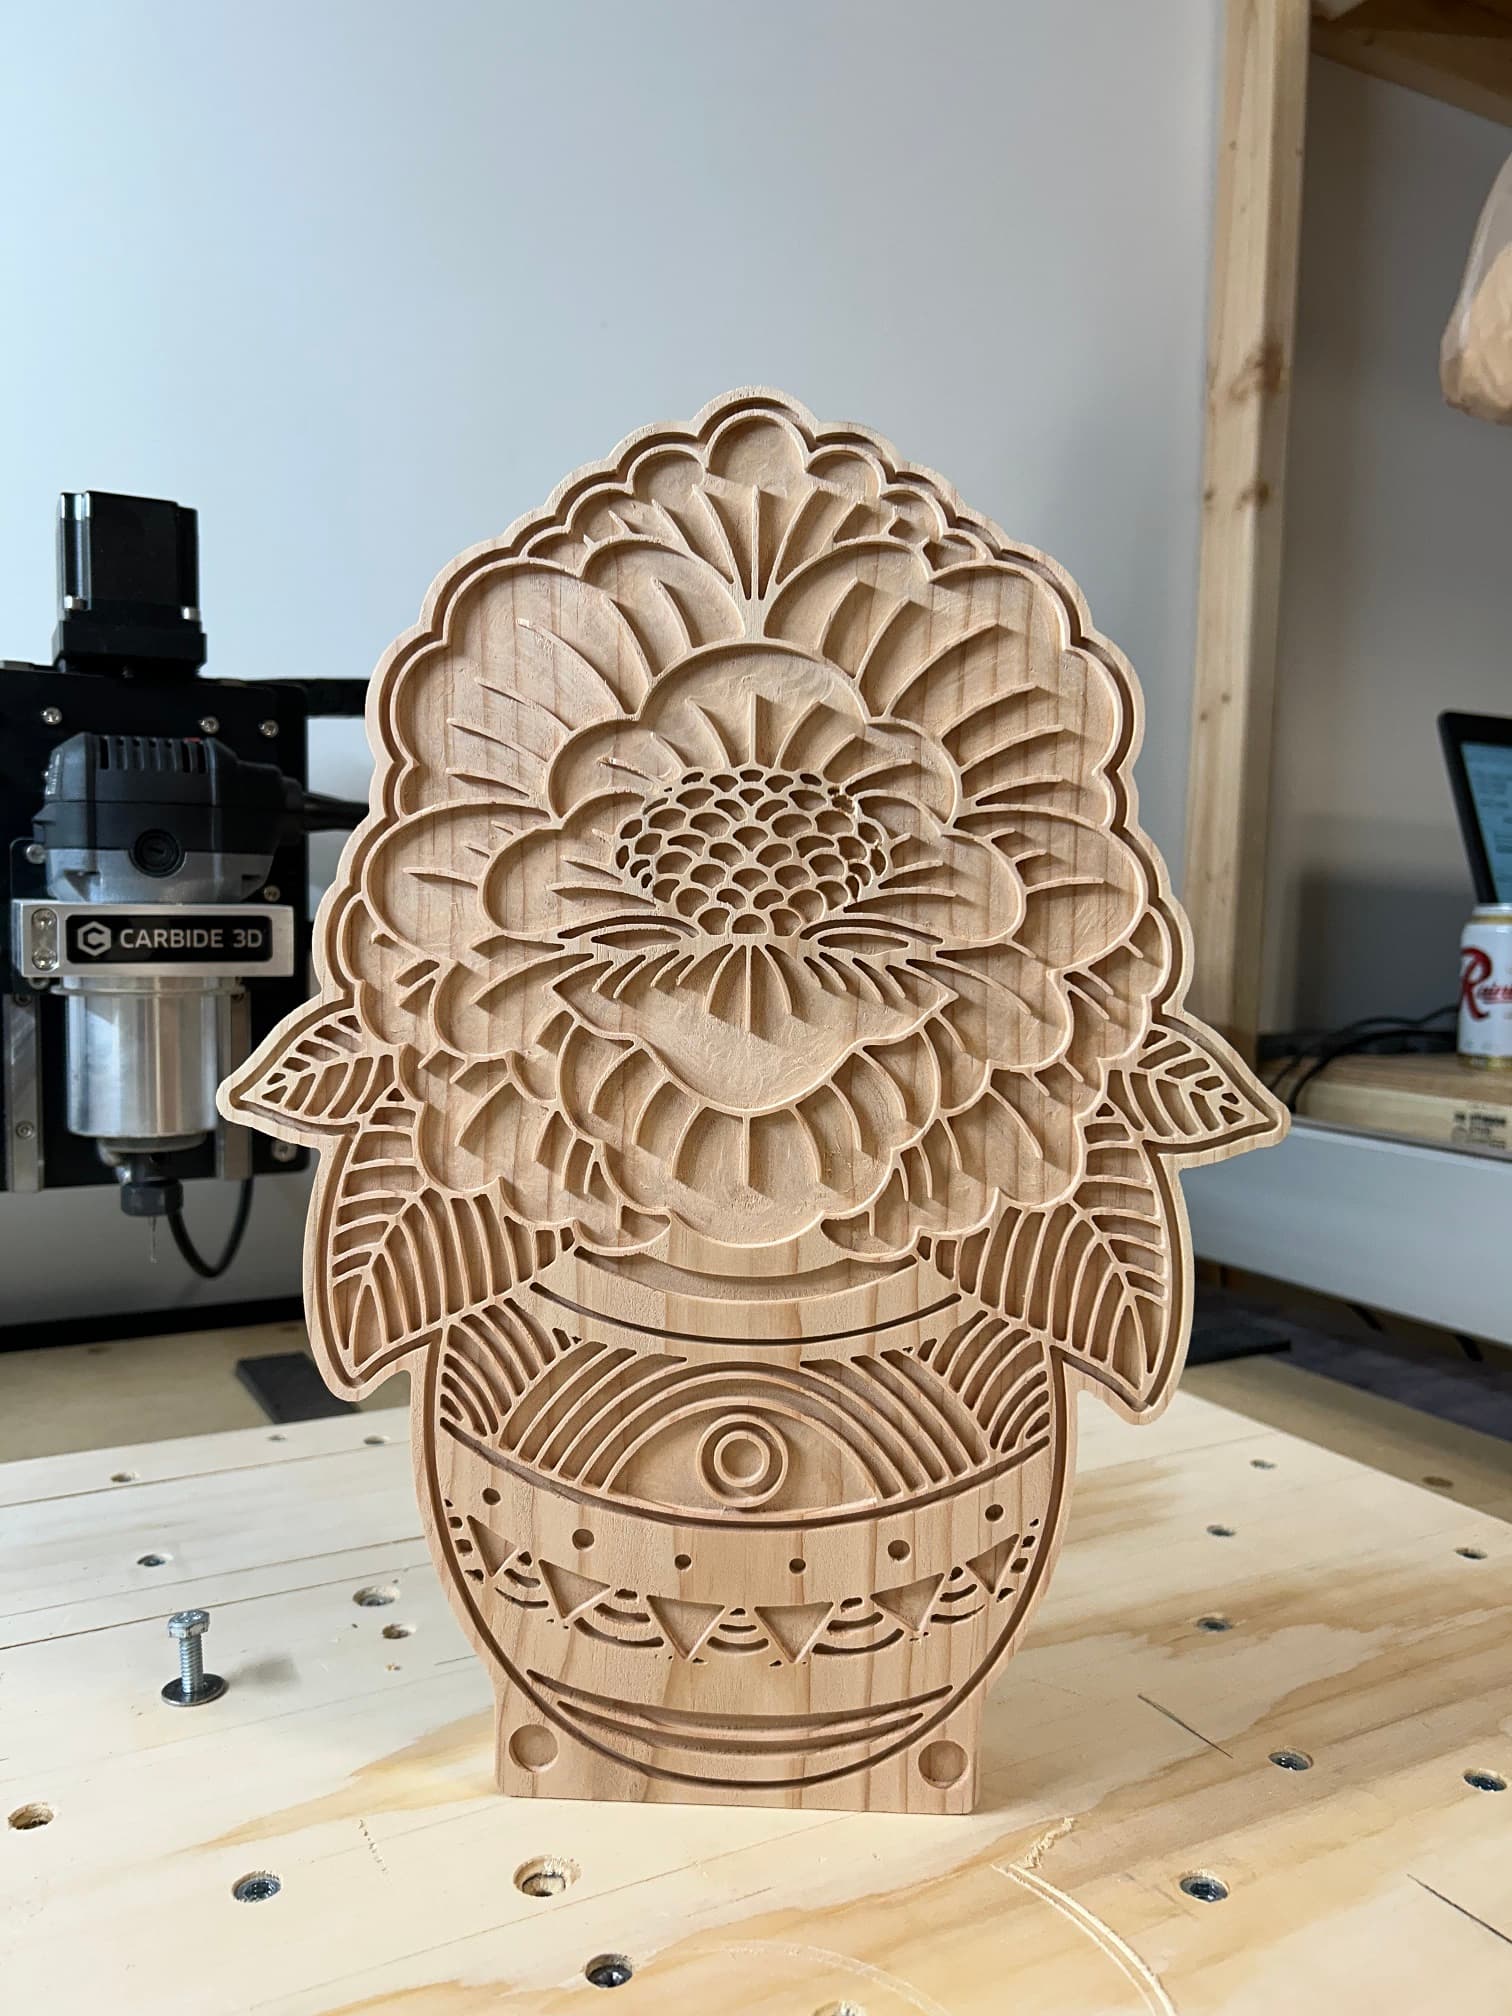
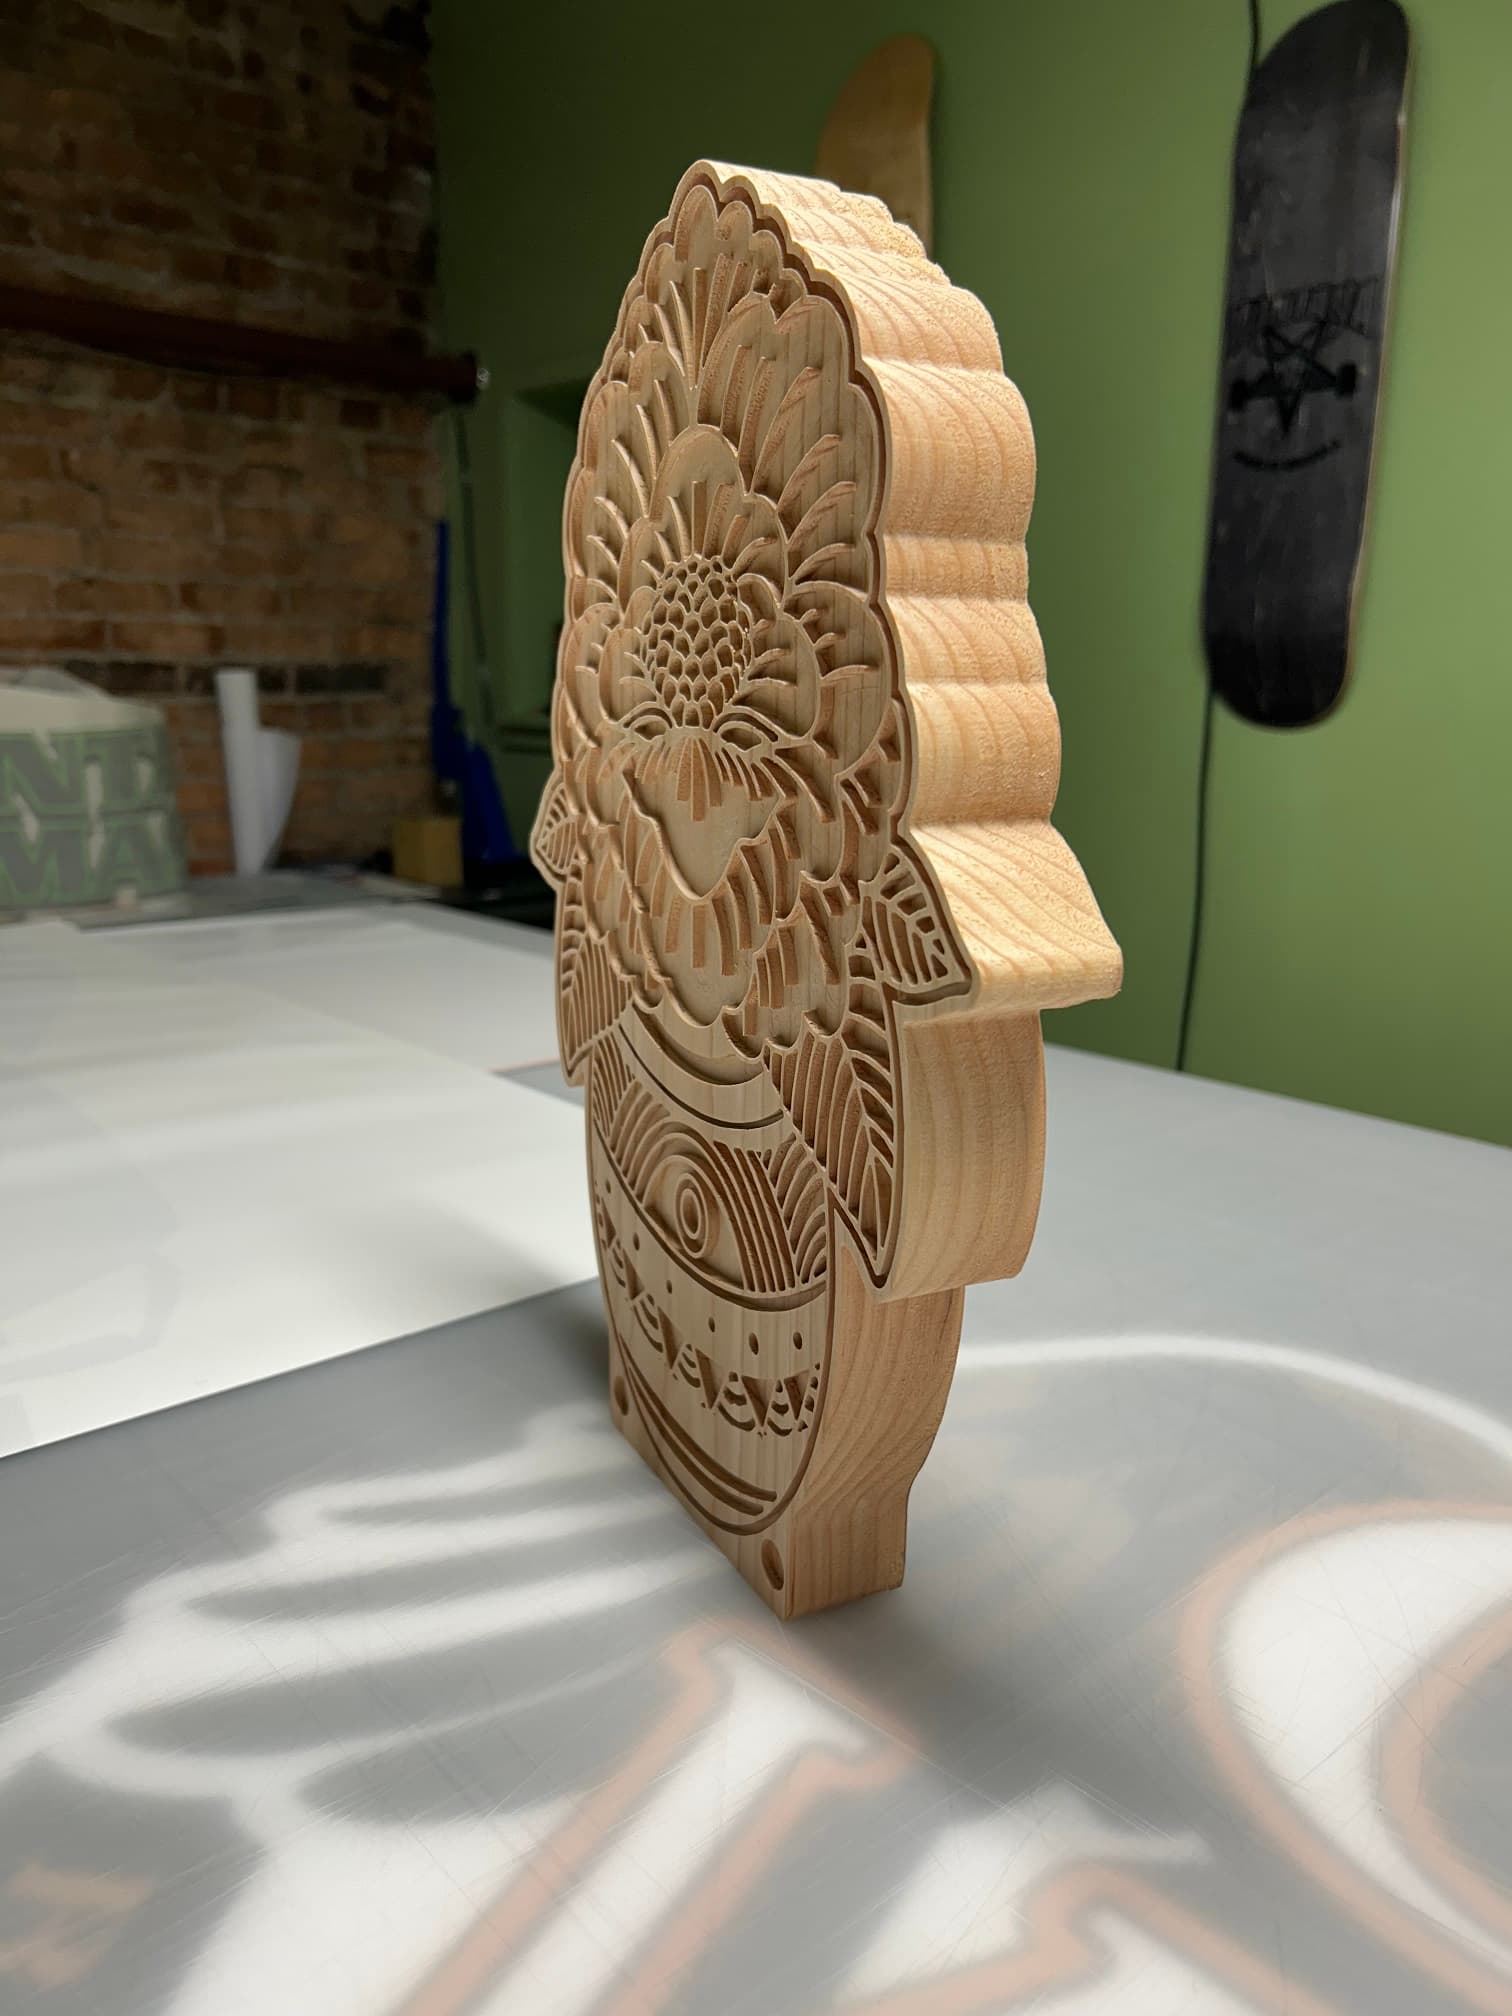
These are beautiful. What end mill did you use to cut the waves?
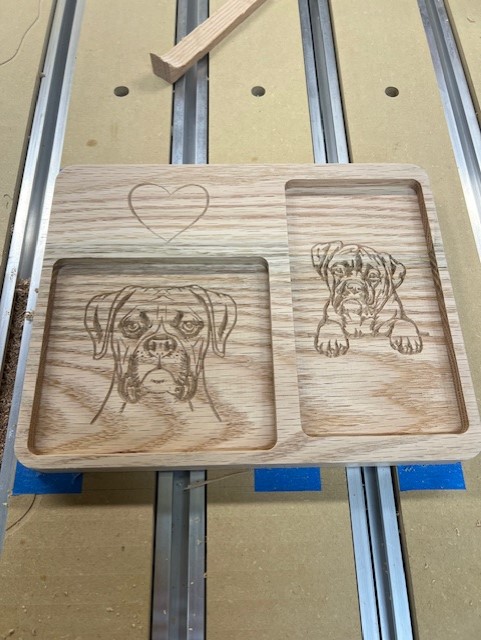
Michael,that is absolutely brilliant,a couple of questions,what wood did you use?Is the image from a photo of your dogs or imported?
I used a 60 degree v bit at a 0.02 inch depth.
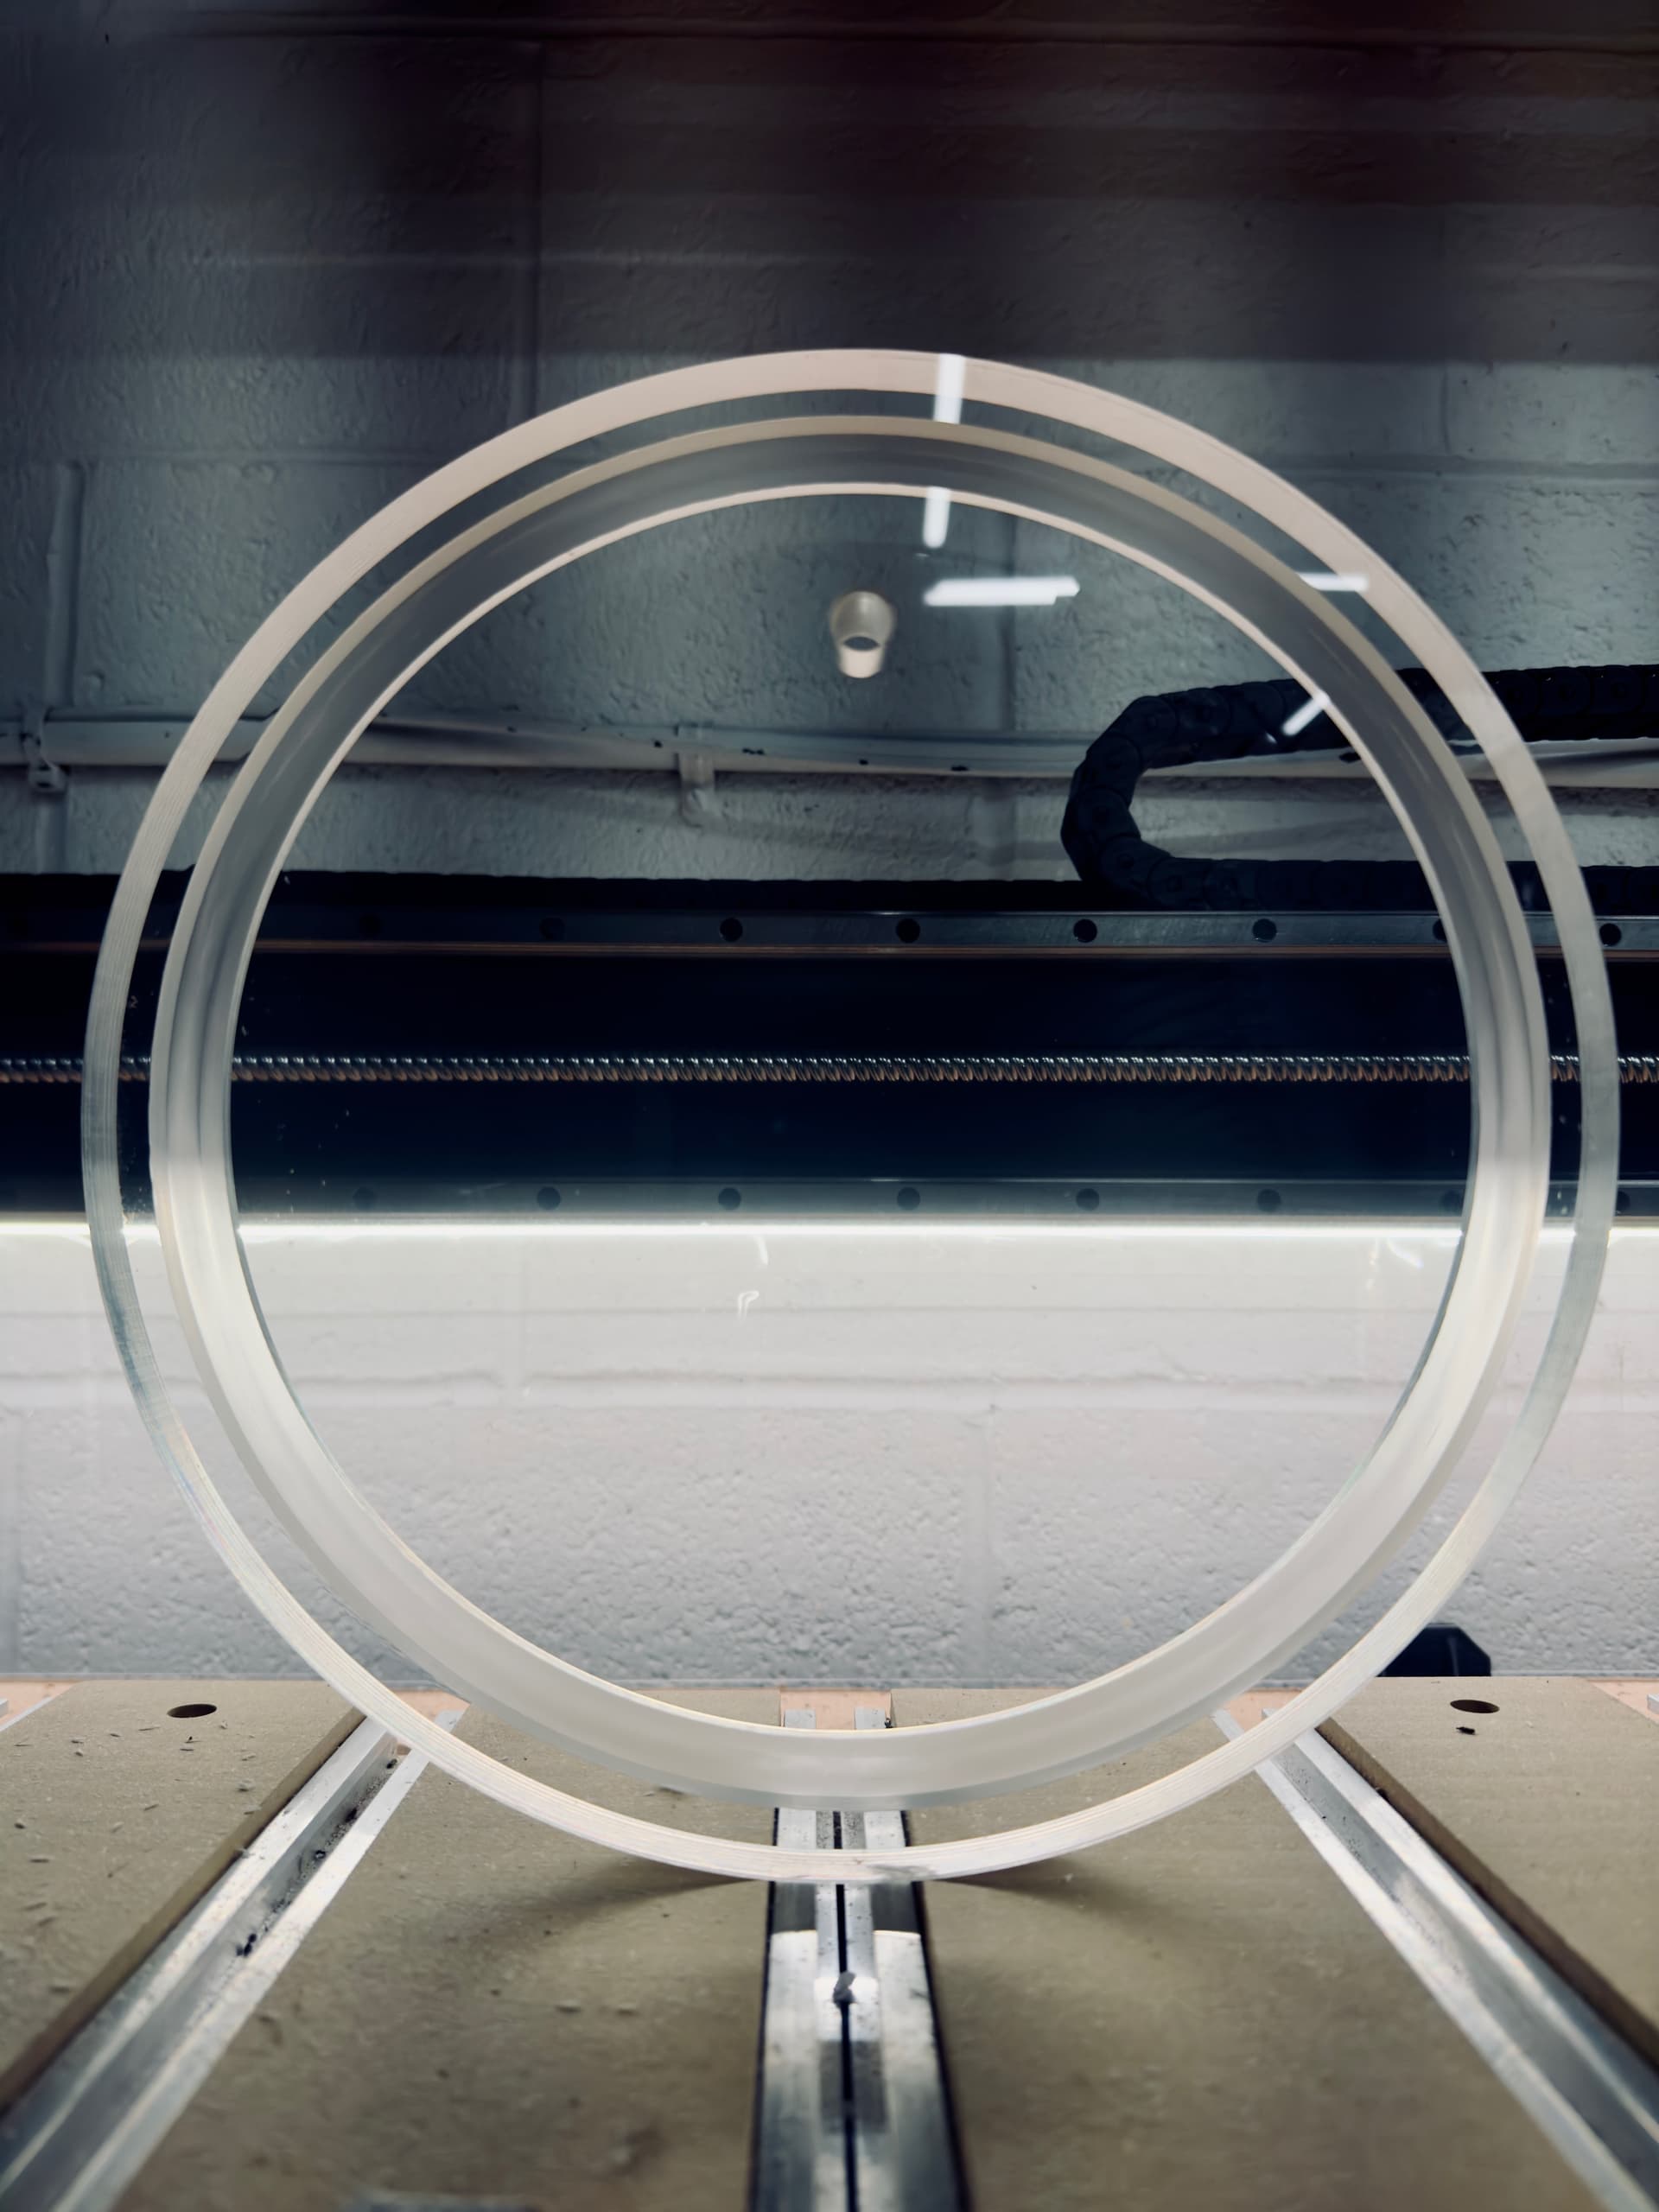
An 11" lid out of 1" acrylic that I’ll add a seal and some fittings to in order to use my pressure pot as a vacuum chamber. I used an Amana 51404-K O flute bit with the default Amana settings to do a pocket, boring operation and contour and it cut like a dream, especially after the last few weeks of cutting things out of aluminum and hard woods. This was a simple job but my first time cutting anything out of plastic on the machine.
I have been considering a pressure and/or vacuum pot for a while. Some of the vacuum chambers have lids that will spider if any epoxy gets on them. Then later they break apart when trying to apply vacuum. I never could discern what type of plastic lids would react with epoxy and/or epoxy fumes.
I got the California Air Tools 2.5 Gallon pressure pot since I didn’t want to mess around with modding/building one for curing epoxy stuff in. Then I started messing around with silicone molds and needed a vacuum chamber to degas silicone in and decided to have the pressure pot do double duty and save space.
This lid is cast acrylic and definitely susceptible to stress cracks so I’ll have to make sure to keep it away from solvents. I already had it laying around though and will move to glass if I happen to blow it up.
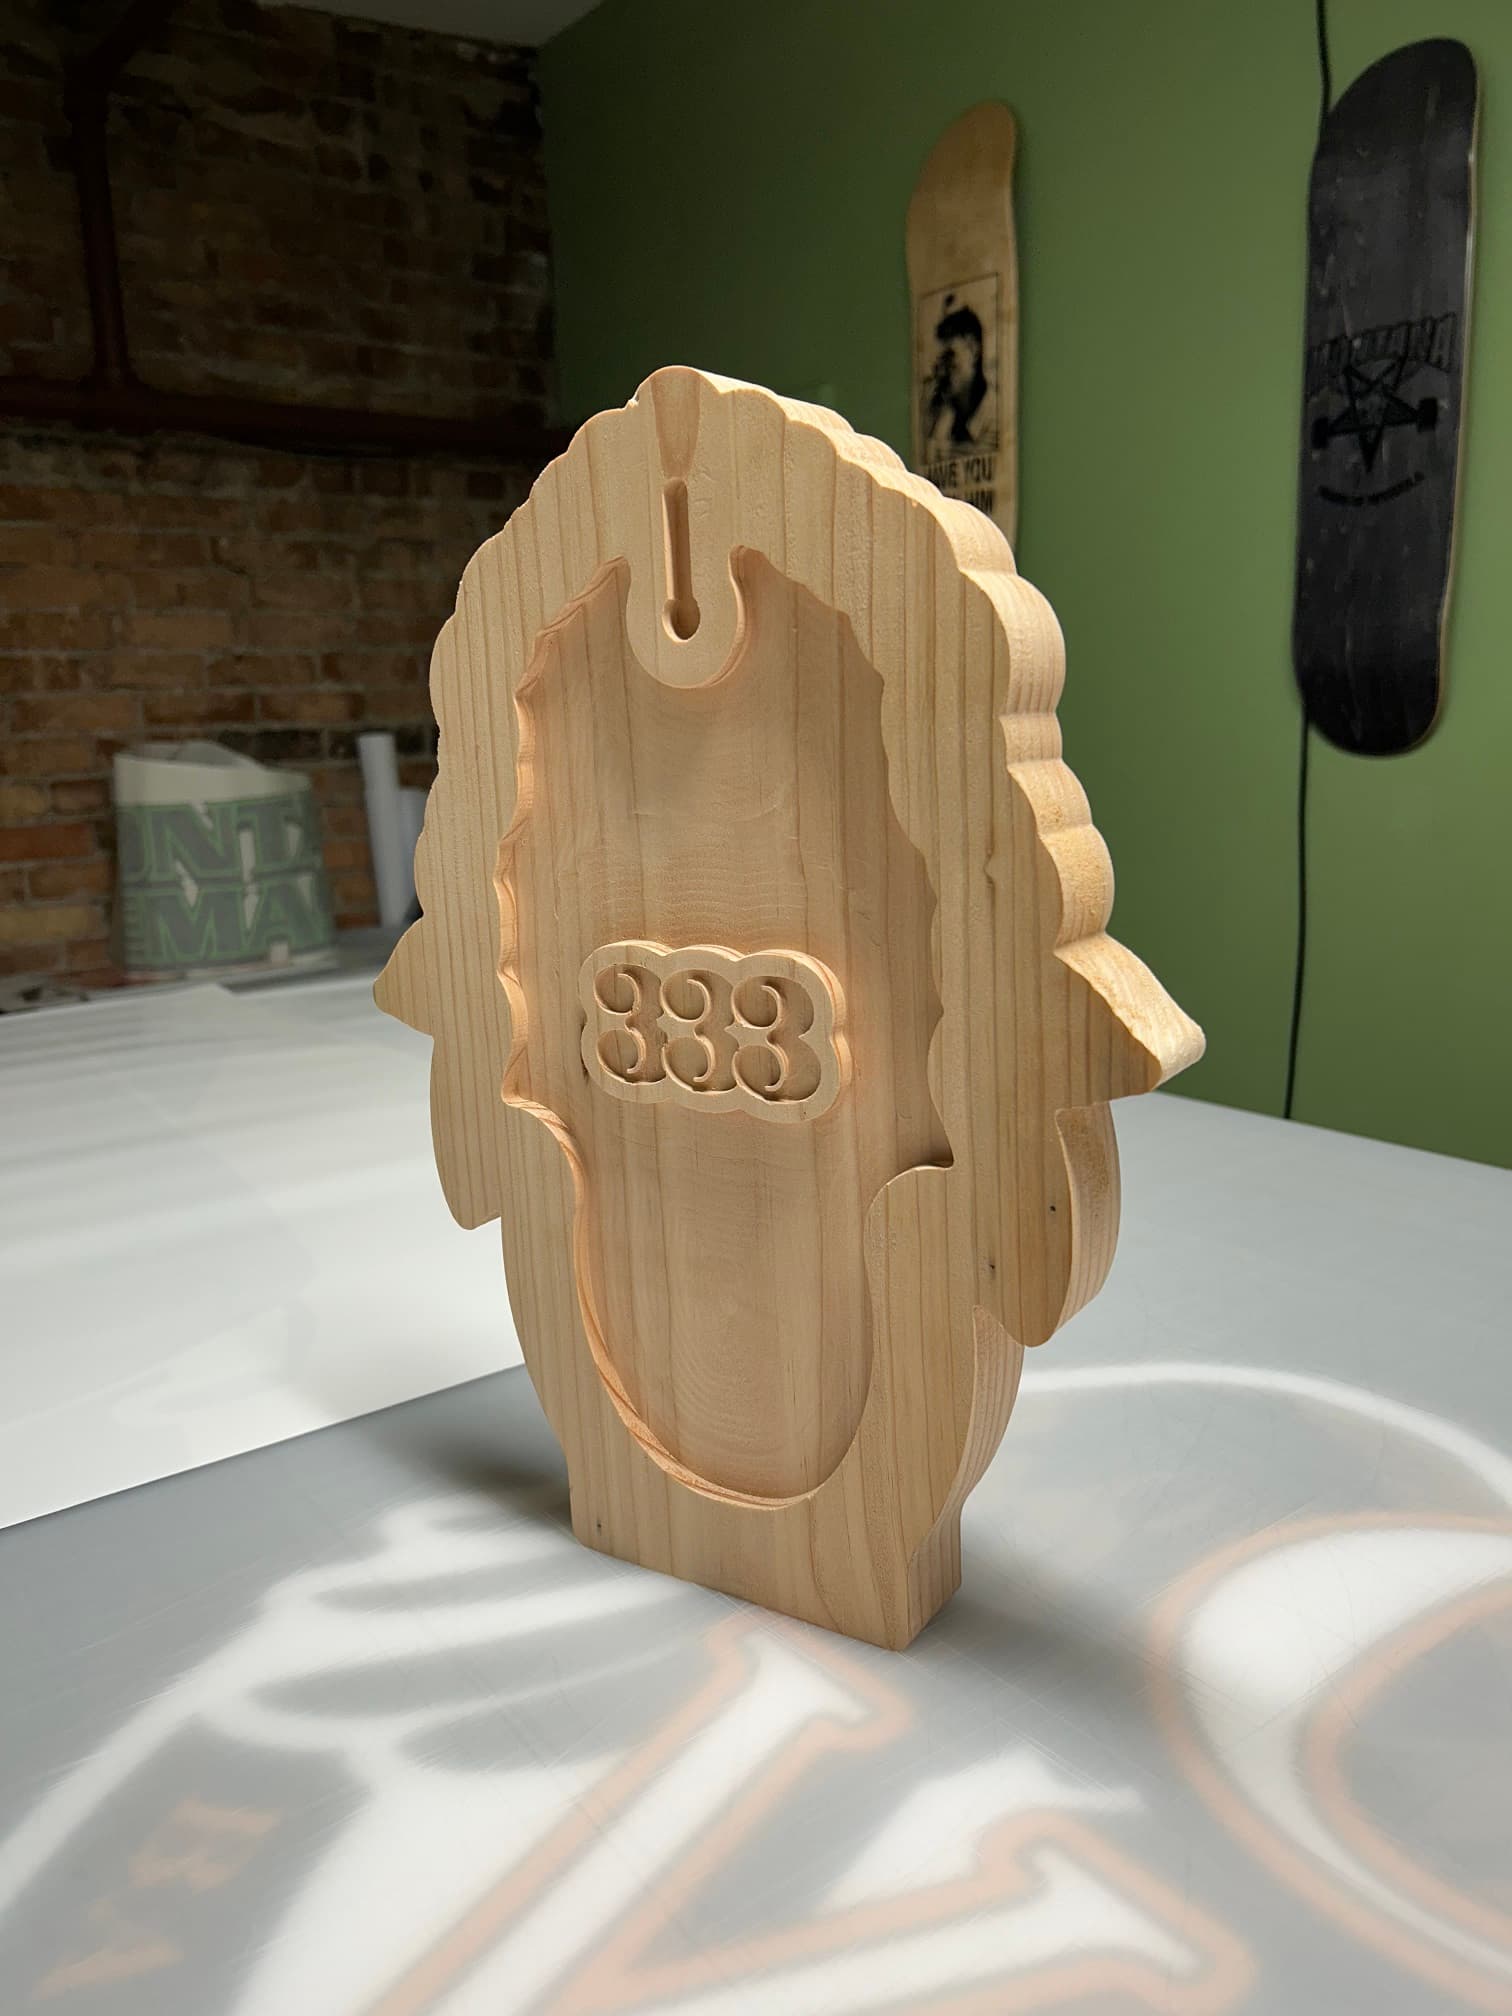
Thank you. It is red oak. I used an import for the dogs. I looked through a lot of pictures till I found 2 that looked really close to our dogs.
I tried to use pictures of them but could not get them to look as good.
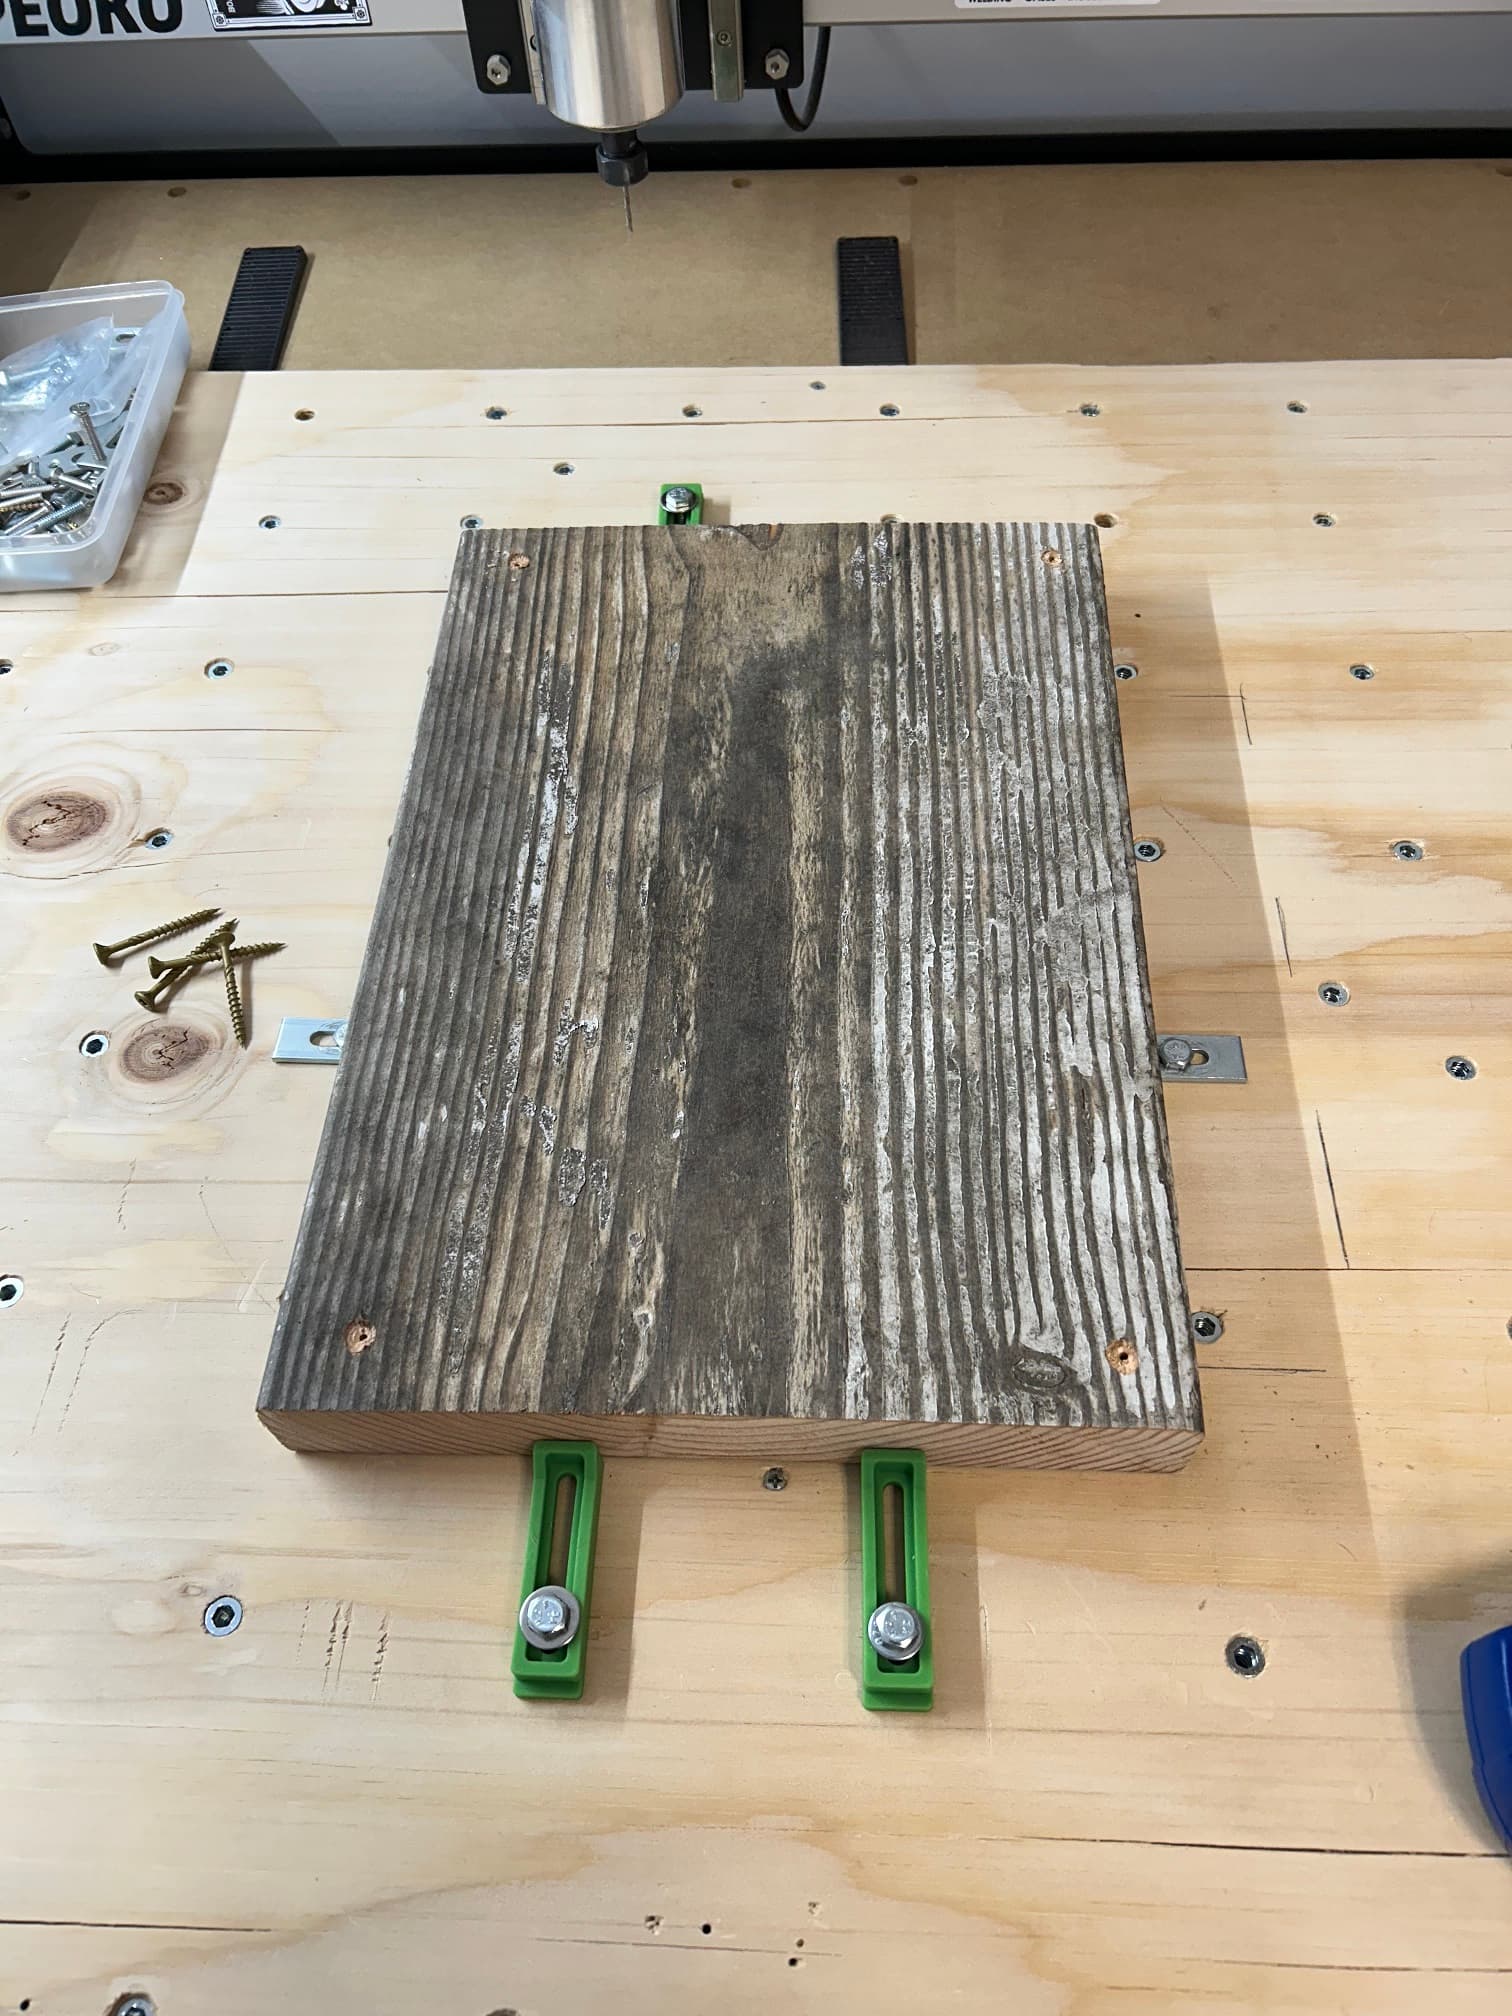
Fir “trash” into something fun, easy, and inexpensive for a local artist. Old piece of my dock (dimensional 2"x12" fir).
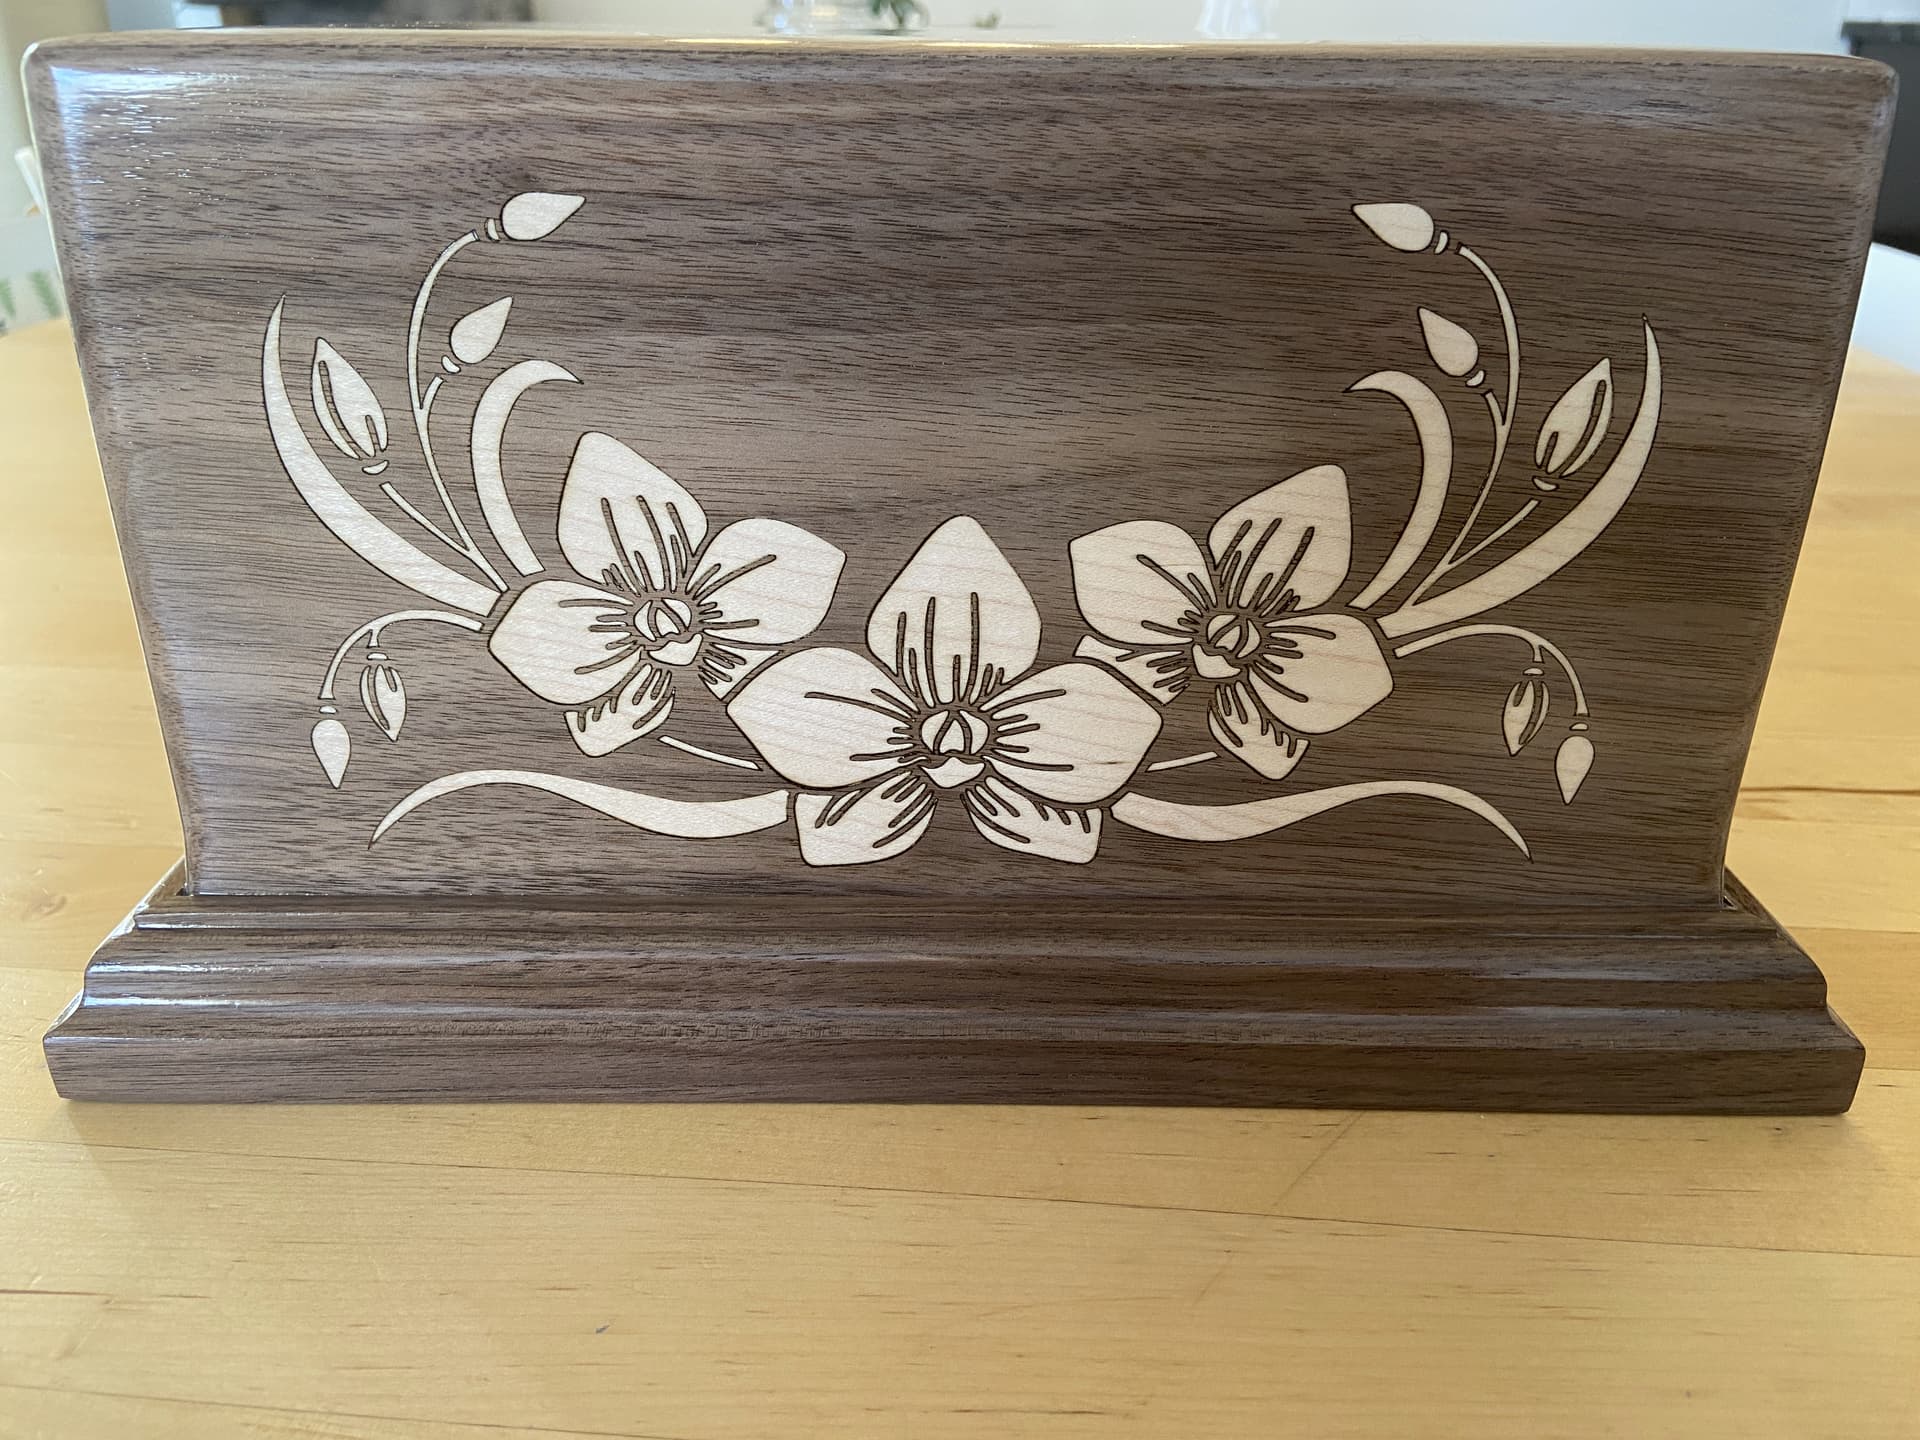
I really like the dimensionality of this. It’s a very different visual effect from a standard v-carve. The back is also a really nice touch. Well done.
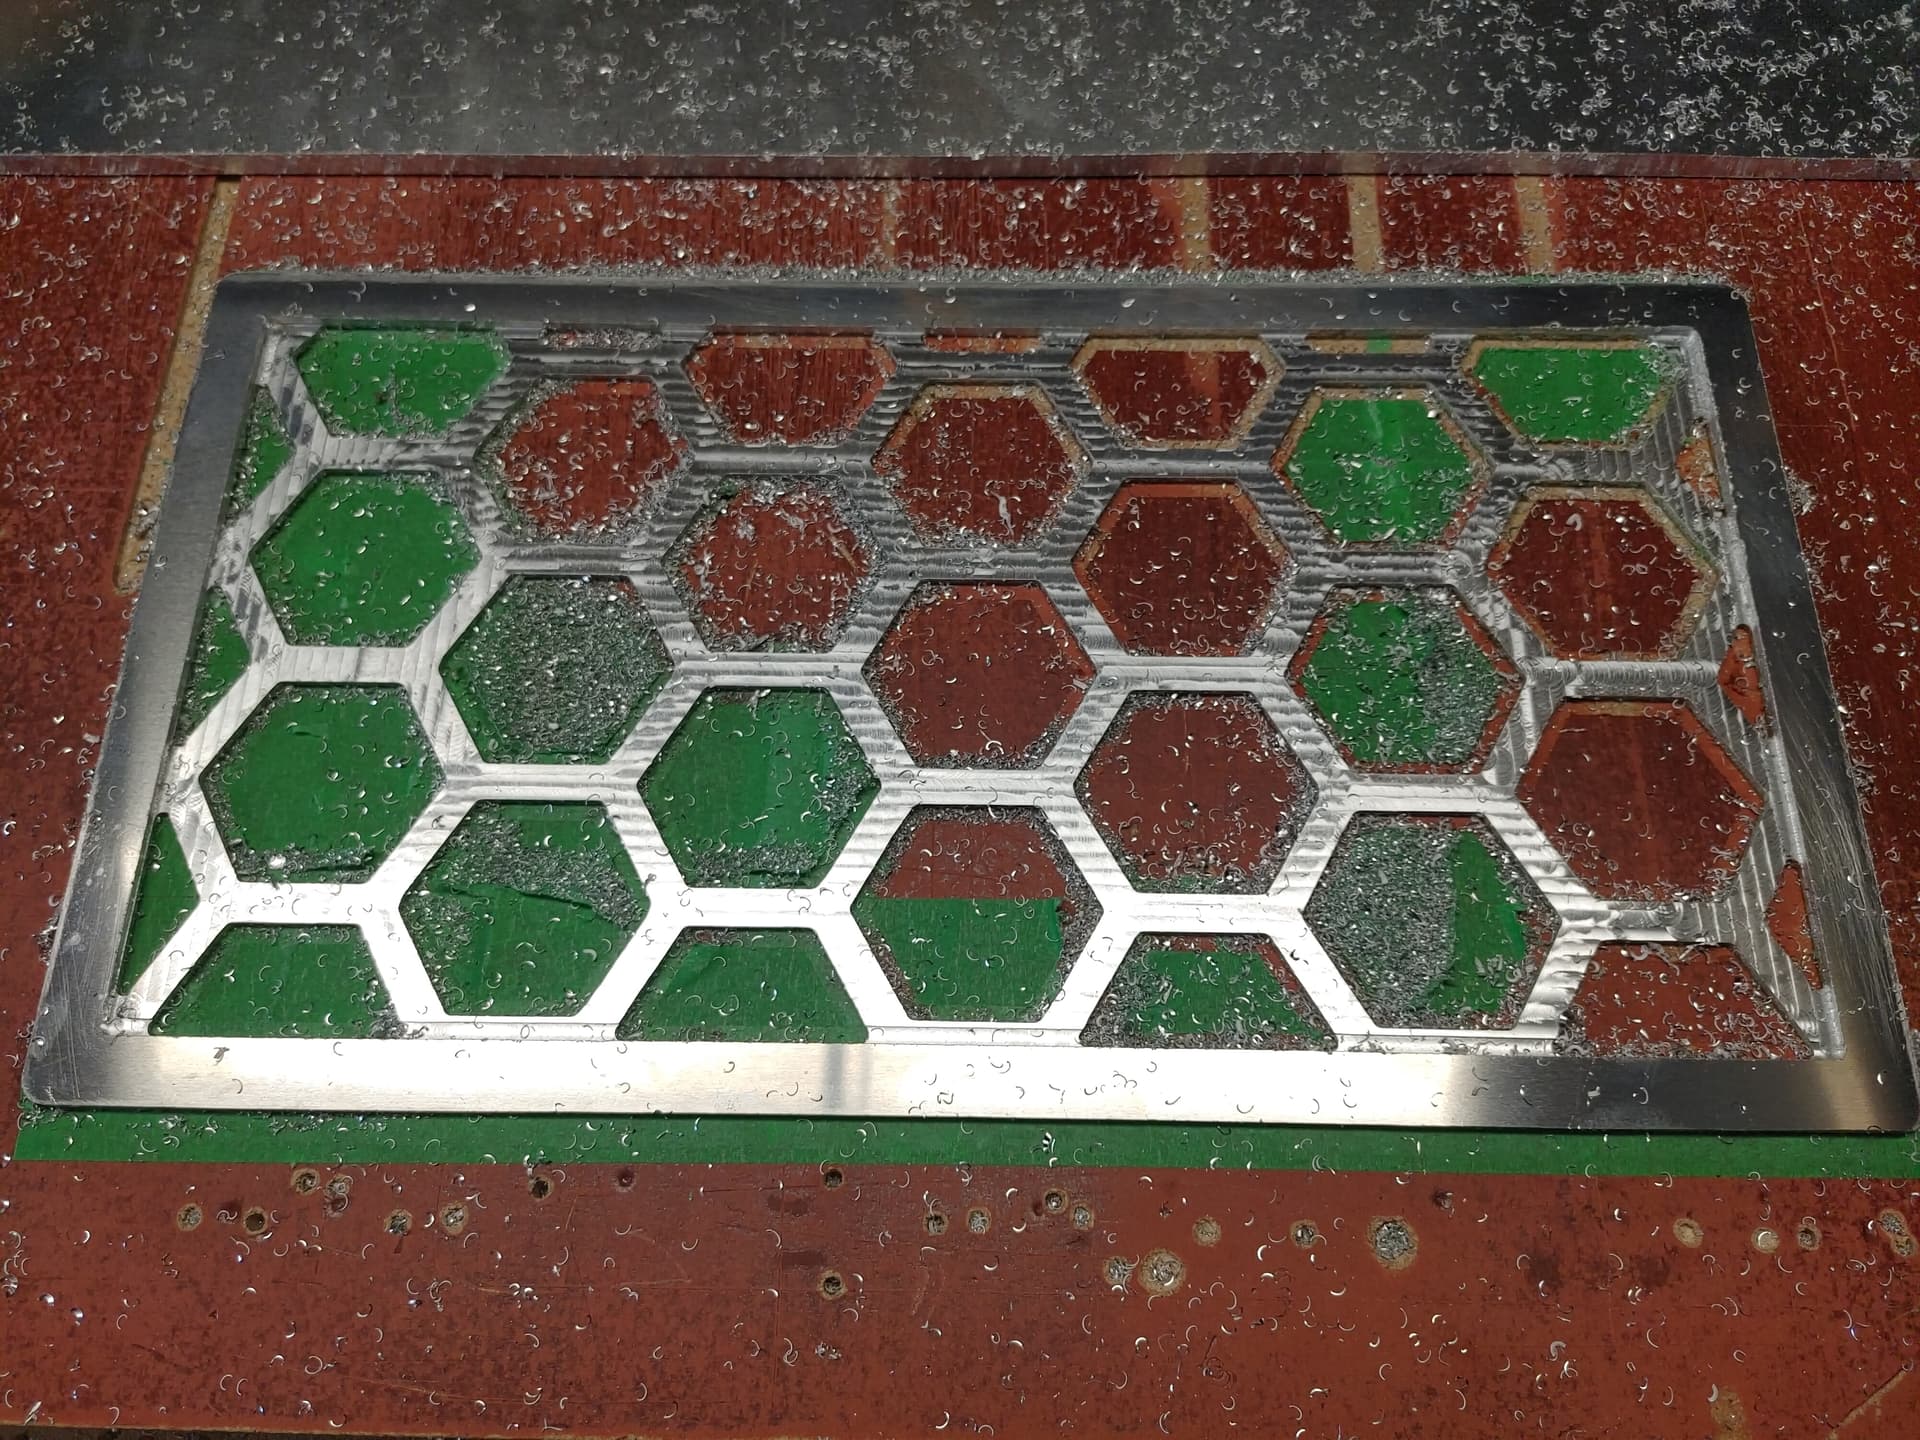
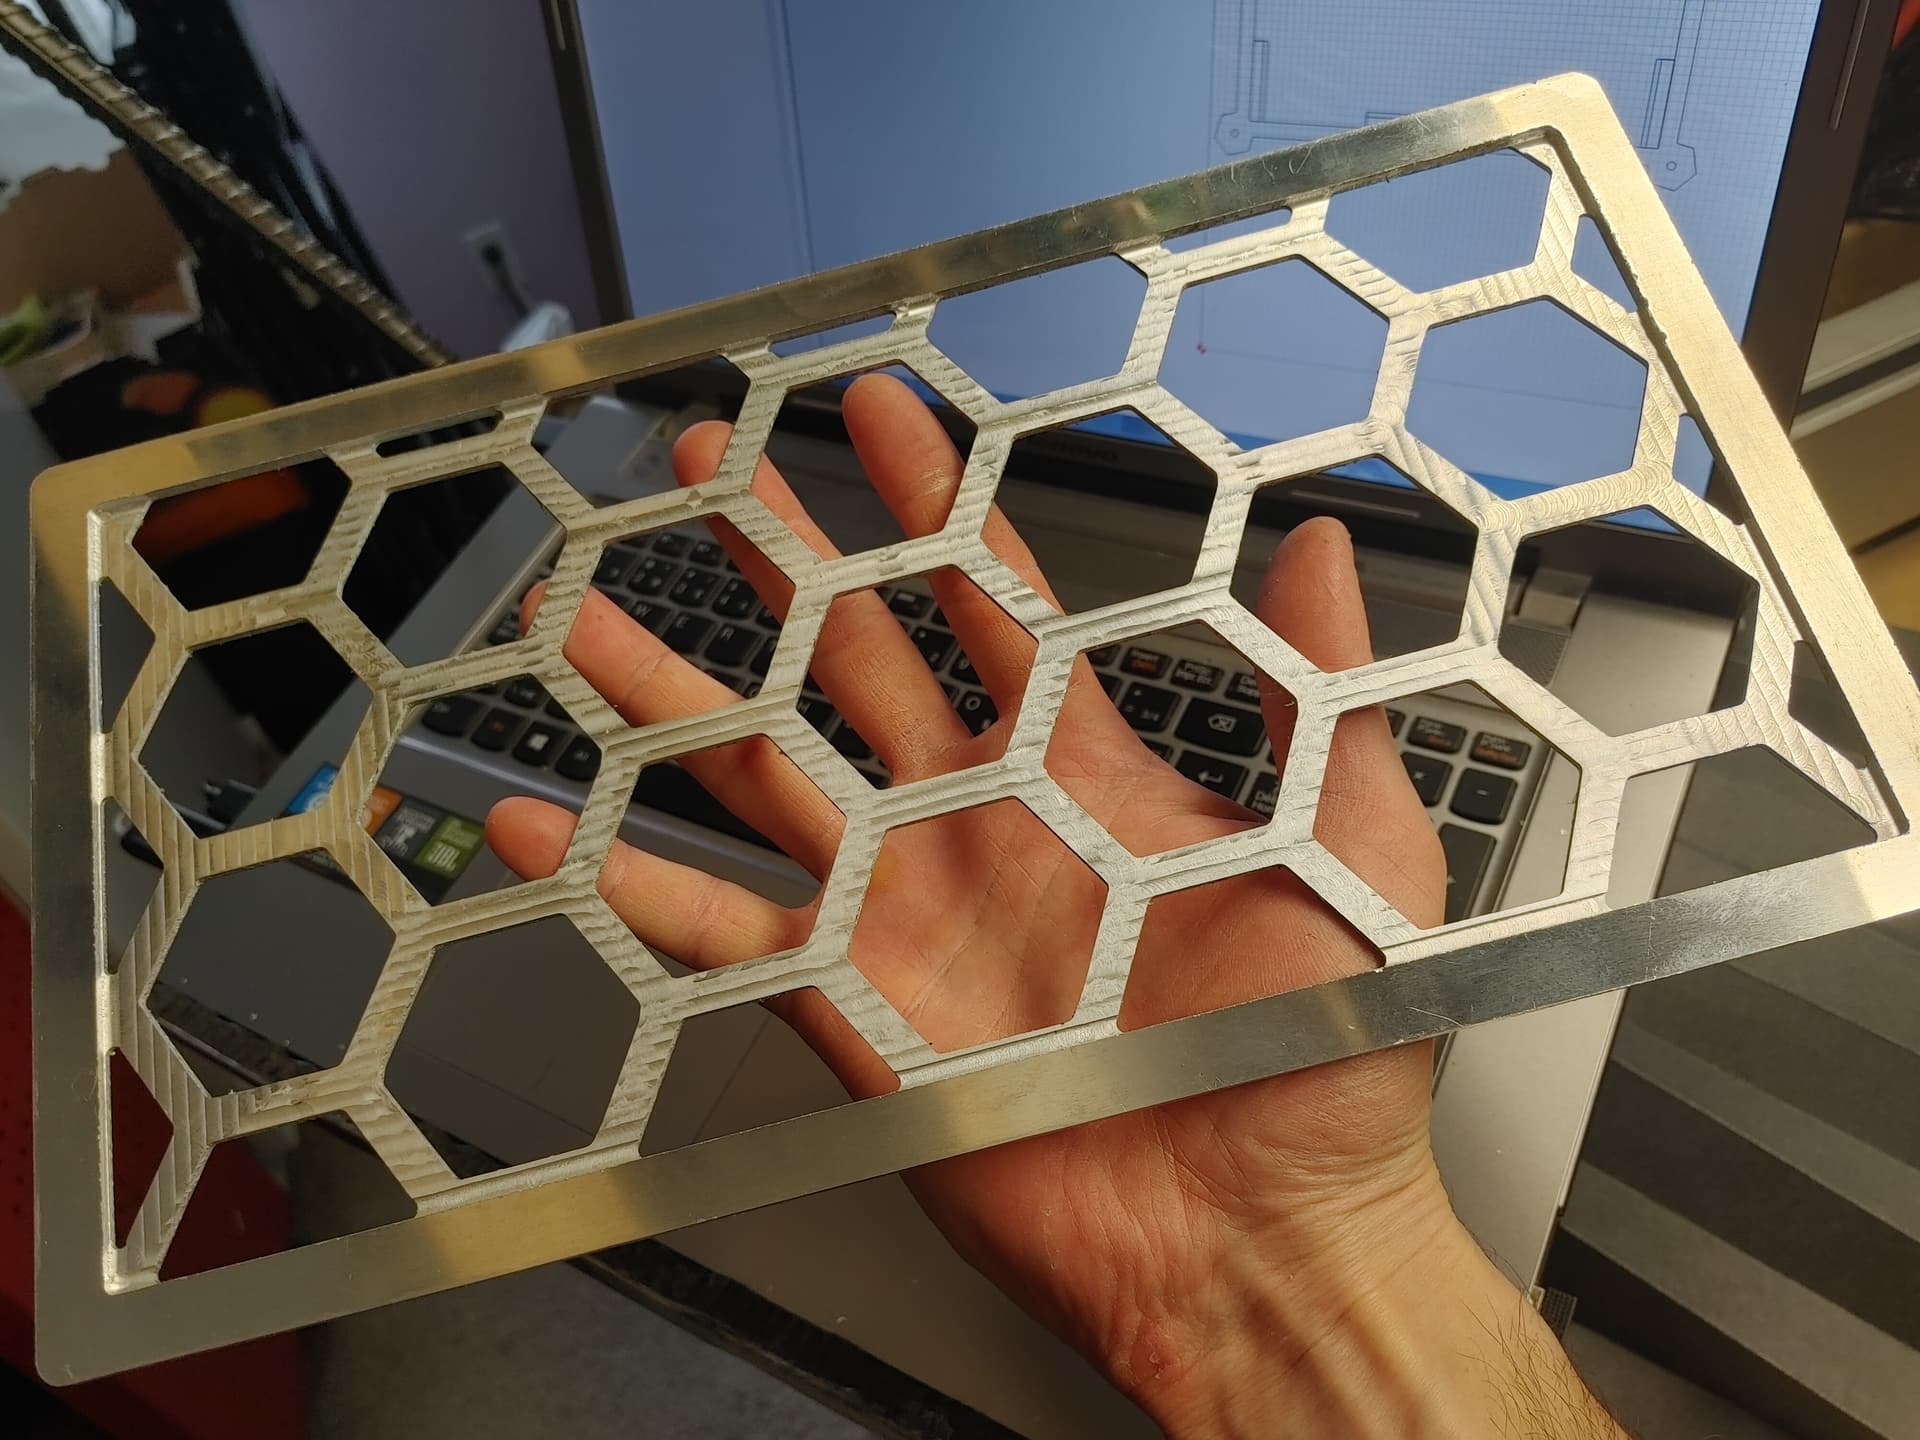
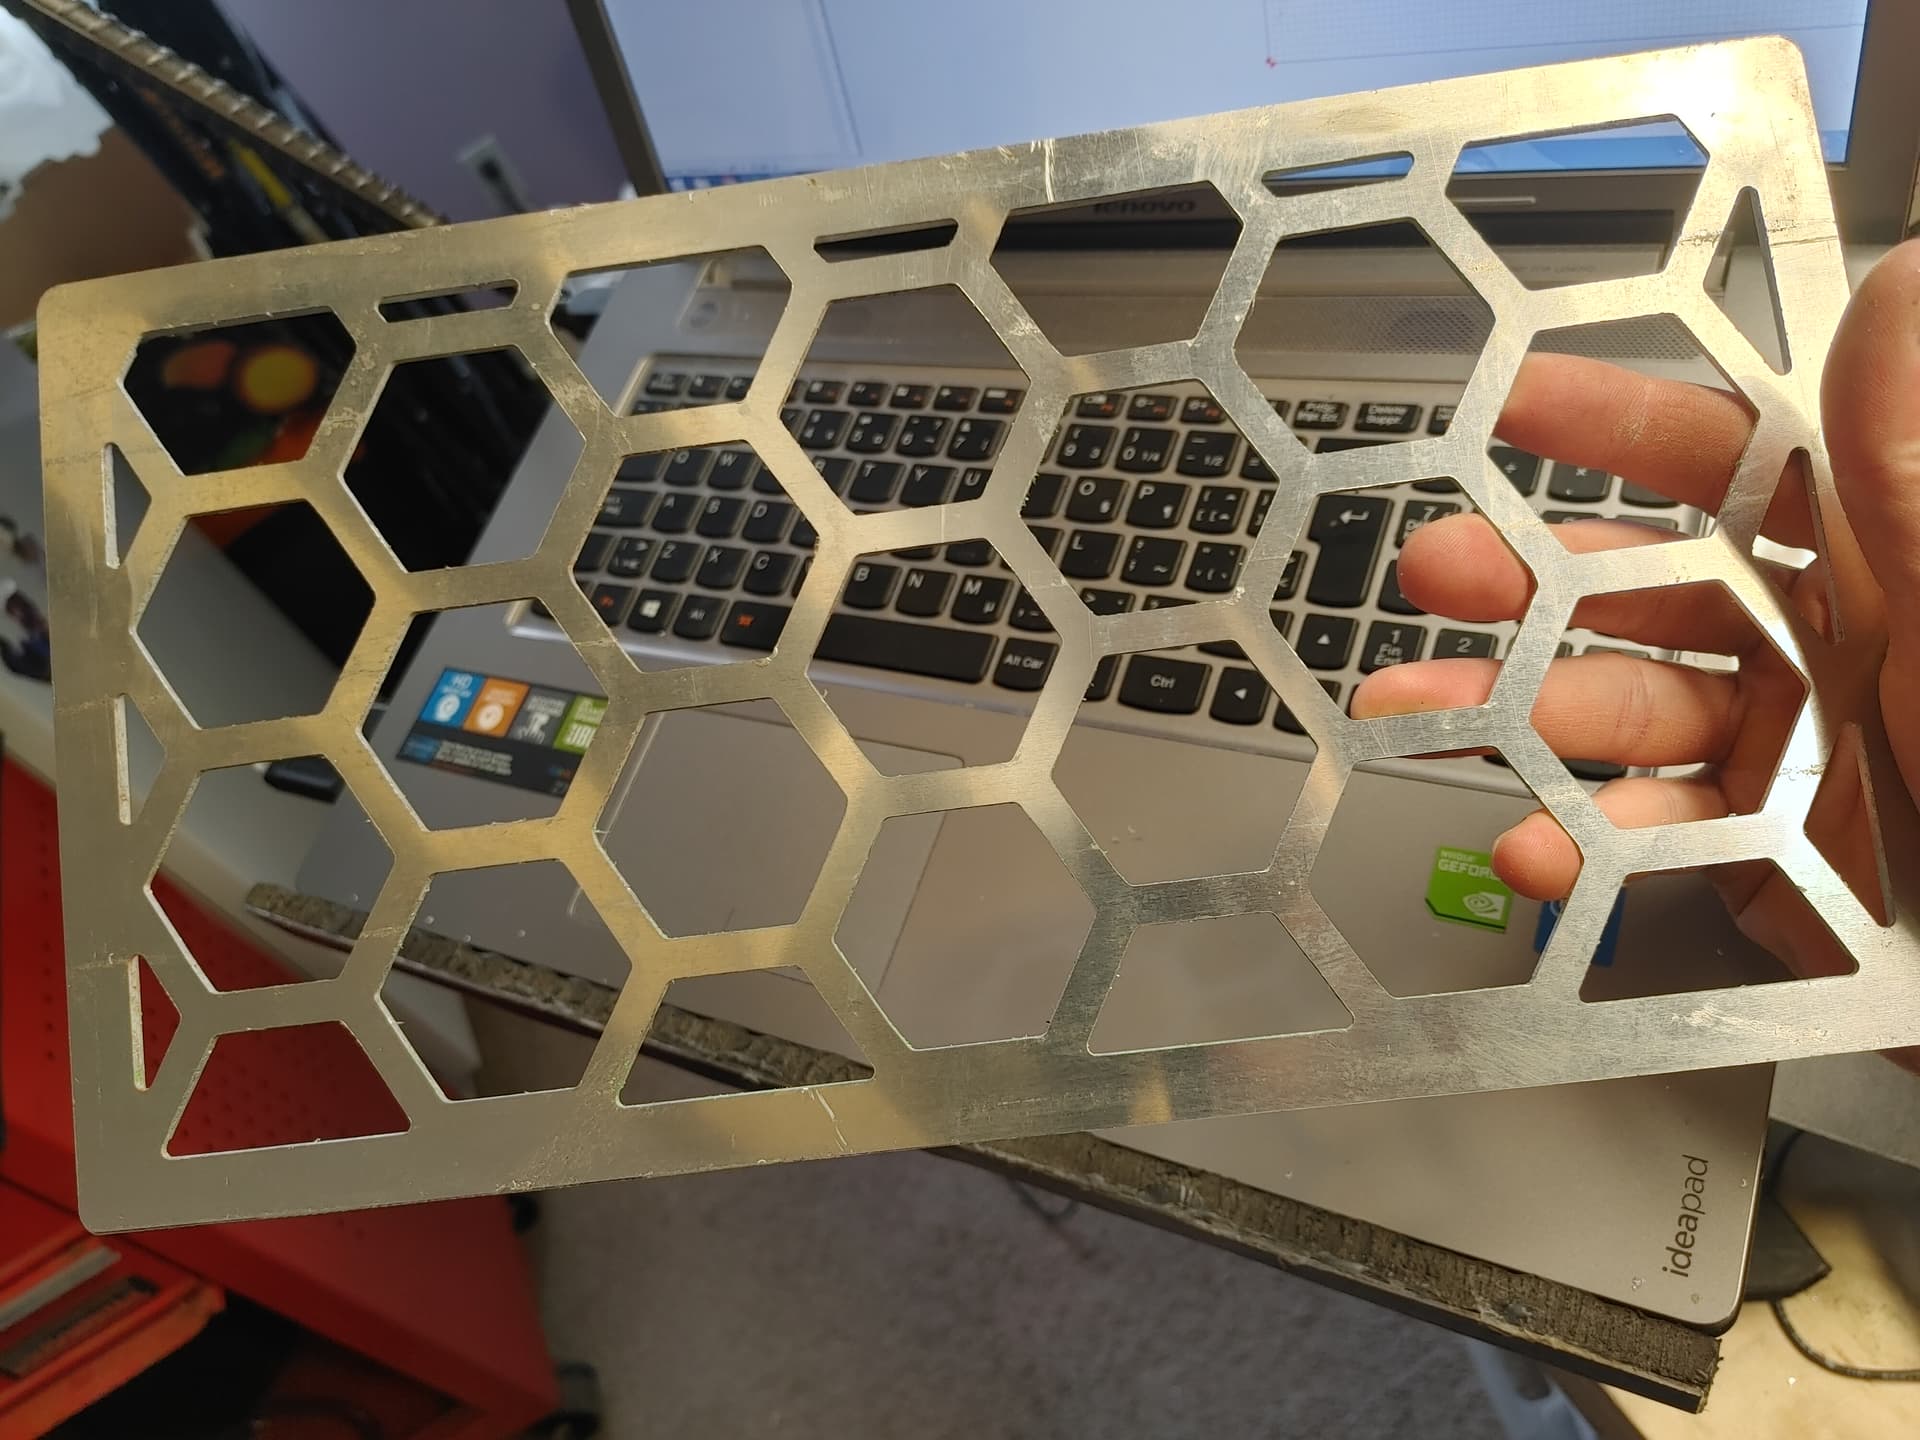
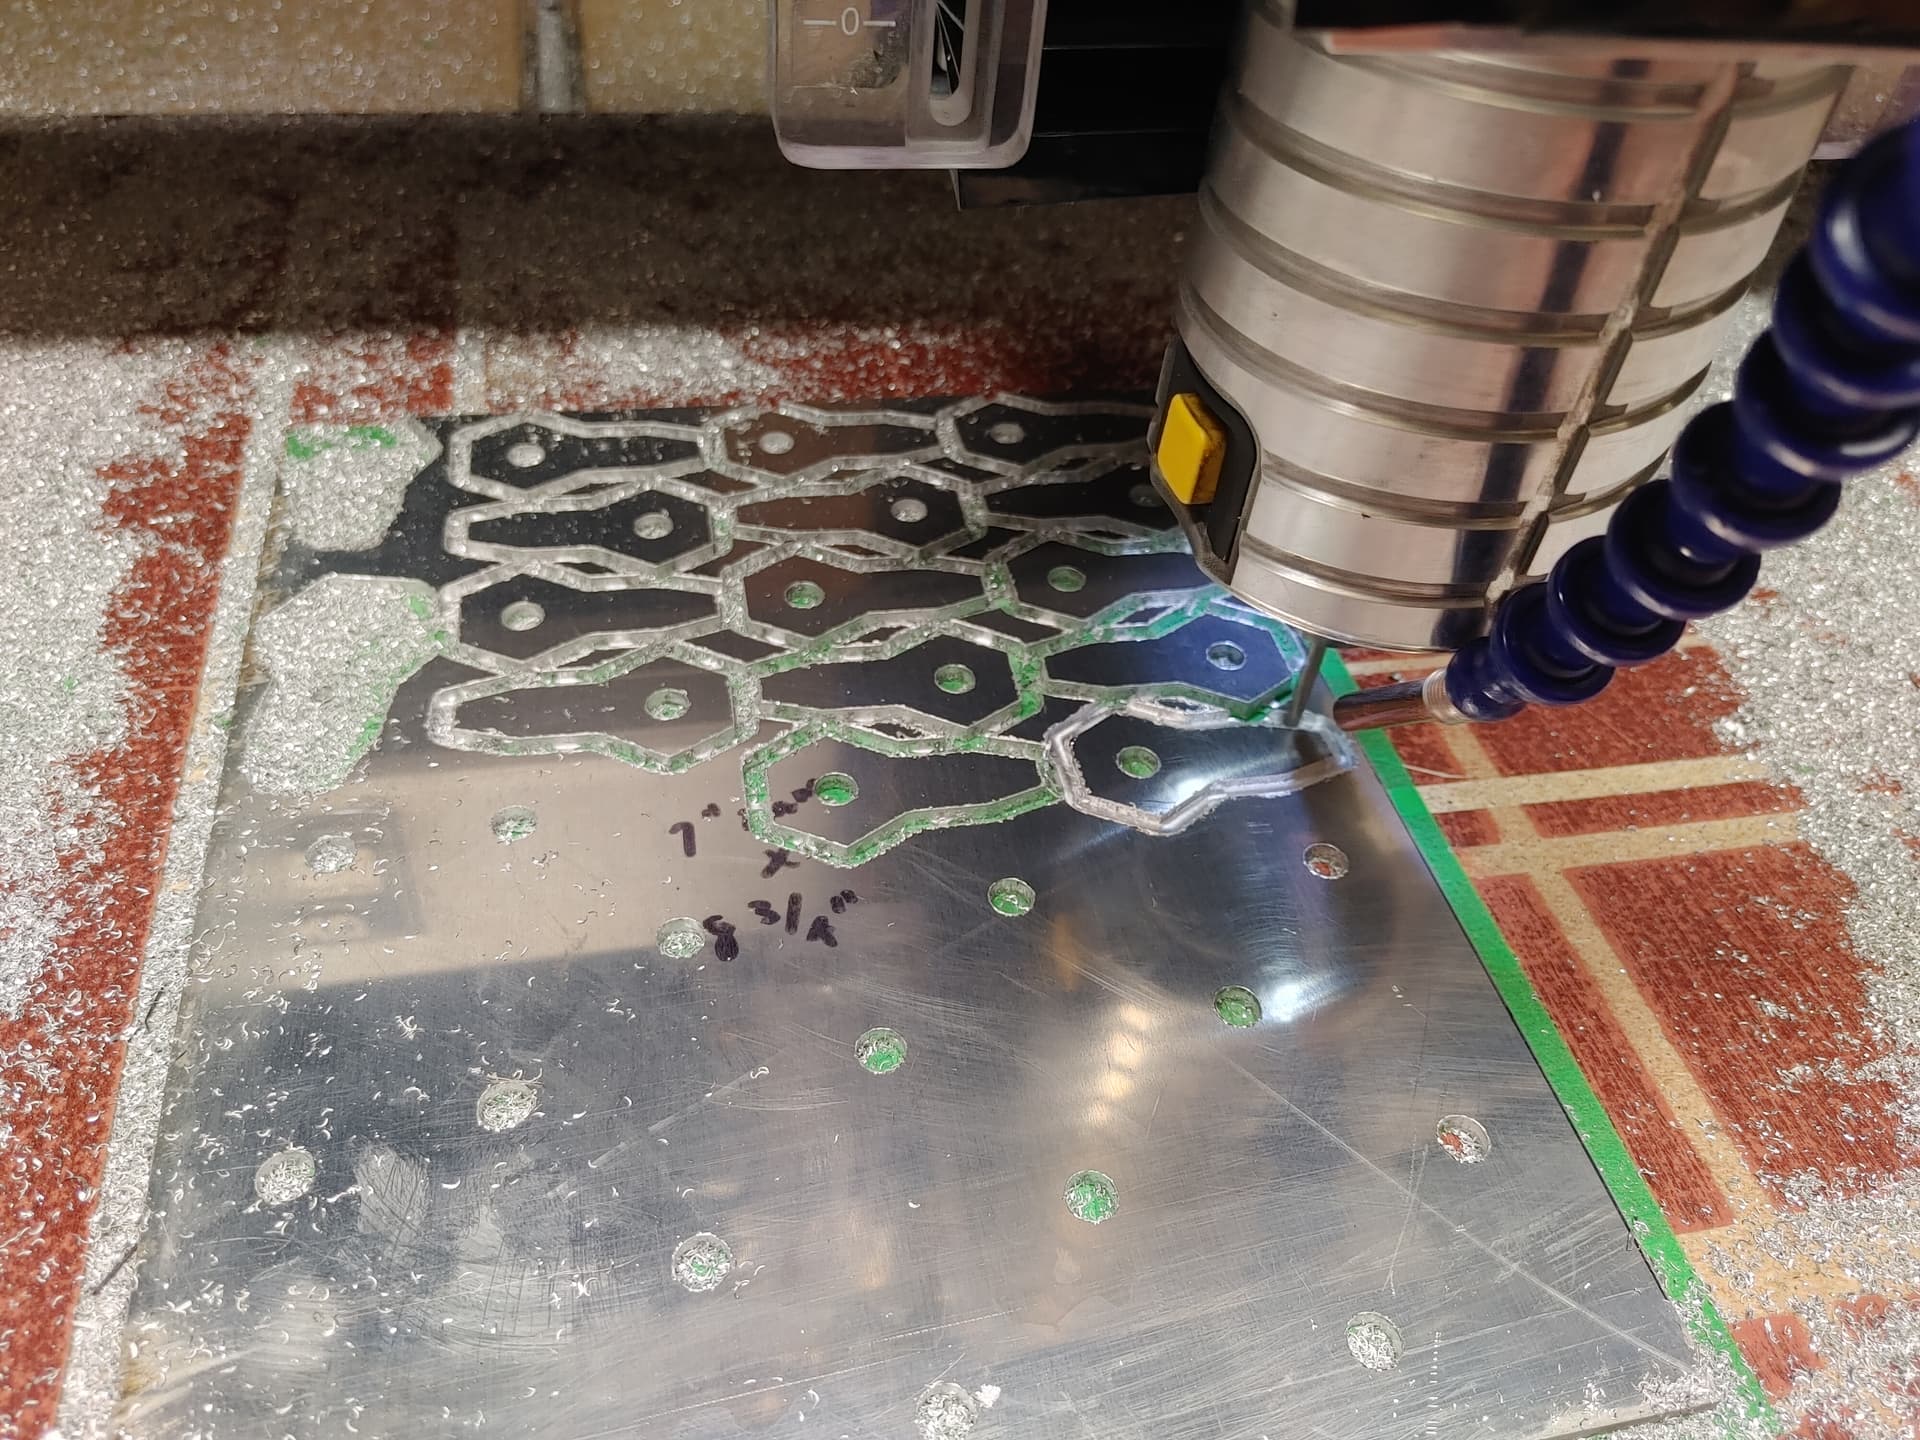
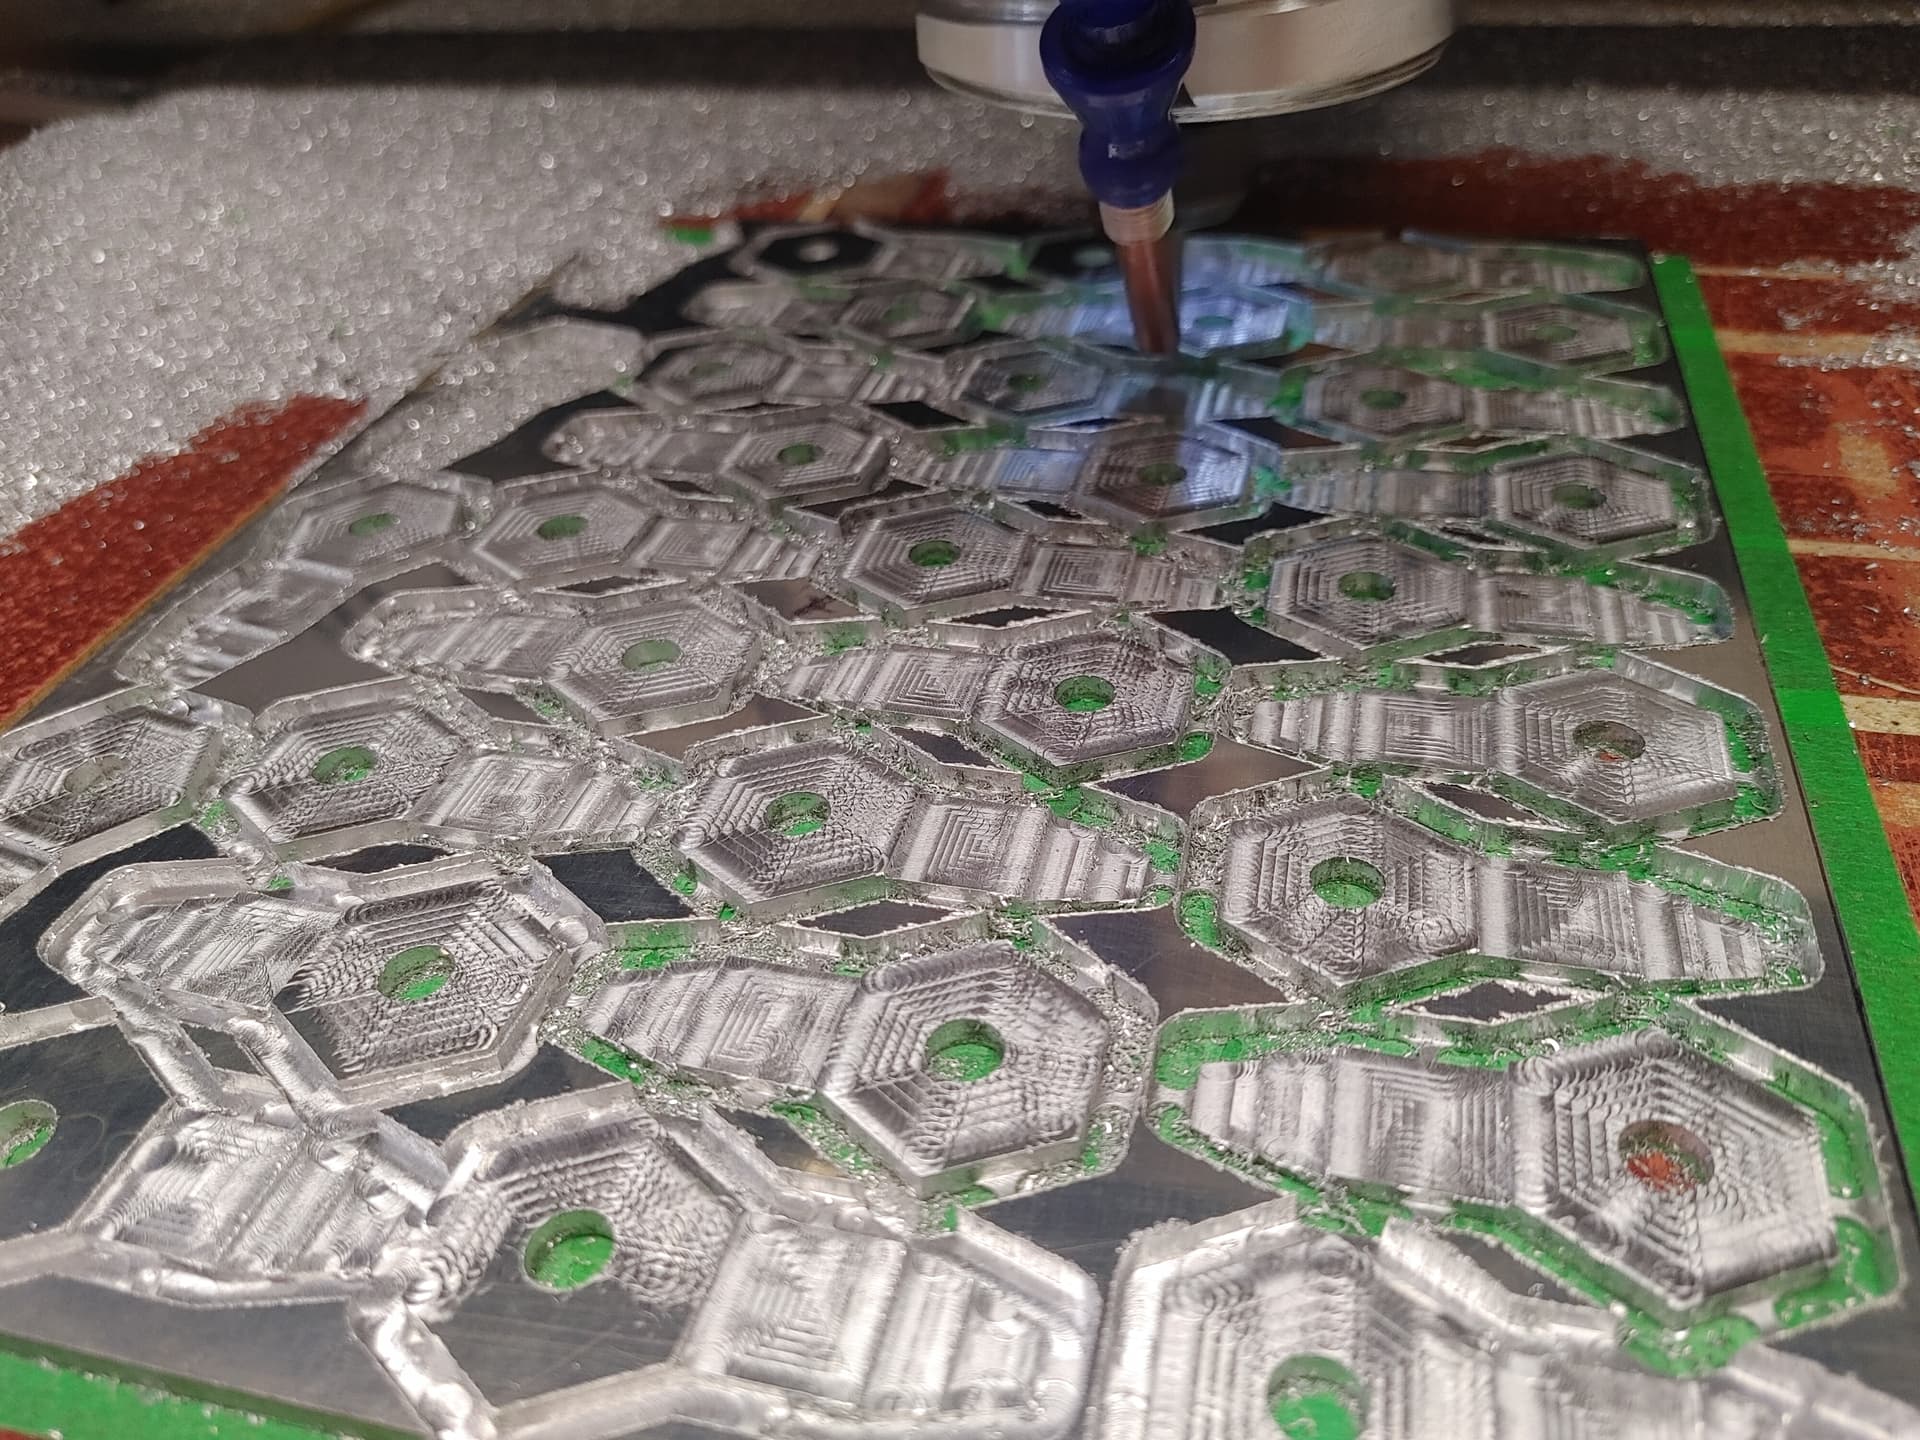
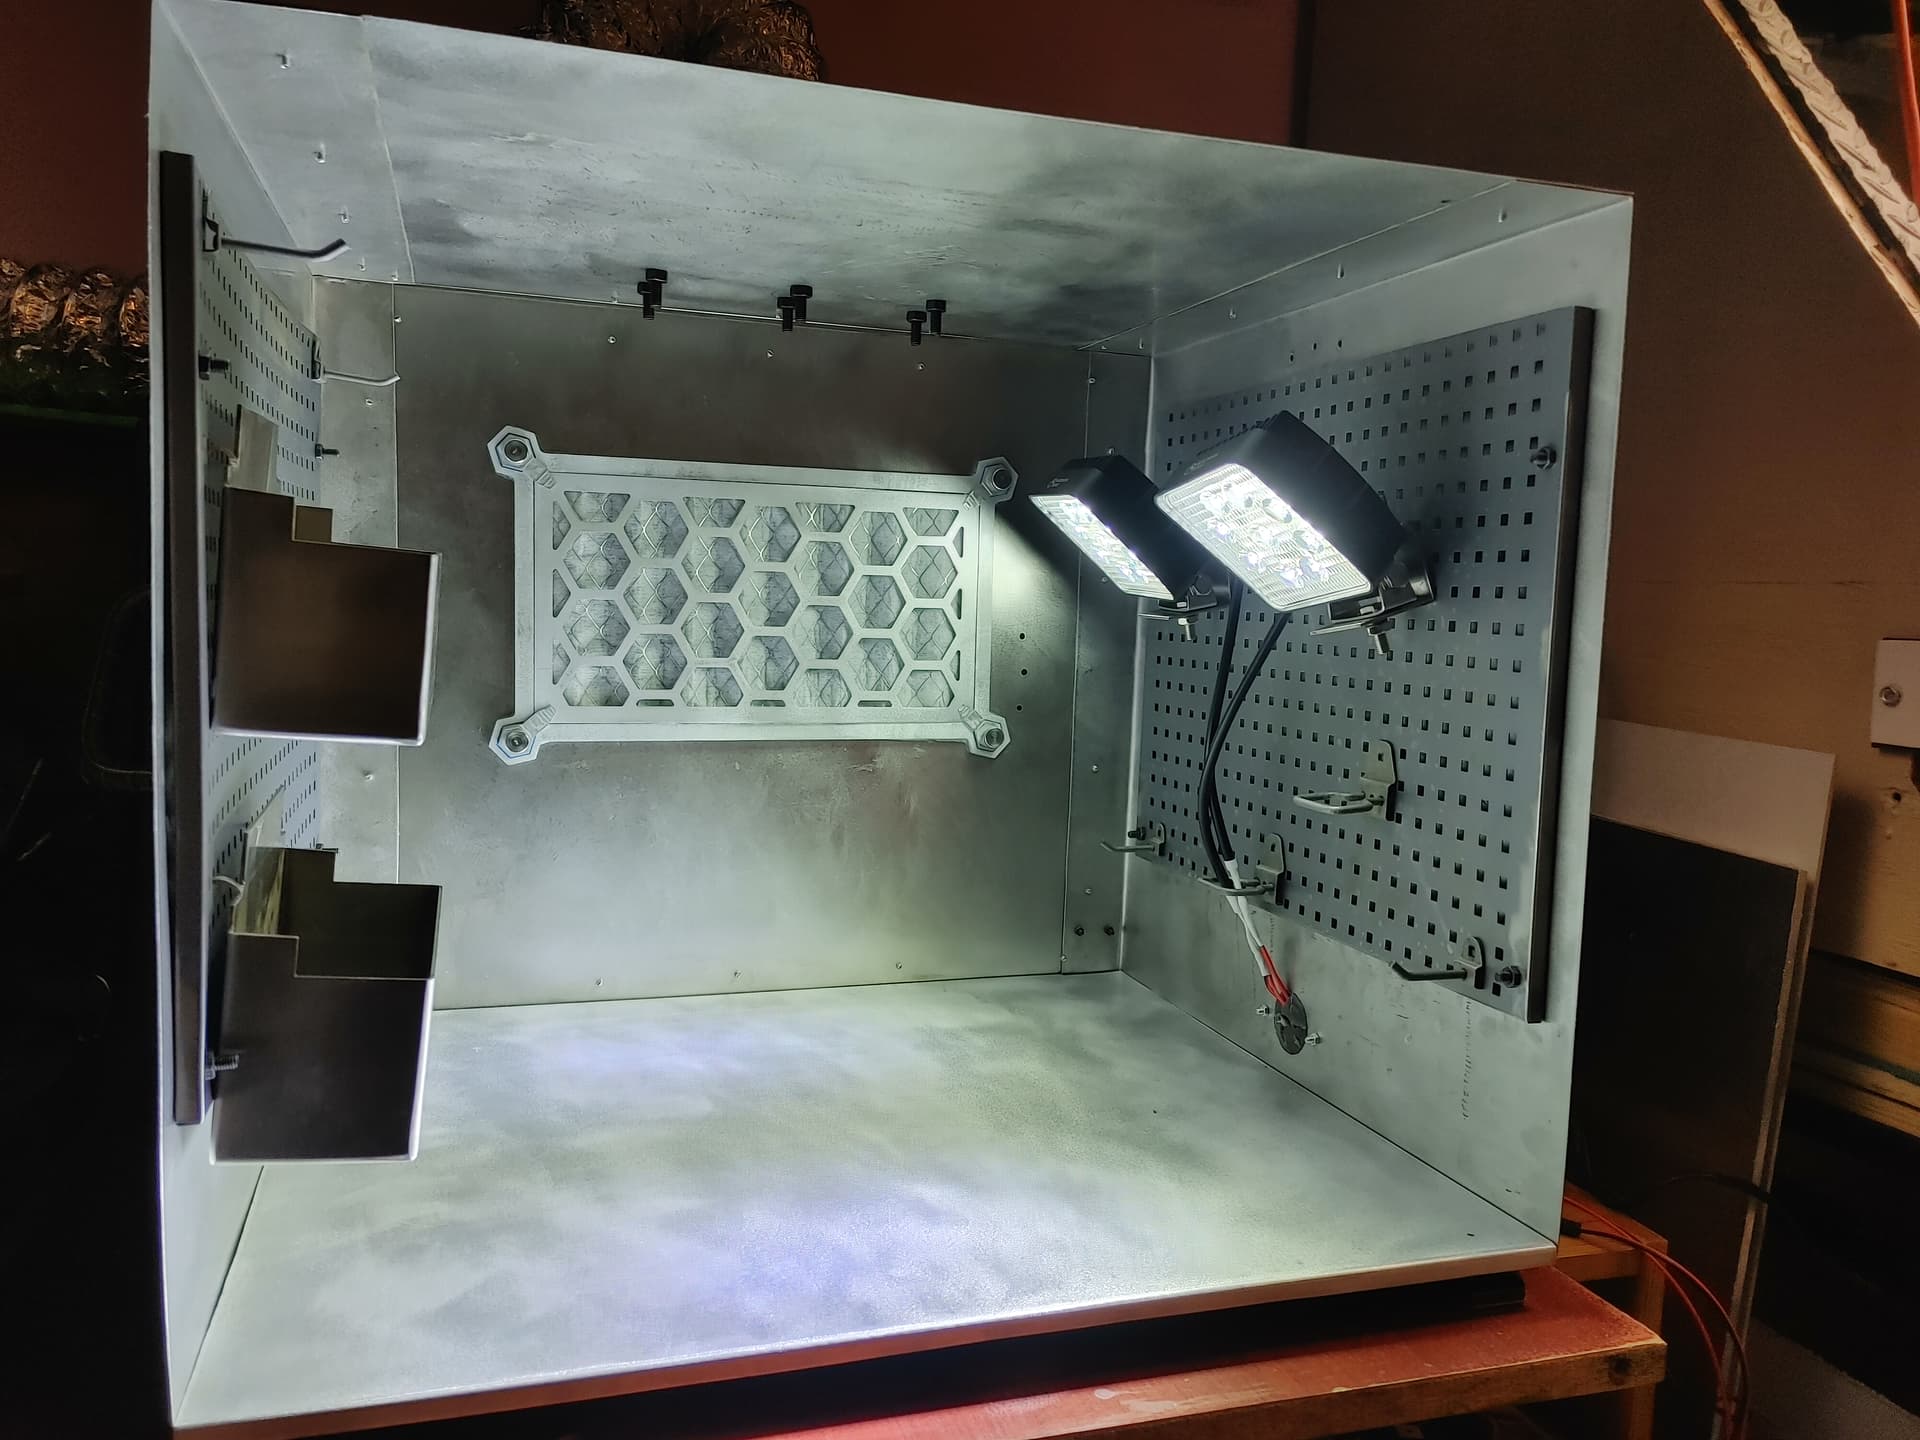
How about some words explaining what we’re looking at? Working with aluminum. Cutting geometric patterns. Showing some unknown enclosure. It all intrigues but I’d prefer to know. ![]()
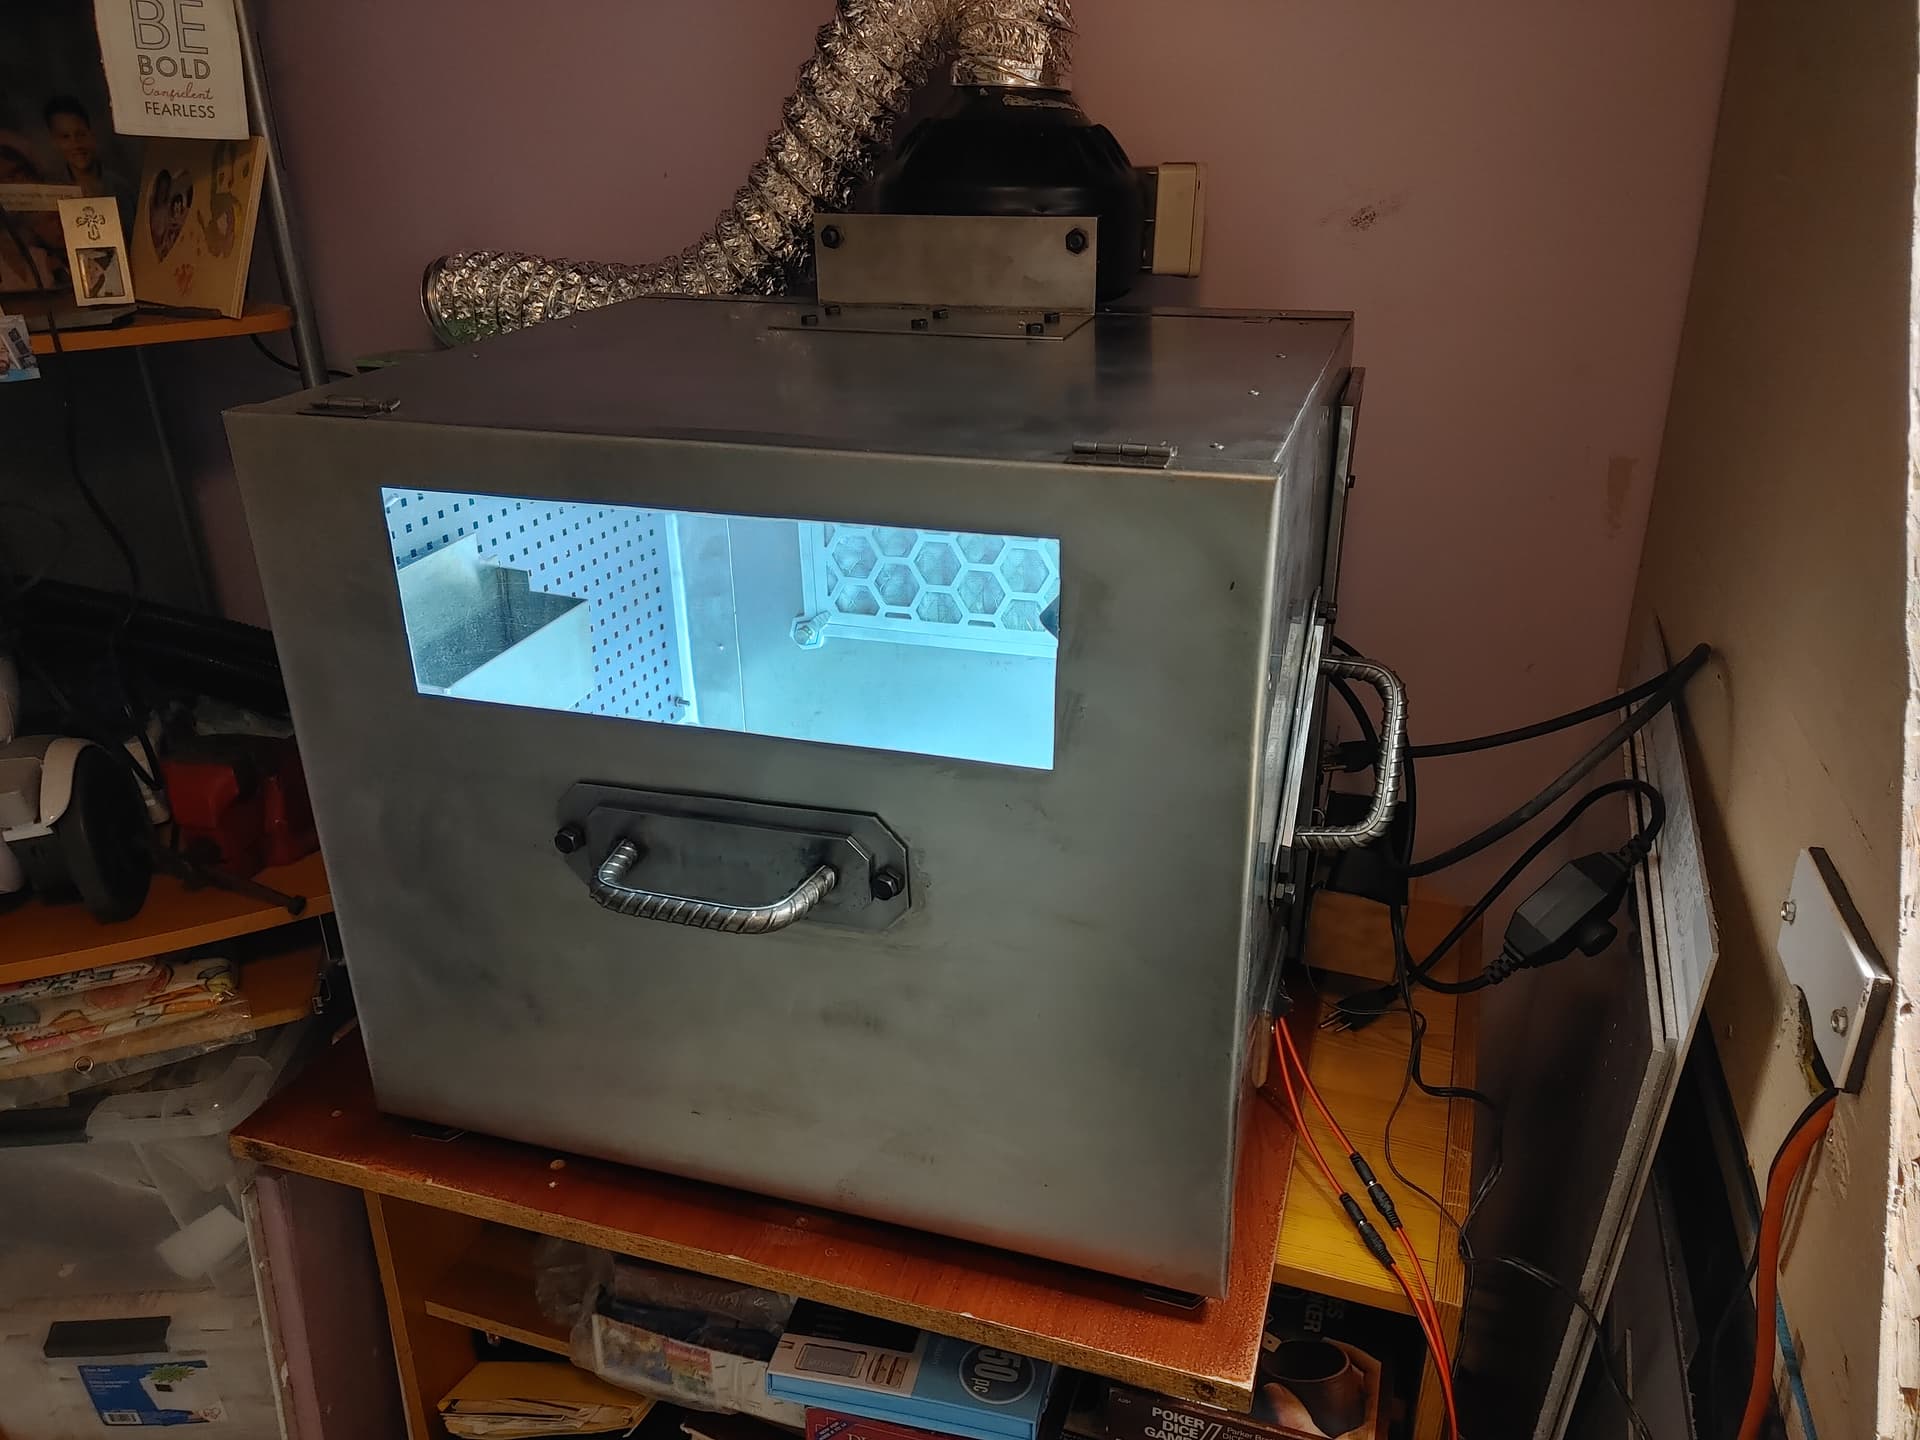
Some sort of filter retainer in an unknown box? ![]()
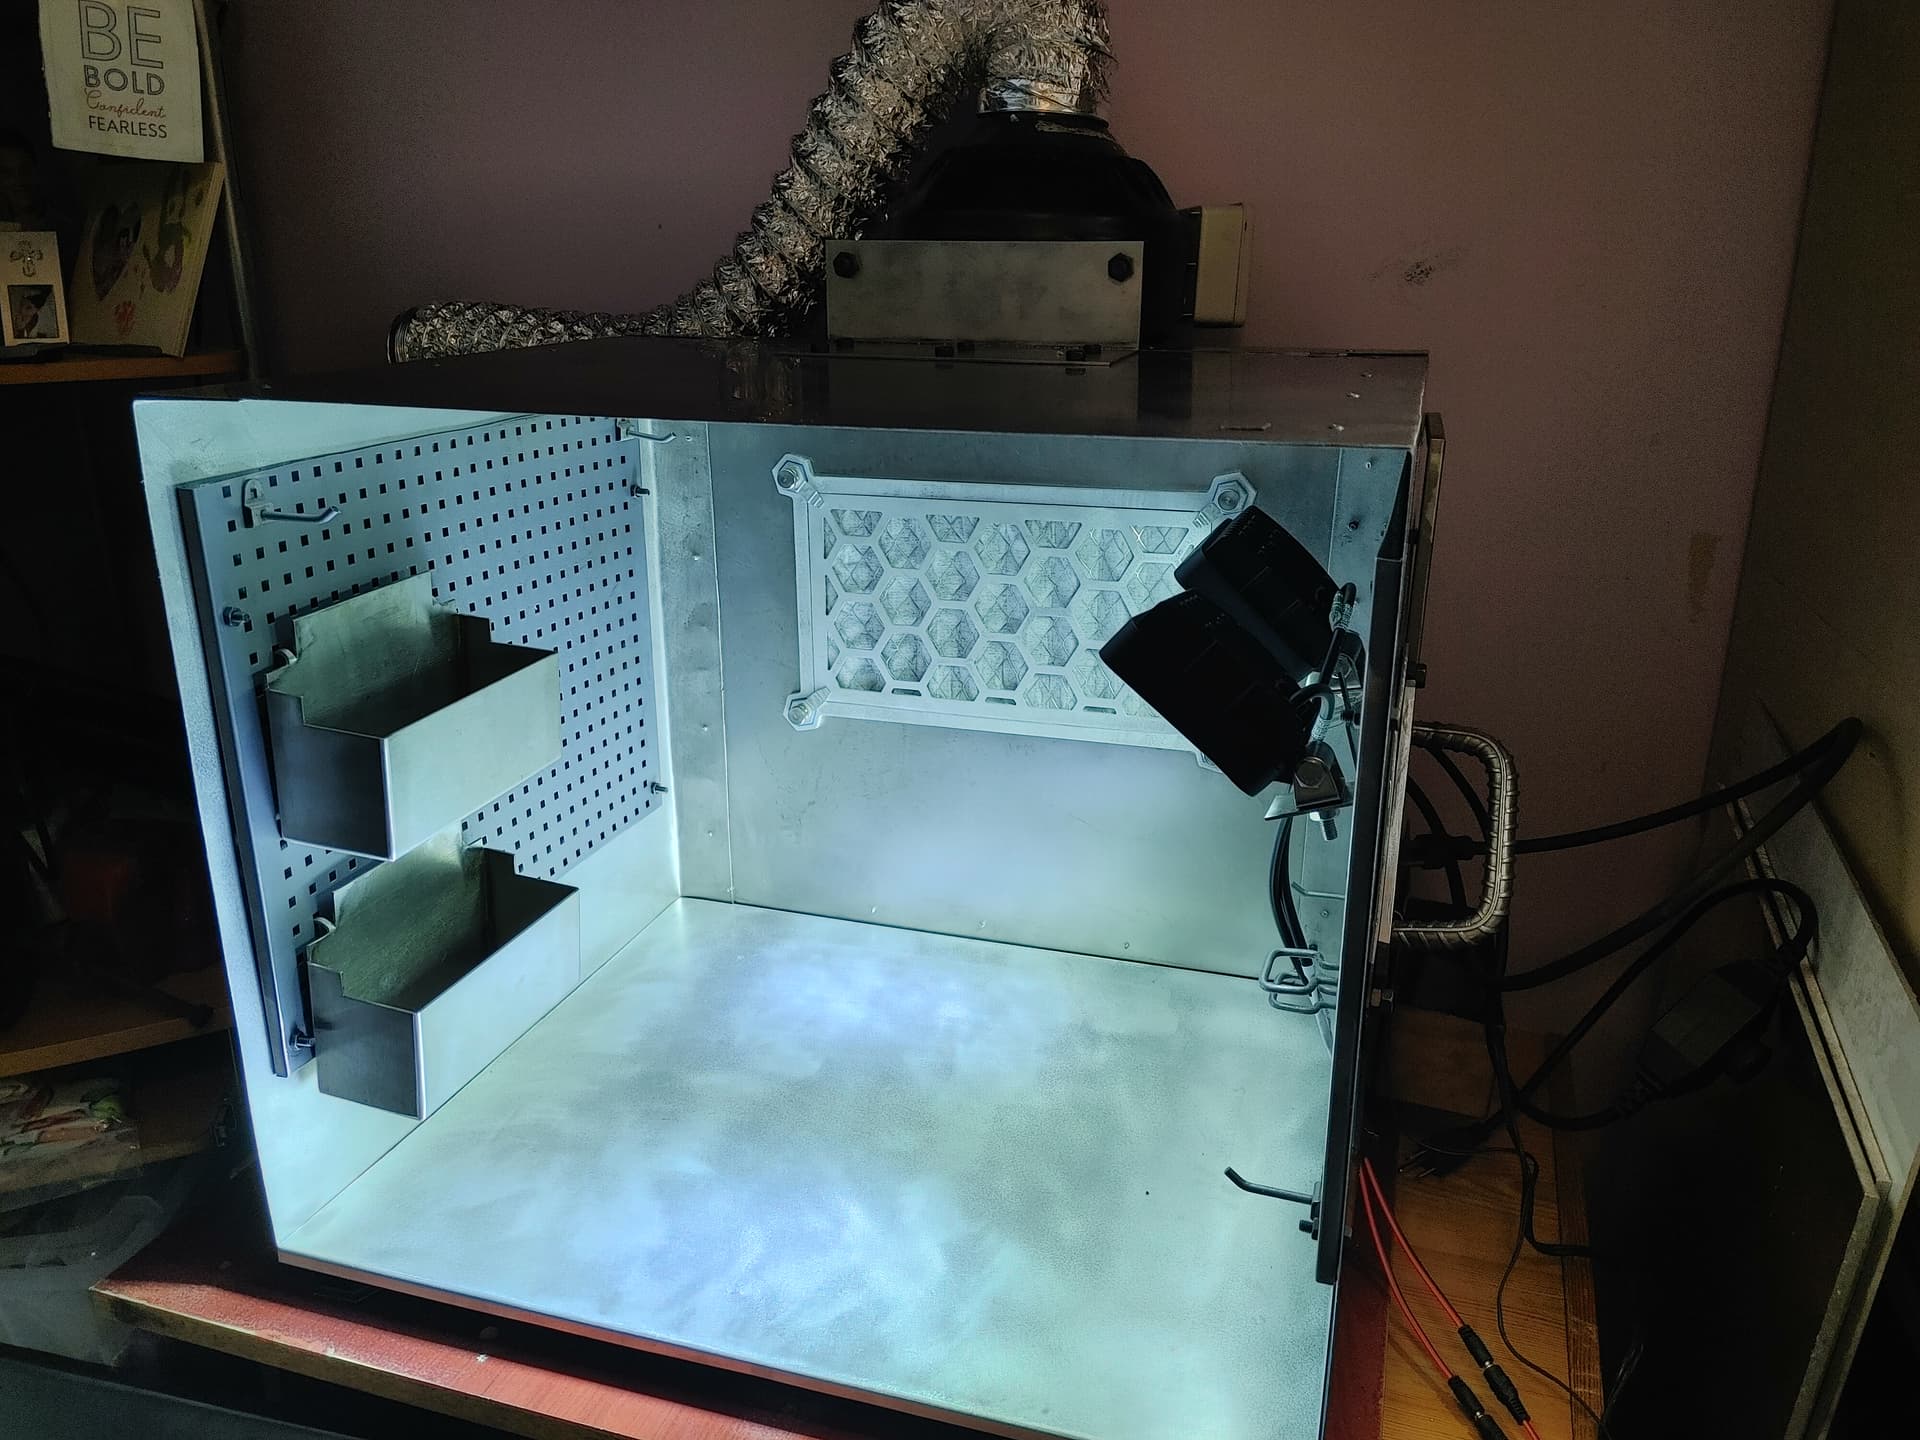
It’s a paint booth, soldering booth, dehydrator, 3D printer enclosure. There’s a blower on the back that pulls air through the vent and filter, then shoots it out the window. I’ll be adding a smaller fan inline for weaker extraction when needed (dehydration).
The 4" exhaust duct goes to this vent https://www.aliexpress.com/item/1005006053066442.html which is fixed into a piece of acrylic that sits flush in a window and passes the air outside the room.
Made around 70-80% of it from recycled materials… mostly stainless steel panels pulled off appliances like fridges. Bent then riveted everything together.
The lights and other stuff attached to the peg board can quickly be removed, then I drop in the base of a crappy $20 dehydrator and I have cheap racking that runs across the entire enclosure, I can put products on there to speed dry the paint and not have to worry about dangerous fumes.
Looks great!
The only thing I’d suggest (unrelated) is to increase the arc of the vent hose on your vertical exhaust to improve airflow.