Absolutely wonderful! To think that tree is still giving to you and your patience waiting for the right idea to grow, outstanding!
1 Like
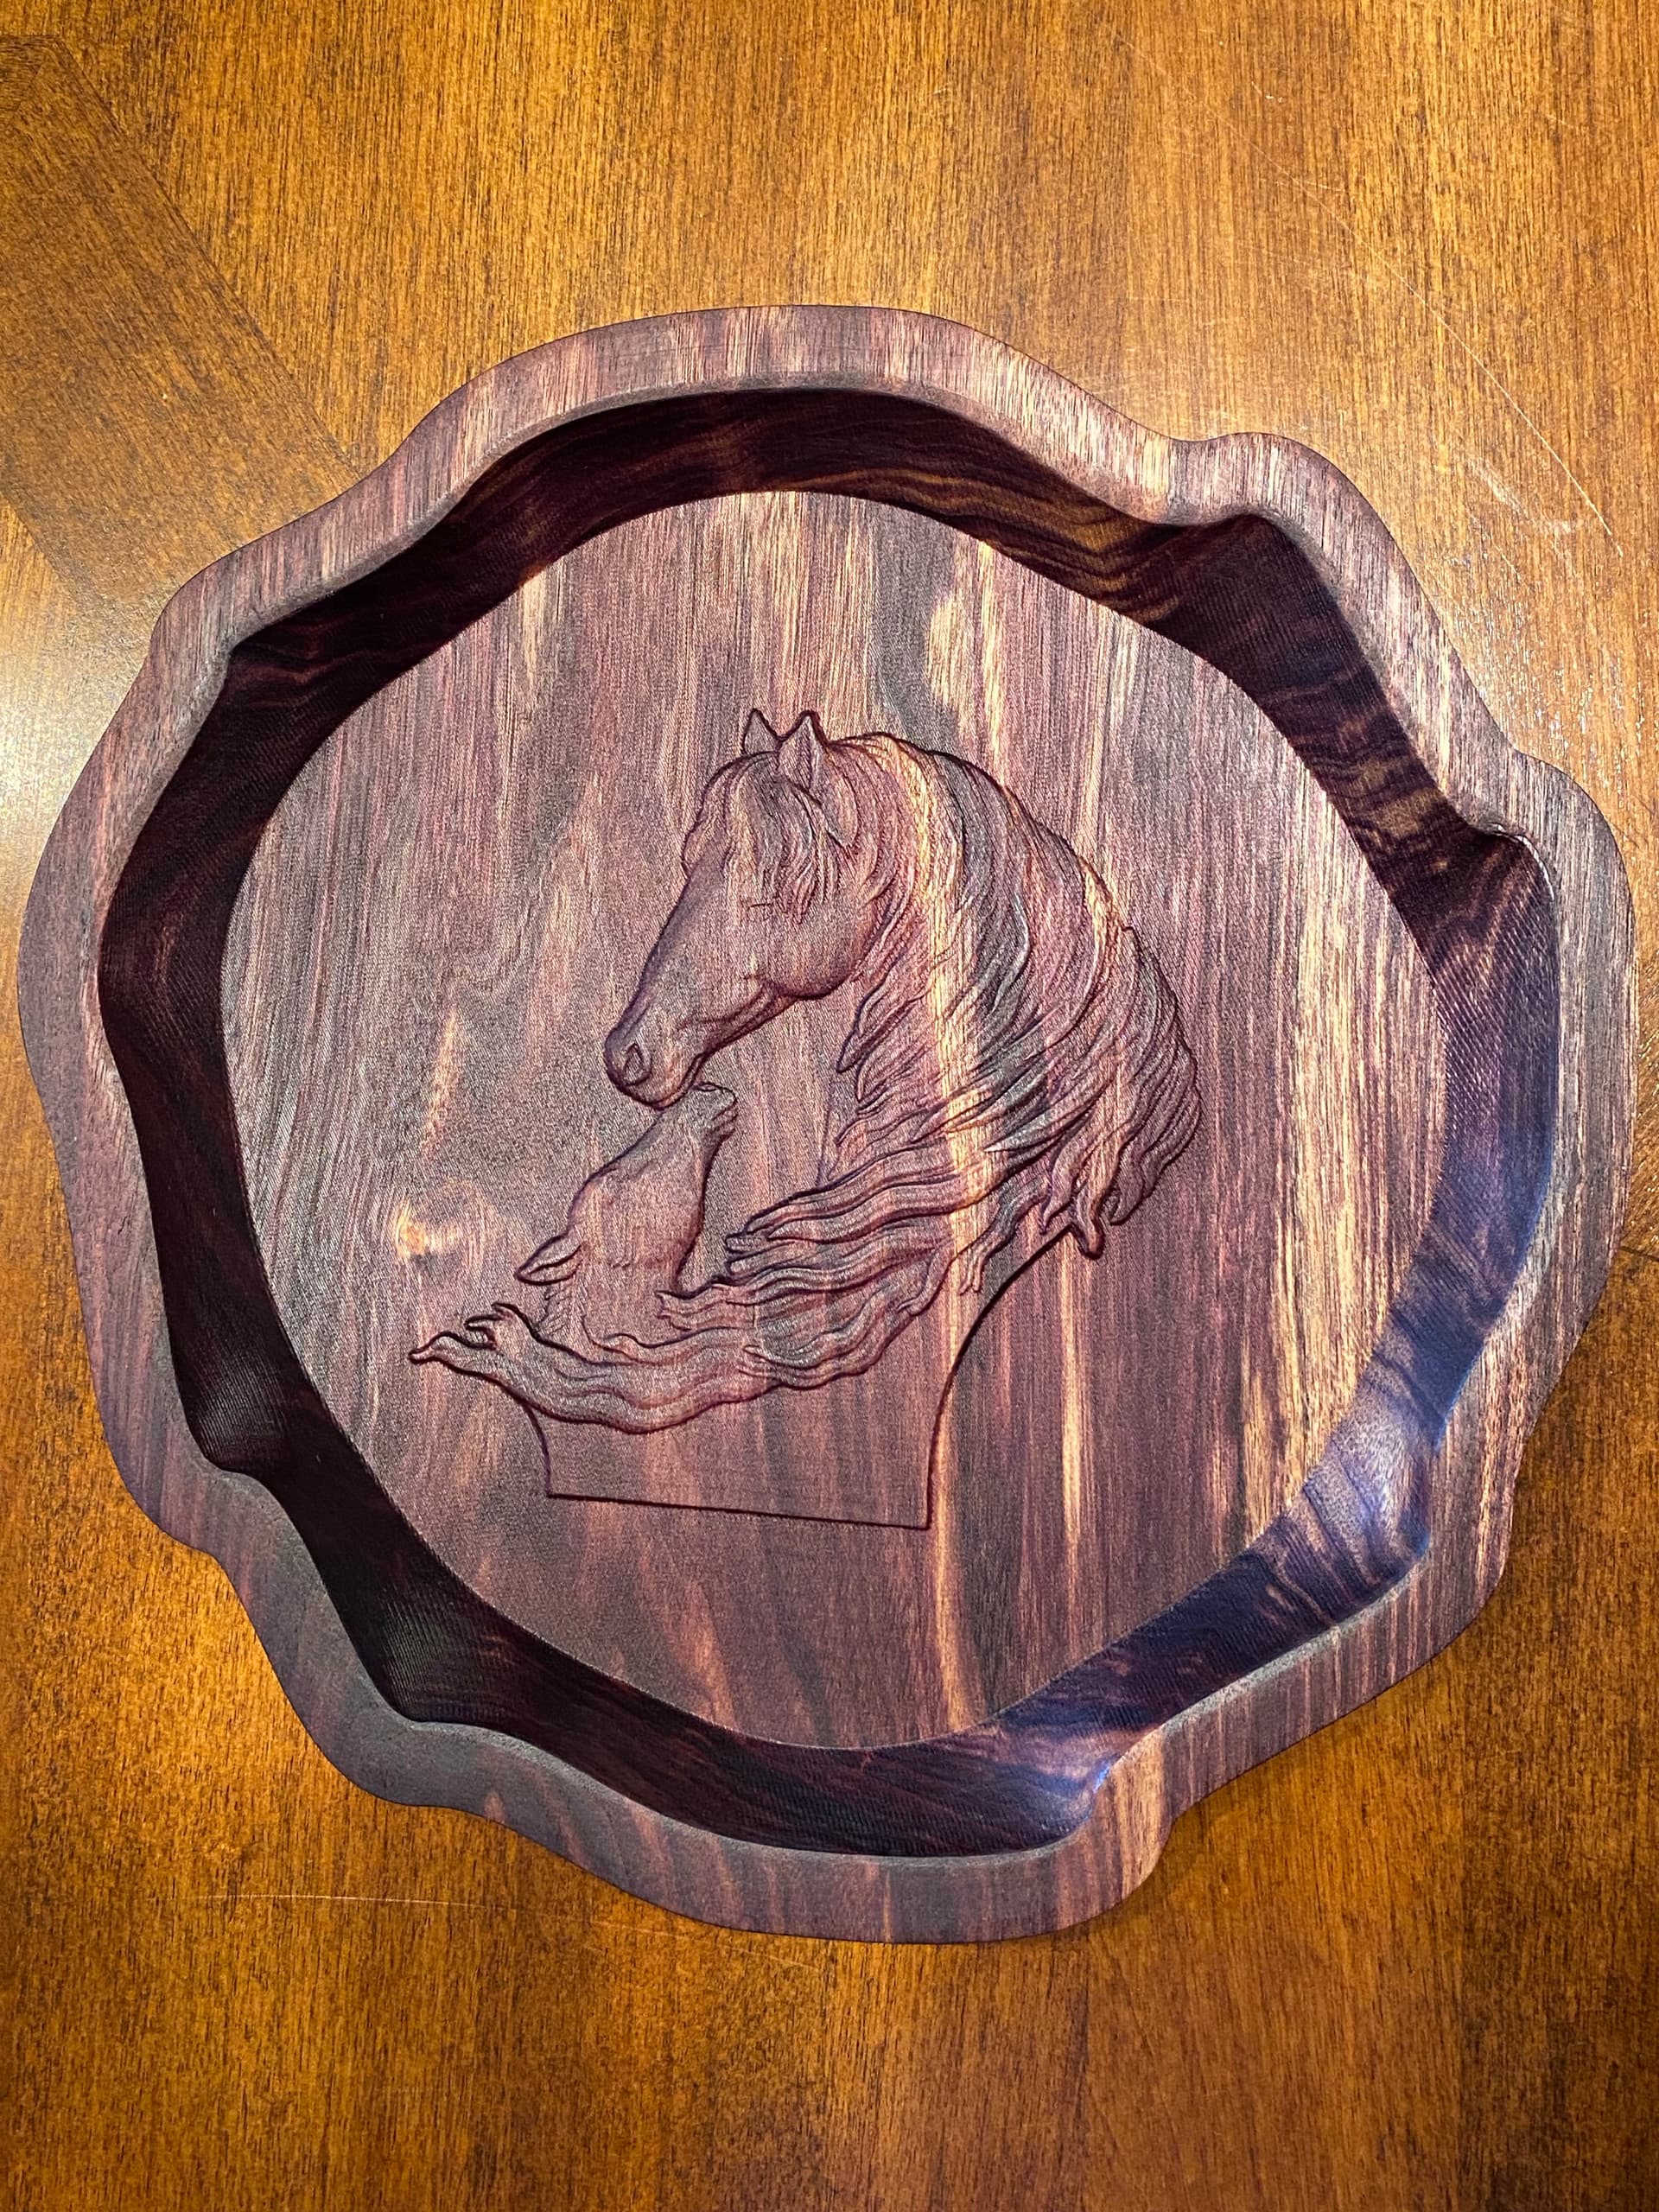
A birthday gift for a horse loving friend of the family. It was cut from a 10” square by 1” thick piece of black walnut.
25 Likes
The project files have been uploaded to CutRocket
2 Likes
Thank you Jeff,
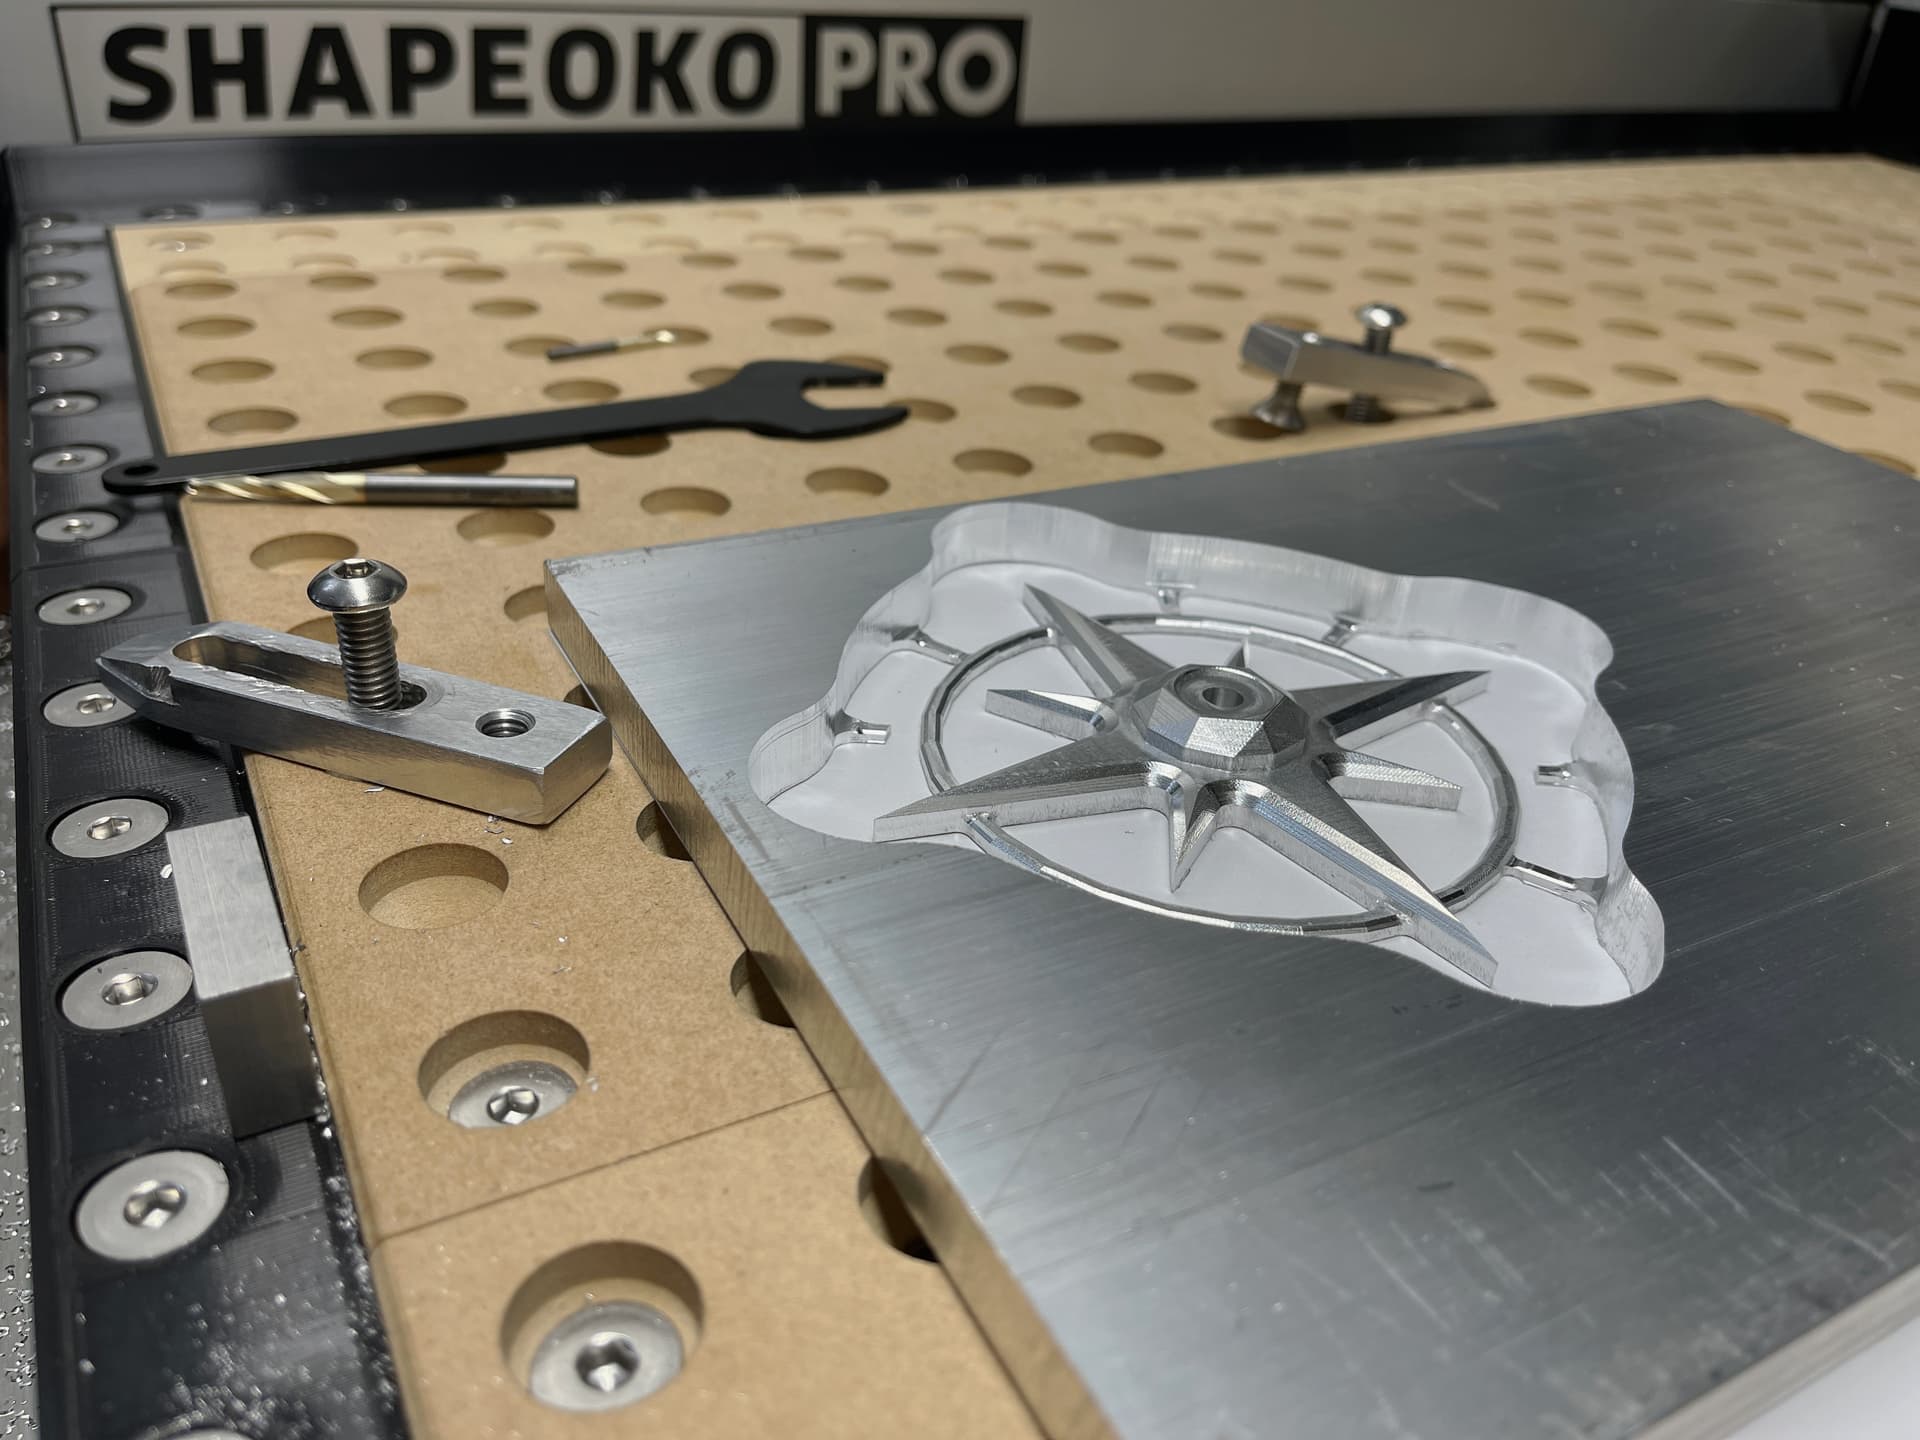
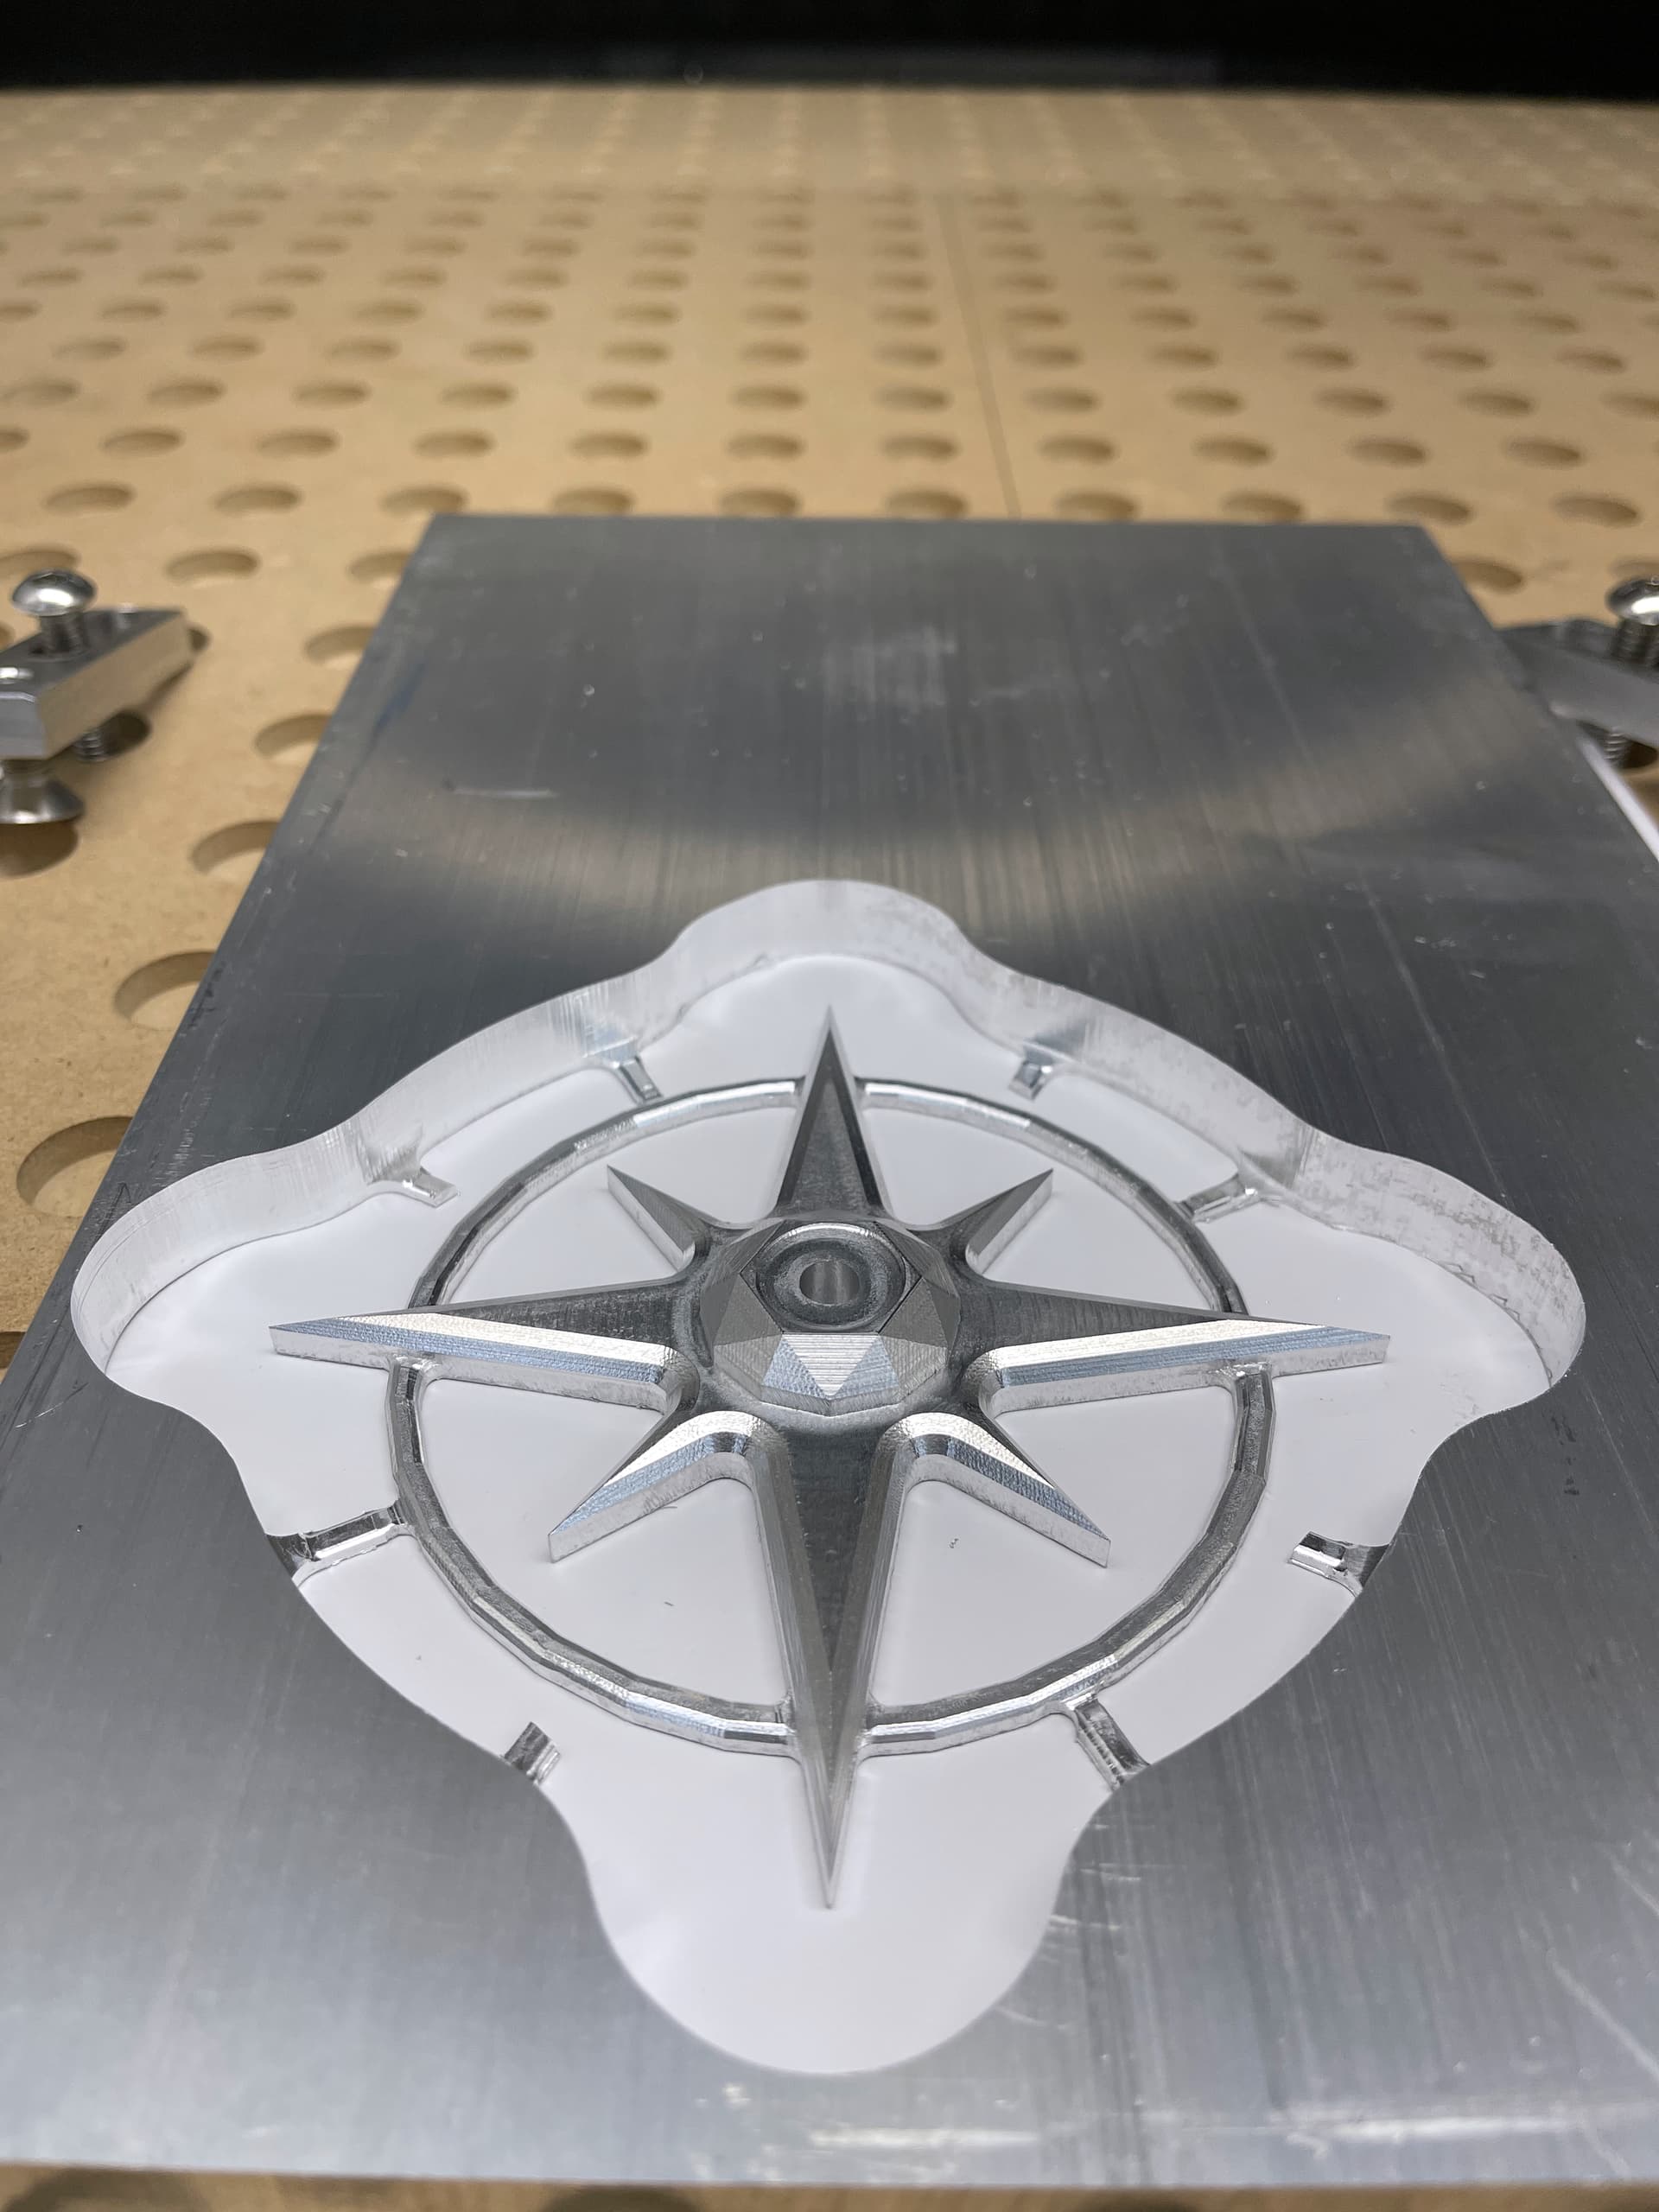
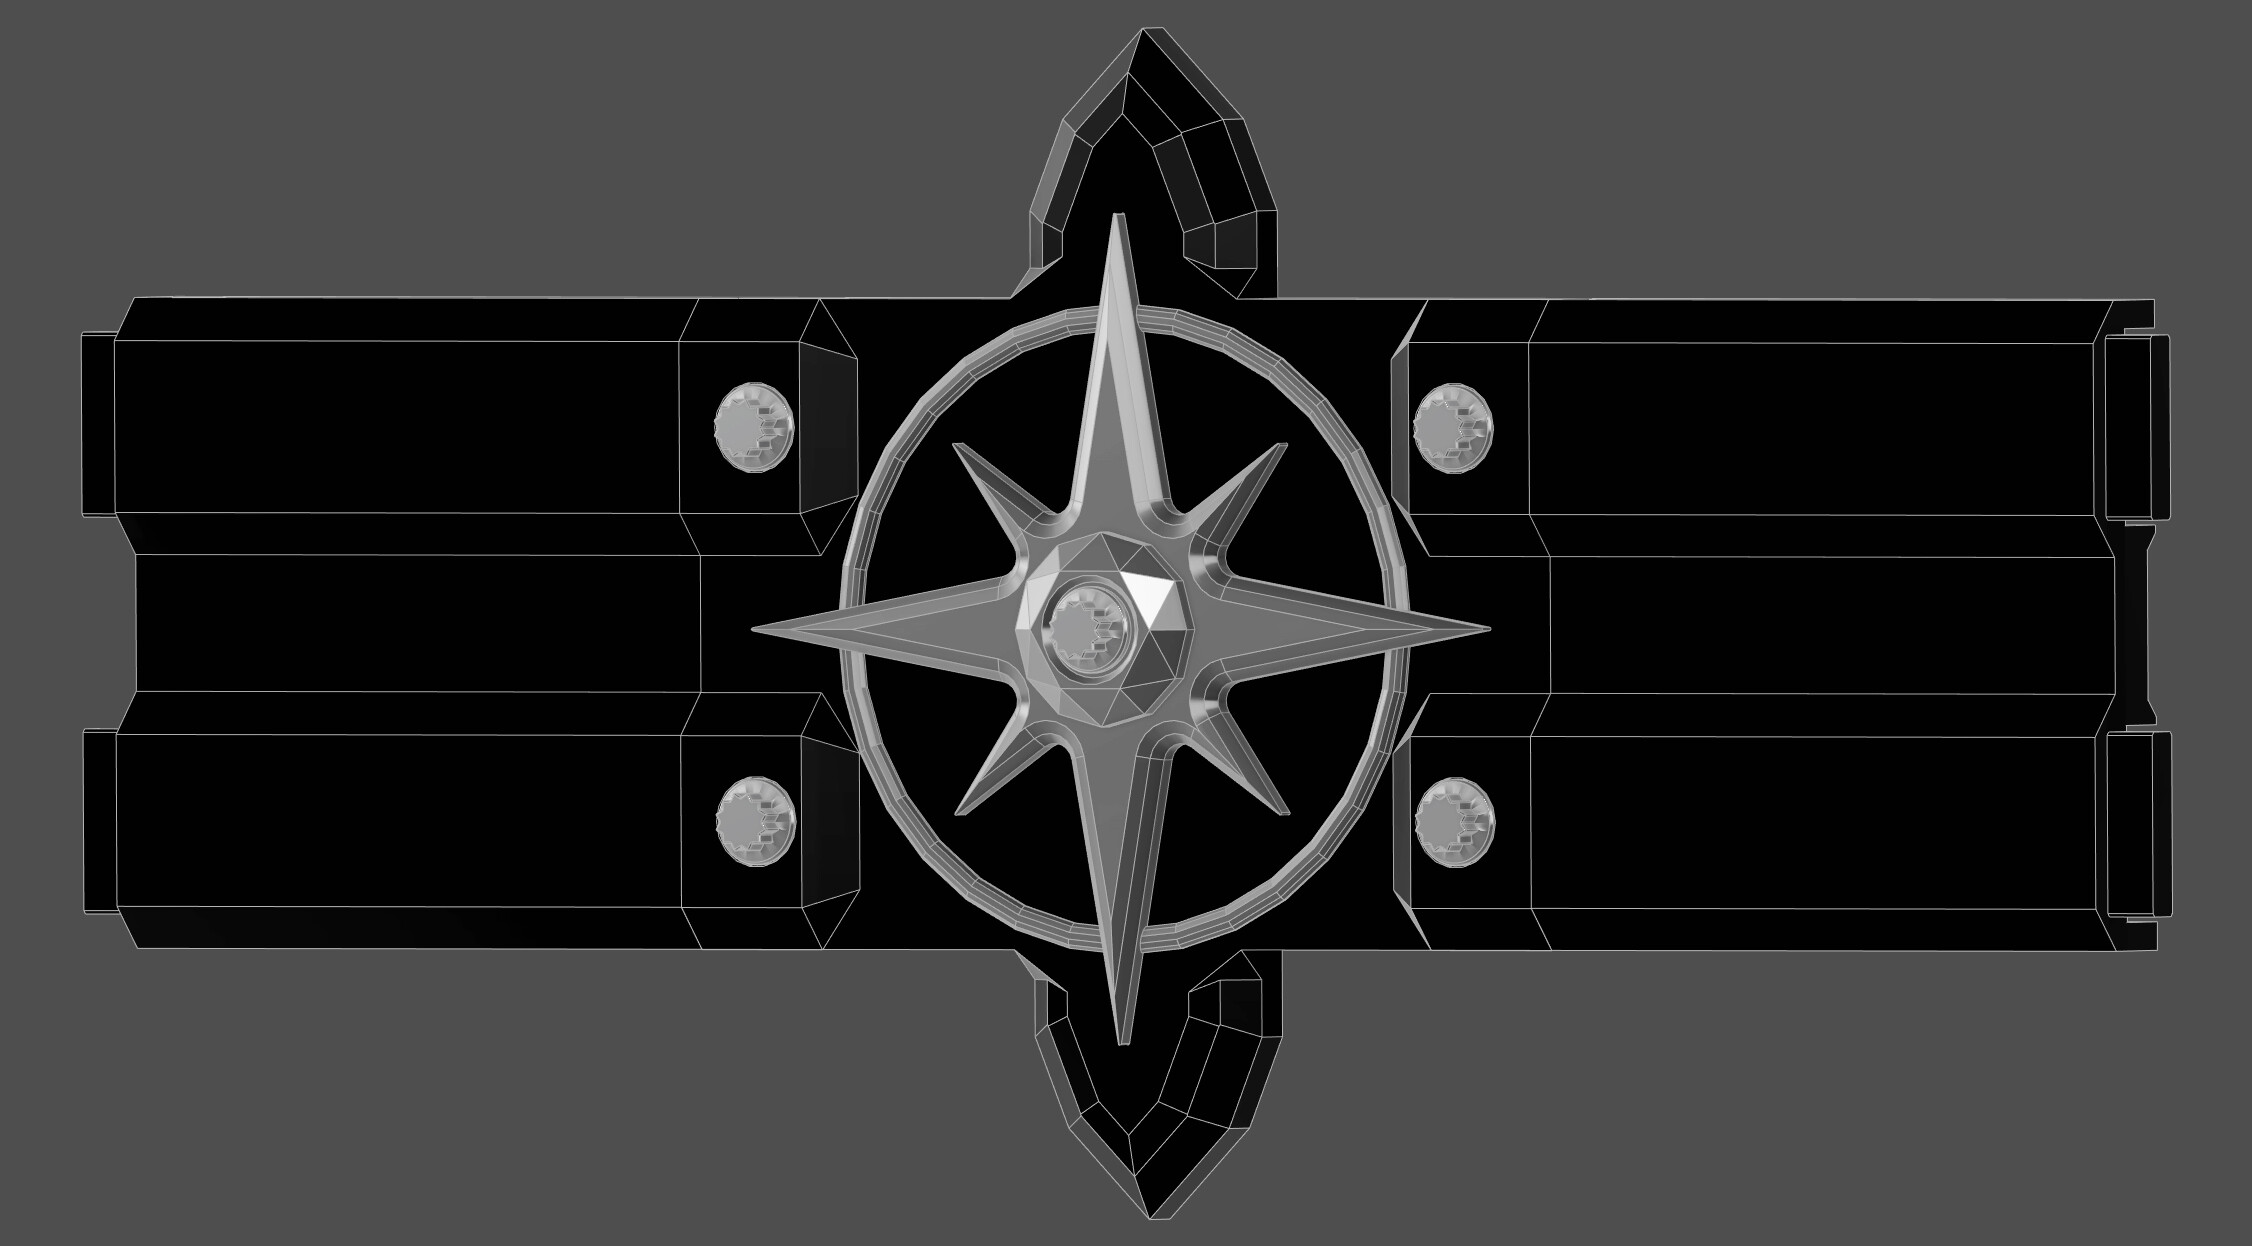
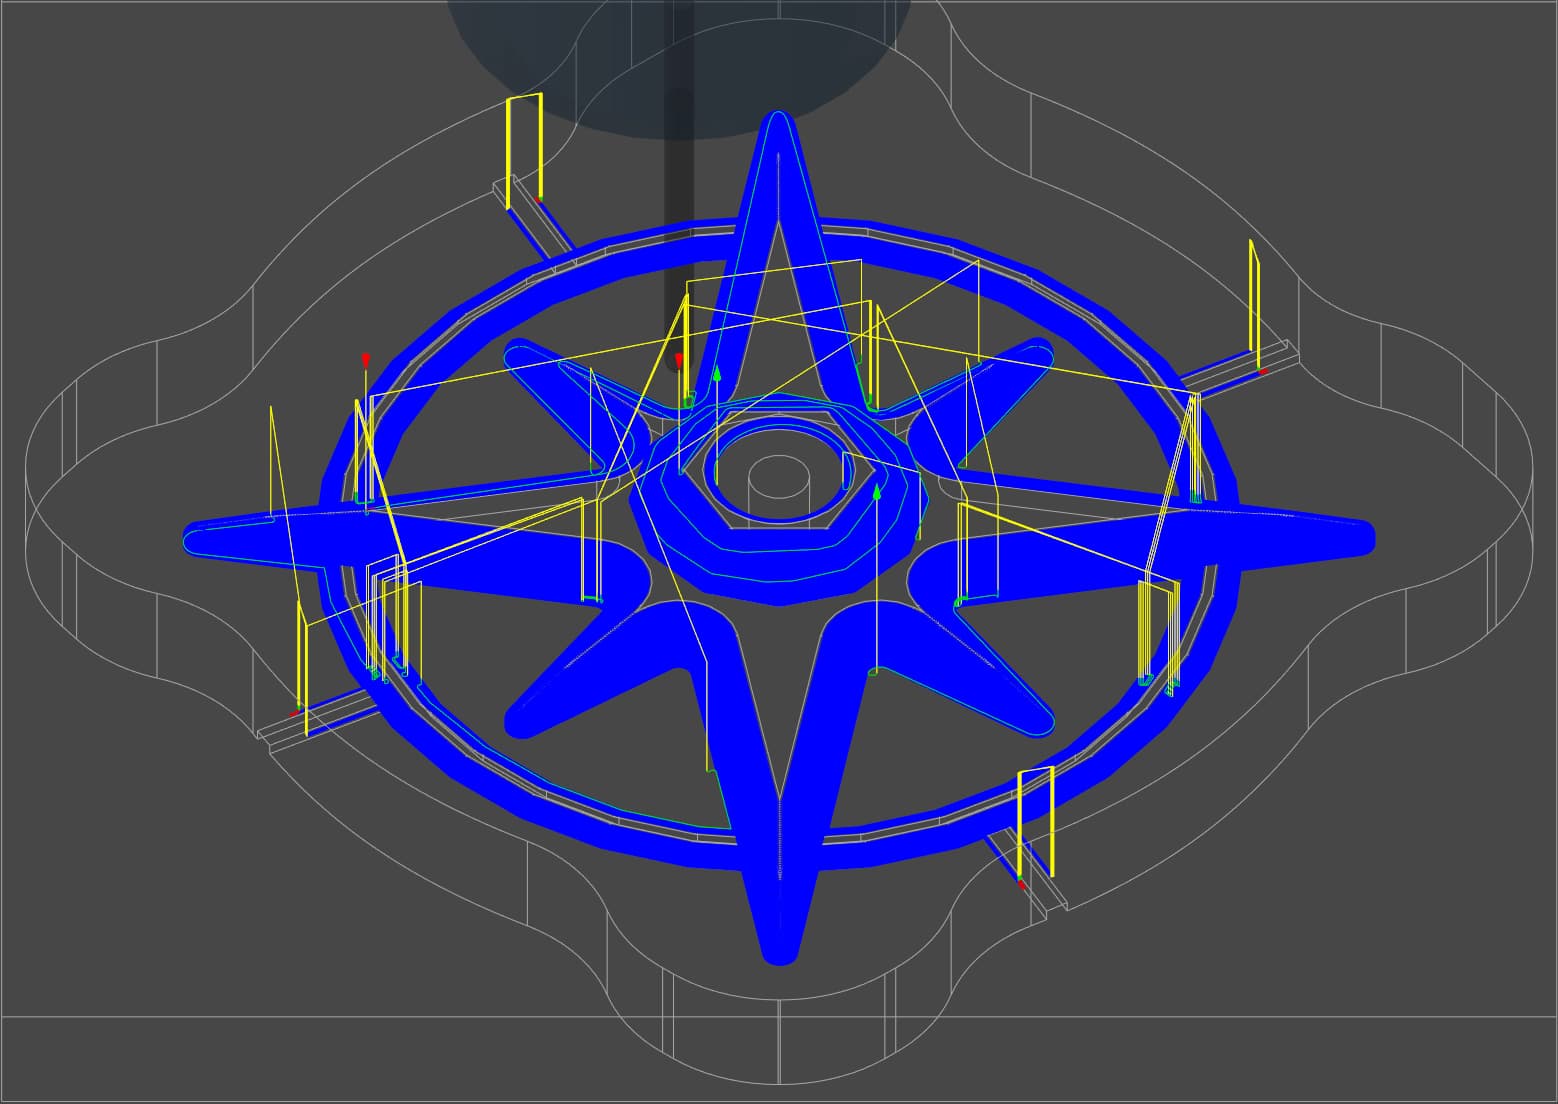
Very fun to watch it go from rough to finished on the machine! Cool thing about this part is I will carefully be able to finish sanding and polishing it spinning on a drill with a bolt through it.
1 Like
LOL, might need to wait for the 2024 model of the HDM Deluxe with 5 axis’ses to start milling props haa…,
If you need any help with fusion let me know! I am about to learn how to mill PVC for the first time, yikes!
2 Likes
Love this tread. I like to see how other think!
3 Likes
Then you’re about to find out whether your grounding setup is good…
3 Likes
Wow, very nice work Max! For finishing the curved/slanted surfaces, what stepover did you use for your ball-nosed endmill? 5-10% of the diameter?
What do you do for finishing aluminum after this, polishing with a Dremel buffer?
2 Likes
Hi Jonathan,
Thank you, very nice to get compliments from forum members, especially from such a talented machinist!
I used a contour toolpath so no stepover, just stepdown. I used a .001 stepdown with an Amana tool #46286. I could have done it with a .0025 or larger but I wanted to minimize the first layer cut depth to have a smaller drop off from the edges. I used a .01 stock to leave to prepare for the contour, but some lines were still showing from the preceeding flat end mill, so I went over it again with a second contour run with a -.005 stock to leave.
For this I would start with 1000 grit wet sanding paper then step up to 5000 then finish with a buffing wheel using rough cut then fine cut polish. An abrasives vibratory tank is on my purchase list in the near future.
6 Likes
That looks so cool Jeff, lots of possibilities. Edges look very sharp. Hows the bit holding up? Bottom right corner the grooves look thicker? What was the difference, did you change the toolpath mid carve?
2 Likes
I love these! Would you mind sharing your process to make them? MDF or PVC? Carved separate and glued together?
Thanks, I certainly try my best to learn and challenge myself with projects.
Yeah, it just looked like with all those small curvatures, it would be a pain to hand sand all of that and wasn’t sure if you used anything mechanized to make it easier.
I have a bunch of little parts I will do them all at the same time, and yeah sharp angles and inside corners will be a pain, but I am getting pretty close to a machine polish, they are not far off.
Also I would prefer to brush everything, polish just does not last. I have parts I made by hand and brushed 10 years ago that still look good, but parts I polished 6 months ago are already dulling…
I plan to setup an abrasive tank then bring the pieces to be anodized in the near future.
1 Like
You aluminium stuff looks really sharp, what do you use to get a good brushed finish?
I recently did a name plaque and polished the plate before using grey scotchbrite by hand which worked OK but took a long time.
I also found it marked with fingerprints really easily so I tried a few coatings, oddly the one which seemed to work best was a quick spray with regular Mr Sheen furniture polish, be interesting to see how that holds up over time.
3 Likes
My best results brushing was to sand up to 5000 grit then go over it with 220. Hard to uniformly brush the tiny detailed parts though.
3 Likes
I will try the furniture polish lol, sounds too easy!
-Breaks out the Lemon Pledge…
Results: Shiny and smells like lemons!
3 Likes
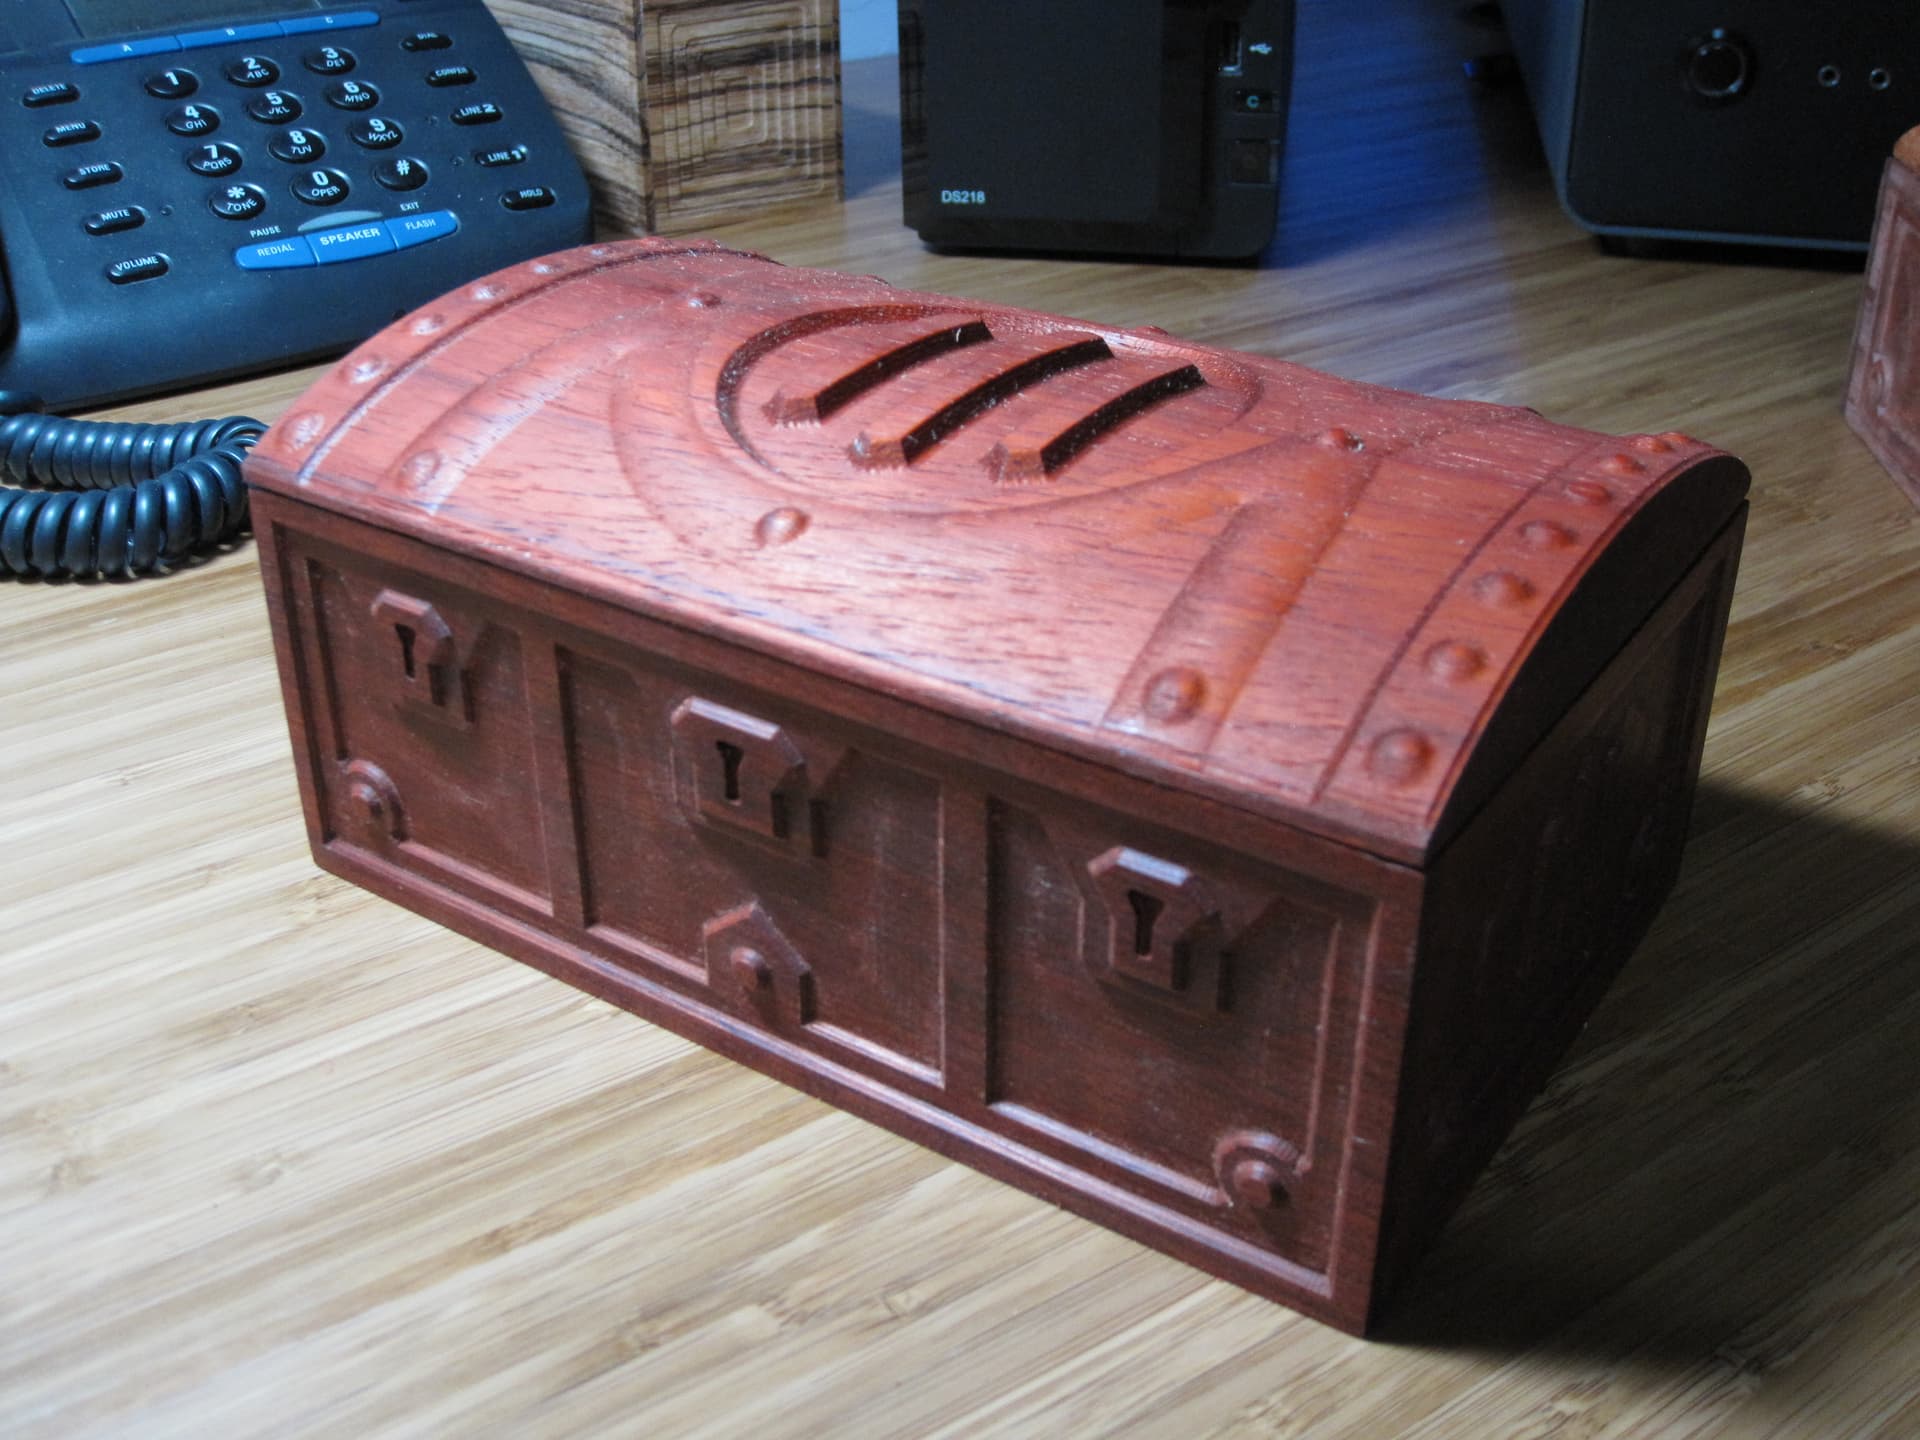
Just finished this sign for a co-worker. Putting a coat of polyurethane now but basically done. Wood is red oak and stain is Saman water based stain.
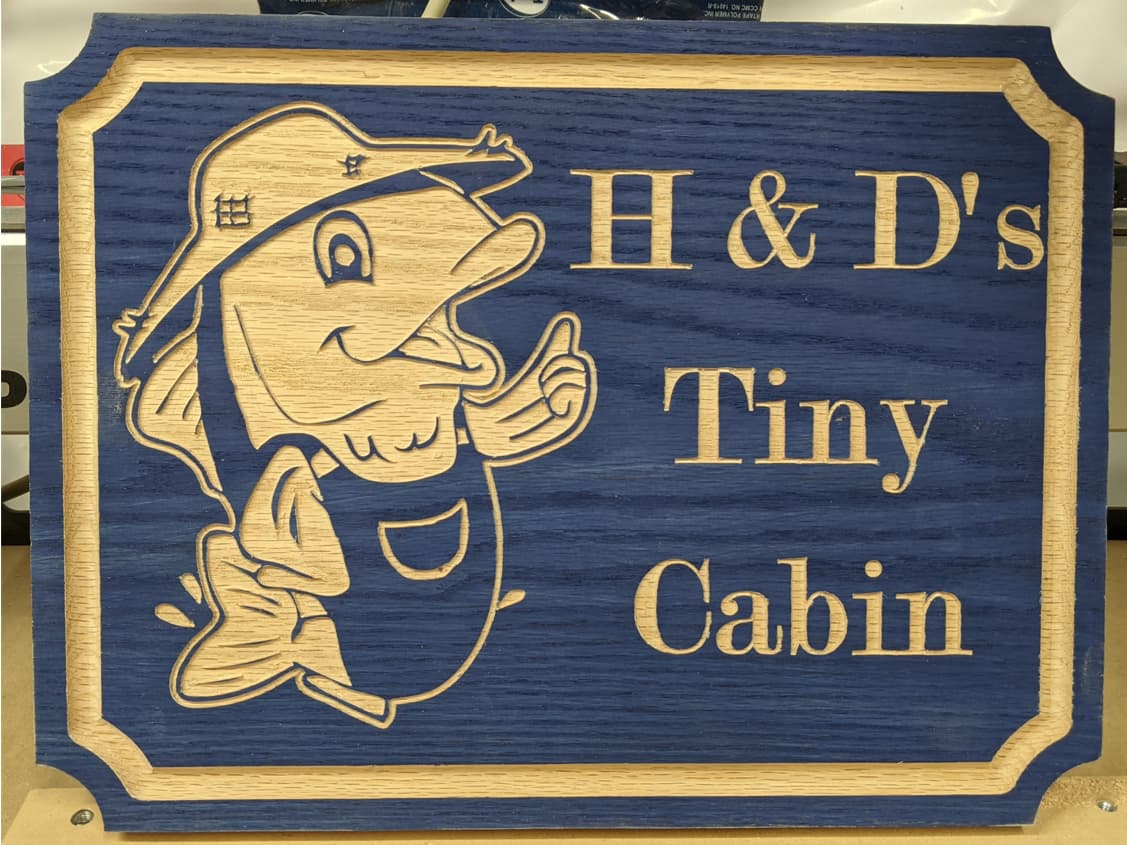
I love how the colour stain they selected really makes the overalls look authentic.
23 Likes
Impressive work with metal!
1 Like