What a great project! Theres something really neat about making an entire project on one machine. Especially with different materials. You did a really nice job with your talent.
I often ask why does anyone want anything i make and then realize i dont ‘really’ care what they want i just want to make it.
You have me wanting to shelf some plans and make a guitar this weekend (get one started i should say).
I havent researched this yet but do you, or anyone, know of a good C2D file for a guitar?
I have some really amazing wood that would look insane as a guitar!!
I’ve been told that Etsy has a lot of guitar files that you can get for $30-$50.
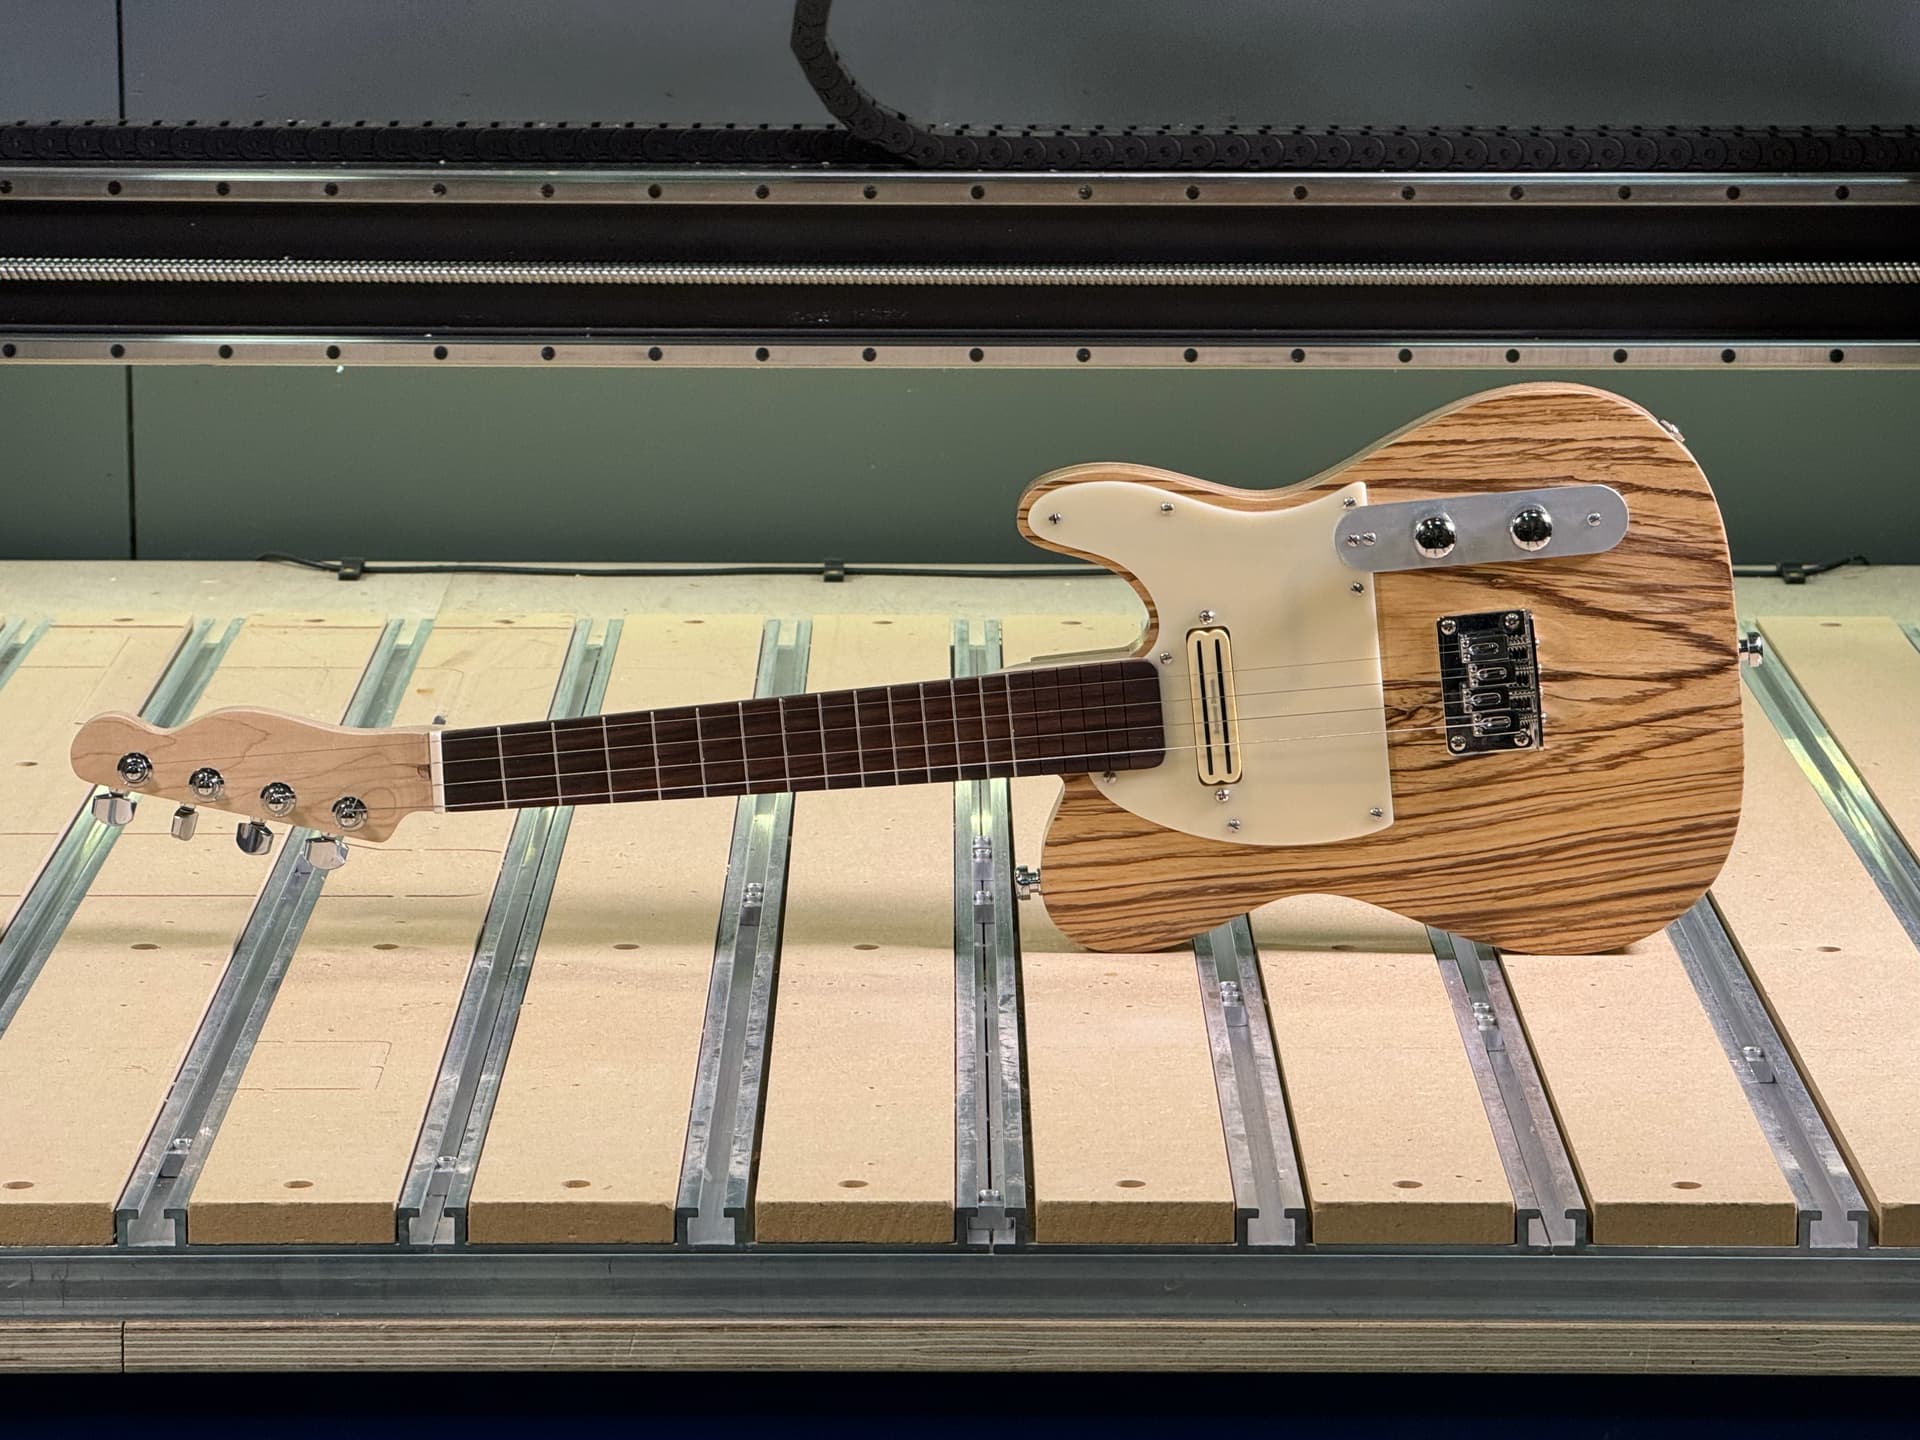
I’d share this one, but my son drew it in Fusion and the file is a complete wreck (which is to be expected when people first start using a program like Fusion for a multi-part design). After we put it together, I may ask him to clean up the file so we can share it.
The neck was really the only thing that was difficult to machine, and if we were making a guitar, we probably would have just bought a neck to start with so we could focus on getting the project done.
Griff
(Well crap, my hypometric precursor device is blown…)
4116
A thread from a few years ago. You will need some experience with Fusion though. Check out the Guitar Engine Fusion plugin referenced in the thread. Pretty easy to move from a tracing to a model.
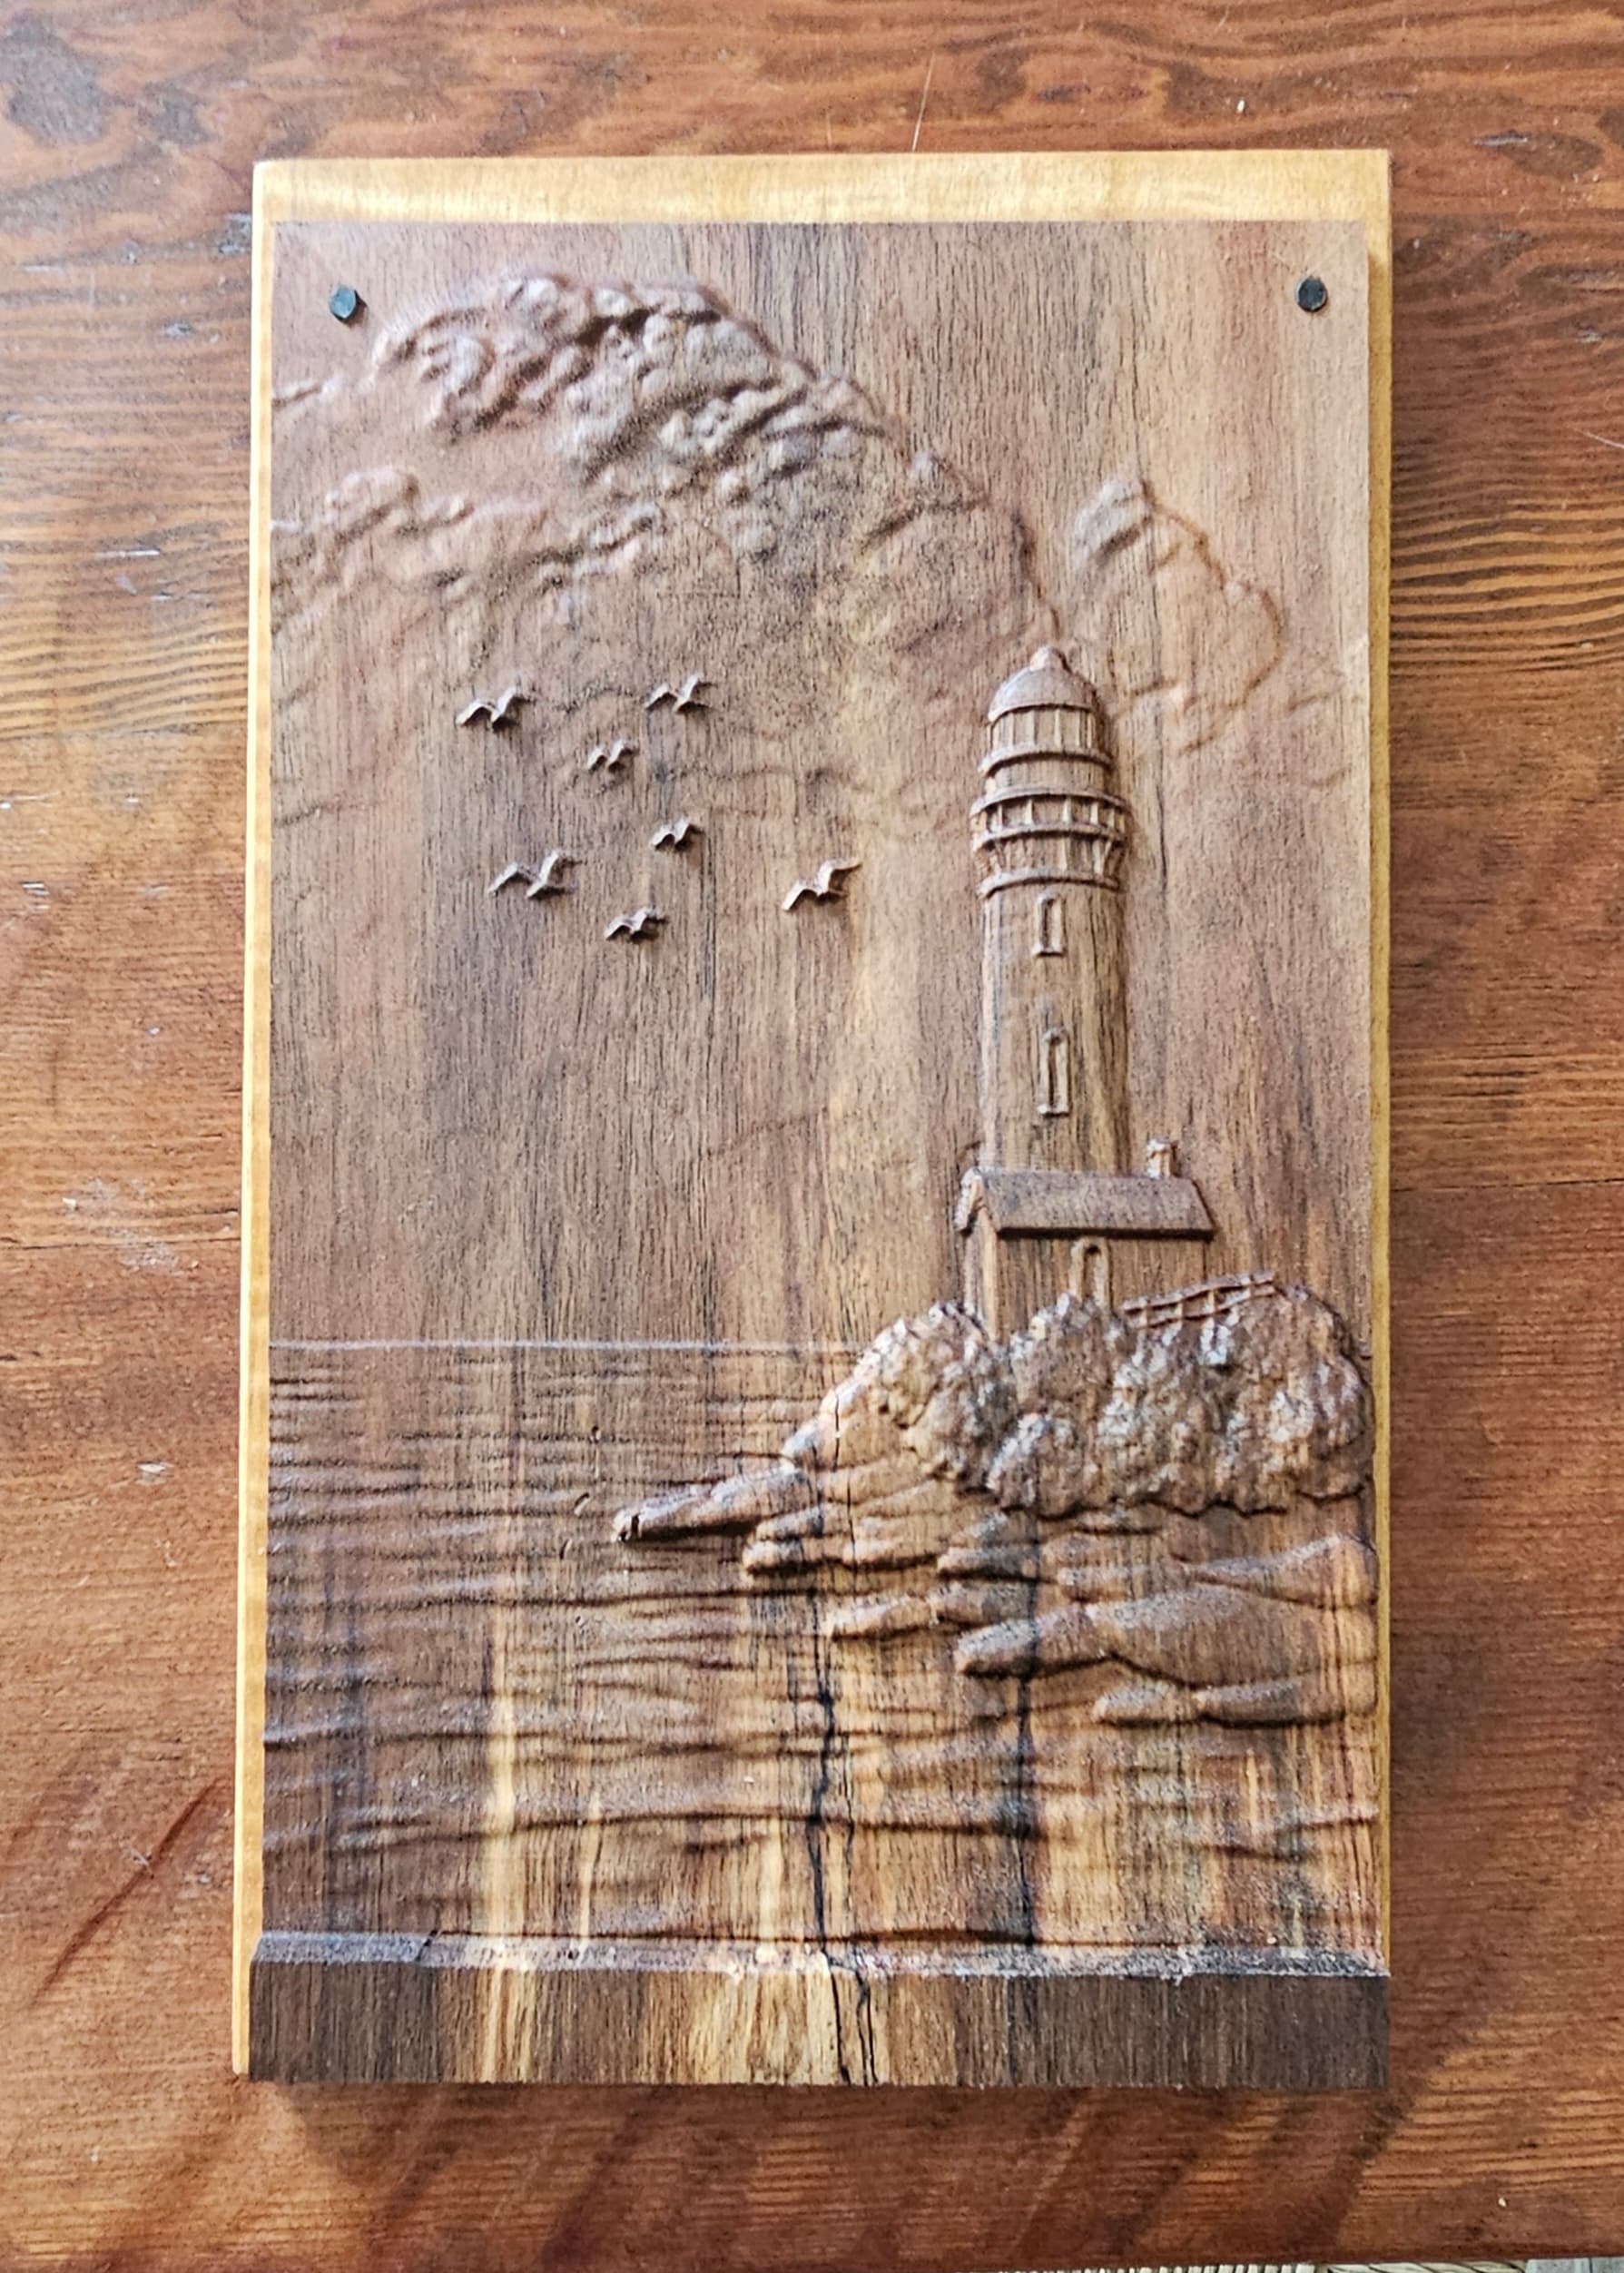
Steve, did you cut the inlays with any allowance on the outline or pocket? Also, how did you choose your power setting to cut the inlay pocket to exacly .03" deep?
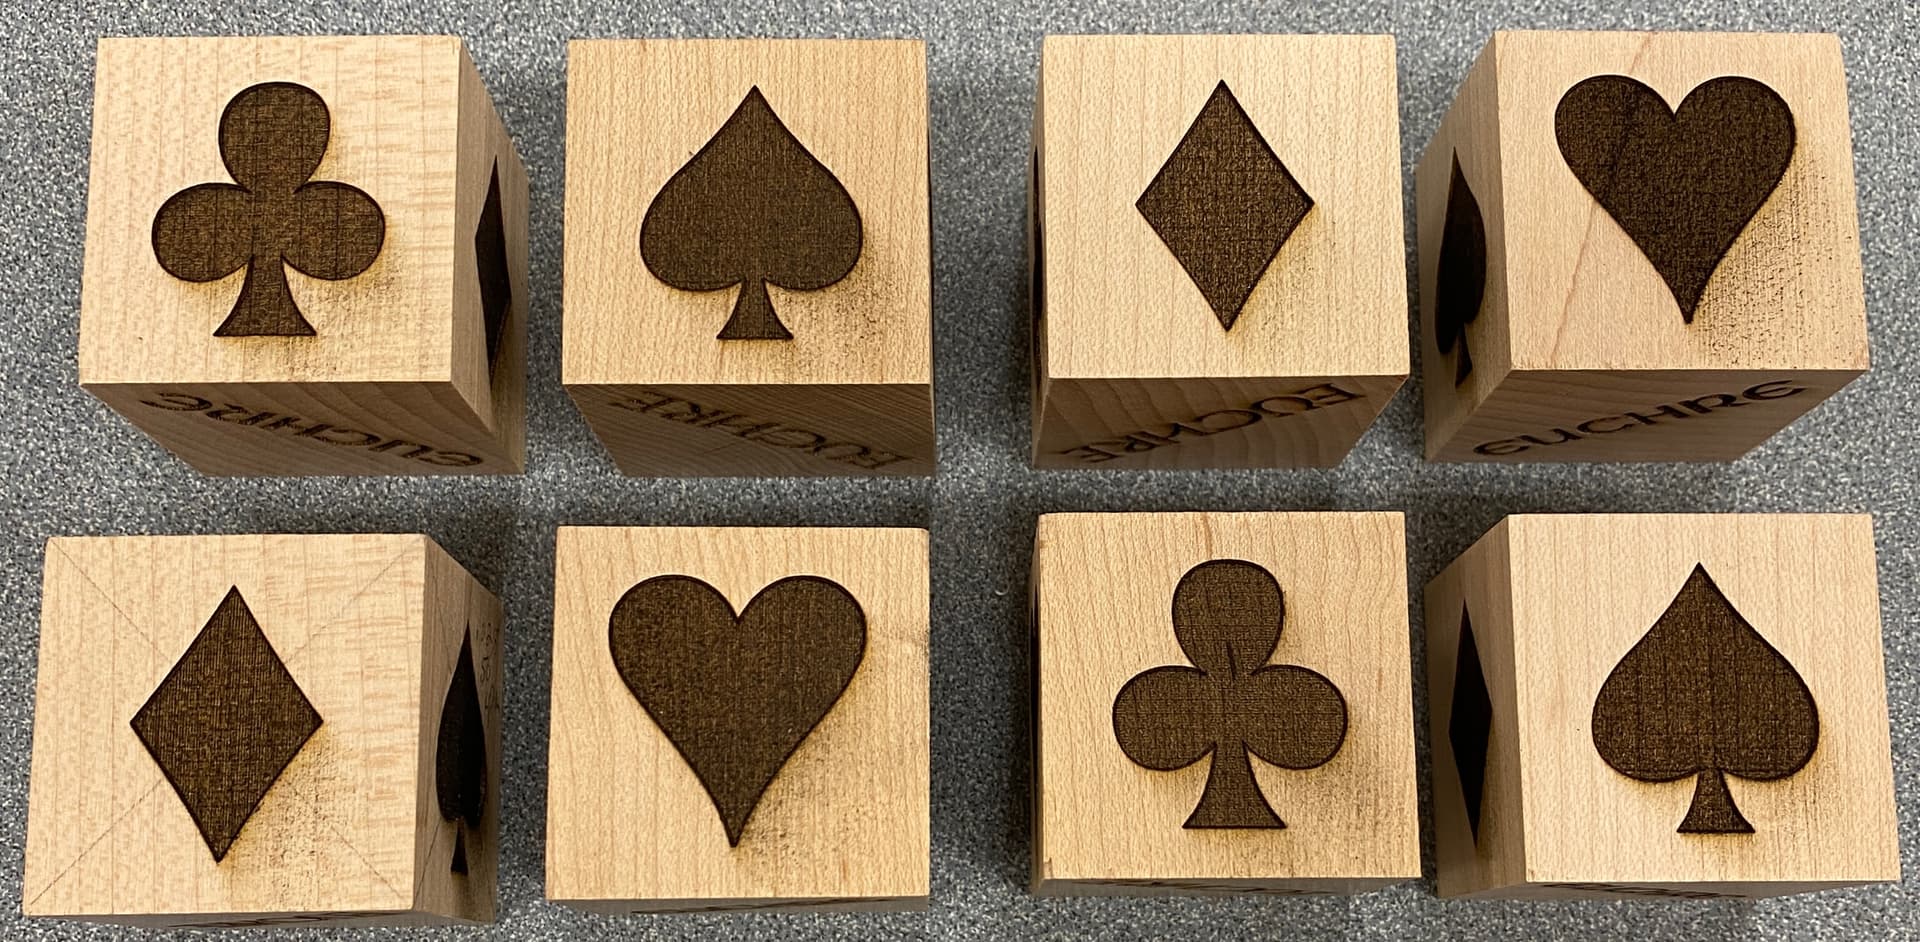
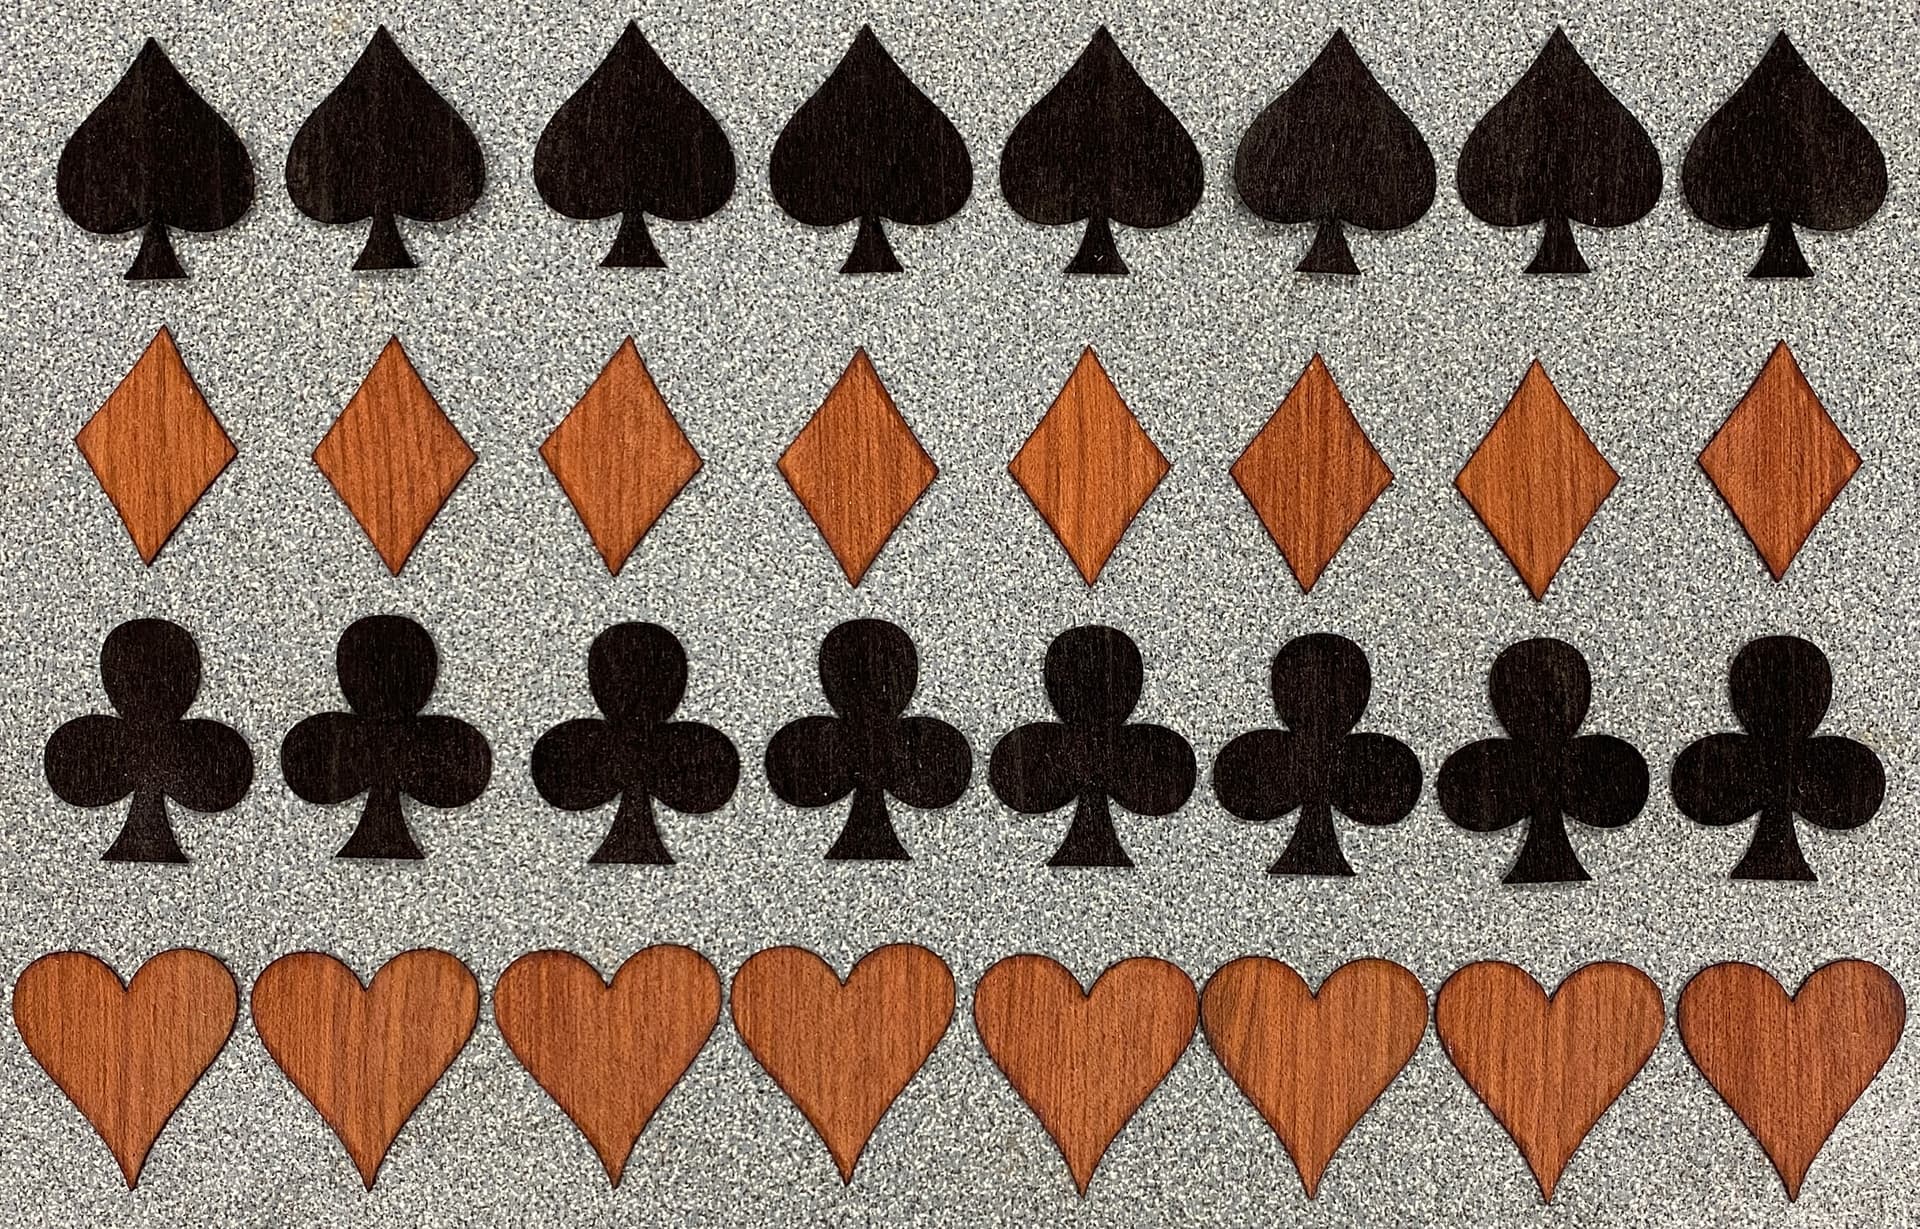
Short answer - yes. I cut the pockets with no “allowance” (what Lightburn calls “kerf offset”). But for the inlays, I use a kerf offset outwards by .004" to get a perfect fit.
Longer answer - If you just cut a pocket and an inlay without offsetting one or the other, the inlay will be loose. Lasers have a measurable kerf width just like an endmill, so I make the inlay bigger to account for the kerf. For my laser, the kerf is approximately .005". The correct offset varies depending the wood species. Sometimes .005" makes the inlay just a hair too tight. For this project, a kerf offset (outwards) of .004" resulted in an exact fit.
Experimentation is required because every species of wood is different. My veneer was .035", and I wanted the inlays to be a little proud when installed (so I could sand them flush), so I wanted an approximate .03" pocket. I just guessed at some settings (on a piece of scrap) and adjusted until I got the depth I needed. The key settings are Power, Speed, and Line Interval (“Stepover” in CNC lingo). For hard maple, with my 7W laser, I used 100% Power, 60 in/min, and .006 line interval. I also turned on “Crosshatch”, so the pocket gets two burn passes, where the second pass is at 90 degrees to the first pass. Crosshatch results in a cleaner, more uniform bottom on the pocket.
It’s also a good idea to finish the pocket with a “line” pass around the perimeter to clean up the edge of the pocket. In CNC lingo, you cut the pocket first, then a finishing contour with no offset.
I’ve also learned to use air blast. By blowing the smoke away, you get a more consistent pocket depth and far less charring on the surface next to the pocket.
Lasers don’t seem to be too popular on this forum, but dang - they do some mighty precision inlays!
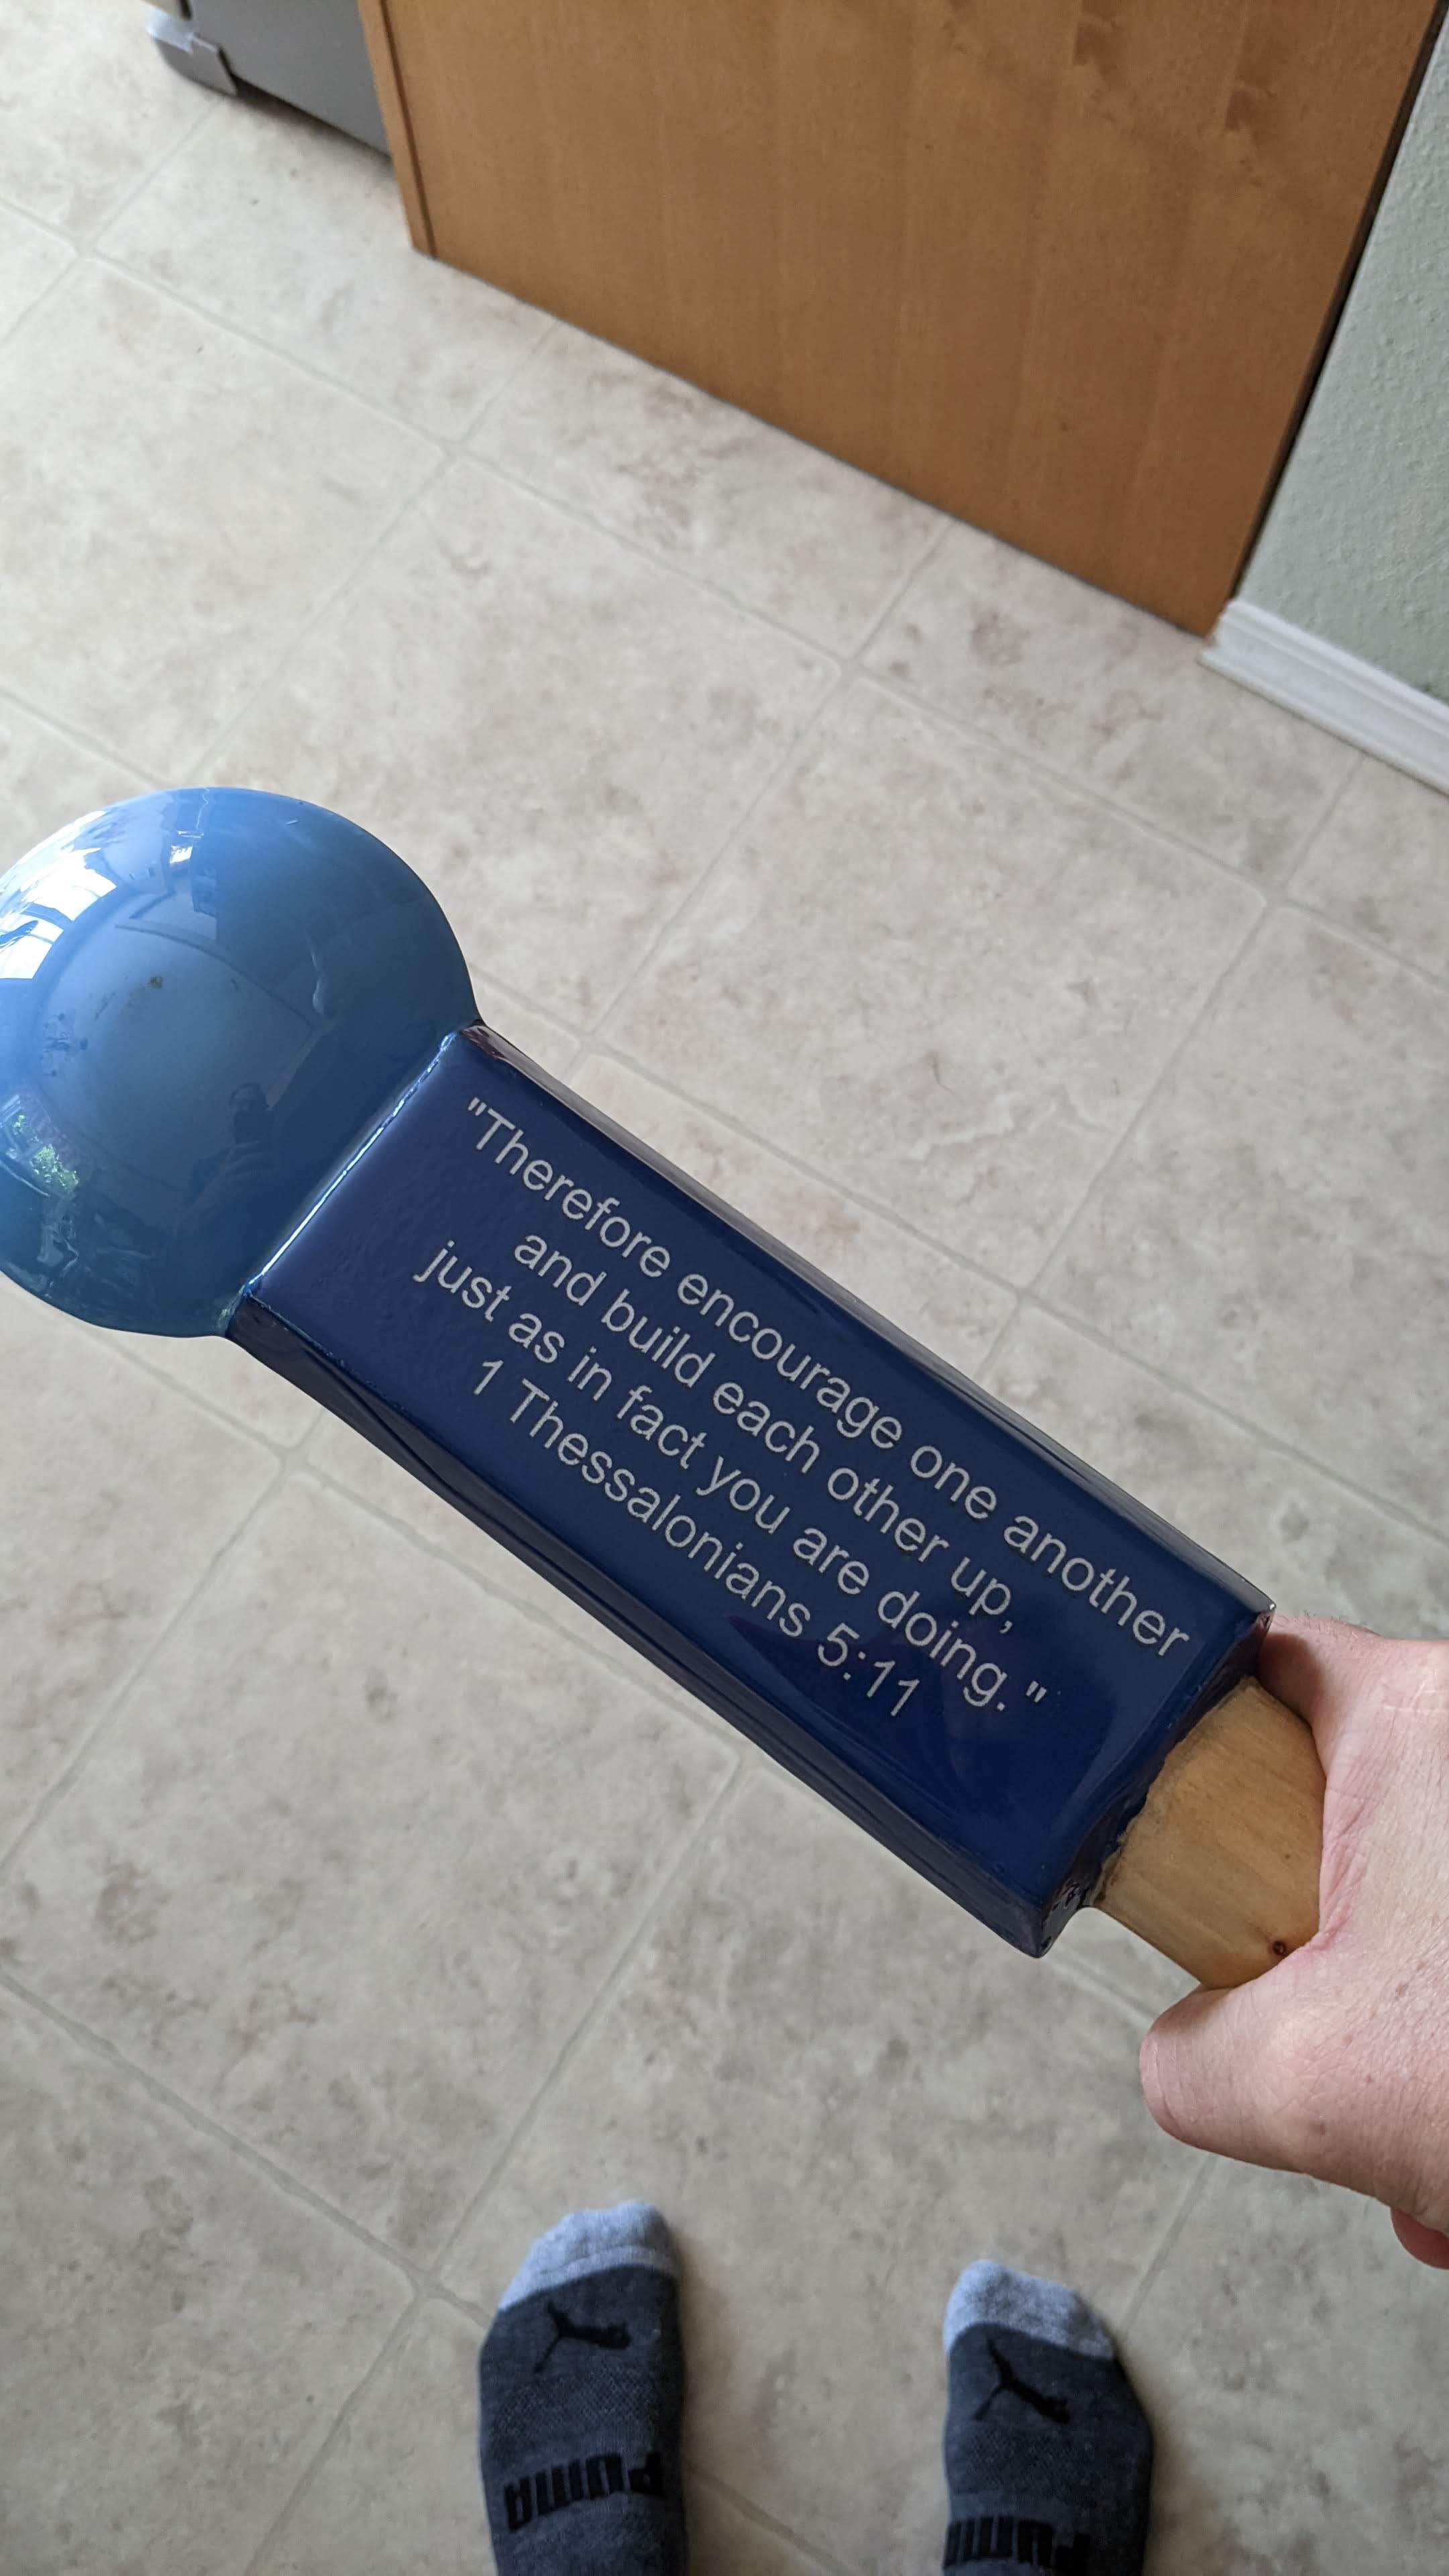
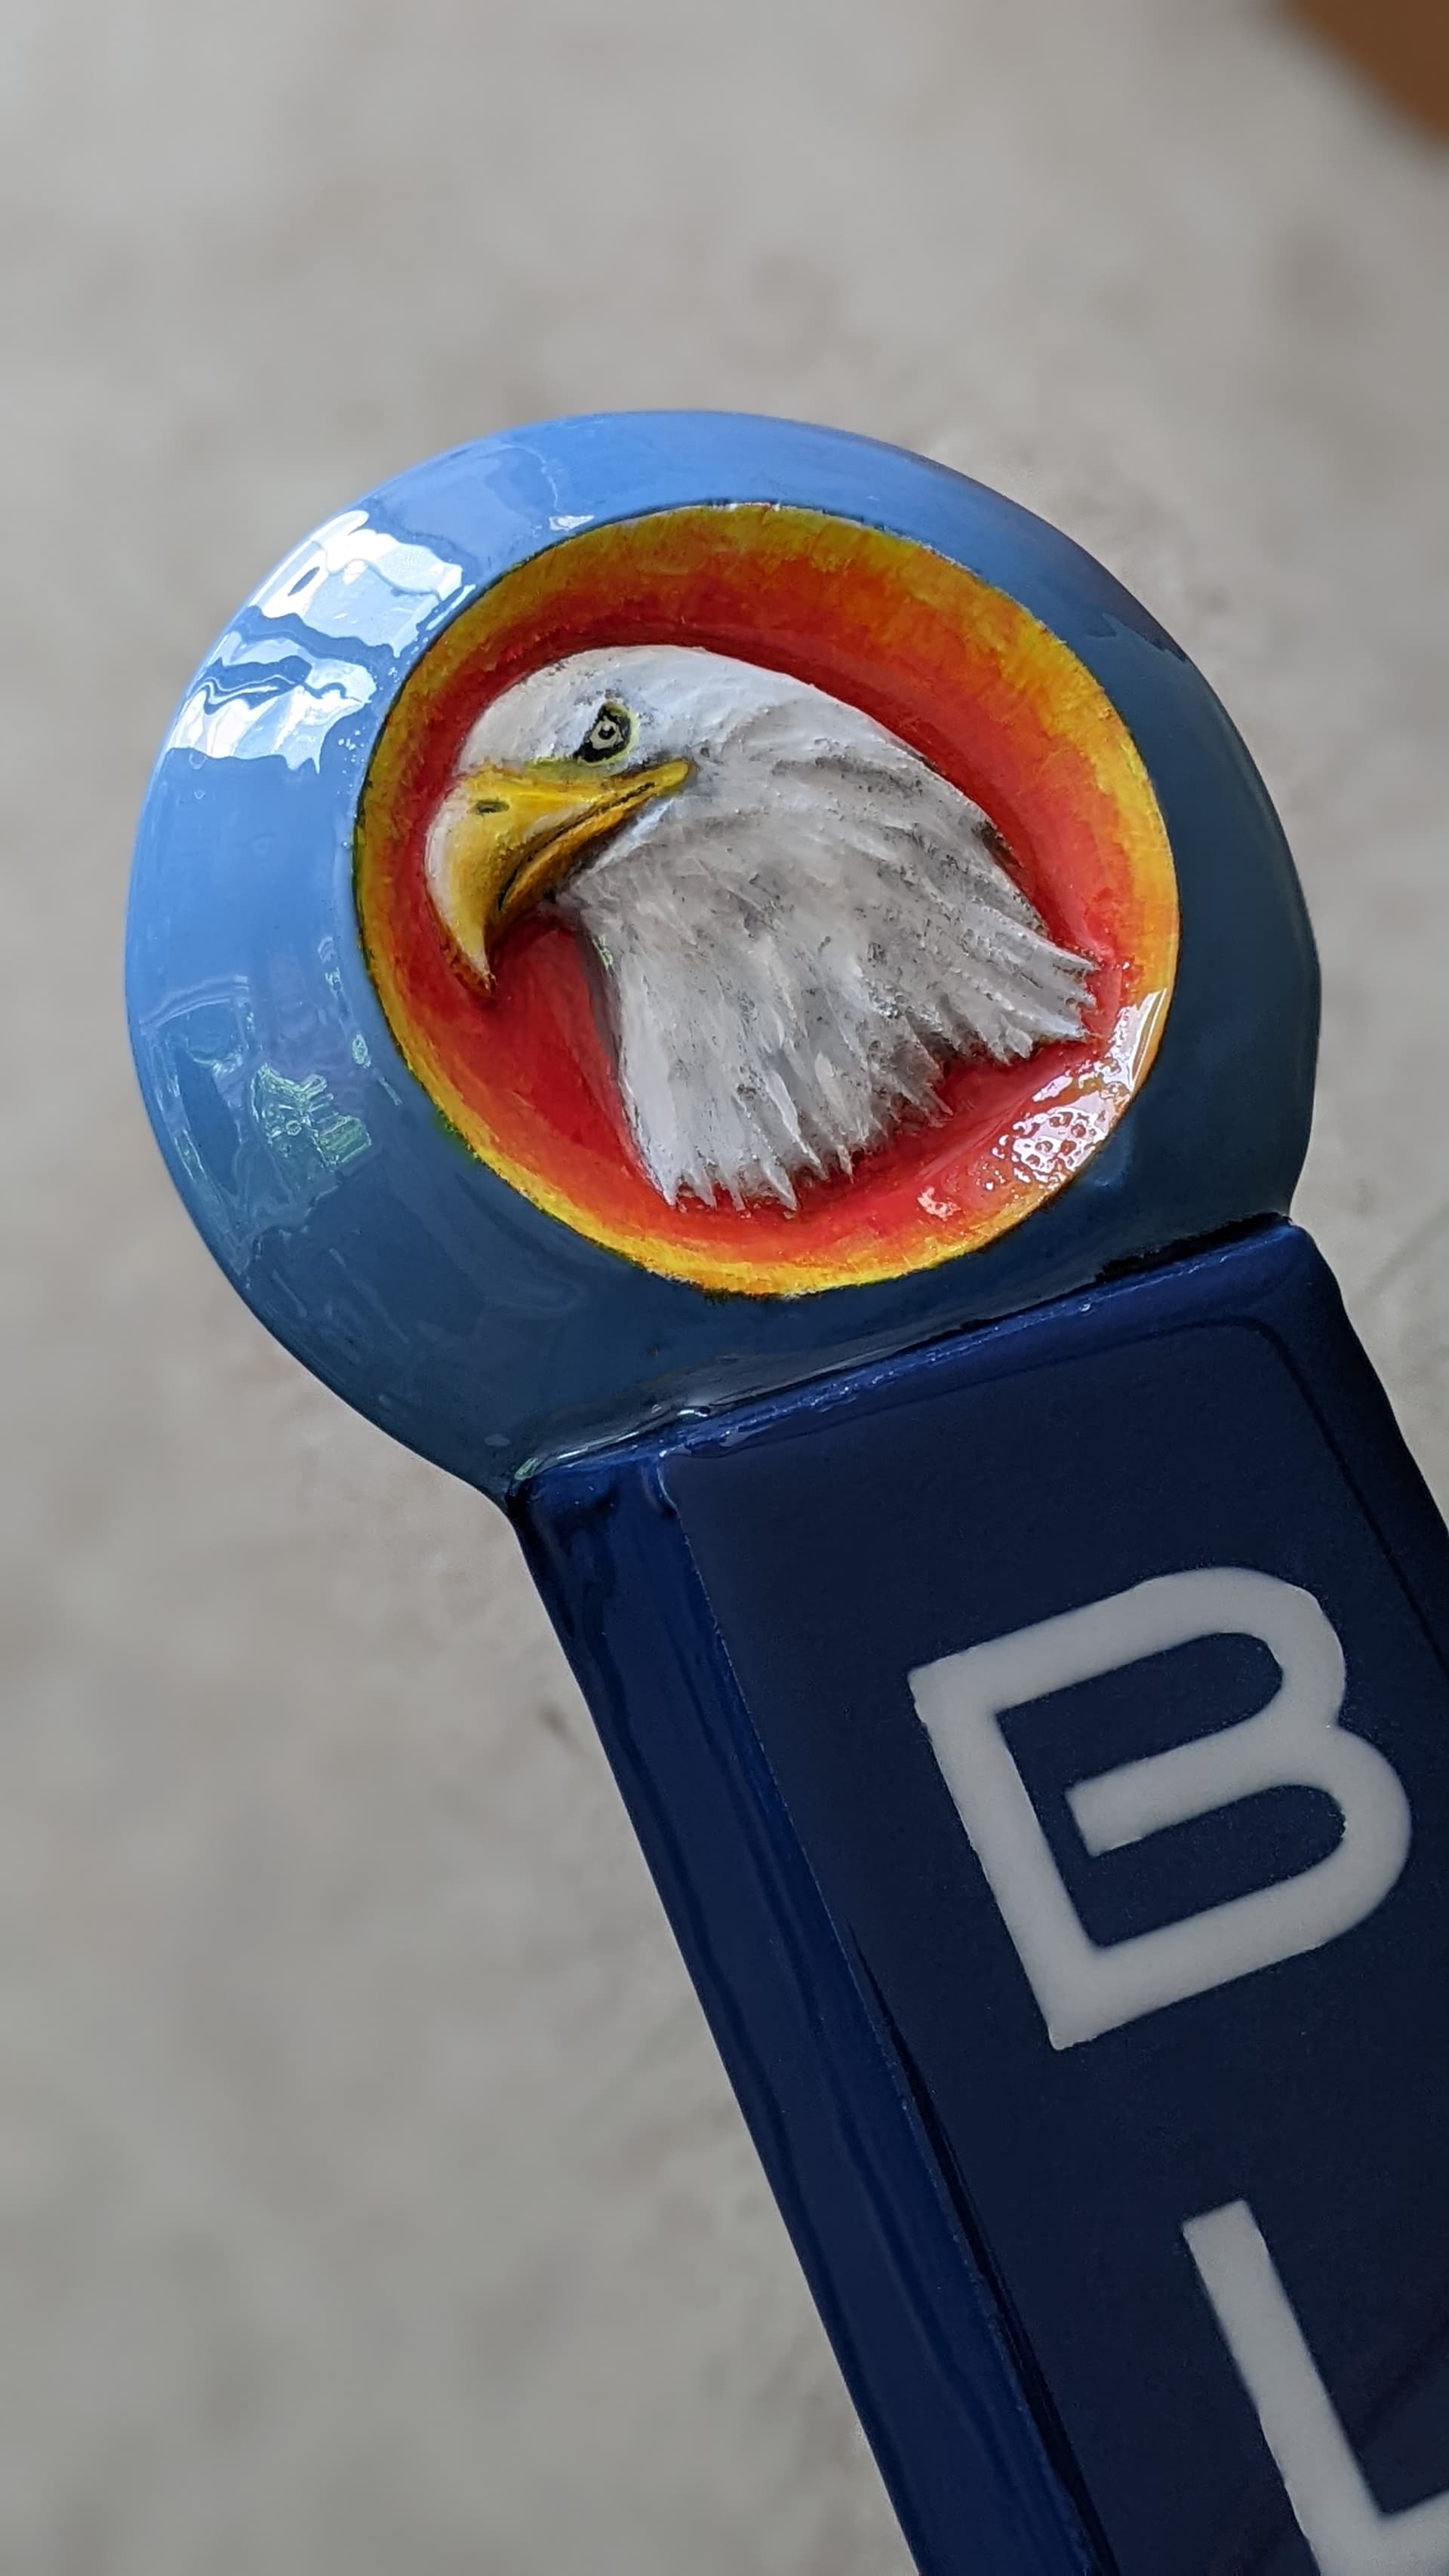
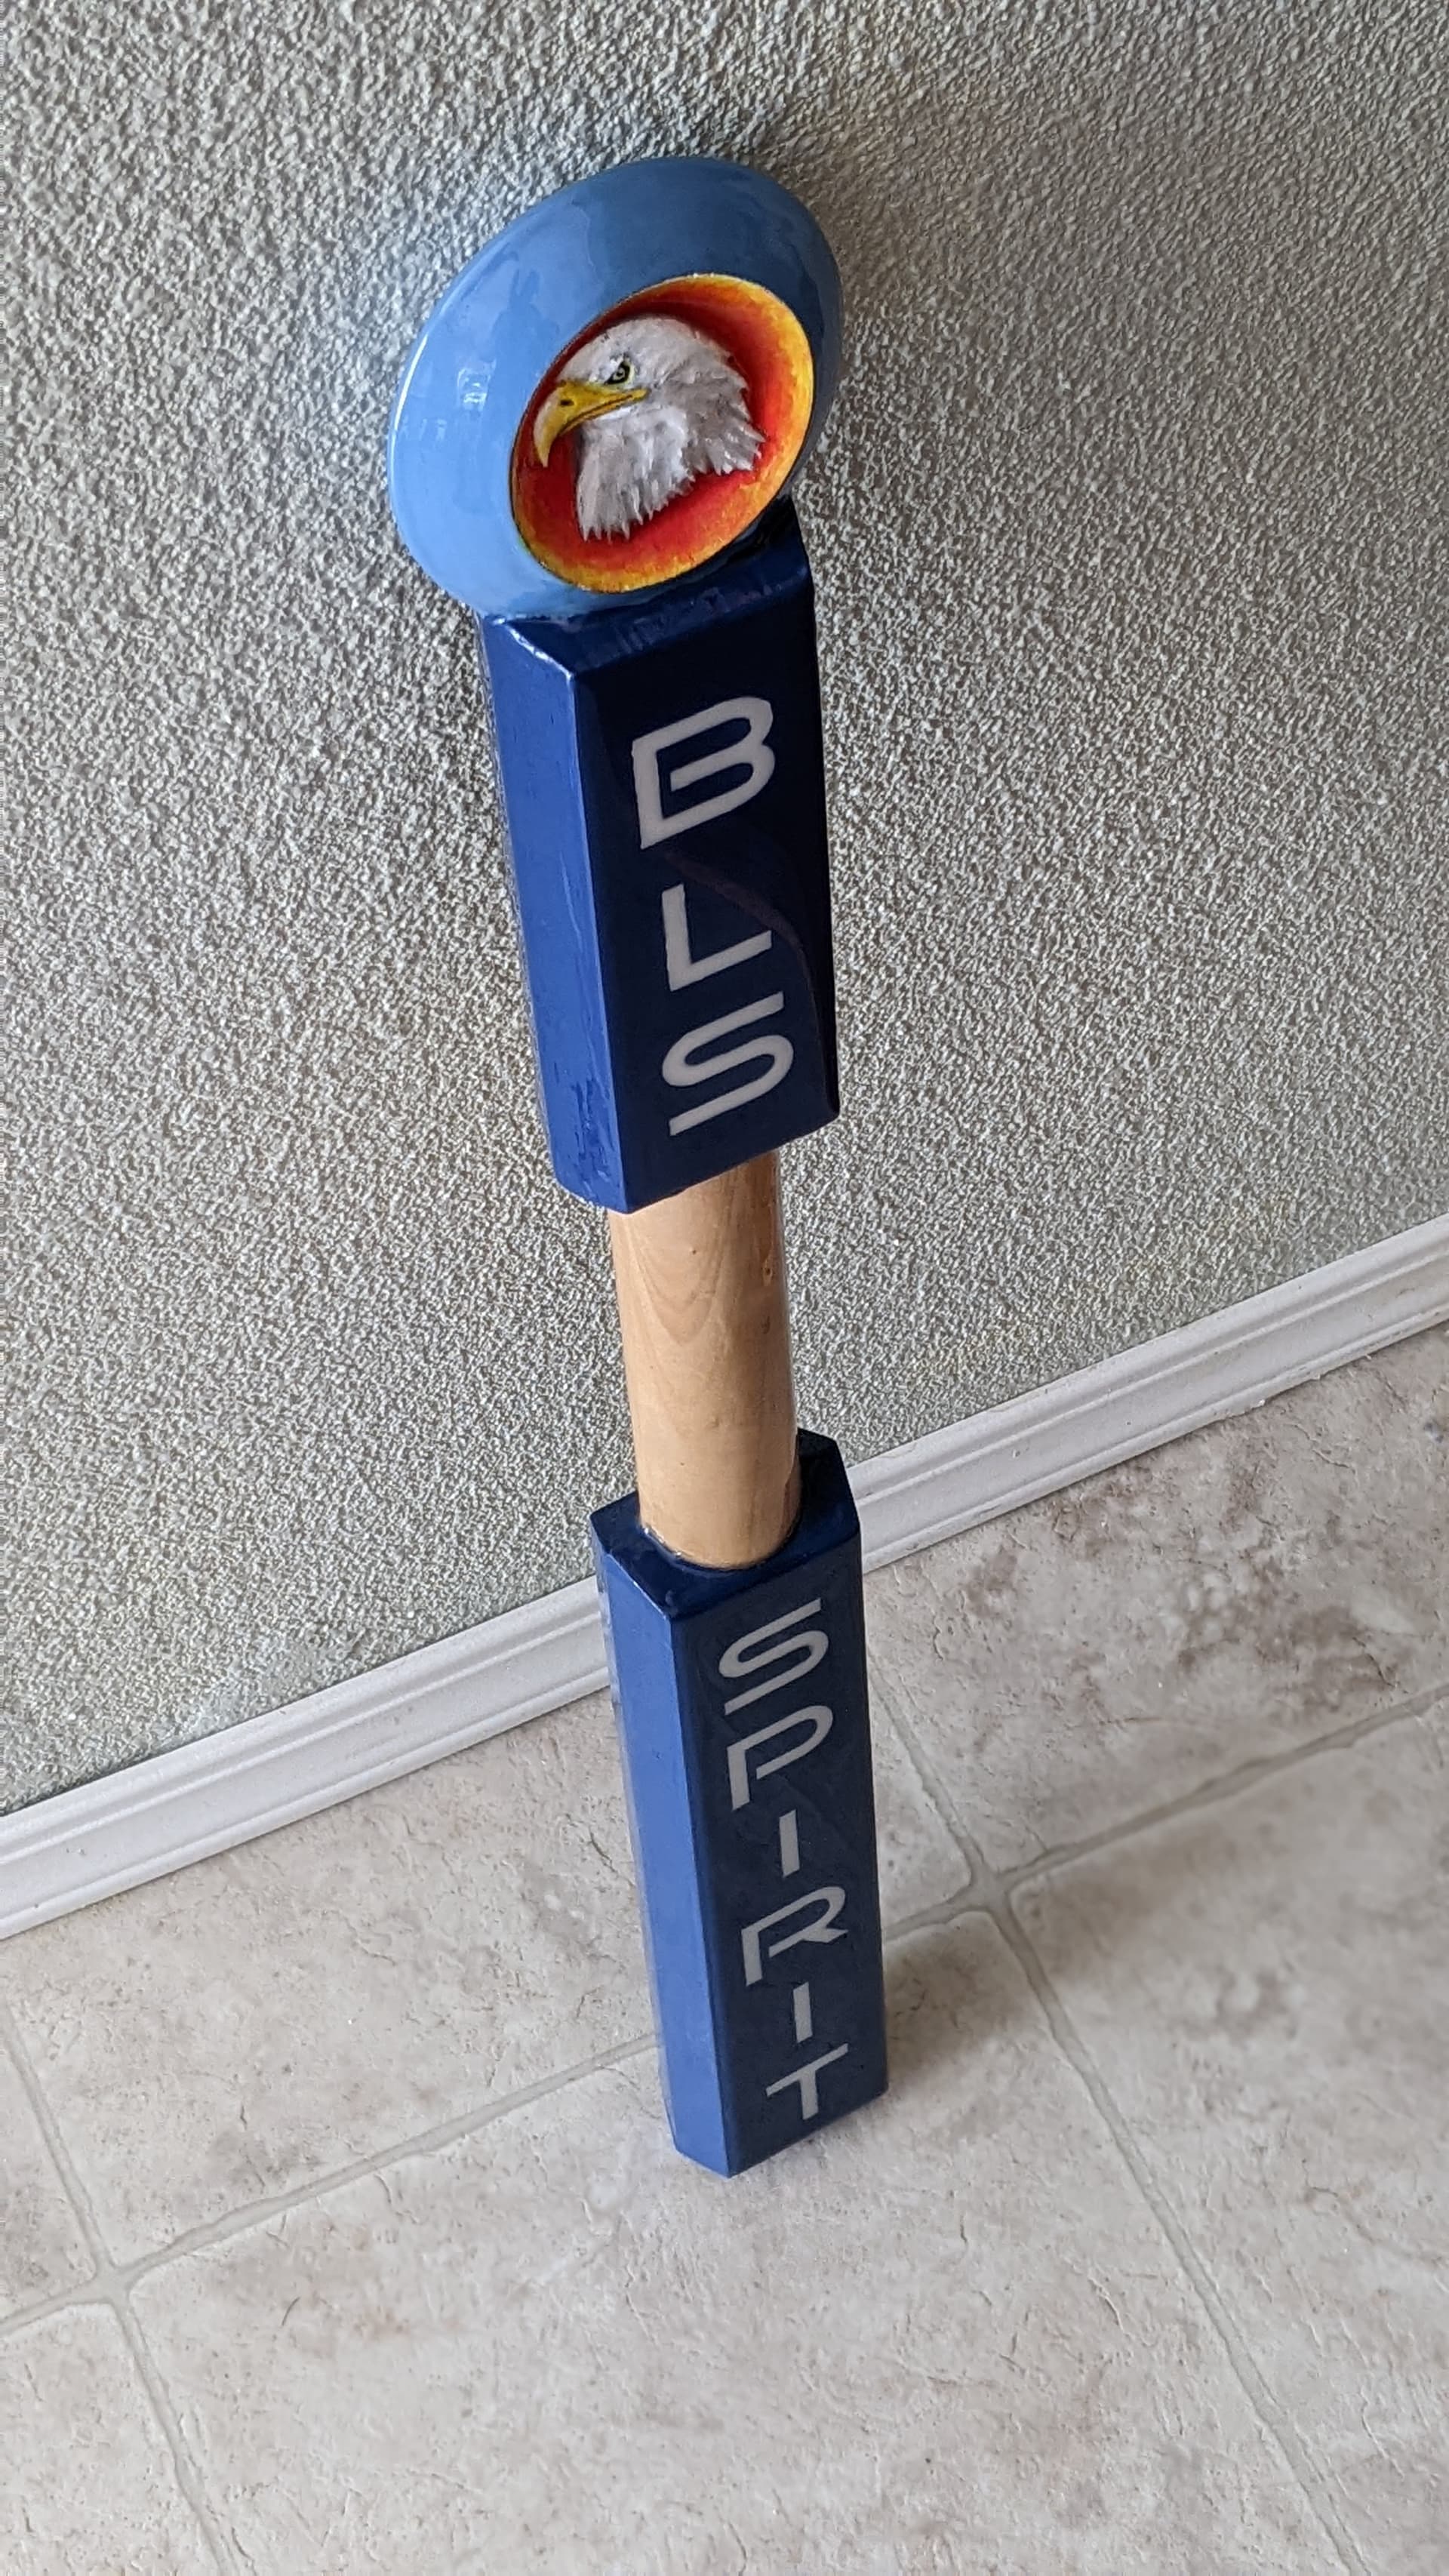
At the end of the year one of our teachers said that it would be neat to have a “spirit stick” for our school. She said at her old school it was a decorated baton that would travel from class to class like a traveling trophey and go to a class with great spirit at events. I volunteered to make one but decided to go further than just making a baton. This is a two sided project with my Shapeoko 5 4x4 using Vectric as my software. Wood: maple. I did the full carve. Painted with blue enamel paint. Epoxied the “BLS Spirit” in white. Backside lettering of the Bible verse was done with my Jtech 44w laser. I then filled in the engraving with white powder coat making sure there was no residual powder and then carefully used my heat gun. I had my friend paint the eagle. Then epoxied the project in a clear coat which took multiple steps to do the multiple sides. I’m happy with how it turned out. My only struggle is that the epoxy didn’t fully harden. I can dig a fingernail in and leave a mark (the mark will leave given time). I measured out my equal parts using a digital scale. I’m open to suggestions to what I can do now or what I’ve should have done.
Great job!! The only thing I can think of for the epoxy coating is do one more coat but add more of the hardener in it. I have had this happen to me before as well. Some epoxy batches / companies tend to have lower quality control.
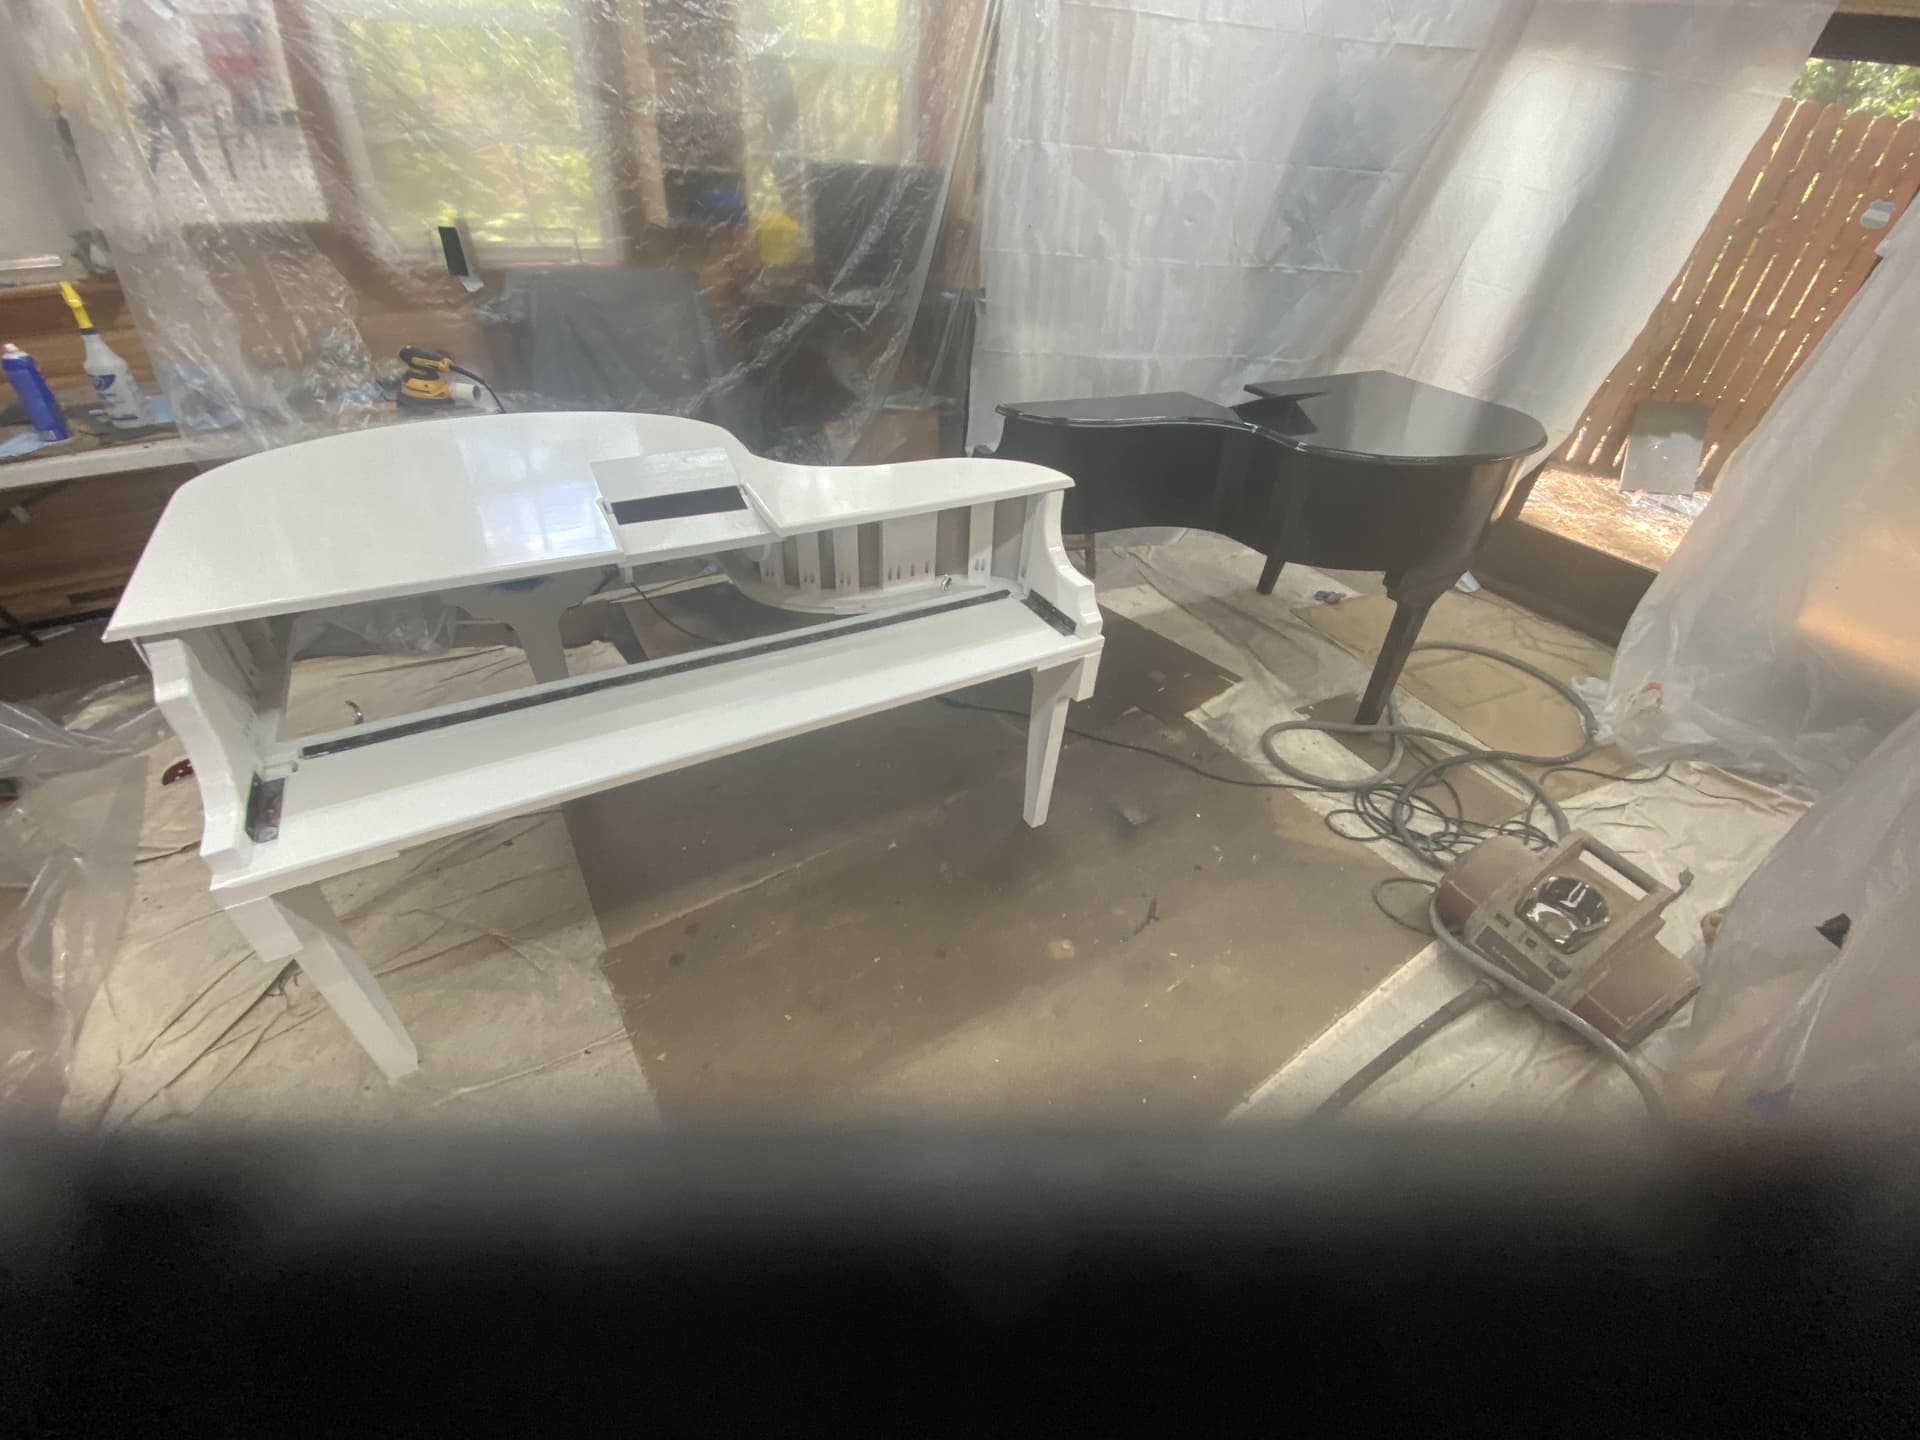
Finally got both the white and black baby grand piano shells ready for delivery. Legs, top, frame, side rails all cut on the 3xxl and first time tiling that worked great thanks to a lot of info from this forum.