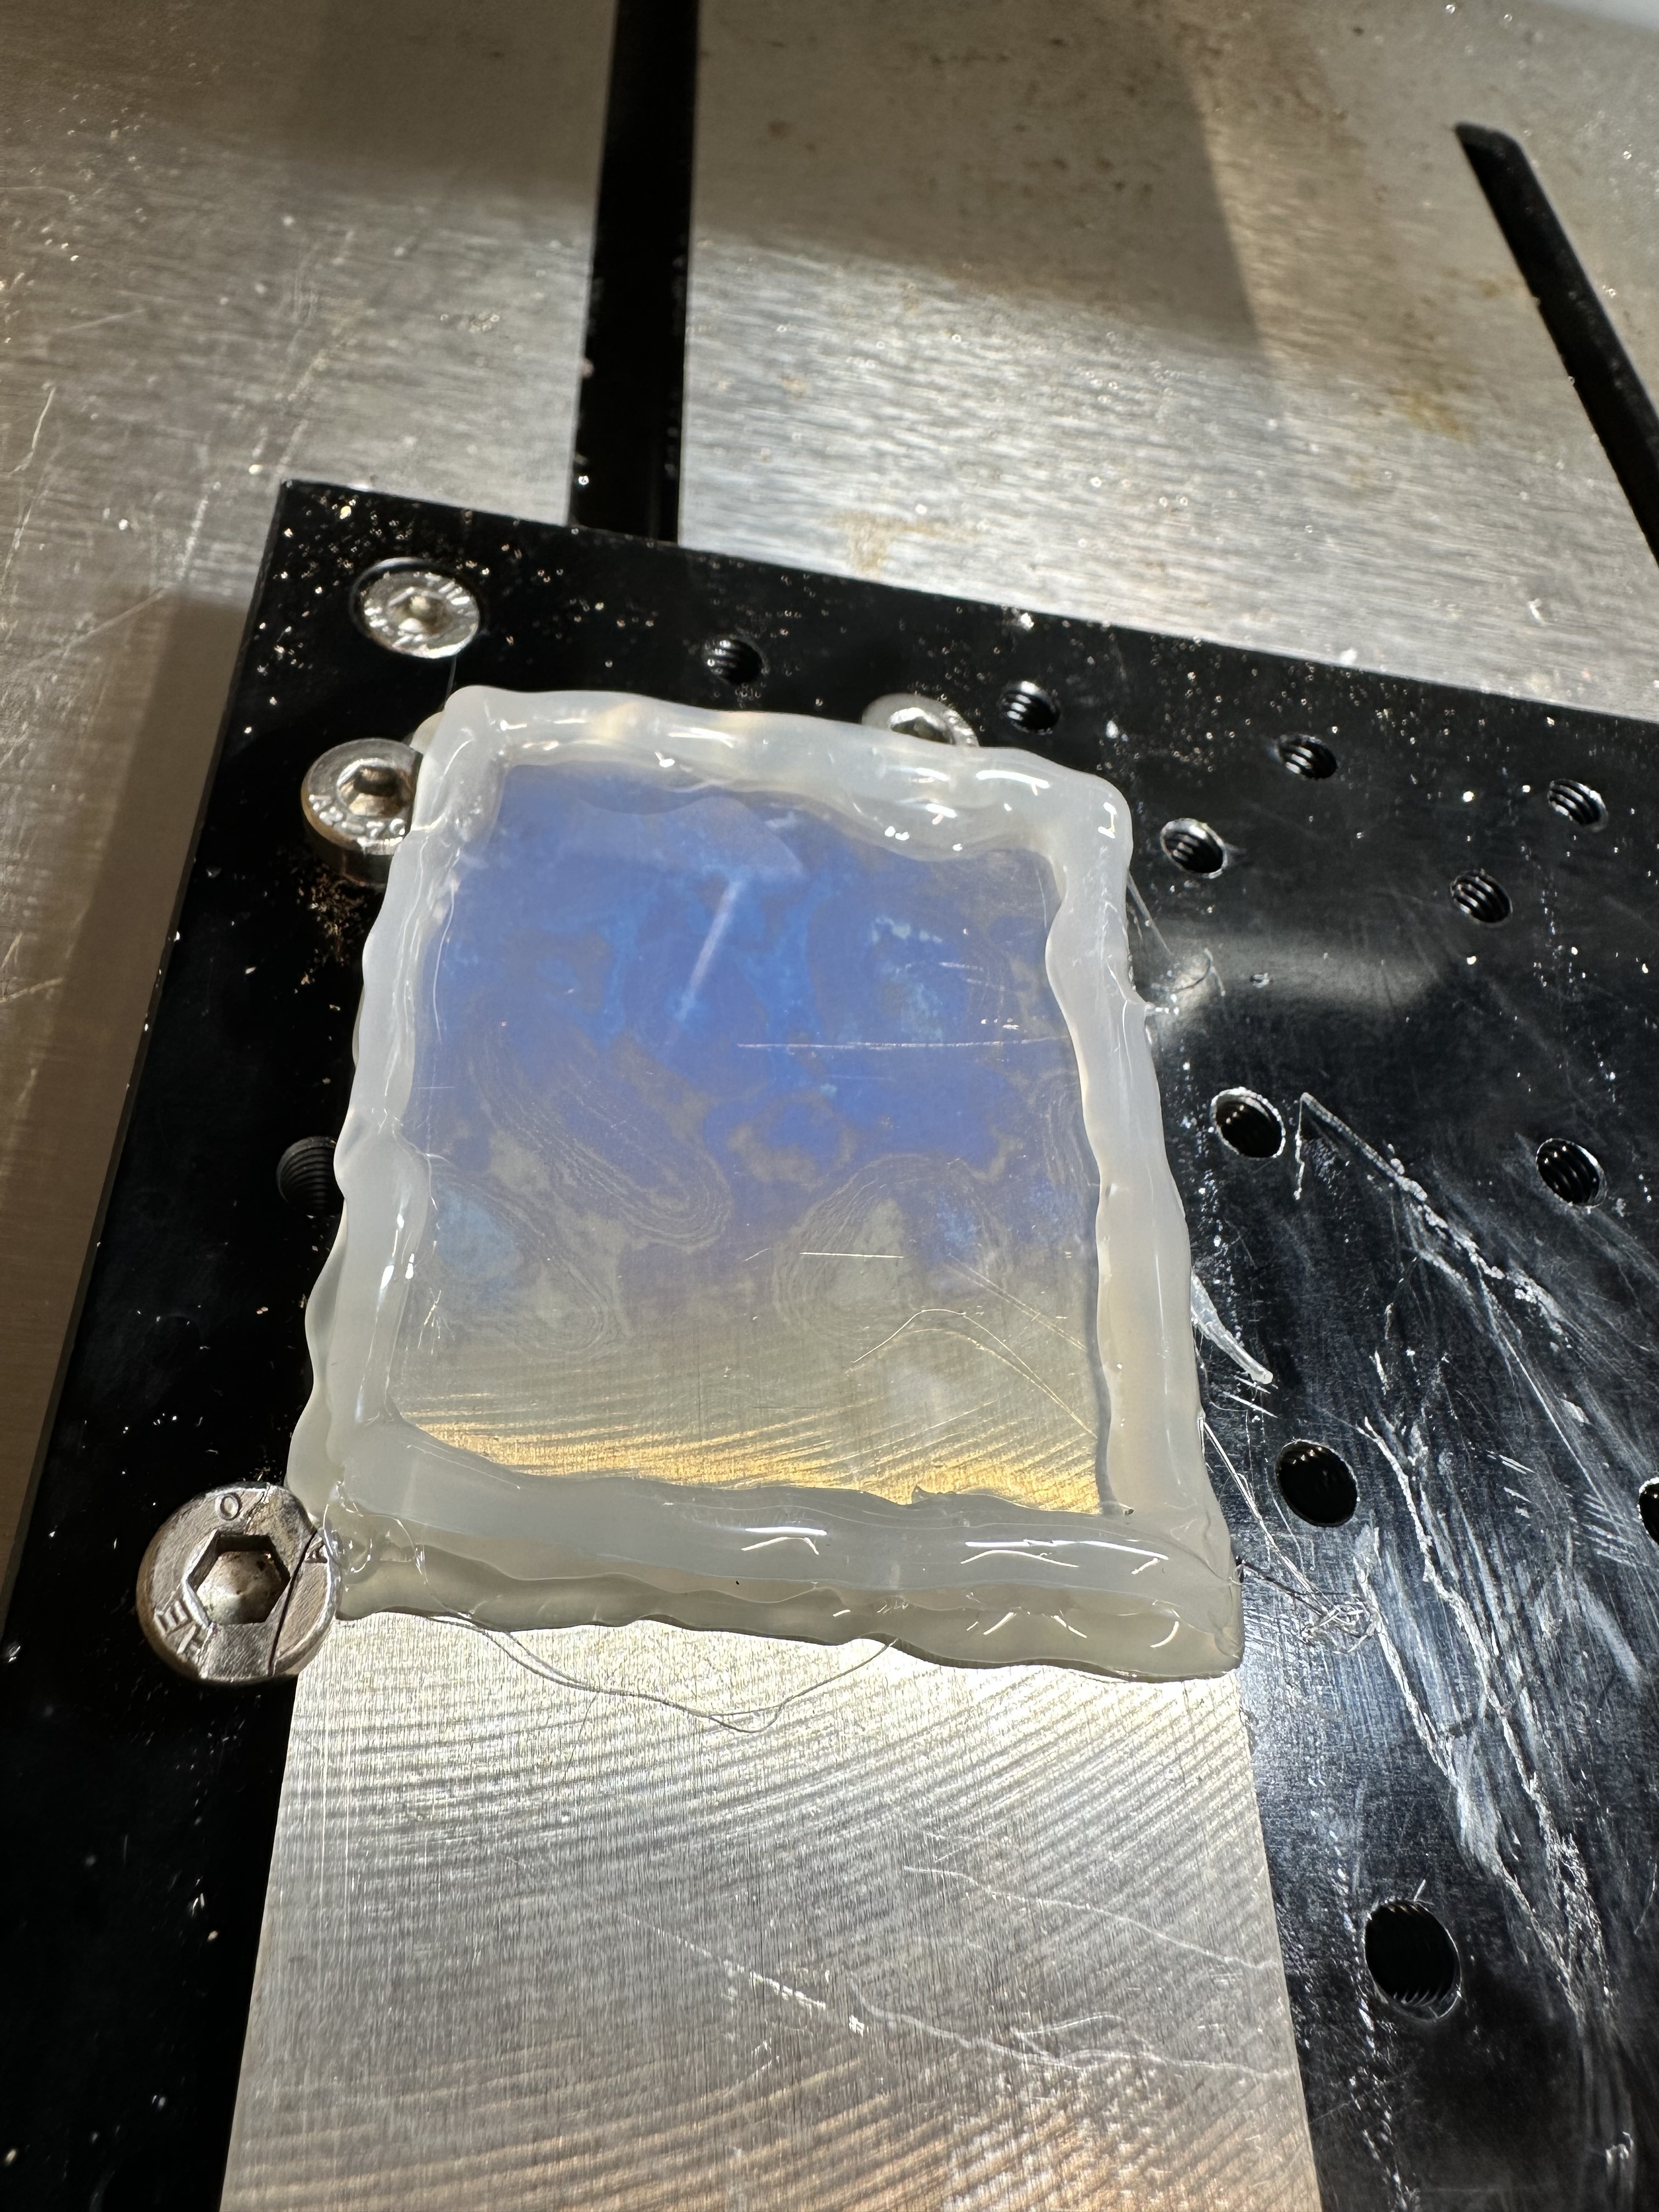
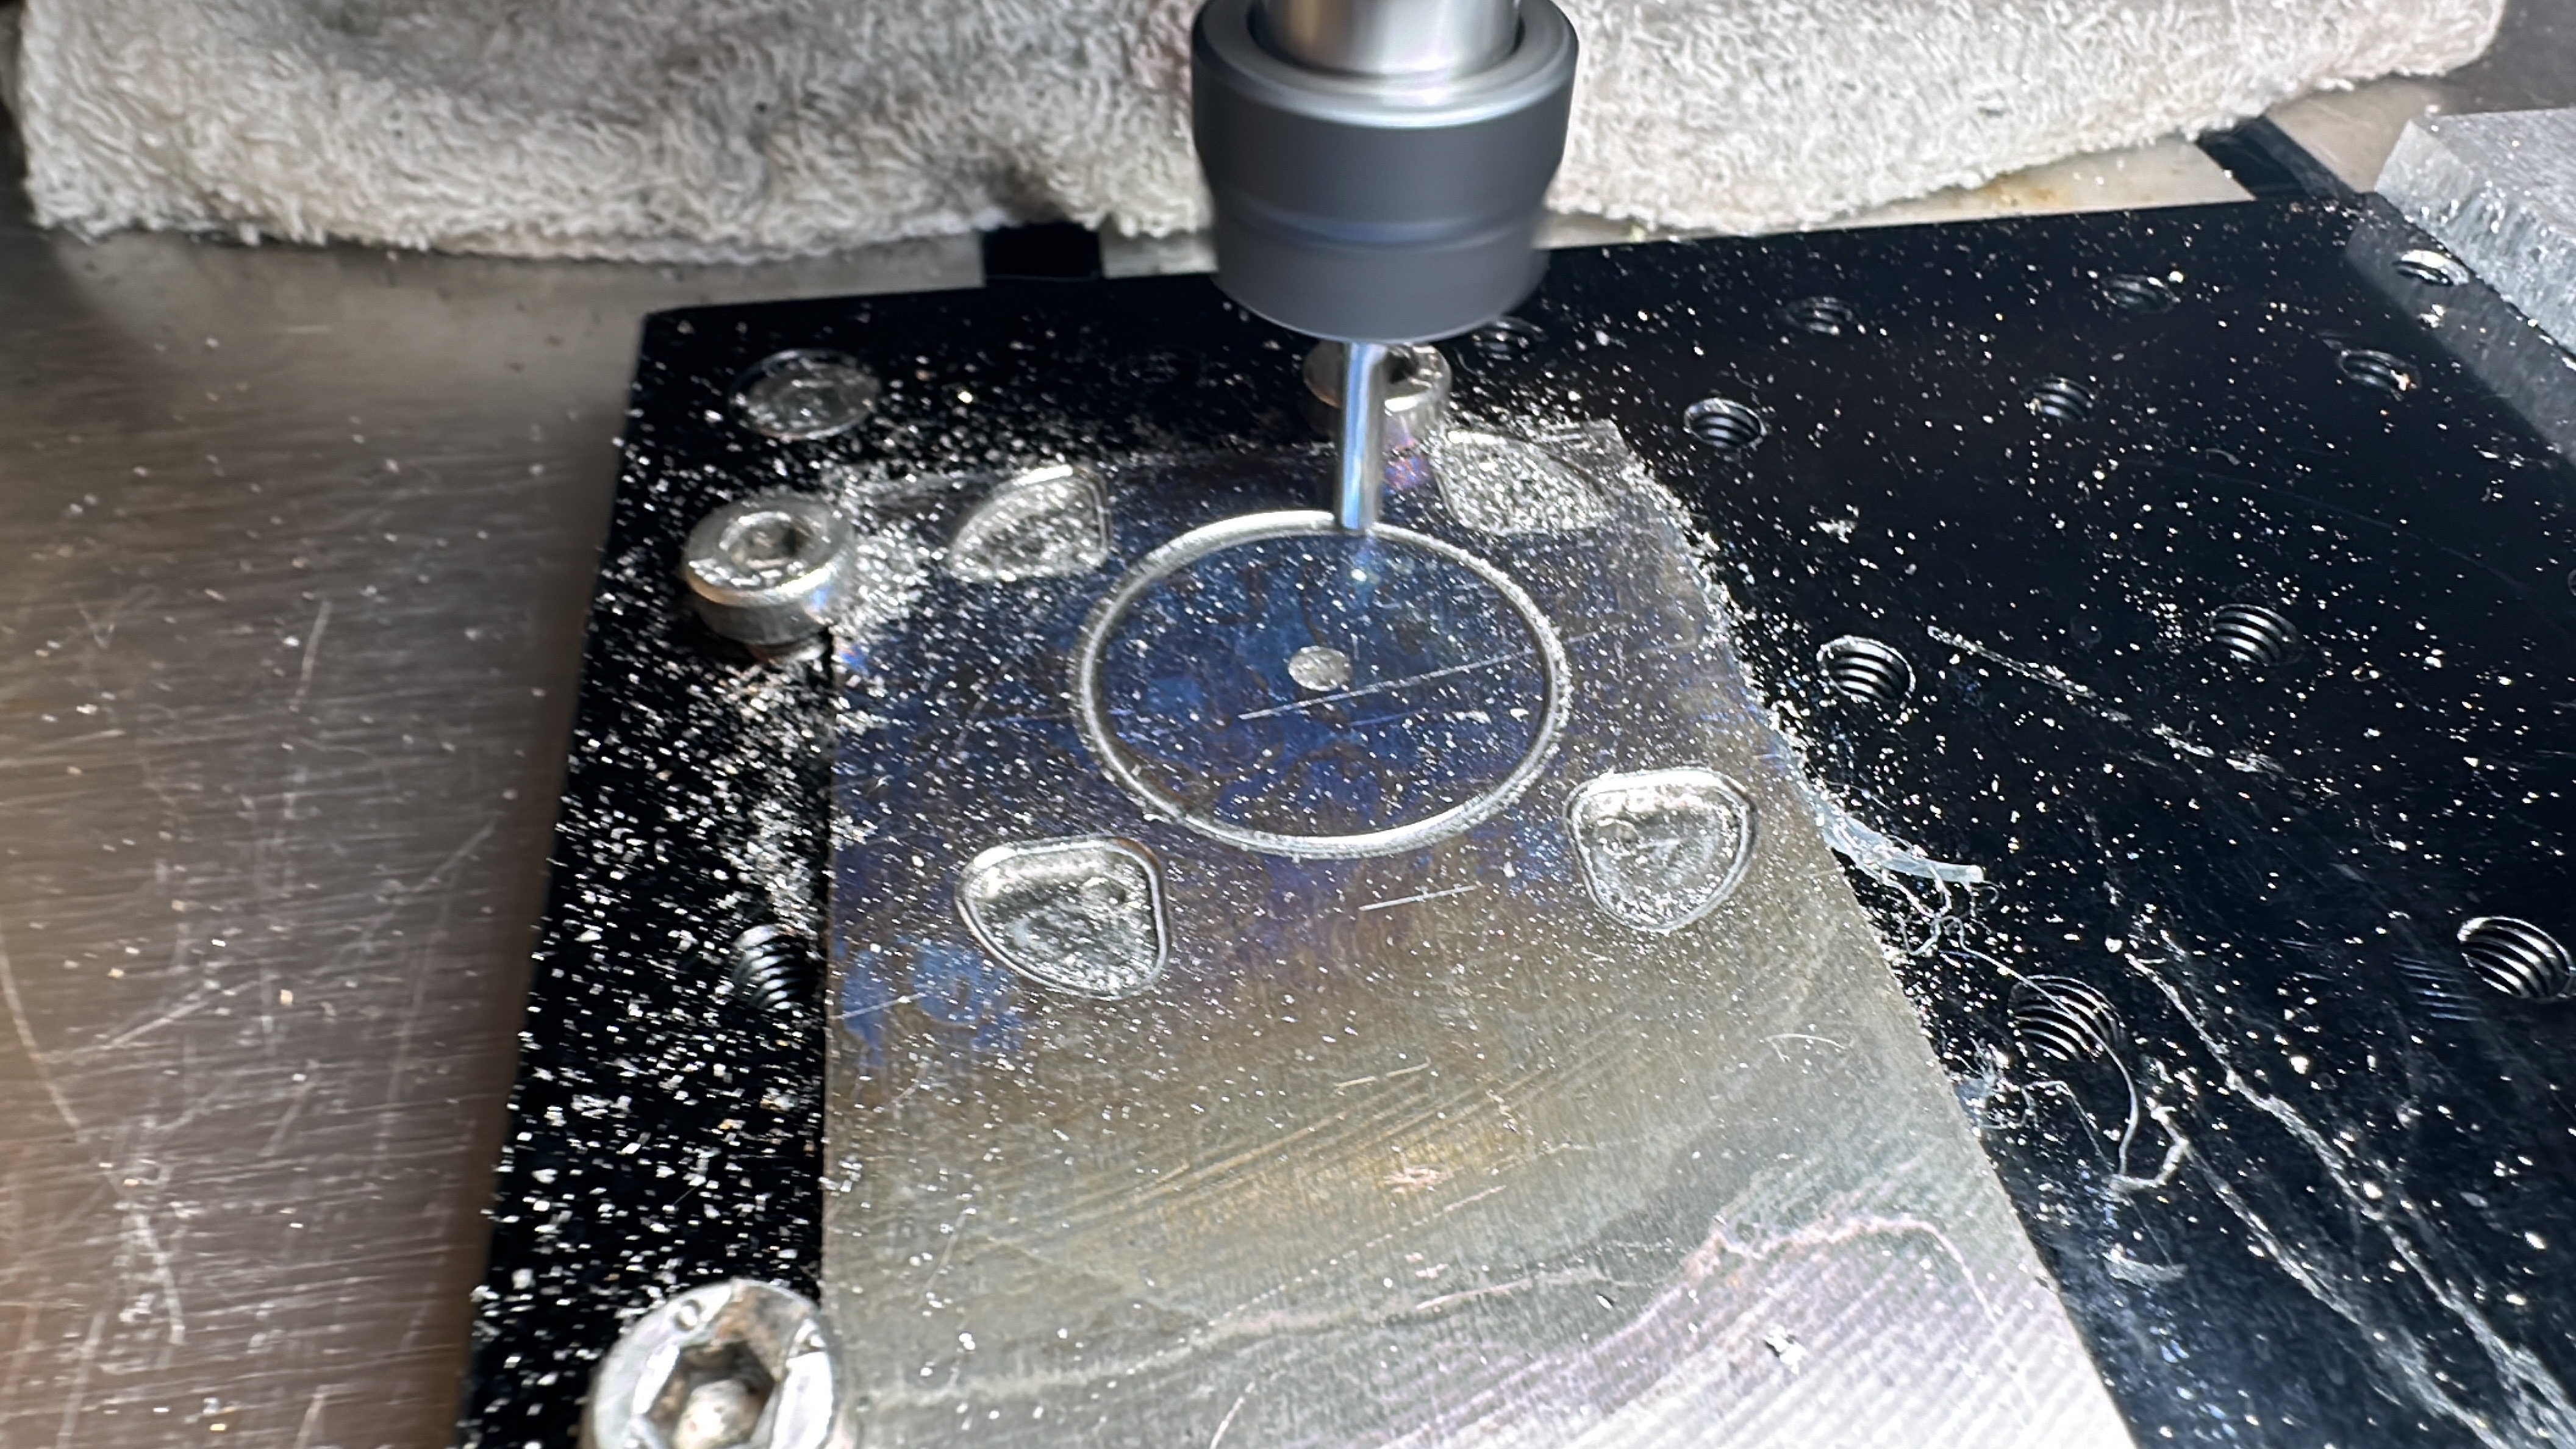
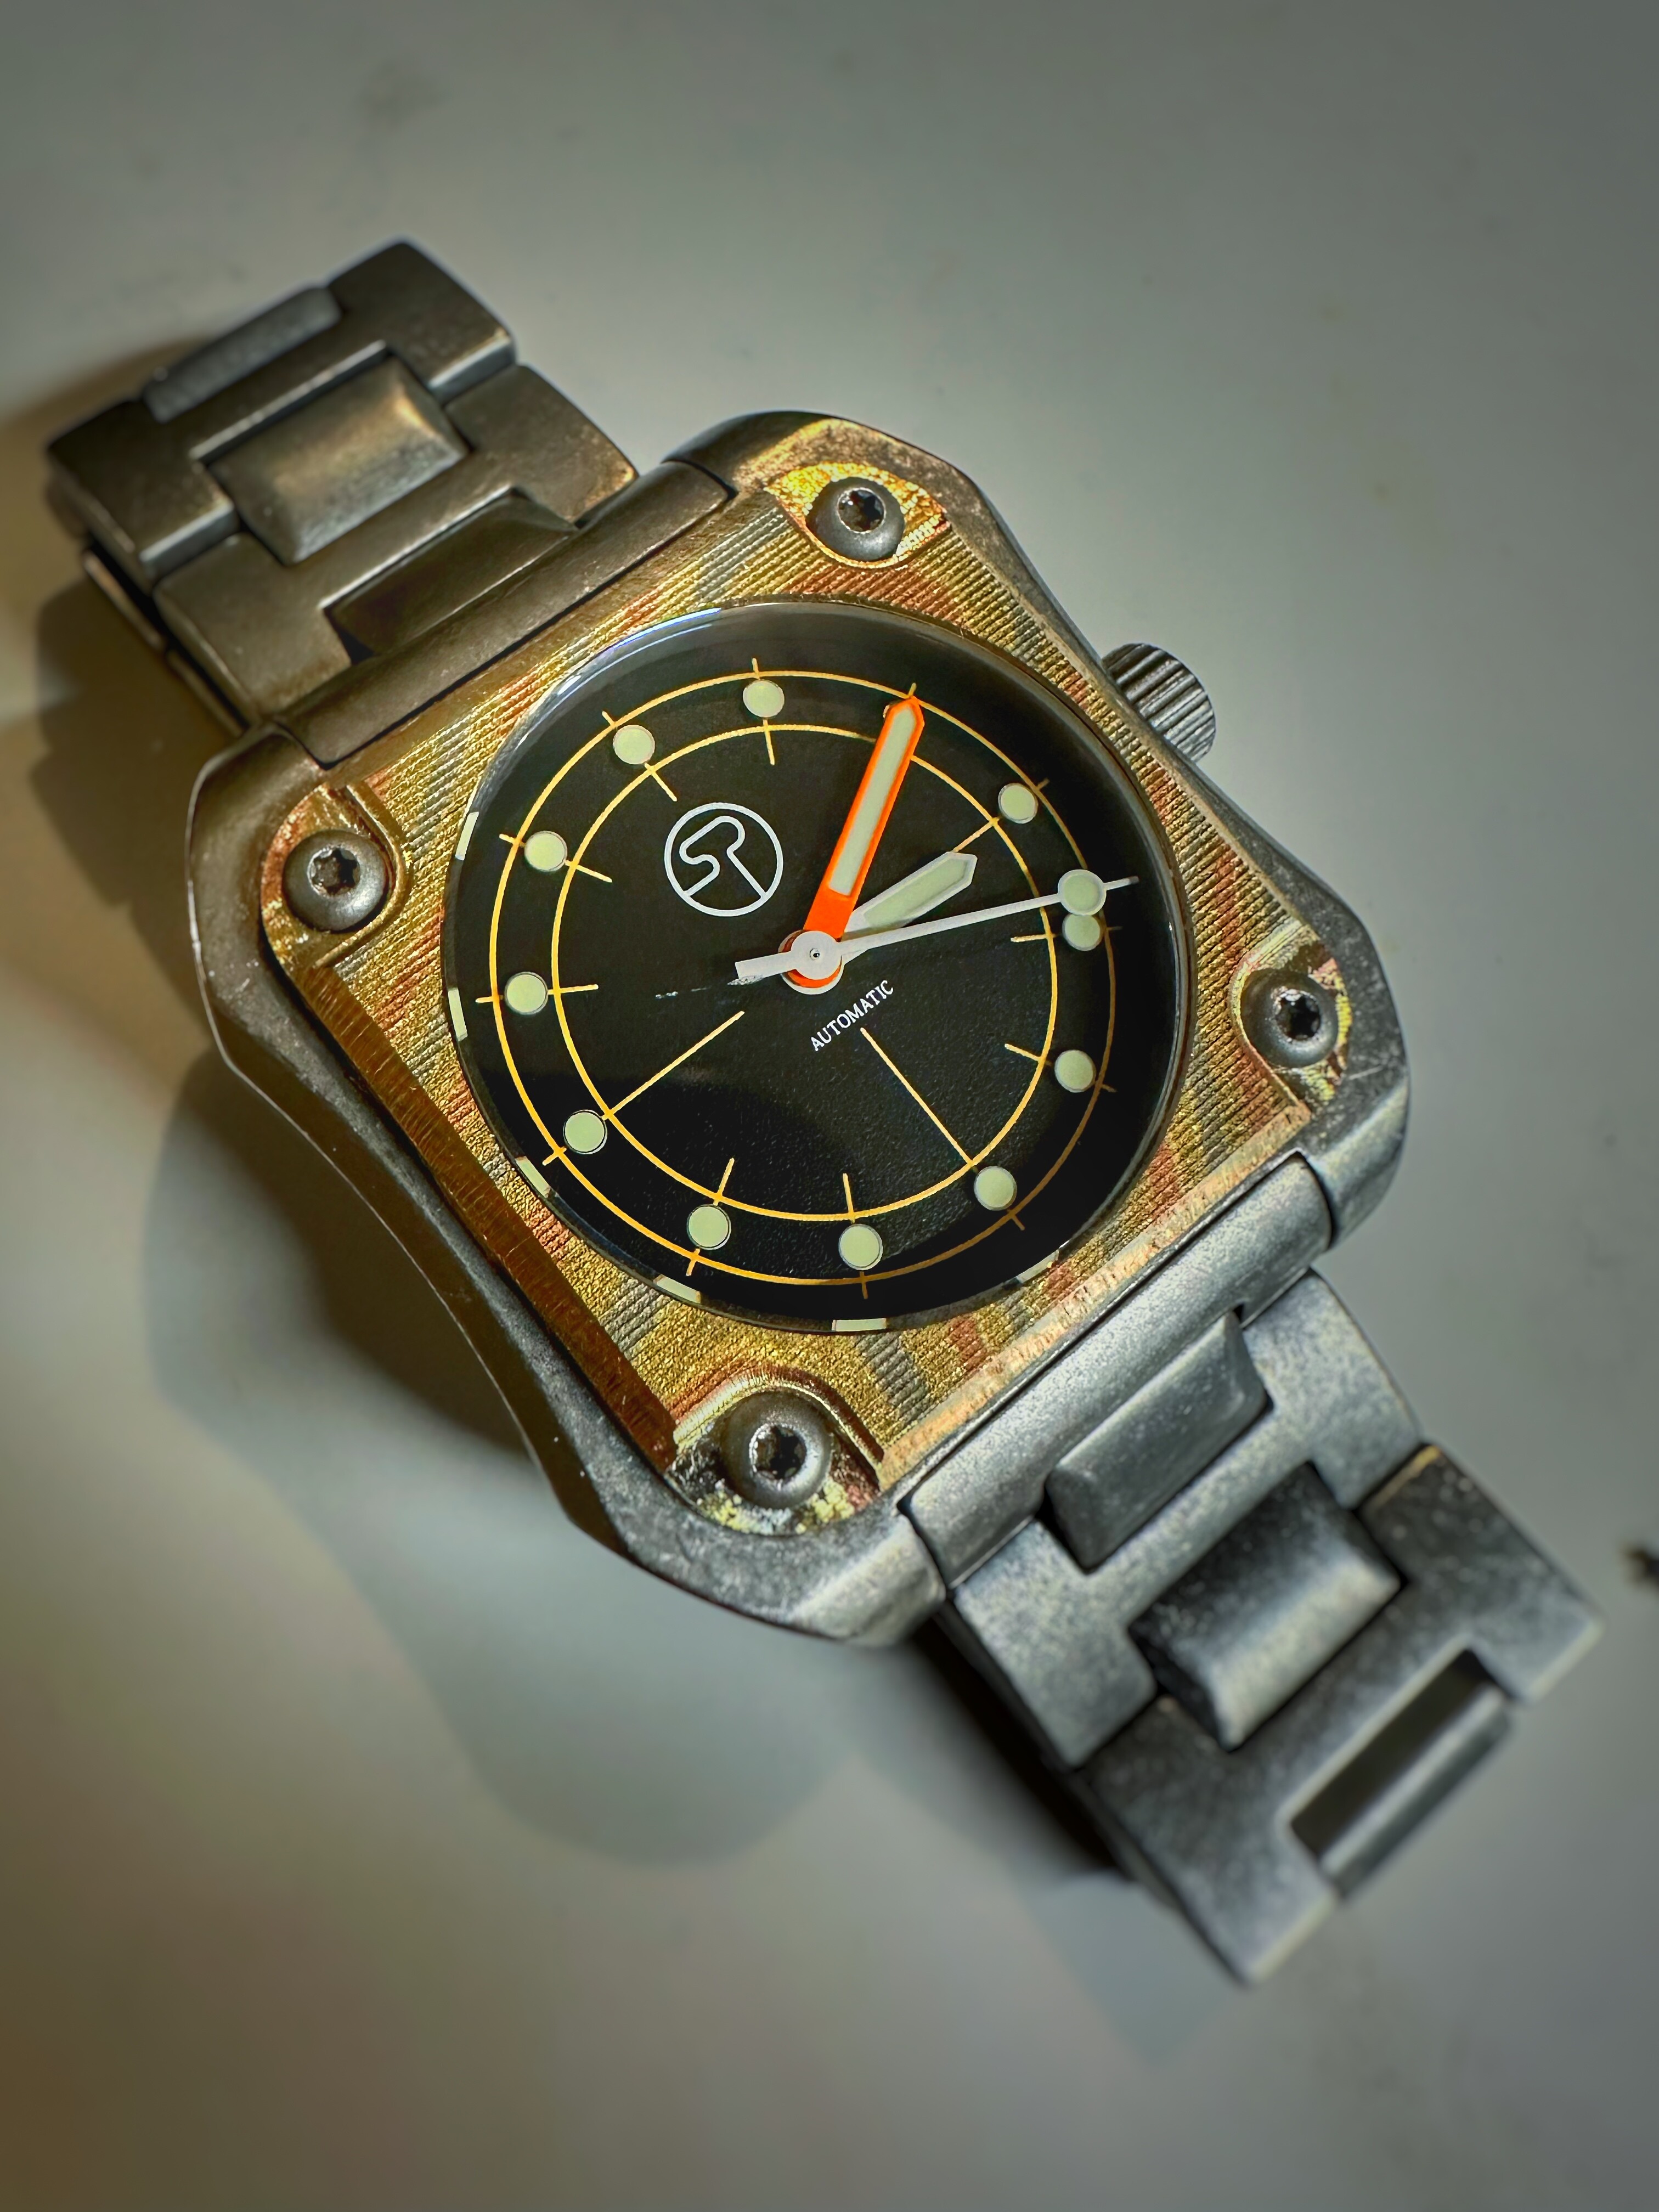
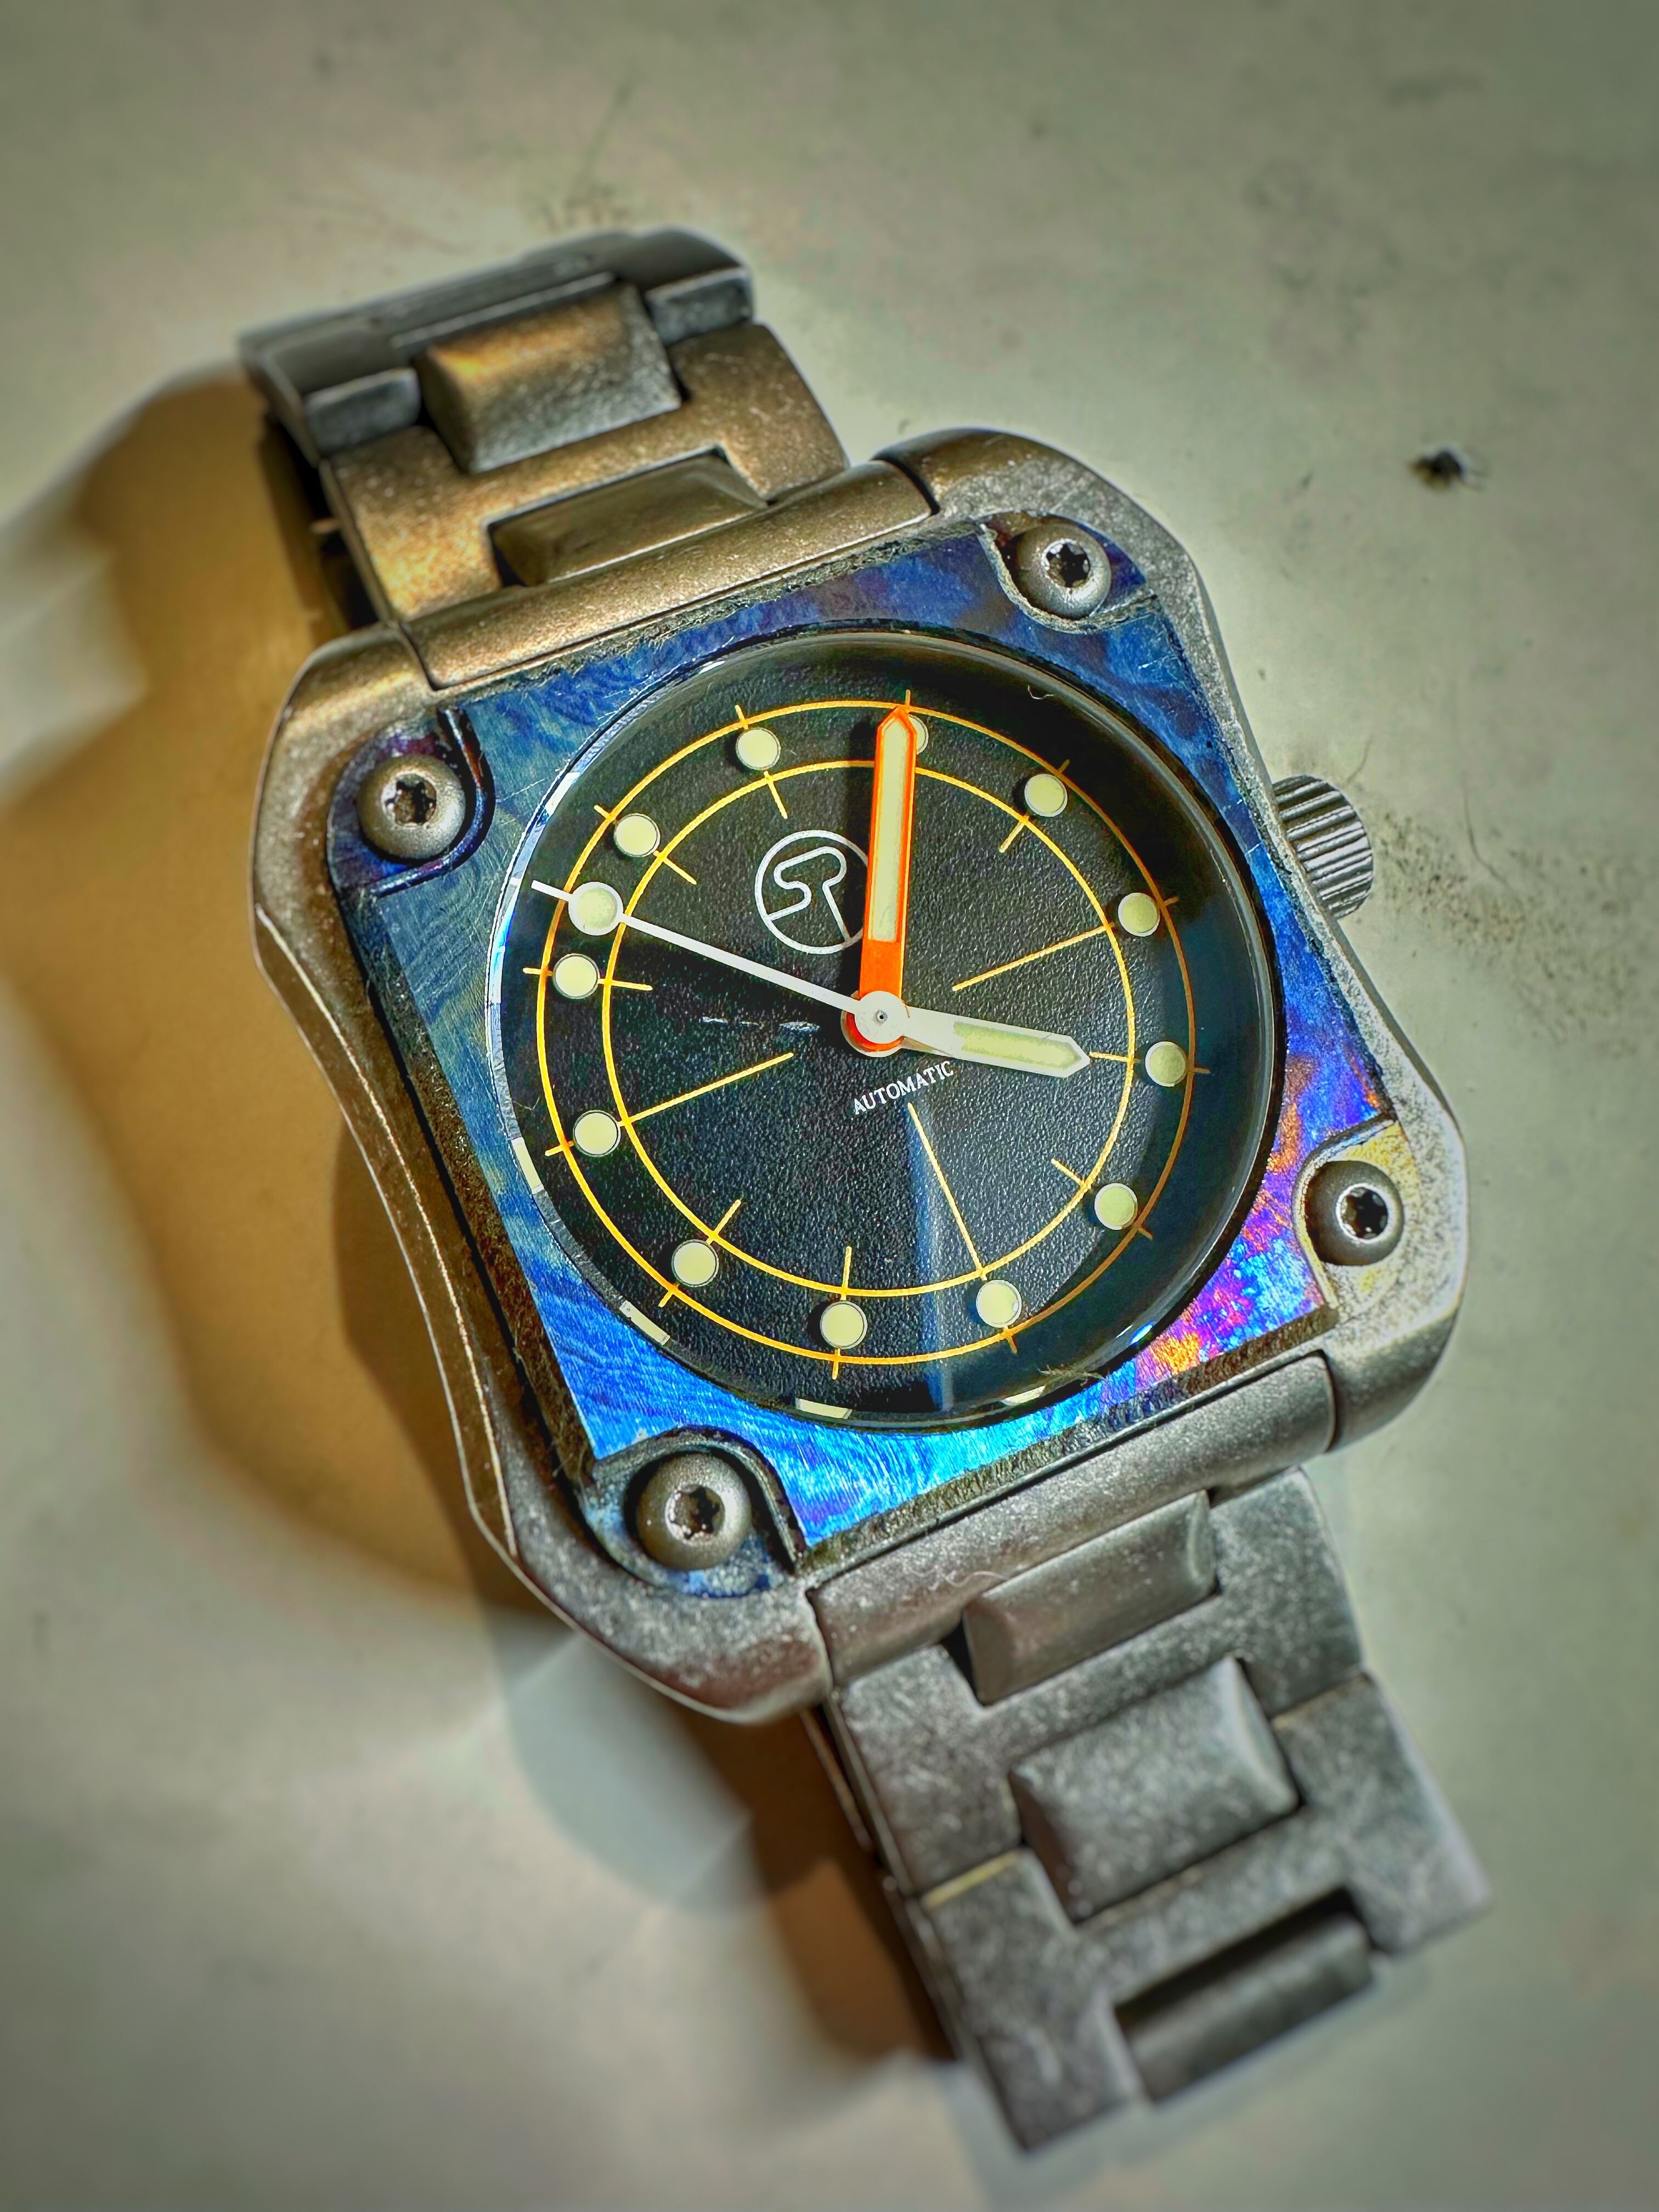
Spent some time chewing through some mokume gane and timascus stock to keep producing parts for this watch I own. I had to conjure up a new way of work holding so that I could readily replicate the part. The copper/brass/nickel that is the layered mokume cut fairly cleanly. I used some Pepelube on each bit after changing tools and it cut fairly smooth from there.
I tried making a pool of coolant for the titanium but the tool just tossed all the coolant out of the pool and I found a spray bottle with coolant that got spritzed on every so often worked just fine.
We’ve also found the occasional spritz of coolant to work well. If you can get just a little air into the cutting area, that seems to help with chip evacuation too.
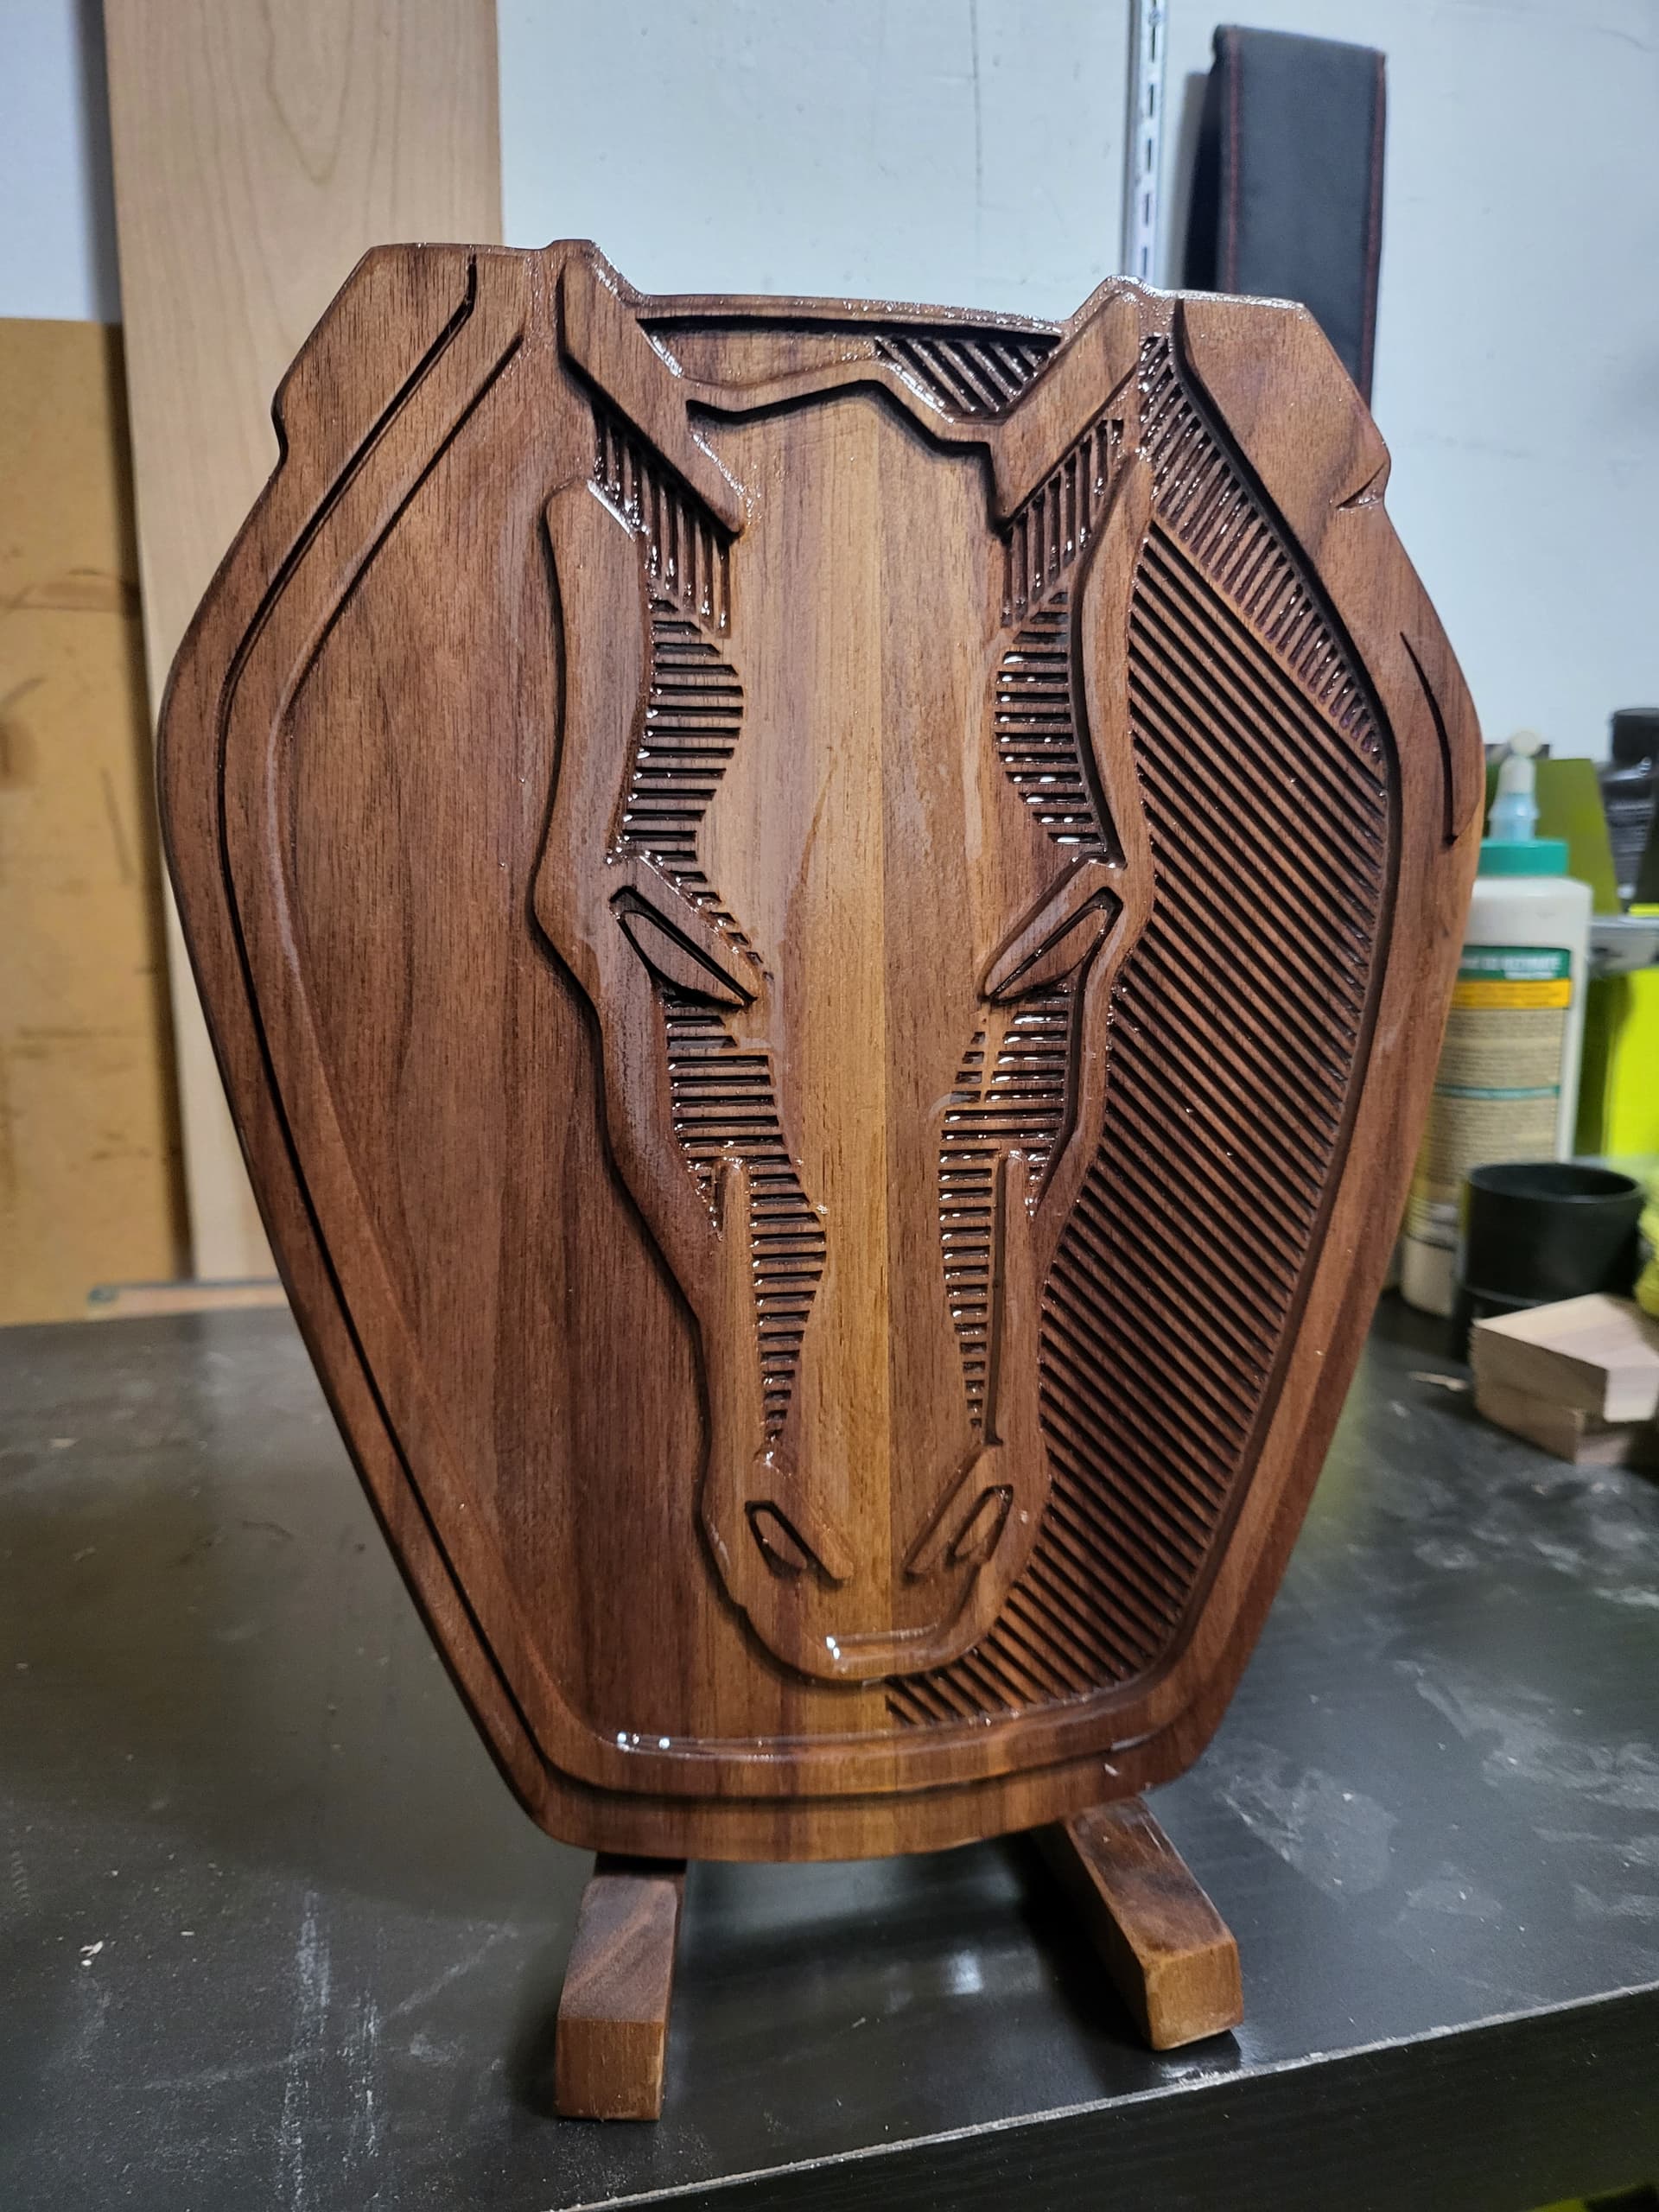
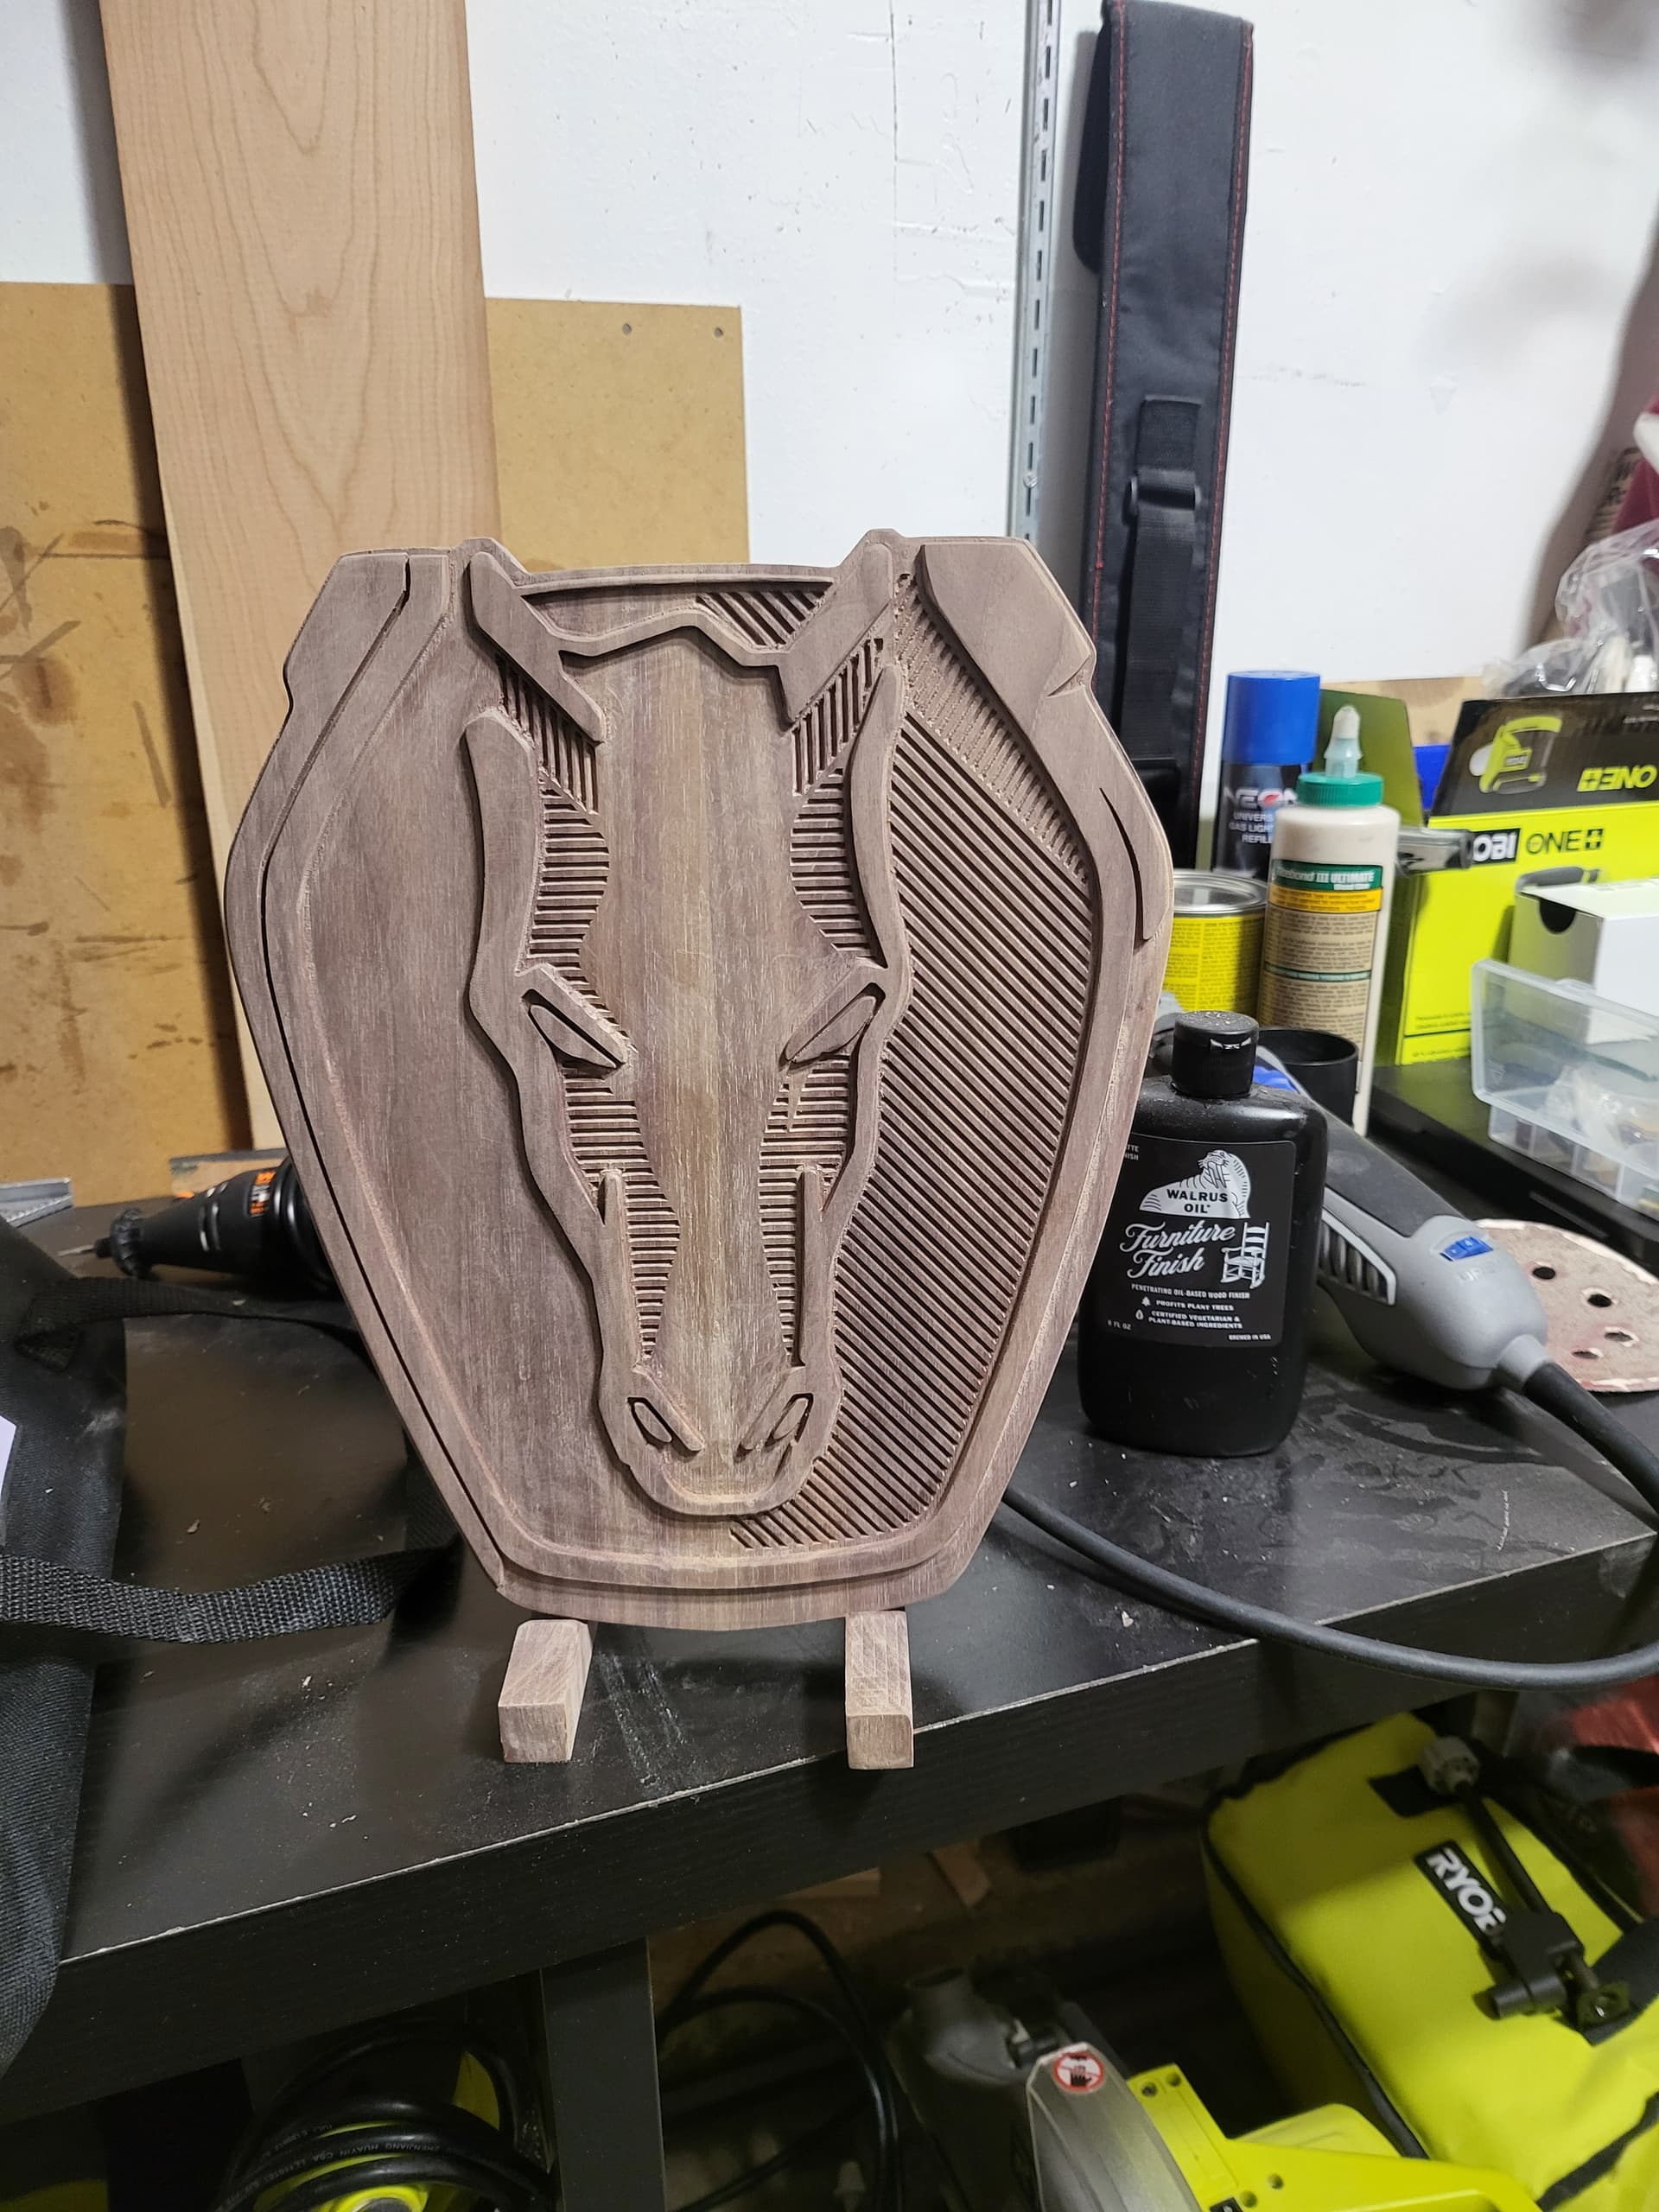
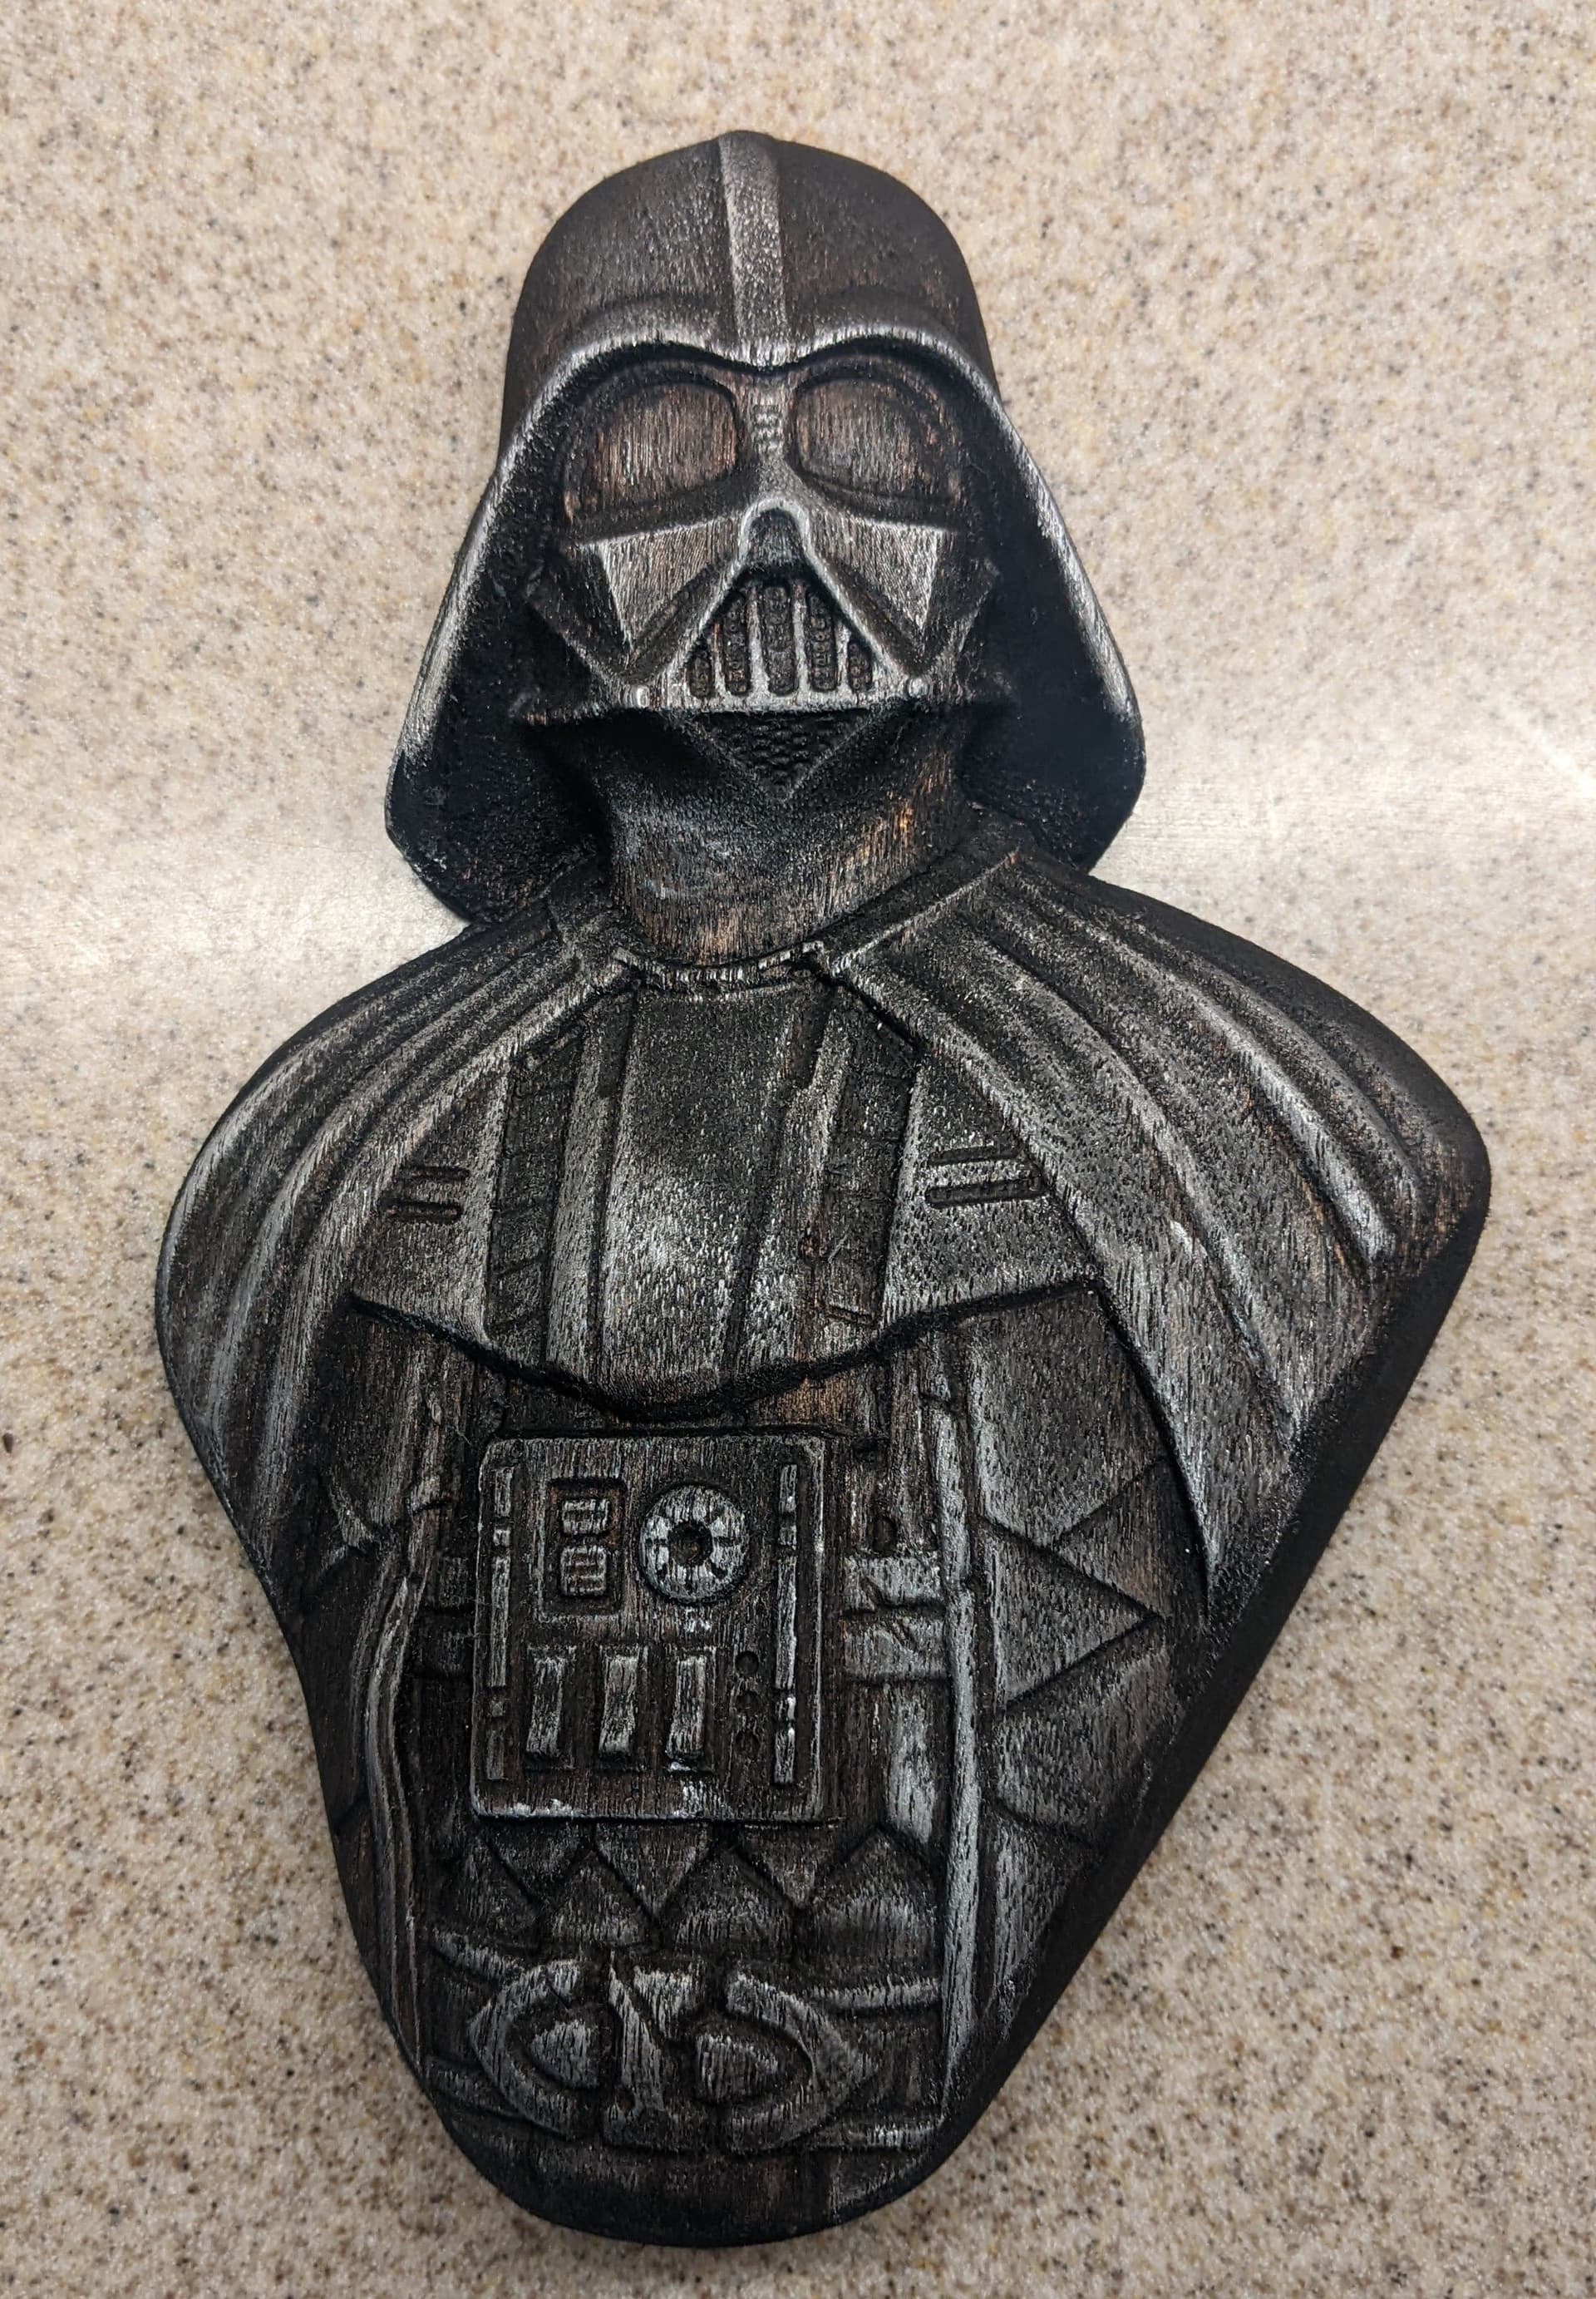
I found an stl file of Darth Vader on: Darth Vader bust (fan art) by Eastman3D - Thingiverse
This project was done on mahogany. I used black stain and then highlighted with silver Rub and Buff. I still need to add laquer. I’m happy with how it turned out.
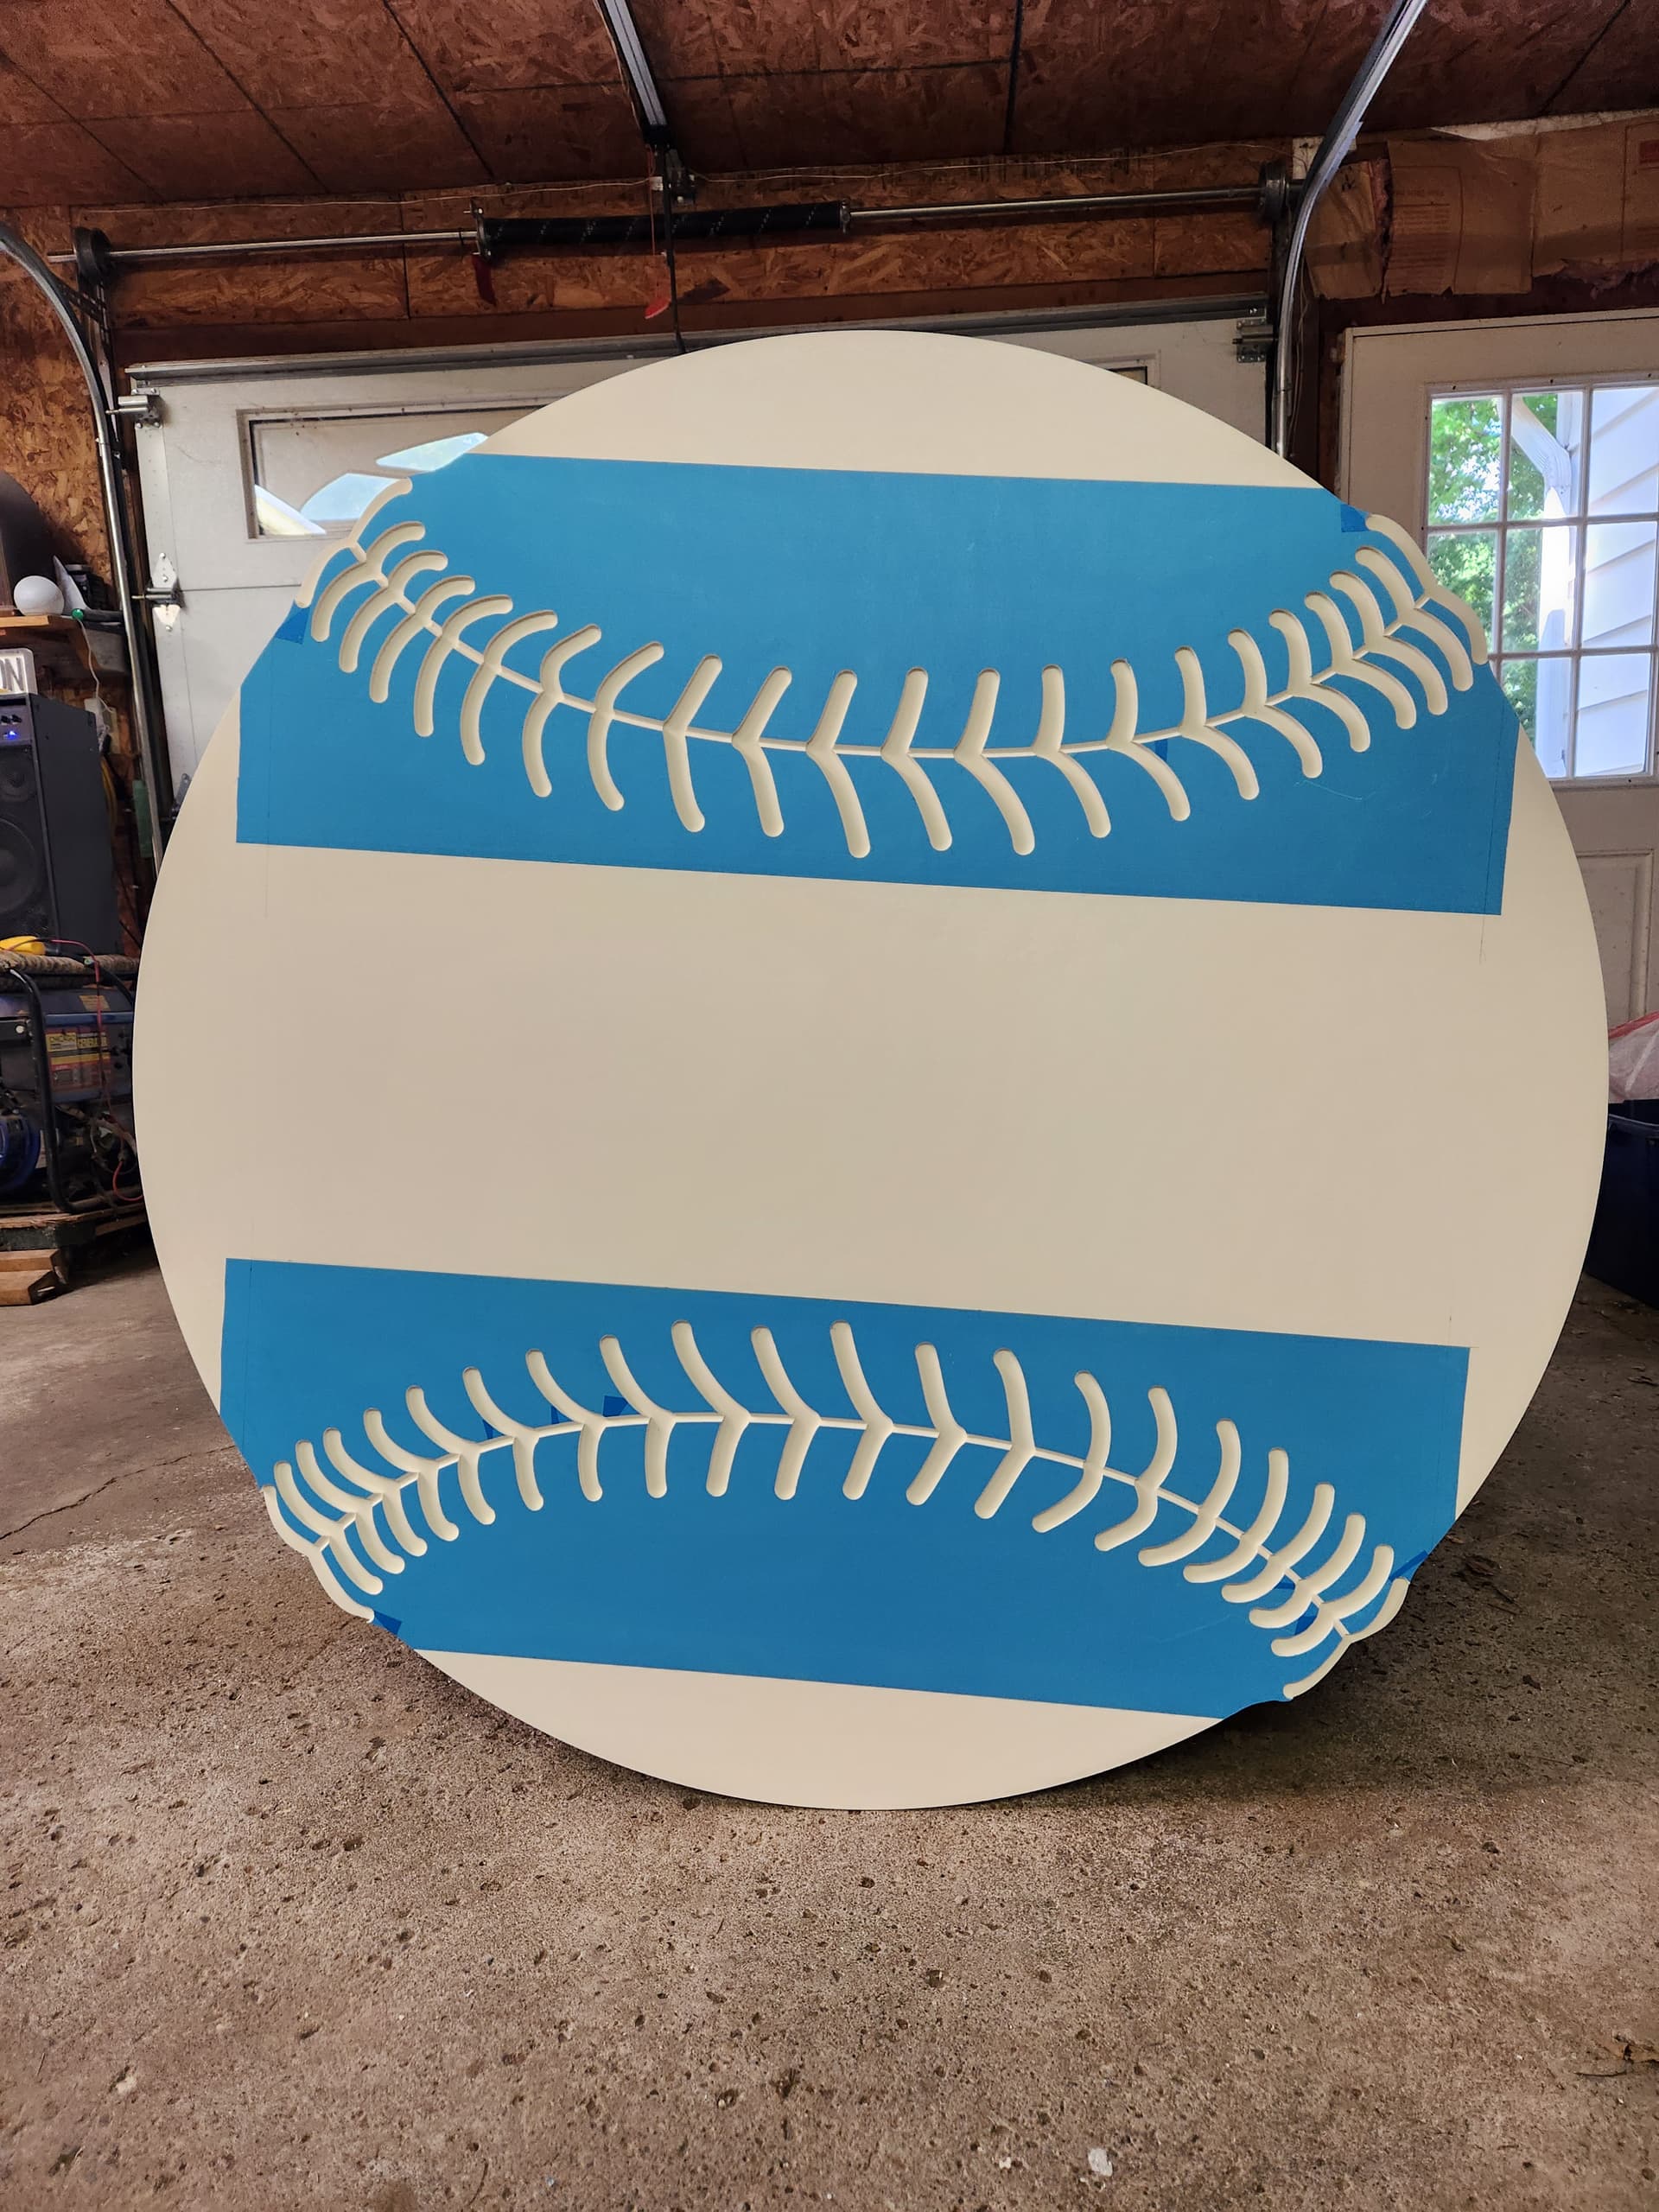
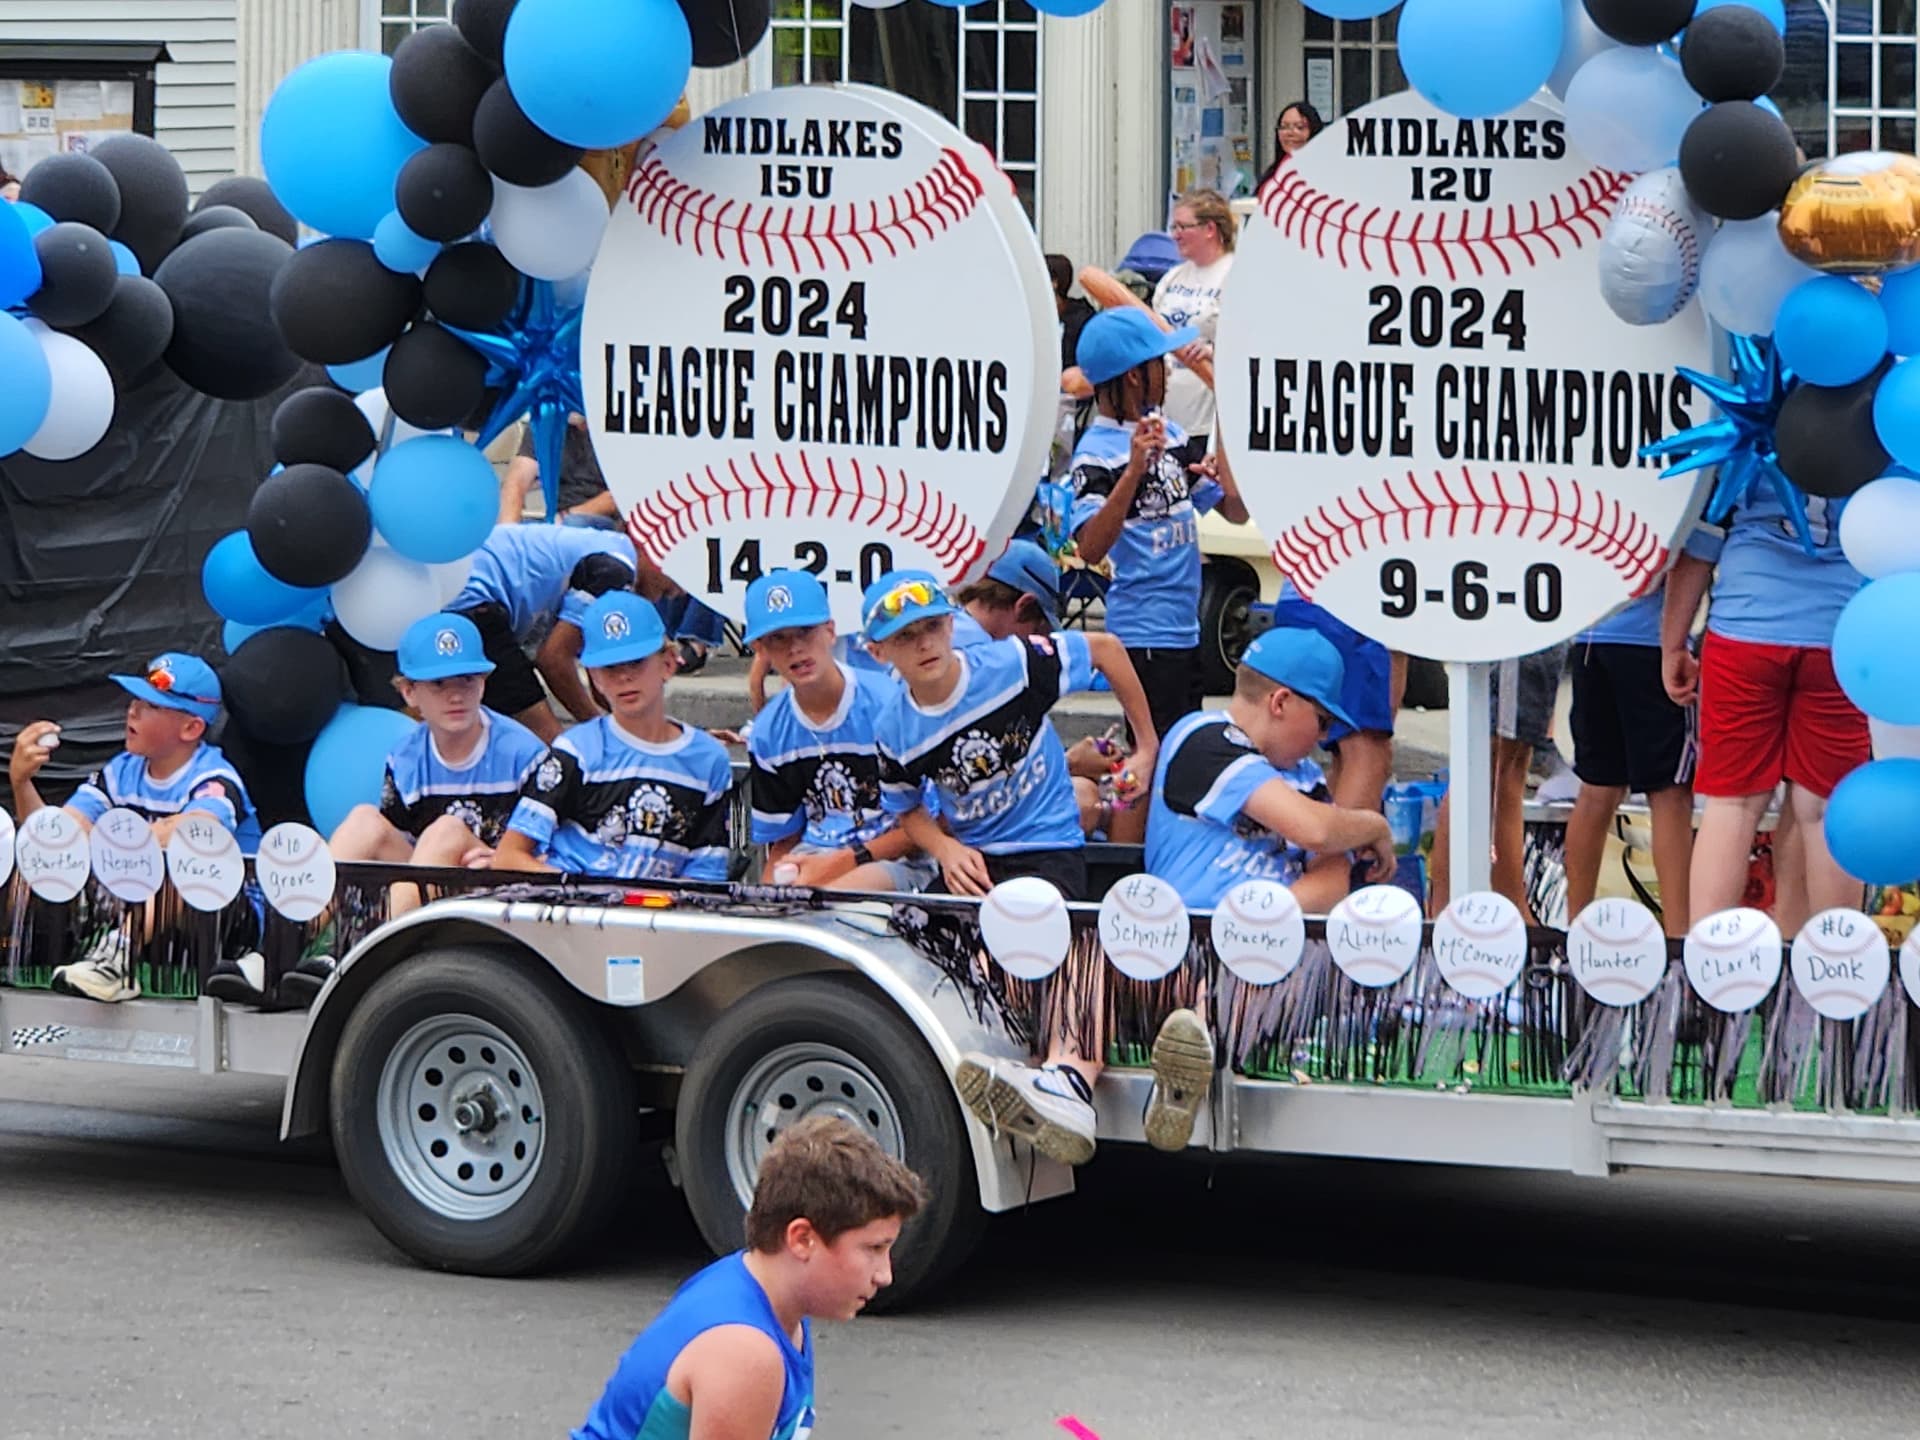
My neighbor’s child was part of a Babe Ruth baseball team that took first place this year, located in a small rural town in Upstate NY. The town has a parade the first week of August and the teams wanted to run a float in the parade. My neighbor asked that I make four 46" baseballs that they would then add text graphics on.
Nothing like living in a small town. I used to live in Houston, TX and do not miss living in a big city. My city has a population of 734 and I love it. I personally know my DPS Troopers and my constable. When I lived in Houston (Kingwood) I did not know any of the Law Enforcement personnel.
It is like the Jason Aldean song “Try that in a small town”.
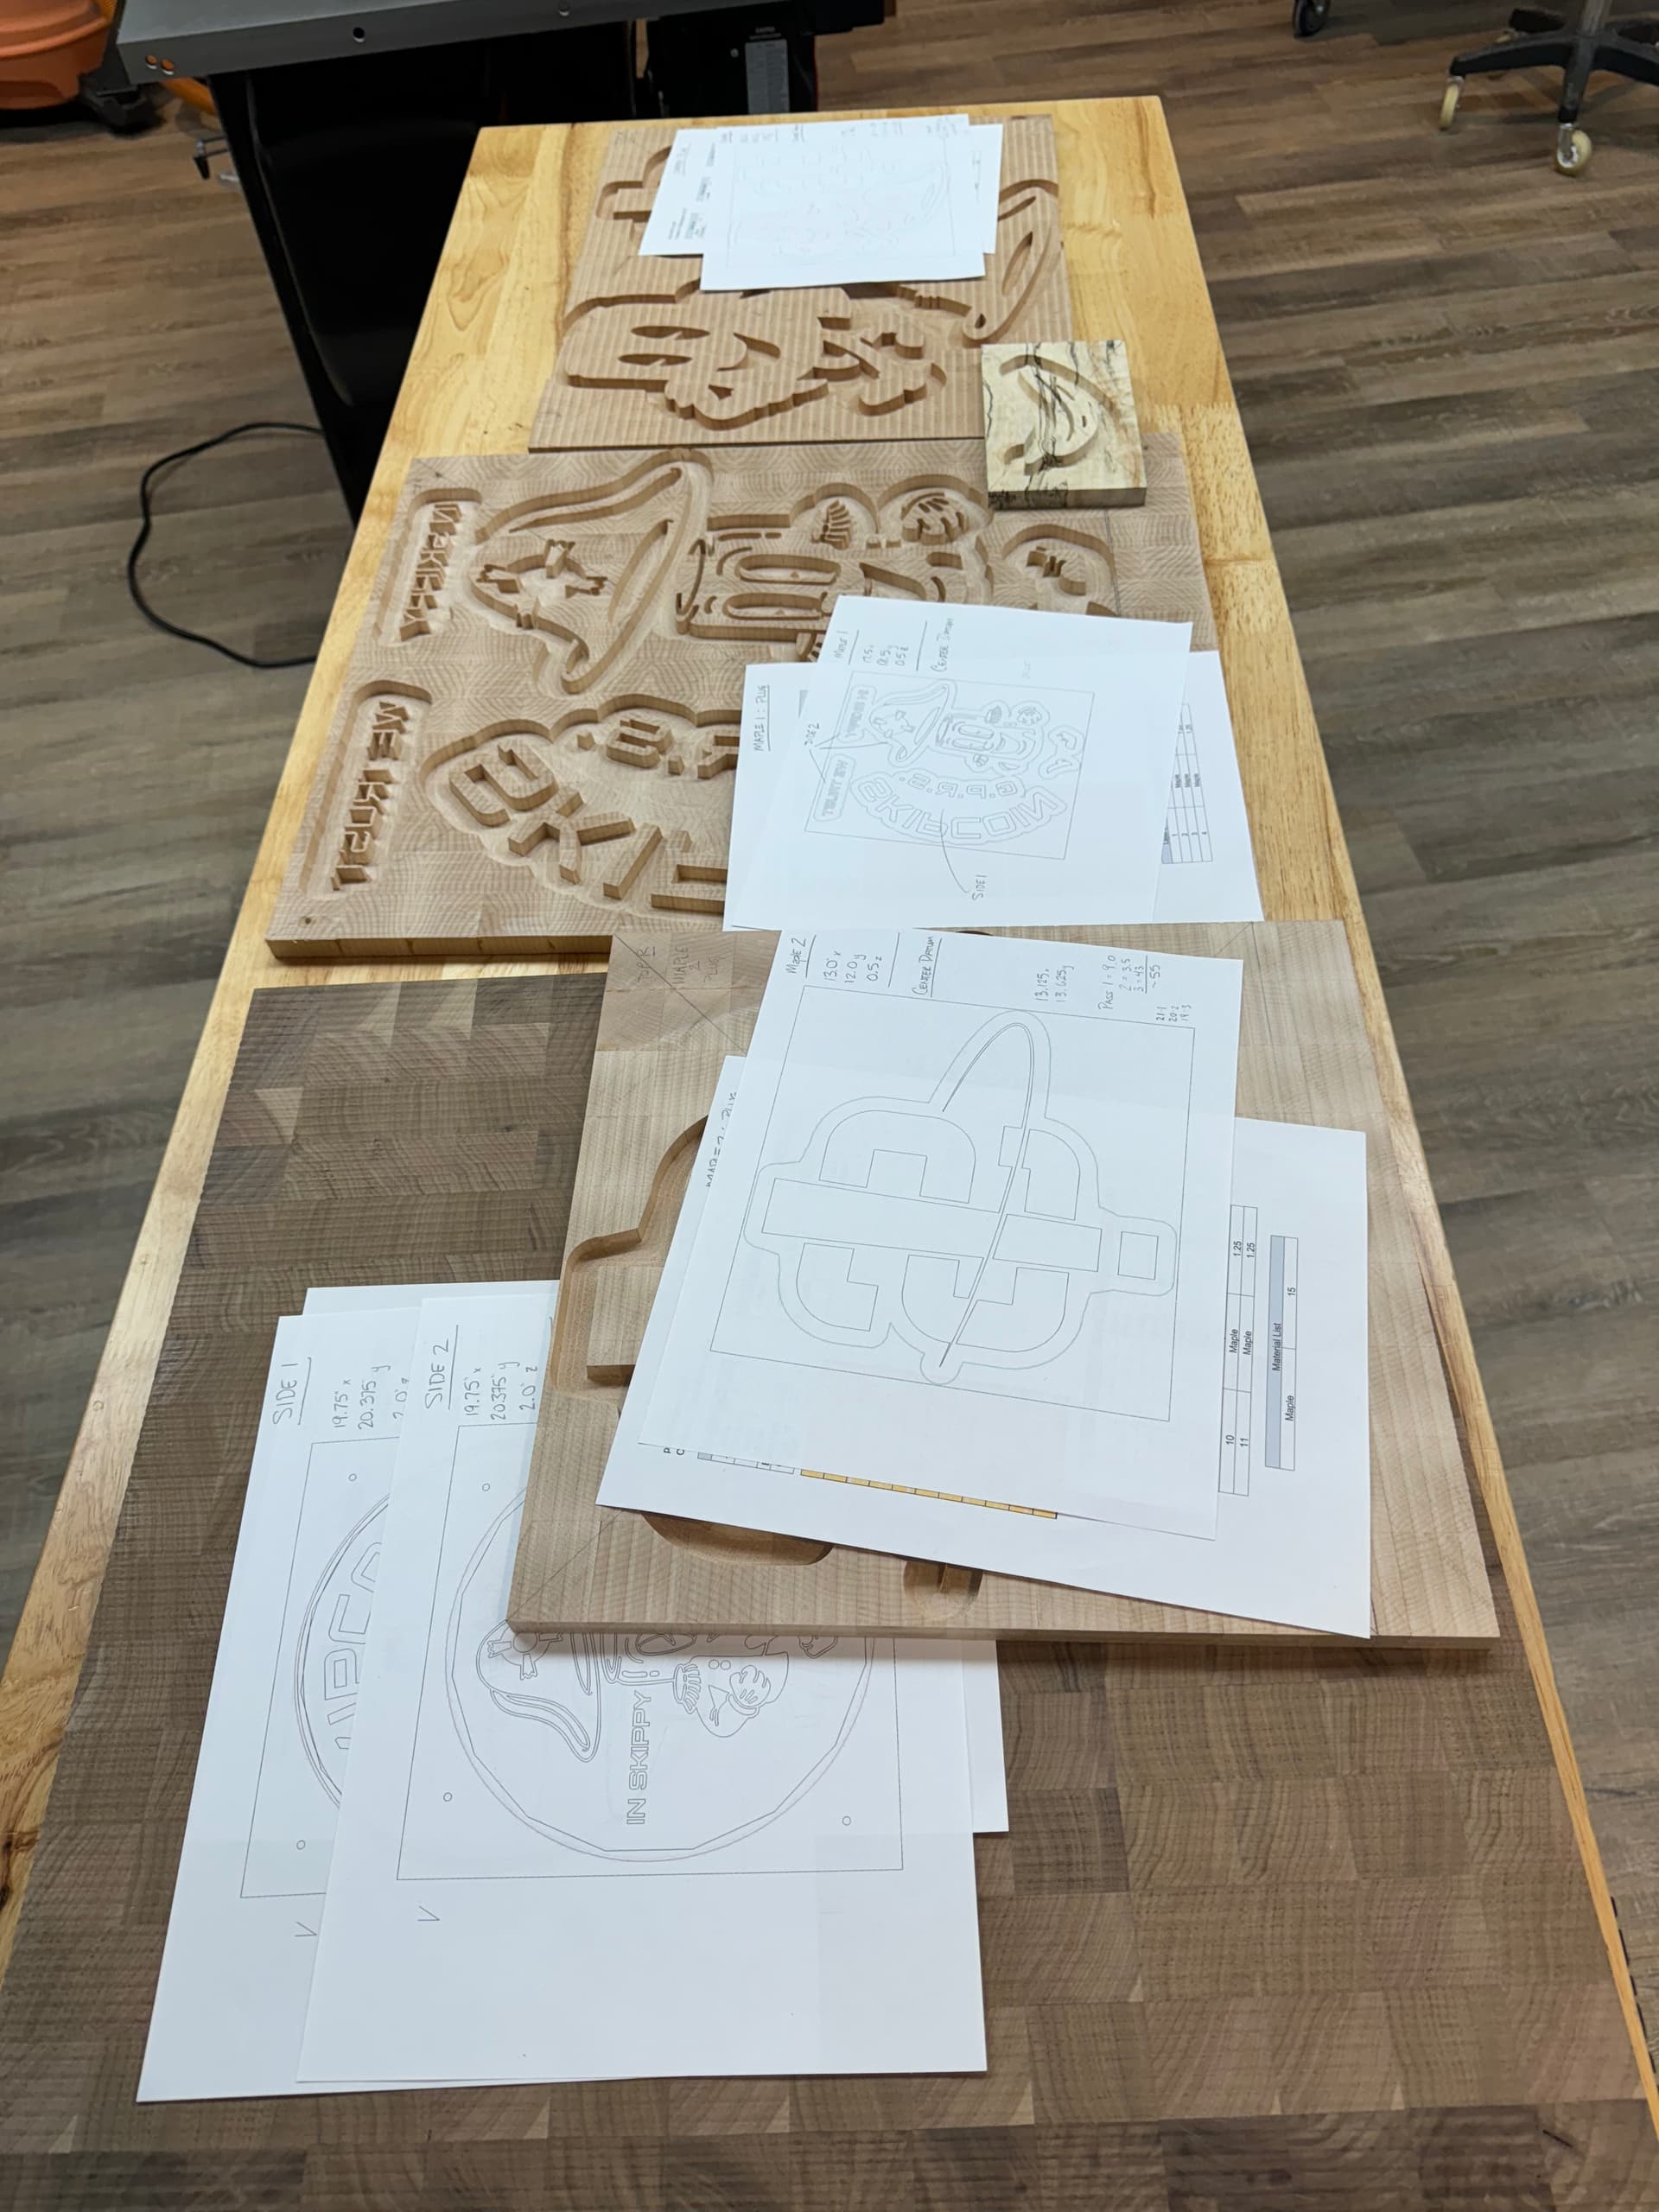
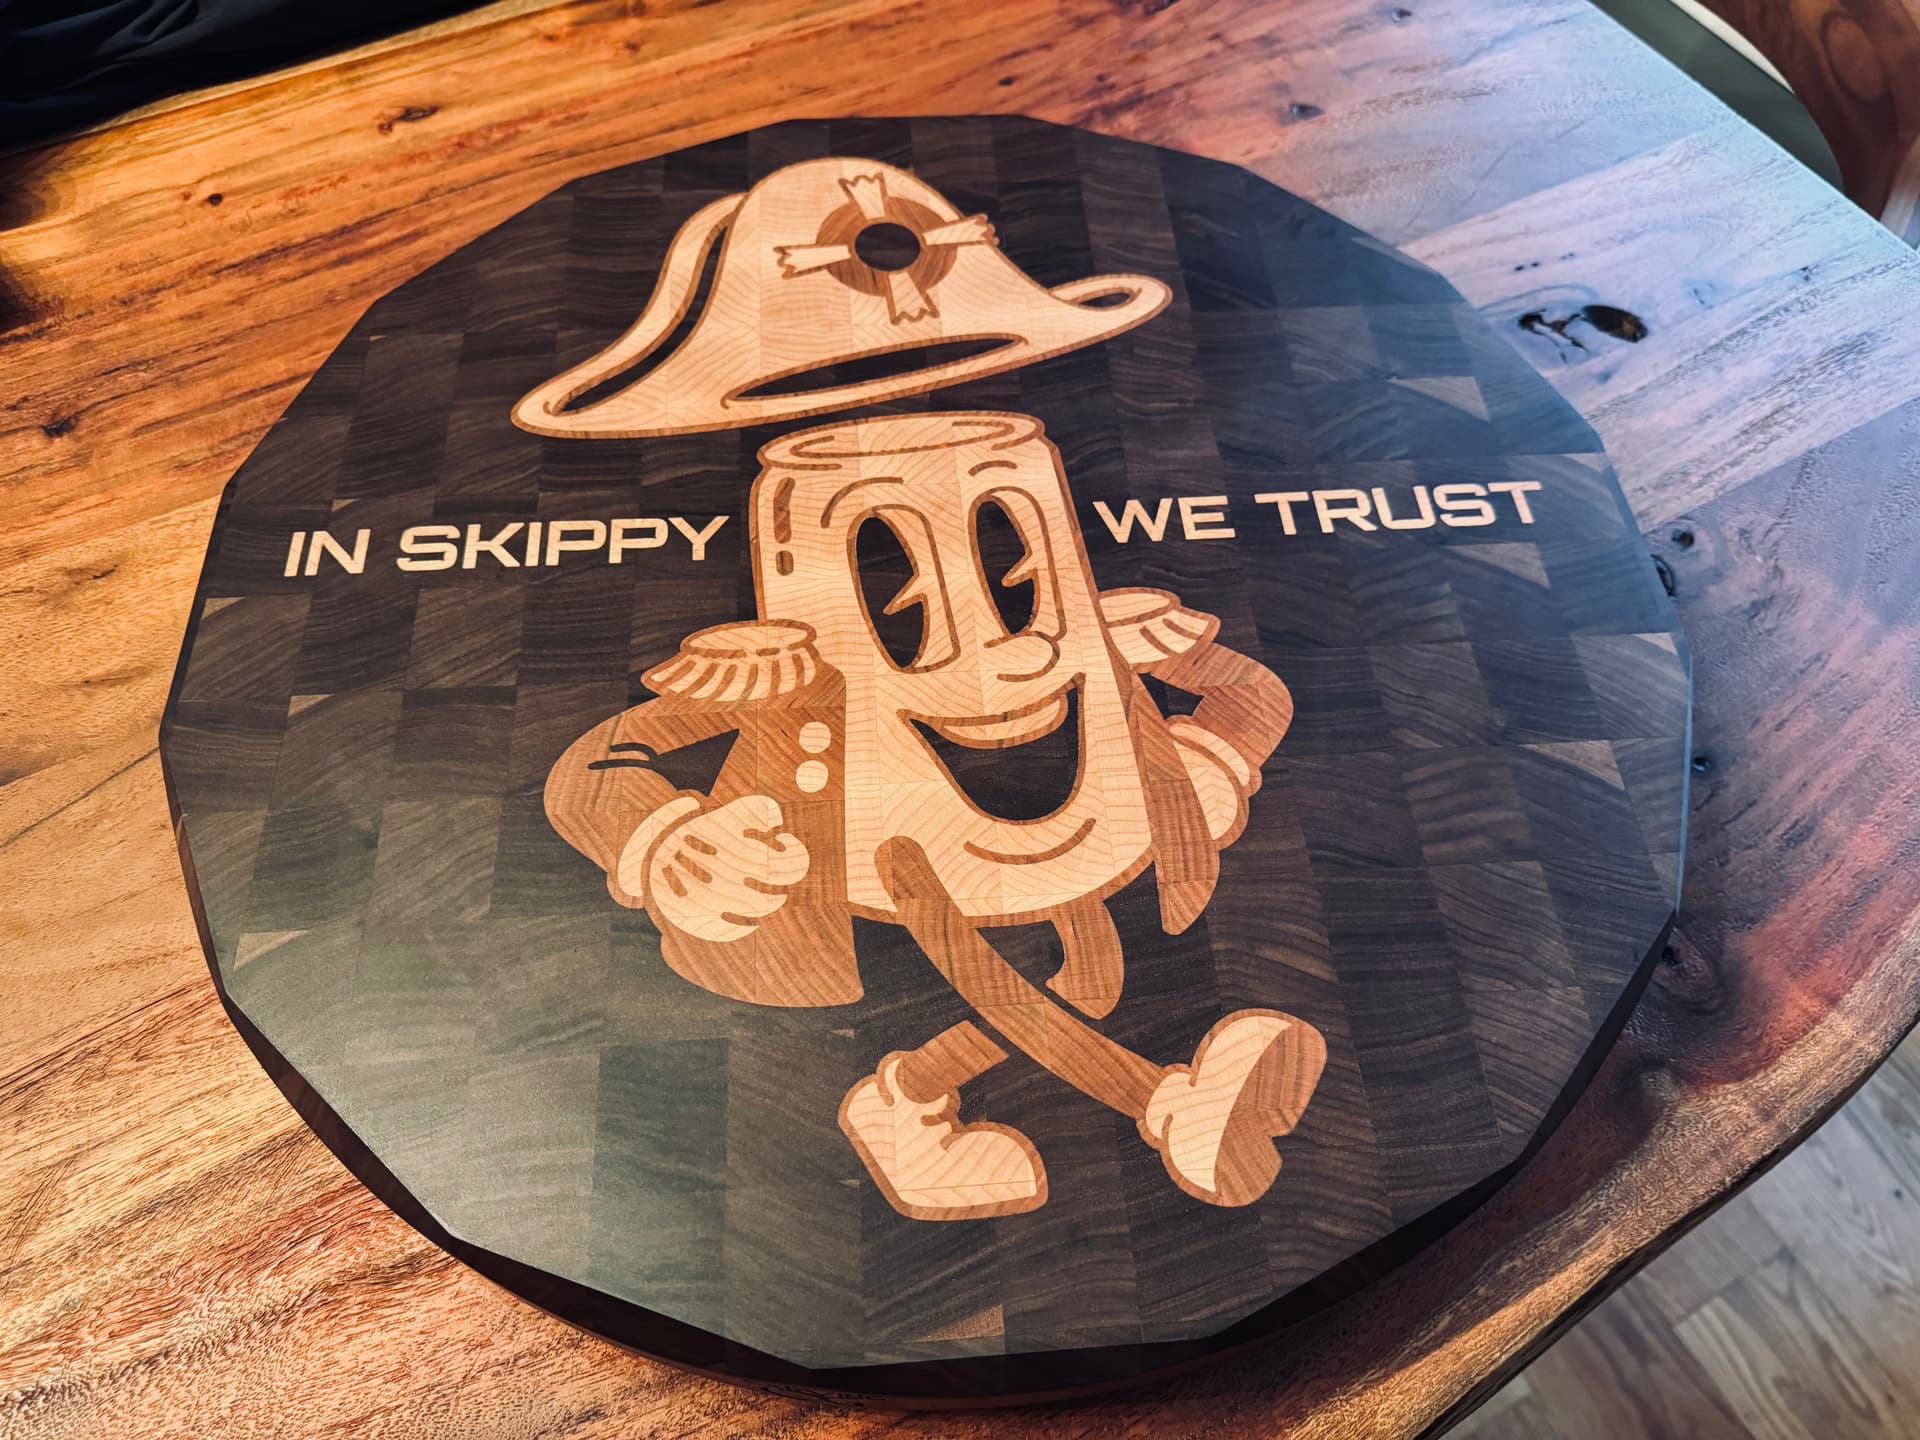
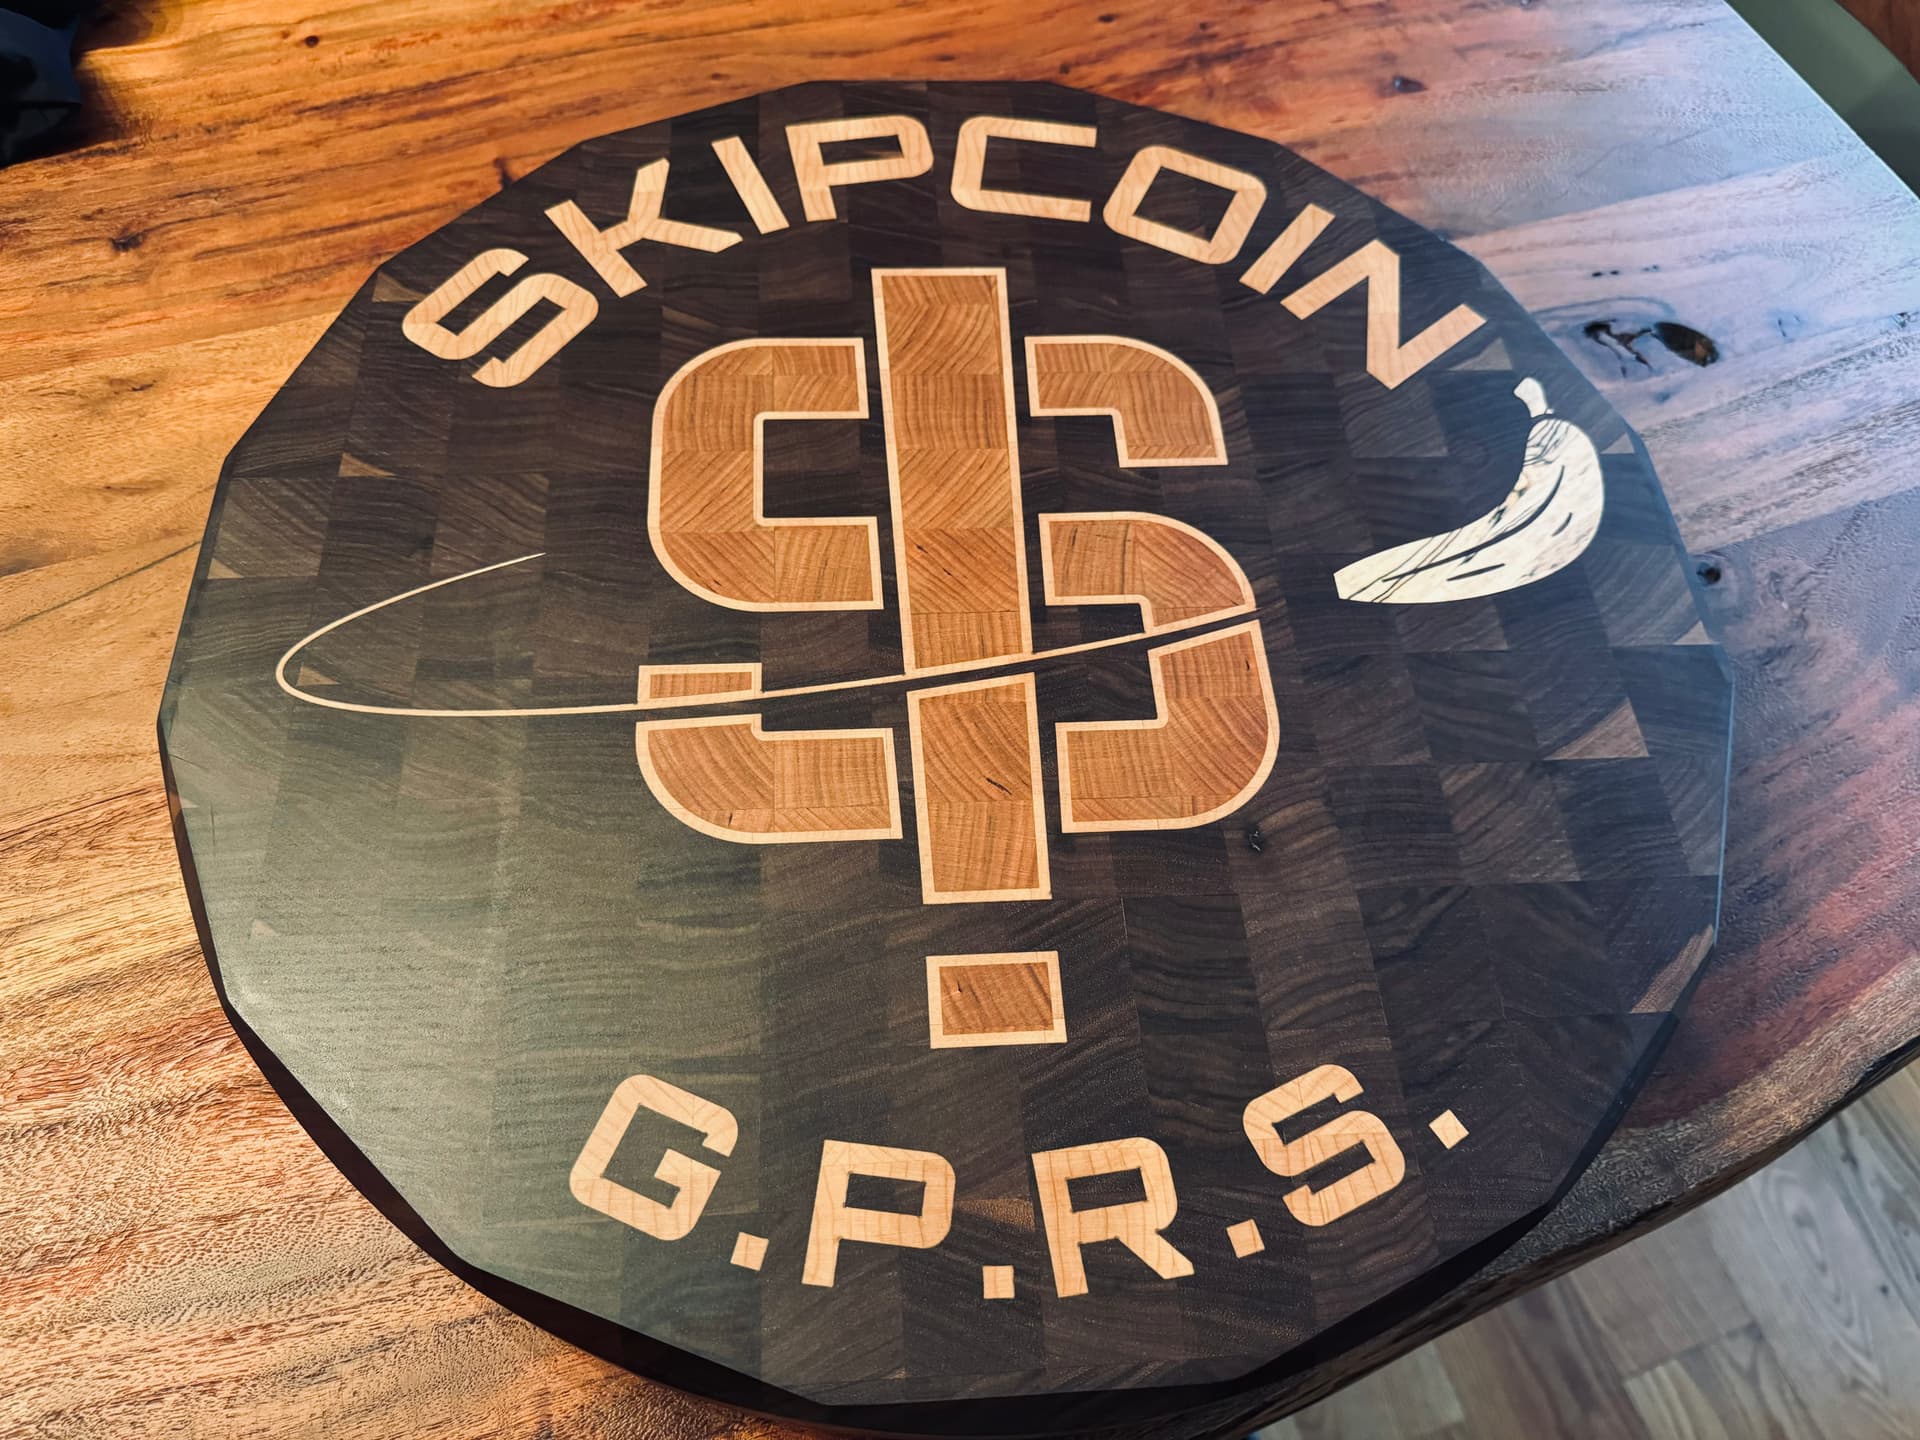
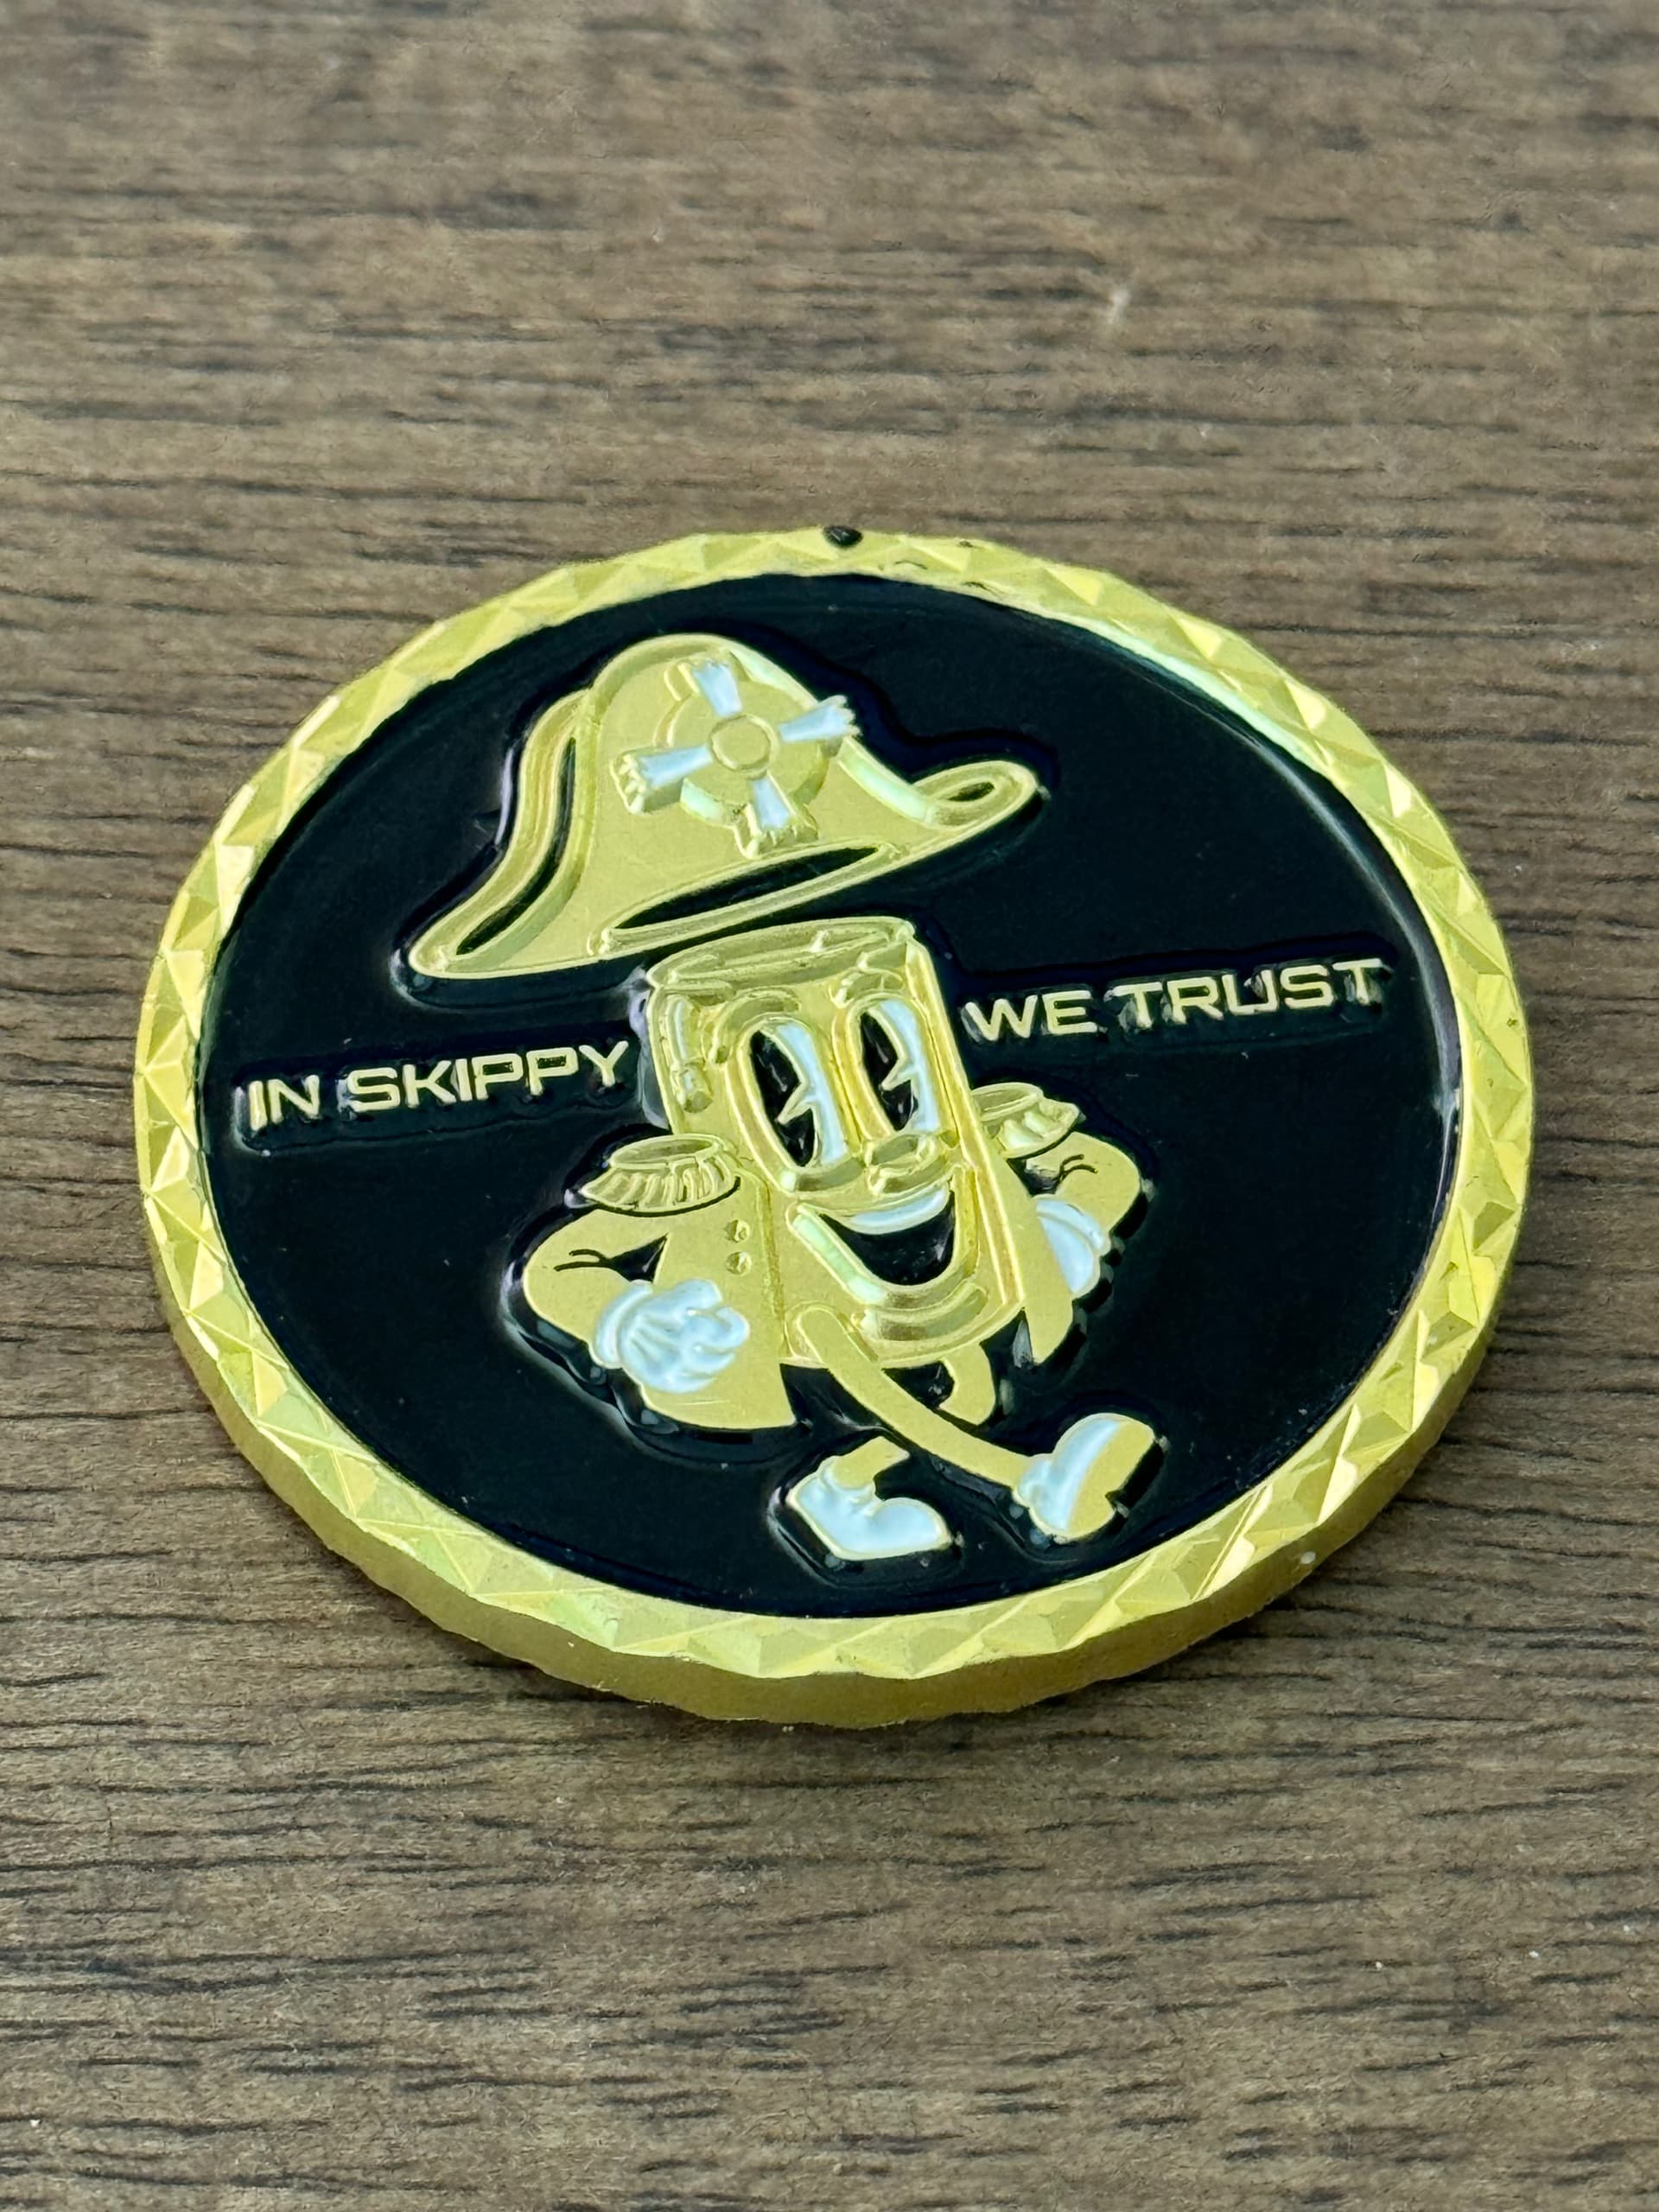
Made a SkipCoin cutting board for Craig Alanson (author of the Expeditionary Force series). Walnut, maple, cherry, and banana of spalted maple… Craig ran a charity event where he introduced the concept of Skipcoin which is based on one of the main characters in his book series and was (obviously) a play on Bitcoin. Event was wildly successful so I made Craig a cutting board commemorating Skipcoin.
Nice. It appears from the first image you did straight sided inlay versus v-carving?
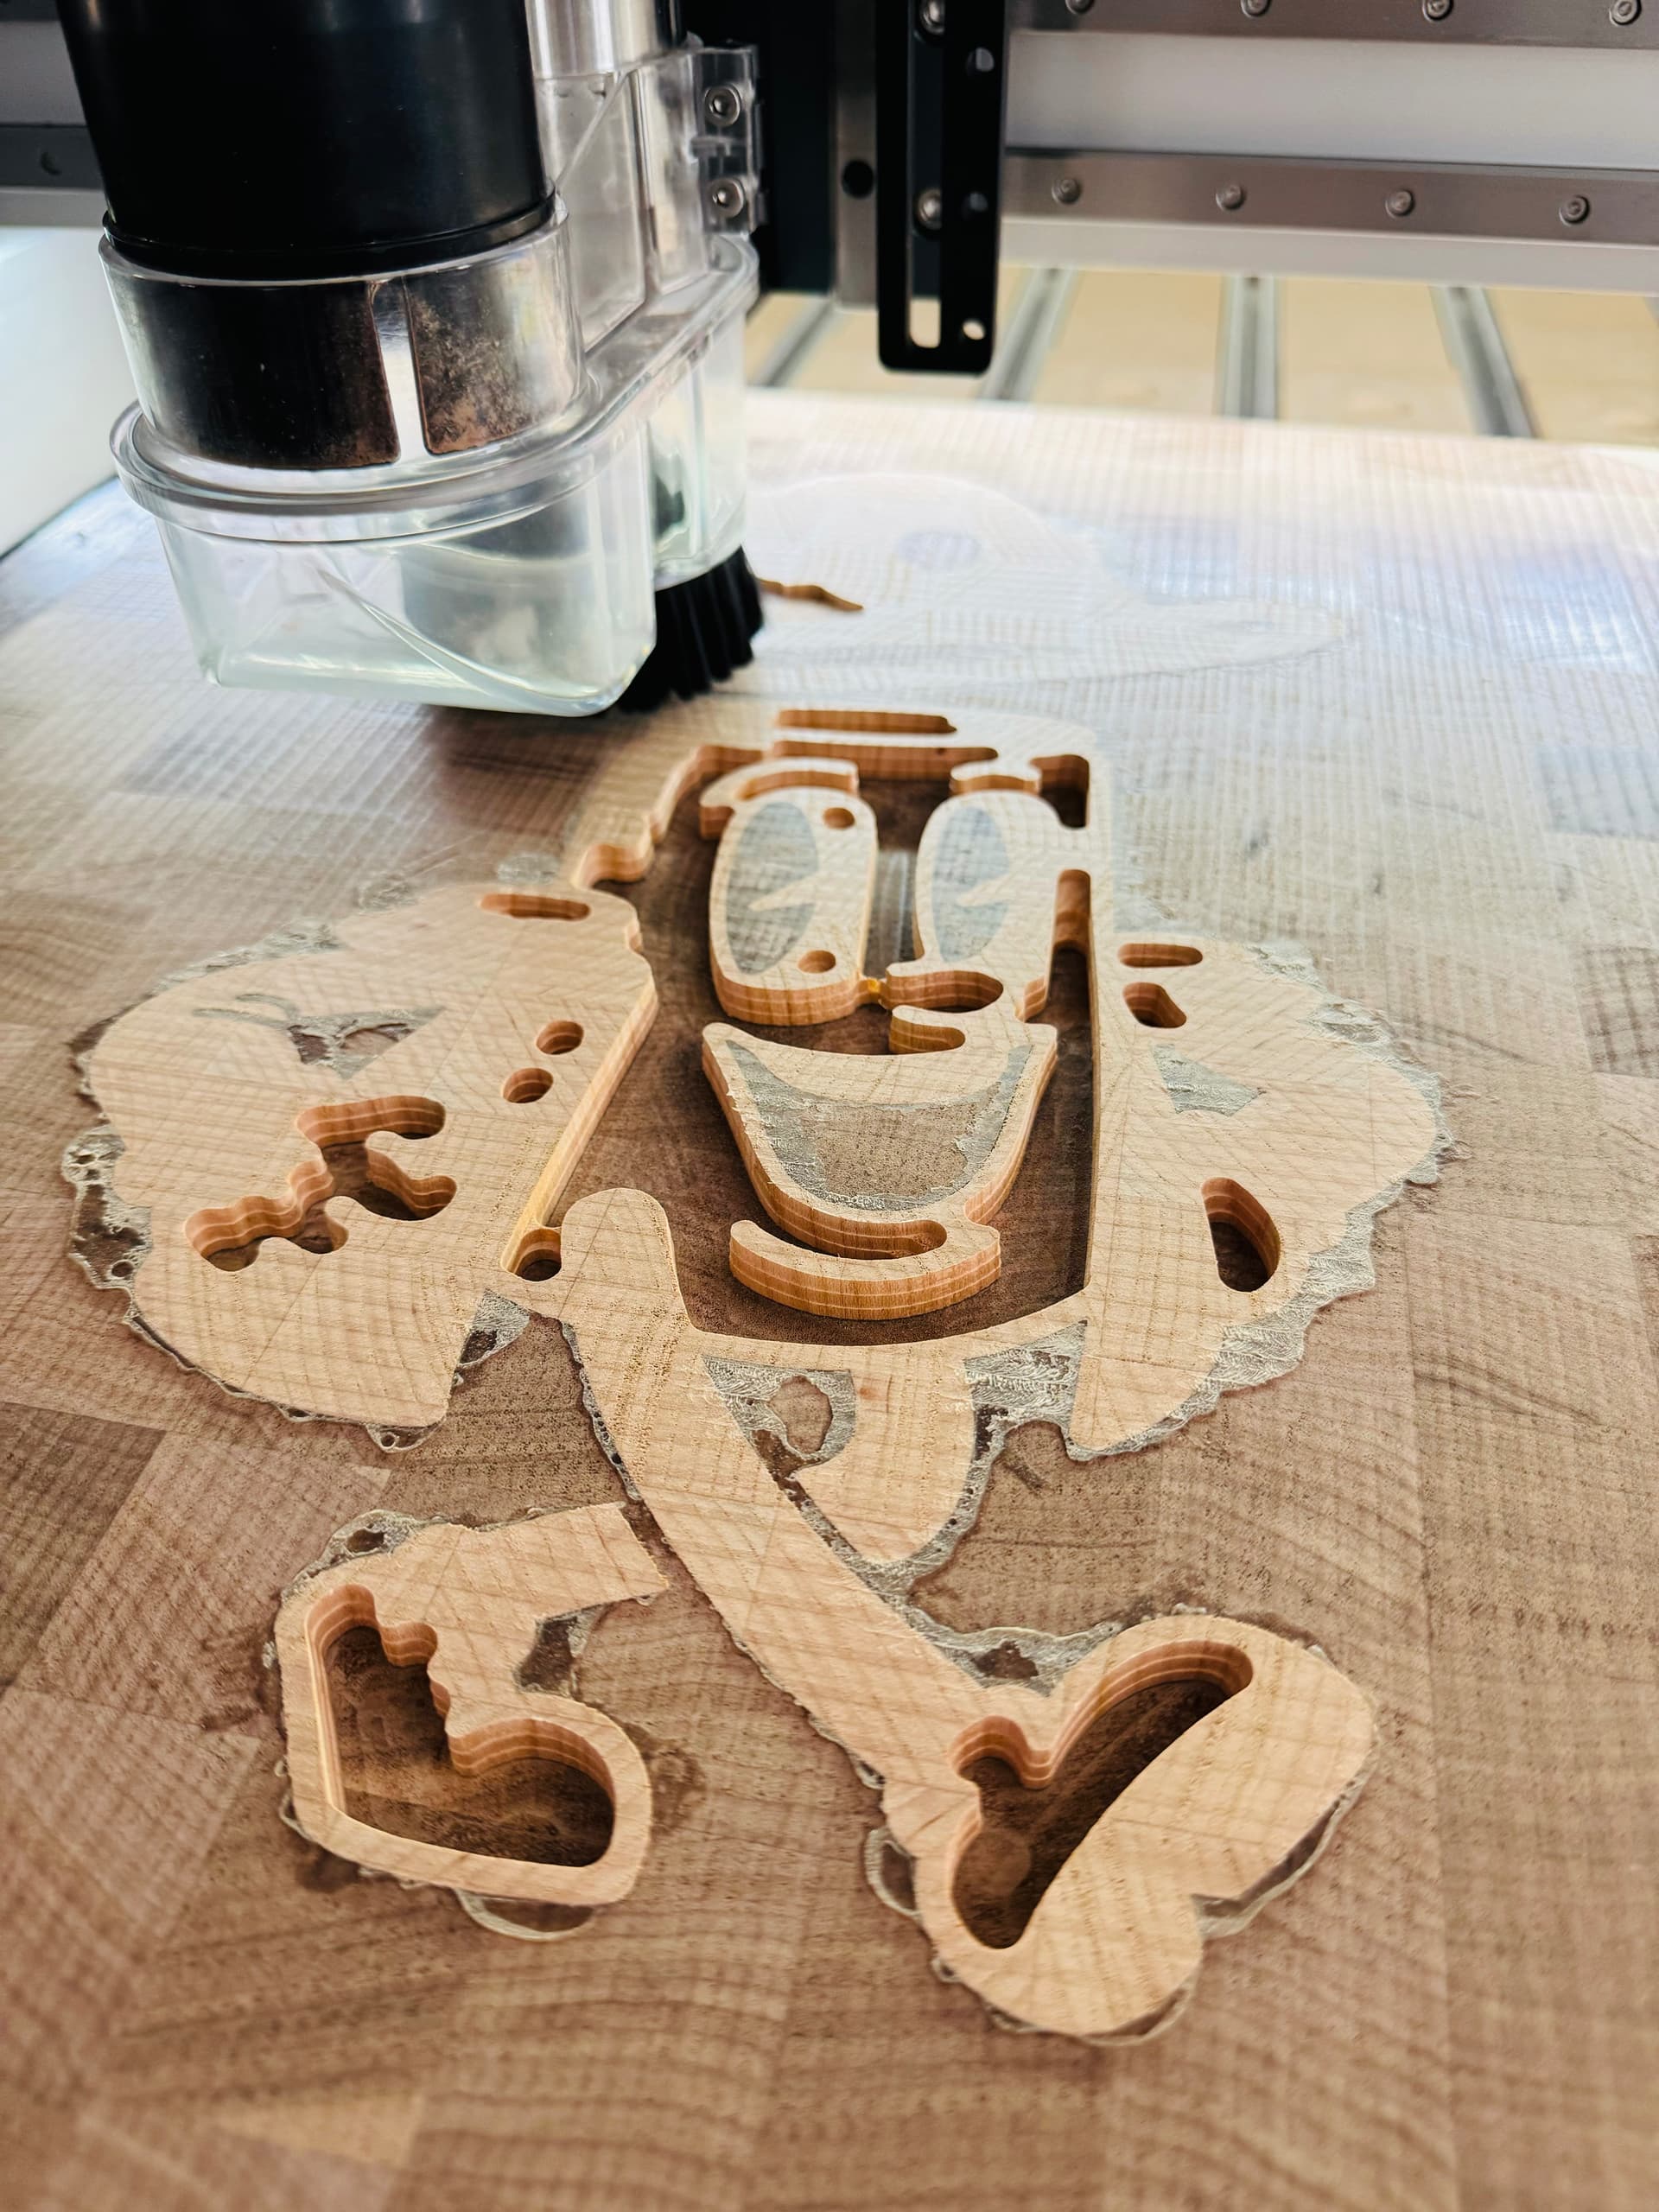
In image two it appears the cut-outs within the inlay will be expanded to accommodate the second inlay layer later. Are they there to gauge the successful bedding of the first inlay layer?
Combo of techniques, but final walls of both base and plugs were cut with a 6.2° tapered ball nose at 8mm depths to make sure it could handle the rigors of “cutting board activity” Image 2 is the second (nested) inlay being cut out of the first (cherry inlay being cut to receive the maple inlay). Pic 2 was of the largest clearing bit running first to hog out most of the cherry.
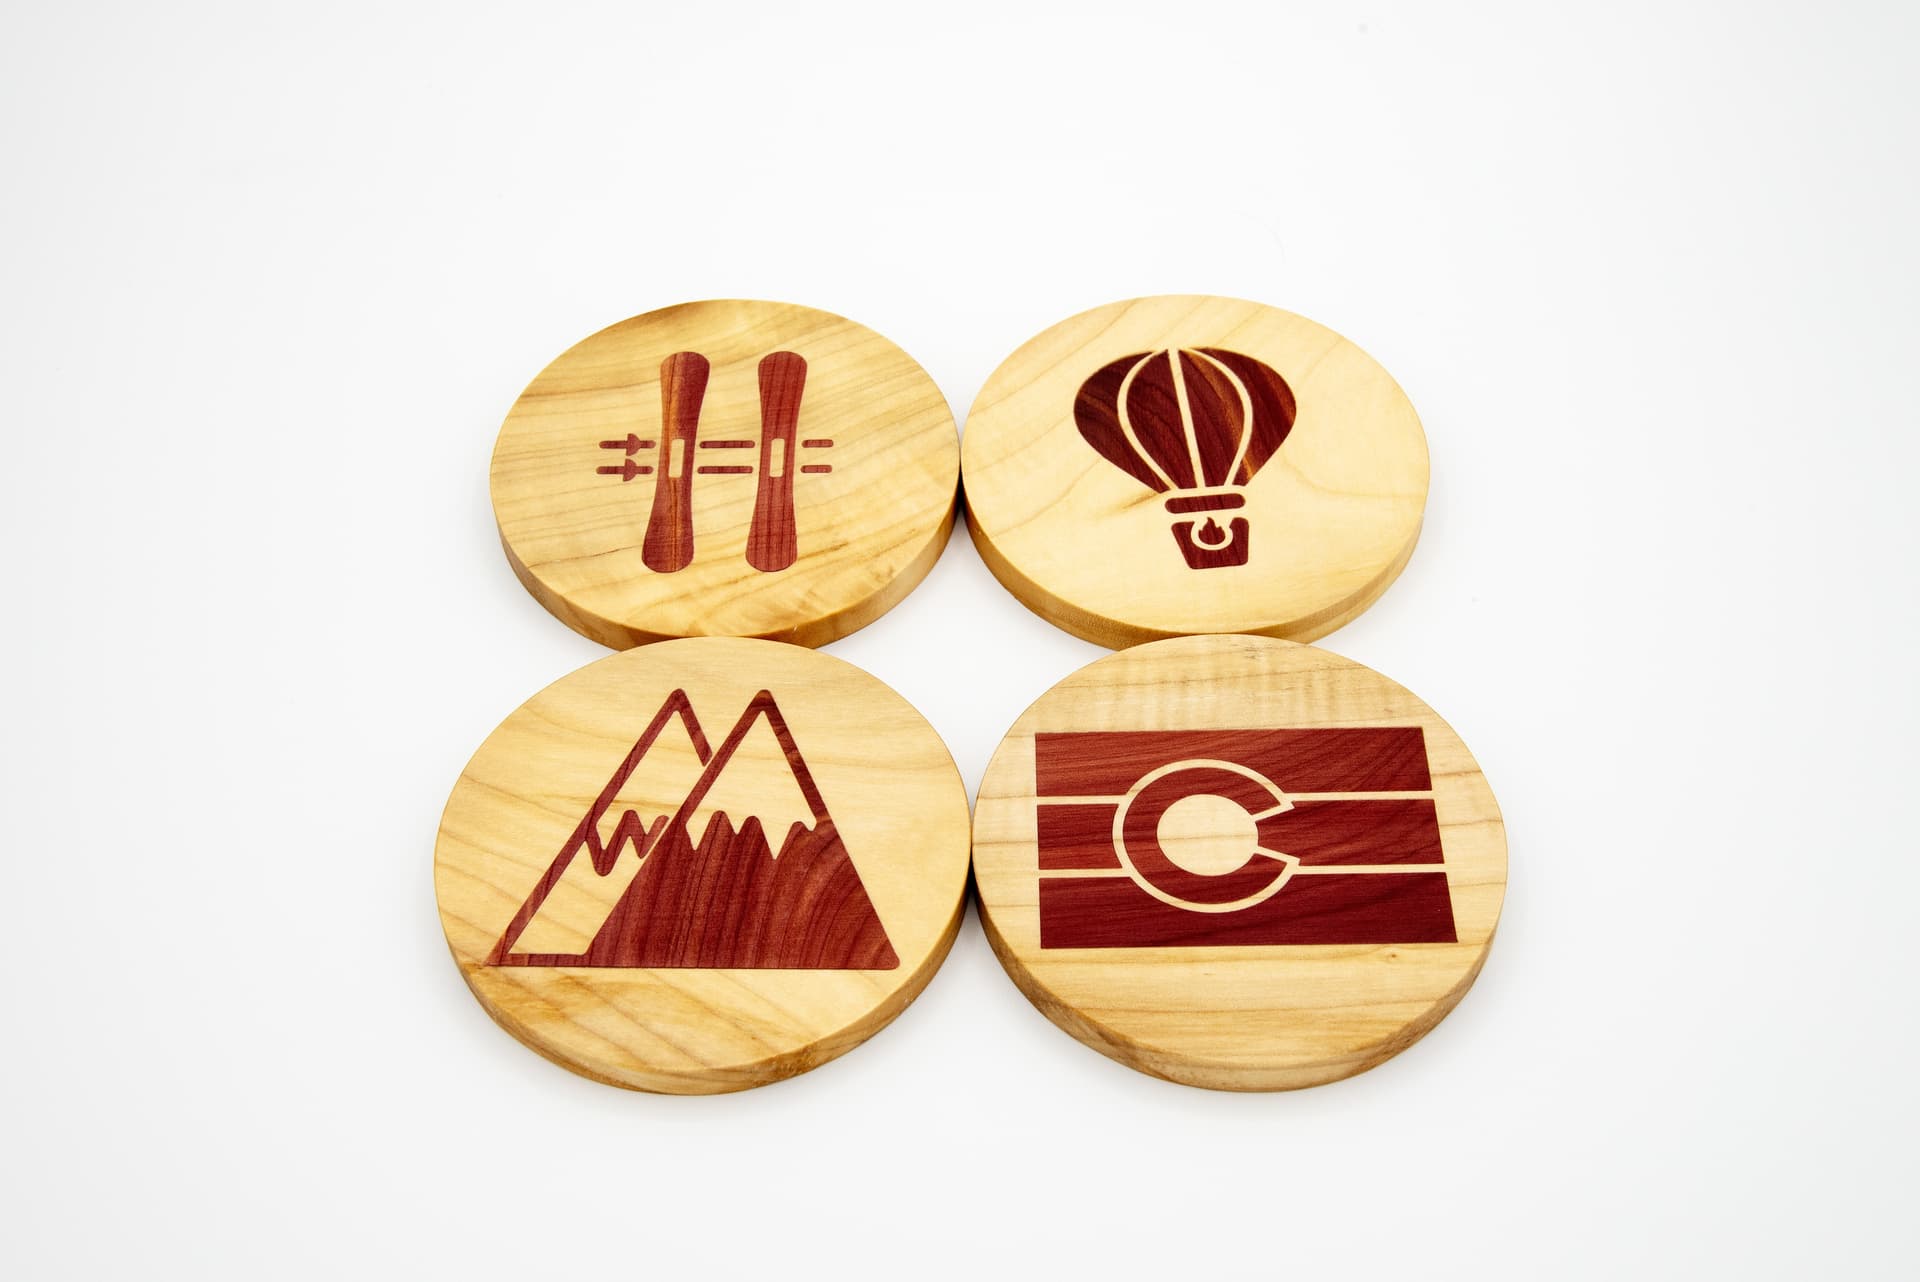
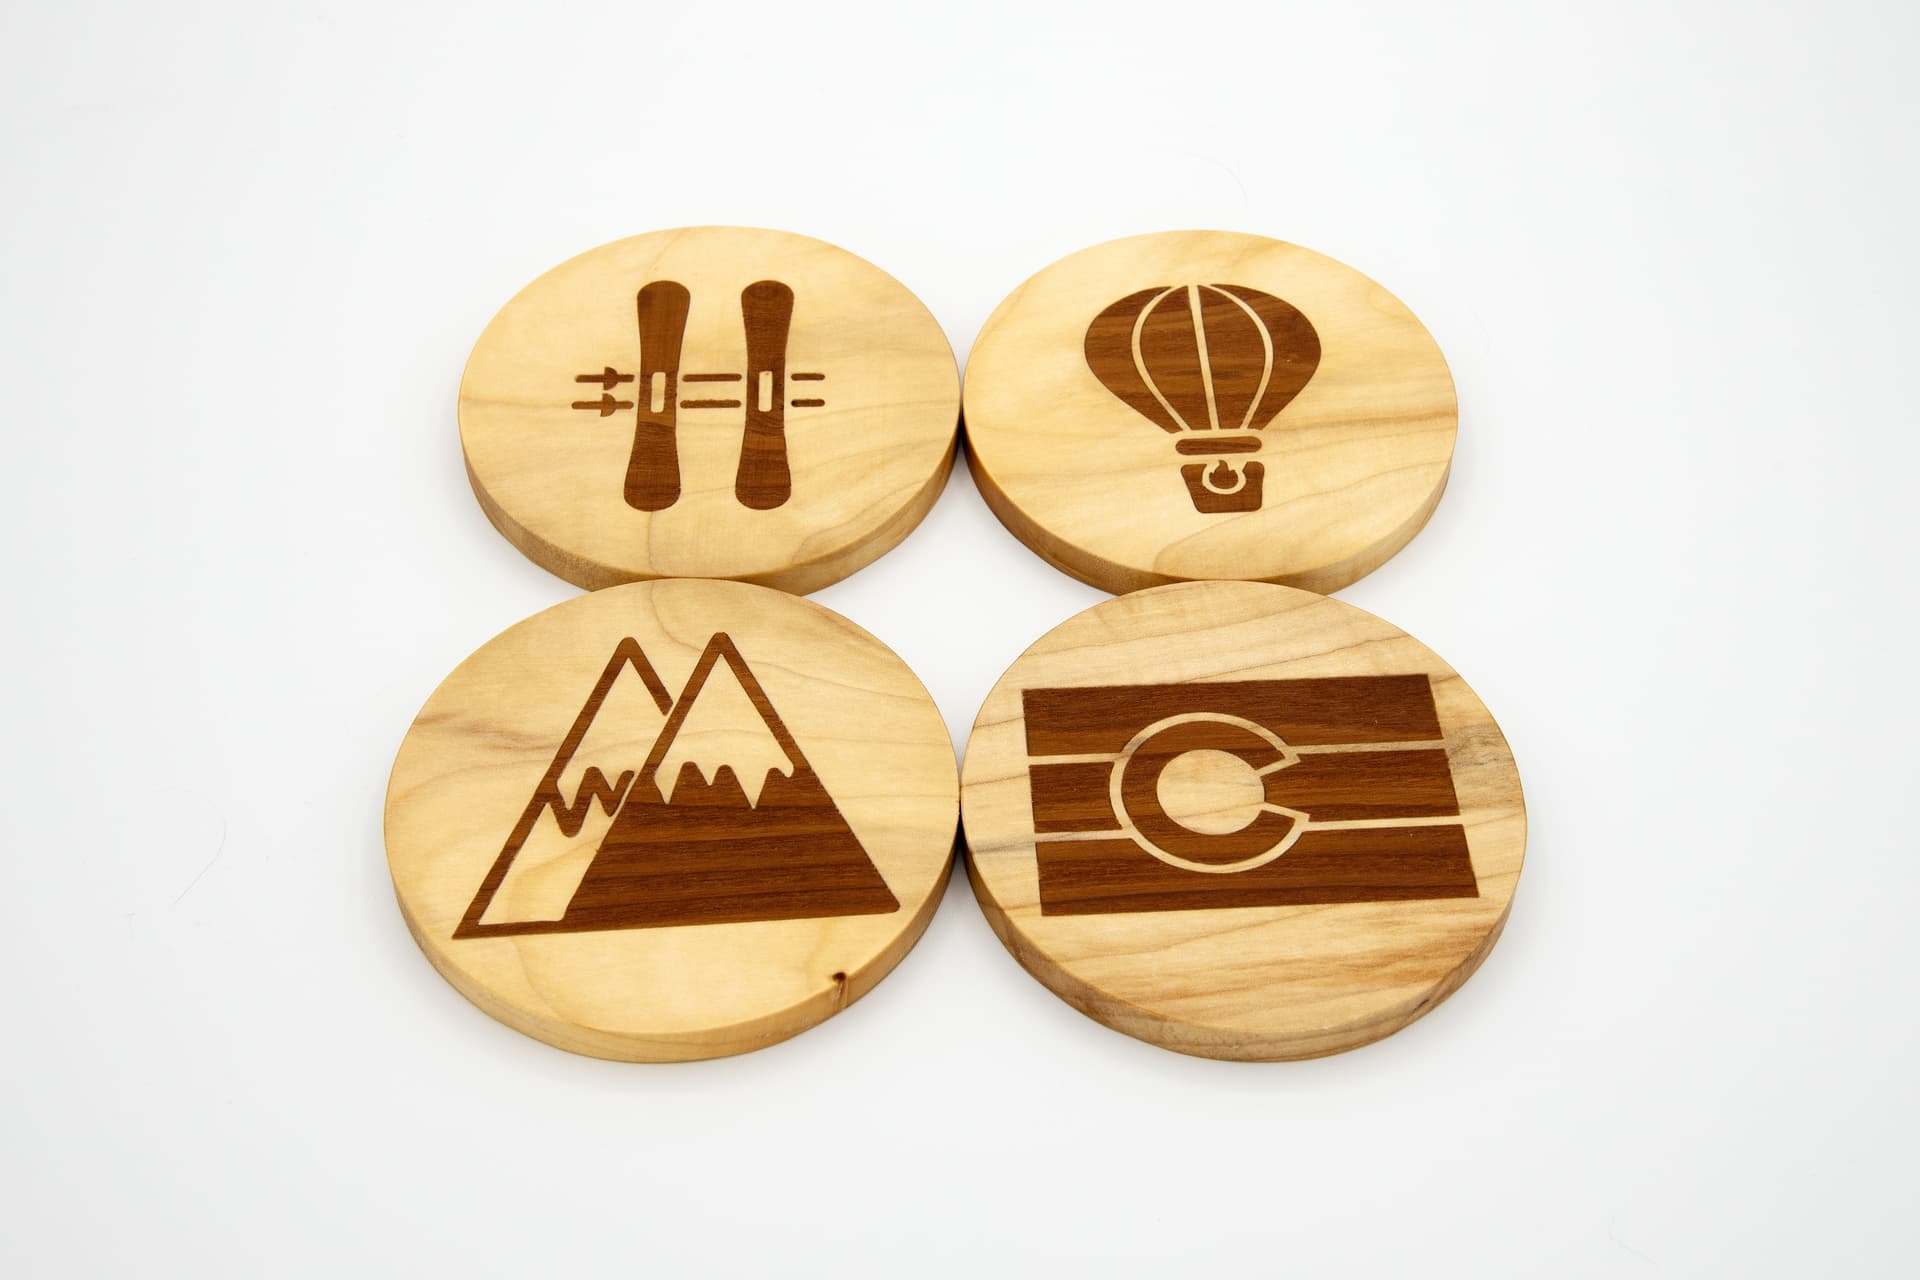
Made a couple sets of Colorado themed coasters. The goal was for each coaster to roughly resemble the letters HOME. It requires a little bit of imagination but kinda works I especially liked how the maple and juniper turned out. Not sure how long the red color will last, but hopefully for a while. If anyone has any ideas how to preserve the color a bit, I’m all ears.
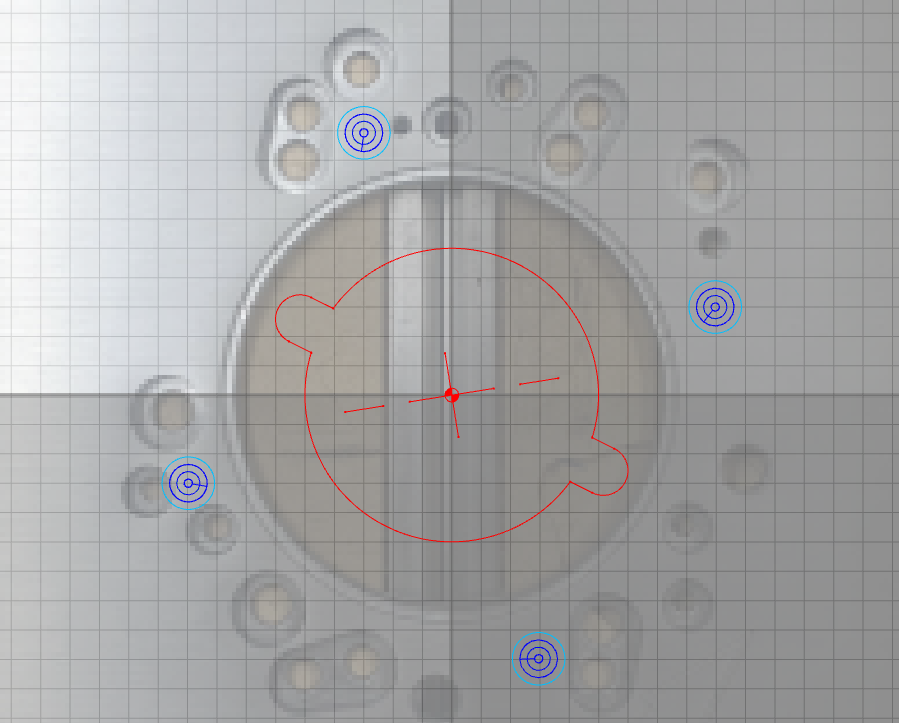
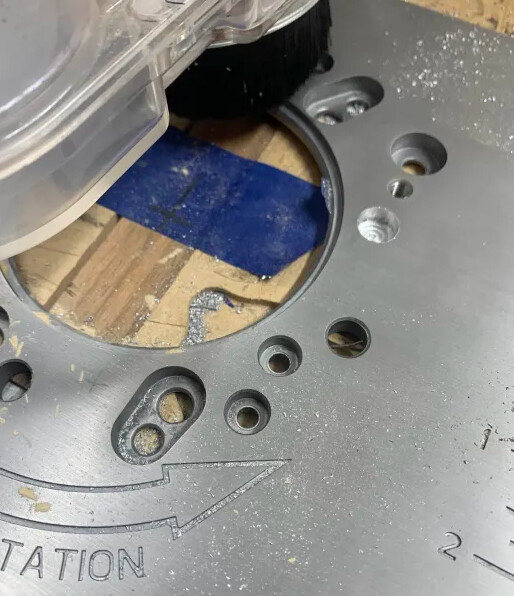
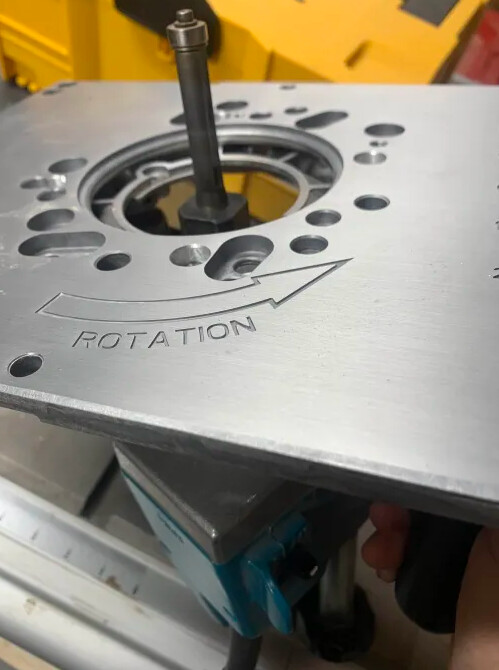
Modifications to an aluminum router table so I could use the big router I wanted to that wasn’t previously supported by their multitude of holes. Took a picture of the plate next to a ruler so I could scale appropriately in inkscape, then imported into Carbide create and overlaid the hole pattern. and then just spin to win to have the least amount of interferences. only hole that had slight interference was the bottom left, and after chamfering the edge it looks fine.


")