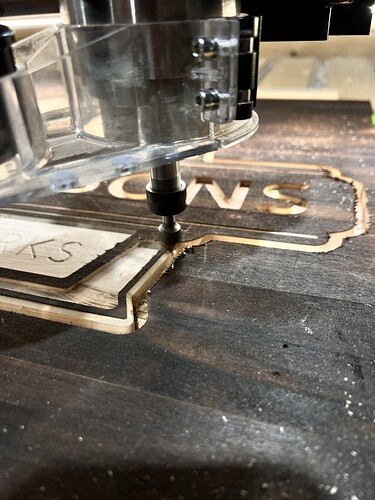
Awesome job.
I would be afraid of clocking the table edge.
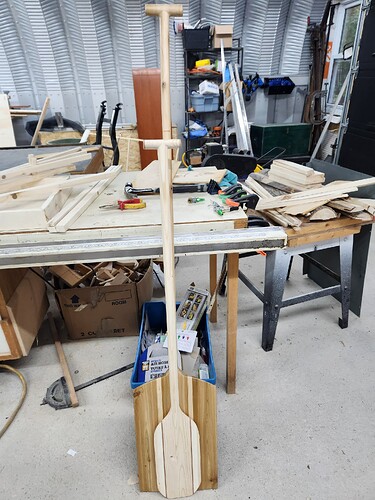
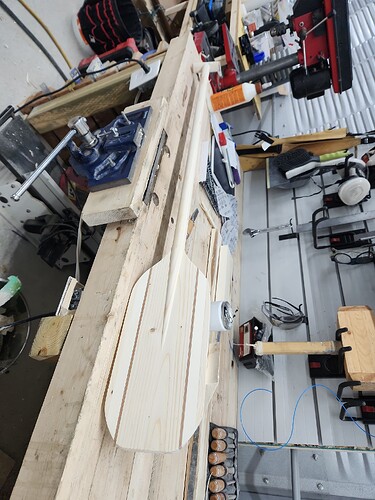
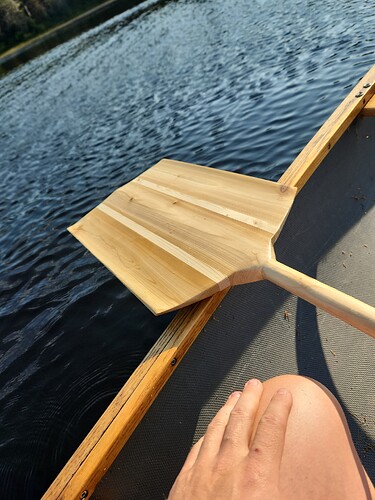
Made a couple of paddles. The small one is unfinished. The big one is going to be a wedding guest book so it’s oversized but still worked well enough.
Struggling with getting the cut after the flip to line up.
Love Skippy the magcial beer can!
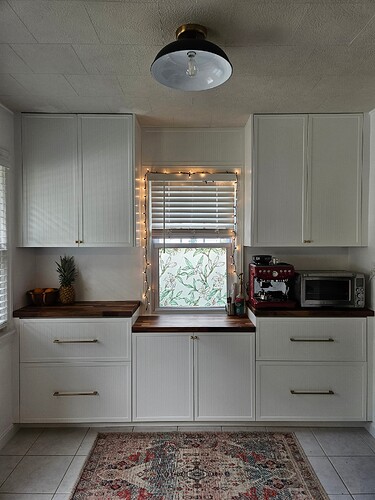
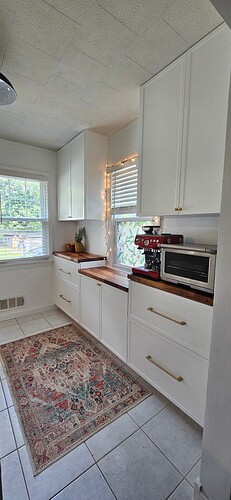
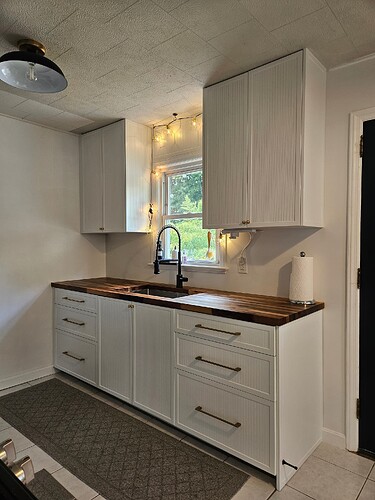
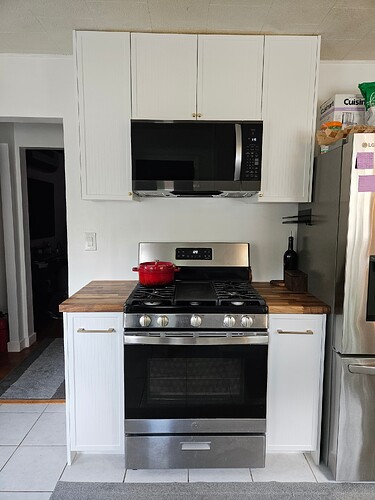
It’s finally done. The kitchen is complete.
Every single part was made on the S5P 4x4 (doors, cabinets, drawer boxes).
I really fell in love with building cabinets. The modeling to assembly was fun. Installing them was also a good challenge too.
At this point, I think my machine has paid itself off.
Some interesting CNC work:
cutting out sink hole to perfectly fit sink.
Scribing some of the butcher block to fit perfectly against the wall, then cutting the curves on the CNC.
I love to make cabinets. My cousin’s husband retired in January. He was supposed to build new kitchen cabinets. So far nothing. He has been sitting around watching TV and under my cousin’s feet.
When you retire a man needs a purpose. With no purpose you wind up dying early. Sitting around watching TV turns you mind to mush.
Nice looking cabinets. I love Shaker doors because they are simple and elegant. The Shaker style lends itself to modern styles.
The Shakers are a religious sect that had guiding principles of simplicity, utility and honesty. Their beliefs were reflected in the well-made furniture of minimalist designs.
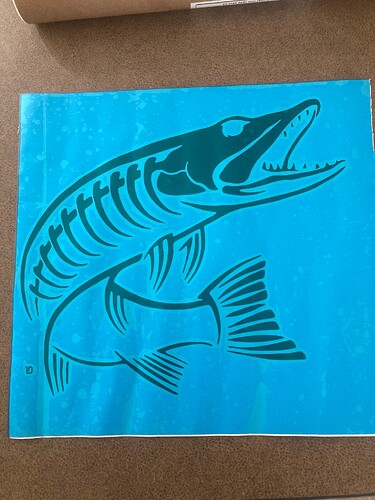
Turned my HDM into a big Cricut…
Made a decal for a friend’s boat
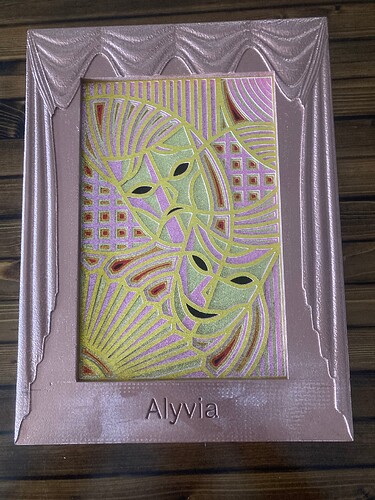
Then a multi-layer comedy/tragedy wall hanger for my grand-daughter. Carved the frame from 1/2" PVC, then primed & painted it copper.
When I started I had a hard time understanding the differences of some of the graphics I tried to use. I tripped over those for quite a while in the background while running other projects. Finally figured it all out and it was for a group - where everyone was pleased. Hang in there and ASK QUESTIONS on the Forum - one of the best ones I have been on!!!
Project 1 for the weekend.
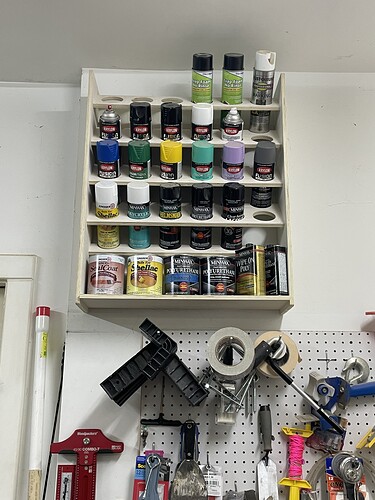
I bought plans for a paint can rack and reworked it a bit. I added changed the sizes and then added shelf at the bottom.
Wall space in my garage is hard to come by and I am vertically challenged. I have a grabber that I can use since this is mounted above my head.
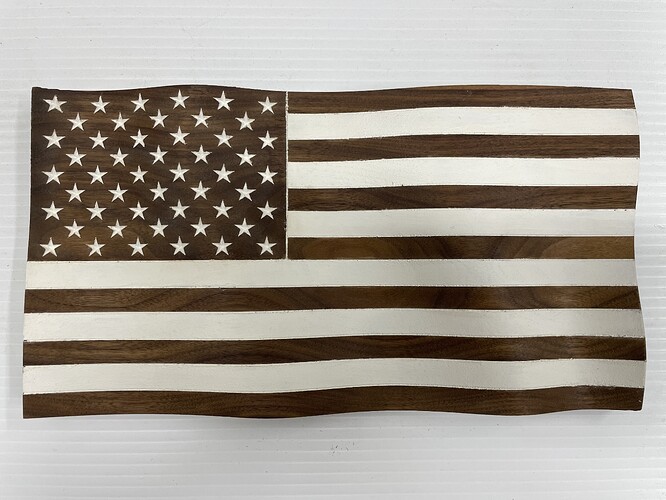
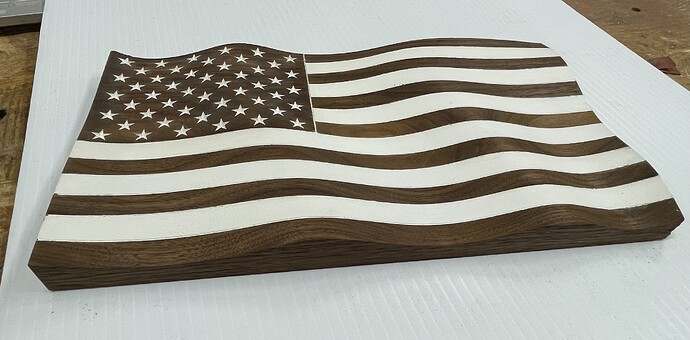
Project 2 for the weekend was a wavy flag using the files from @Merick01 I had not tried one before so I wasn’t brave enough to do a glueup and then the puzzle so this was just a plain piece of walnut 6.5”x12”. I wanted to validate the process. It turned out well enough that I decided to finish it with danish oil although I still need to add a clear coat. I simply painted the Stars and Stripes. It inspired me to do a glueup with the mixture of wood that he does though, so hopefully that will be soon.
I imported his STL and DXF into Vectric Vcarve. Mapping the vectors for the stars onto the 3D surface worked great. I am very happy at how sharp they turned out. I also mapped the stripe edges onto the 3D as after cutting the wave I masked and then cut the lines so I could remove every other one to paint the white stripes.
The files from @Merick01 are great.
You are correct for the most part, but I CNC before I began the Shapeoko Pro 5 CNC. this experience gave me a different perspective to working a design and programming. I still had to learn the program and all that the program can do. There still are a bunch of things I will need to learn, but I haven’t came to needing to use it yet on a project.
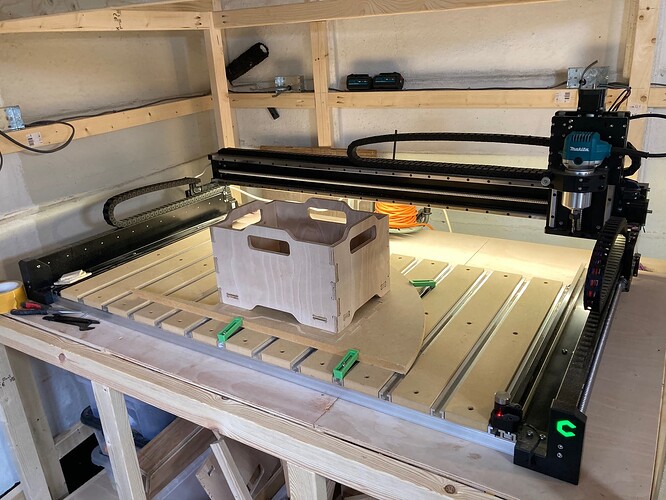
This is nowhere near as cool as a load of the stuff posted here but wanted to share a bit of newby enthusiasm - my Shapeoko 5 just arrived and I got it running this weekend. First project was a humble crate for tidying up the workshop. I can tell already there is a whole voyage of discovery to be had on this machine - many fun projects ahead! ![]()
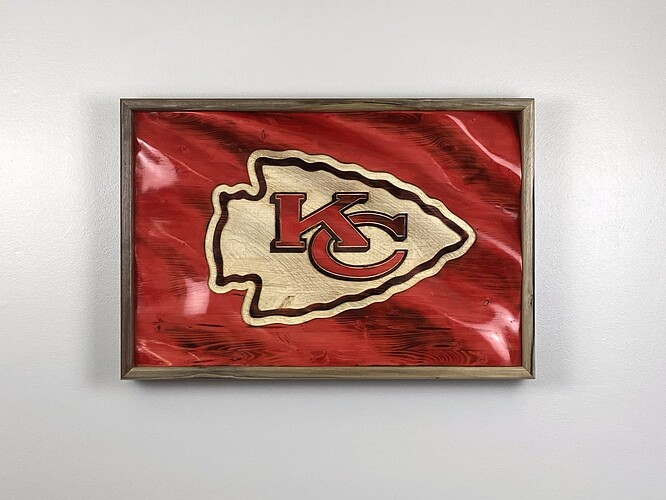
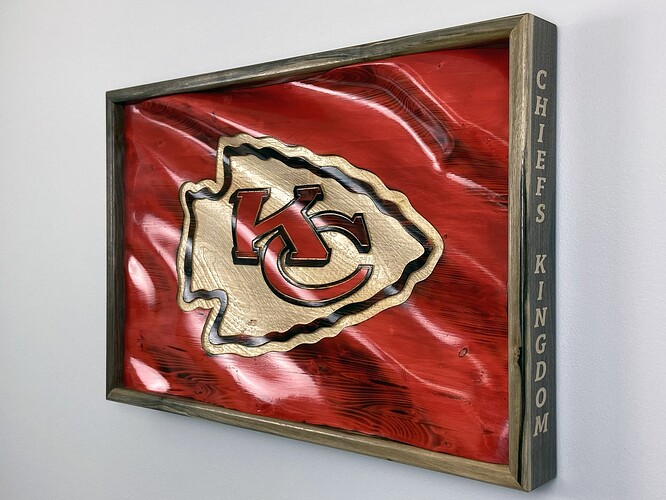
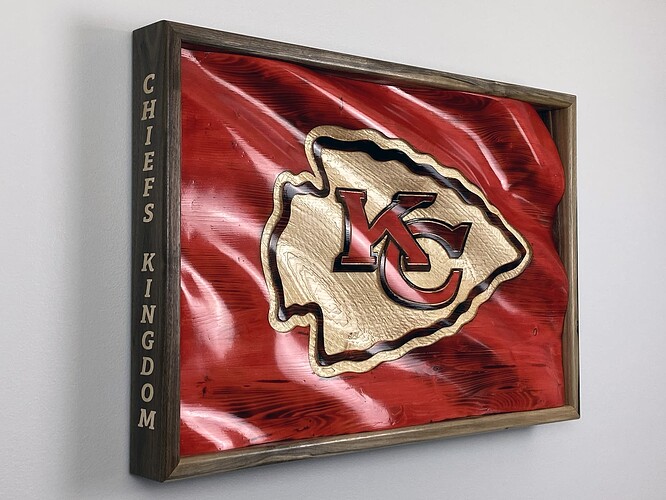
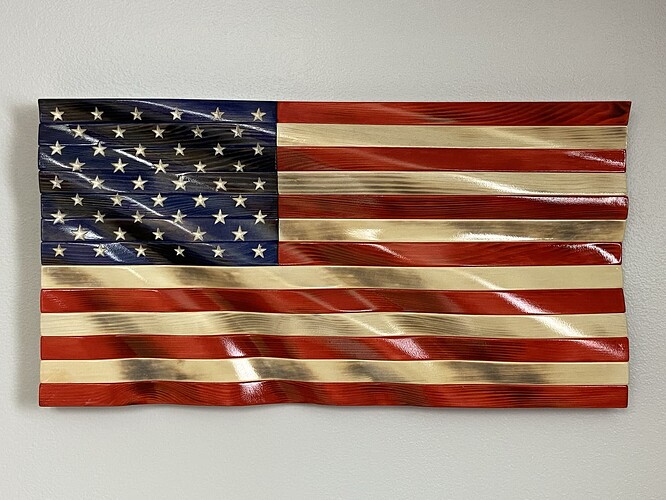
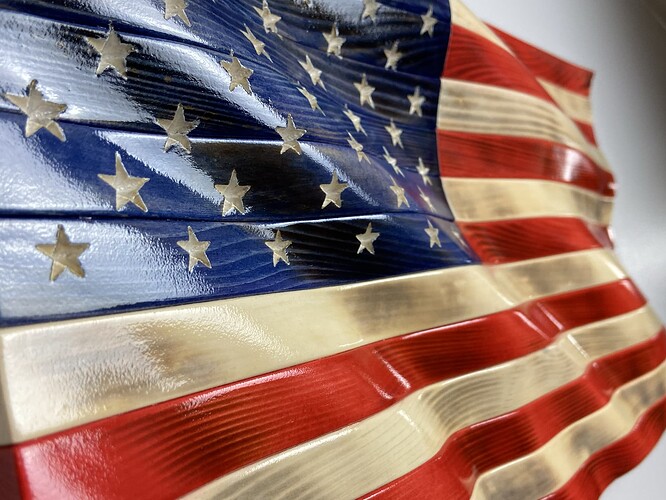
Just wrapped this one up over the weekend.
The flag is Douglas Fir, and the frame is Black Walnut (with some sap wood) and Curly Maple for the inlay. The stain is a water based tintable stain, finished with several coats of shellac. The shadows in the flag waves and the black parts of the arrowhead logo are all torch burned.
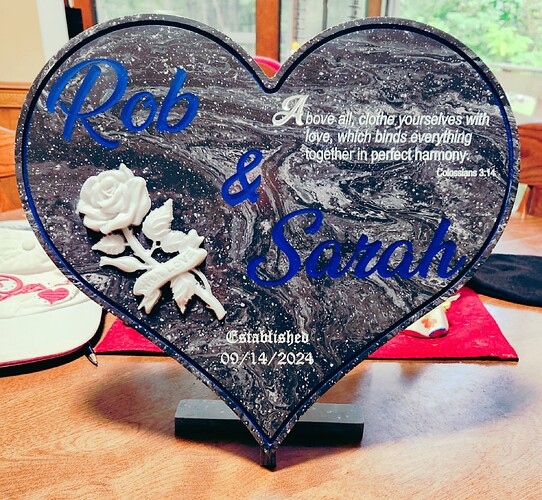
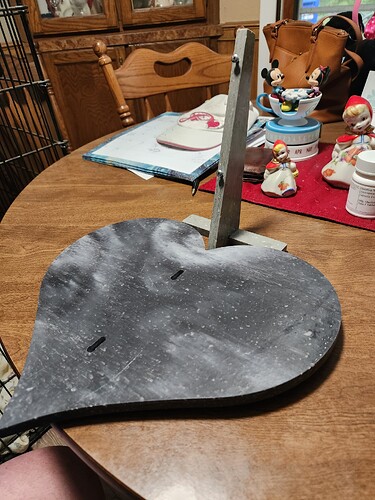
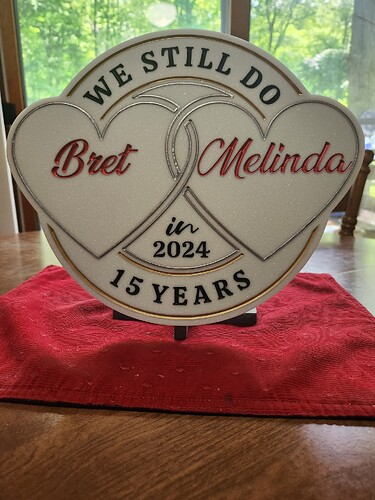
This Saturday my wife and I are attending her niece’s wedding. This is my second wedding plaque, and I have made a 15 year anniversary plaque as well (last picture). I do these out of solid surface material. This is my second year with the machine and two of my goals for this year were to work with epoxy and with cutting 3D. I only get to work on my machine 6 months per year as we spend winters in Florida. This plaque has both elements in it. The verse and Establish date are engraved and painted with a white background. The two names are engraved, then painted, and then epoxy back filled using SuperClear epoxy. The rose is a 3D cutting from ½” solid surface material, is about 5.25” tall, and and took the machine about 7 hours to cut. It is then cutout and super glued to the face of the plaque. While you can’t see it in the picture the rose has small sparkles in it. The second picture shows a bracket I made to support the plaque on a shelf or table. There are two keyholes in the back of the plaque that the bracket screws fit into. The top keyhole in the back of the plaque could be used to hang the plaque on a wall if desired. I designed and built a special jig to drill the holes perpendicular to the bracket surface for the two screws seen in the bracket.
15th Anniversary Plaque
Not too shabby. Workshop organization is the key to productivity and safety. A place for everything and everything in its place. What really bugs me is I know I have something but cannot find it.
Absolutely - I’m in the process of changing the space from a garage (i.e. dumping ground) to workshop, so organisation is top priority!
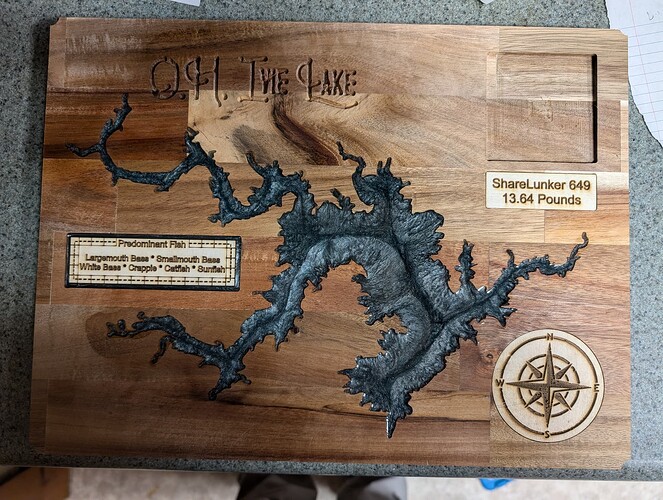
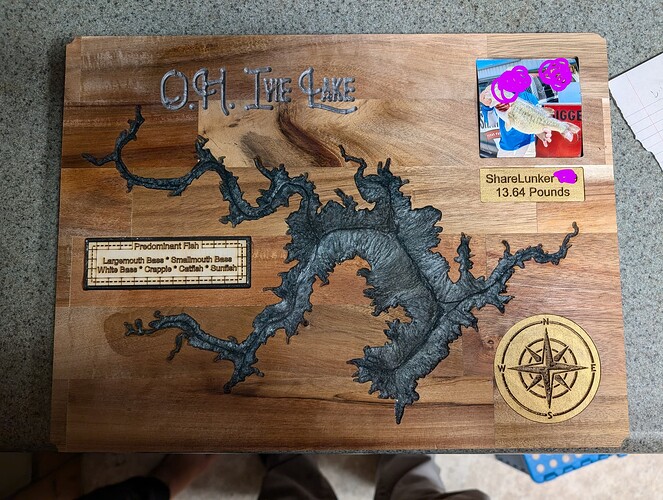
Second ever project; this time for an uncle who loves Lake OH Ivie in Texas.
The large square will have a picture of him with his biggest catch.
Only part of this project I dislike is that the lettering on the top has some cutoff from me being too aggressive. Planning on painting the letters.
That’s my kind of lake!
Nice job. Is that an epoxy fill for the water?
Yep, with some mica powder and blue ink for color.
Chamfer everything! It makes such a nice finish.
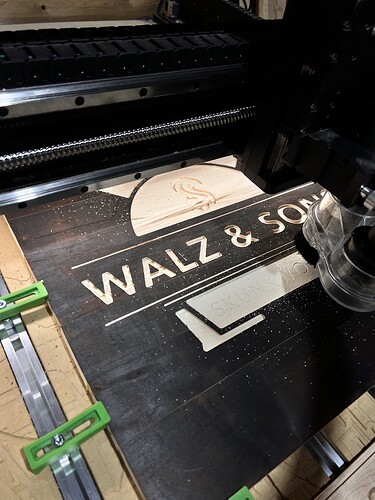
Have been playing with as many cuts as I can on a glued piece of maple.
Q1: this is 30x30cm but it’s hard to get fine details and the skunk did not work out at all. How small
does everyone go for fine details? Do you have samples I can (re)view? Used 1/8 ball nose now thinking i need 1/16…
Q2: how to I get nice pocket around shape & text iso inset text? Working in carbide create pro. I can draw it out on F360 but still hesitant to use the cam.
Still on the table, will upload final once it’s done.
