Looks great Mark! My next run will be walnut in ash. I didn’t want to use any good wood just in case it didnt turn out ![]()
1 Like
On intricate pieces try a 30 or 15 degree vee bit. You get better results. The 30/15 also give better results on fine lines on simple vcarving projects. Just make sure any vee bit you buy has a sharp point and not a rounded one. Using a rounded vee bit will results in shallow cuts because the BitSetter assumes you are measuring a sharp point and not a rounded one. The round point makes the BitSetter think the bit is further up than a sharp pointed one. Just make sure you get a vee bit that has a sharp point and not rounded. Also inspect your vee bit on occasion because the point can get knocked off.
4 Likes
Yup. I got this one from Tools for Working Wood in Brooklyn. Kiridashi is a very sharp single-bevel knife with a hollow back like a Japanese chisel. It can be honed to a ridiculous edge. I used it to open up the 1/32 radii left by the 1/16 spiral end mill. Much safer than pointing a chisel right at my hand. Although I did give myself quite a gash on my left thumb before I sharpened it again.
1 Like
Tools for Working Wood is a great company!
I have a fair number of their tools, and they’ve been great for filling in what estate and yard sales haven’t (yet) provided.
These inlay pictures are the motivation I needed. I’m in the shop today cutting everything out, just taking forever to get through all these pieces. Here is the design I’m doing, and fingers crossed that the 3D inlays turn out. It’s not in the pictures, but I ended up putting a reverse slope indentation on each of the honeycombs, should look like a golf ball divot…should be interesting carving into each inlay and how well it holds up.
Overall size is 20" x 20"


The workflow is doing a roughing pass, pocket clear with an offset against the walls, 3D profile, then cutting the edges to each chamfer at 15 degrees, then join the male and female connections, then a final 3D clear pass along the surface.
I spent all day yesterday cleaning my 4 Pro, and tightning all my belts… if it fails, should be mechanical and not the gcode, as I triple checked everything. So far so good!
Doing test cuts is absolutely critical, both for sanity and the checkbook. The materials I’m using is highly figured and expensive wood.

Cheers
21 Likes
Quite a different take on corner cabinets I’ve seen. Most I’ve seen are display type, not kitchen cabinets.
I really like the design of this one as it has doors to open, yet still makes a nice piece for a corner in a dining or living room.
Good work!!
1 Like
Thank you! I appreciate it, really.
Yeah, this one is in my living room right now. I built it more like furniture than a cabinet.
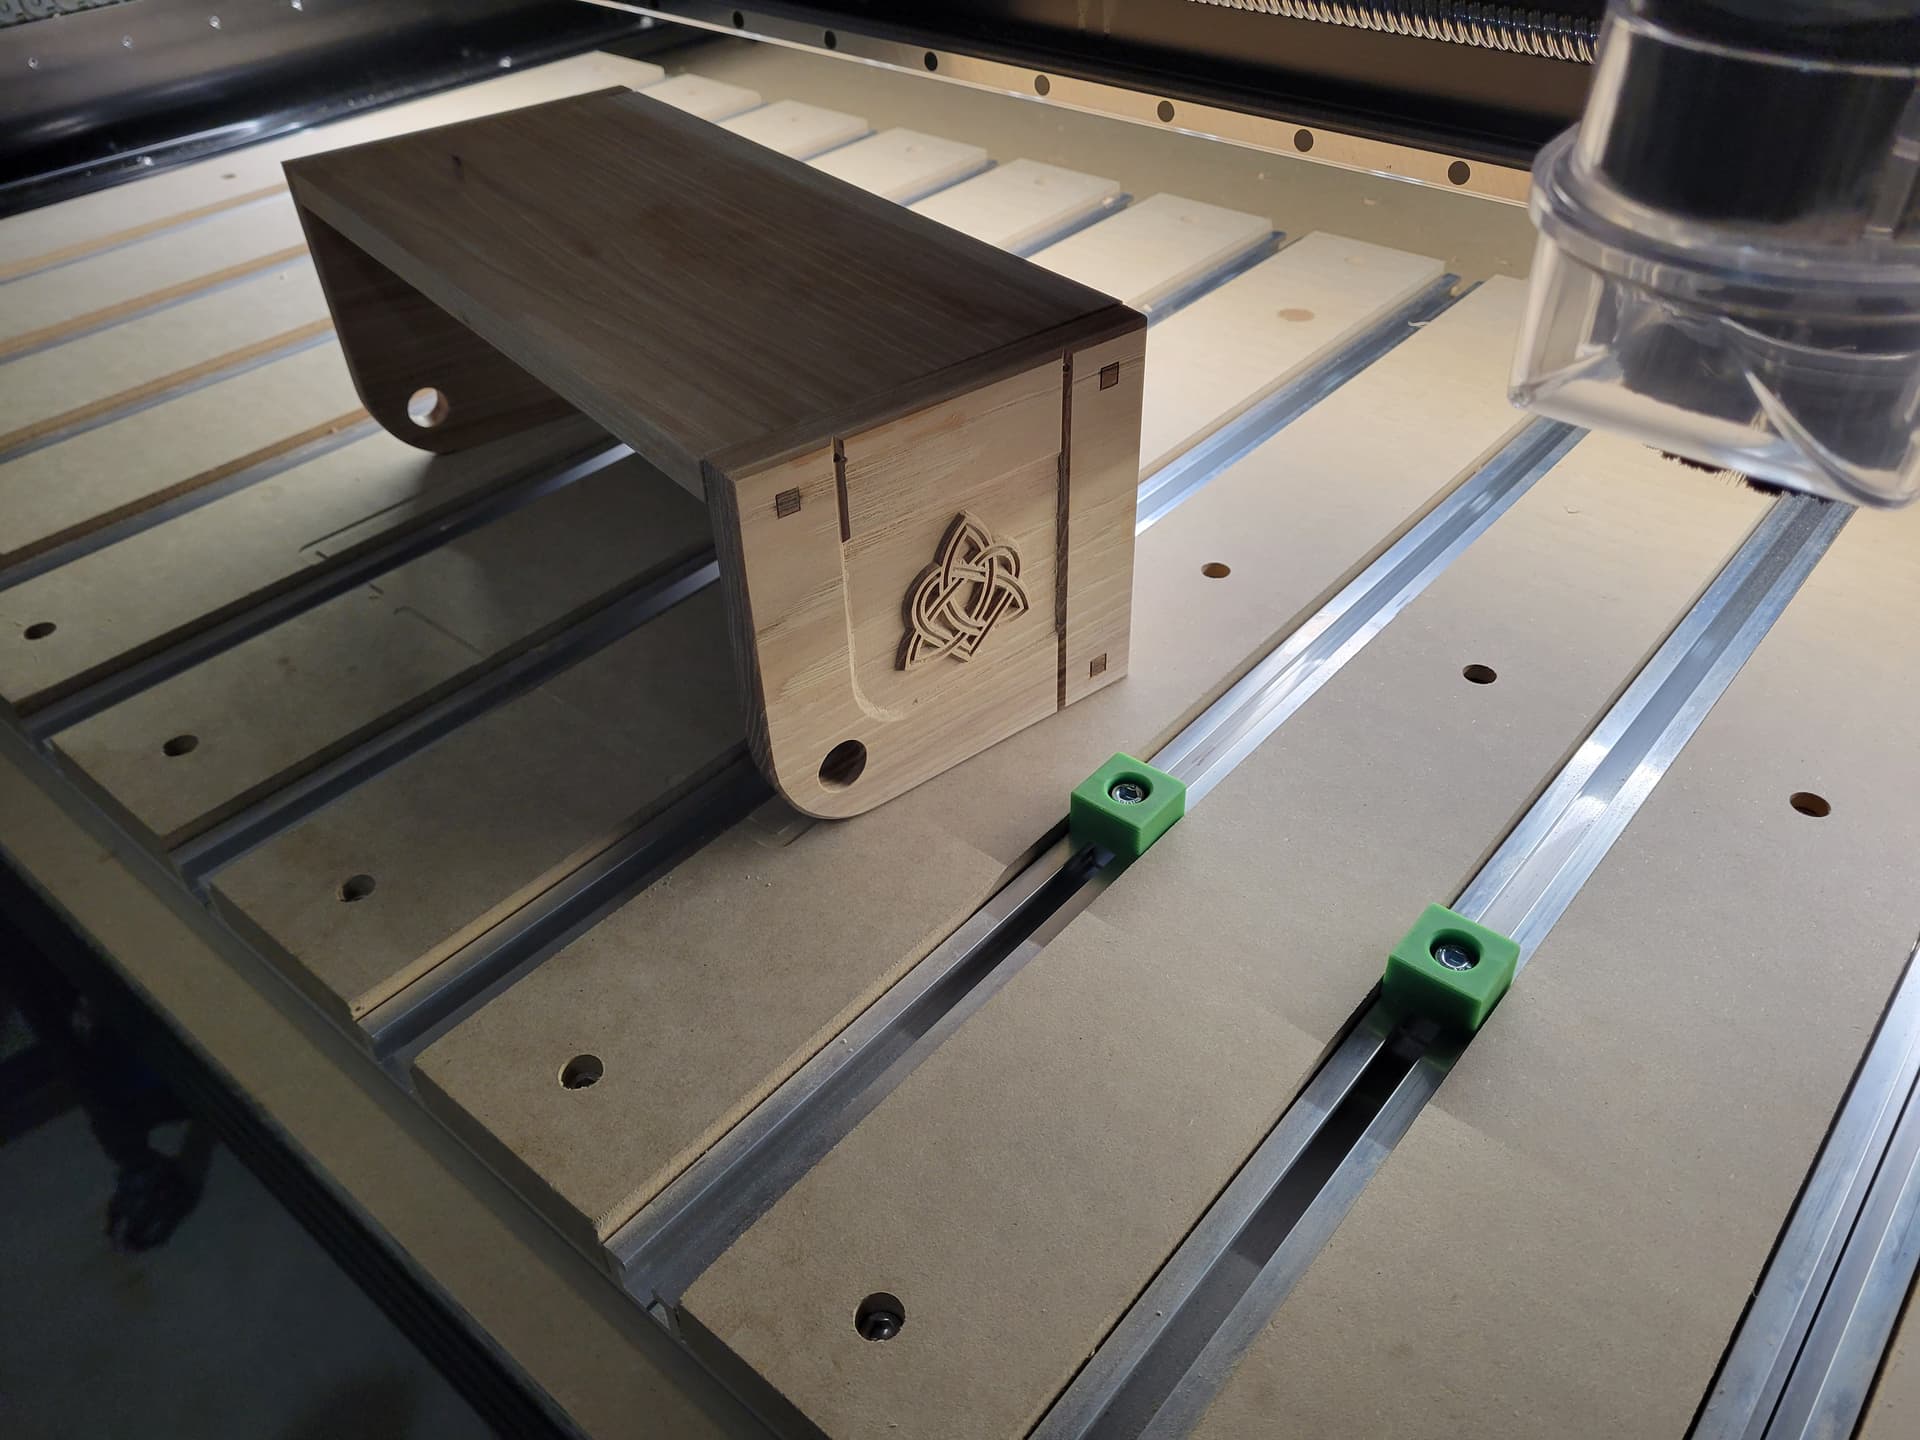
Very ambitious ![]() I really like the contoured wood. It should look amazing when its done! Be sure to post pics!!
I really like the contoured wood. It should look amazing when its done! Be sure to post pics!!
2 Likes
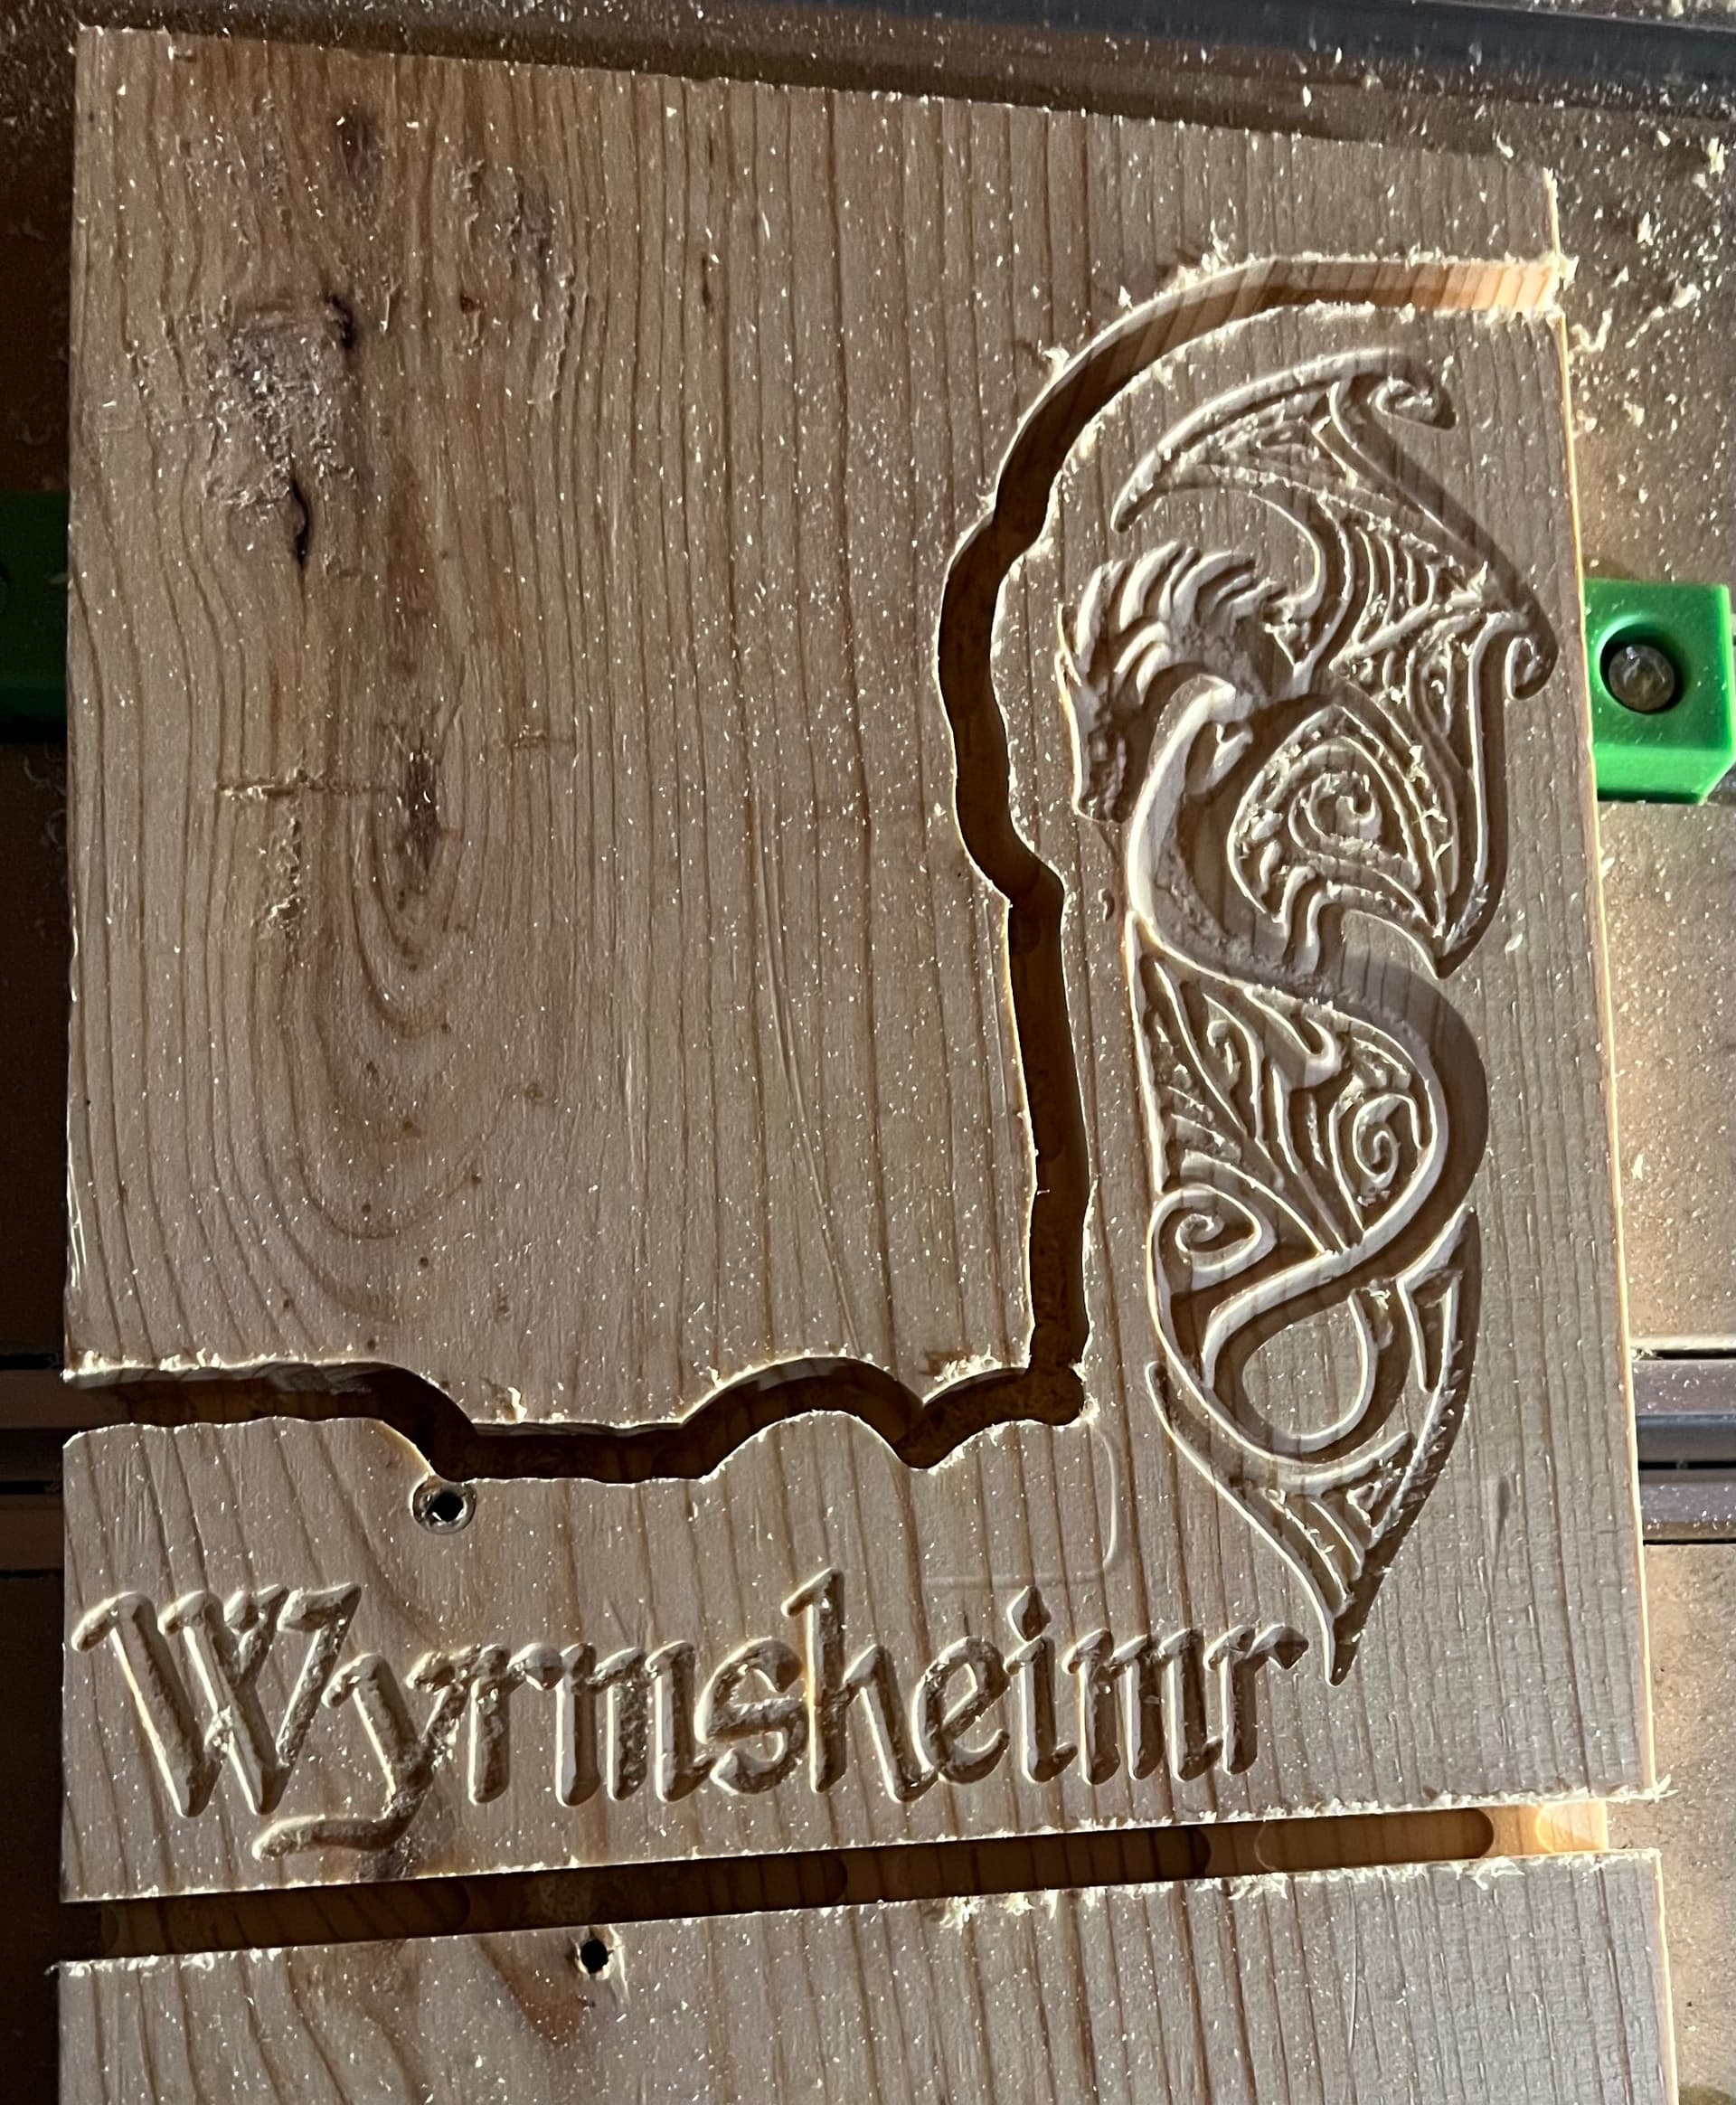
My second project-a sign for my shed. My husband thought Wyrmheimr was a better name than the Dragon’s Lair, and I agreed.
13 Likes
Very nice!
What are your future plans?
Im going to work on inlays, but I have a motorcycle rocking horse to build
2 Likes
I am looking forward to seeing those projects.
Cool!
First project of 2025! I was mildly ill the days leading up to NYE so I took the time off work to learn the “3D” capabilities of CC Pro (V8).
This was a 5"x5" test piece. Font is stock CC, anchor STL was a $3 download from Etsy.
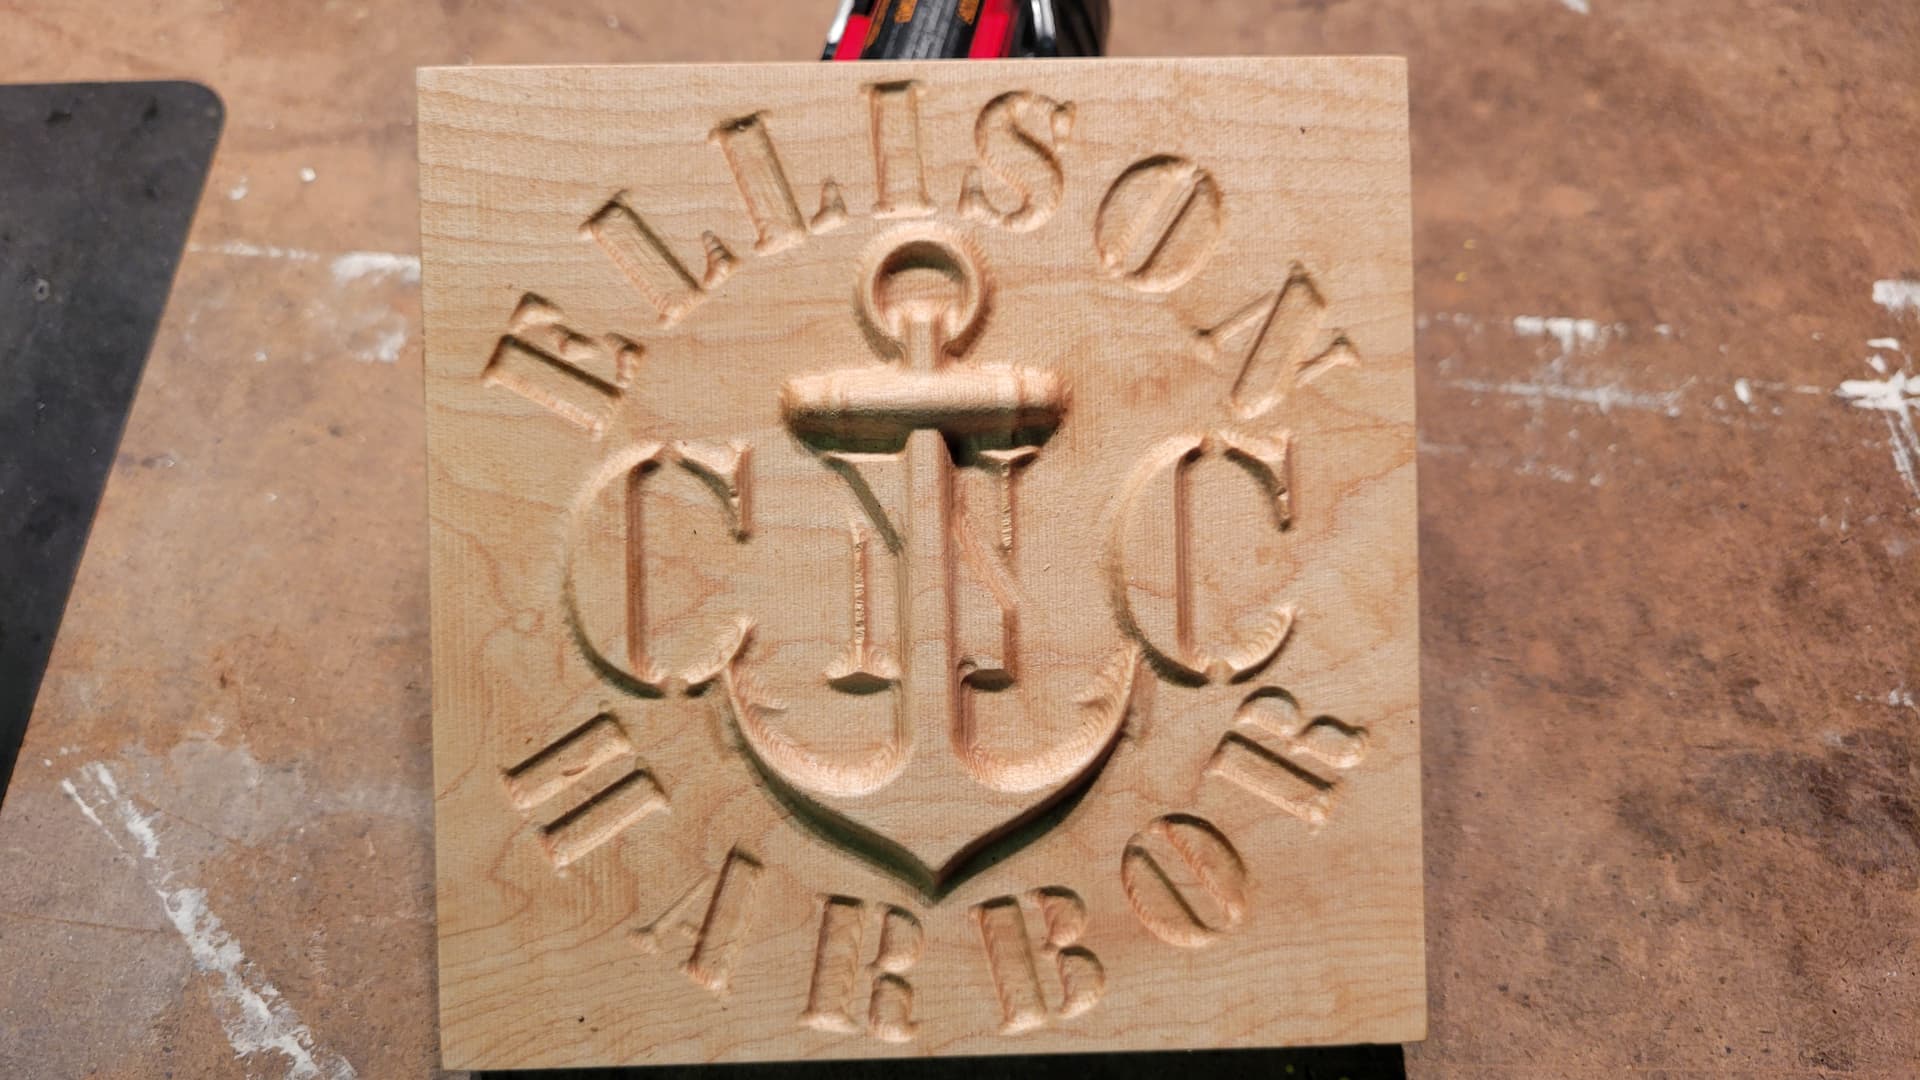
With this success I increased the scale to a piece of end grain I’d been sitting on (stock size was 11.25" x 13.25"). Font was from a 9 font pack off Etsy and the anchor was a different STL off Etsy (more detail and cool wrap around chain).
This is after the “3D Rough”. 1/4" 3 flute End mill (#201), 0.05" DOC 150 IPM, “stock to leave” 0.01".

This is after the “3D Finish”. Cadence MFG “Little B”, Step over 0.008", 150 IPM.
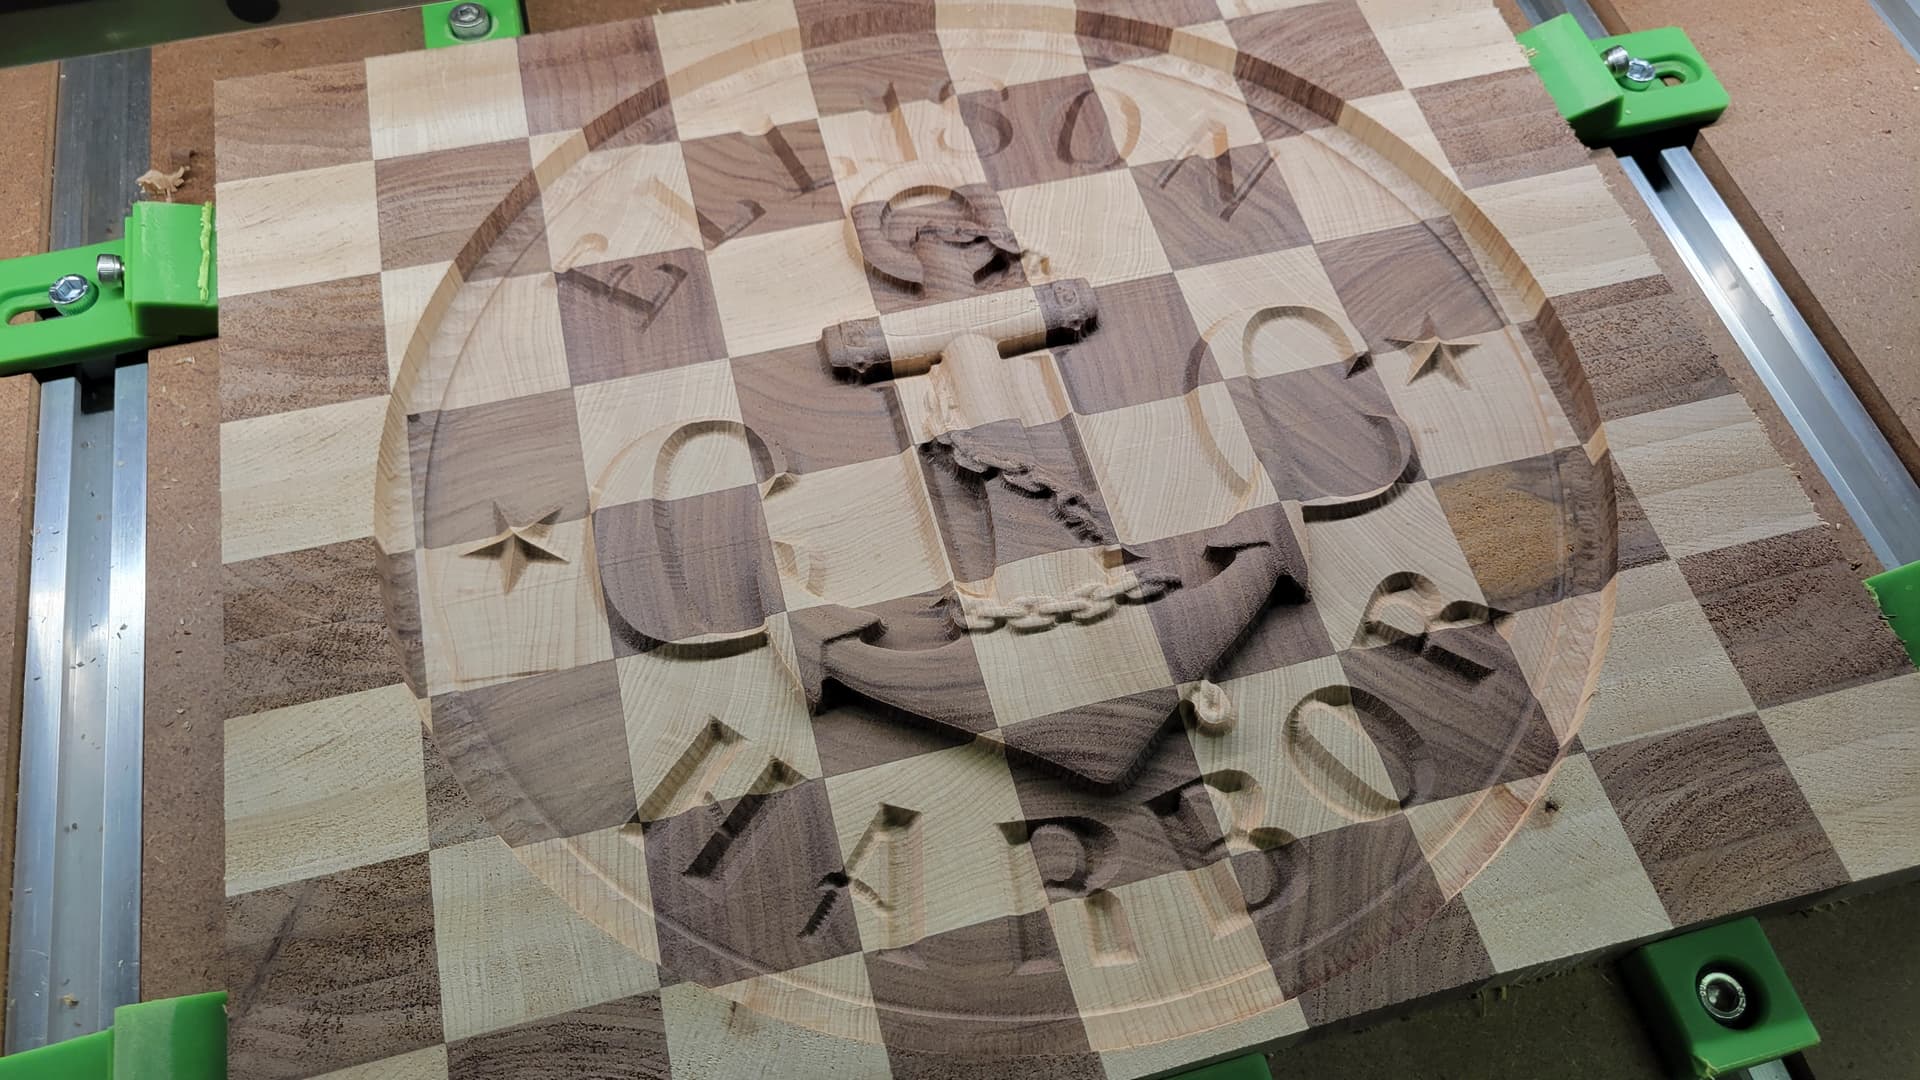
After the 3D finish pass I wanted a bit more detail on the inlaid text; “ELLISON HARBOR”. So I did and Advanced V-carve with an 1/8" end mill and 90* V bit which also incuded some cool stripes!
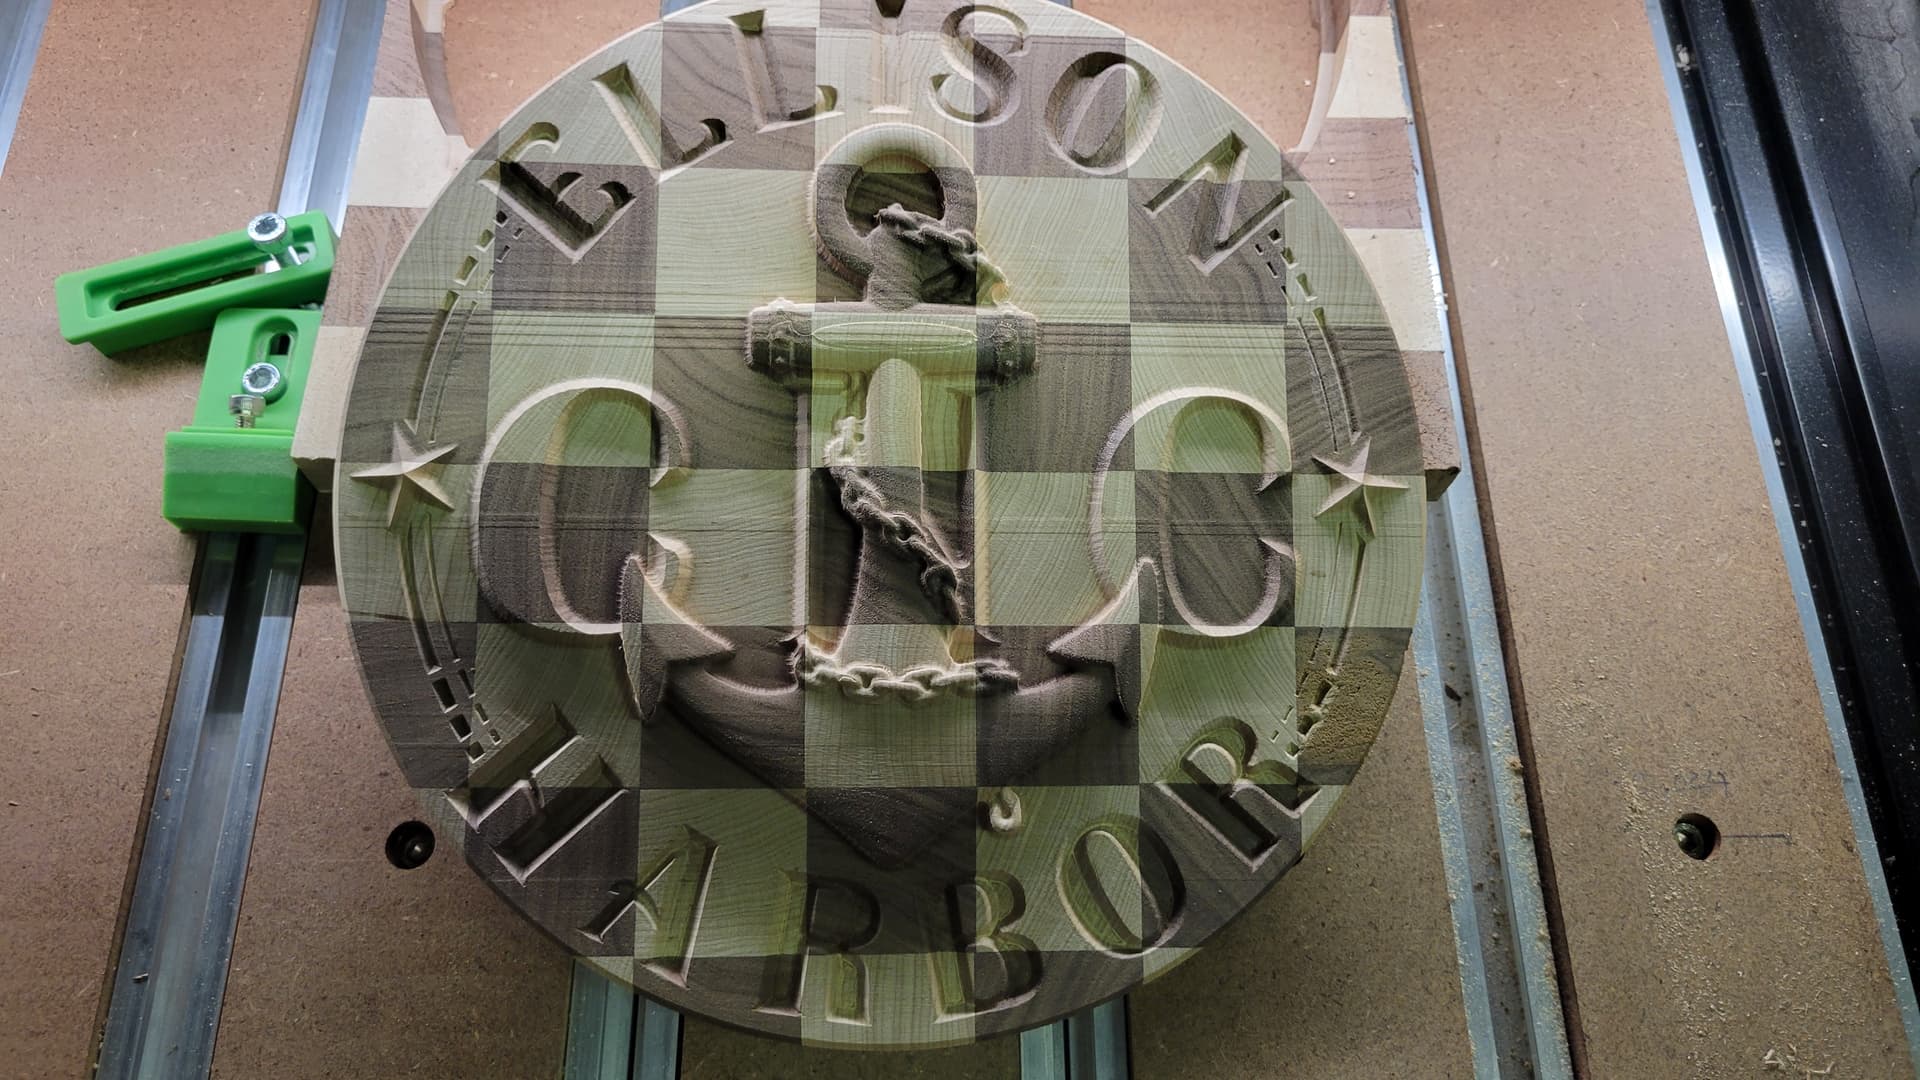
Super stoked with how it came out, Great way to break into 2025! Not I just need to ditch this cough!
Thanks again to the community! Everyone is so helpful, and I try to include as much info about my projects as I can so everyone can learn along with me. If anyone as has any questions please feel free to ask.
-Logan
31 Likes
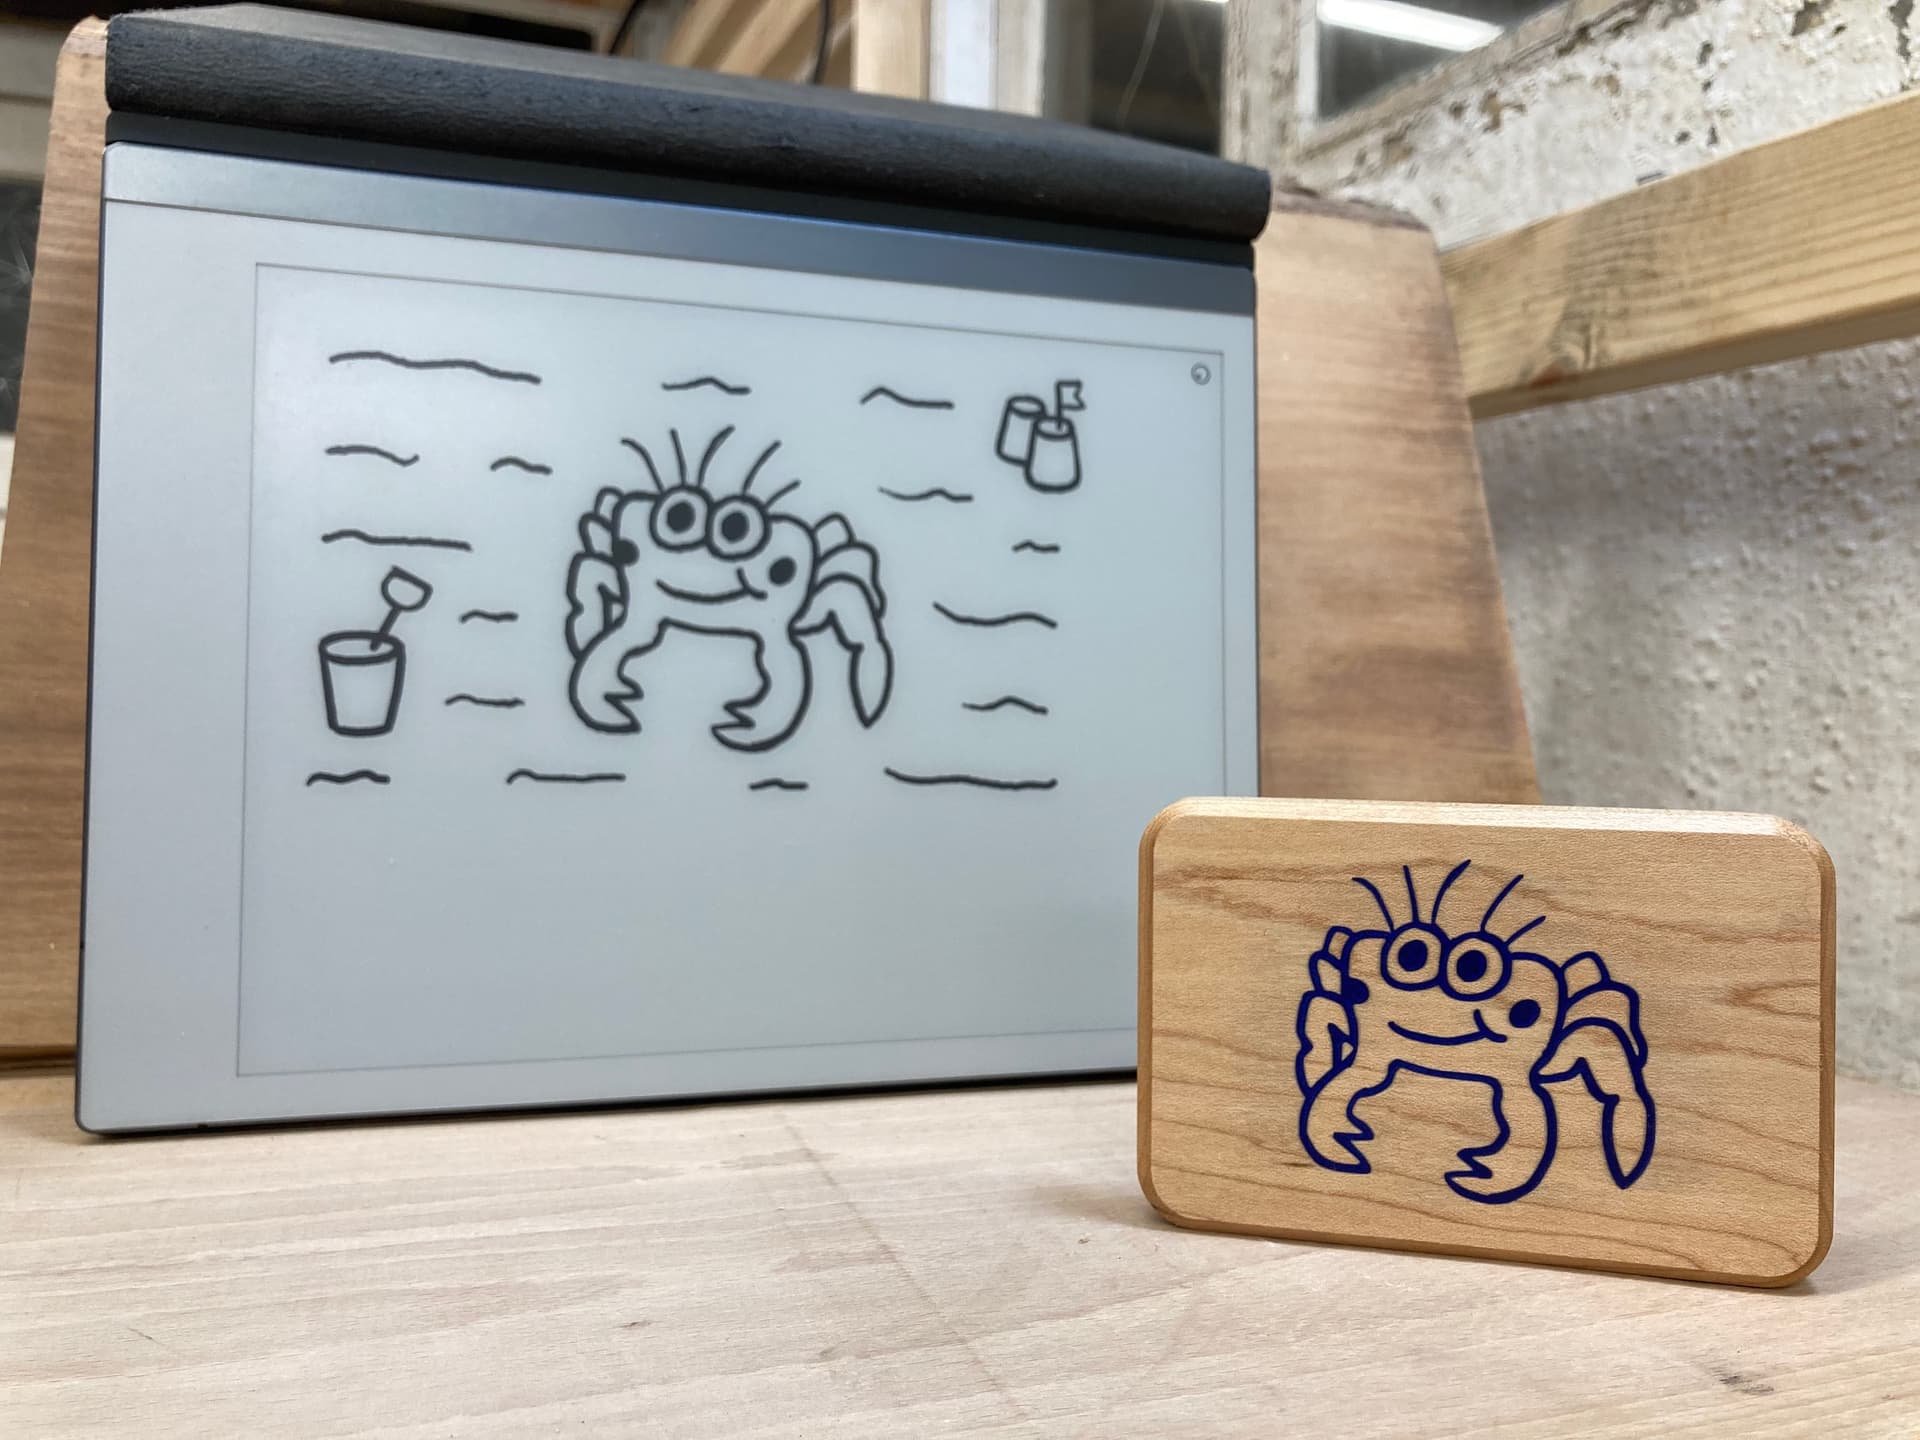
Thought you might like these little critters I made. I sketched them on an e-ink tablet then engraved them using a vbit before filling with epoxy ![]() Maybe not an artistic masterpiece, but certainly a fun little project and they make me smile.
Maybe not an artistic masterpiece, but certainly a fun little project and they make me smile.


27 Likes
Love these! Think they would make a great backing to a custom rubber stamp.
1 Like
A post was split to a new topic: Drawing tools for creating designs
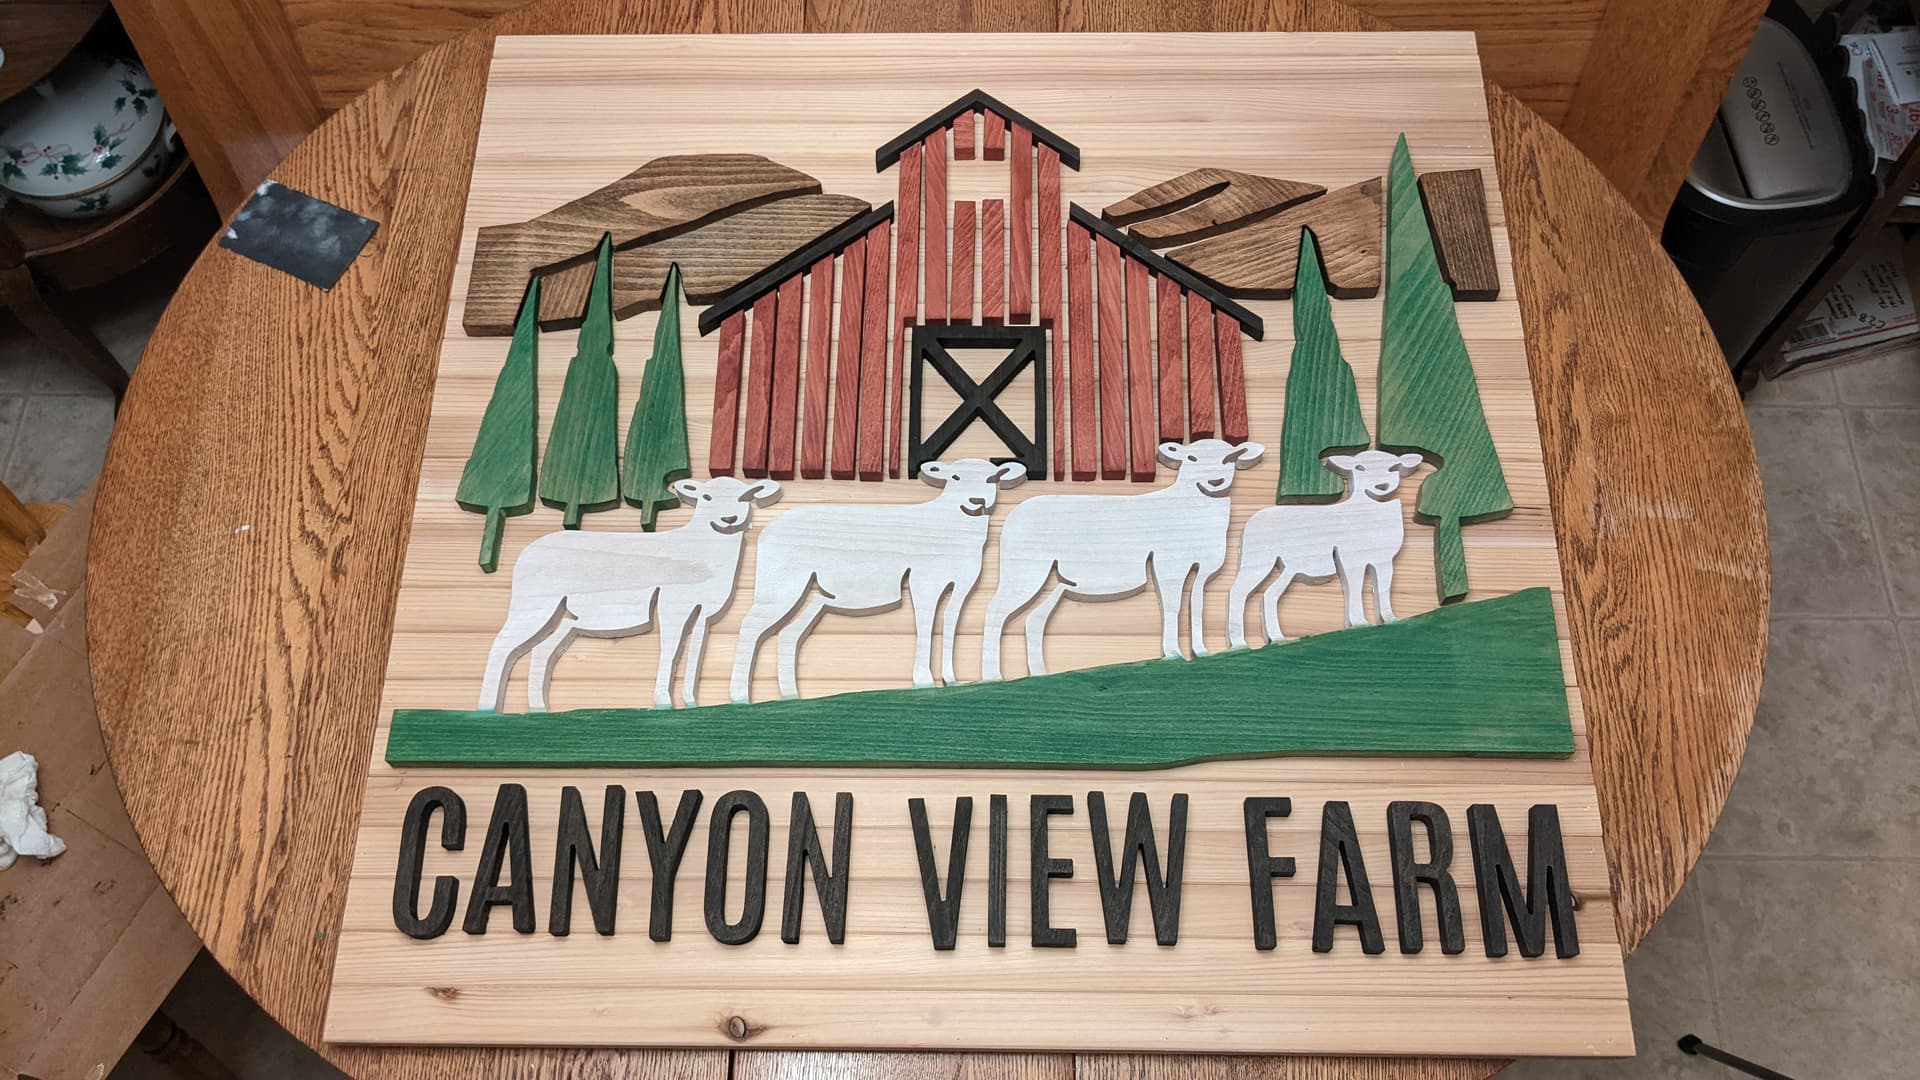
I’m working on a project for a friend. He will have this hanging on his barn facing the west which gets the wind and rain. I live in eastern WA where it is more arid. Thoughts on how to finish this project up. The pieces aren’t glued yet. I’ve thought about boiled linseed oil and and exterior poly. Wood pieces are 1/2 in thick beech. I’m going to use a water proof glue and also use a pin nailer. Thoughts for those that have made exterior signs to take the elements of the weather.
19 Likes
@Jonathan_Blank that looks really good, any chance you could share your process as far as cutting the different style pieces and design layout?
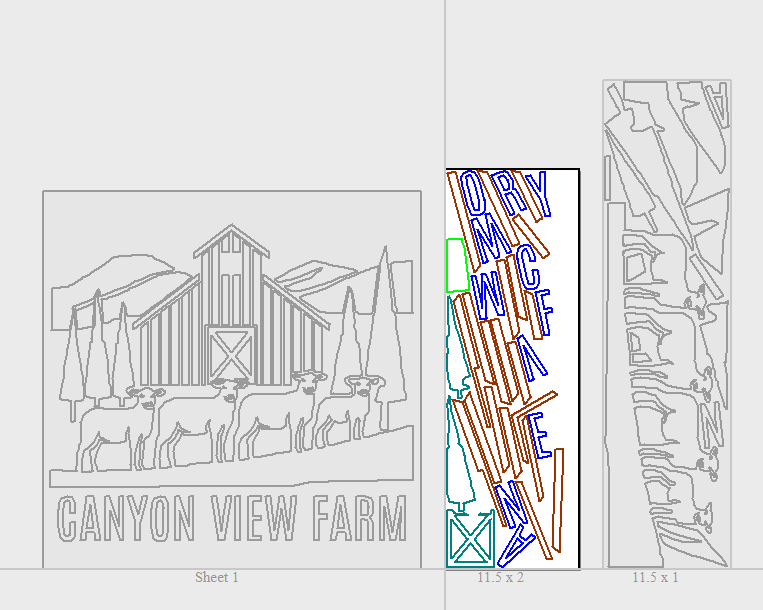
My friend gave me an AI-generated concept that he wanted to turn into a sign for his barn. I took the image and, piece by piece, created vector shapes to have a sharp file to work with. I used 1/2 inch thick beech for the pieces. Using Vectric, I nested the pieces to optimize my wood. Note to self: Set a larger gap between pieces so the wood is stable as the pieces are cut. The base is 1/2 in ply with cedar slates. Sanded all the project pieces and removed tabs. Stained. Now I need to finish things up with a finish and a frame.
20 Likes