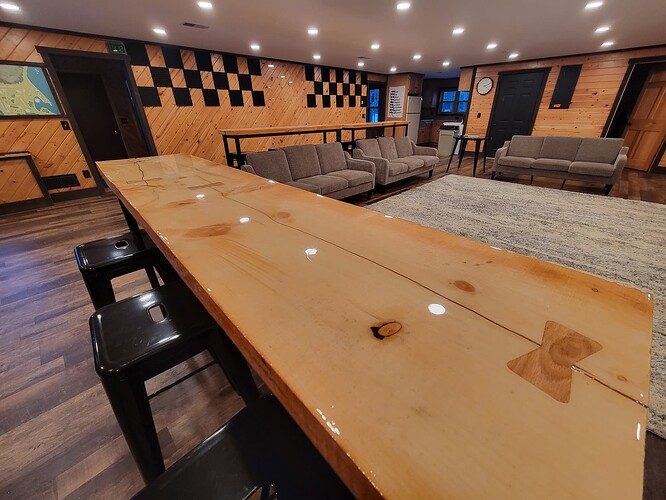
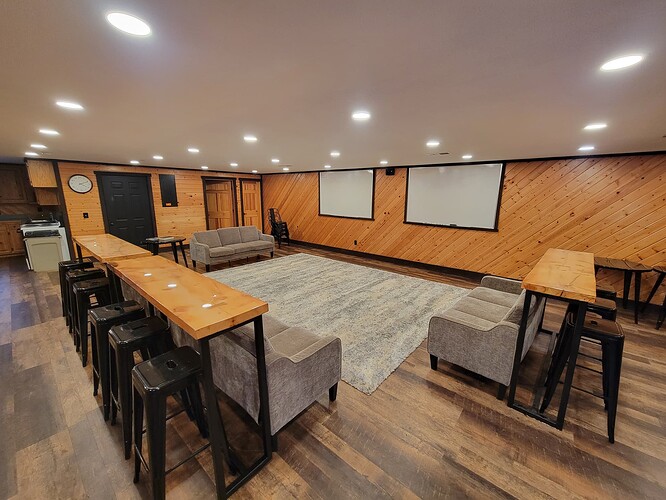
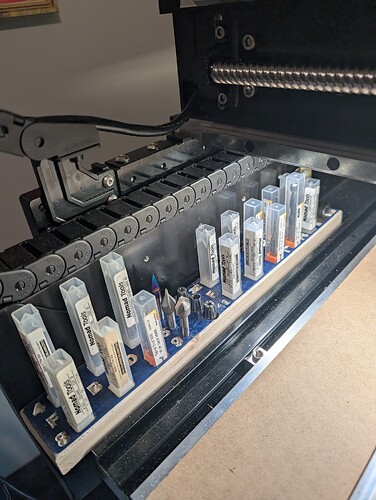
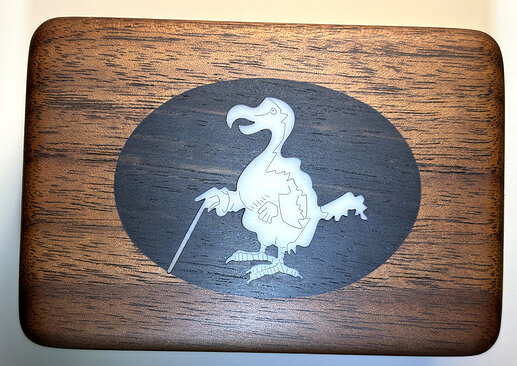
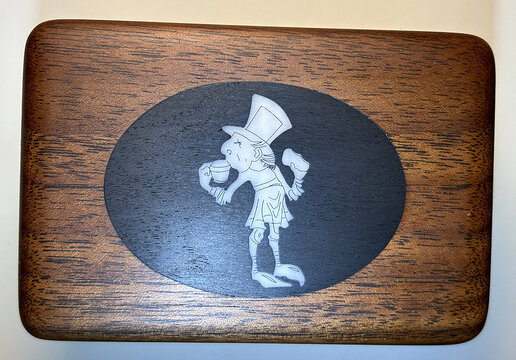
Barely a Shapeoko thing, but I showed the cutting of the bowties earlier. Here’s the finished tables.
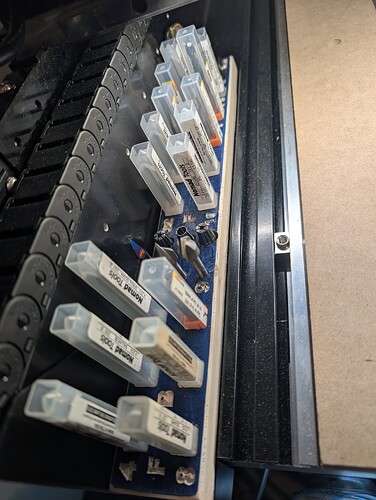
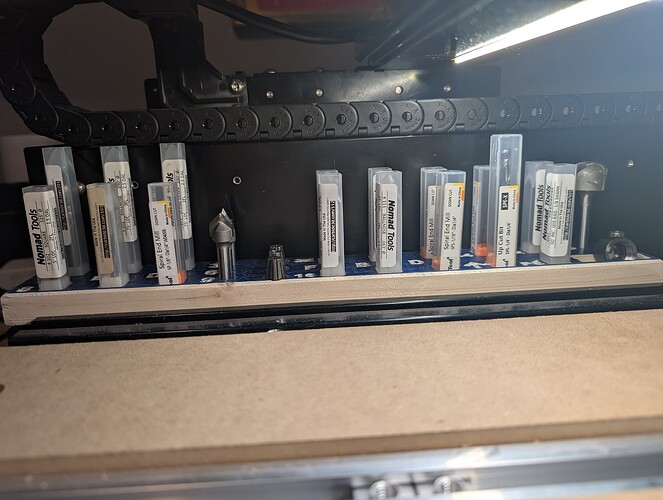
Not my prettiest so far but definitely my most functional, one of everything within easy reach - flat, ball, down for 1/4, 1/8, 1/16, 1/32, and a 1/64 flat. 30/60/90 vee, extra collets, bowl, foam, pcb engravers 40 & 20, and an extra collet nut. Shouldn’t have to say where is my x endmill ![]()
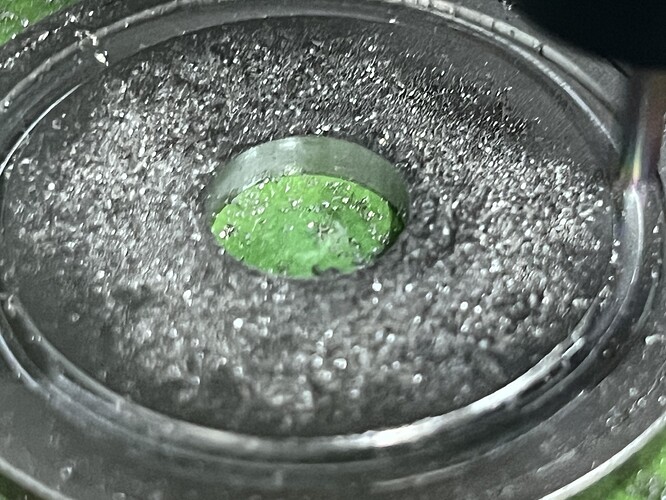
Few things are more satisfying than nailing the depth and avoiding the tape.
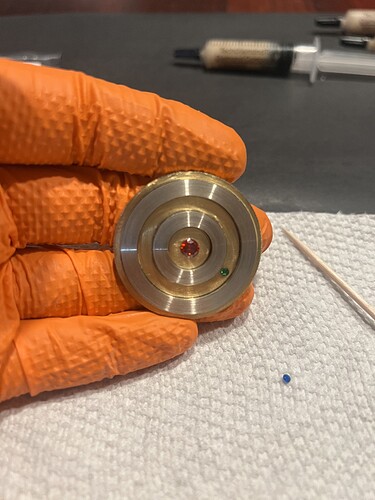
I put a touch of diamond paste in the grooves of the brass coin and sort of lapped the cupronickel rings in. Trying to get the movement silky smooth.
It’s coming together:
Lesson learned this time around:
if you do happen to hit the tape, it can quickly heat your material…and if your material transfers heat well like a copper alloy, it can quickly destroy the hold of your super glue.
Machinable wax is worth the hassle after all. Or you can just nail the depth first try like I definitely probably did ![]()
Them’s what lawyers call “weasel words!” ![]()
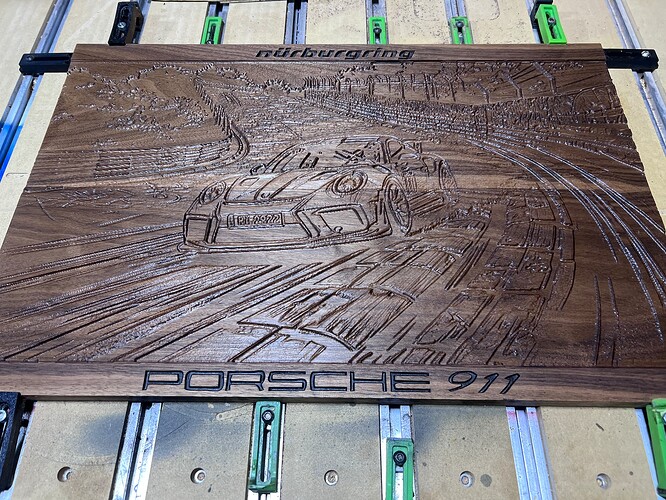
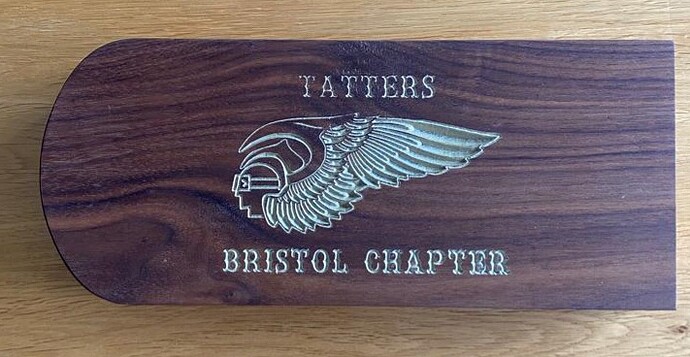
Searching for a little advice or maybe just some opinions on my first 3d carve. Is there a way to make the design stand out more or does it look good like it is? This is .75 inch walnut useing 201 for 3d roughing pass and 1/8 inch ball nose for 3d finish pass. Minwax poly wipe on 1 coat as of now. I used a bristle brush to go over it first to clean any fuzzies but walnut is awesome for this so it was real clean. Anyhow, advice appreciated as to how to make it look better. Thanks in advance!
Looks good!
The one thing I’d suggest would be to apply pigment to the incised areas of the image to increase the contrast as was done for the text.
Looks GREAT !
I agree with Will, you can use paint to develop a contrast between features.
Pick out a sliding scale for paints that produce various contrasts.
Groove width will change the amount of paint and the visual effect.
A black paint would look subtle for areas.
A metallic paint ( silver ? ) would bring out a main feature.
A copper metallic would be in between.
Ok, I do like the metallic paints …
Remember, Less is More
EDIT: How think of acrylic did you use ?
Oramask or equivalent before cutting, cut, then spray dye or paint, then remove the mask
Walnut and gold paint. Maybe more contrast than you’re looking for. ![]()
What I am struggling with is how do I apply color to the raised areas without getting it all over the rest of it without having to sit there by hand and do it. I know when I make signs with advance carve I just stain it then run the carve and the raised parts stay stained. Can I do that with a 3d carve and just put the depth where I have parts of the wood sticking up above the limit (where it shows up in red on the show 3d button). I also thought about staining it and seeing if I got differences. I am getting more comfortable with the machine but alas, I am new to woodworking and finishes and such.
Thank you. As I was telling will above this is a 3d carve (my first) and normally with an advance v carve or v carve I stain or paint then run the program and the raised areas keep the stain and the carved away areas create the contrast. With 3d I am confused as to if I can stain or paint first and leave some of the carve above the limit (the red on view 3d) after a stain or paint and would that leave my painted or stained parts untouched by the bits when I run my program.
Thanks Andy, no this a great idea I have actually done some of that too but this design I did was an imported stl and is so involved and has so many different depths it might be difficult to do that as my top layer is not level anywhere at the top.
With a finish applied, it should be more workable to apply, then wipe off any excess — there’s actually a product made with that in mind:
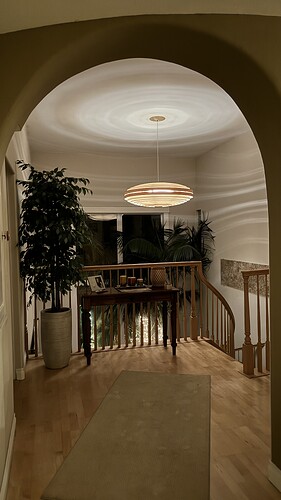
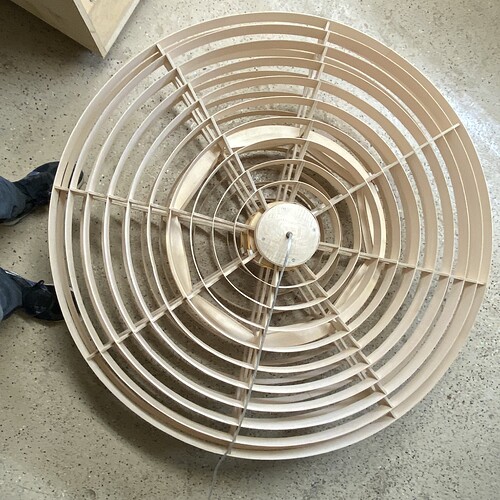
I made this chandelier for my front foyer. It’s not perfect, but I’m happy with it.
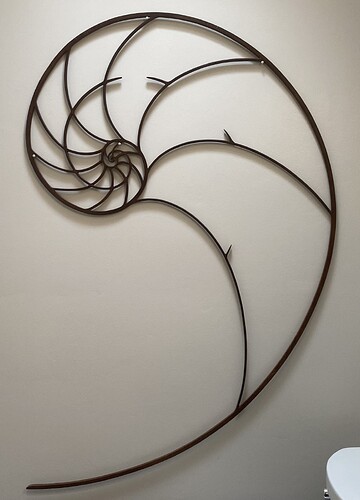
The shell is an art project for my wife.
Thanks that’s exactly what I’m looking for!
Beautiful pieces, very cool! If I stare at the shell long enough it becomes a 3D worm coming out of the wall! Awesome work!
The rub and buff needs a clear coat to seal it.
Your inlay work is something to strive towards. Excellent as always.
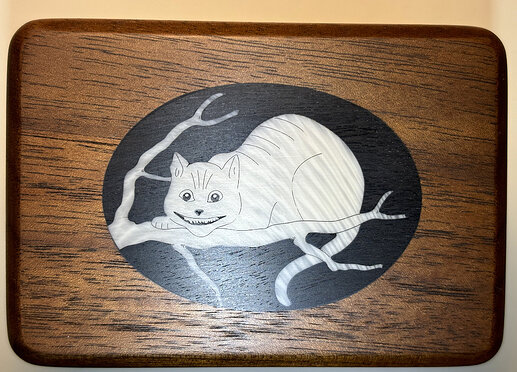
Thanks! I should note the the Dodo and Hatter were from drawings sketched 50 years ago by a young woman friend, a real artist.
