Awesome thank you! Great idea
Looks great! I would put a good 5 coats of exterior poly on it to help prevent the weathering.
1 Like
I would say pretty good artistry. All my drawings are really bad. All my circles look like eggs and all my eggs look like circles. I have had some drawing courses but I just dont have the artistic eye.
Your little animals are cute.
1 Like
Jonathan
Sending that over to the wet side from the dry side of WA (“where we always have perfect weather”), i agree with Derek. I would make sure it it sealed with at least 5 coats of a material like Spar varnish. Nothing is perfect but that will keep it from needing to be resealed every year due to the constant humidity on the west side.
1 Like
They are suberb. I would be interested to know how you did the fine black lines and light grey stripes on the cat. Is this epoxy?
Thanks
Ben, these are excellent. How did you do the glass? It looks like the brass is inlaid into it!
Thanks
The fine black lines were engraved with a 45° carbide drag bit then filled with India ink.
The substrate for all three inlays is “Resin-Ivory Slabs” from guitarpartsandmore.com. The “grain” varies quite a bit across these pieces, for the cat I chose an accentuated area. The fact that the grain is oriented perfectly was total luck.
Thanks for appreciating.
2 Likes
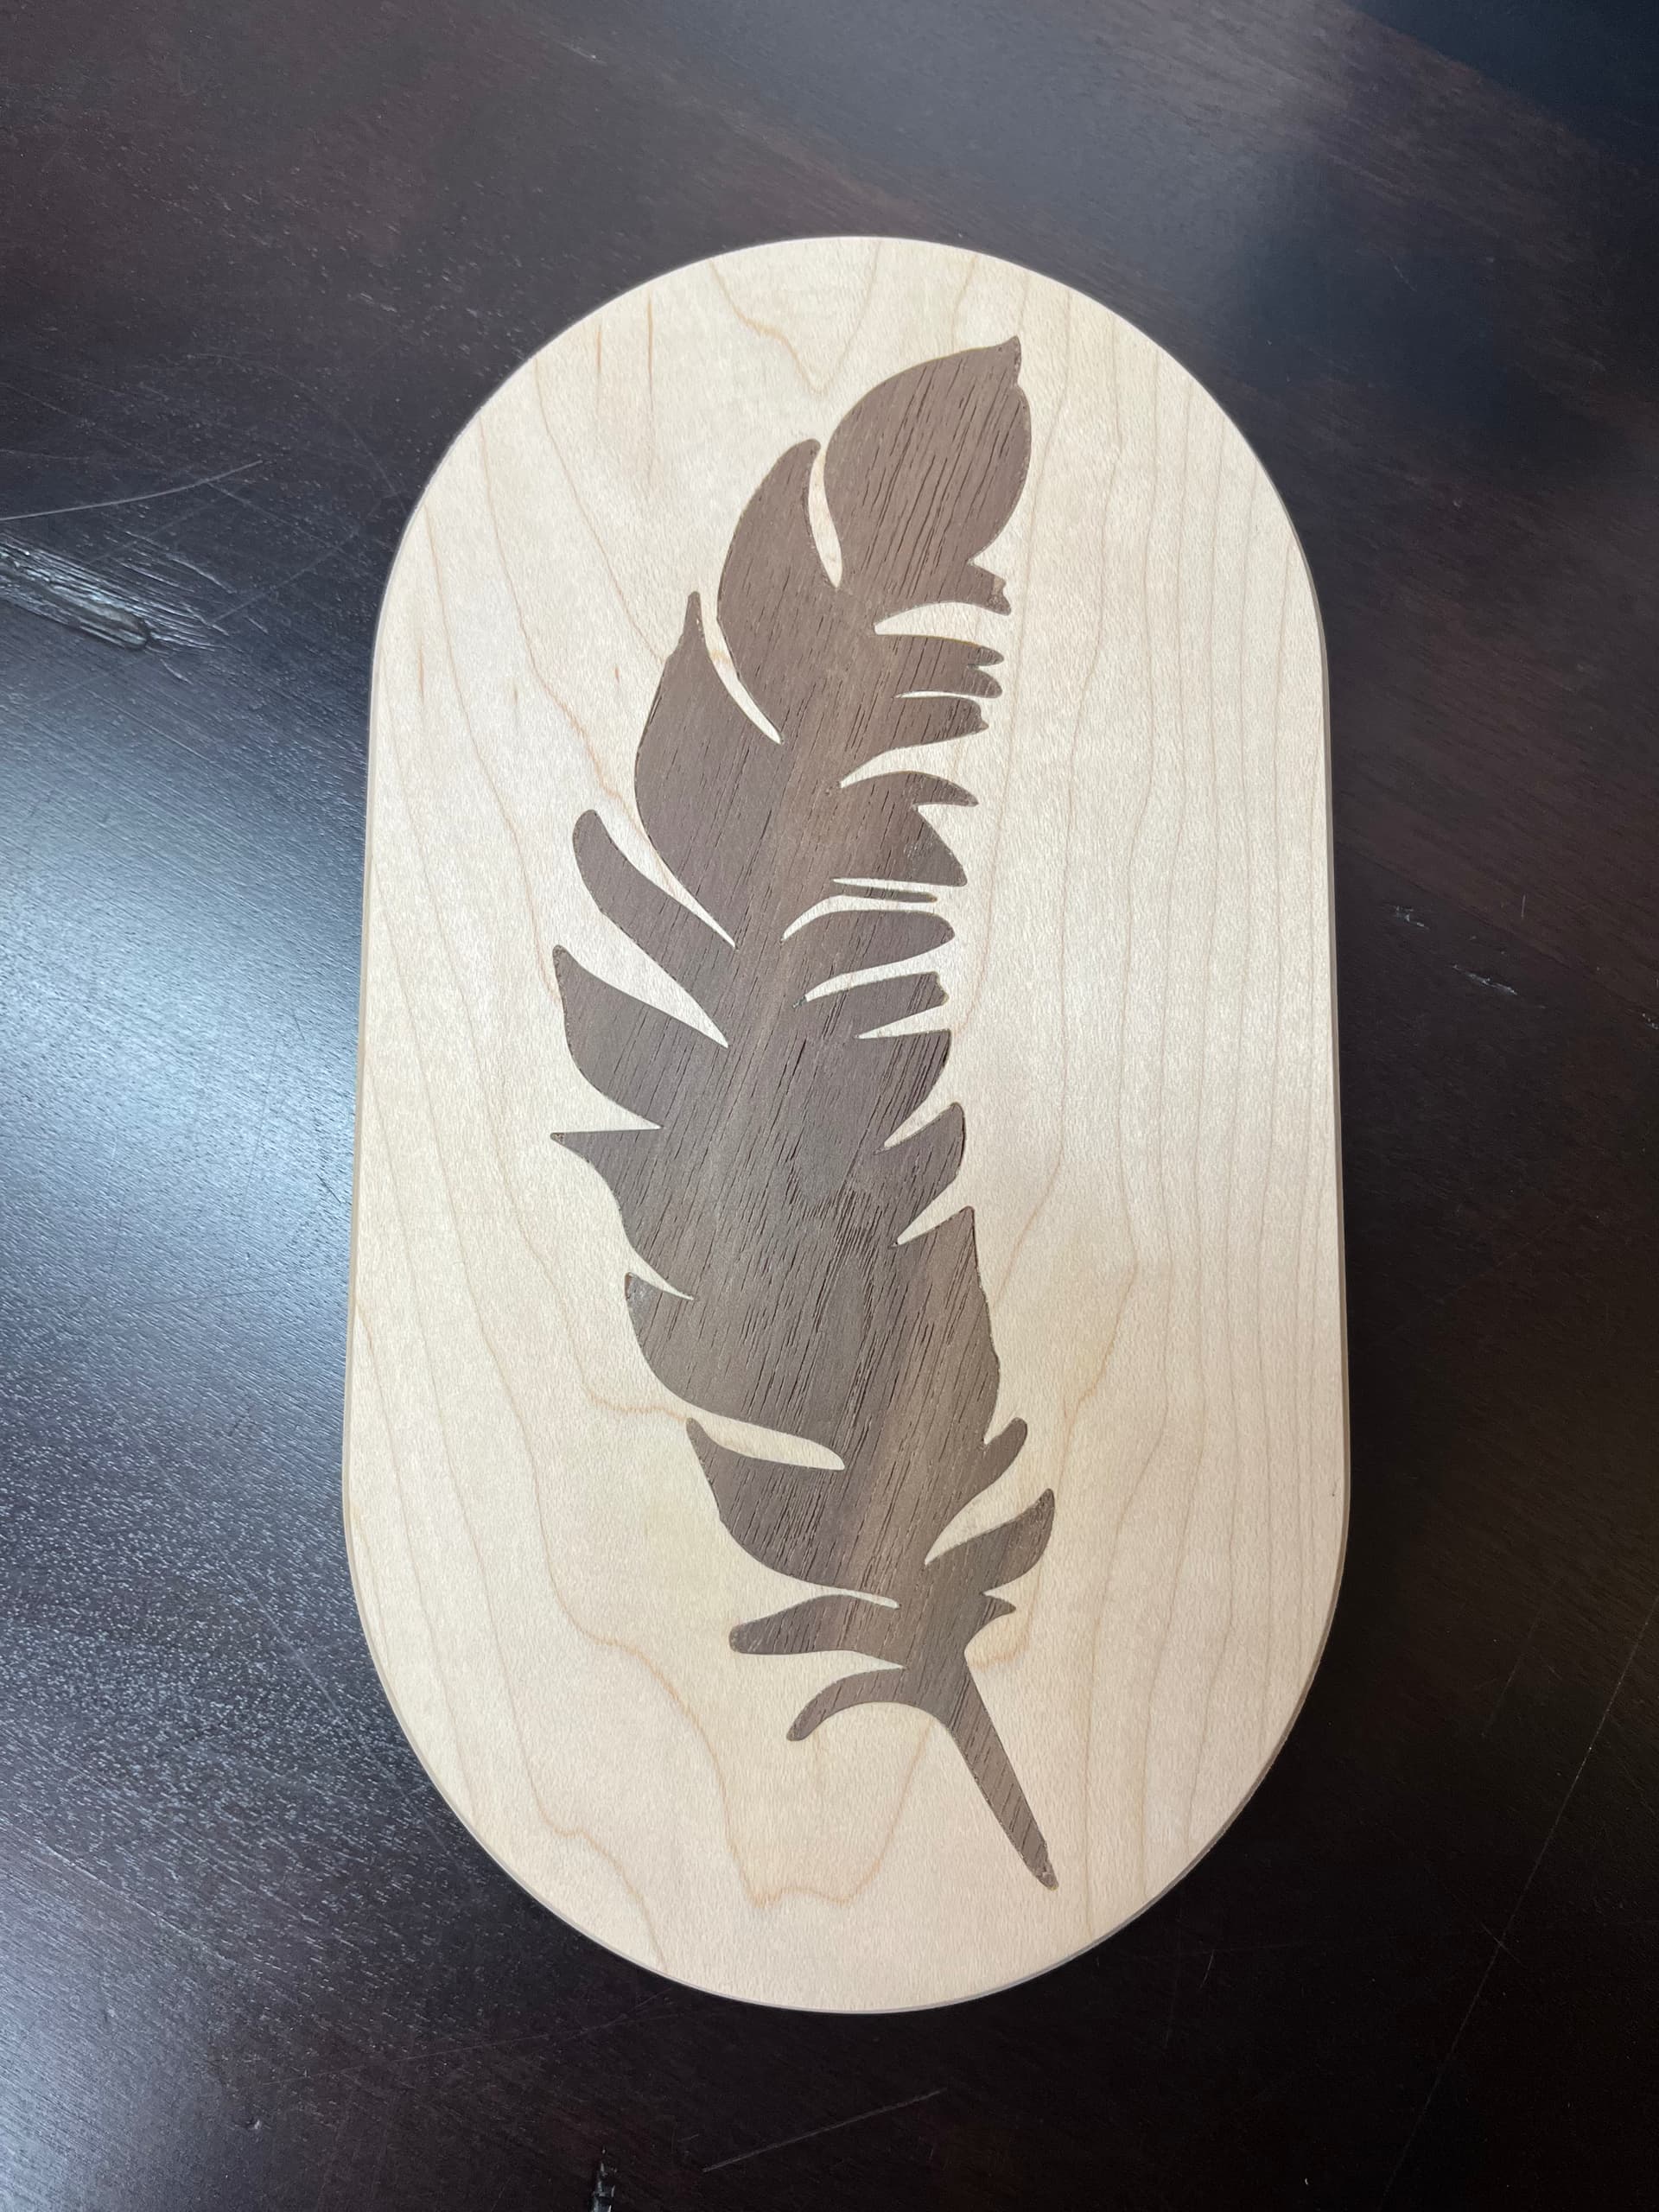
I finally got to doing the inlay in Maple and walnut. I’m really happy with the way it turned out. I did take gdon’s advice and used a 30 degree vee bit… advice well taken judging by the outcome ![]() There were still a few small gaps but I filled them with mixed walnut sawdust and glue, sanded it smooth and you would never know they were there.
There were still a few small gaps but I filled them with mixed walnut sawdust and glue, sanded it smooth and you would never know they were there.
21 Likes
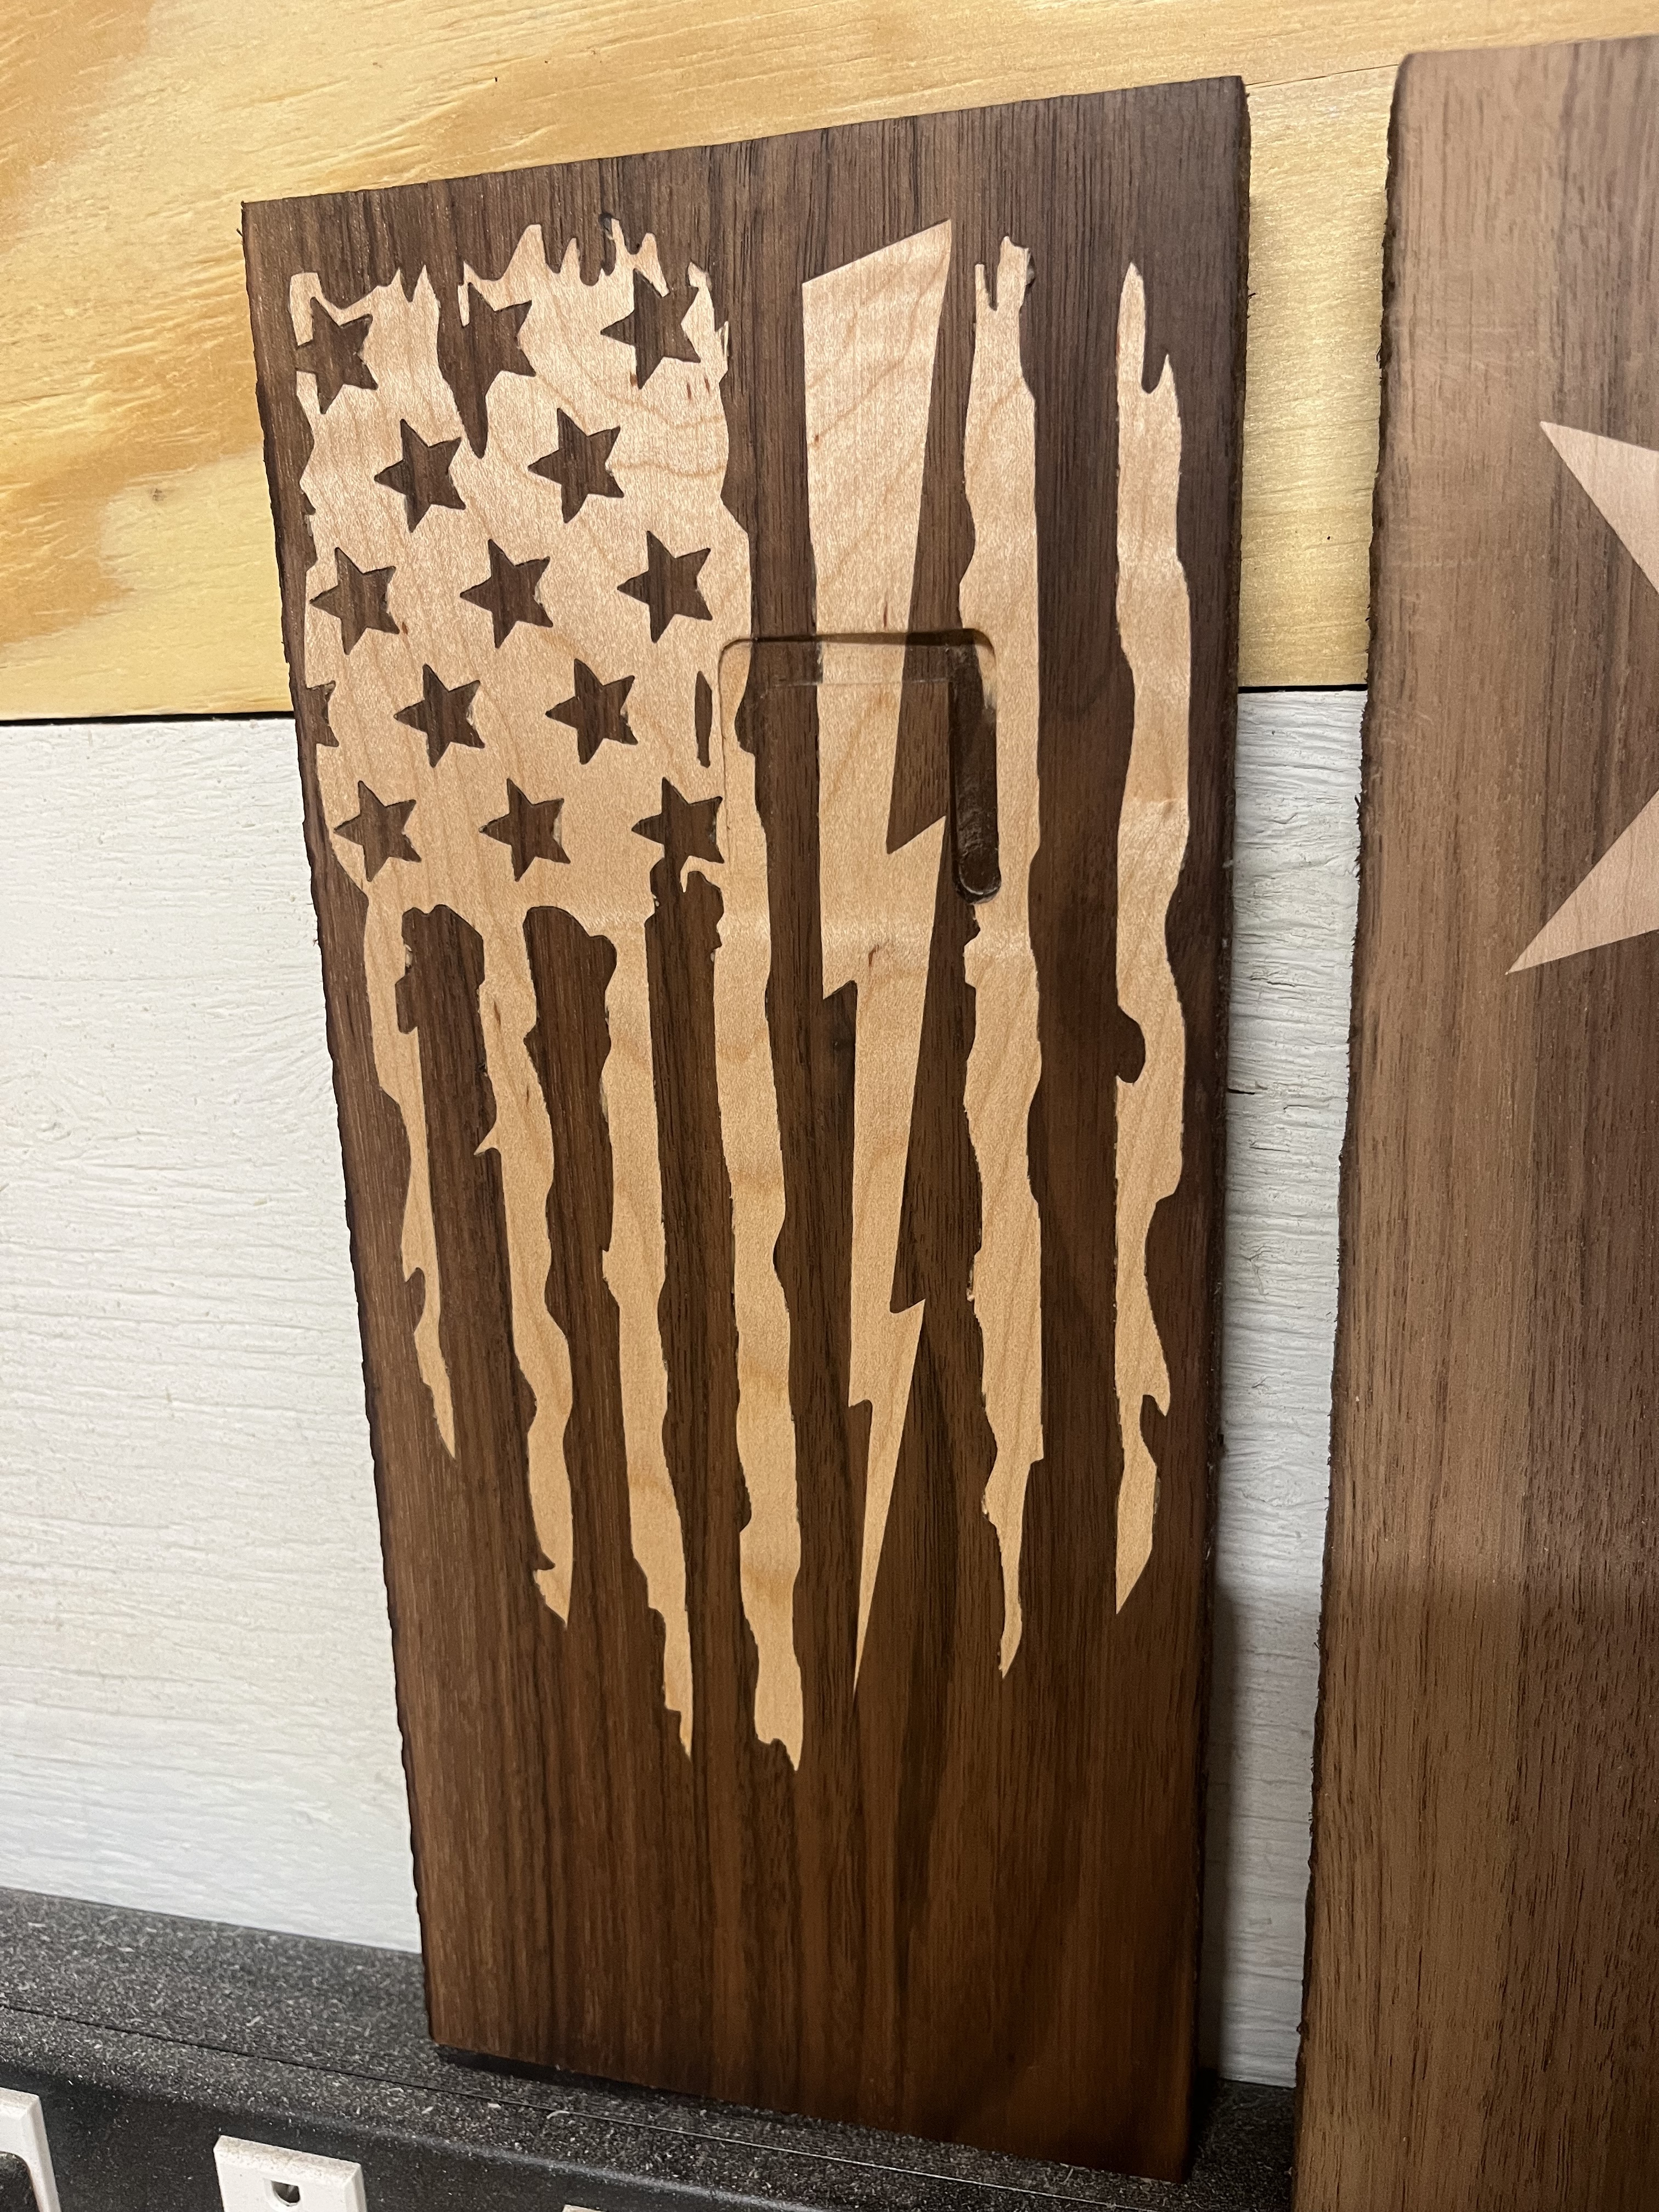
Tried a complex inlay for first time. Came out ok except the bit became loose and fell into the work piece.
23 Likes
Thanks for sharing, it really is a great piece of work.
Came out really nice! Do you mind posting your tool path settings for the pocket and plug? Thanks!
Sure…
Feather 30 Degree Oval.c2d (164 KB)
Feather Inlay Plug.c2d (128 KB)
3 Likes
Beautiful. Great work.
I also submitted the project to CutRocket ![]()
4 Likes
Very nice work Jonathan.
Hey Jeff that looks great to me. I hav not yet played with the inlay stuff yet but very inspiring.
1 Like
I get lucky where I live and find a lot of lumber for free, especially some of the more expensive woods. The only thing is, I have to go cut it into logs and then make my own lumber. I like finding farmers that are working land to open for cattle grazing and they come in and push all of the trees together and leave them for a later time to burn.
Usually, that is when i have been watching over time to see what is going on. Then one day I finally run into the land owner and ask them about the trees. I have come across some of the nicest looing trees, that yield some of the prettiest lumber. I have a portable chainsaw saw mill that i cut the logs with. Then I can plane the lumber smooth and flat. Seems like a lot of work on some of this, but when prices are as high as $500 or more for a single slab of walnut or maple, even white oak or red oak, I can’t see spending that much if I don’t have a client yet for a job. Also, with me cutting my own lumber sometimes, it allows me to take a few more risks with the wood, and if something fails in the cuts, I don’t feel so bad about having to toss something.
Right now I have a few different types of logs sitting outside my shop waiting to be cut into lumber, wood like, hickory, sassafras, mulberry, walnut, and red cedar.
I do like your design for your projects of the textured carvings that are enlays. Keep up the good work.
Just wait until you get into the advanced V-carving and cut everything in reverse, where the letters are raised, the dragon is raised, and the material around the letters and dragon is completely removed down a bit with a raised border. Will take your signs to a whole new level.
My first signs carved out were pretty plain at first. I was getting to know the machine and designing capabilities. The first signs did look good, but now looking at them today, I see so much of the designing flaws I made that could have been corrected with carving them in a different design. Happy designing and programming.
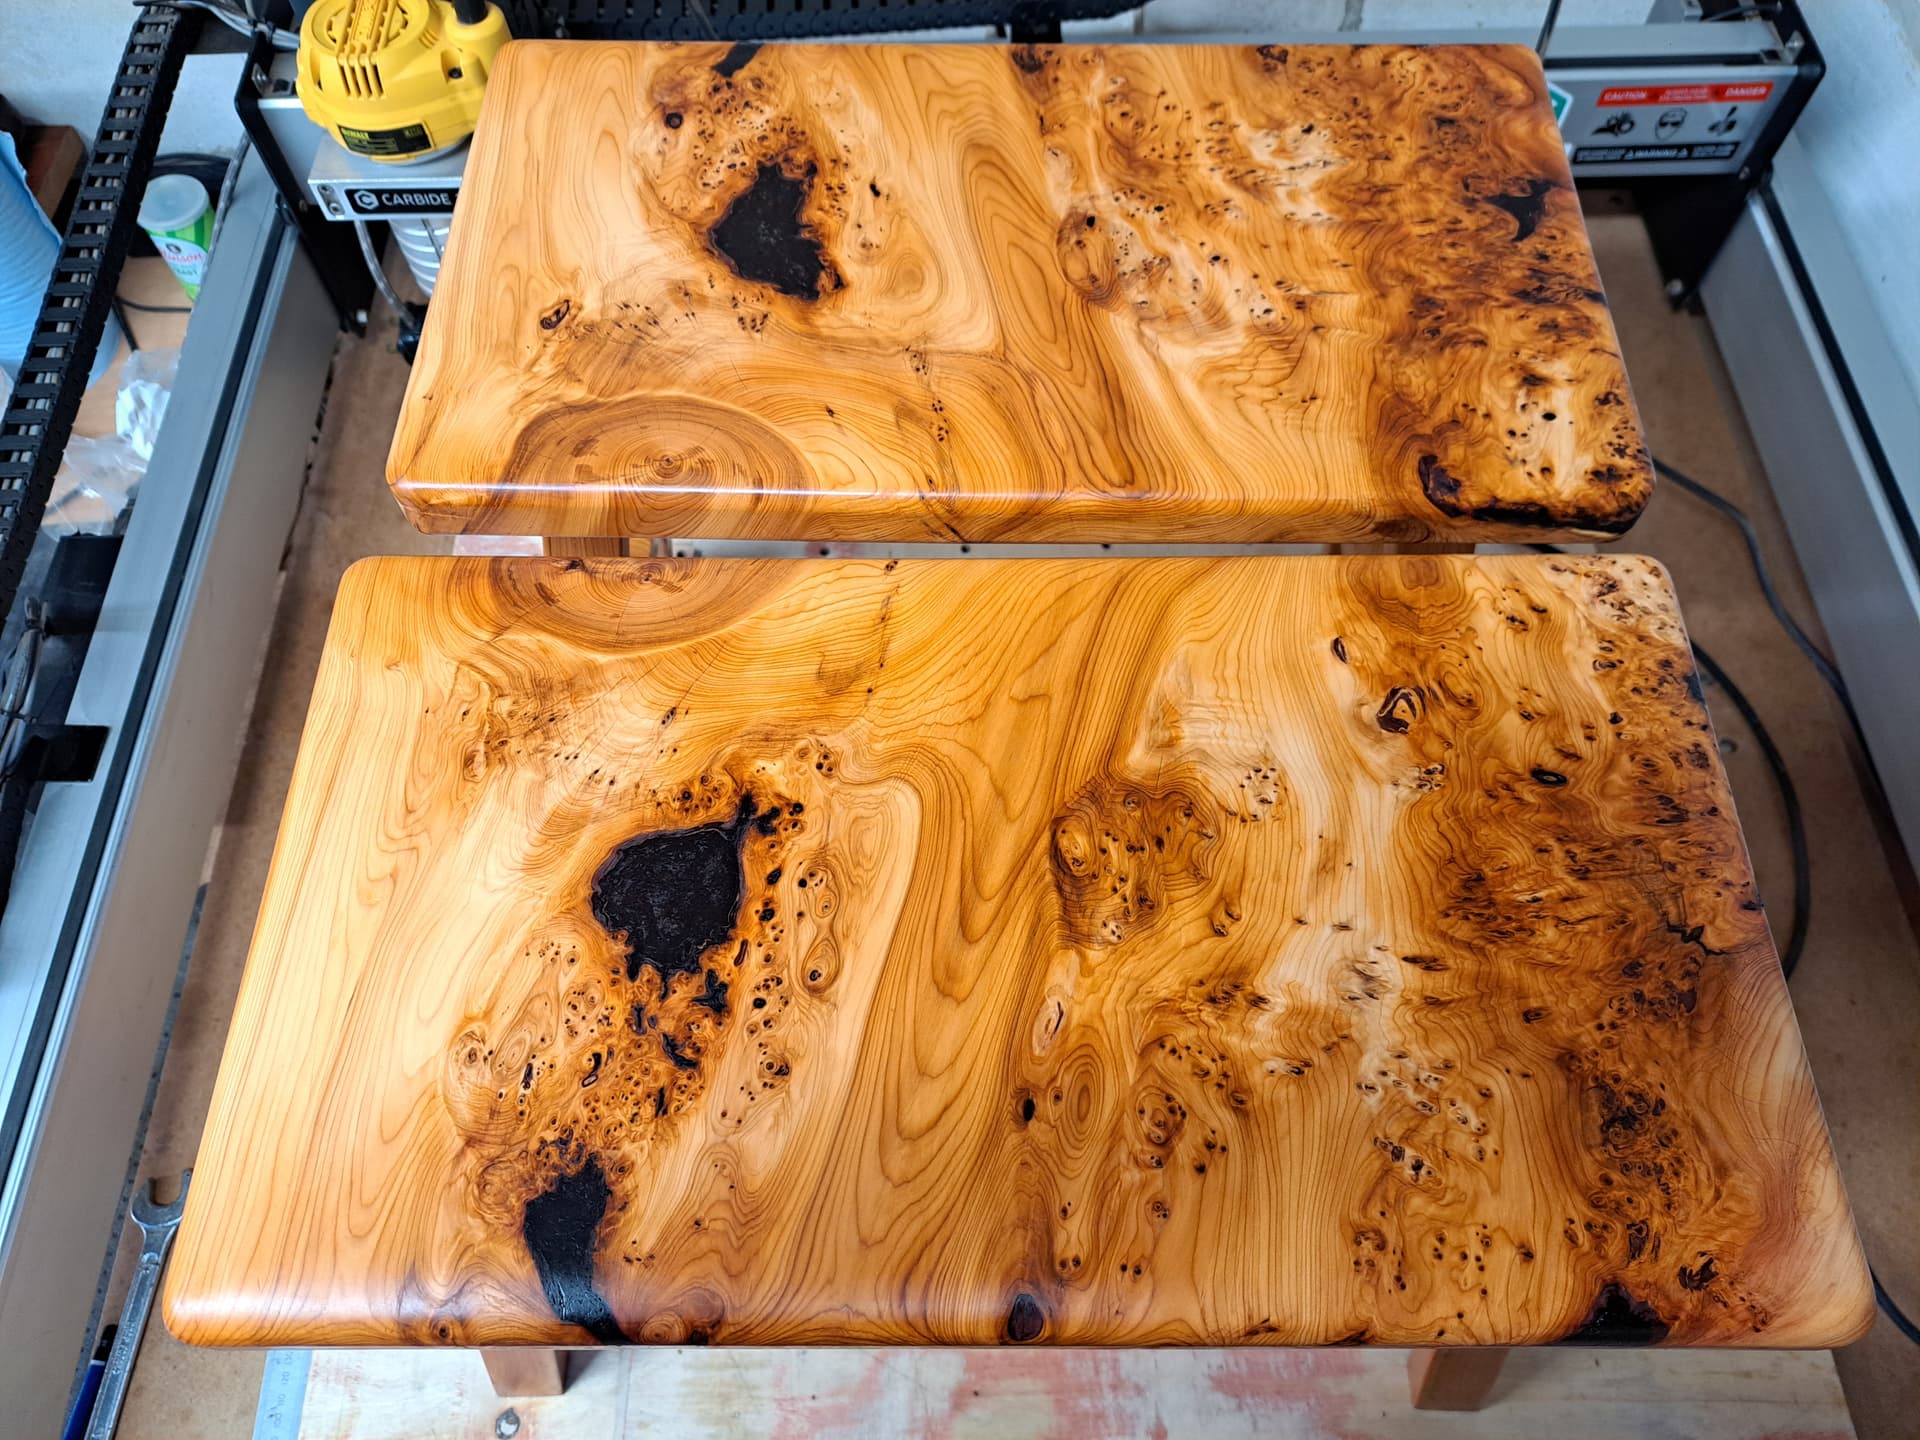
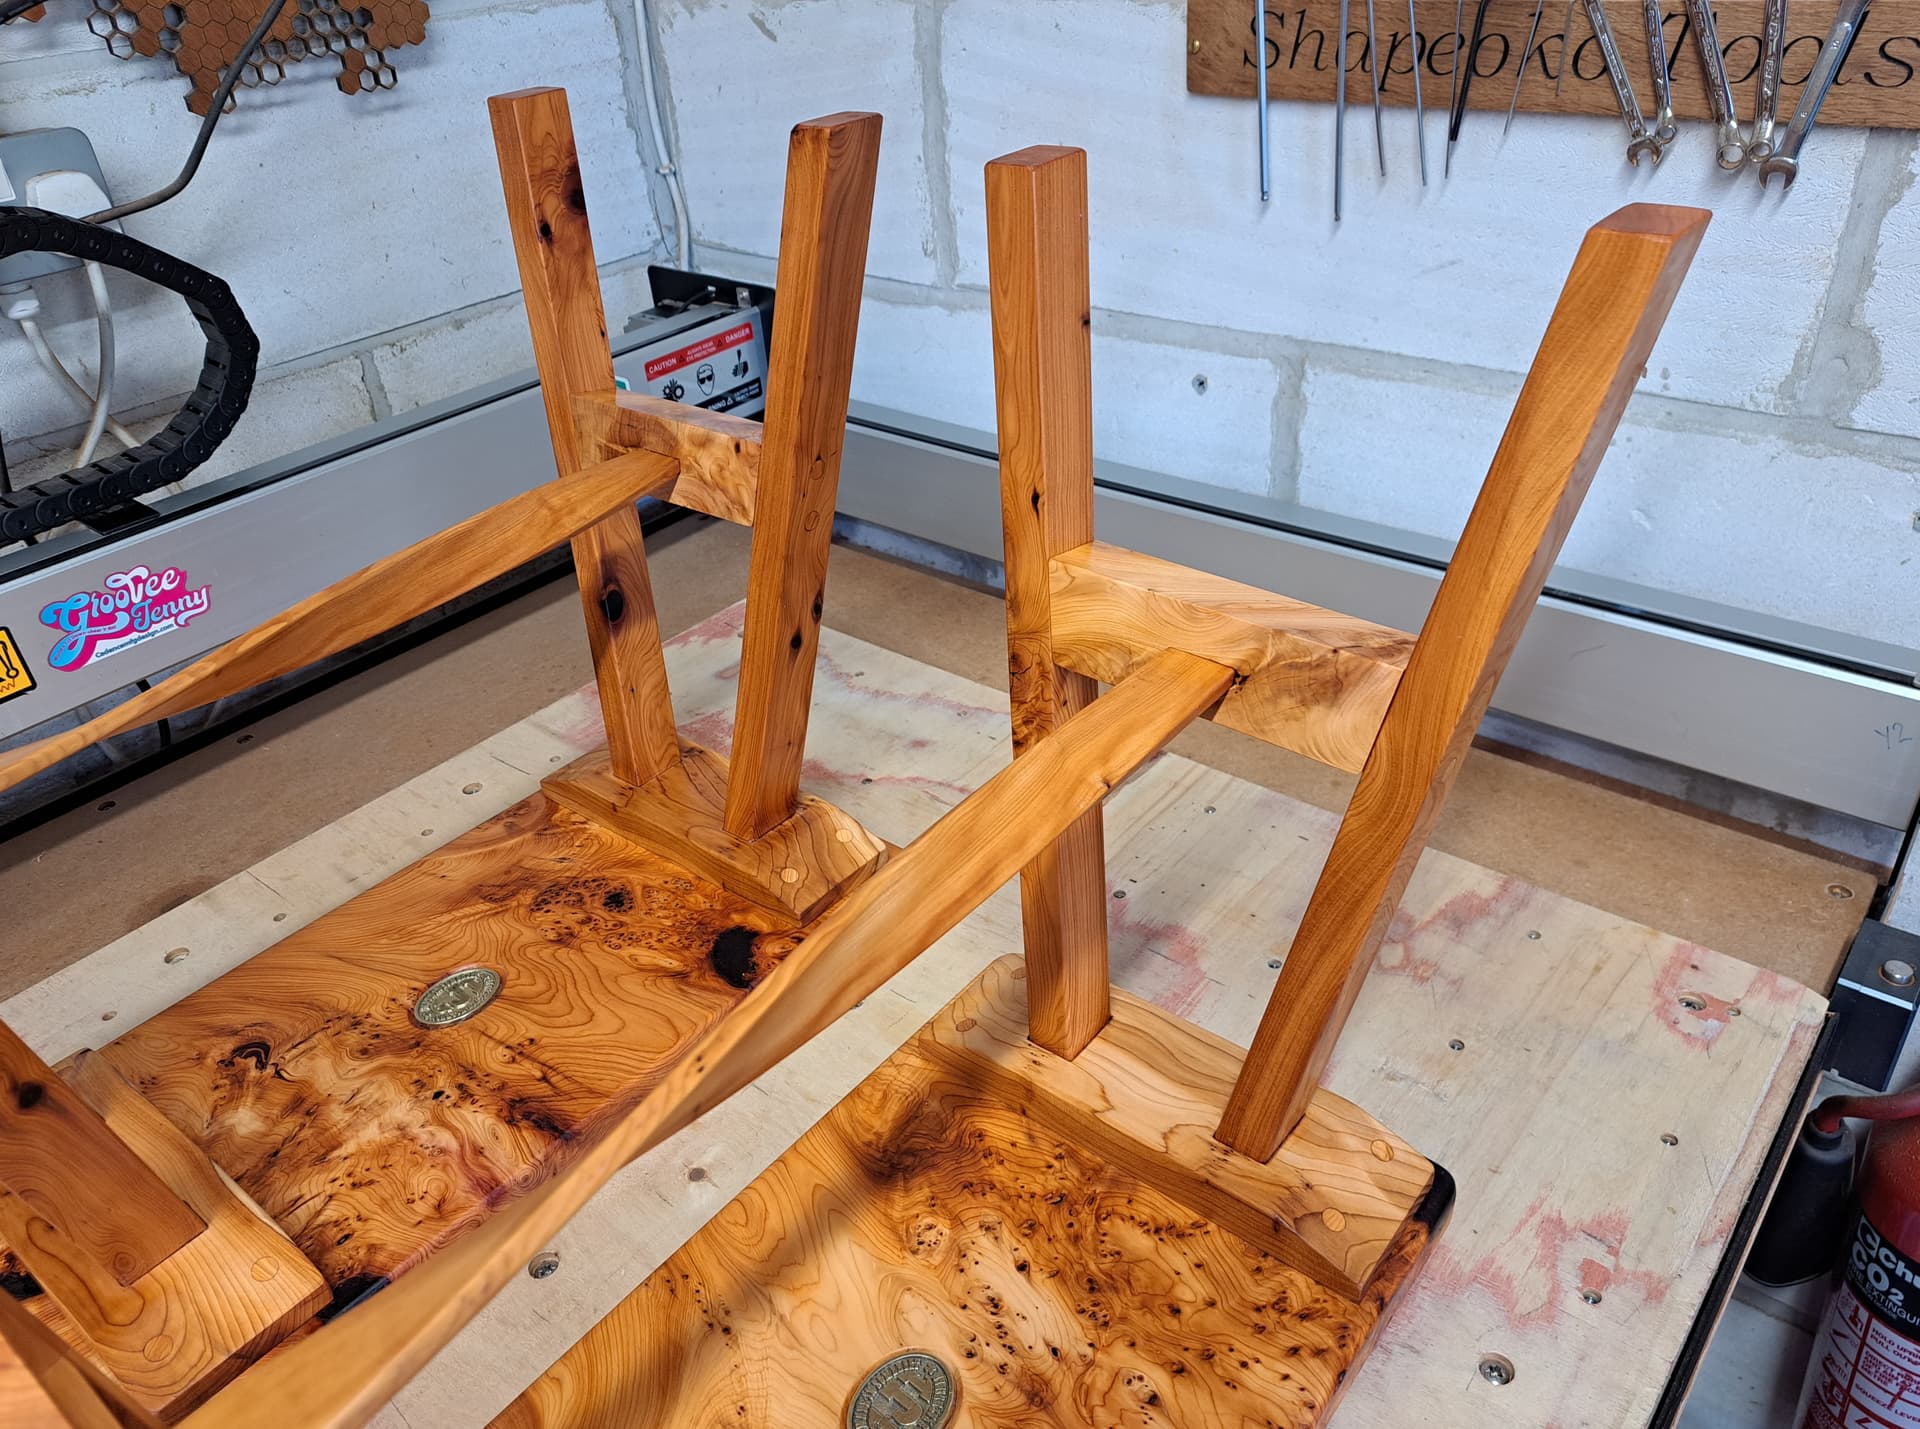
Pretty boring as far as use of a cnc goes, but as I don’t have the skill at hand with wood chisels, using a 15 degree inclined jig on my Shapeoko made my life a whole lot easier with the leg mortices for these book-matched stools / side tables. It was also handy for the steam bent stretcher mortices.
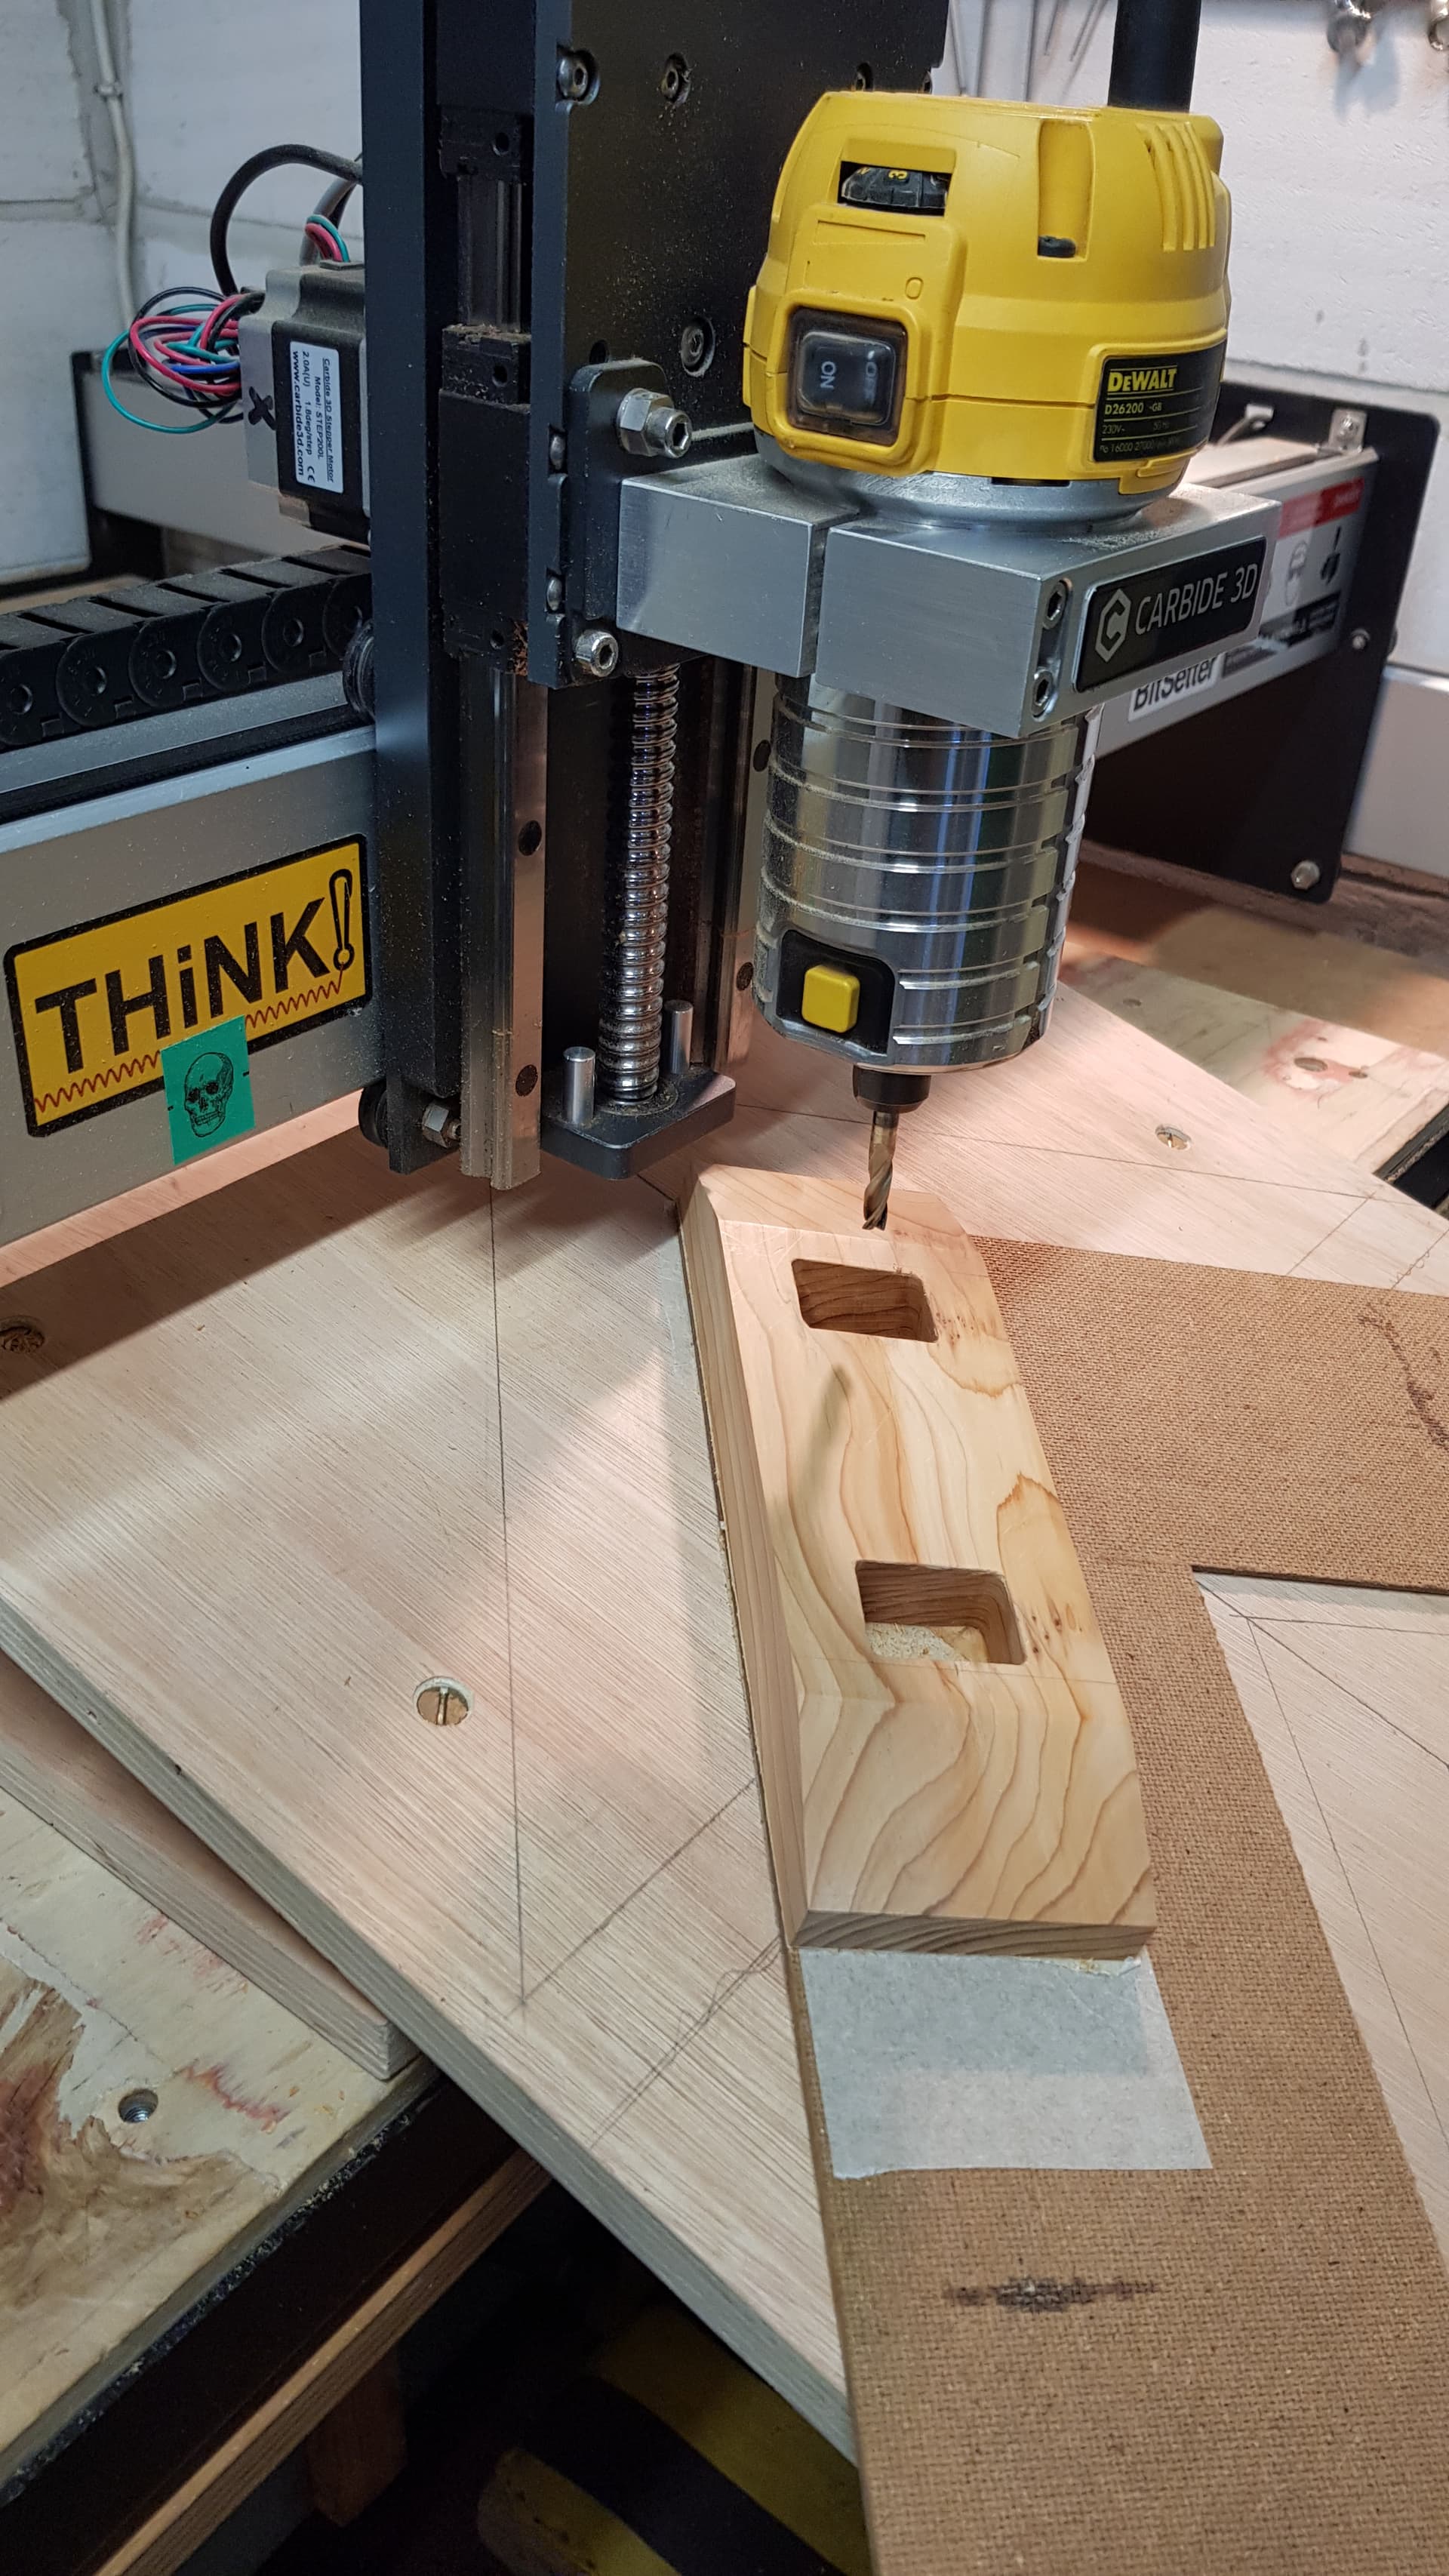
.
30 Likes
Very nice but lets see the finished product standing up. Your steam bent stretcher is quite a feat. What kind of wood did you steam bend?