Thanks so much for the quick reply. The picture clarified things for me. Great idea, thanks for posting.
Best regards,
Allen
Thanks so much for the quick reply. The picture clarified things for me. Great idea, thanks for posting.
Best regards,
Allen
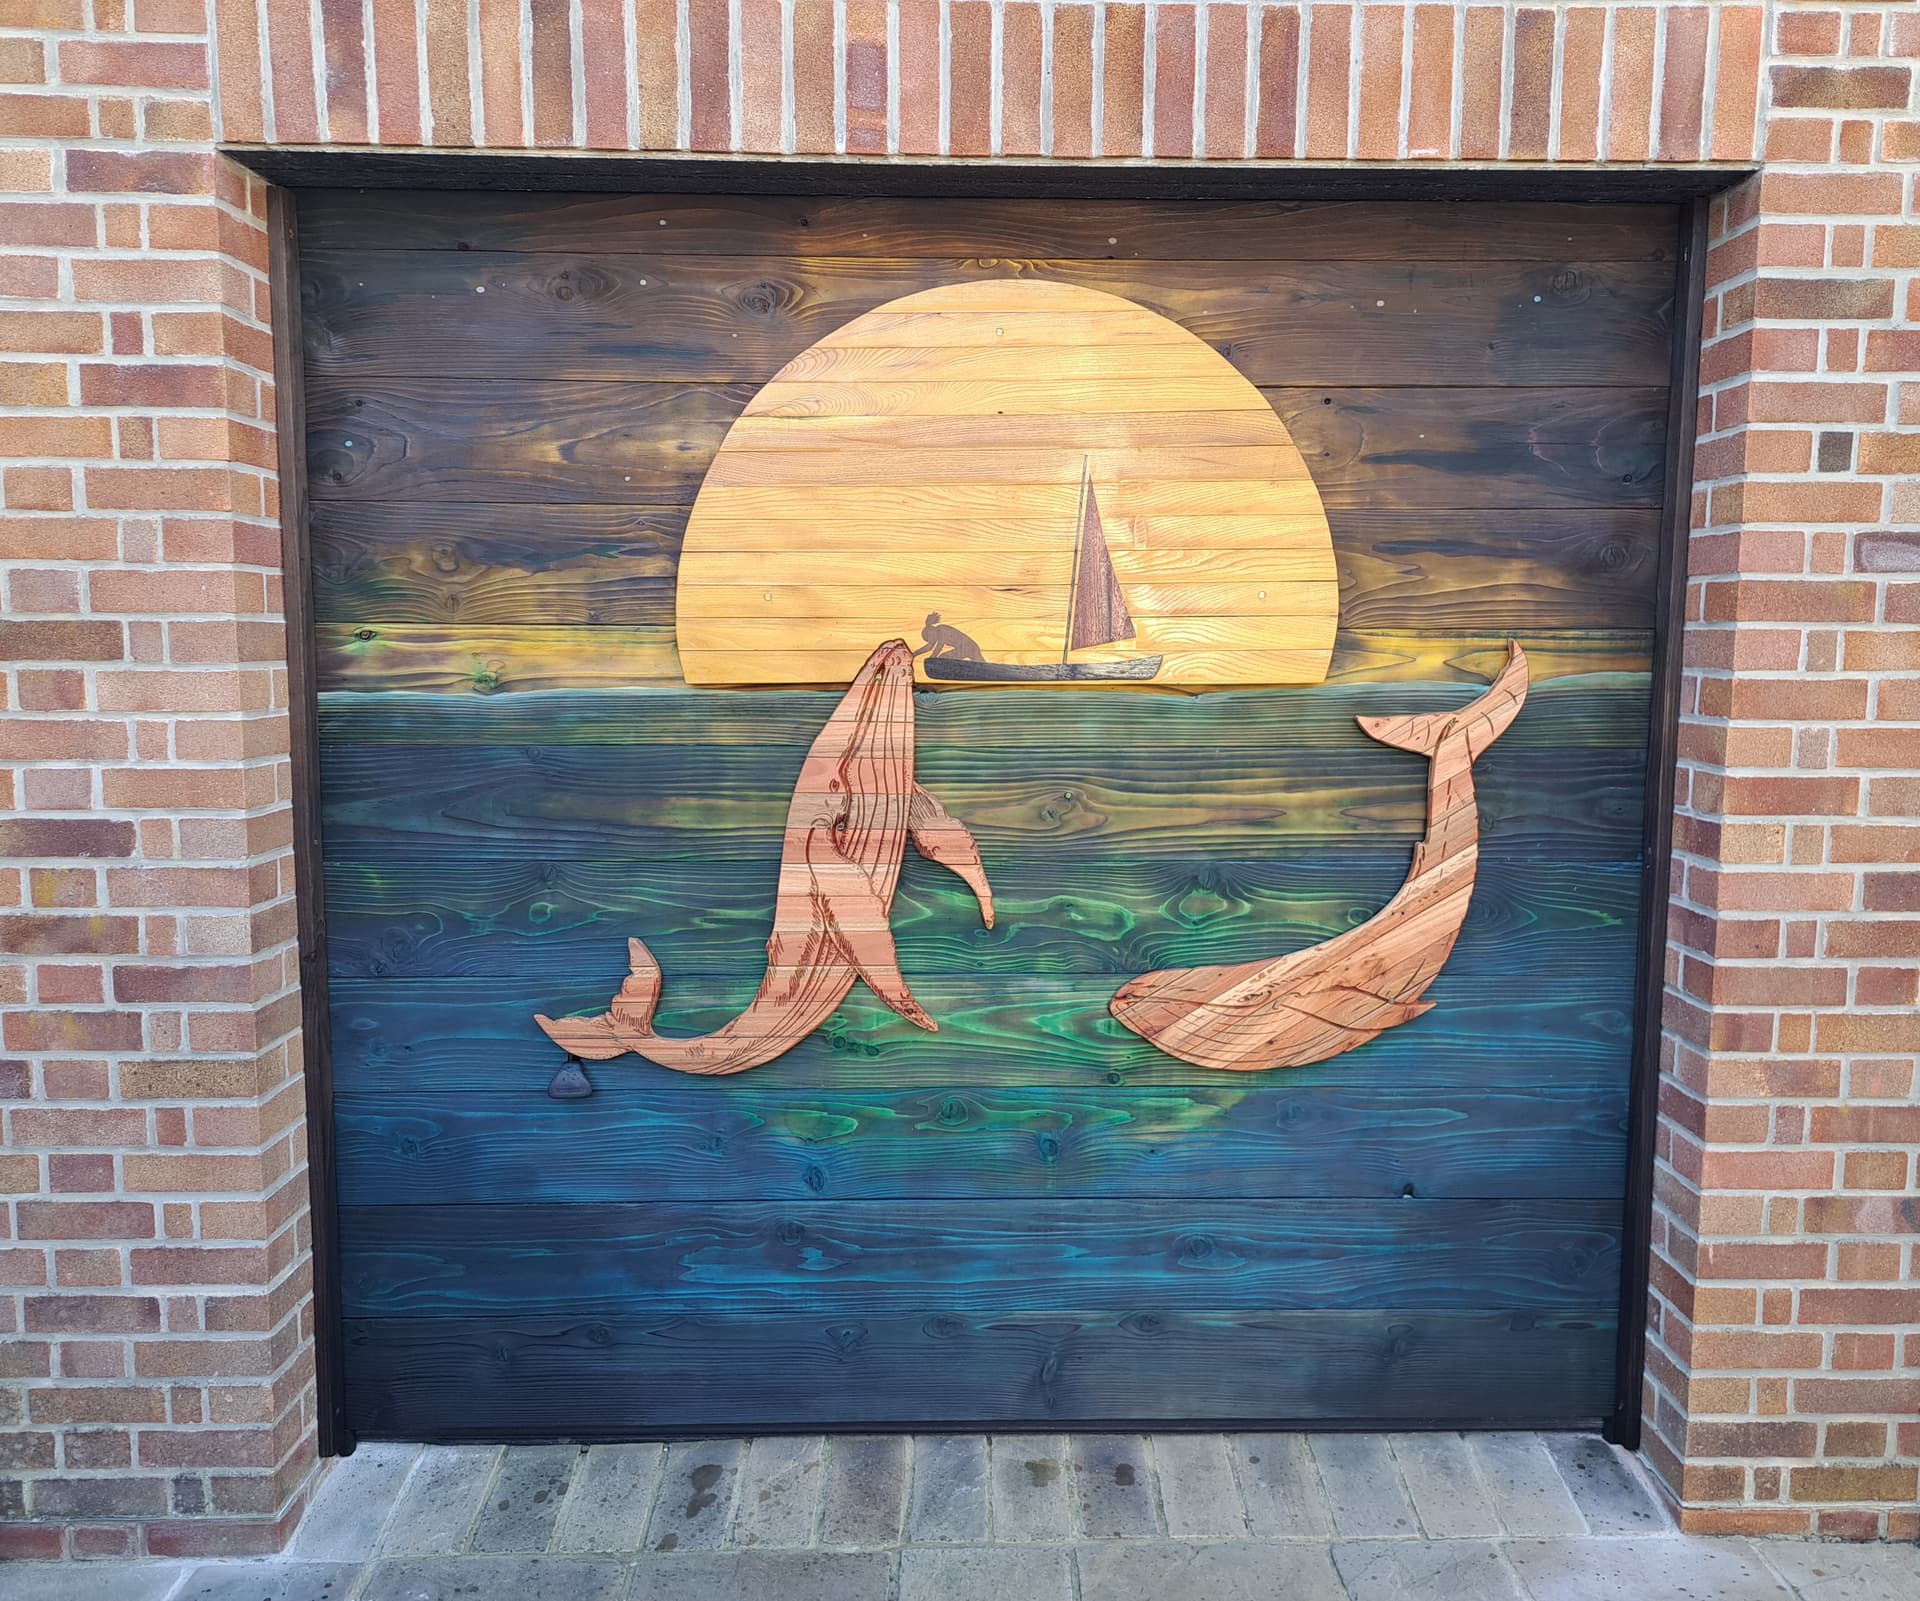
I decided that my plain white (non opening) garage door was just too boring.
With a little help from my Shapeoko it’s not quite so boring to look at.
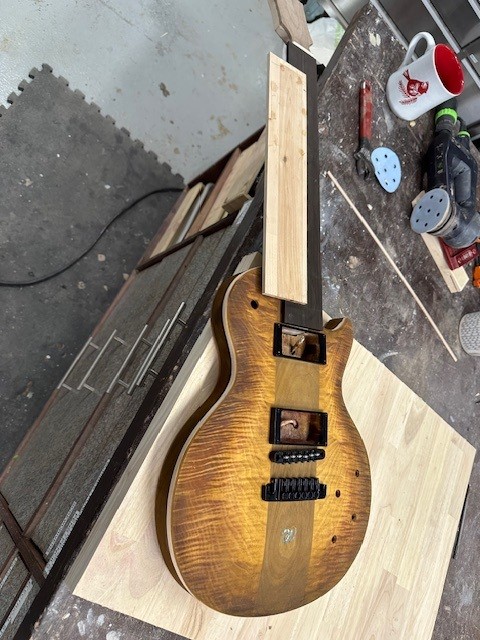
LP guitar build in process. My first time using 2 sided cutting for the neck. The Mother of Pearl cutting is SO much easier (and more accurate) than cutting by hand!
Agree on the easy of inlay with CNC, I did this for many years by hand as a luthier. I highly recommend serious precautions cutting shell, the dust has the same efficacy as asbestos in causing lung ailments including cancer. I made a little reservoir out of acrylic so I can cut the pearl underwater.
That is stunning. WOW !!
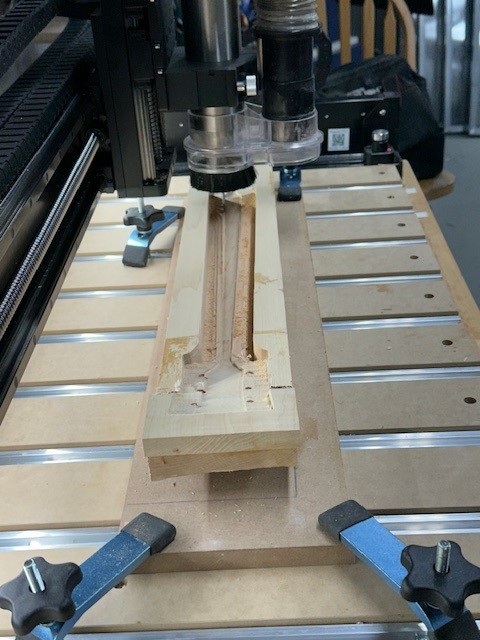
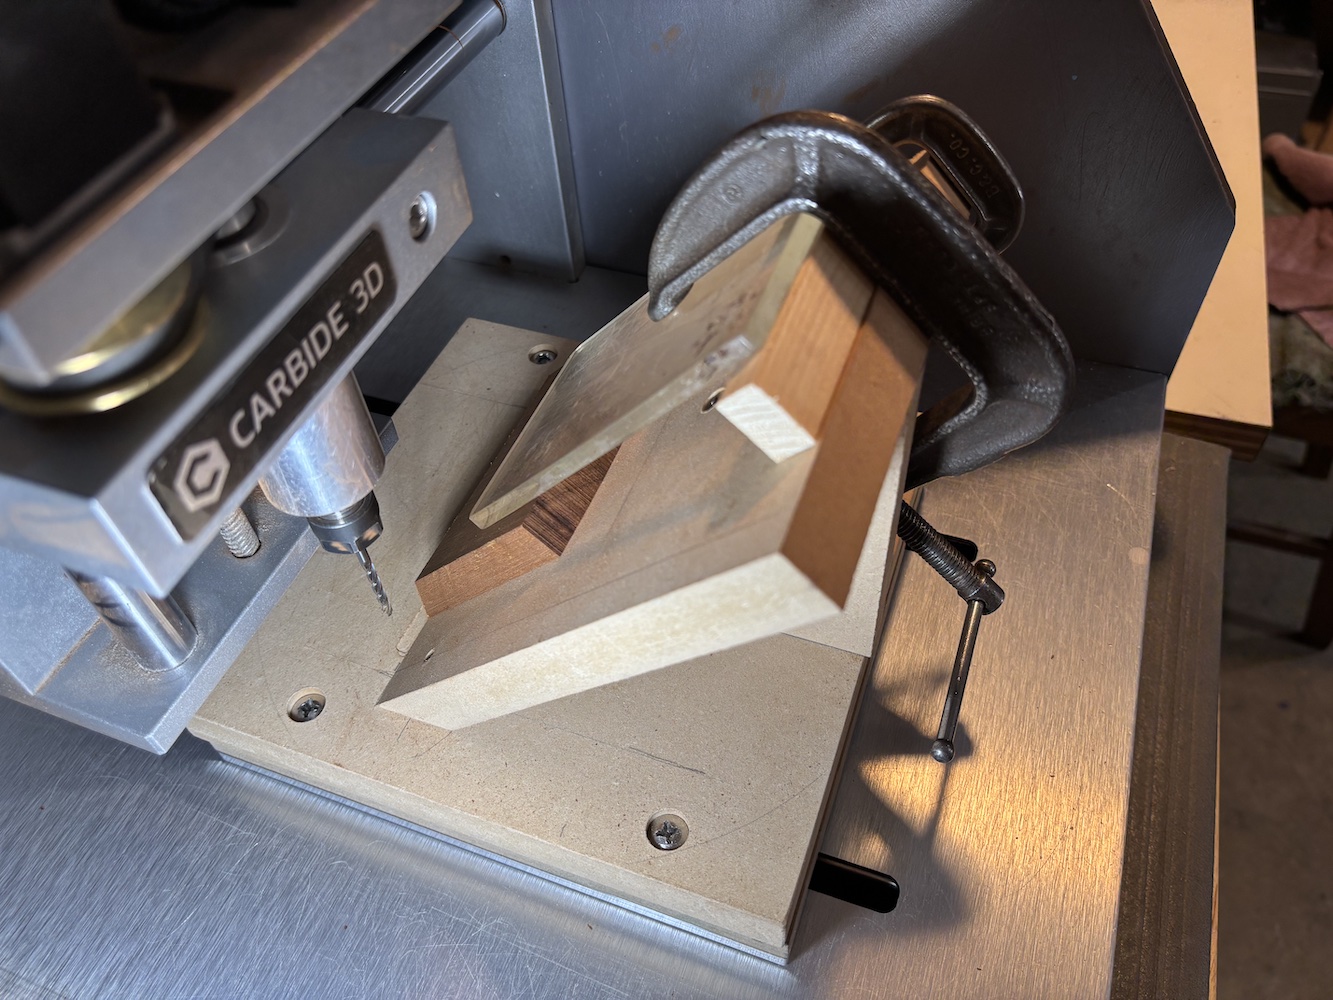
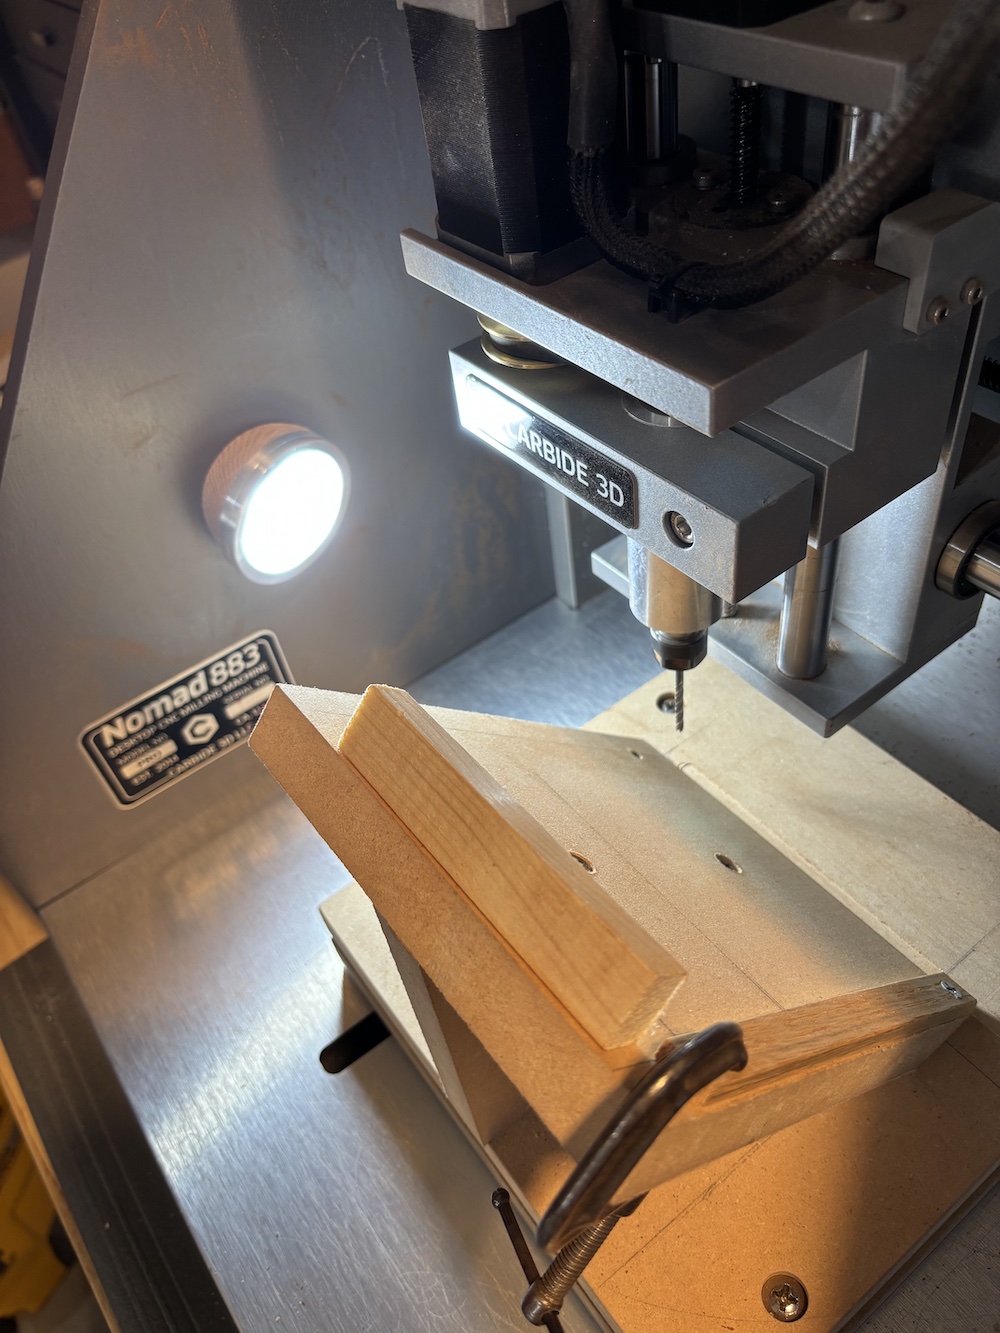
Trimmed some miters on my Nomad. Rough cut on the bandsaw first so no problem for that long bit. Just installed the puck light on the side.
Now if only I could cut the pockets for the splines on the Nomad. Key hole bits have a shoulder that also cuts plus are too fat for these sides. A few other contenders looked too scary.
Clever. What sort of code did you put together to make this go? Something that looks like milling down a triangular stock to a flat surface?
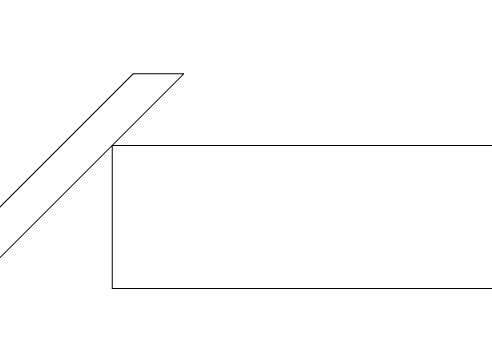
About as simple as it gets:
The Y-axis remains fixed. I use the bottom of the jig to set zero and let the cuts go 0.5 mm below that. This not only made sure of a clean cut all the way through but also gave me visual feedback on positioning pieces end-wise.
I initially tried a contour cut inside a rectangle with the intention of the more distant pass happening first and the closer return path making the final surface. But my cuts on the bandsaw were close enough this wasn’t needed. The Nomad wasn’t making the through-cuts, it was trimming them up to a gluable surface. Plus I wanted to take as little material off as possible with that long bit. It all worked out pretty well, I was lucky enough to get the 45° on the jig right the first time.
You would need a 3D previewing system which allowed rotating the stock for such a preview — that’s not a typical feature.
Not really an option in an enclosed Nomad w/ a moving bed…
As Will says, we Nomad owners are limited in that the bed moves to supply the Y axis movement. The X-axis is fixed in the center of the machine, the piece would contact the frame long before getting to the center. If I were younger and had more shop space I’d get a Shapeoko too!
I ultimately cut the spline pockets on the router table.
Wow ! That would also make a great wall in a room.
I agree!
The garage door is just a steel “up & over”, as all my woodworking “toys” are in there, it never got opened.
The strips attached to the sides hold 10" x 1" cedar boards in place. Before they were inserted I used the Japanese “Yaki-Sugi” effect to get the darkness I wanted before applying the blue & yellow spirit stain.
For the whale boards I used a ply backer, attached with screws before v-carving, the moon is Osage. The girl, boat & sail are 1/4" inserts. The individual parts were made over several weeks and assembled in a morning, whilst the wife was out, as she knew nothing about it!
Are you cutting pearl under water with your CNC, or by hand somehow? Would love to see if it’s being done with CNC. I imagine a really shallow reservoir just to allow only the necessary water over the material and keep only the bit in the water, obviously. Would love to see the setup.
Looks good! Im about to start the neck on my build. What was your approach to design and cut the neck? Im struggling with this part. Would love to do it all on the CNC, but my fusion skills are limited, and I dont have Vectric Aspire, only V-Carve Pro, so im not able to do a ton of complex curves very easily.
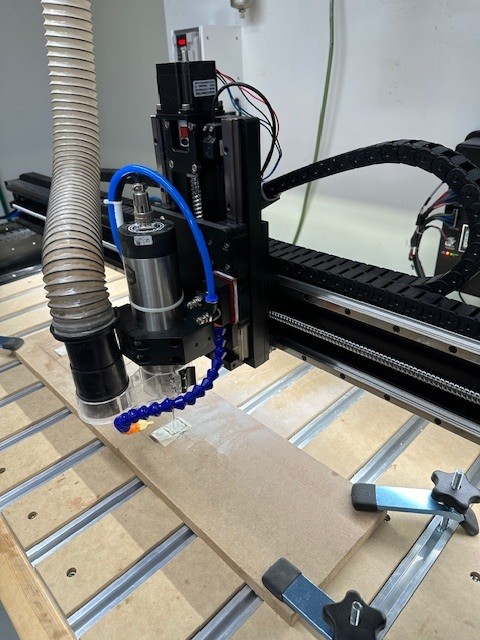
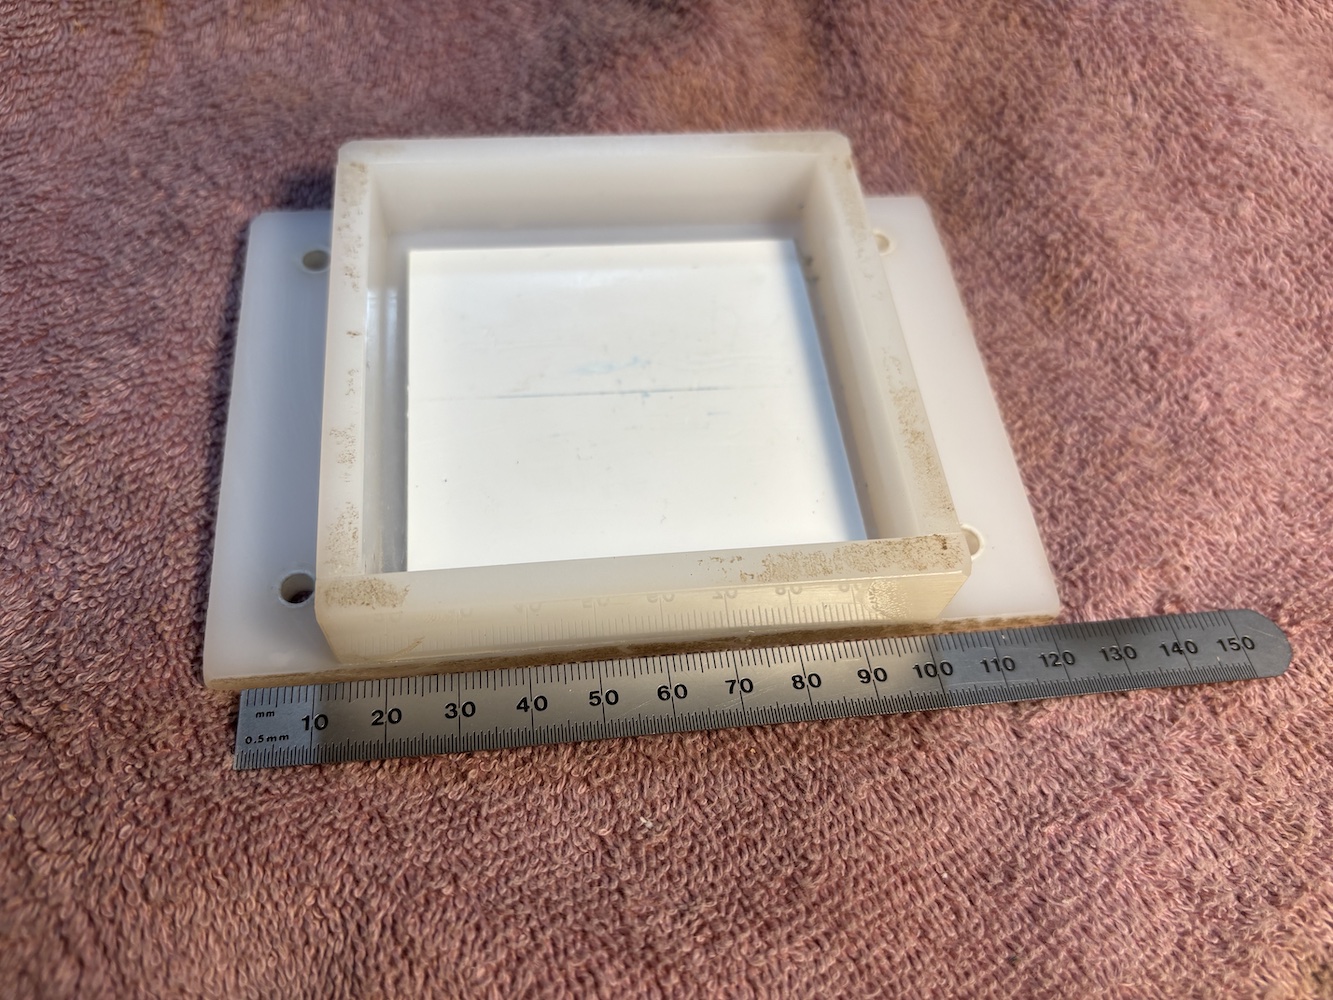
I now cut pearl with the CNC. The water bath makes it so much easier to be safe than cutting by hand. Mind you, I’m not a safety freak in general but I’m cautious about this. Here’s the bath:
Easy to make with acrylic, there’s “glue”, a liquid monomer of water viscosity, that you apply to the seams and it wicks in by capillary action. The PVC shim serves as a wasteboard. For delicate pieces use fixturing wax.
Pre CNC, circa 1976, I was cutting a Columbine for a headstock (which I did outdoors to eschew the dust). Pretty fragile, it only took thirteen tries to not break one with the jewelers saw.
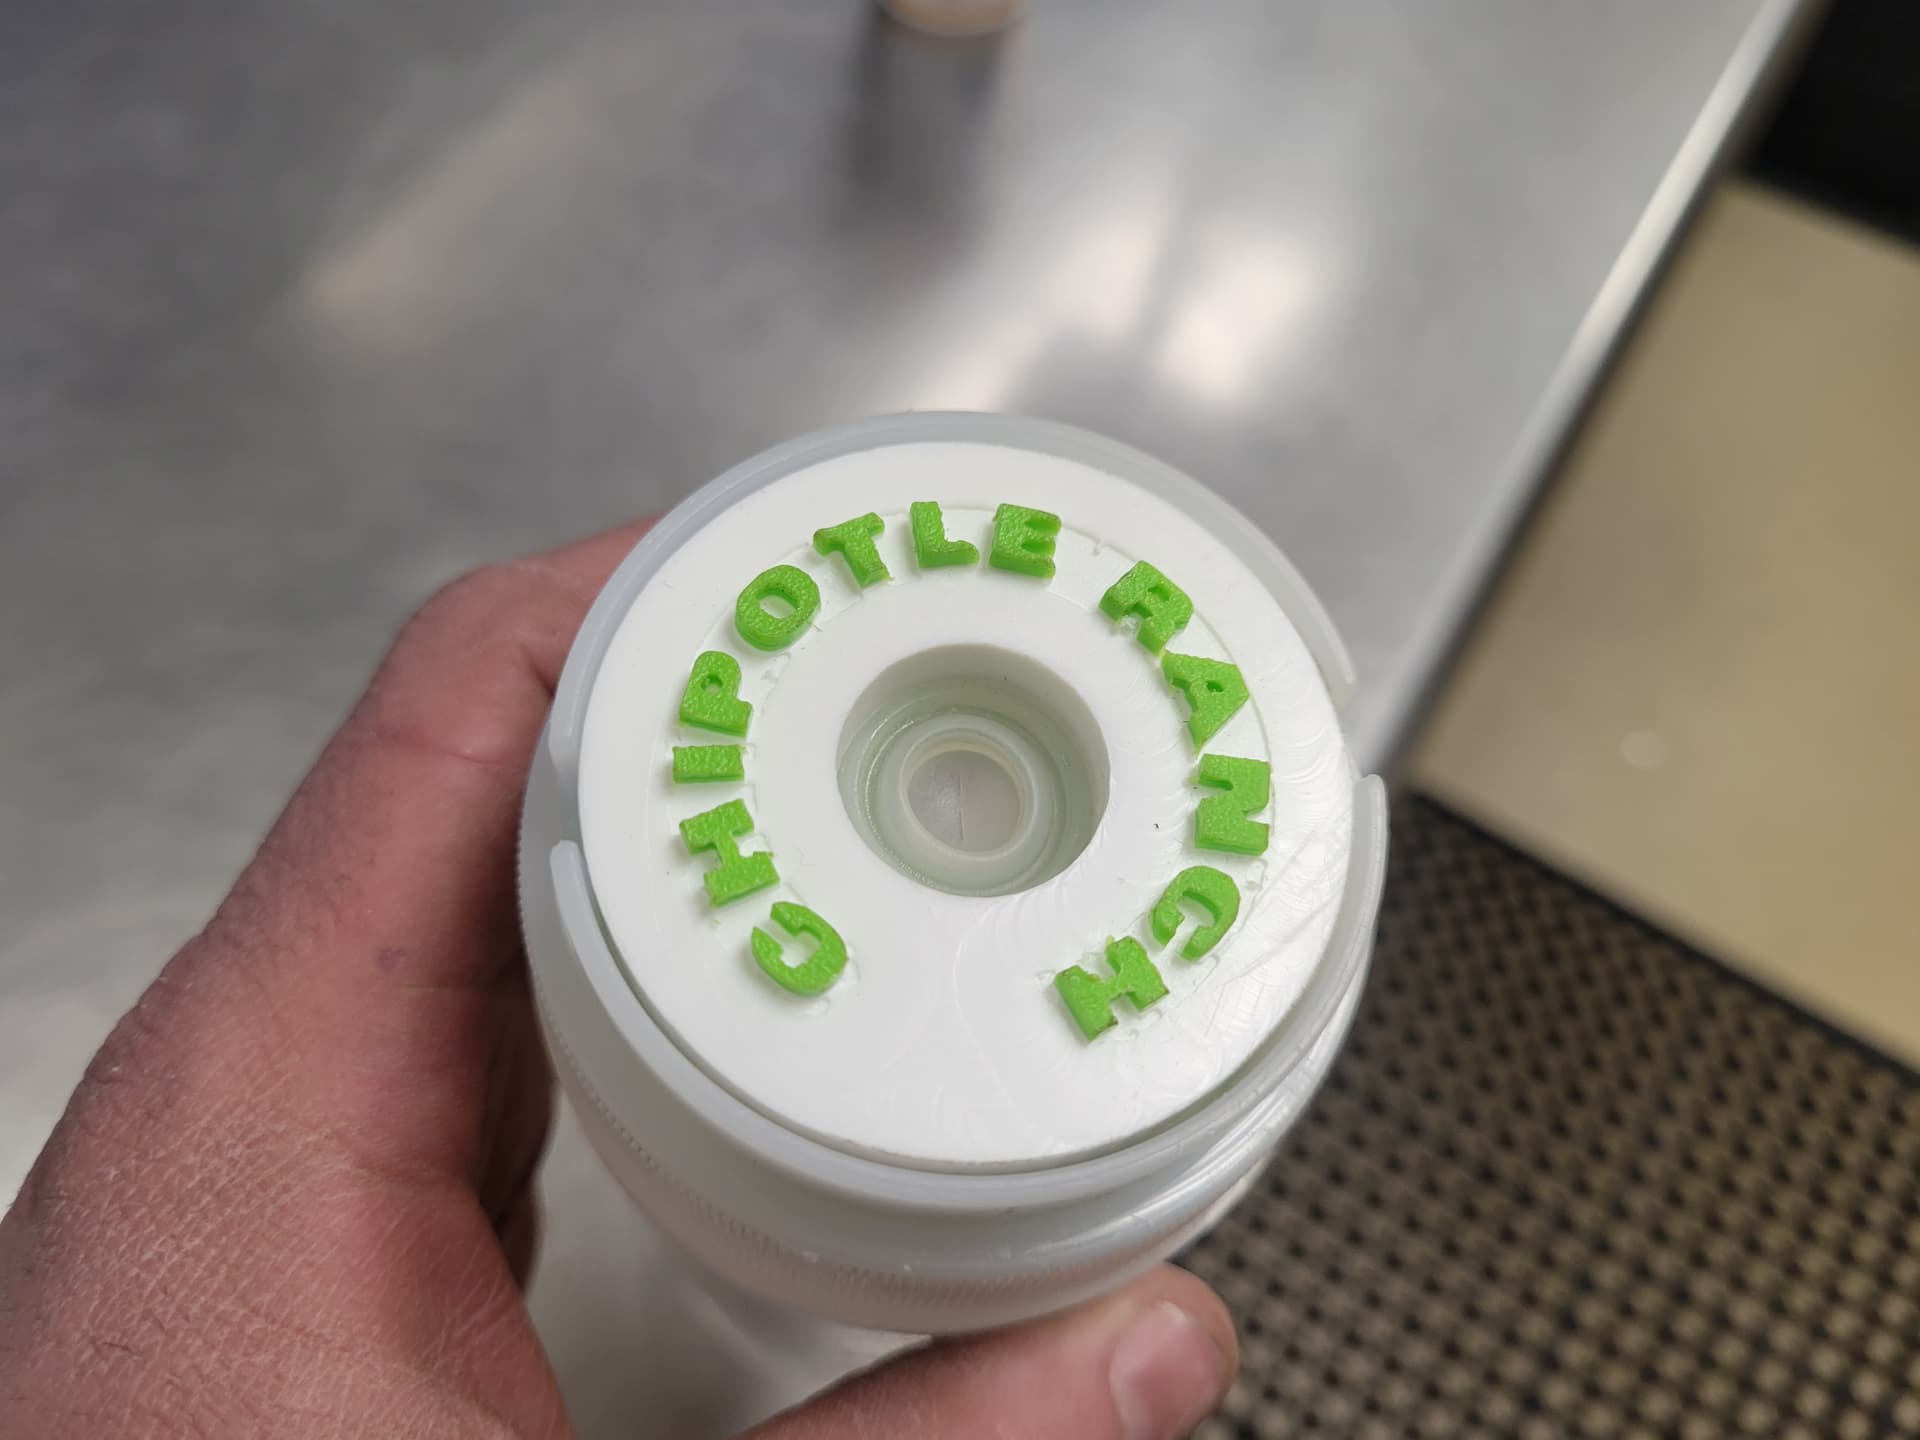
I finally got around to cutting the project I described in this thread.
All was going good until a little while after switching to a 1/16” bit and I had a shift in X. I wasn’t watching at the time so not sure what happened. It couldn’t have hit anything. The only thing I can think of was too much plastic buildup around the bit leading to lost steps or maybe some issue with the vac line but I have never had an issue with that before.
I paused occasionally to clear the bit but after I noticed the shift I paused to look and there was a a good buildup.
You can see it in the lines to the left of the words.
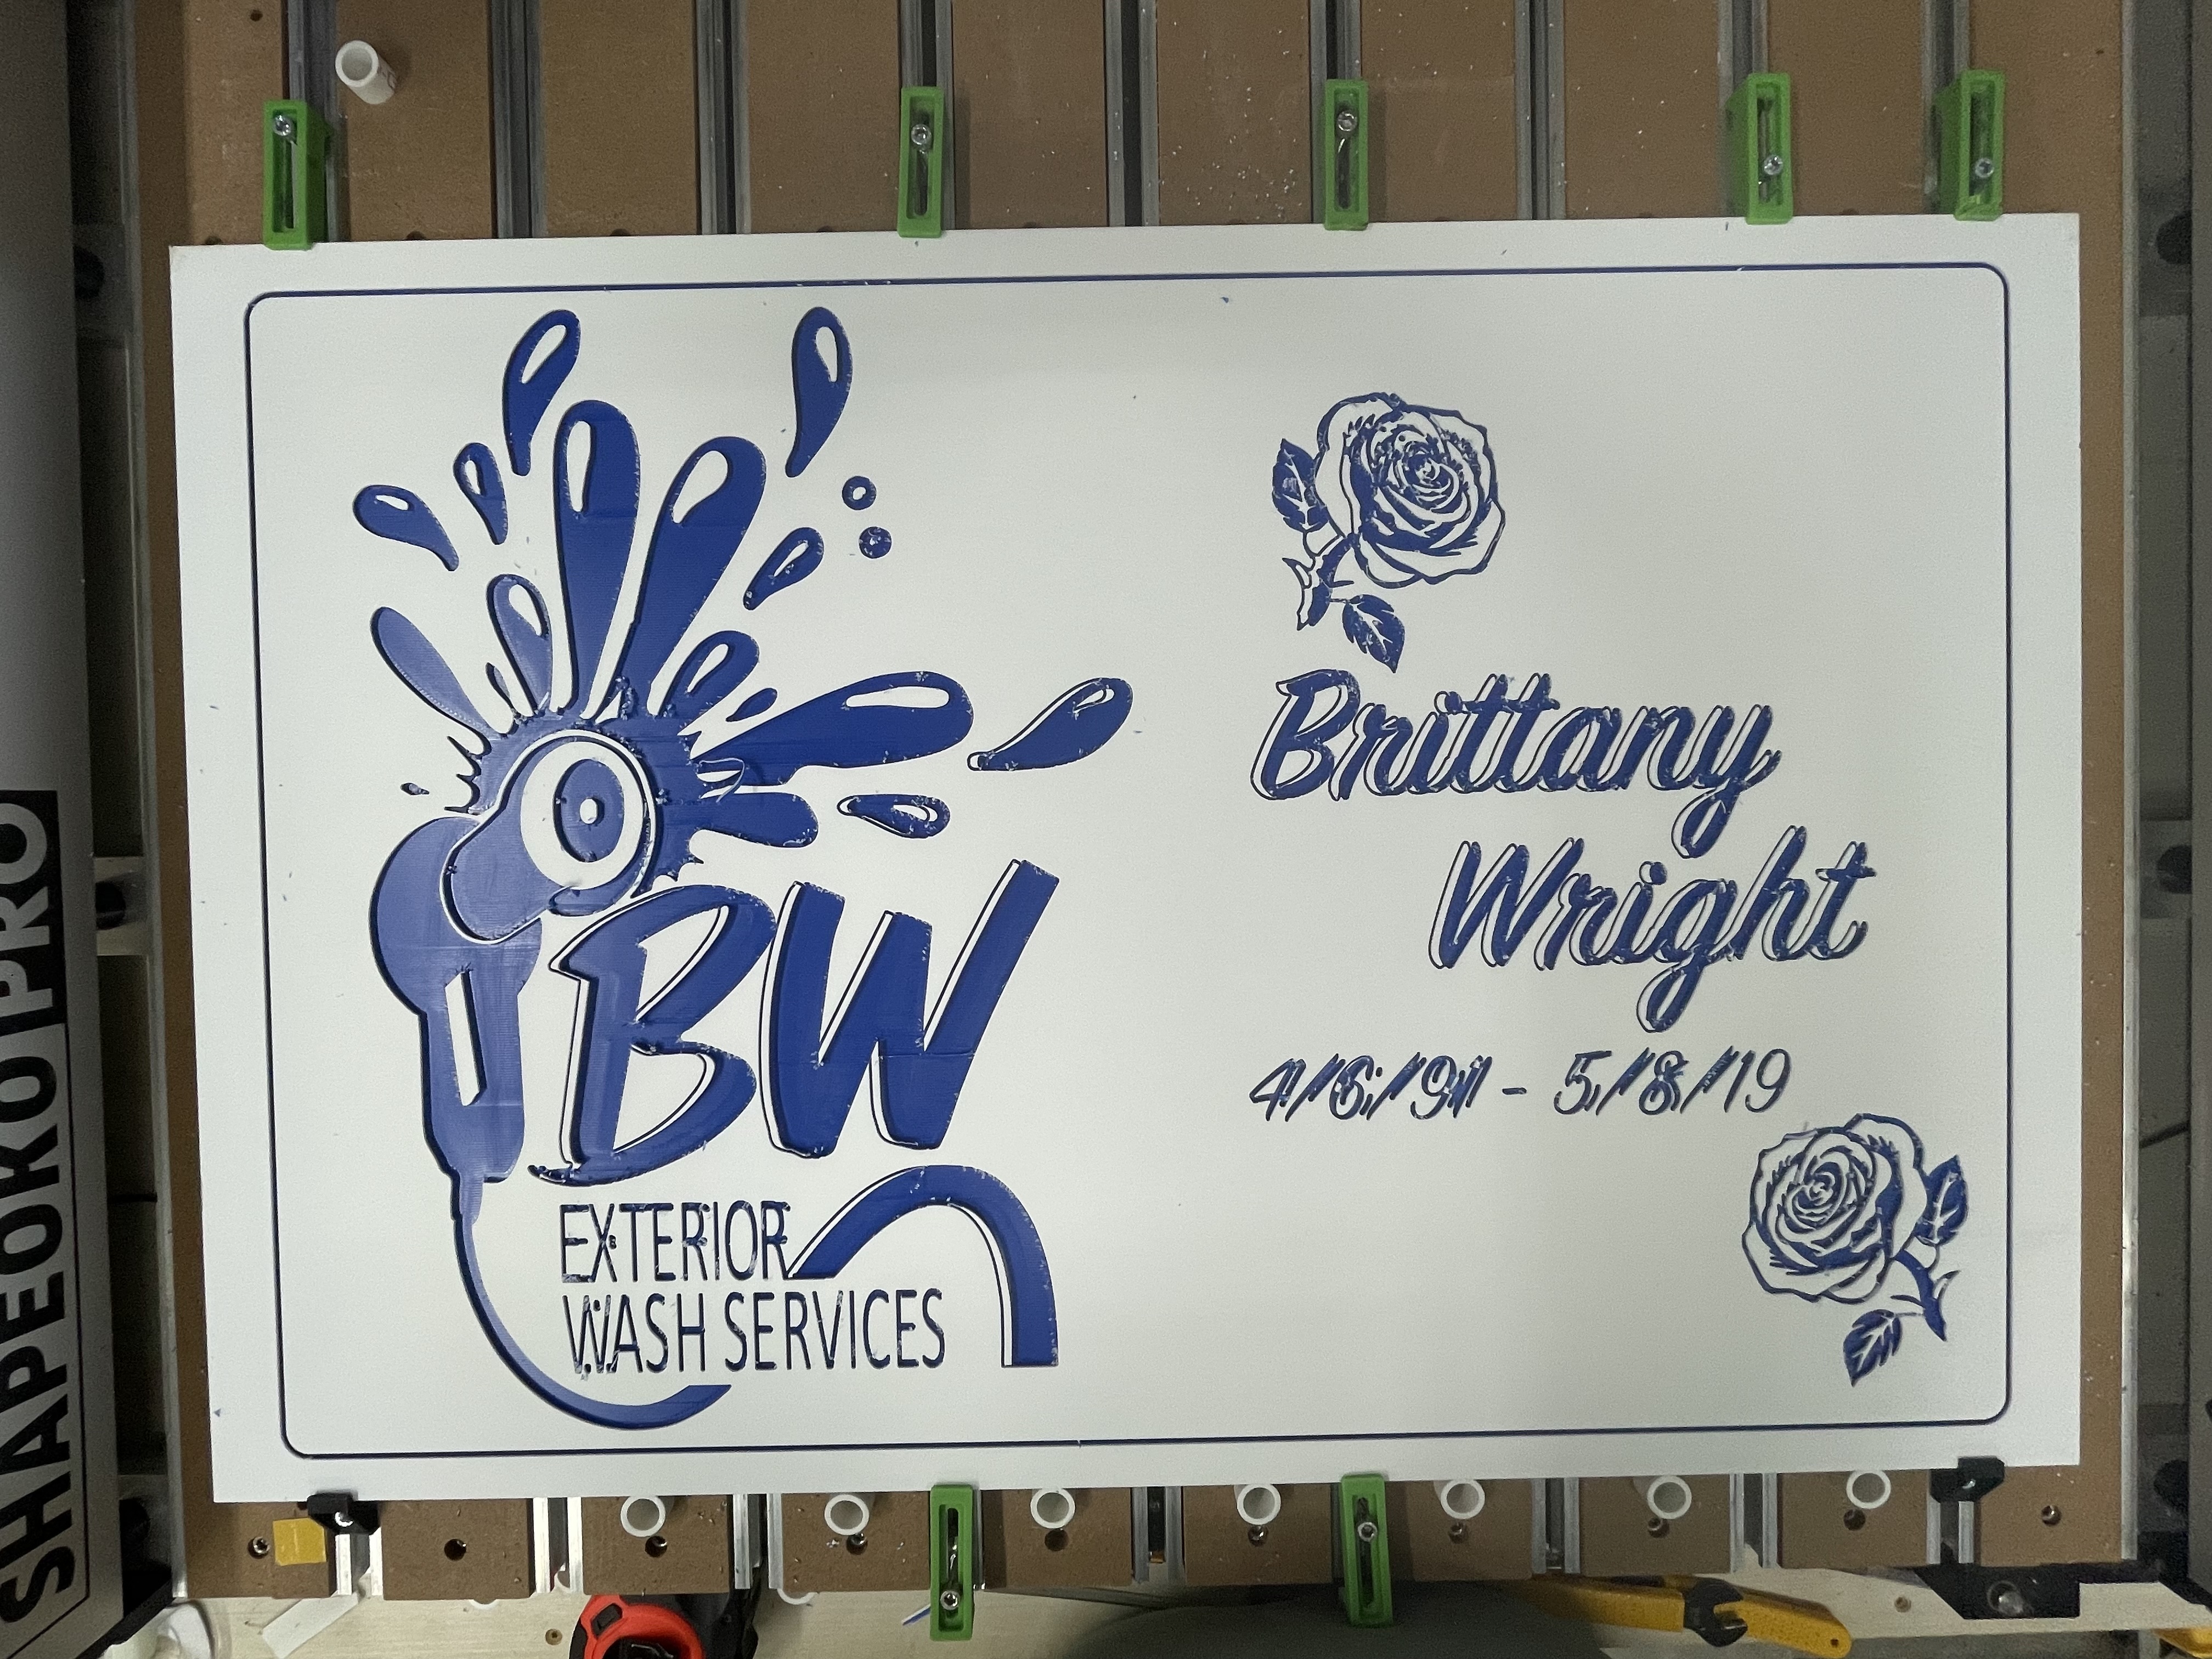
Naturally I had already messed up the back side because of a brain fart when setting the Y zero. I couldn’t use the BitZero on this one since the material is 36” wide so the corner was out of the cutting area on my Pro XXL.
$80 worth of 1/2” color core wasted. I can use the unmolested area on the back for some smaller projects.
Despite the issues ( oops been there), the presentation looks great !
I remember a previous thread when you were trying to decide have to handle the project.
Good choice.