Finally, the finished version. I decided to leave the wood natural and just finished it with varnish.

15 Likes
This is what the underside of the slat looks like:
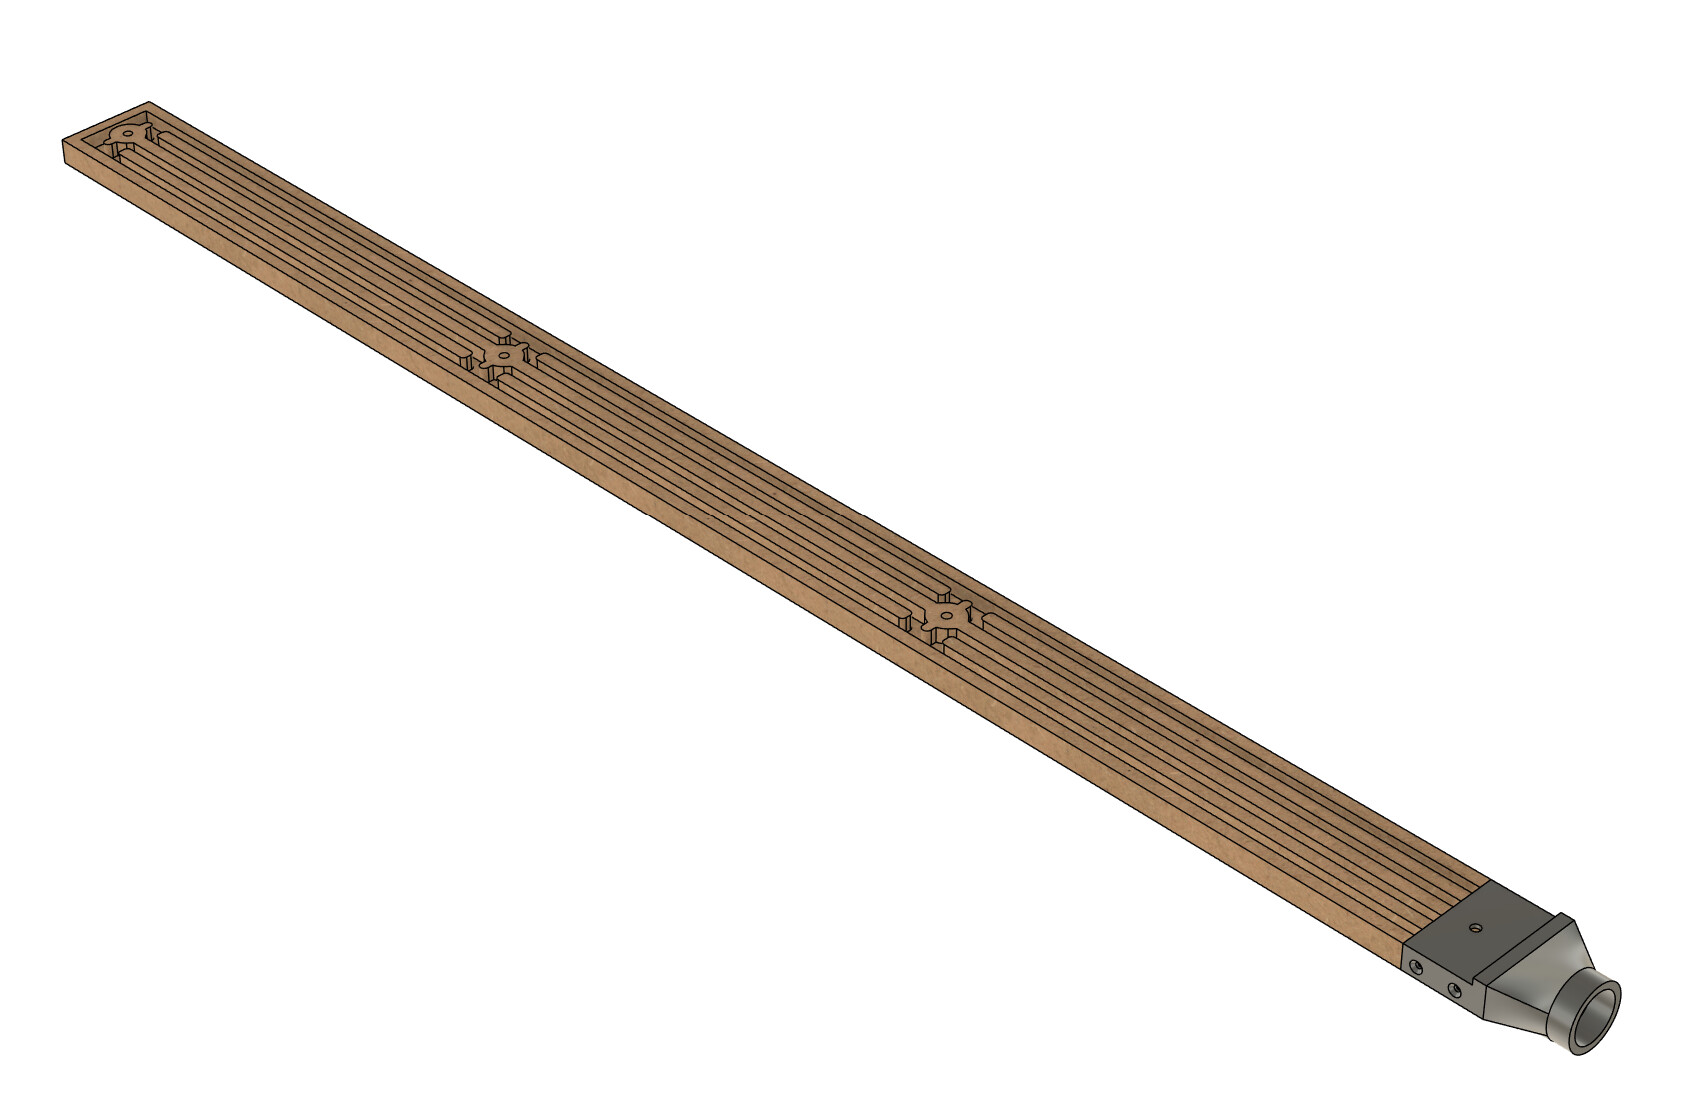
The whole thing is siliconed down to the Aluminum extrusions for the Hybrid table. Makes switching them out a bitch, but it gives plenty of airflow.
7 Likes
Thanks for the detailed photo, so silicone seals the spoil board down to ensure it’s sealed and the vacuum pulls thru the MDF itself. Really nice setup!
Yep. I used “Light Weight MDF” which I guess is the name for LDF in the US. I had to pick it up from a specialty cabinet supply place. I also painted the sides of the LW MDF to seal it so all the vacuum is coming out the top.
3 Likes
Makes sense, thank you again.
A friend gave me a couple of what I think is yellow pine live edge boards. It has a real yellow color to it and it makes one hell of a mess when cutting or sanding. Being so yellow I didn’t know what I could use it for so he suggested his favorite beer label… comes in a yellow case and I had the perfect blue paint to match the blue in the logo.

18 Likes
Looks like it could be hedge. It has a very yellow color like that.
Sweet process. Im still unsure how it holds things though.
You do really nice and neat work.
So it turns out, we rarely get to push the Shapeoko 5 Pro at work to anywhere near it’s full potential. On Friday I decided to have some fun and make some aluminum disappear. The net result is a cubic inch of aluminum getting shredded in under a minute. There’s room to push it harder as well…

26 Likes
Sweet, that almost looks like a Carbide Create made toolpath?
Excellent! I assume this would require that the Y axis is switched to the forward position?
Thanks,
Mark
It was Fusion 360’s Adaptive Toolpath. Nerdy details are as follows:
Tool Type: 1/2" 3-Flute Flat Endmill, ZrN Coated
Toolpath Type: Adaptive Roughing (Fusion 360)
Spindle Speed: 18,000 RPM
Feedrate: 4320 mm/min (170 in/min)
Depth of Cut: 4.8mm (3/16")
Stepover: 1.2mm (0.05")
Note, we did not push the machine or spindle to failure. We had even more performance on tap, but opted for these settings because the cut sounded pretty good. Also, if you push much harder, the chips coming off the workpiece get painfully hot.
7 Likes
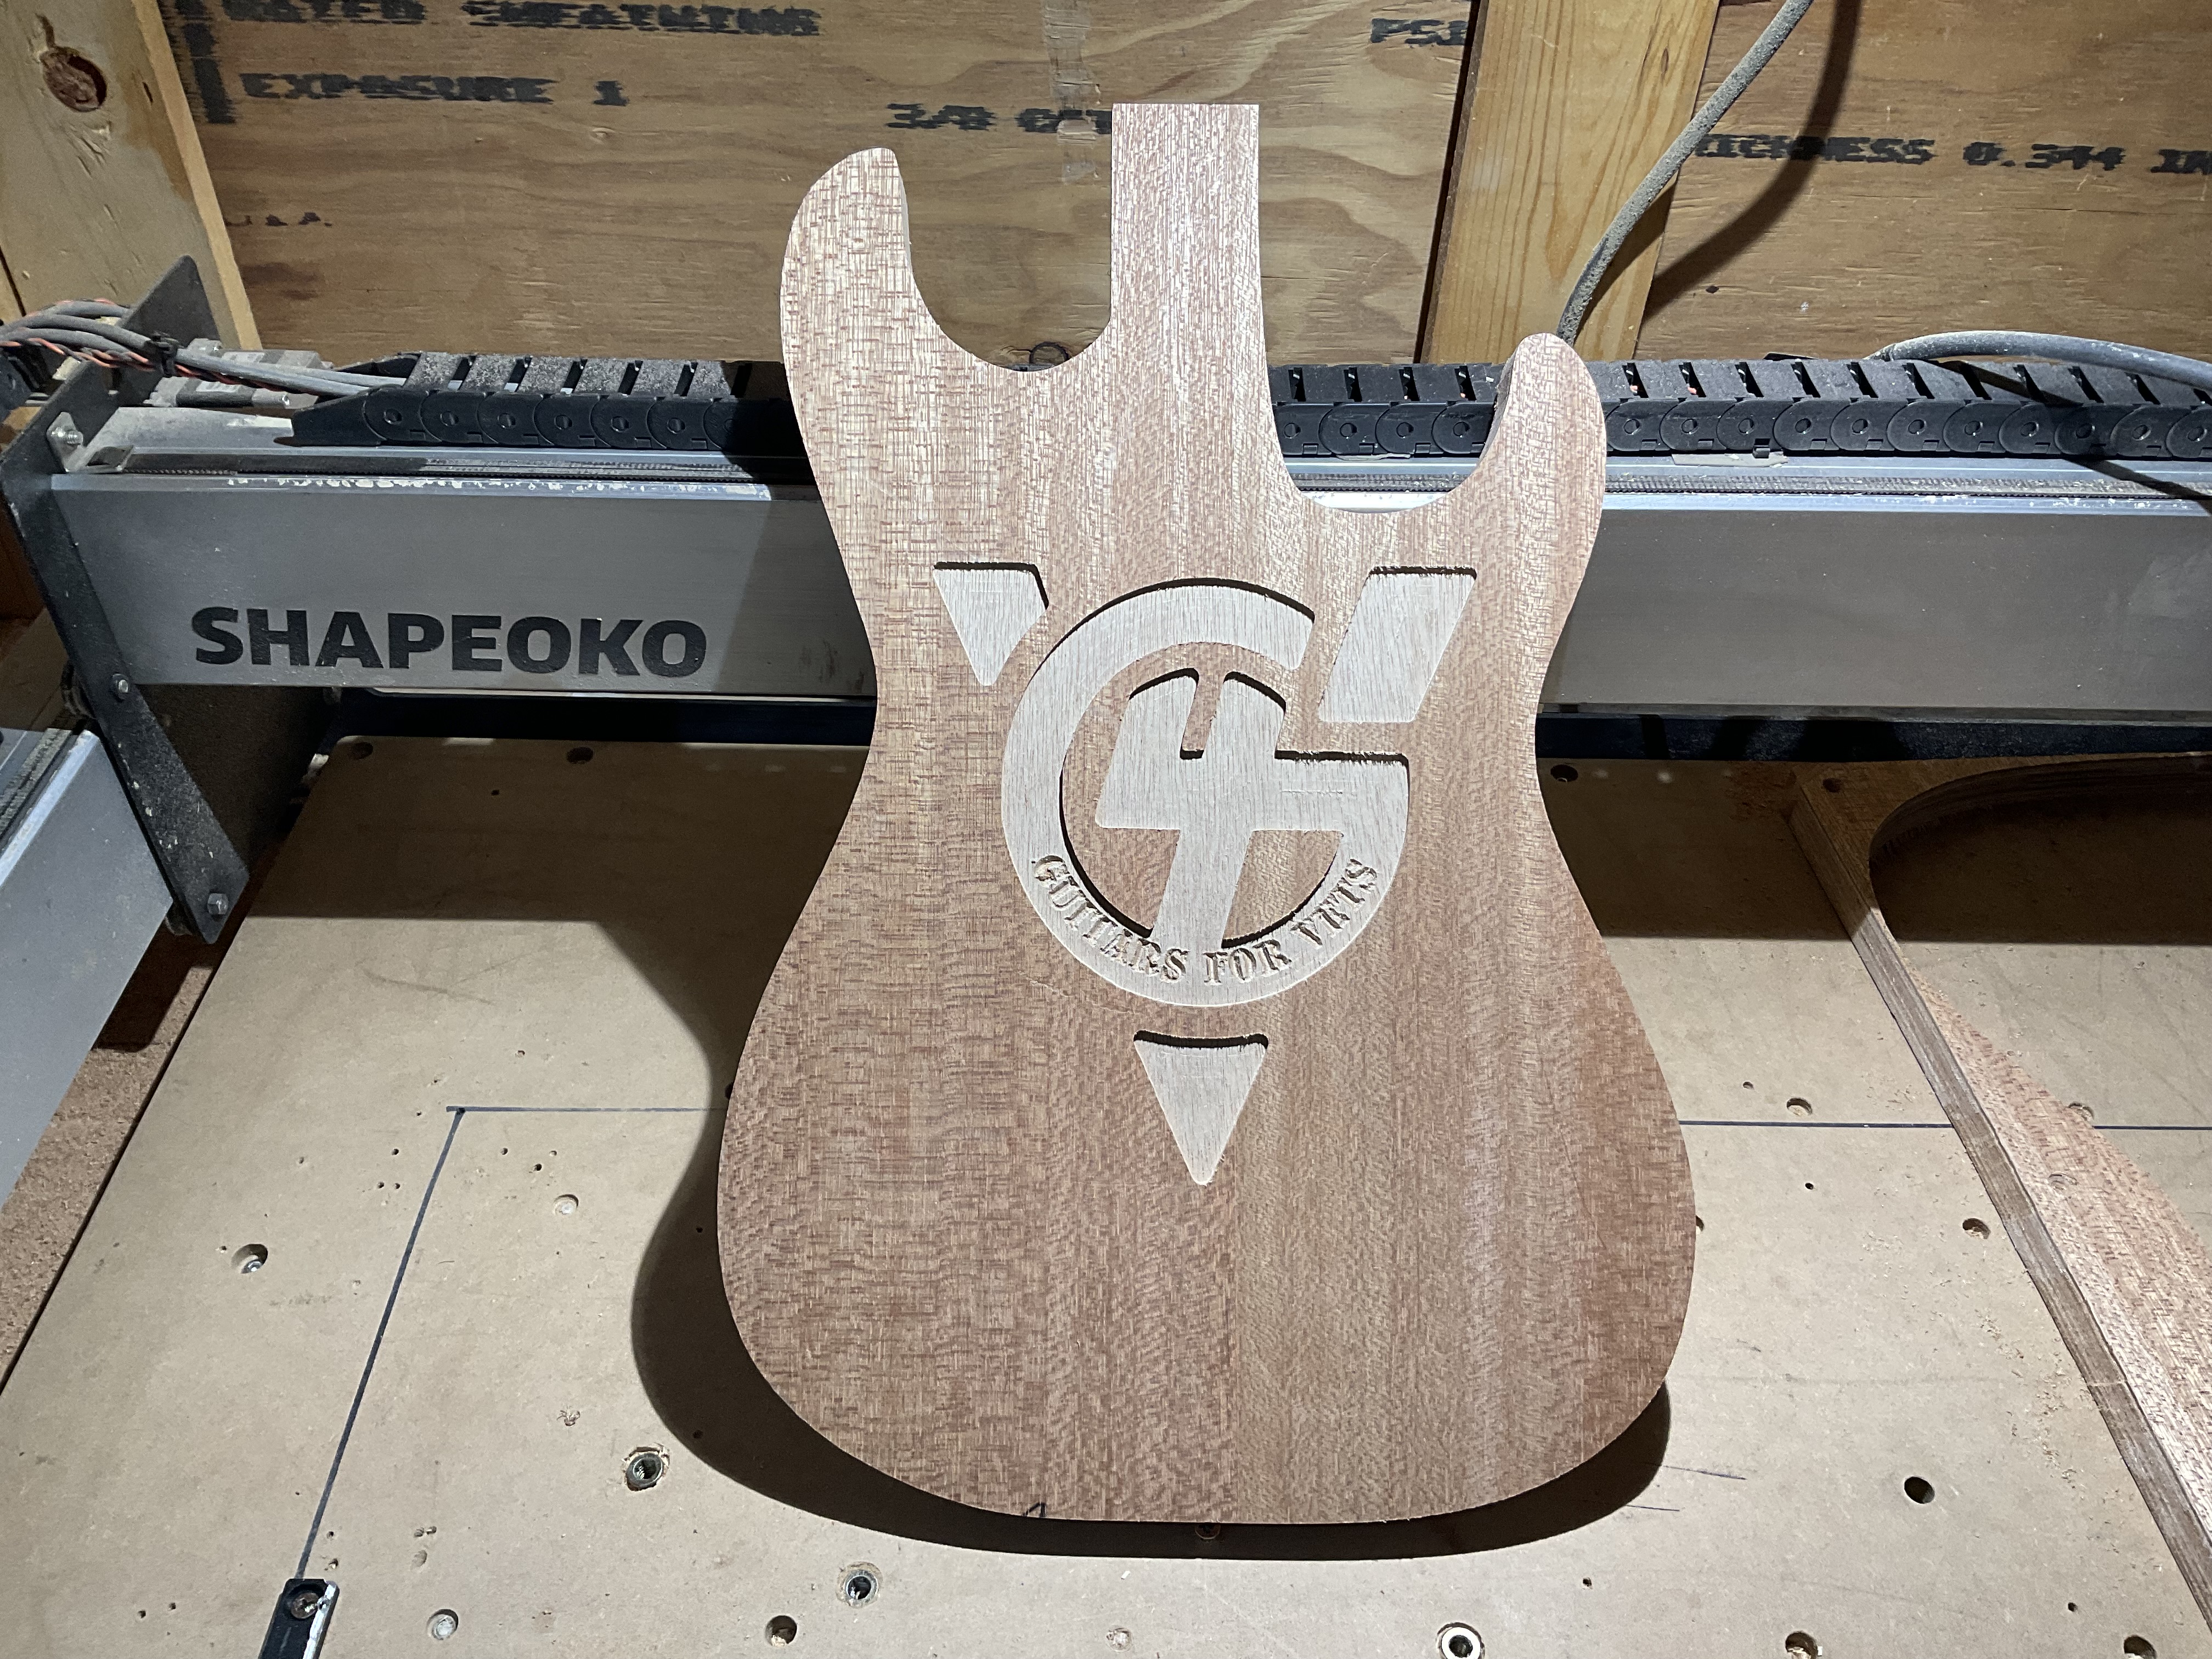
Have you ever stopped CNCing for a few years? Needed to find a reason to turn the machine on again? Combine love of guitar and serving the Veteran community….first project in over 2 years. Knocked the rust off and watched it cut. Theraputic!
28 Likes
What kind of guitar are you going to make? There are a lot of guitar makers here on the forum. I want to make one for my Grandson. Waiting on him to tell what kind.
1 Like
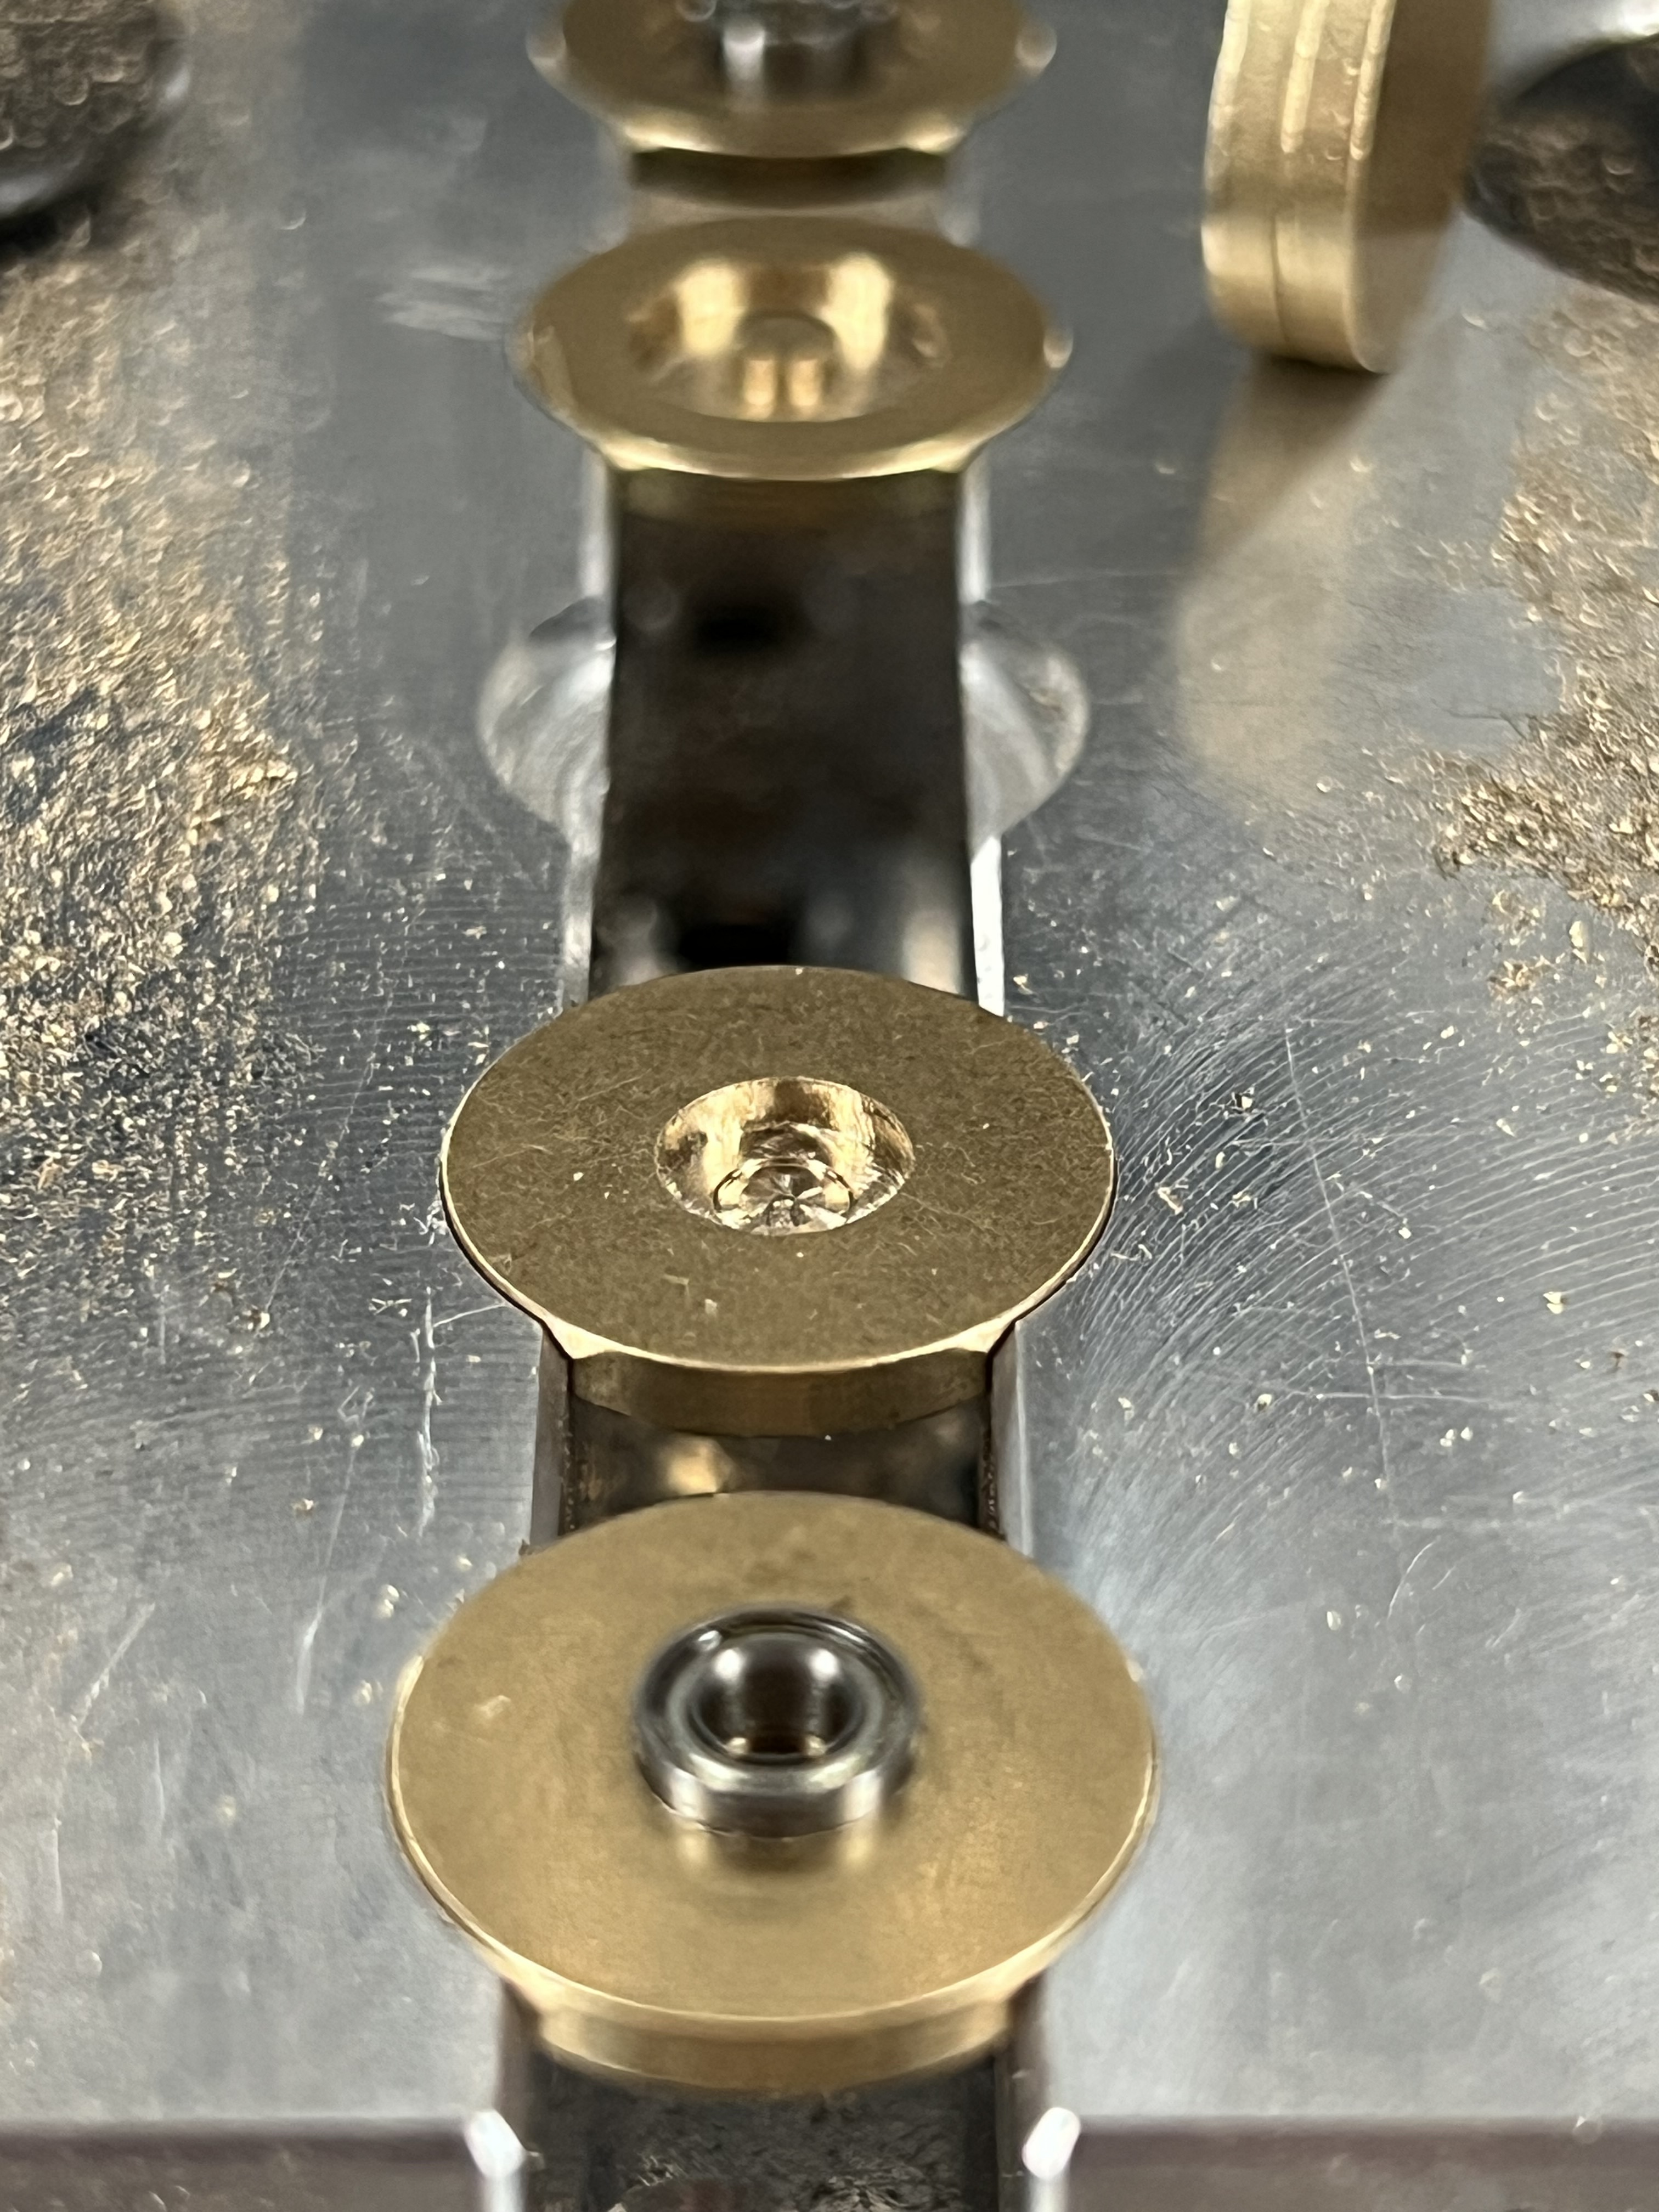
A few hours to mock up some soft jaws and dial in some brass rounds for wargaming tokens. These are just a base design to play with and iterate on.
Inner and outer tokens are press fit into the radial ball bearing. The tokens are 16mm diameter, 2mm thick.
The bearing is 6mm OD, 2.8mm ID, 2.5mm thickness.
Next up will probably integrate some magnets to simulate detents or maybe just a small race with little divots for a couple ball bearings. Should provide nice tactile feedback when rotating the counter.
It took about 8 tokens to dial in the tolerances to an interference fit on a small press. Just be methodical about it and it goes pretty quick.
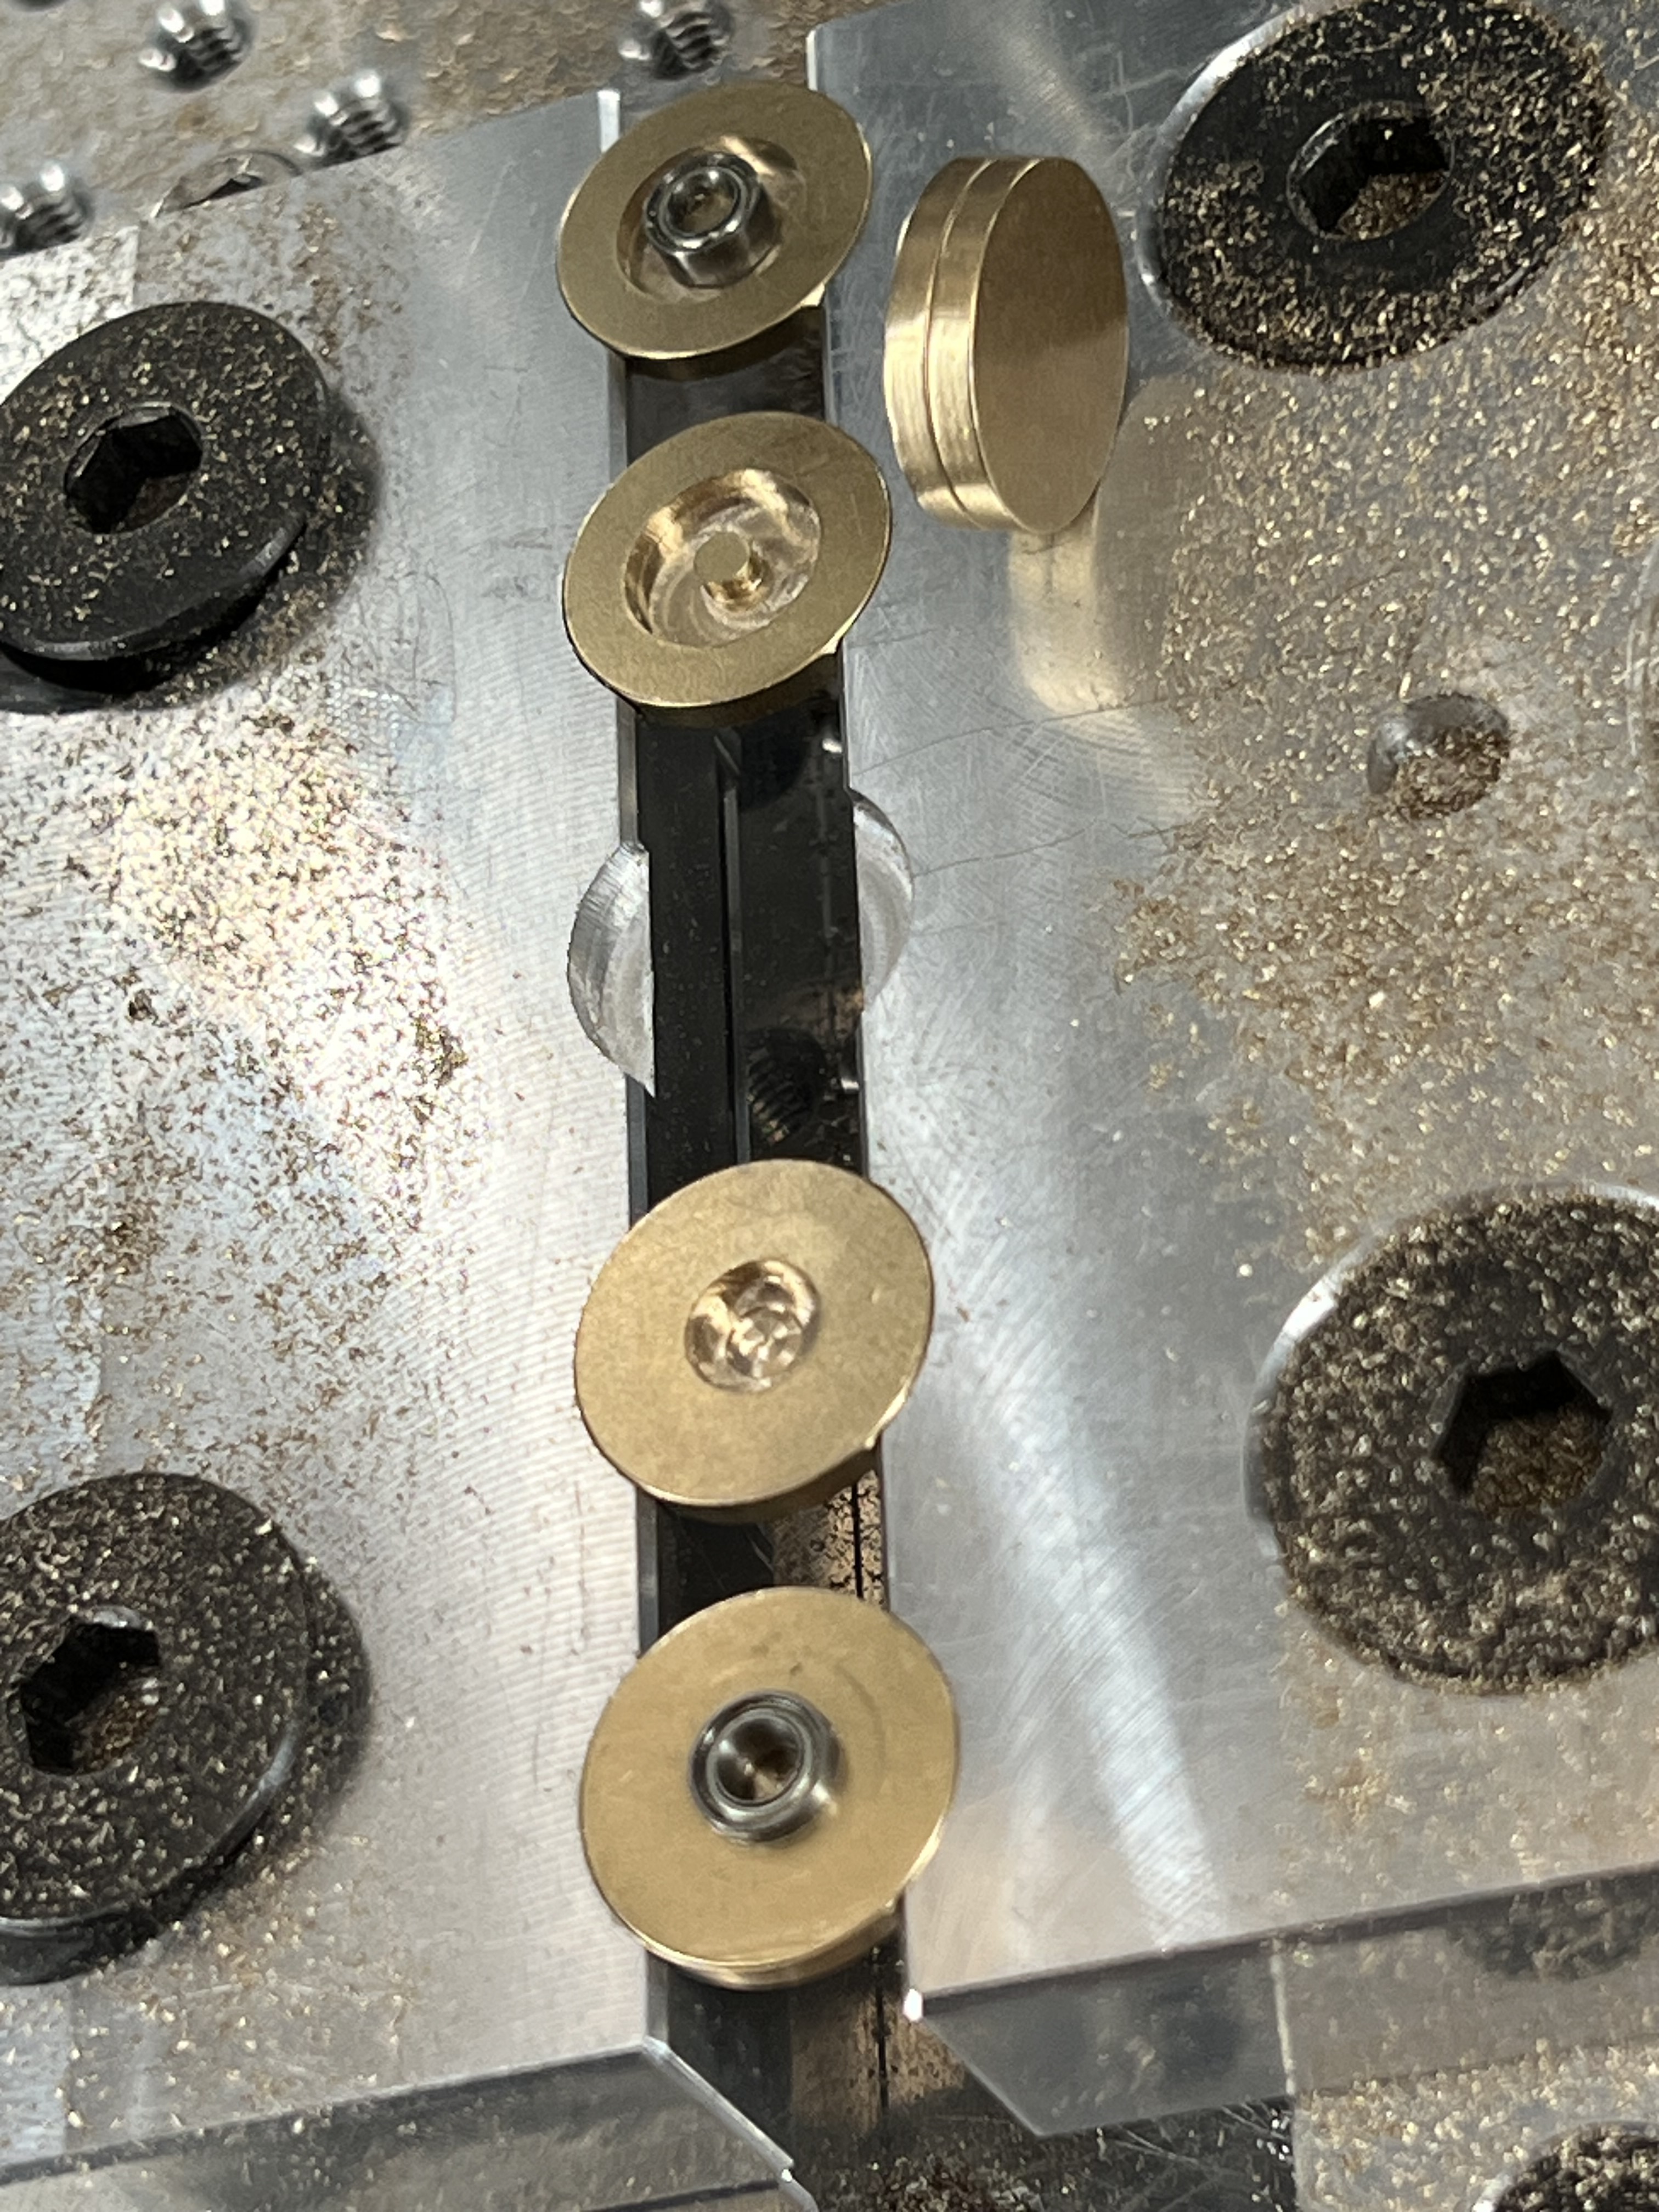
A set of 4 tokens takes just under 2 minutes. Quick enough and repeatable enough to supply all the friends in a reasonable amount of time.
Those few minutes can be used to lap the tokens to a near mirror finish if I like.
The jig is very repeatable and I’ve set a user macro for the zero. (Thanks @KevBarn14 for that trick in the dice video)
Just need to drop the vice in the same threaded holes and we’re back in action.
13 Likes
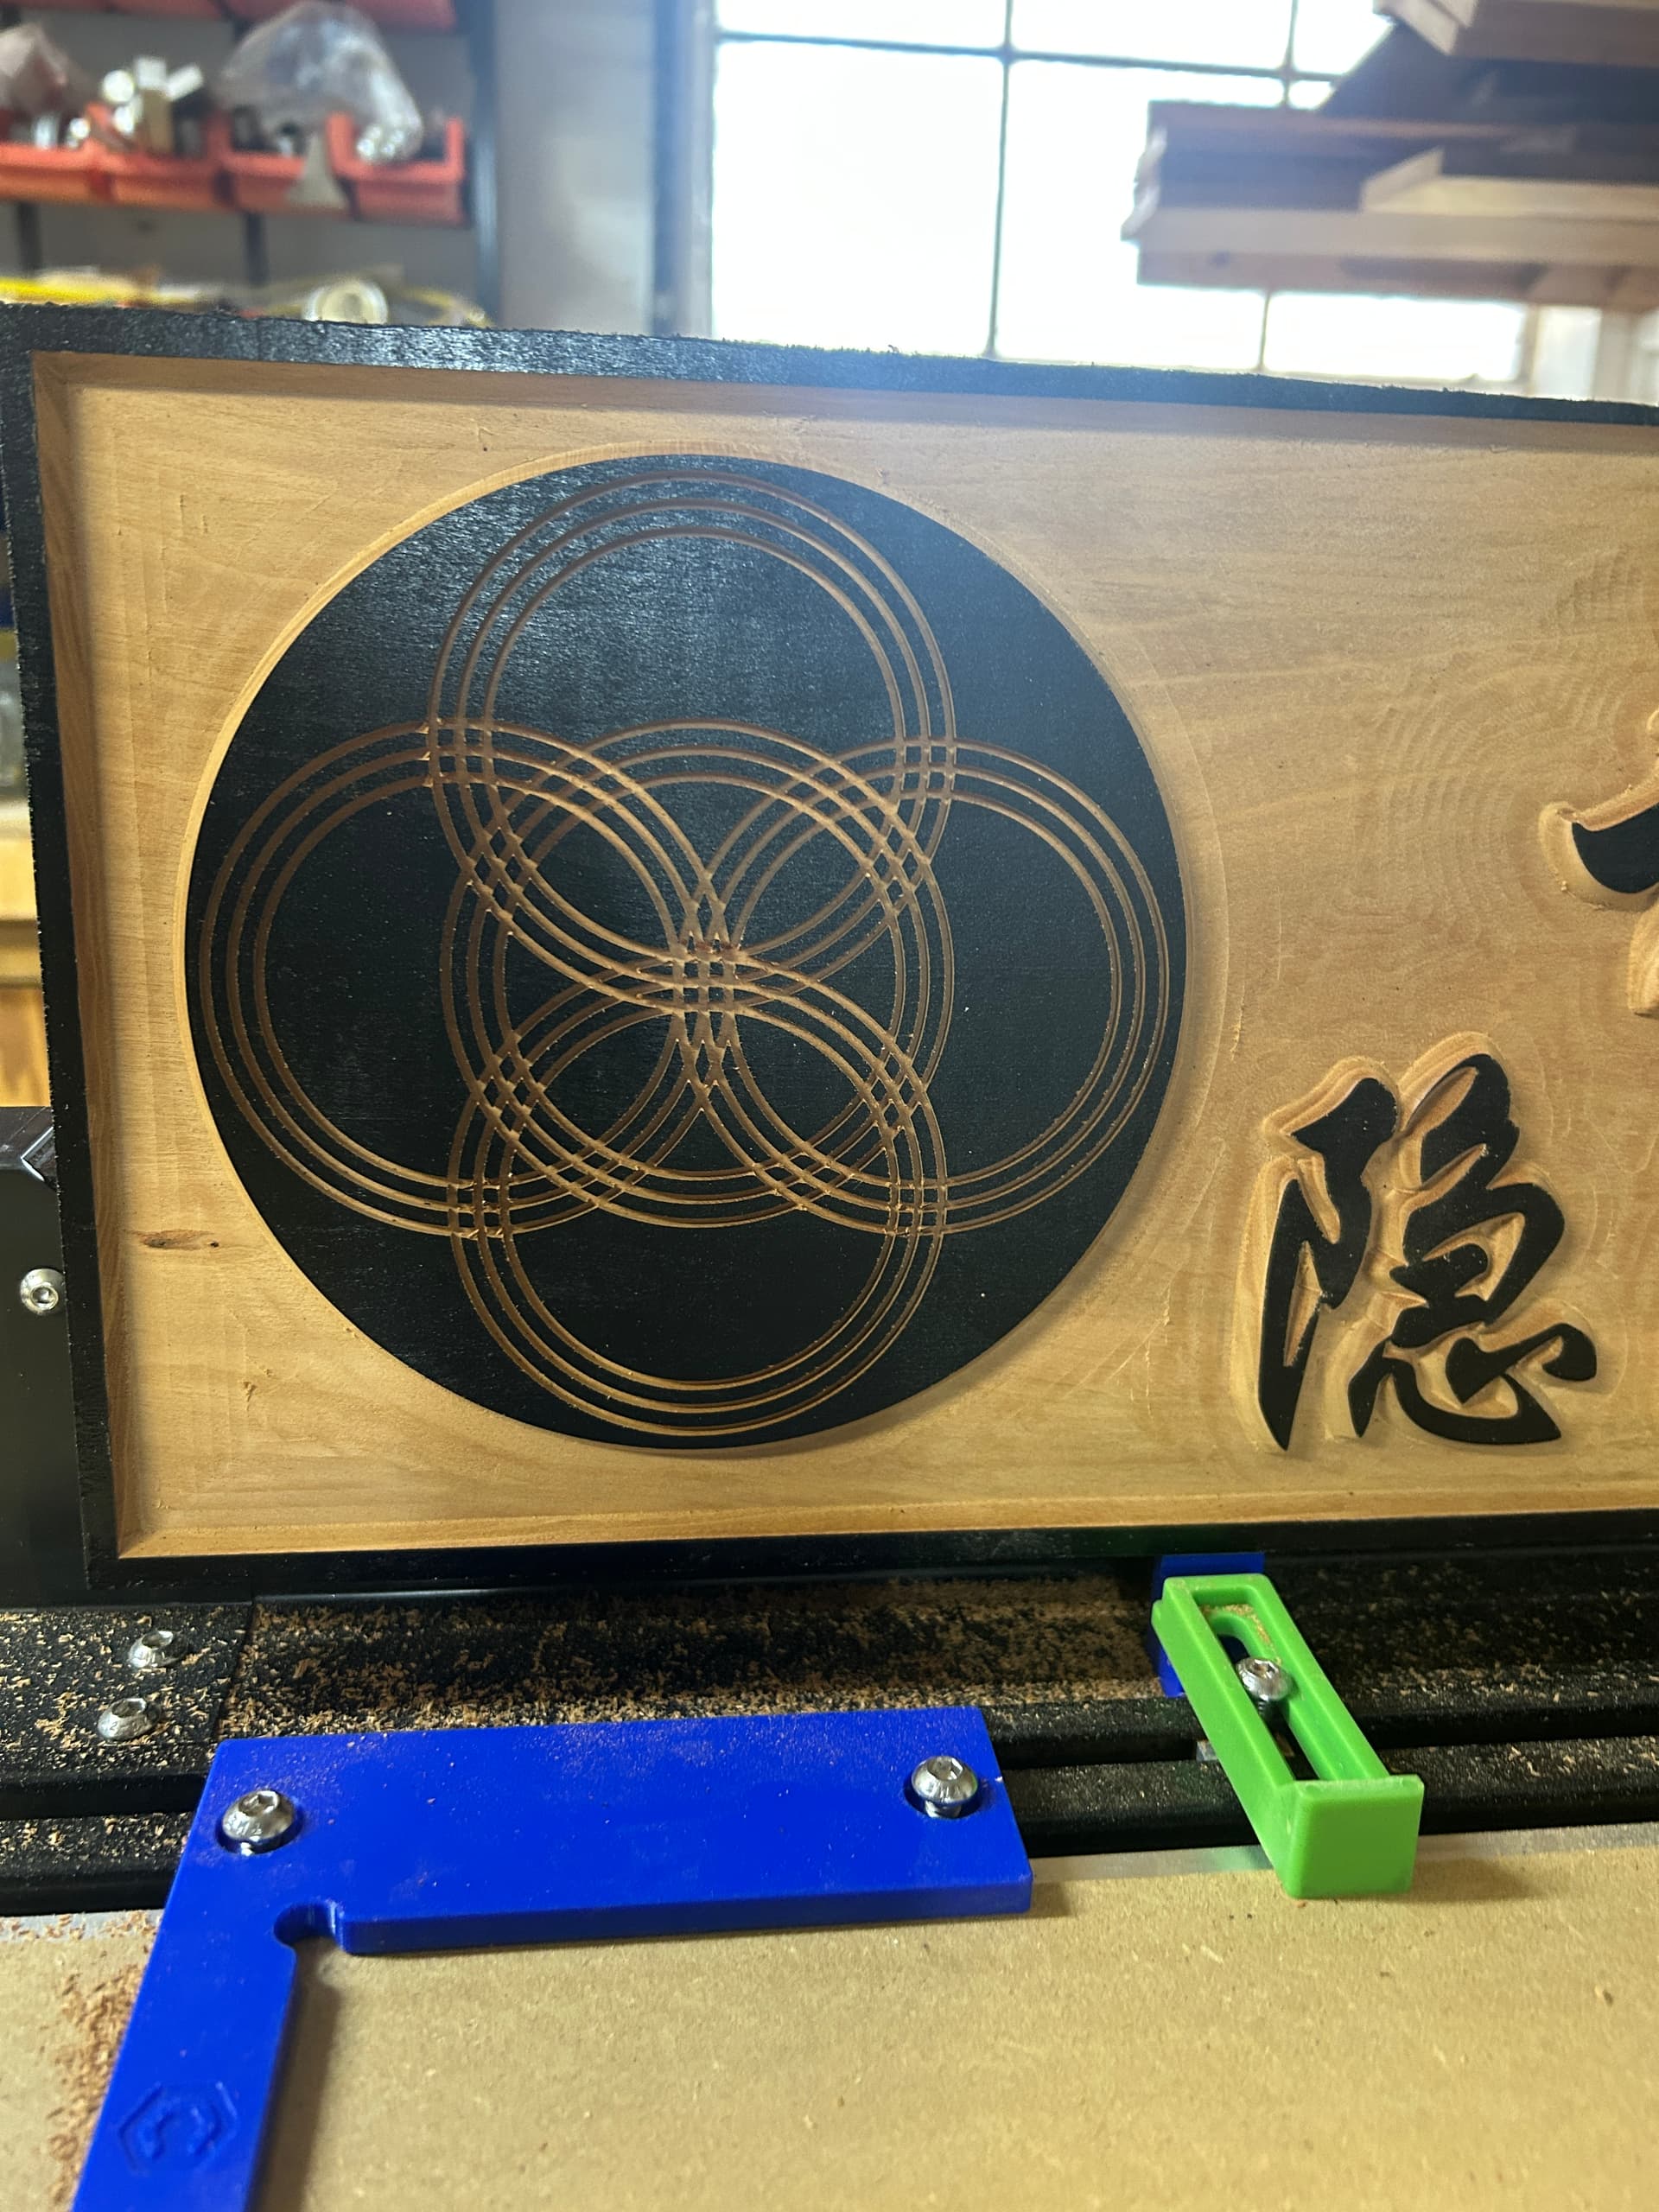
Hey Mark, what font are you using for the cursive? Where did you find the font? Did you have to edit the nodes? How deep did you cut? Sorry, was excited when I saw your piece as I’ve been trying to find something like this for a while that works. ![]()
MDF (especially the light weight stuff) is porous. The vacuum pulls a vacuum in chambers inside the MDF which causes the air on the surface of the MDF to be sucked down as well. That in turn sucks down on whatever is sitting on top of it. It is the same way the MythBusters lifted a car with a single shopvac.
2 Likes
That’s correct, the “gantry shift” now gives ~3" past the front of the bed.
Kudos to the person that thought of that option.
1 Like
Hi, Nathan. Very clean and interesting idea. Reading through the posts, I don’t understand where you say “added an aluminium tube.” What kind of tube, how did you added it, and the source, please.
Also, will you tell me how you attached the fixture to the SO?
Thanks so much for sharing this great idea.
Regards,
Allen
Hi Allen, I have a close-up photo with a short explanation here
The 1x2 rectangular aluminium tube that sits in the corner of the Shepeoko and 80/20 extrusion comes from OnlineMetals.com Part #: 18003. If I did it again I might get something thicker and face the front and top.
Let me know if additional photos would be helpful.
Cheers,
Nathan