I use the super glue and painters tape method to secure the sheets to a wasteboard. Then I can cut whatever size parts and not worry about them getting sucked up through the dust collection.
I just don’t have the equipment to do my own layups. I get clean cuts using the pre-preg sheets from my supplier.
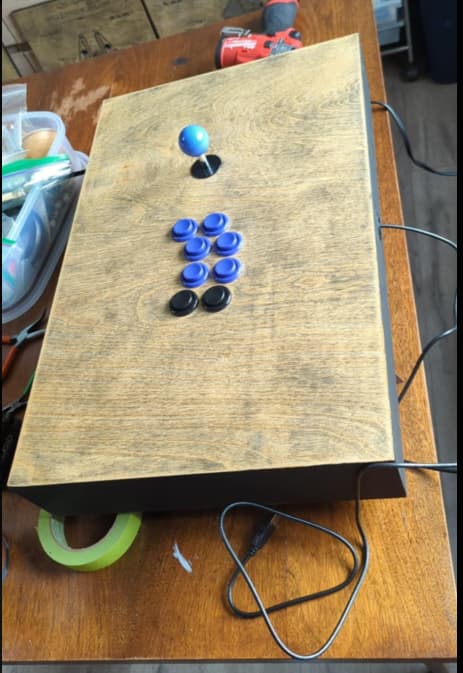
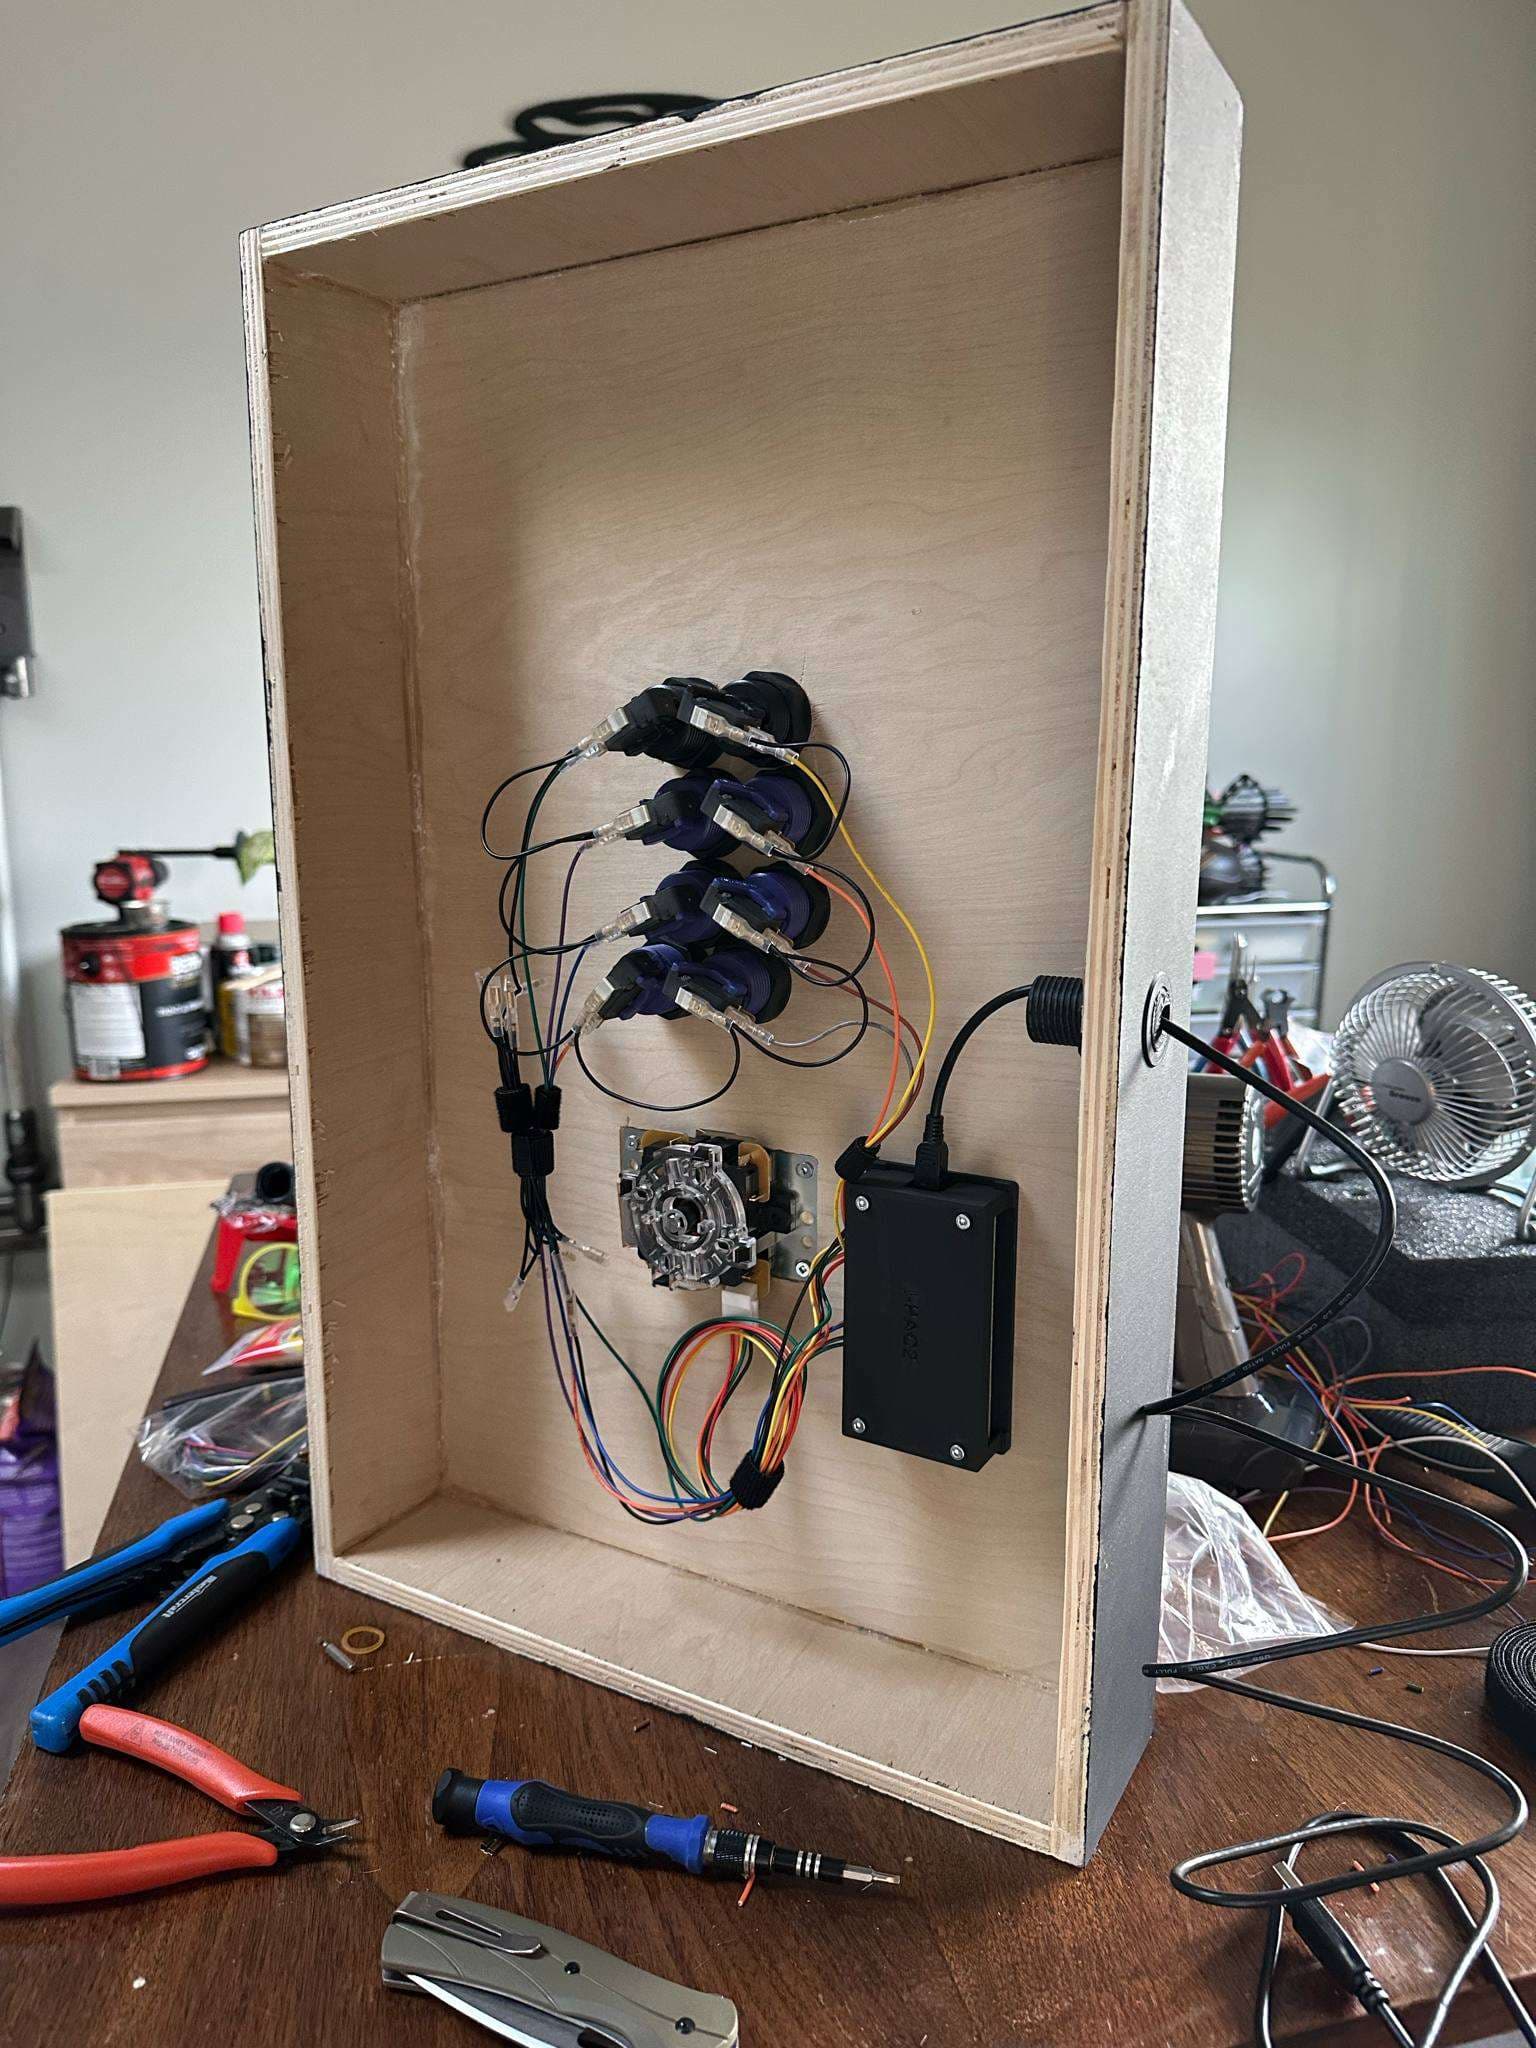
Designed, Cut, Glued, Sanded, Filled, Painted, Stained and wired today. Had to redesign a grommet 3d print and the advertised cutout size for the joystick was wrong so I had to manually rework it but I think it turned out pretty sweet. Sanwa 4&8way joystick, Happ buttons and an ultimarc IPAC 2p controller with a custom housing. There is rubber strain reliefs in the grommet to prevent pullout and damage.
Edit: the ball matches the color perfectly my phone was just doing something strange there
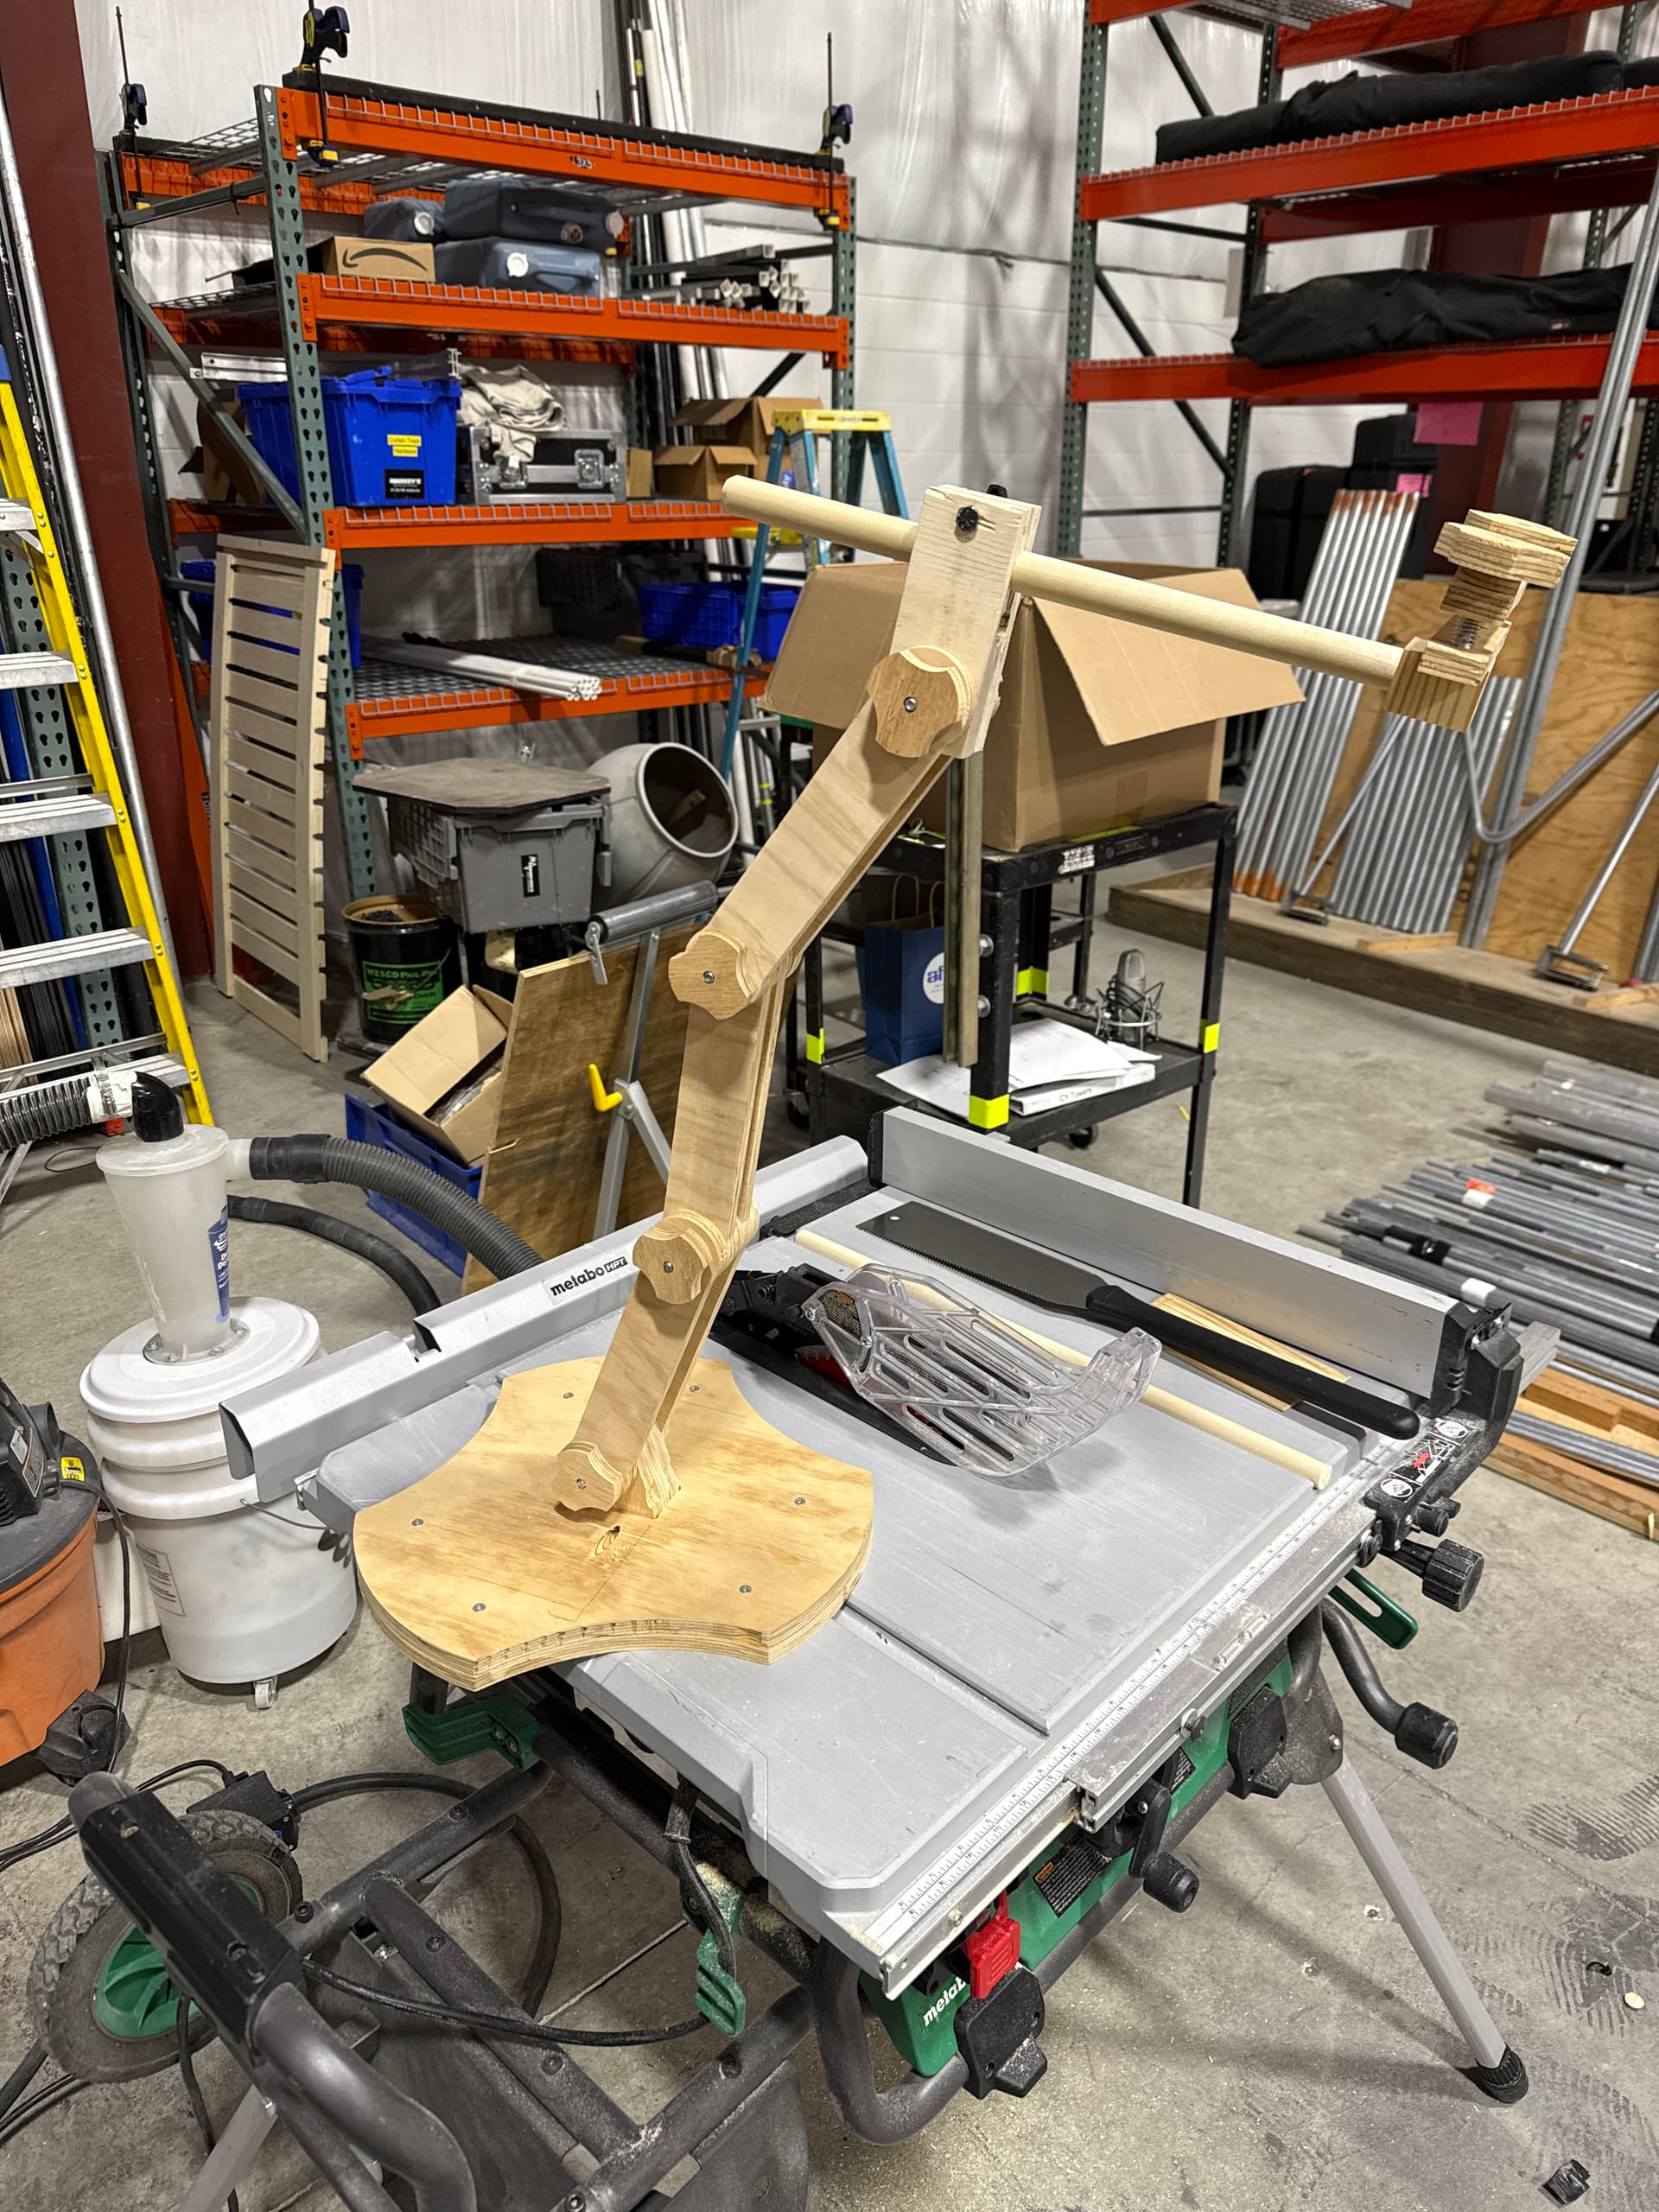
Saw a couple cross stitch stands on Reddit that I liked, so I combined what I liked from both of them, made some guesses about lengths, changed the base from a four footed design to three for better stability, and whipped it up at work over about 4 hours after I clocked out. The designs were made in Fusion during lunch breaks. I design exclusively in Fusion for all my work projects.
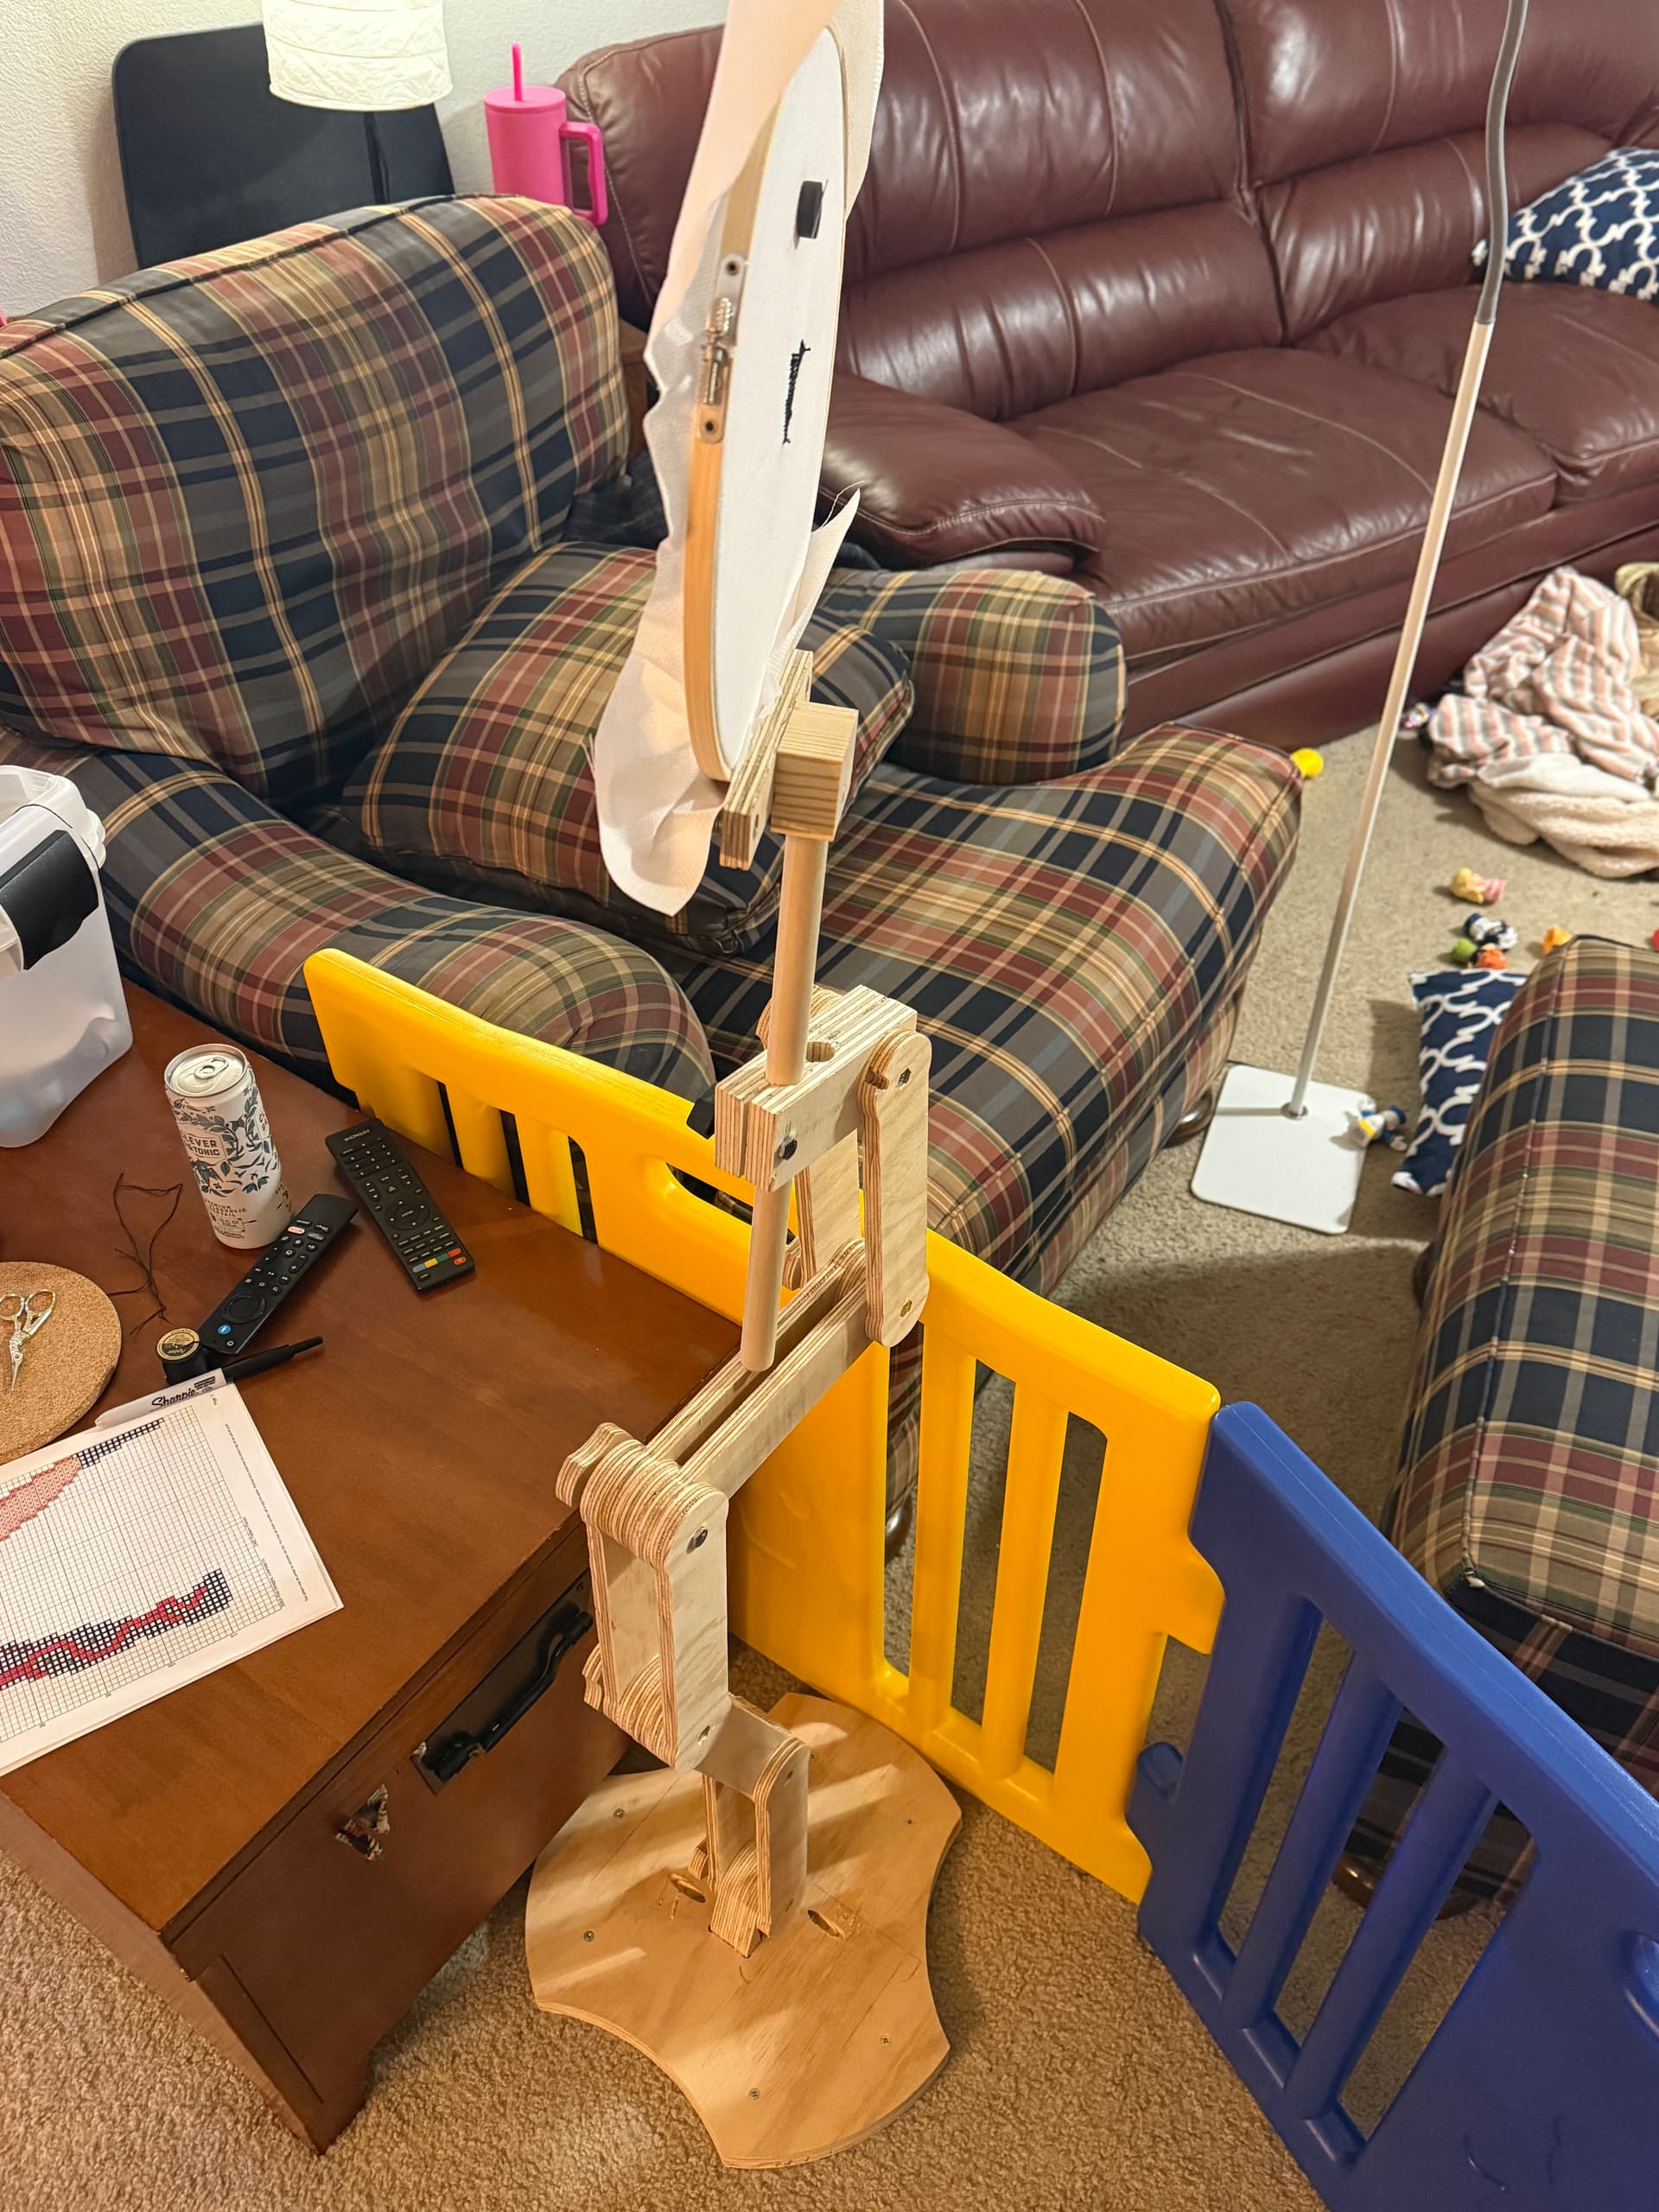
On the left is a WIP and the right is the final. I’m in the process of a series of cross stitched Eras Tour outfits for a gift and this allows two-handed stitching rather than holding the frame with one hand and stitching solely with the other.
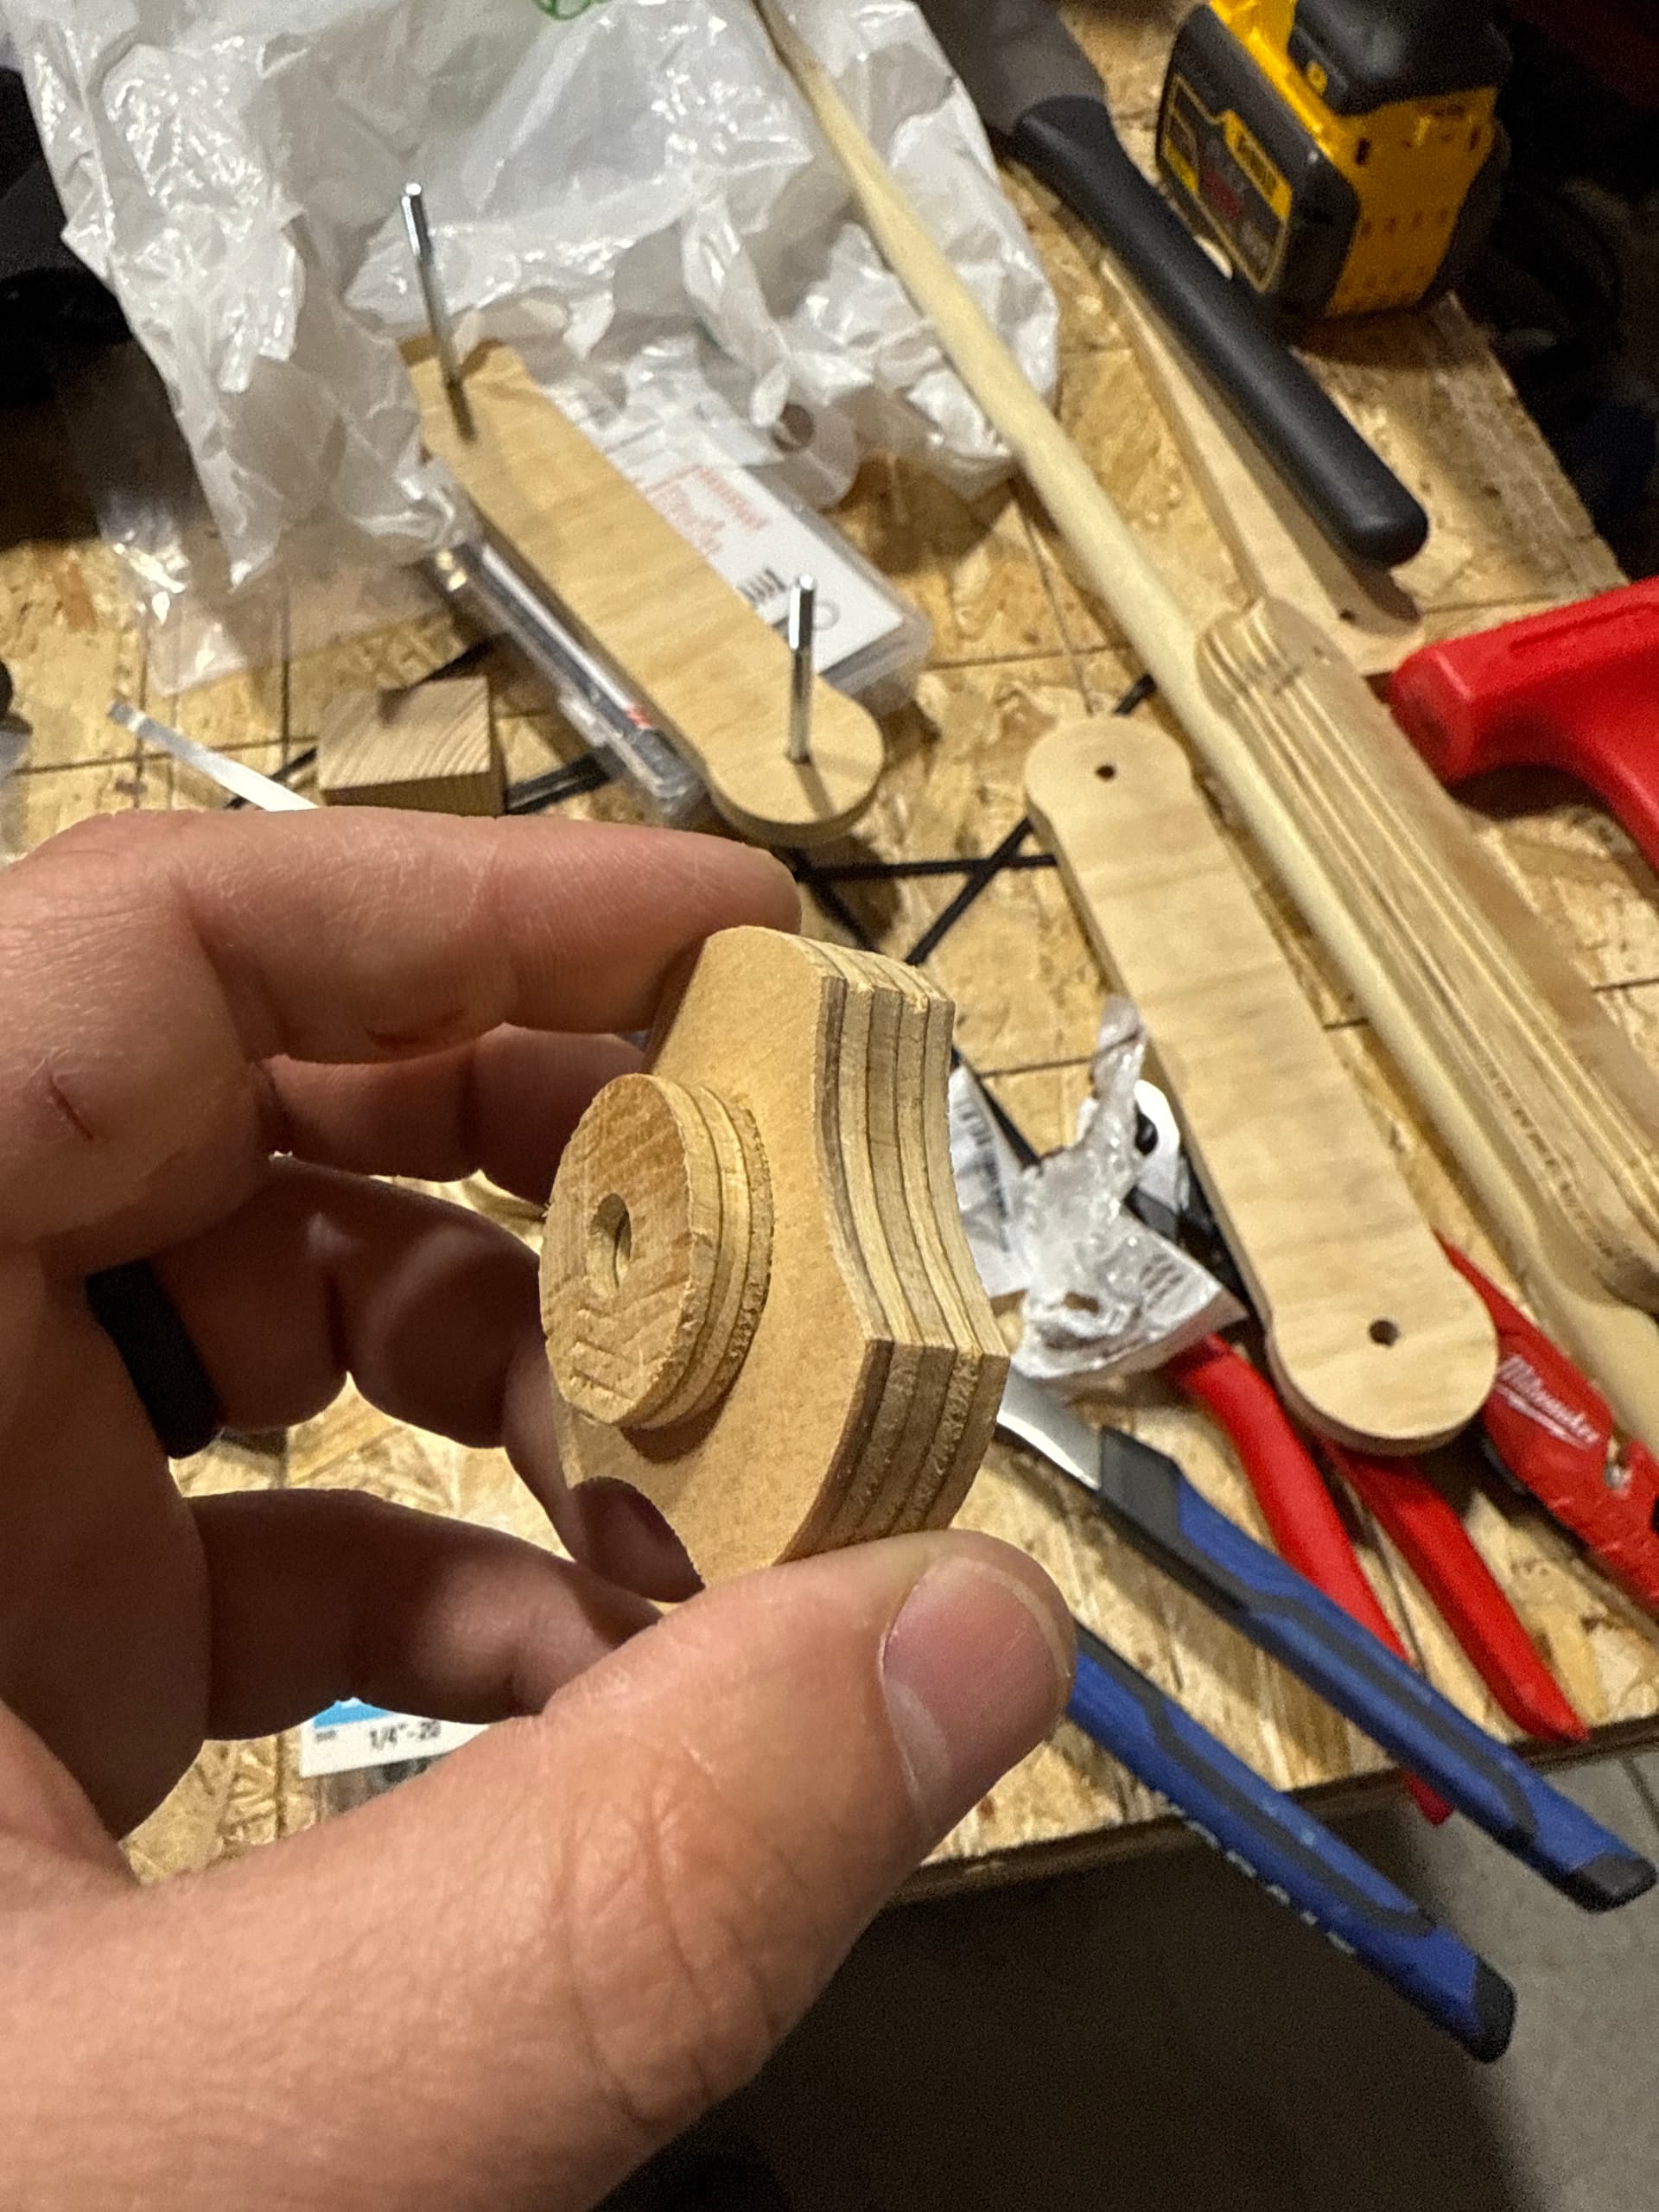
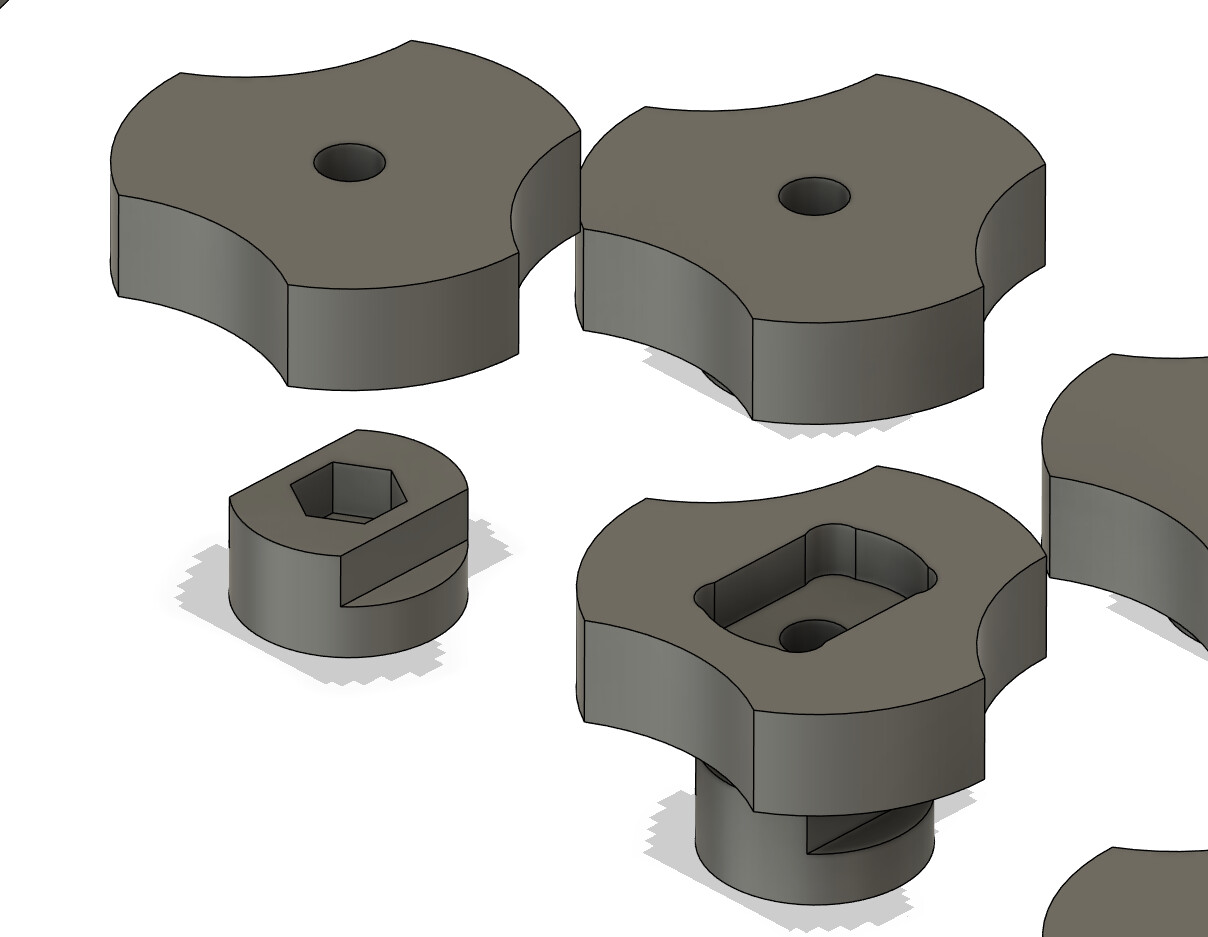
I’m particularly proud of the knobs. I designed this in 1/2" ply, and the knobs are a locking nested design that holds a captured nut inside. The knob itself is a passthrough for a 3" bolt that got inset on the opposite side of the construction. I had to clean up the corners with a 1/4" chisel a little, but pressure pulled each in tight and glue holds the knob together.
I cut this all from not great quality 1/2" ply scraps using the Amana 46712-K and SpeTool W02003, both compression bits. It’s evident to me that if I want to make more plywood based projects for the office, a larger size collet would be really beneficial to take full advantage of the compression bit’s abilities. I’m hoping to get a ShopSabre Pro 408 and use the Shapeoko Pro XXL as a small project, rapid prototype machine with the big machine doing the lion’s share of the work.
This is one of those “I’m sure I can make it myself” kind of things and I encourage everyone to figure this kind of thing out for themselves. We’re makers, and creative problem solving is probably one of the rewards we get from this endeavor.
My son is blind but has enough vision to see dark from light. With this type of black and white contrast and his magnifier he might be able to play this dice game. I appreciate your posts and suggestions that you share. What size is the finished product?
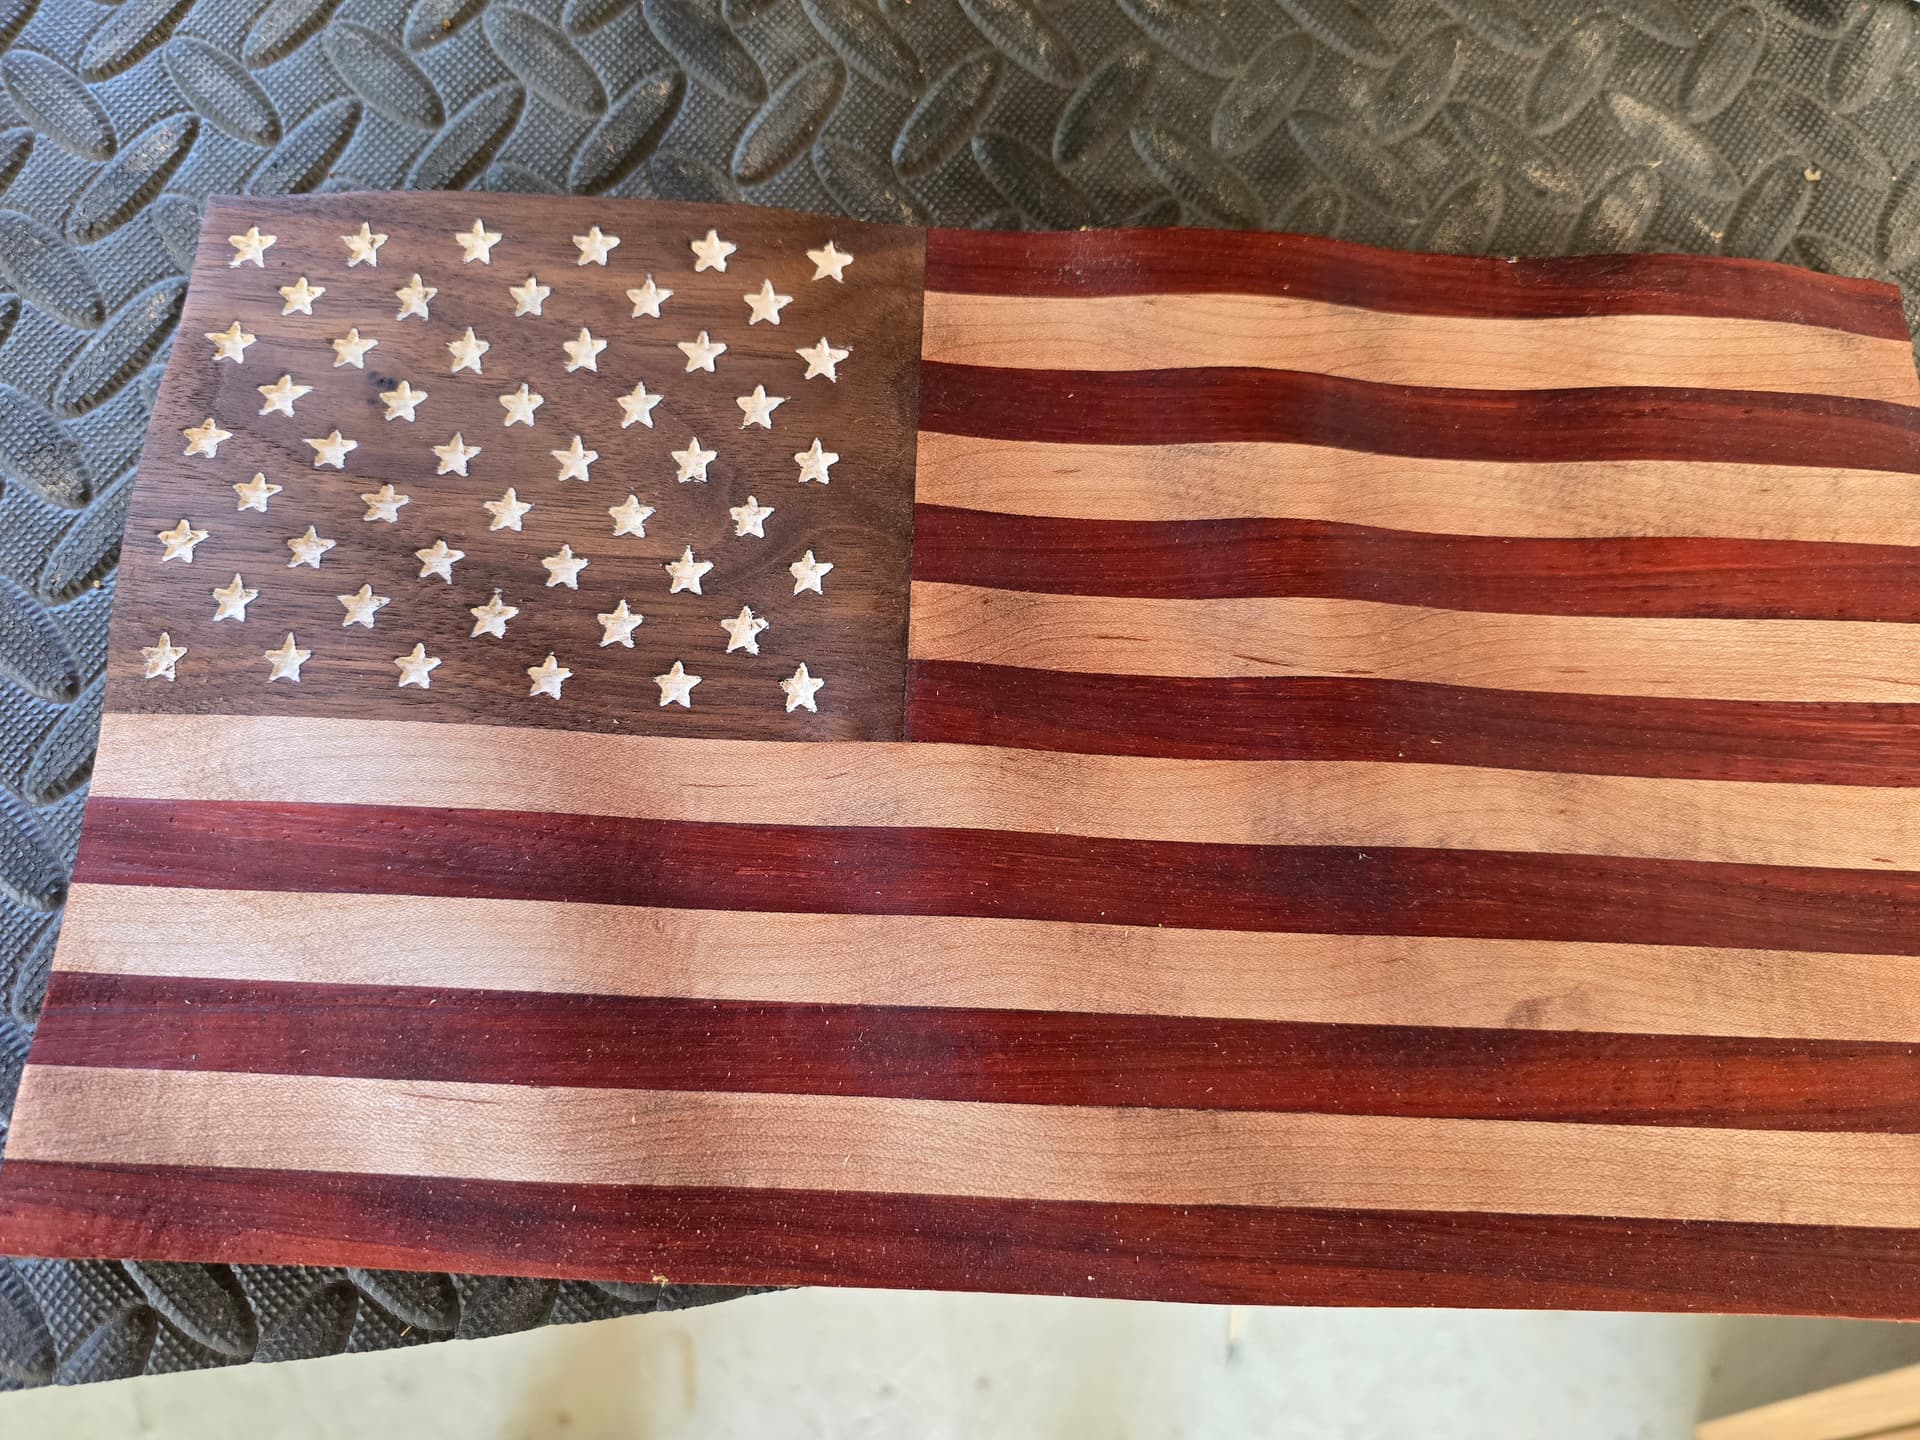
My first attempt at an inlay following Winston’s Tutorial.The inlay wood is Black Mahogany and the base is a wood I had never heard of before called Koto.
I followed Winston’s Tutorial line by line and pleased with the first attempt.
Used to source from a supplier in china but tariffs make it too expensive now. To my surprise there’s a local company in Duluth, MN called Clearwater Composites that makes it. I’ll be ordering from them next.
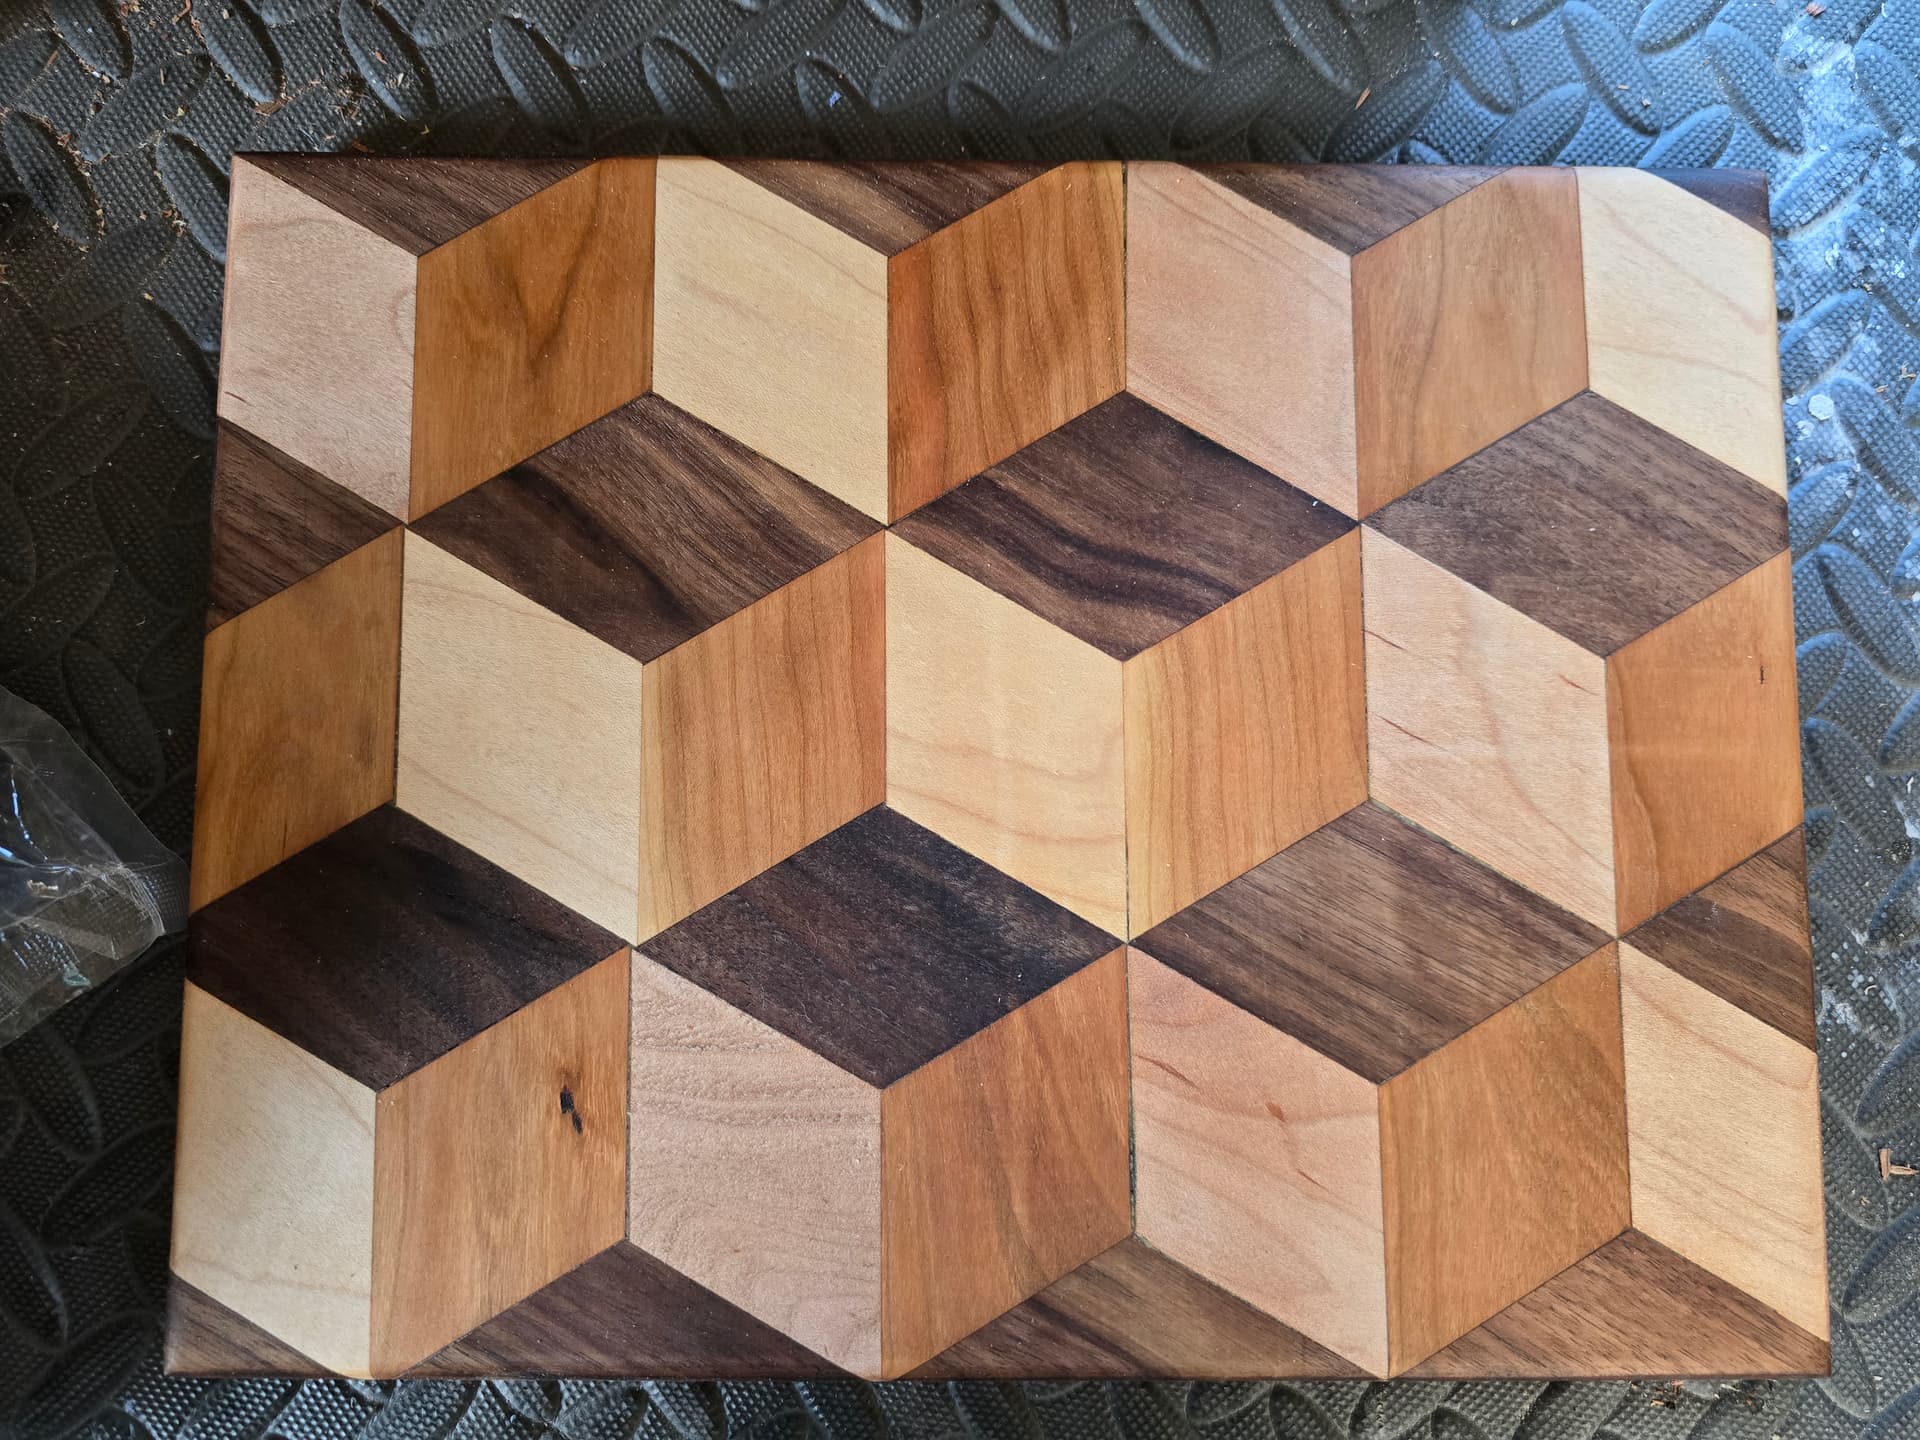
I have been going to do some 3d illusion like your blocks above. I watch a youtube channel Thepapa1947 and he does a lot of 3d illusion videos and explains what he is doing to make the illusion. He is primarily a turner but his 3d explanations are worth watching.
I will definitely have to watch them. I got the files from Fischers woodshop if yoj signed up to his patreon he gave 3 away for free. I think he sells the how to’s for around $5.
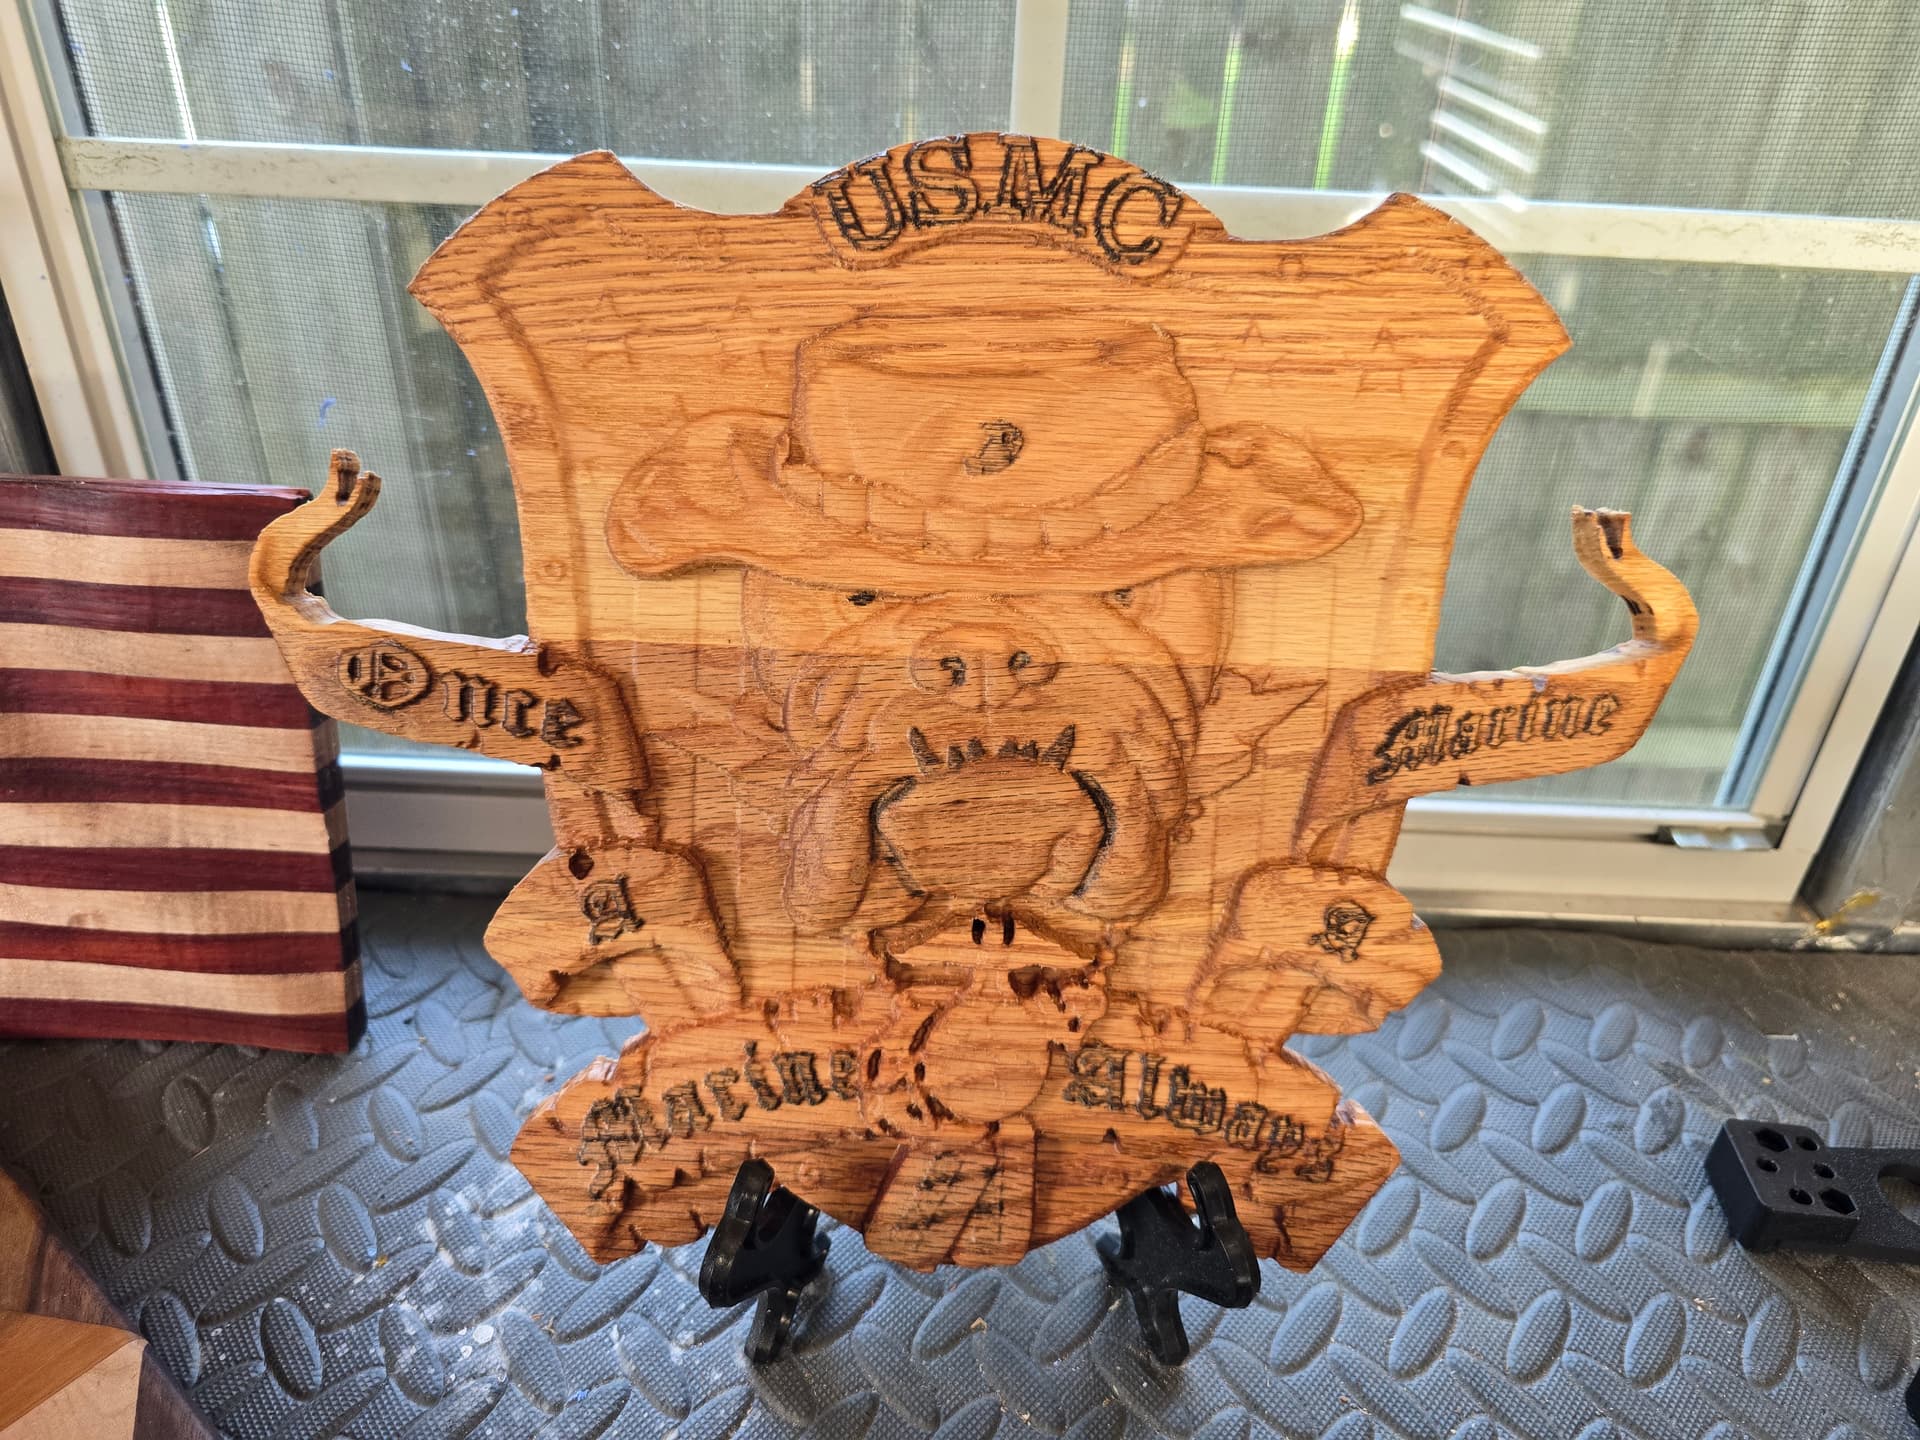
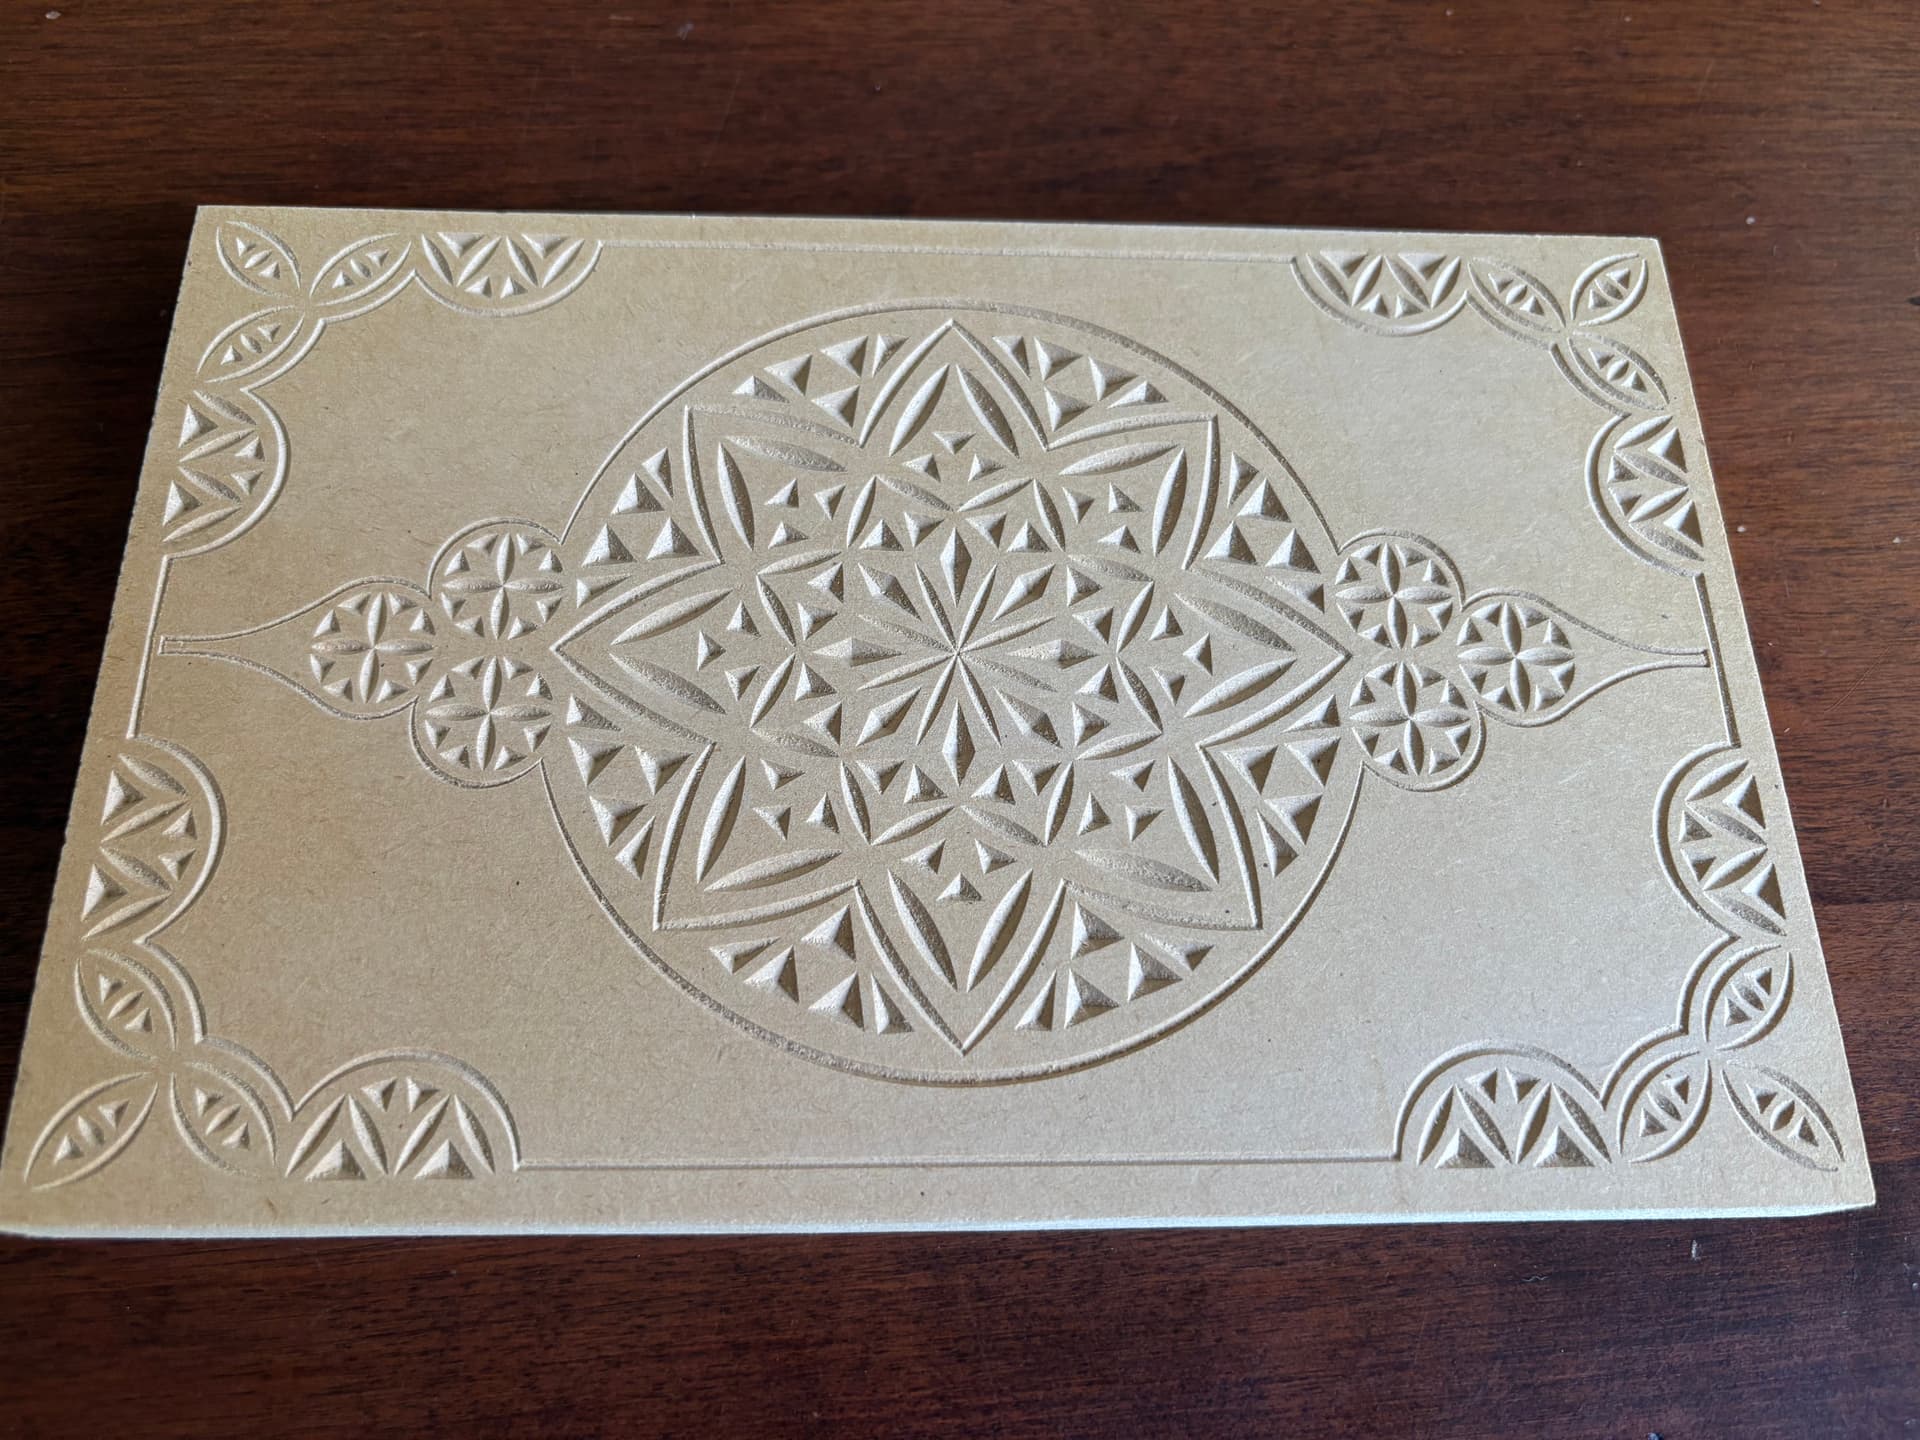
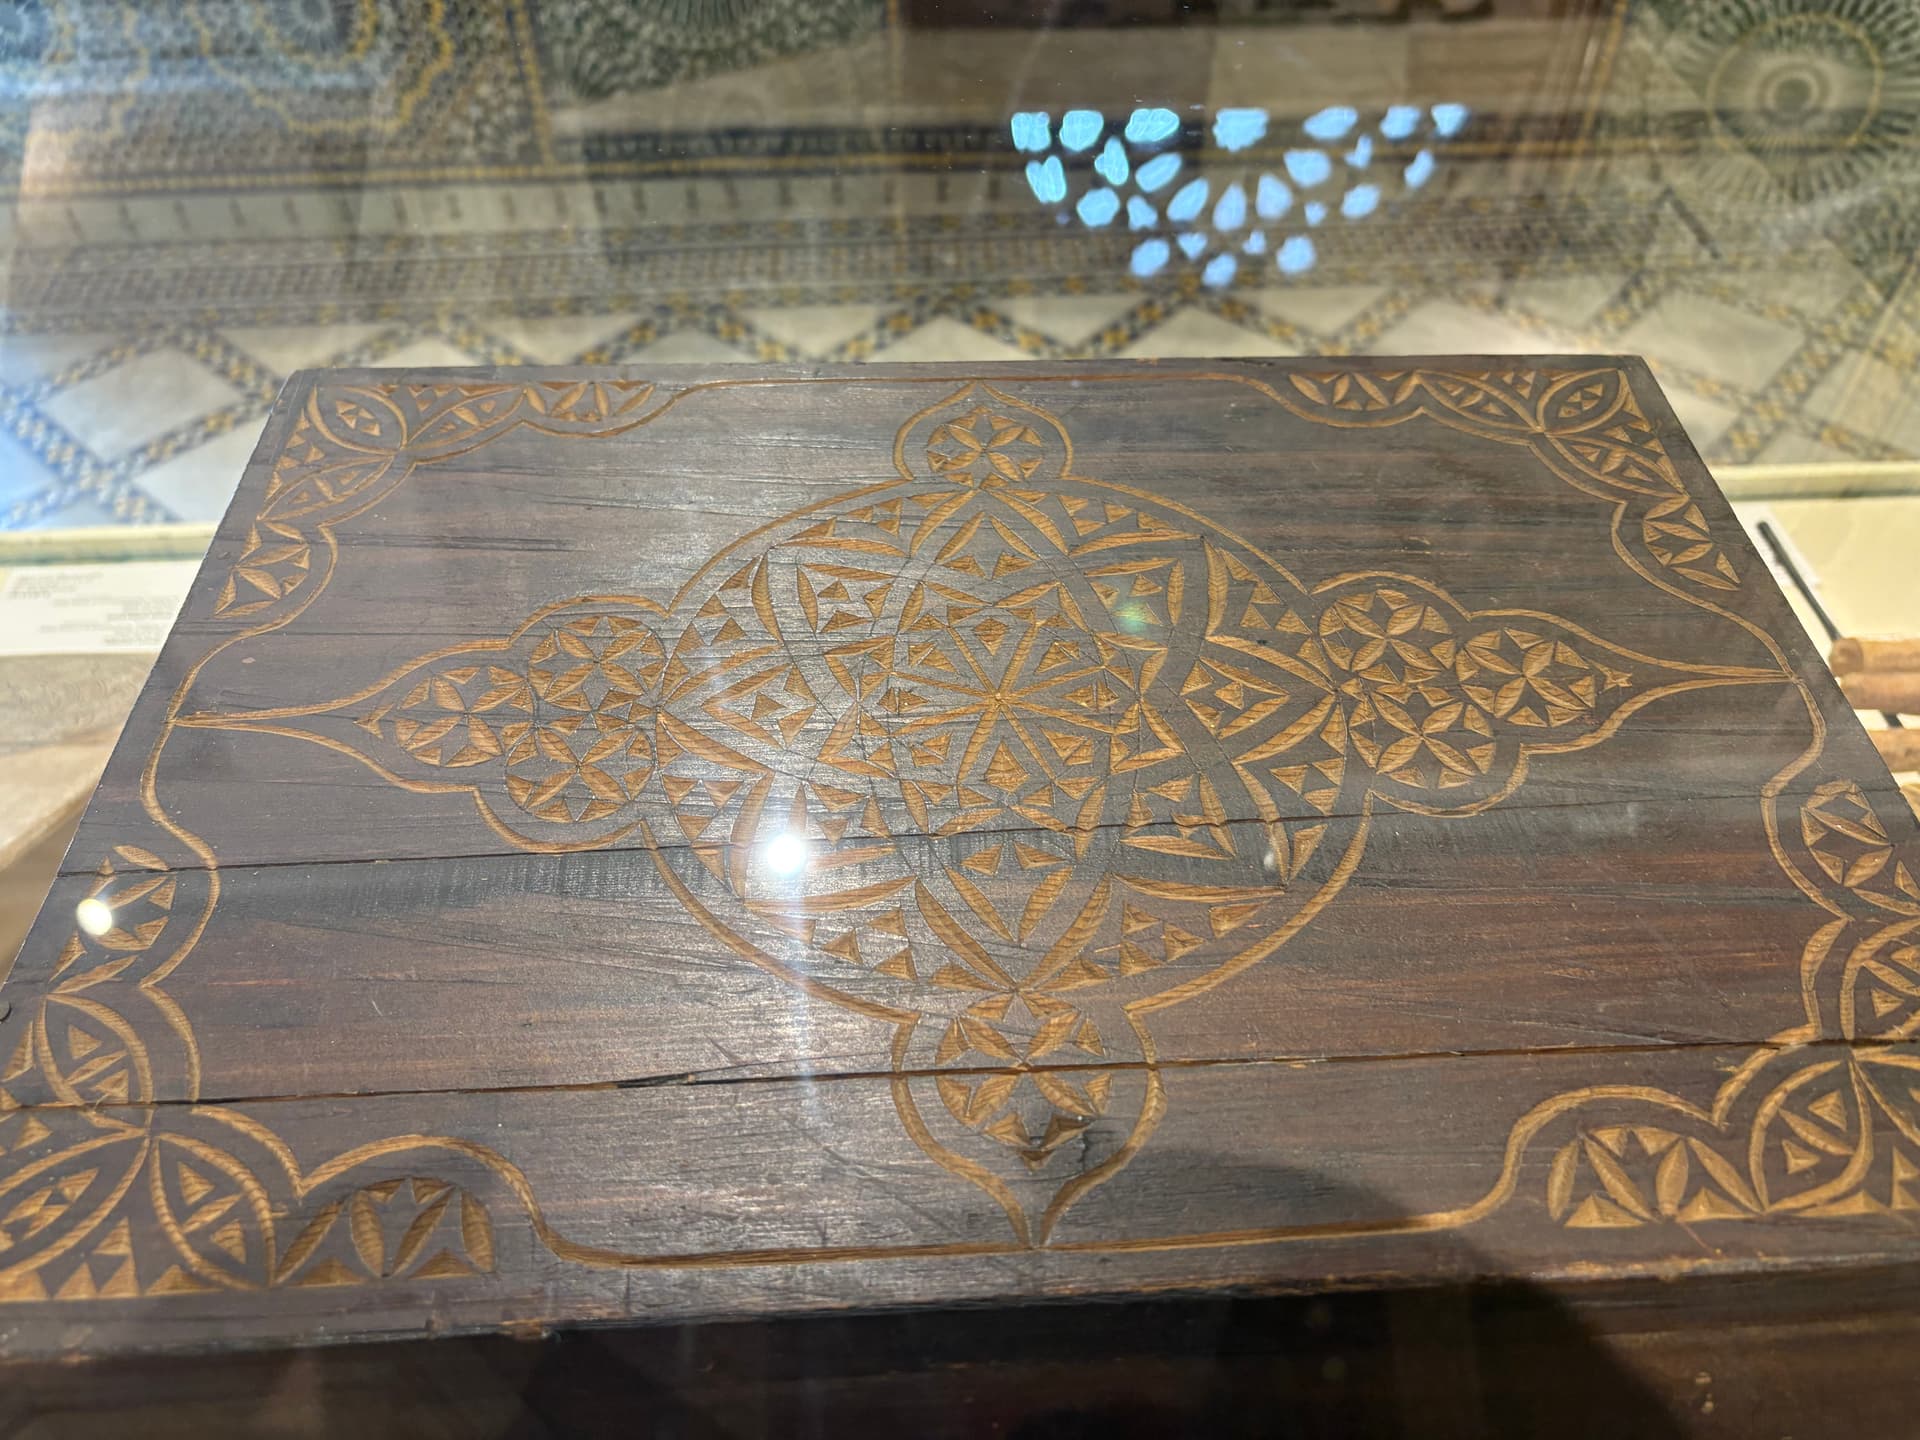
The whole thing was cut with a 90 degree v cutter. I did the design in CorelDraw. The design, not surprisingly, was the hard part; trying to figure out how to make all the shapes and varying line widths. BTW, here’s the original: