Oh that’s awesome!! Send final pics!
Can I know how deep you went with the carve? Just playing around with depths - like the shadows you’ve got there. Did you chamfer everything? Any chance I can request the native file to learn from ![]()
![]() ?
?
1 Like
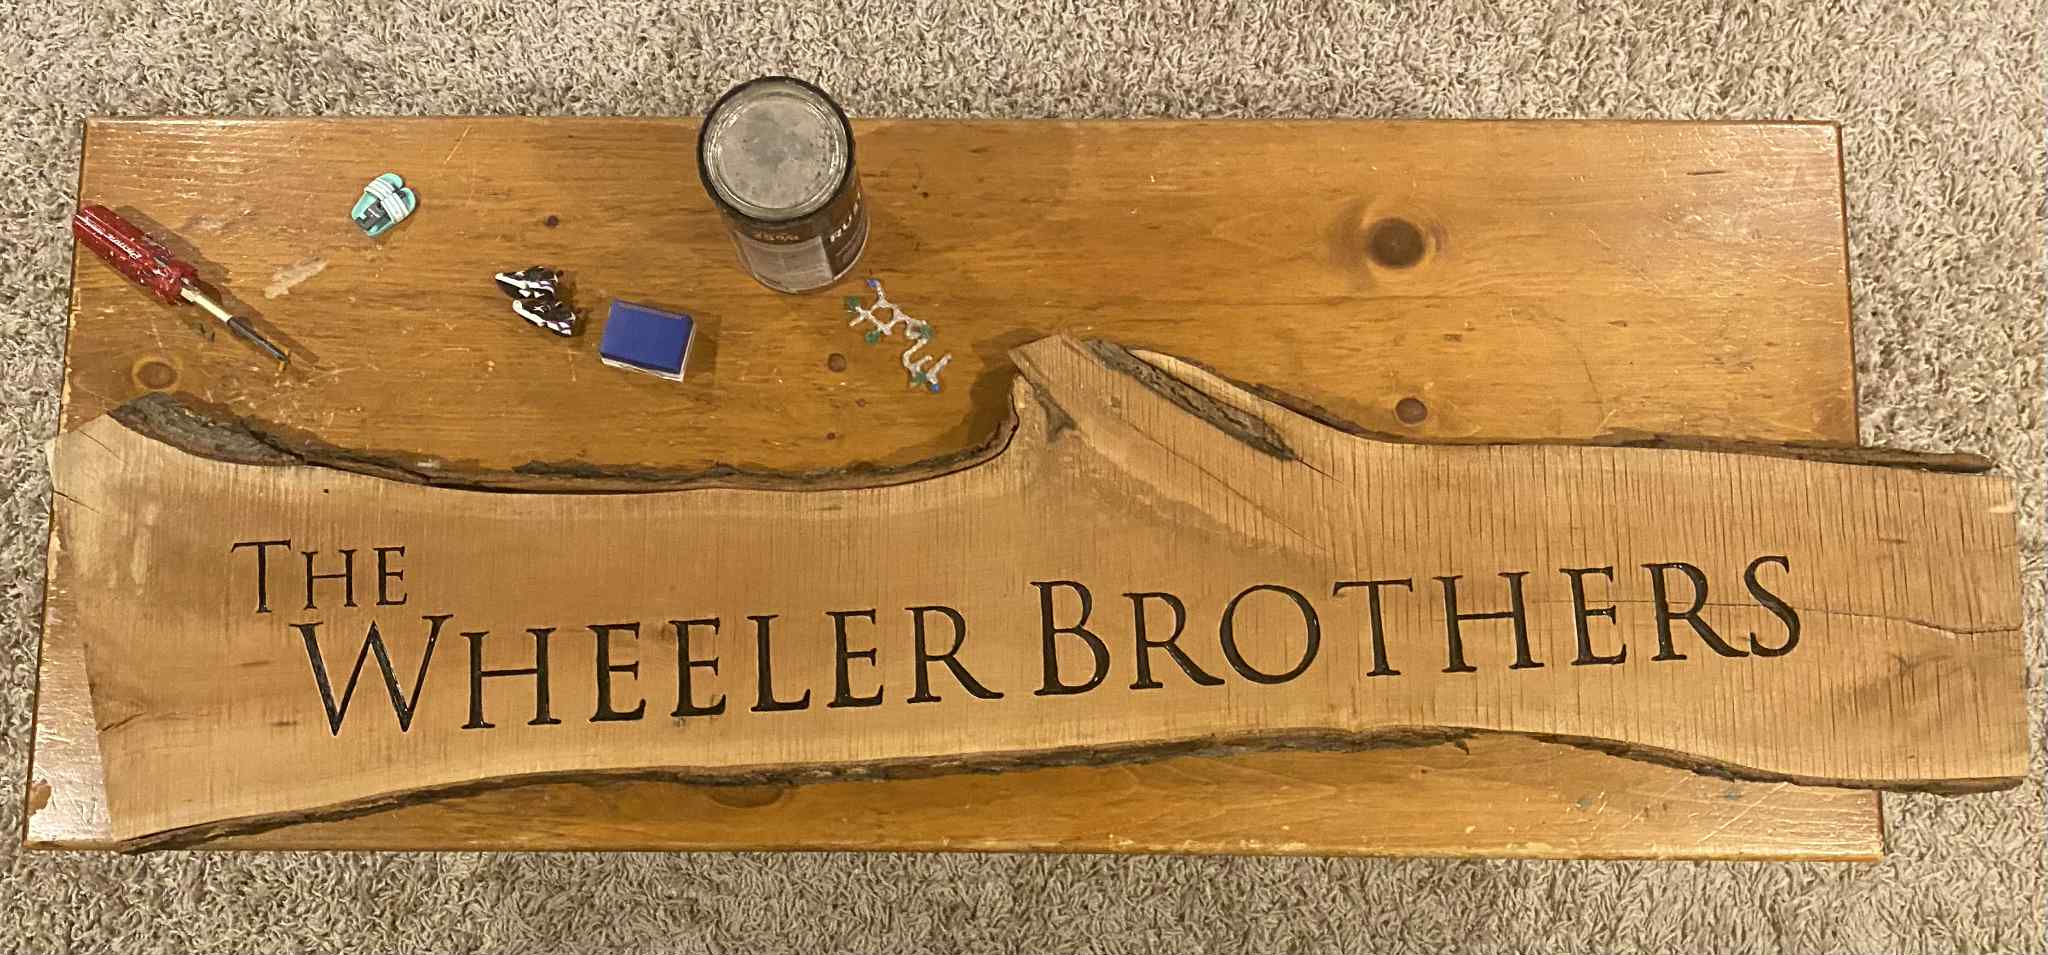
Go big or go home - large slab for cottage in Nova Scotia. Challenges - came right off the sawmill (black cherry), warped and unfinished. Tons of emotional value for client.
Solution: custom brackets straight into CNC bed. Heart bleeding but I made a mess of my mdf spoil board so need to replace that some day soon anyway! That’s what learning curve does. Hopefully next one will last me longer ![]()
Q: would you have affixed it to the bed differently?

10 Likes
Are you using HDU? If so, I’ve not found a depth that it can’t take going at 7000 mm feed speed. The only limitation seemed to be the depth of your bit’s cutting capabilities. I will say if you are running a wide open smooth surface, like in this sign, I would do a finishing pass as there is some slight deflection of the material.
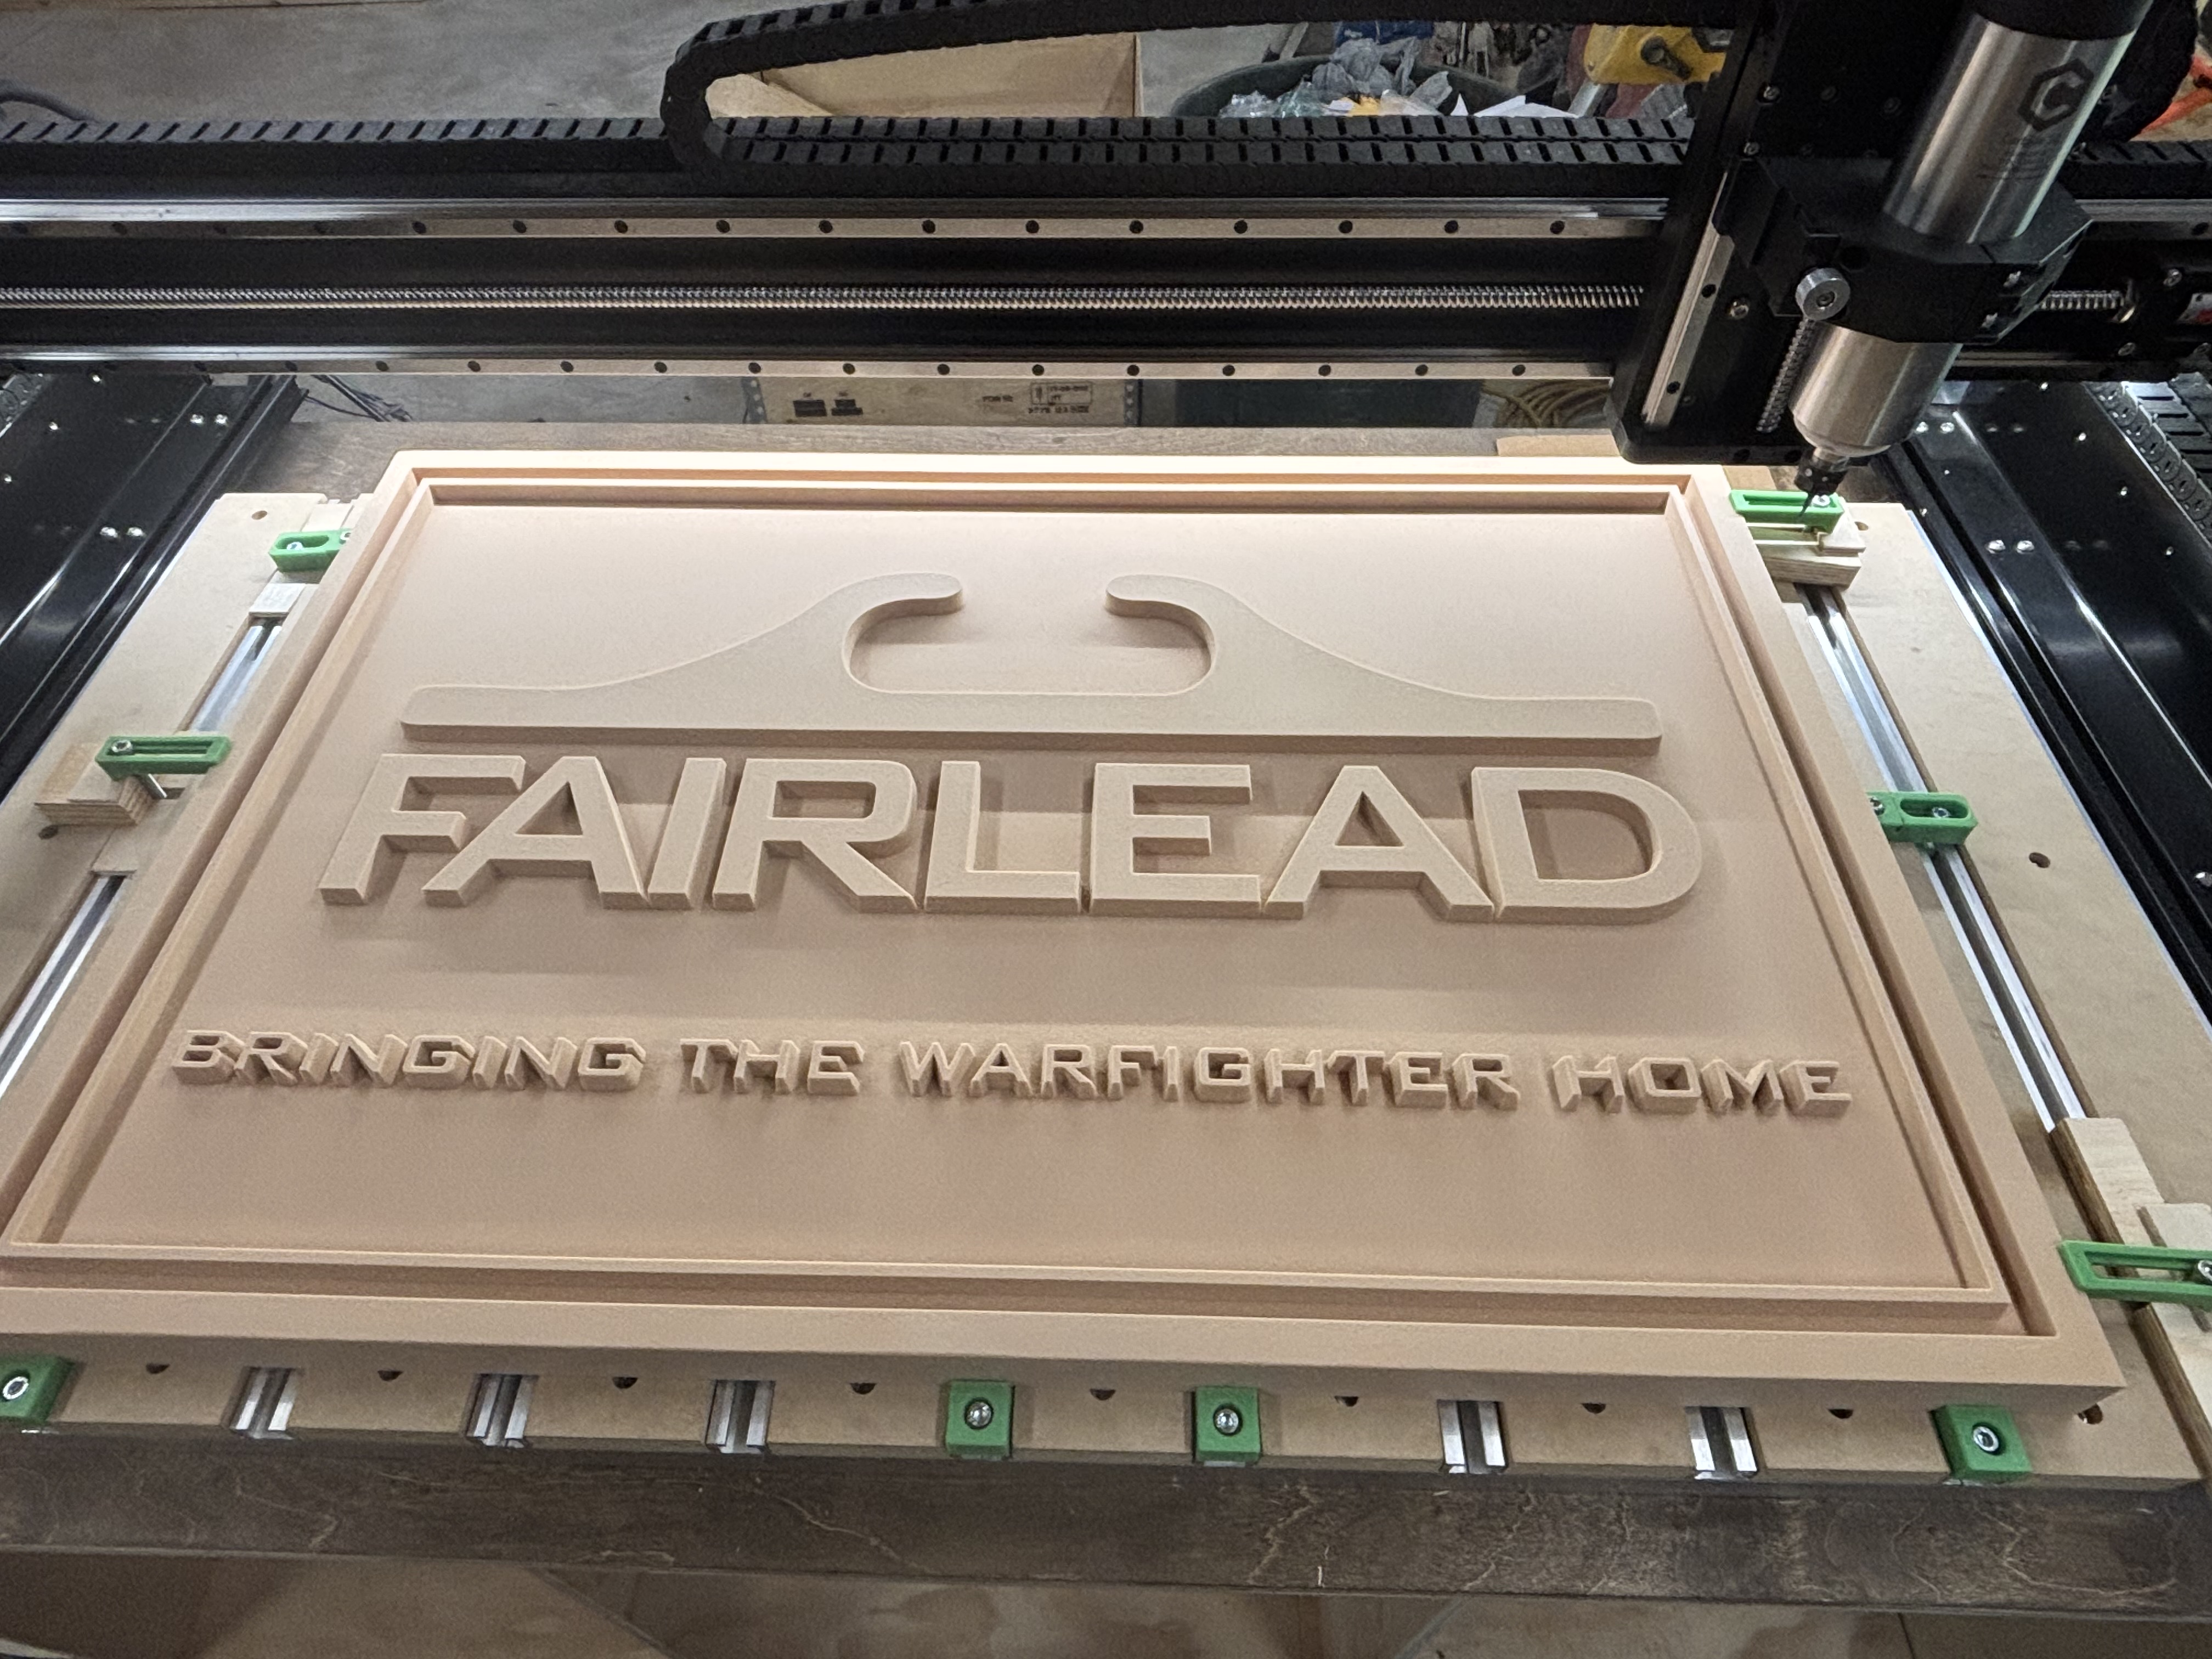
The other consideration is cutting all the way through the 1 1/2" HDU material. You will definitely need a longer bit.
When I get home tonight I will share the file
5 Likes
If the slab would fit length wise across the diagonal of the table you could then use conventional clamping methods with the T-tracks. My first project I did this with I eyeballed the 45 deg angle and got lucky enough for the small amount of milling I was doing. I realized I didn’t really set a true 45 deg angle when the cut was progressing down the length of the board.
The next time I needed to use the diagonal I clamped my line laser to the left Y axis, set a 12” speed square on the table and aligned the laser with it. This showed the true 45 deg across the table. Removed the speed square, inserted the board with center marks on both ends and clamped it down while aligned with the laser mark. This got me to 45 deg across the board, I also cut a simple template of the workspace dimensions in CC. I then set the template on the board and positioned it where I wanted it and then used lower left for X/Y zero, removed the template and then set Z zero and hit start. While this took longer for sure it allowed me to carve the file exactly where I wanted it on a 45 deg angle across the table for the extra length of the board.
3 Likes
Here’s that file. Enjoy ![]()
Clark Bar, small 7-20-25.c2d (324 KB)
2 Likes
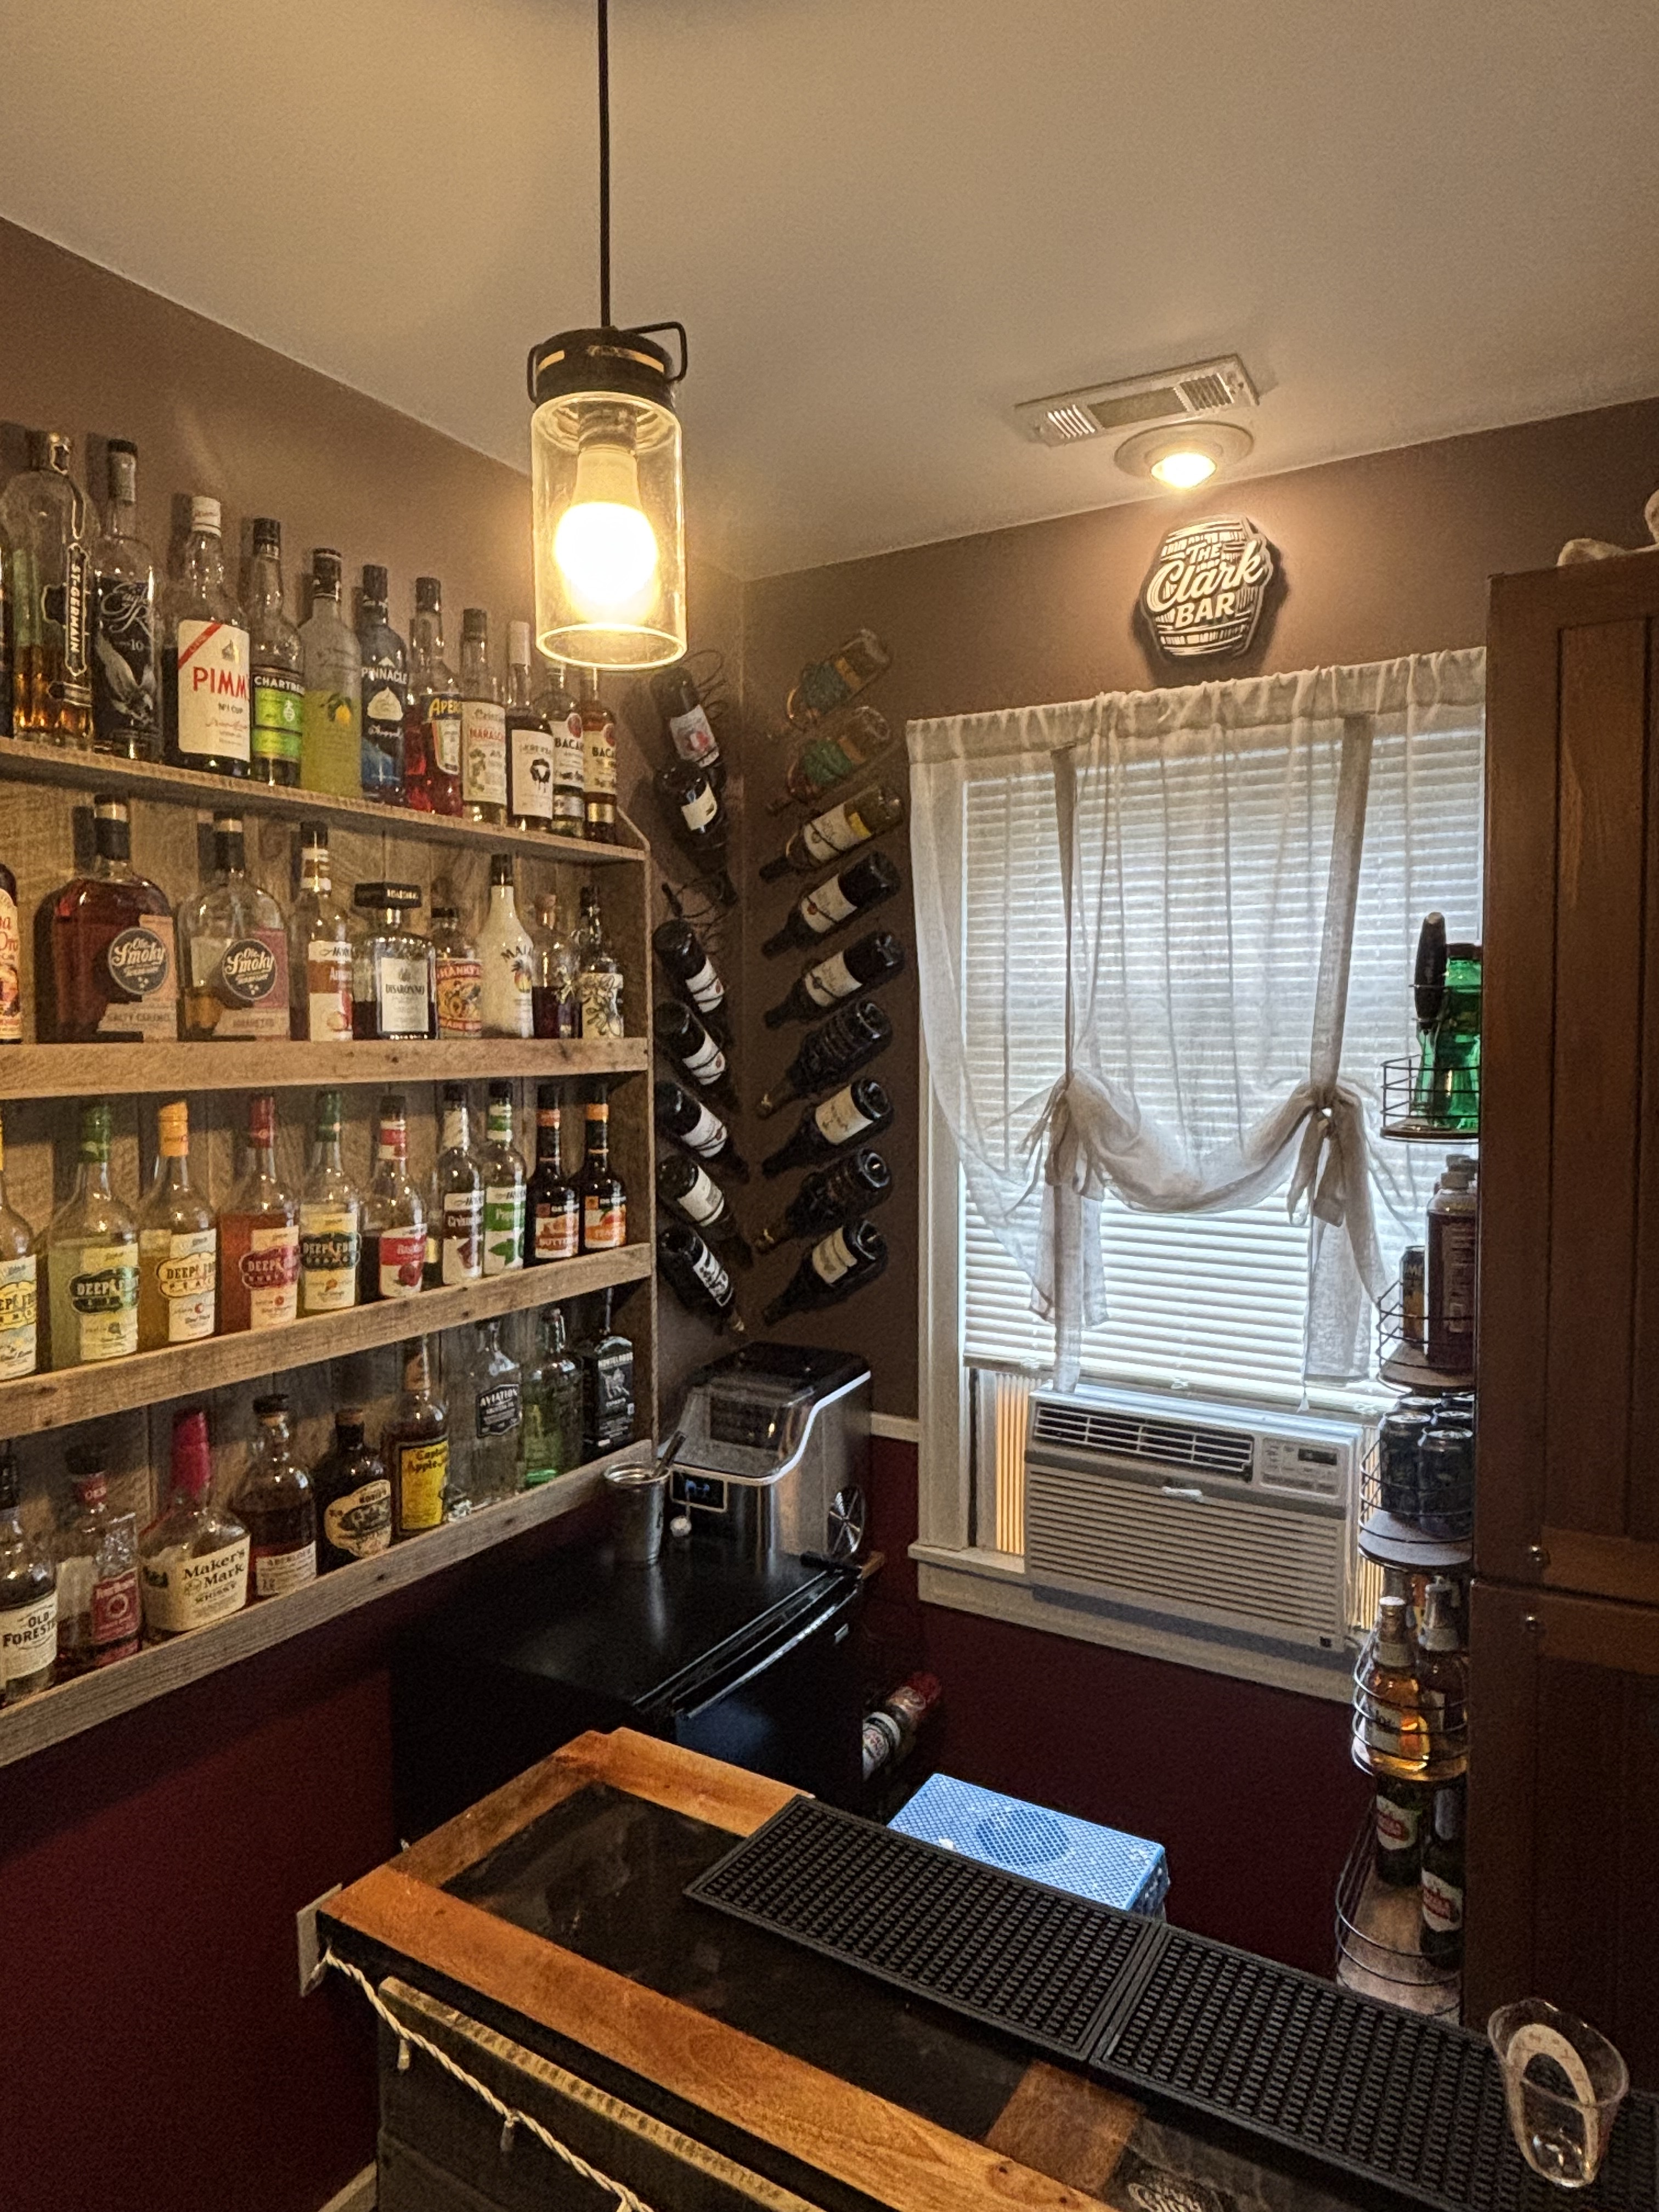
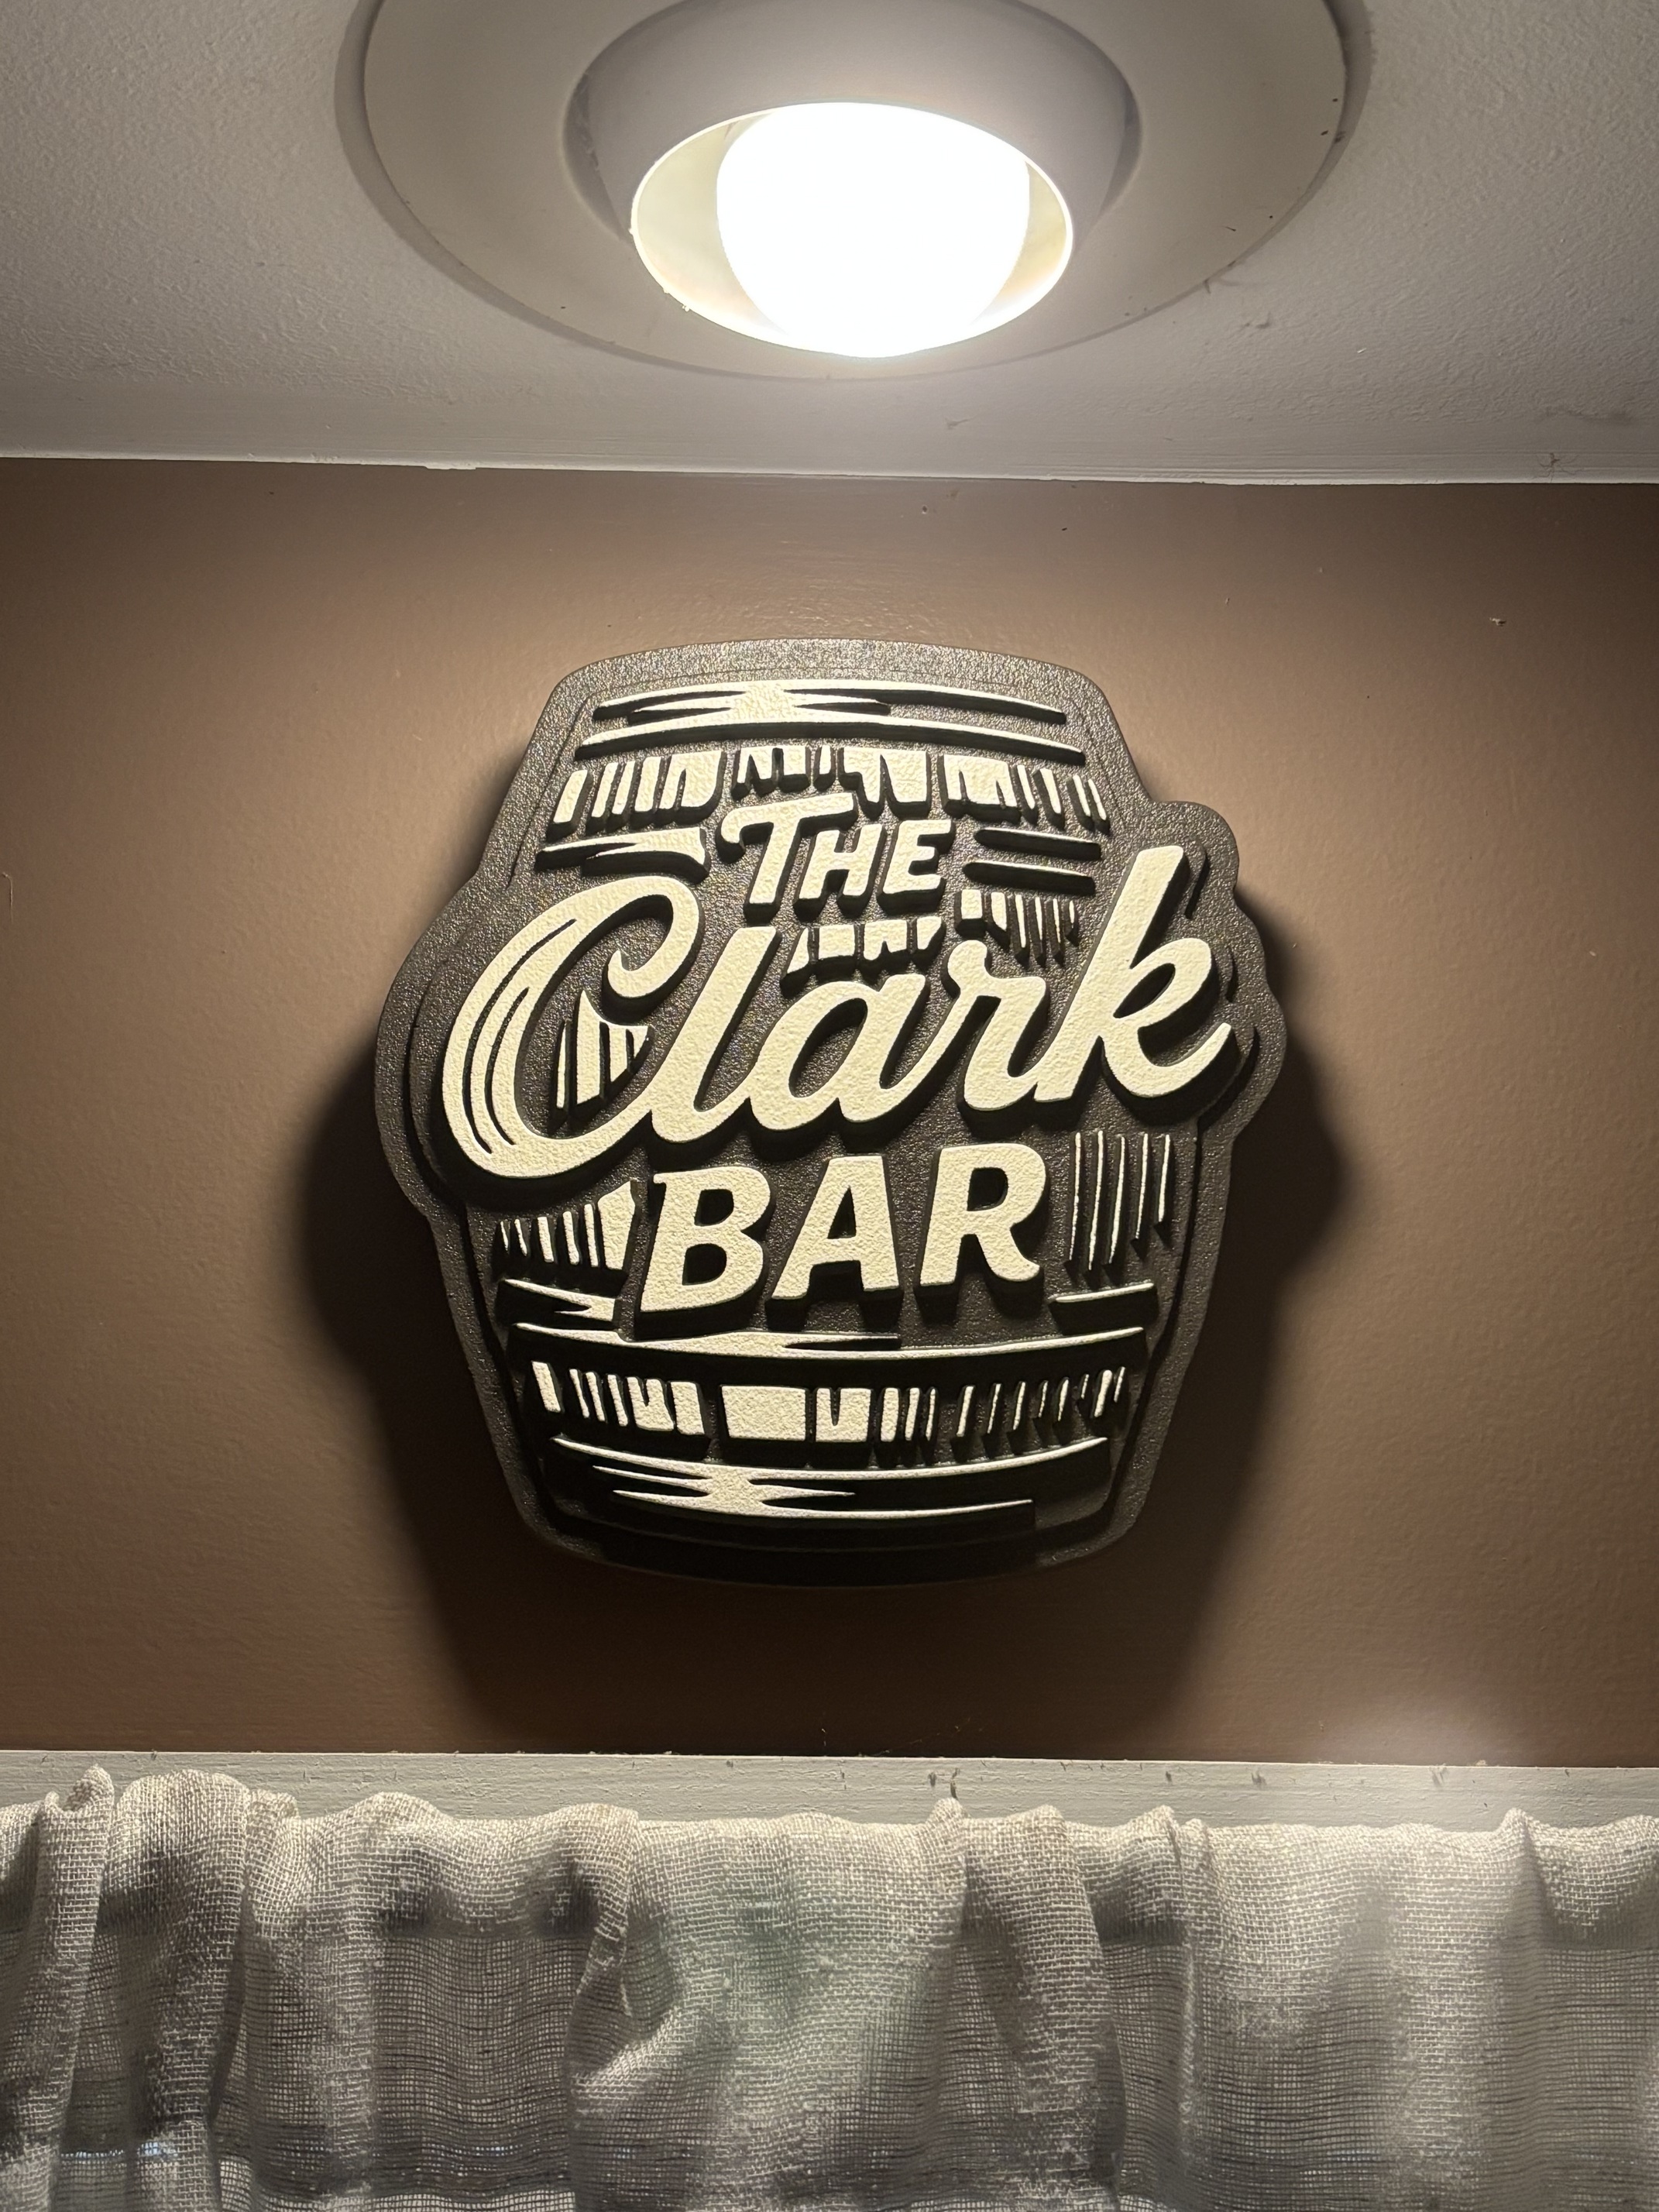
Nice! What time does Happy Hour start?
1 Like
On the weekend…12 noon!
1 Like
Spray paint and sanding to get the finish? Looks good!
1 Like
Some sanding yes. Spray paint the brown. Small foam roller for the white.
And thanks!
1 Like
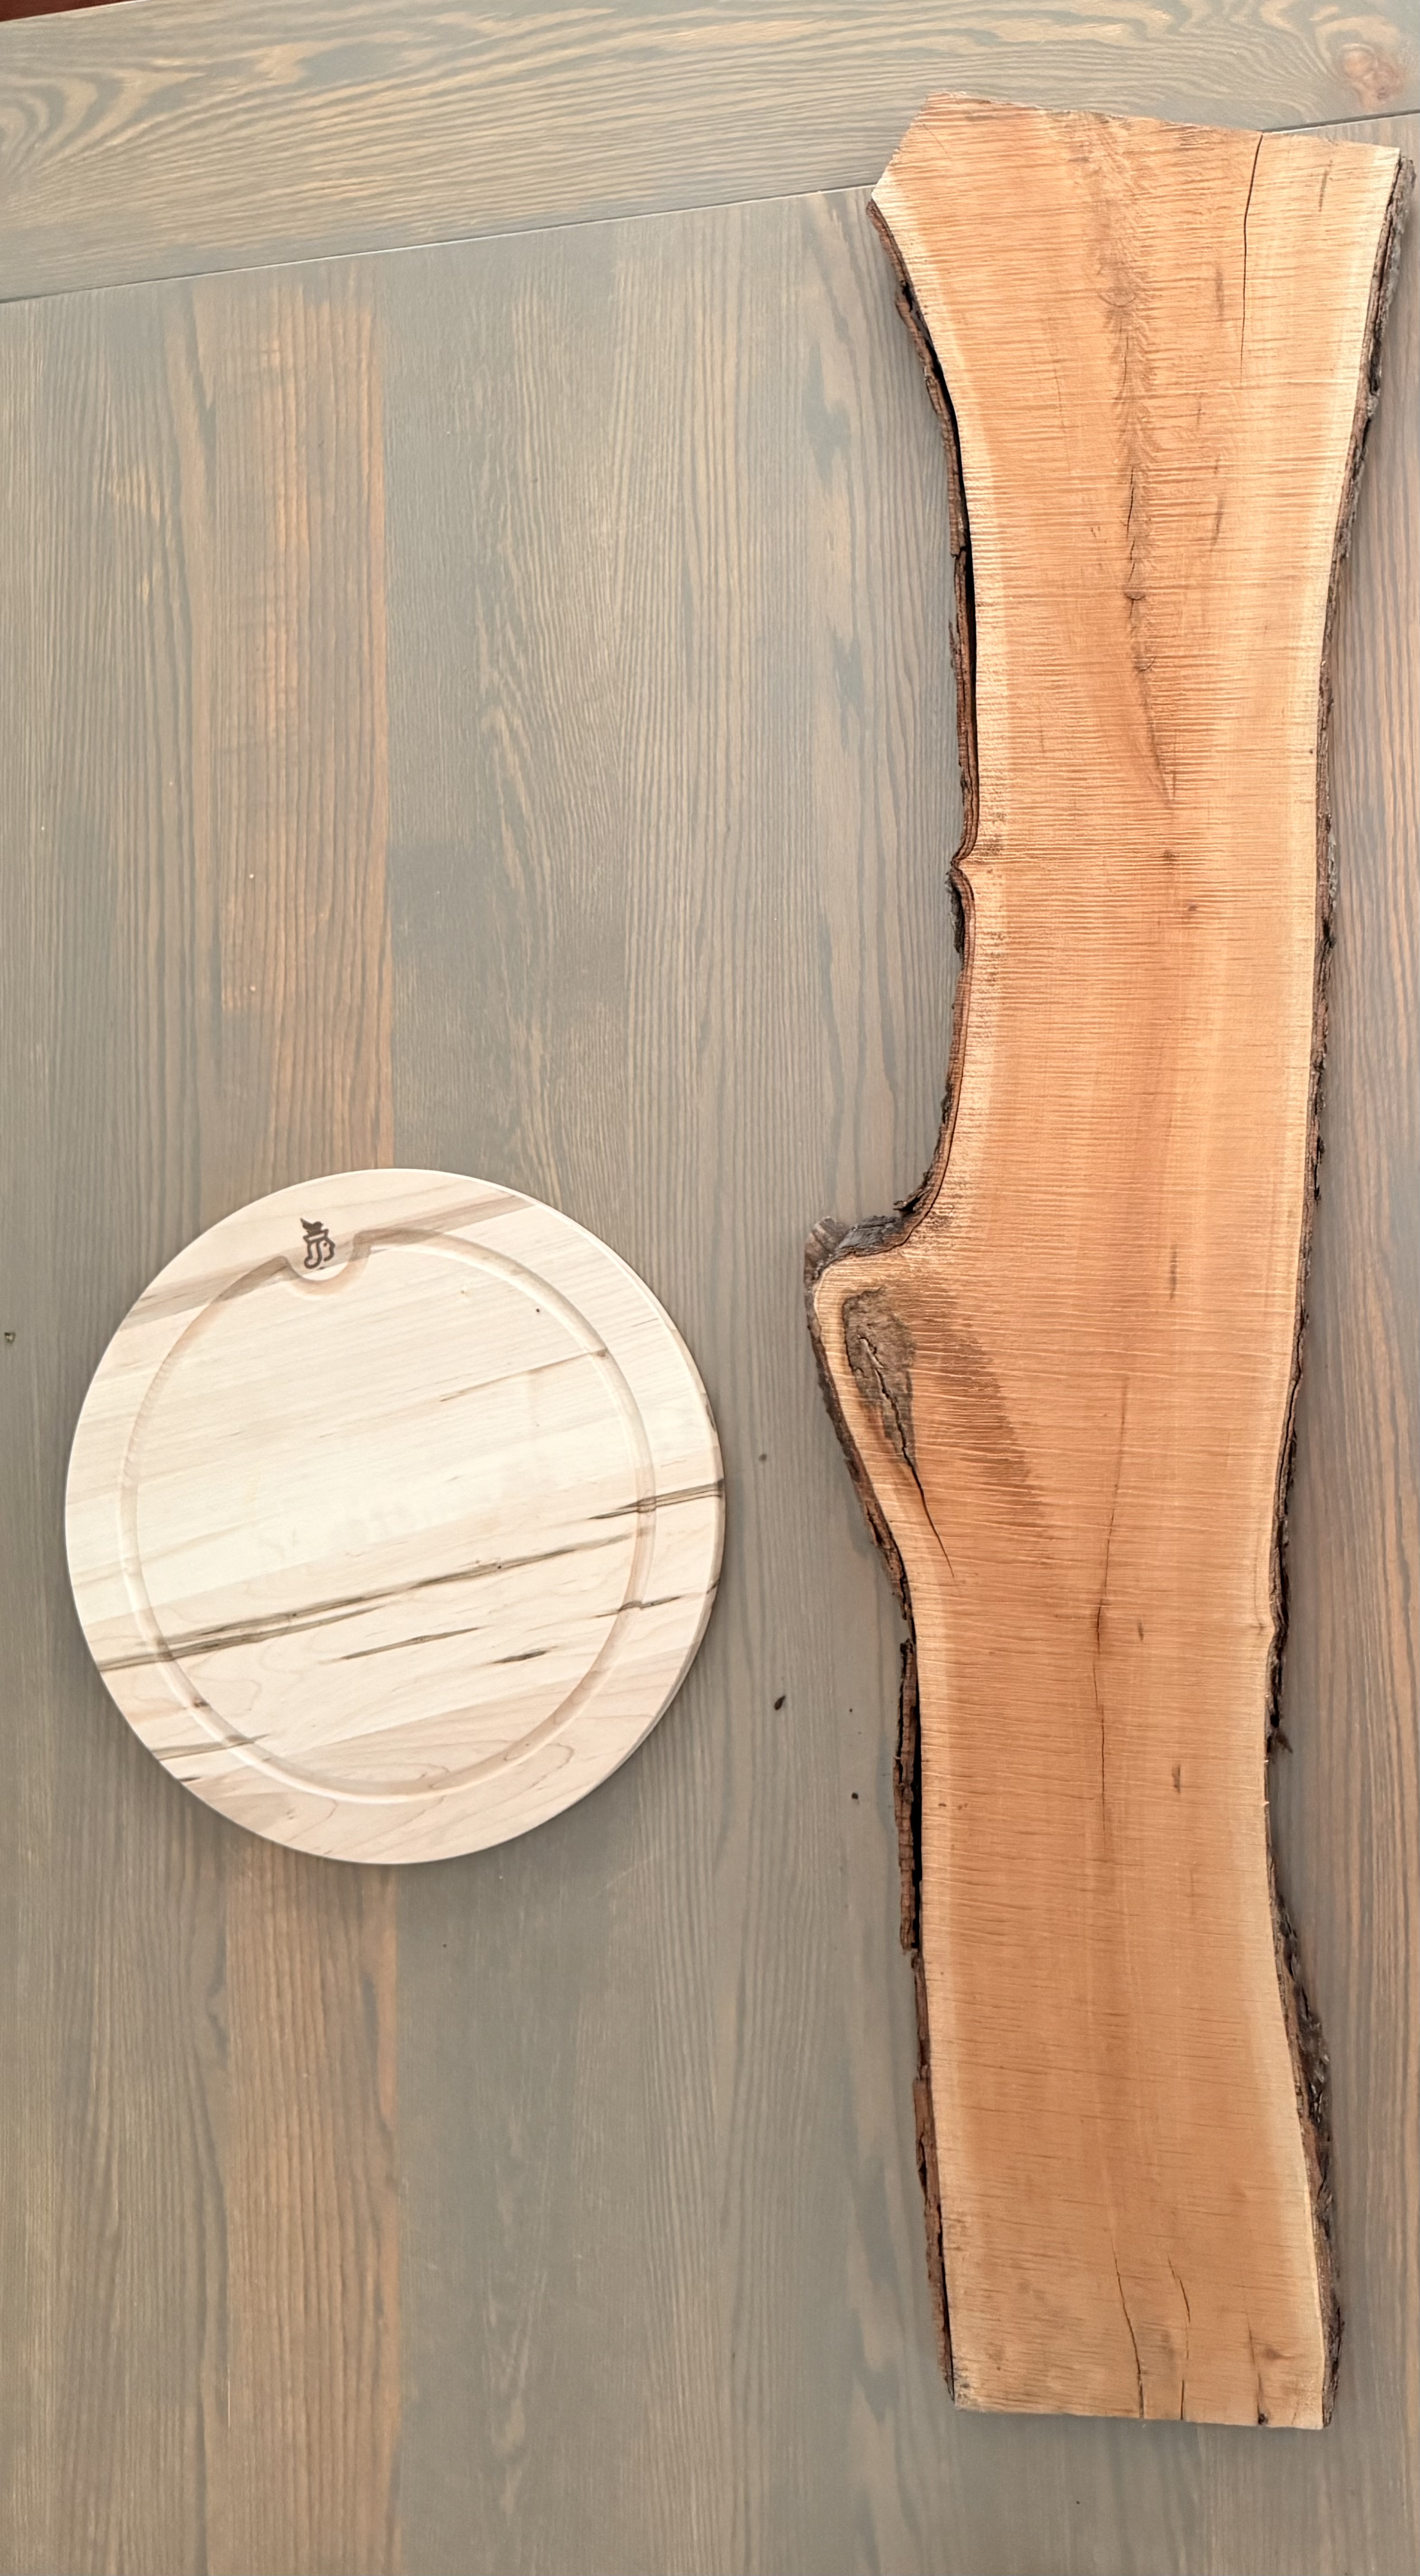
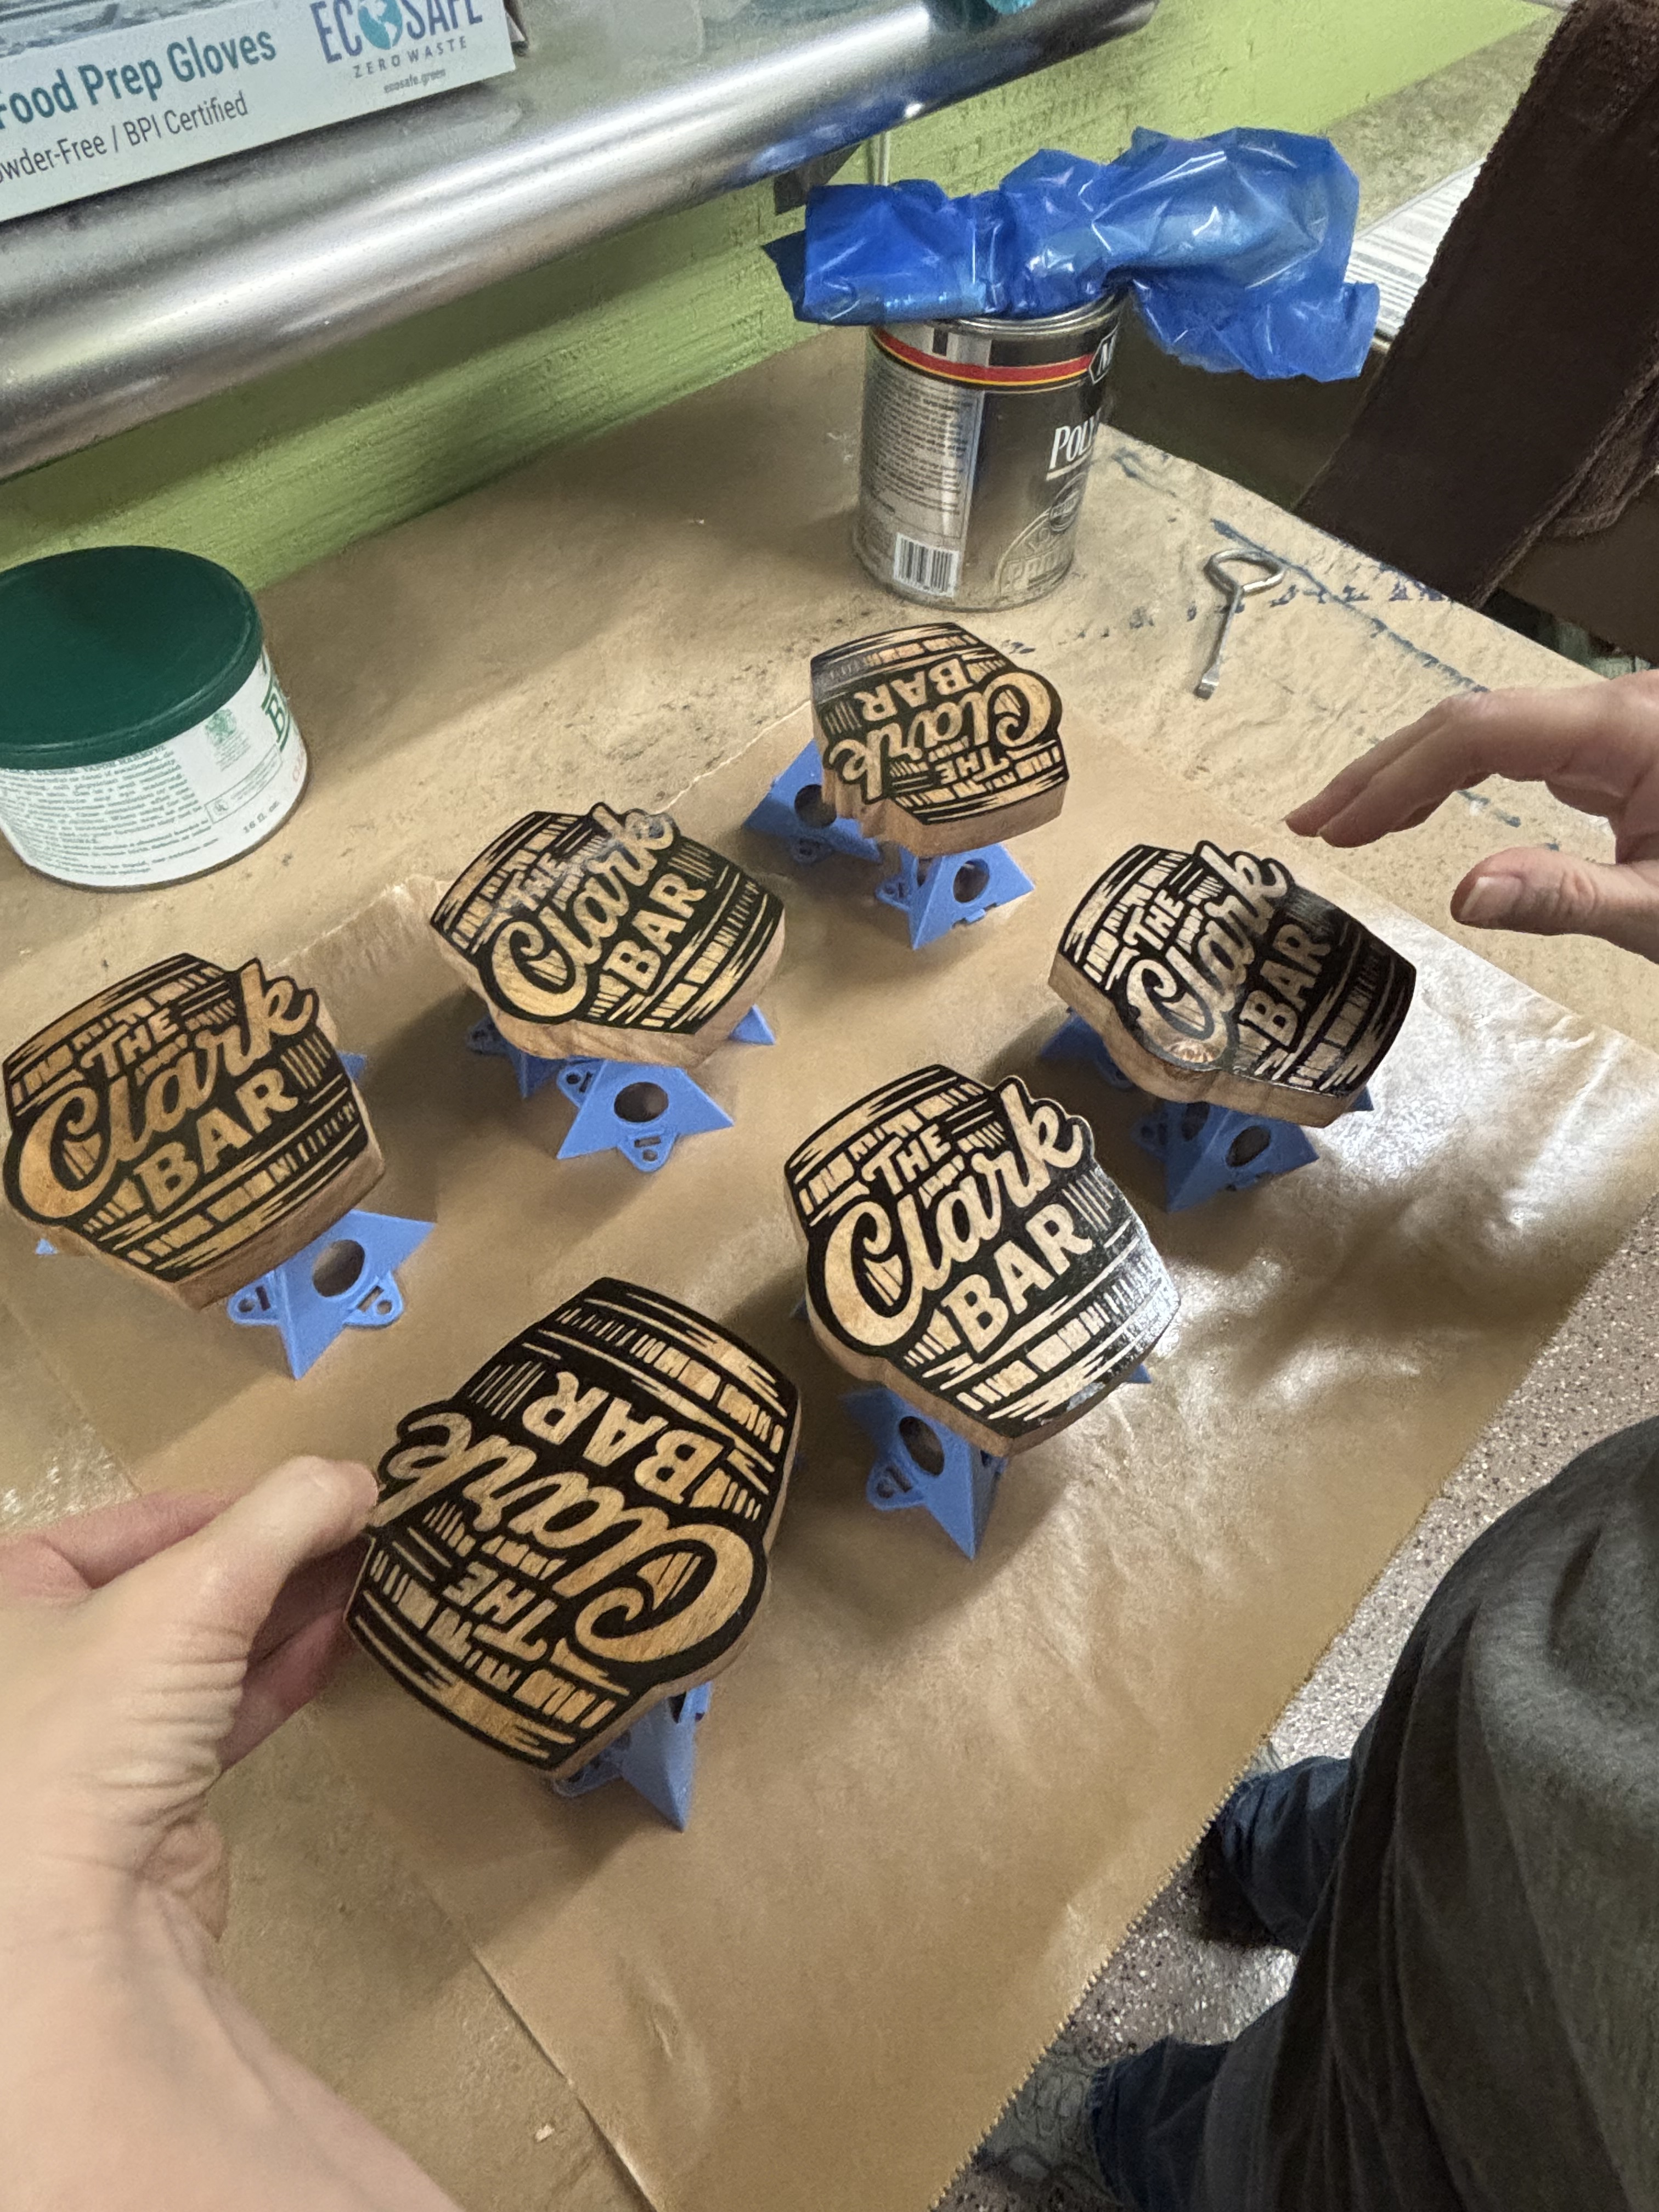
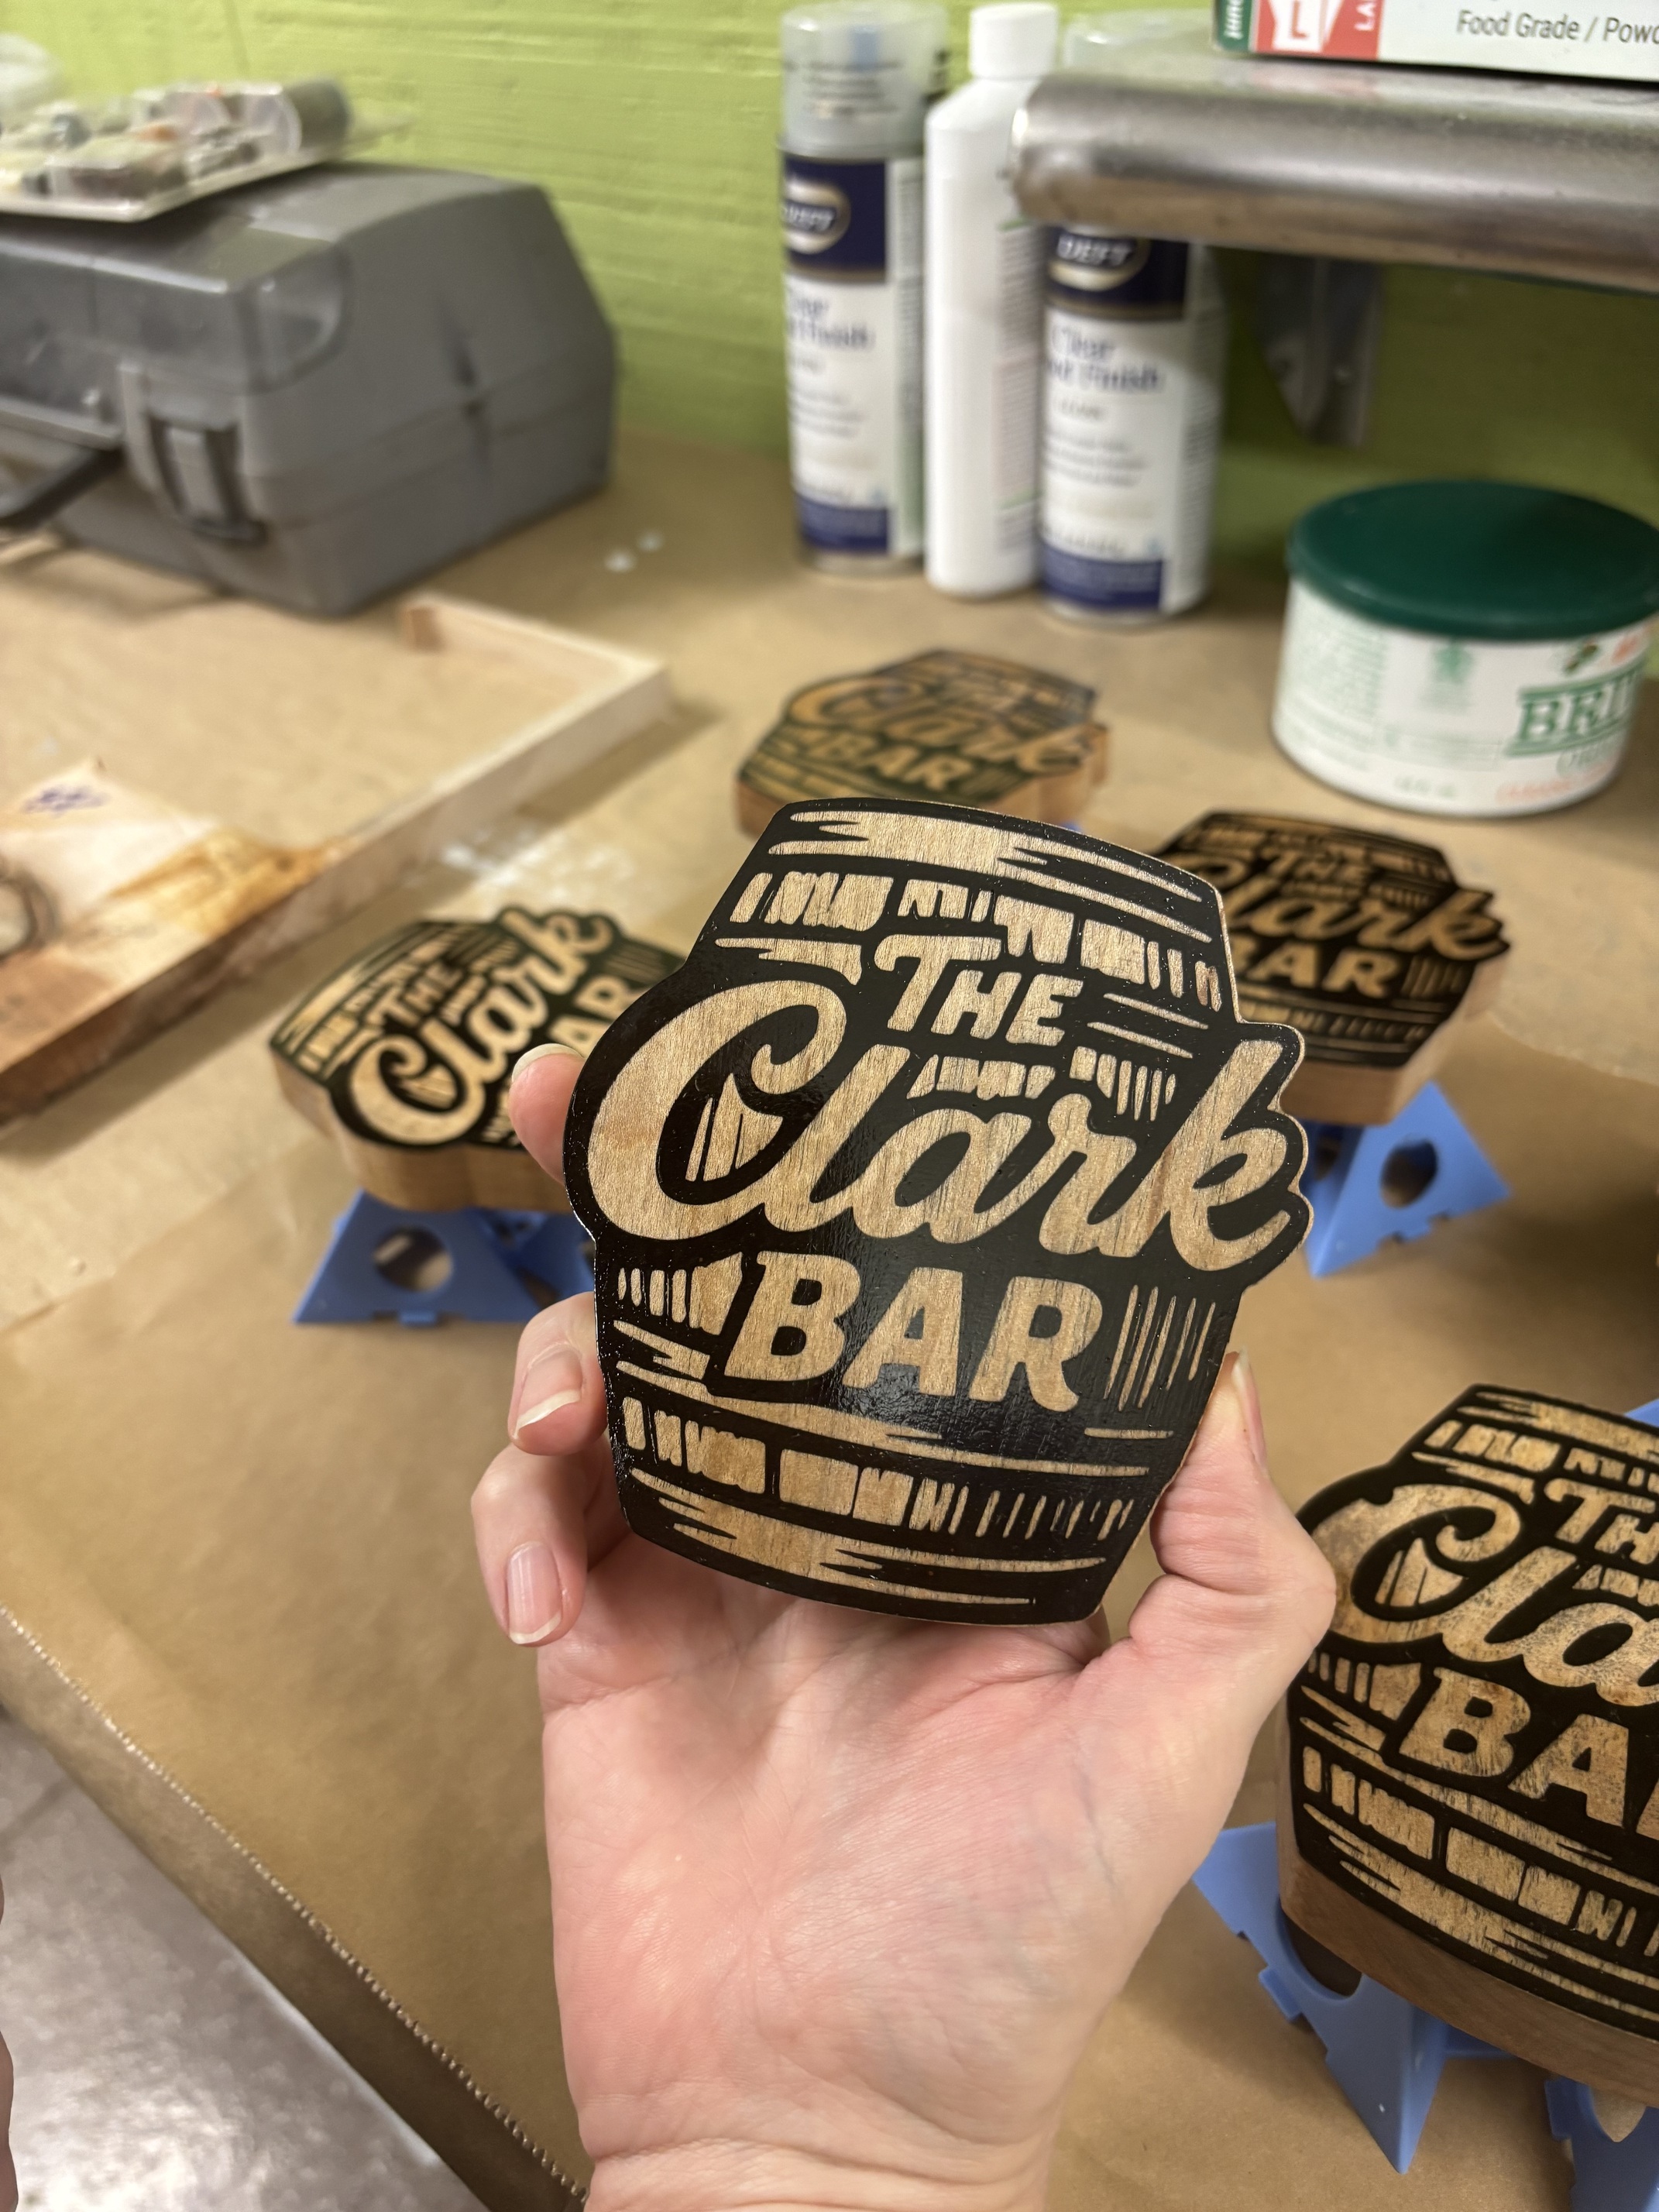
And The Clark Bar coasters. This is almost my favorite CNC project I’ve done I think. (That’s my wife’s petite hand in the pic not mine!)
Vcarve w/30°vee bit 2mm deep
Maple
Black epoxy
Ran it through the planer then finished with a 1/2mm finishing pass on the pro5 with 1/4" endmill
Cut them free with 1/8" end mill.
Learned a lot on this carve
- Don’t trust double sided tape. One of the coasters came free and I broke my first bit and it caused some damage to the coasters.
- Tabs are GOOD! USE THEM!
- I don’t need to take QUITE so much off on a finishing pass.
- If the power blinks…oh well. The spindle dove right down and drilled a hole with the Vee bit.
But all in all a huge success I think!
17 Likes
Yeah, I trust the tabs more than the tape. The don’t have to be huge and you just a few will get you thru.
Coasters look great!!
1 Like
Love it! Looks great.
1 Like
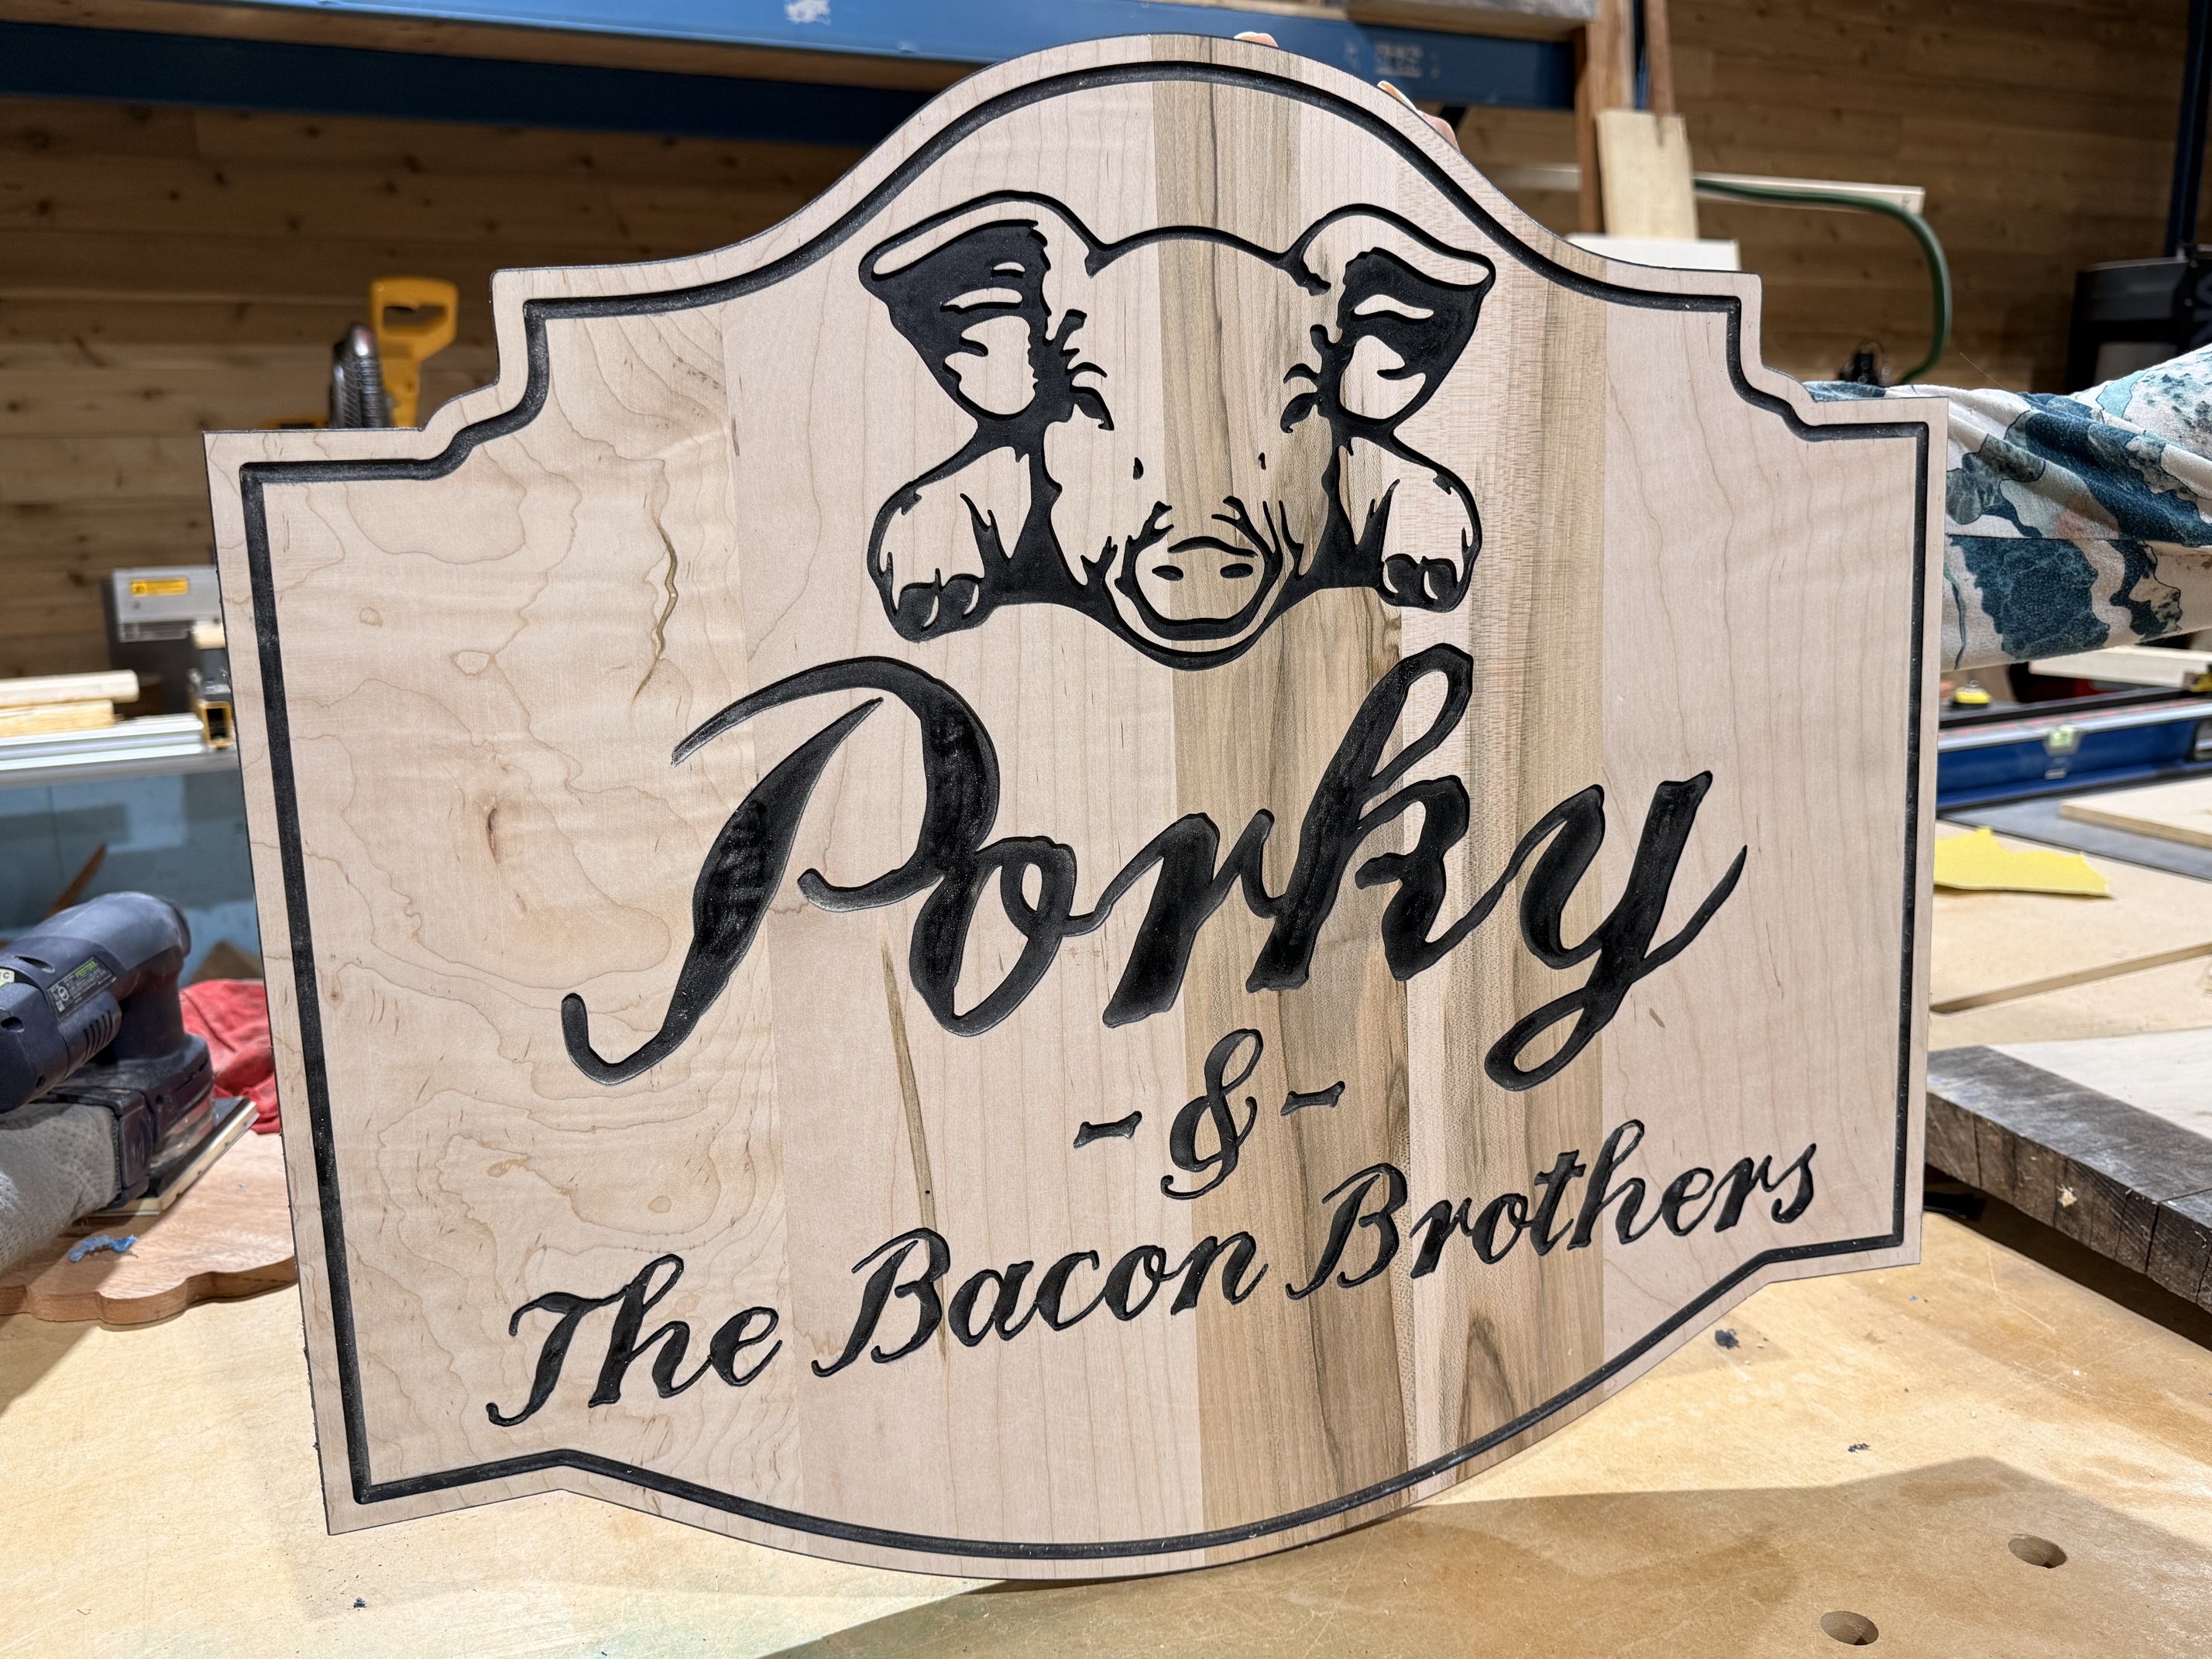
Nice! What is the black?
I used tape and spray painted with black outdoor paint :). Just needs small touch ups and varnish now. Can’t say I love the Oramask tape - had to refinish a lot of spots due to it peeling off.
1 Like
I was going to ask about the Oramask. We haven’t had much success with it.
I have heard that cheap drawer liner self adhesive works. I did not like the oramask either.
I have not tried the drawer liner
2 Likes
Ive had great results from Oramask. I use a squeegee to make sure its bonded well