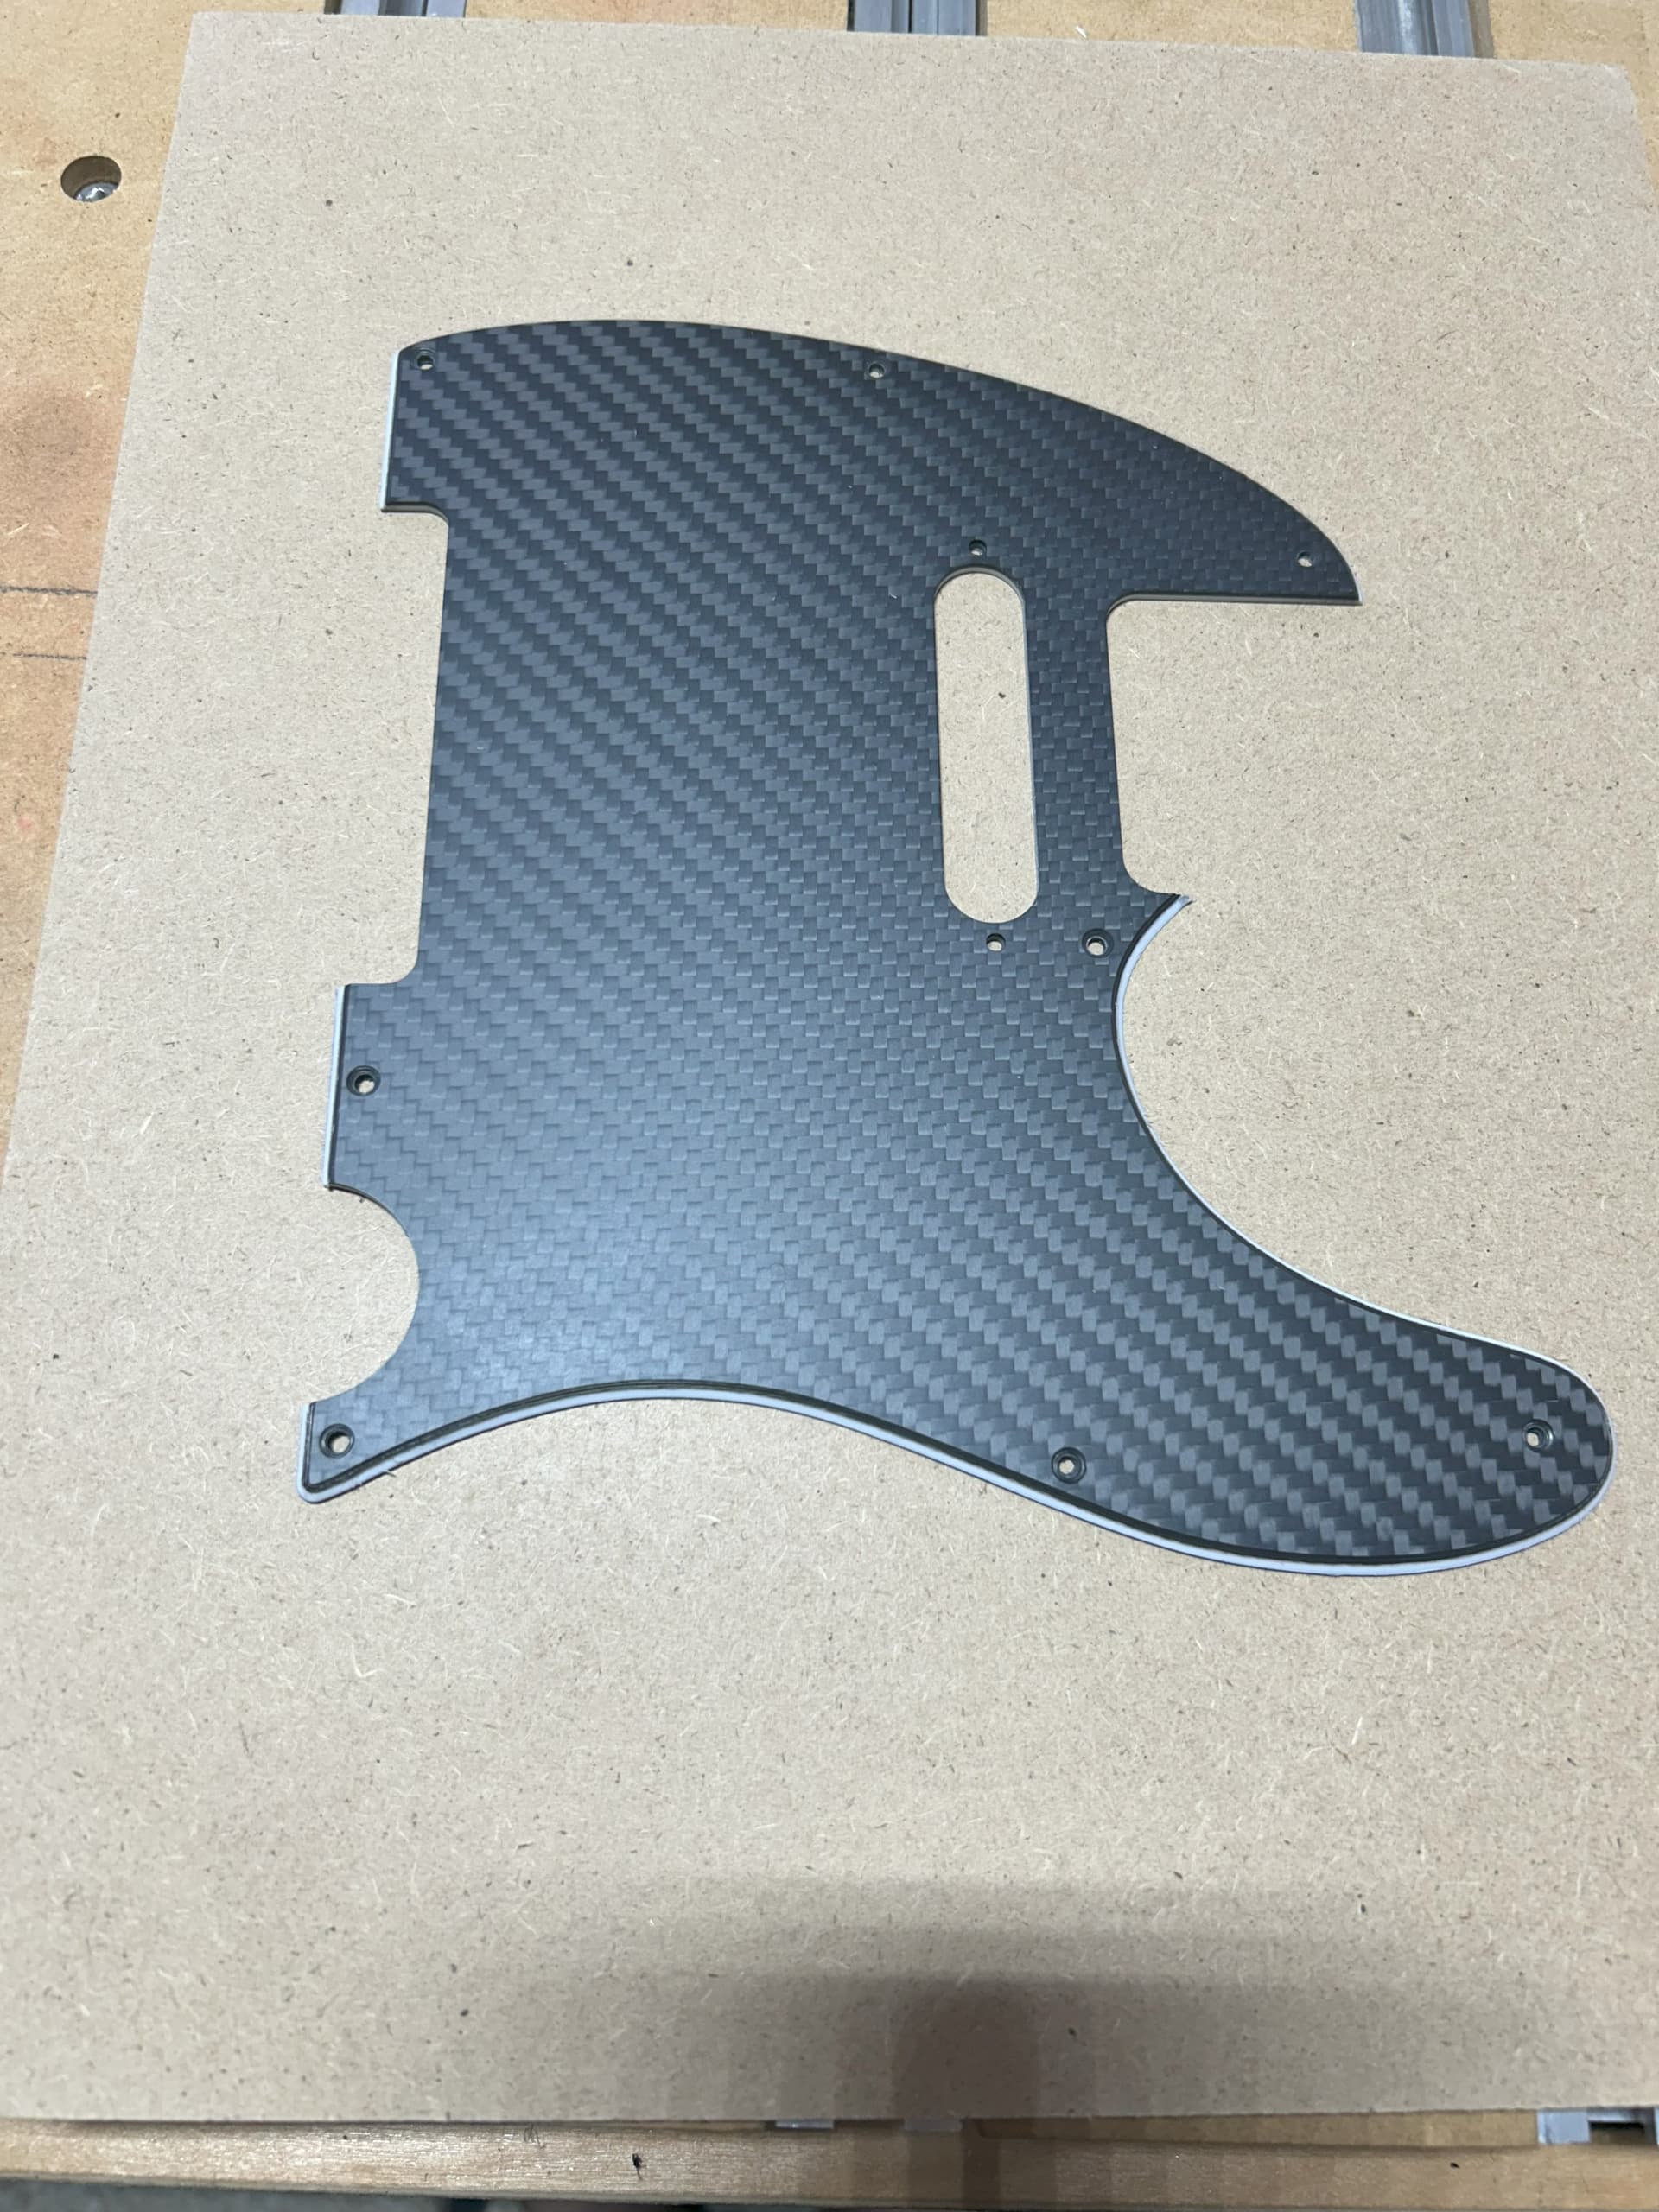
Used squeegee too but still peeled tons
Exactly my experience as well.
I’ve found sharp, downcut bits to help a ton with Oromask.
6 Likes
Efforts are underway to bring back the American Chestnut by breeding in resistance to the blight that killed them. There are now experimental plots in Virginia with mature 70 foot tall American chestnuts producing seed. Someday there will be chestnut lumber?
14 Likes
That is quite awesome!
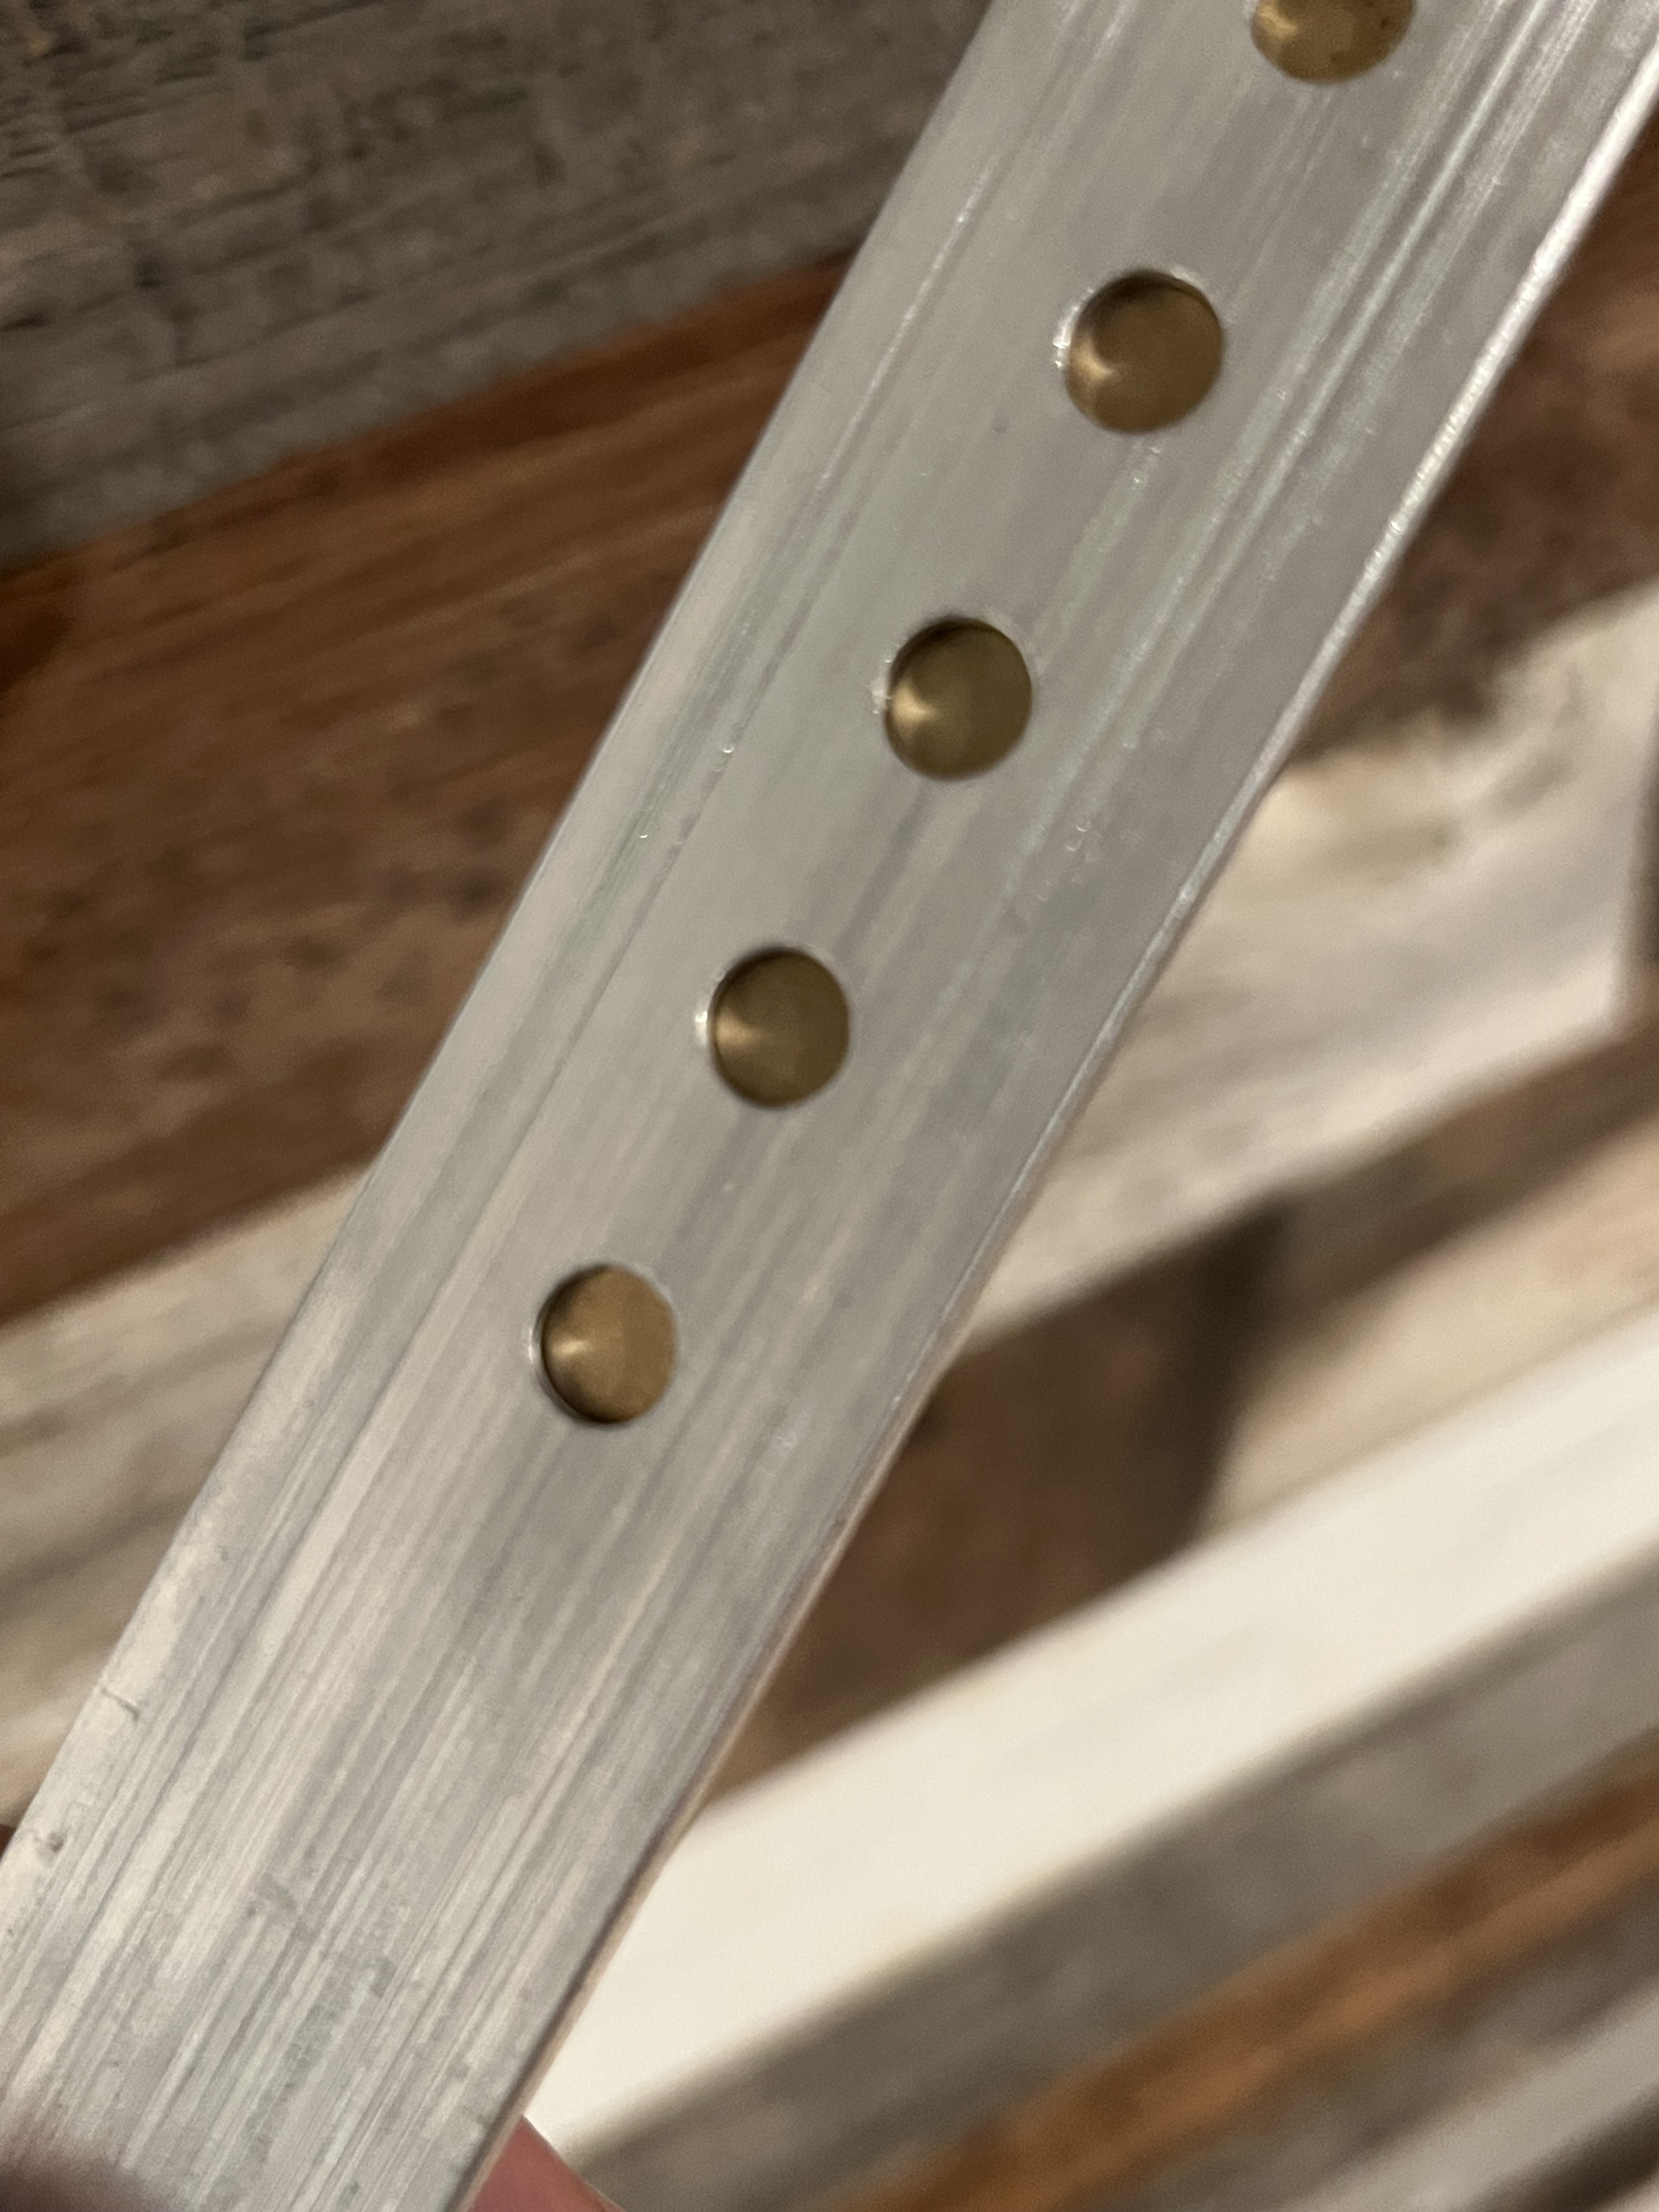
Been working on finding my limitations when it comes to engraving and tracing with aluminum. With a 30 degree bit, I can create a very light trace with two lines within ten thousandths of an inch and you can see them next to each other. Any smaller and they blend together.
Spent way too long sketching these tiny images, dealing with Fusion 360’s incredibly buggy interface. After many hours of experimentation, I achieved what I think is perfection. I surface the floor with a 201, .02 step over, then carve .0025 deep traces, then parallel surface same original height over the top to remove burrs, then run a trace again, same depth. Sometimes I run another round if it is not visible enough, the .0025 MM steps are finicky, sometimes its perfect, sometimes it needs another round to reach a clearly visible depth.
Things I have learned include not trying to engrave text with a 30 degree bit, they shatter and do not stand up to the abuse. Just ordered a 45 to experiment with, but I have had repeatable success with a 60 degree for text. I am sticking to just light tracing with the 30 degree bits.
Minuscule bits of walnut shell get embedded into the tiny grooves of the traces and are hard to wash out, can’t even see them without a magnifying glass, was trying using a vacuum and a toothbrush with minimal success. Thinking of trying a power washer…
I will just hold it in one hand and spray it with the other, should work fine!
I have been using 3M painters tape and superglue with amazing success for the topside. for the backside, I carve out .15 inch deep matching size holes into the MDF with no slip fit clearance, and use a rubber mallet to hammer them down into the MDF, sticking out the top just enough to chamfer the edges with a 90 degree. After, I split the MDF in half with a razor and a screw driver to get them out.
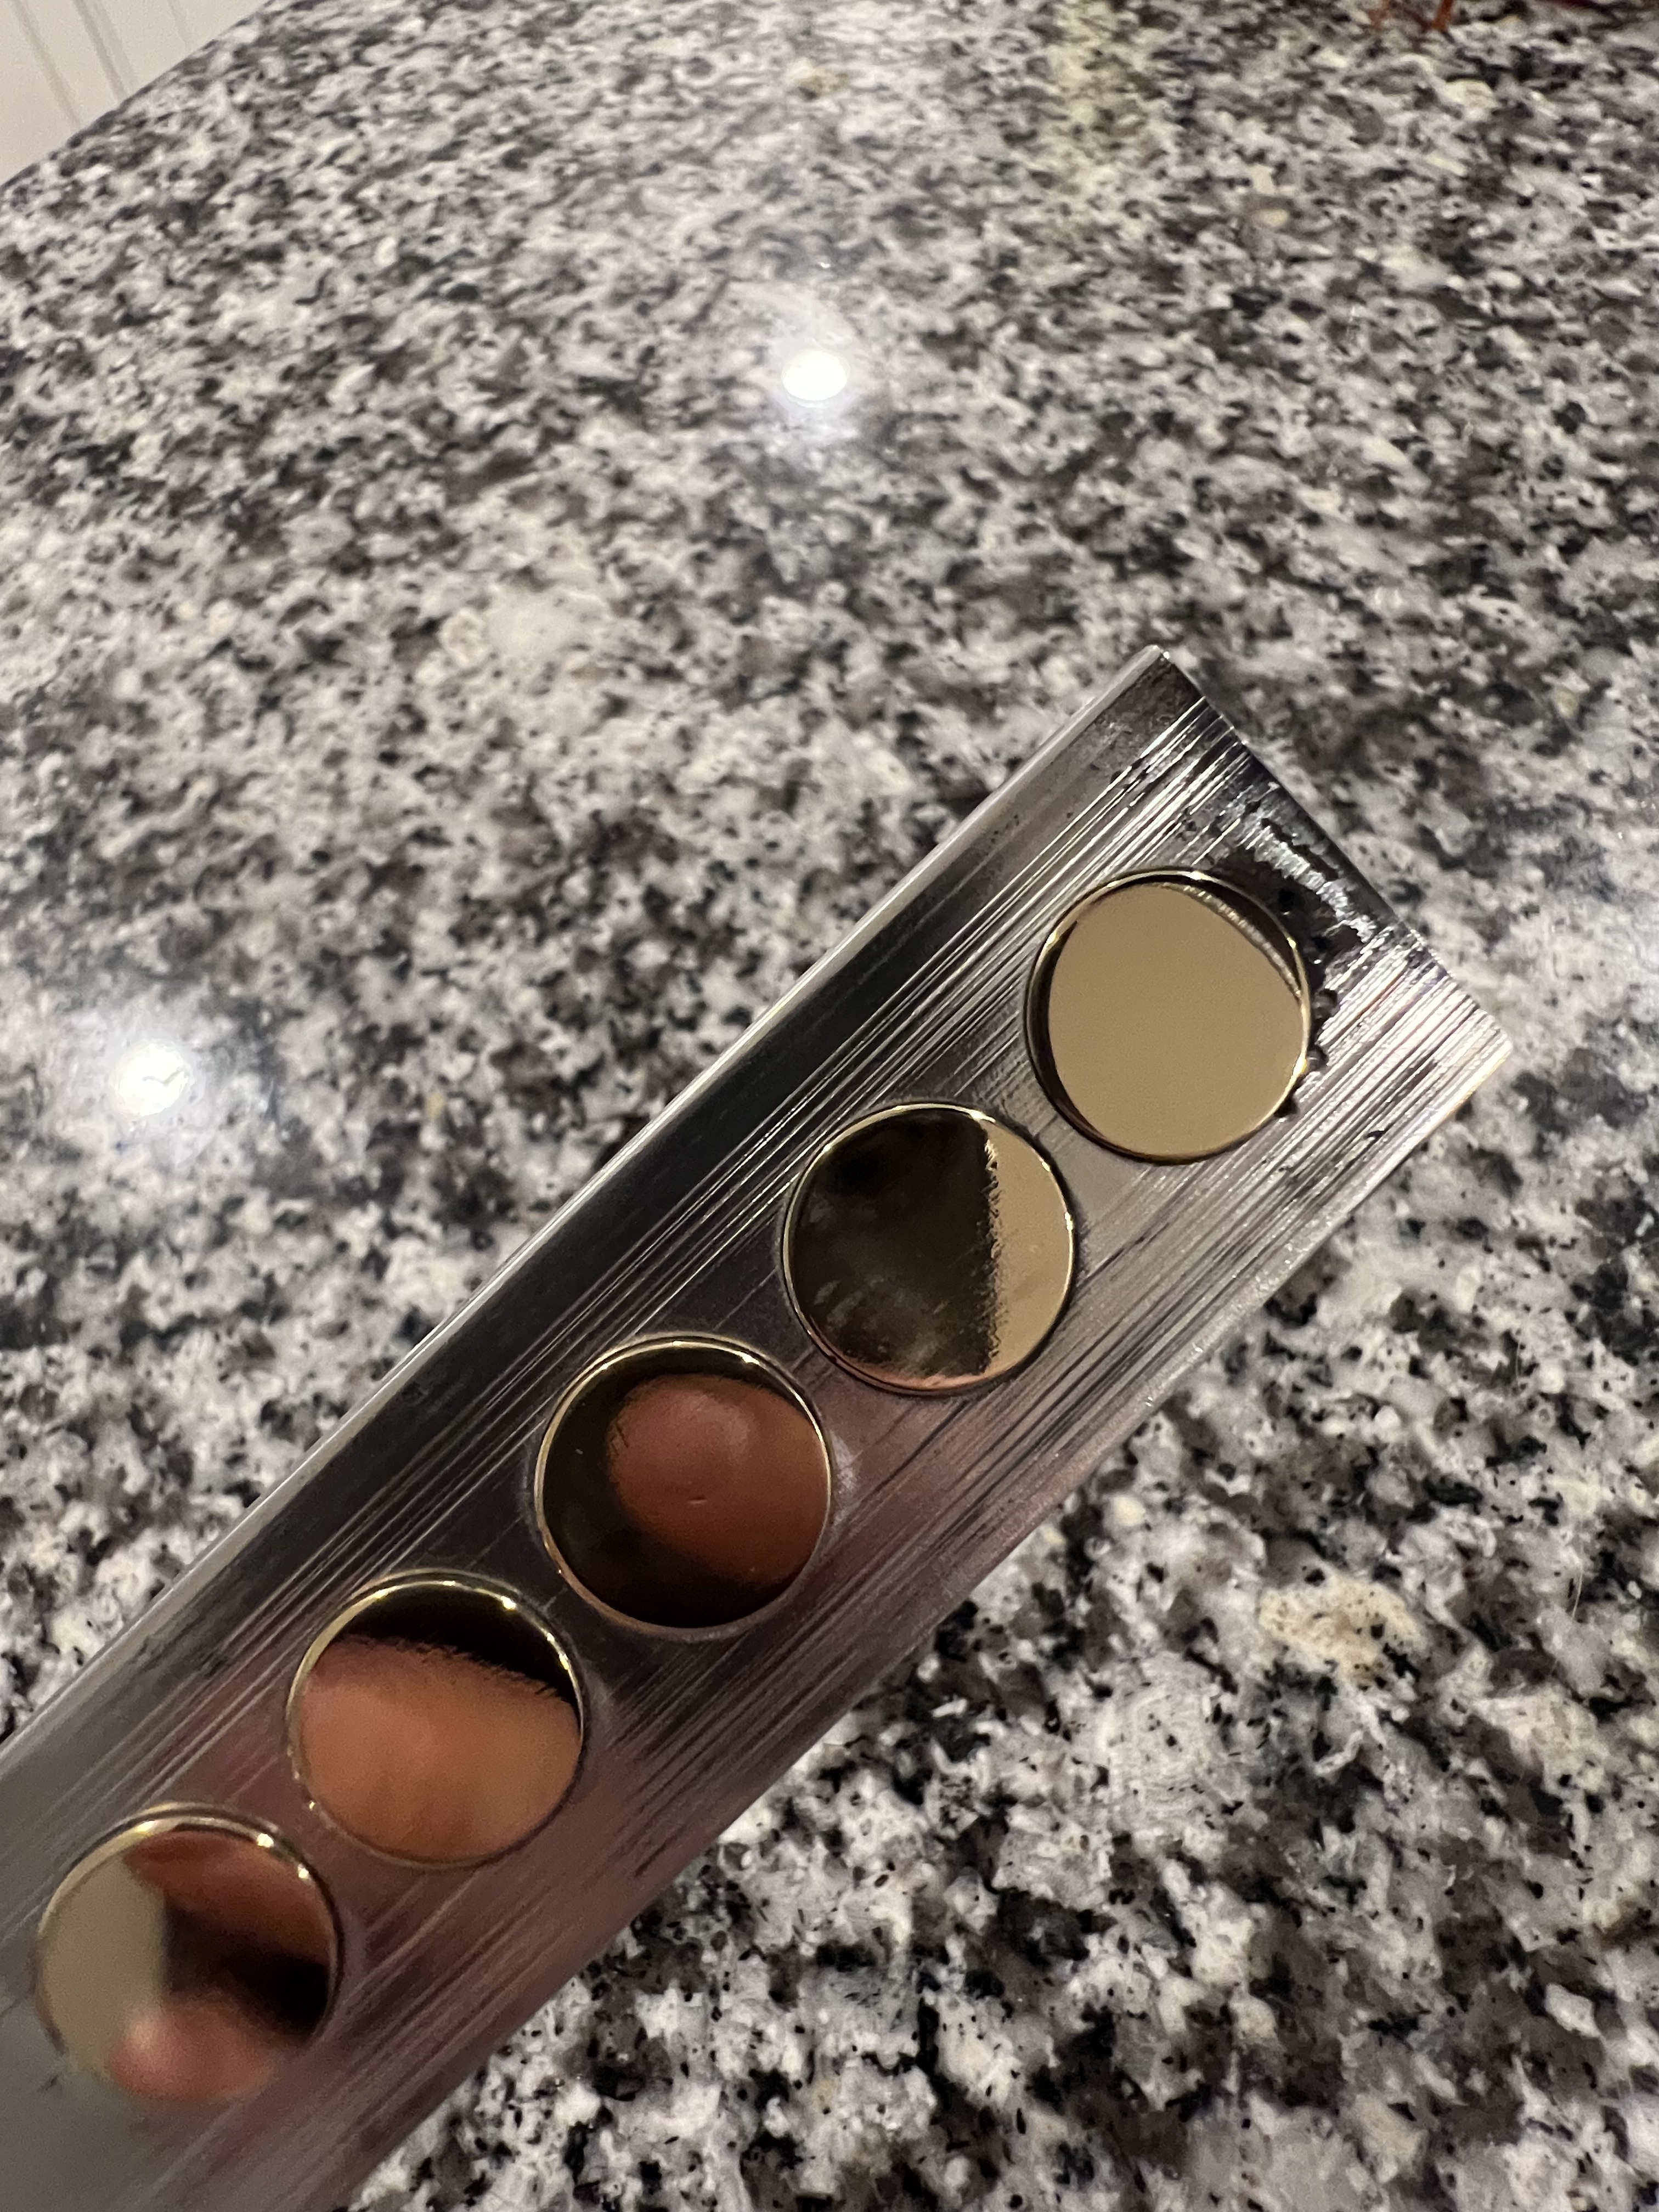
These come off the machine with a hologram haze effect, I lightly sand from 800 to 5000 grit, then polish in a vibratory for 3 hours with rouge treated walnut shells. They come out looking like tiny mirrors.
Is almost impossible to get good photos of these with my phone, they are so small and shiny my iPhone camera struggles to pick up the tiny details. Have to trick the camera with odd lighting to get a clear photo, these look dull in the close ups but they are very shiny off camera.
Now that the design work and experimentation stage is over, I plan to make a few large batches of these. I have lots of ideas and in the future, will be easy to replace the current sketches to create different themes and images for them. I am going to transition to a larger 3d printed fixture and start cutting from two 12 inch long 1/4 thick 2 inch wide pieces and make 12 at a time. Less tool changing… Which sucks cause I love changing tools…


30 Likes
You might try a magnetic tumbler, they won’t come out mirror shiny but the almost satin effect might work out for you with ~0 cleanup. Also super quick comparatively.
(I’d recommend finding a local jeweler or something to run a few coins for you first because a decent magnetic tumbler is $$$)
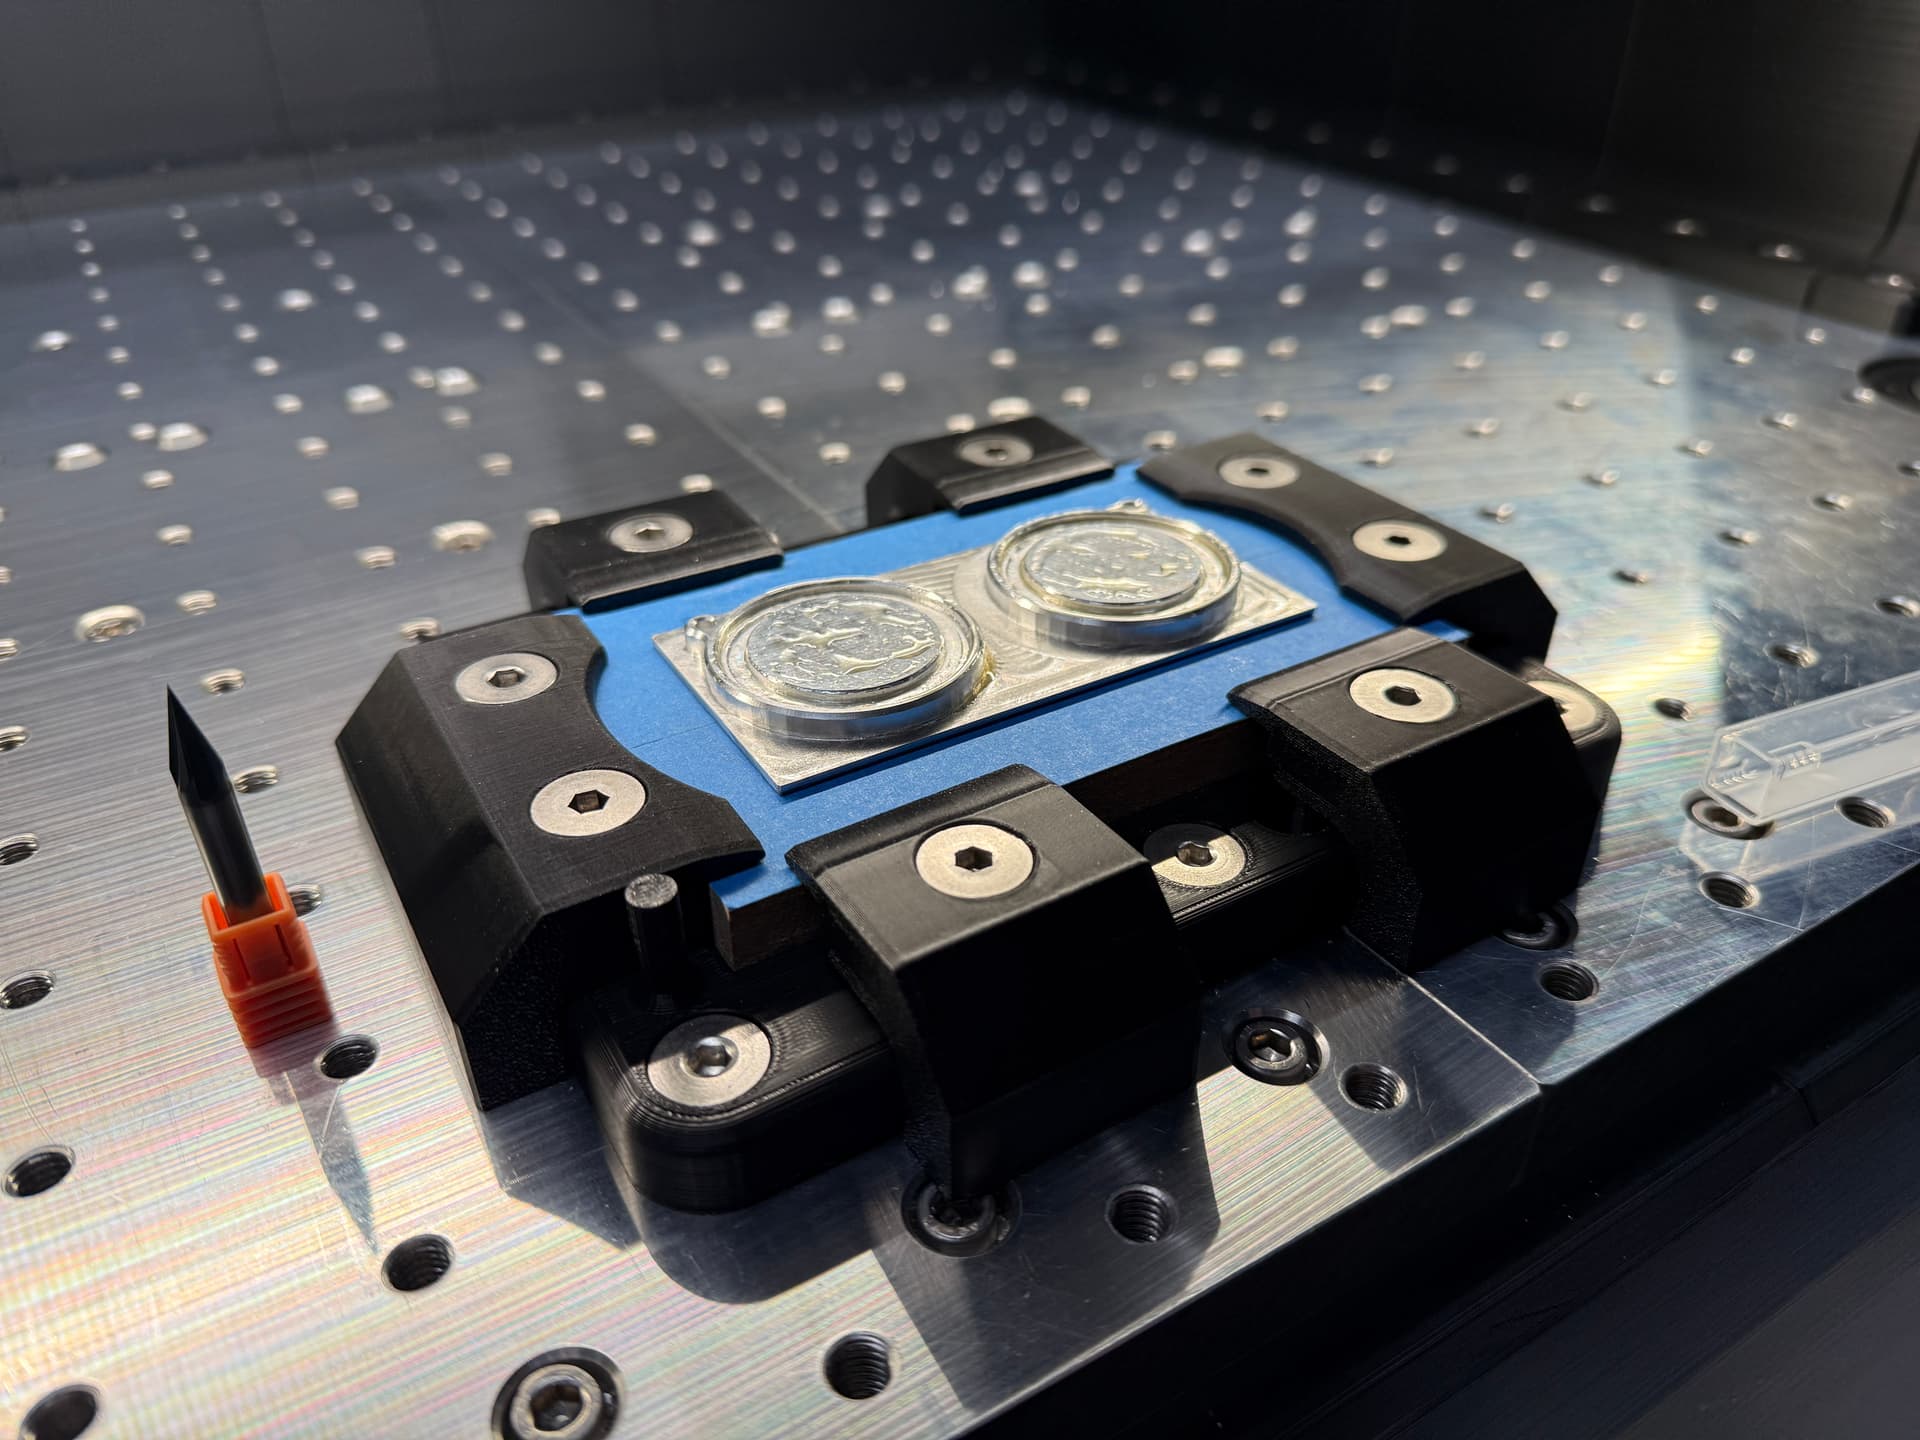
Have you thought about vacuum work holding for your larger production runs? The heavy roughing could get you down to an onion skin, then with just a vacuum under each coin you’d be looking at about a square inch of down force. That seems enough to engrave ![]()
Awesome work as always ![]()
2 Likes
Got tired of burning my fingers when polishing metal bits. It’s commonplace to see little bits of leather around a polishing bench to hold the metal bits…it’s also not uncommon for the leather to start smoking from the heat.
But I’m just polishing uniform shapes and I’ve got a CNC. A few minutes and a scrap piece of aluminum gets me a great holder with plenty of thermal mass to suck up that heat. It also provides some appreciated leverage to push the pieces into the felt wheel.
(Much like an angle grinder, this kind of thing can be super dangerous. Make sure you know where you want to be on the wheel and why you want to be there before trying anything so silly)
Just a light press fit with a through hole to pop them out from the back.

I’m working on something better but in the meantime, this is better than searing my fingerprints off ![]()
12 Likes
Hi Tyler,
I looked into mag tumblers, the low end models are not too expensive, I will try a small cheap one from Amazon see if it works better.
Would probably have to make my own vac table for these pieces. Not sure on these if it is worth the effort, the tape and super glue is so easy to setup and remove, and I have not had any failures or issues using it. Plus I reuse the MDF base for the backsides, it is a pretty good setup. Just peel off the tape then cut out the reliefs in the MDF. Do not even need to loosen the clamps.
Definately have to experiment with making my own 3d printed vac tables,I will look for some info on cutting your own gaskets and I already have air fittings. Would be simple to make some centering jigs to center them all where they need to be, then remove the jig after placement. That is the method I use to center my aluminum on the tape. I will model a small vac table and source some gaskets and try it out asap.

Really like your solution for the copper coins, does it score the edges of the copper? Not sure how hot those get lol…
Looks like they are secure in there, hopefully one of those suckers does not go flying across the shop into a window ha ha… Little tiny golden mirrors, what are you using them for?
Not affiliated, but I have to recommend. I just got what I think is a great deal on some aluminum. I have been buying from Stoner Metals on eBay for years, if anyone is in the market for online delivery for metals. Google the name and will find the links for all their stock available. They always deliver clean stock and they also take the time to grind down the edges so never any burs or cuts from handling and usually ship out in one day. I just got 50 pieces of 1/4" x 2" x 12.5" for $200 delivered. Comes out to 75 cents for each of my pieces, not bad!
Ty and appreciate the response!
6 Likes
The coins are in there snug, I can’t remove them without a little percussive persuasion. I’ll probably leave them a little looser on the “real” holder…which will just be a pretty version of this scrap ![]()
I like to use a hammer less spring tool door hinge remover with a little non-marring piece for this kind of work. Quicker and more convenient than going to the press and finding an appropriate pin size ![]()

In this case, I’m making a handful of small brass coins with different surface finishes for a bit of testing. I want to see what kind of aesthetic can be achieved with gold and silver plating. I’ll end up posting a thread about it when I get around to having them plated.
I need to build a little vacuum table myself as well, just another item added to the list ![]()
9 Likes
VERY clever I have the same issue with my Mom.
i turned a piece of chestnut from an old barn. Lovely wood to work based on that limited experience.
I read an article that they are trying to bring chestnut trees back. I think some kind of blight wiped out chestnut trees out some time ago. Agriculture department is trying to revive chestnut trees. They already have a small forest growing. Chestnut is a lovely wood to work with if you can find some old boards.
@gdon_2003
Not trying, they have. Several areas of full growth forest have been recently opened for hiking. They said they crossed a variety that’s resistive to the disease. I forget where I read this the other day……
Hi everyone, I have graduated from taking pictures of my projects to filming them (or at least trying)! Here is a project I did with my SO5 making epoxy coasters from some doodles I drew on an e-ink tablet. I have uploaded a picture of this project to the forum before, but I’ve never done a video, hopefully you’ll like it.
https://www.youtube.com/watch?v=tqpIydYO37I

I’m aware the video is not perfect from an audio/video/editing perspective, but there’s plenty I have learned and I hope to do some more project videos in the future, getting better with each one. ![]()
13 Likes
Great set of coasters! The doodles make a great carve with your own personalized touch. Seems like a lighter color of resin on the Walnut coasters would have provided a tad more contrast. Nice tablet by the way.
1 Like
Thank you ![]() You’re right on the epoxy colours, I was hoping it would be a bit brighter once polished but unfortunately not! Like you say, a lighter colour choice next time is the way to go
You’re right on the epoxy colours, I was hoping it would be a bit brighter once polished but unfortunately not! Like you say, a lighter colour choice next time is the way to go ![]() The tablet is a Remarkable 2 - expensive but a good product if you have a regular use for it.
The tablet is a Remarkable 2 - expensive but a good product if you have a regular use for it.
First off…I enjoyed the video! I picked up a few ideas for my shop and learned some stuffs. And it was a great chill video.
I’m always curious how people handle epoxy:
- How deep was your carve for the epoxy to fill?
- Did you find you had to do two coats of epoxy to get the grooves “full”?
- Have you you ever used a planer to surface the epoxy?
- How did you finish surface it? 220 grit sandpaper?
- Have you tried other finishes? Polyurethane?
I love doing this technique… epoxy in a carve. Fantastic looking coasters!
A couple follow up questions after the video.
- Have you done other coasters in the past? And if so long term how did the thinness of the wood hold up? Any problem with warping?
- Could you share pics of your shop set up here?
Show off your shop
There were some thing’s I was looking at in the shop that were quite interesting. I want to see more
1 Like
The answer depends on the specific project?
- Text width/font - this is an input that varies
- What is the project being made from - Wood, MDF, Alum or brass.
- Depth of inlay - This is tied into #1
- Desired Z height of project - Ties into #1&3 - This is specific to what Z dimension is your final pass? I have some projects flattened to original Z height of stock, some I took off another 0.002 for example. Vcarve’s are more limited to the final Z height obviously unless a specific desired outcome is wanted.
- Type of resin - This is not as critical as the above listed items.
- Resin additives such as metallic flake, the deeper the carve and longer setting resin will allow the metallic flake to stratify out on the bottom and once the project is finished at the Z height it may not provide the effect you wanted if all the metal flake is not visible.
But other than…. It’s a piece of cake!! ![]()
![]()
1 Like