Cool looking part, Jim. Is it a casting pattern? A fit-check prototype for something that will be made out of metal? Component for a really cool wall clock? Thanks.
Thanks Tyler. I used a 30 degree vbit and contour cut all the internal design lines of the eagle 1mm deep. That way there was a “border” around each pert which made it easier to paint. That cut also gives the eagle some definition.
4 Likes
The model was from Western New England college of Engineering.
I met the professor ( I play Volleyball with his wife ), talked for a bit and ended up going to see the Lab.
The part was designed in Solidworks with the labs manufacturing limits in mind.
They have multiple “hands on” projects for students to build, one of them is scaled down jet engine. They have fuel/air flow benches and a lot of instrumentation gear that is beyond me.
They are allowed to fail, nothing like sticking your finger in a light socket.
An outgoing senior student’s project was to machine this part from Inconel-718 on a 3 axis Hass.
He explained what he learned about cutting Inconel and how he overcame issues. He used MasterCam for tool path generation.
The student was awesome, I would recommend anyone to hire this person. Old soul.
It was interesting how much I have learned using the Pro 5 and Fusion, so that I actually asked good questions. I did not go to college, so this is a bit intimidating to me.
The art of cutting metal is another world.
4 Likes
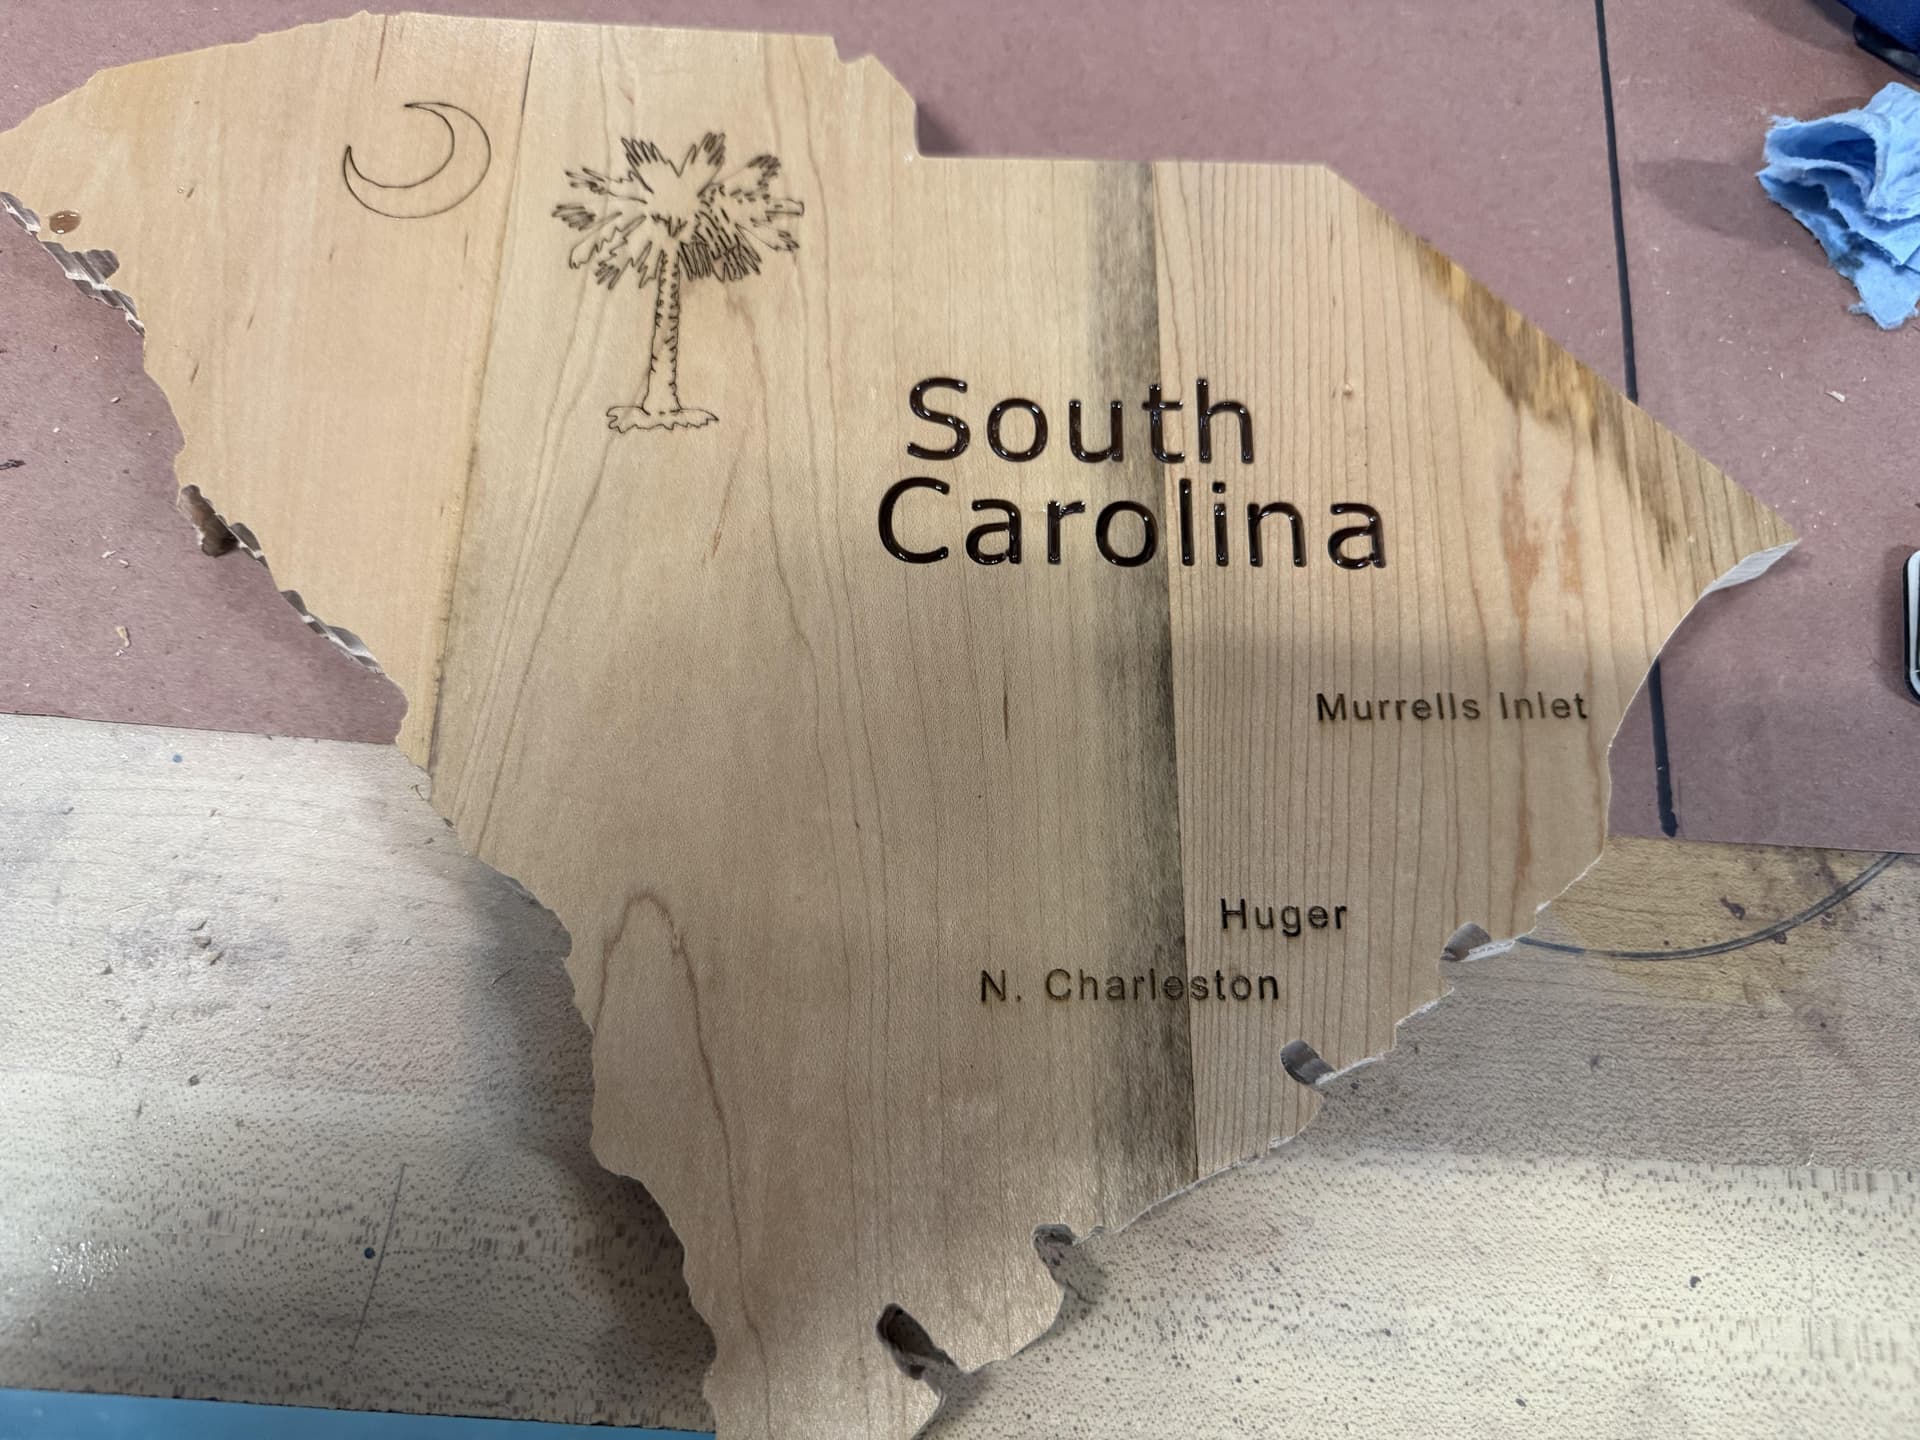
Sometimes the wife just wants something simple/easy. Our state SC pocket with brown epoxy then cut out and put on the laser to burn the state logo and city names. Just done on part of a bed/desk done for my 8 year old grandson some 15 years ago and nice to “repurpose” some of it.
13 Likes
Thank you for the explanation, Jim. I figured it was some kind of airflow piece.
After much help from the guys in this thread
I have made a flag
I’m going to tune and redo the star field tomorrow, but it is almost there!

11 Likes
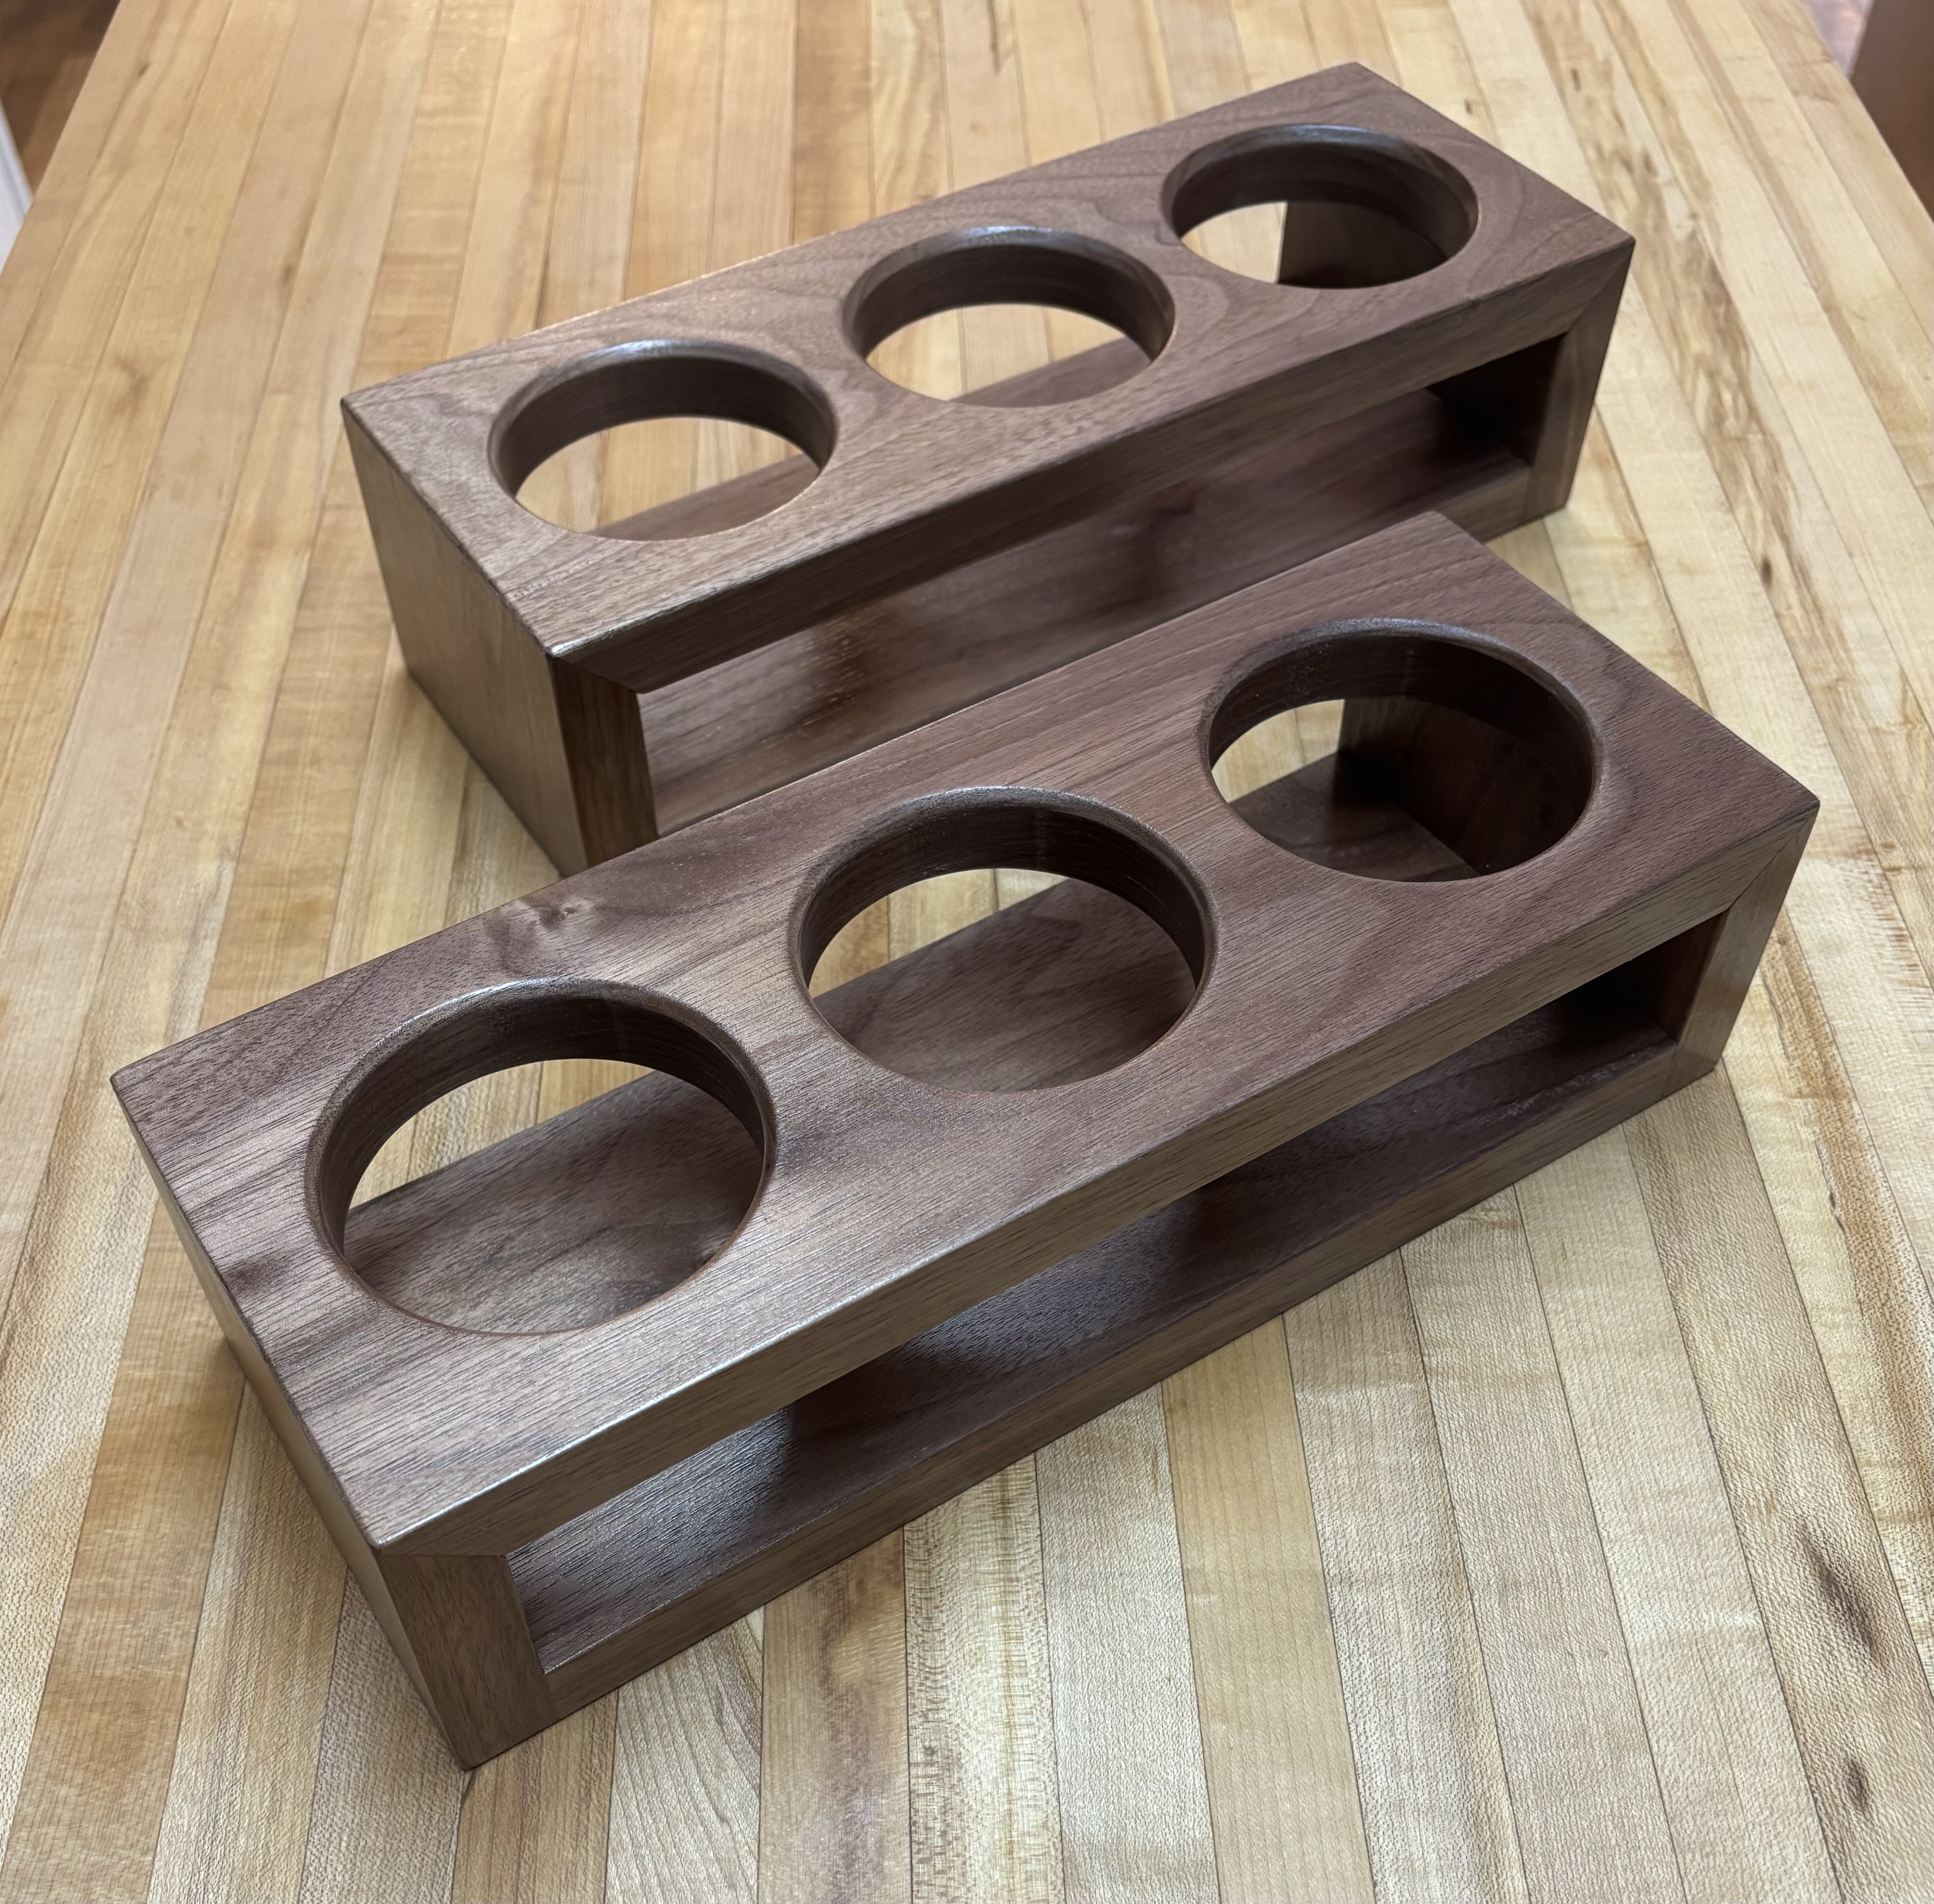
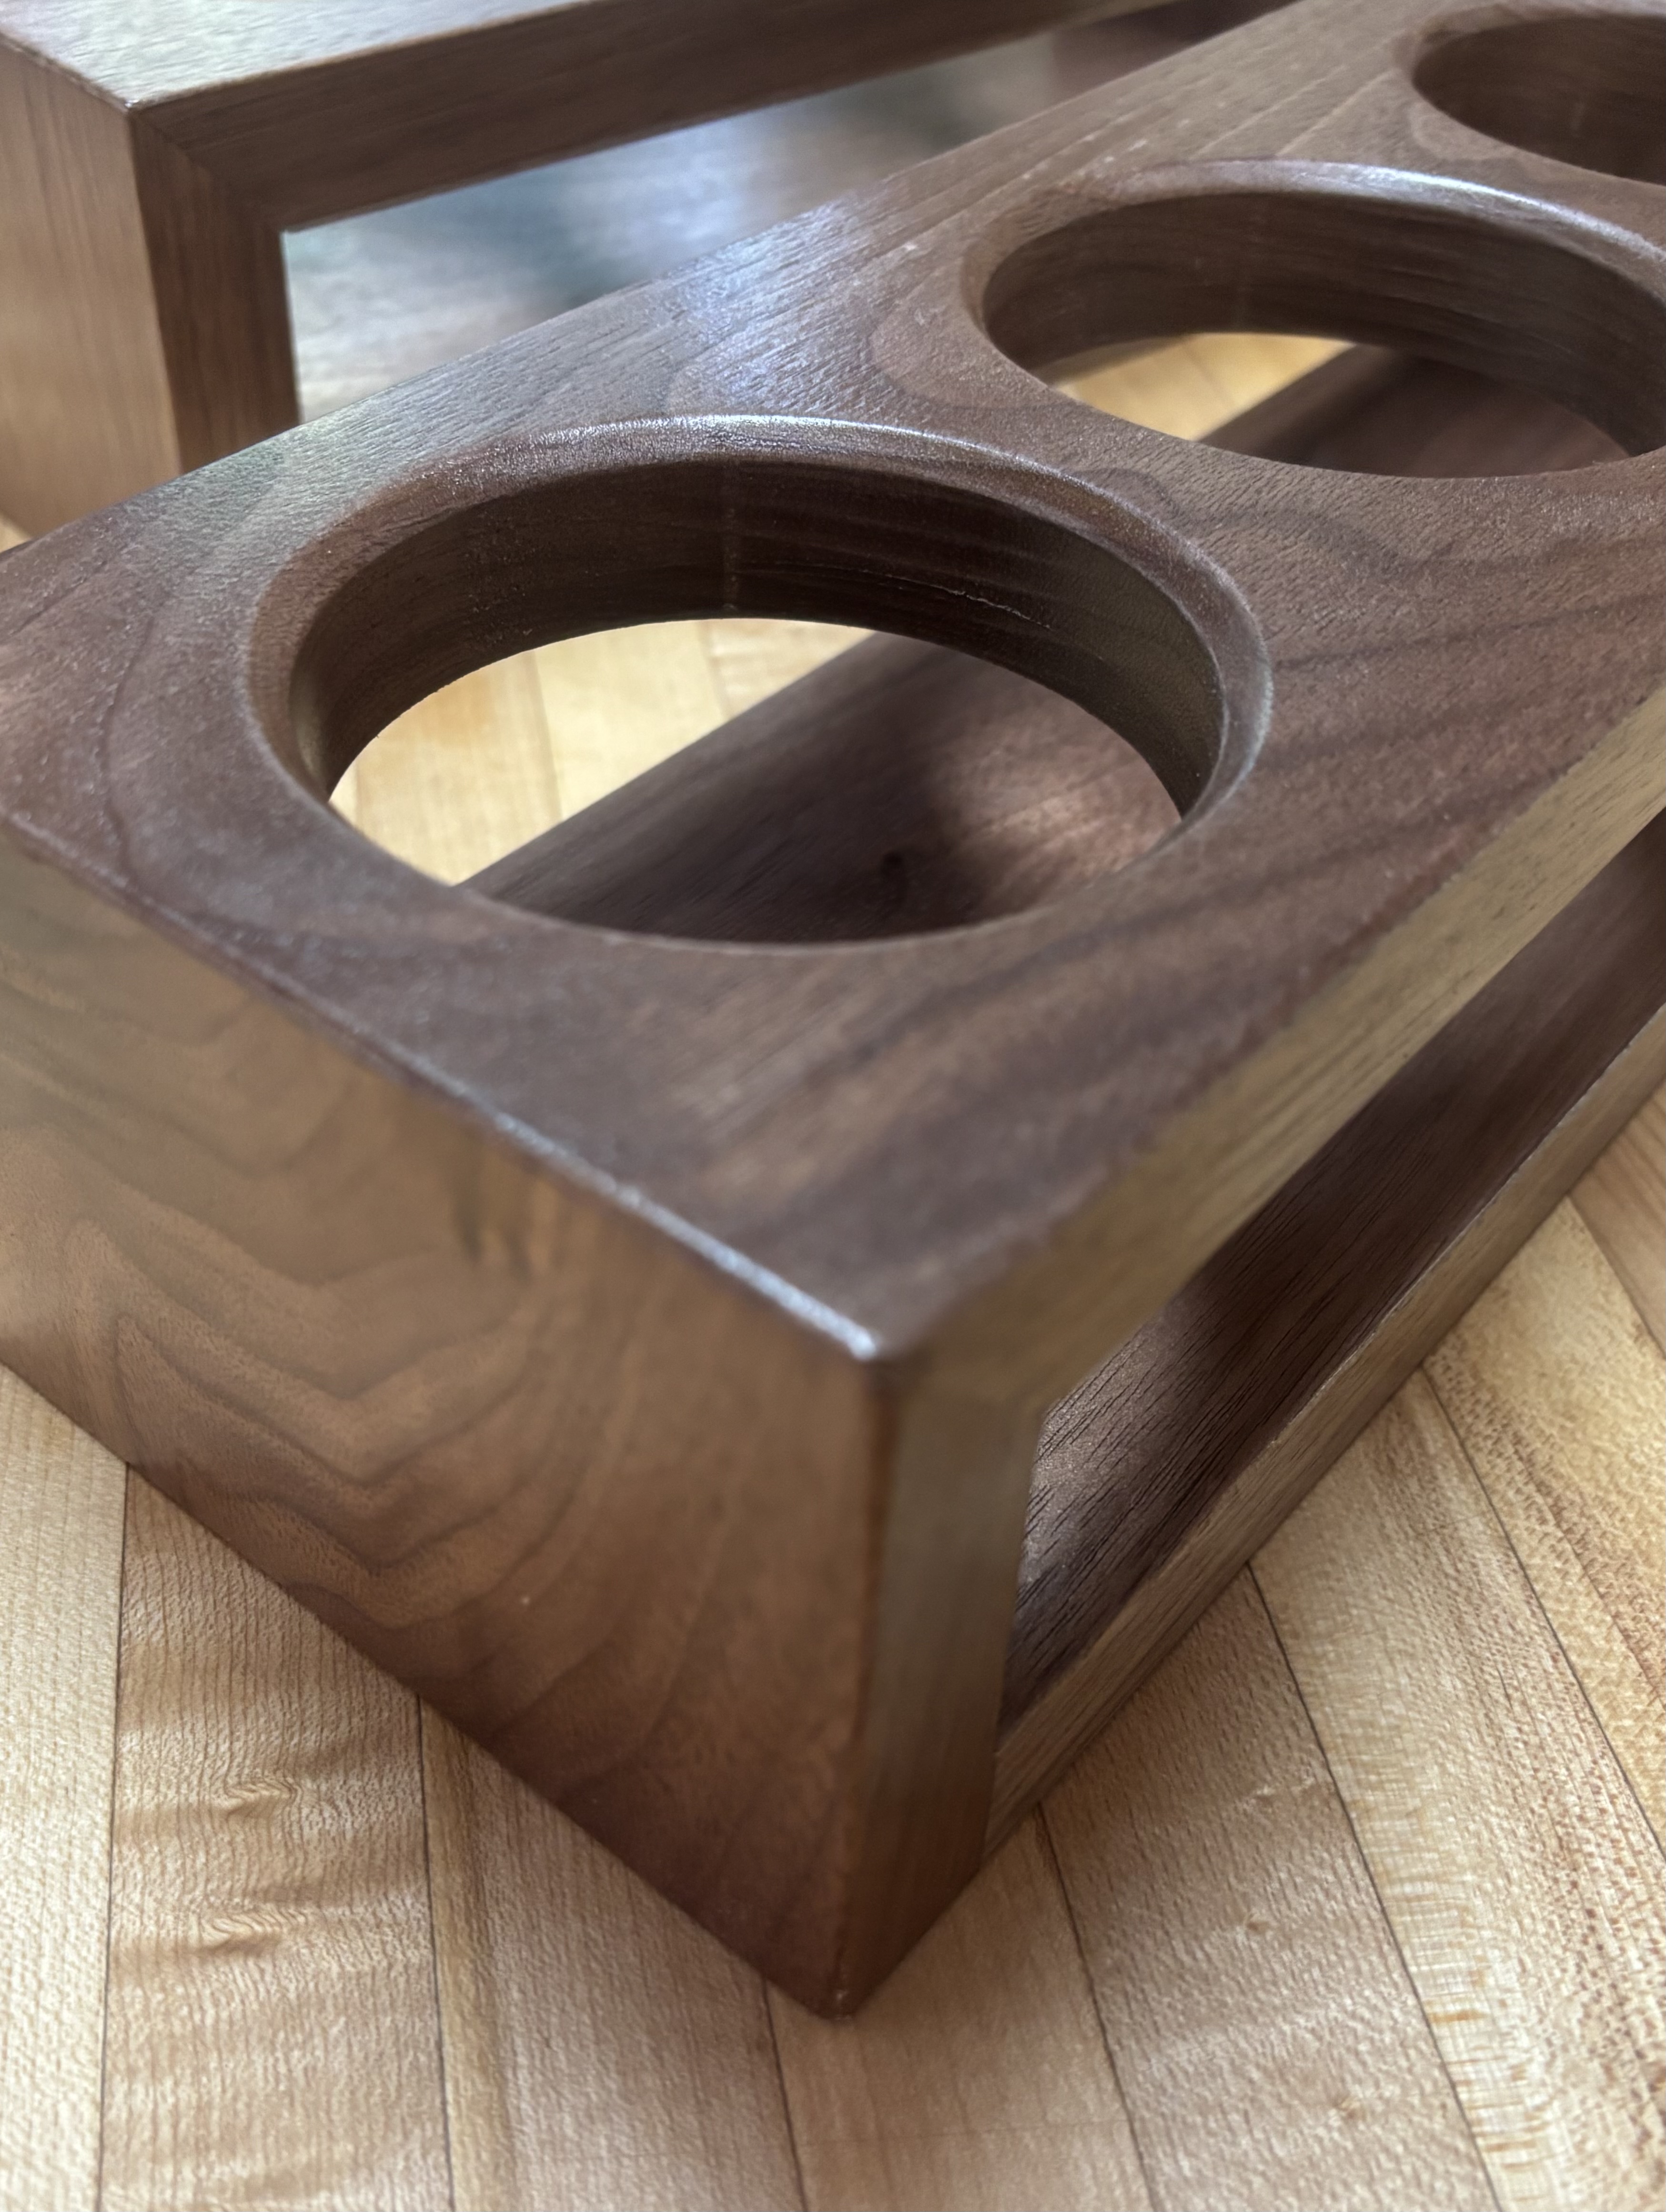
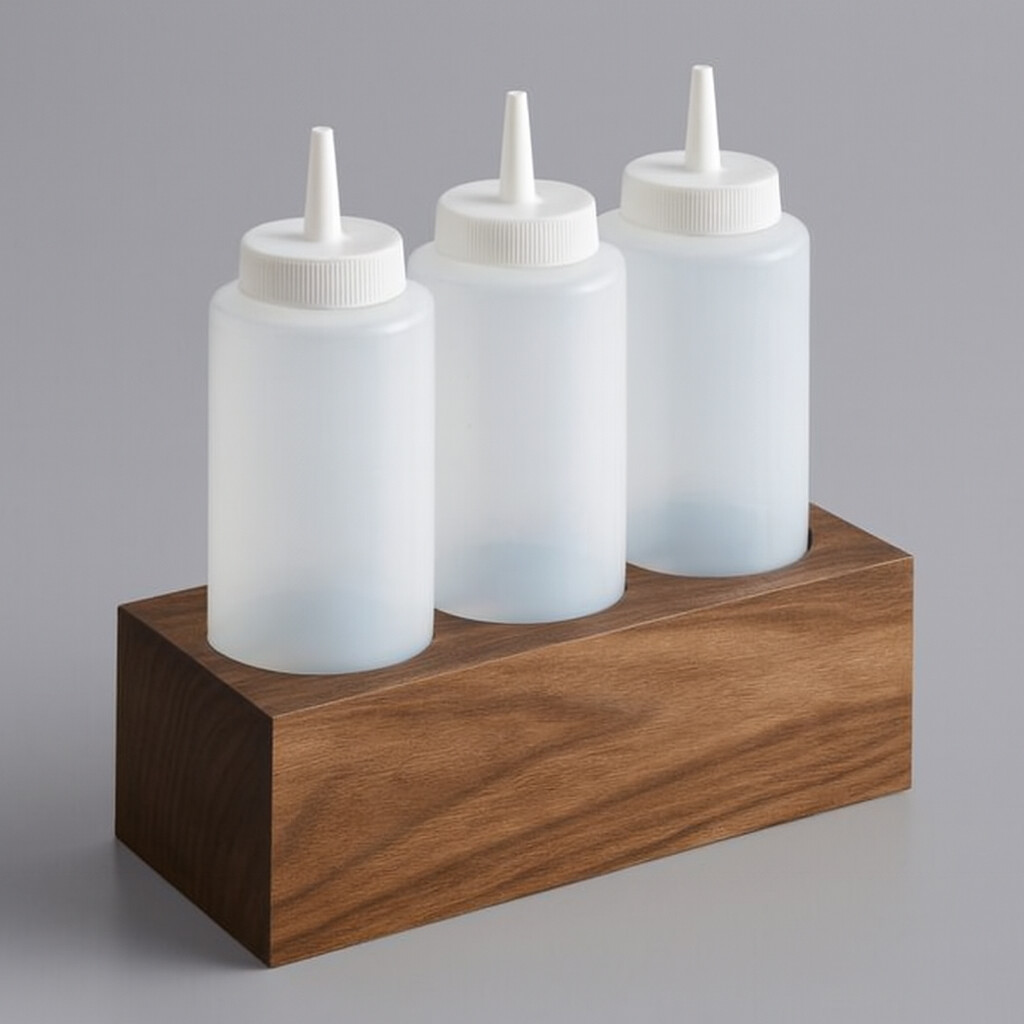
Condiment bottle holders (commission)
Walnut
Semigloss Lacquer rattle can finish
So…I only cut the upper board with the CNC, including circles and chamfers and outer rectangle. But it felt worthy of posting here. I did solicit ChatGPT’s help with the design.
First time I’ve ever used walnut and I love it (been woodworking my whole life and I’m 56!)!

18 Likes
I use a lot of walnut for my projects. It has so much character and cuts really well.
1 Like
I only cut a little walnut. Strongest splinters I ever got. Cuts wonderful.
I wish I could find some more without paying $$$$
1 Like
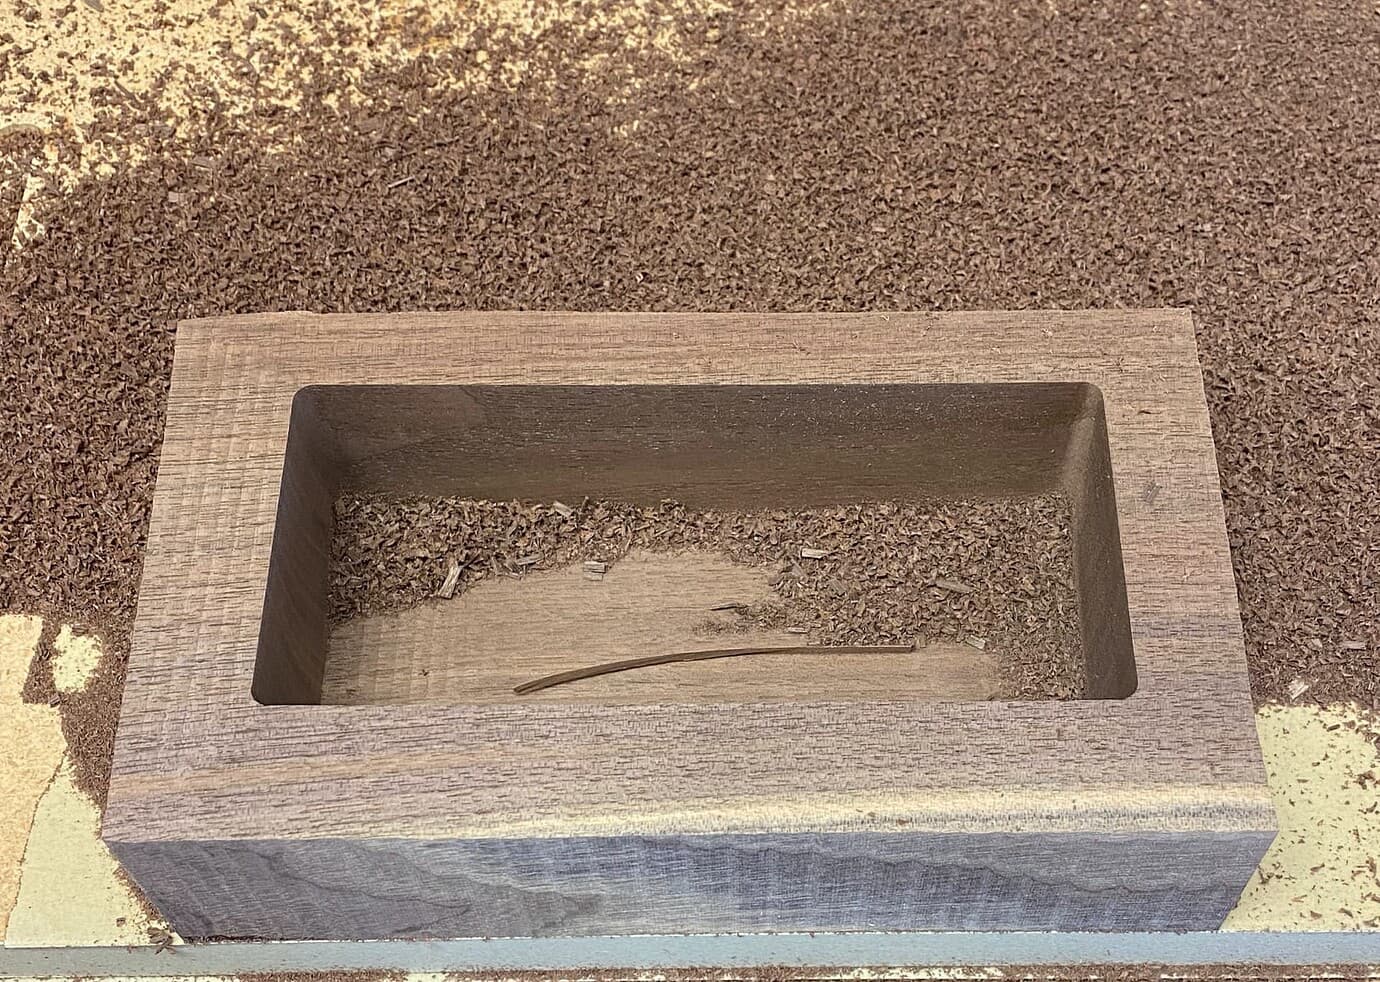
I scored earlier this year. Found a local woodworking guy that was cleaning out his shop and sold me some walnut boards up to 12 inches wide and 1 inch thick. They weren’t perfect but I got them dirt cheap so I’ll work with them. 
7 Likes
You are lucky guy. 20 char
Thanks to Jeff and Michael over here - Am I rest machining correclty? - #6 by jon1 I got this finished yesterday:
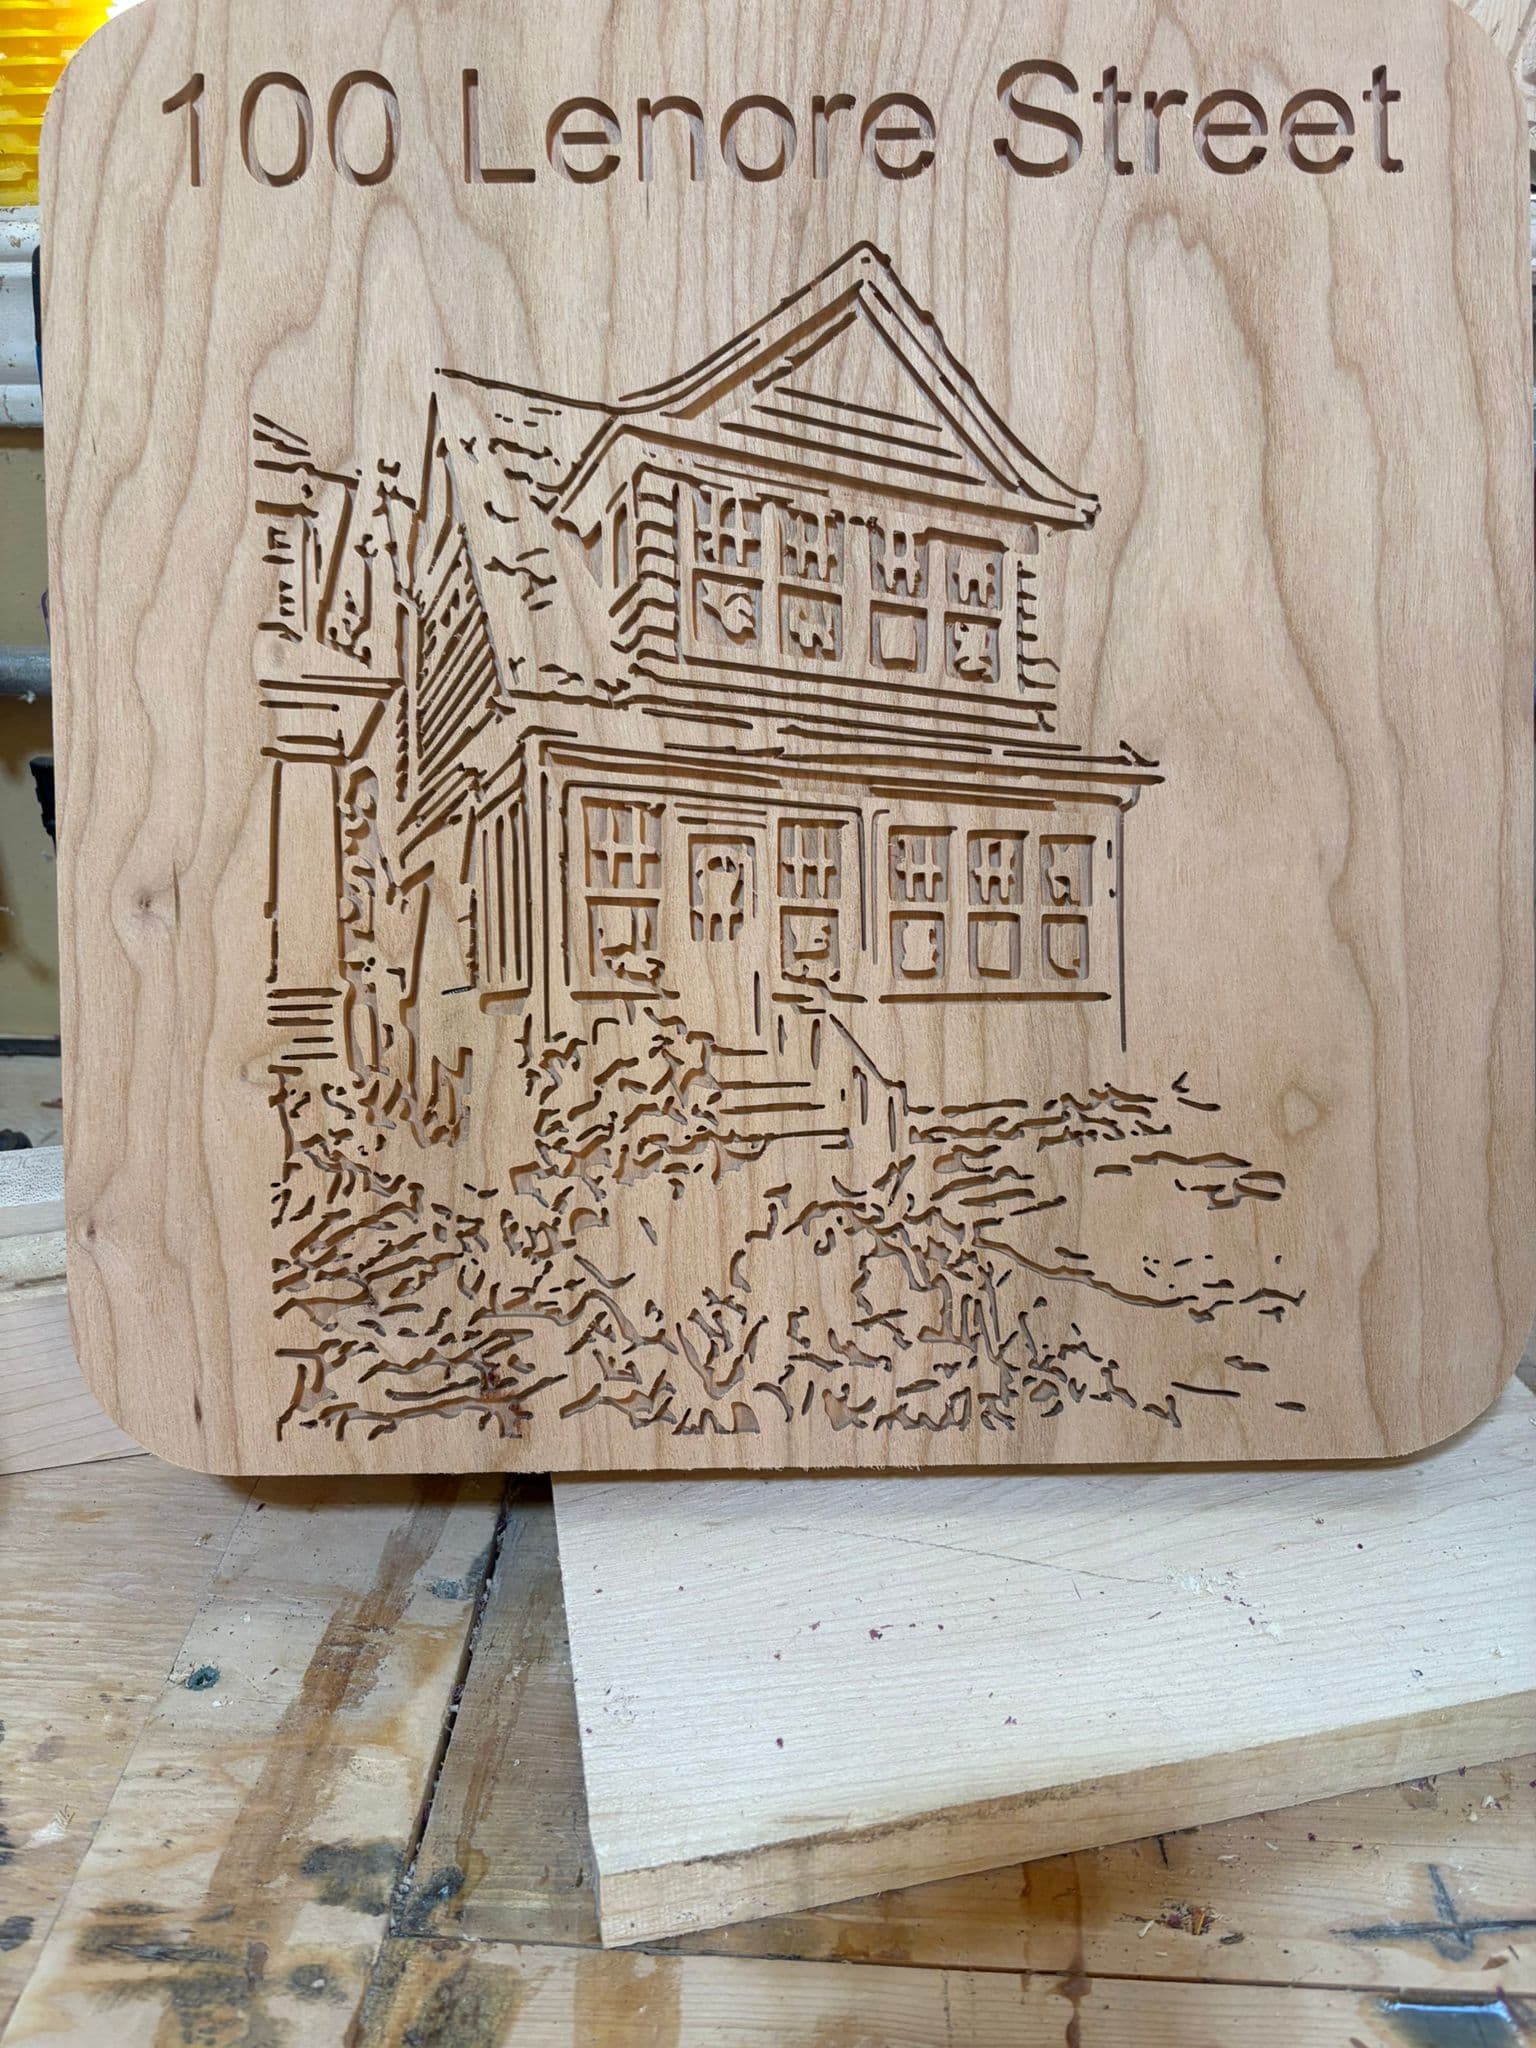
Now wait for epoxy to dry.
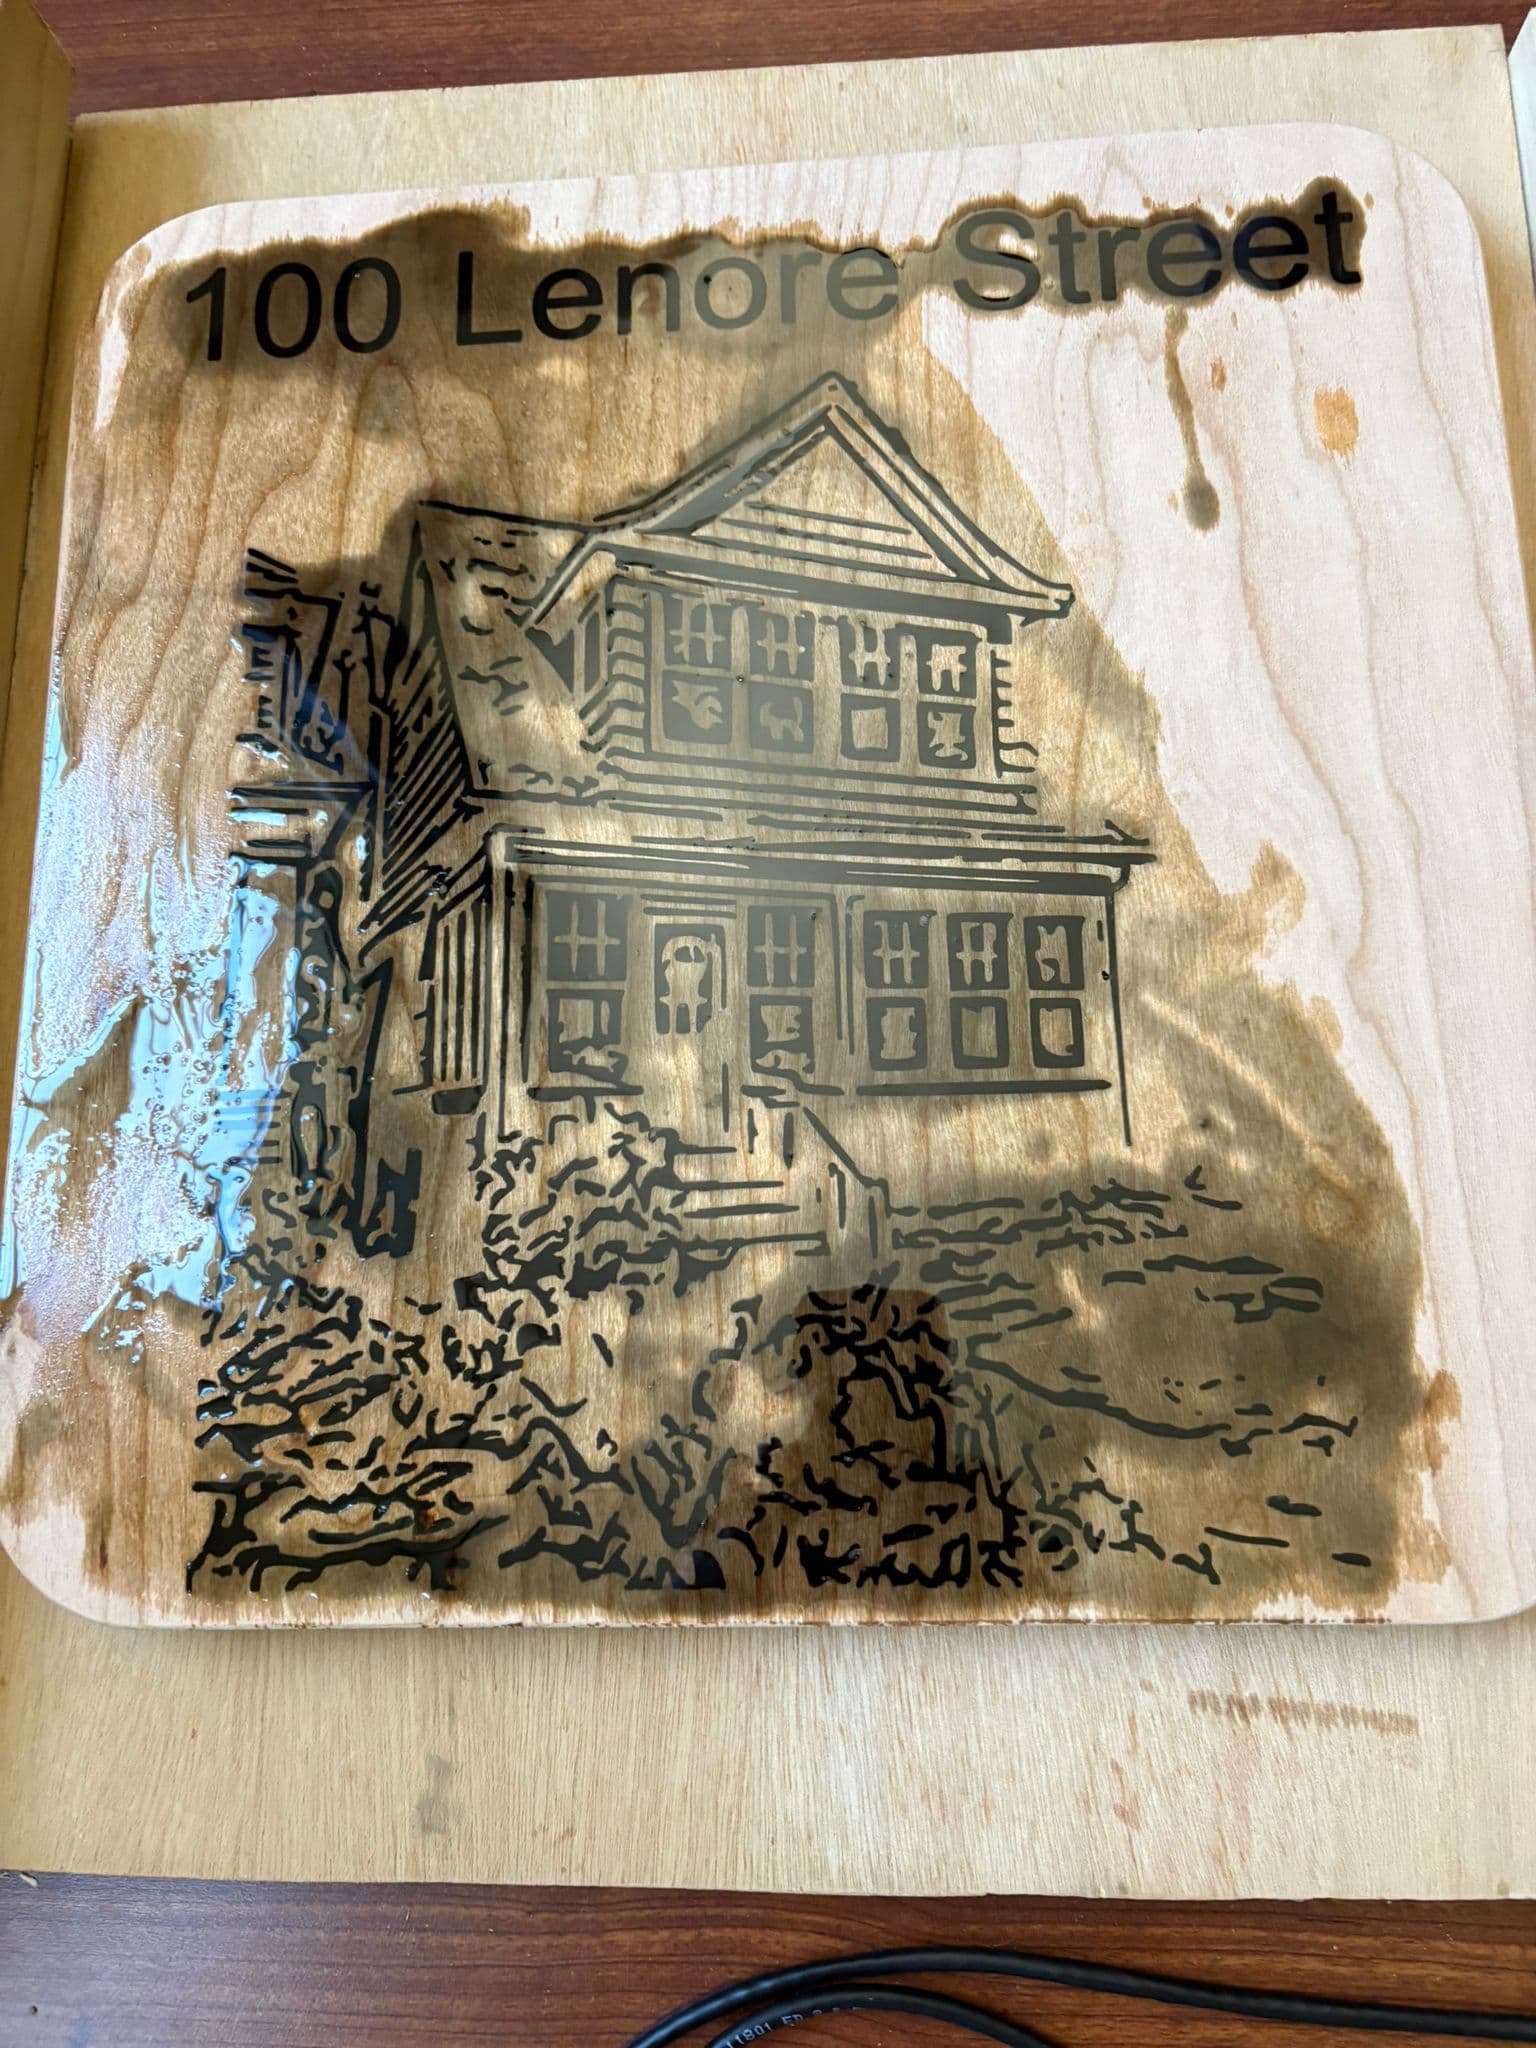
8 Likes
I just realized you are 10 mins down the road from me. Share these excellent wood sources  (kidding of course hah).
1 Like
Looks great! Make sure you post a pic of the finished product
1 Like
Good to see another local on here! I actually got that walnut from a guy on Marketplace. I told him to message me any time he wants to sell off any other wood.
1 Like
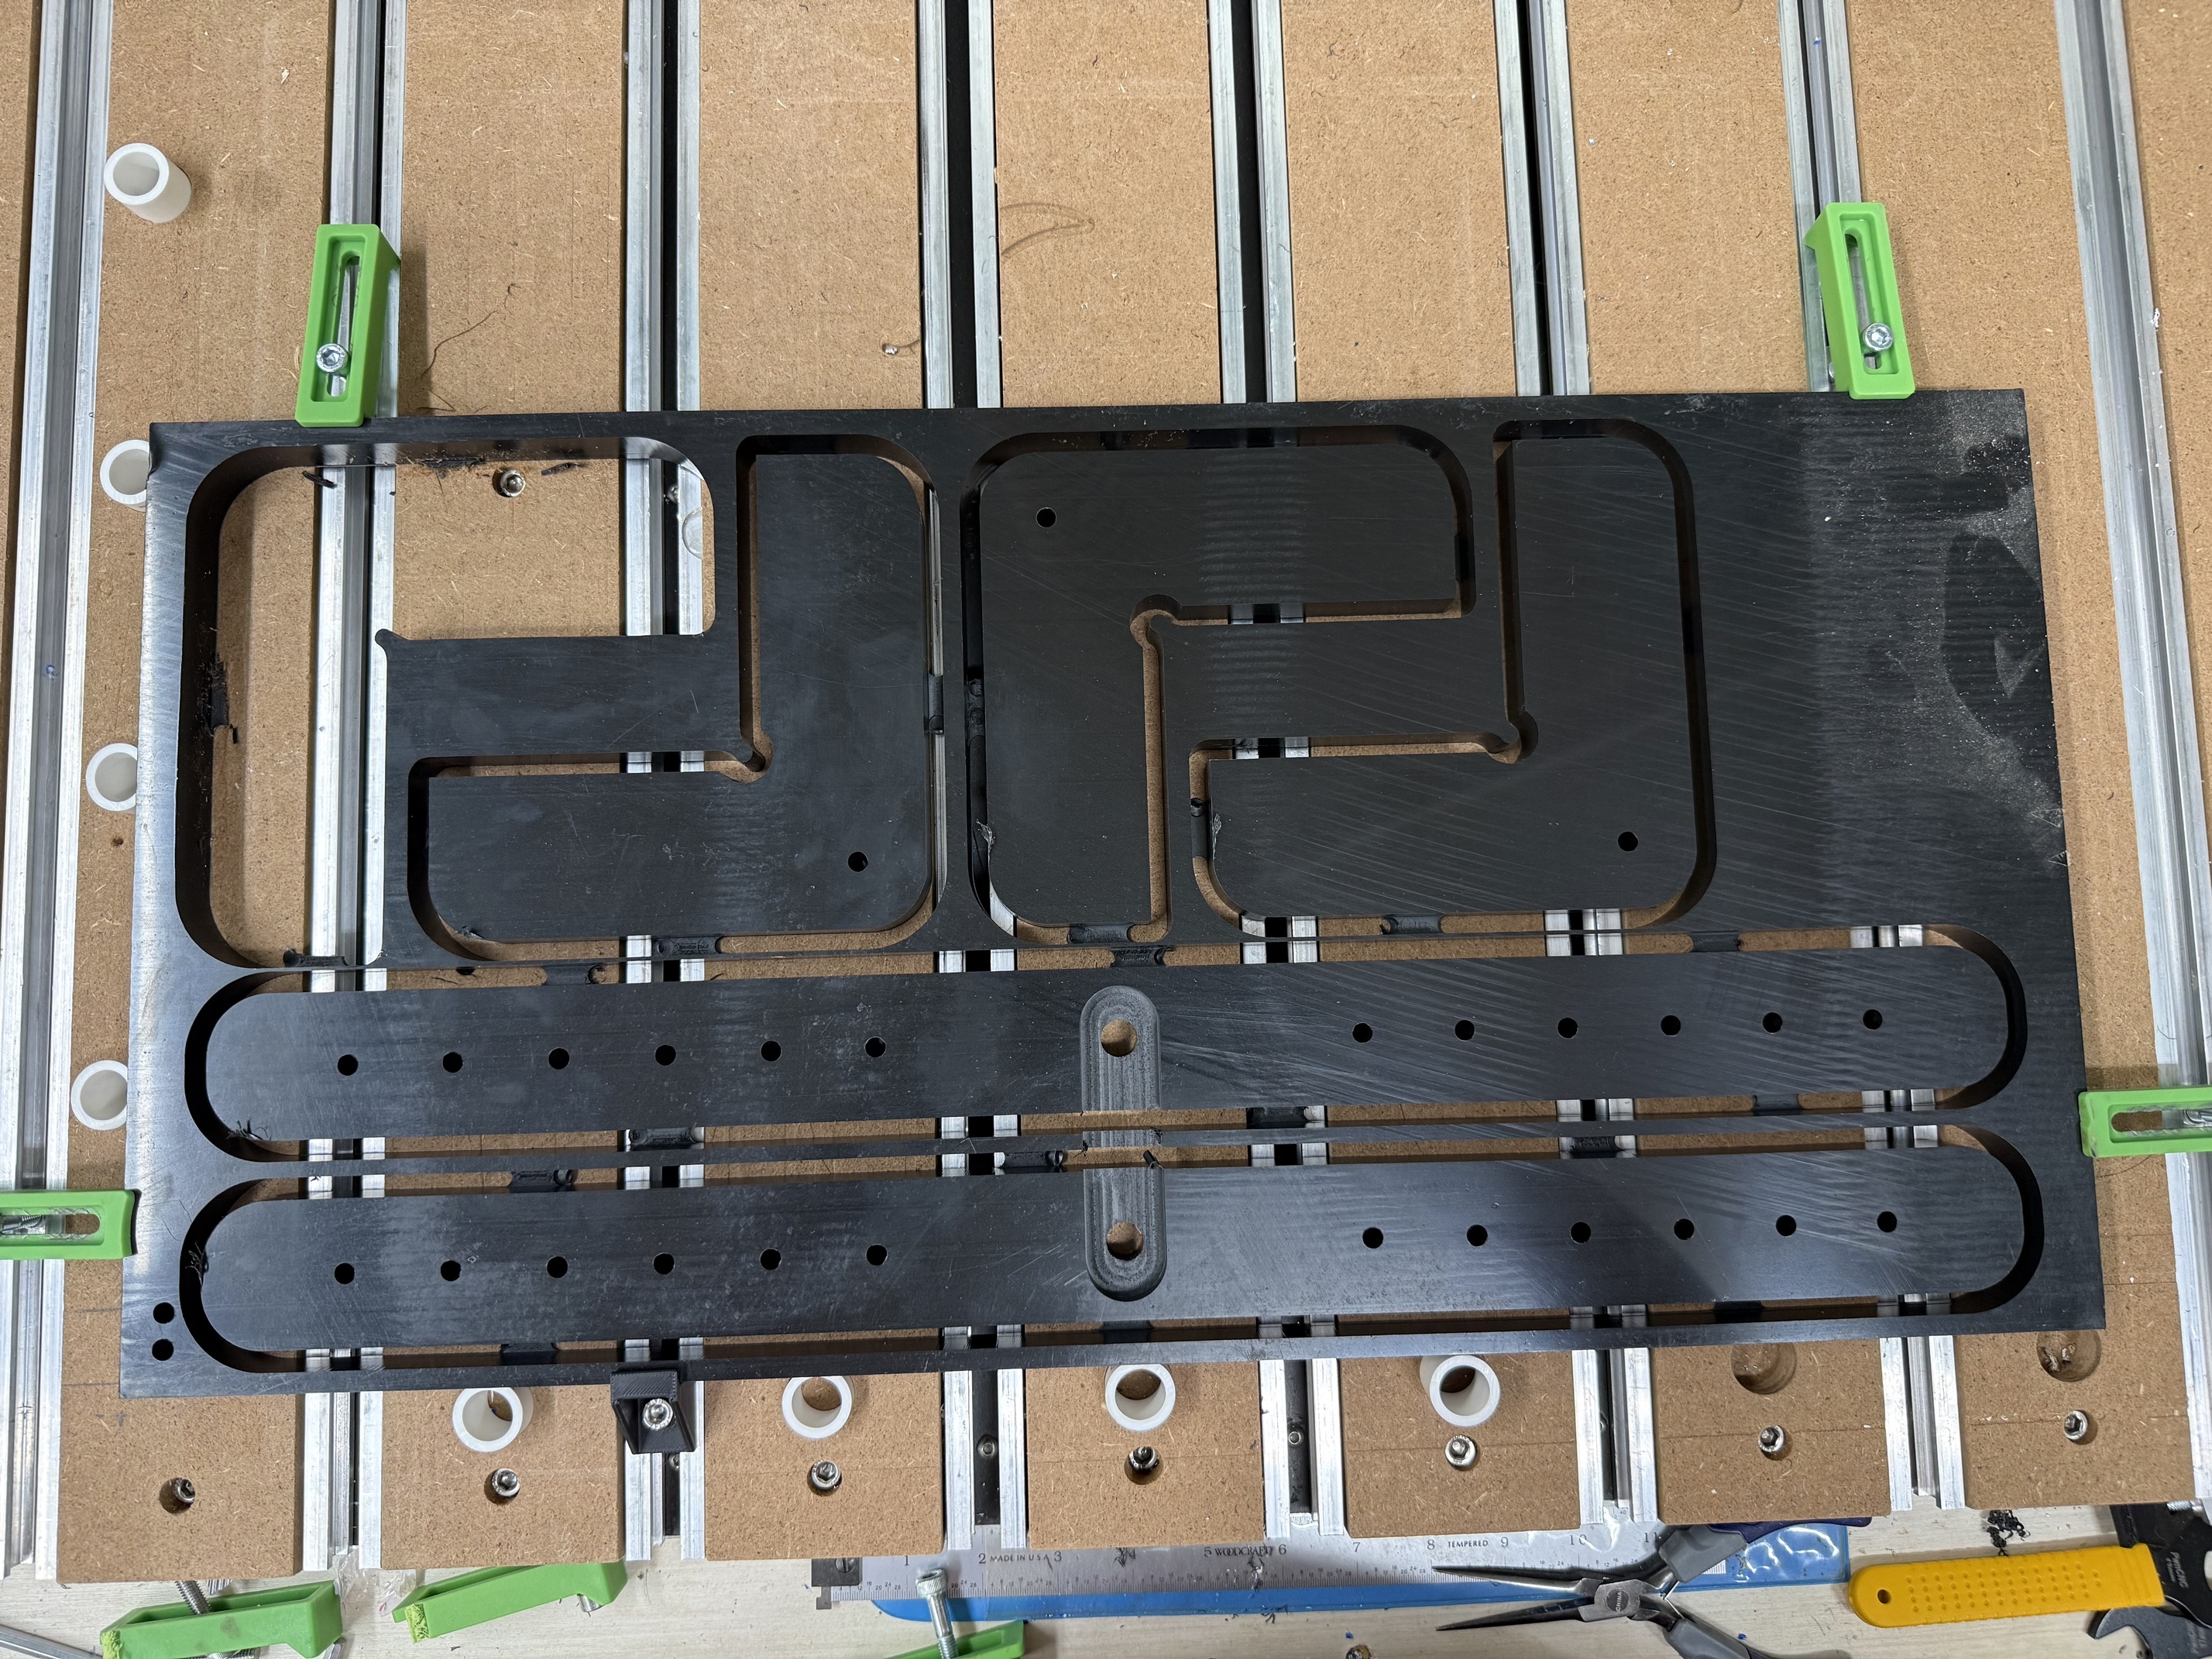
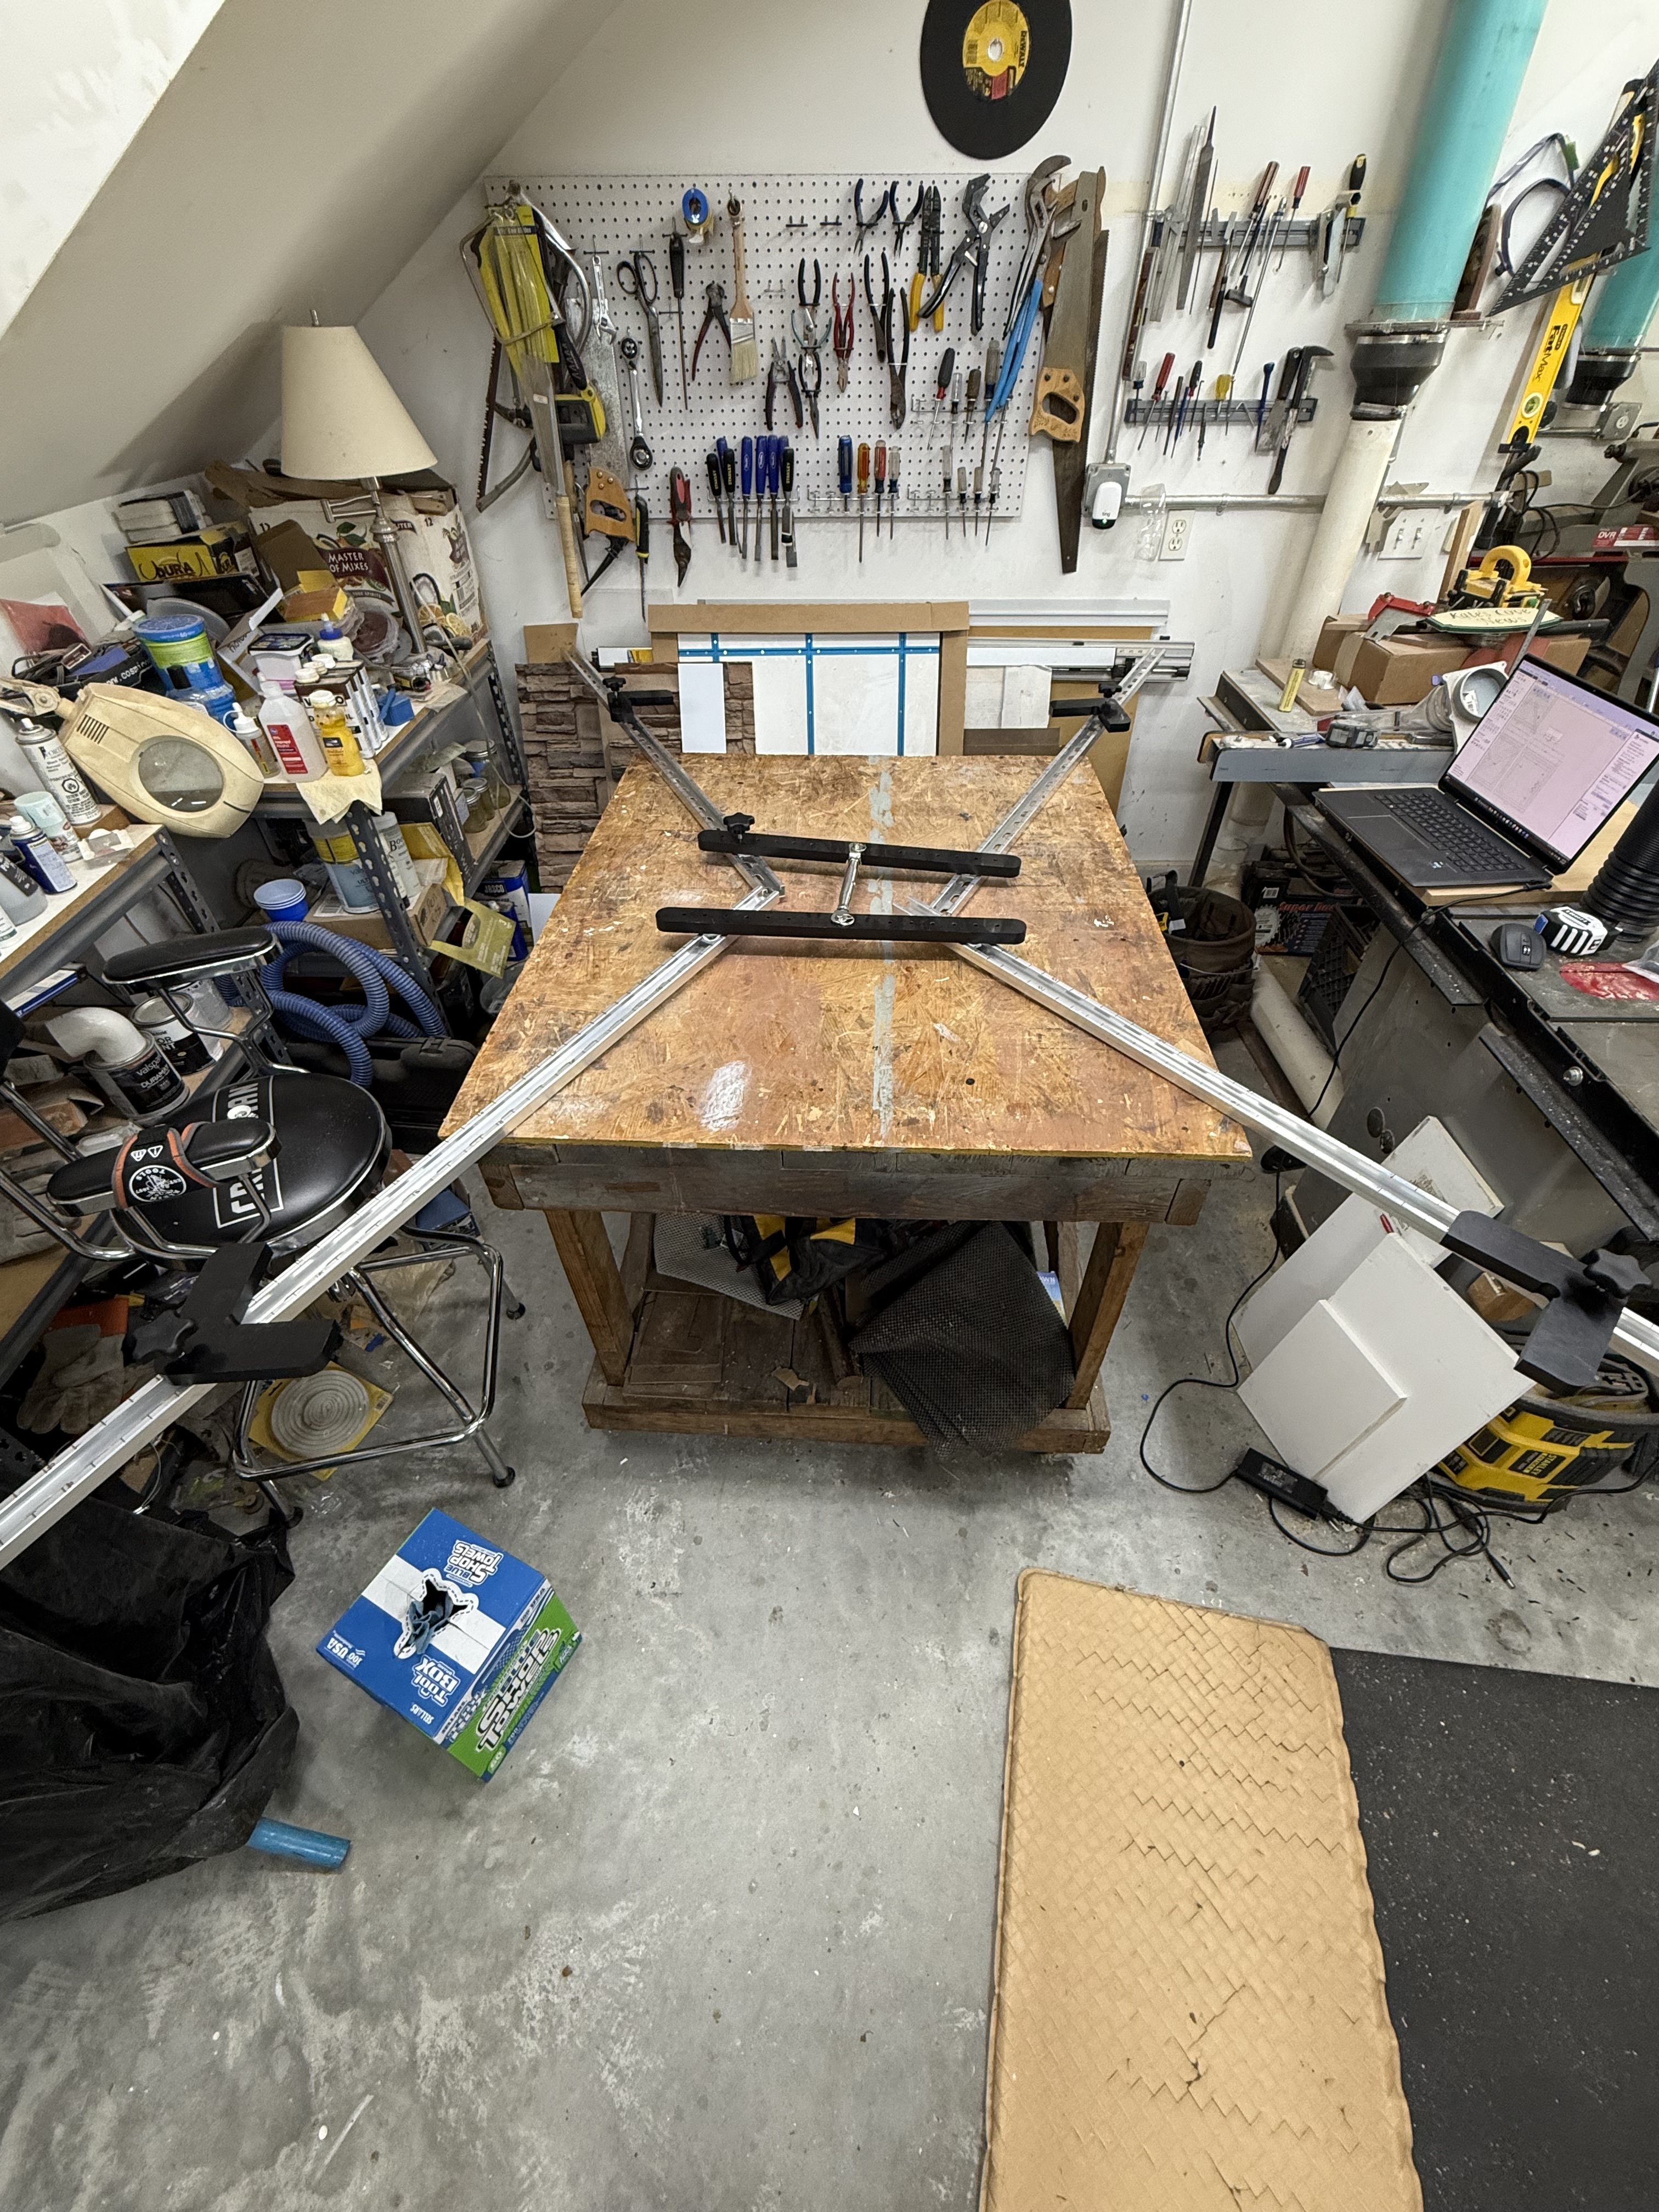
I have a few very large frames to make. They will be 57.75” square. I have been trying to decide how I am going to get tight miters and decided to make a large clamp.
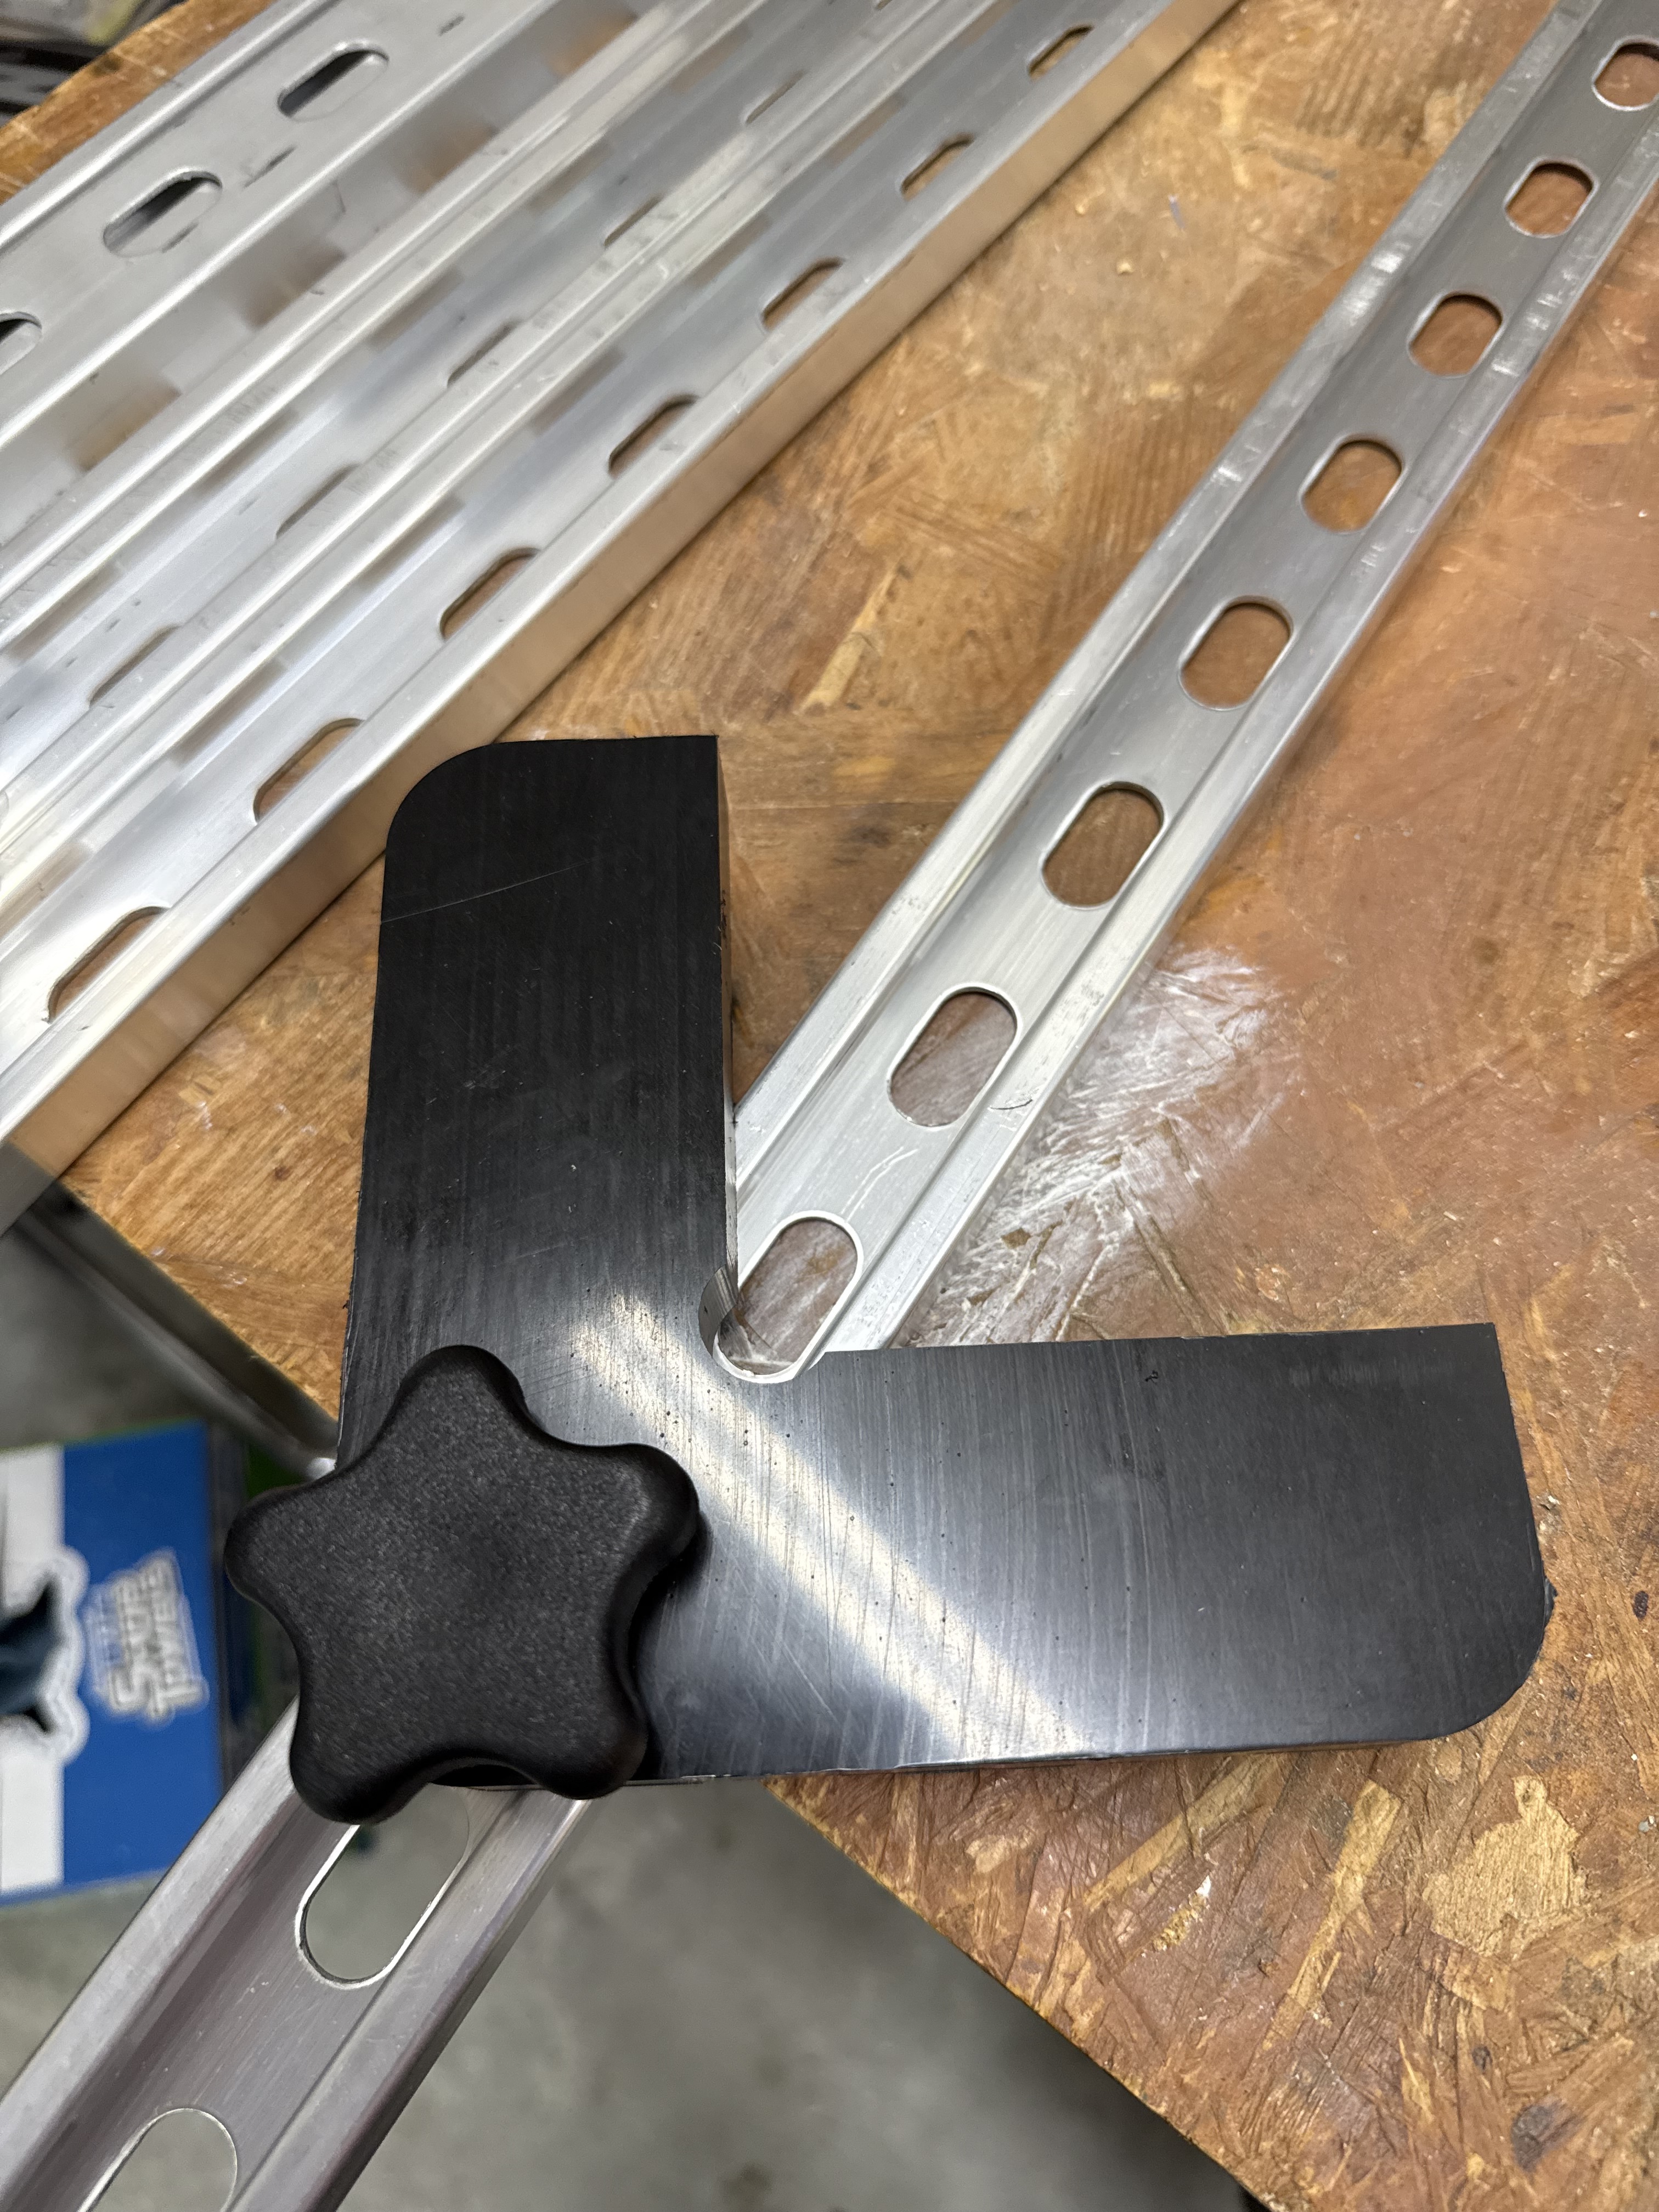
I bought some aluminum channel, some cone nuts for it and knobs. I also got a turnbuckle to pull the sides together. And then machined corner pieces and the horizontal bards out of 3/4” HDPE.
In the pics below I am short a few knobs, had to order more.
Now that I think about it though I am worried that as I turn the turnbuckle in the middle the cone nuts holding the horizontal pieces or the corner pieces to the aluminum strut may slip in the channels. Hmmm.
Will definitely need a bigger flat surface to do the actually glueup.
9 Likes
You are ambitious. Don’t you have a barn stall available ?
Second attempt went better except I feathered the trailing edges of the vanes.
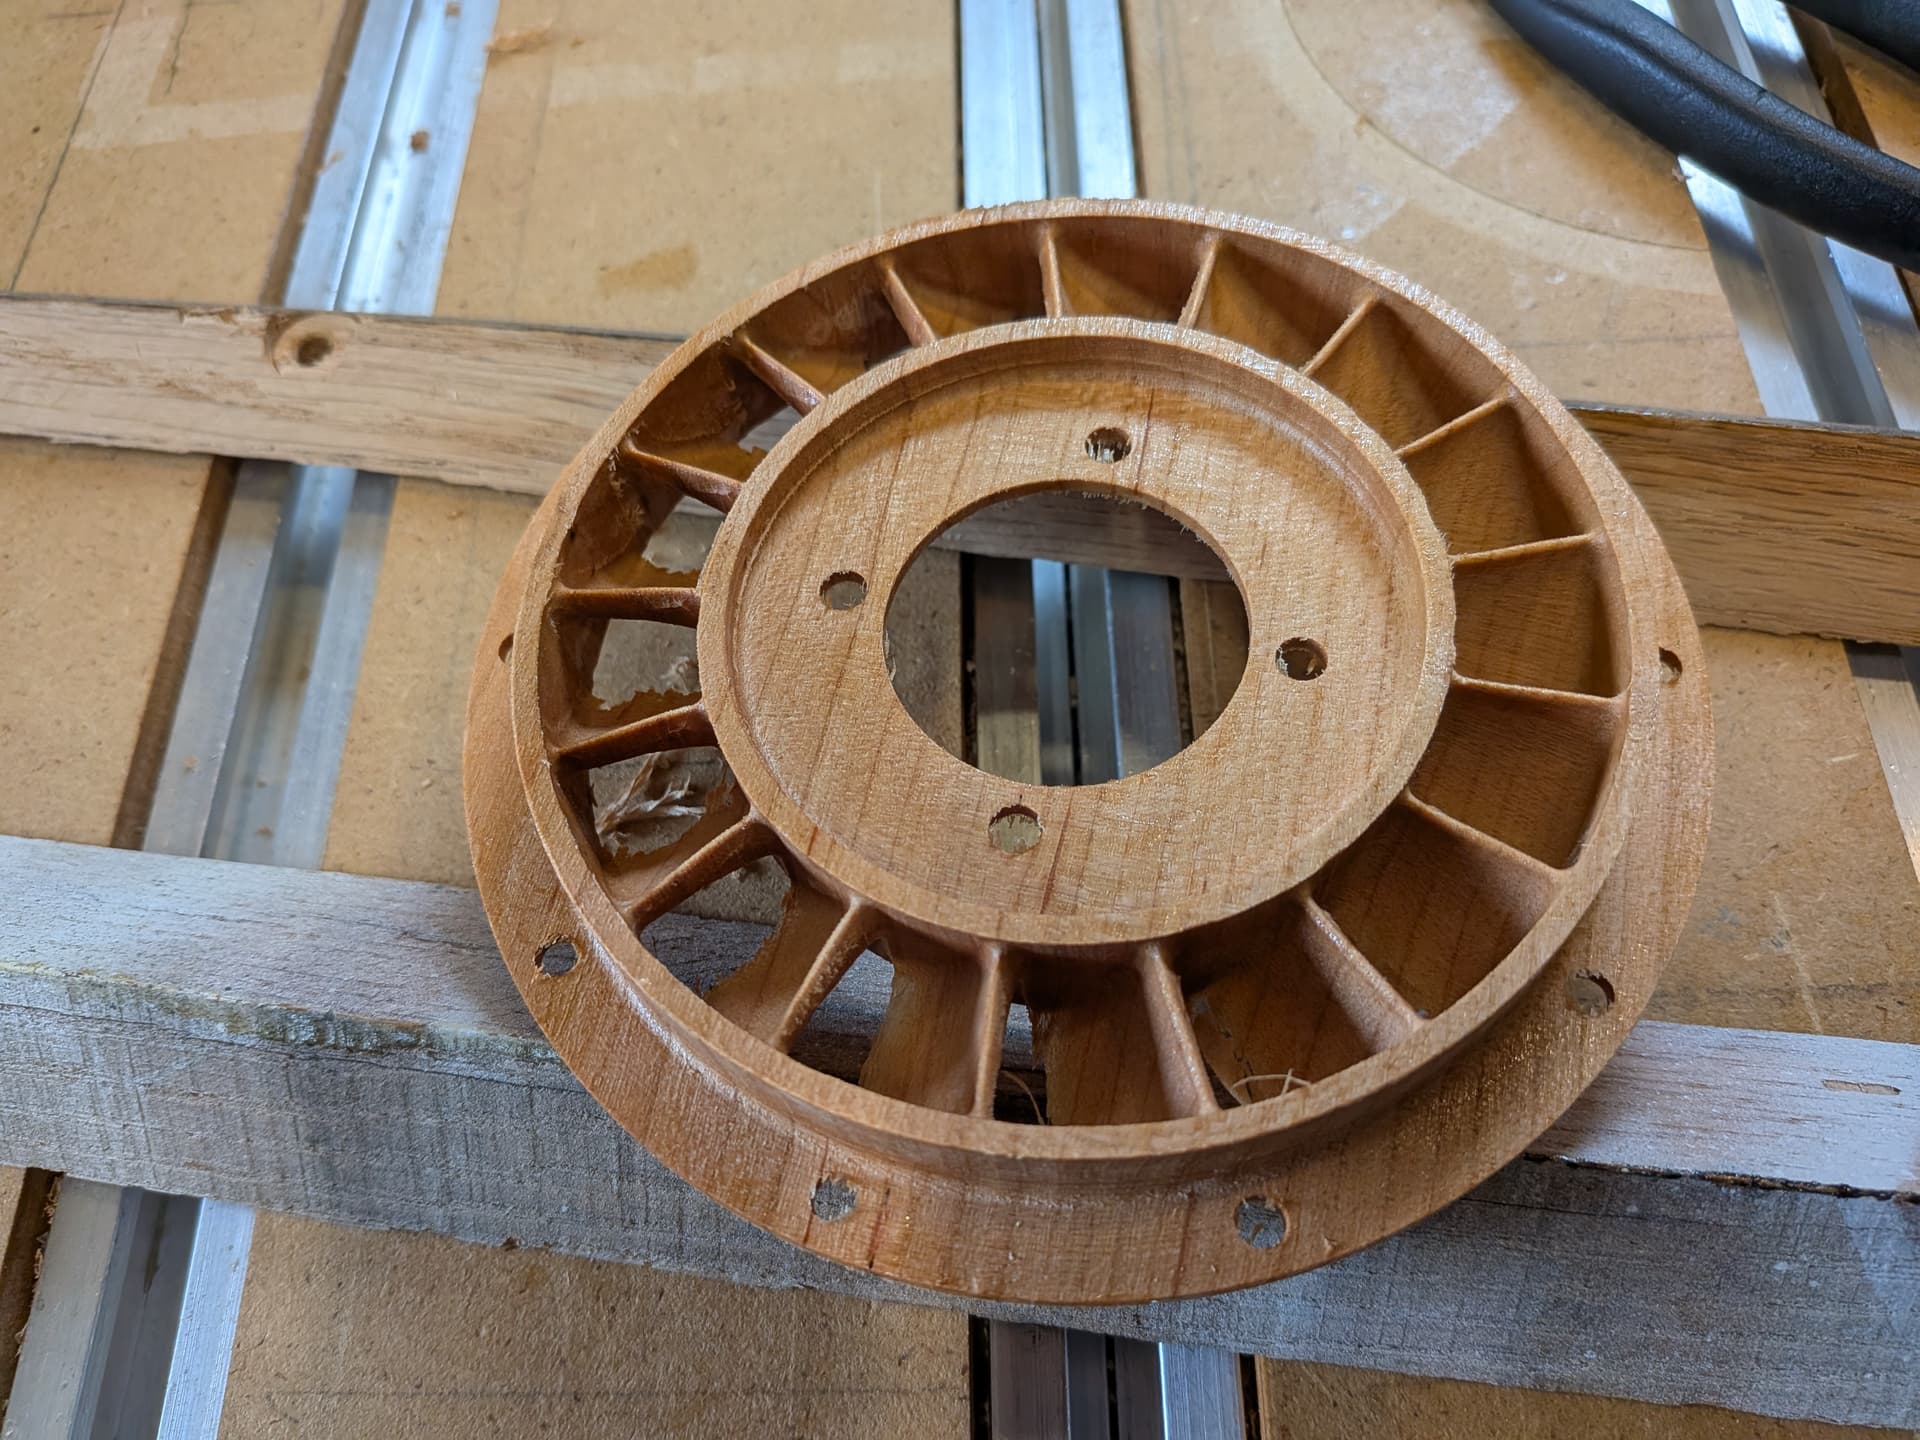
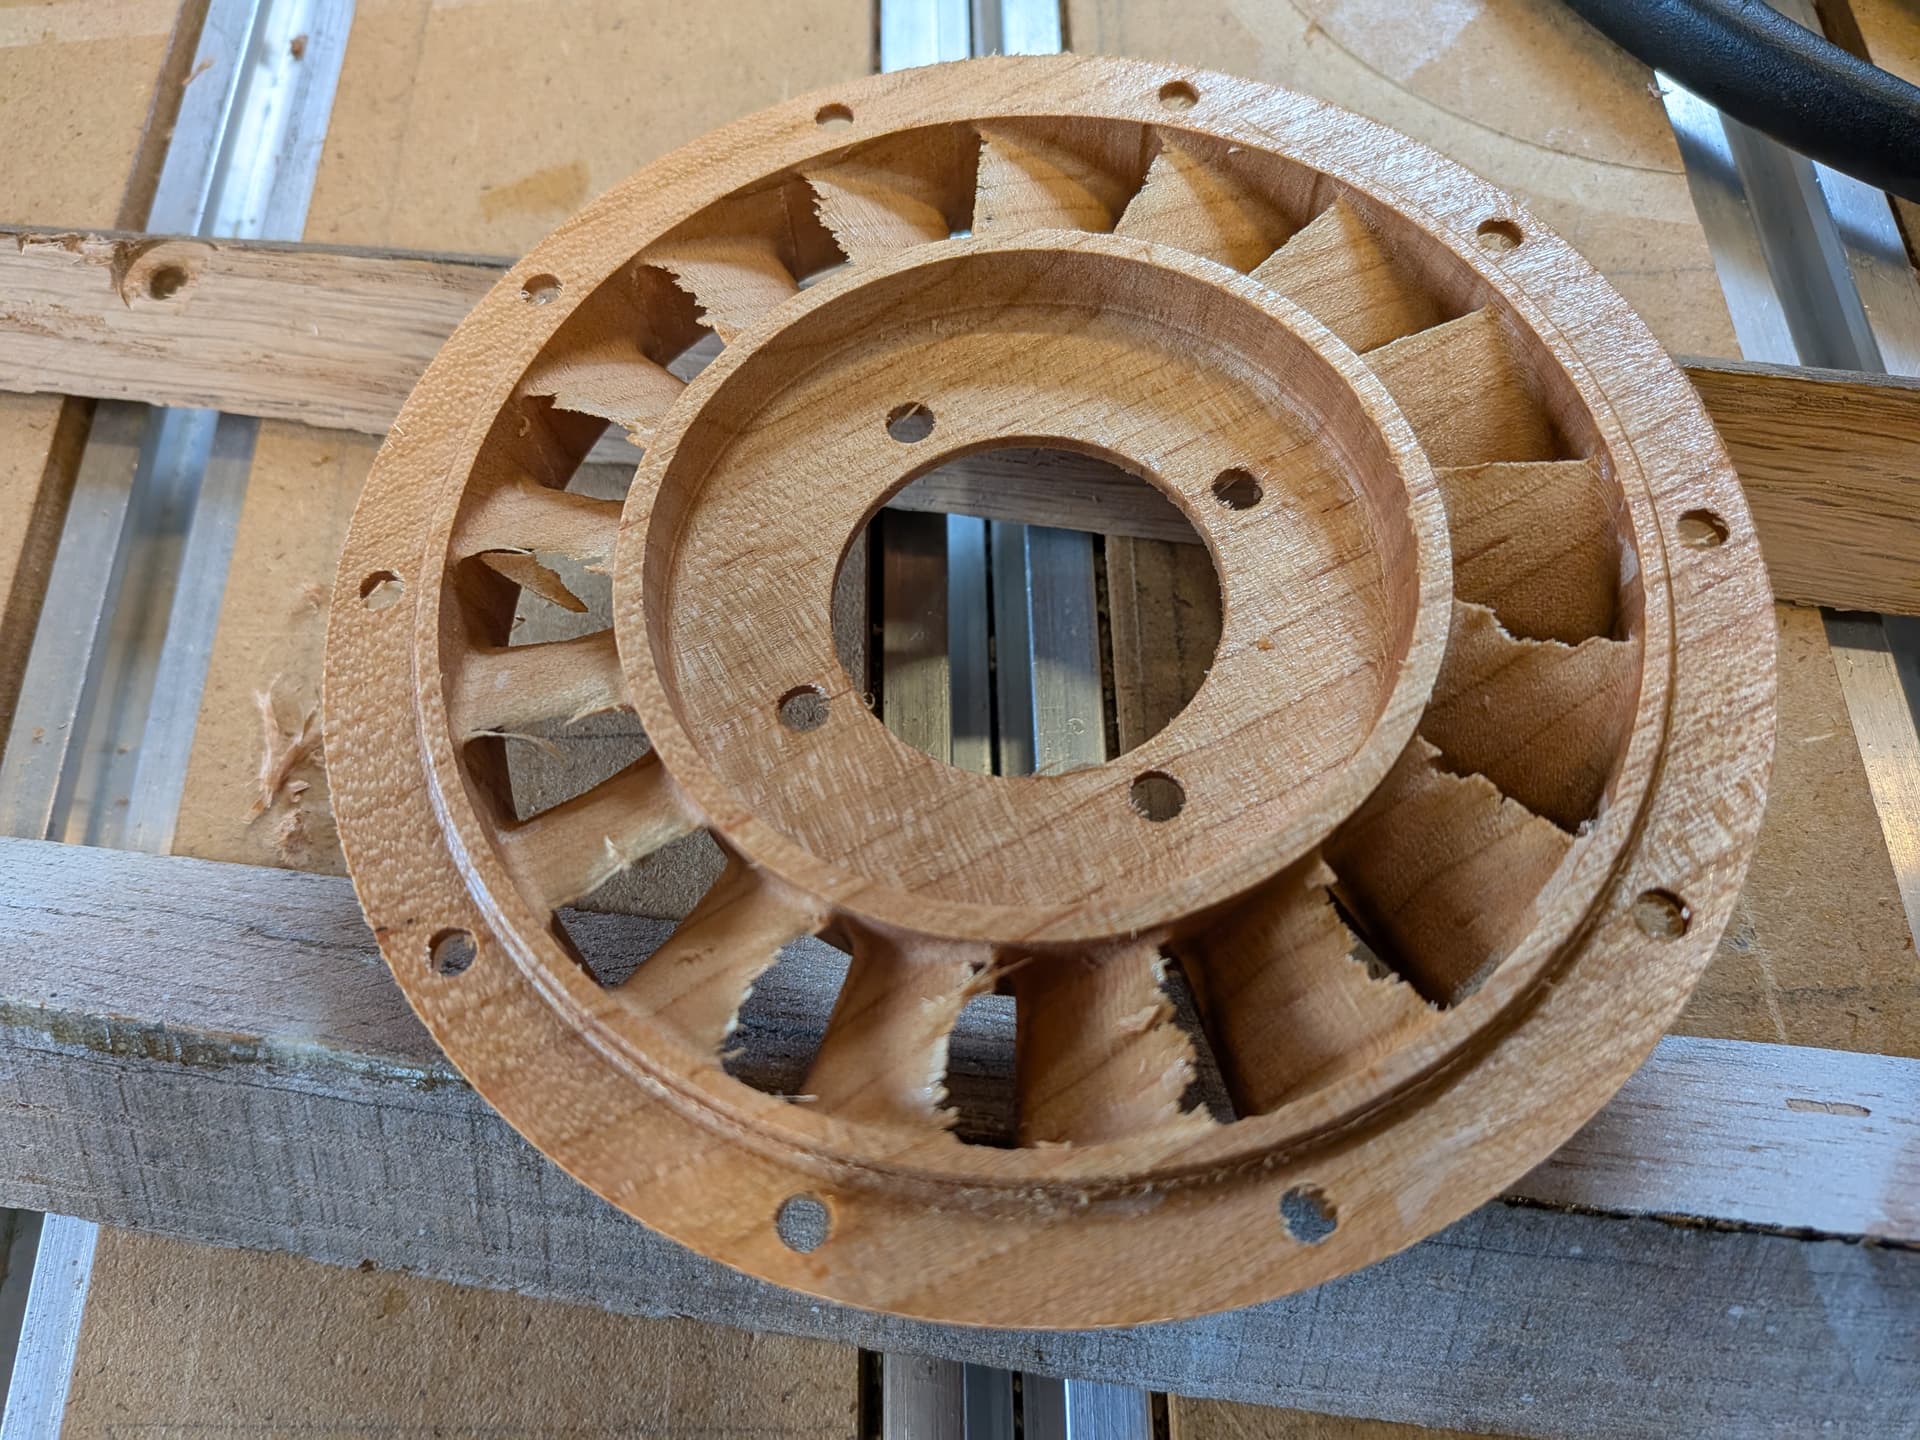
This weeks lesson in jet engine technology was to recognize the inlet (thick edge of vane ) versus the outlet ( thin edge of vane) . It was an instant duh moment.
The machine marks need to be in the direction of air flow, oops. This allows for better flow across the blade. Makes sense, less turbulence.
In the Boiler world, we would used rifled tubing to promote a buffer between the steam and the tube ID for flow.
I used a Flow path on the vanes and tangent fillets
All diameters are now within .002 ( with shellac ). The difference being I used upcut bits for roughing and added some ball end finishing passes to get rid of the fur. I had tried downcut ( smoked a downtown jenny ) to minimize the hairs. I hate sanding.
I had some finger nail cleaning and a drill hand spun to remove a few hairs.
The vanes … I am going to have to try this again, it takes a full day and getting boring.
But this is going to happen again soon. I got a diffuser model, the outside vanes do not have an outside supporting ring. Hmmmm.
I have cut the outlet side first, then the inlet. This means a bulk of material is removed on the second pass. The inlet side is deeper. I am going to flip the order and handle the roughing and finishing a little lighter.
I looks like the grain split first, then it just went away. This is a different pattern than the first.
Using a Pocket path ( across the vane ) seems less destructive versus the Flow path ( along the vane ) . So after the new first side, I will shellac it to see if that helps the survival.
Any suggestions are welcome.
13 Likes
I would hardly call my project ambitious after seeing yours.
I am paying a millwork shop to do the frame material with a custom knife made to my specified profile. It would take too long and require too many tiling operations for. Me to pull it off comfortably. This is for a paying customer so I want it to be perfect.