I call anybody that can actually make money at this ambitious.
I make fancy firewood, no charge.
3 Likes
I wouldn’t call it making money, more like defraying costs.
This will be my largest paying gig yet and it has very little to do with the CNC and nothing to do with the laser I bought. I used the CNC to prototype the molding profile for the frame and took on these clamps.
I make plenty of firewood as well.
I love the project you are working on. I used to work at Gulfstream Aerospace and now work at Lockheed Martin. I could see those being mounted on some executive’s walls. But then again trying to sell them would take the fun out of the project.
1 Like
I would consider impregnating the airfoil tips to strengthen them.
Cut a rough cut, something like this…
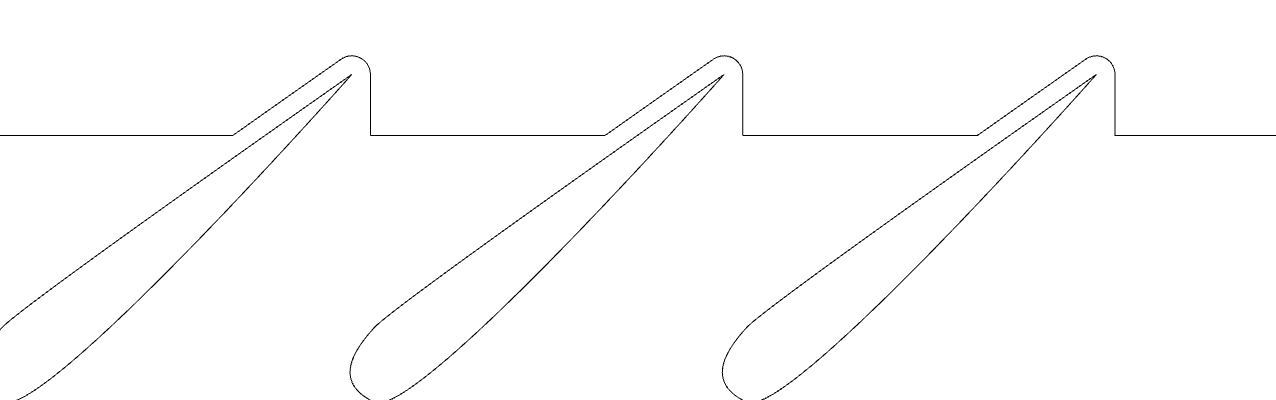
and then fill that pocket with a thin epoxy. If you can figure out how to apply a vacuum to that pocket it will fill the grain even better. Heat up the part & epoxy before pouring & it will absorb better.
Another option would be to cut the pocket completely out and fill with epoxy. Now the tips are all epoxy.
Of course, the flipside pass near the tips would still need to be pretty delicate.
6 Likes
I was hoping you would chime in.
I will start this next attempt next week, I have a wedding to go to in central Maine.
I do not have any epoxy, so I will try shellac and be more careful on the path.
I already created a version where the side order is flipped.
I will alter that per your suggestions.
This will bring up a long standing issue.
I will have to wait for the shellac to dry and I do not want to leave the Pro 5 on for a couple days.
I have always left the Pro 5 on for the duration of the project because it never goes back to the same location after re-initializing. It always misses by a few thousands.
I will use a 123 block fastened to the table as a reference unless I can find a spring loaded conical shape and hole to find the XY location this time.
2 Likes
Thin the shellac out a bit with alcohol. This will allow it to absorb deeper. It will dry pretty quick.
You can even add more in between cuts as you get closer to the finished surface.
4 Likes
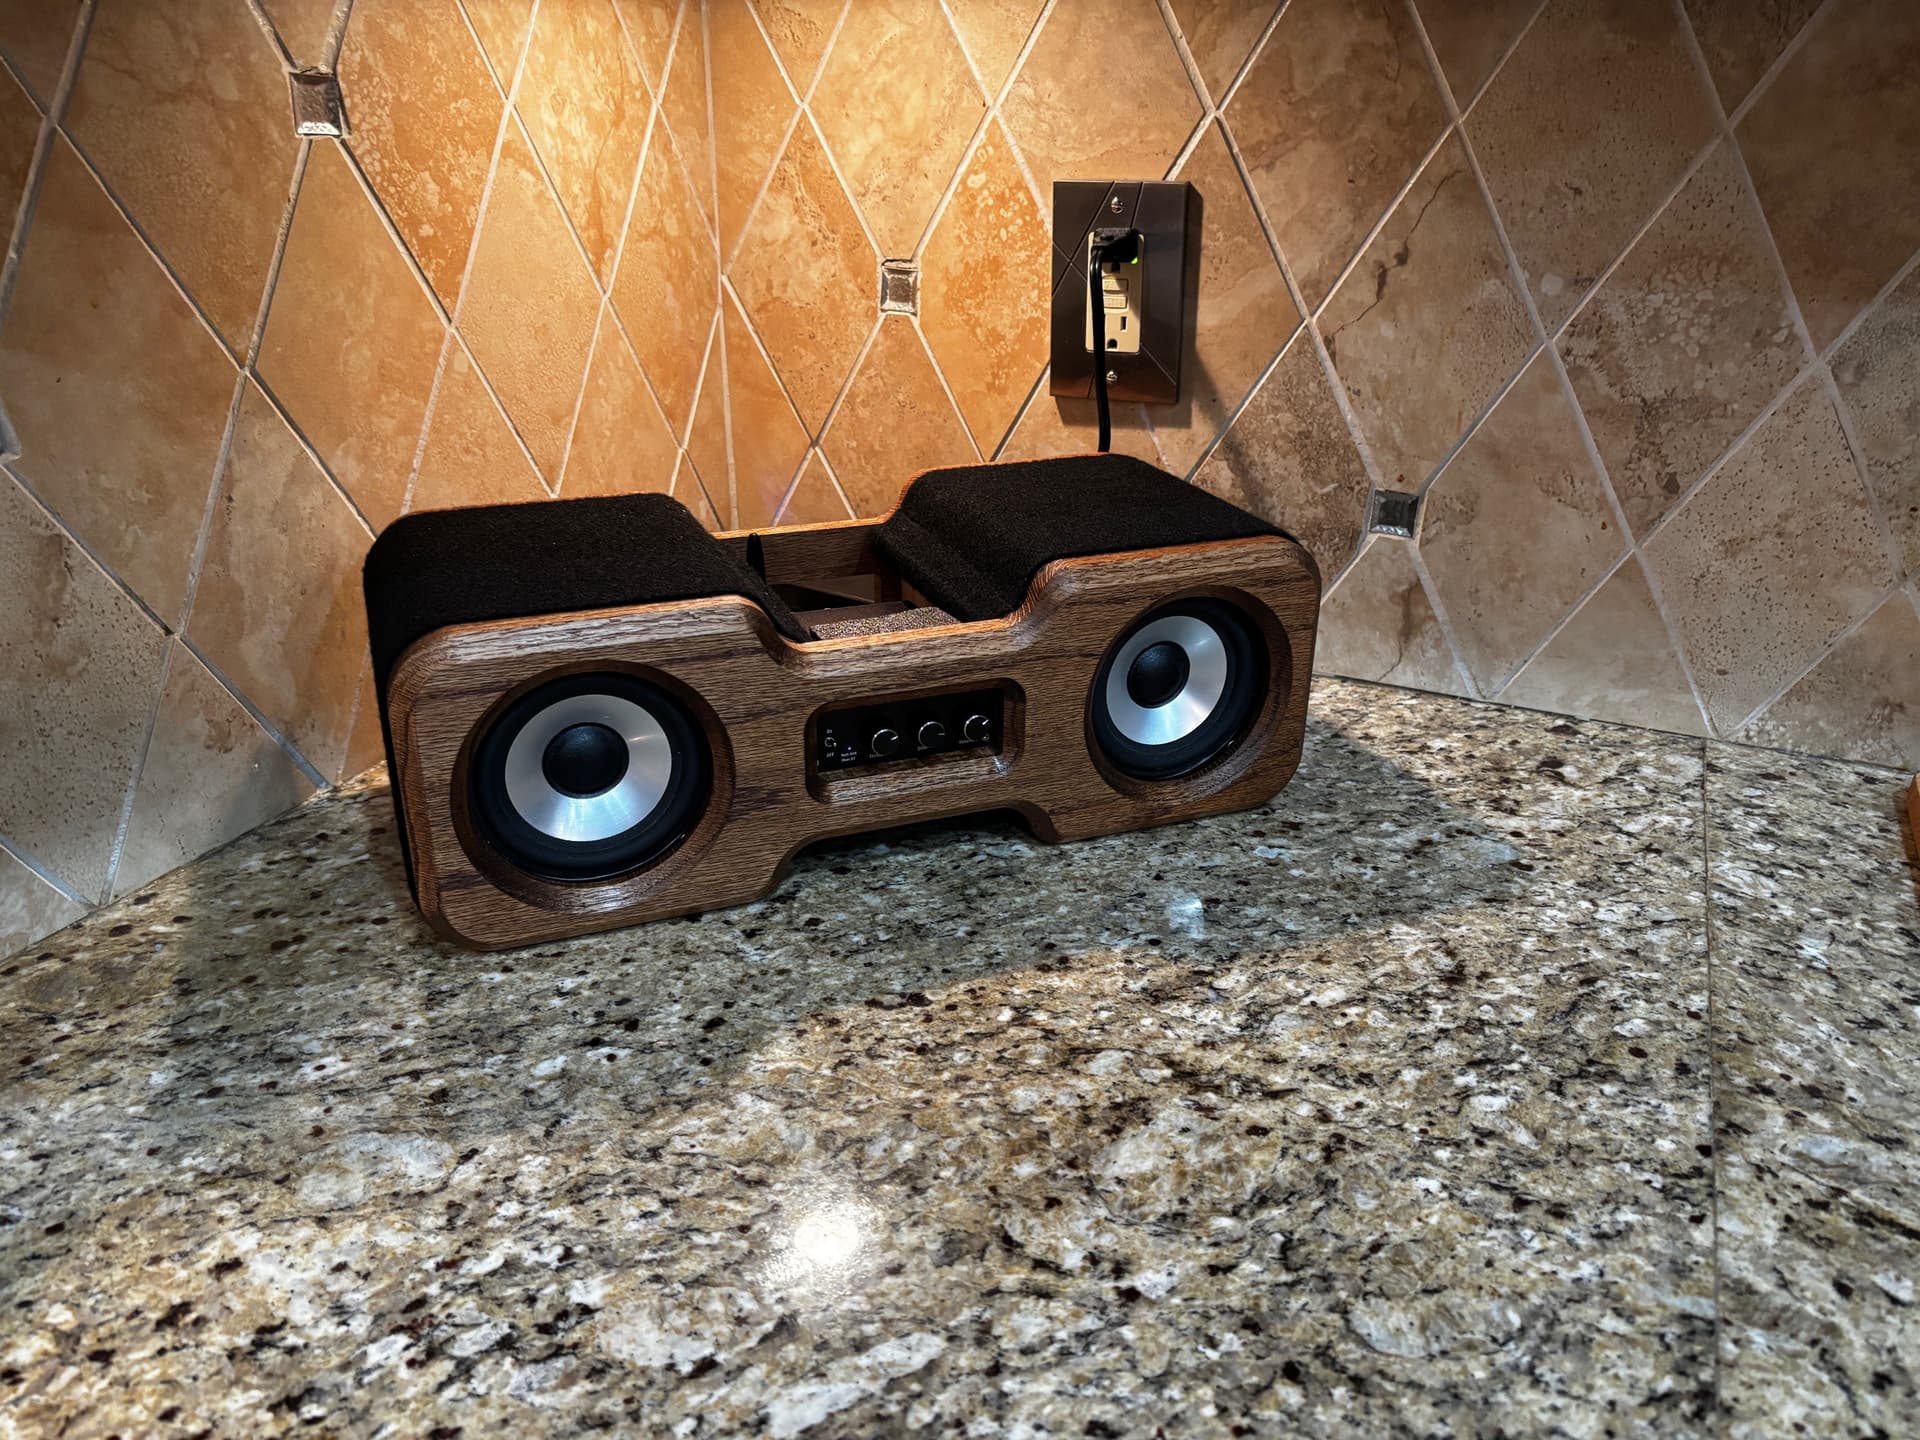
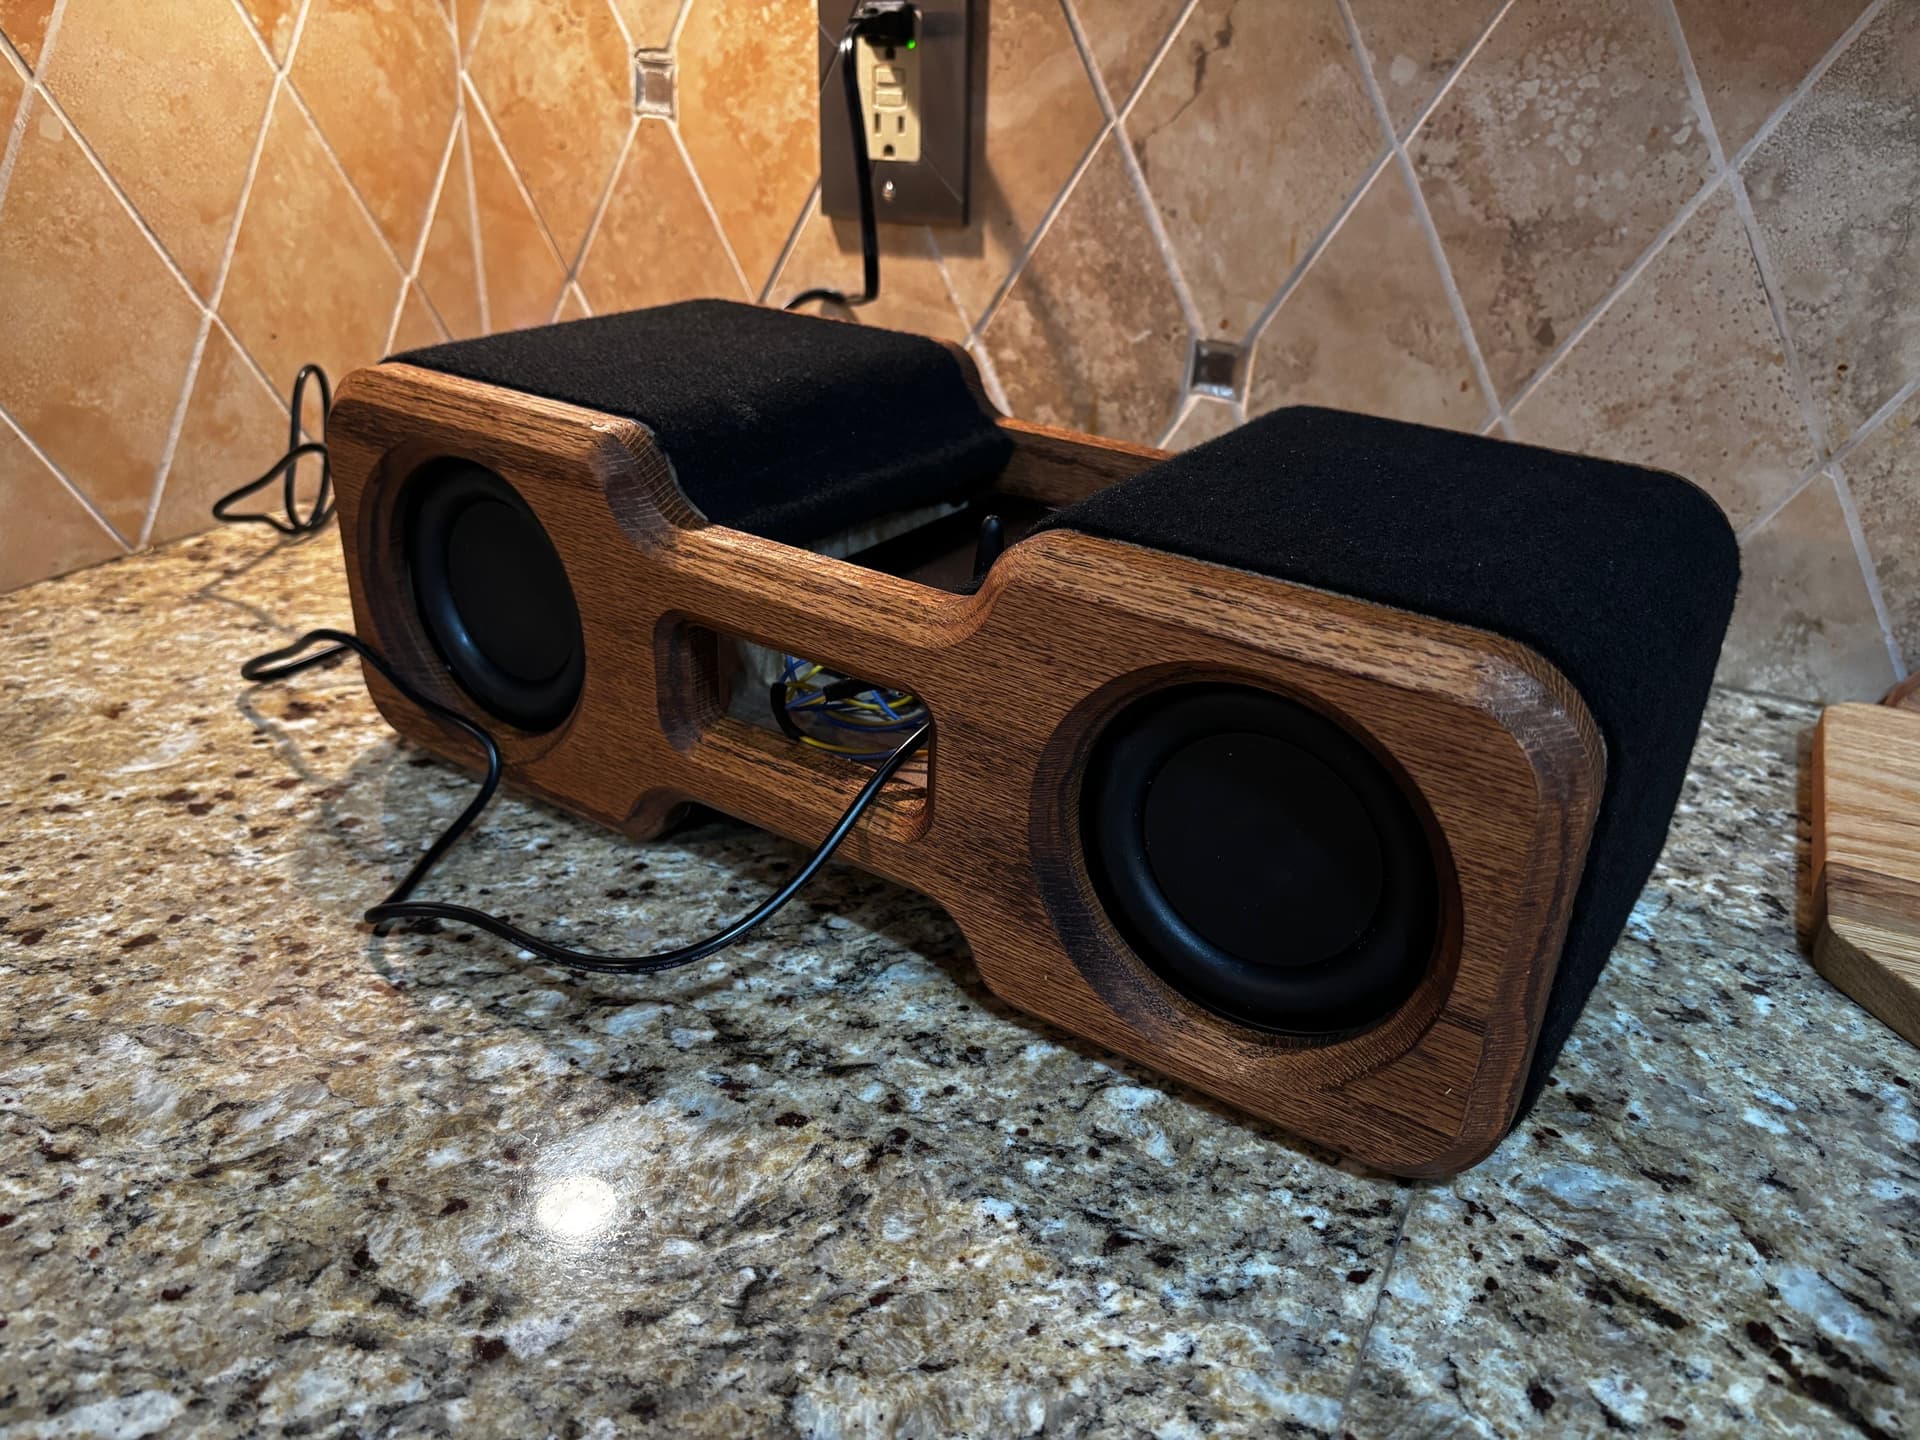
Built a bluetooth speaker for the kitchen to have some music on while I’m cooking.
I really wish I would have taken more pictures of the process but it’s essentially just that same shape stacked and glued together. I used 6 layers of 3/4" mdf for the middle section, wrapped in black automotive carpet, then added the front/rear oak “beauty panels” to cover up the mdf and to recess the speaker and hide the screws. The back side has passive radiators to give it some more bass.
The amp is a 100w 2 channel Fosi from Amazon. Speakers are some old Dayton 4" drivers I had laying around. Overall it sounds plenty good for my taste. It could benefit from some crossovers and a couple tweeters but I honestly don’t even care for treble these days. This speaker sounds nice and mild and perfect for background noise.
Still need to make a cover on the top middle section to hide the amp. Probably cut a piece of ABS plastic on the router with a cutout for the bluetooth antenna and some evenly spaced screw holes and use countersunk screws for a clean look. Or I could use magnets and keep the “No screws” look going.
I also overlooked how big the power supply was for the amp. Would have been way nicer to have a self contained unit with just a simple power cord coming out of the back. Maybe I can look for a smaller power supply as I don’t really ever crank this thing up and the speakers are higher 8 ohm impedance so they won’t ever draw full power from this amp.
35 Likes
Doesn’t that help break up vorticies or something? ![]() I’ve seen “quiet/efficient” jet engine cowlings with serrated trailing edges…
I’ve seen “quiet/efficient” jet engine cowlings with serrated trailing edges…
But to follow up on @Tod1d’s comment, I remember both West Marine and Gougeon (sp? I don’t have access to Google right now) Brothers having specific impregnating epoxies for reinforcing wooden parts on boats…
2 Likes
That’s a neat take on the Space Force logo fascinating how you’re blending CNC with metal casting! Like the gardening tools and gift boxes folks have shared, I’ve been cranking out custom keychains from walnut scraps pretty regularly for local events, but never thought to post about them. Today was a batch with simple engraved initials; nothing fancy, but they turn out crisp every time. Looking forward to seeing your cast version!
2 Likes
Trying my hand with a practice inlay. I had a few small chip outs, but I guess that’s why end grain is king in this business. This is just a cheap bamboo cutting board with some canary wood inlay. Made this for my wife’s Japanese friend.
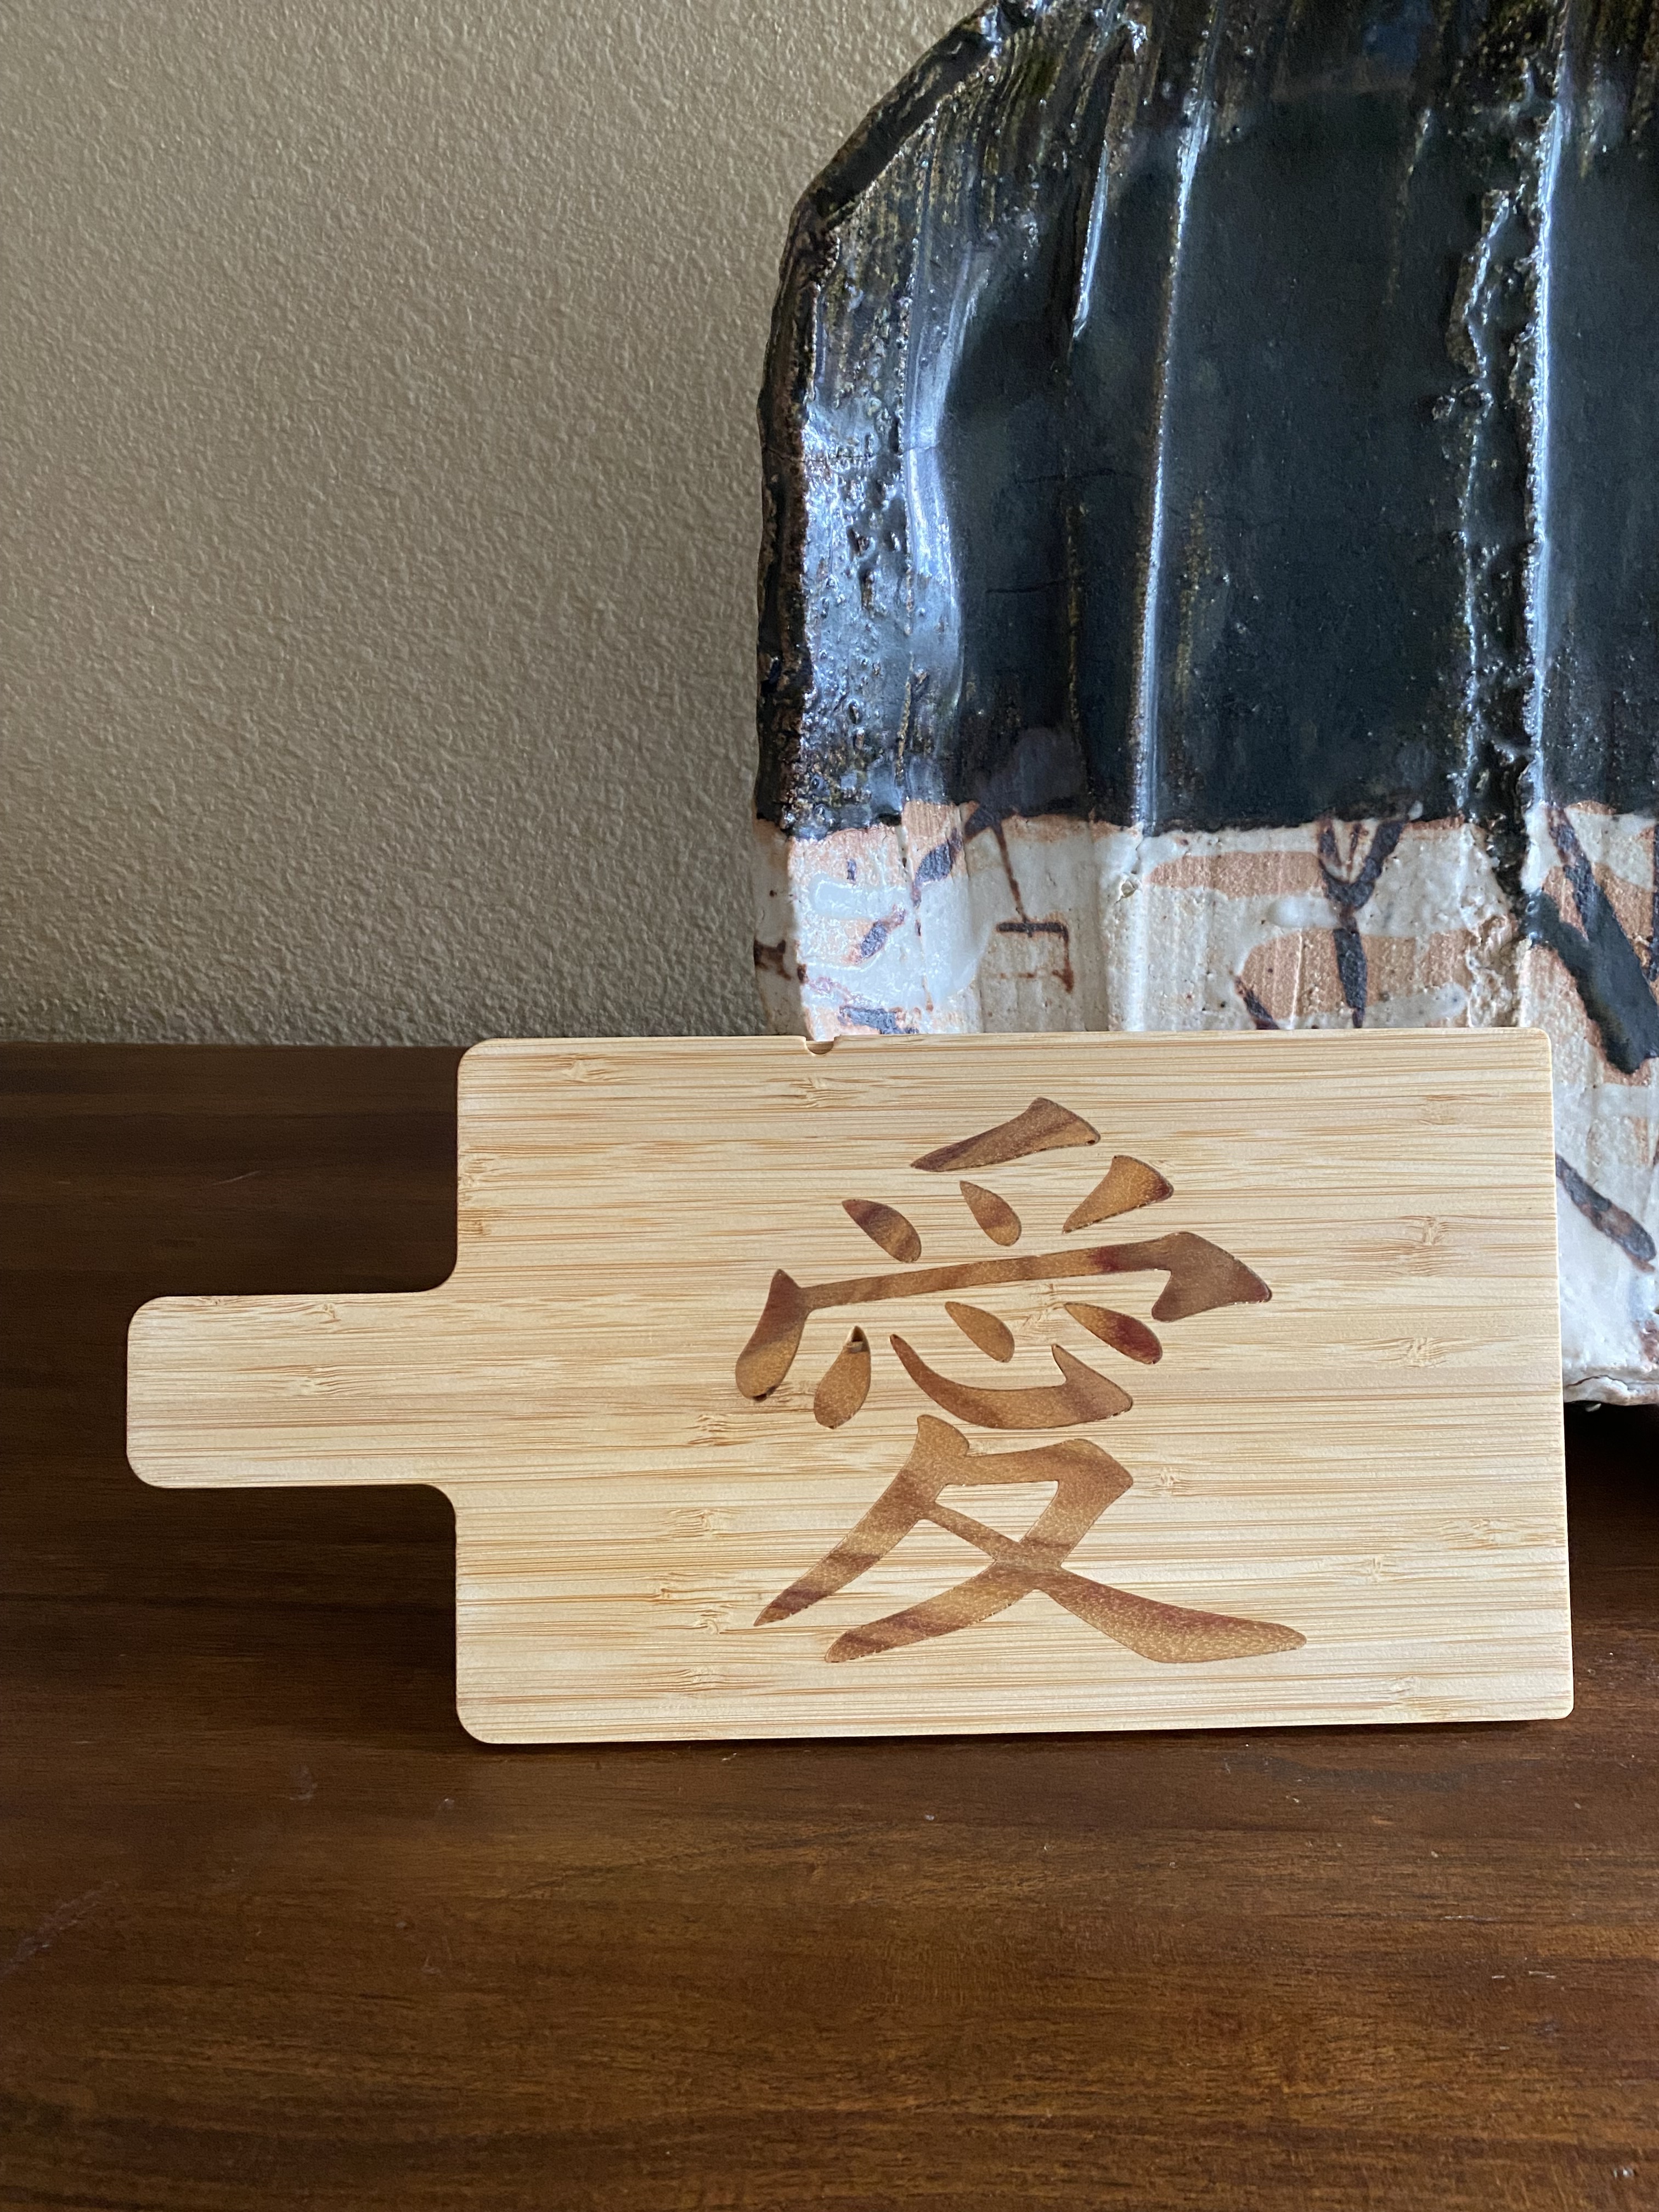
10 Likes
Downcutting v-bits are becoming readily available, and may help with the chip-out.
3 Likes
Hmmm… downcut v-bits hadn’t crossed my radar until your comment, @SLCJedi . Thanks for that. I had to go look them up and this is the first one I came across for those others who were as in the dark as myself.
3 Likes
Strong recommendations for the downcutting vbits from cadence mfg over the years.
For example:
If the likes of @Tod1d and @mhotchin think they’re worth the $$, that’s what I’m reaching for first ![]()
4 Likes
Cody makes good cutters. I’ve used my downcut V bits a lot & they’re still in good shape.
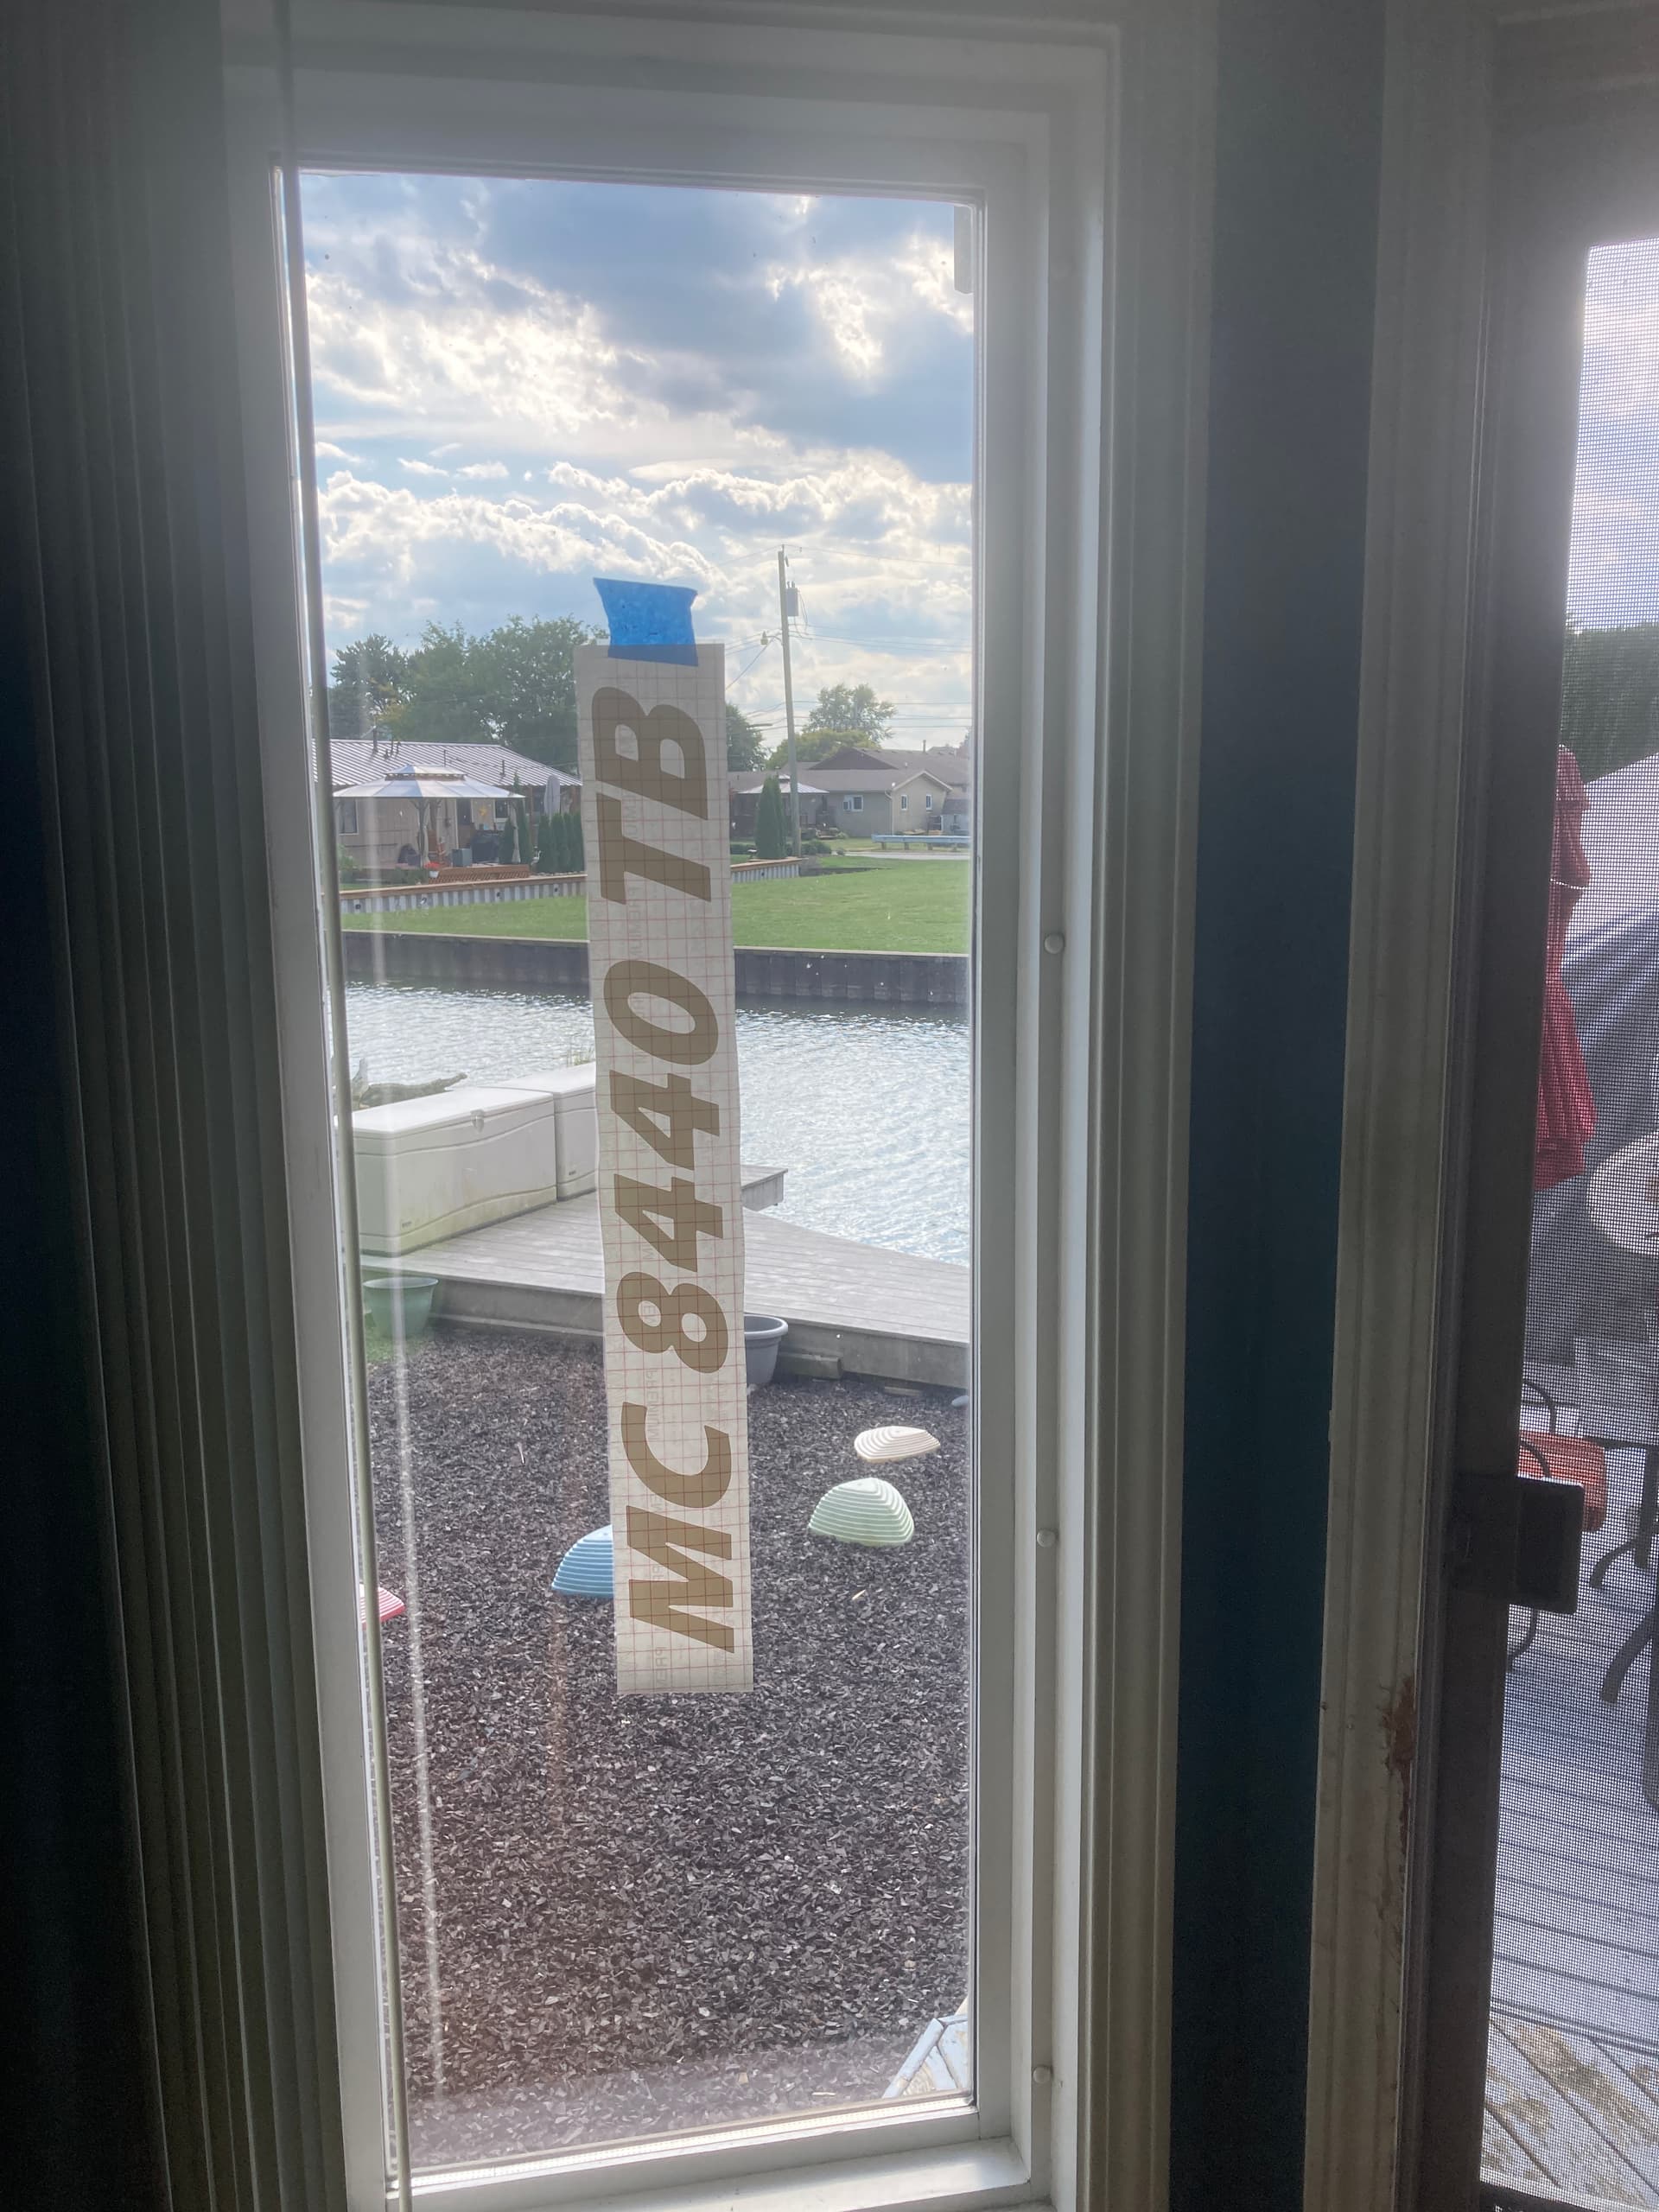
I used my HDM as a giant cricut again. Cut my buddy some MC numbers for his boat. Did a set for myself while I was at it.
9 Likes
The engraving on my four model railroad wireless throttle cases.

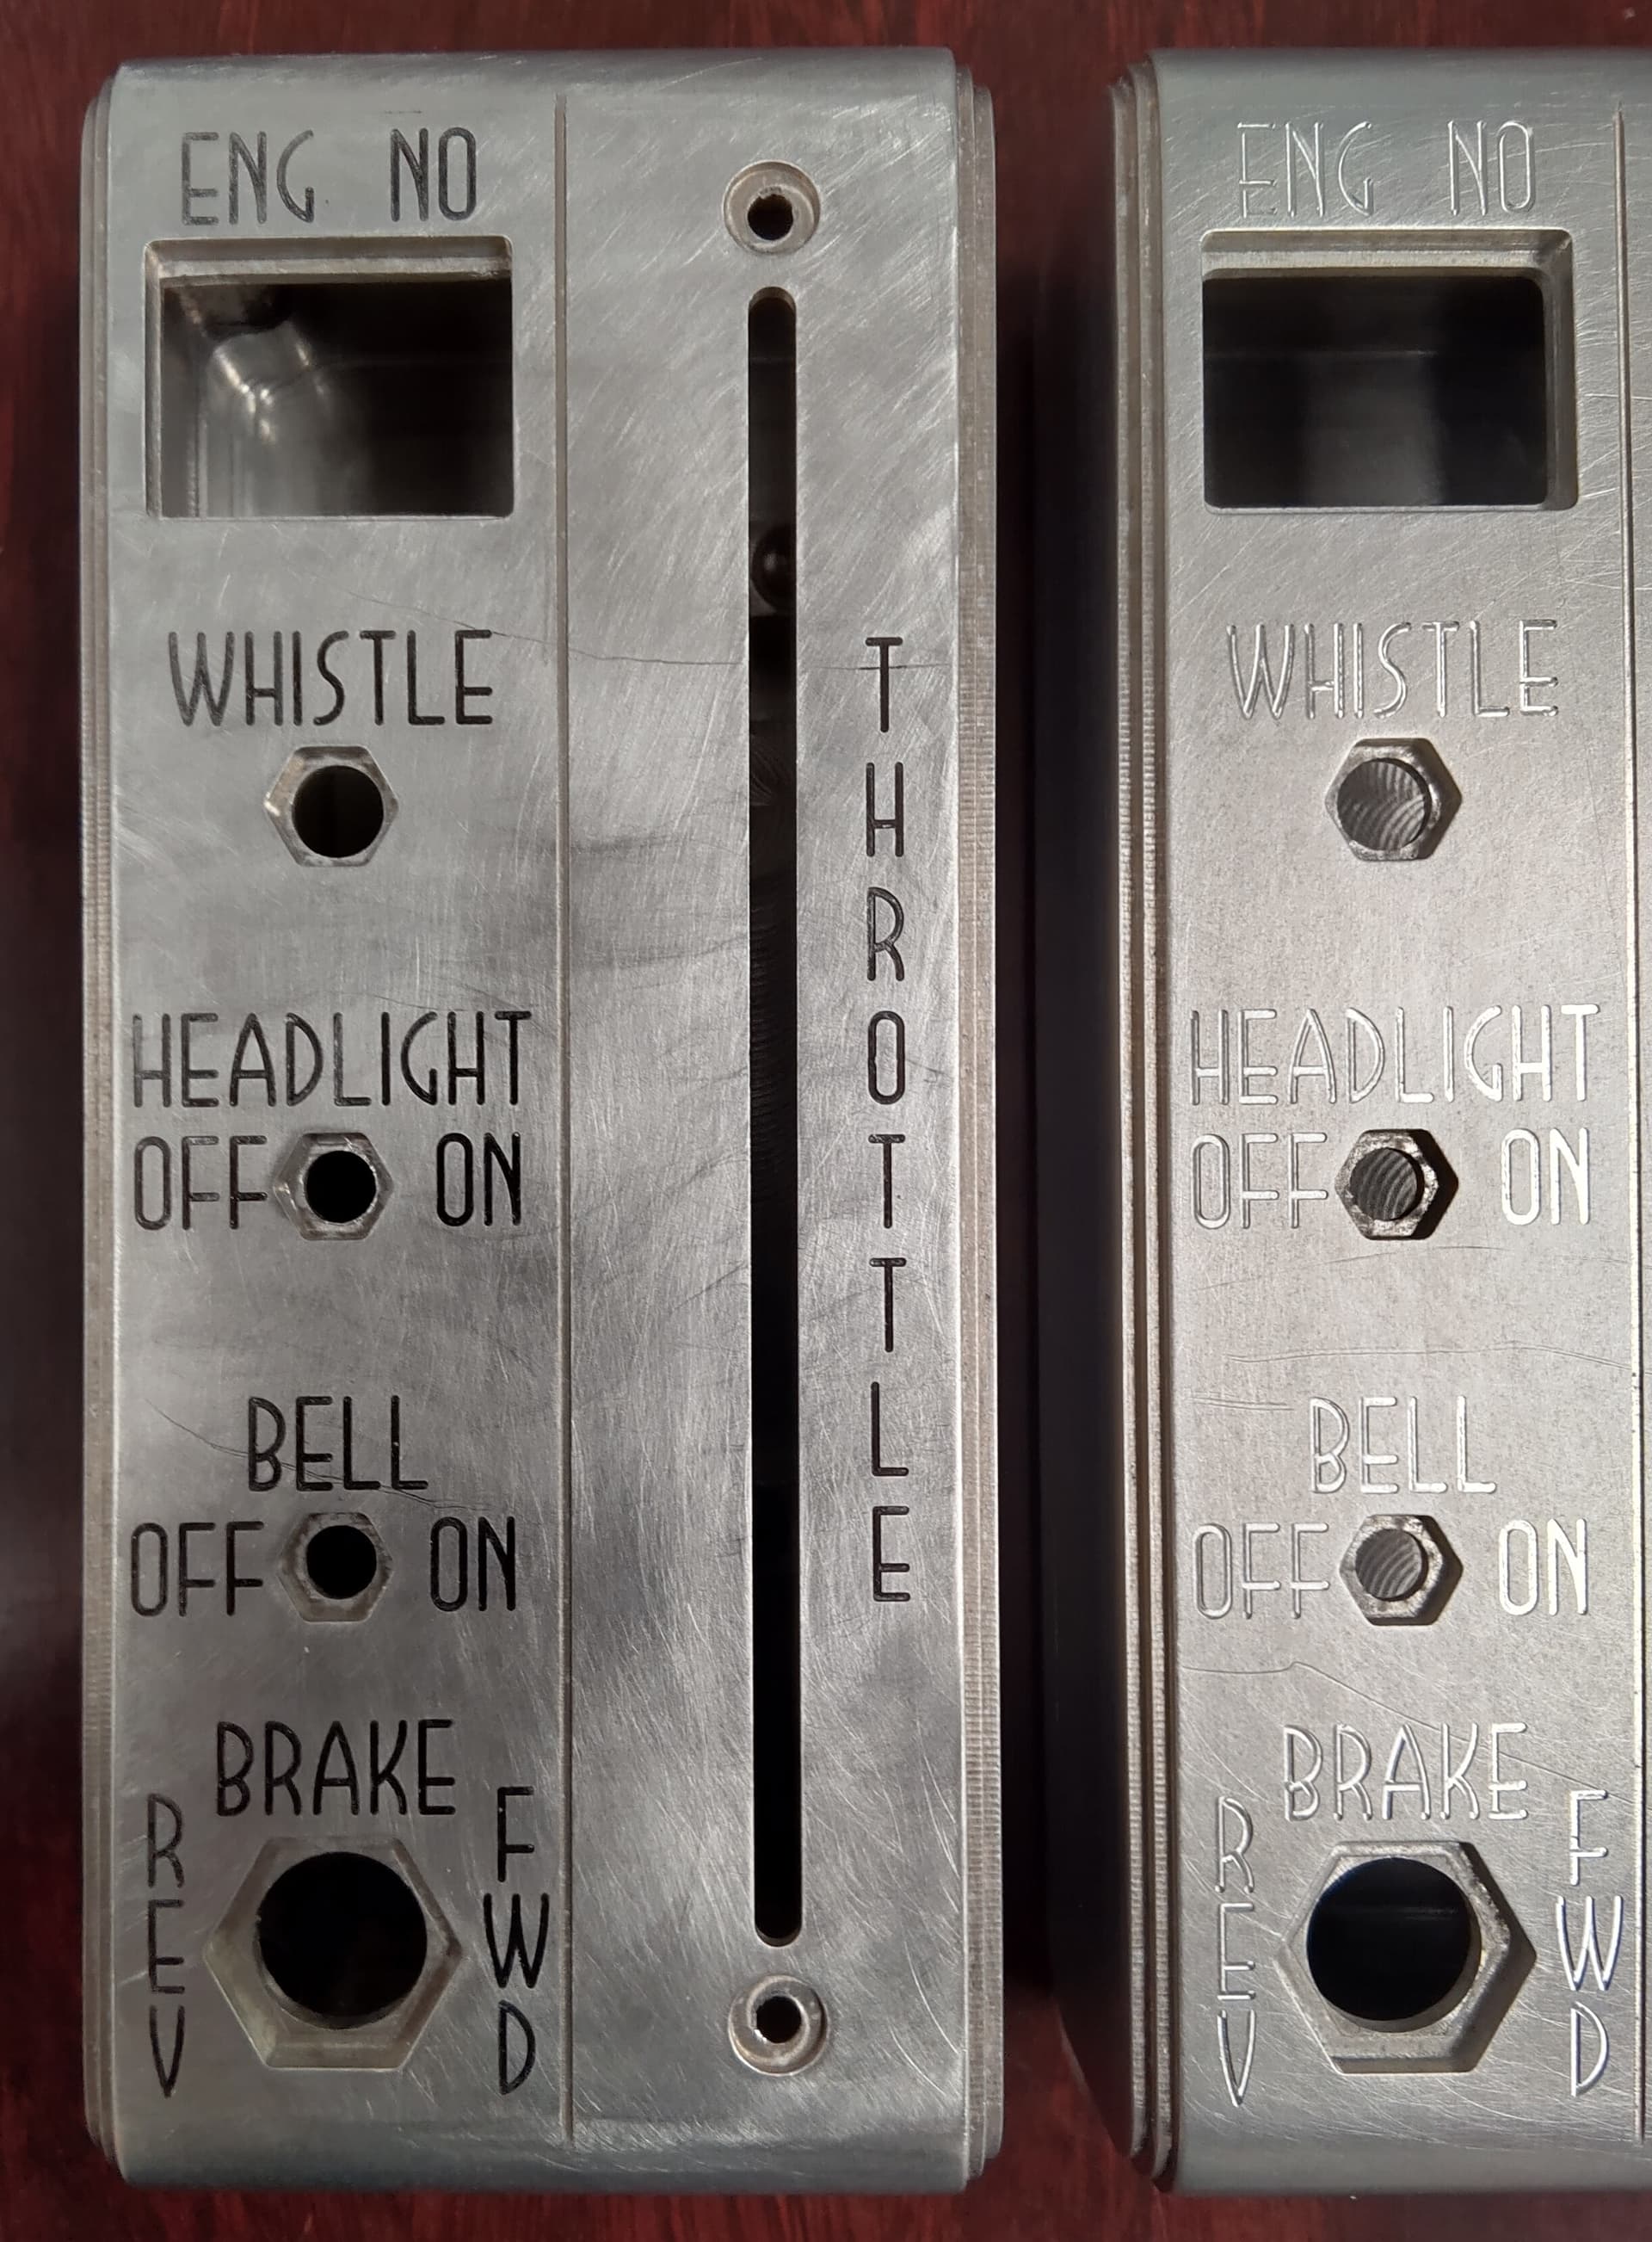
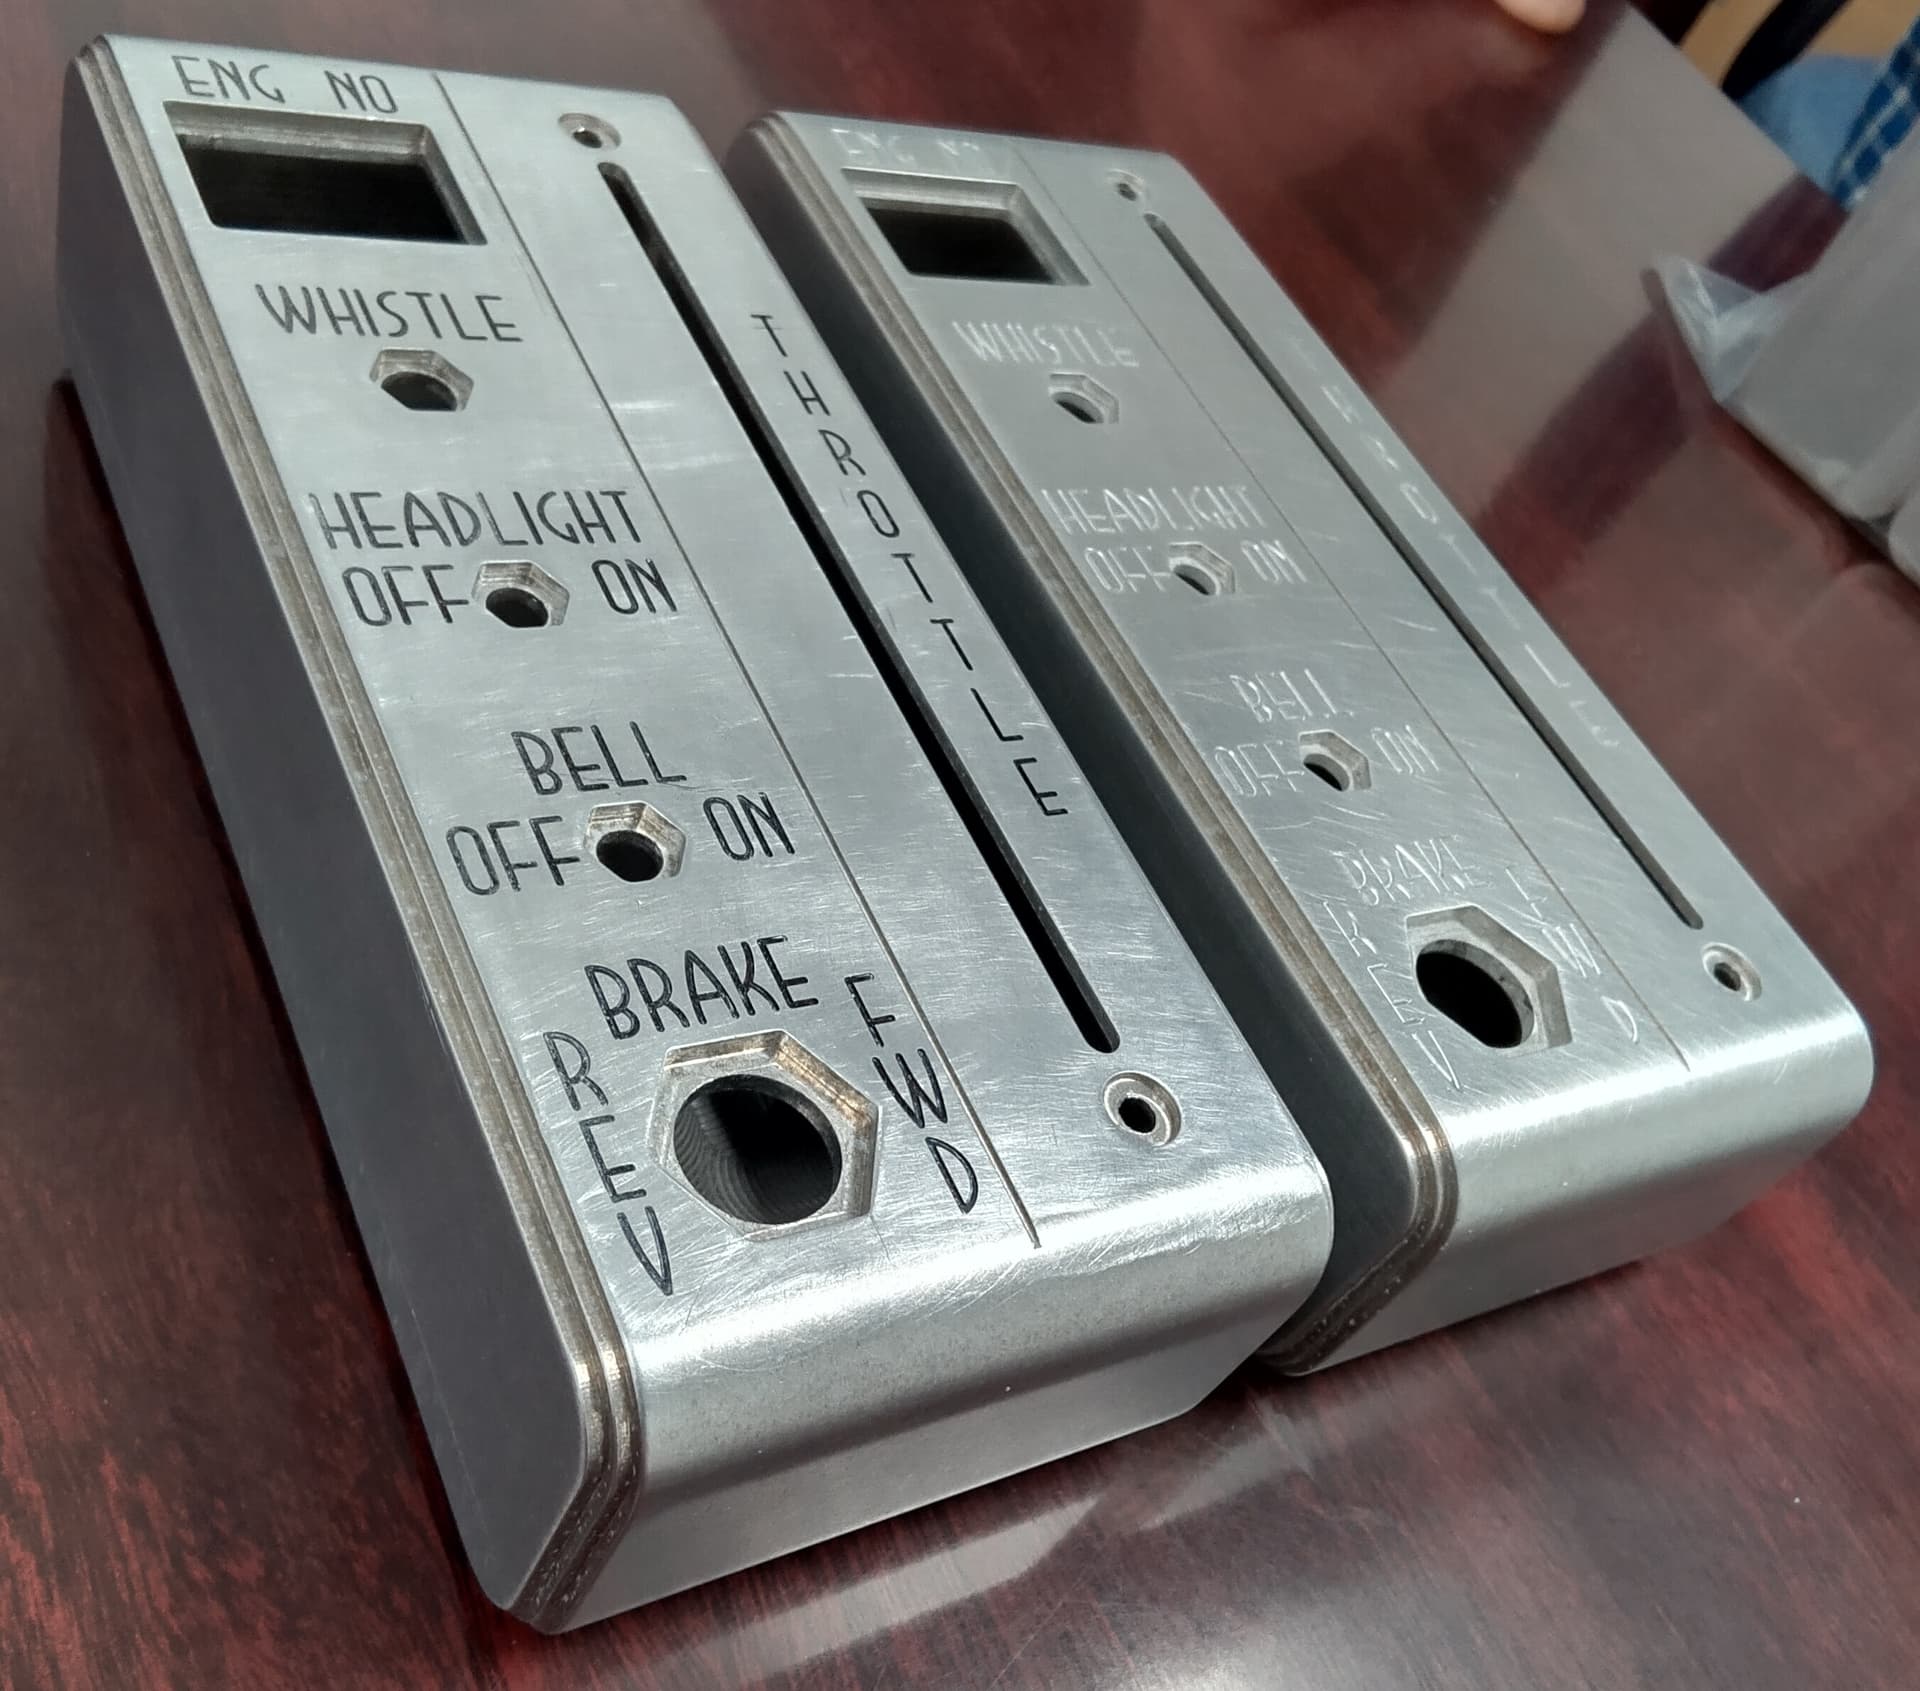
Nomad, .025" 2-flute carbide endmill, 24krpm, .010" DOC at 7ipm in Mic-6 aluminum. One at a time, obviously, on the table. Lock Stops and Gator clamps to locate. On one of them I did a quick-and-dirty test of “painting” in with a black Sharpie and then lapping with 600 grit wet-n-dry on a surface plate. I’m looking for what is a good paint to use for infill on aluminum for control panels.
17 Likes
Holy Moly! These are something!
Looking good, maybe try an enamel like g-paint (for golf clubs) or Testors enamel for the letter fill.
1 Like
Those turned really nice, thanks for following up with us!
Thank you, Tyler. That sparks a memory from years past. Of course, Testors sparks a memory of many plastic models from many decades past too. ![]()
Thank you, Tim. I’m tickled myself after waiting so long to be able to do them. I designed the single-stroke Art Deco font specifically for these, but I will more than likely end up using it for more panels. It’s all lines and arcs and takes into account the cutter diameter. I designed it by hand with graph paper and a calculator. I don’t know how I’d share it–I guess I could make a “sampler” in DXF with the whole alphabet and attach it in case anyone was interested (I know there’s at least one other Art Deco fan around here…
3 Likes
You could also use these lacquer sticks Lacquer-Stik Paintstick | Micro-Tools or Markal paint sticks for filling in the engraving.
They are like crayons in that you just scribble over the engraving and wipe it away, then it hardens over a few days to a week, and then it’s done.
5 Likes