No…this was more of a reflection on myself and see it reflected in another with the same love of extreme creation.
1 Like
Oh, I am definitely covered in a majority of what you posted. I definitely design and fabricate things I could buy for no other reason than I can.
Most of the time, it actually takes more time to design, print, cut, CNC and assemble than it would be to just buy the commercially available thing - but that’s not the point. The point is that I learned how to make it, and did make it.
Regarding the tools - yep, I have decided to build things as an excuse to buy a new tool or two as well. Yes, I could rent a tool, but then every time I need it, I have to go rent it again. If I buy it, it’s always instantly available.
4 Likes
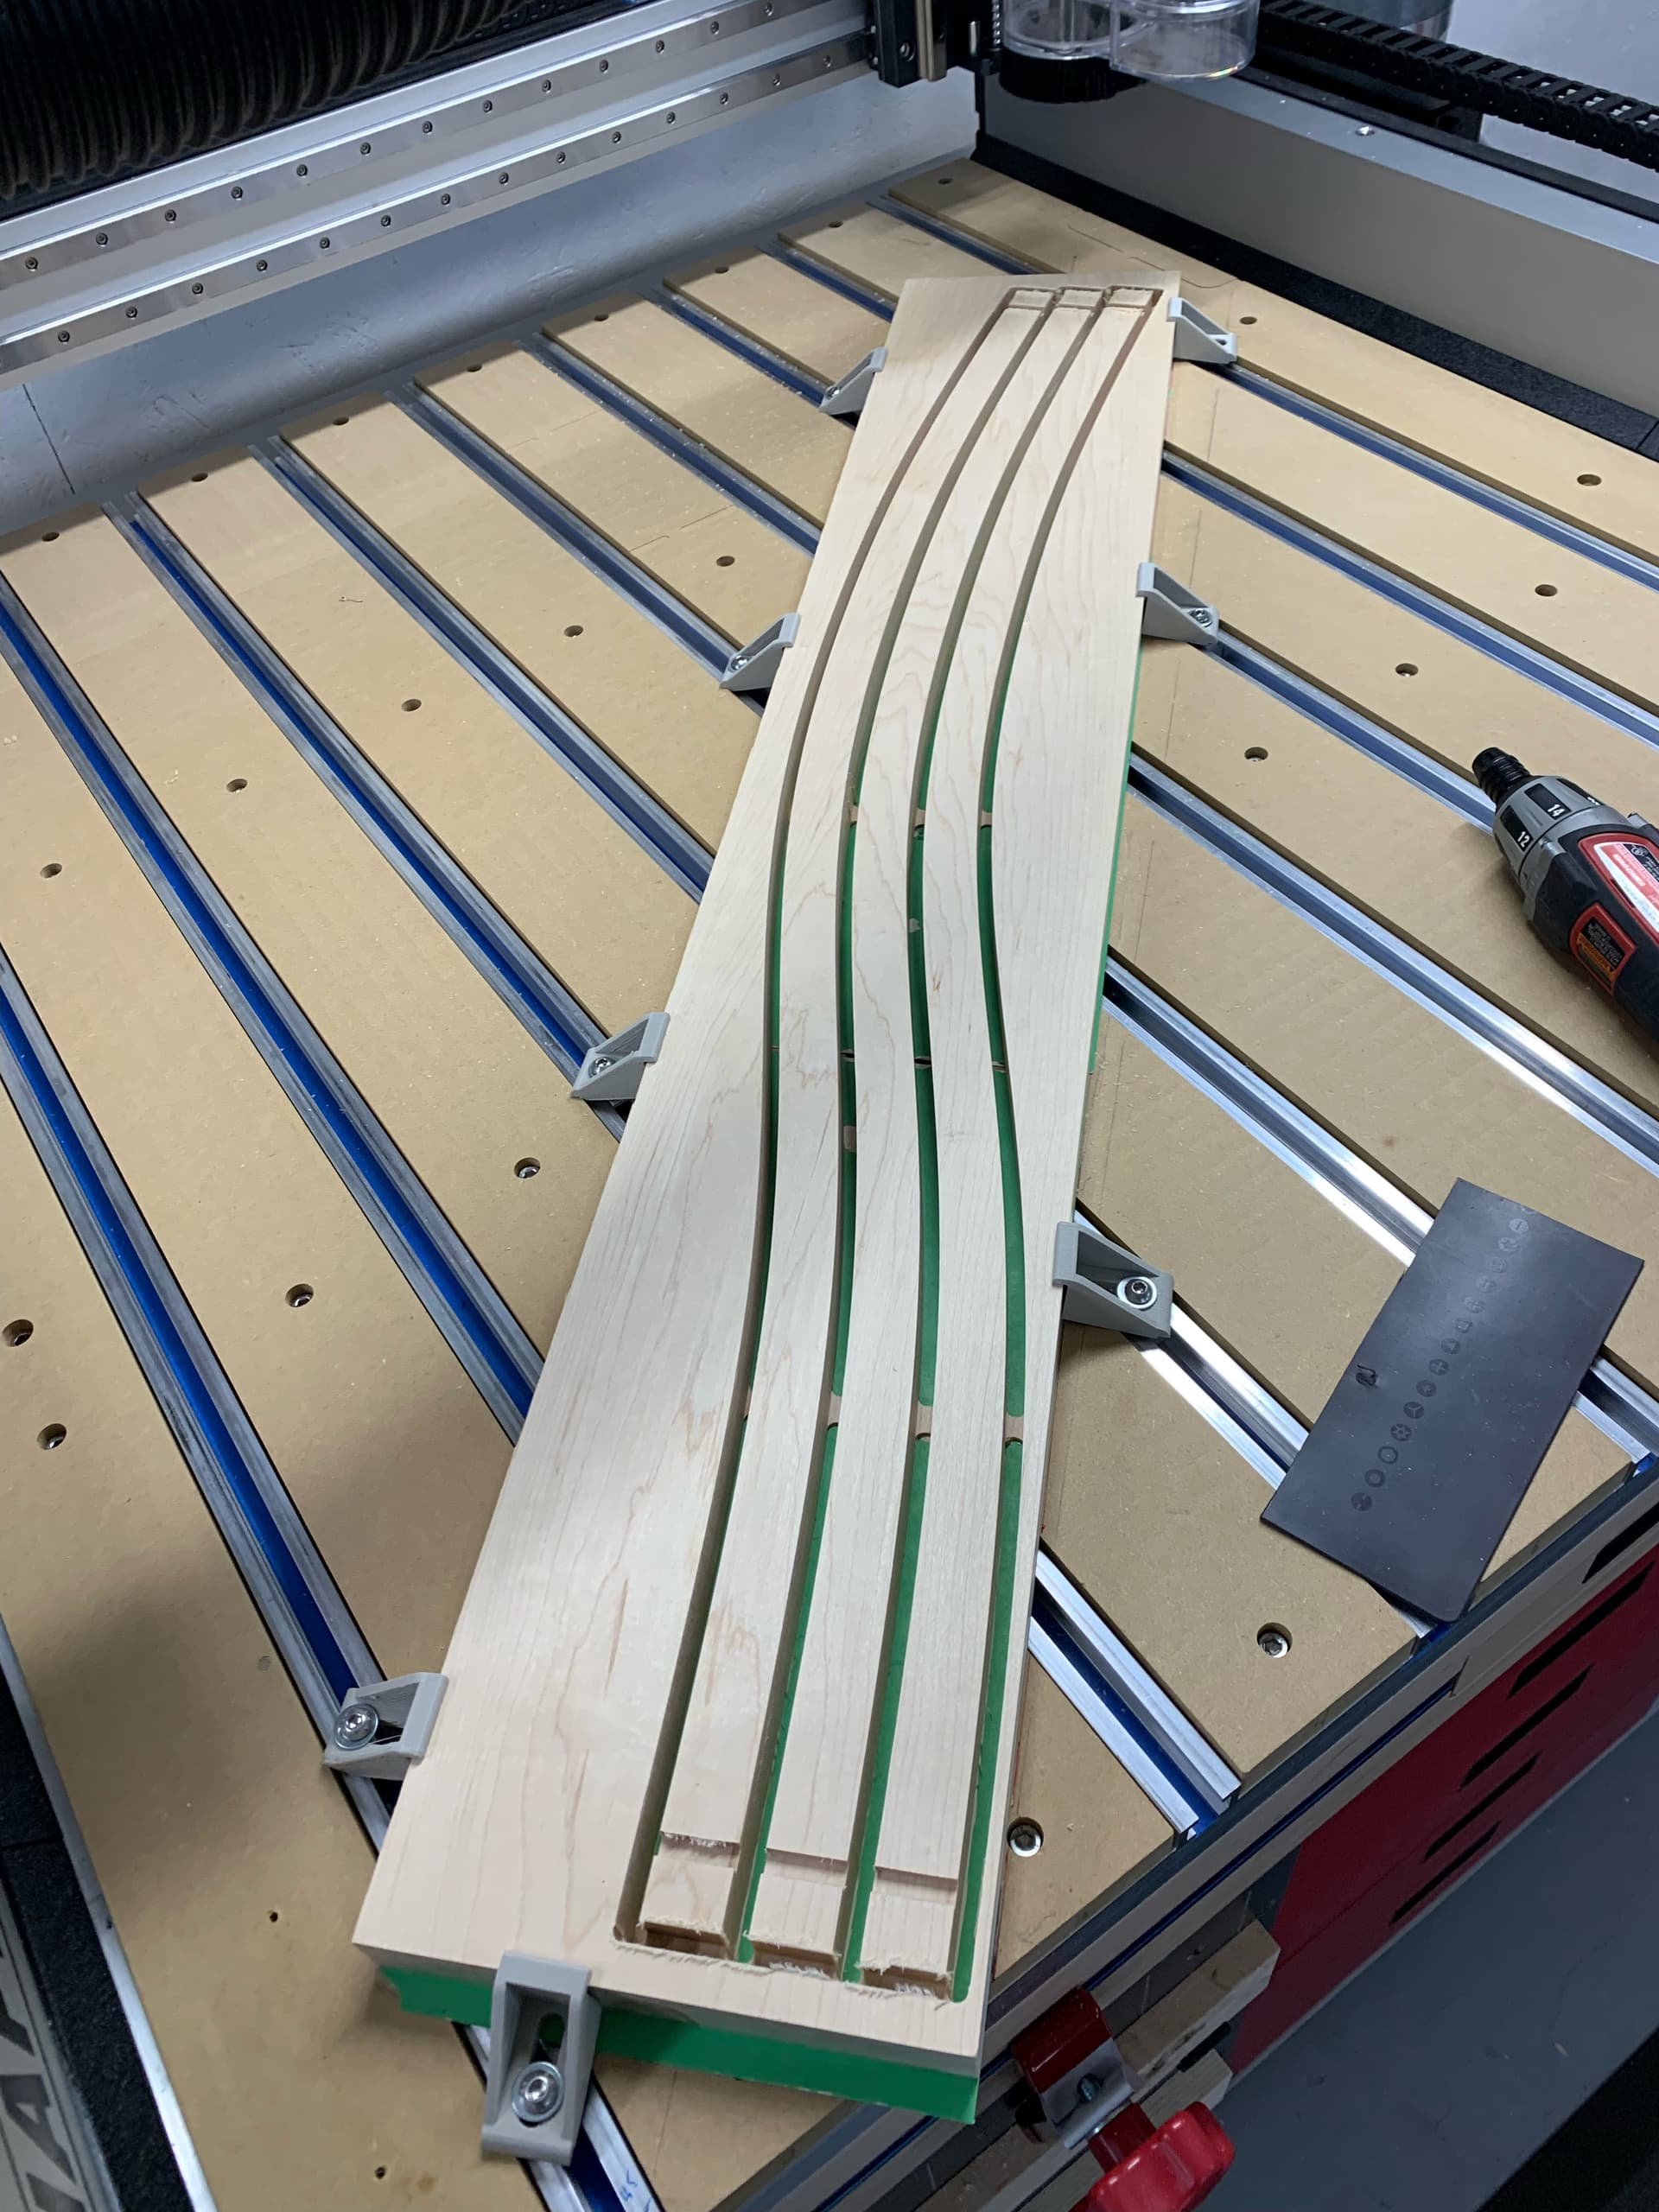
Week-end project: a wavy shelf to hide holes in a wall left by the previous home owner
I did not feel like tiling so I pushed the envelope of the max length I can cut in one go on my Shapeoko Pro XXL, by orienting the stock at a 59° angle.
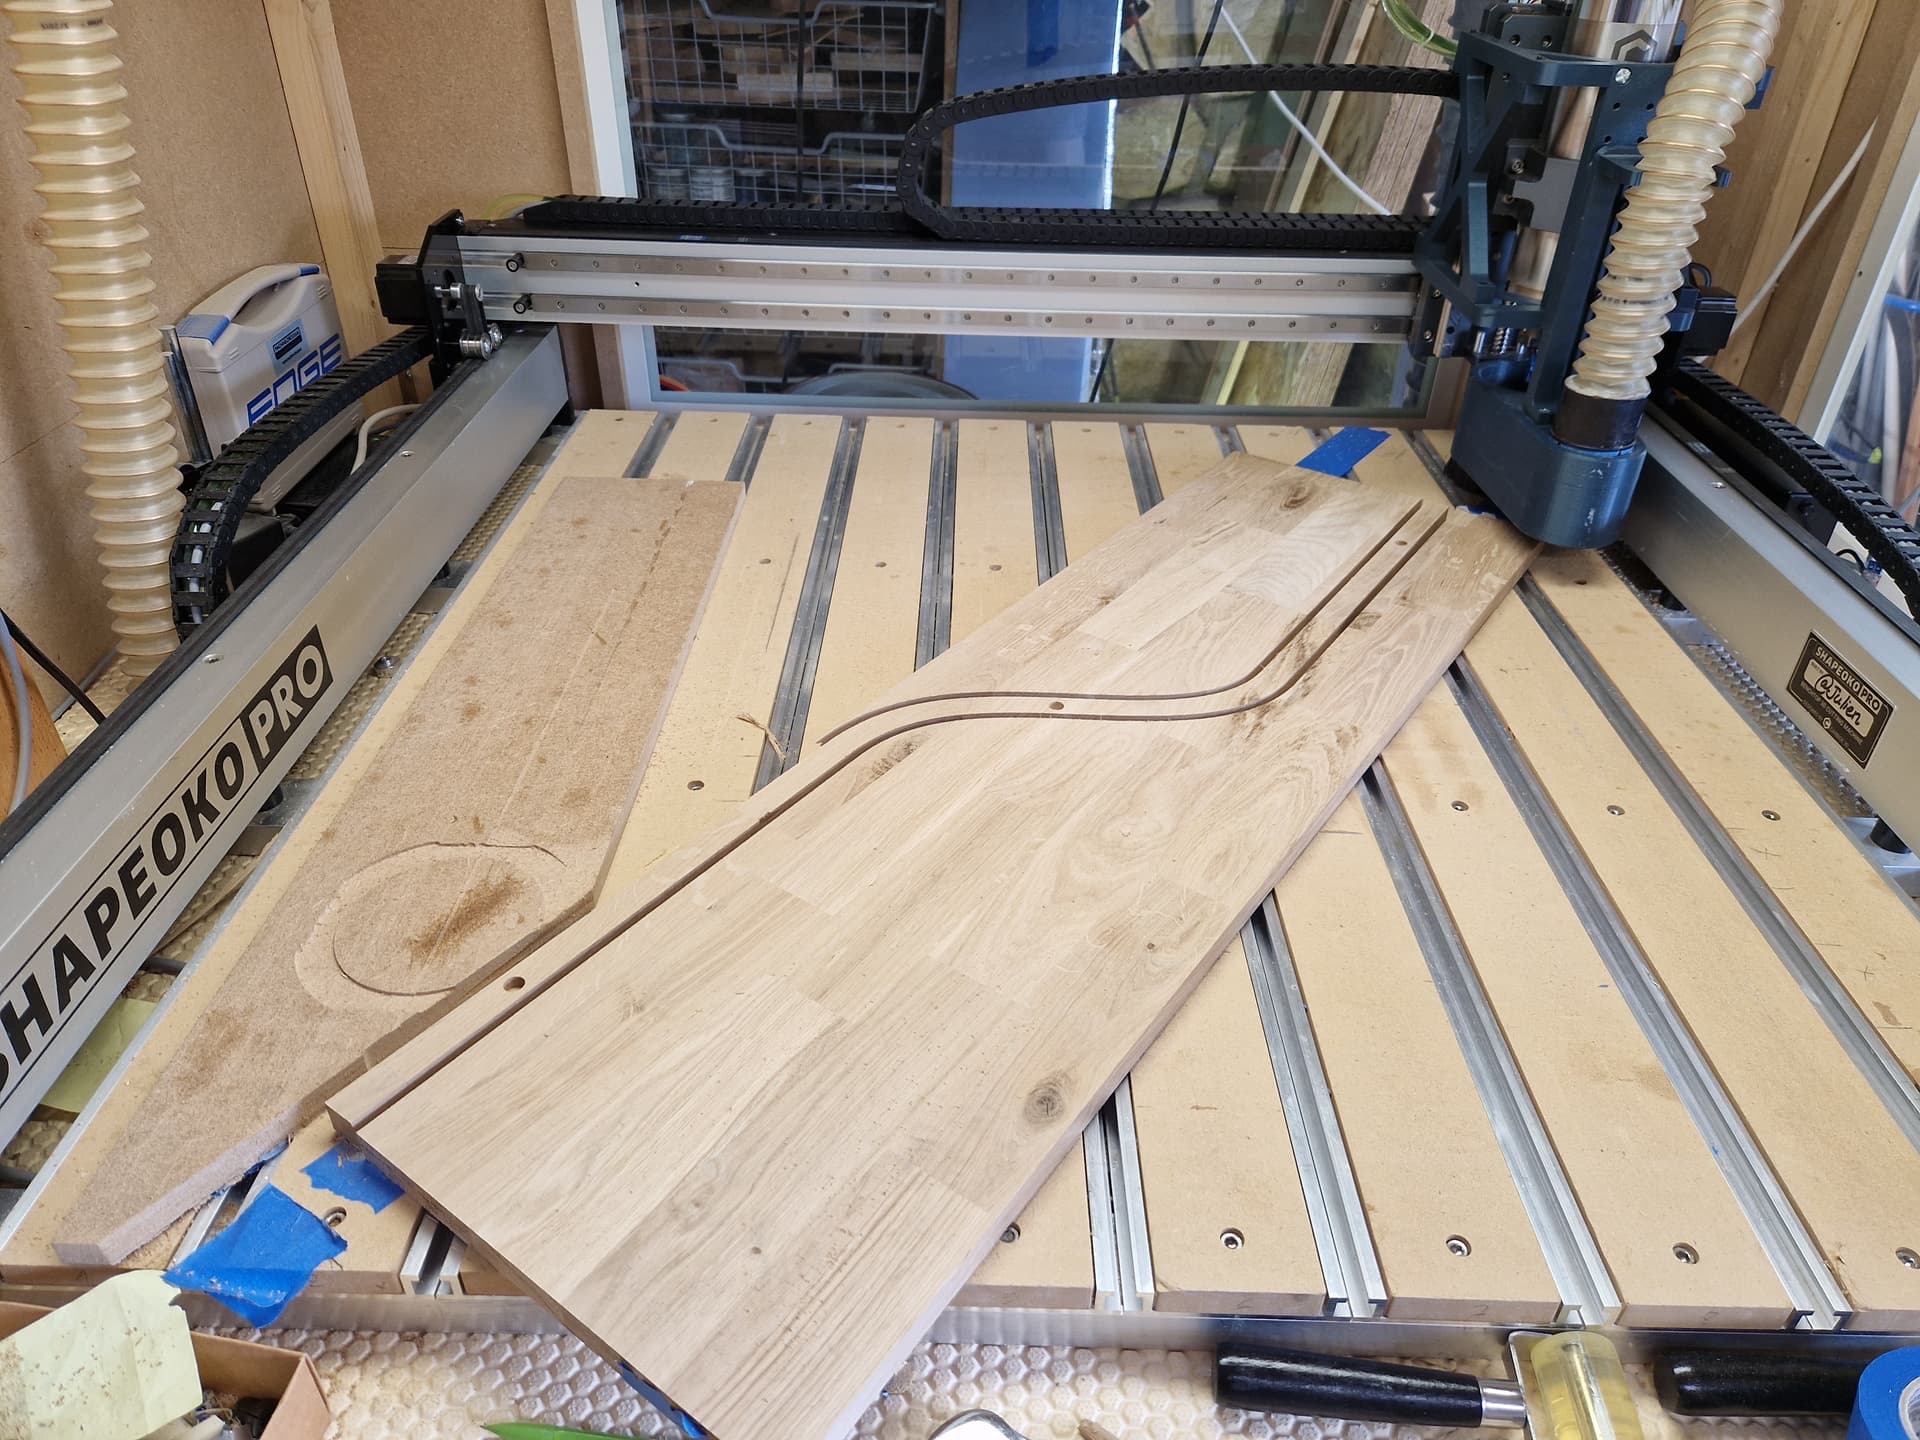
5 slices to make for the shelf width I wanted,
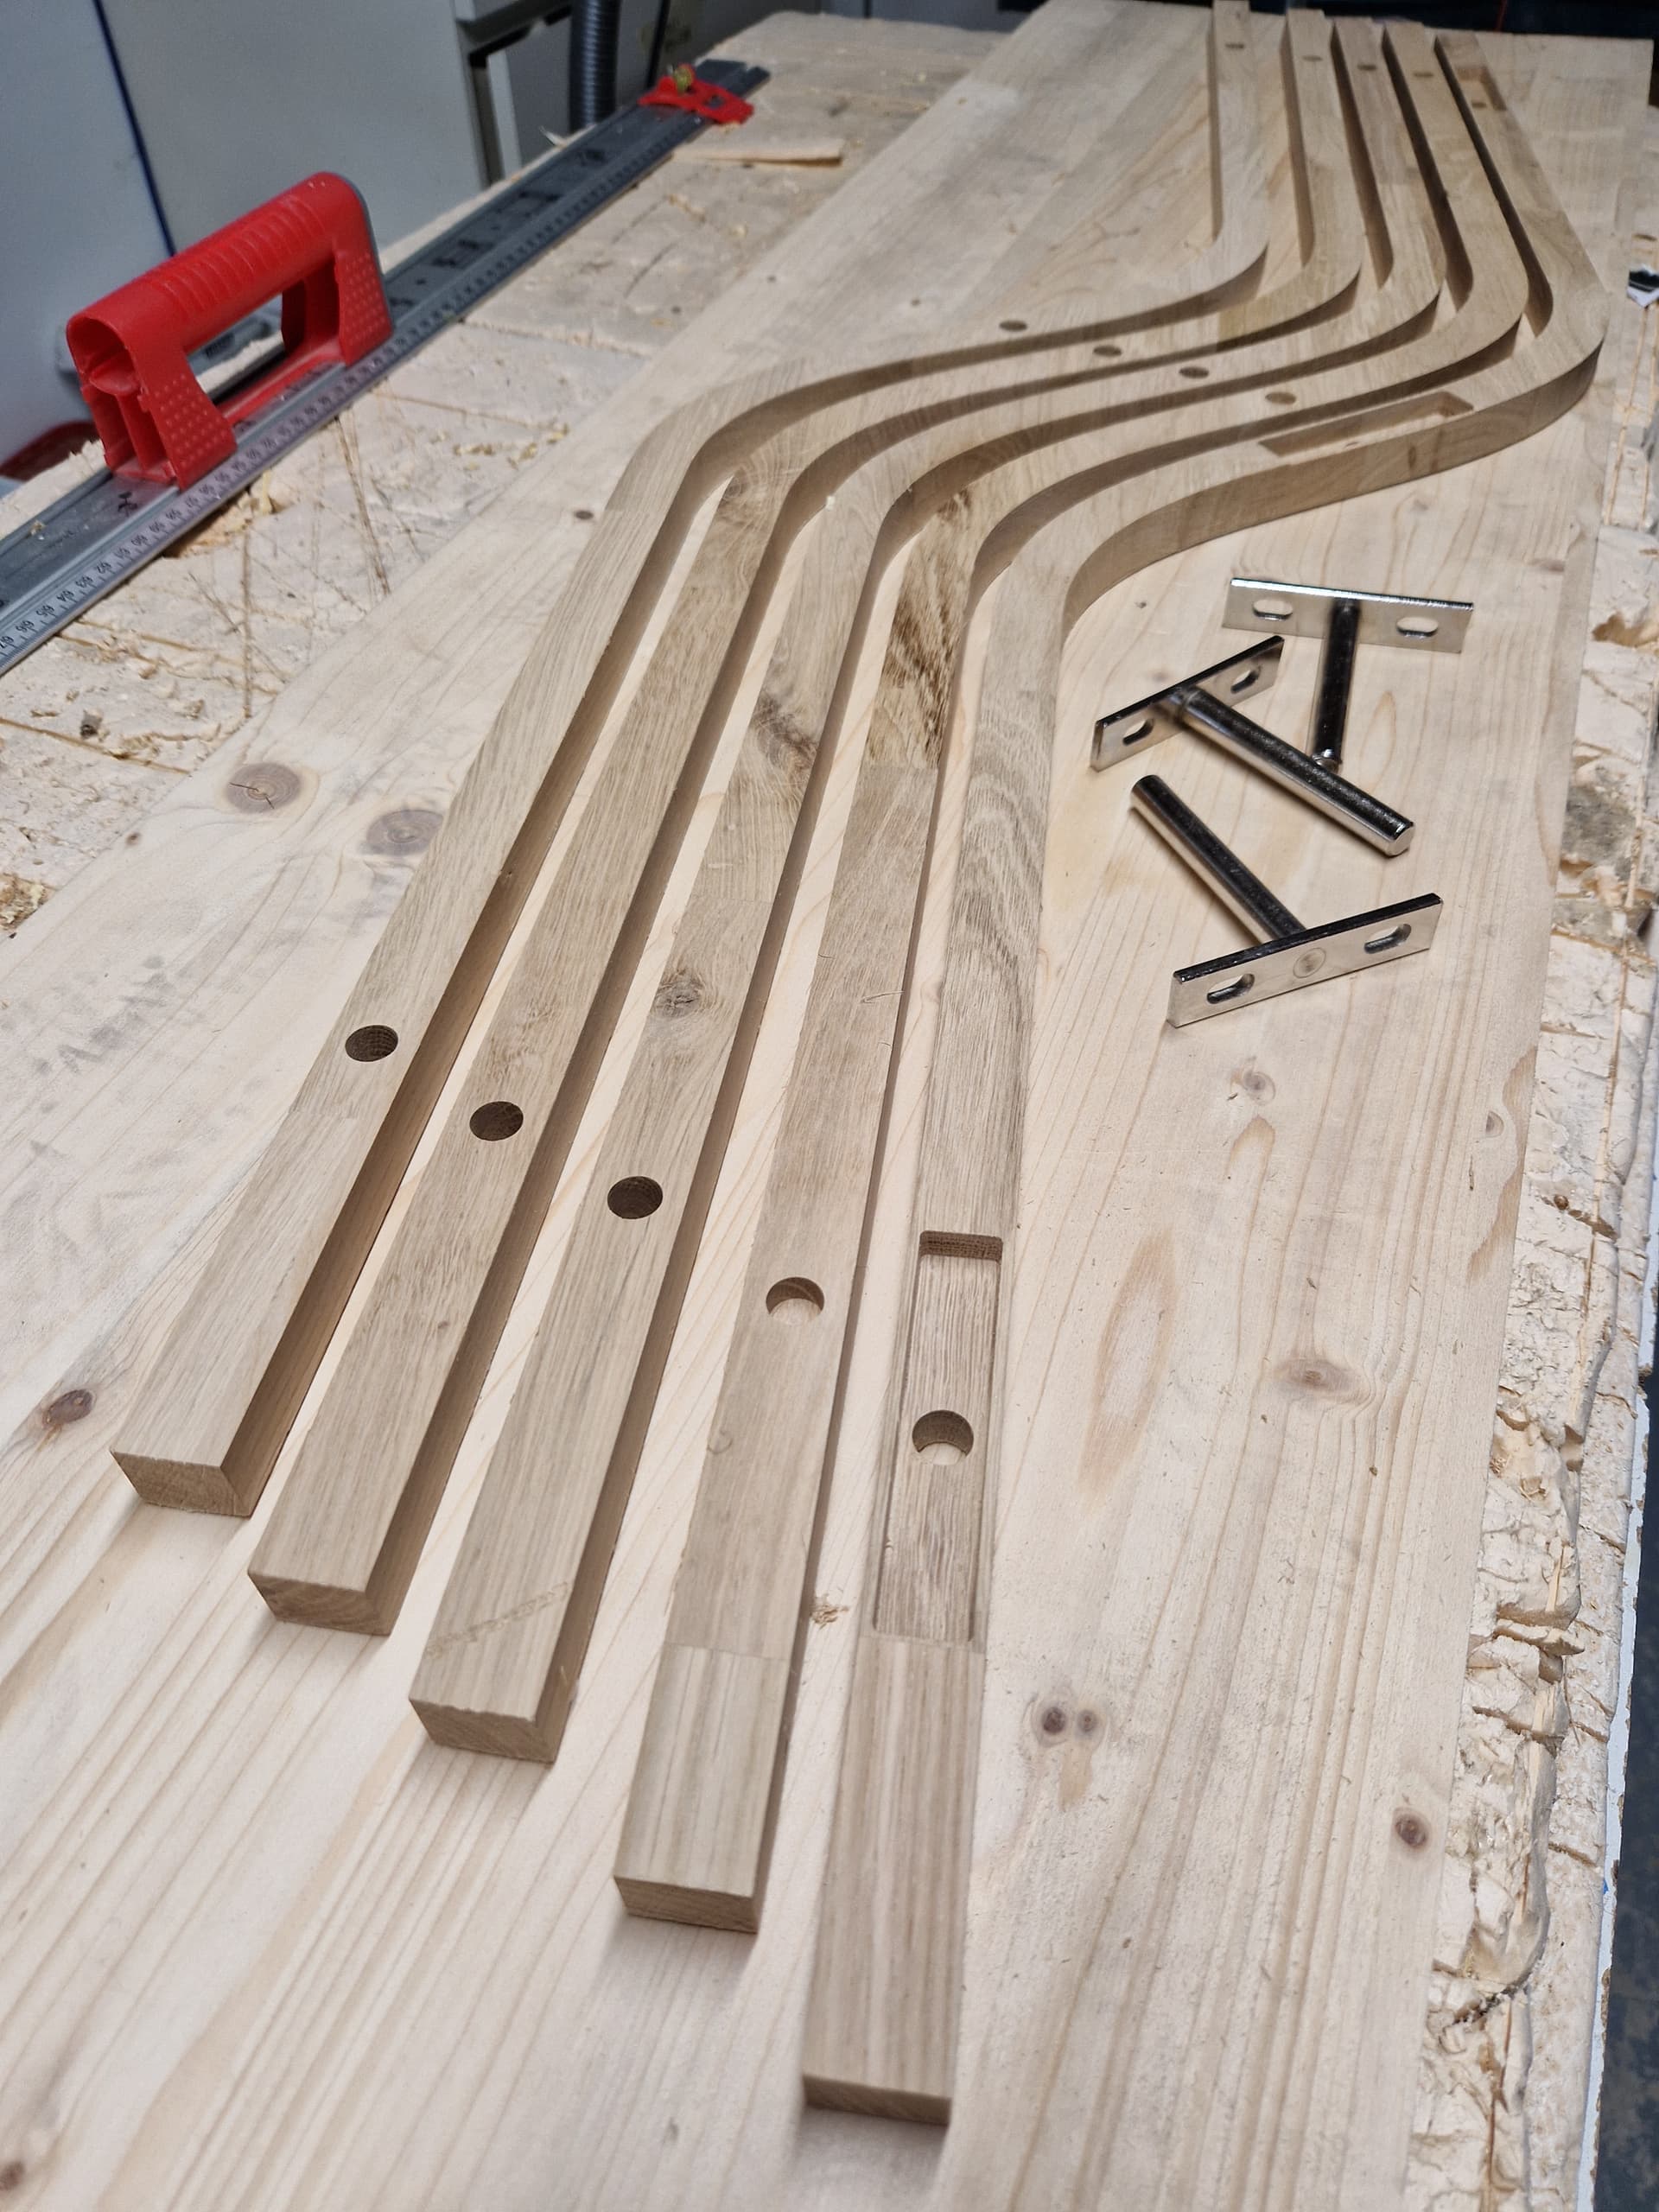
glue up
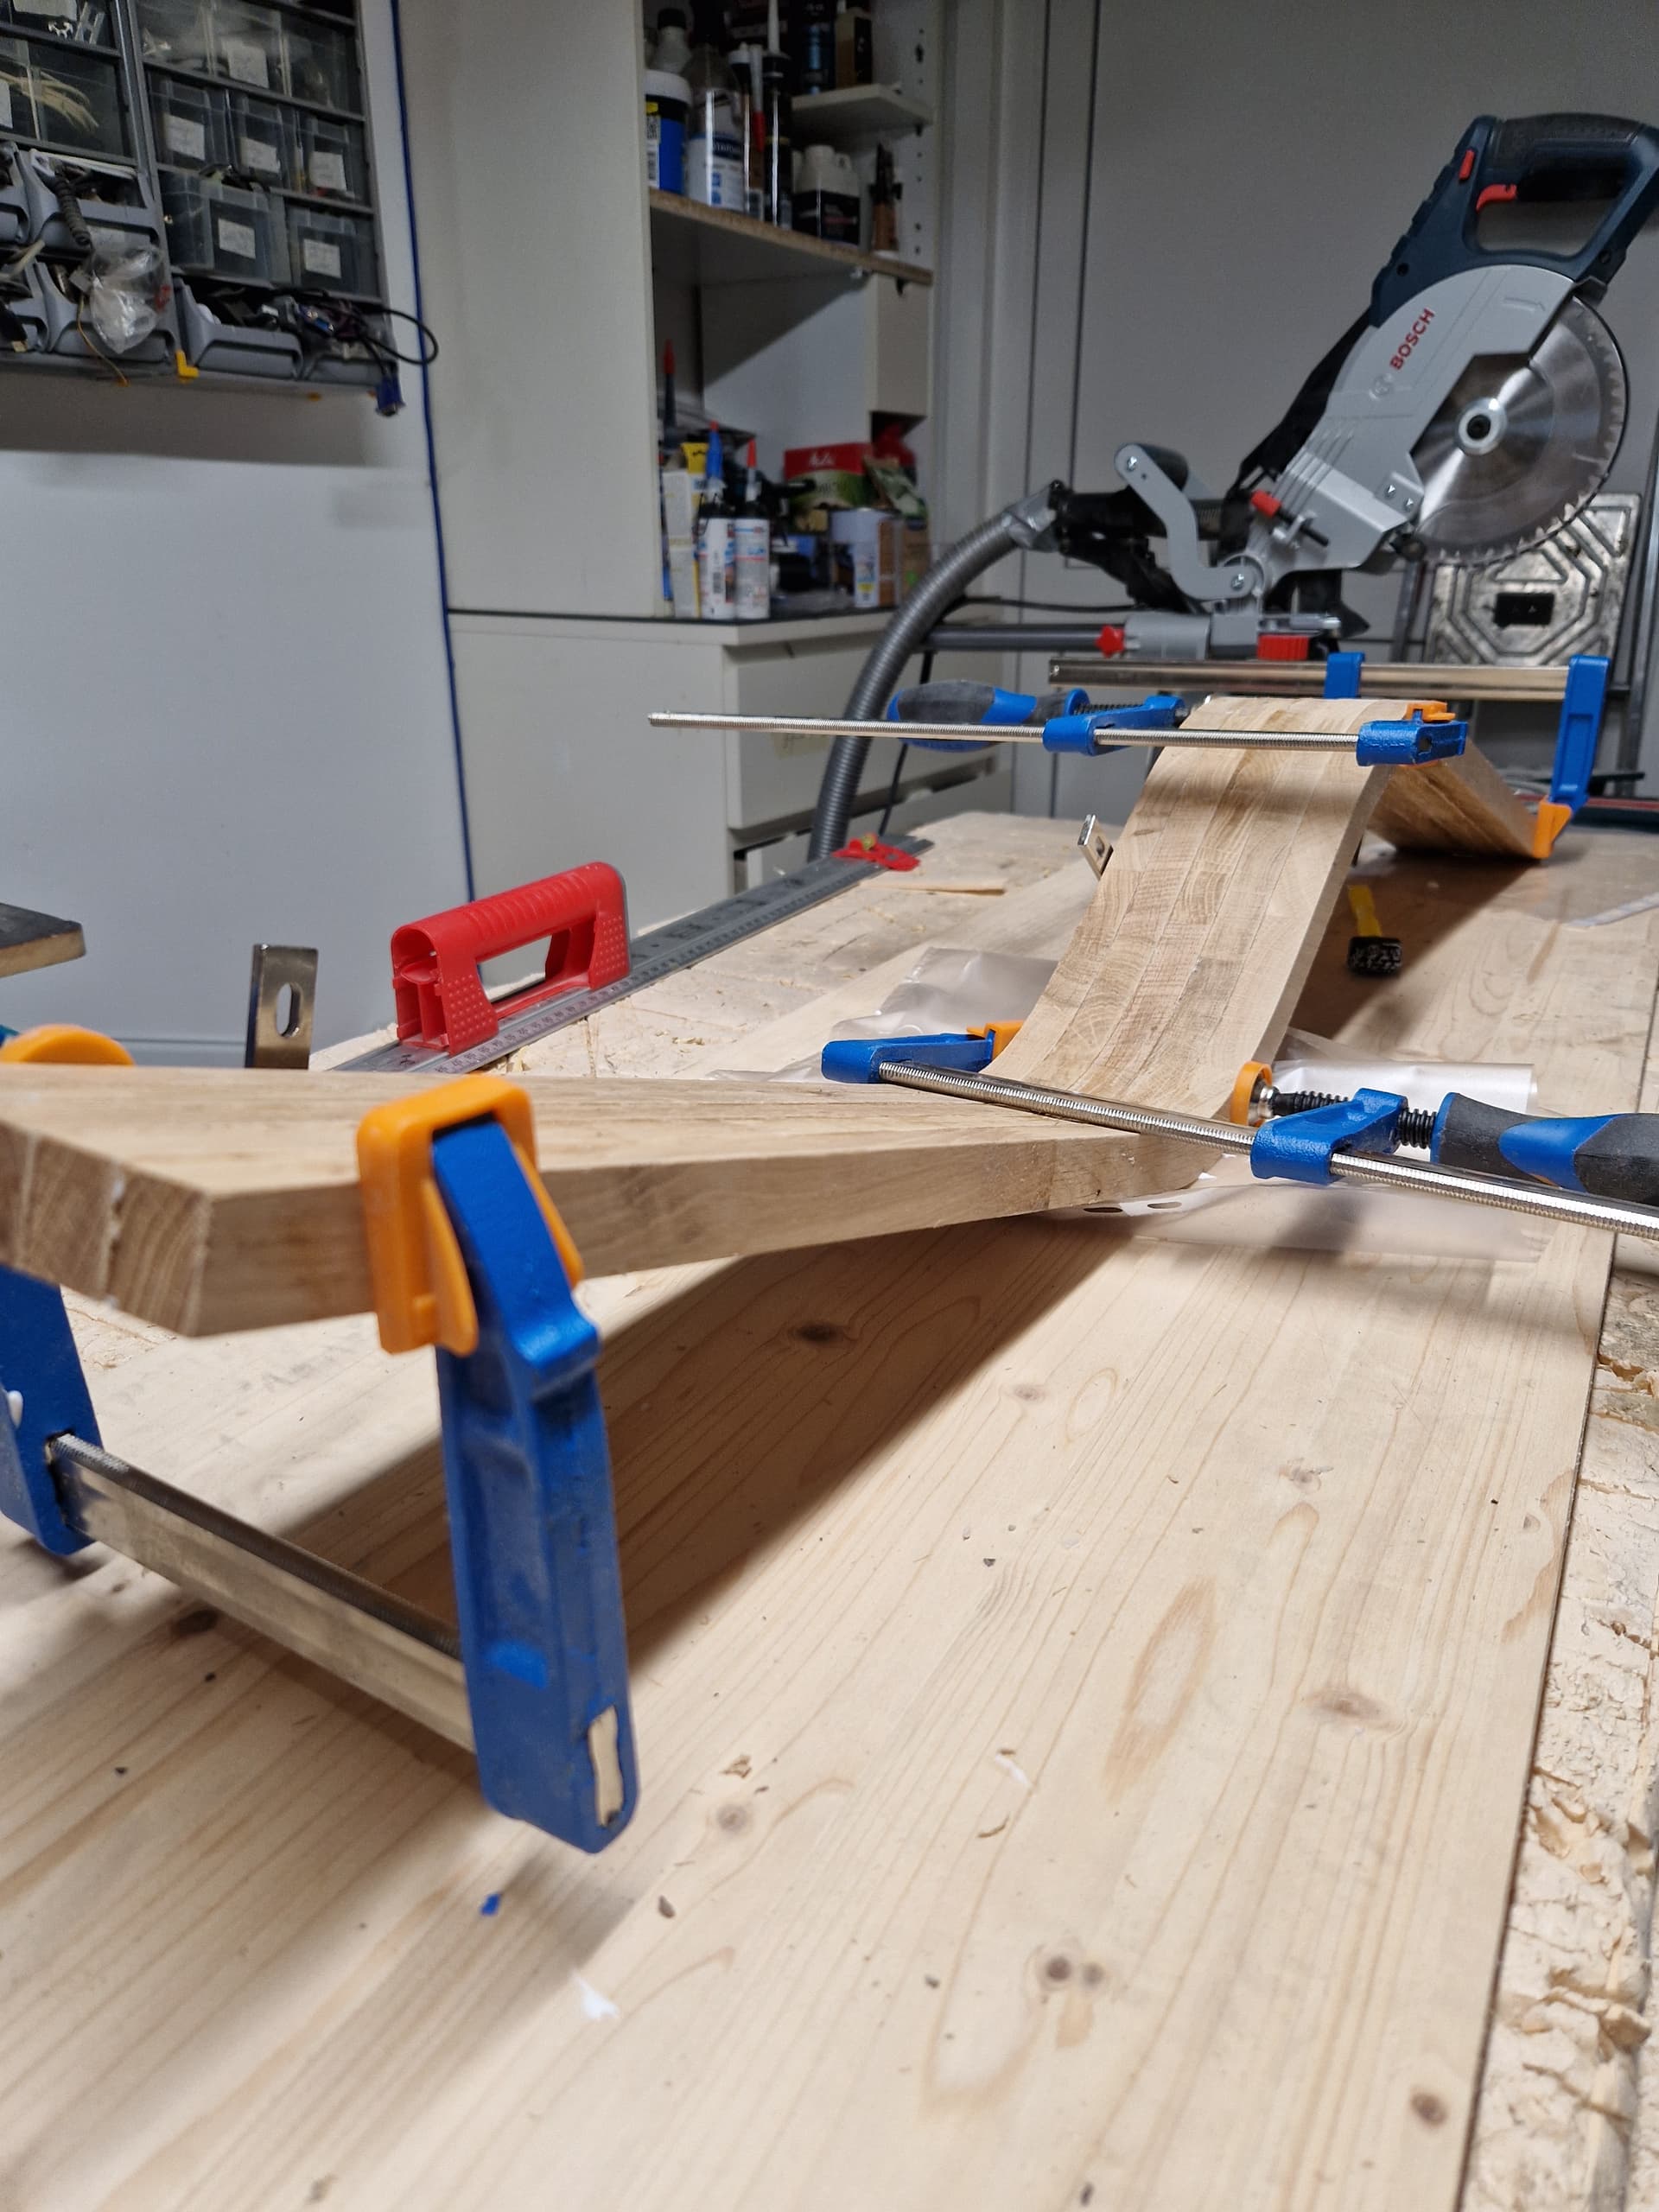
sanding, et voilà:
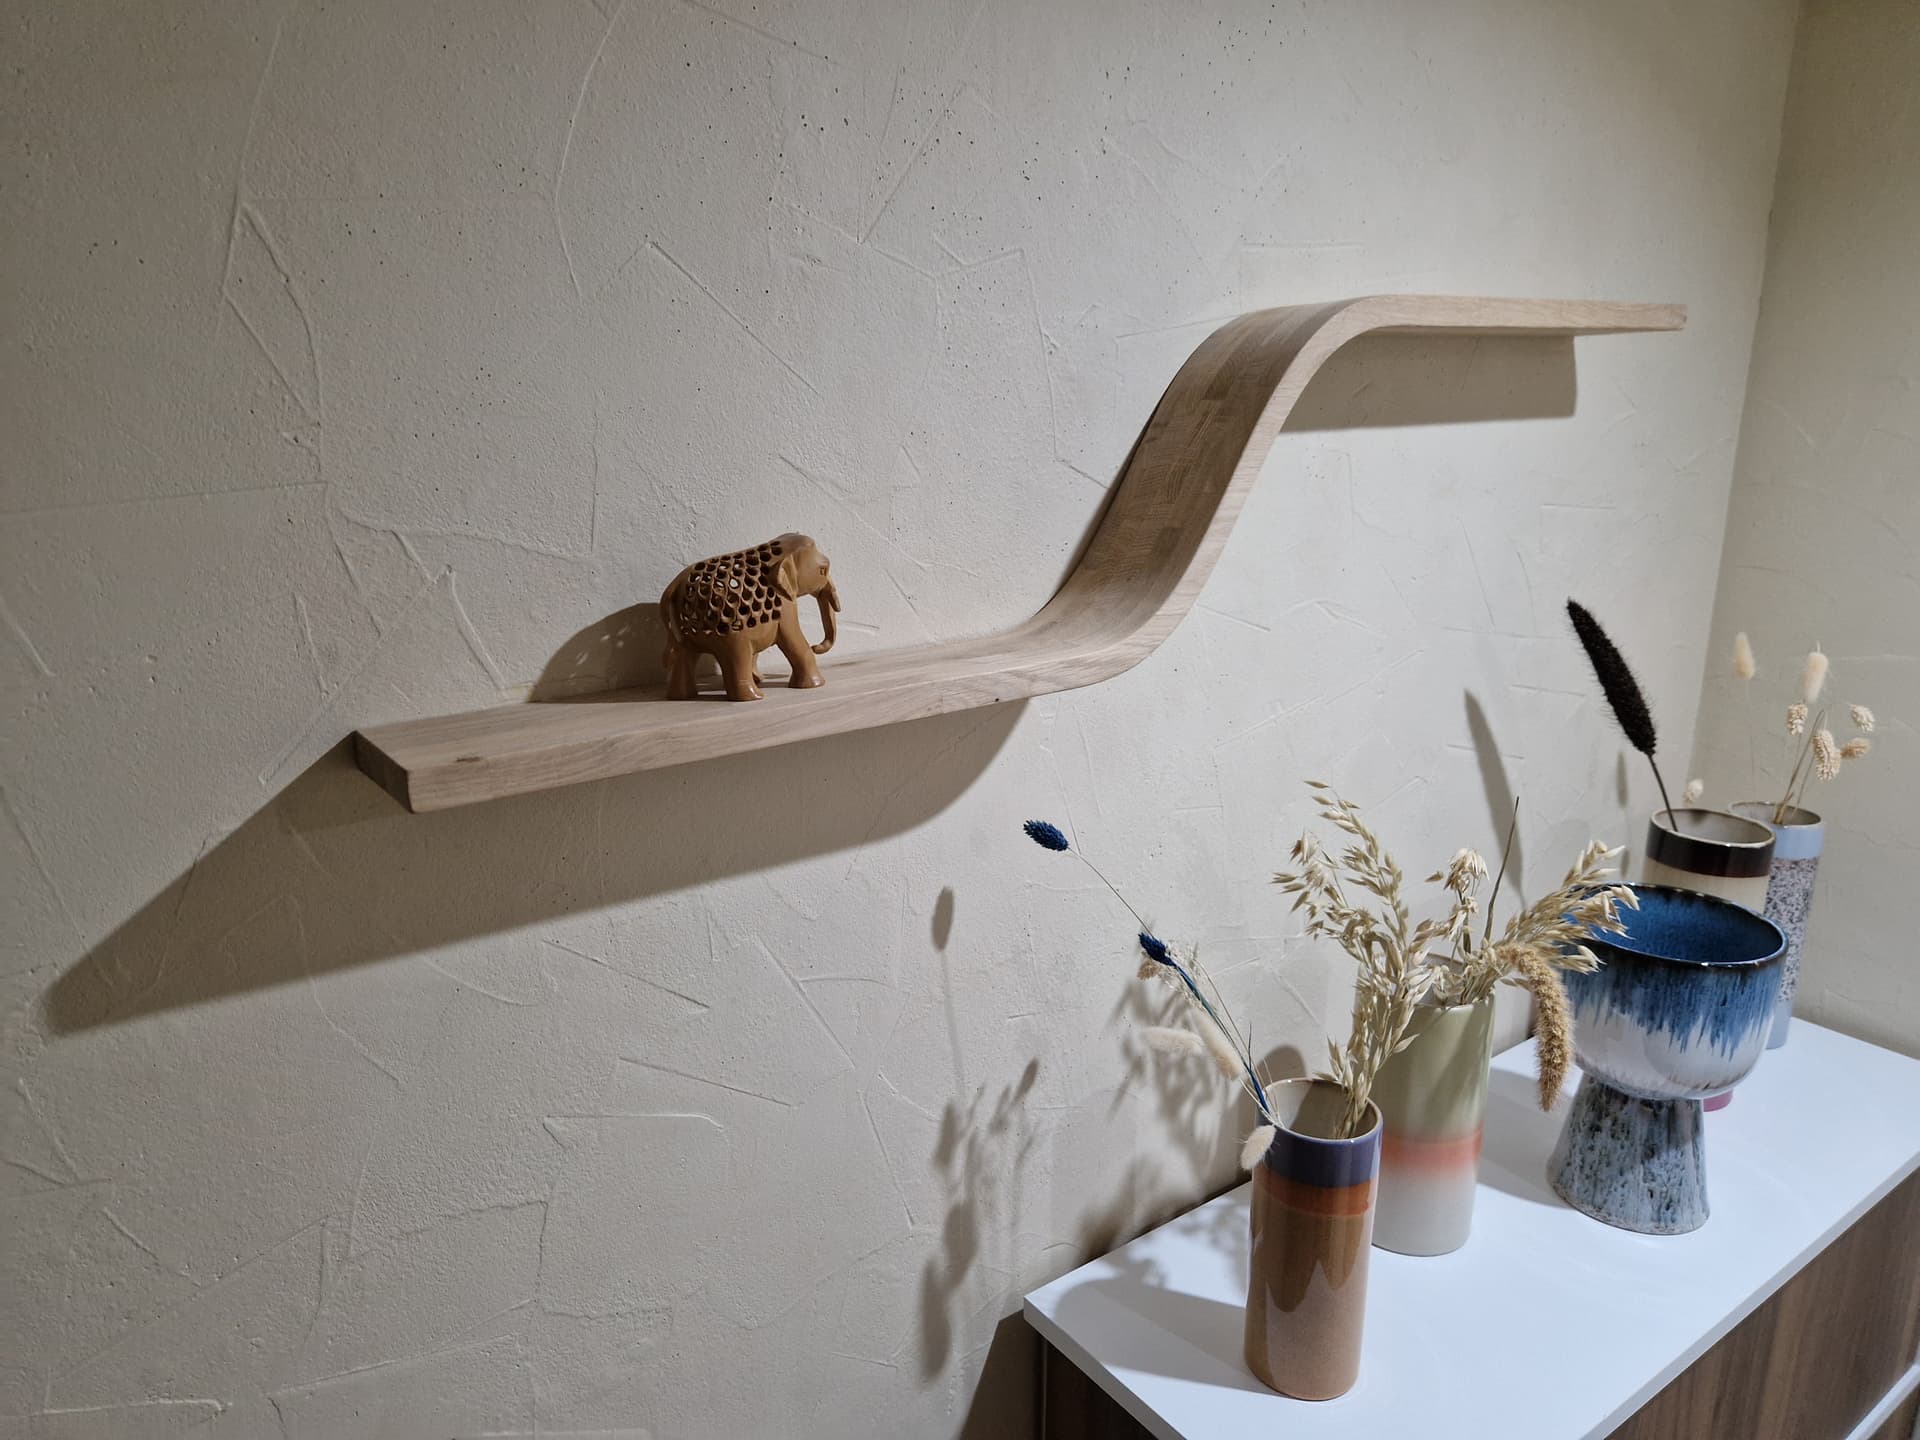
53 Likes
Excellent use of the wood and machine.
That is outstanding and prompted me to do something similiar I have the 3 so will scale appropriately
1 Like
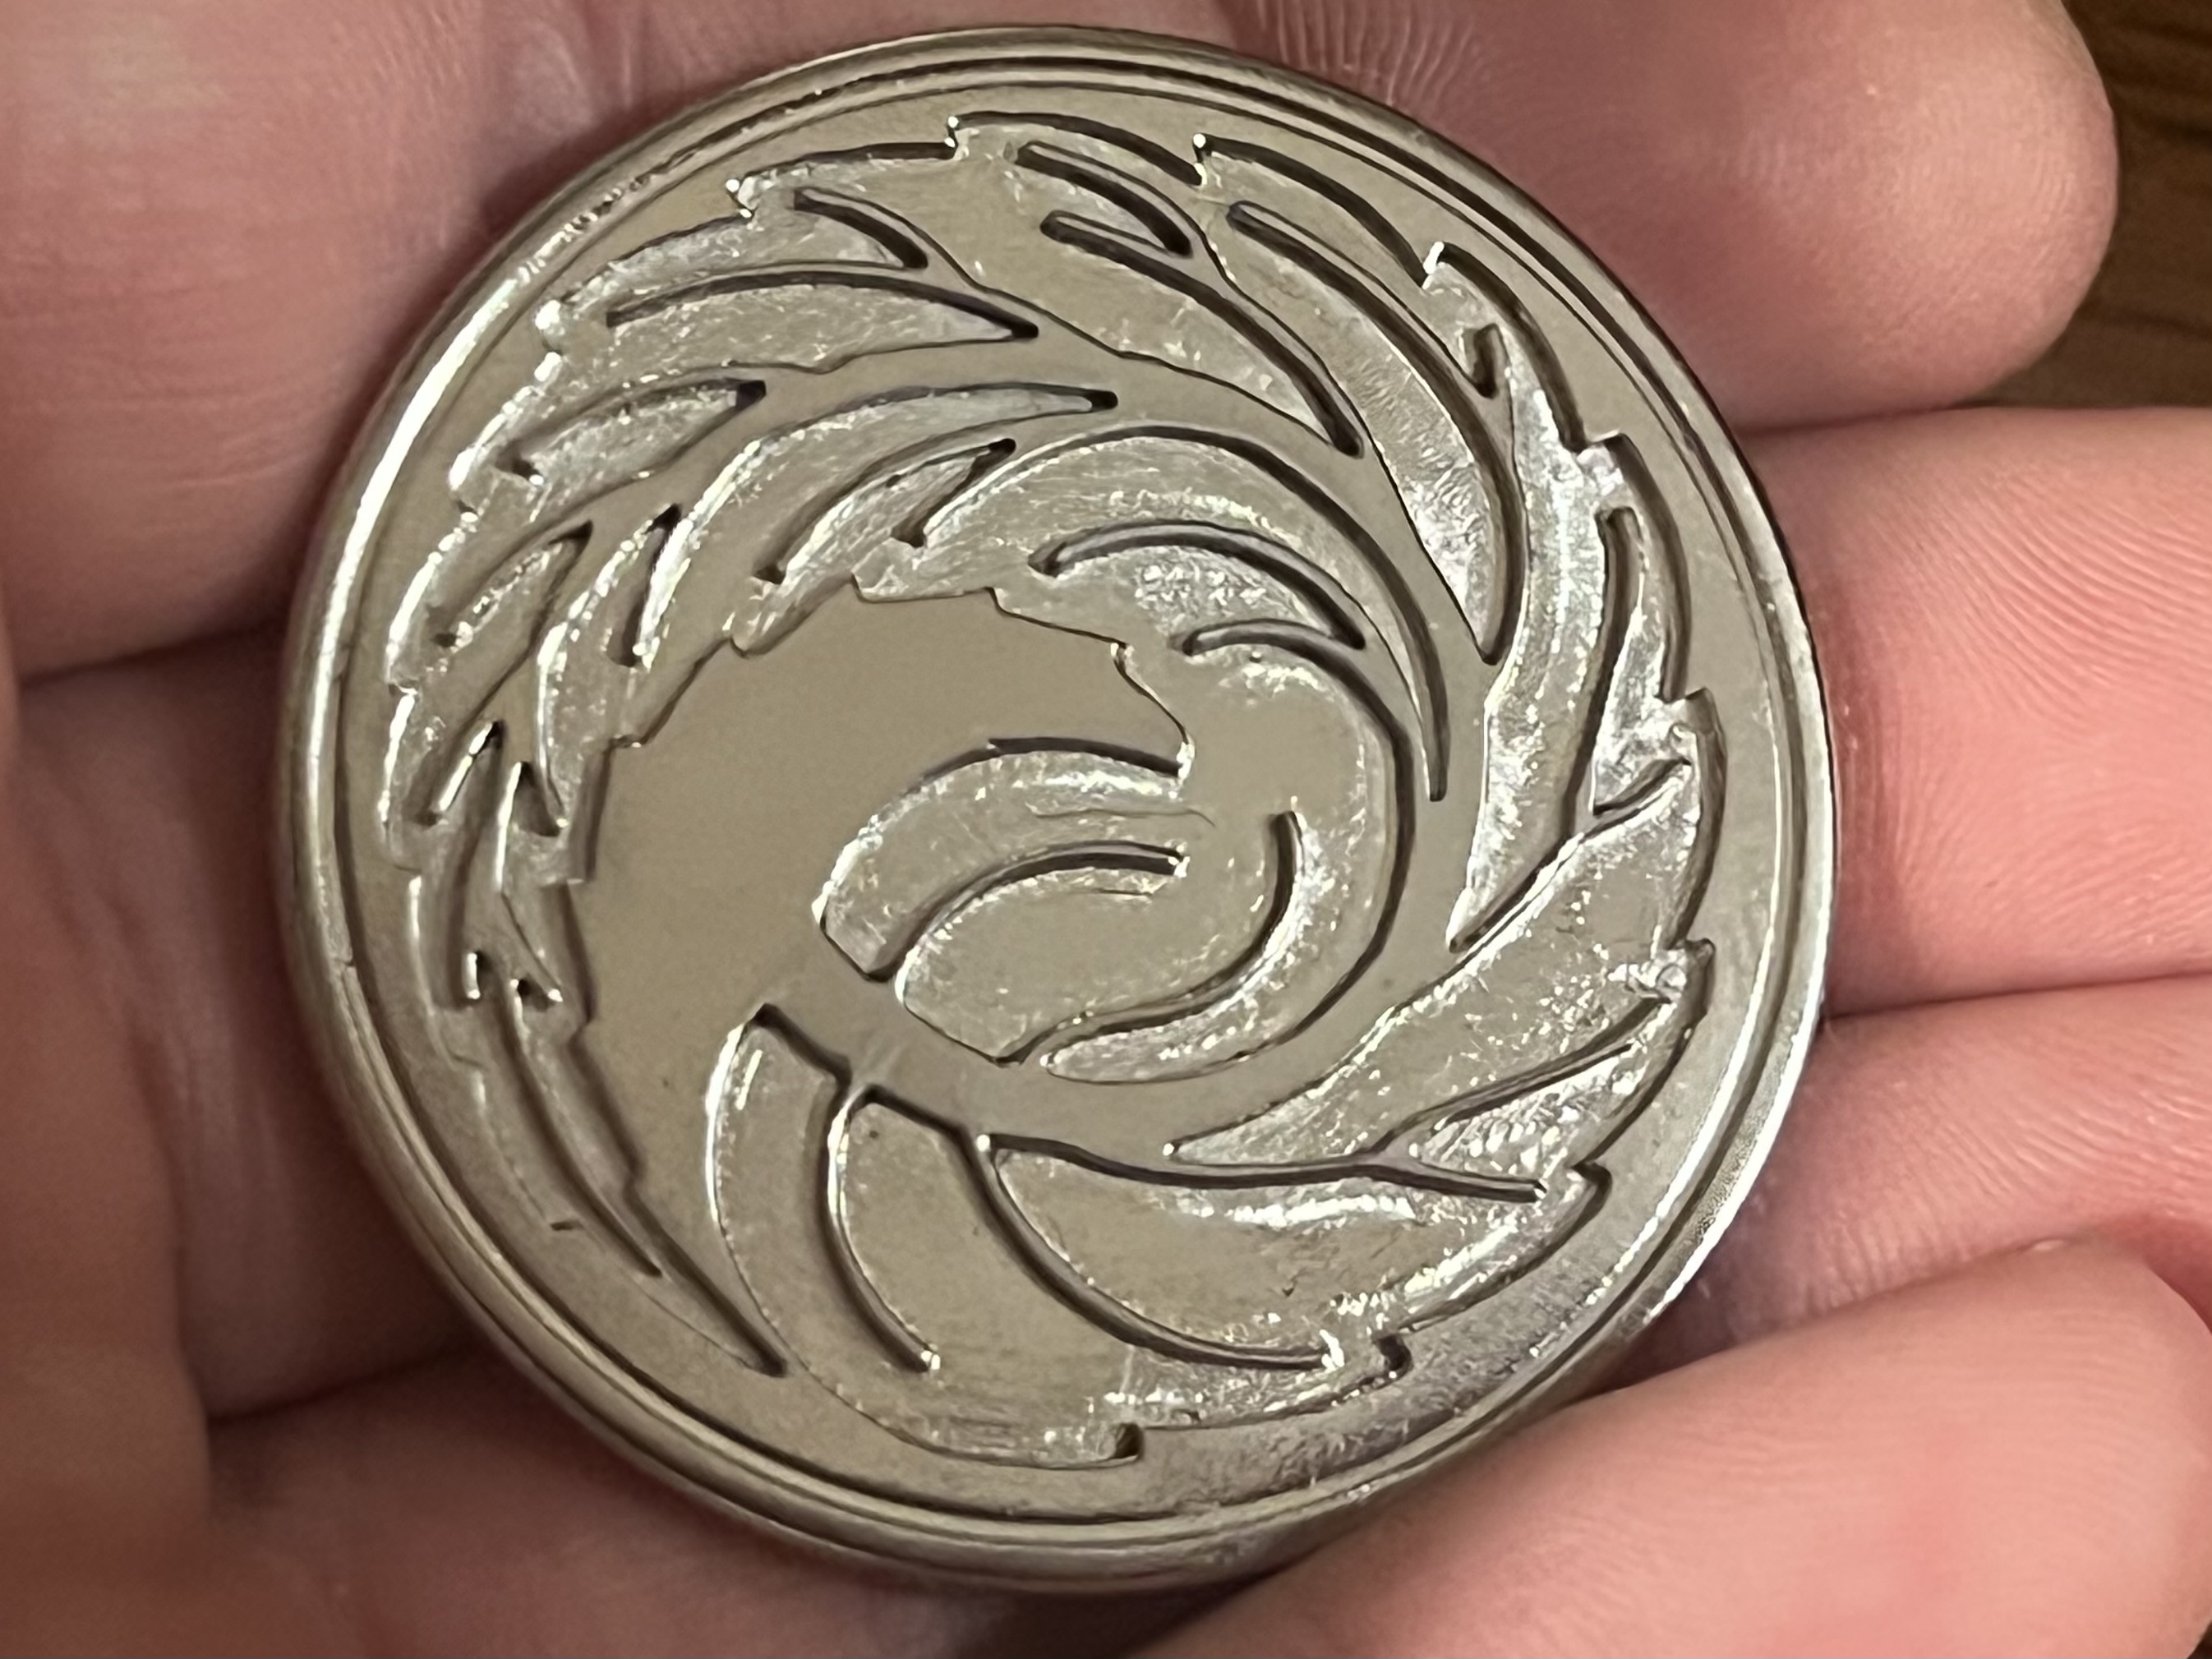
Brass blank I cut awhile ago but I just tried nickel plating with a commercial nickel solution instead of my diy stuff. The results are well worth the extra cost for an aesthetic finish.
(Functionally I’d be surprised if there was much difference)
Brass
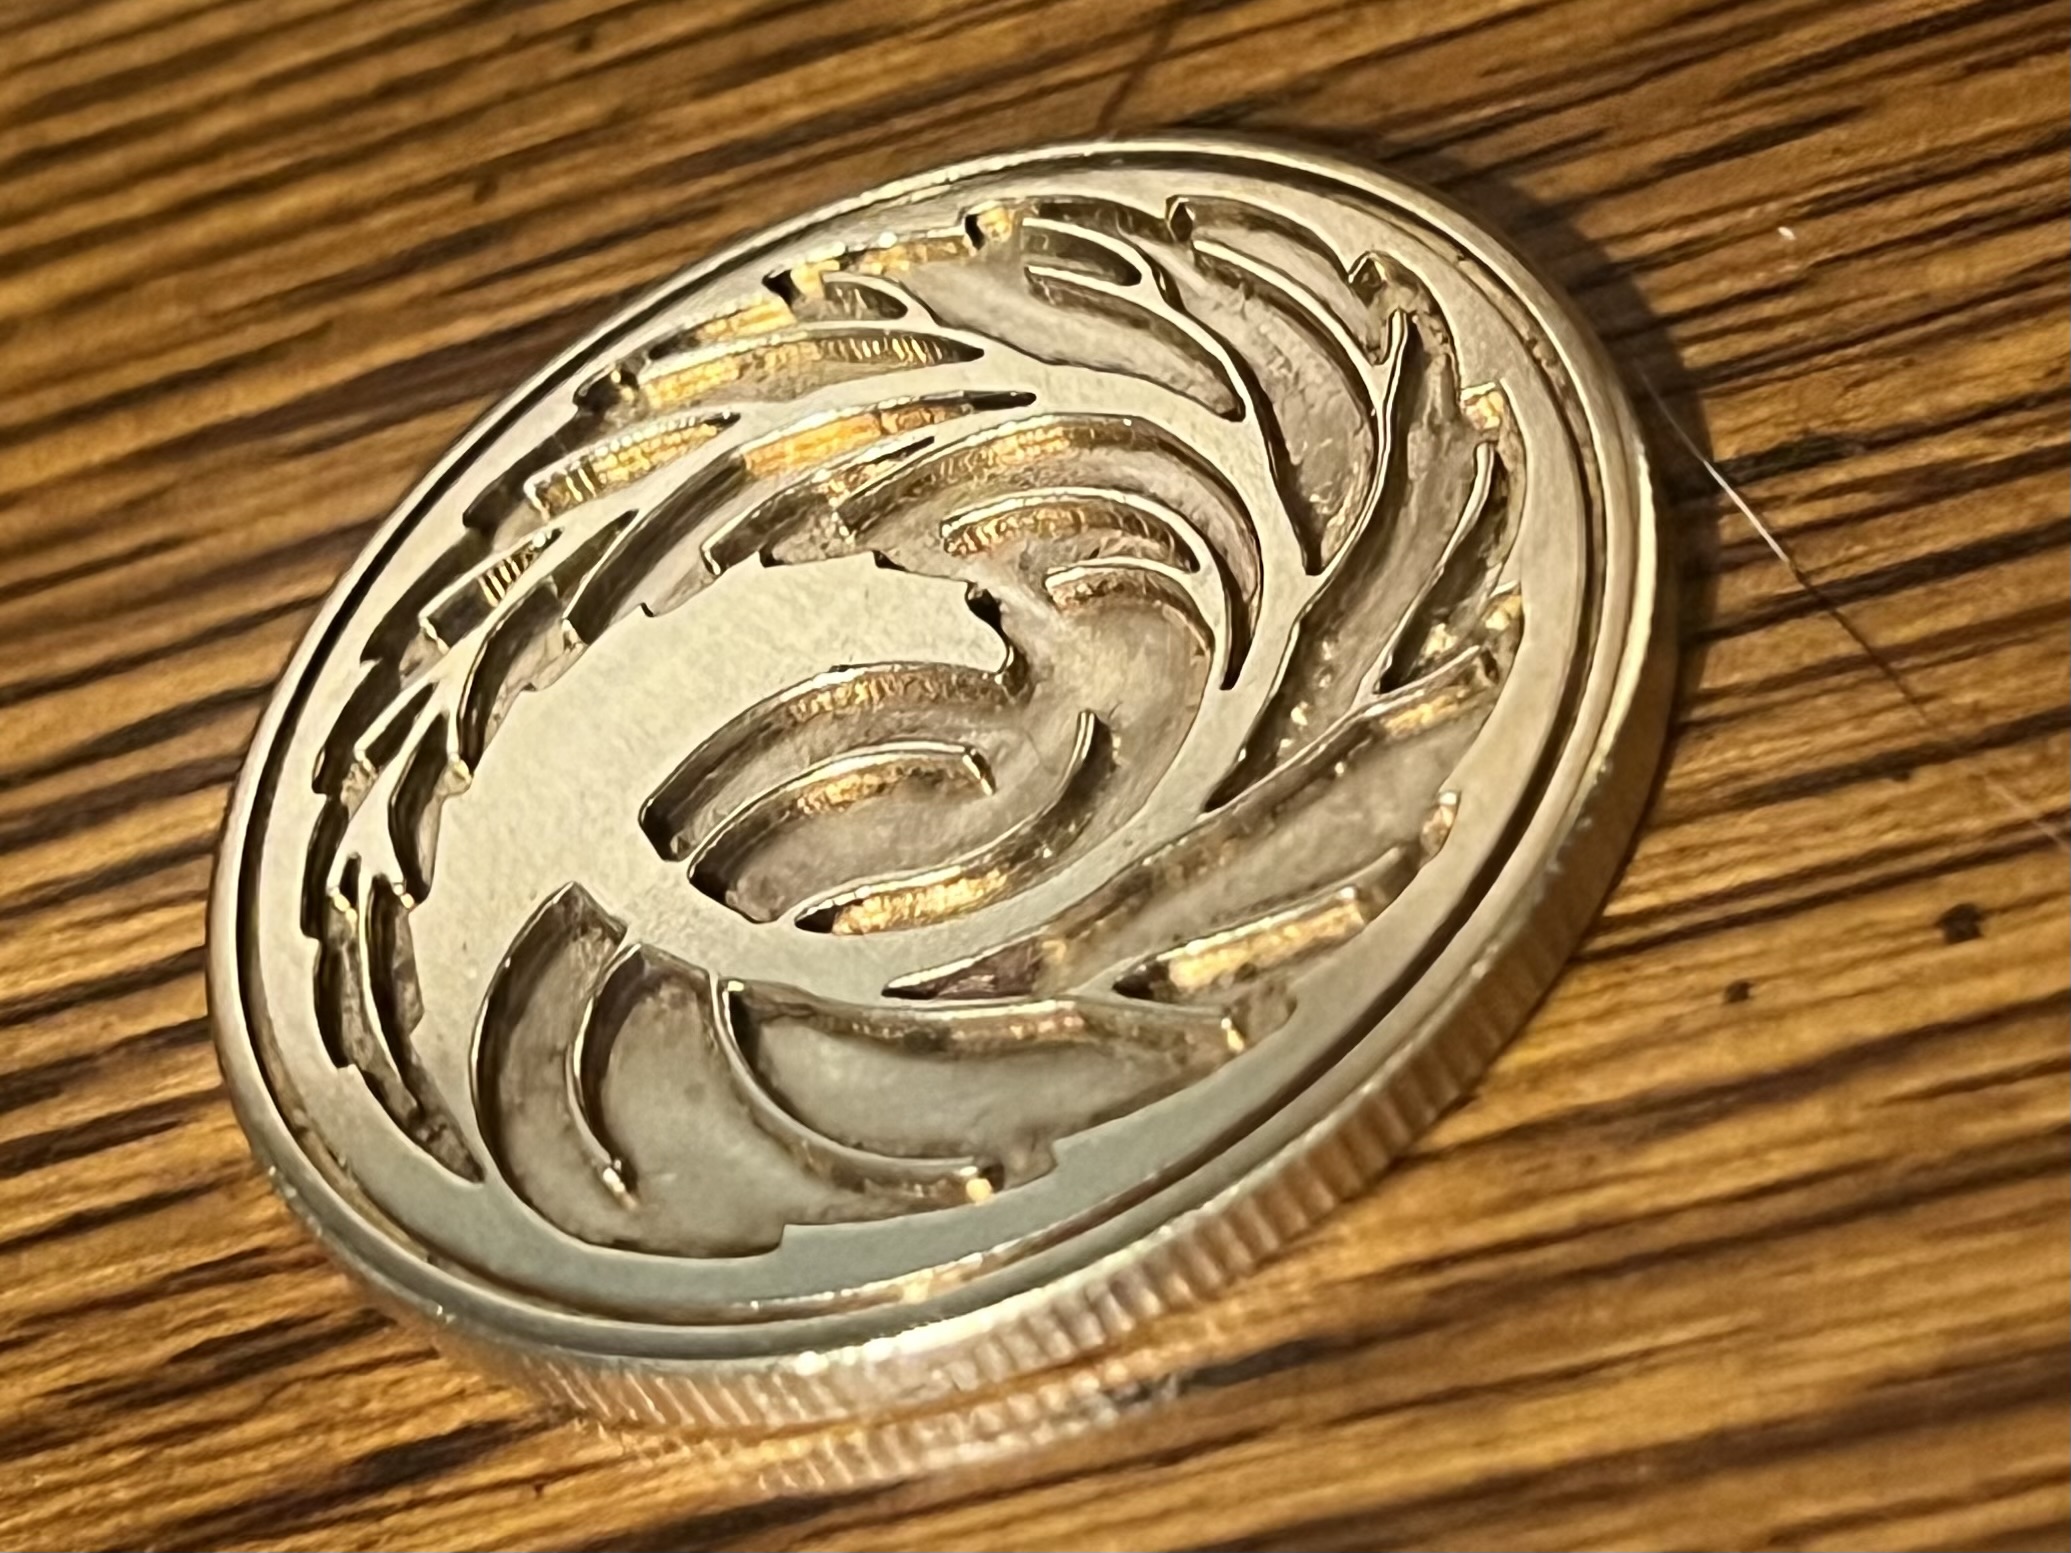
Bright nickel
19 Likes
Bonjour Julien, it reminds me of the same technique I used when making my chairs. I used dowels too in some parts that had to be glued together. Nice design and good job! I remembered one of the piece came twisted after being cut. Luckily I had made two more.
12 Likes
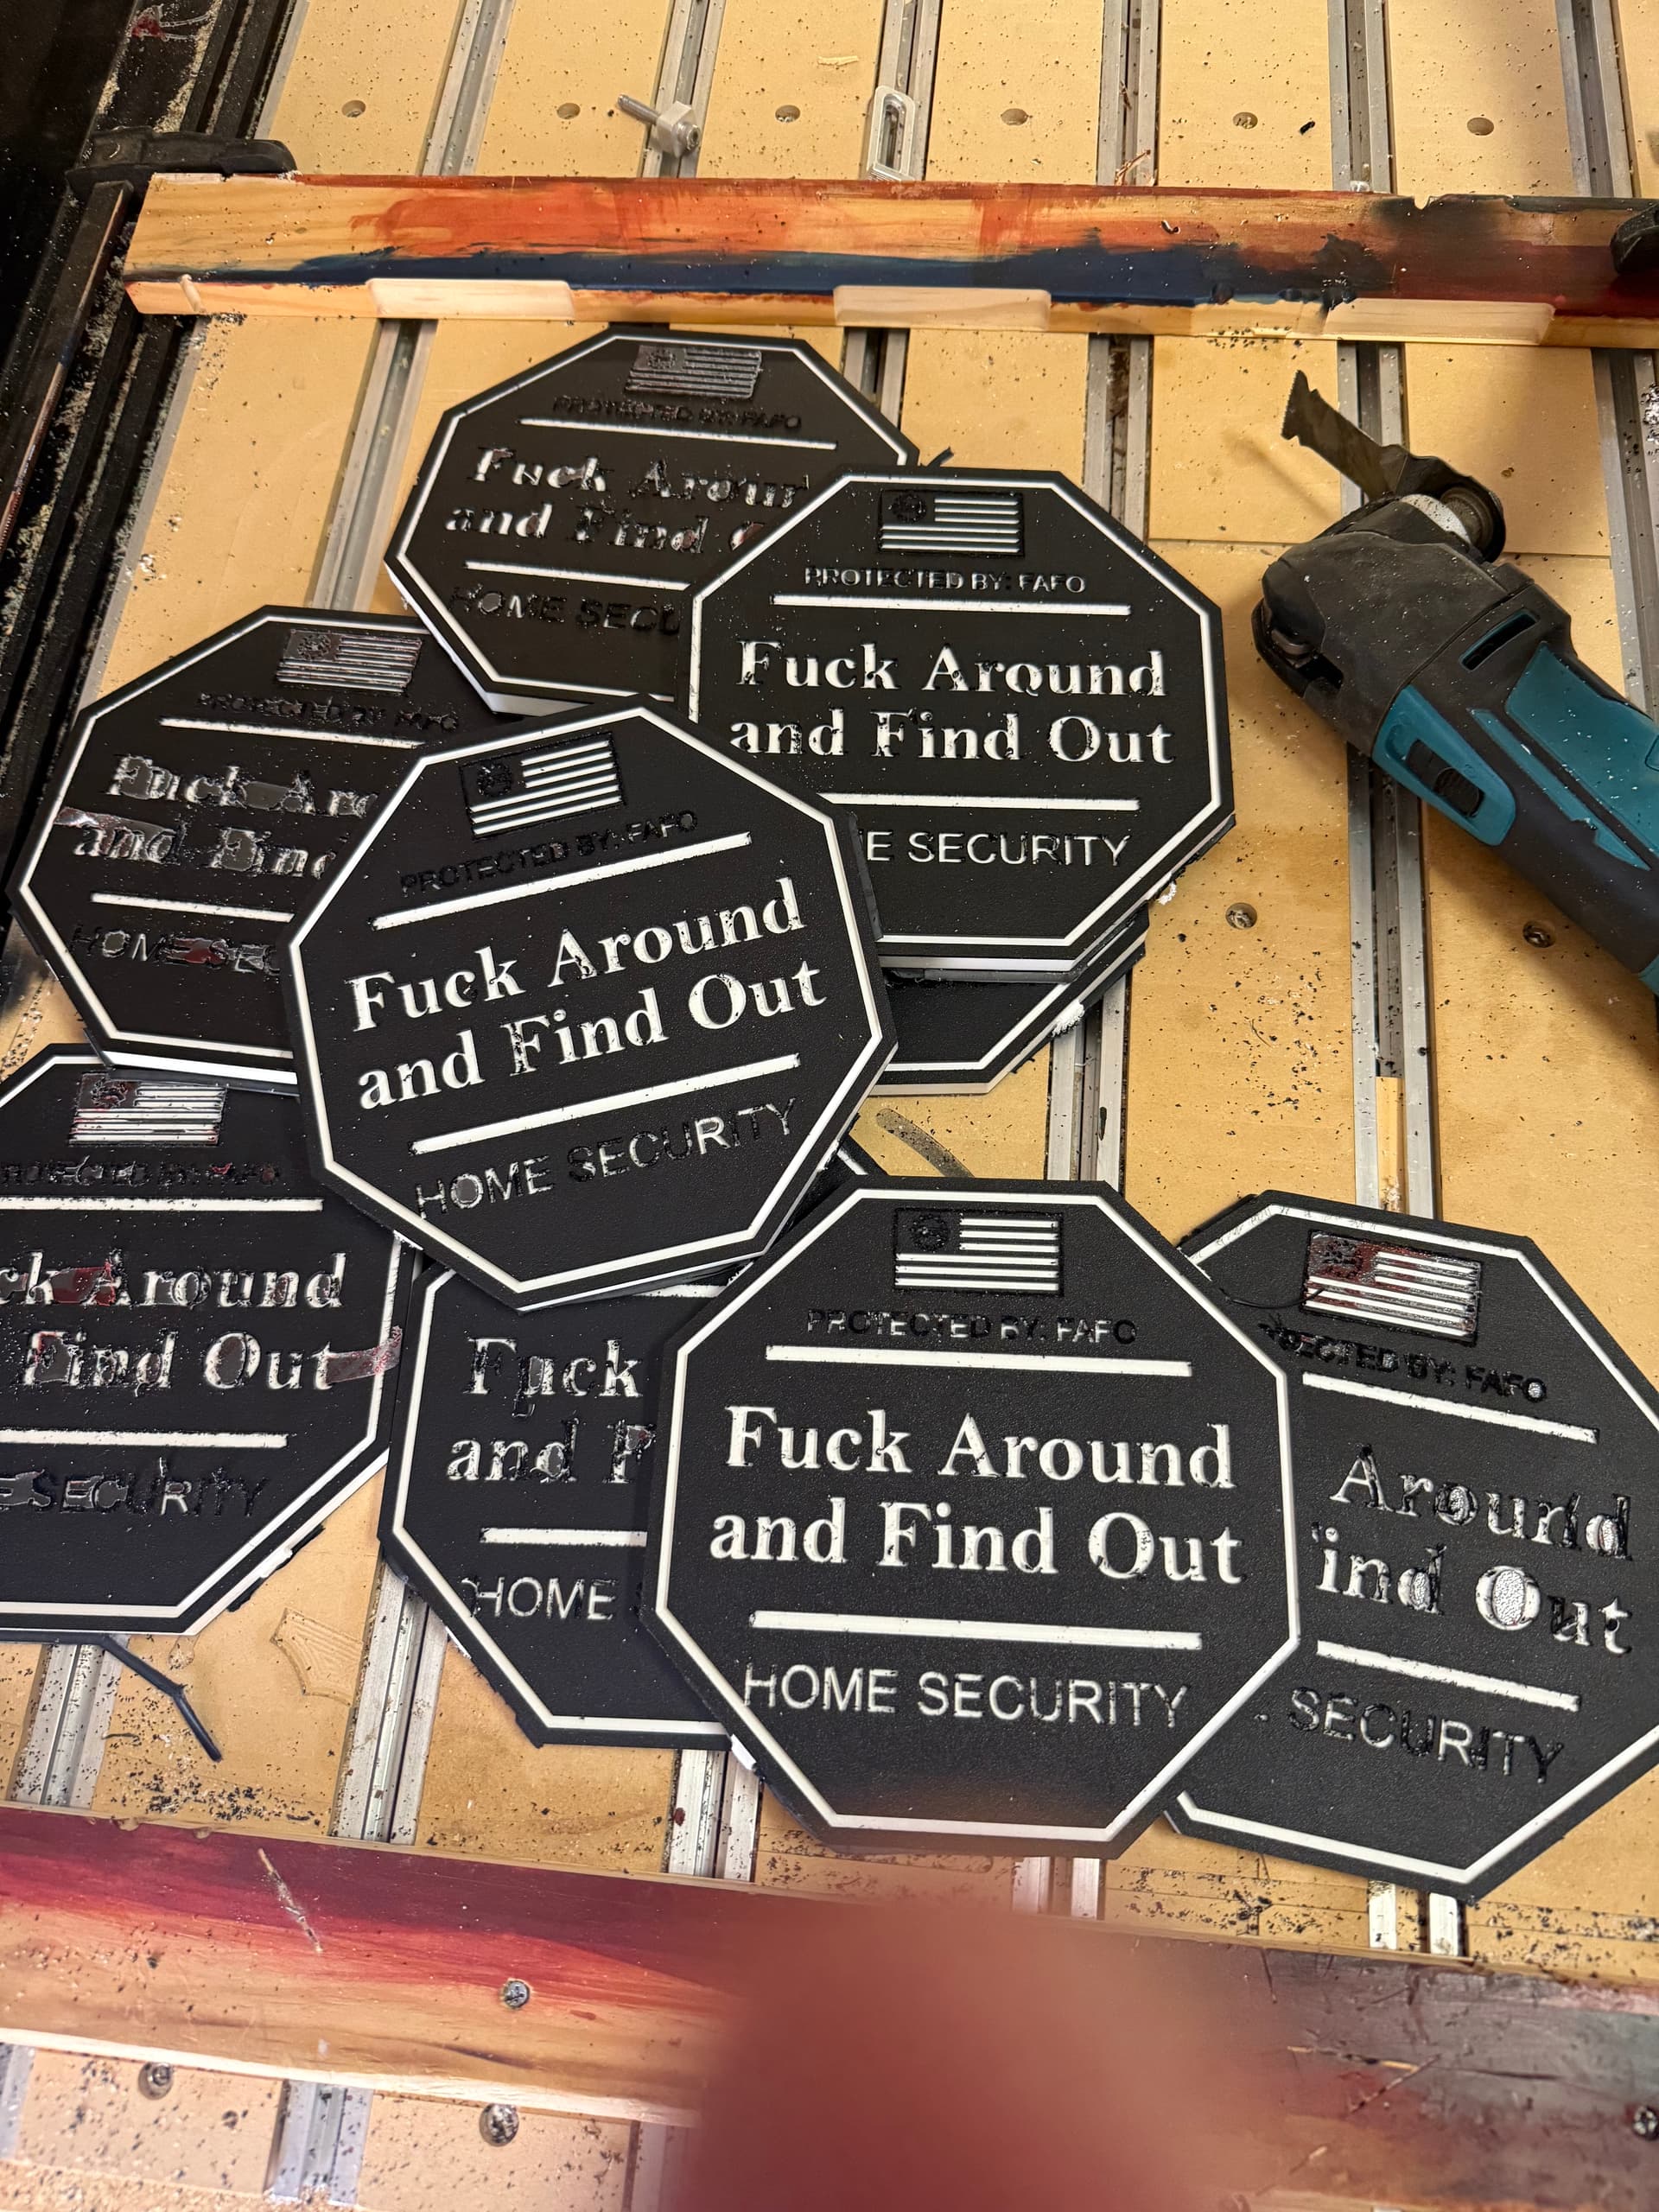
Today’s project. FAFO home security sign. Black and white colorcore. I had to run the project twice, as the first run, the 30-degree v-bit did not penetrate deep enough for the white to show. I switched it up to a .125 Zero Flute EM and a 15-degree V bit.
What I learned. Next time I will use double-sided tape for hold downs and remove the tabs, and I will make my contour cut to .50". I went to .49 and it left too thick an onion skin, and now clean up is going to take too long.
Any suggestions on pricing? 24 x 24 x.5 Colorcore $93.00 (Amazon). 2.5 hours of machine time (2.5 hours is for the second run). I think I can cut that down on my next batch if these sell.
I made a total of 9 signs, which are approximately 7.5" x 7.5". Then 15 minutes each for final clean up etc.
I think $25.00 each.
12 Likes
I made some a few years ago out of PVC. Painted it blue then left the cuts white. Sold real good and I think I sold them for 25.00. I think I used a 1/8 and a 1/16" bits and ran them a second time just to clean things up. Yours look good.
2 Likes
You’re not the first, so look and see what the market is getting. I’d bet you’ll find similar examples on Etsy, Amazon and etc.
I’ve avoided contemporary ( ![]() ) language on my stuff, because I’m sure that reduces the potential market.
) language on my stuff, because I’m sure that reduces the potential market.
Perhaps these would be better as coasters for a bar? ![]()
4 Likes
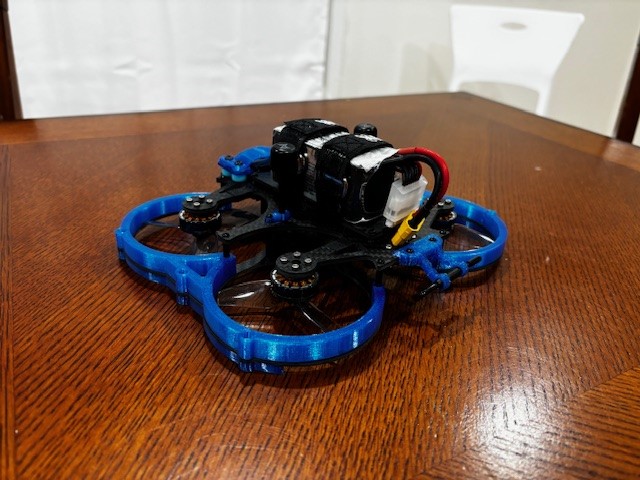
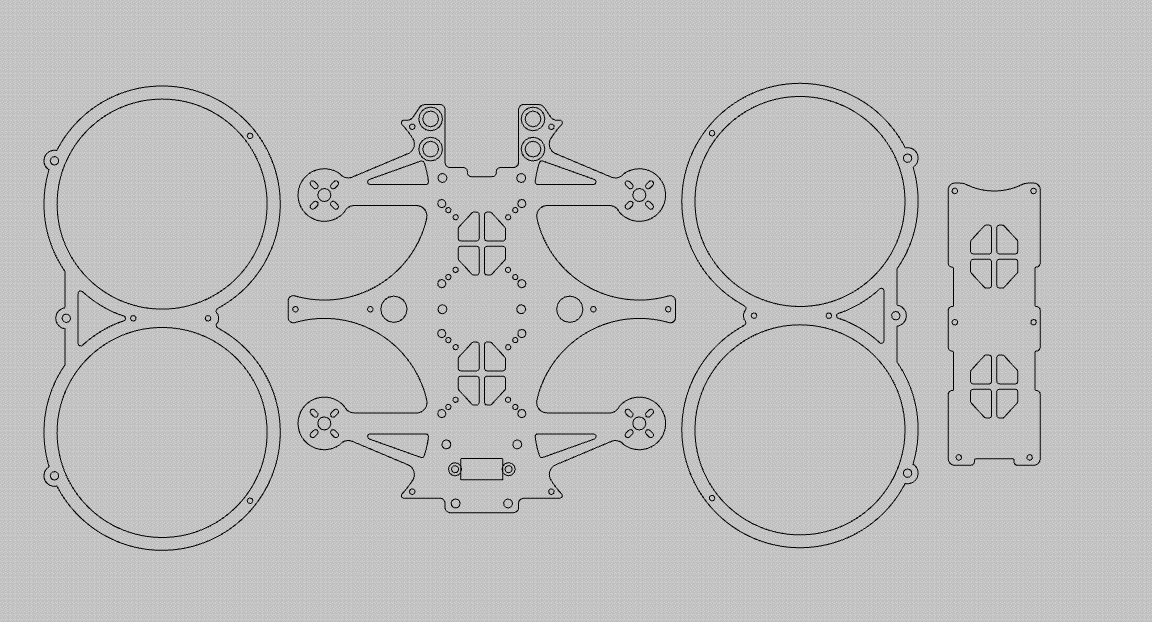
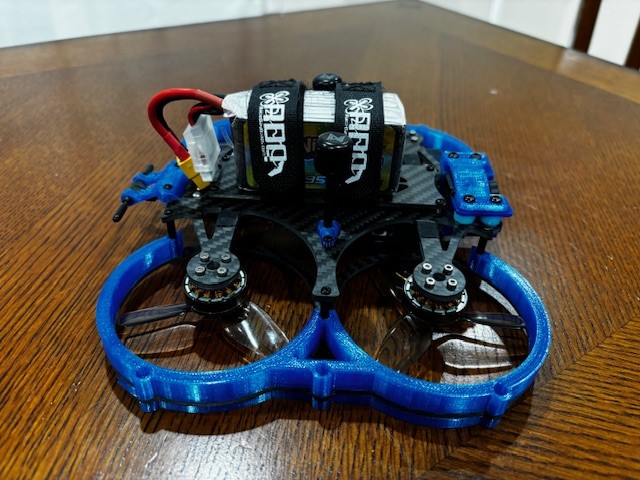
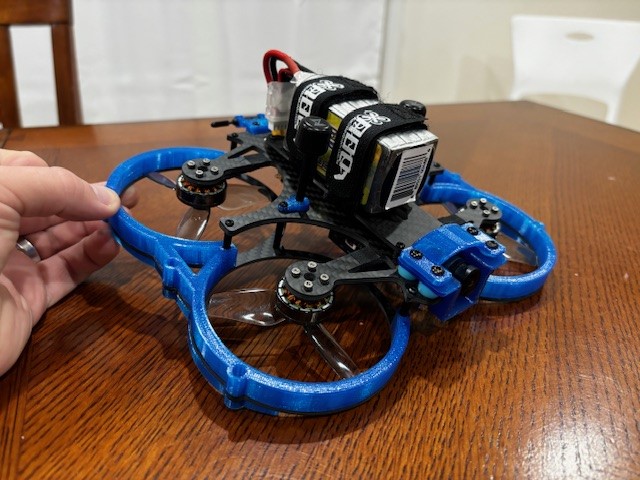
Made a new 3" fpv drone. Fully designed all the 2D carbon parts and the blue prop guard profiles in carbide create. Designed the rest of the 3d printed odds and ends in tinkercad. Parts were cut on my shapeoko 4 xl.
24 Likes
That’s cool. When you design something like that how do know where the center of gravity will be? It seems the battery/electronic bundle is a bit aft of the center line. Does the flight software just account for that and send more juice to the aft motors?
You need to determine where all of your components will go. You can’t see it from the picture but there is a video transmitter directly behind the fpv camera so the weight is naturally more nose heavy because of that. I generally like to give myself enough wiggle room for the battery to move forward or back so I am able to hit CG. As shown in the picture, the CG is spot on. Flight controller will account for any imbalance though. Just makes the front/rear motors work harder than they need to, but having good CG definitely helps the drone fly better.
2 Likes
Third time is the charm once again. All edges survived, Sweet !
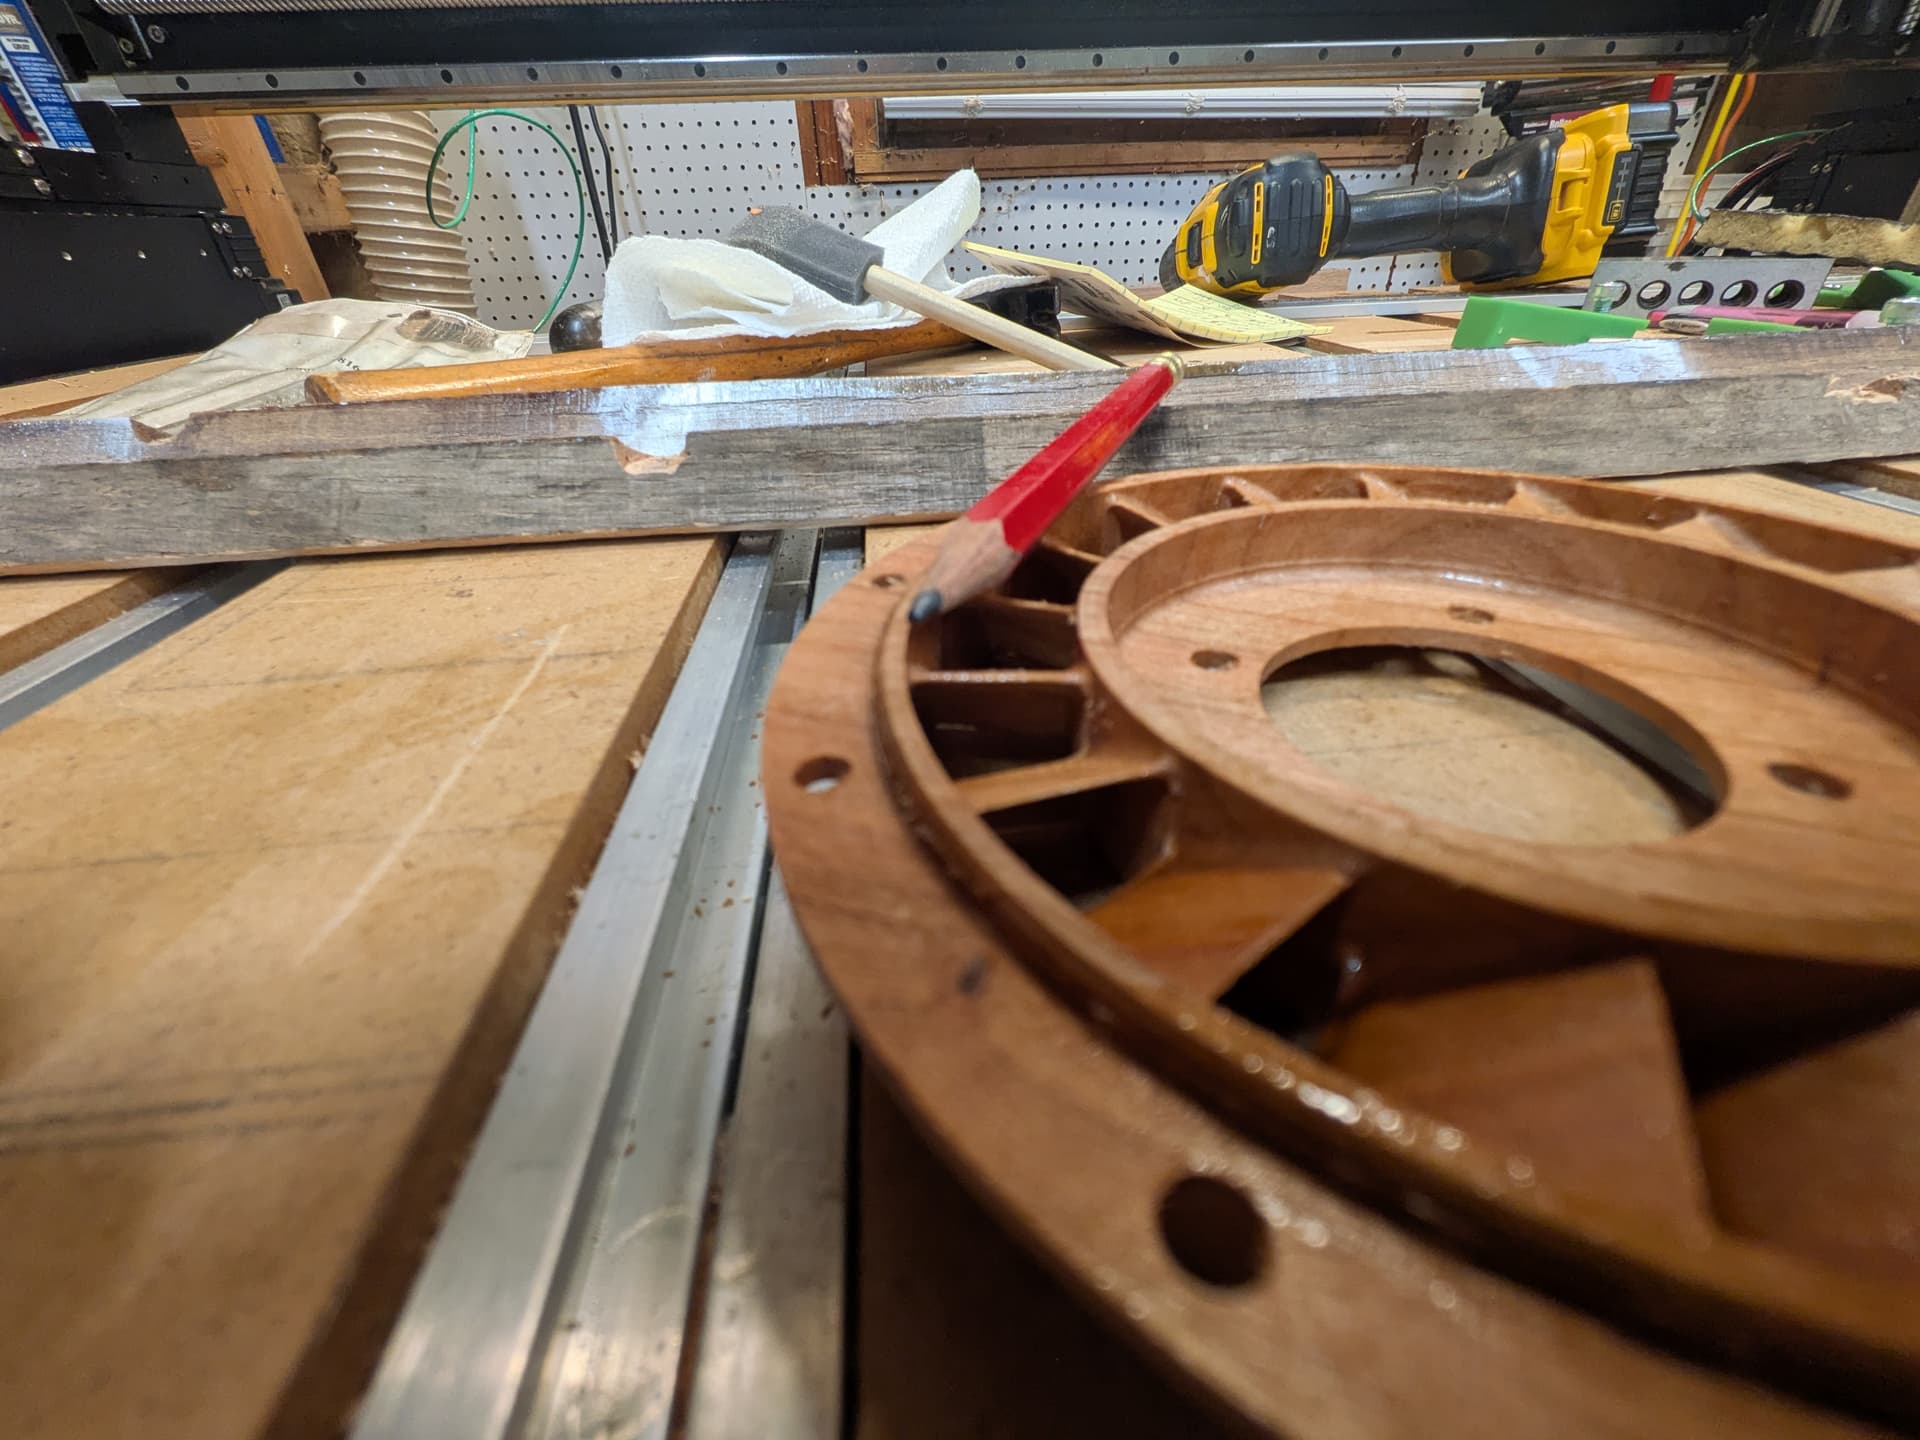
Thanks to @Tod1d for the wood saturation tip.
30% denatured alcohol and 70% shellac (eyeball). Dries well enough in an hour, I could have waited more, NOT !
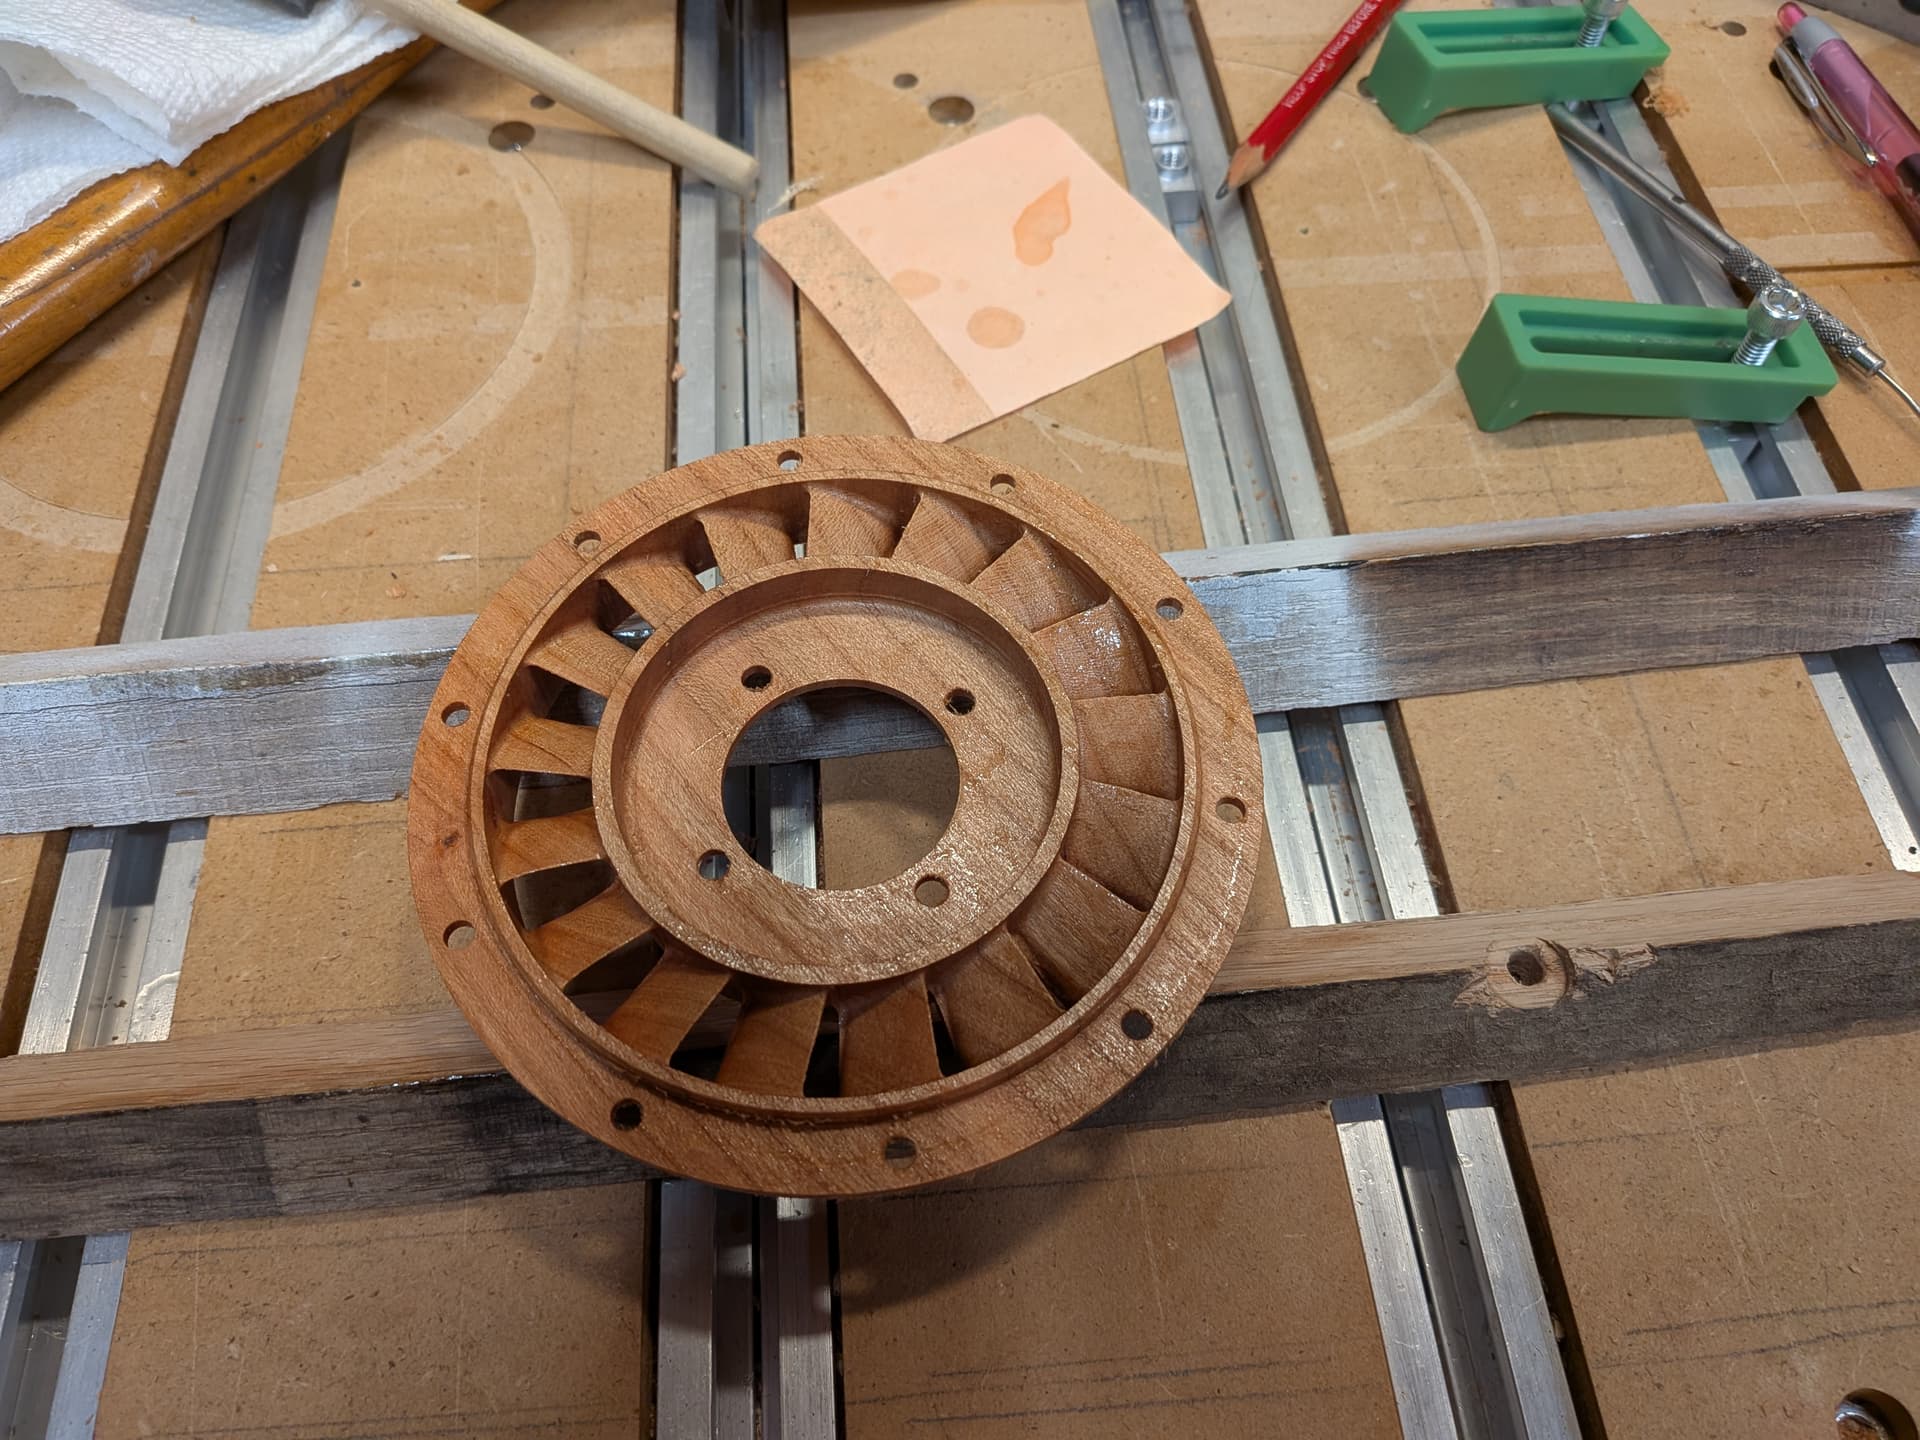
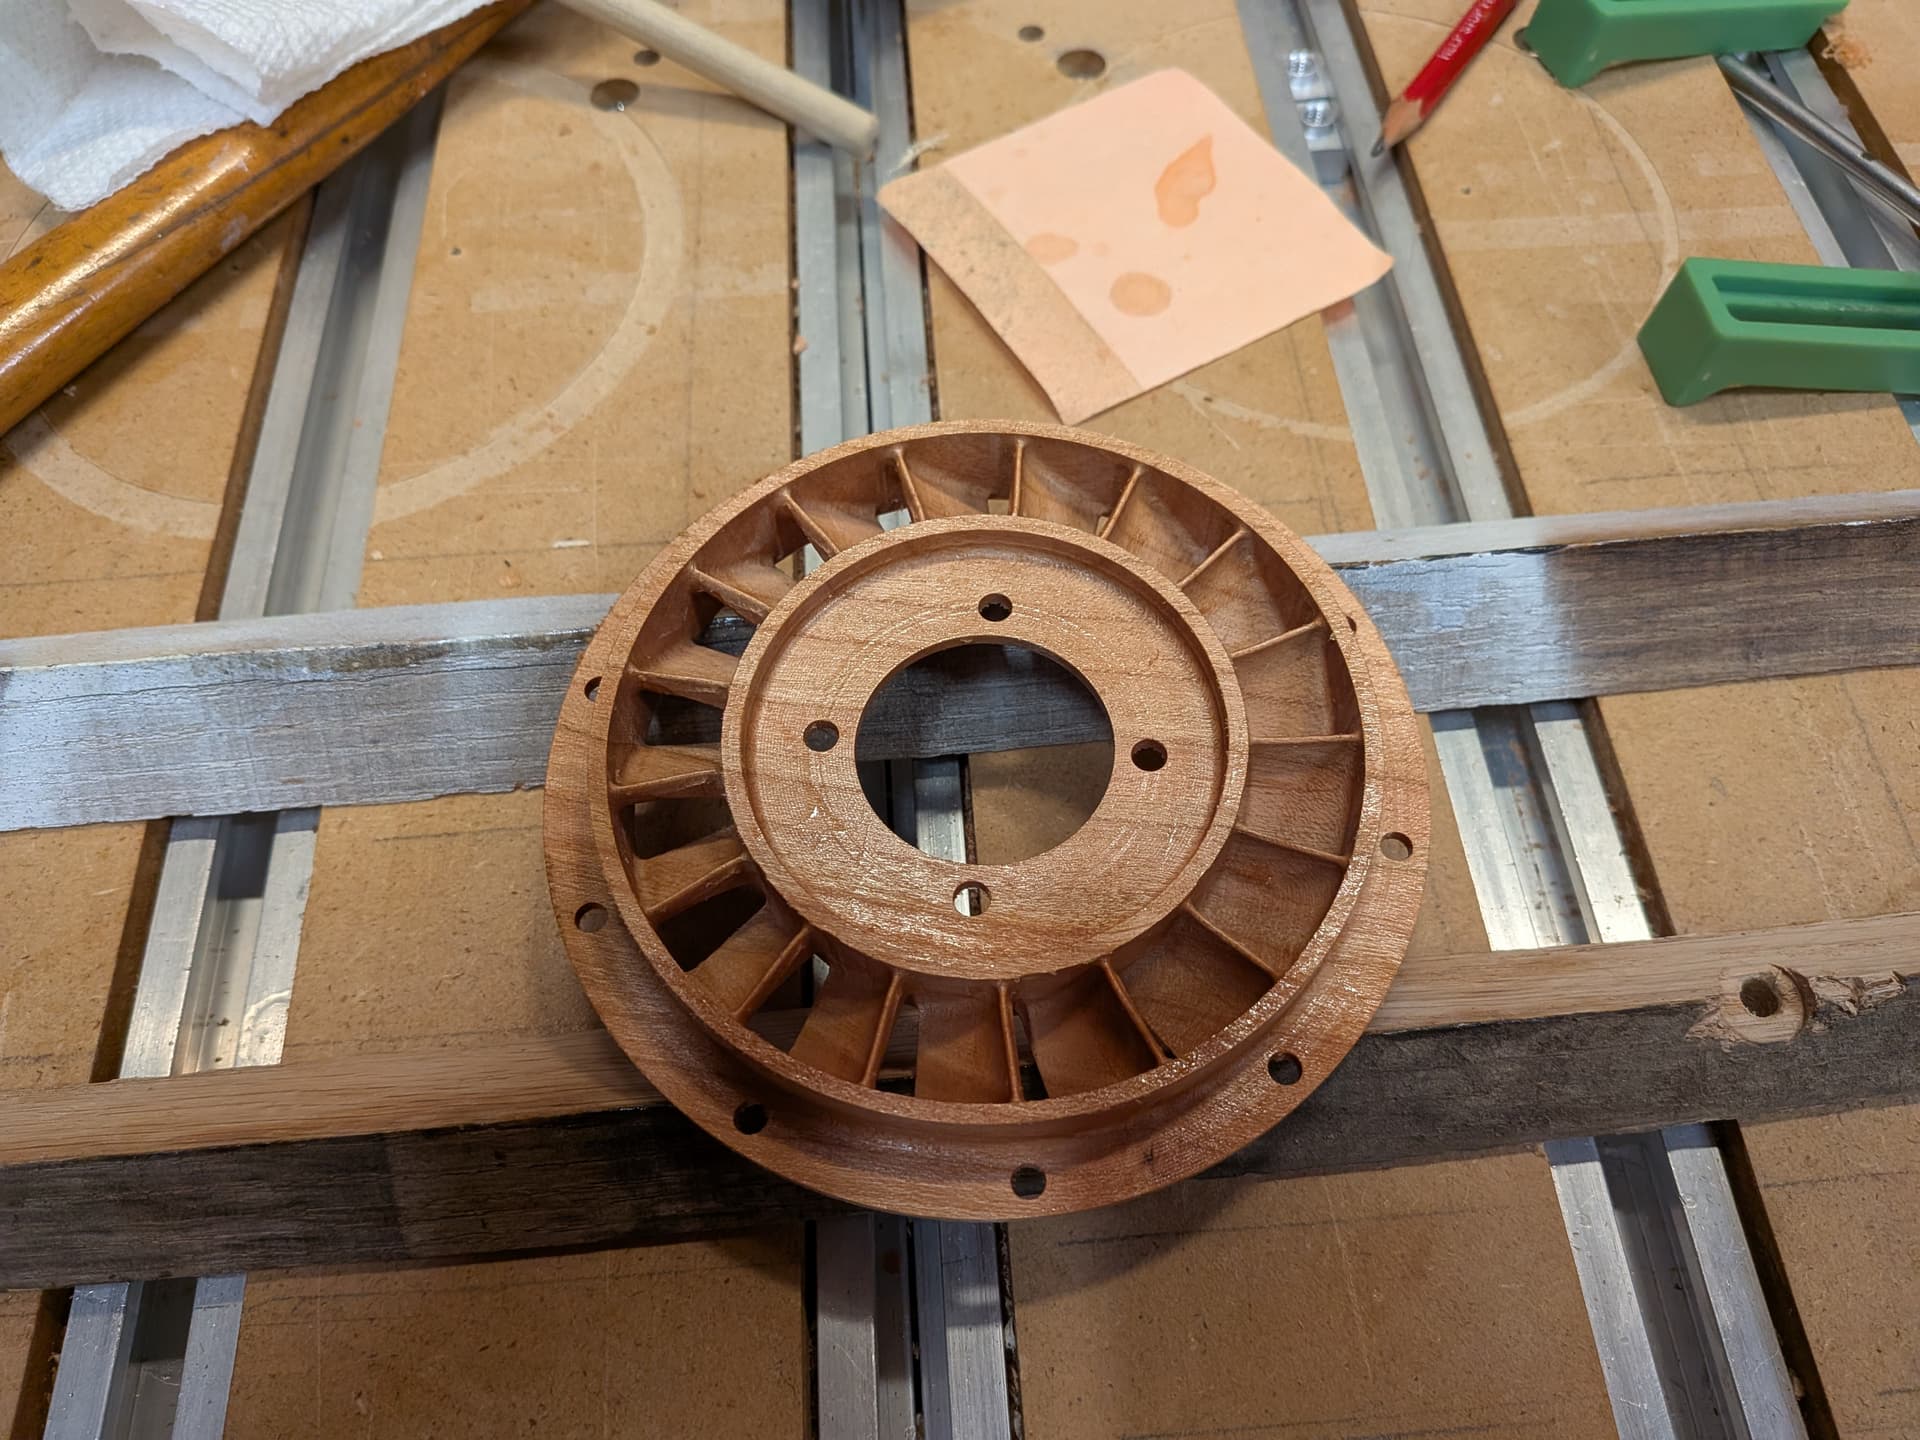
Fusion took a long time to generate the Flow paths. The results were compact short running.
I processes 6 sets of vanes to help.
Added shellac after full first side cuts.
Flip the part.
Shellac after rough cuts. I stopped the rough cut so it left 0.030 off the bottom surface where the real thin section resides.
Finish cut 6 sets of vanes using different height ranges.
Cut Top 70% using a one way ( more shellac ) and bottom 30% using both ways only because that produced a path the looked good.
Dimensionally within .002"
I will have to school QA it.
Call this one DONE !
24 Likes
Persistence pays off! Glad you found the workarounds to complete the project. That looks really cool!
For items with symmetry you might be able to speed up fusion by generating an adaptive on one section and then radially patterning that generated toolpath ![]()
I was trying to follow the rules that the tool marks are along the flow line.
1 Like
Interesting. I didn’t know that was a thing.
1 Like
Yep patterning toolpaths is pretty powerful in terms of saving time on generated operations.
There are some pitfalls to watch out for in terms of collision and such so make sure to scrub your simulation to make sure nothing looks funky ![]()
This can be super useful for cutting the same thing a bunch of times out of sheet stock (especially when there’s a bunch of small 3d geometry on the part)
2 Likes
this is good, love it.
1 Like