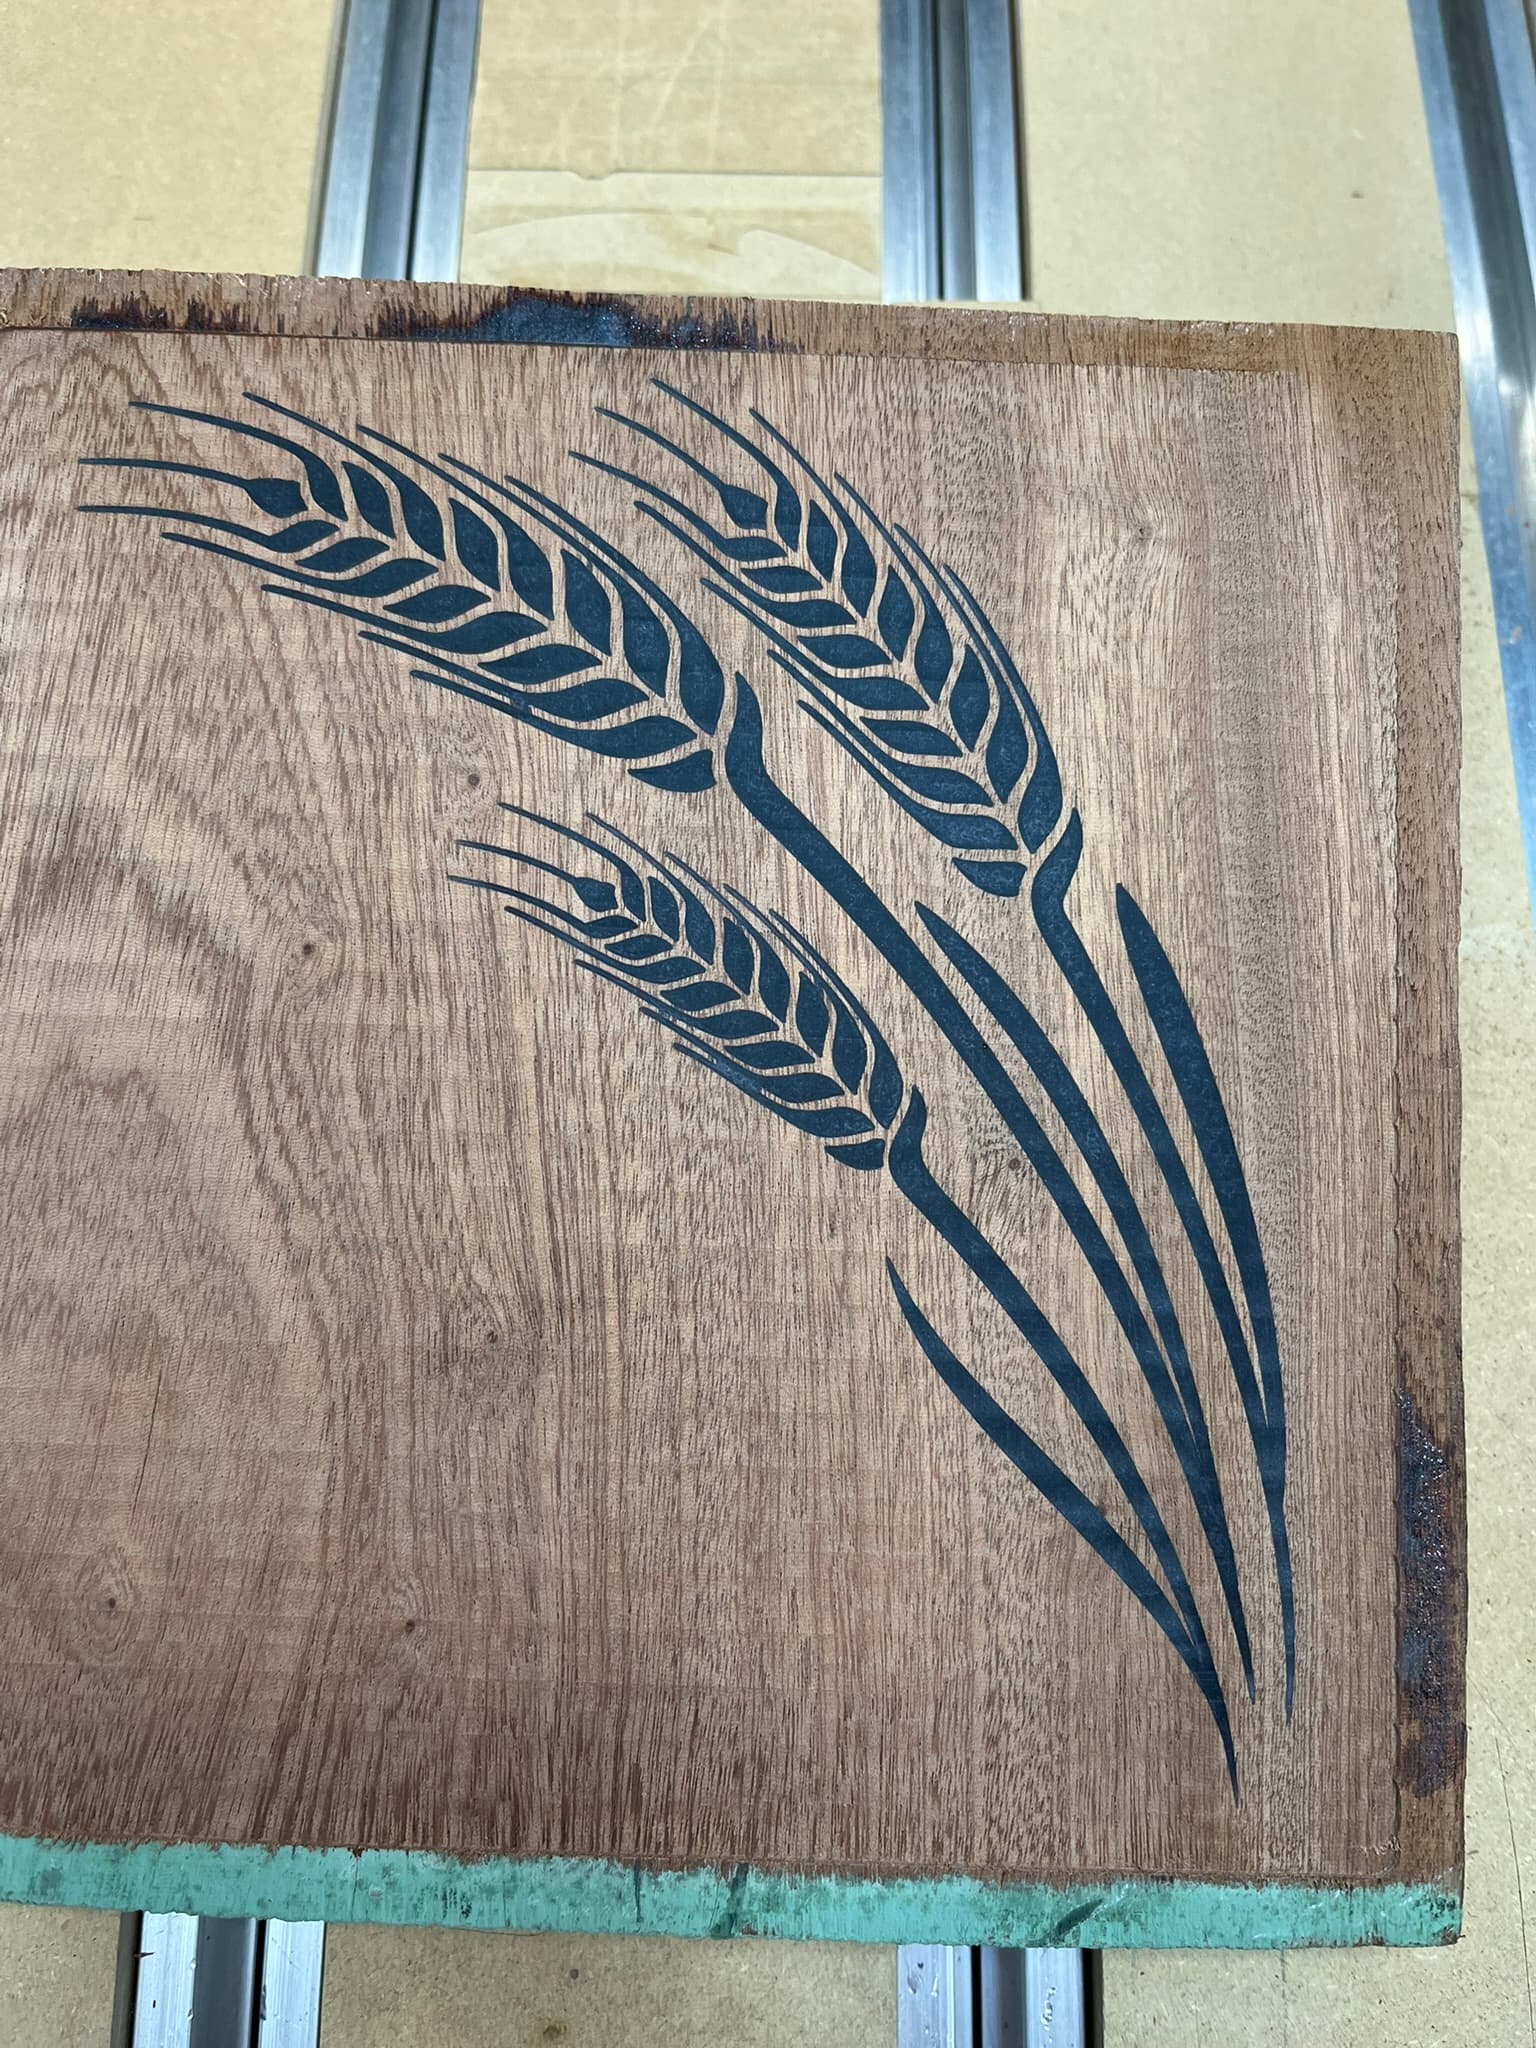
Finally decided to try an epoxy inlay this week. I bought a $20 hobby epoxy kit at the local hardware store, carved the design in a piece of scrap mahogany and this is how it turned out. A little bit of light sanding will take out the tooling marks. Using my cnc to remove the epoxy was so much easier than using my orbital sander and finish sanding by hand.
22 Likes
Is that Mahogony? ![]()
![]()
![]()
1 Like
It’s not like I have 1/2 a truck load of it left to go through… ![]()
2 Likes
Bravo, looks proper quality for a first attempt! Removing the excess epoxy by machine is 100% the way to go, doing it with a sander is such a pain and eats sanding disks.
1 Like
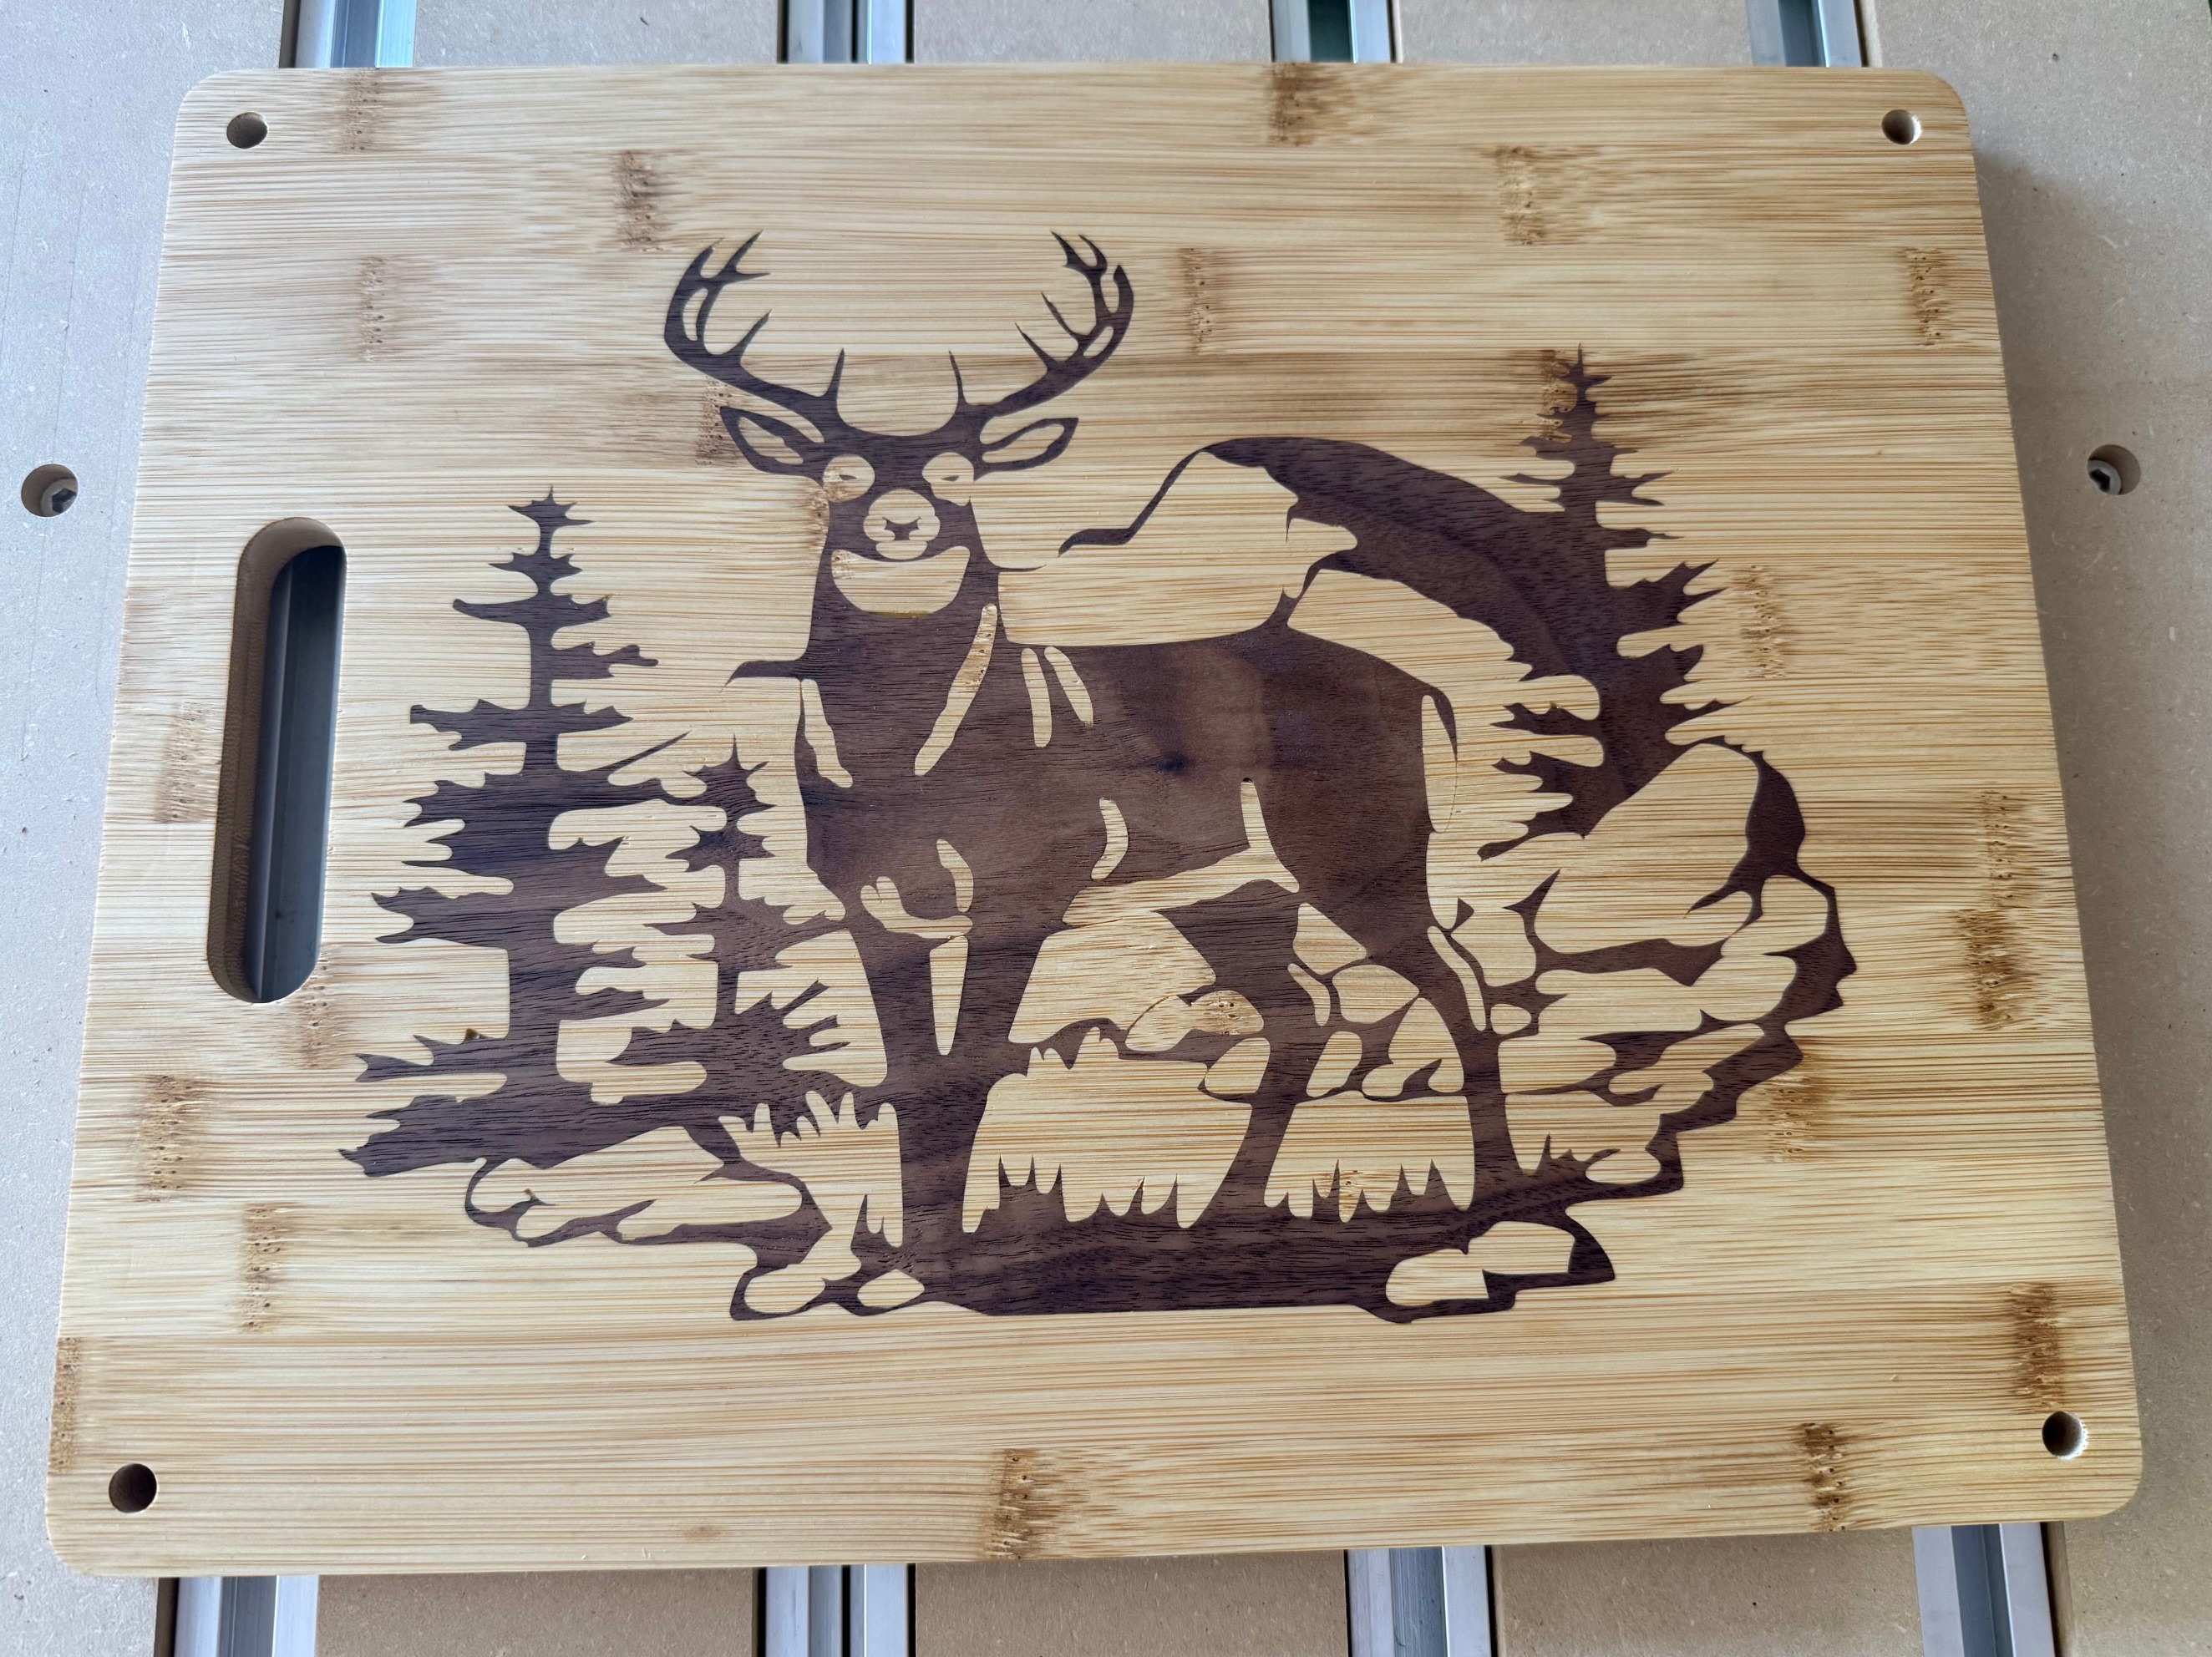
Thanks, I’m going to try another one on a bamboo cutting board. I’m not sure if I want to sand or cut it since I dont want to remove the whole top surface of the board.
Machine off as much as you can, sand the rest. I have found that if I intend to sand epoxy I let it cure several more days than normal, sand and let it rest to cool off. Sandpaper lasts a little longer.
1 Like
Oh mega top tip I have found - programme the inlay so that it is 1mm below the top surface of your stock. That will mean when pouring the epoxy, all the lines look thicker than they should, but once you surface off that 1mm of material, you’ll get lines of just the right thickness.
What I used to do was CAD model the inlay carve on the top of the stock, but after surfacing and sanding you inevitably end up removing material and often losing detail and/or thinkness from the inlay.
The above method of imagining the inlay top surface being 1mm inside your stock gives control as it starts out thick and you can take off material in small steps until everything looks just right. I normally surface down in 0.25mm steps until it looks good, or maybe a tiny bit too thick and then sand the rest of it.
Hope that makes sense. Only works if you’re using V bits. If you’re using straight cut bits, the above doesn’t make any difference!
2 Likes
I did something similar to what you are saying. In my test run I used a vbit to cut the design, filled it with epoxy and then the next day used a 201 endmill to remove the surface in .25mm layers.
When I do the bamboo cutting board the design will be on the right side of the board so I’m hoping I can remove the epoxy using the same method down to just slightly above the board surface then sand it down without having to do the whole board. If the sanded area really stands out then I guess I’ll have to give the whole board a light sanding to make it match.
1 Like
I would sand entire top surface (enough to make it match the epoxy area), this exposes the grain equally and then apply your finish of choice. This does two things, seals the grain for moisture evenly and allows a consistent finish application for color or shading considerations.
4 Likes
I’m learning that I should probably try more wood inlay. So much good work showing up recently.
Nice job ![]()
Thank you, it is so rewarding to watch that last mm of stock removal to see the inlay magically appear.
1 Like
Wow after seeing all the inlay work being done, I was inspired to attempt…
CC v833 (Free), CM 640 using an S3XXL with Z-Plus
Both parts are pine, base was stained in advance to better highlight inlay.
Font is Cinzel Decorative…as you can see tale of the S had an issue with plug…hardwood may have resulted in a better/complete plug.
I followed Winston Moy’s youtube for setup using .125" and 60 degree Vbit.
No special offsets or anything, just followed Winston’s recommendations and
bit parameters.
Thanks for all the inspiration, confidence is growing!

11 Likes
I recently tried my hand at a few clocks to be donated at work so they could be rallied off. The clocks are made from some standard pine stool top blanks you can purchase from Lowes for around $10. The colors inside the team insignia had to be hand painted along with the clock hands which were 3D printed. I’m not really very good at the whole detail painting thing, took so much more time that the actual cutting on the Pro5

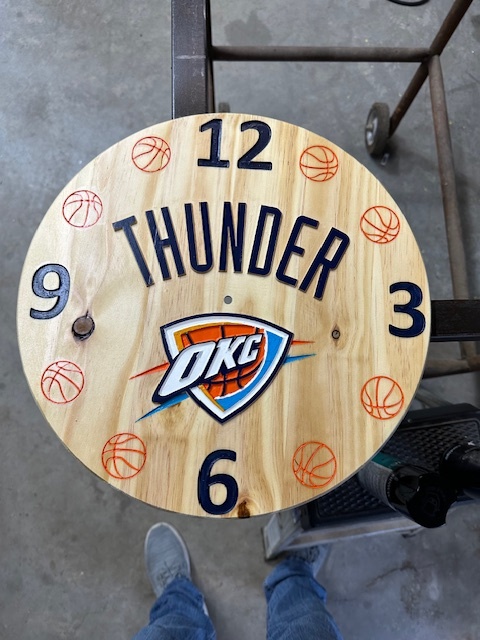
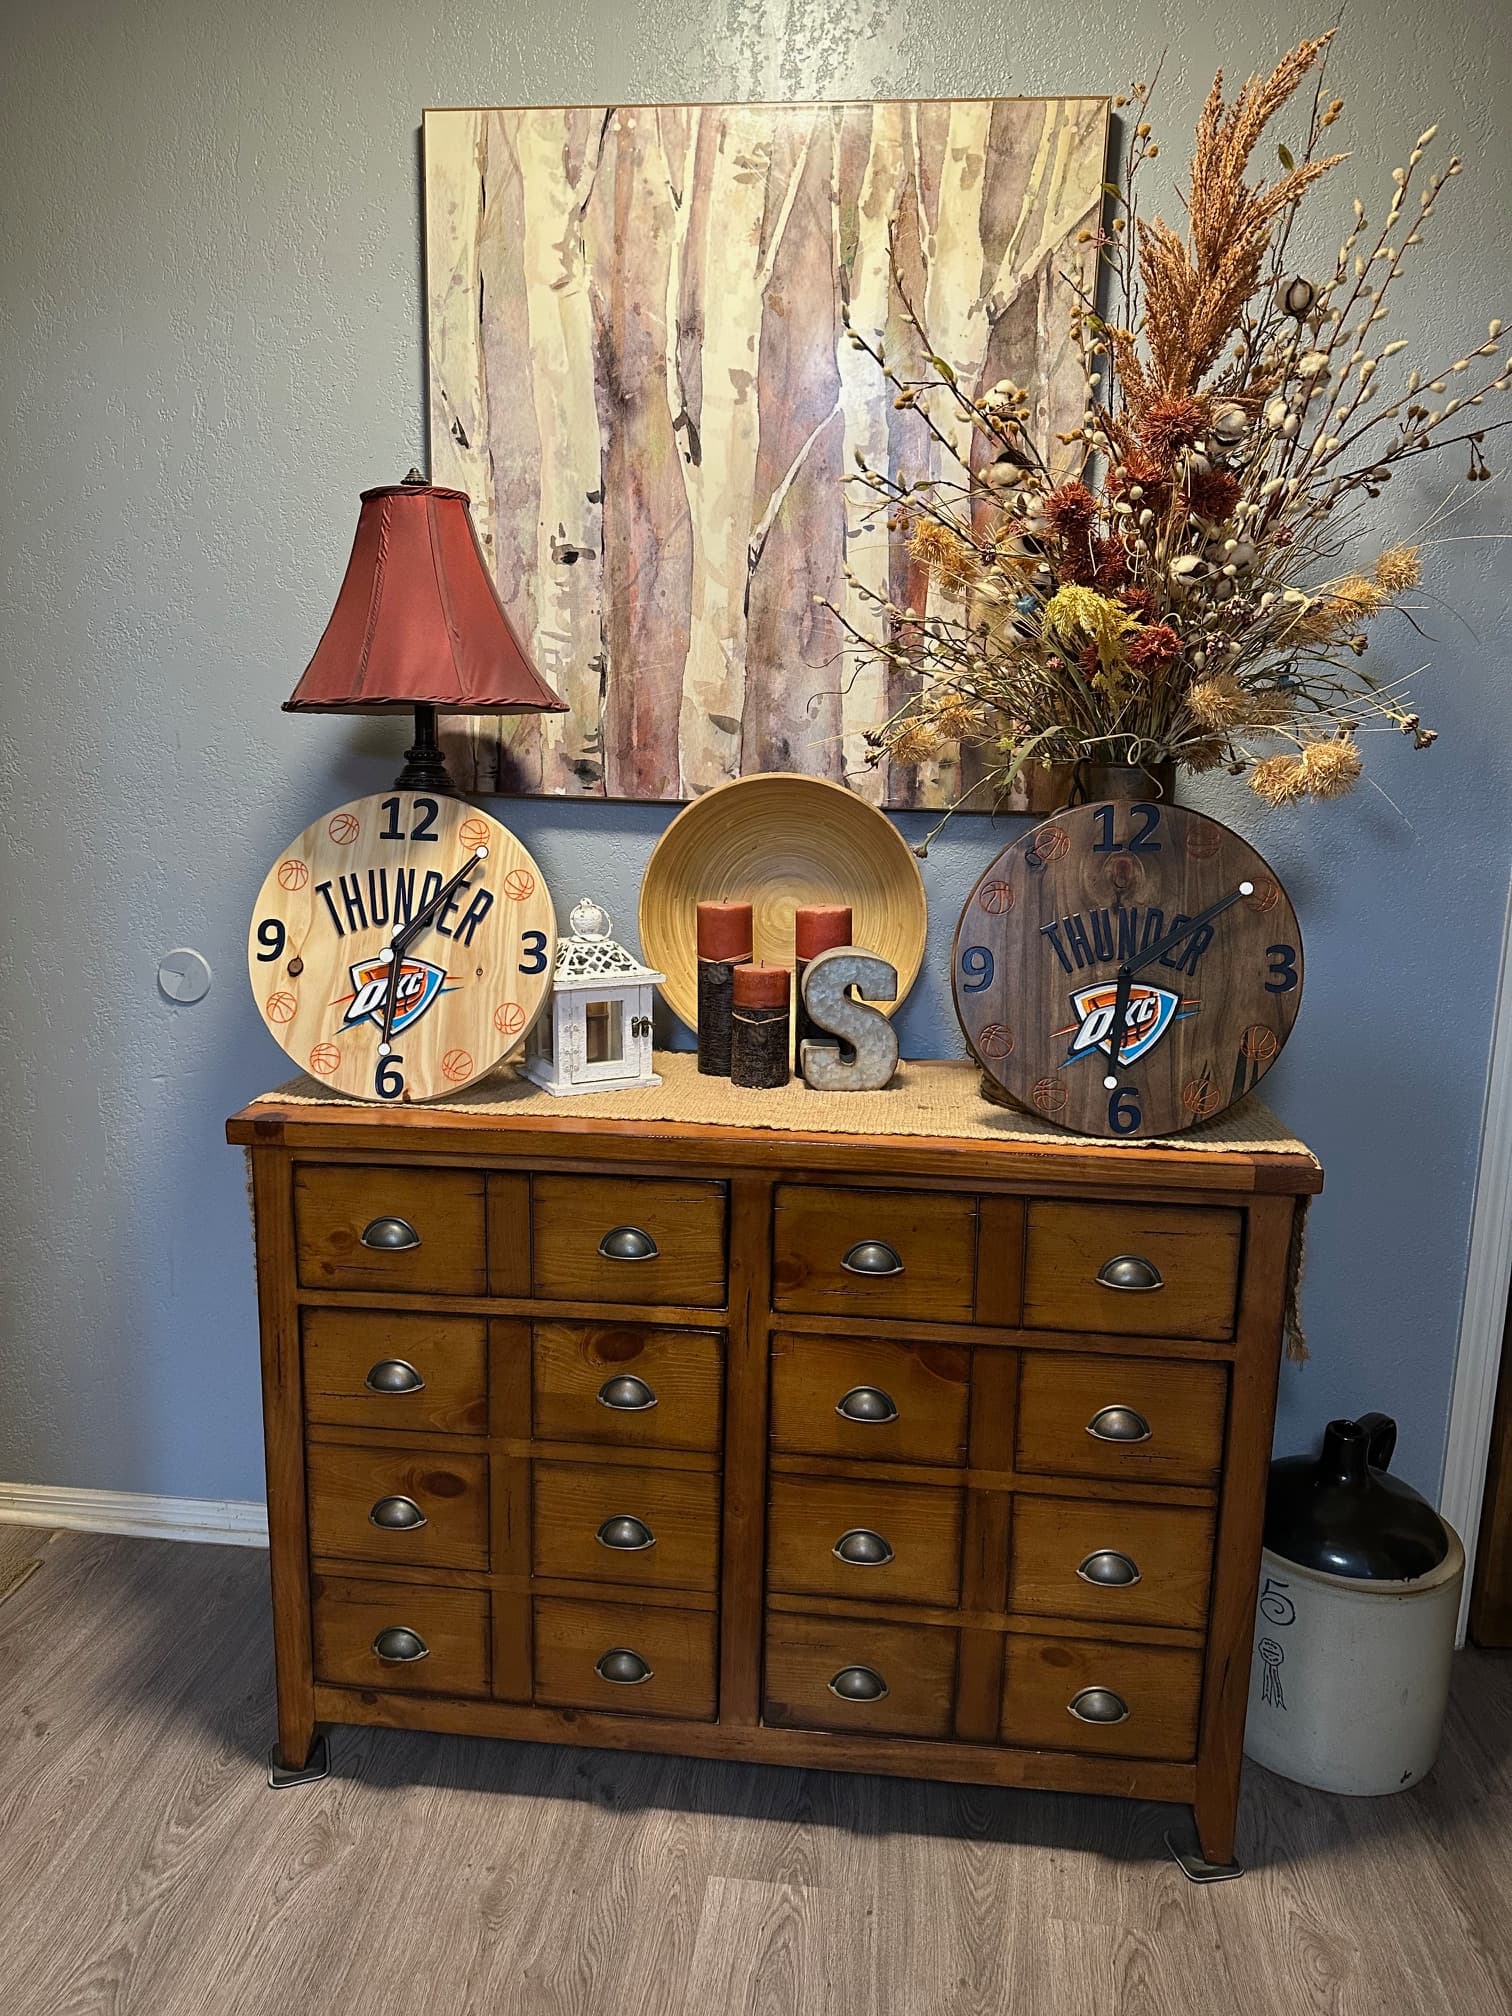
. Overall, I think they came out okay. I think the unstained one came out the best.
18 Likes
Painting look good, Mike.
Not tell those guys to be nice to my Timberwolves next year.
1 Like
Nice work. I agree that the lighter colored one is better. The primary purpose of a clock is to tell time. If you have to squint your eyes to see what time it is then the clock is not that useful. It is a live and learn world. Often in woodworking what seems like a great idea turns out to not be so great. However the good news is you learned something in the doing and that is important in your journey through the CNC and woodworking world.
2 Likes
Using a grey scale image will help determine if the colors will “stickout”.
1 Like
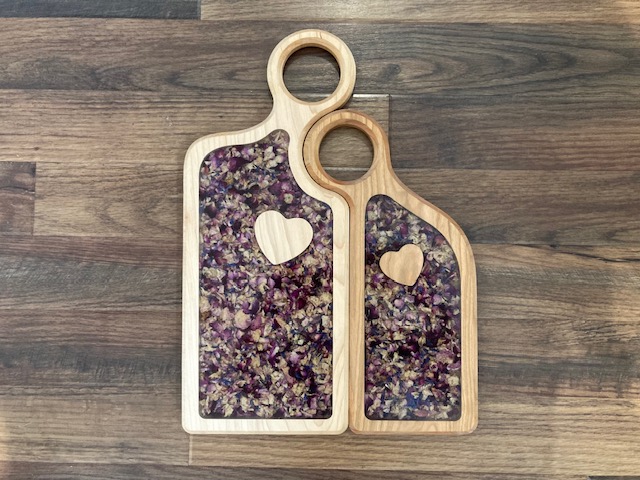
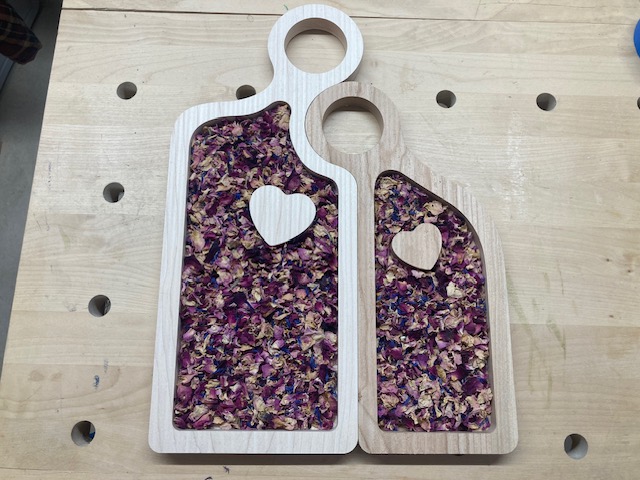
My friends got married recently and they had loads of confetti flowers left over so I made them this “Romeo & Juliet” style charcuterie board set with the flowers preserved inside. Really pleased how they came out and have delivered this gift to the happy couple. I also made some coasters with the wedding flowers but let’s not talk about that as they turned out awfully ![]()
I’m trying to record my projects now so I’ve got a video of the build - hopefully a good watch but you can be the judge of that! Link: https://www.youtube.com/watch?v=BpiENWoa54Y
Here’s the complete gift after the machining, epoxy, a pass on the router to add a chamfer, and then a few coats of oil to finish.
Here it is part way through where I’ve cut the wood on the CNC and put the flowers in ready for the epoxy pour.
31 Likes
Great mix of art and design
2 Likes
That’s kind, I’m glad you think so ![]() It’s a fairly easy and meaningful project to do as a gift. Much better than throwing the flowers in the bin after the wedding!
It’s a fairly easy and meaningful project to do as a gift. Much better than throwing the flowers in the bin after the wedding!
1 Like