Very nice and good job with your video. I am sure the happy couple will be very pleased with their gift.
1 Like
How are you going to anchor the flowers. When you pour epoxy they will rise to the top and likely float. You could spray some spray adhesive in the bottom and then put the flowers in. Likely some will still float but most will be adhered at the bottom. Be sure to mask off your perimeter if you spray adhesive like 3m #77 or #99. That way you wont get adhesive and/or flowers stuck to the rim of your piece. After the flowers are in place you can peel off painters tape and take any stuck on flowers with the tape.
2 Likes
@gdon_2003 Ha! I should have spoken to you beforehand because I made exactly this mistake and had to chuck them out - recorded that sad moment in the video ![]() I ended up doing a very shallow pour to anchor all of the flowers in place (but not make them float) and then a second pour 24 hours later to get the full pour depth. I should have thought about the floating the first time but it never even crossed my mind!
I ended up doing a very shallow pour to anchor all of the flowers in place (but not make them float) and then a second pour 24 hours later to get the full pour depth. I should have thought about the floating the first time but it never even crossed my mind!
3 Likes
Very nice idea of pairing these two!
They look great! Nice work!
1 Like
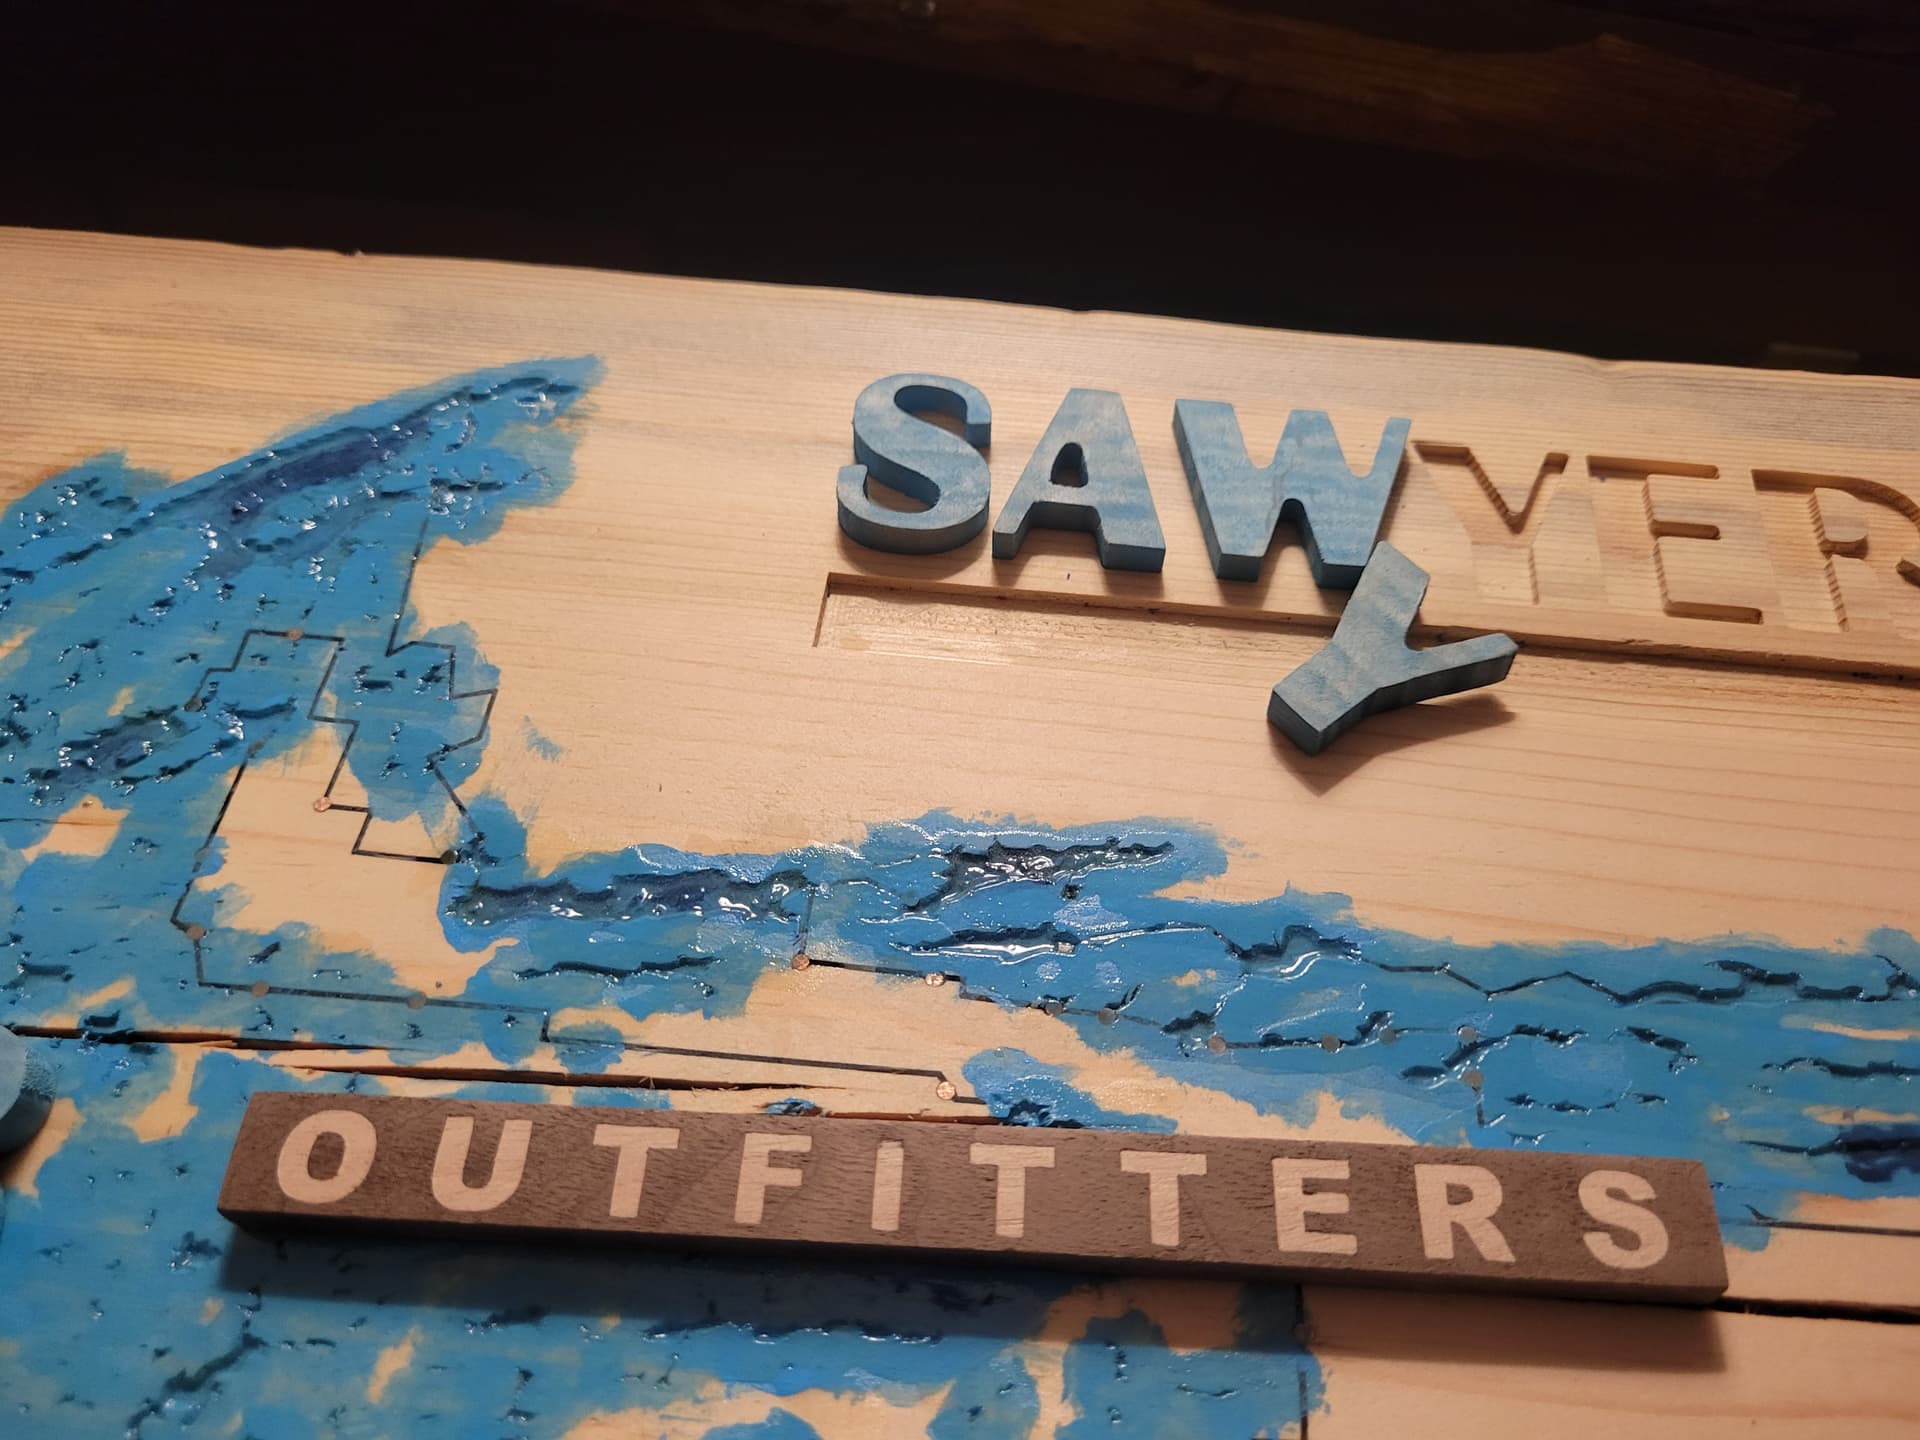
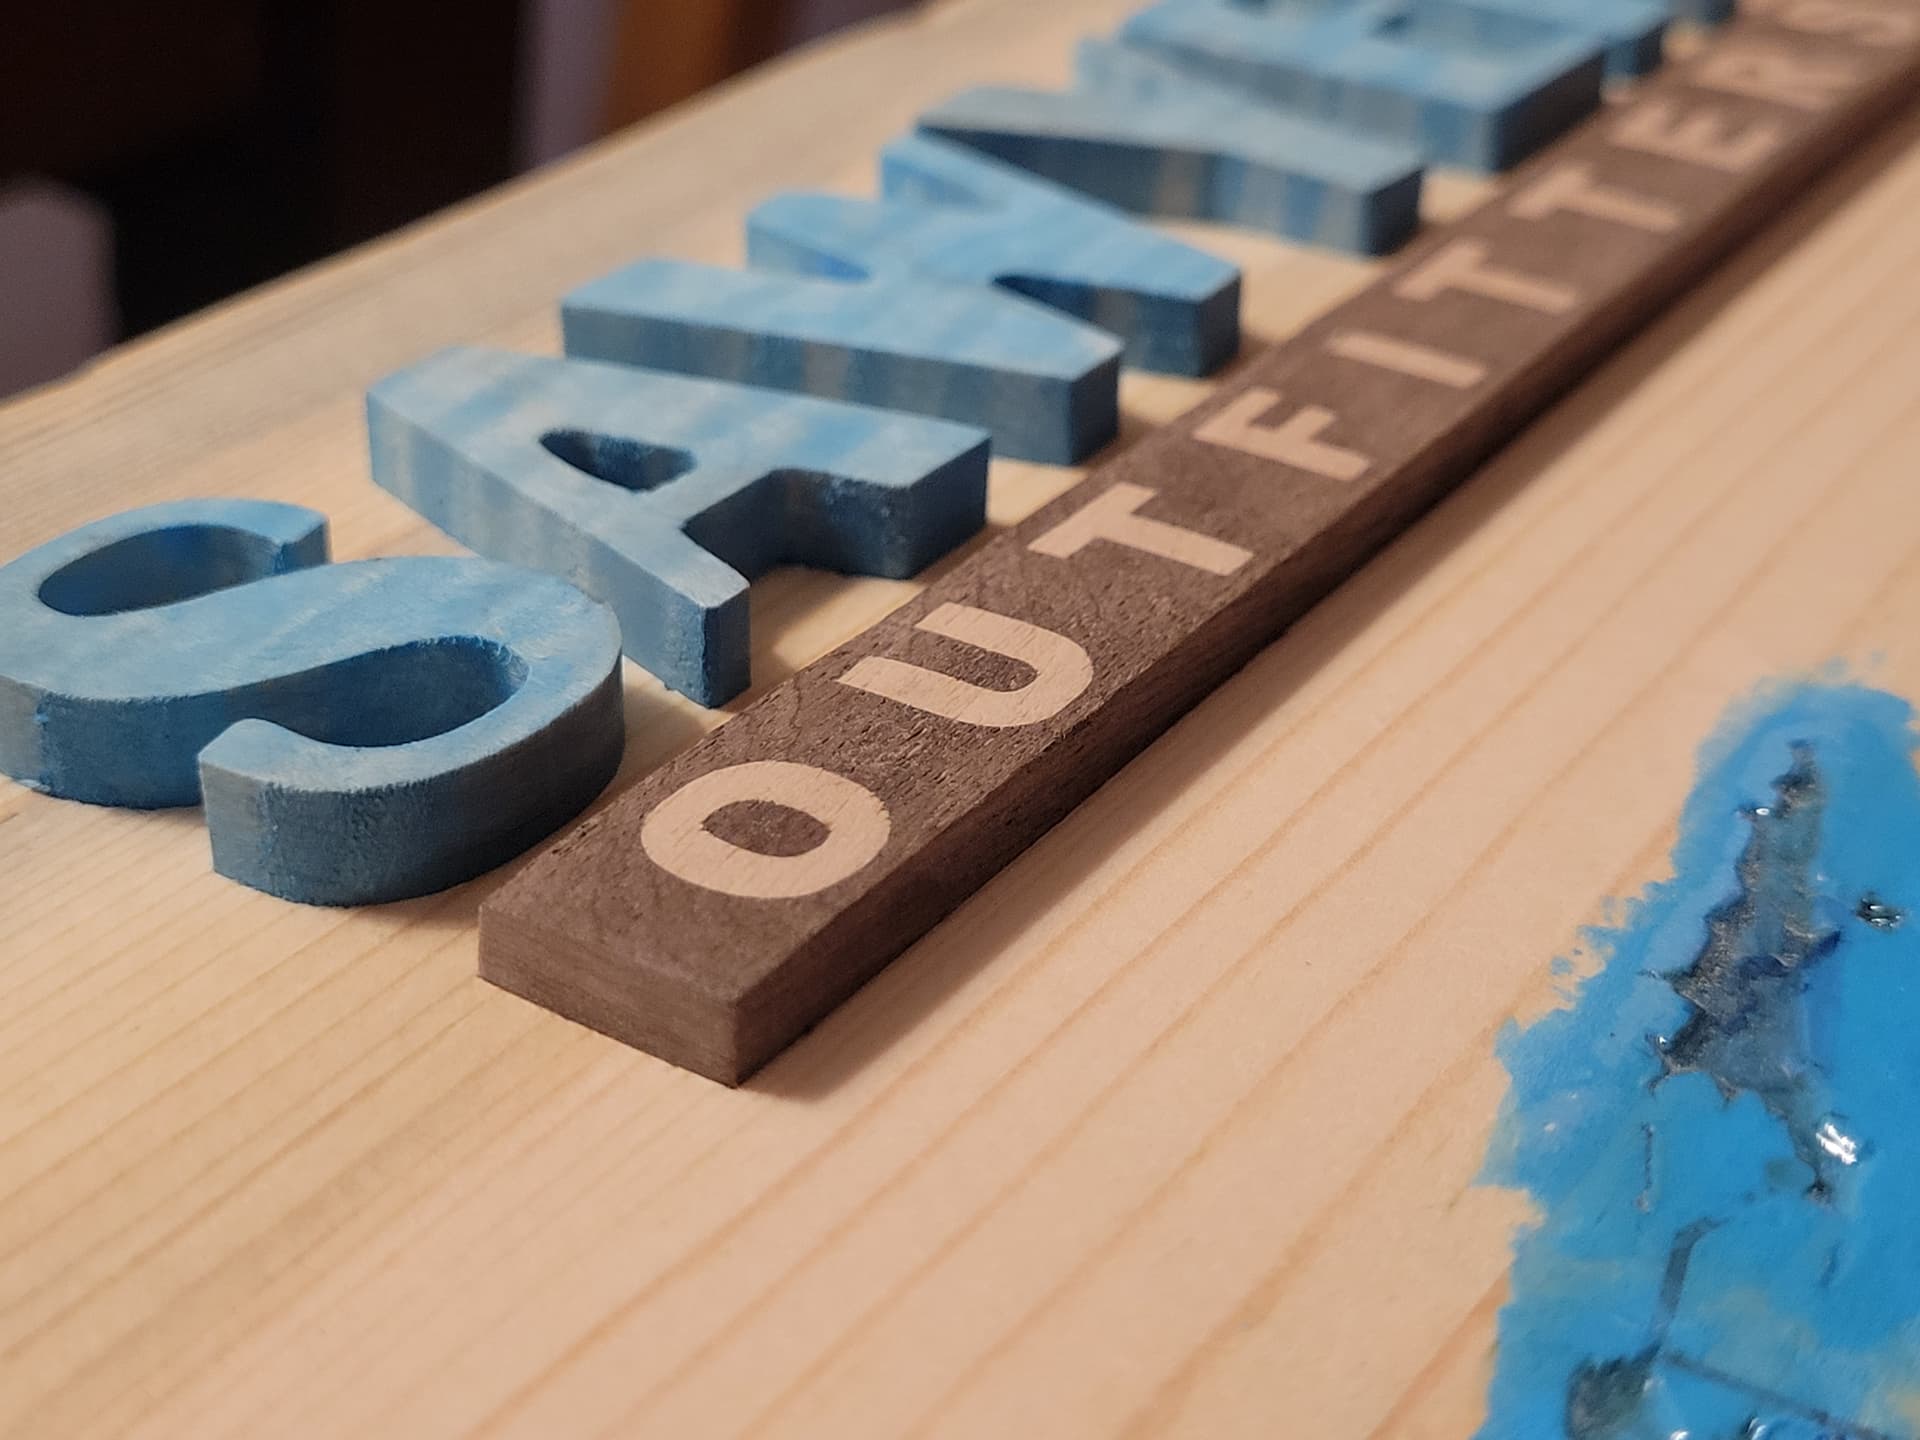
I’ll make a thread soon when this project is all the way done, but I want to share today’s success.
White pine slab.
Walnut with birch inlayed.
Quilted maple letters dyed blue.
All inlays, not glue.
20 Likes
Looking forward to that post, that’s a clean looking sign ![]()
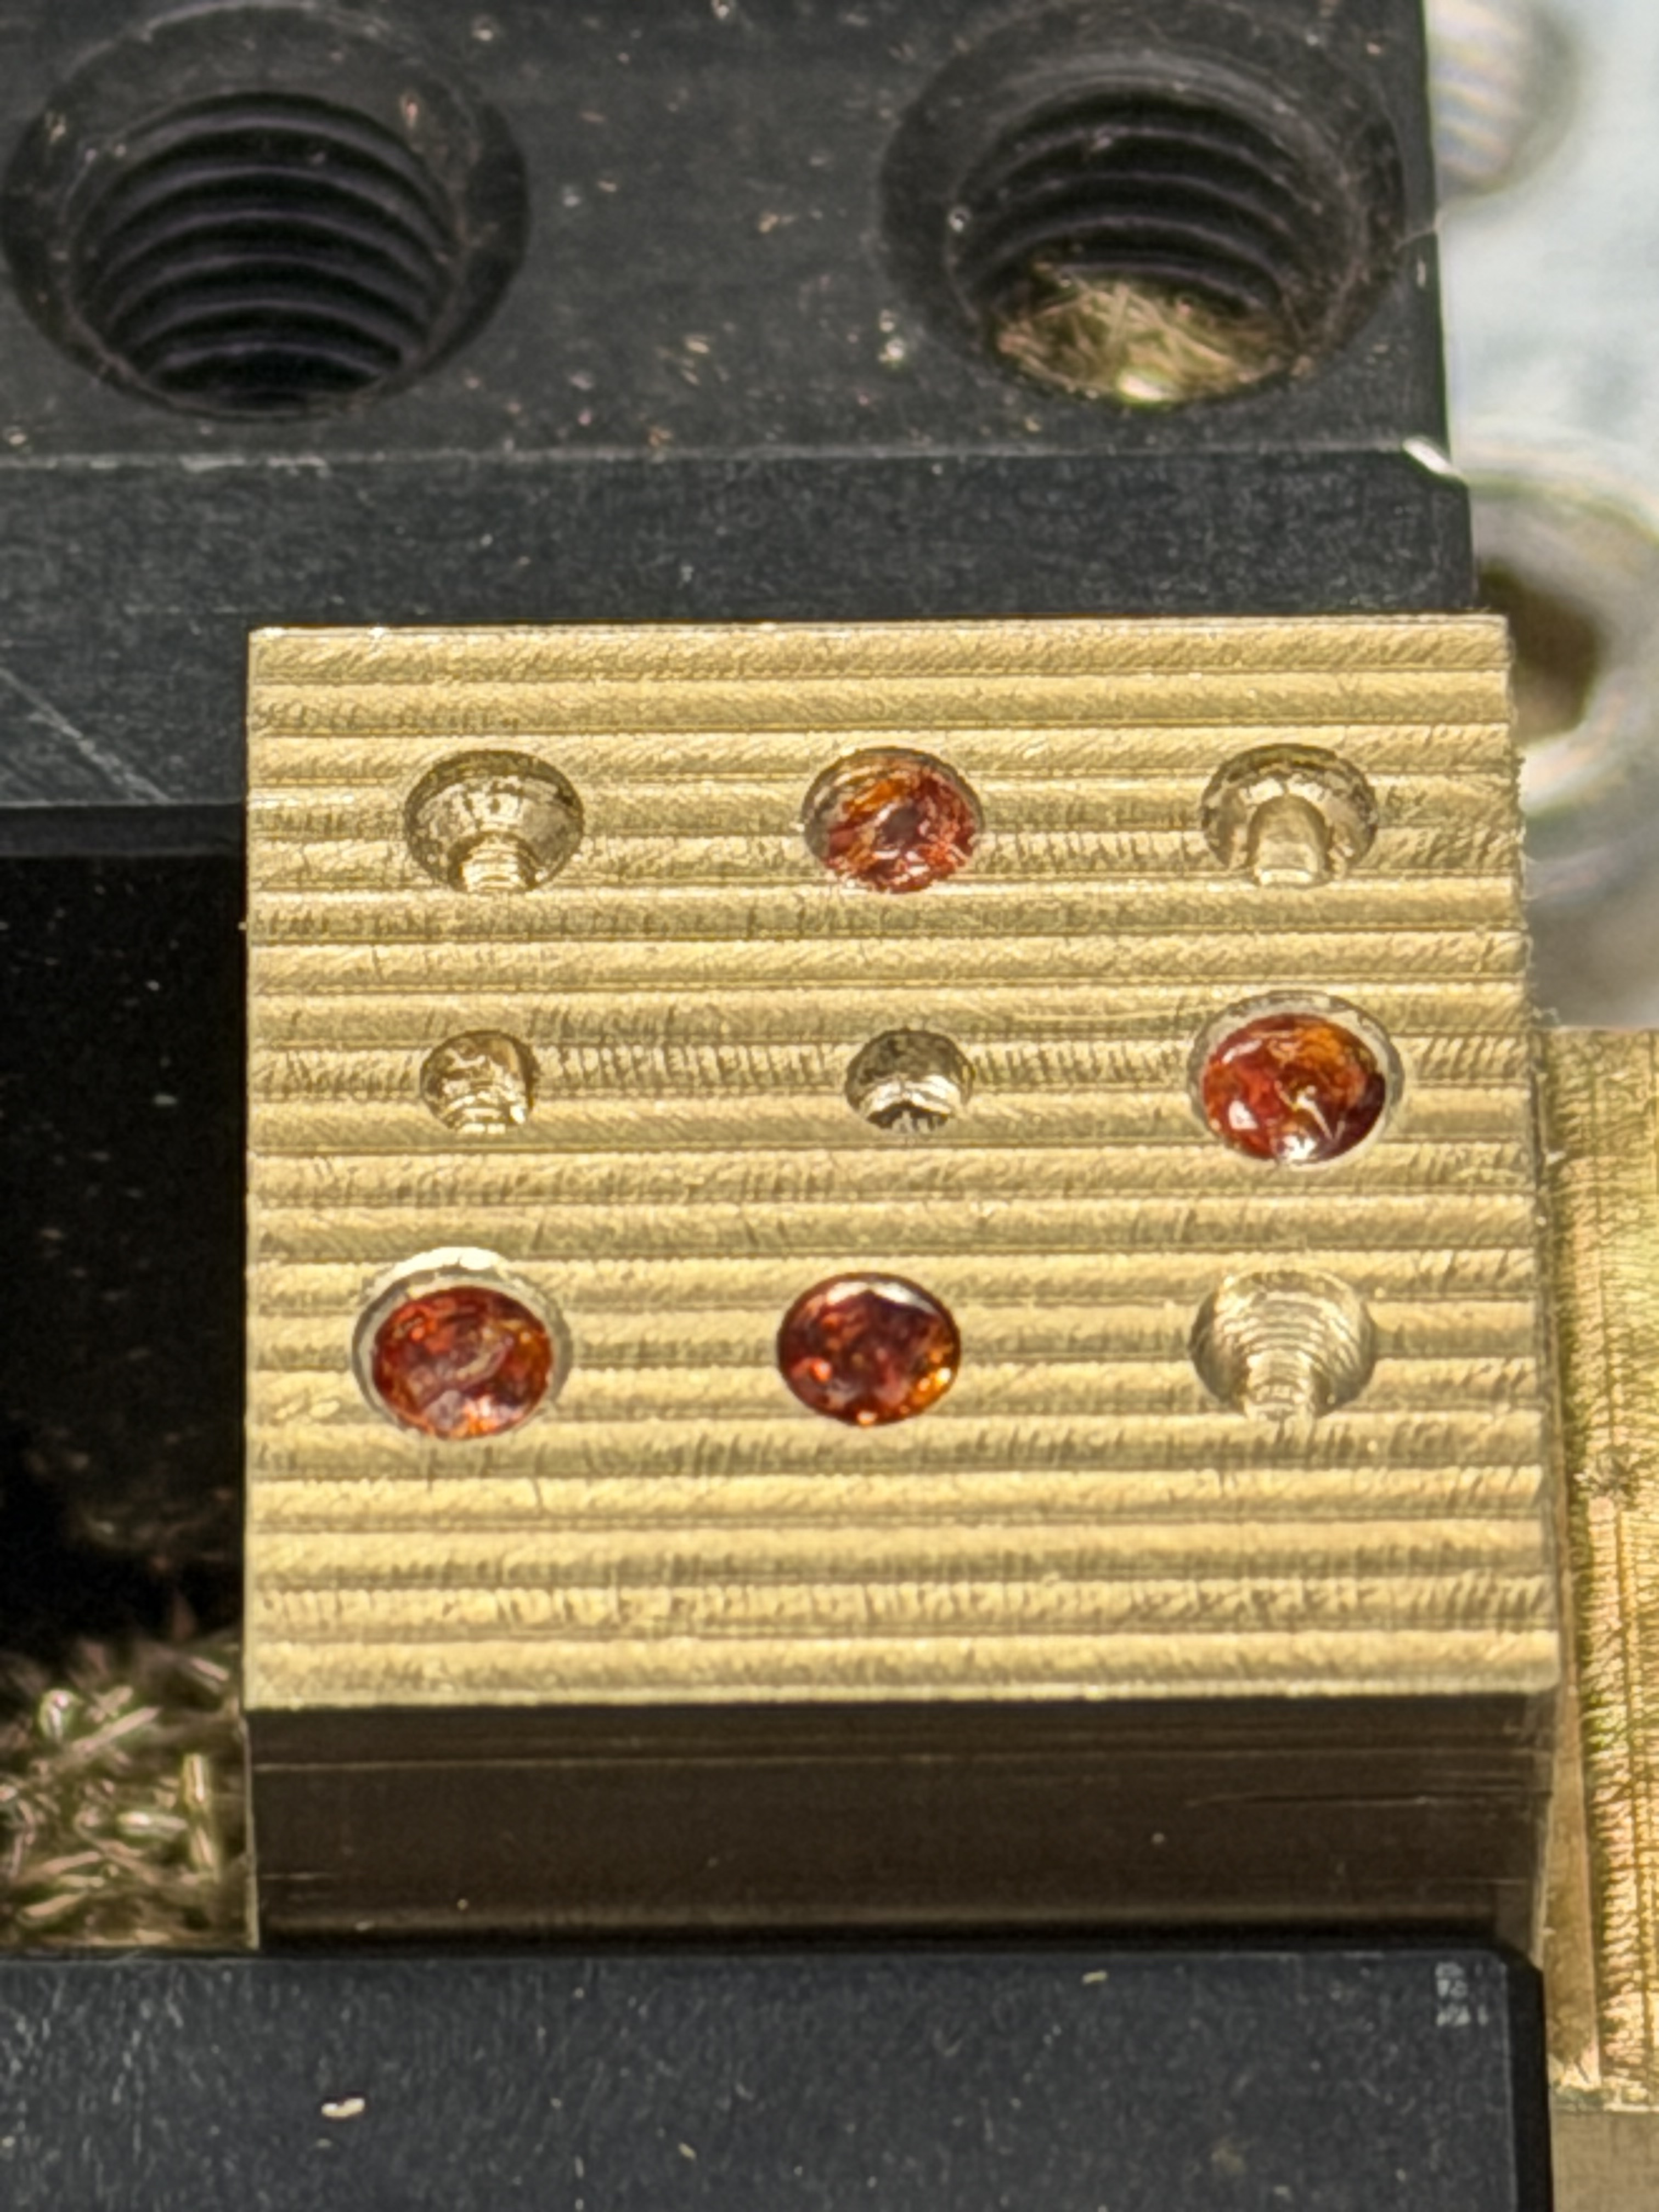
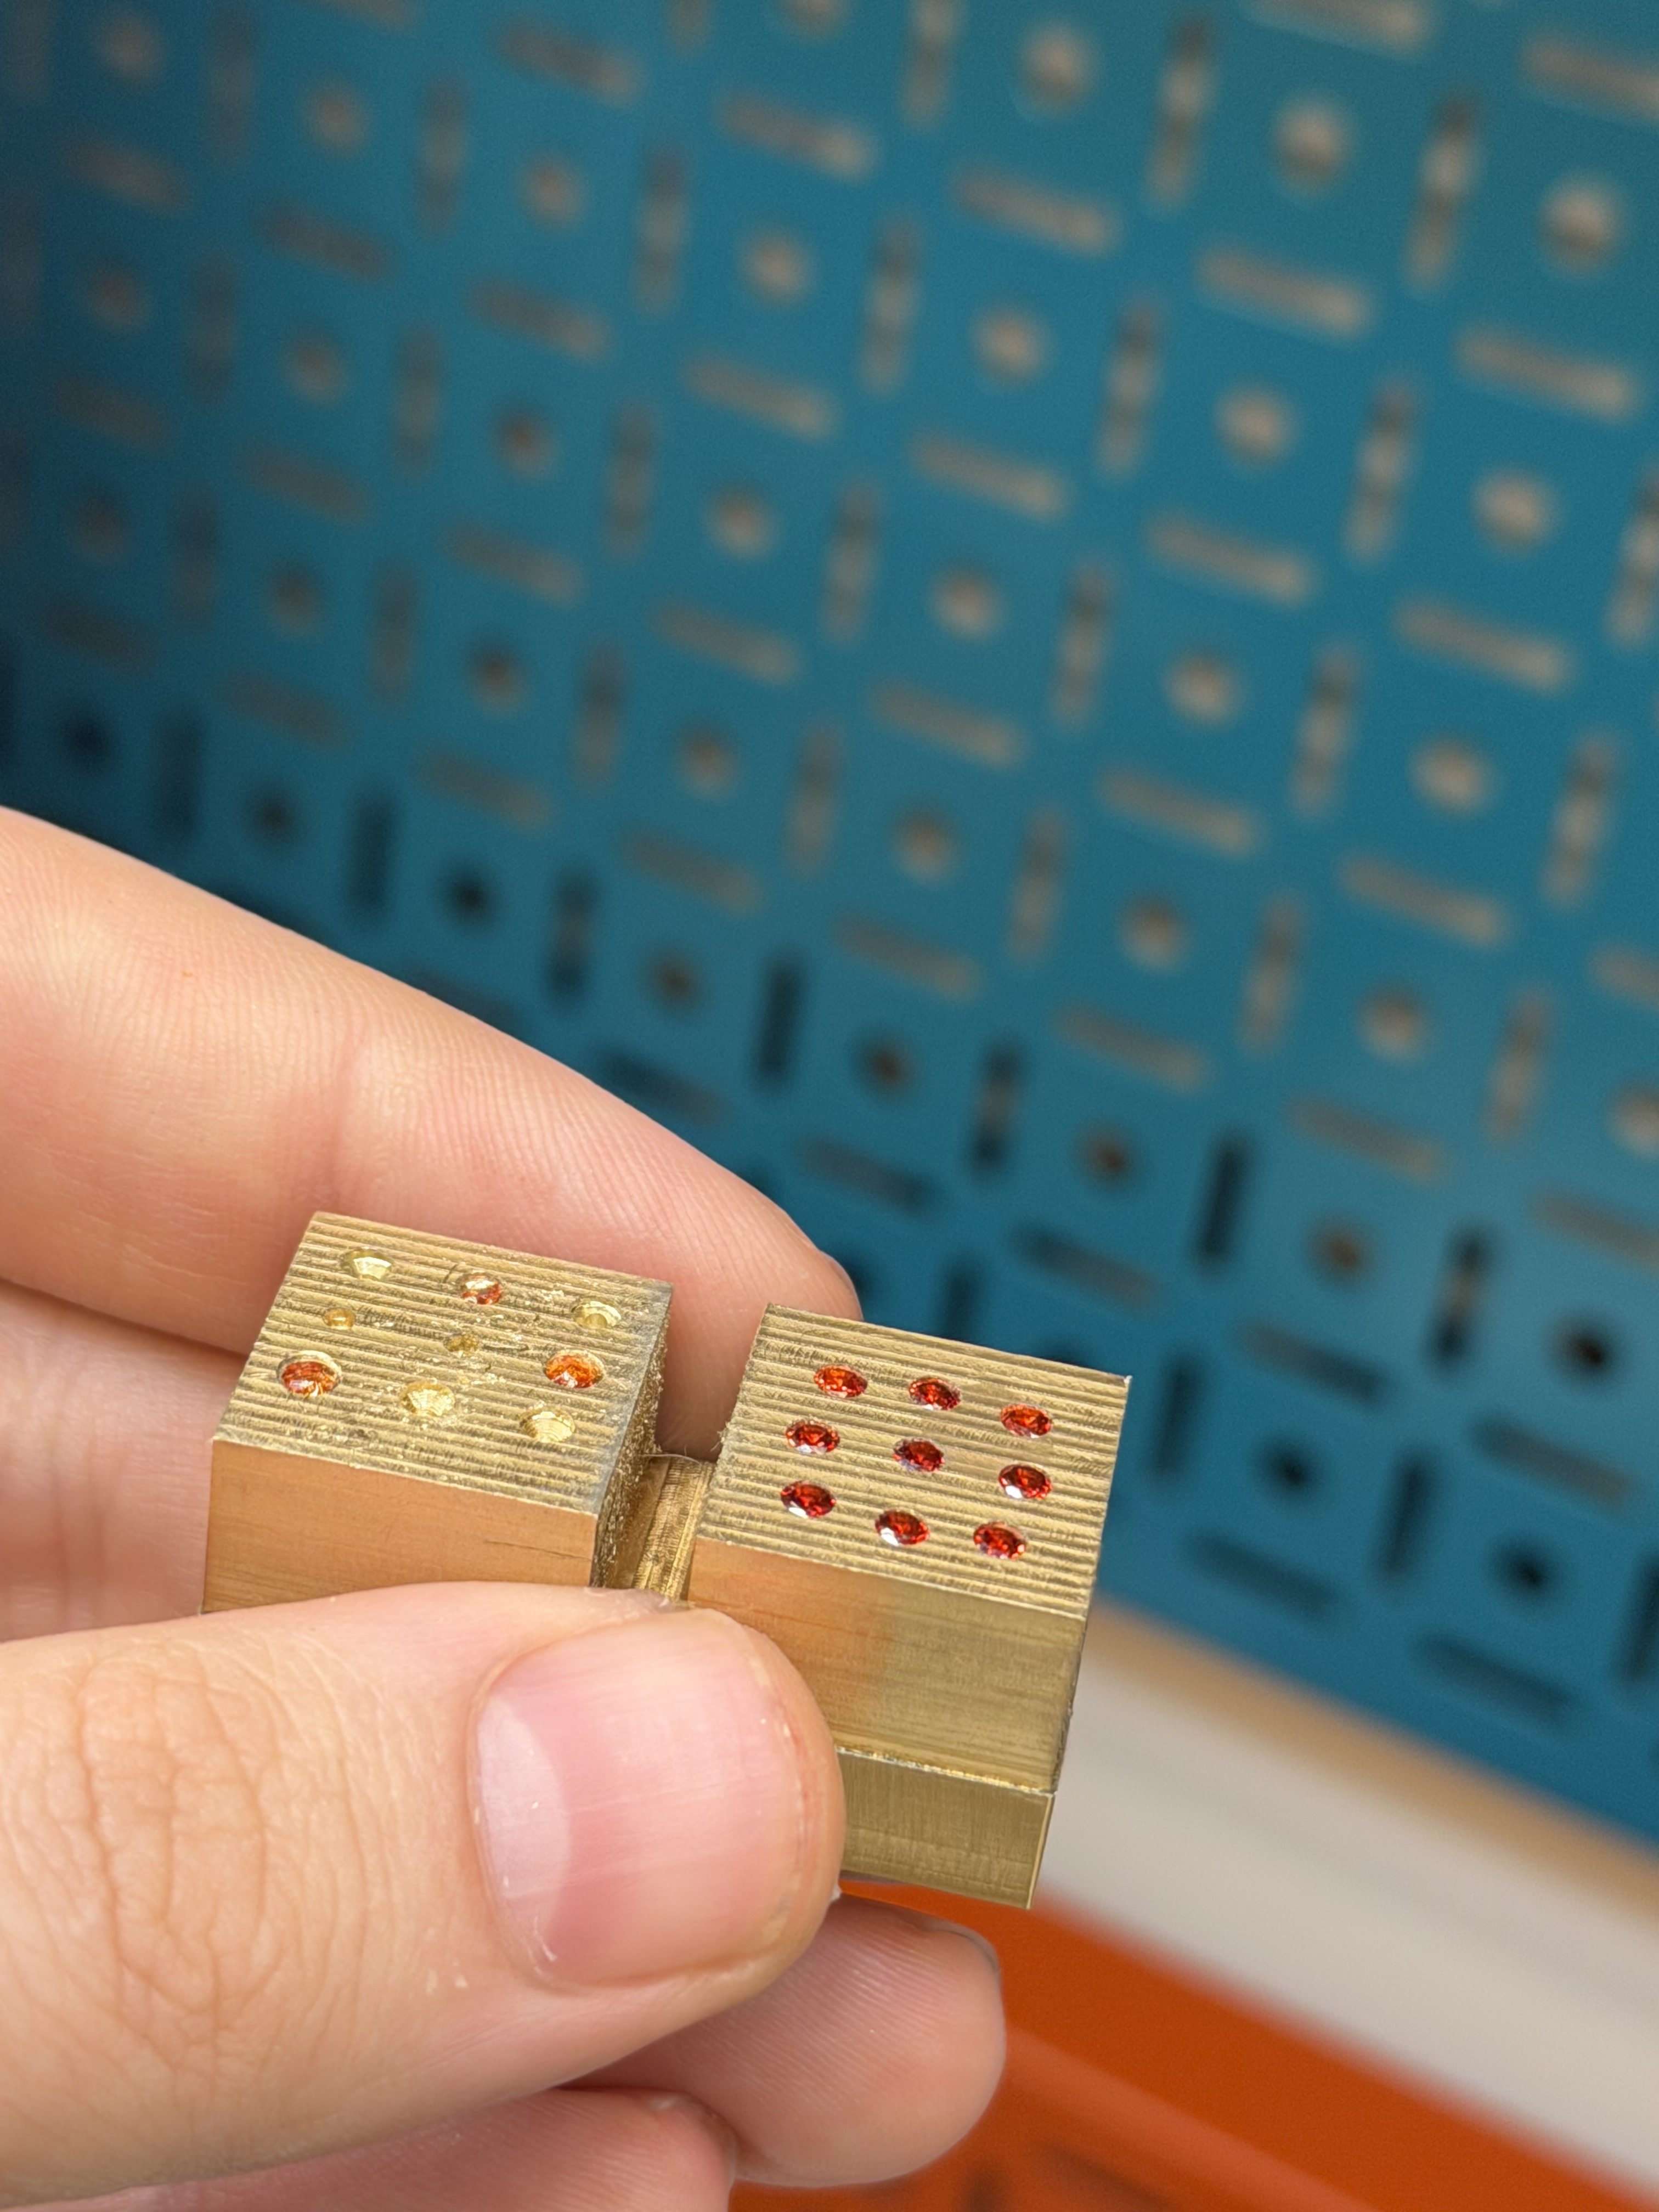
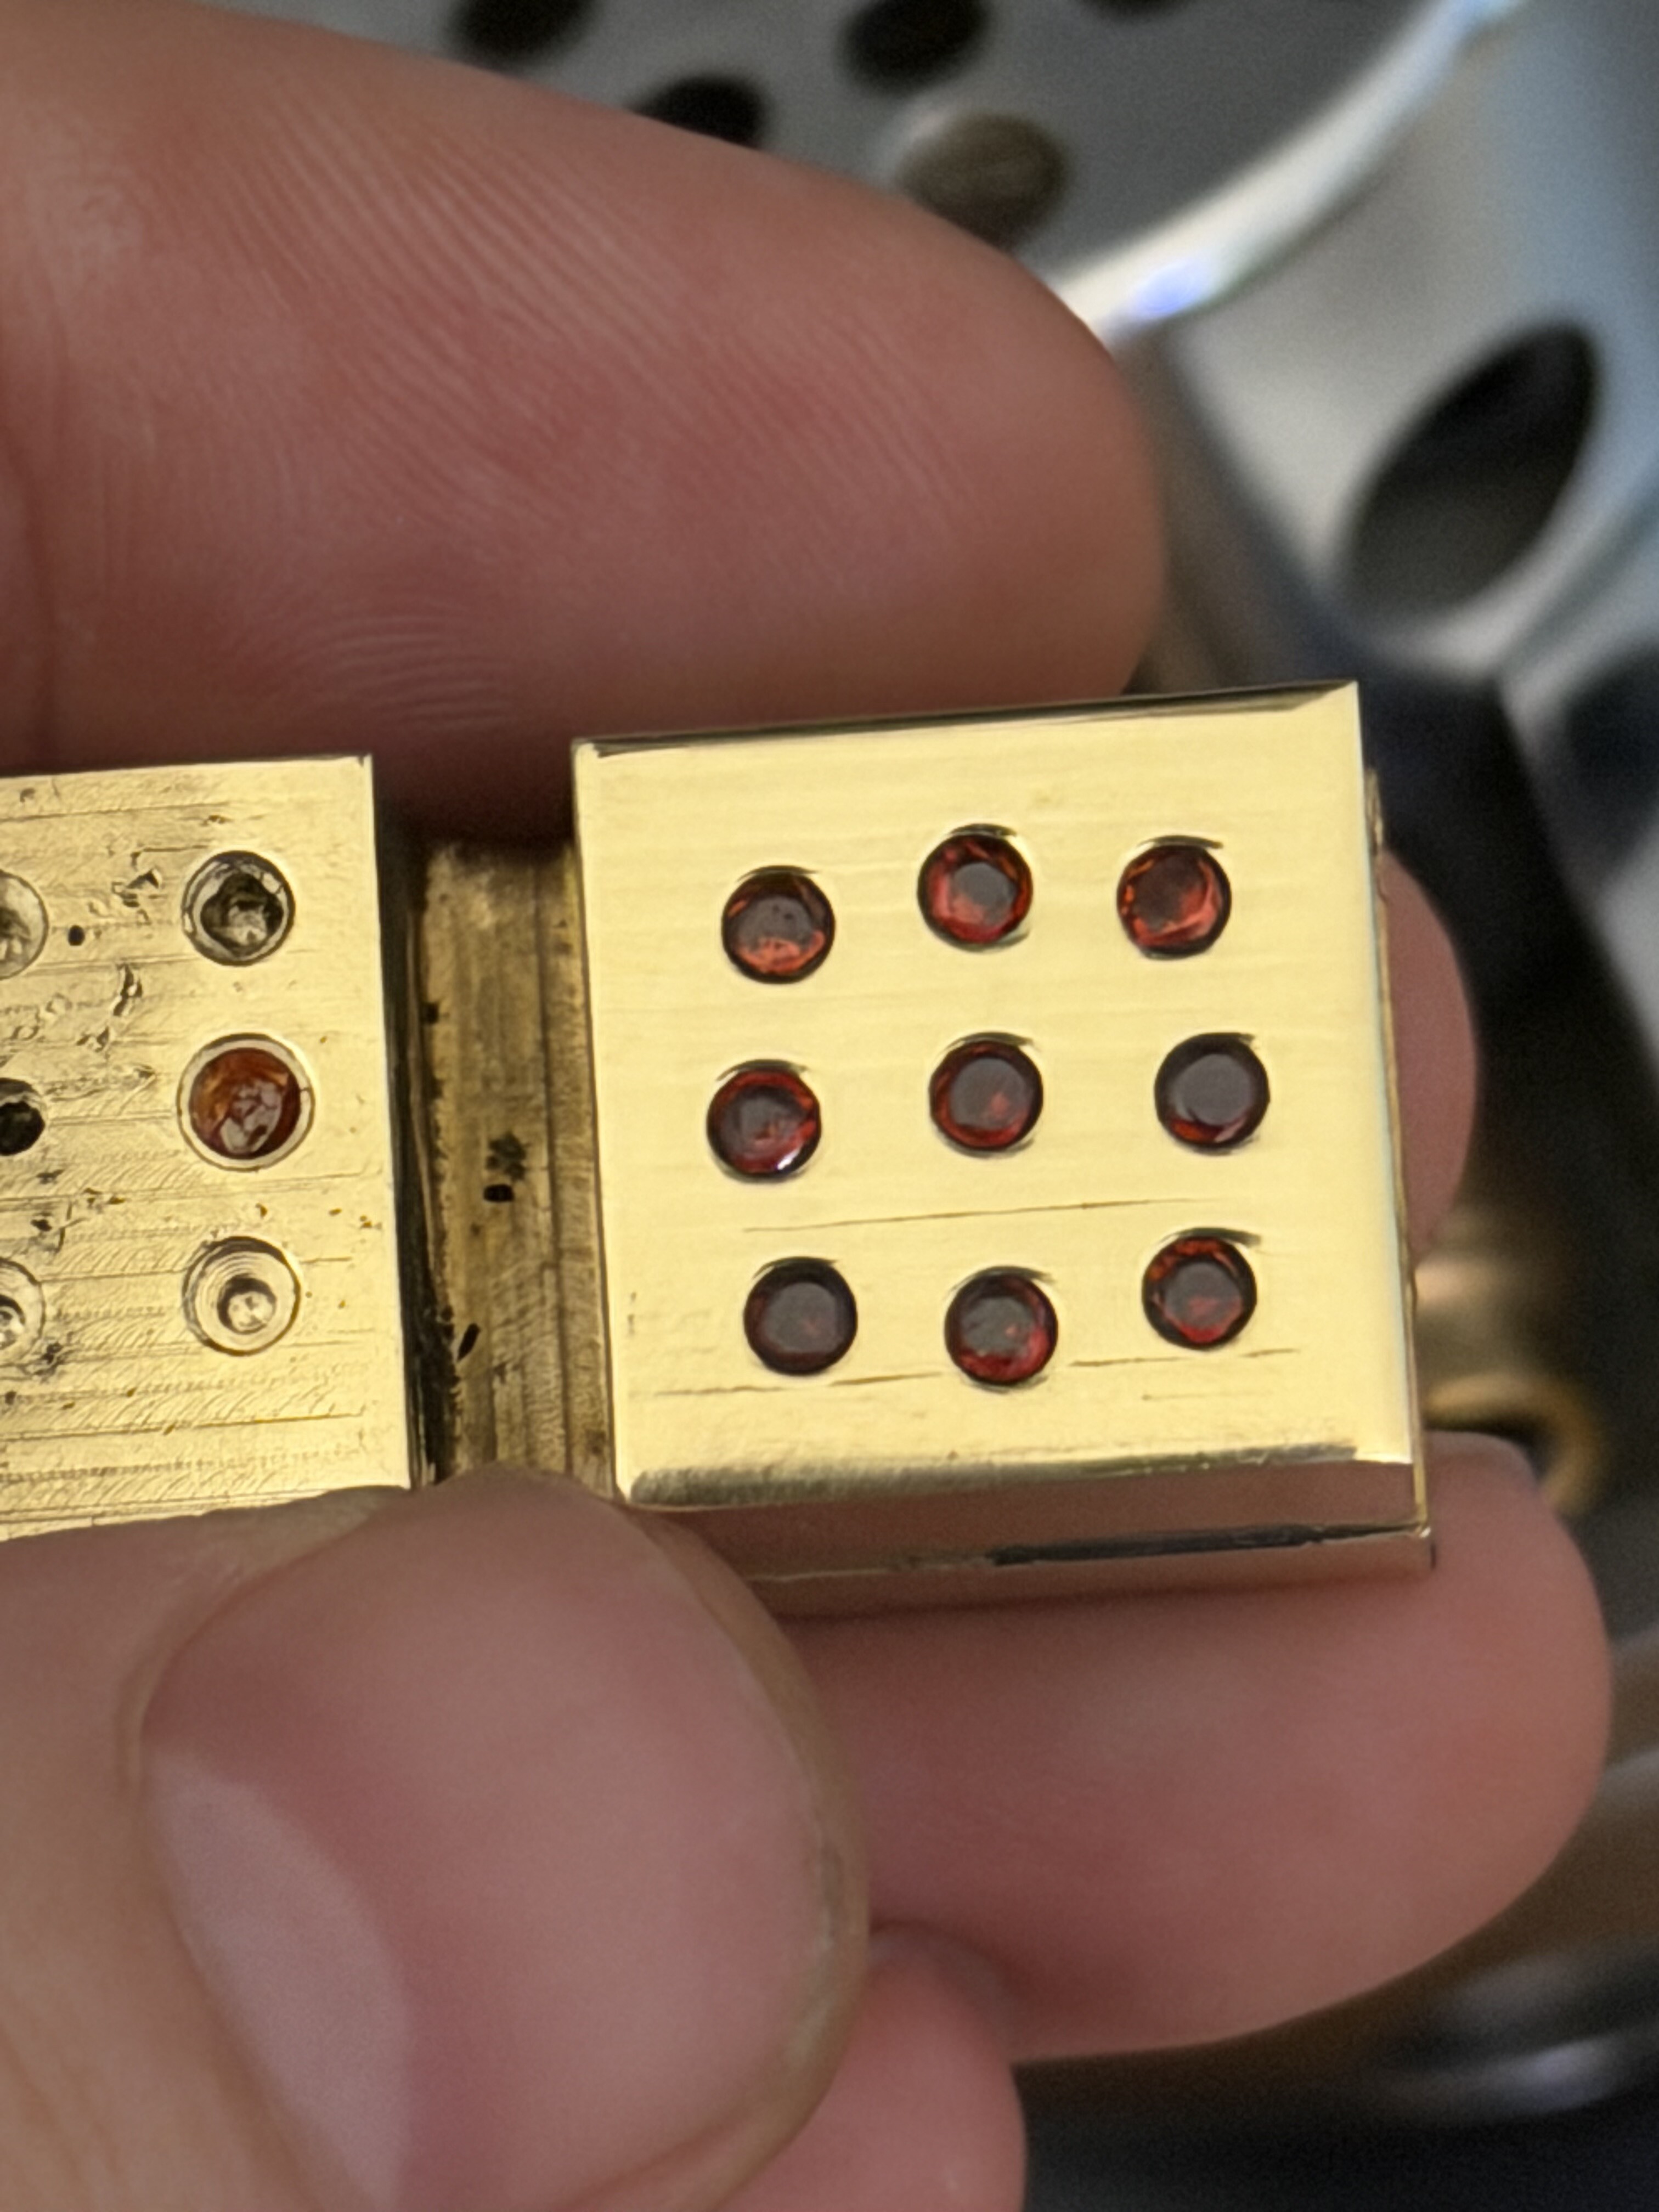
I’ll have a post coming soon too for press fitting cubic zirconia in brass 464. Hard brass and brittle CZ don’t like each other. If things aren’t just right the CZ explodes.
Previously I’d roughly mill the setting and finish it with a hand burr but I was on a mission to set it right off the machine, no hand work. After 9 attempts to figure out tolerance and depth, it worked out just swell.
Doesn’t look incredible but it’s a start for sure ![]()
13 Likes
Love this project and the video. You’ve got a new YouTube subscriber!
1 Like
I applaud your continued ventures into machining and combining different materials and the persistent progression of fabrication. Well done!
1 Like
Thank you kindly! Really pleased you enjoyed it, thanks for taking the time to watch it ![]()
Nice! Delicate work for sure
Looking forward to seeing the finished product! The lettering looks awesome!
For that tail of the “S” to work, you’d need to use a narrower V bit. IE, a 15-degree bit.
2 Likes
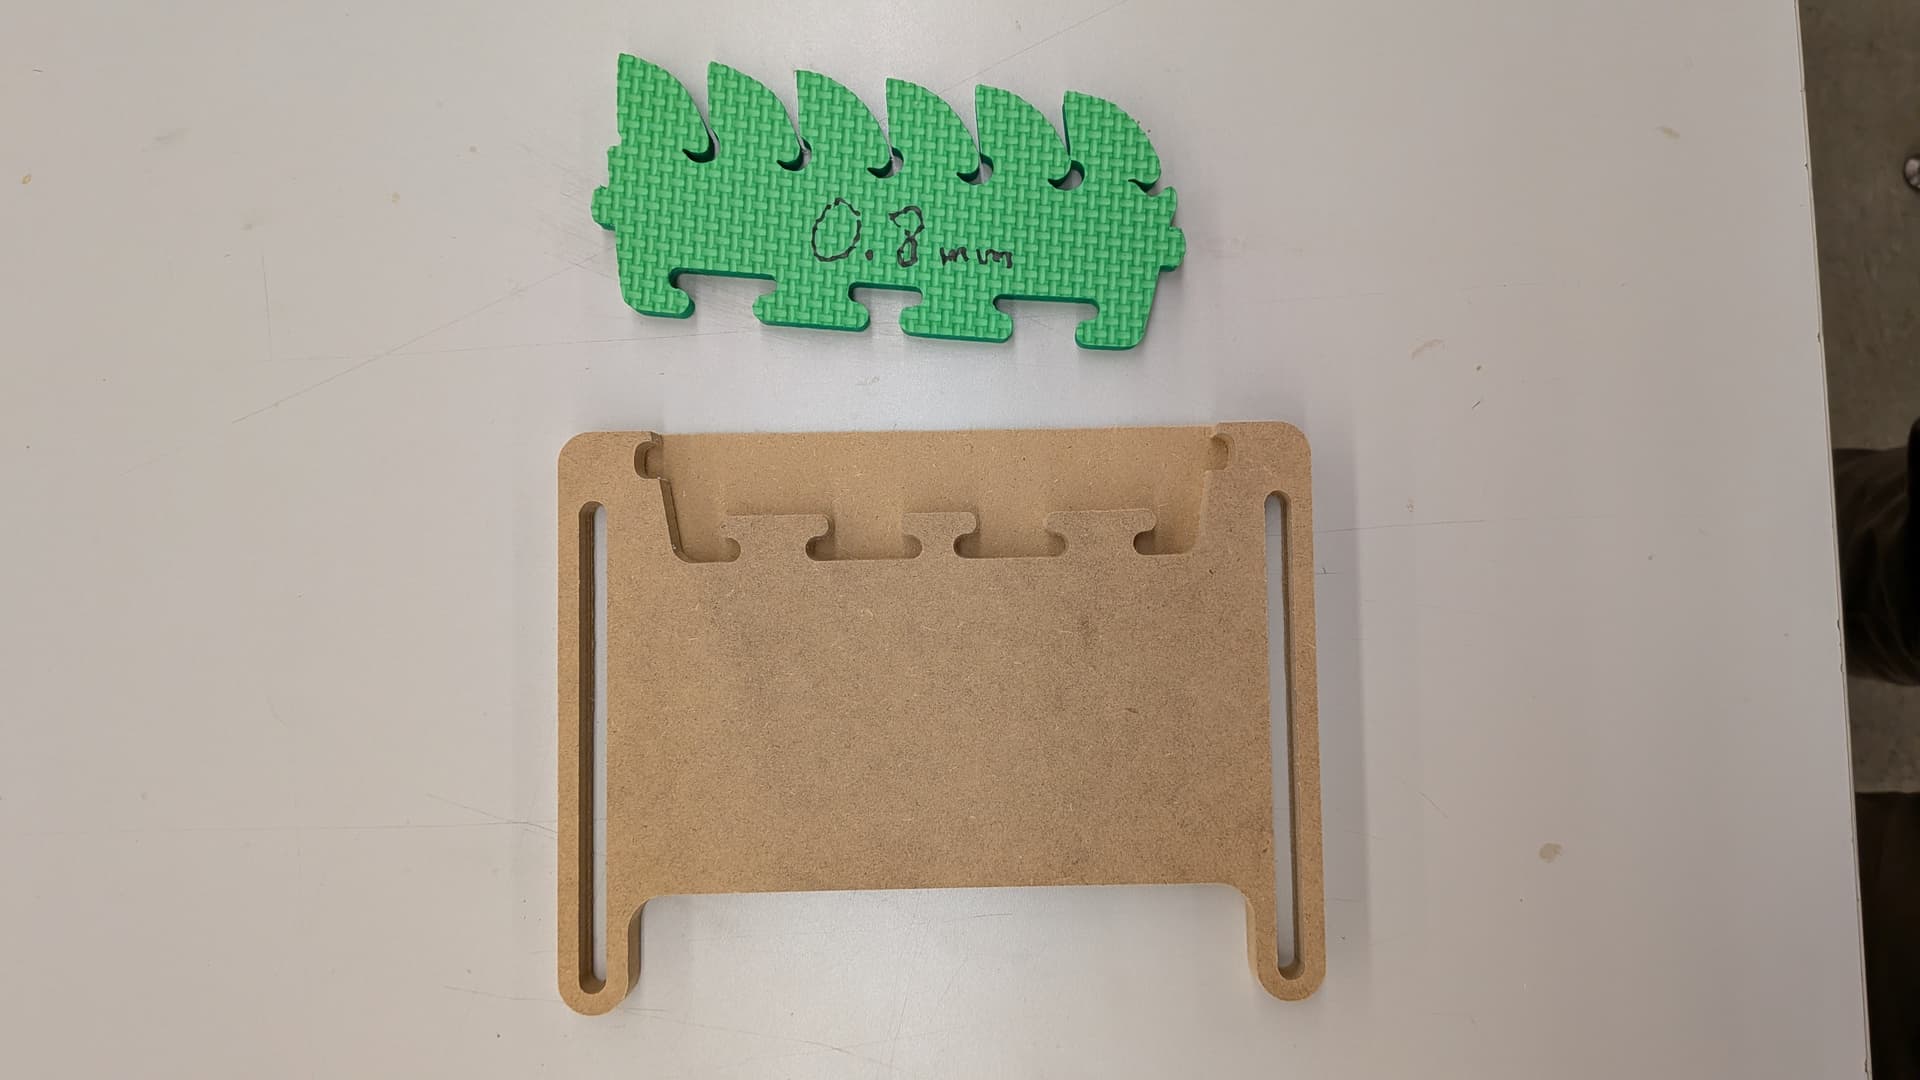
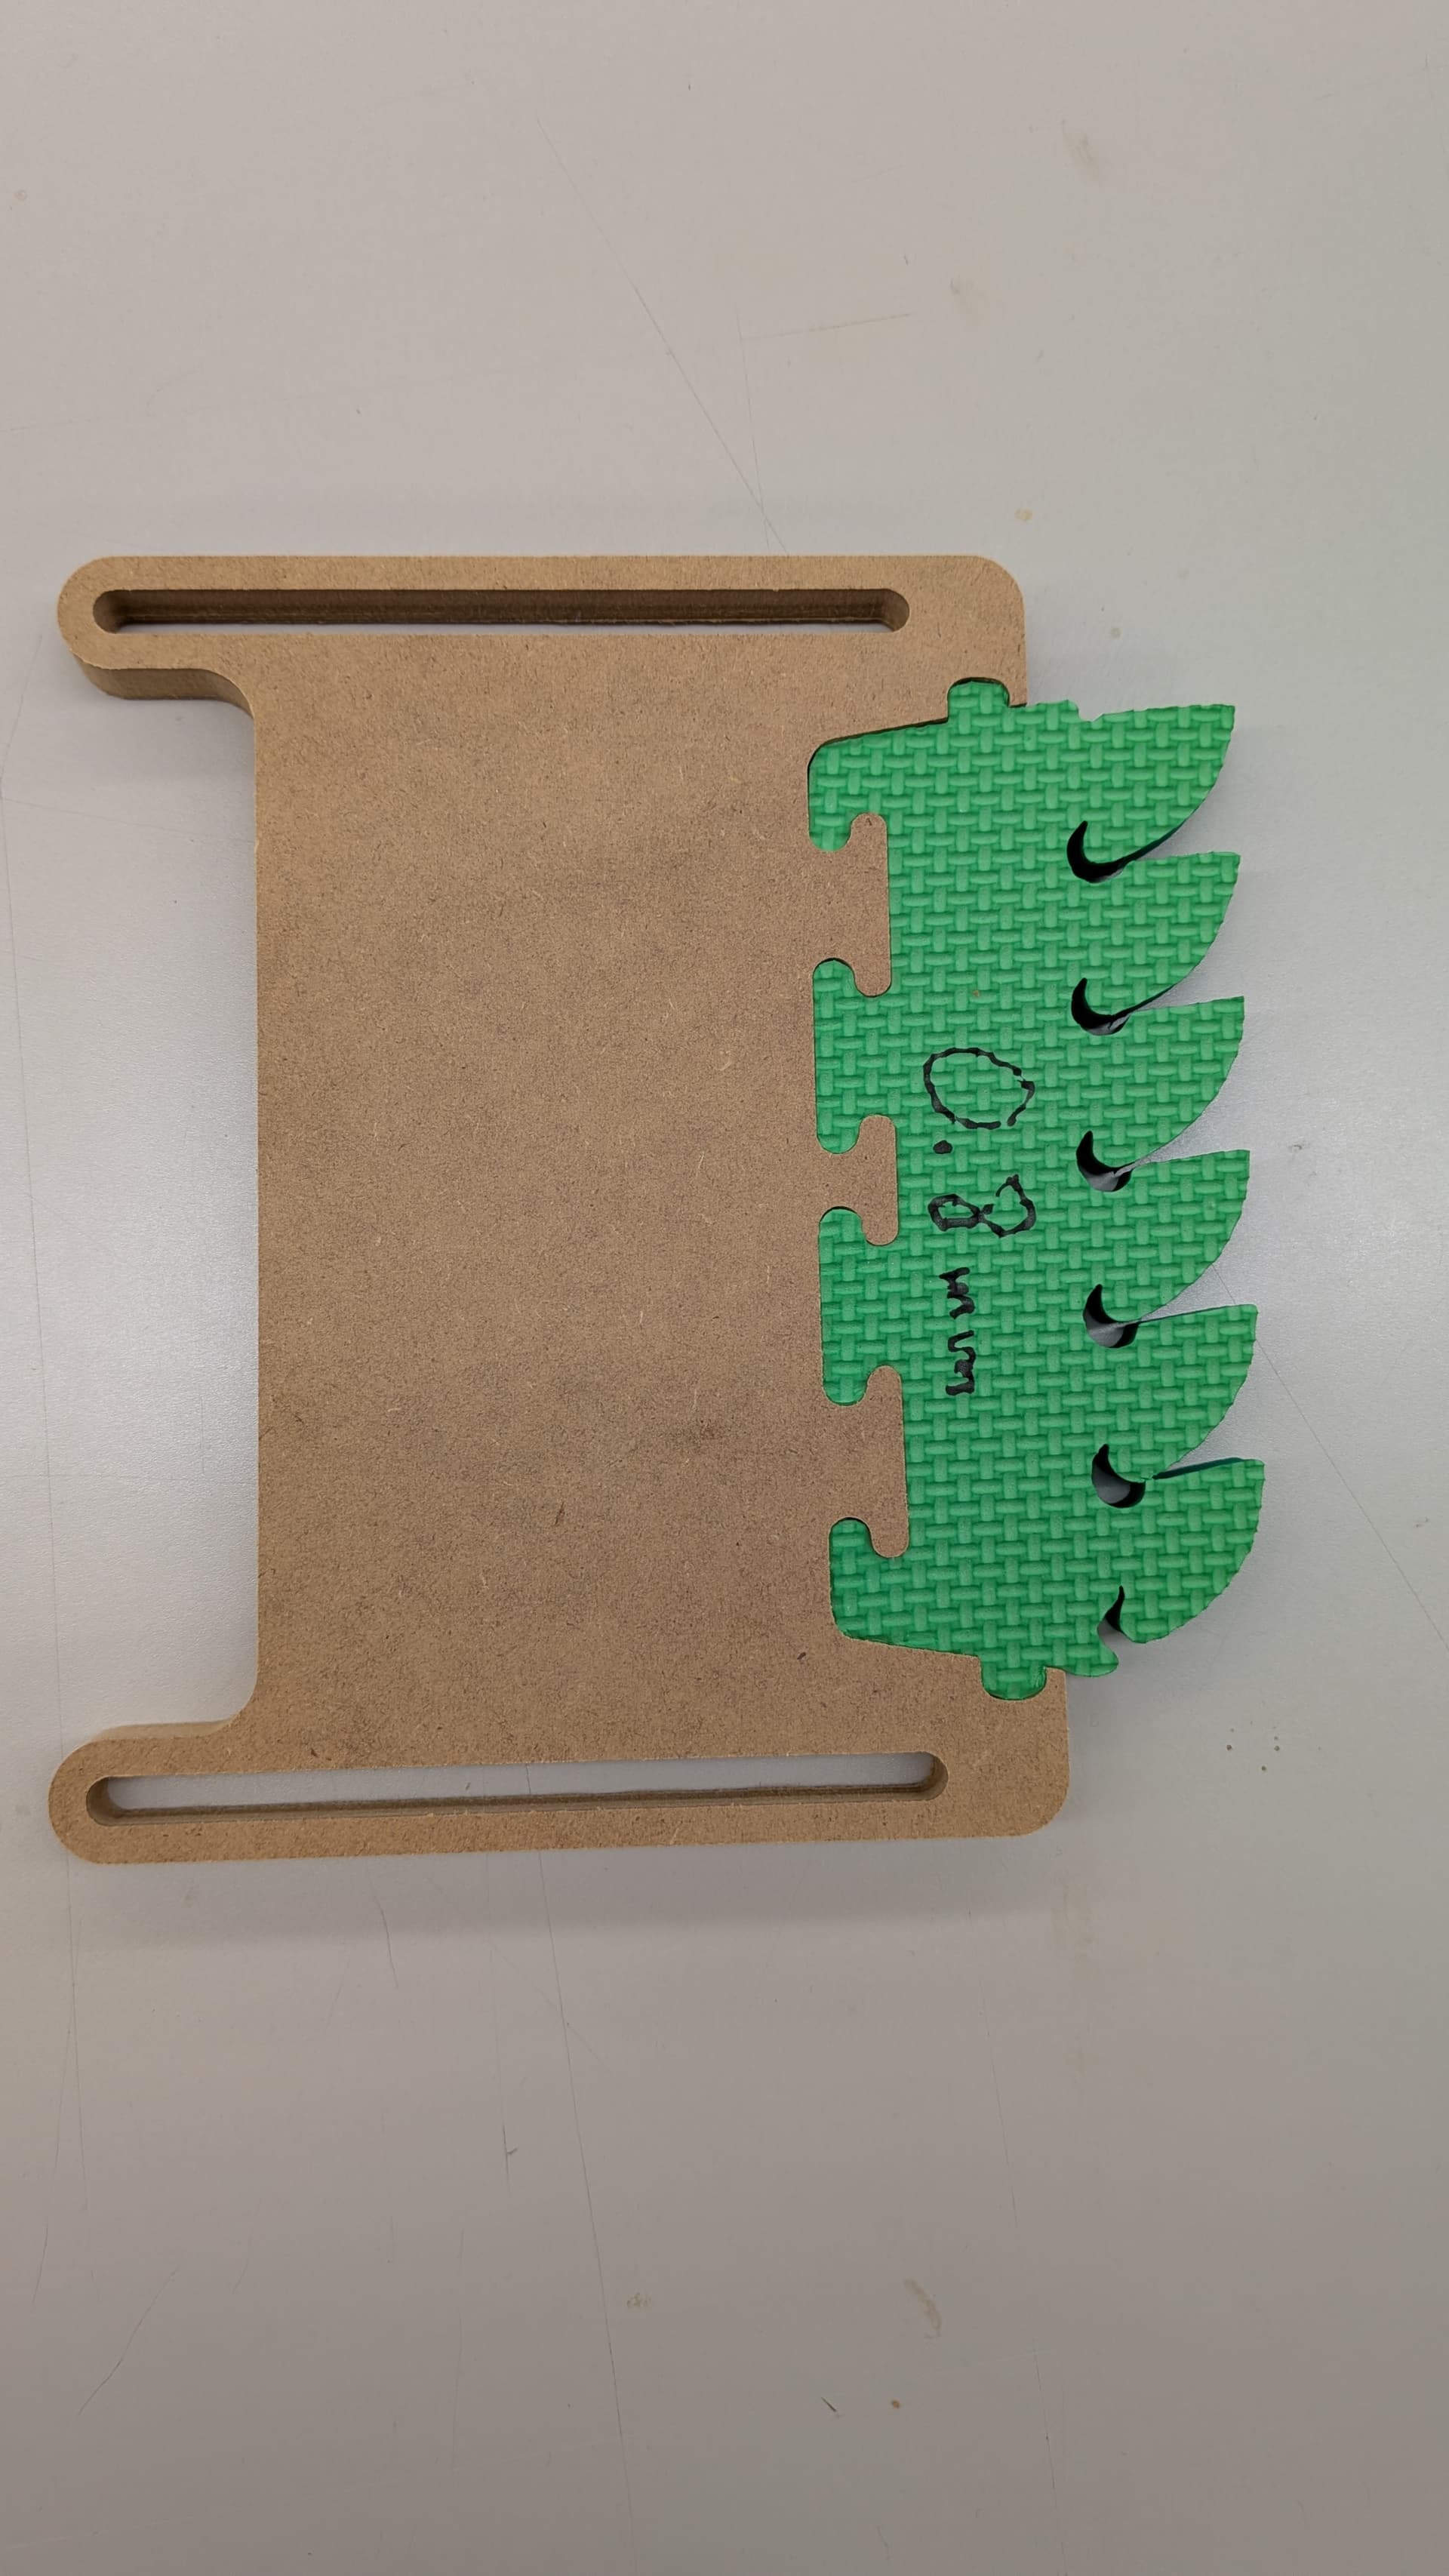
Quick post…working on featherboards like the featherPro boards with replaceable EVA foam. Will eventually make some fence mountable ones when I get around to upgrading the fence on my little Dewalt saw.
20 Likes
Do you find the holding strength to be enough ?
Interesting project
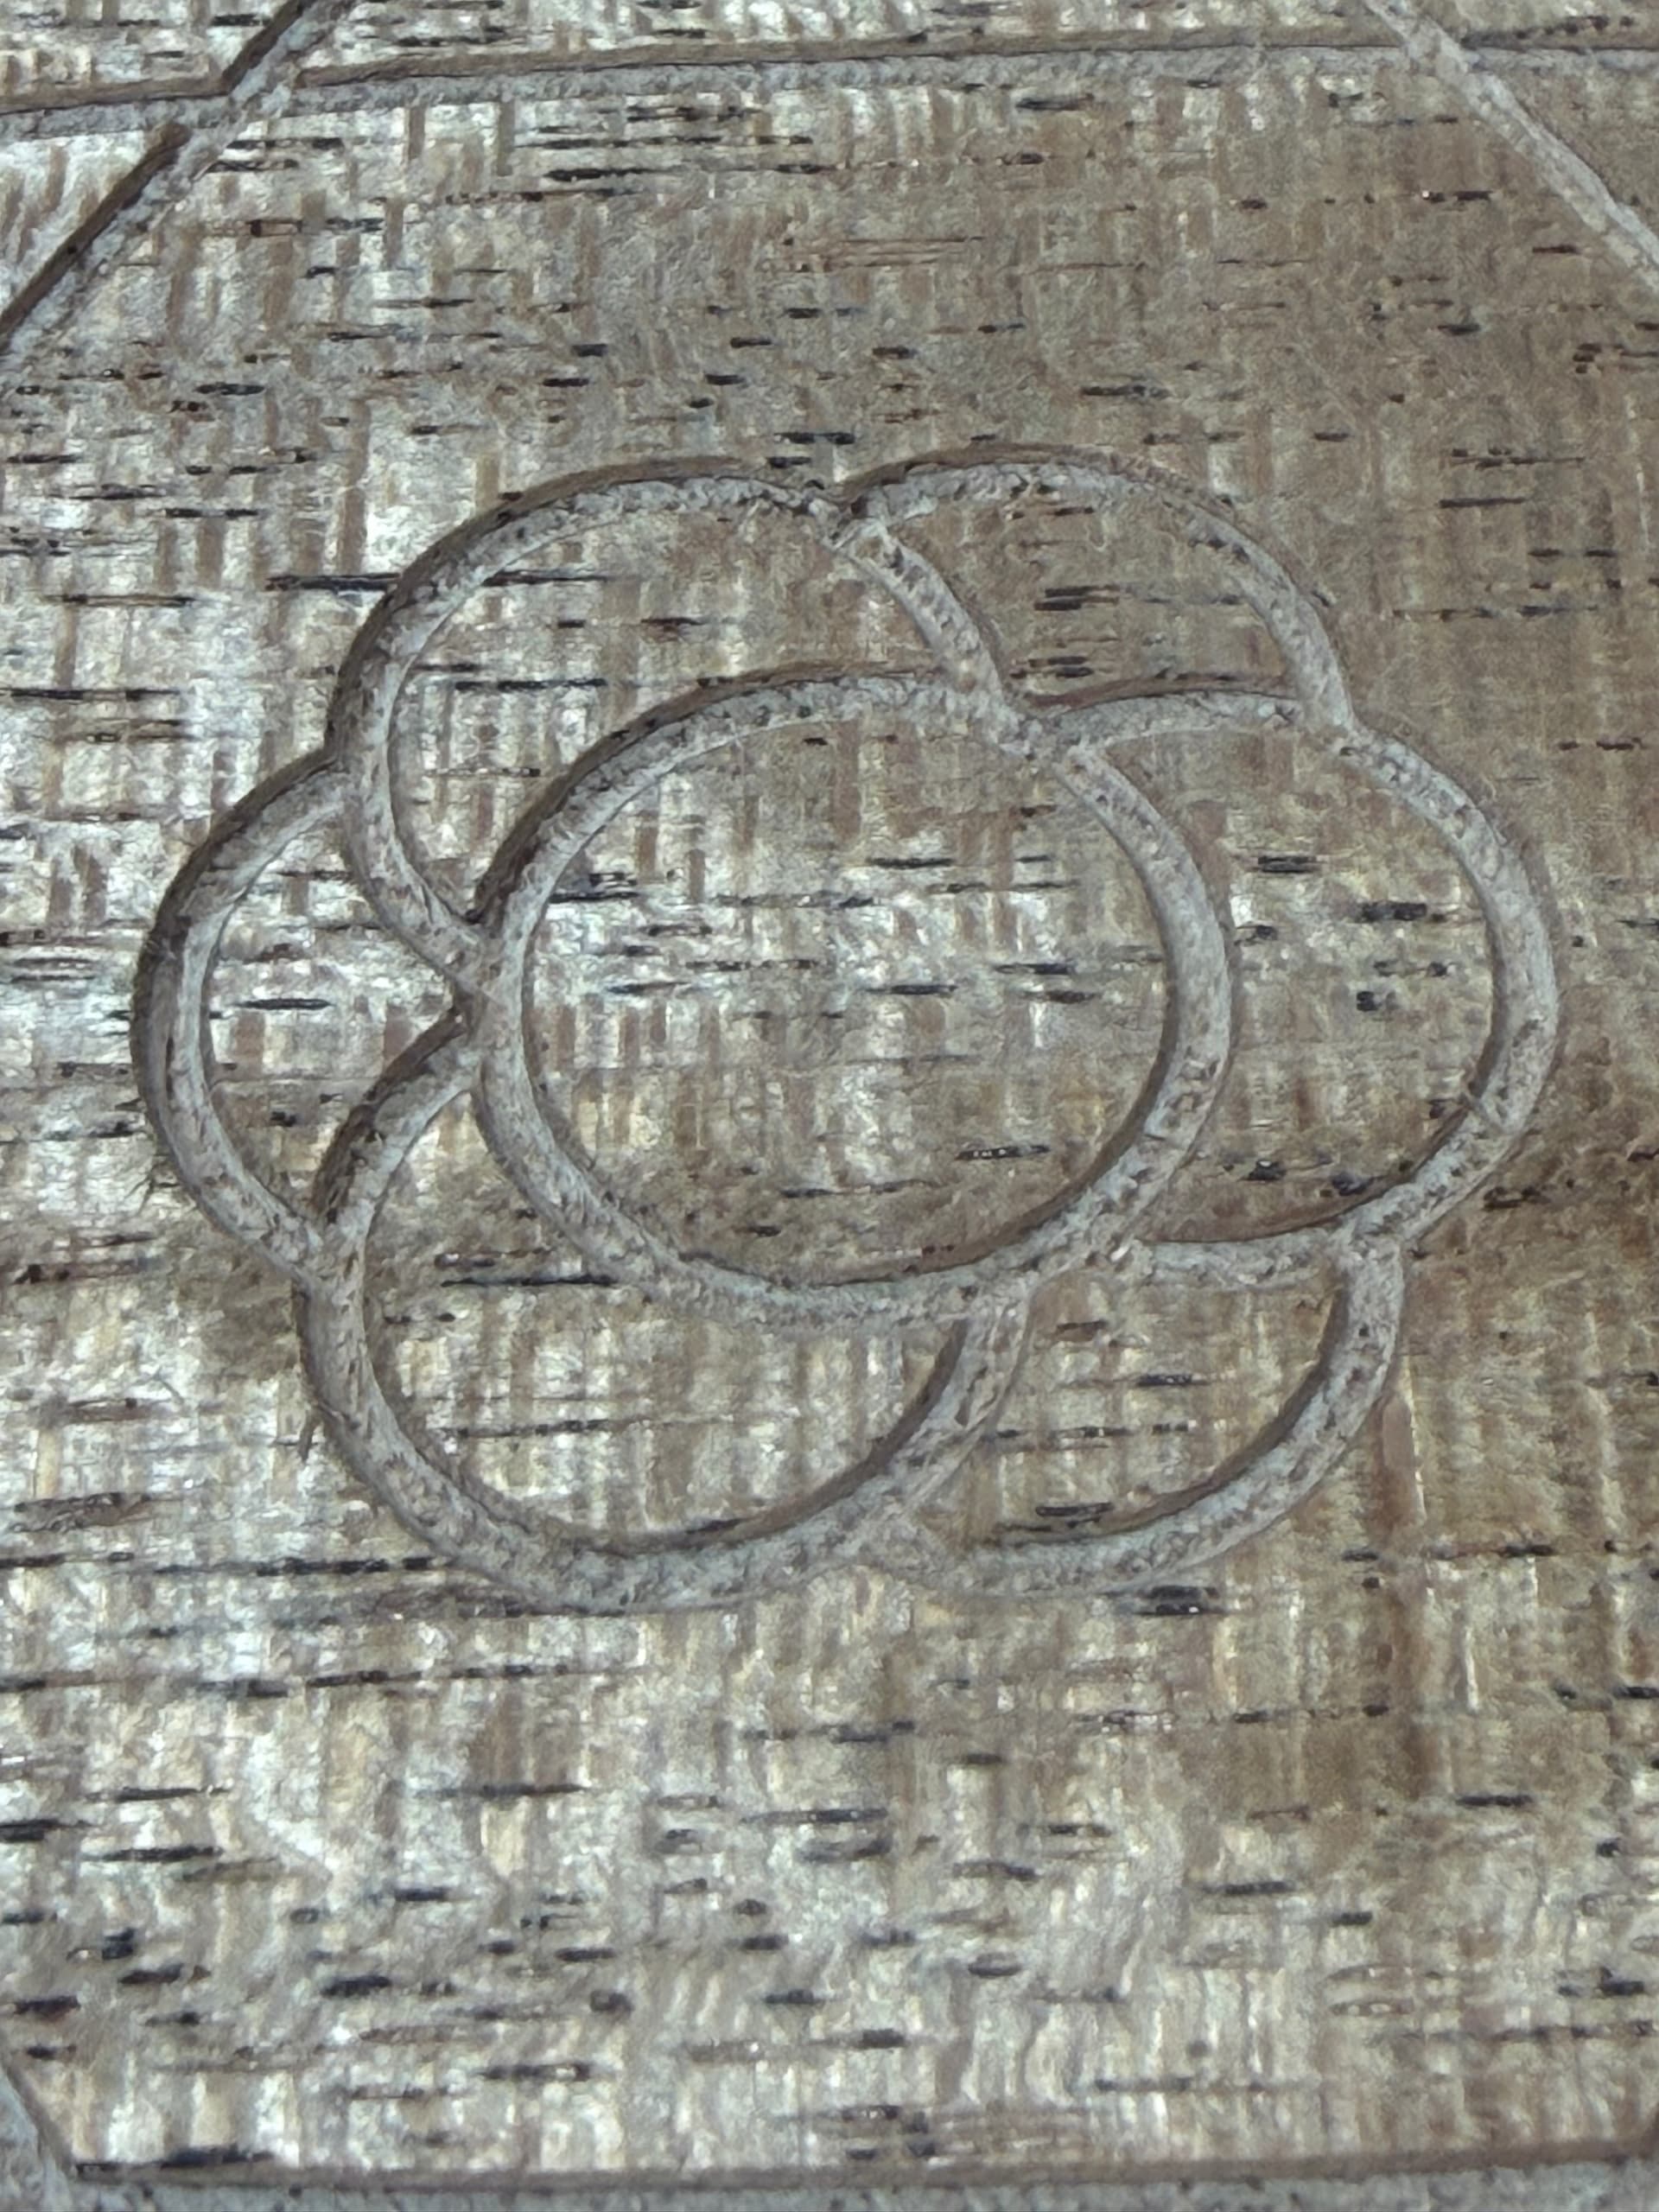
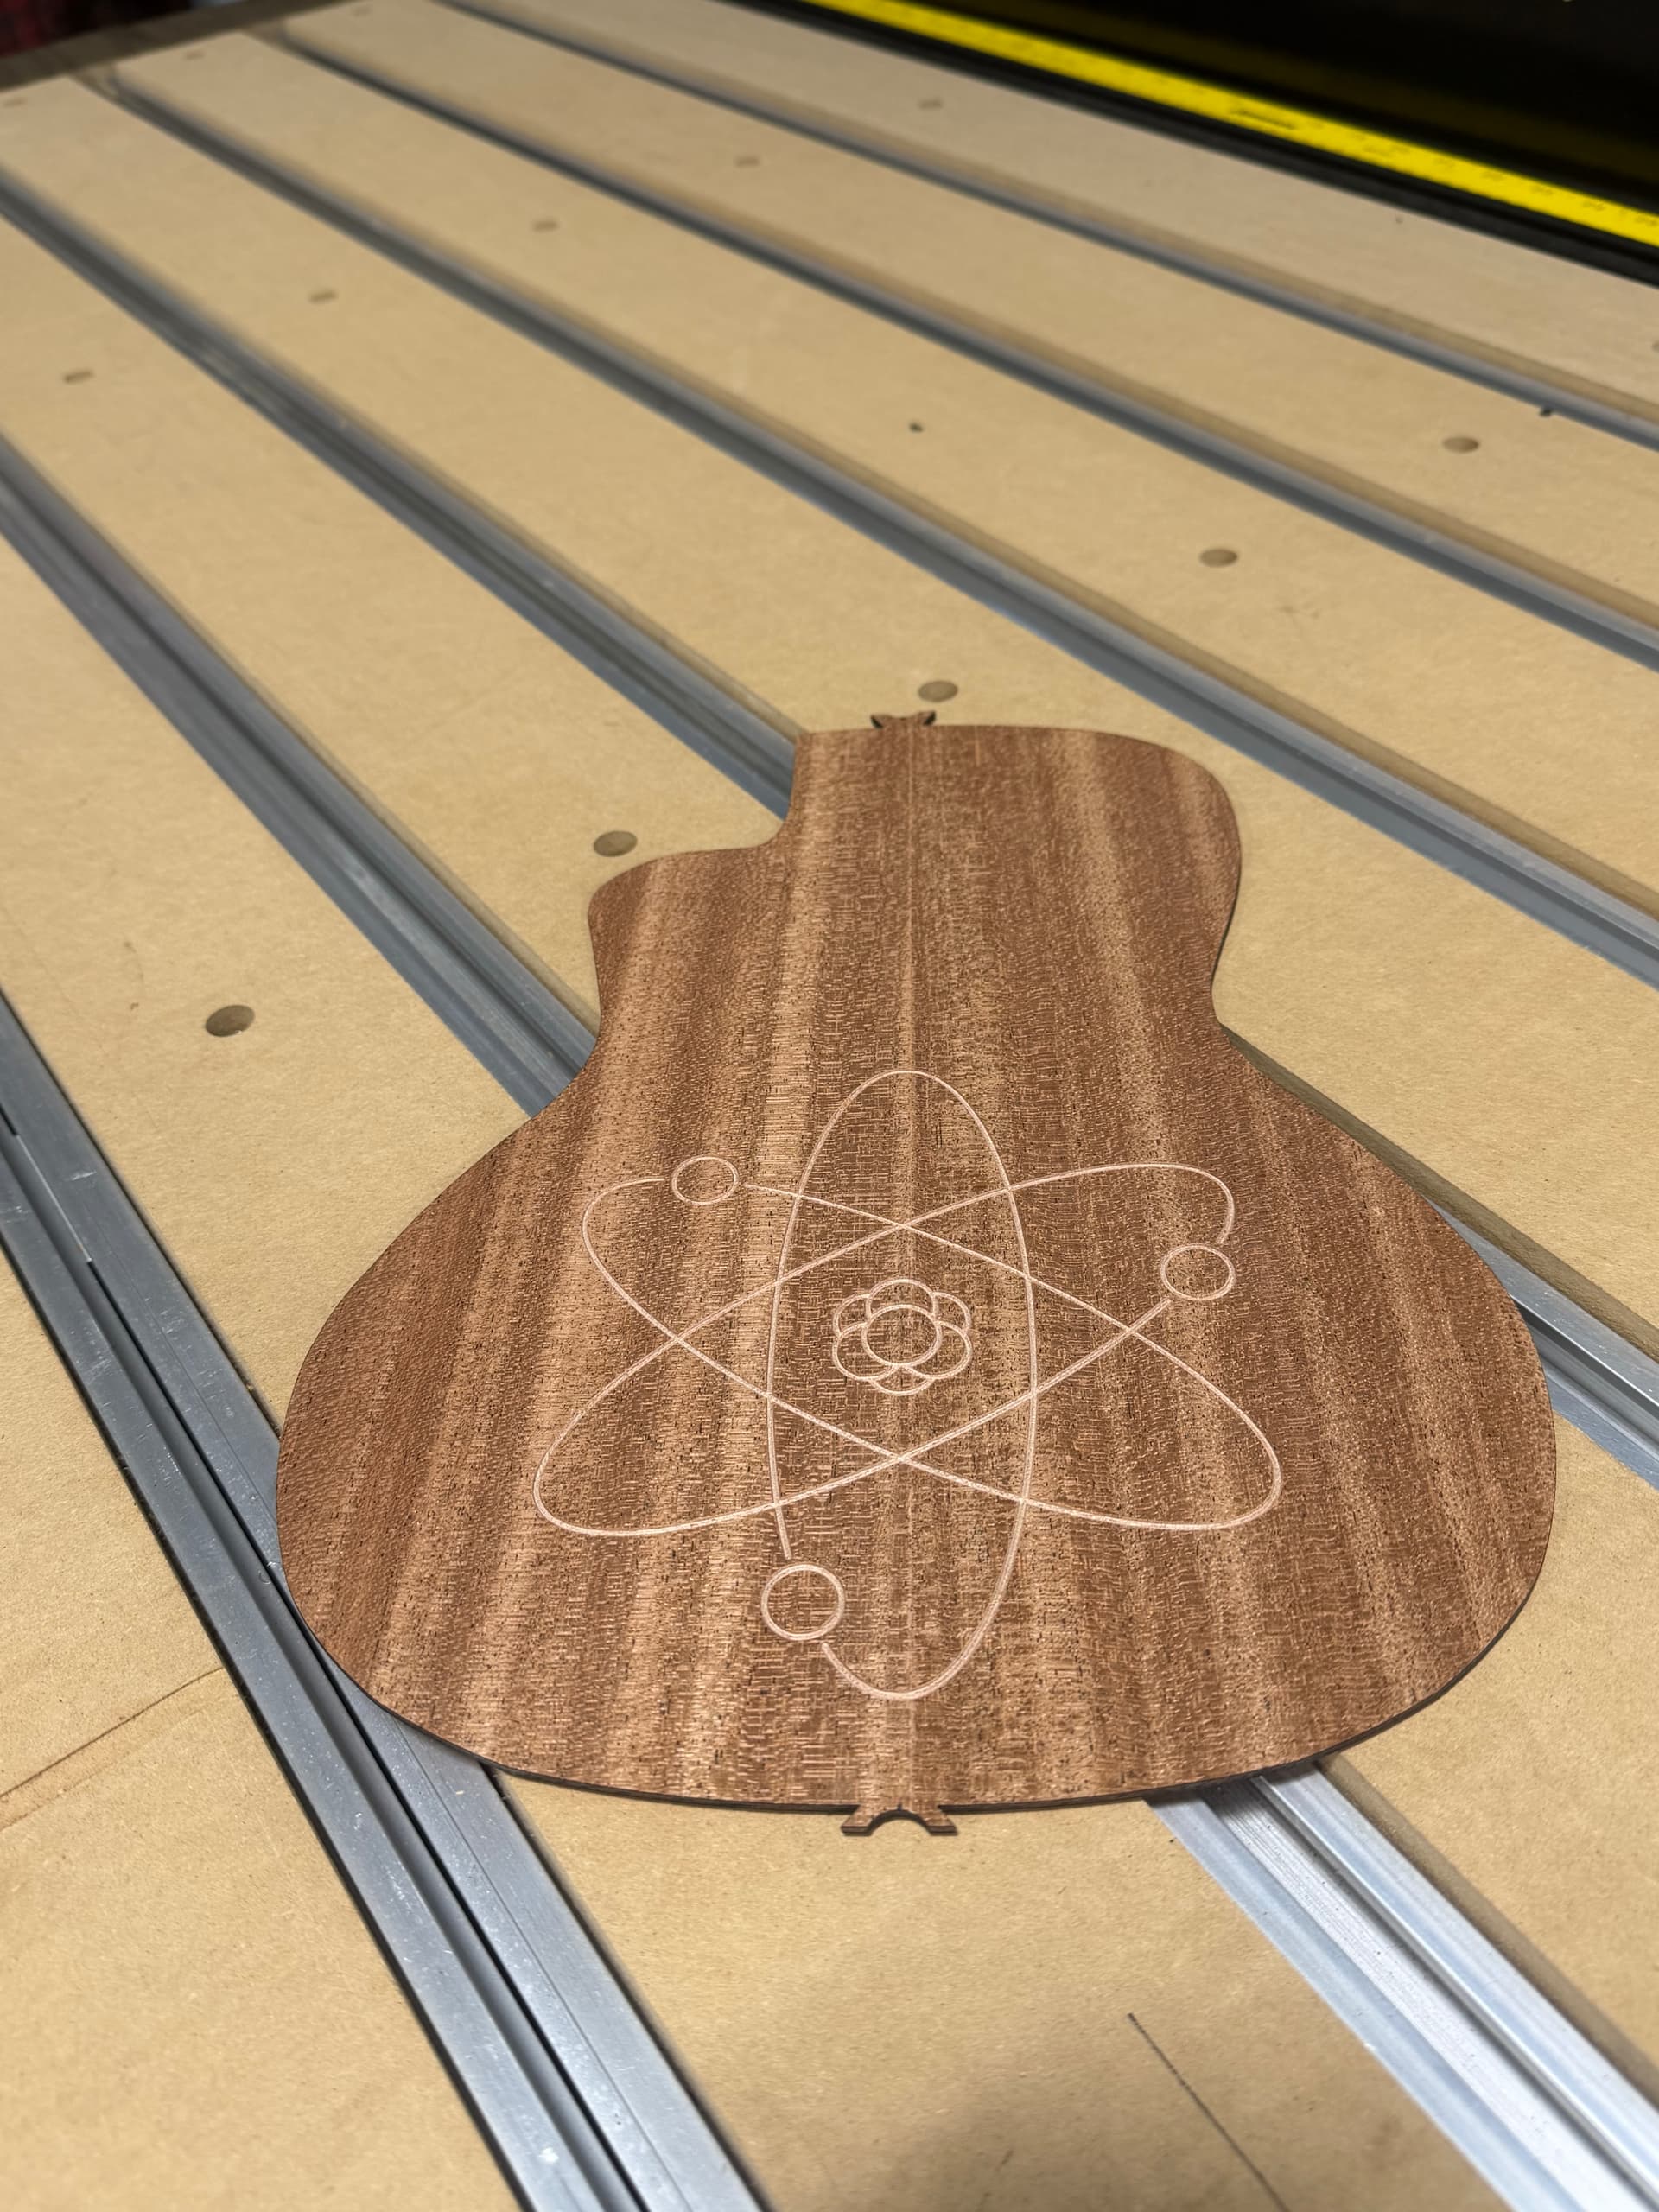
Just a quick contour with the El Ocho 8mm 60 deg for a birthday project for my youngest son. Picked up a Stew Mac Ukulele kit. Sharp bit, soft wood laminate but it’s nice and clean. DOC 0.050"
11 Likes
Time will tell, but going from having never used a featherboard with a table saw it’s a nice extra hand.
2 Likes
Four shelve, 44 coin capacity Challenge Coin display rack. The two end pieces were milled on a Shapeoko 5 Pro

16 Likes
Very nice being Navy myself, I have more coind than holders but always looking for ideas. Would you be willing to share your file? @ksangree
Hey Tony, no problem. Here’s a zip file with my design and build files. This was done in FreeCad and then exported as an SGV to VCarve Pro. I threw in the .crv and .svg files in case you wanted to import it into something else. For the shelves, I ran the walnut through a thickness planer until I had a tight fit into the CNCed side panels. The shelves on mine are 33" and they hold 11 standard sized coins each. All done in American black walnut with a finish of 5 coats of 100% Tung oil. A one day design/build with one month of waiting for Tung oil to completely dry. ![]()
CoinRack Files.zip (322.3 KB)
5 Likes
Awesome @ksangree thank you very much I use carbide create as well as Aspire so the files should work perfect. I have a planer as well and makes sense to plane to fit. Again very much appreciated.