Got it, thank you. Turned out really good looks just like the original.
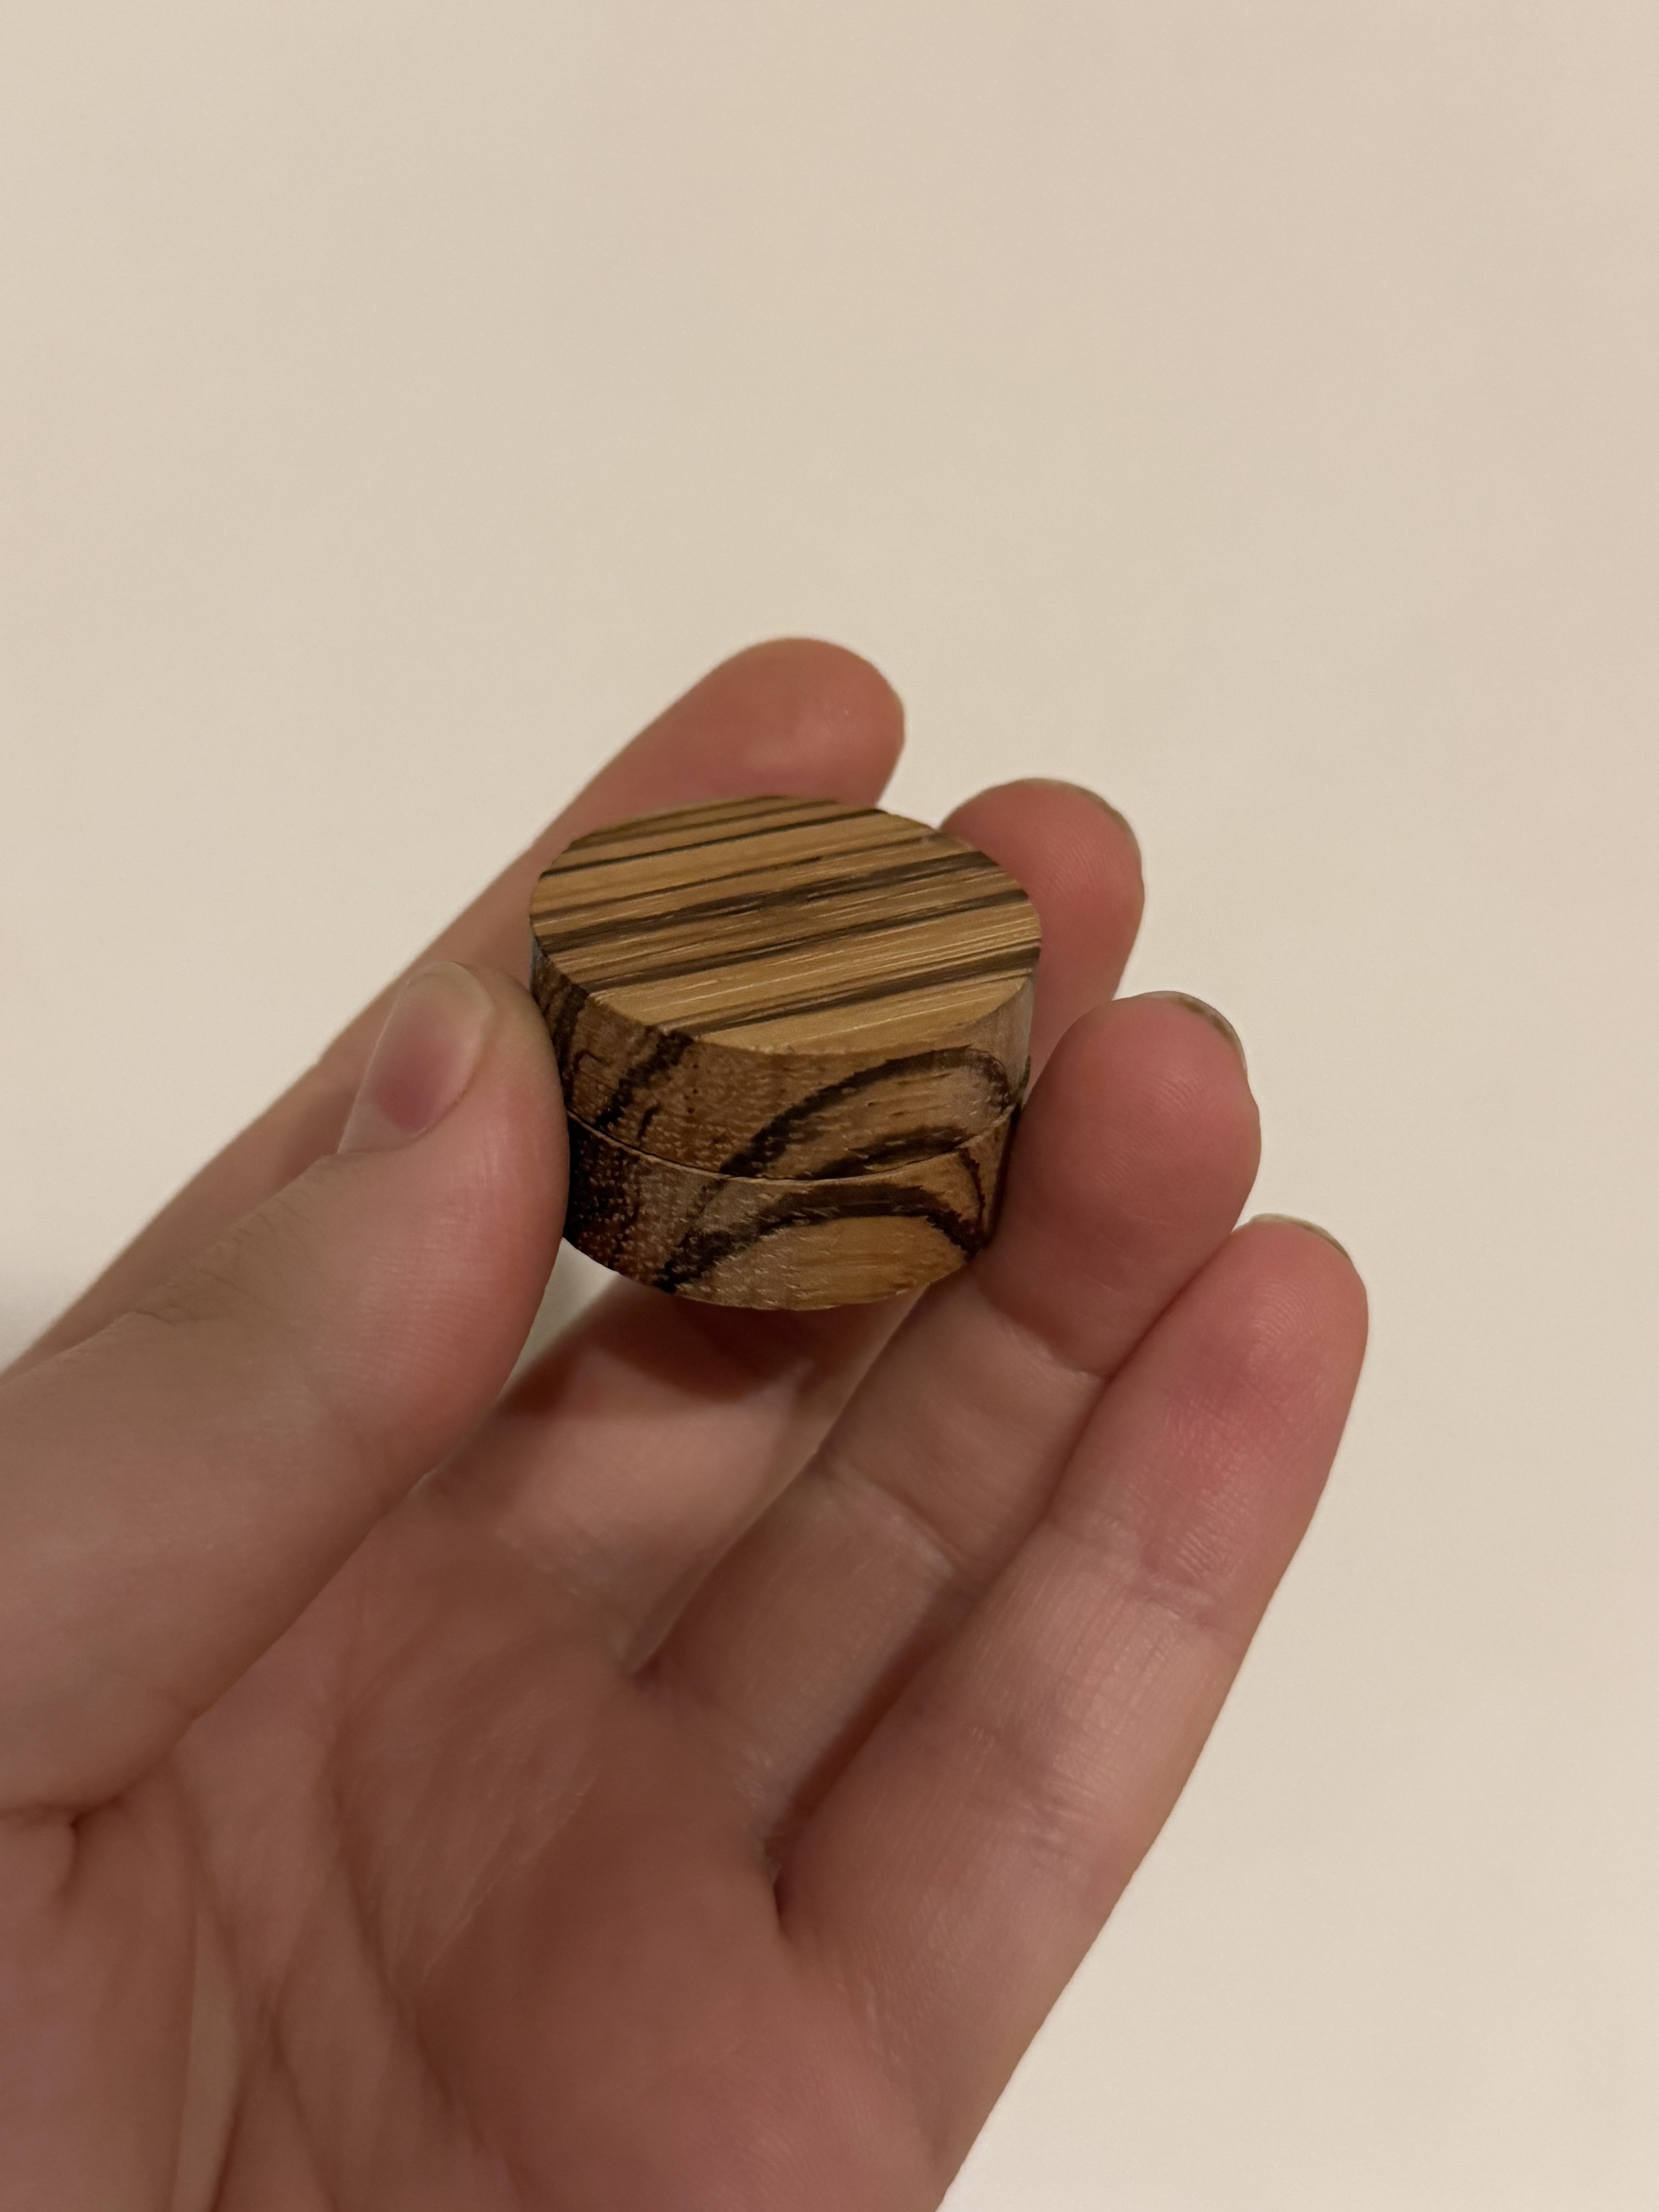
Little zebra wood box for the heart posted earlier.
I don’t work with wood much, lots of mistakes learned a lot with this little side quest ![]()
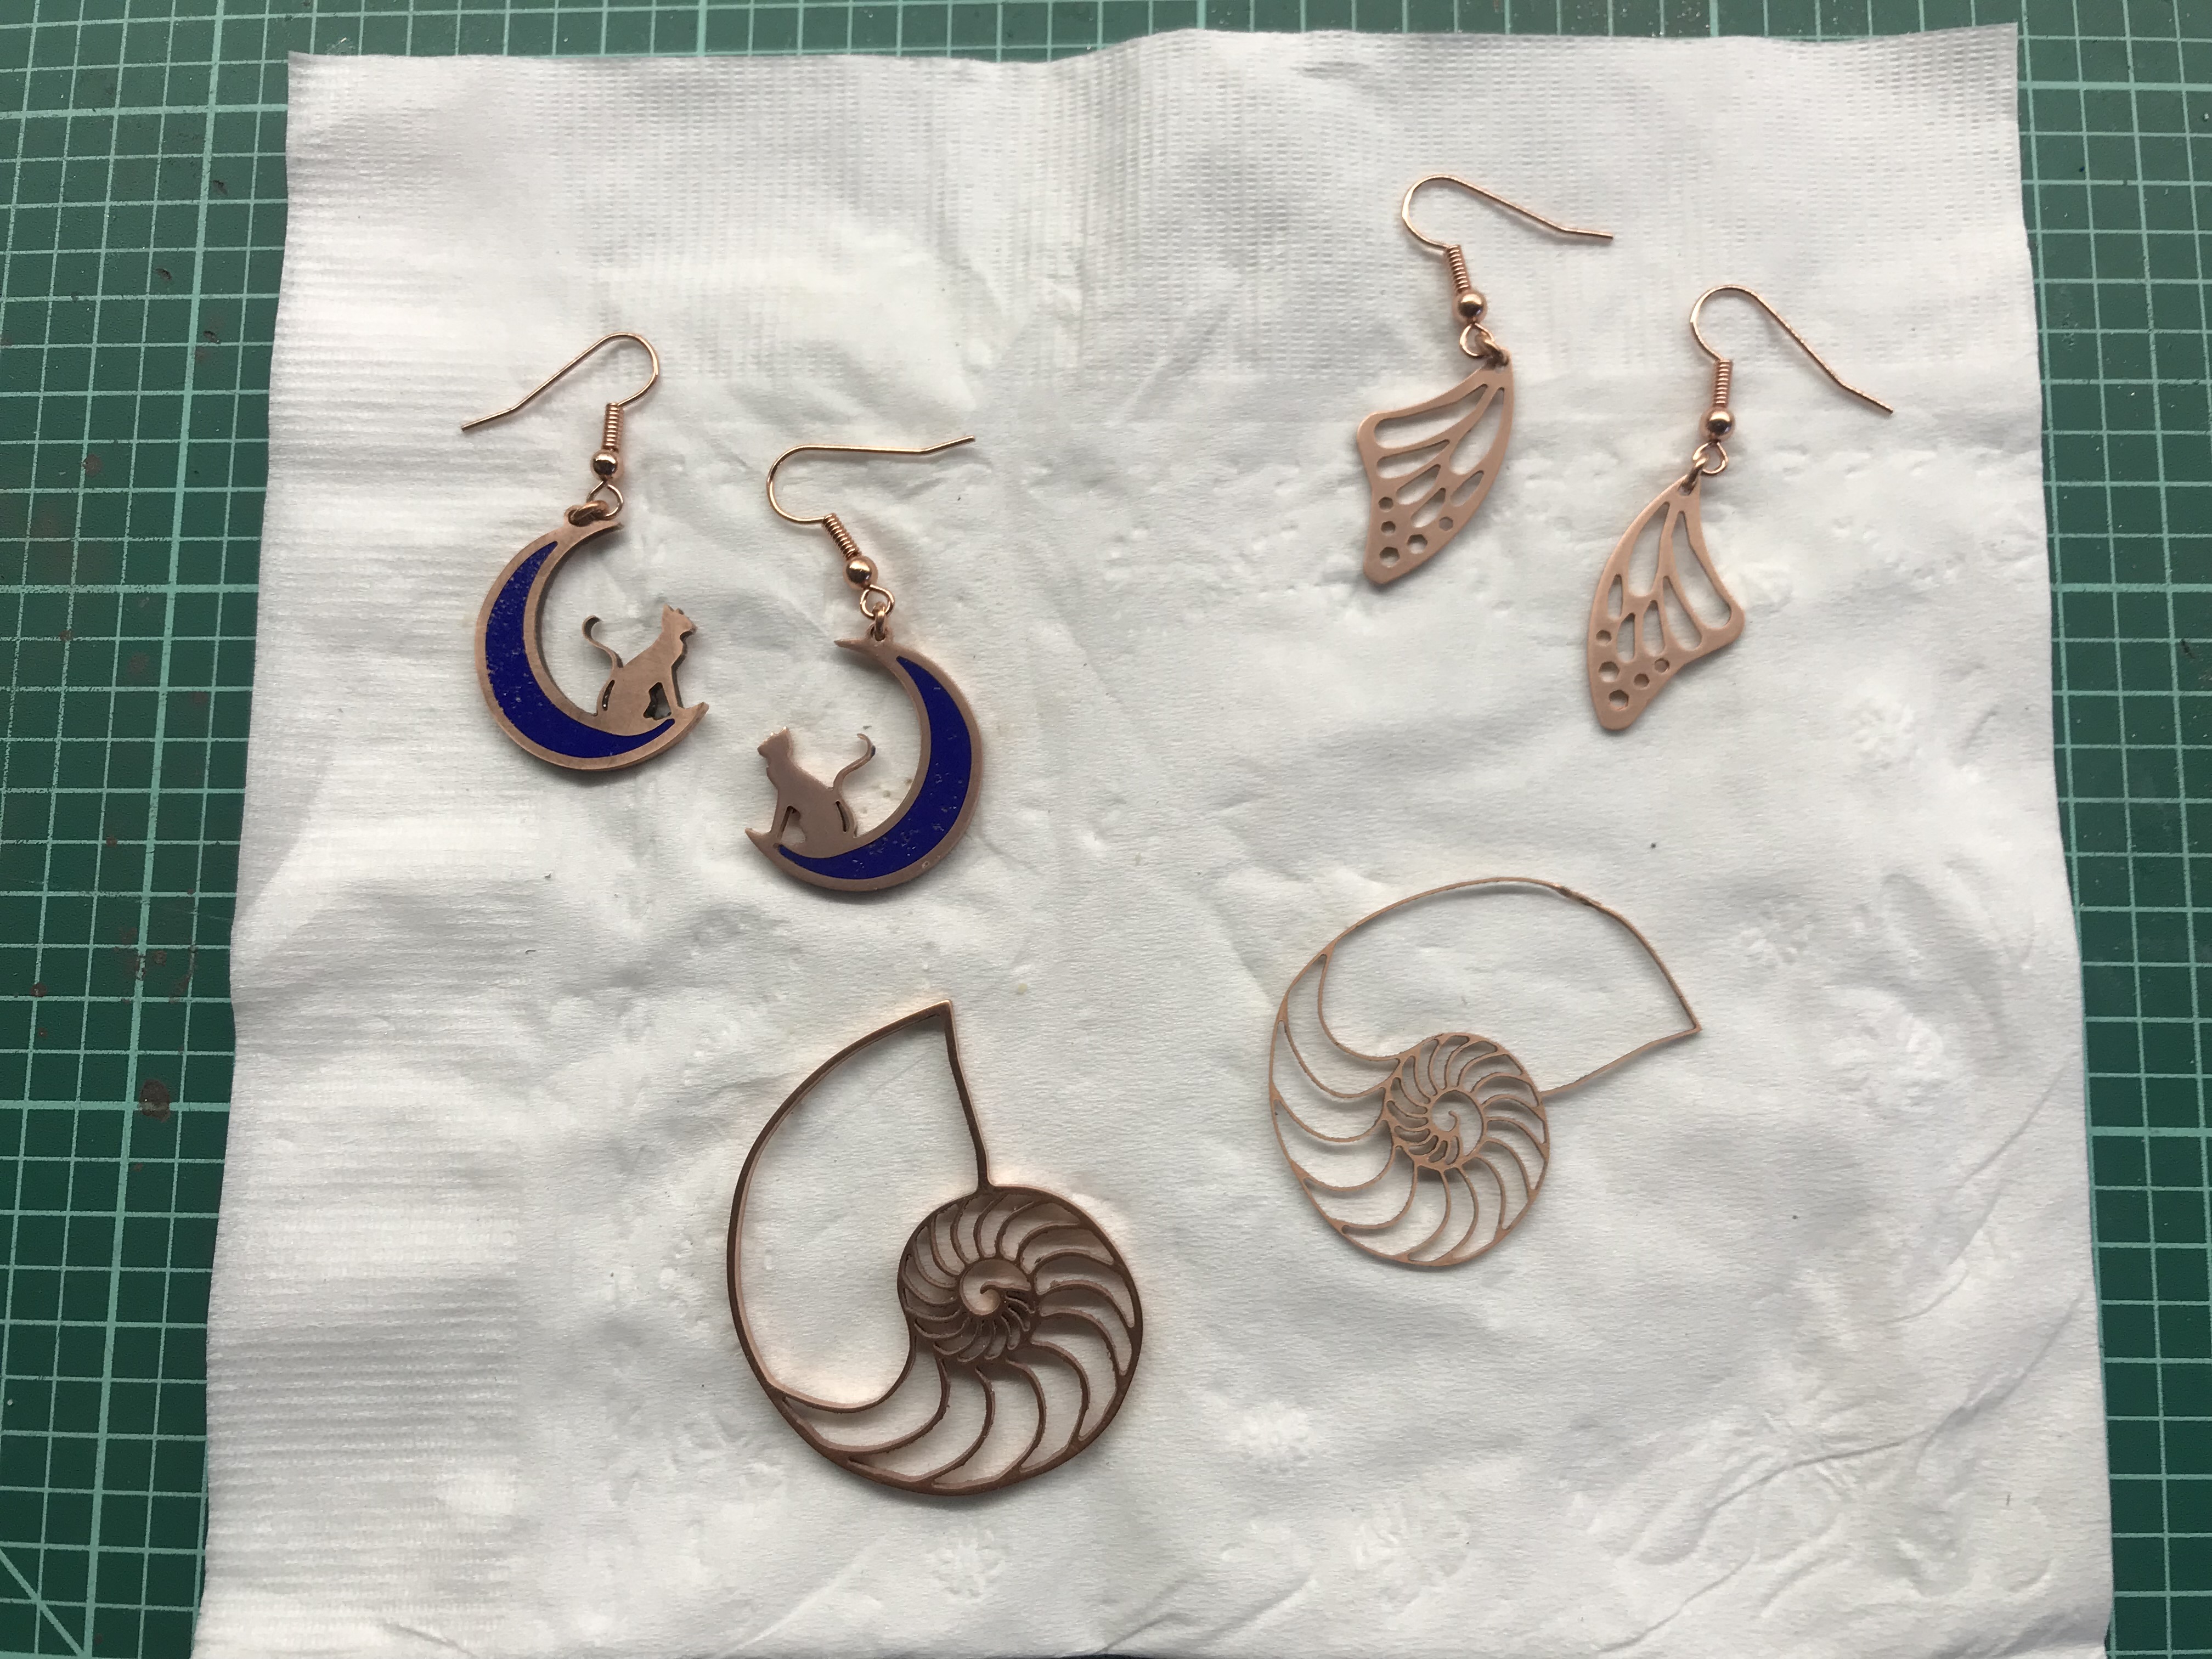
I’m trying to integrate more aspects of jewelry making and presentation is a big part of it.
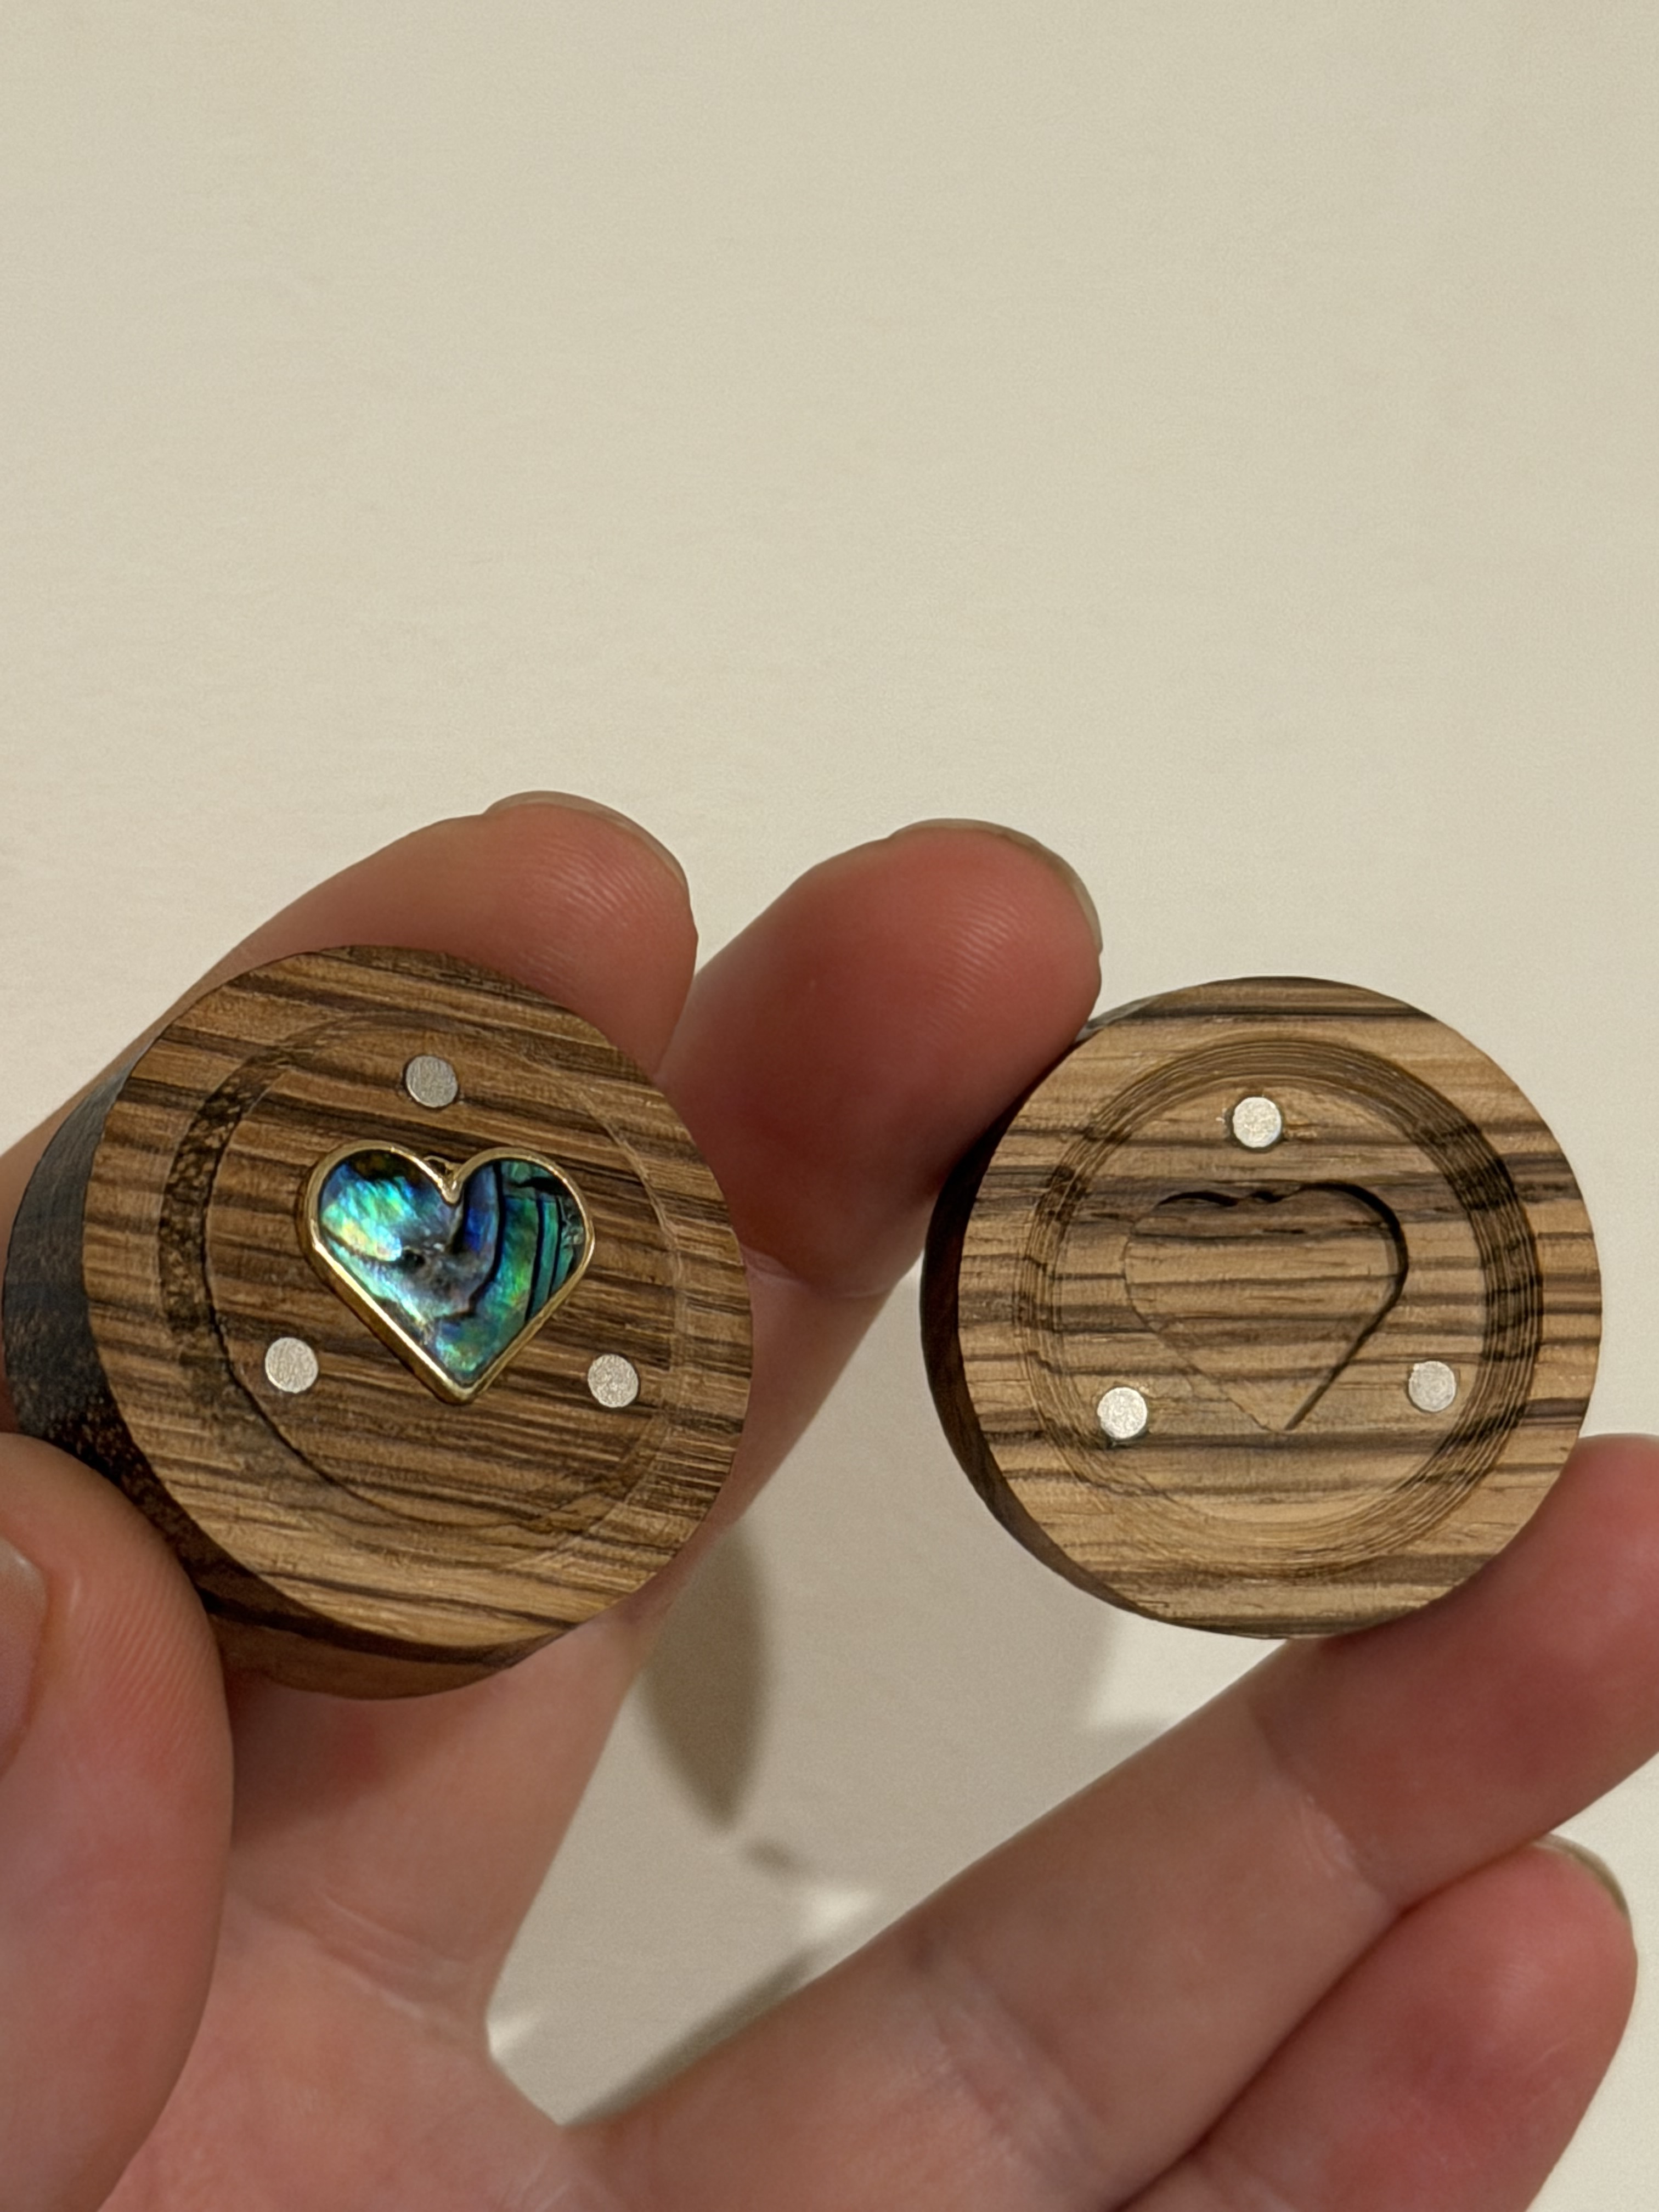

Need to do a bunch of little design enhancements like indicating orientation and making the top more apparent. Just a bunch of little things like that.
18 Likes
Metal is just like wood but completely different…… LOL! Great job on your neckless and storage box. One of these day I will be heading into the metals side cnc.
1 Like
Maker sure you have enough tabs or scrap will block your spindle. Then it will be lost off
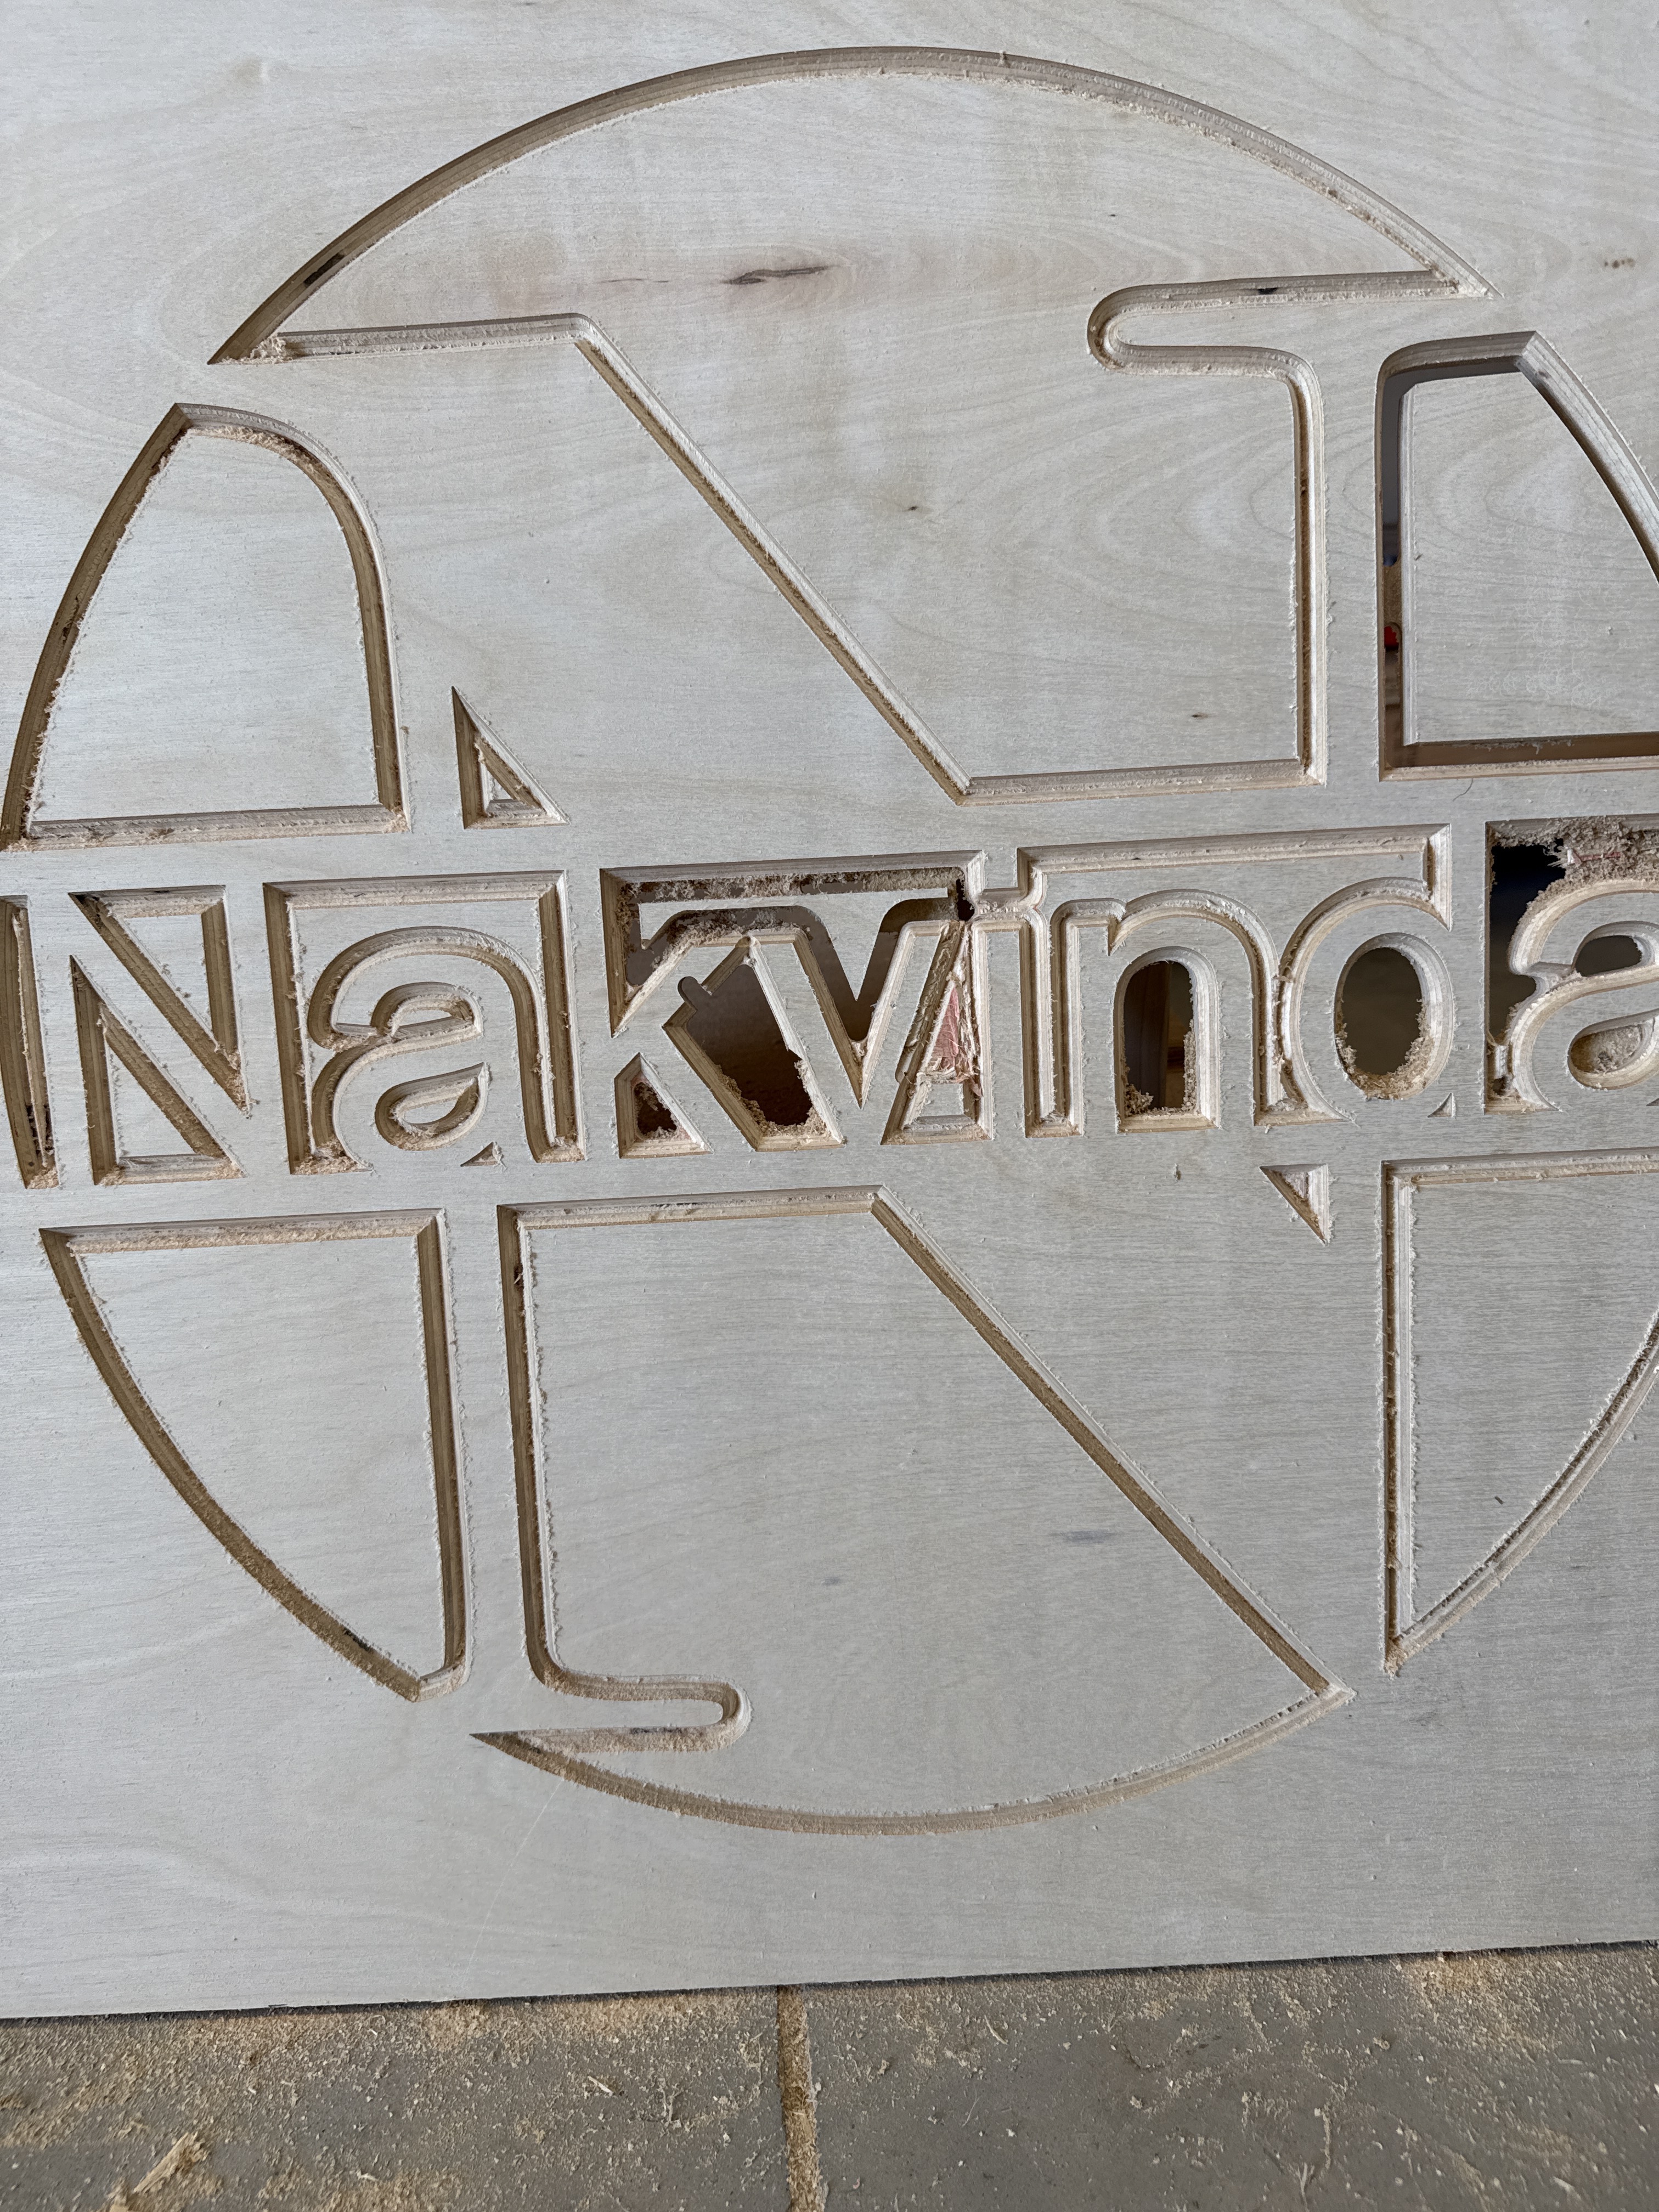
and cut into your “k”
4 Likes
I used some random thing off Amazon. Nicpro was the brand but it looks like they are not available anymore. It wasn’t really a small batch, I bought a 1/2 gallon of each part and mixed it as I needed it.
I am sure there are much better brands but no matter what you will have to deal with bubbles so you need to seal first and then use a torch or heat gun.
For those I think I filled the whole carving with black and when it dried went back and did the white and yellow. I have done a few better ones since then but epoxy takes time and you have to have a place for it to cure without getting dust in it so I hate to do it in the garage. On a warm sunny day Input them on a table outside with a clear plastic container over them to create a greenhouse effect and prevent bugs from landing in it.
I refinished a dining set is in the spring. I kept the garage as clean/clean as possible.
5 coats of brushed on urethane and two spray coats ( damn urethane aspirates and goes everywhere ). Came out great.
I am eating cereal looking at my work and see plant spores …
4 Likes
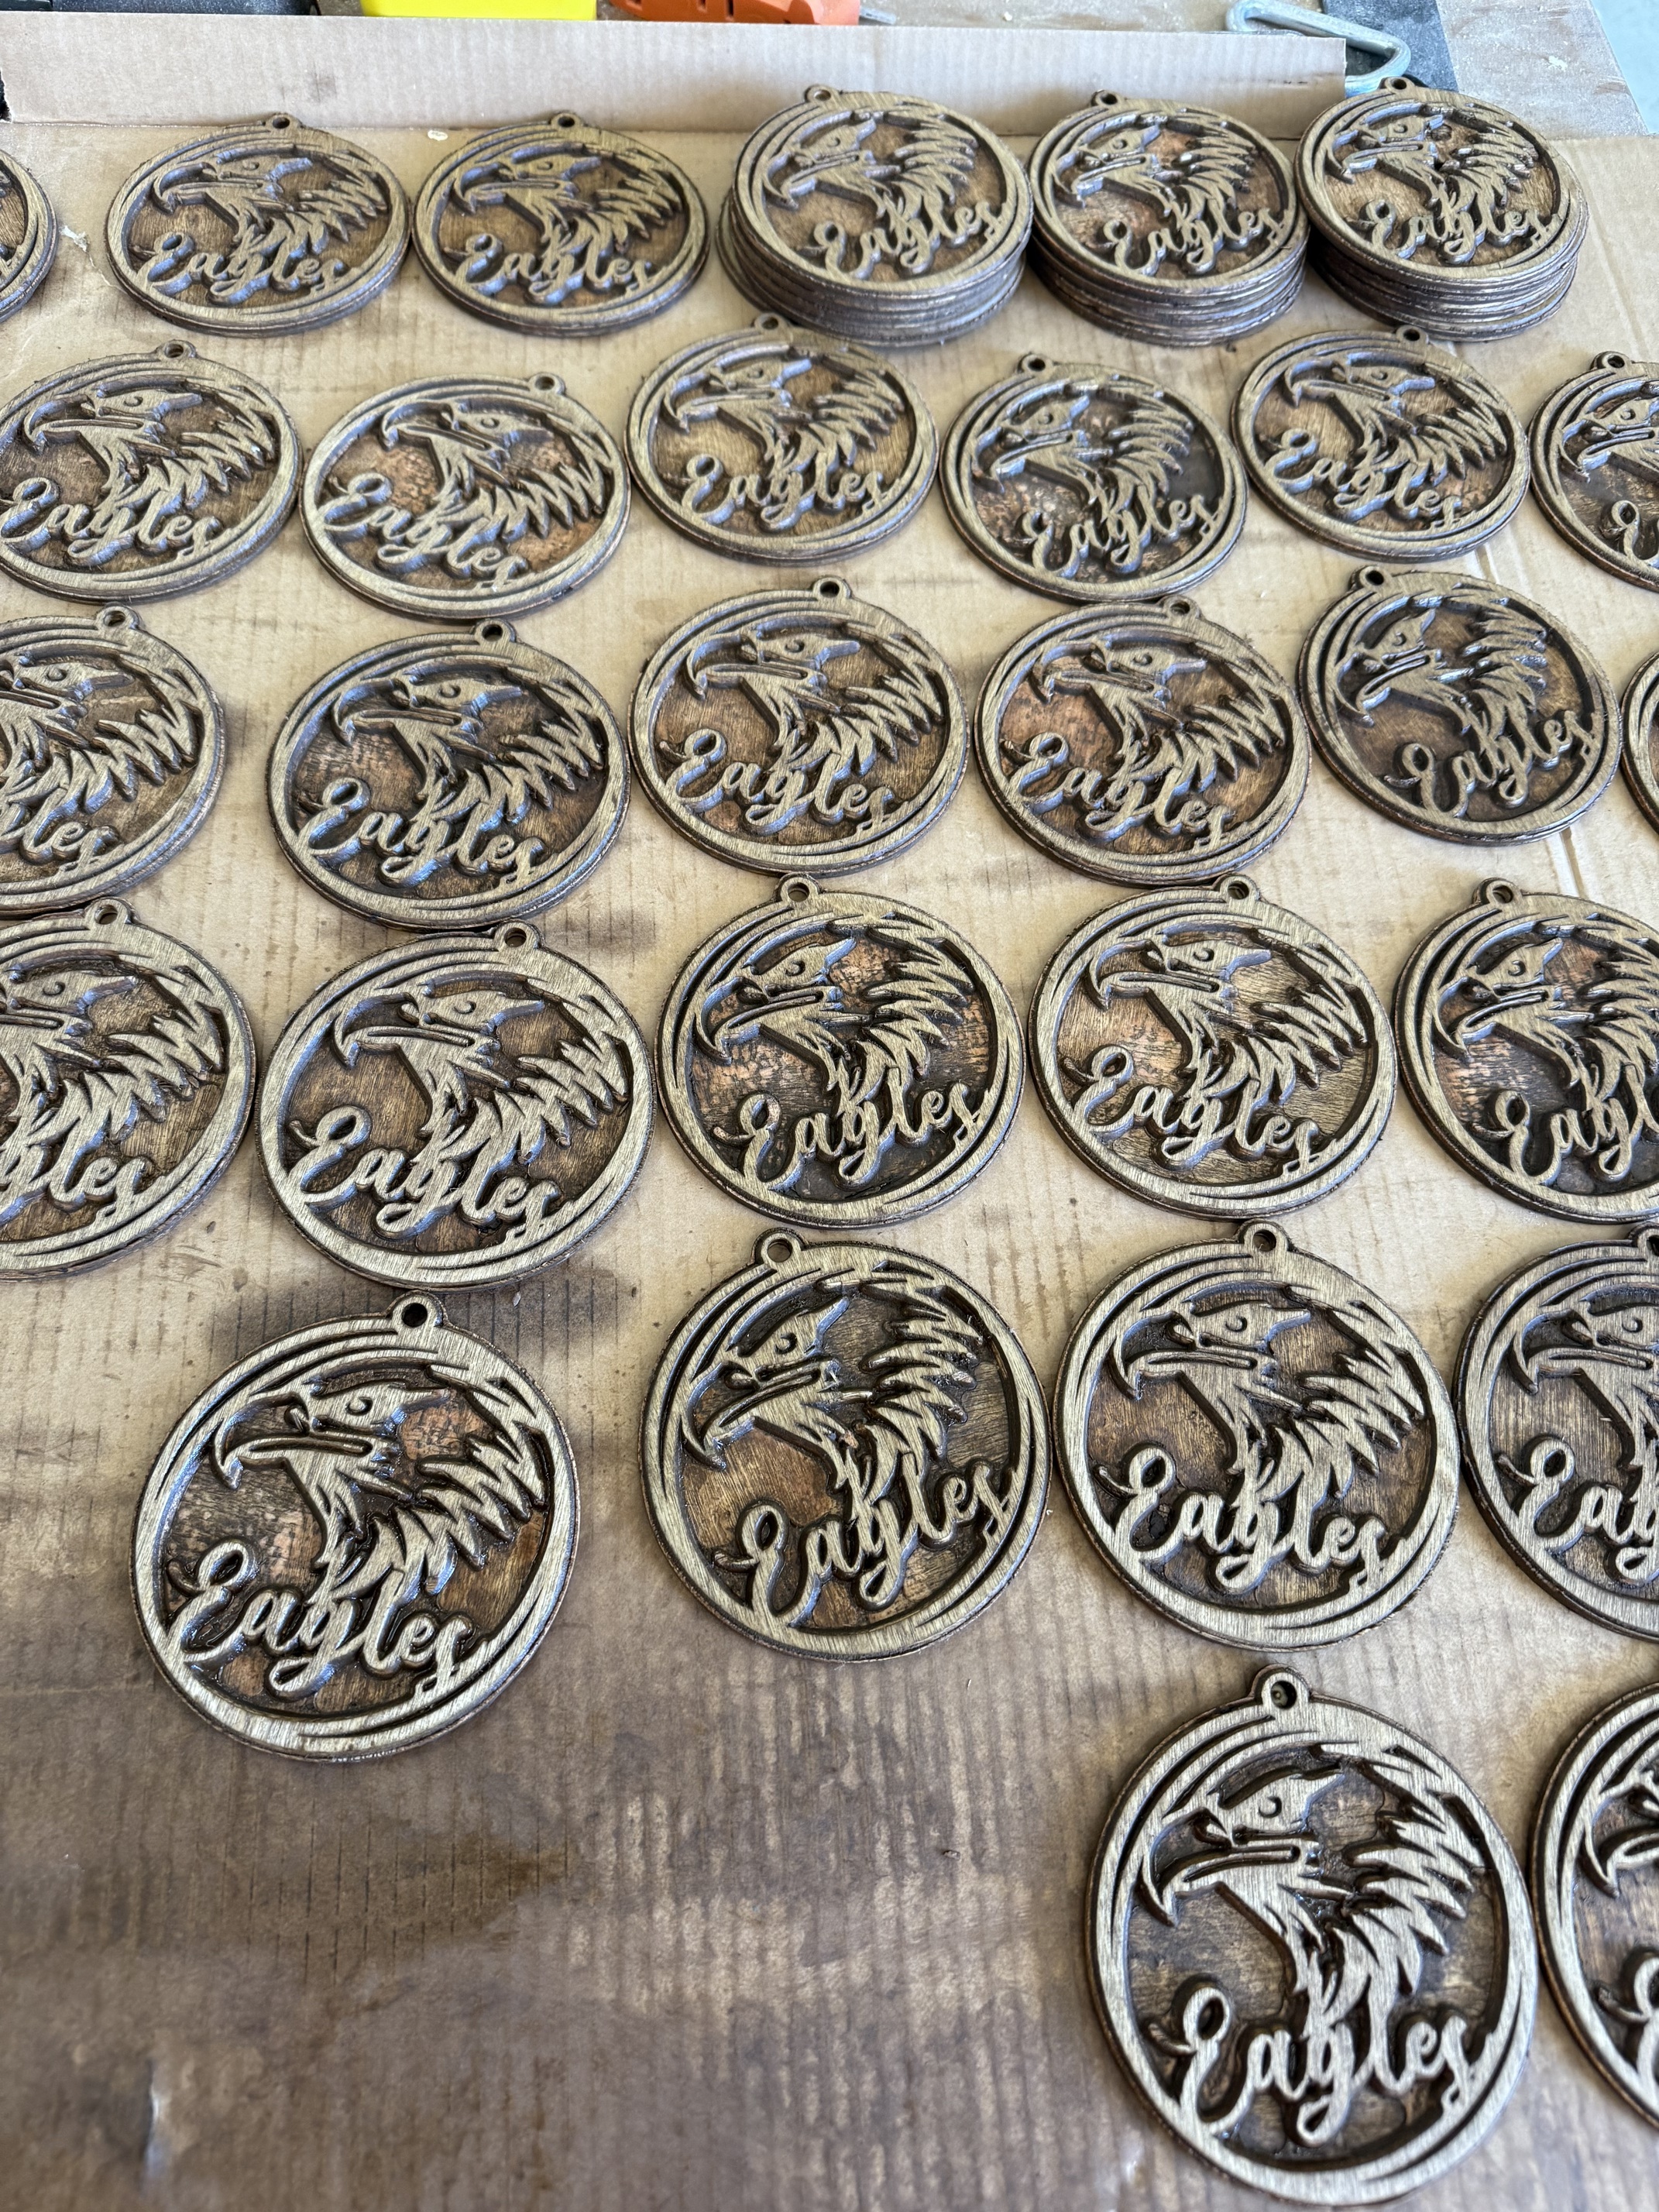
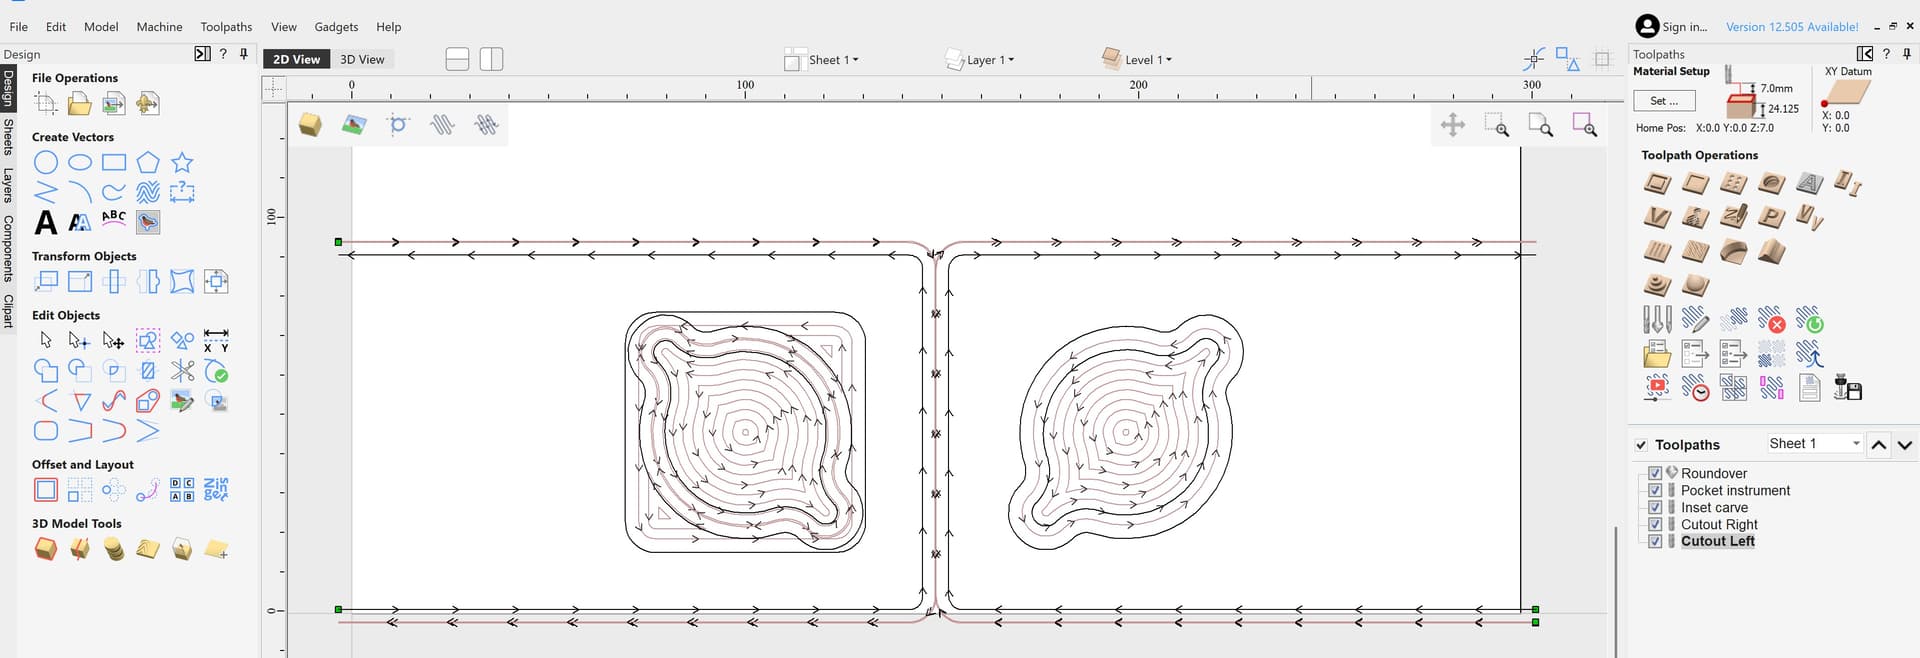
For the work you have around these letters with the smaller scrap pieces around the letters, it might be best to actually program your machine to cut that material completely out instead of a contour and then having to go through and cut off every tab and sand the remains of what is left. The bigger waste pieces can hold a good tab and would be wise to do so, but the little areas can be completely cut out, which would sacrifice some time instead of a complete design failure and/or tool breakage.
There is also another way you could combat waste inside areas with many small parts, make your cuts down to leave around maybe .020" to maybe .030" of material at the bottom of all your cuts. Then flip over the project, place on top of a piece of wood that is thin and can clear all the extra scrap pieces underneath, then run a surfacing program where you skim off that .020" to .030" of material. This way as each scrap piece comes loose from your design, they will fall down away from your surfacing bit and completely clean up. This may be tough on some parts because you use some really thin plywood and it can flex under tool pressure.
If flipping doesn’t seem feasible, then programming for complete cutout of this scrap material would be more ideal. Just some thoughts.
2 Likes
I like the idea of just cutting the small ones all out as pockets. Don’t know if I would have thought of that thanks.
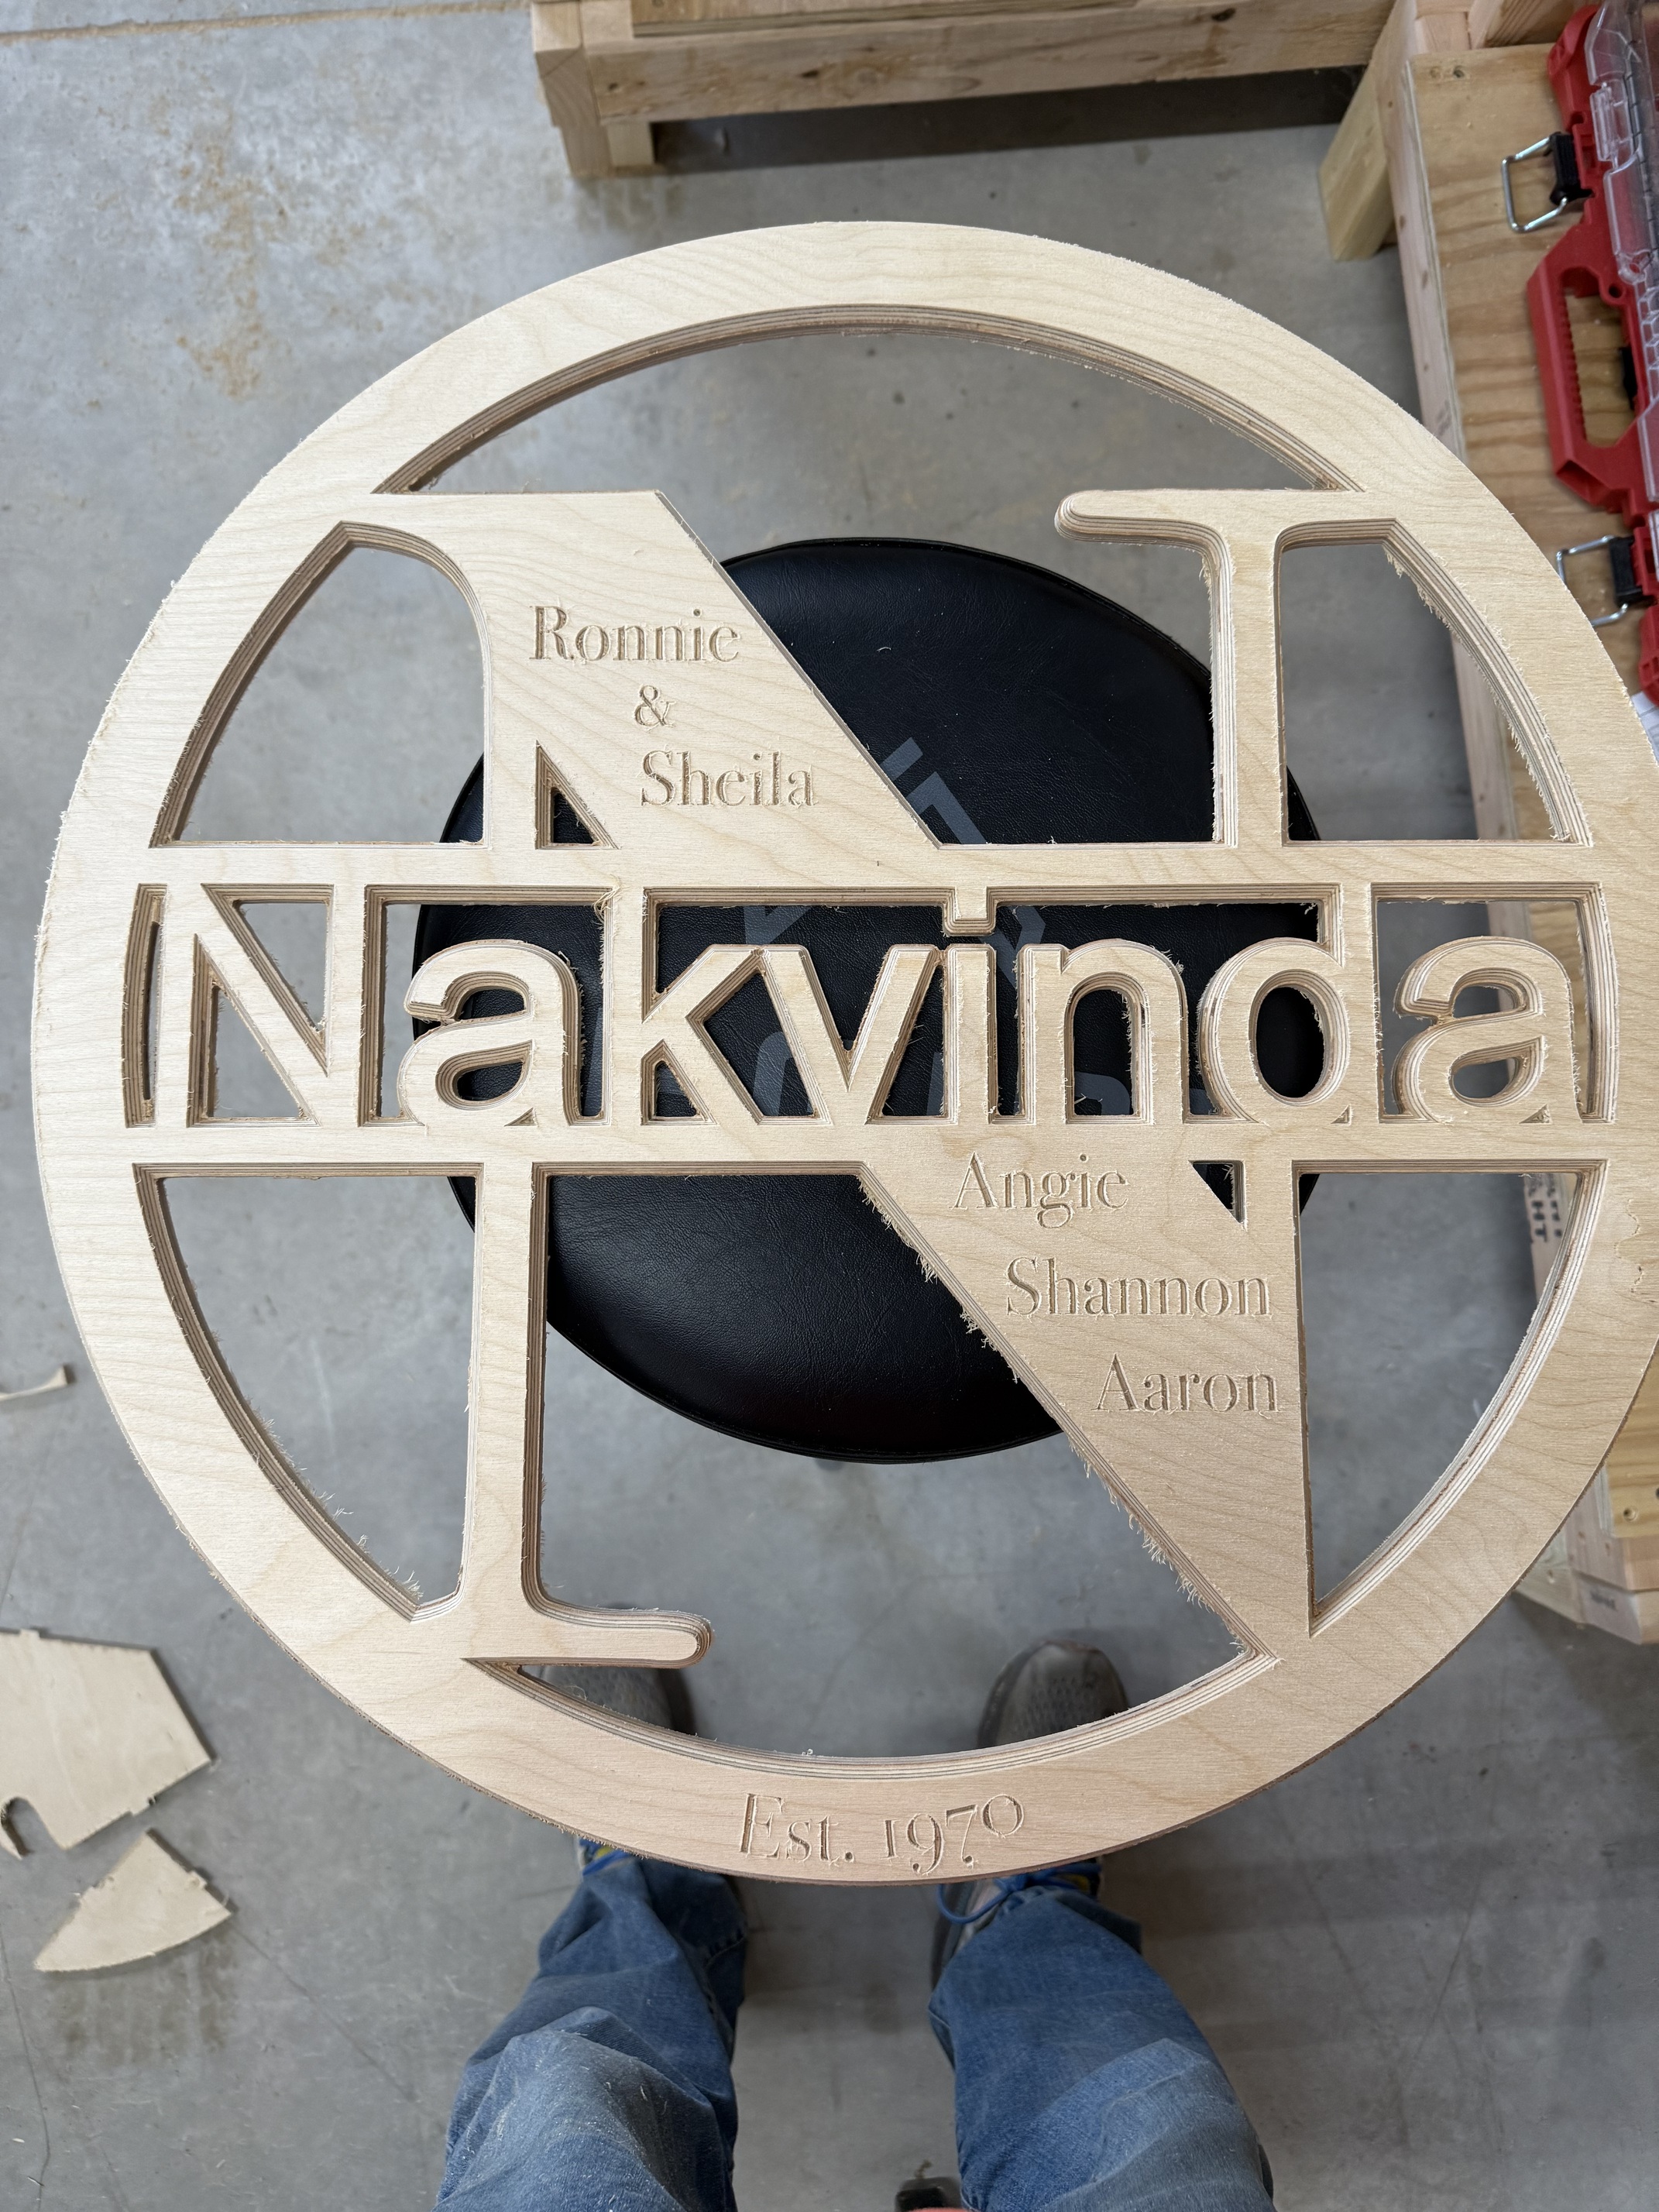
Good job, that turned out really nice! I see you didn’t incorporate the custom carving on the letter “K”!! ![]()
Thanks, thought I would keep the “custom k” for a different project.
1 Like
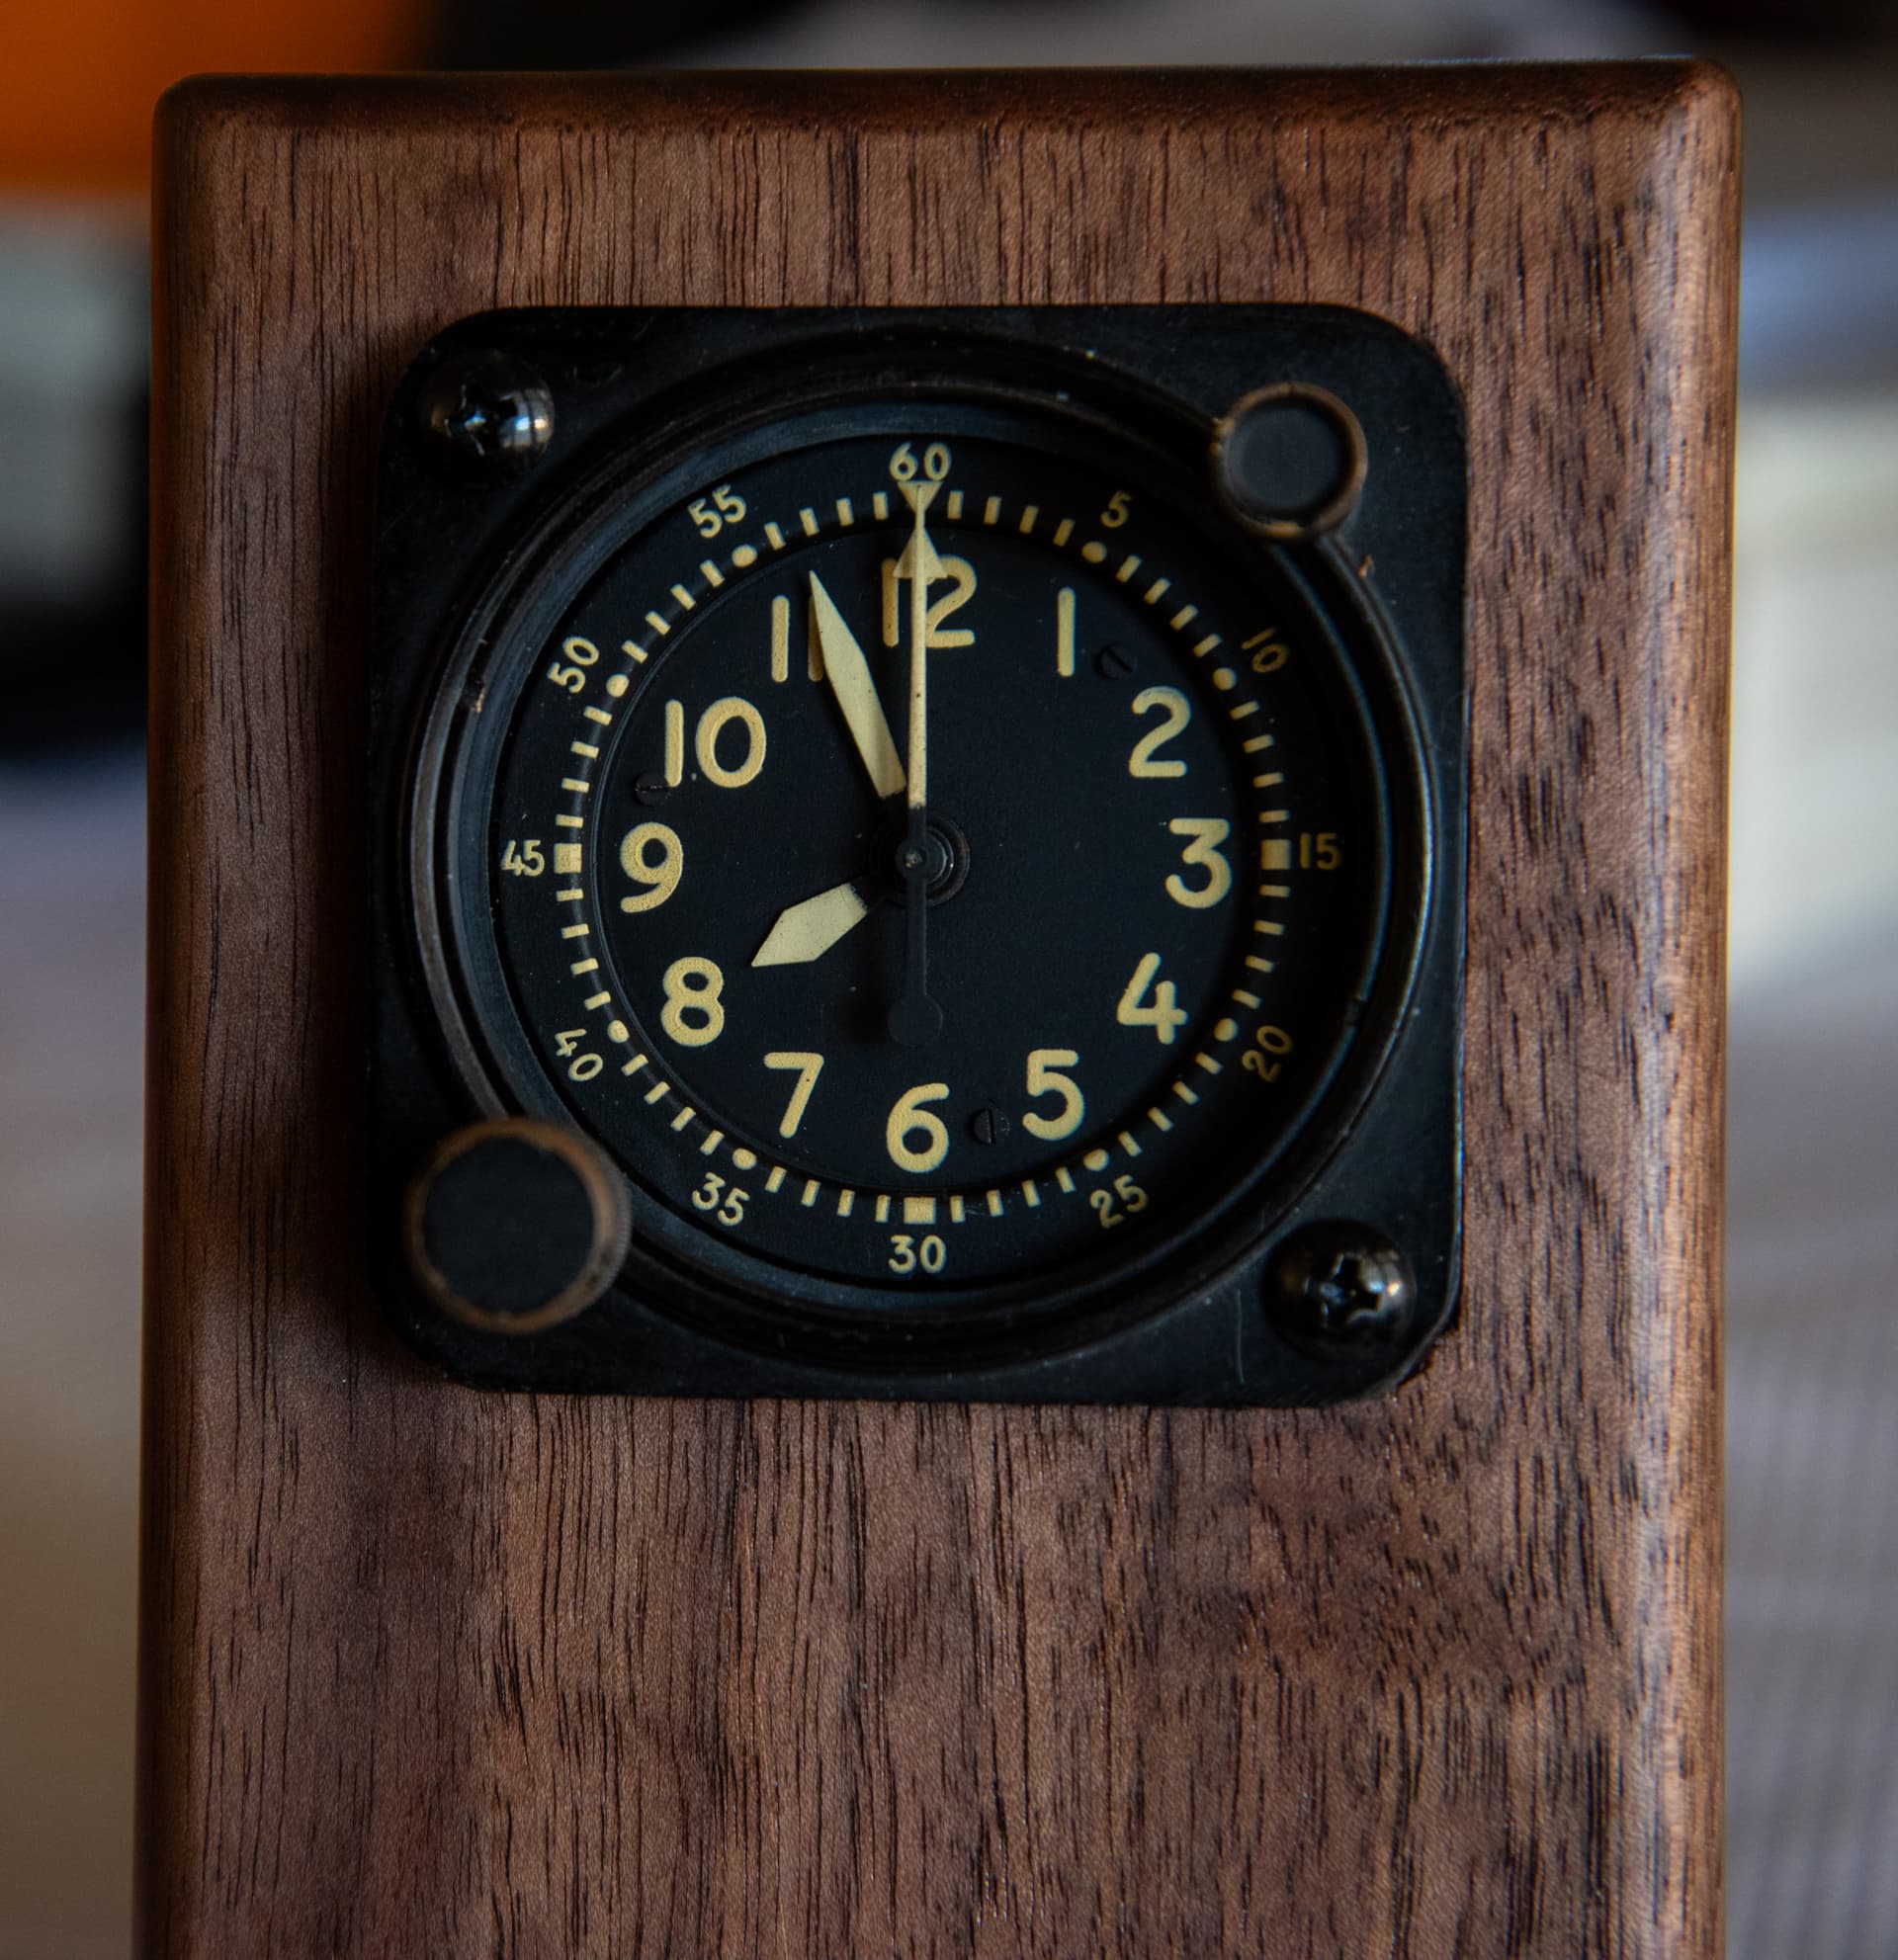
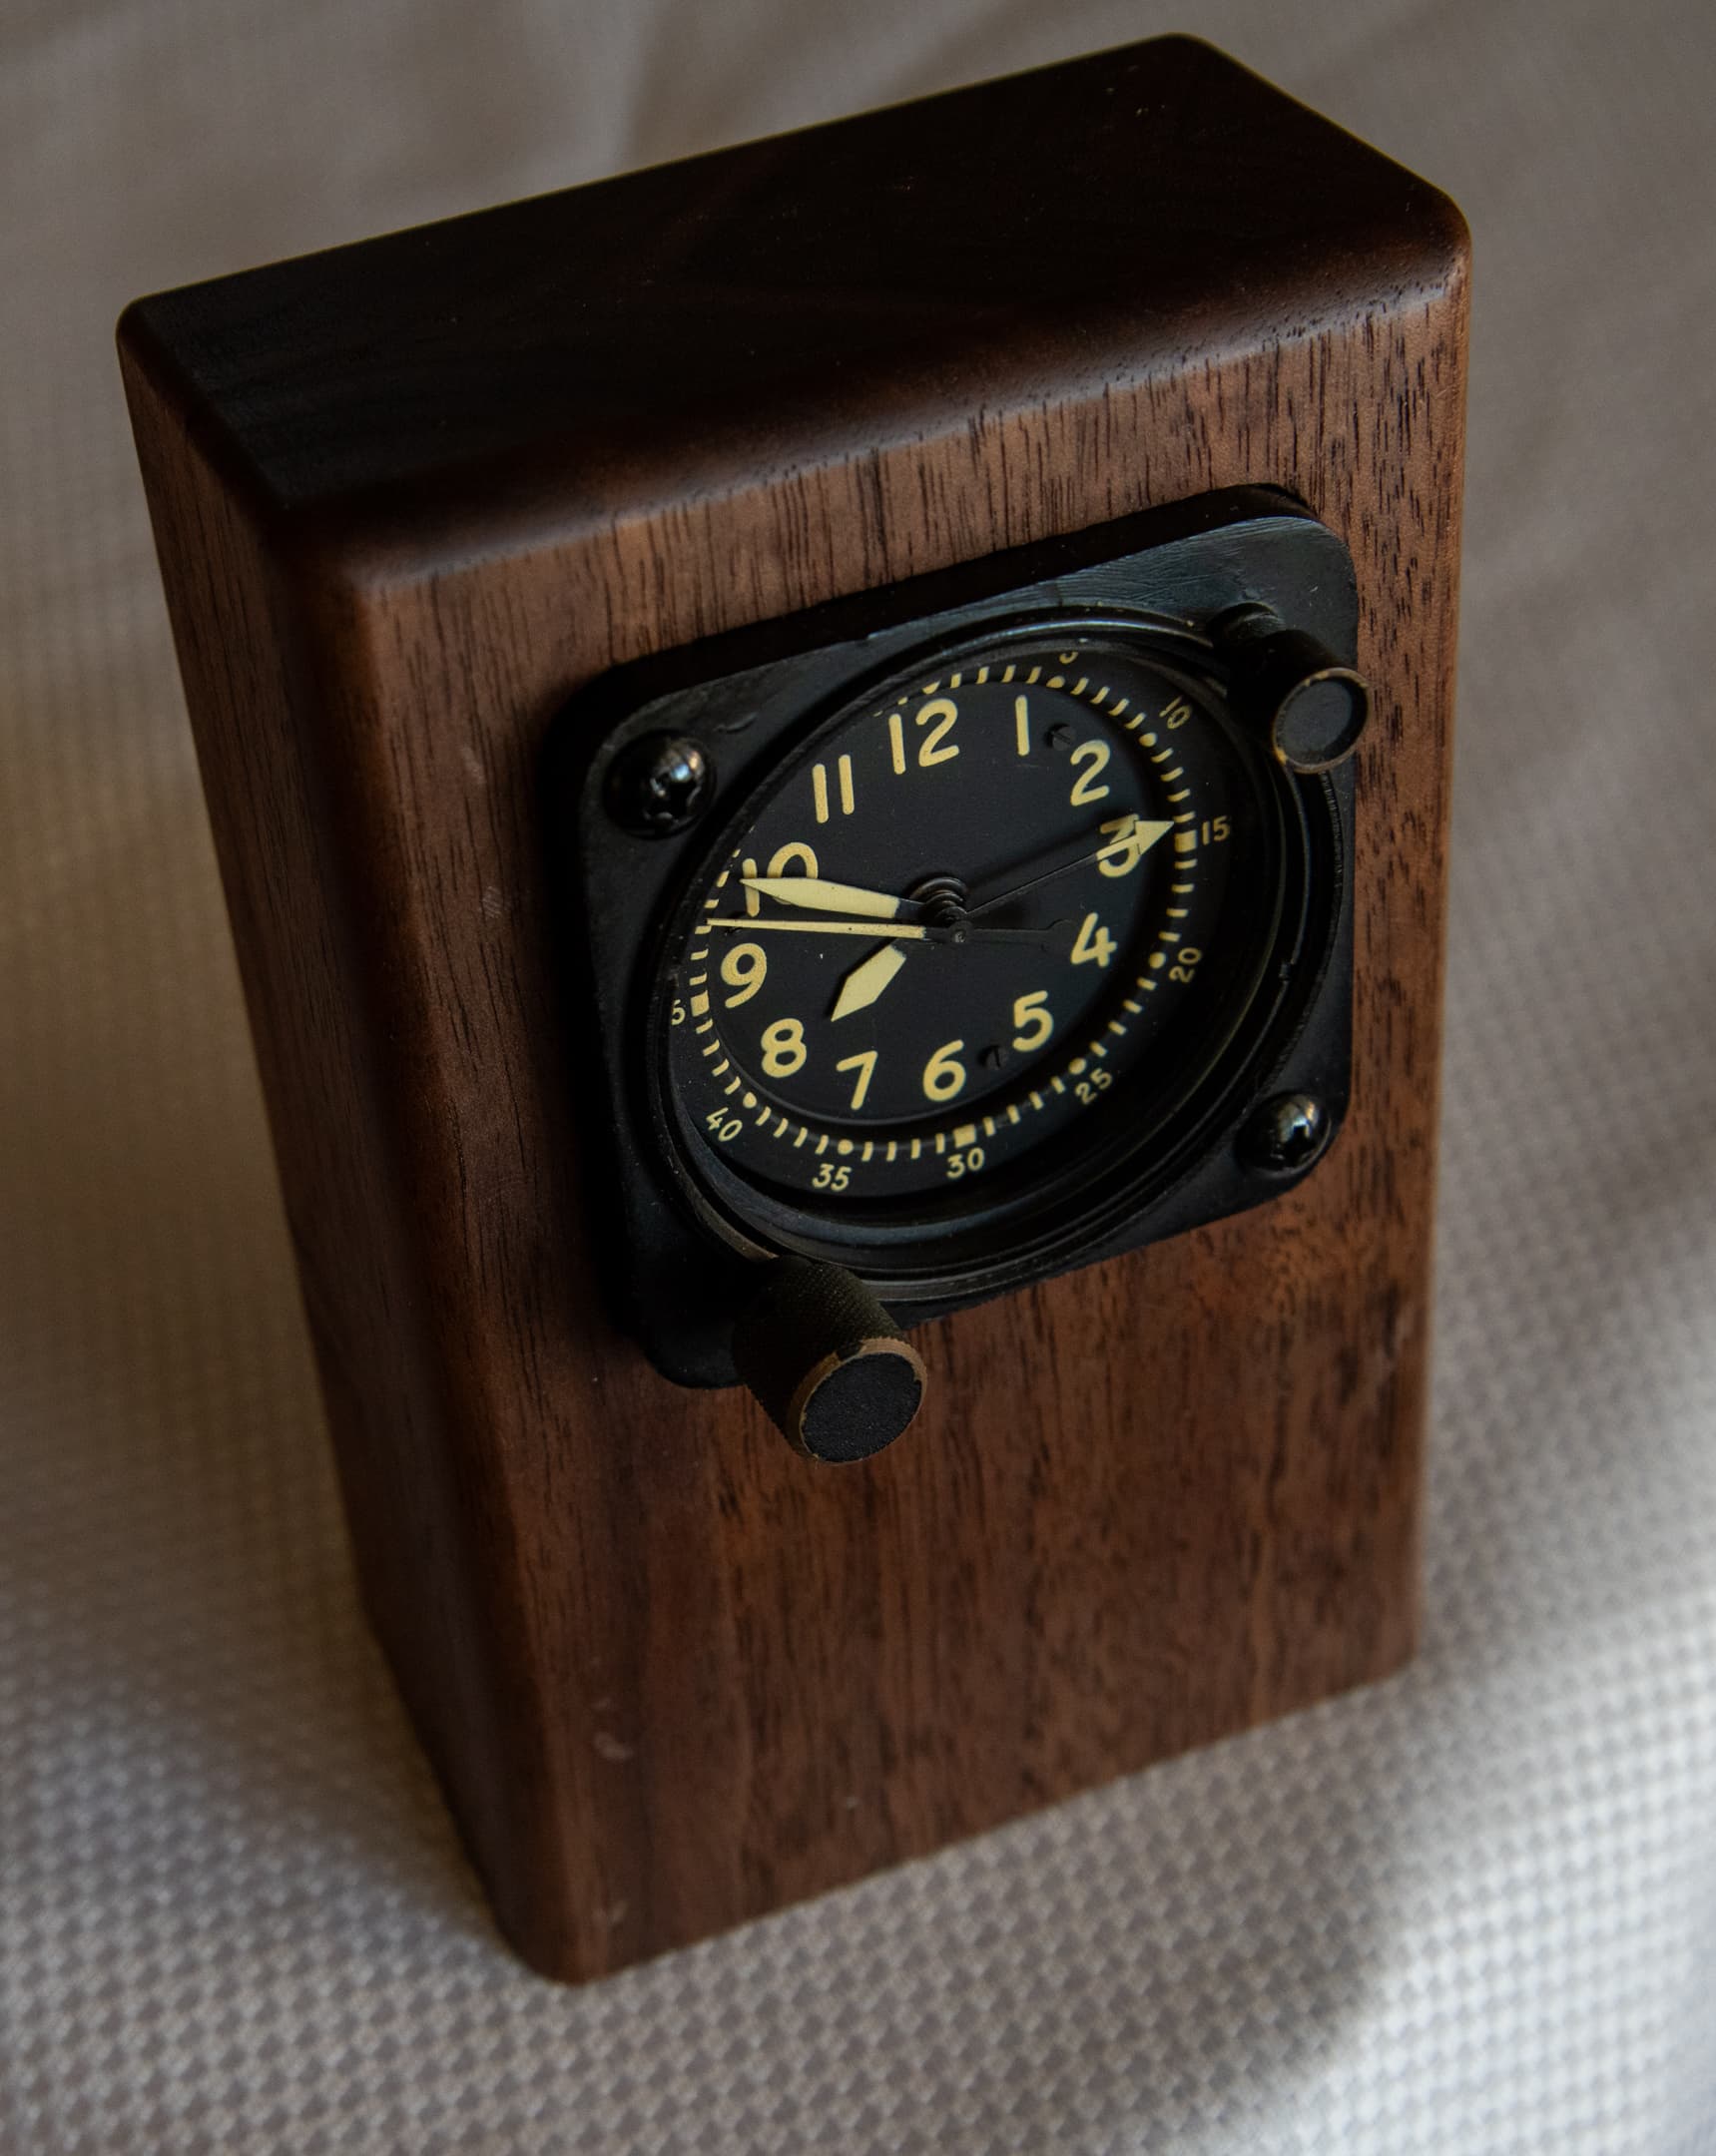
I finally finished a little aviation desk clock I have been pondering for some time. I wanted to take a genuine old mechanical aircraft chronograph and convert it to a desk clock. It’s pretty easy to find these old 2" Waltham A-13A clocks which originally came from military aircraft, but were probably used in civilian aircraft as well. If you want a working model, I suggest getting one in non-working, but serviceable condition and having it serviced as this way you start with a clean slate that should work well for several years. I got mine on eBay for $200. I spent another $150 getting it serviced at Historical Aviation Supply. It works wonderfully after servicing and keeps perfect time, although I did have to make a slight adjustment to the timing, which is typical when a mechanical clock is shipped. This particular clock is a chronograph. On the upper right control you press once to start the chronograph, a second time to stop it, and a third time to reset. Winding it fully gets you about one week of operation, but I typically wind it every other day or so.
With the working clock in hand I had to figure out some way to mount it. I considered several different designs, some with other aircraft instruments, but finally decided on a very simple, yet elegant design. I took some 1" rough walnut and surfaced it on both sides with a 3/4" Onsrud 40-141 upcut taking .5mm off with each pass until I had a flat surface. I hand planed each side to a perfectly smooth finish. On the CNC I used a Whiteside 1572 to round over two 90x145mm sections, and then with a 1/4 downcut I pocketed the areas for the clock on both sides and profile cut out the sections. The two pieces were glued together, and hand planed true on the edges. The bottom was then cut on the table saw at a 15° angle so the clock sits with a back tilt. A little finish sanding on the bottom and a neutral hard wax finish completed it.
26 Likes
What a novel idea and project, turned out very nice! Walnut is a great species for a project like this.
Crushed stone and CA enable some interesting solid or vary-colored fills. No pesky epoxy drying time either.
Just a thought.
3 Likes
Hmmmm…I’ll have to try that sometime soon!
+1 to @Griff’s suggestion of crushed stone.
If you want to get real fancy, crushed opal is awfully pretty…and hard to photograph.
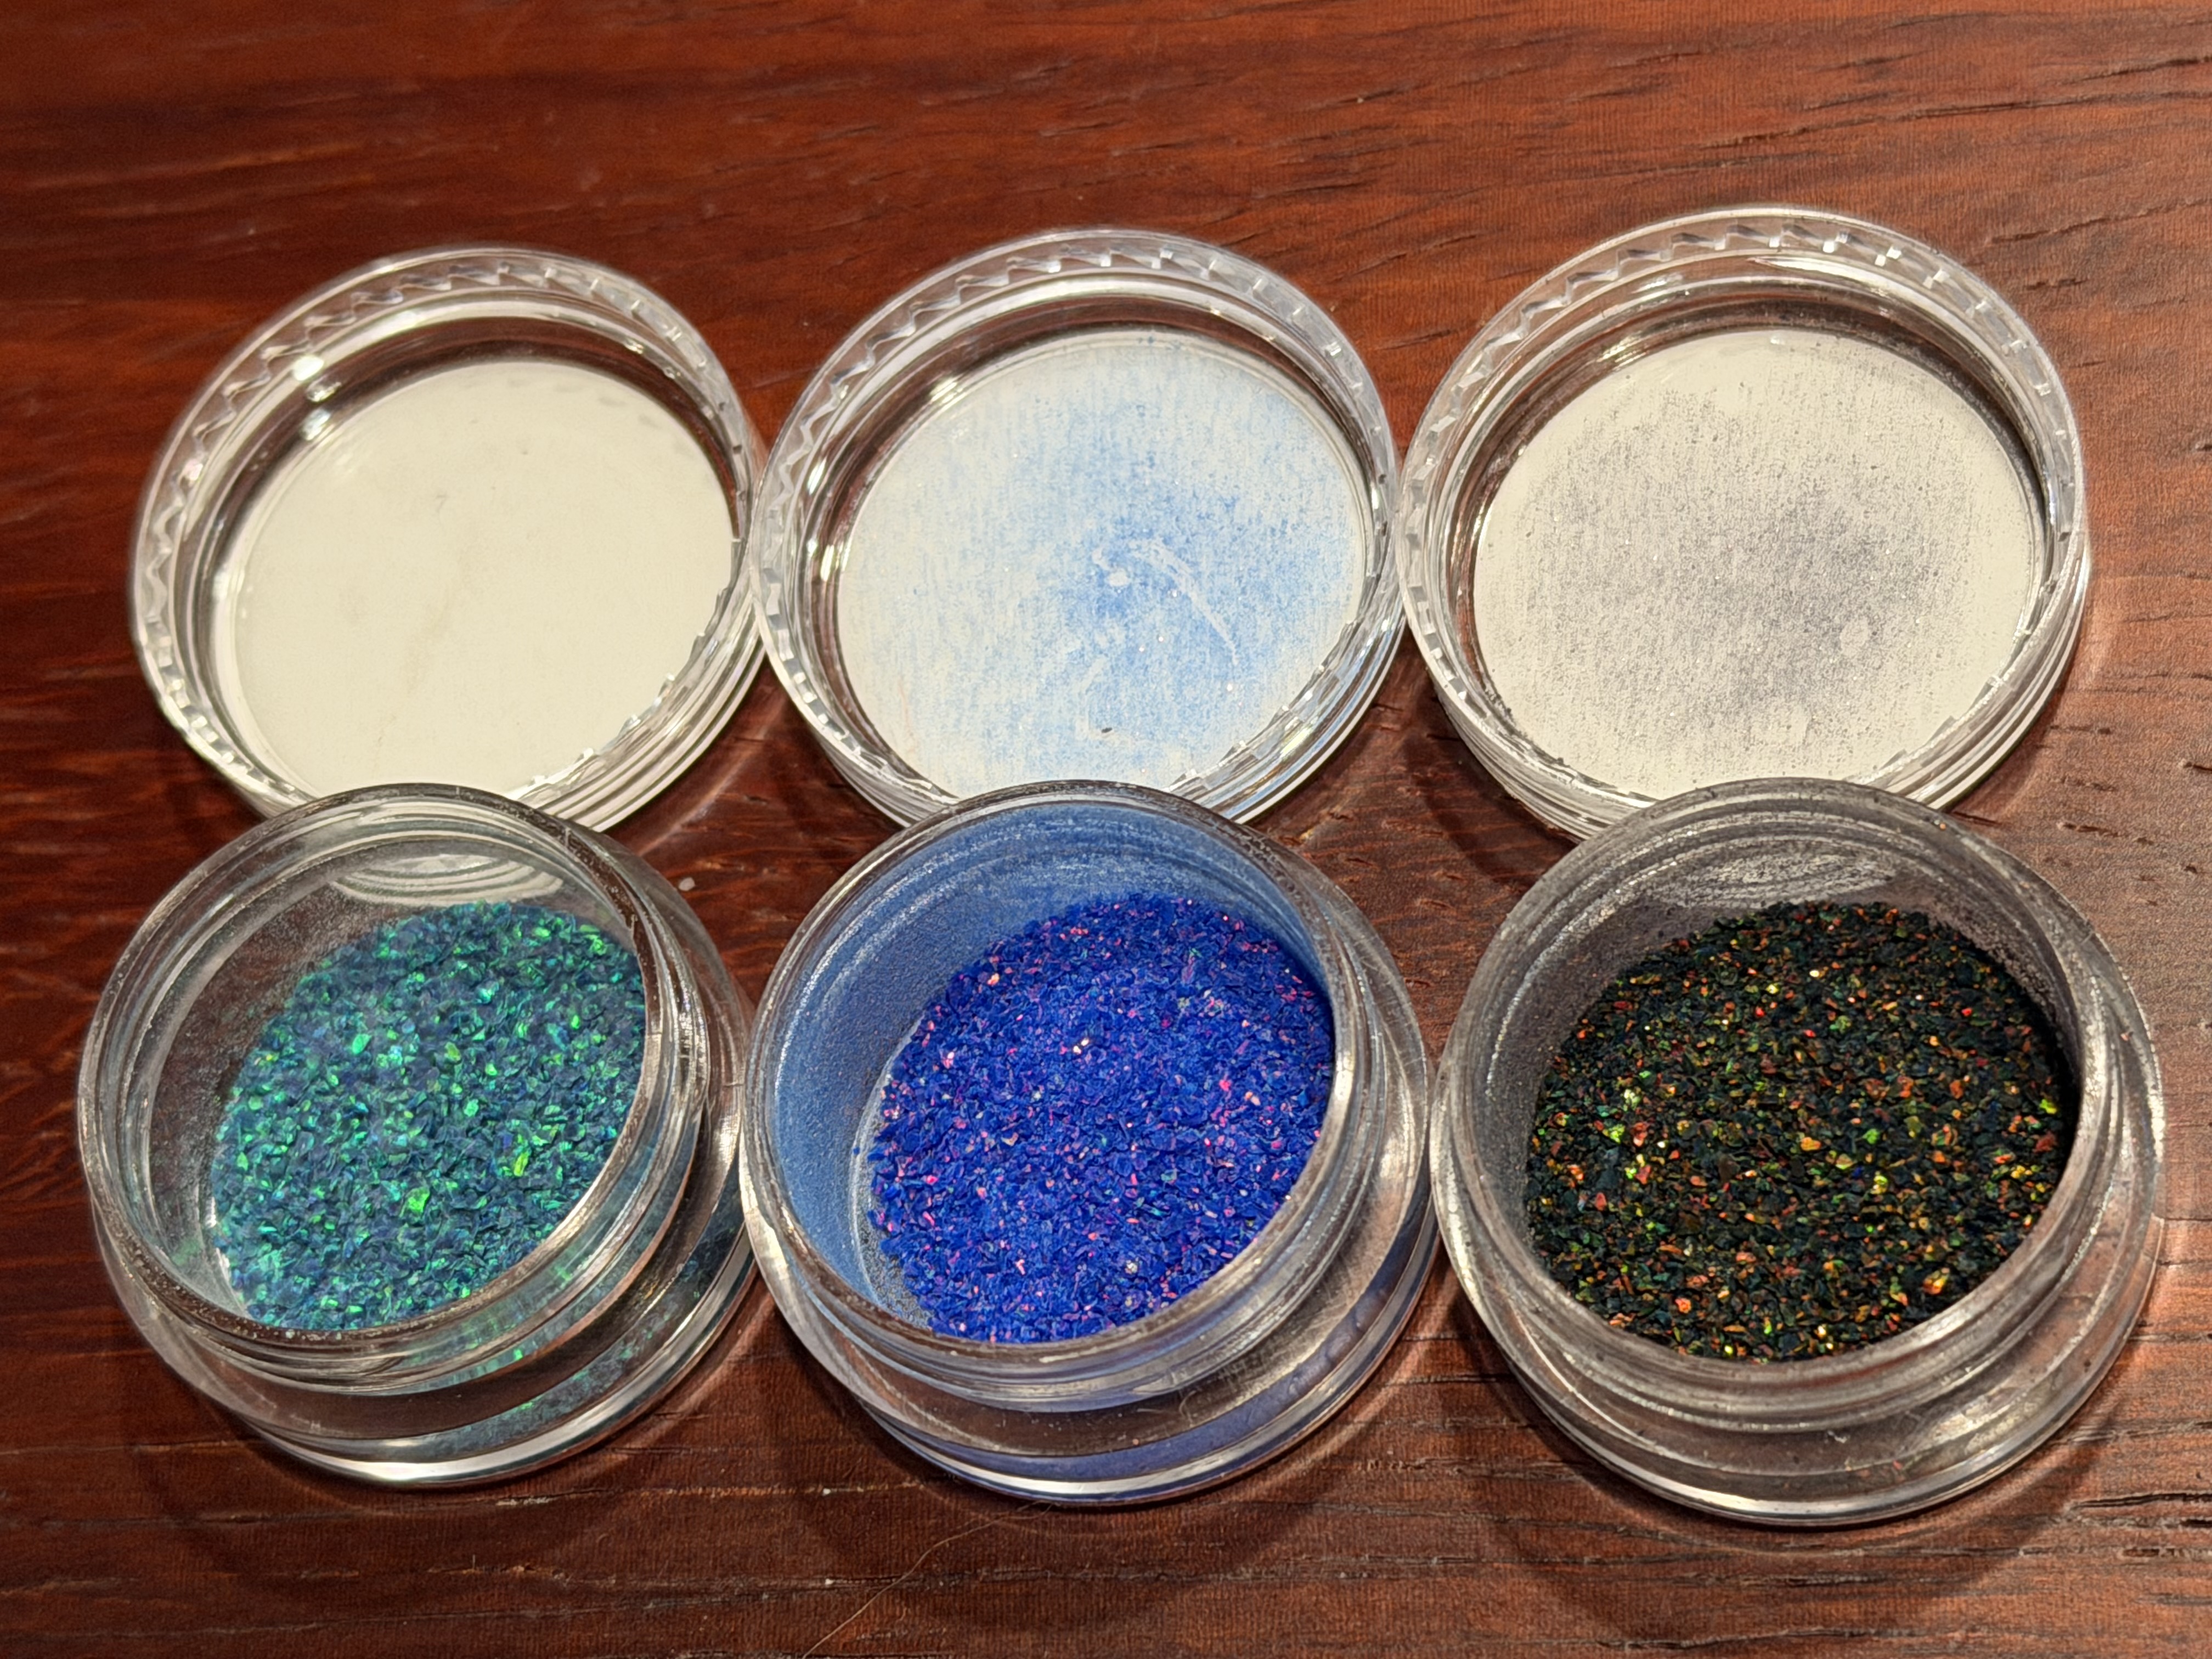
7 Likes
Do either one of you have examples you can share of the ca/crushed stone look?