A tidy-looking piece of work. How did you find the hinging? I’ve considered these barrel hinges but I have been put off by the horror stories of fitting them.
As an aside, I wanted to make a cribbage board where the box folded open and where the top and bottom of the box become a cribbage board but I could not figure out a hinge combination that would allow the open box to lie flat on a table
The hinges were a little fiddly. Initially I thought the hole called for in the plans was a bit too tight as ai could barely fit the hinge in. I oversized ever so slightly and it seemed good in tests.
Once I put it all together though I had difficulty tightening the hinge enough. I ended up putting a wrap of teflon tape around the barrels on the lid side. I am a little nervous for its long term holding power but seems ok now. I will definitely make adjustments before the next one.
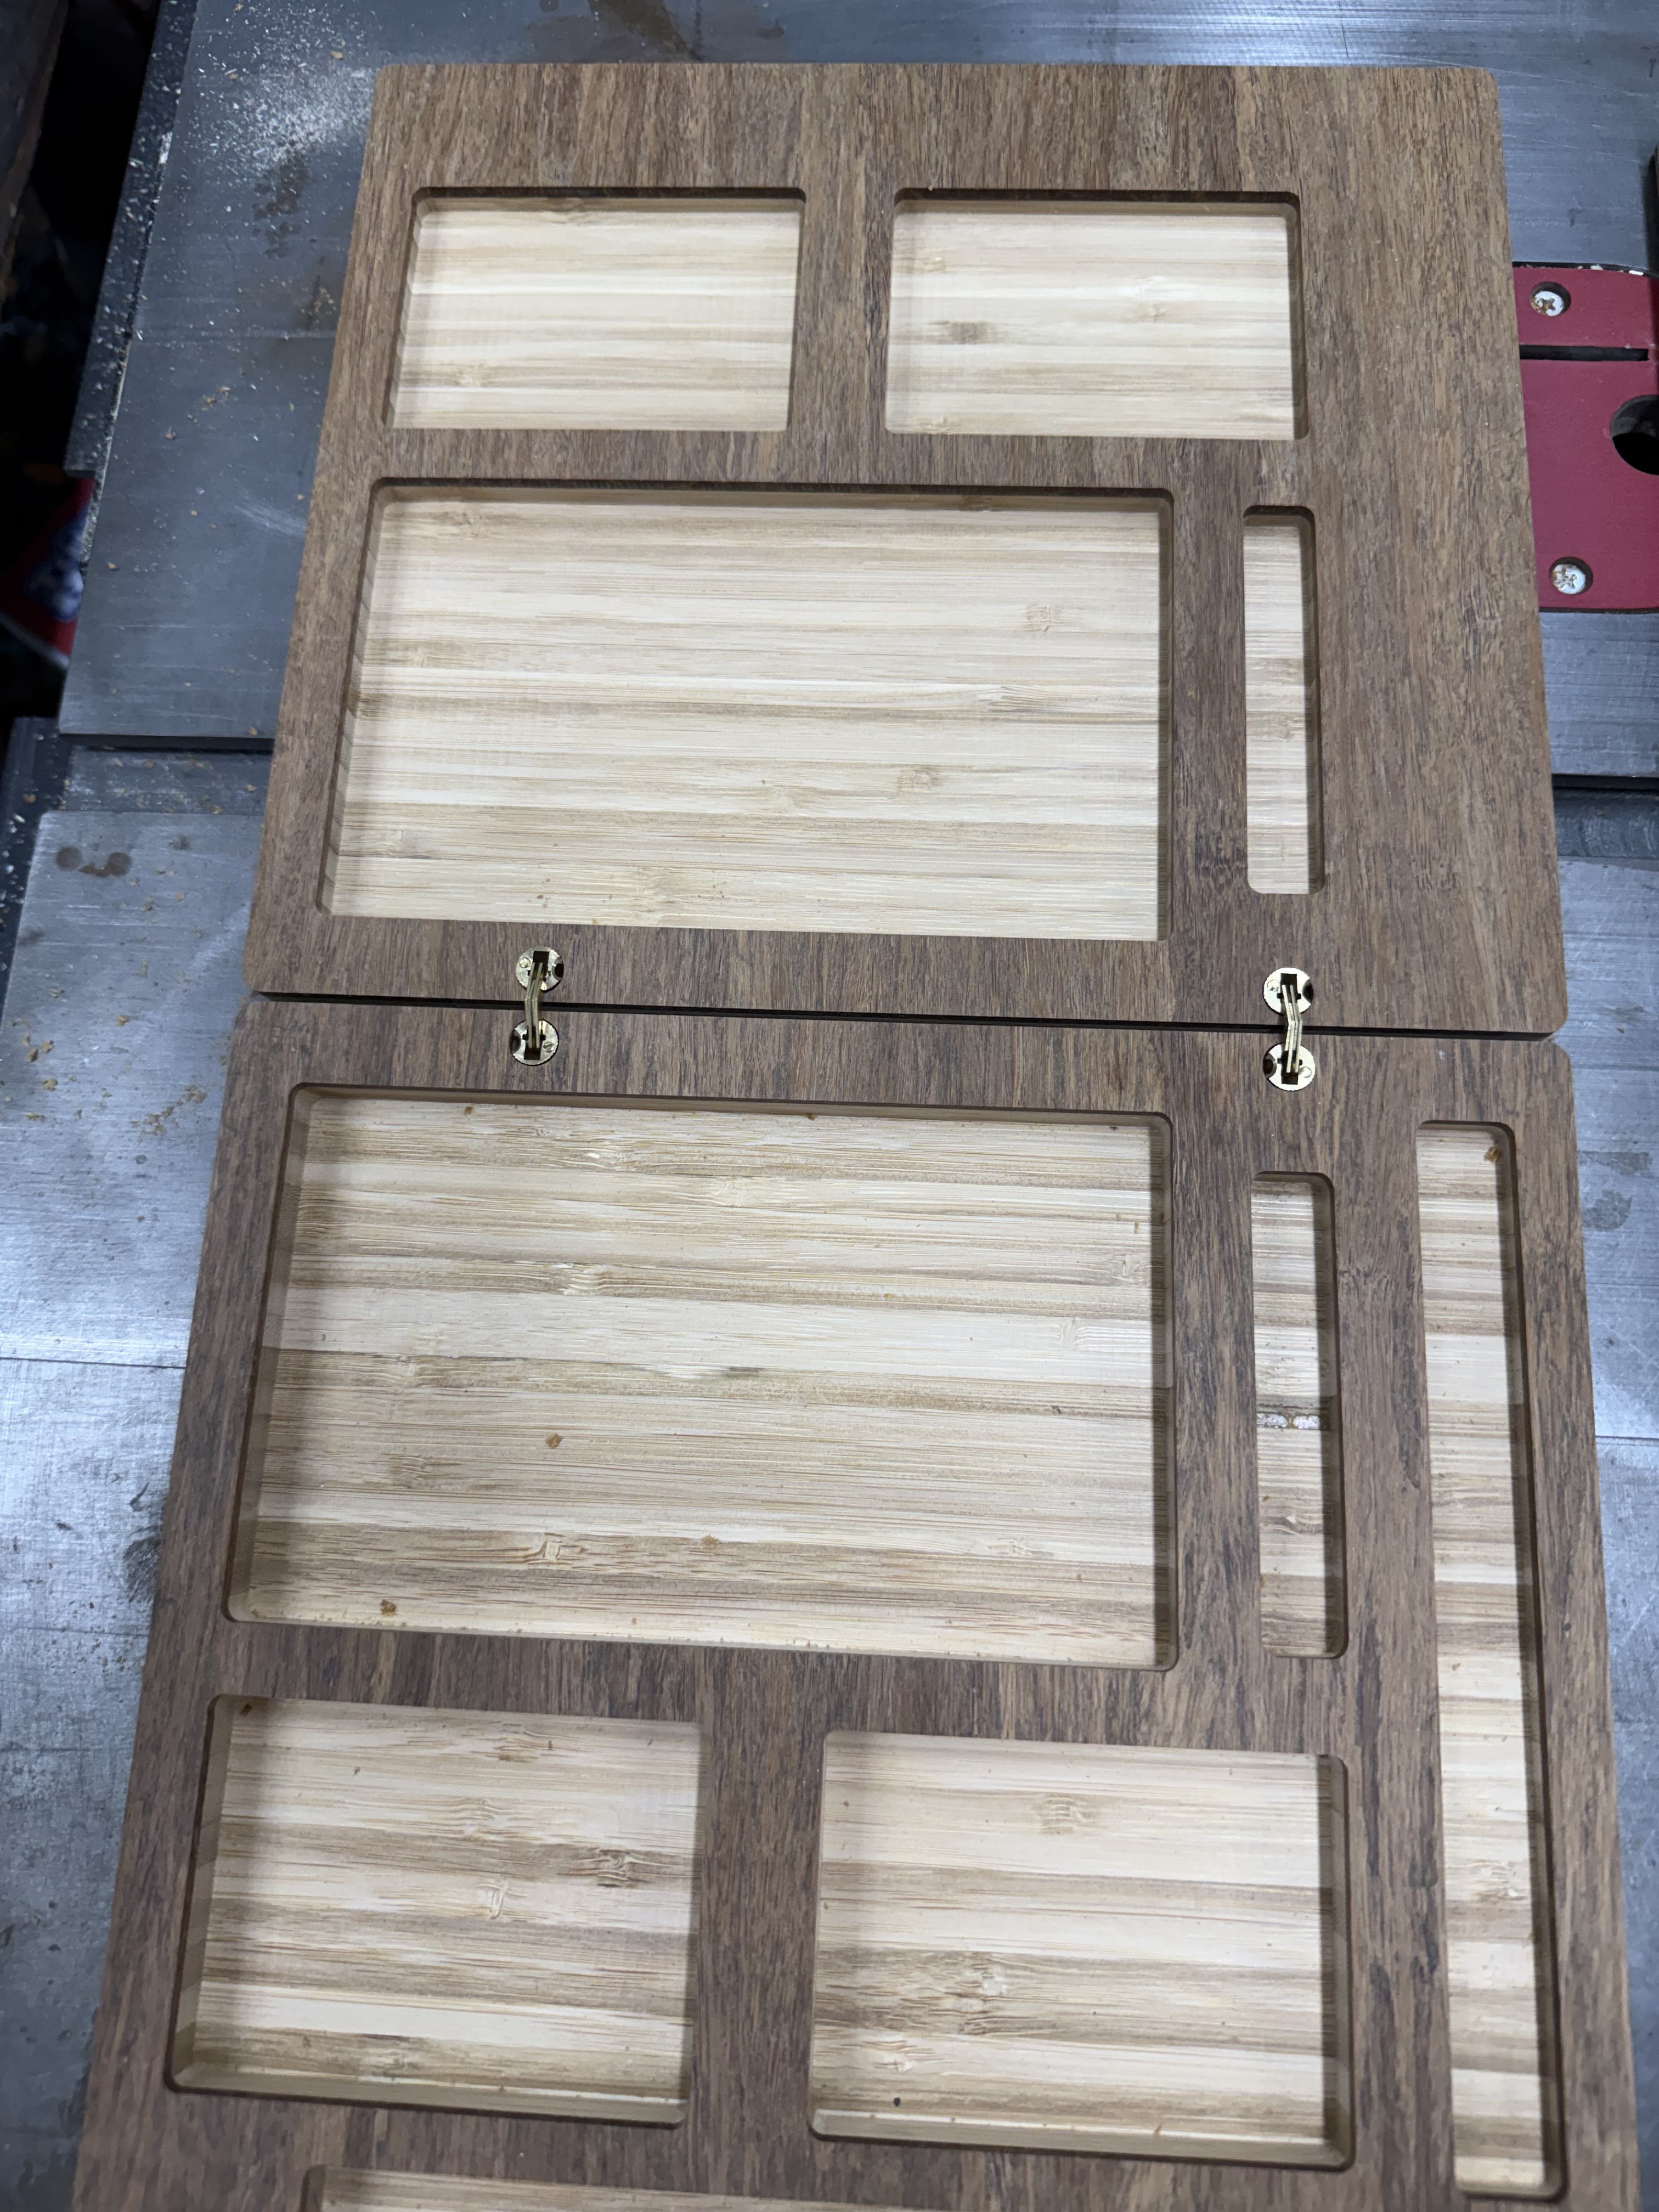
It does fold flat with the outsides down. I don’t think it would be flat with the insides down but I can see how much it would rock.
i rounded the outside edges but not the inside edges since I wanted a clean edge when closed. I probably should have softened that back edge but it does seem to work OK.
Here is an image of them folded flat before I put any finish on.
I do see a video where a guy used magnets on all 4 corners I stead of hinges and clasps. I thought about it but was concerned it wouldn’t hold well enough and having all that stuff spill out would be a mess.
In his video the mating surfaces were flat. If there was a lip to help hold things together that would help but I would have to think if there is a way to do that with this material that would work well. If it wasn’t layered it would be fine.
I may do some tests with magnets. I am not really happy with this particular latch.
Thank you for the description. I think the magnets would hold. I would be concerned that they were too tight and you’d fling the contents everywhere trying to open them :). A spot of CA gue might hold the hinge in place.
Thought about CA for the hinges and may try it but the sides of the barrel are ridged so there is not a lot of surface area.
These are the ones that came in the kit. The price of the kit was $29 and included the hinges, latch, cards, dominos and dice.
When I looked for pieces independently I stopped after seeing the barrel hinges were $19. I may try to source things separately again so that I can make sure I get the same size dice😊
EDIT: I only looked for the hinges at Rockler where they are pricey. I see much cheaper options on Amazon now.
@CullenS ,
You can always shim up the holes for the barrel hinges. I have used thin shavings and glued them in all different sized holes to tighten them up. The easiest example is using toothpicks in door hinge screw hole in door frames for older doors. Remove the screws, cut toothpick to length, insert as many as needed and replace the screw.
This would work on your hinges but probably not be aesthetically pleasing to the eye as thin shavings would be.
I am not sure how to get thin shavings on the sides of the hole without impacting the depth. The gap is tiny. Maybe some epoxy would work better than CA since it would fill the gaps in the barrel ridges. The trick you be in not having squeeze out at the top.
I use epoxy to fill the gap between the wood and the barrel hinges to set them, just make sure that you don’t let it puddle in the bottom of the hole as it will squeeze up into the hinge itself. i normally put epoxy on the ridges of the hinge with a toothpick and a small strip inside the hole, so far I have only had two hinges that would not open.
Depending on size of the hole I have used dowel rods and sanded them down to size in a hand drill, wrapped the dowel in ceran wrap. Then slide the dowel in the hole and then put the slice/shaving down in the space and let dry. It takes time but for a finished look it works well.
If you had even a 1/2” length piece of the Bama board you could use the cnc and cut a very thin strip to use as the shim that matches the board even better.
This method takes the risk out of gluing in the hinge and getting glue/epoxy into the hinge.
I was over a friends shop and another guy was there. My buddy says “he can do it”.
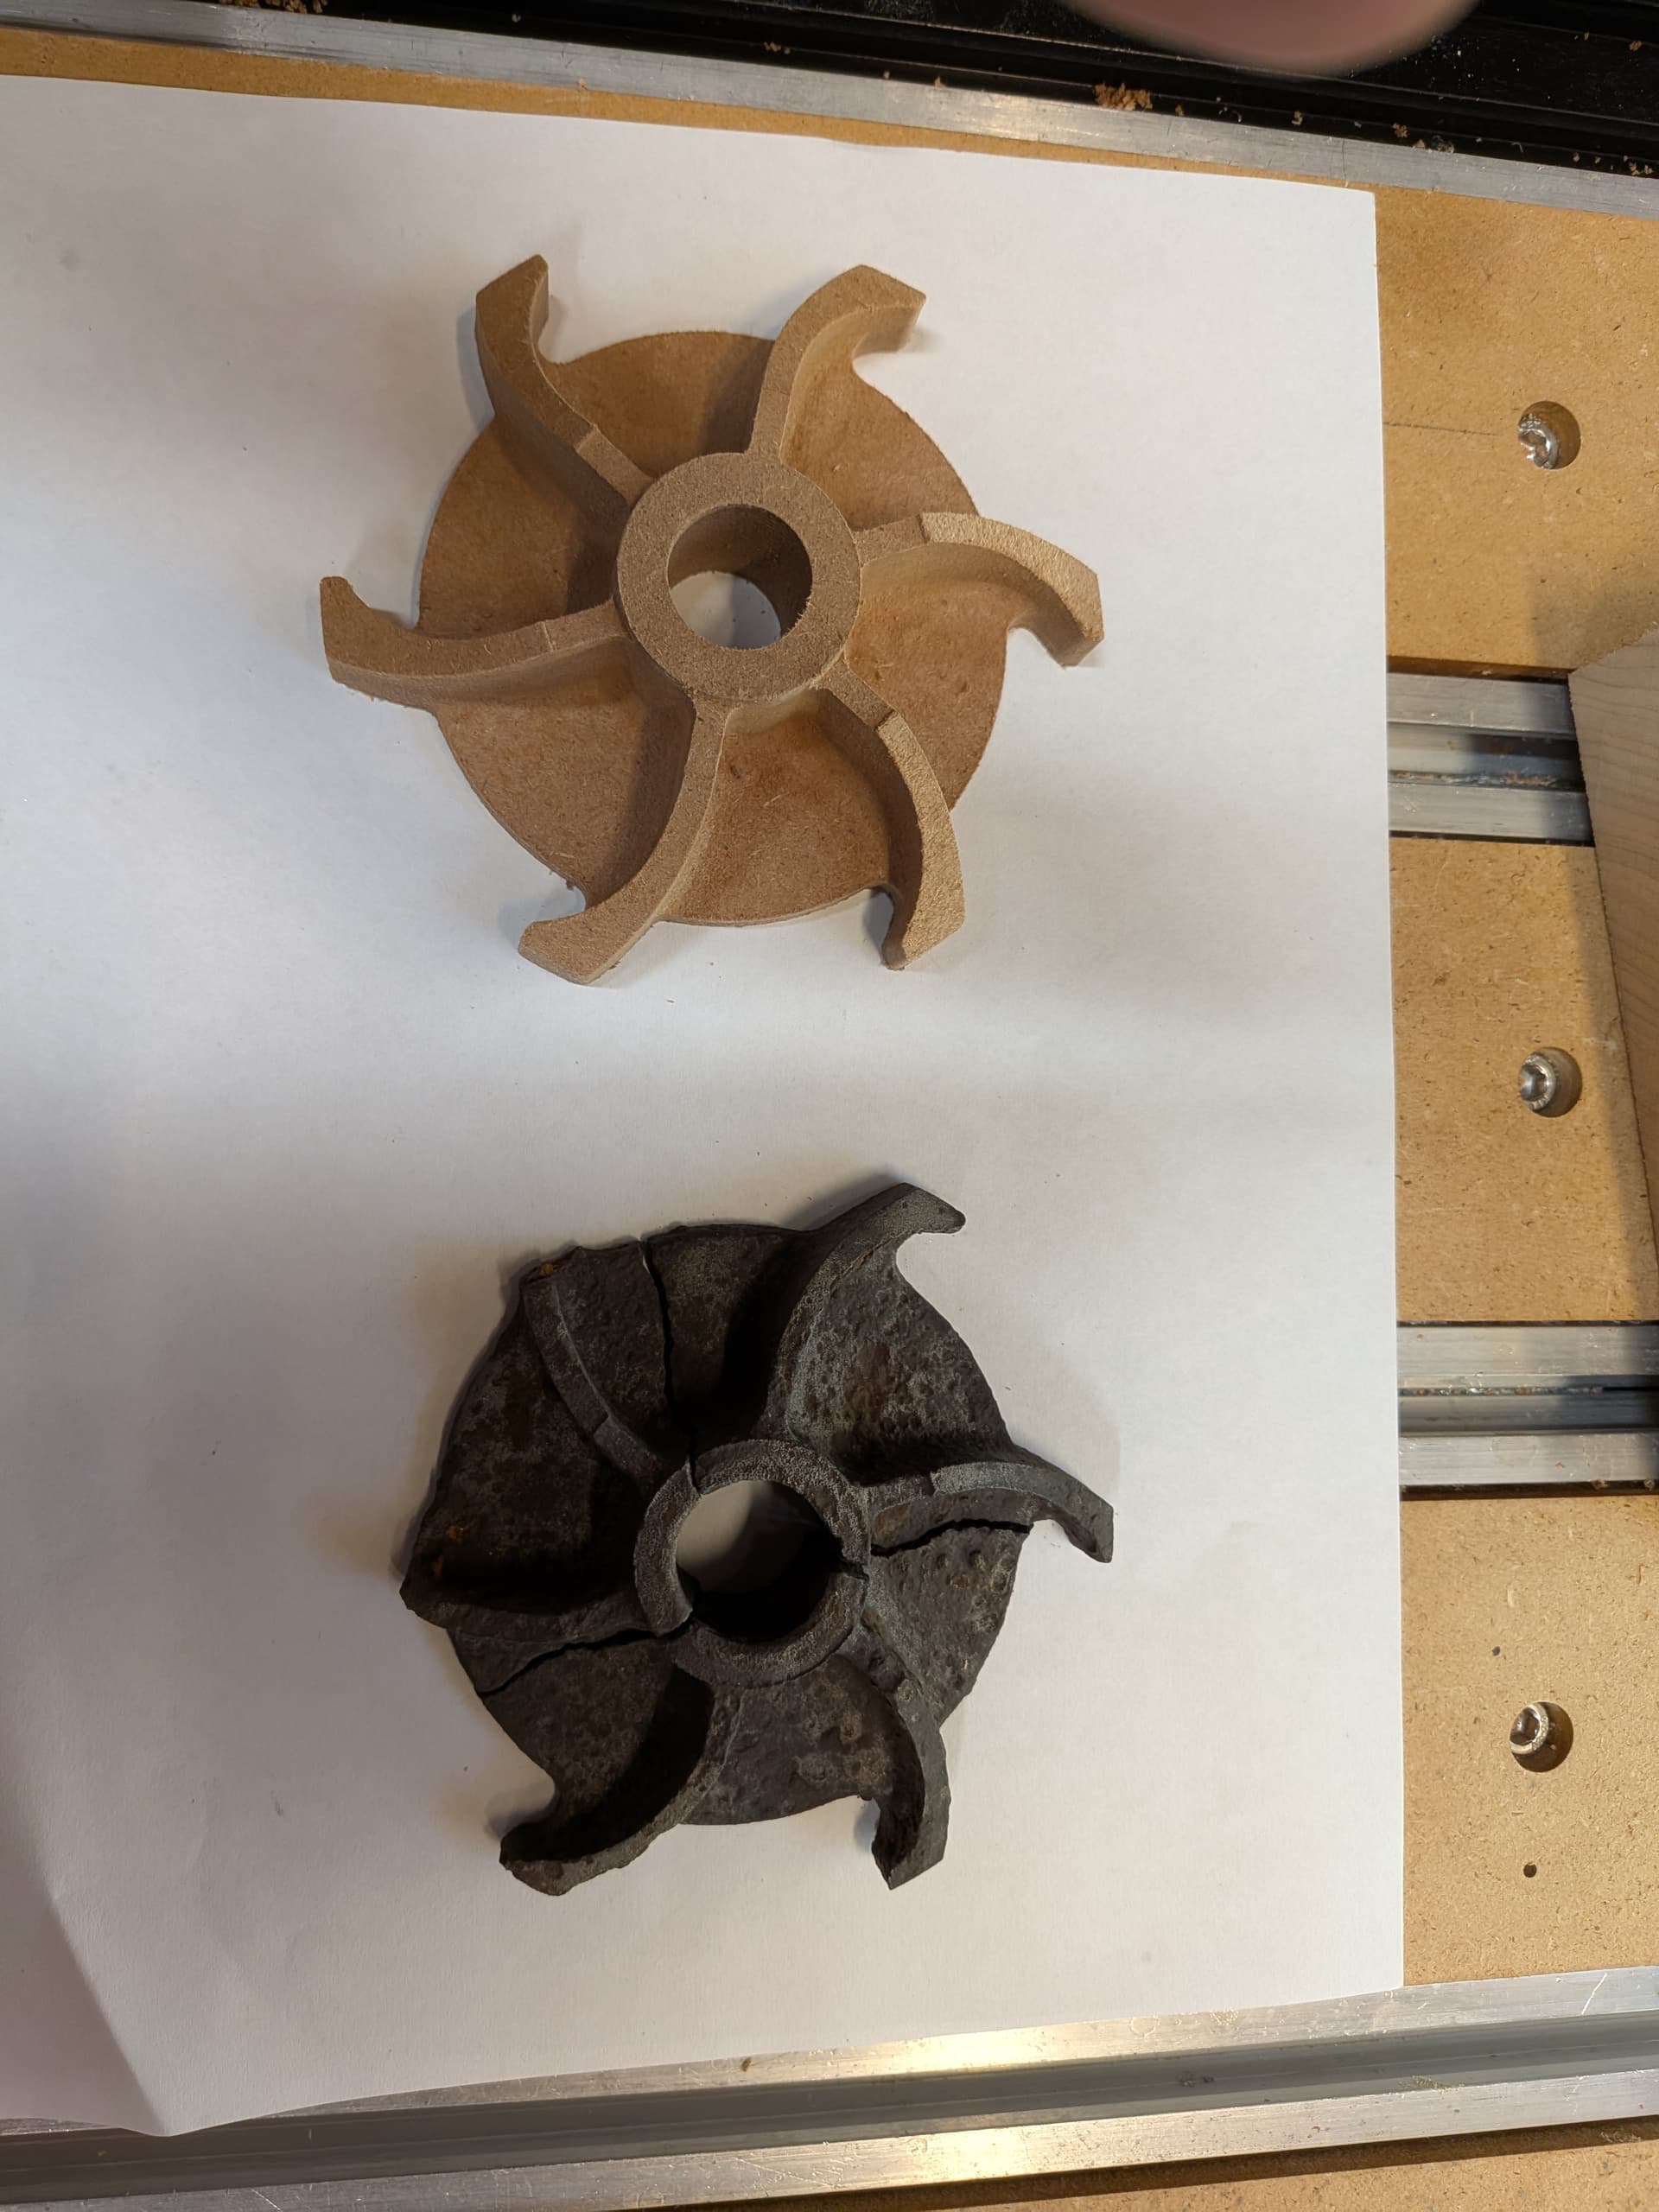
So I was handed a water pump impeller from a 1930’s firetruck water pump in three pieces.
I looked it over and said I would give it a try.
I pulled out my trusty 3D scanner (Lynx), fought my way through a software update, tried a hand scan which was nothing but frustrating.
I put together a turn table and found a tripod and got results that were useless. I then remembered this scanner was for large objects, not 4.5" circle that is 1" high.
So I broke out my circle templates ( 40 years old ) and was able to SWAG it together in about 20 mins. I figured old American casting would use basic fractional dimensions and it worked.
24 hrs after getting the impeller I finished this MDF version.
I made a STL file for him to have printed.
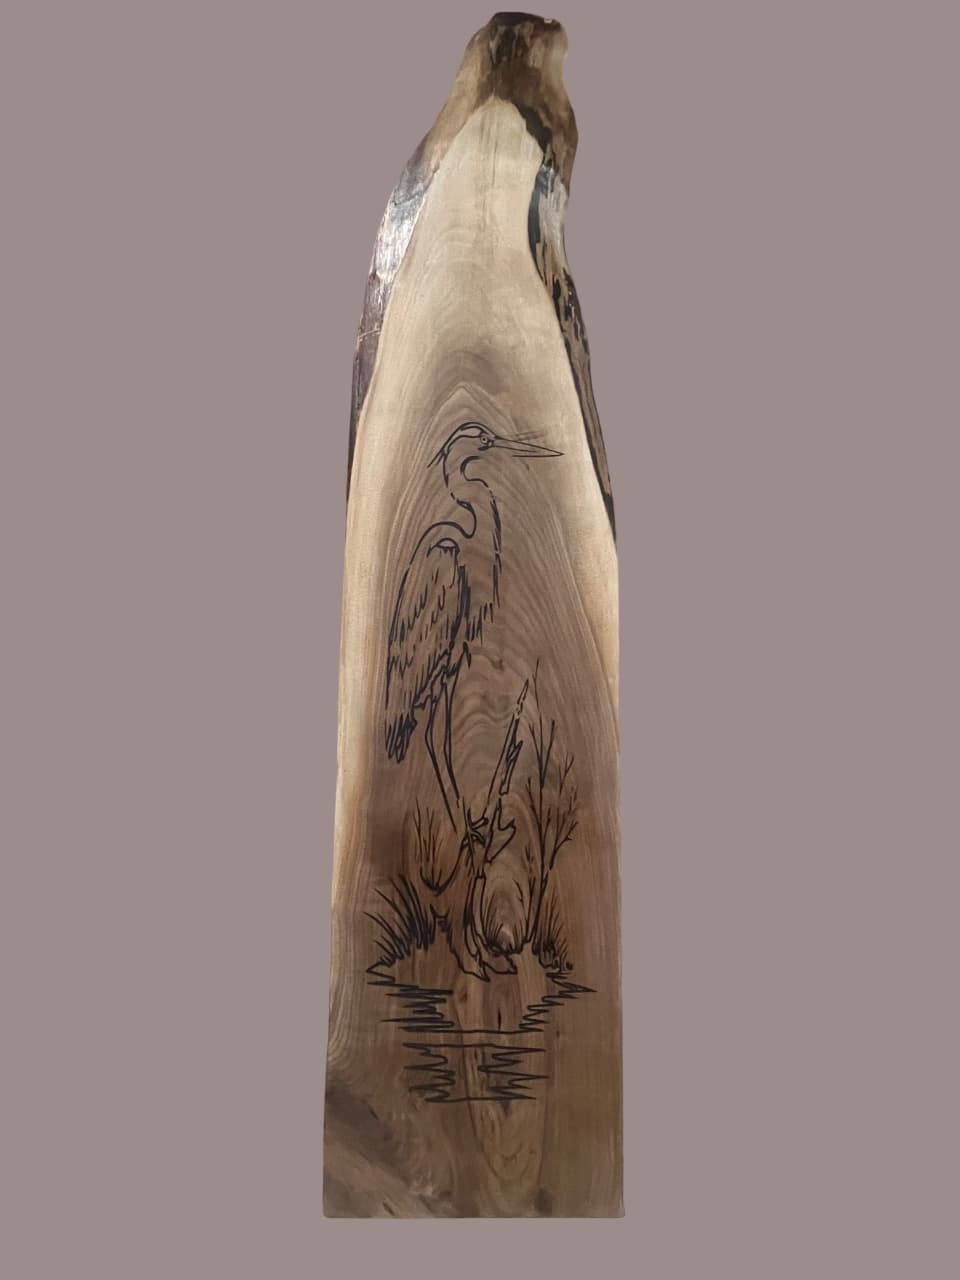
I’ve had this peice of live edge walnut around for about a year and could never figure out what to make with it. A friend made a suggestion and I decided to do an expoxy inlay with it. It’s about 3 ft long and will make a nice hanging decor piece.