That’s very impressive Patrick. I should imagine that stress levels during the cut were something on the high side, to say the least! Well done.
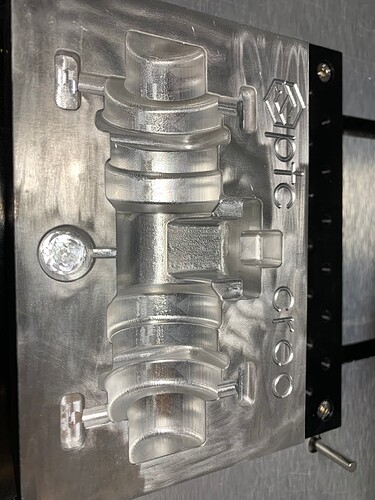
I usually mill aluminium.
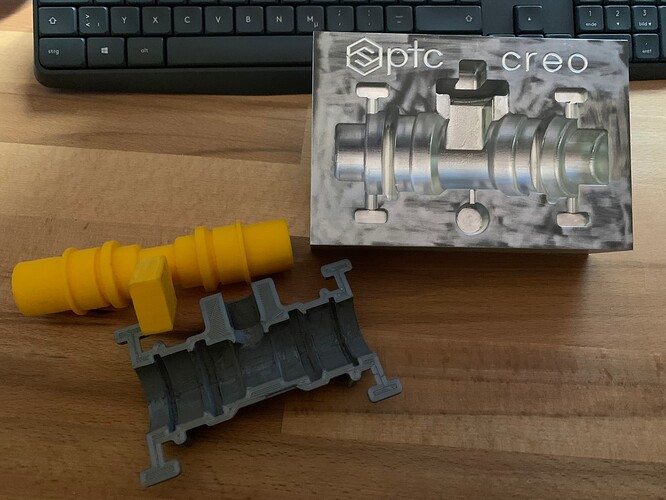
My first bigger project was a casting cavity for a showcase.
Together with my 3D Printe i also made half of the valve and the sandcore.
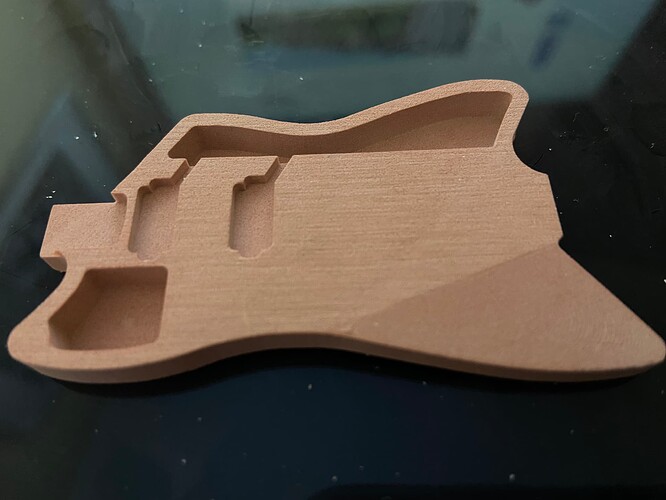
After this a made shrinked guitar body for a colleague who wants to mill this in african mahogany.
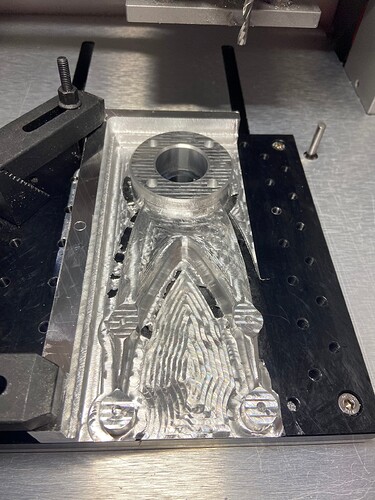
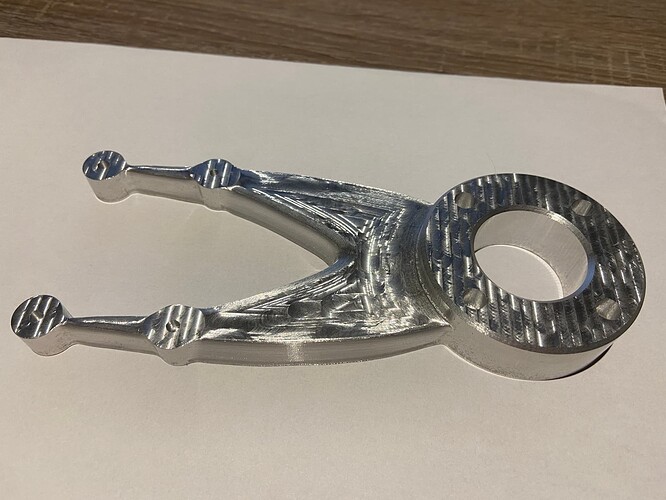
The last project was a weight optimized camera bracket.
An understatement. I think the levels were at their highest when I flipped the grate and ran the job to cut the pocket on the backside to expose the features/holes of the grate. I was concerned it would be delicate and possibly crack due to chatter but in the end there was nothing to be concerned about as it may actually be strong enough to serve as a floor vent if it wasn’t for the recess/pocket.
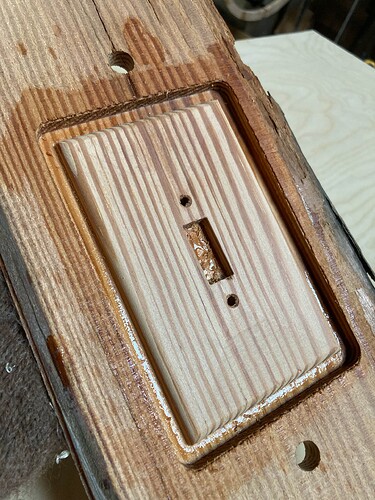
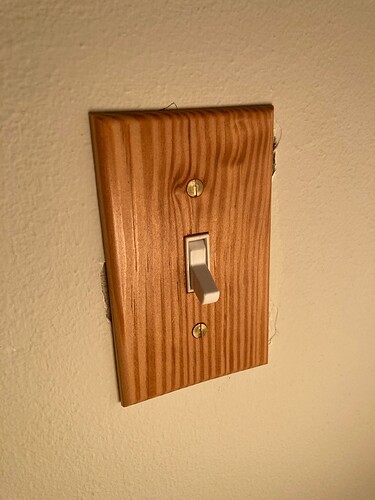
Would you send me the file for the light switch please?
I am planning on making a minecraft switch for my Grandson.
This will save me some time.
What mistake is on the back side?
Looks like you used doug fir 2x4?
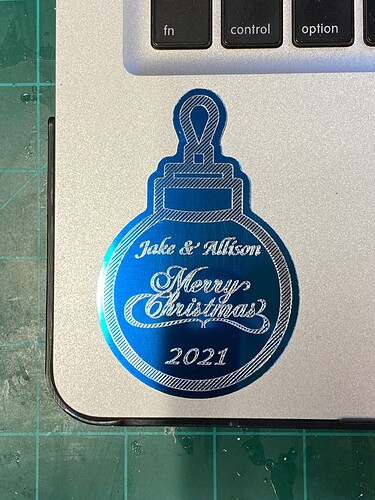
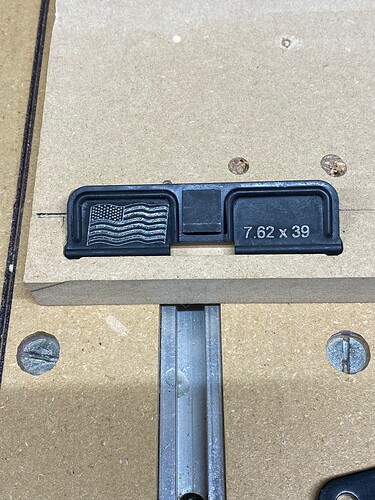
A couple MC Etcher projects. The ornament was marked with the 120 degree MC Etcher and cut from a .030” anodized sheet of aluminum using a two flute endmill. The dust cover was marked with the same 120 degree etcher.
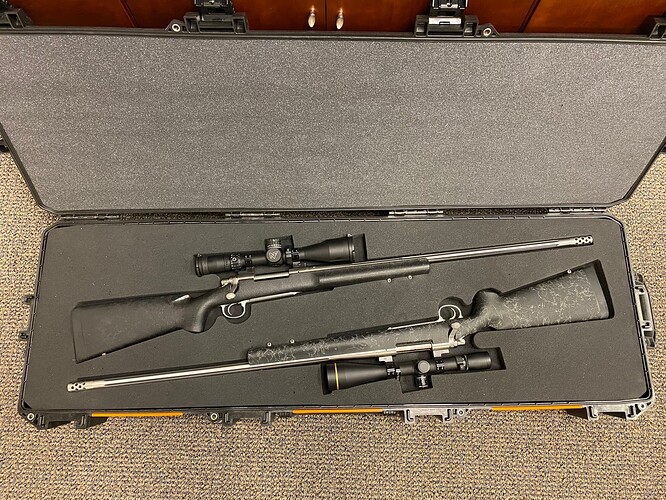
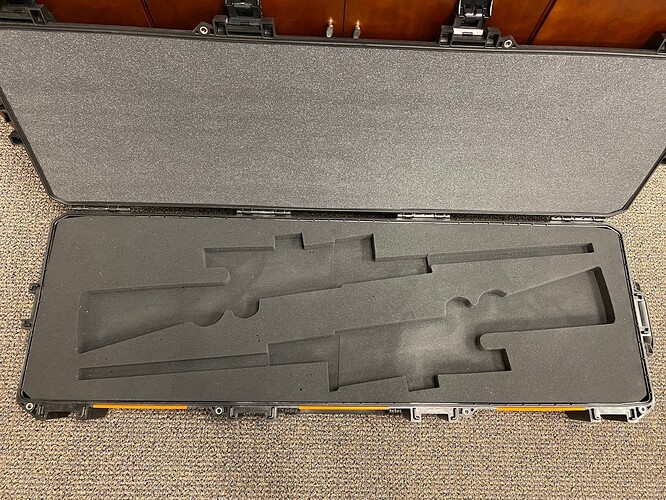
Finally I was able to get a clean cut into the soft foam for a gun case. I made about 8 test cuts in 1/8" masonite to get the fit and spacing right. I think they came out ok.
Did you have to tile that?
What is the reside on the remaining stock all around the cut (the wet/shiny stuff)? Is that some sort of “finish” you are putting on to harden wood?
Yeah, it was my first try at tiling, I made a rectangle the size of the case and divided it into upper and lower sections. I marked the left edge on the waste board with a straight edge and made a 1/4" hole in the lower left corner of each box to line it up when I slid it down. When I had the masonite cut the way we wanted I used double stick tape to hold the foam to it. I’m sure there are (or hope there are) easier ways to tile a long cut, but this seemed to work for me
Yes it’s either an epoxy or shellac. I will rough cut with Stock to Leave of about 0.25mm, then soak it and dry before finishing. Makes things buttery smooth. Here’s a photo of a second try. Just ignore the broken plaster bits. Might start over-sizing these, or else paying for a better electrician. 
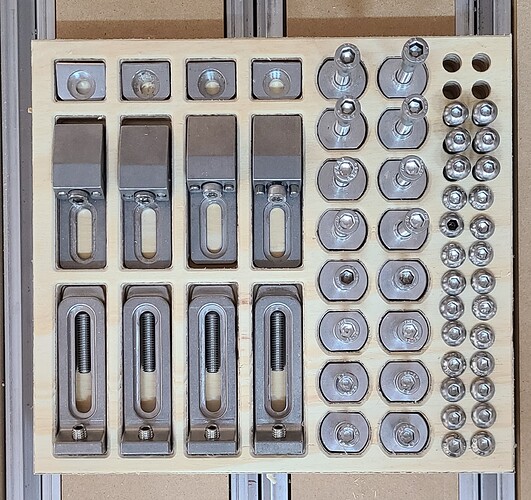
Quick little project to keep my clamping investment all together in 1 set. That said this is the sort of thing that I’d hate to drop anywhere and have all the parts fly everywhere in the shop, screws lost, etc… I guess this is better than nothing for now but I think I want to design something more like a cube shape with the gator and tiger claws in the center and vertical and have T-slot like channels on the outside of the box/cube for the T-nutz and backstops. Also a lid that would serve to keep everything in place even if dropped. Possibly incorporate a bottom drawer with various pockets to organize the M6 screws.
Today I finished a down and dirty Cam Clamp Board.
I created some Cam Clamps But did not want to put holes in my waste board so I made a waste bord just for Cam Clamps.
Easy Fix!
You could make a simple lid just in case it is dropped.
Just a thought.
I’d love to hear more on your feeds and bits on foam. I have a couple projects that would really benefit from it.
Some days the Shapeoko is “just” a handy tool to have on hand.
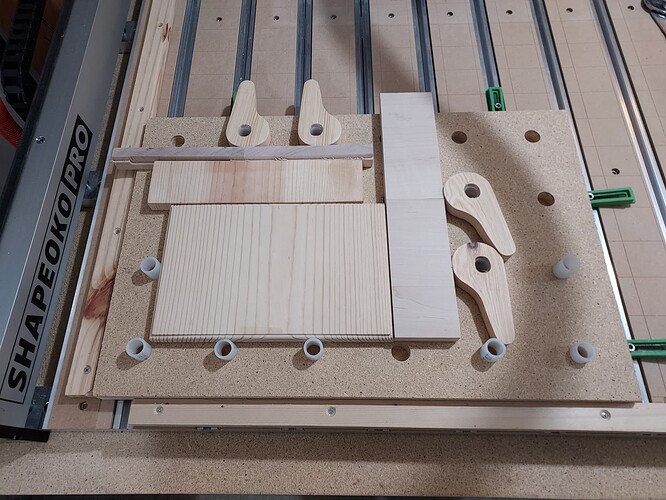
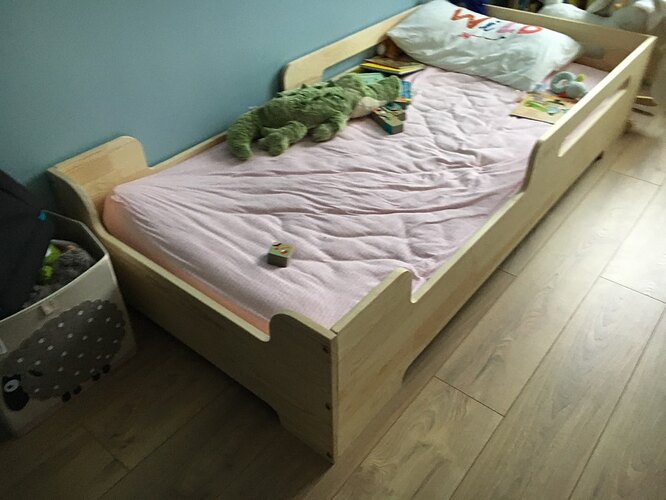
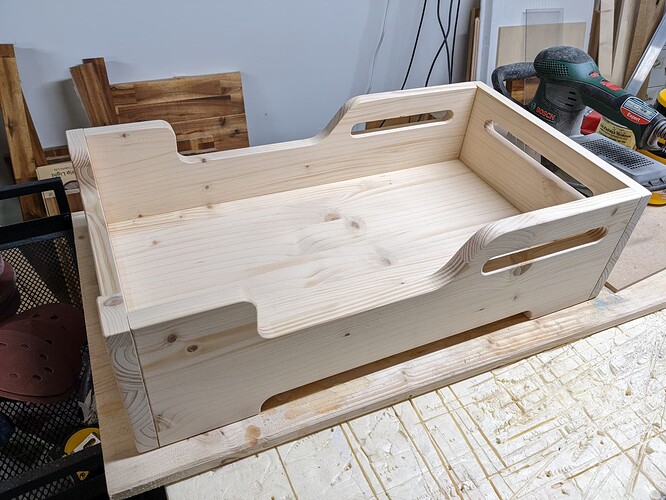
Yesterday my friendly neighbor texted me a photo of her kid’s bed, asking if I could make a tiny version of it for her doll (which apparently is part of the tricks to get her to go the bed without throwing a tantrum)
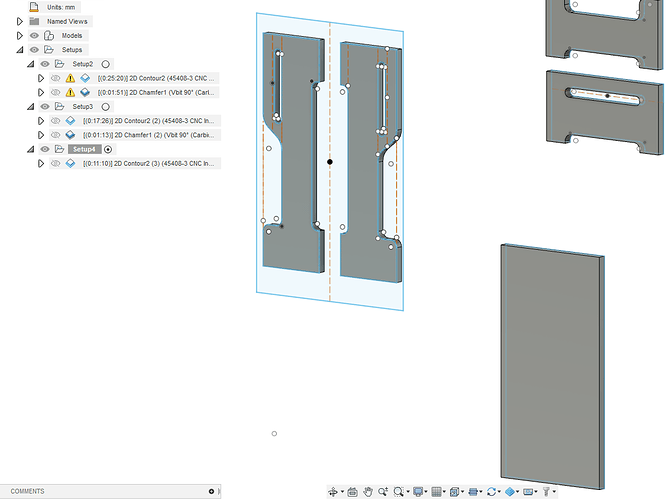
Half an hour in Fusion360 winging the dimensions,
and there you go, a doll-sized bed replica which will probably earn me some cool neighbor points.
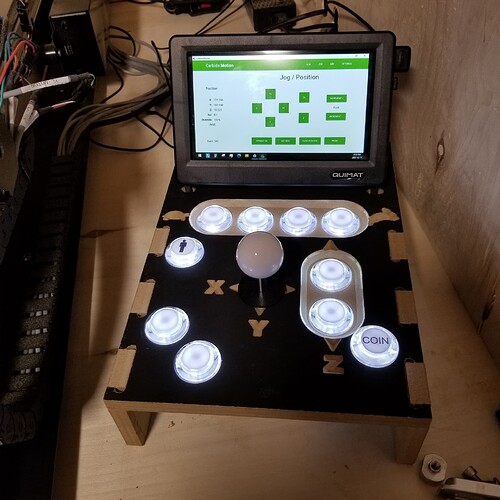
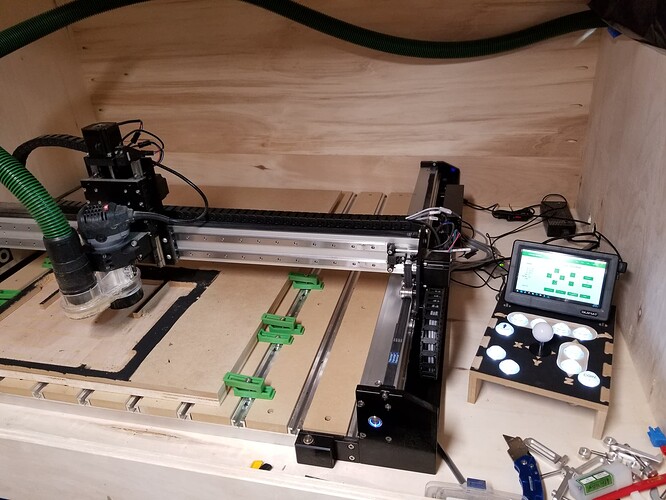
Hi, reading other posts on this forum gave some tips on building a jog controller so I decided to make one. Made a minor error with the z-zero so the depth of cut was off from what was intended but it’ll still work for its purpose. Recessed some of the buttons so they would be less likely to be bumped accidentally (TBD. . .).
Added a 7" touchscreen as well.
Fits inside the enclosure with a bit of wiggle room to spare but is light enough to move if/when needed.
PS. I didn’t read that all the buttons would light up with I placed the order, lol, bit brighter then what is needed.
I believe this inquiry was intended for @rickjackson
I used Amana HSS1605 Double “0” flute, 2.5" cutter. I ran it at 15k and 75IPM. I tried to run it faster, 150 or so thinking it was just soft material, but it would make “ribbons” and eventually get spun around the bit. I settled on 75 and slowed it down from there so it would make “chips.” One other thing I did was remove the brush from my suck-it collector and lowered the collector to almost touch the foam, that along with an air blower worked best to clear out the cuttings.
Thanks, I missed that.
