Reason cams aren’t on the outside is if they fall the break. They can’t fall far enough in the middle
2 Likes
Nice work, looks like you are quite trusting with the plastic clamps on the side milling fixture.
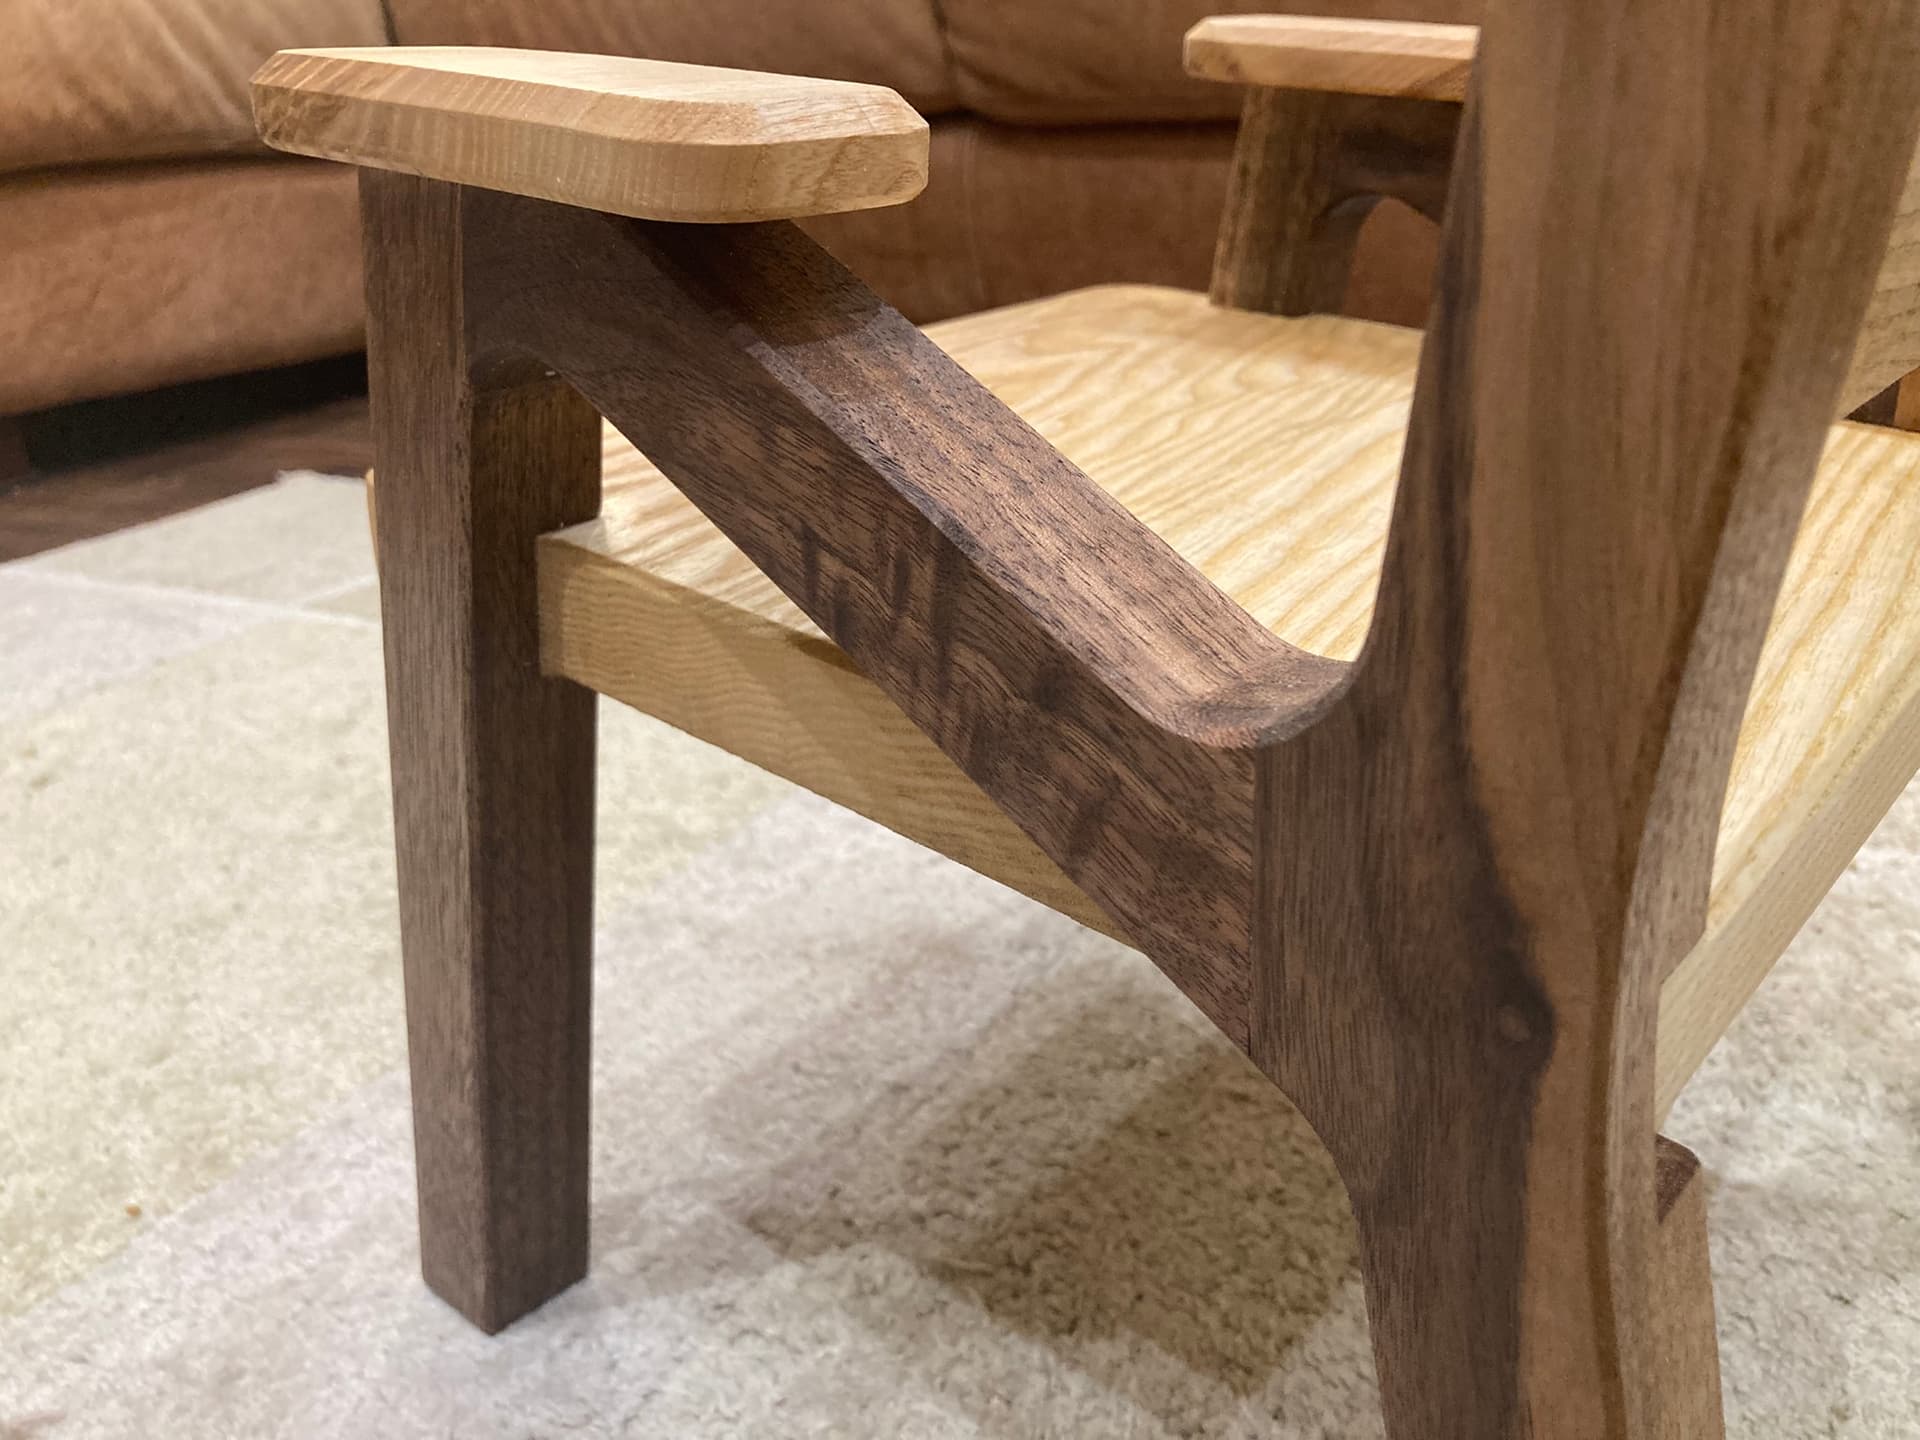
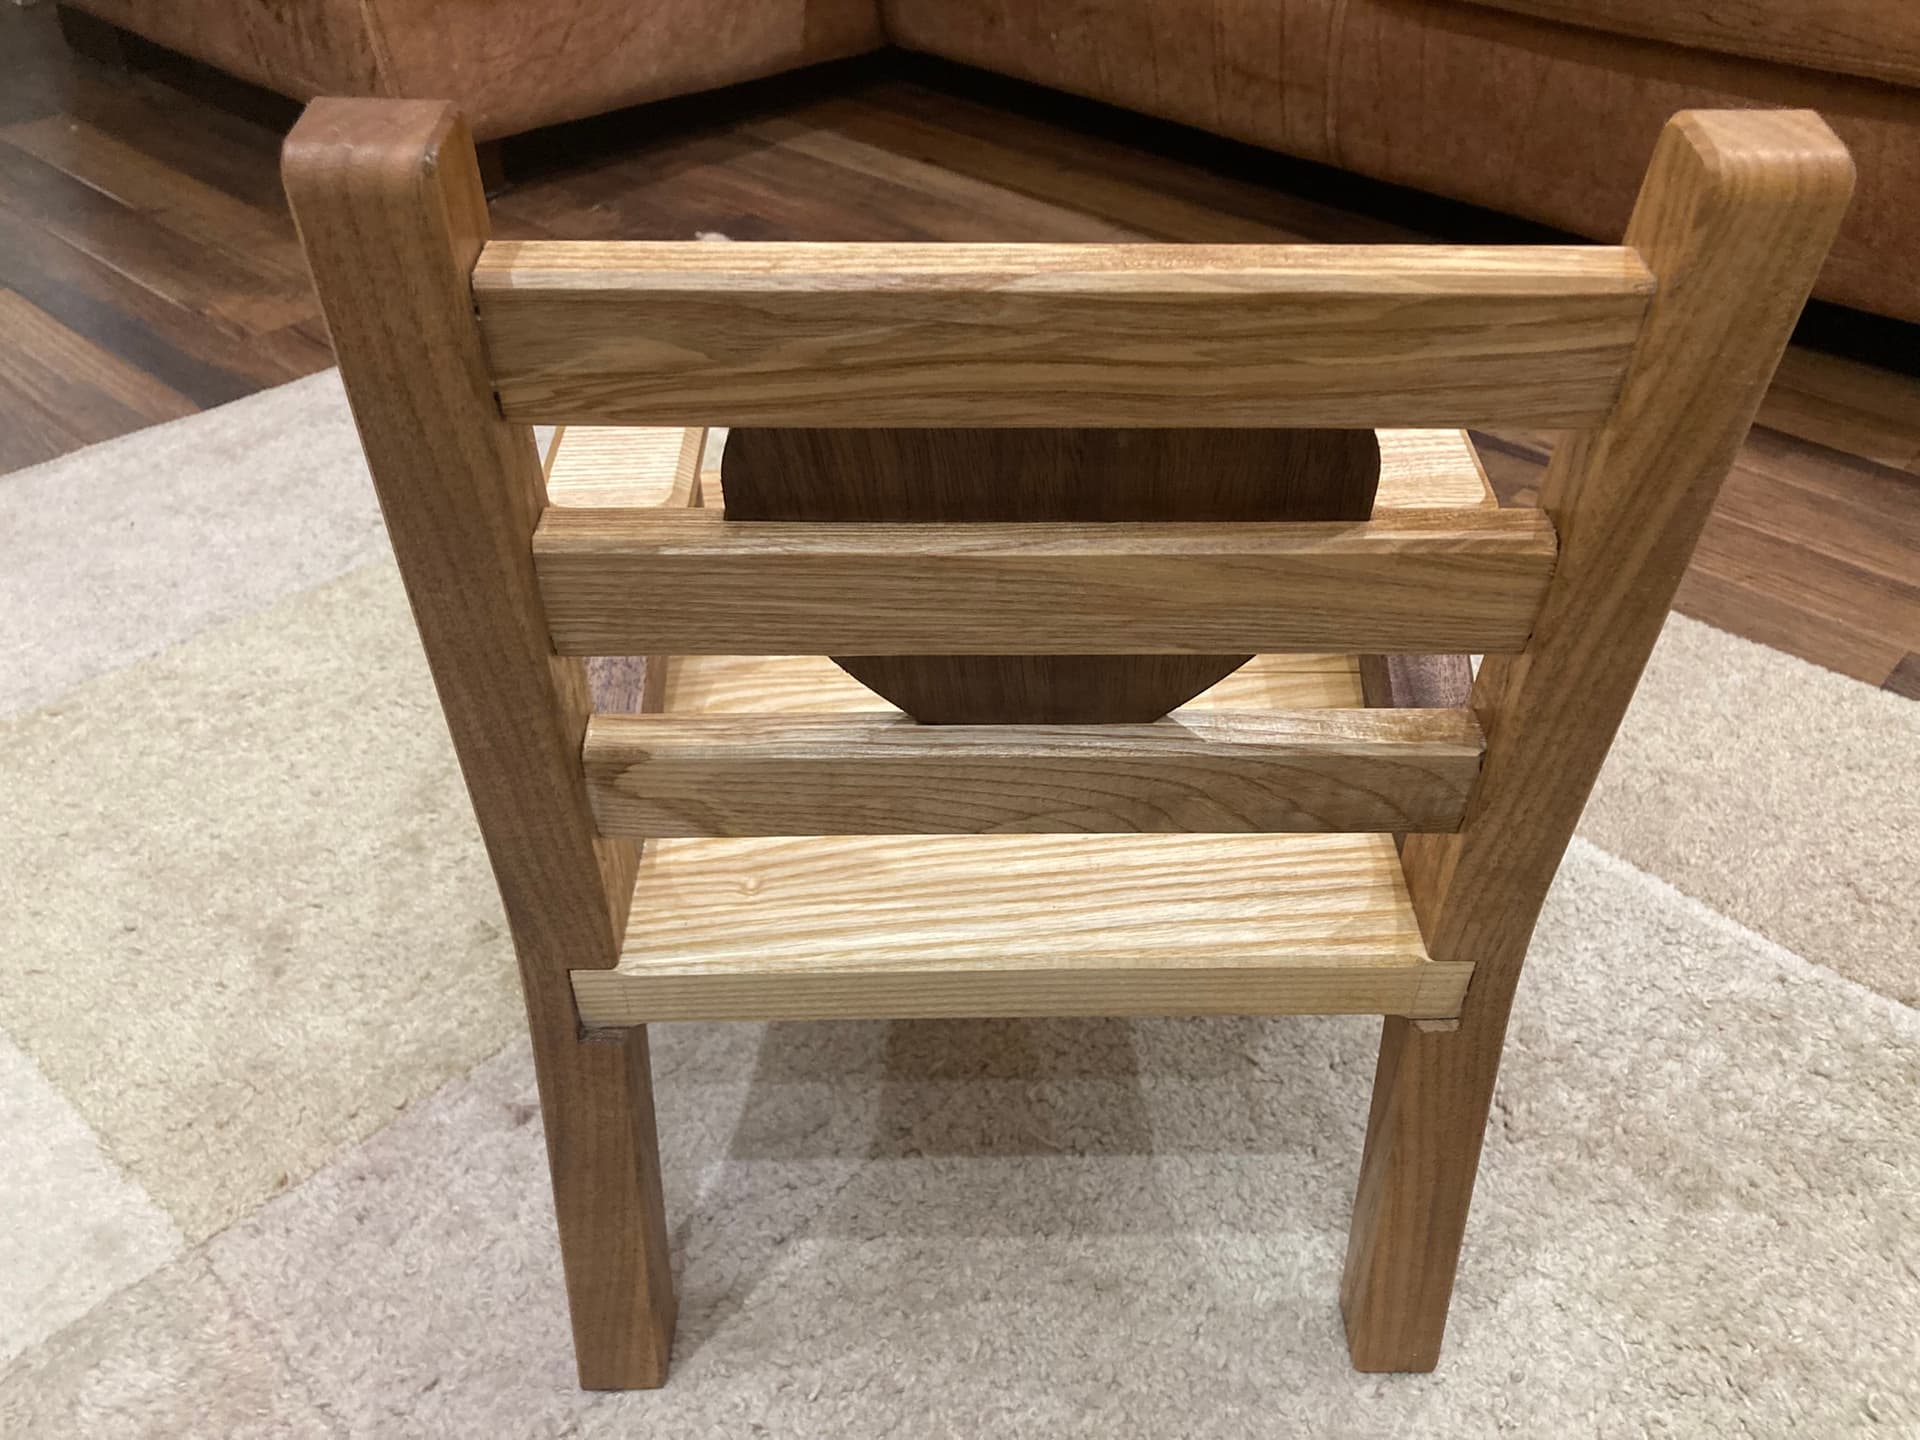
Hi everyone, I thought I’d share this little chair I made for my daughter (she’s nearly 2) on my Shapeoko 5 Pro. The leopard is for scale, he’s called Mat Mat, and the woods used are walnut, ash and cherry.
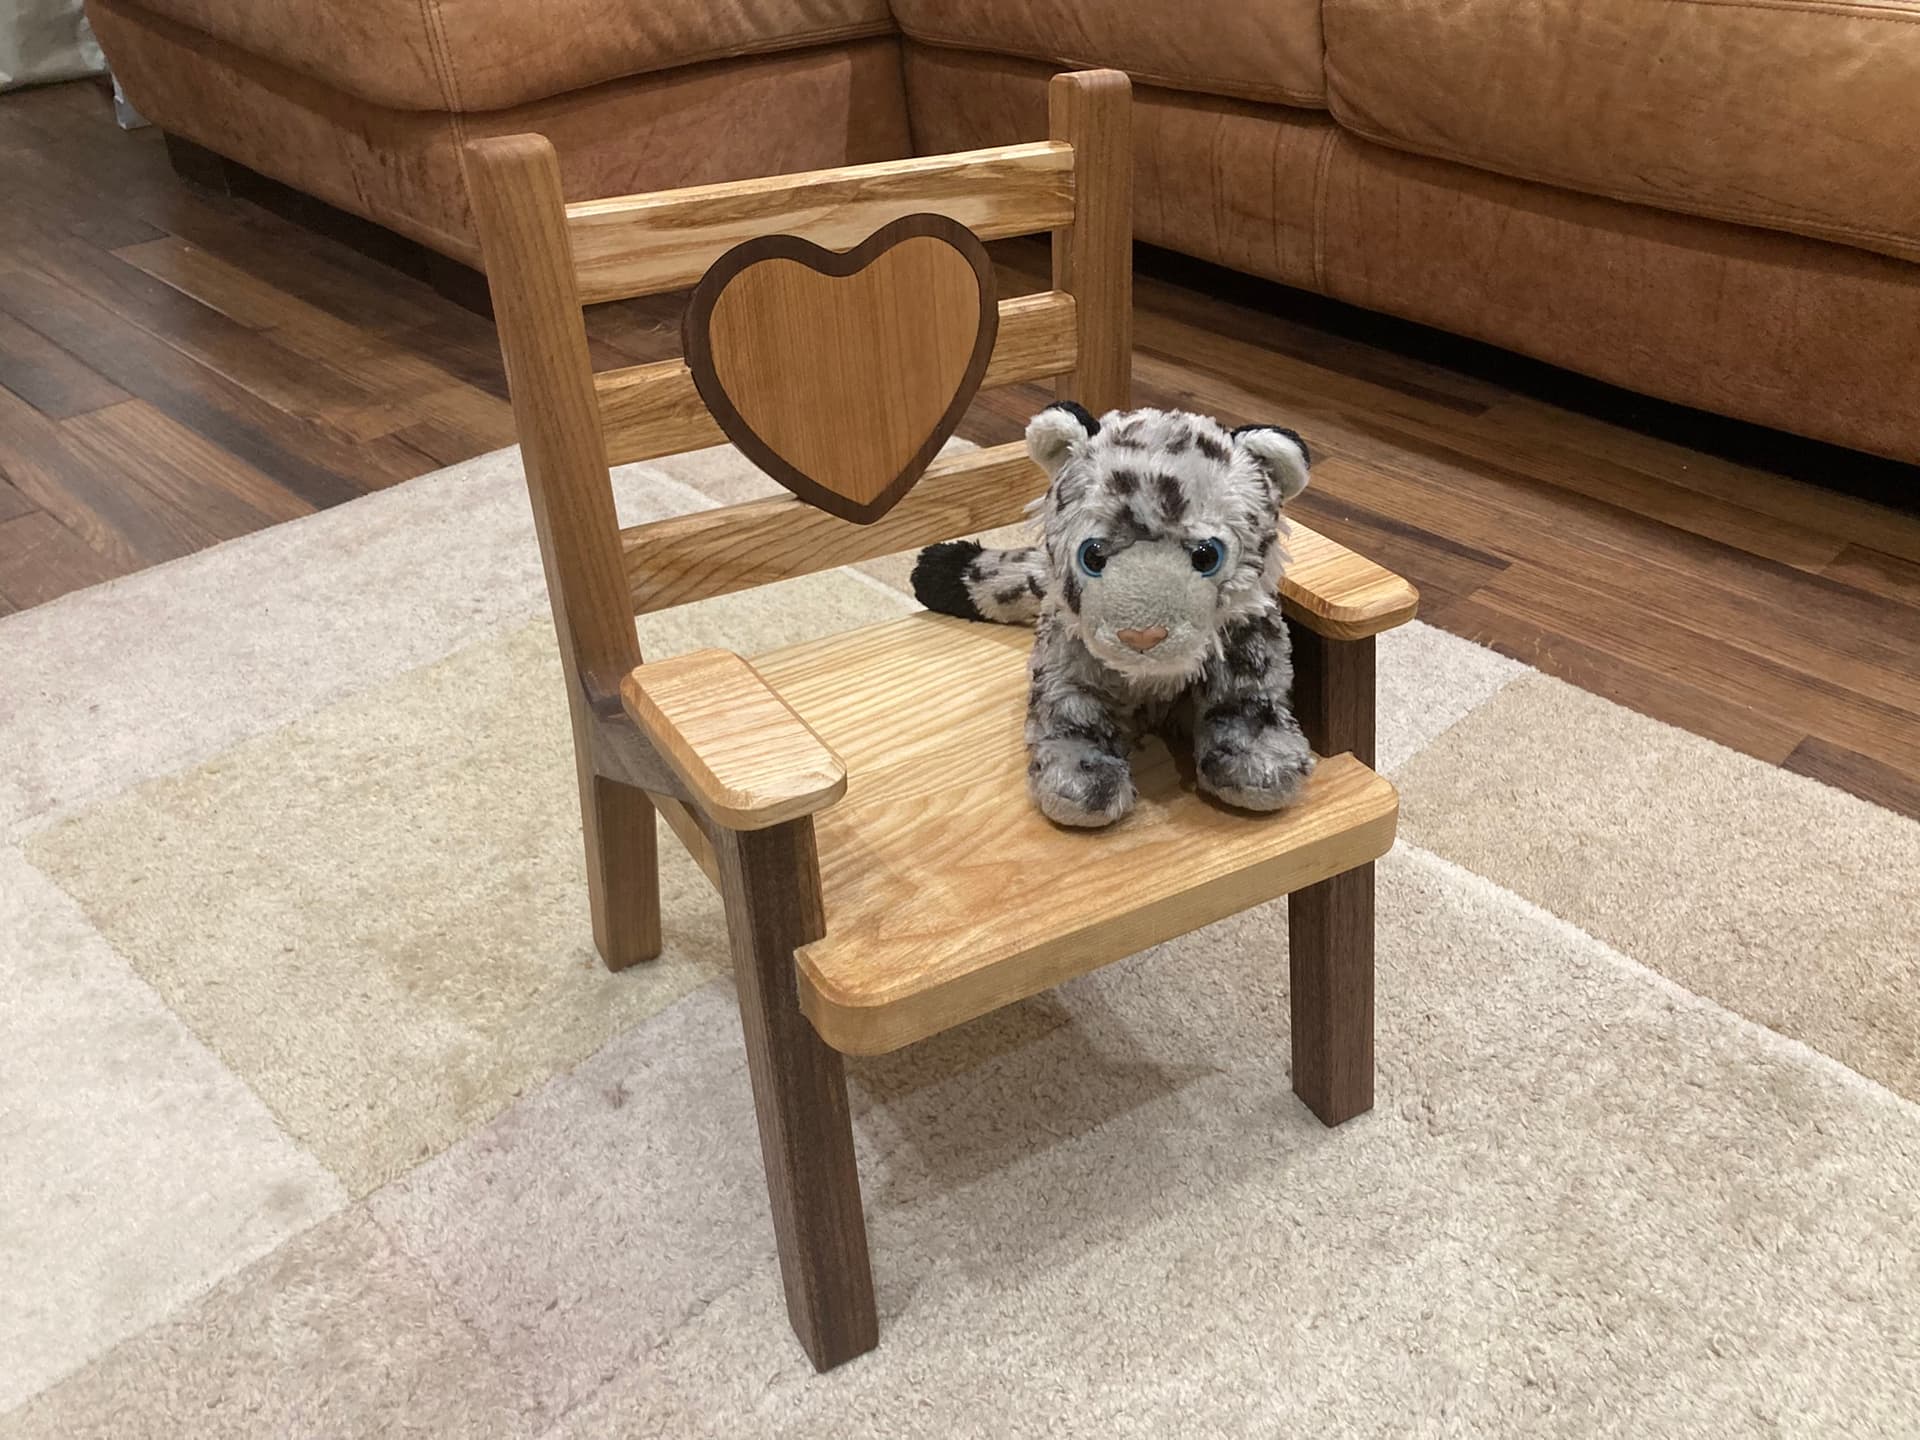
I had great fun making this project and my daughter has loved sitting in it to eat her snacks. I suspect she will outgrow it sooner than expected… making a bigger one will be a good excuse for some more time in the workshop! If you’re interested, I like to video my projects - I narrated this one like a bedtime story, and there are lots of cameos from her cuddly toys: https://youtu.be/si3EA0qgLaM

47 Likes
What an awesome project! The contrasting woods really pop
2 Likes
Beautiful work. It will definitely be a keepsake not just for her but for future generations.
1 Like
Thank you, I’m glad you think so! I’m hoping I’ve made it well enough to last that long…
Thanks Jeff, pleased you like it! I’ve never worked with Ash before but it came out beautifully with the oil, very characterful.
Great project! The contrasting wood looks great!
1 Like
Glad to see this! I’ve been wanting to see how Pine holds up under machining. Well done
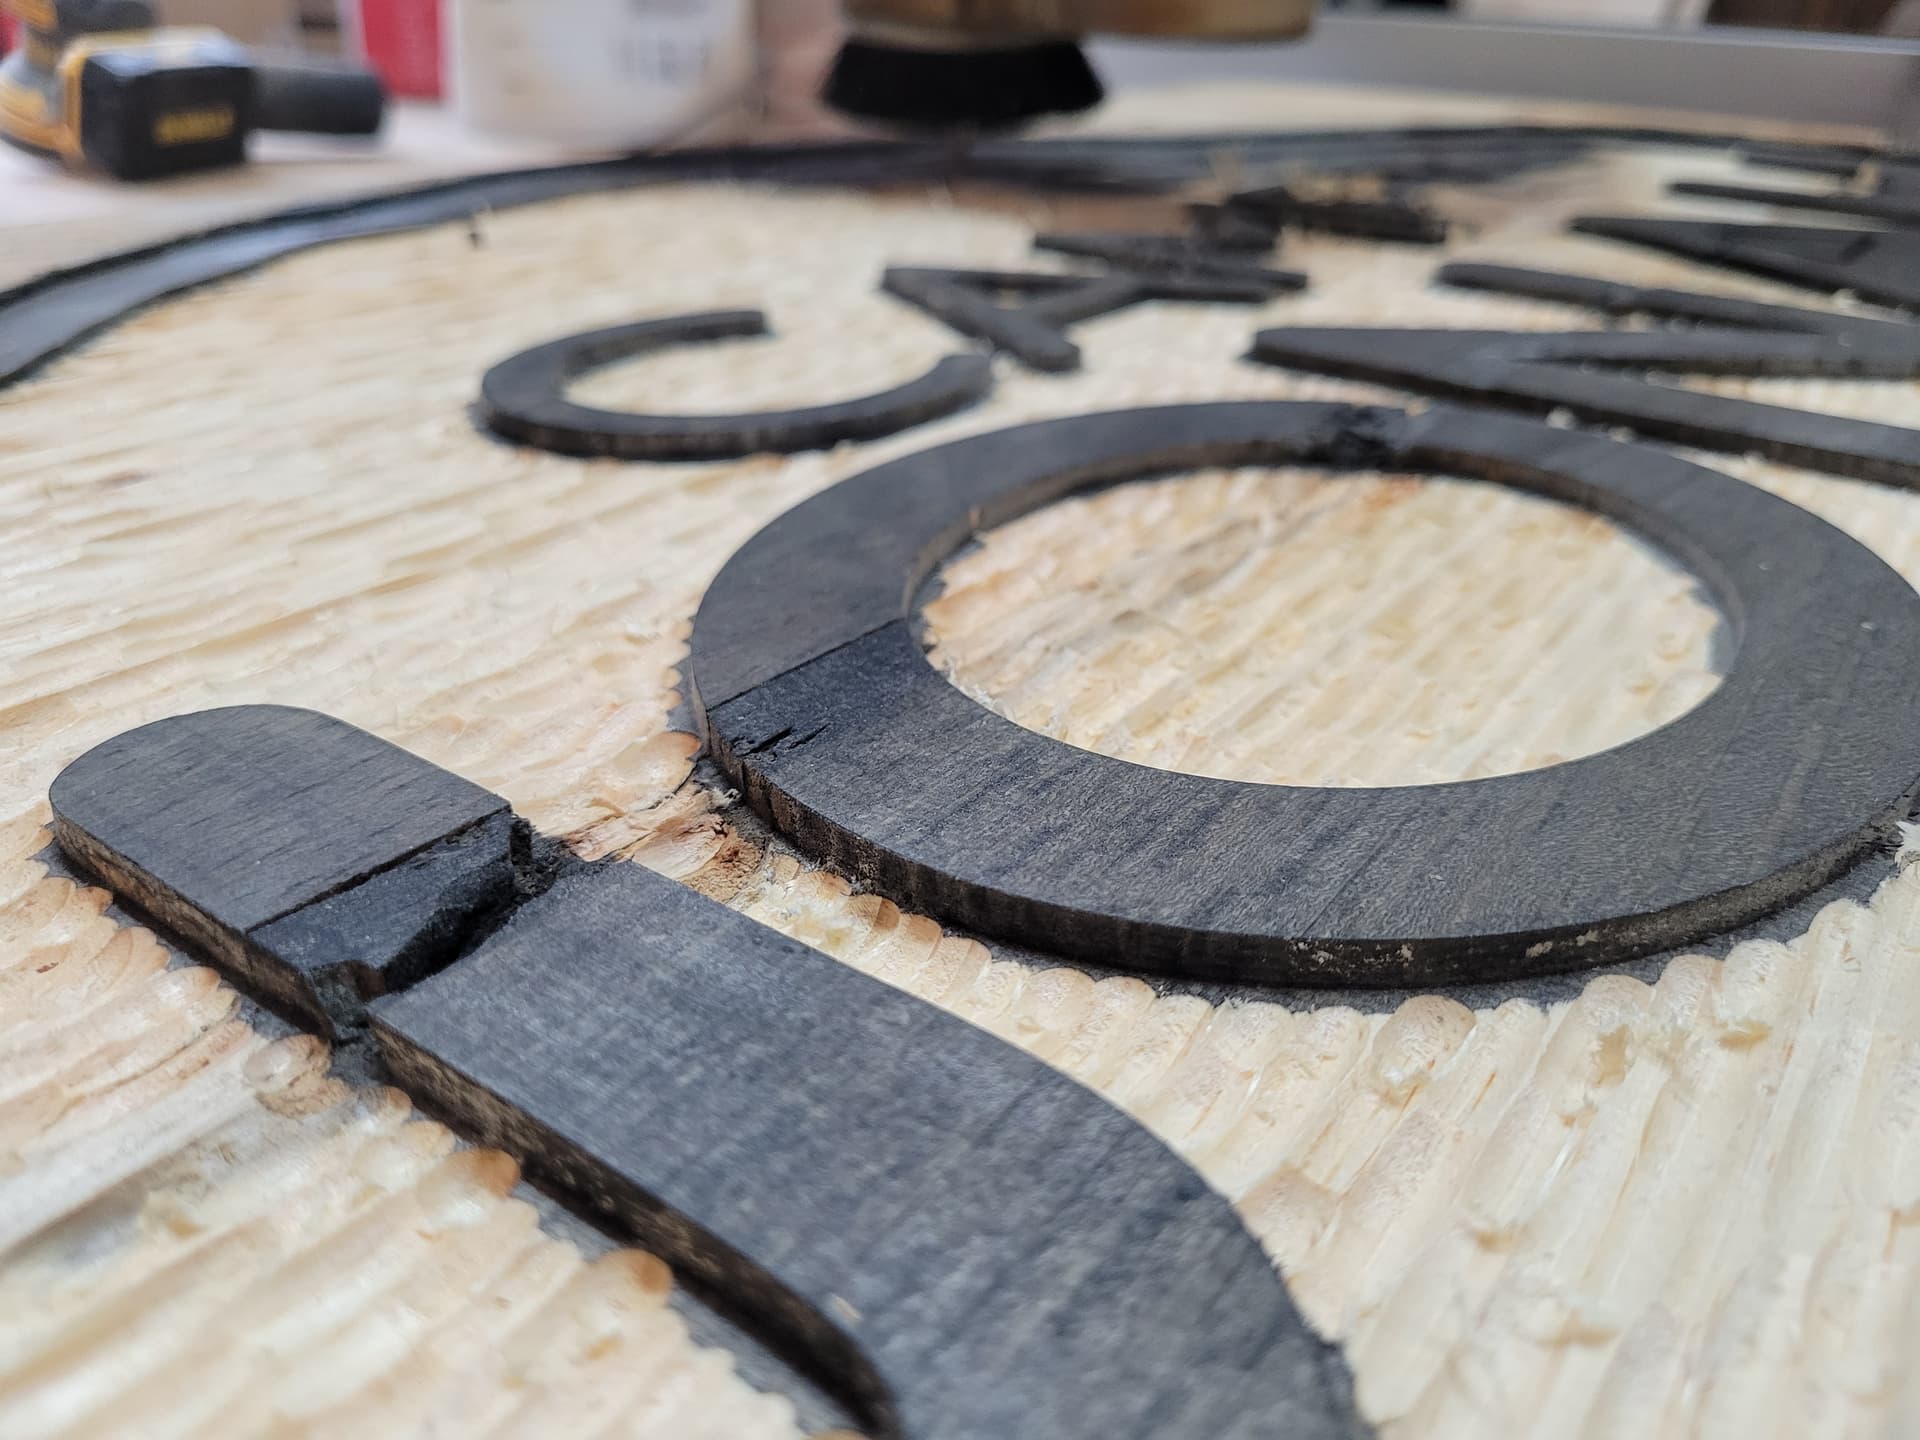
It works fine for many things. Inlays and plugs with tight Vcarved edges are gonna chip out and look bad usually. With these I stained the front and used a downcut wherever possible to avoid fraying. Even with that I end up sanding anyway most of the time.
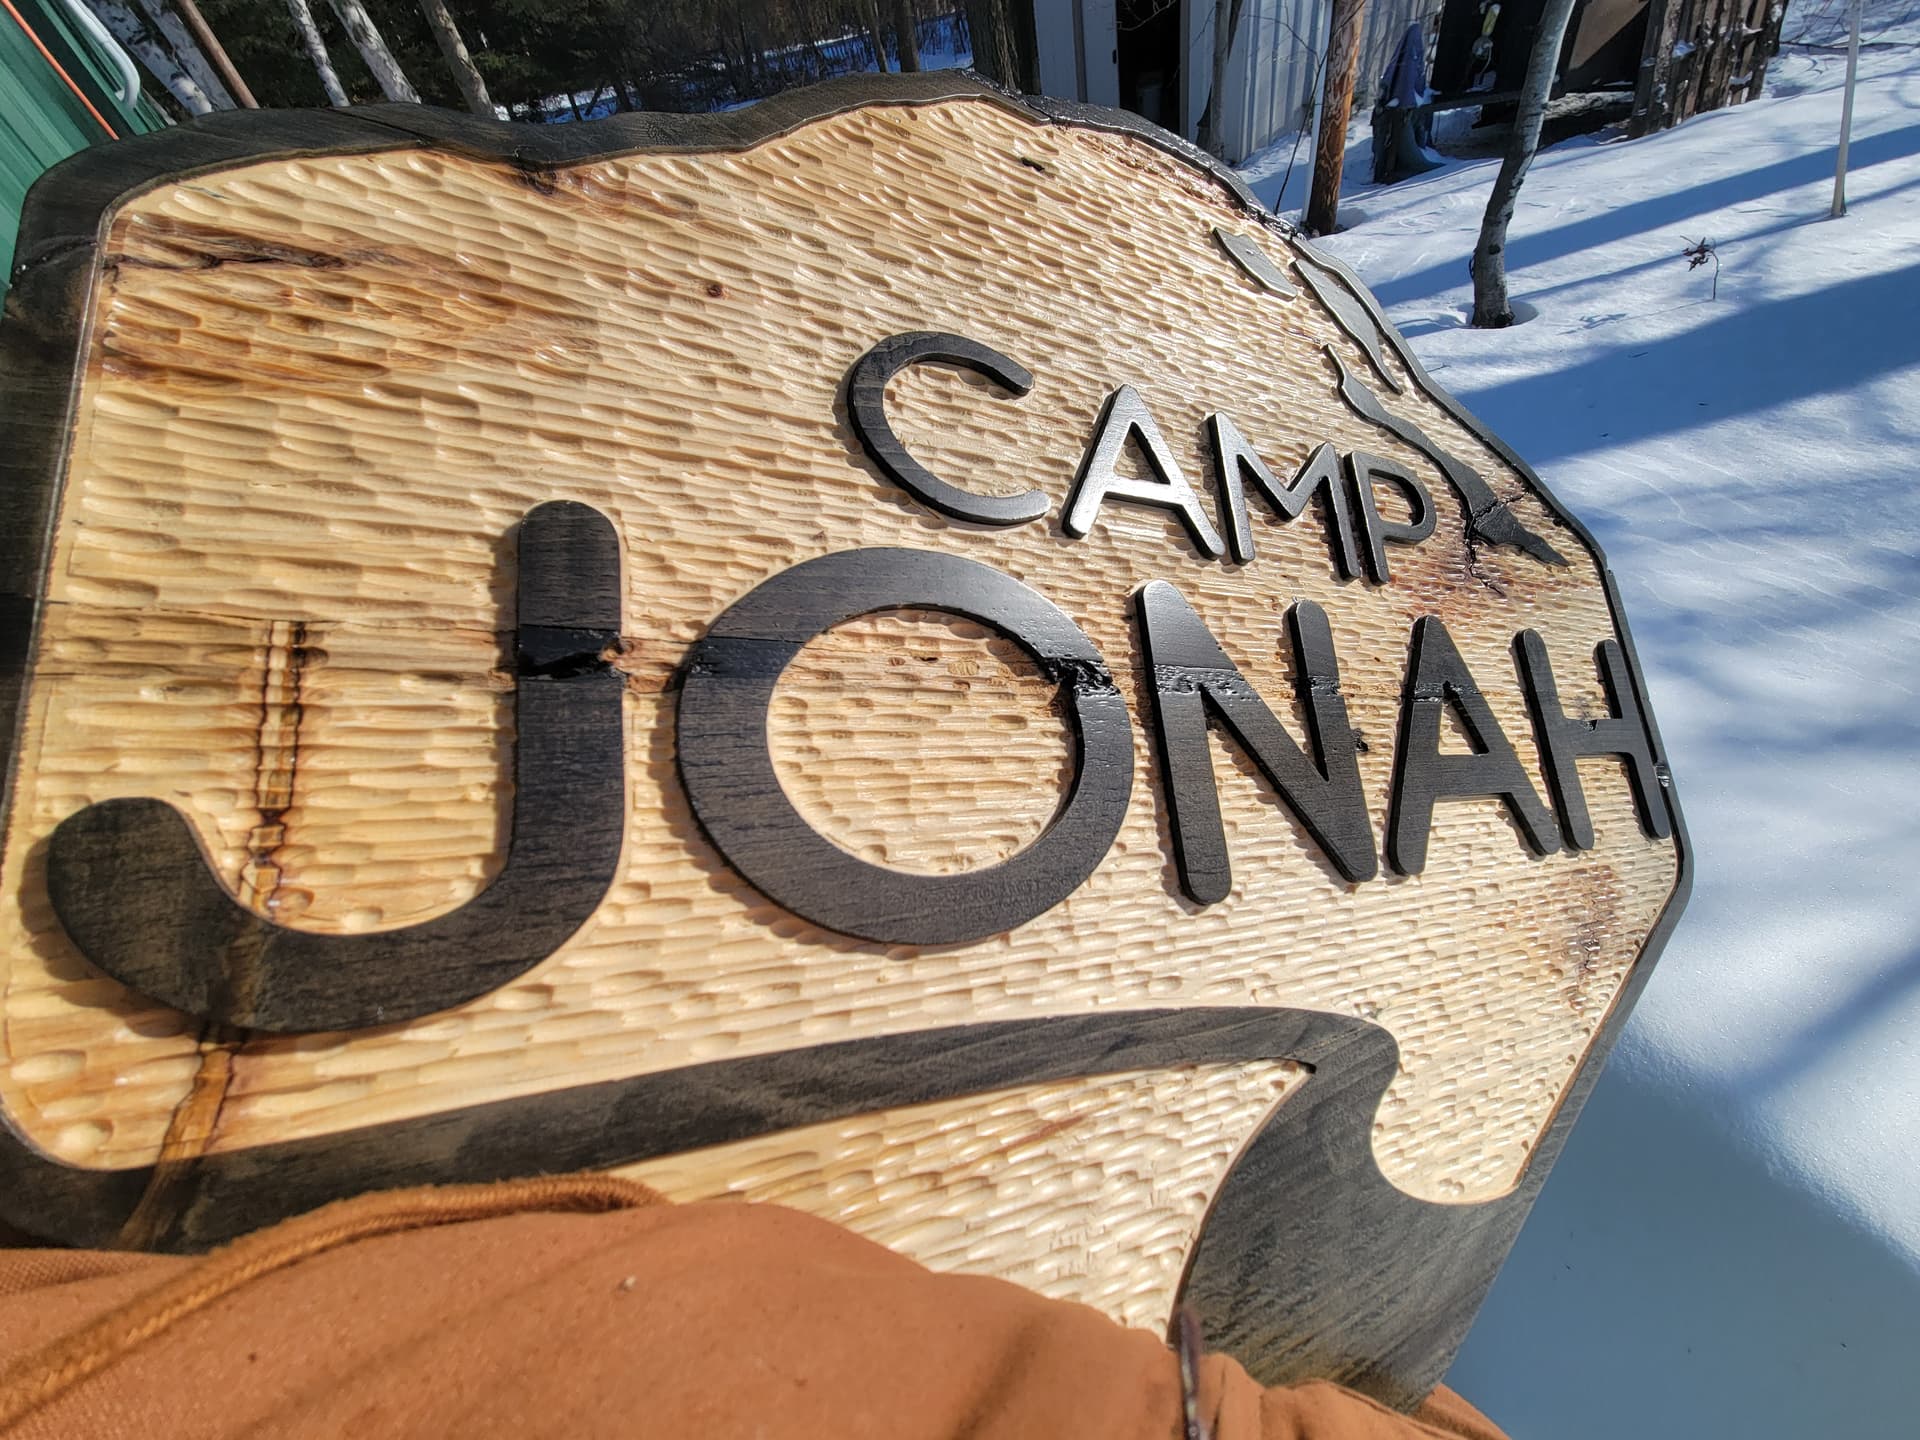
Hey Mark that texture background looks great! I like how you got it so tight to the edge of the letters.
Yeah cold here in southern Ontario too… so much for global warming ![]()
2 Likes
Great use of Texture feature! Any chance you’d share settings?
-25…I’m cold at +32!
Nice! How long did that take to carve?
The quality of finish looks so good!
Is the finish sprayed from a paint sprayer or does Minwax make the polycrylic in a spray can? I haven’t seen it in a spray but maybe such a product exists?
Not sure if it’s what he used, but it is available.
1 Like
The finish was a leftover can of something expensive. Water based, satin finish, two coats sprayed. We trimmed a house in it and it felt like a waste to let it sit. I’ll try to remember to get a photo of the can.
There a couple hours in McFly bulk removal and the 1/4" ballnose took around 4 to texture the back. I’ll attach the file for settings.
This is the first time I’ve carved the main letters as being proud of everything else. All the black that’s not words is 0.1" lower and the texture is 0.25" to 0.4" lower. Also the first time I stained the sides of the letters too. I had to carve down the sides, stain, and than remove everything without touching the sides. There some some offsets around the words to keep the 1/4" and 1/8" bits close without touching.
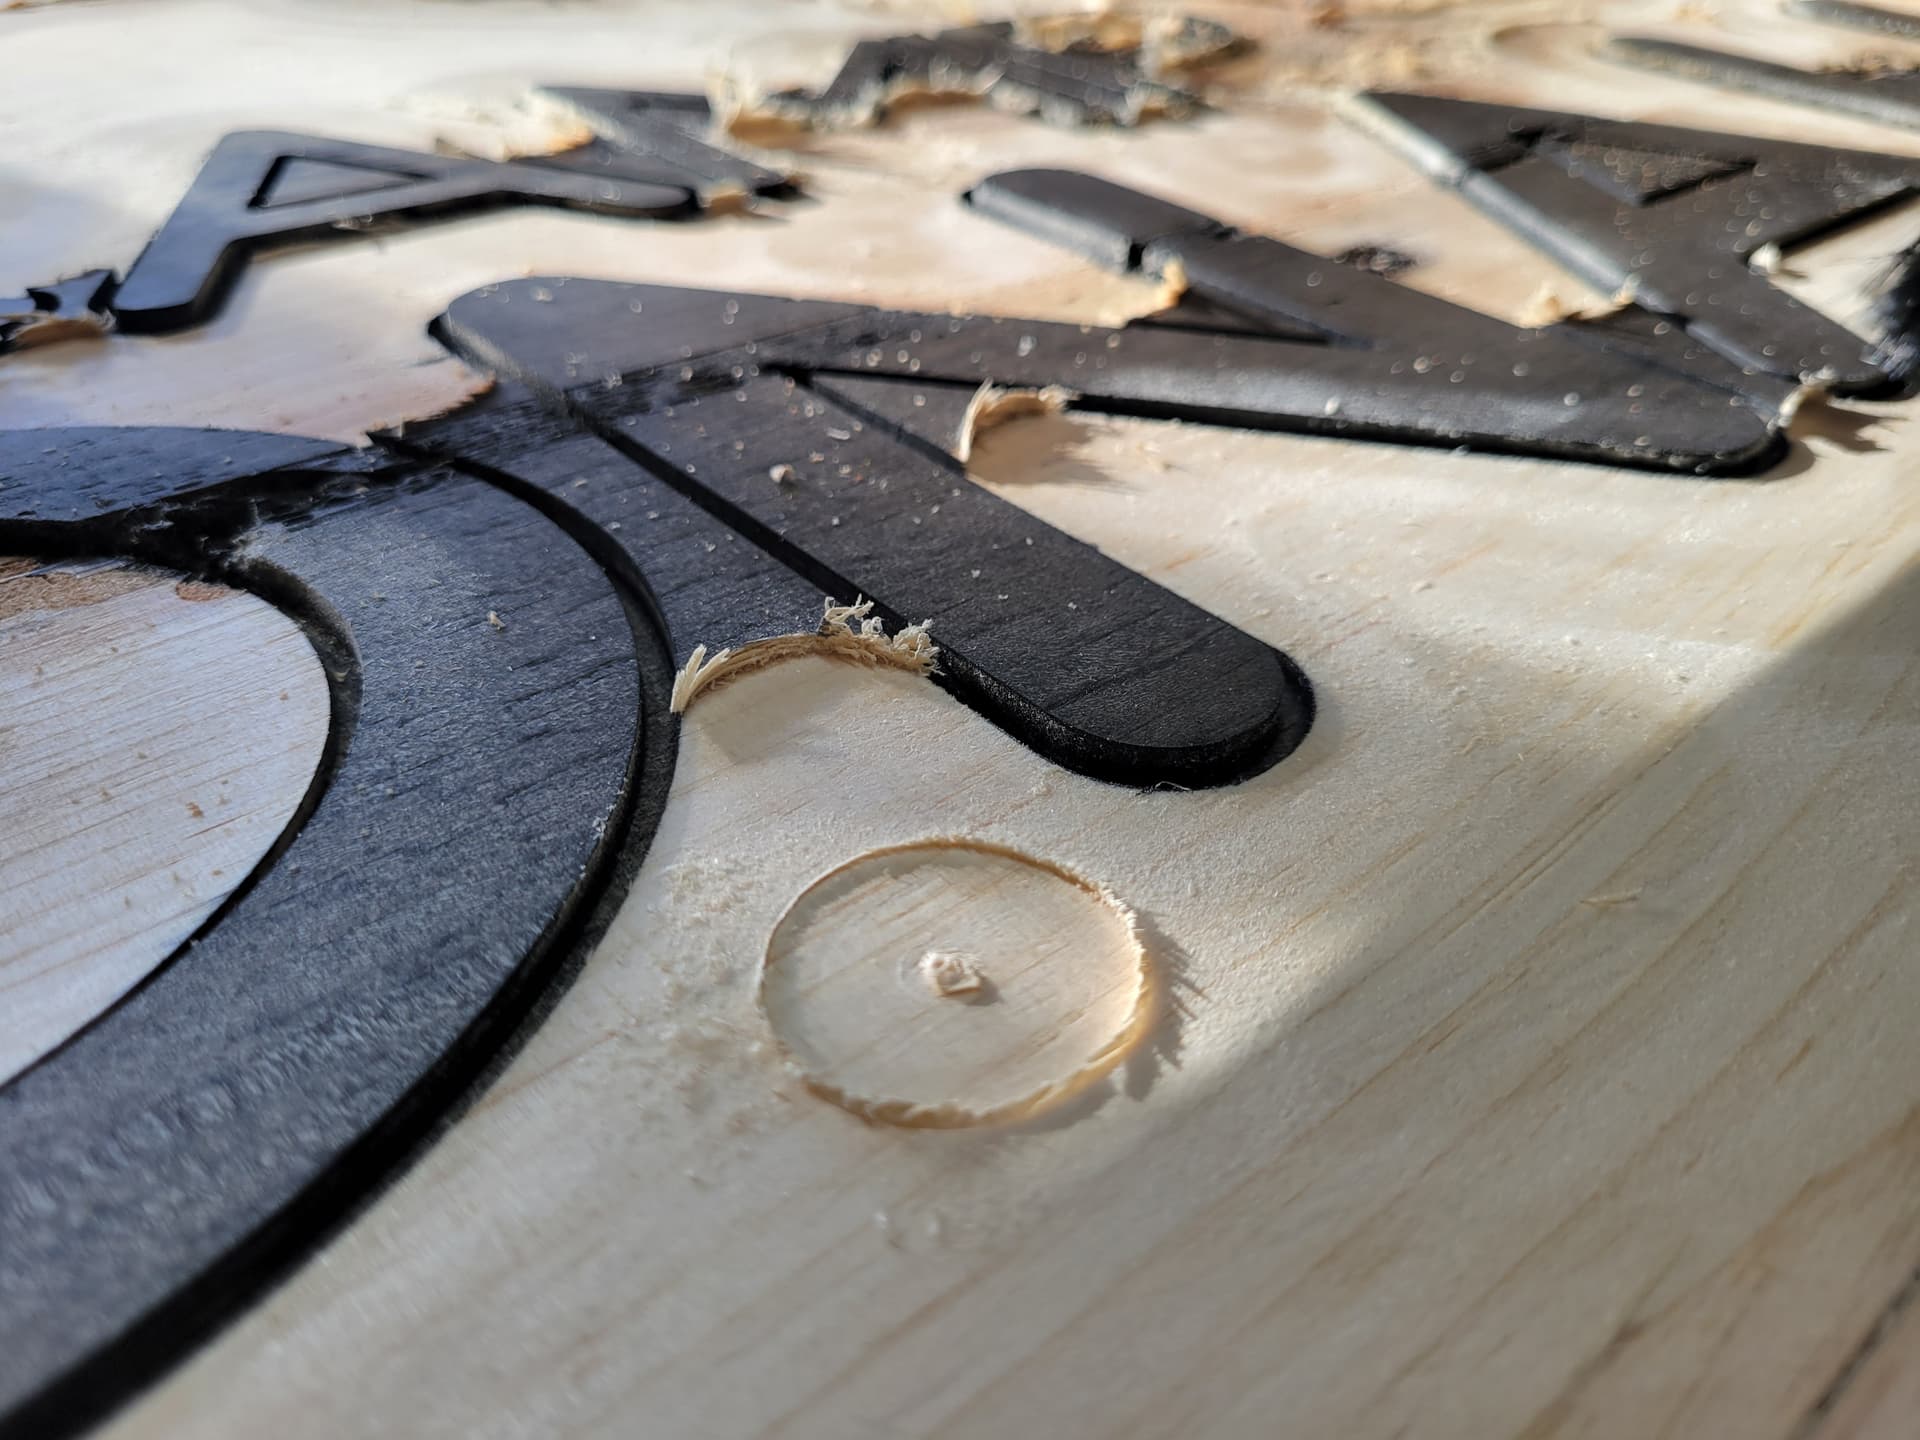
Even after the texture eating most of the stain, I still had to run another close pass with a 1/8" endmill.
It was a fun project. I got a tour of this place and took some stealthy pictures of their logo. They don’t know this is coming.
Camp Jonah.c2d (3.5 MB)
7 Likes

Spent the weekend messing with a 3D carving test. we used AI to generate an image, and then after a few unsuccessful attempts to create the depthmap, used AI again via SculptOK Depth Map to create the image which it figured out first try.
now to play with additional height settings etc in Carbide Create.
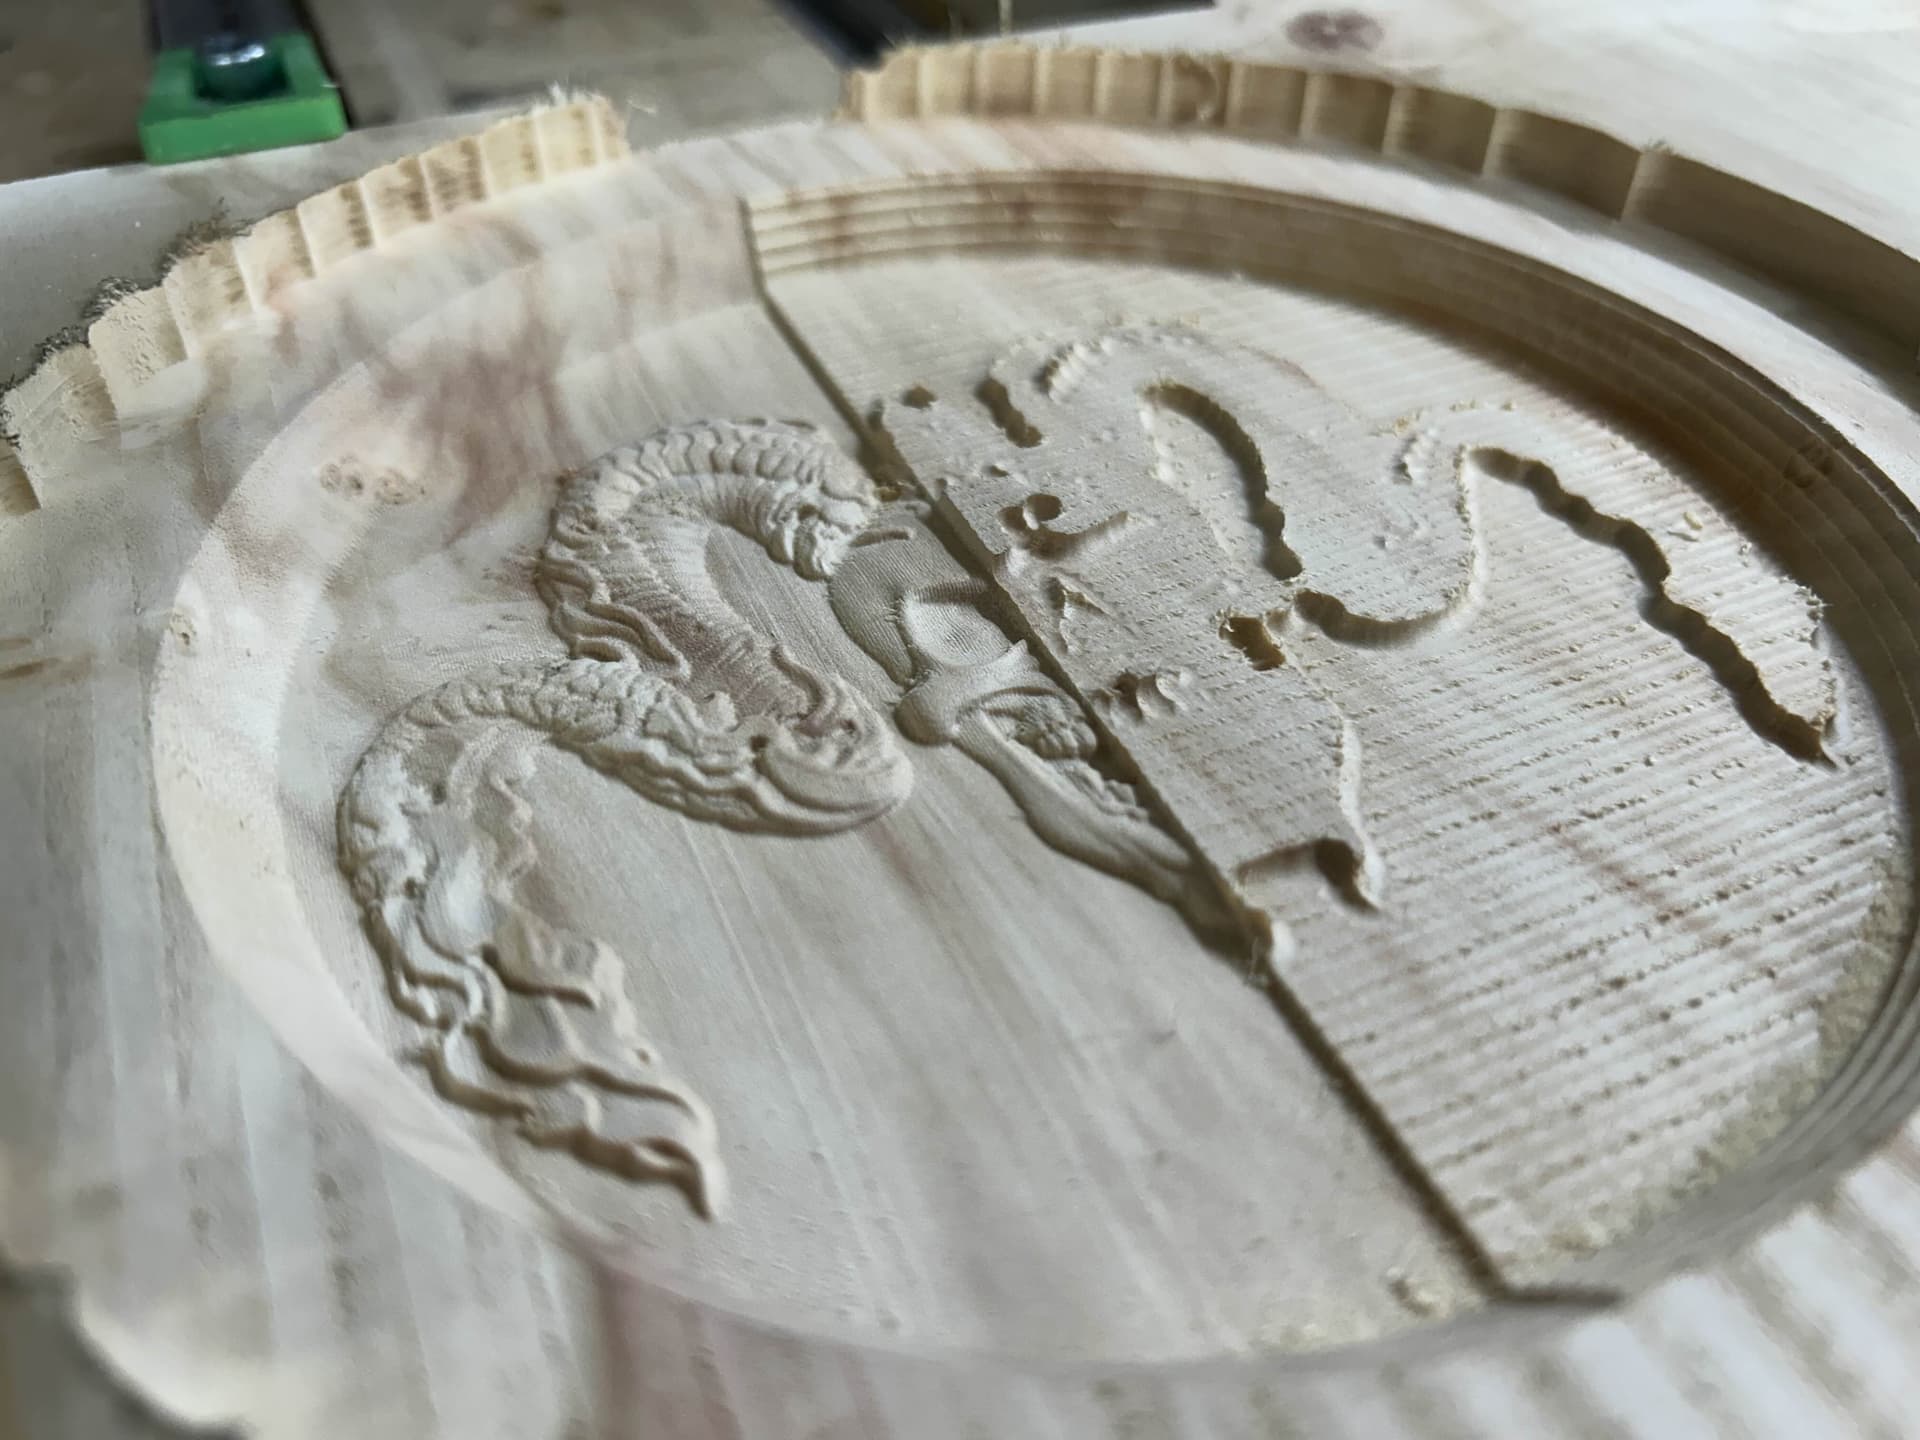
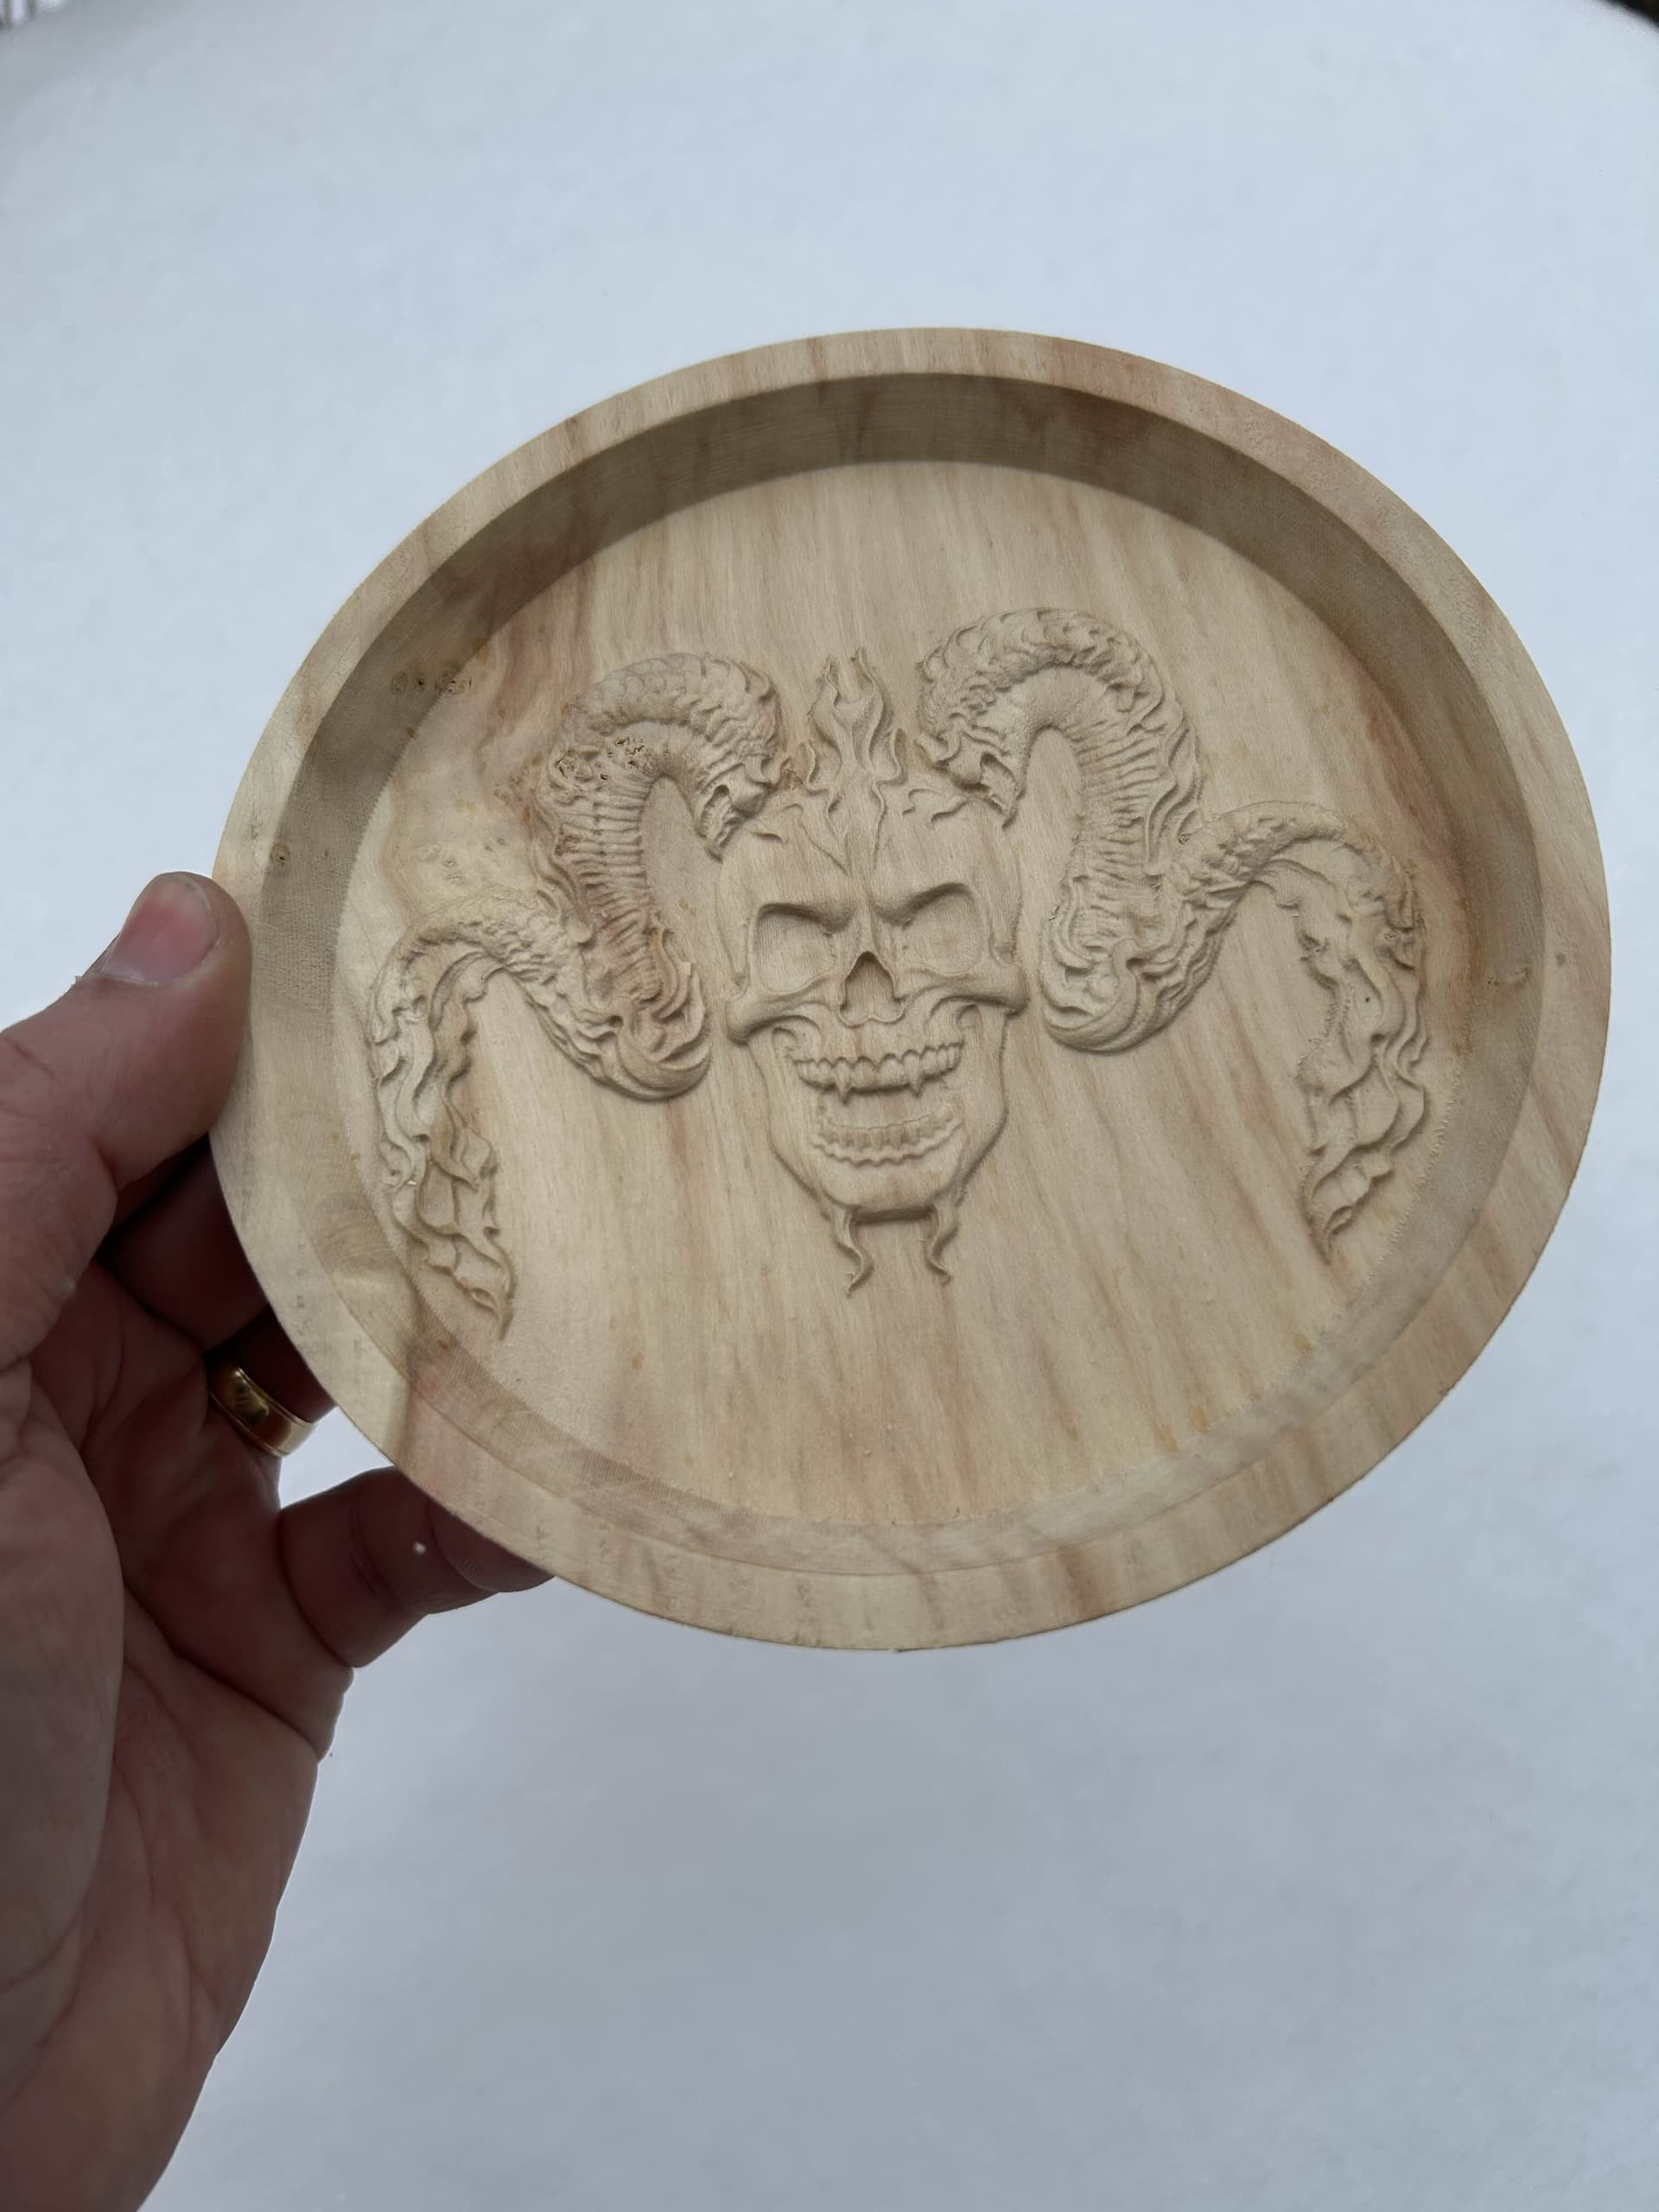
this is a 6" proof of concept carve for my neighbors bicycle clubs boardroom table commission. at 30" the next one is gonna be a long carve for sure.
14 Likes
Looks great. For the texturing, does it automatically come out horizontal like this, or did you have to do extra steps in the tool paths for that to happen?