It doesn’t really matter what you use, the fibers are there to wick up the liquid. The idea is to seal those fibers as Nick says.
Even if you shellac the area, there still can be dips or gouges under the mask. You can only hope (and use a thin mask) to roll across the mask with enough pressure to seal most of these leaky areas.
Ehh what I call a “mask” is actually a pour of epoxy, not an adhesive mask. First cover the general area in epoxy at a depth of like model top + 0.5mm, and then, once that’s dry, carve through it. This kind of “mask” does keep the letters very crisp while still allowing a full bond of the epoxy to the wood. I try to avoid the sandwich of shellac in the middle… but like, it probably doesn’t matter? And then again… who would trust this advice considering the image I just posted
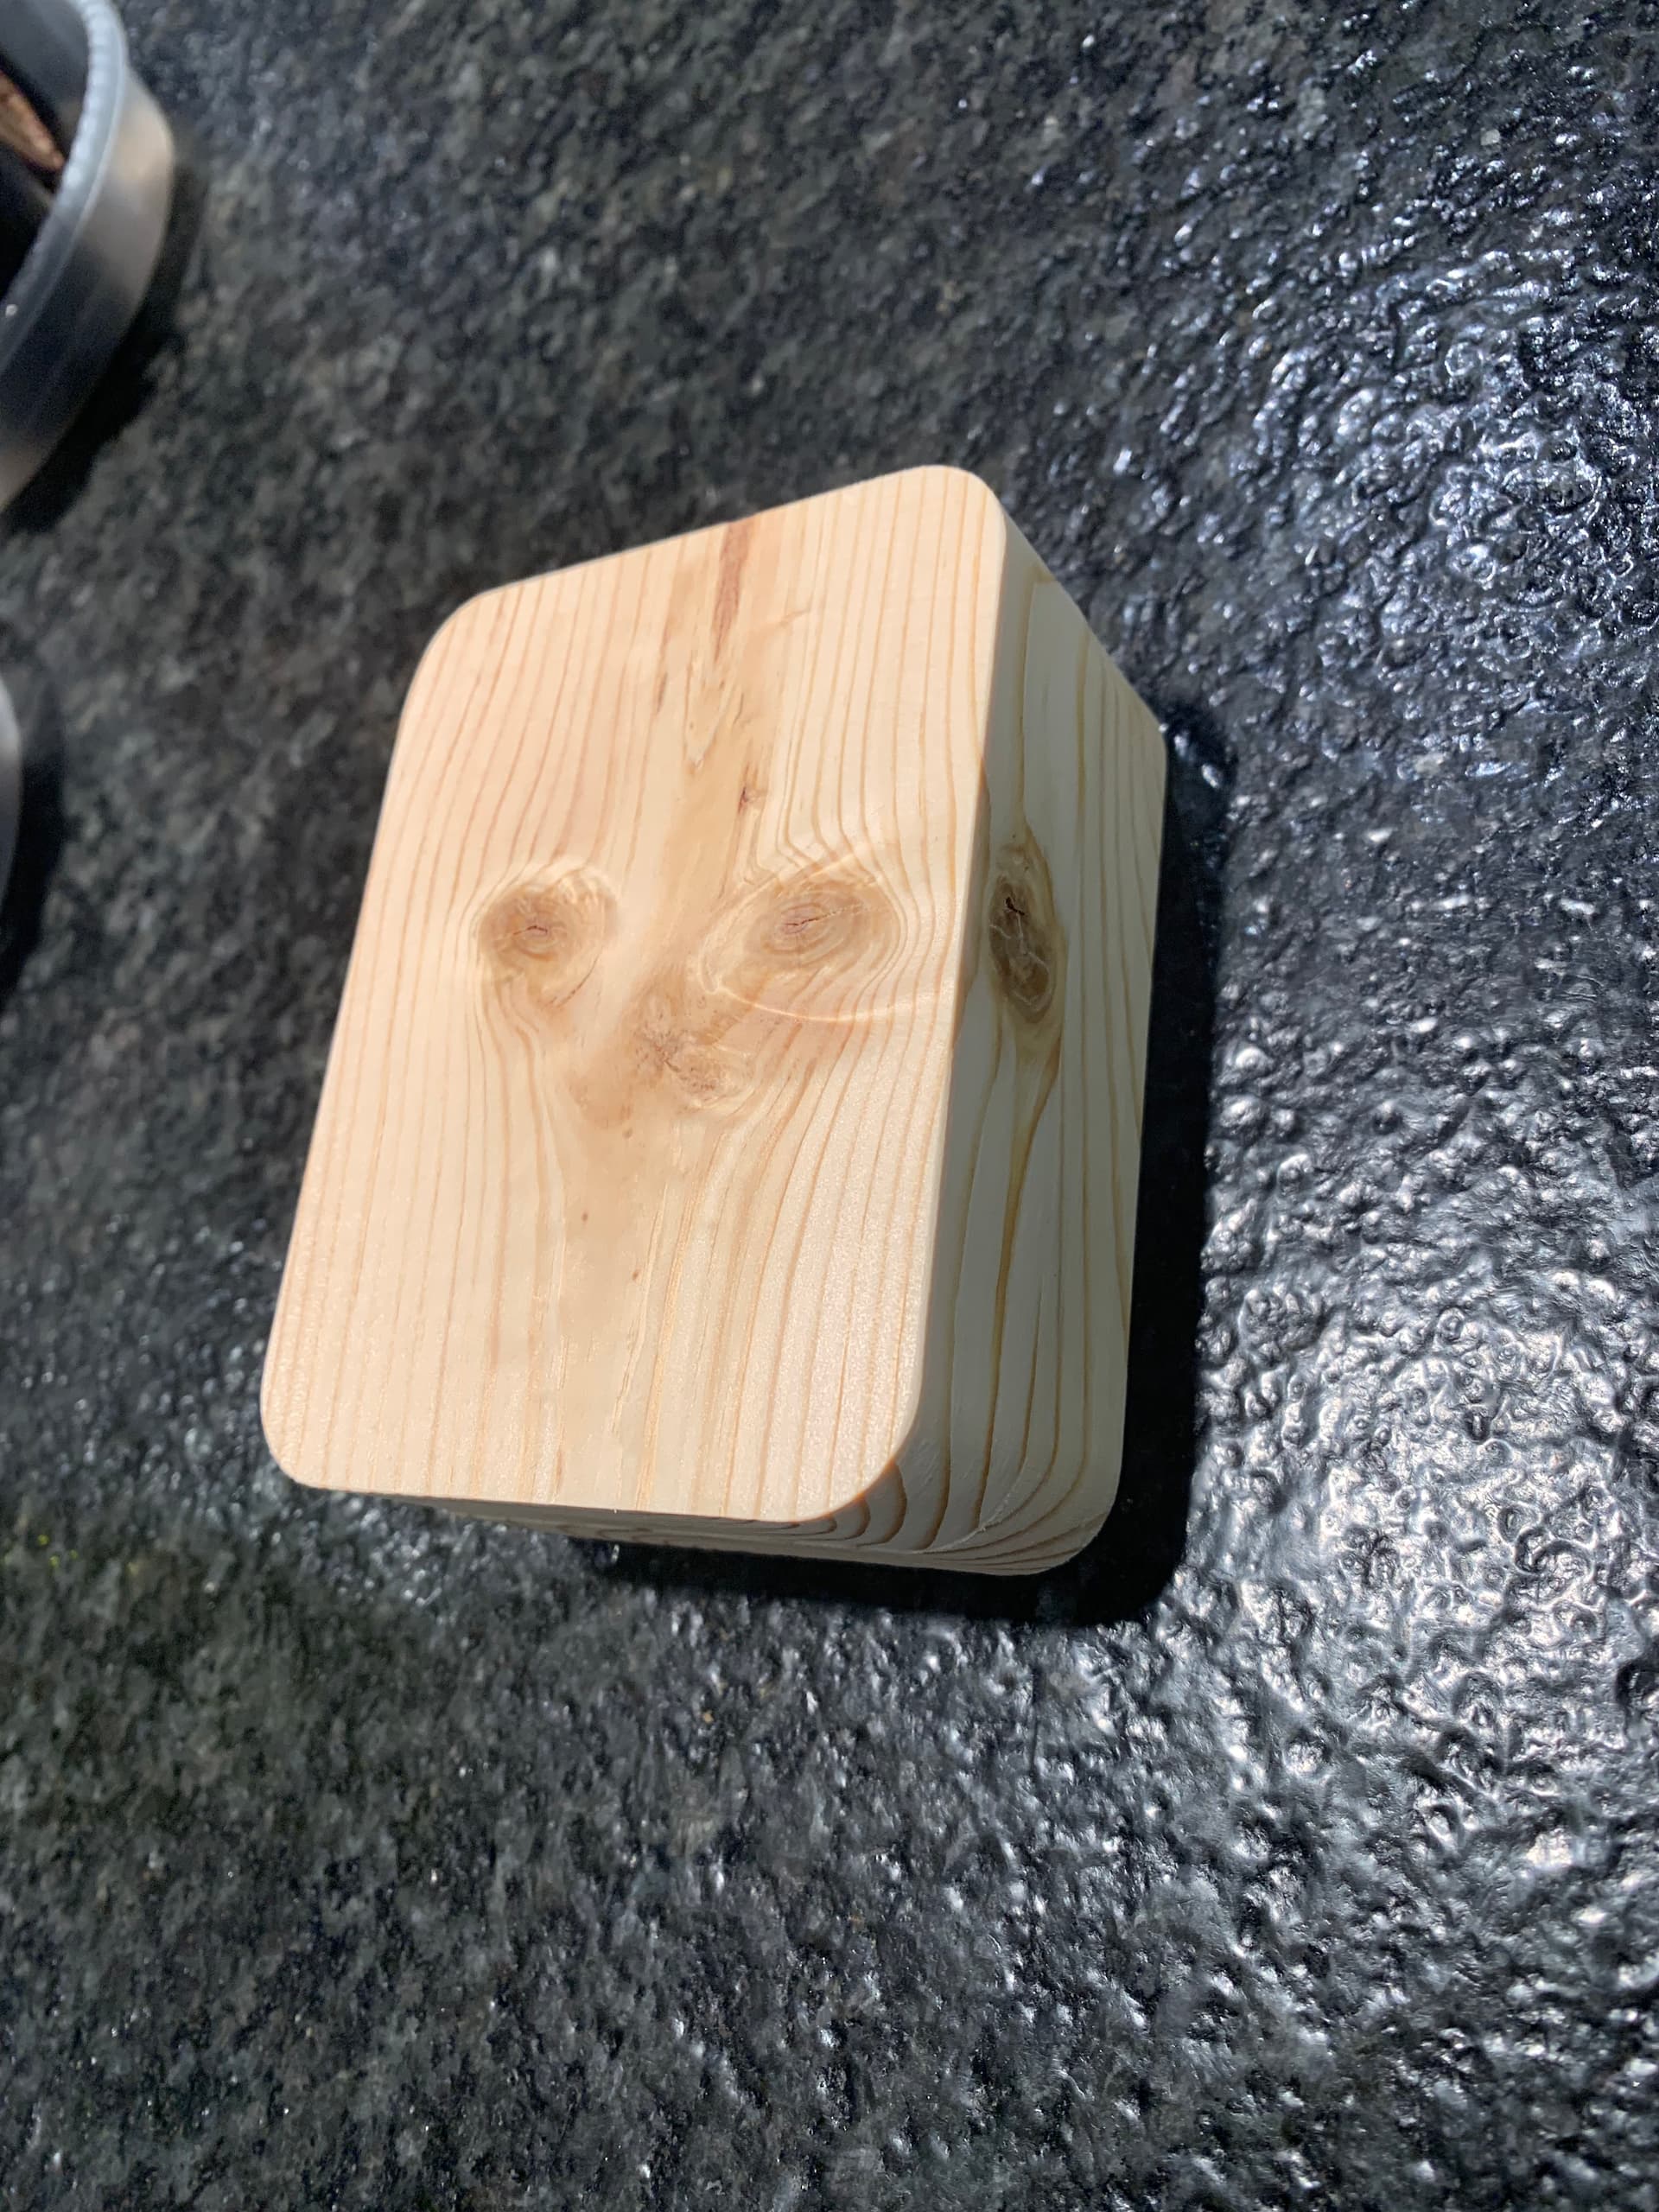
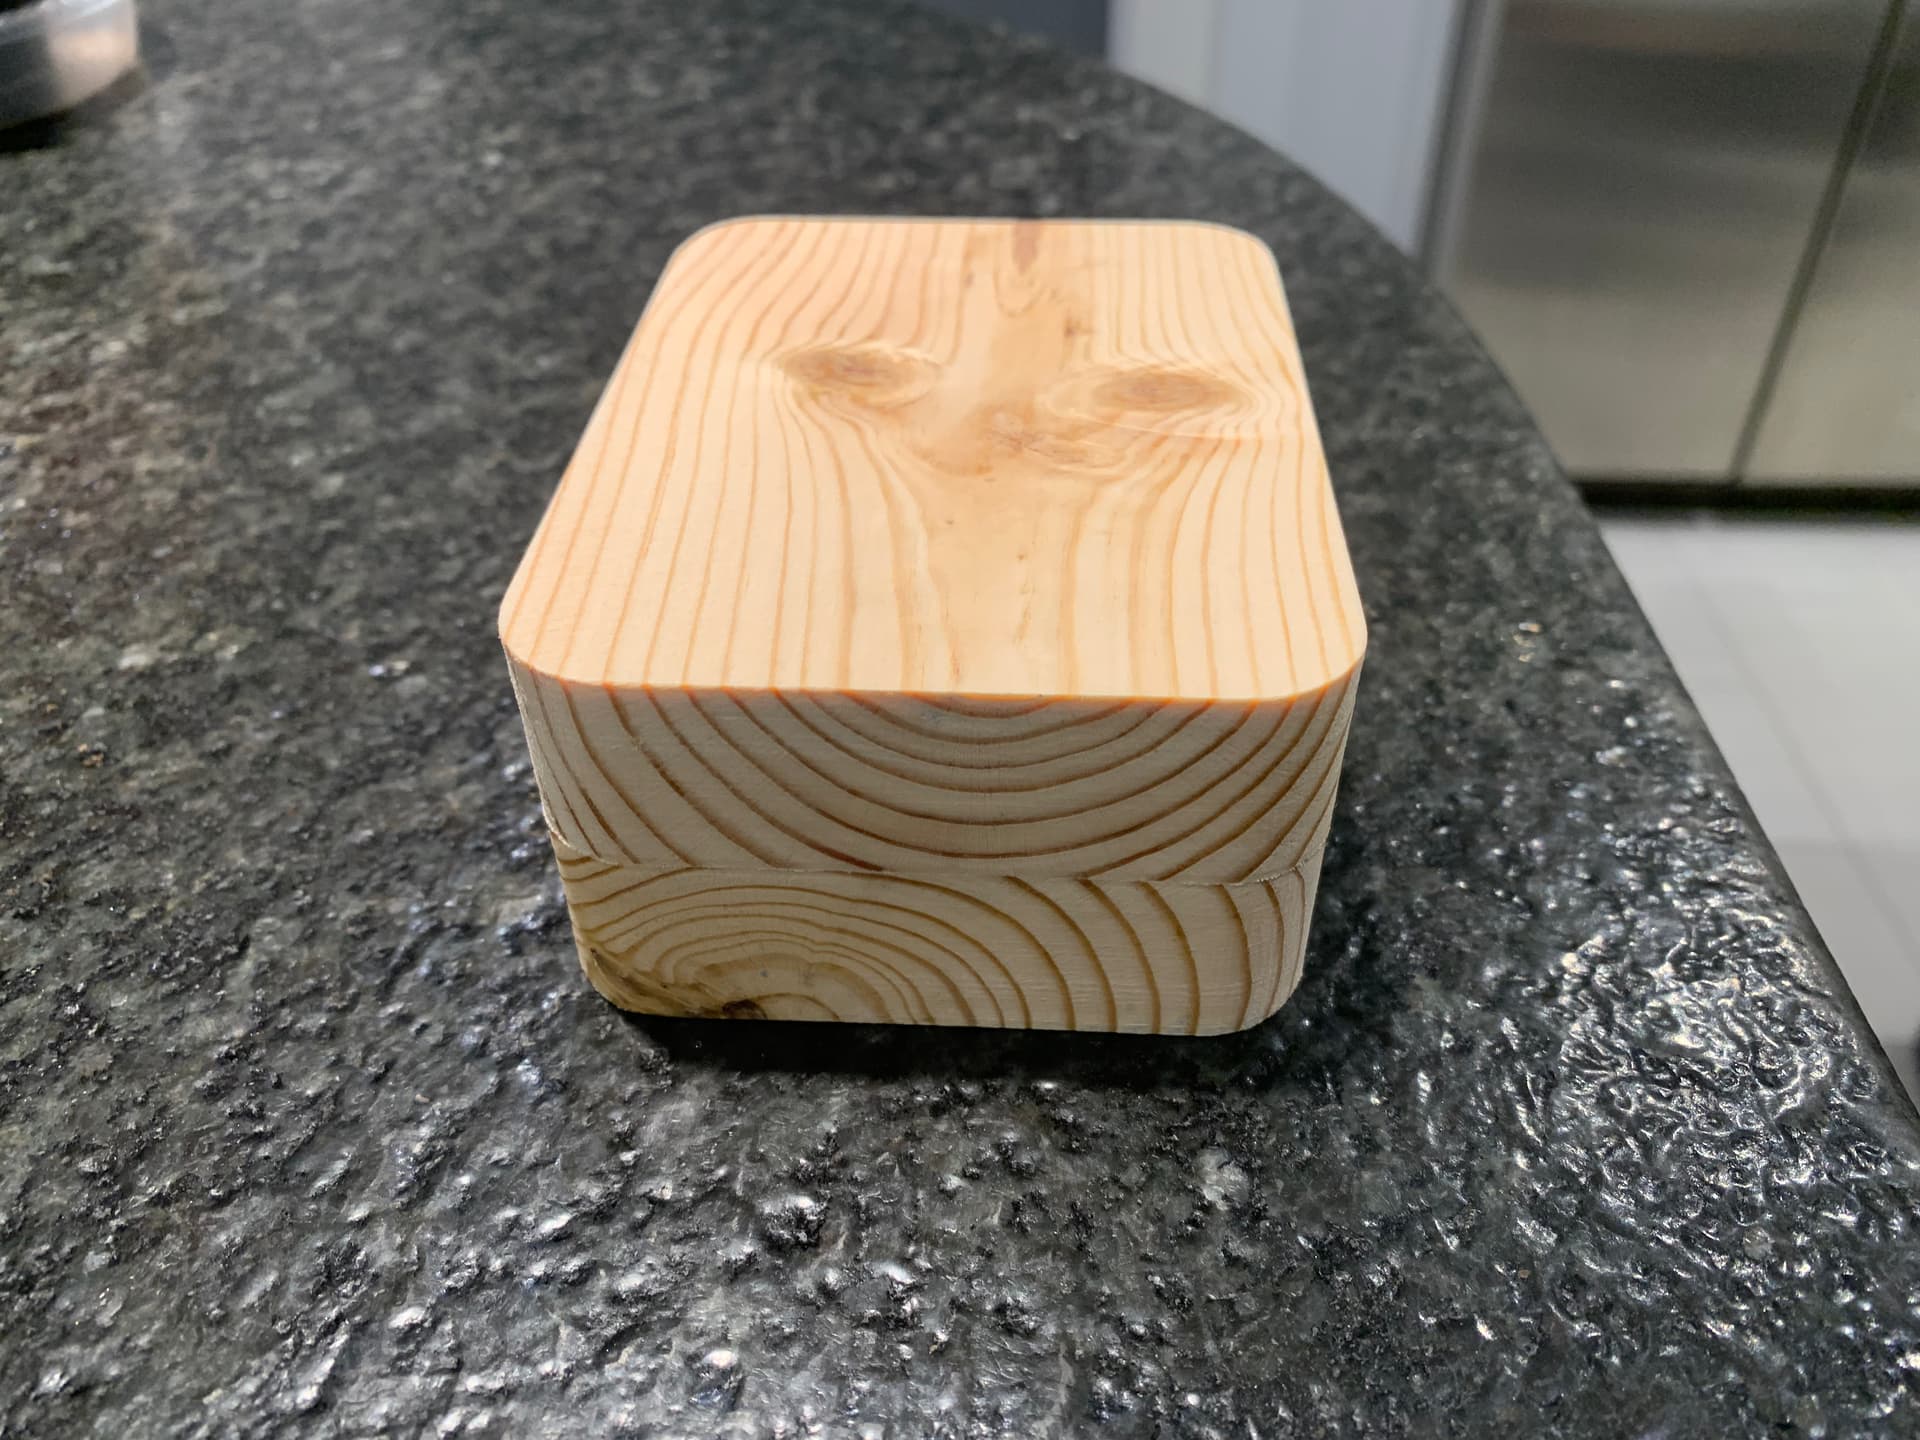
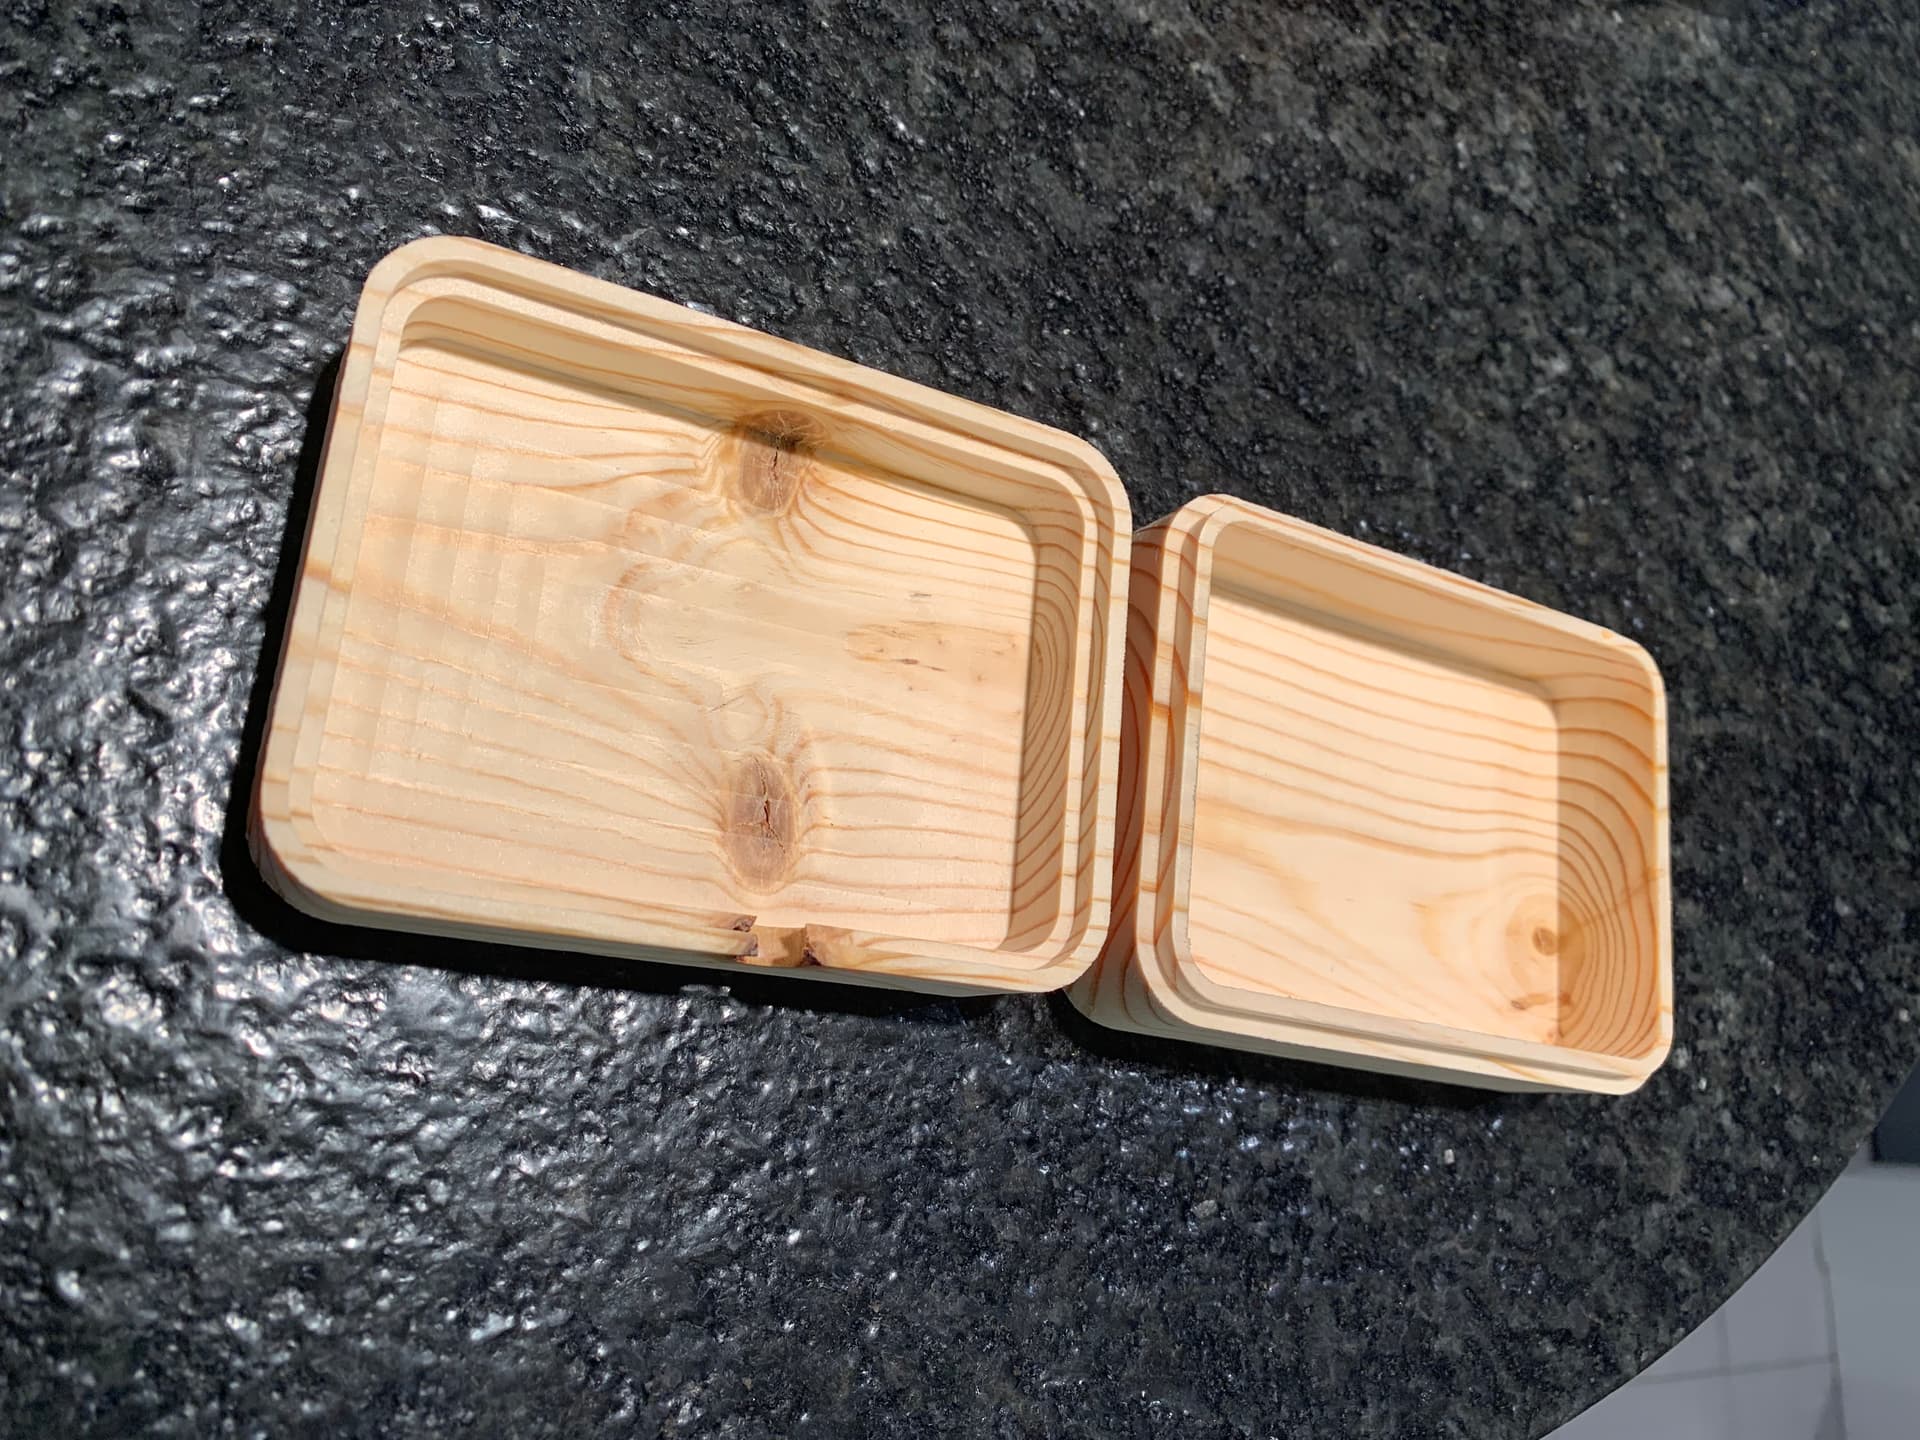
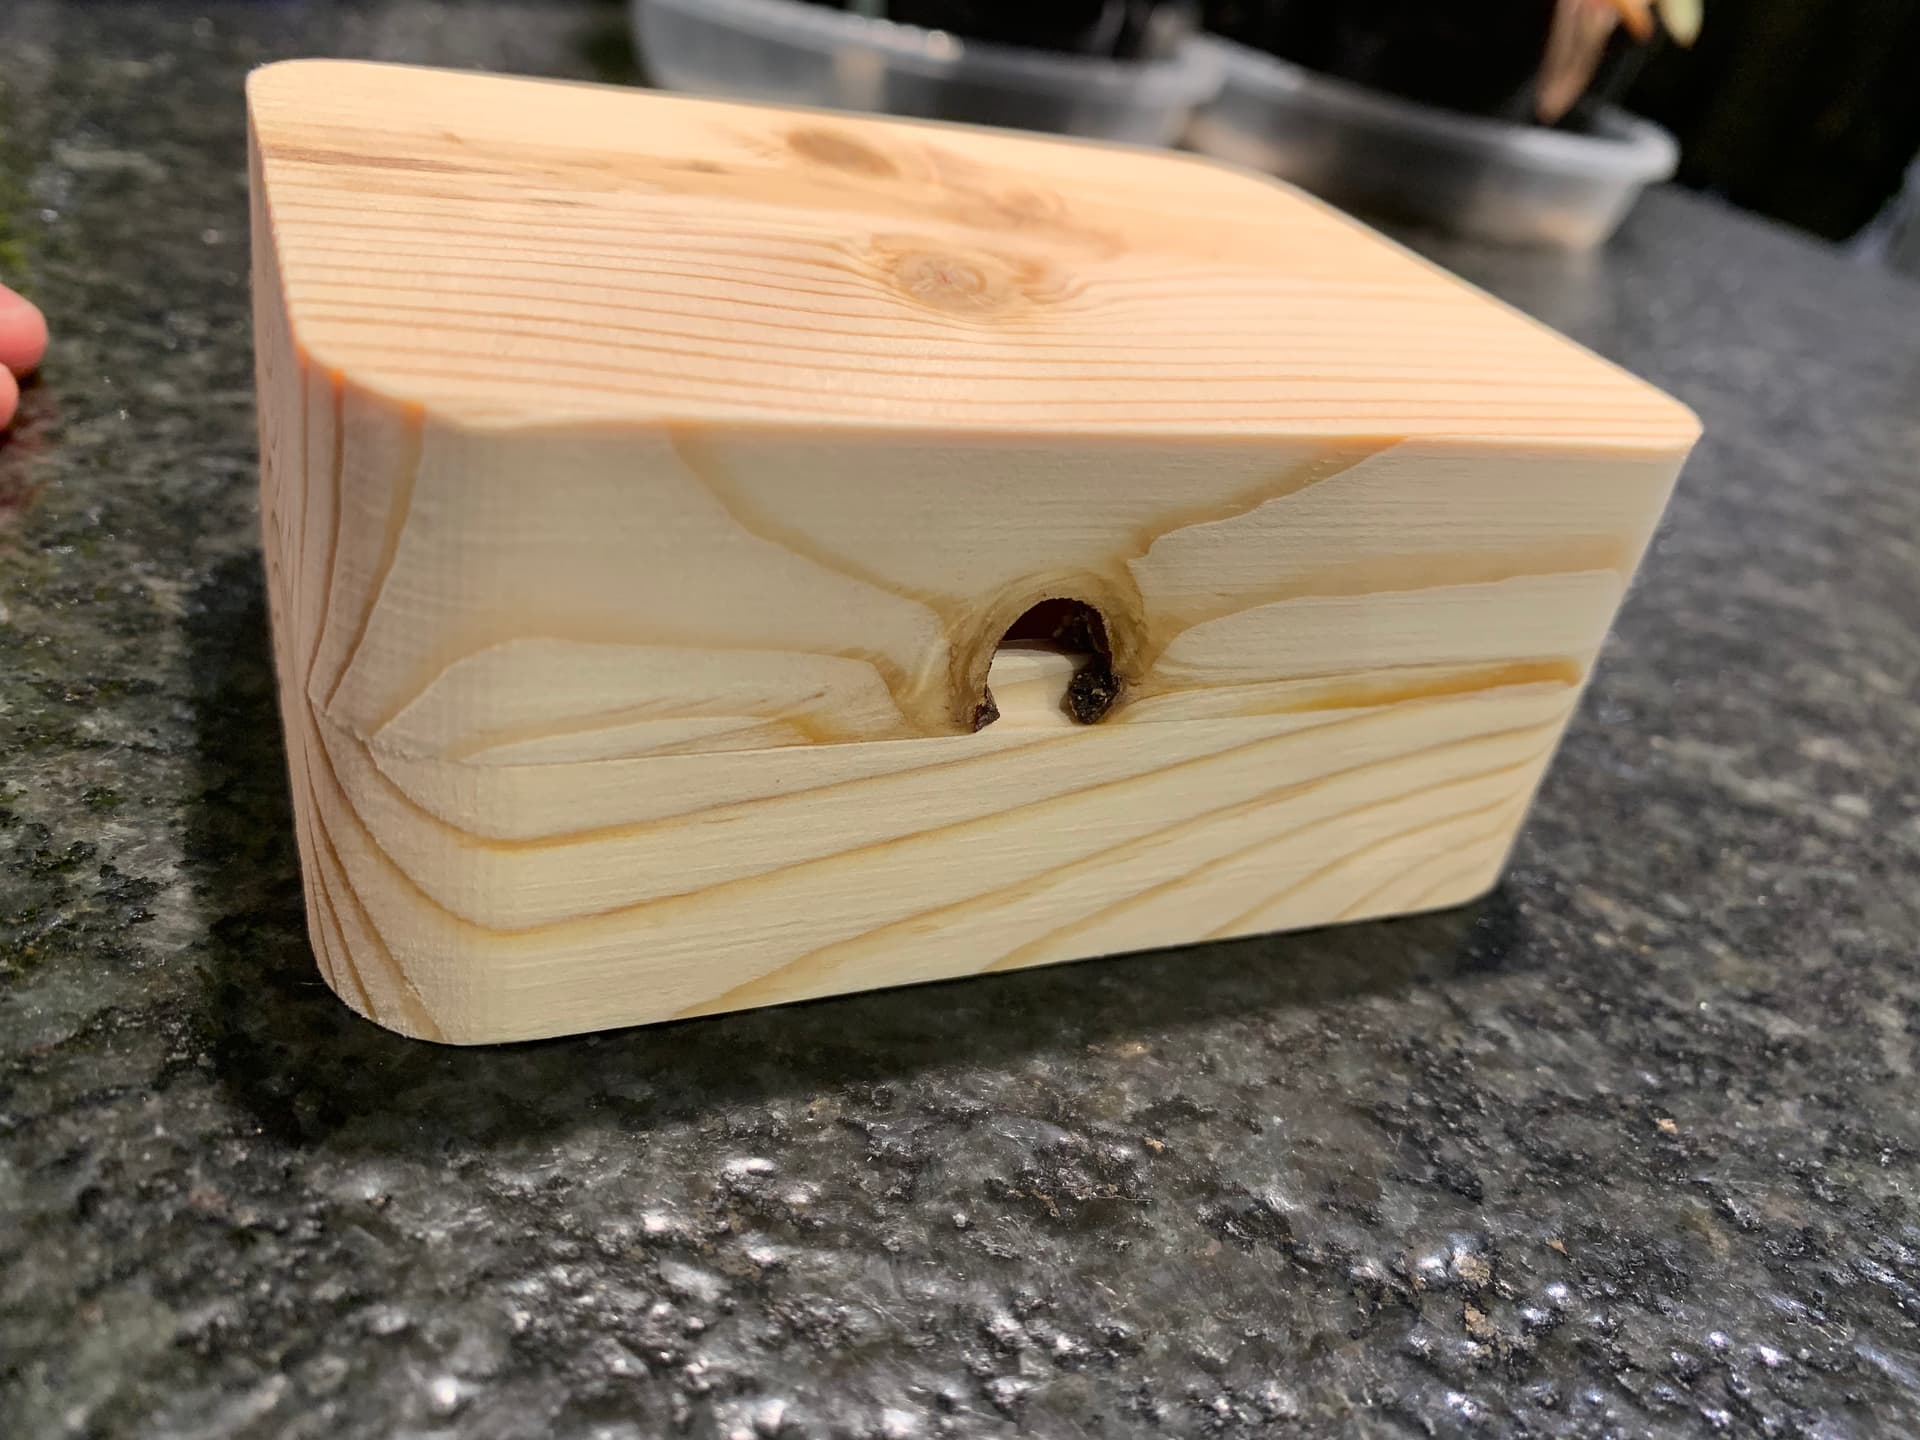
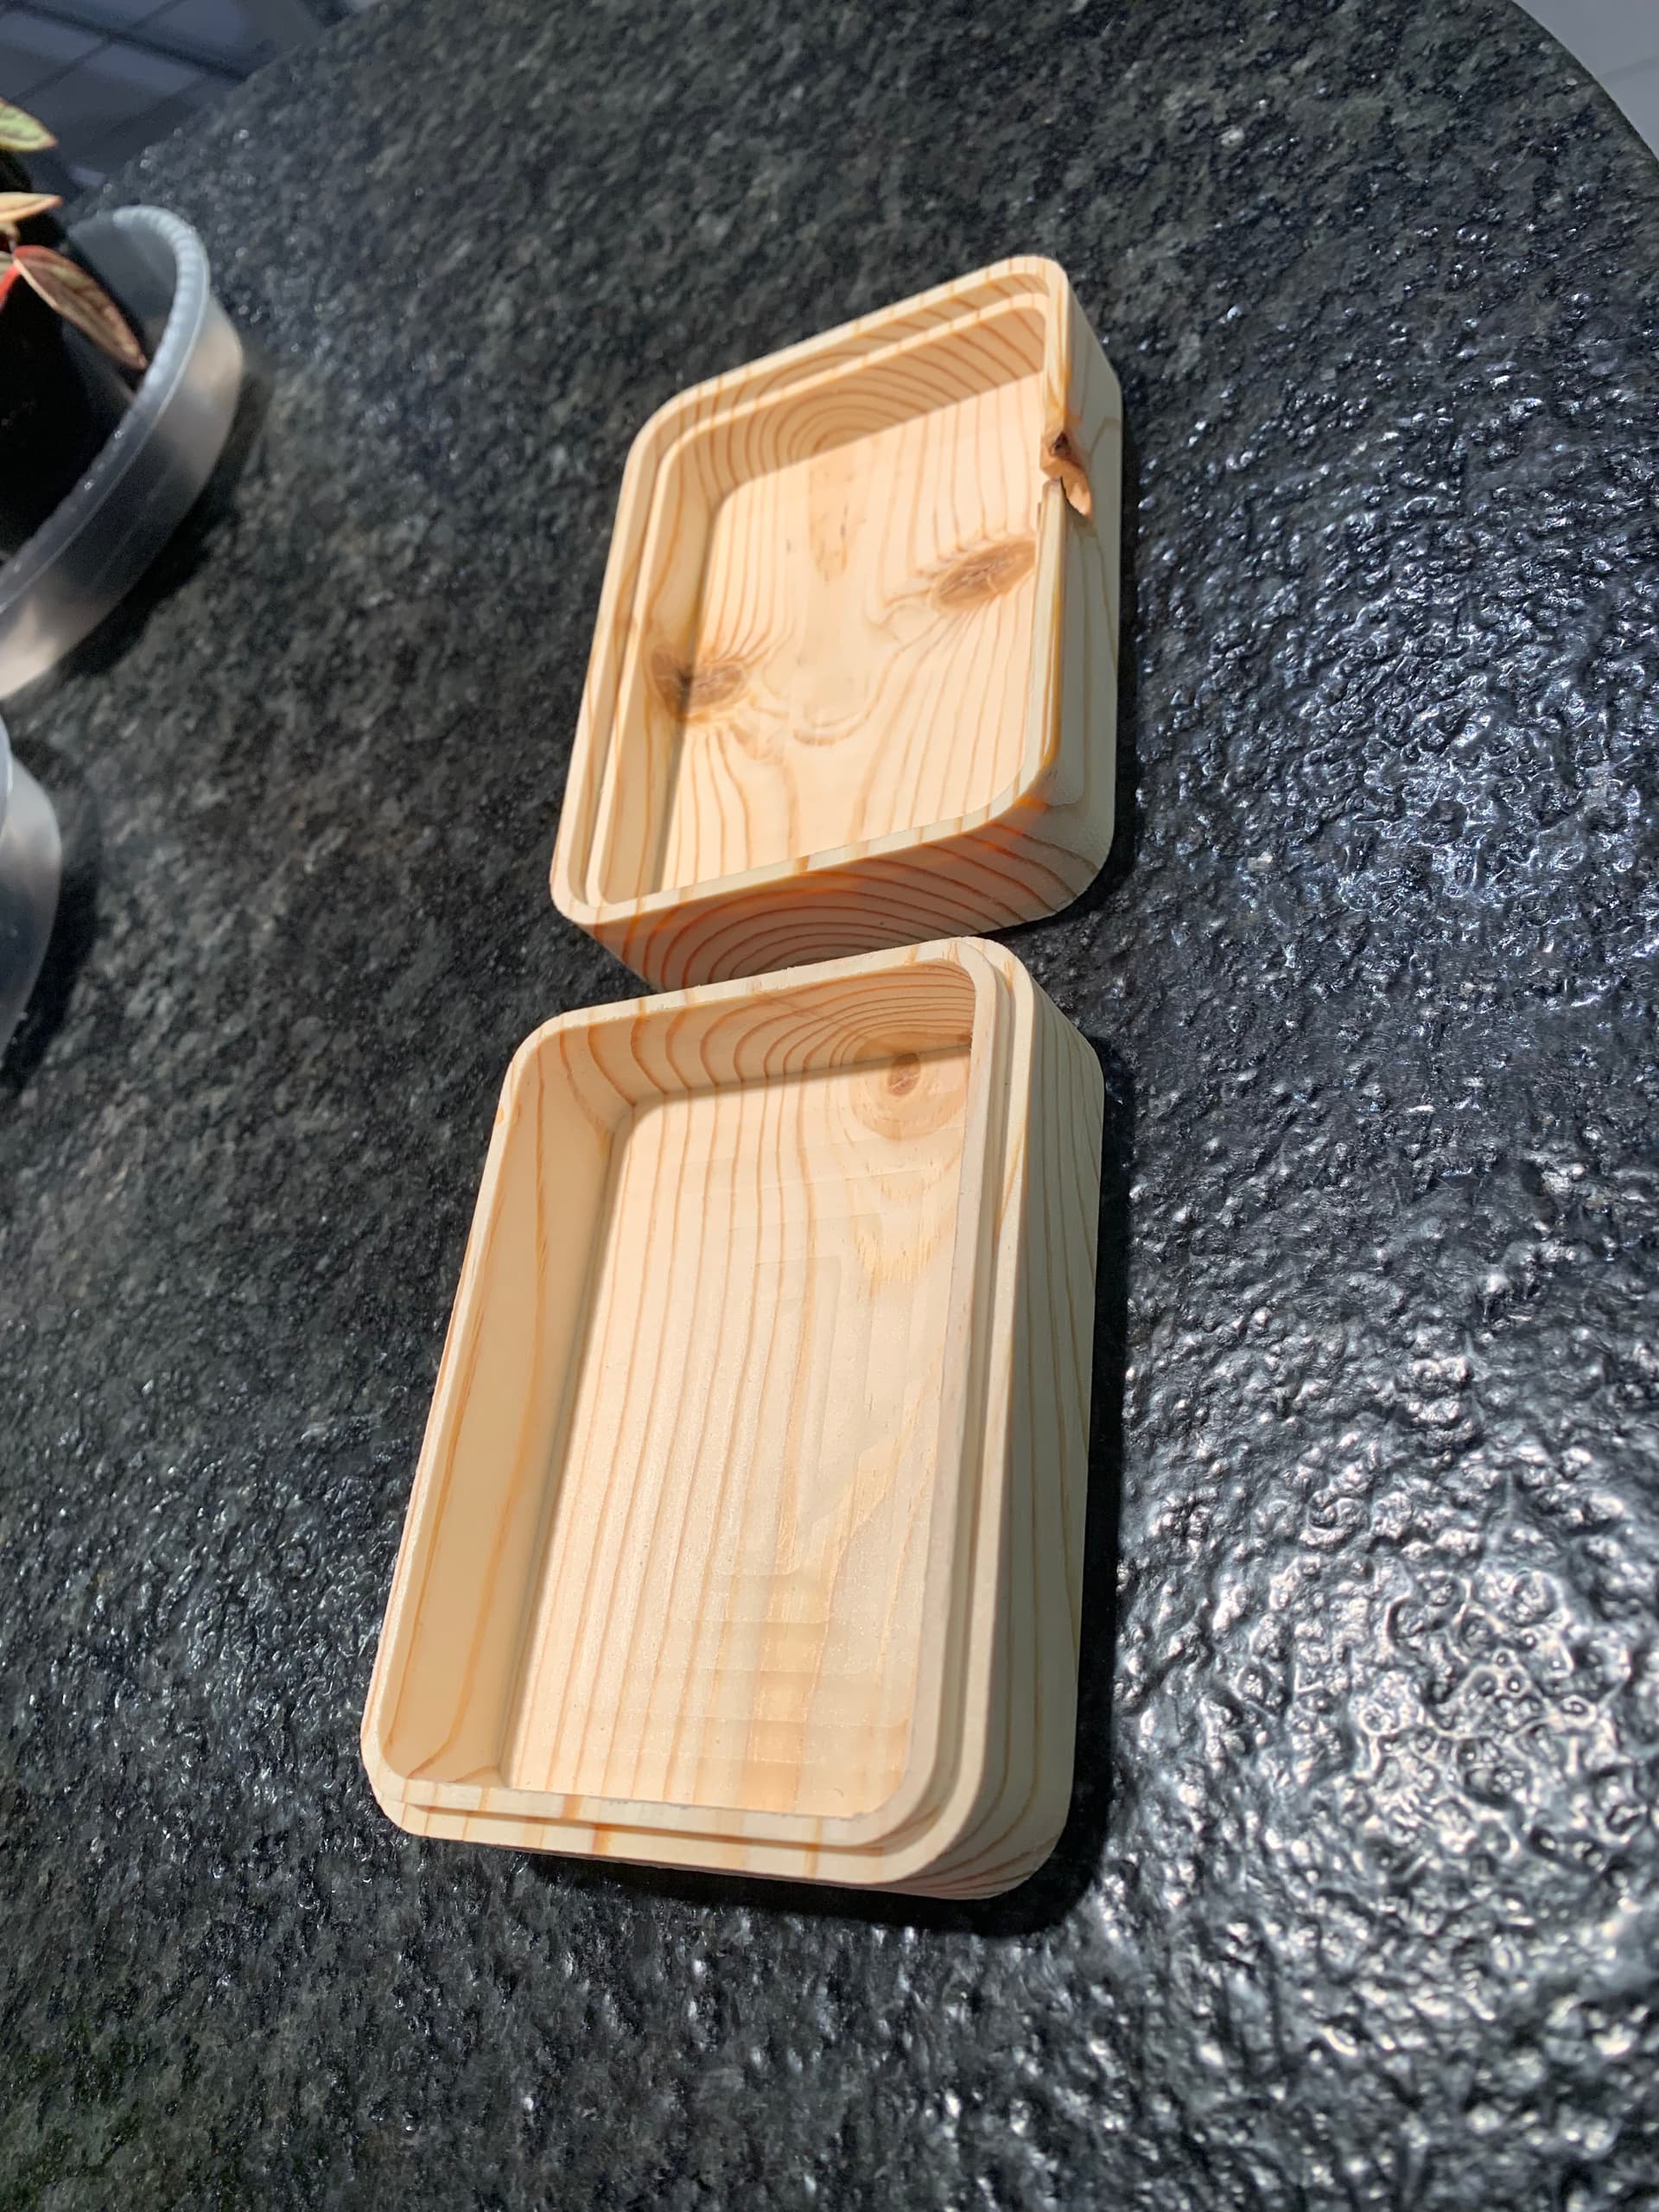
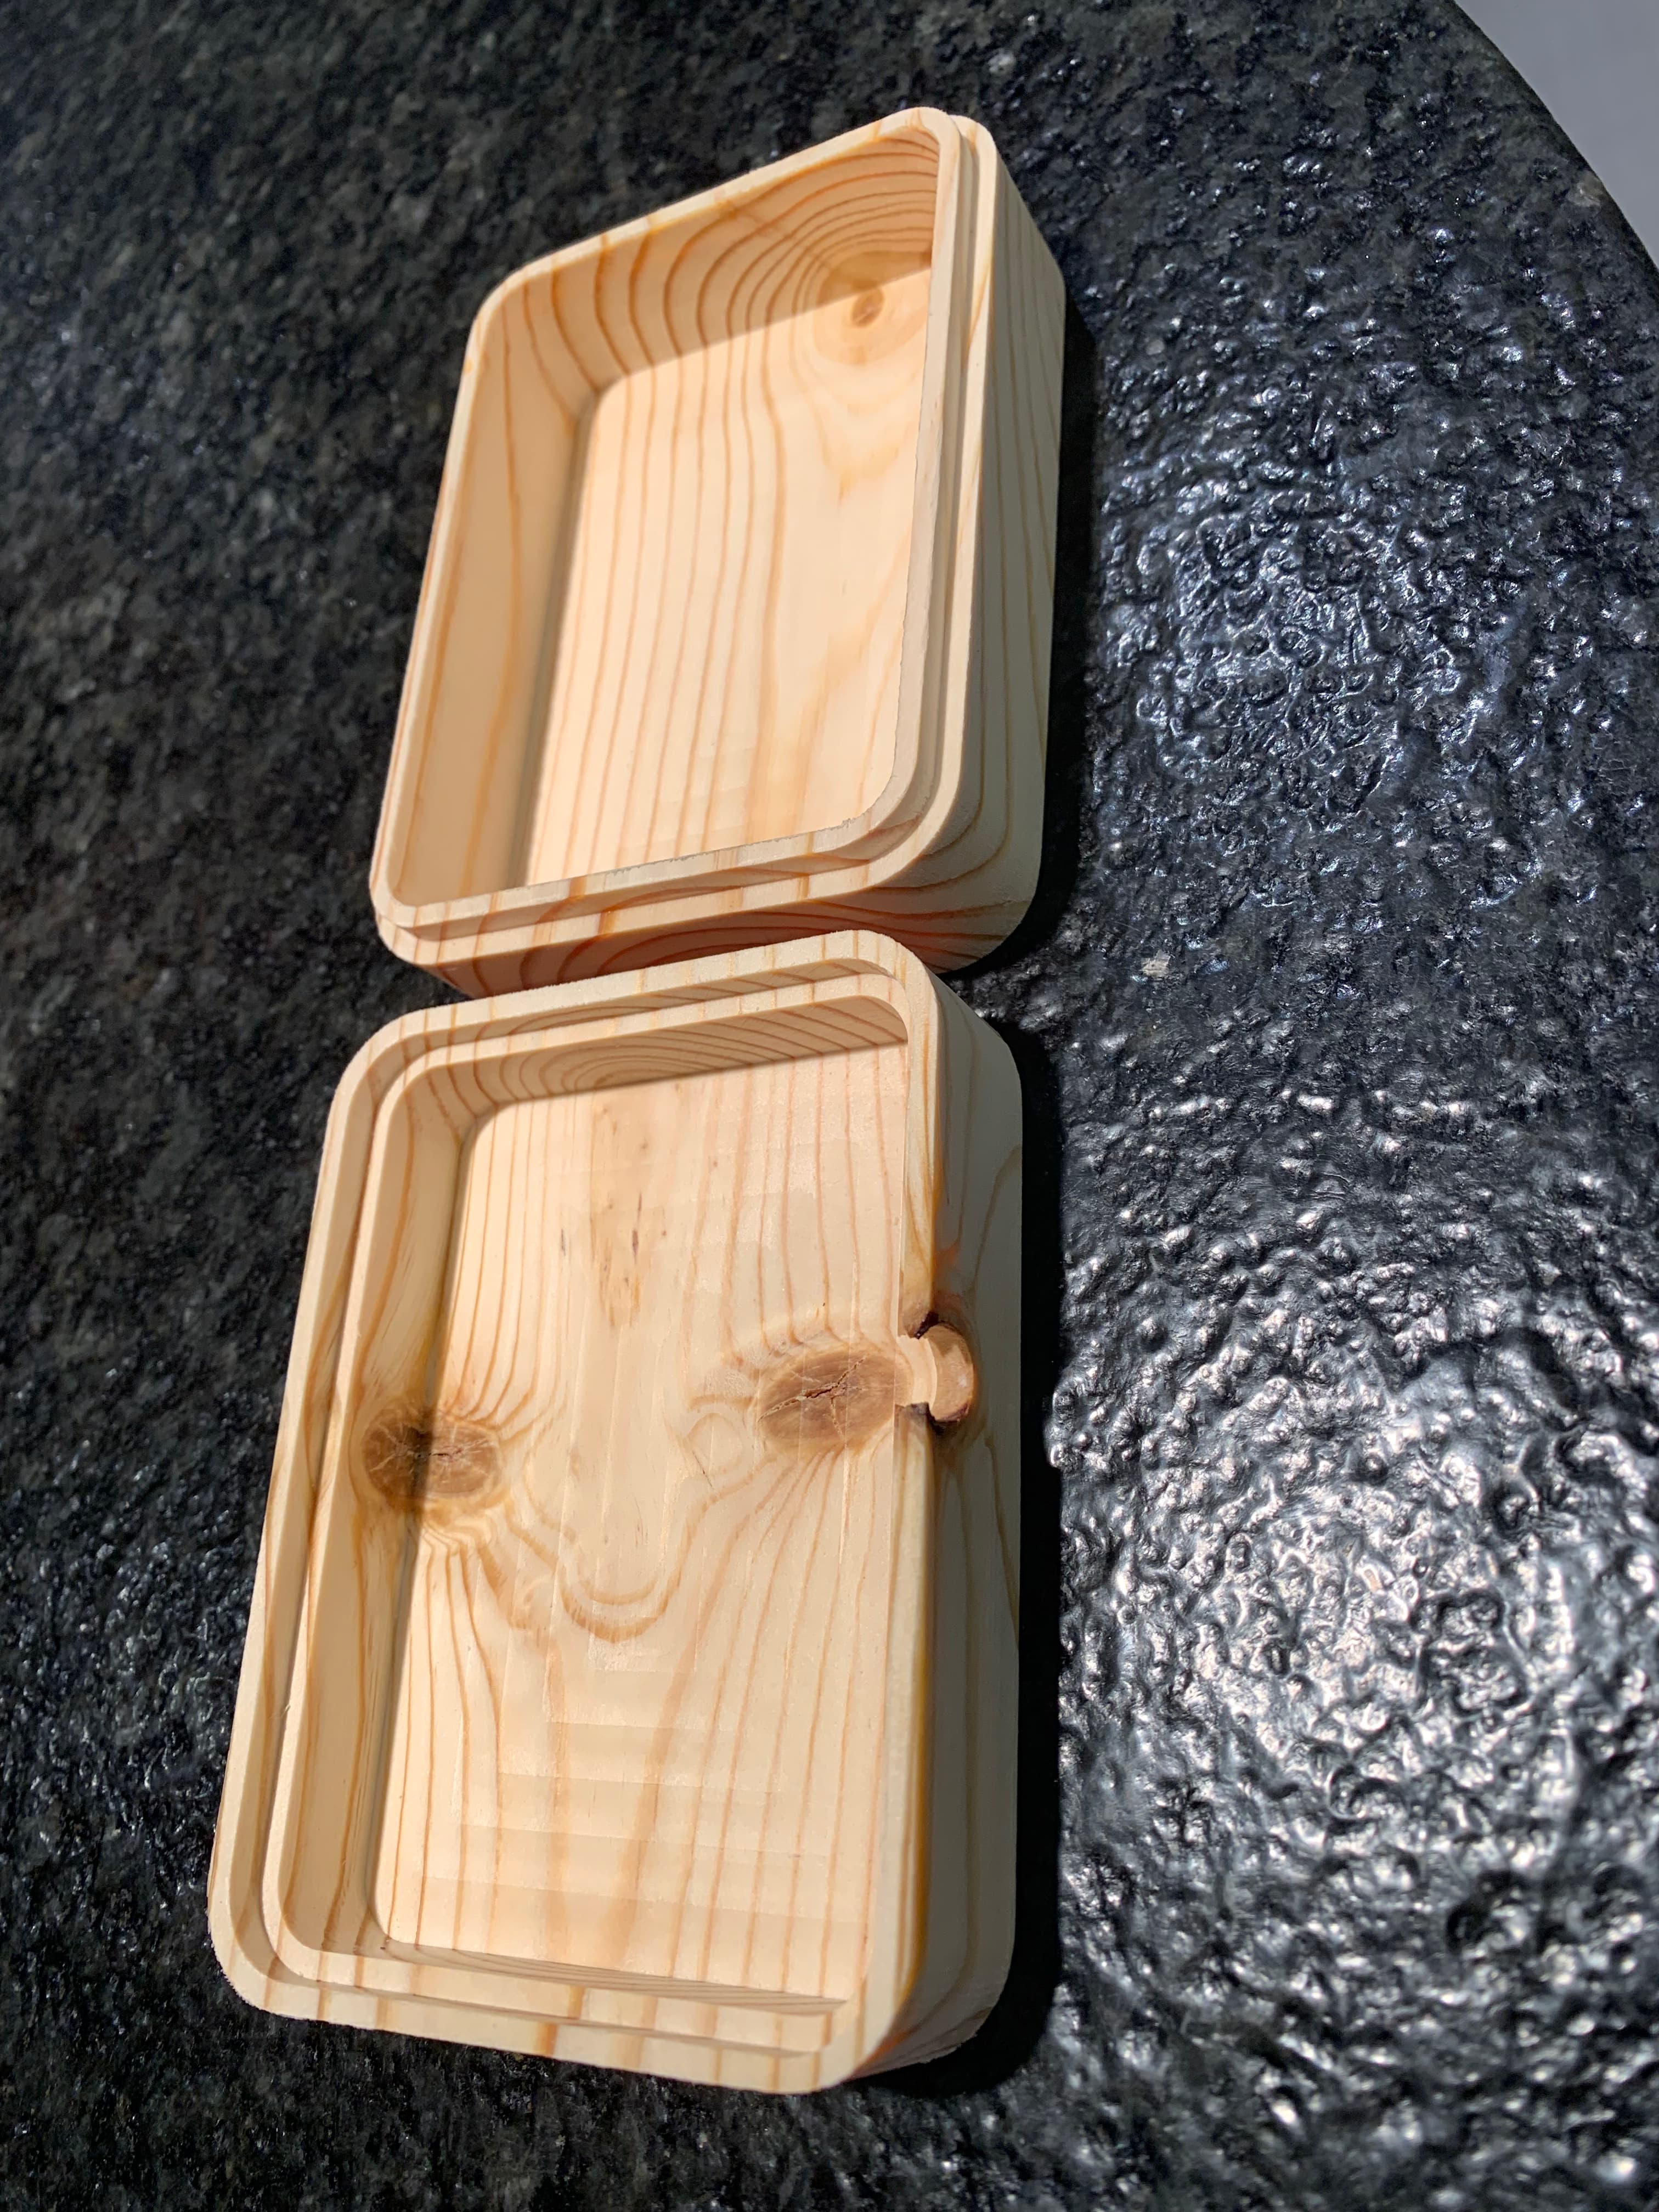
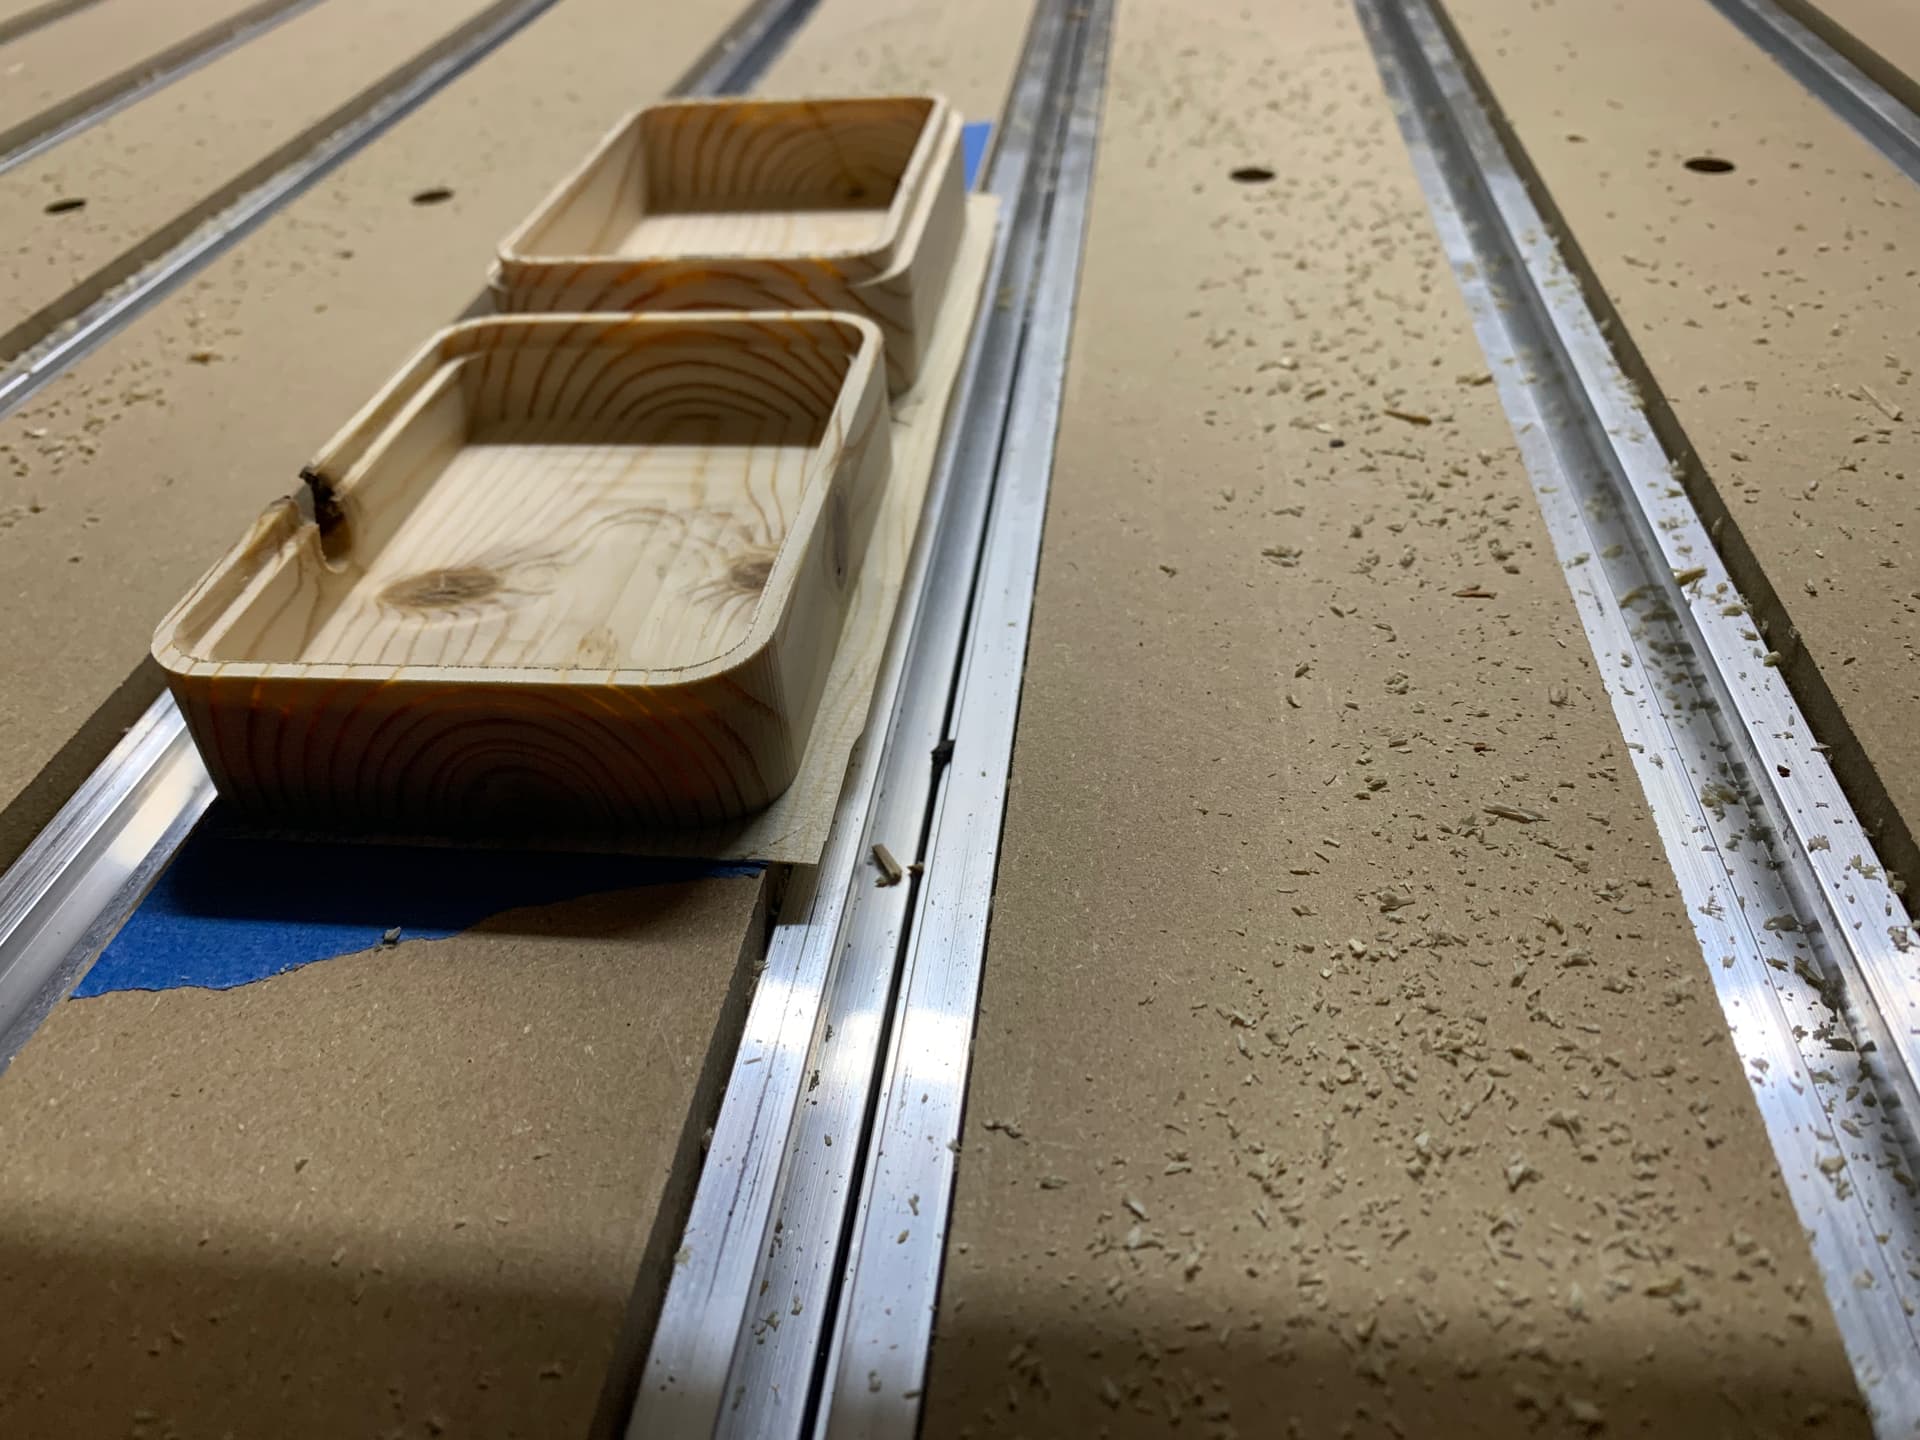
Made my first box with some super basic framing 2x4s I had laying around. The fit is nice, it’s a clearance fit but with some friction to it so it stays closed. Winged it with a .2mm offset. This was my first successful project that I was able to complete in just a few hours from design to cut finished, using fusion 360. Unfortunately found out there were some unexpected knots in the wood, but I still like it!
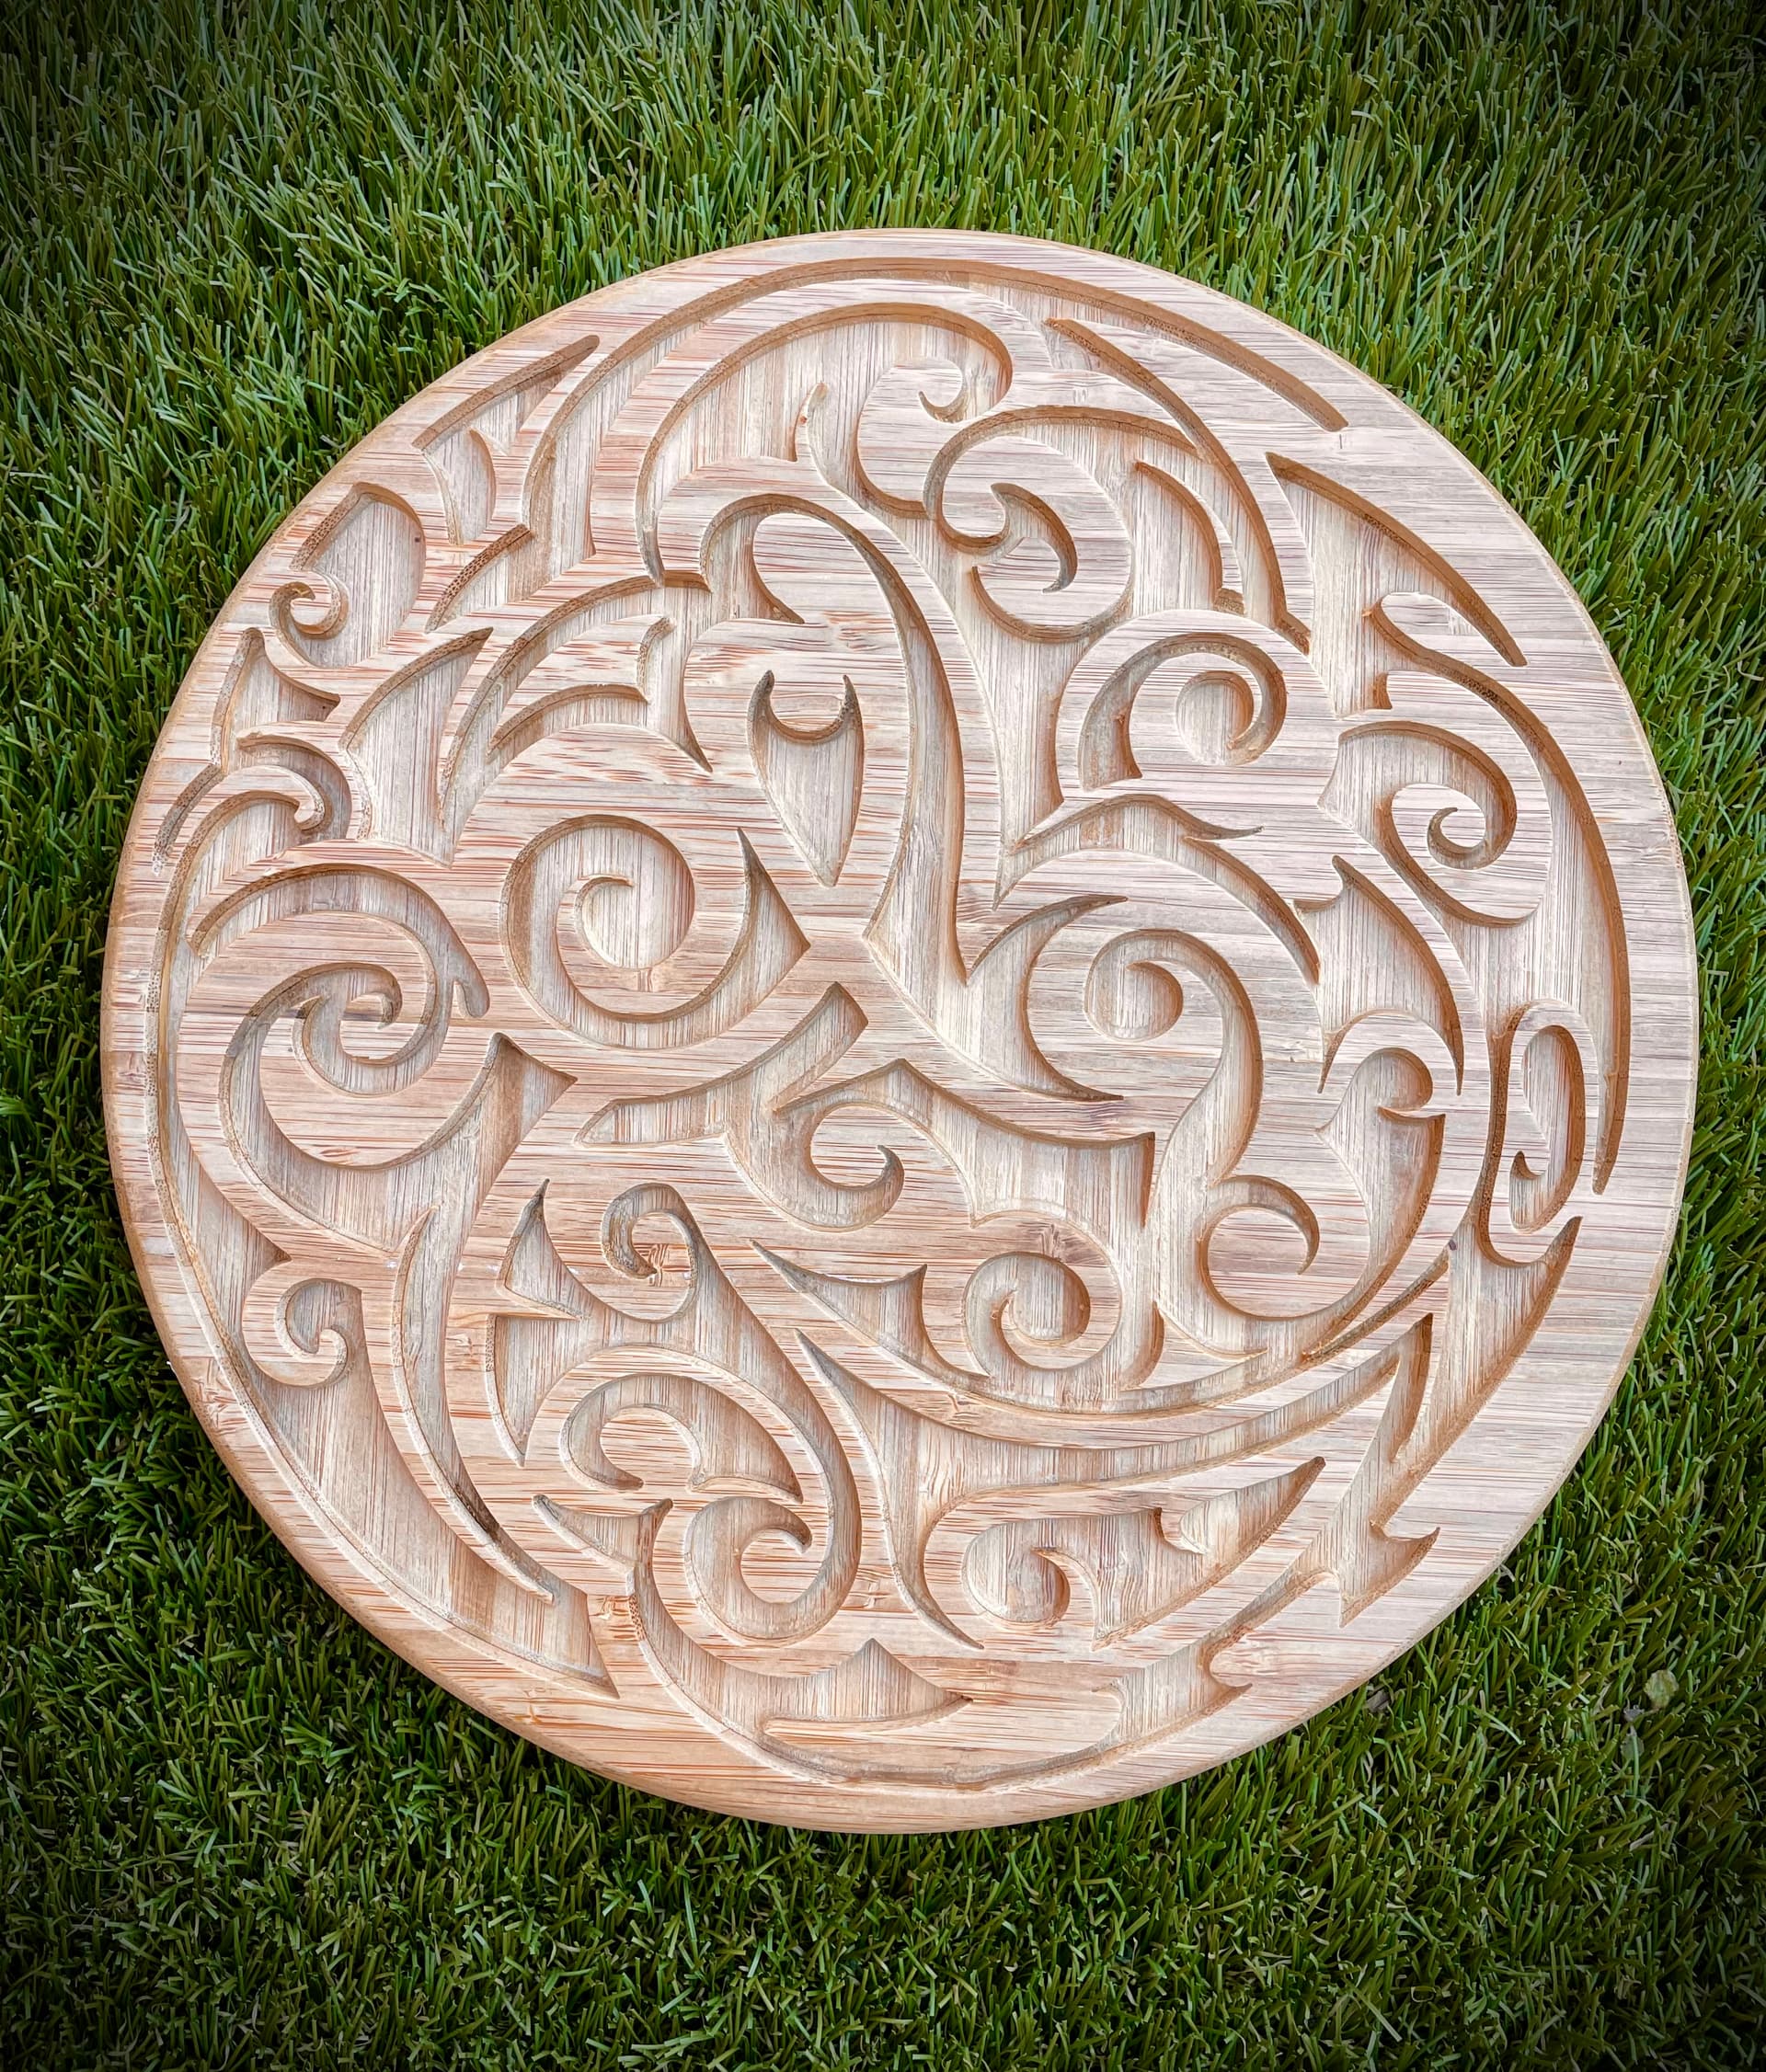
An older design I adapted but am now able to finally get really sharp corners w VCarve engraving. 1/8", 1/16" clearance then w 30 deg engraver. Done in 3 ply bamboo for alternating grain effect . About 12" diameter. Consistent grain and minimal chipping makes this material worth the expense. This is unstained, but Ill try one w the carved part lightly stained.
Just a wall hanging, I’ve done a whole series of indigenous people’s inspired patterns, northwest Tlingit, chilean mapuche, N Zealand maori , aztec . I’m fascinated w the hypnotic power and elegance in their imagery.
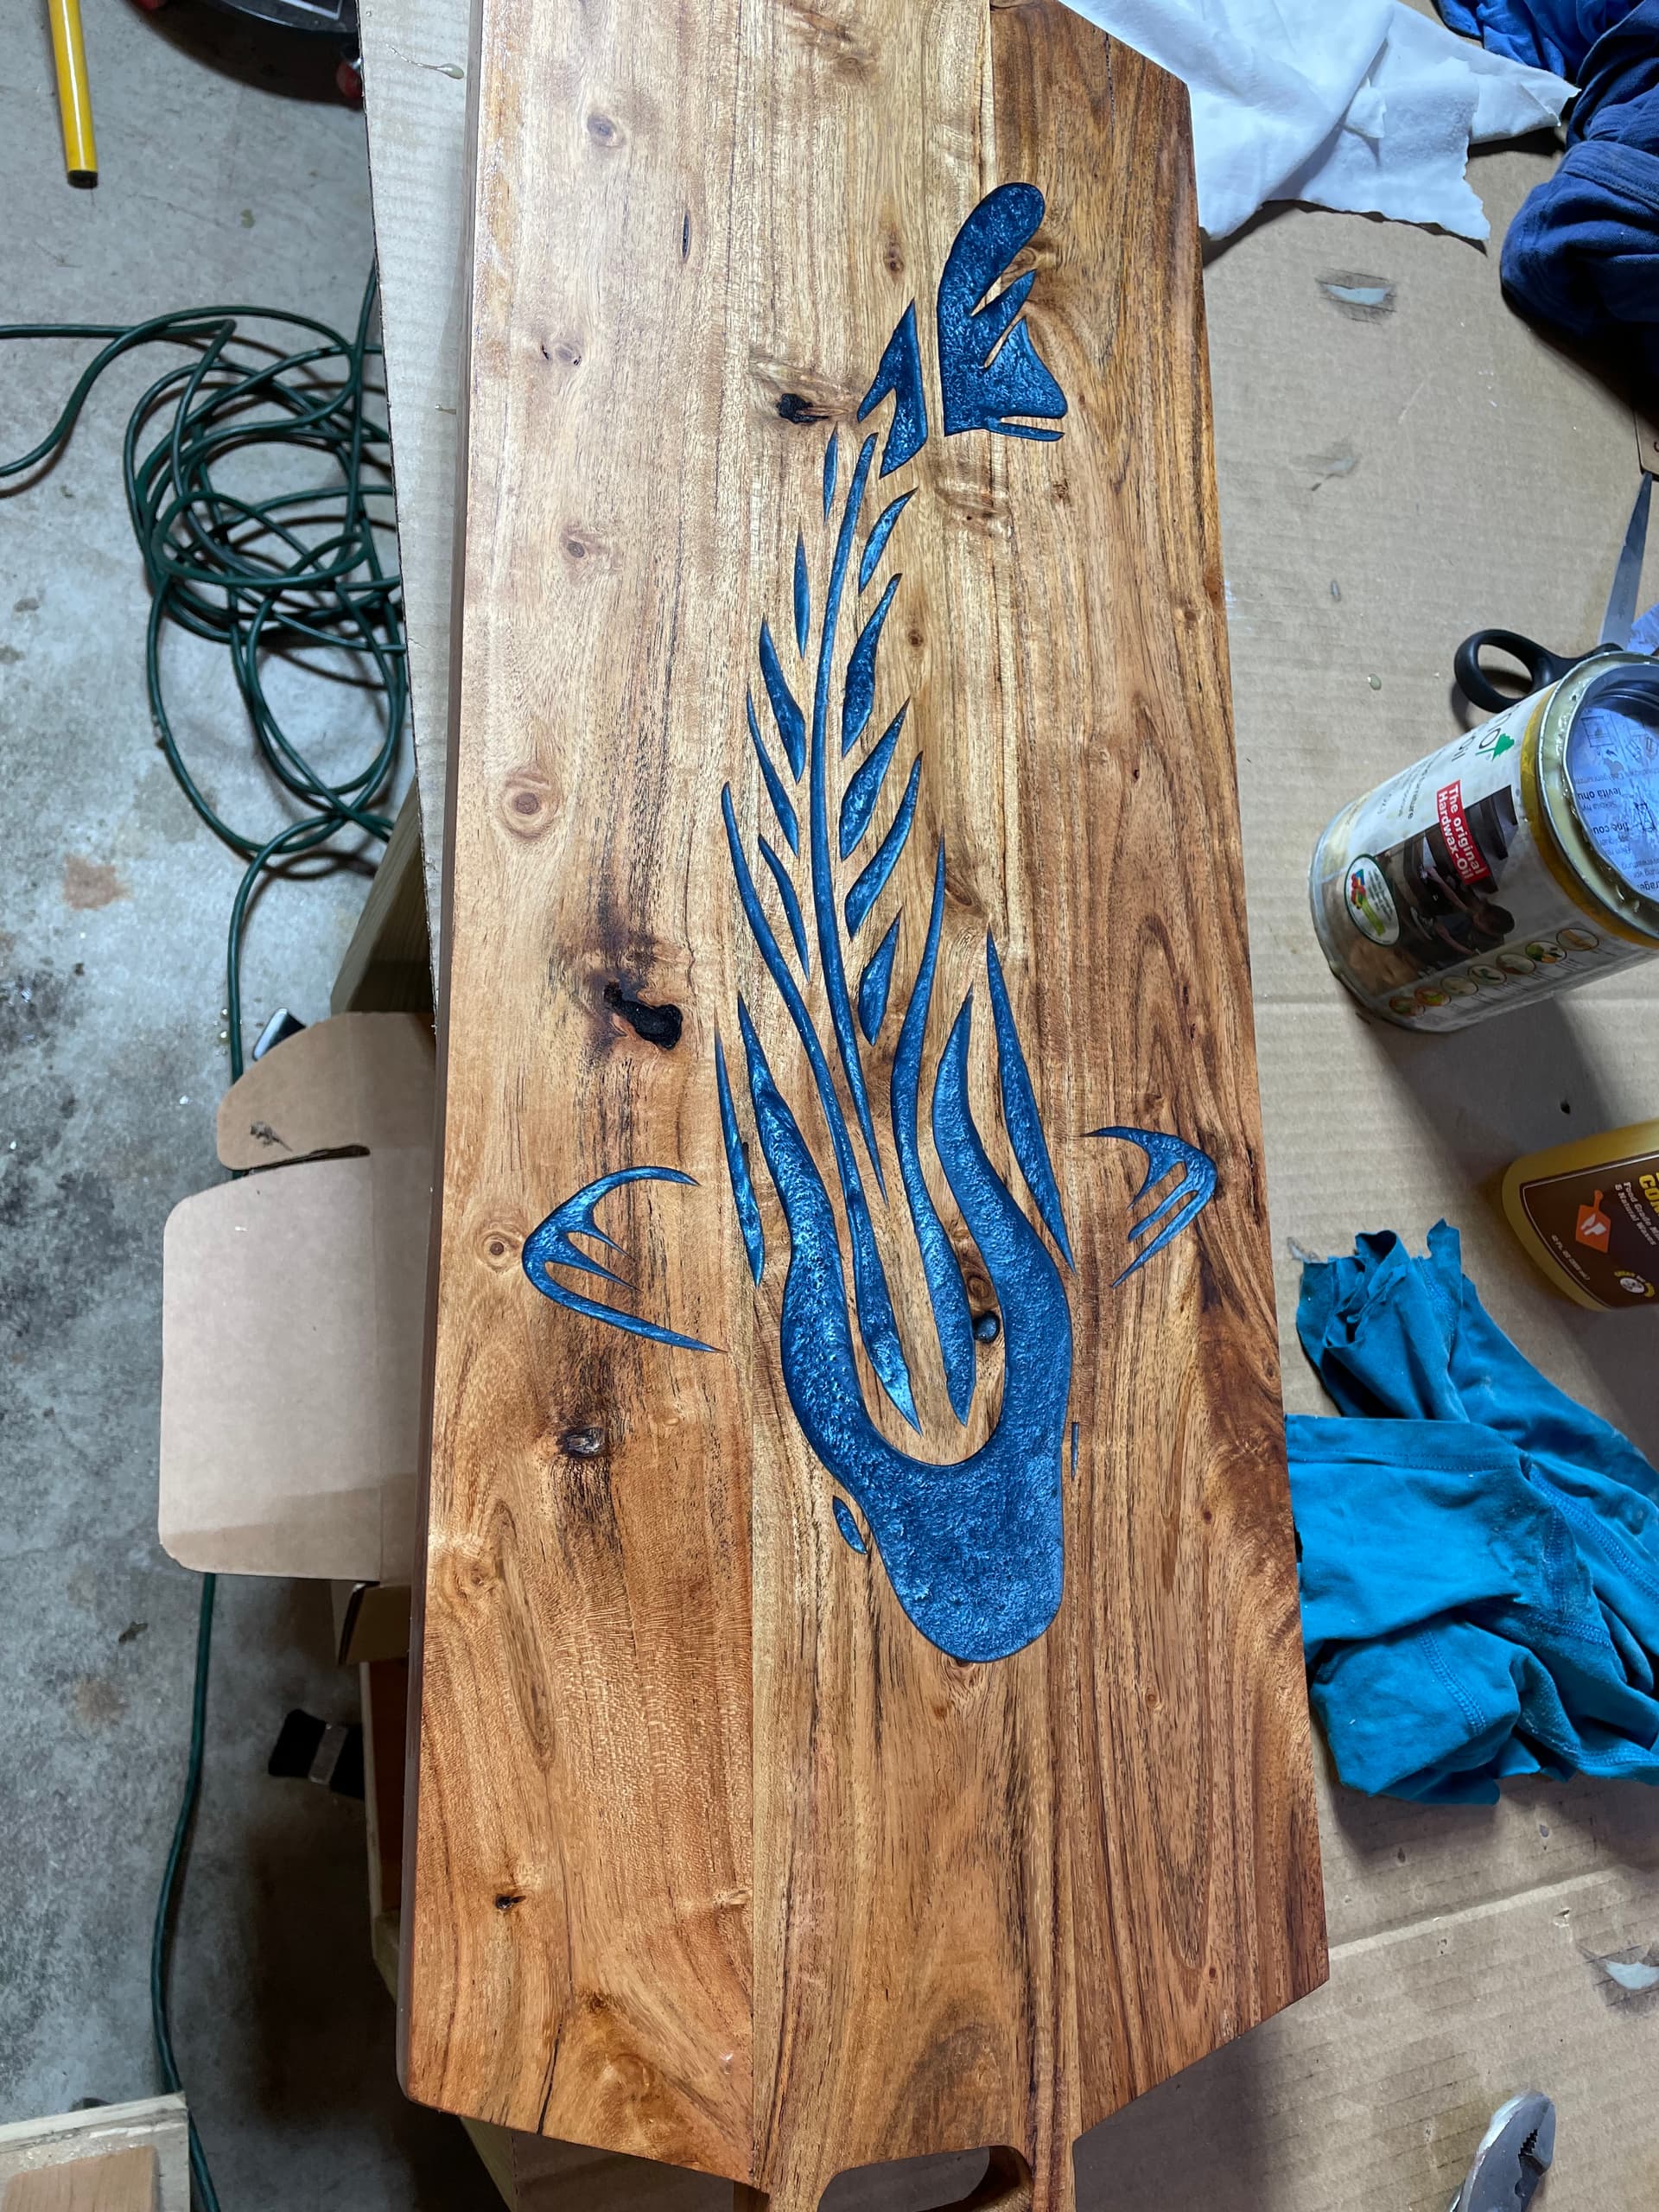
I’m doing a lot with epoxy inlays myself these days. Have had trouble with the bleed (especially black on light wood like maple) so I’ve started sealing with a thin layer of clear epoxy AFTER the carve, but before the dyed pour. Also realized that having the clear epoxy on hand is useful for filling knots as well, although i didn’t fill them all deep enough on the blue fish.
In any case, its working fine so far… hadn’t thought about an epoxy mask like @snakeoil suggested - seems like the dye/epoxy would still seep in where the carve is, right?
The epoxy chemistry is really interesting to me. Are you using a 2-part system like the West System product? (West System is too expensive, so I hope you suggest an alternative you like!)
With the WS stuff (maybe kinds of epoxy?) you need to catch the first layer in the first 8-12 hours in order to fully bond another layer. It stays kind of soft and cuts better in that first window of time, too.
Once it cures (like after 24-48 hours) it’s more hard like glass, won’t bond as well and kind of chips out. Has that been your experience?
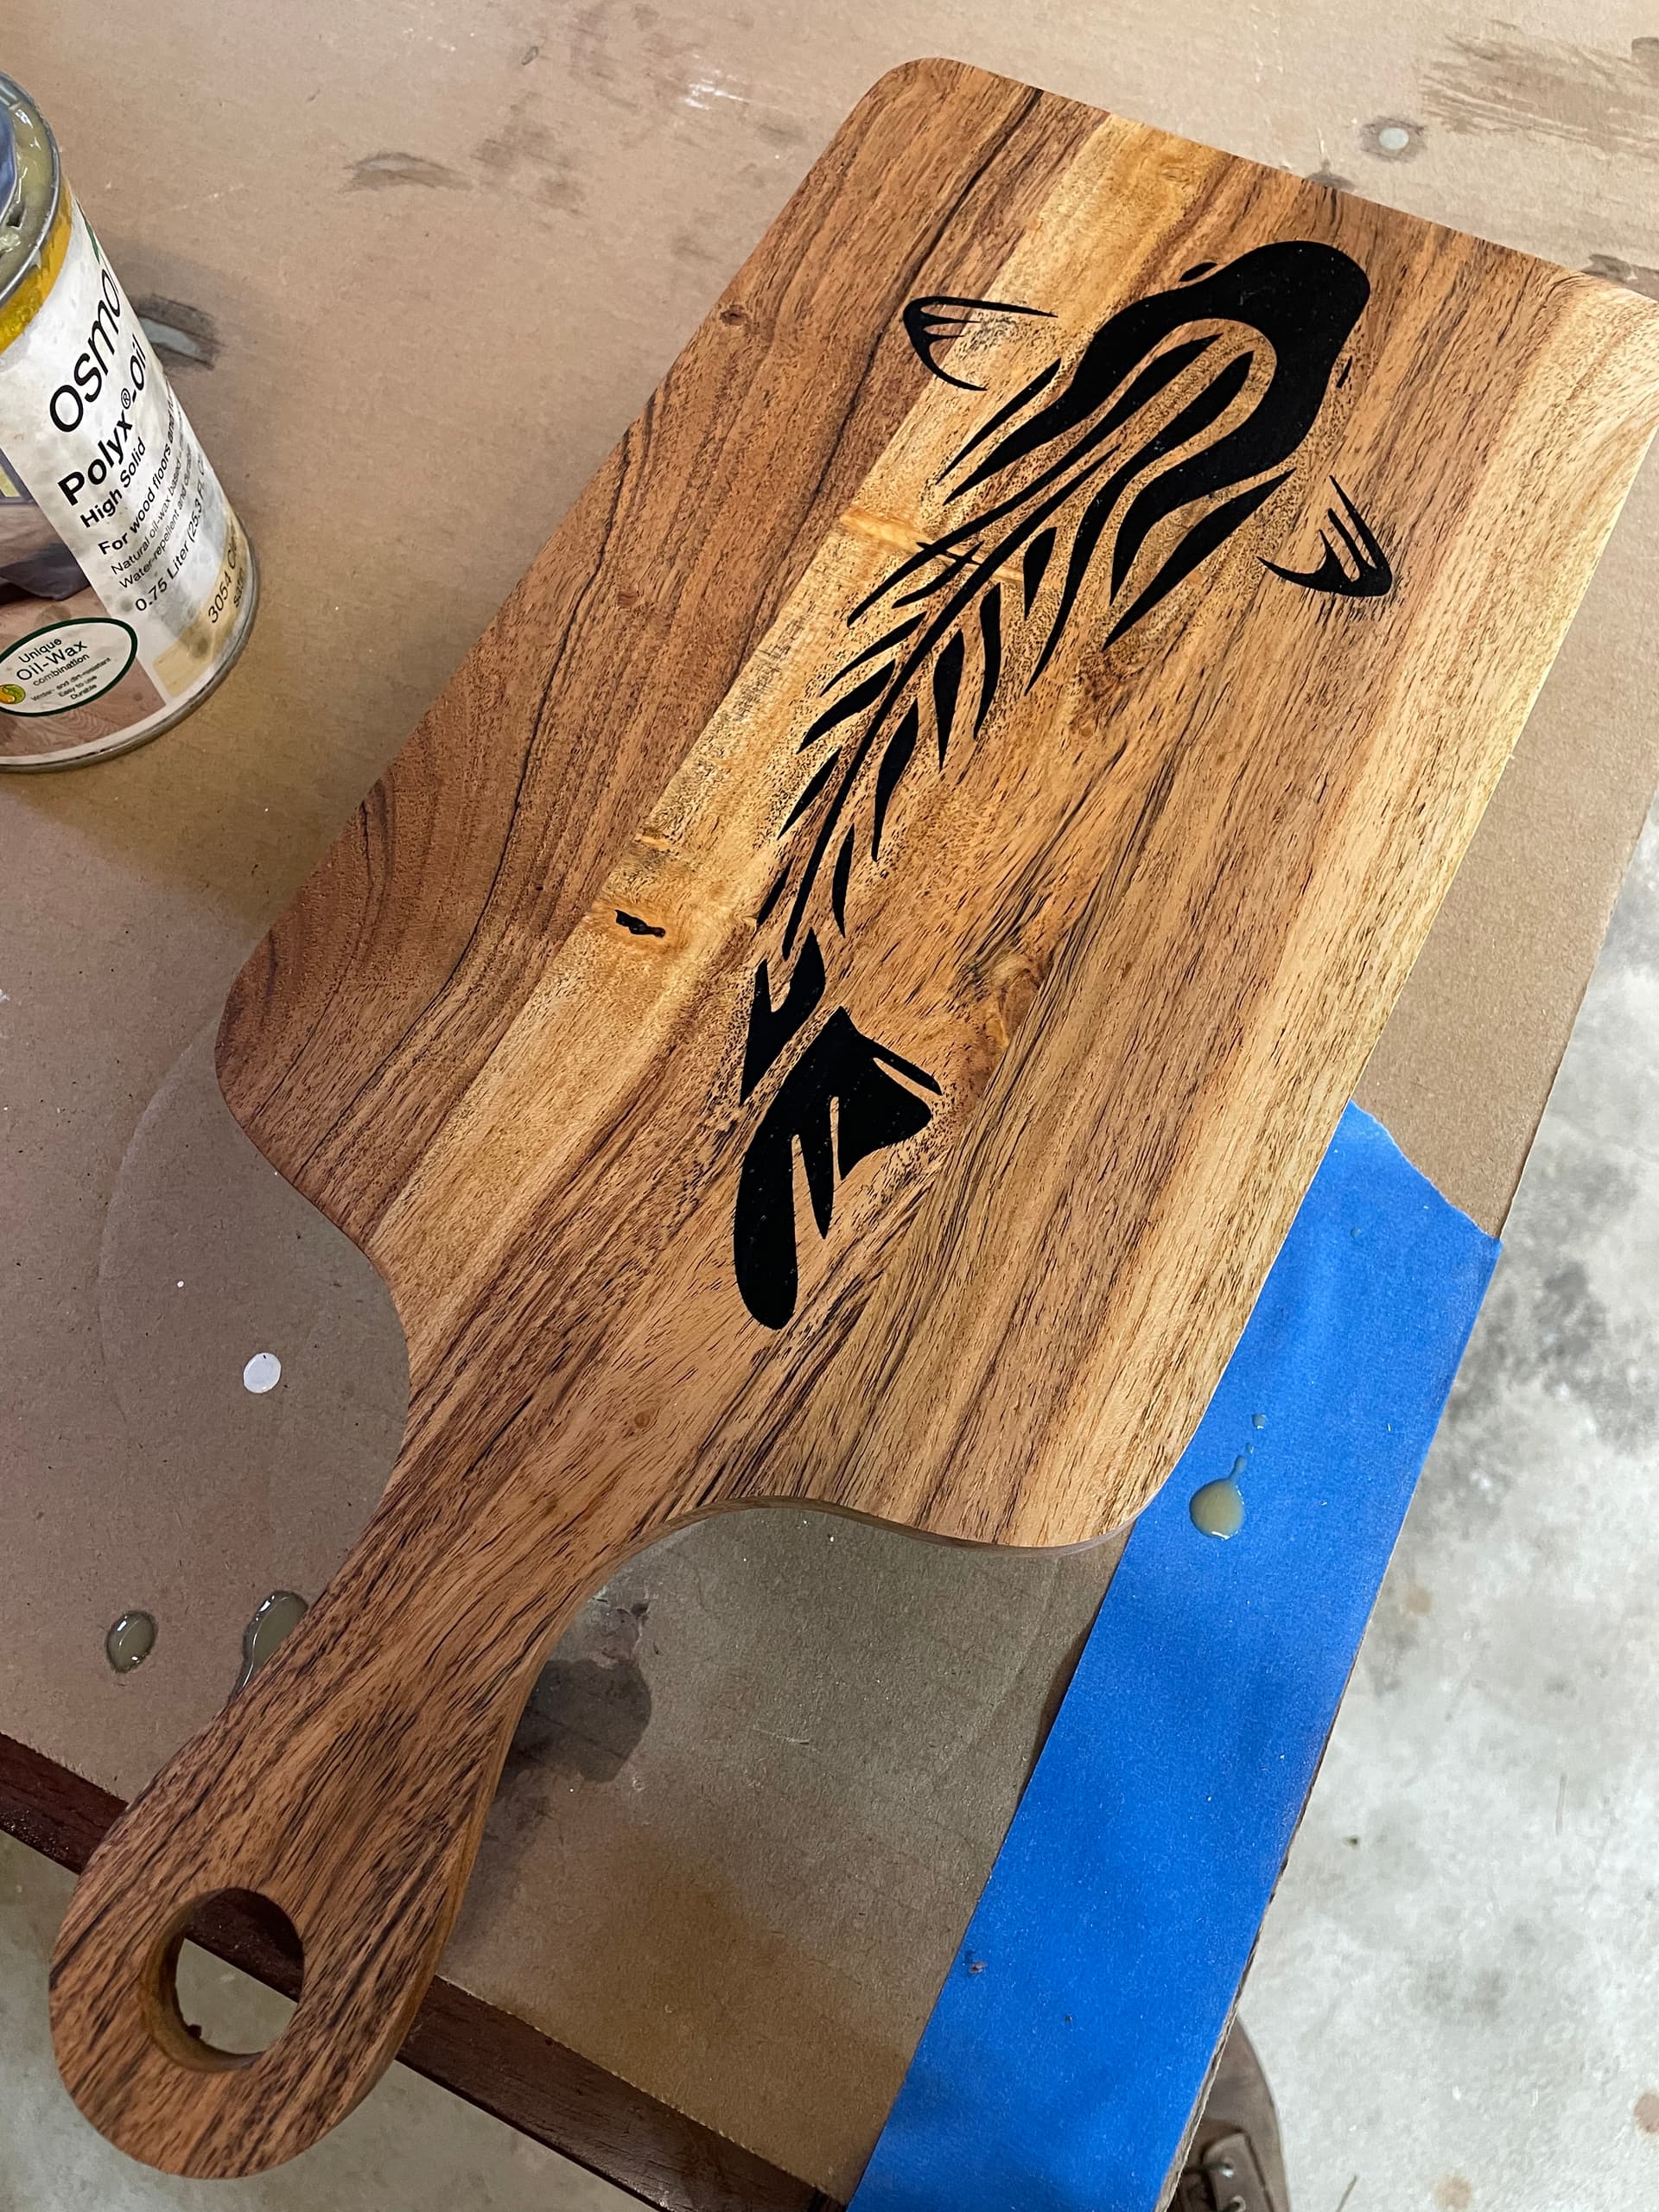
To answer your question though yes it does seep into the grain below the surface, which I think is what went wrong for me. The liquid mask was at like 0mm and the range of the v-carve was like -2mm to -5mm so then when I surfaced off the mask and the top 2mm, there’s the bleed. Bondo makes a good mask, especially because it’s ready in like 15min.
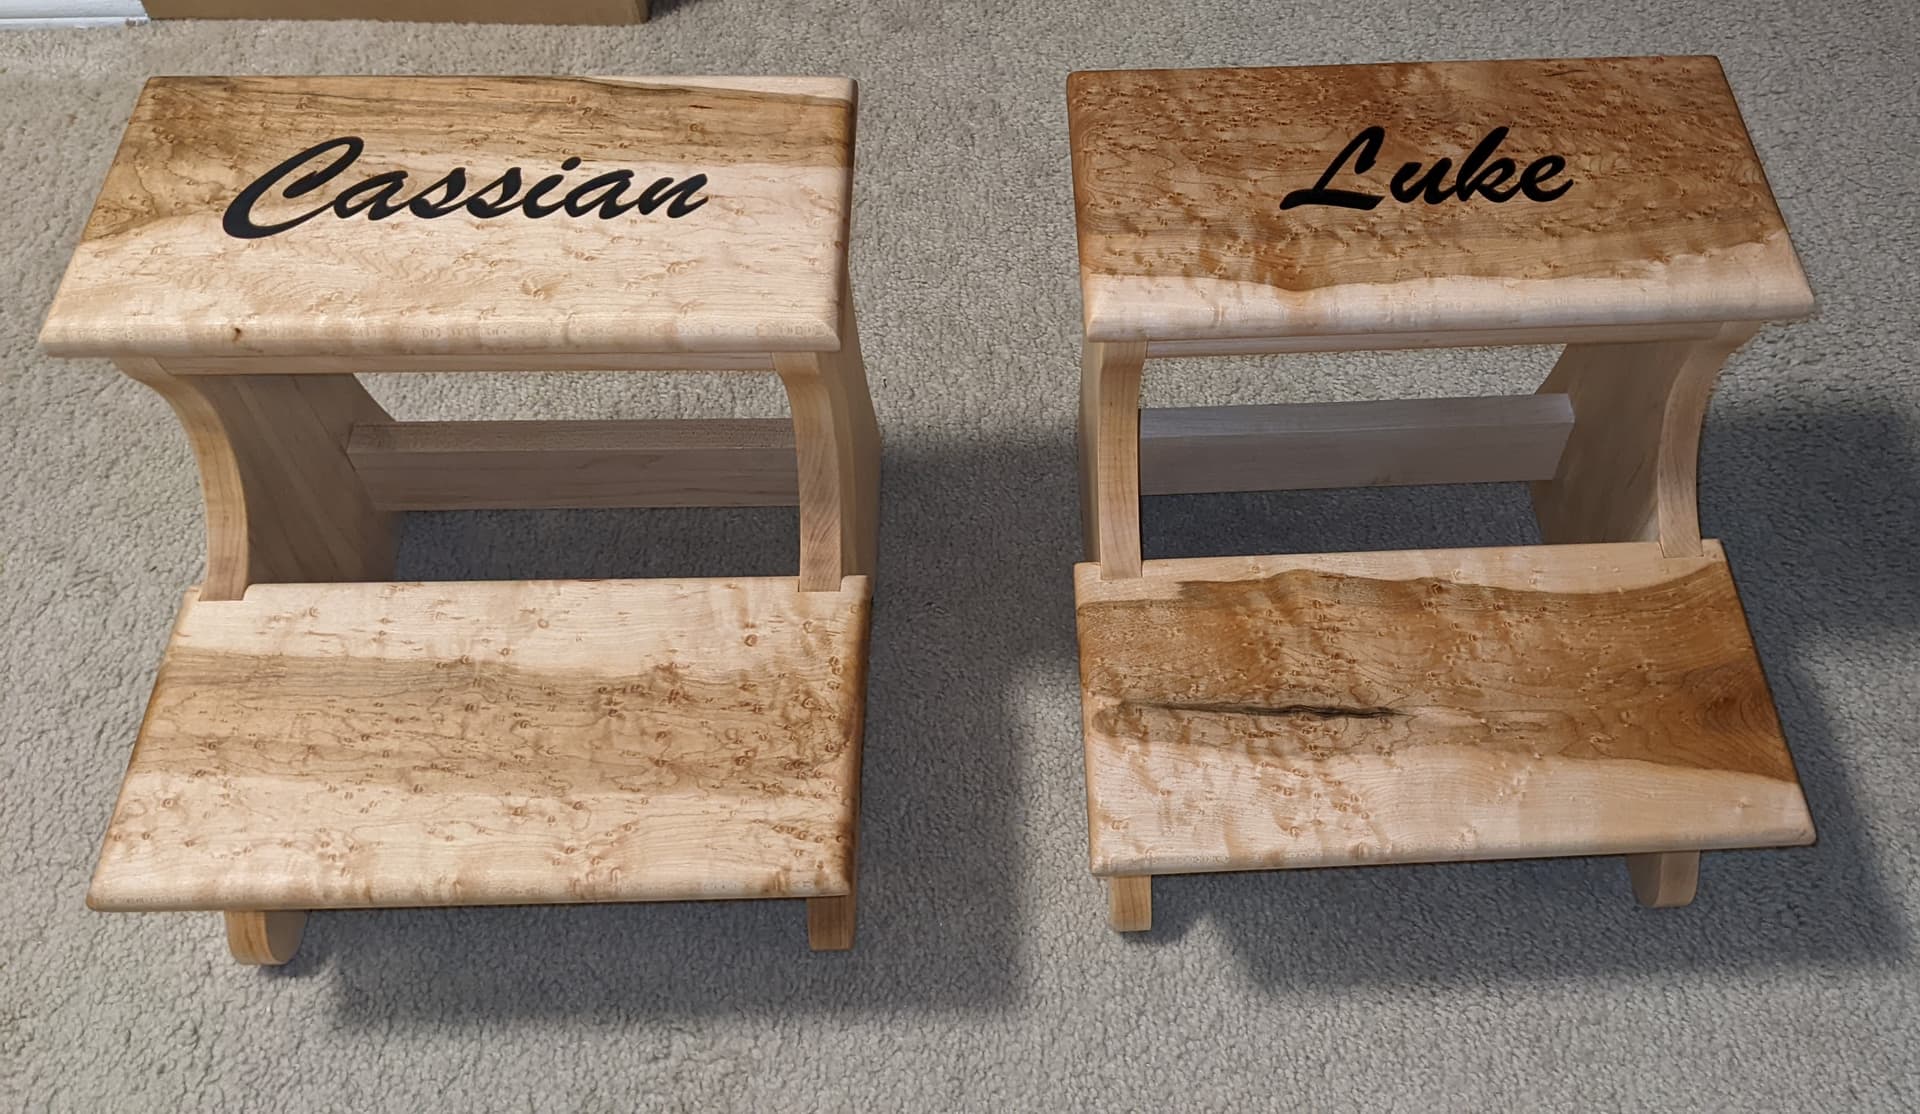
I made a couple of step stools for our toddlers. Never liked the store bought ones.
The main body was made out of hard maple cut out on the cnc with mortises for dominoes. Rounded members were shaped with a block plane and sander with a soft pad.
Tops were made with birdseye maple. Names were v carved and filled with epoxy. Finally finished it all with Tung oil.
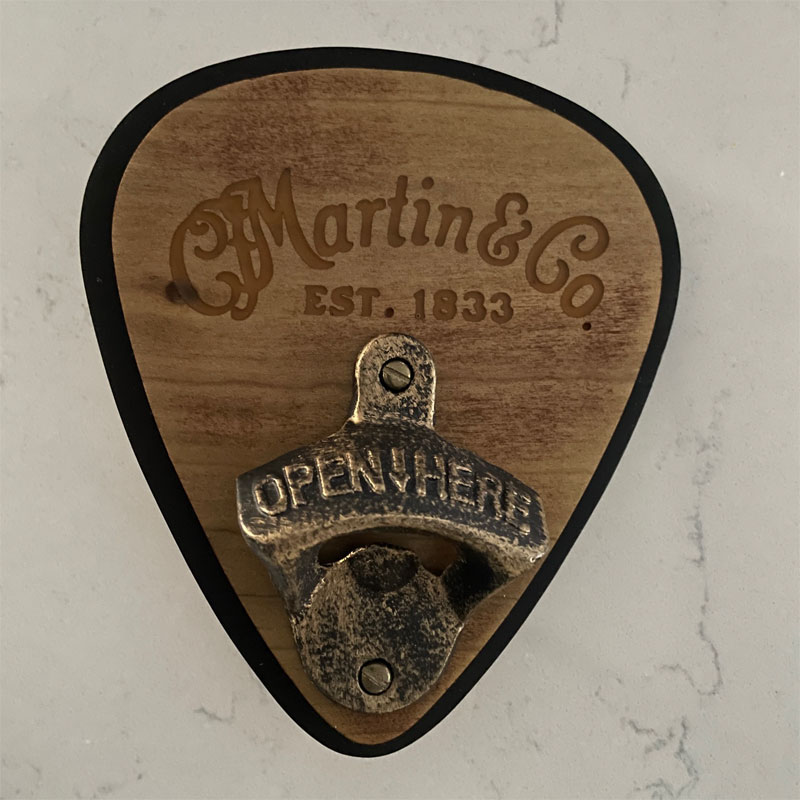
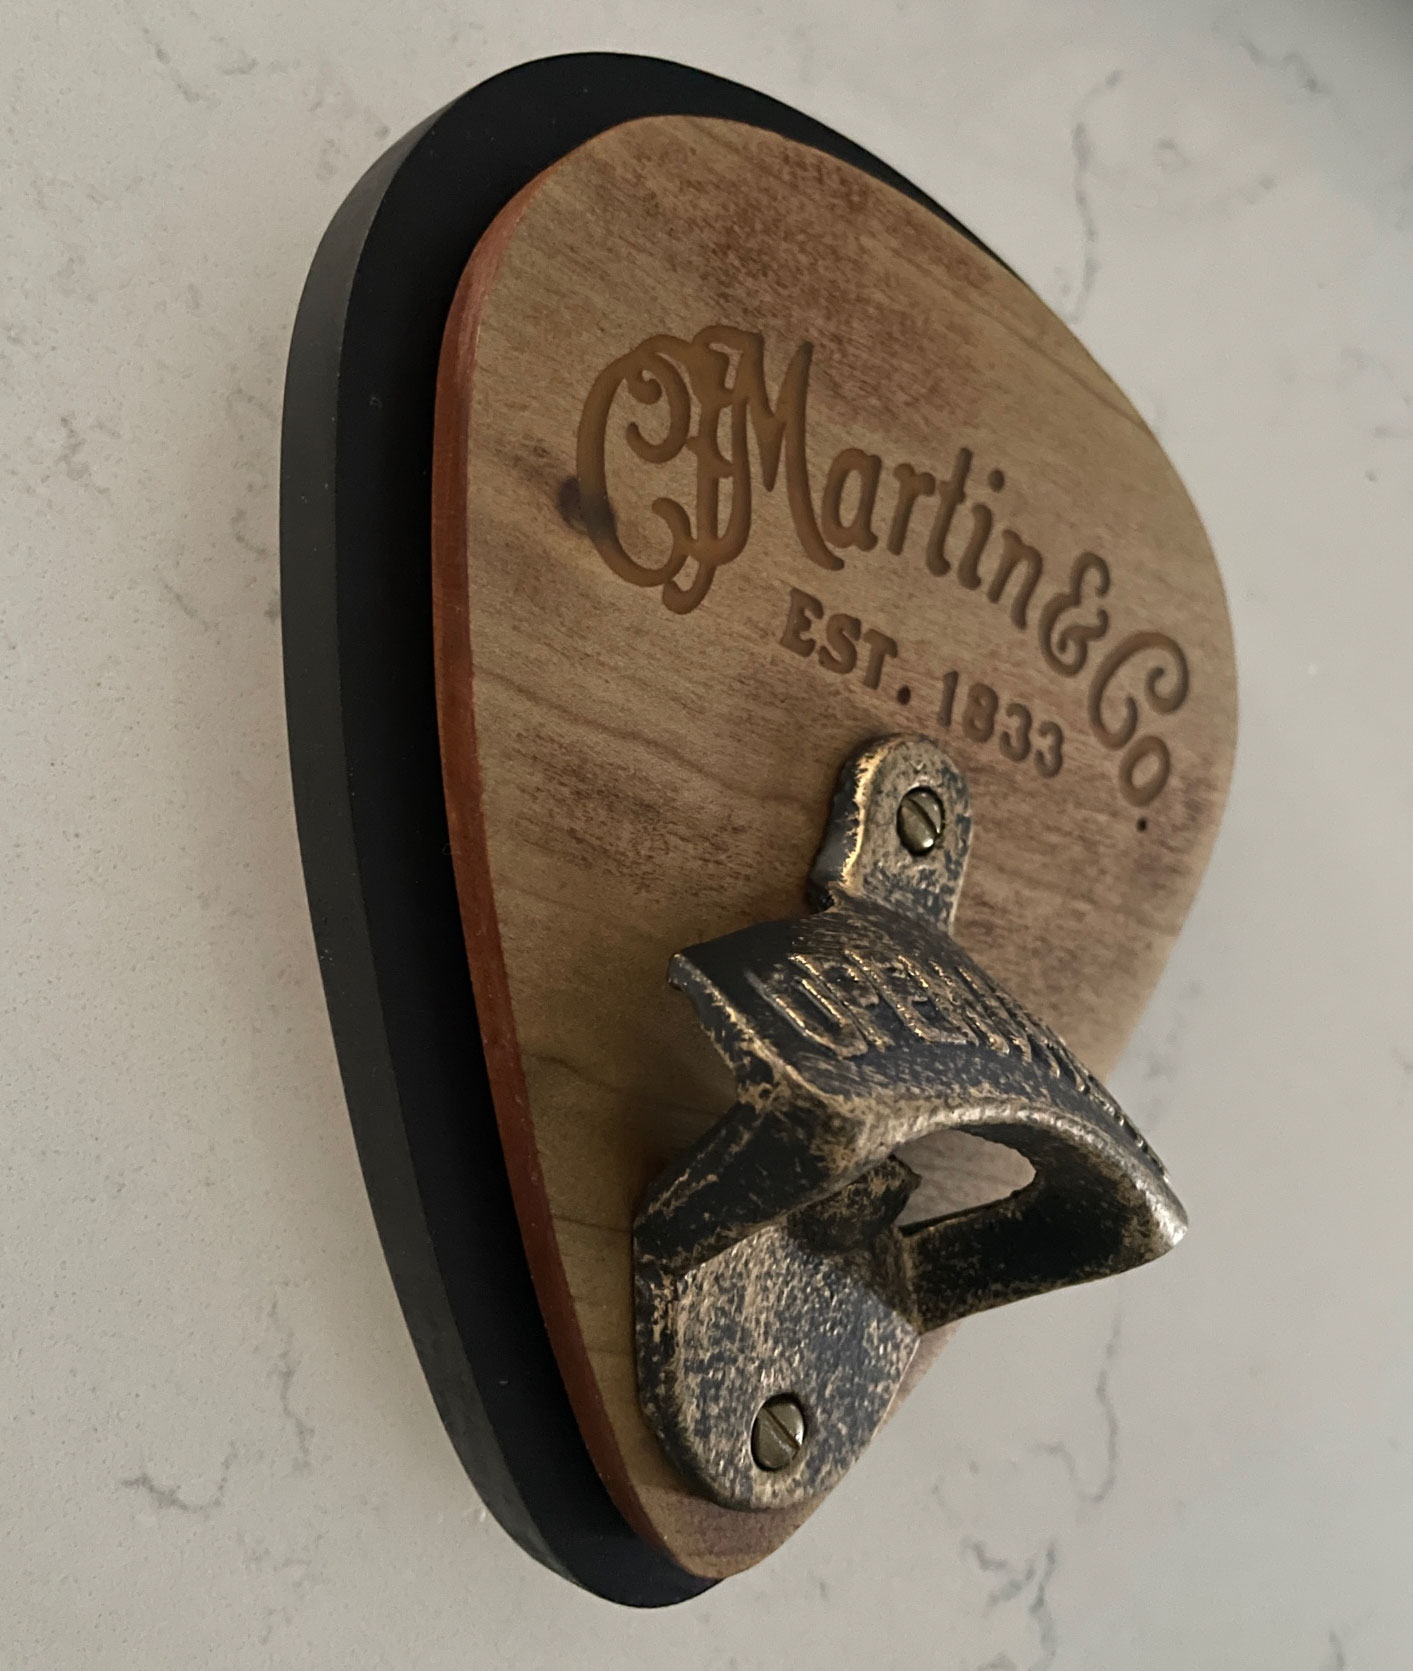
My son-in-law plays guitar and drinks craft beer. I made him a late Christmas present.
Both base and pick are made of poplar, roughly 4" x 6". I found both a picture of a guitar pick and the Martin logo online. Used Inkscape to convert to vector. Logo cut with 1/16" then 1/32" endmills. This was also my first try at epoxy resin. not great but good enough. Pick was originally stained. Then I poured the epoxy and sanded it off. I liked the way it looked so I left it and finished with beeswax.