I have done a lot of epoxy fill. I seal the wood and use a heat gun to remove bubbles. I still usually get some air bubbles.
I see a lot of people doing wood inlays. Going to try that. Epoxy is expensive, messy and fussy.
I had cataract surgery on my left eye last week and getting the other one done Wednesday. So I am temporarily out of the shop until healed up and can use both eyes again. Right now one eye good vision other eye blurry. If I wear my glasses both eyes blurry.
I’ve been reading in a few places that actually heating the wood (the carved area) before the sealant coat of epoxy (or shellac or whatever) is a good idea too. Apparently it expands the wood, causing it to suck in the sealant as it cools, as opposed to expanding as the epoxy sets (and throws off heat). Need to try that on my next pour, especially since winter is here in the Northeast. (Looks at weather station…13 degrees. Brrrr…)
Yeah sometimes. It’s nice to have a full bond between the epoxy in the wood grain. Keep daydreaming about doing a test where I see if I can pop out an epoxy inlay that’s got shellac under it. I doubt it but also I doubt that test will ever happen hehehe
My thought is that shellac would contain the epoxy in the pocket by not allowing it to seep into the grain of a wider grain wood like oak. Shellac is also excellent at adhering to nearly anything. I would think epoxy and shellac would bond well.
Worth experimenting. Perhaps I misinterpreted your goals or desired results above.
I understand I’m always floating too many hypotheticals in my head.
So let’s say we treat the v-carve more like we want to stain it or dye it. (Instead of what we were talking about before, I think, which was just filling it in with colored epoxy.)
We can start by step 1) covering a flat freshly surfaced face of stock with epoxy (or bondo etc.) and then step 2) when it’s dried, keep the same zero but engrave “through” step 1, then step 3) stain the new groves (the fresh flat surface from step 1 is protected by [and kind of impregnated by] a liquid mask. This is a much better seal than a regular adhesive mask), then as the last step we can remove the “mask” applied from step 1, revealing the fresh flat face with the stained / dyed engraving.
Shellac in the groove here could interfere with the stain’s effect.
The problem then though is what happens when in that last step I go not only deep enough to take the mask off, but then for some dumb reason I go even deeper. Eventually we will leave that sweet spot at the stock’s surface where we have a sudden transition in color.
Mr. Snake, in my opinion you are making this all too difficult. I don’t see how the end result will be any different to anyone that will be looking at your projects. I’m not trying to be offensive; just practical. The more you cut; the better you get. Complicated processes will fall by the wayside.
These are all interesting ideas, and I would recommend trying each in a bit of scrap (if you don’t have any scrap pieces, don’t worry, you’ll have lots presently).
Write up a description of each on an index card and tape it to the result and save them — eventually you’ll arrive at a point where you can pitch the failures and keep only the ones you want to replicate.
There are entire books on wood finishing — check and see what your local library has?
Greetings and Salutations,
Here is what I do for raised aspects needing color.
Sanding first to get smooth surface. Then apply light coat of clearcoat. Allow to dry then do a light sanding. Apply second coat, dry the light sanding. This is to seal the wood to prevent bleeding.
Apply paint for the color you want for the raised part. Number of coats to your satisfaction. (Allow to dry)
I would then apply masking. I find adhesive drawer liner works well. I have never tried the stuff everyone else uses since this works for me and can get it at my local hardware or department store. I use a plastic putty knife to press the mask down and get it to stick onto the surface well. Then you are ready to go.
After cutting you can apply the next color of paint if you so choose.
For additional colors mask what you don’t want colored and cut for the next color.
For stain color variations I personally would go with Inlays or inserts.
I would love to hear about any other ways of completing stain variations in a project.
I found some schematics (CAD drawings) online and drew it up in Carbide Create.
I could upload these to cutrocket I suppose as long as the cutrocket folks are fine with “lego like” bricks
The patent on Lego bricks expired a while back — so long as there’s no Lego logo, and they are described as “Compatible w/ Lego bricks” it’ll be fine — we even had a contest:
I was attempting to share the 3D model files via Cut Rocket however the file type accepted seem to be .c2d files or public links to Fusion 360 projects which is a paid subscription feature and I’m using the hobby license so no go there. In any case if anyone is interested in reusing the .obj mesh files to use in your own creations/projects I’m sharing this public Google drive link (or PM me if that doesn’t work). All is original content I did using Blender 3D modeling software so it’s yours to use if you want to. If you do use the files I’d love to see what you did with them so please share pictures back in this forum.
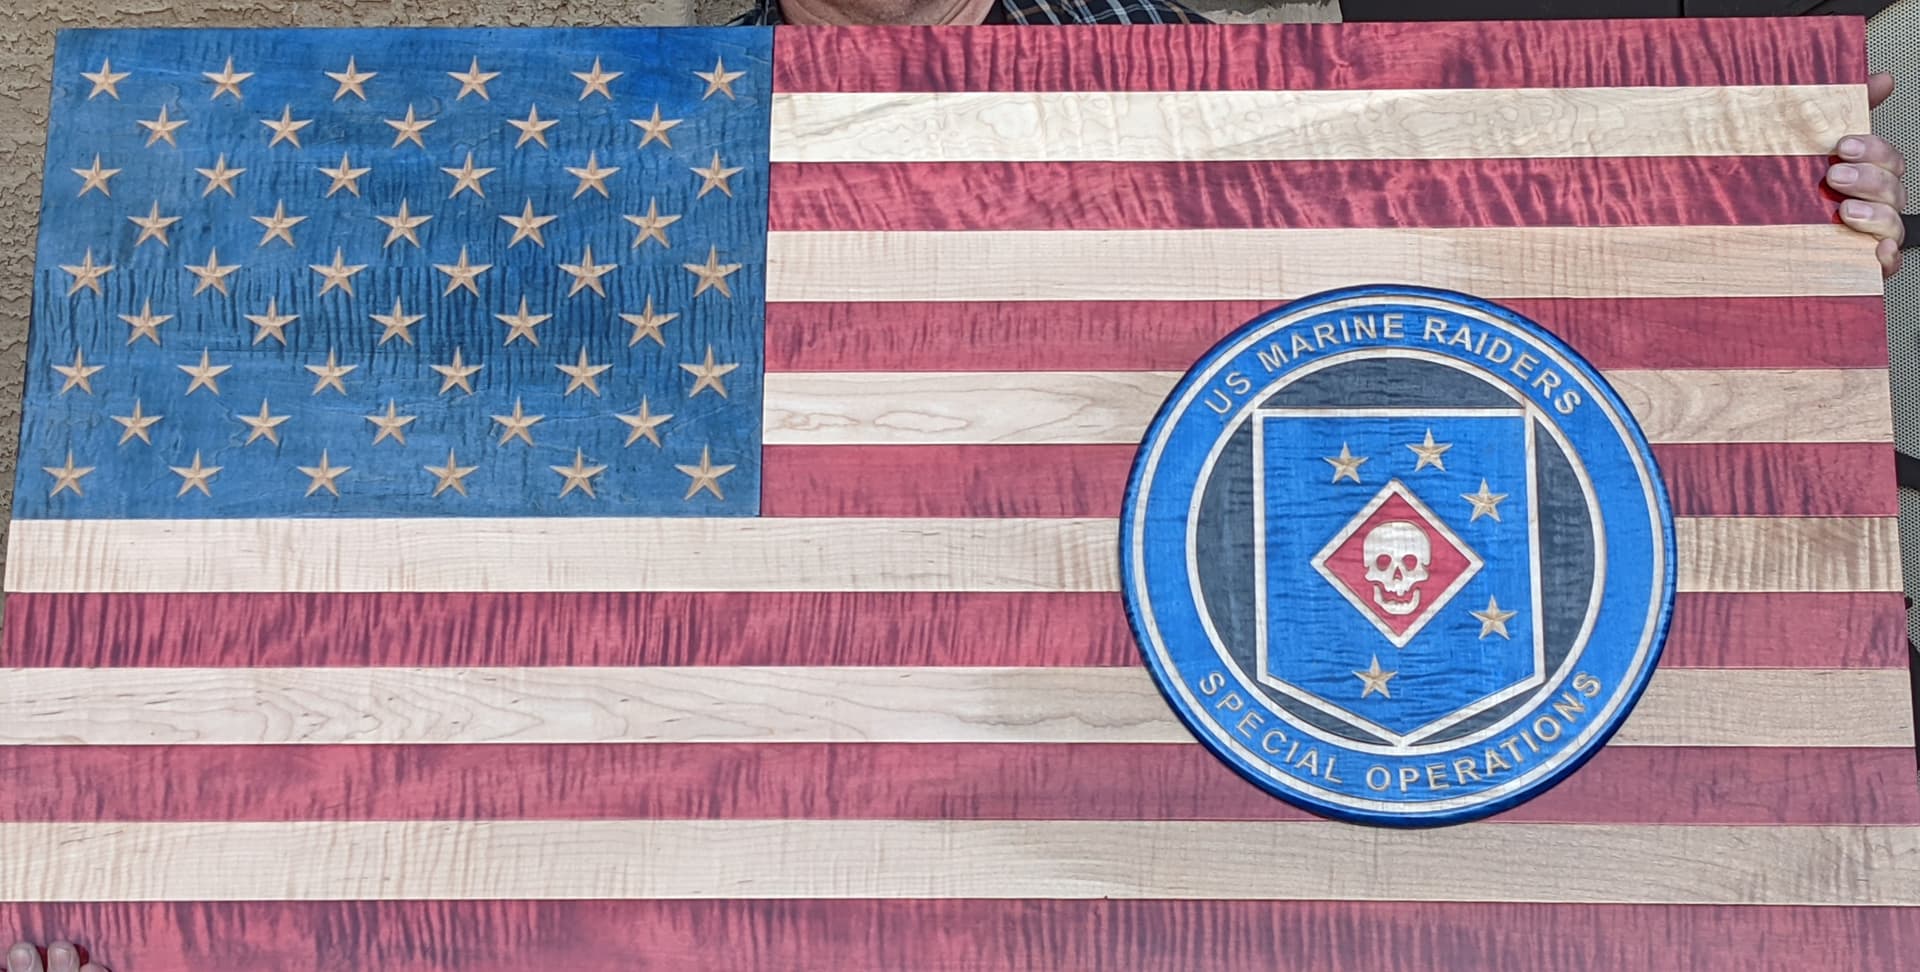
I’m still learning, but I made this 4’ flag and created and inlaid the US Marine Raider’s Logo it into the flag. First logo I’ve ever built from just seeing a picture of a coin. I’m still in awe at what you guys can do with your machines. It lets me know the possibilities.
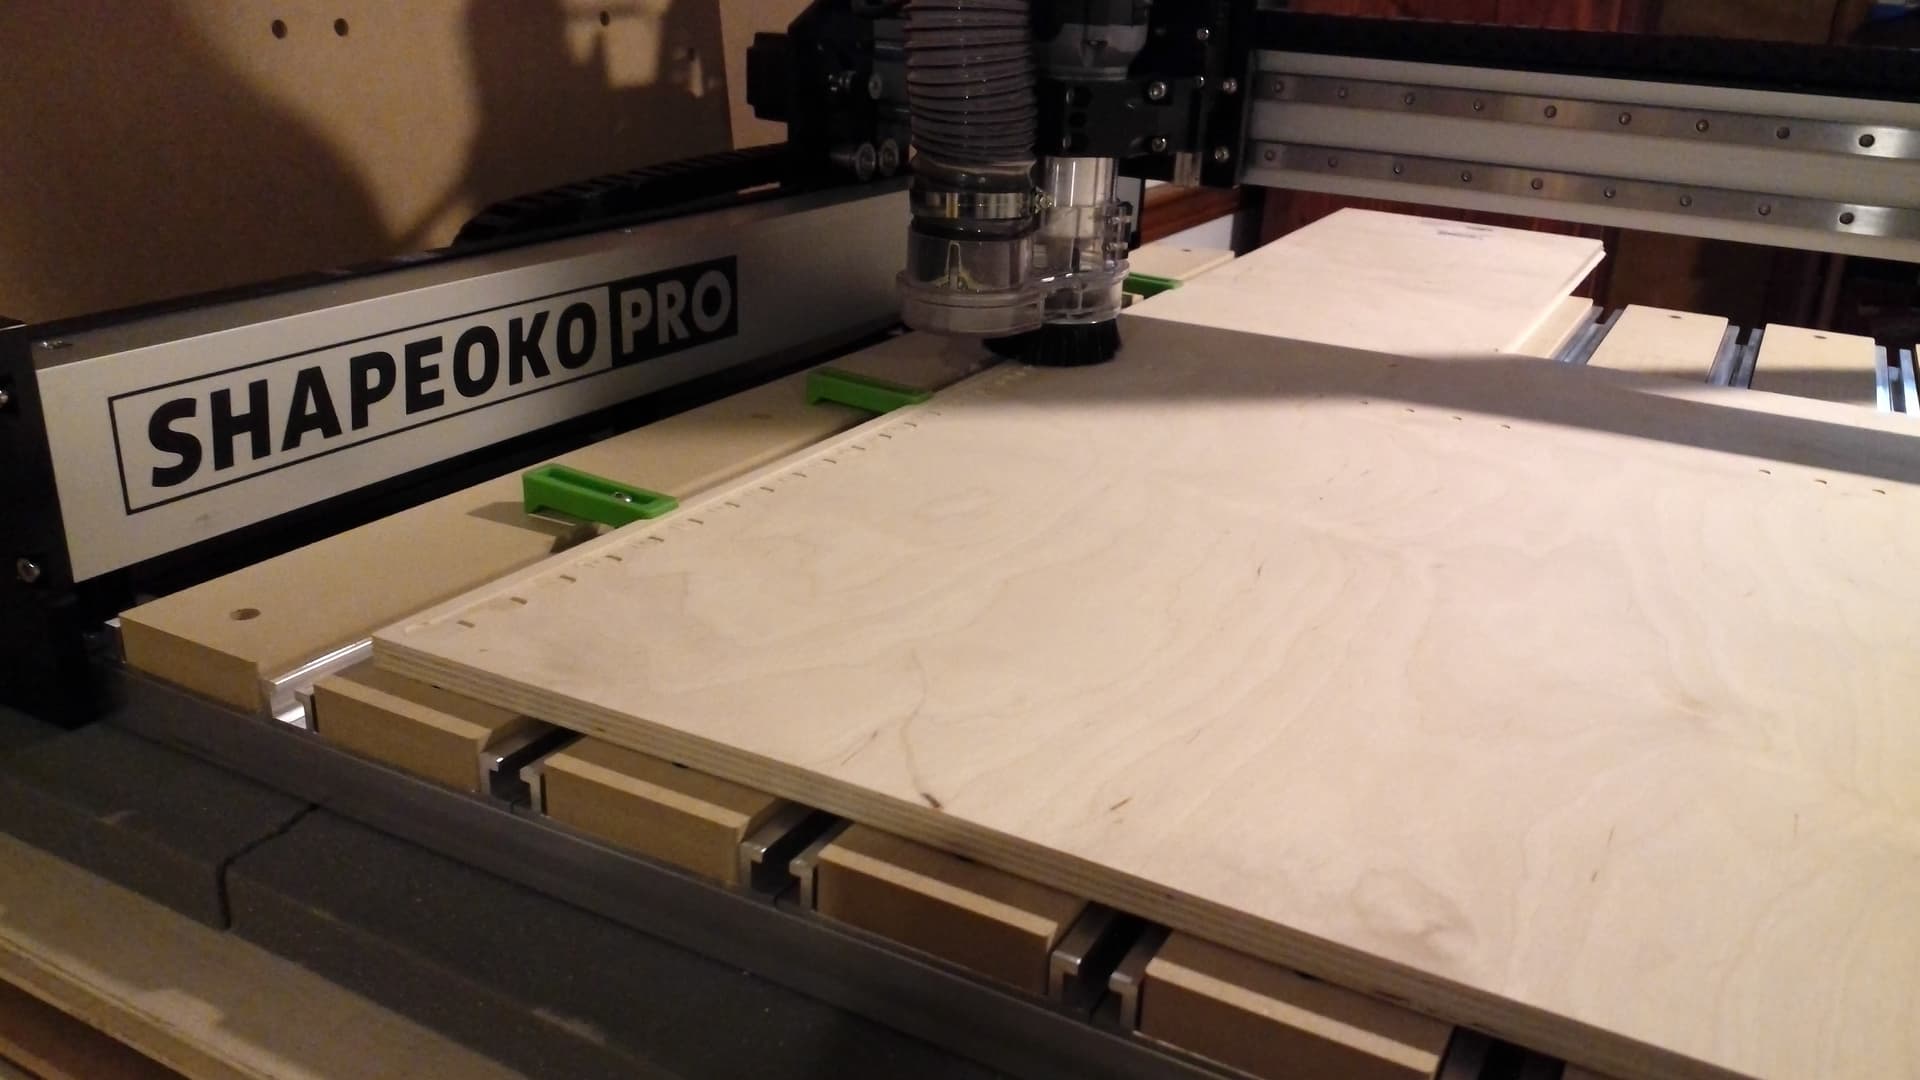
How do you guys line up your boards perfectly square on the machine? Just starting out with my machine but I find myself always using oversized stock as I can never square up my stock perfectly to the machine.
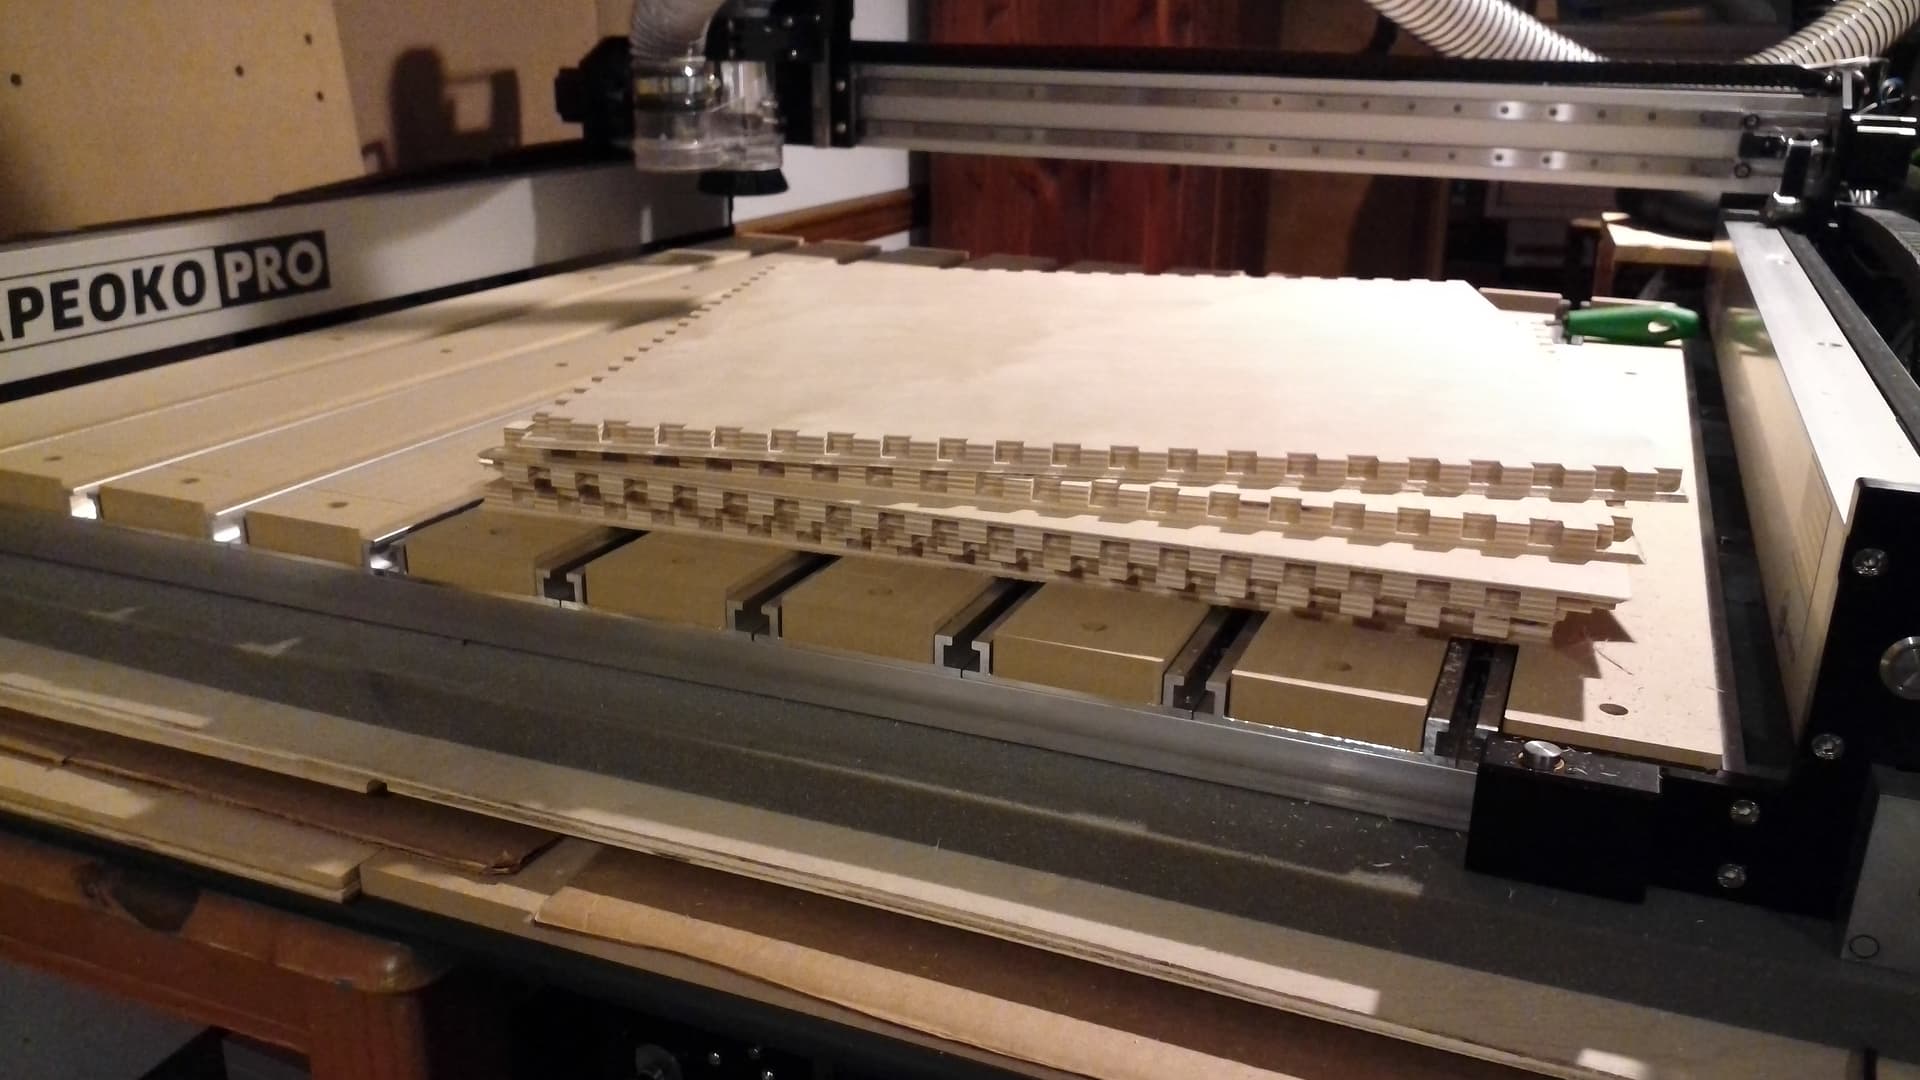
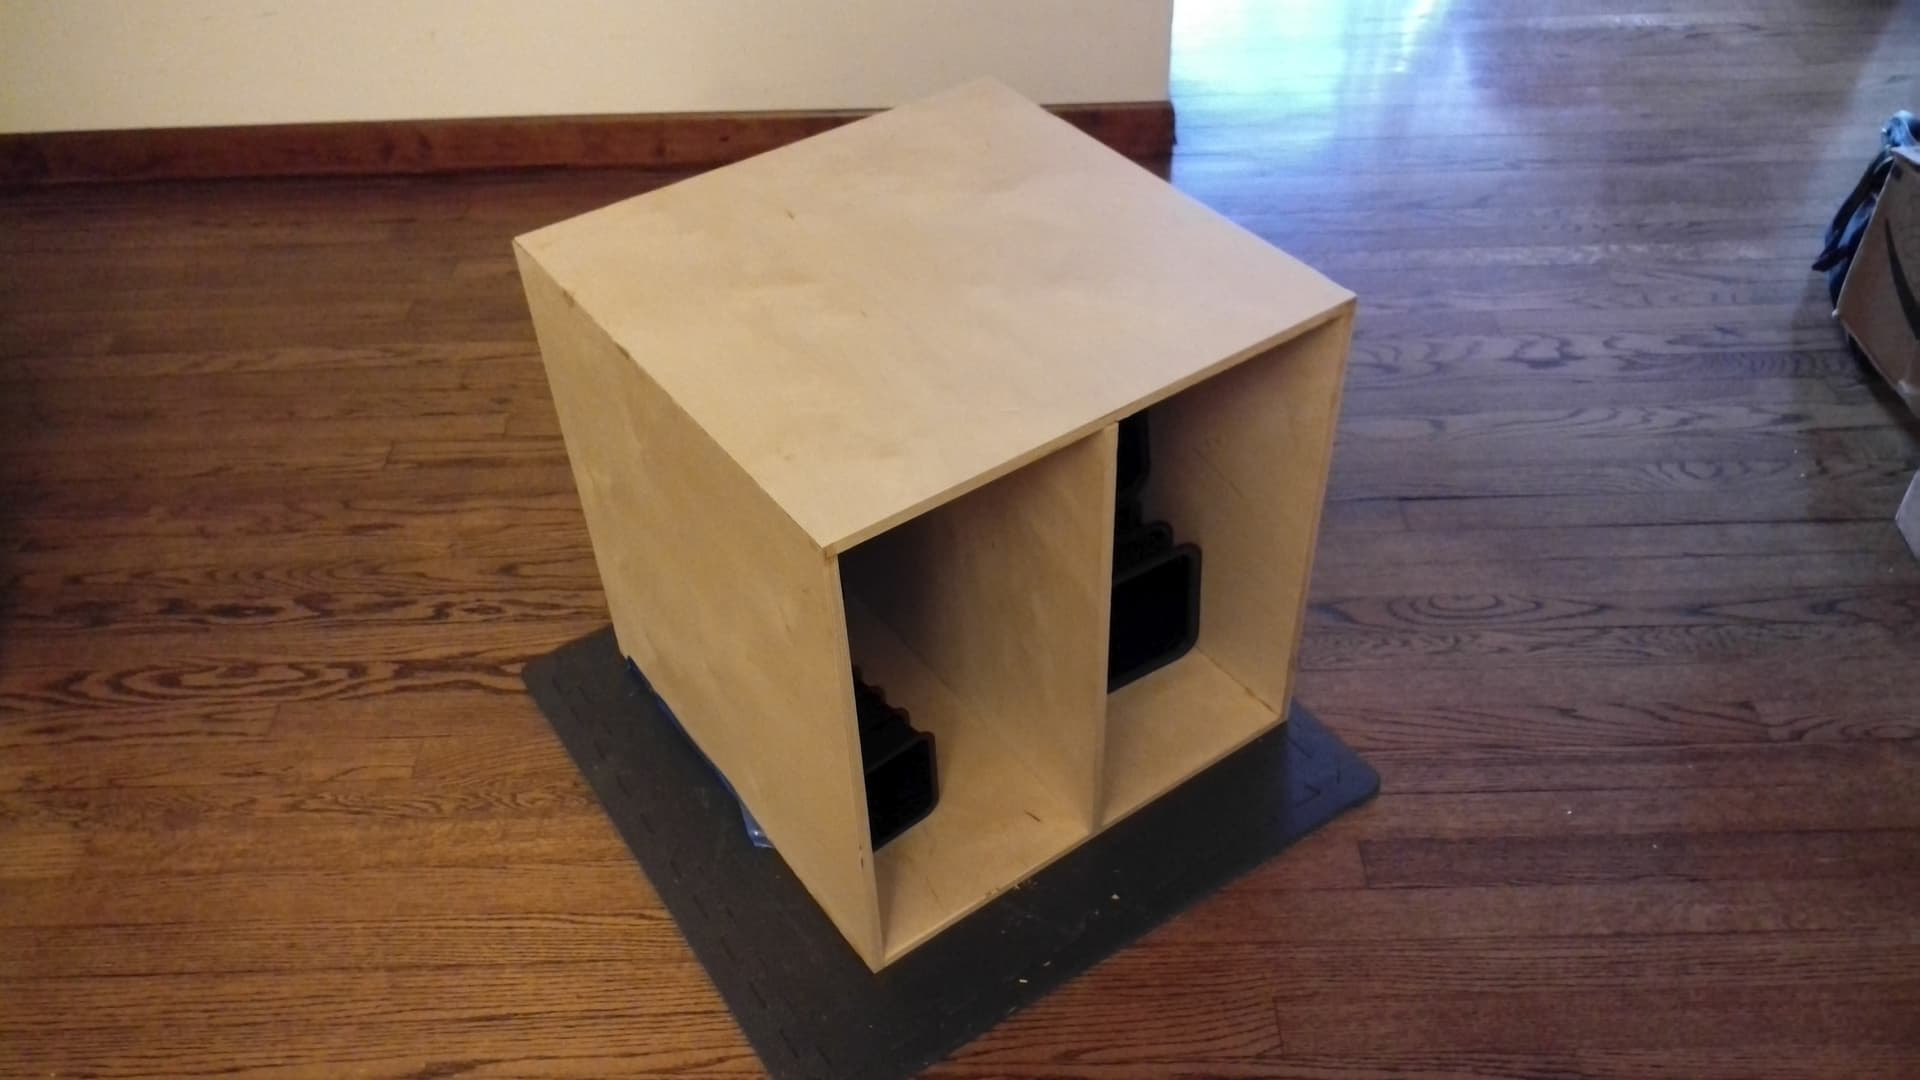
Also, is there a tutorial for this style box by any chance? I’ve tried reading up on different joinery techniques like dog bones, t bones, etc. but doesn’t look like any of that is visible with your box.