I used a combination square to line it up against the front edge.
I wrote a bit about blind miters w/ finger joints at:
I used a combination square to line it up against the front edge.
I wrote a bit about blind miters w/ finger joints at:
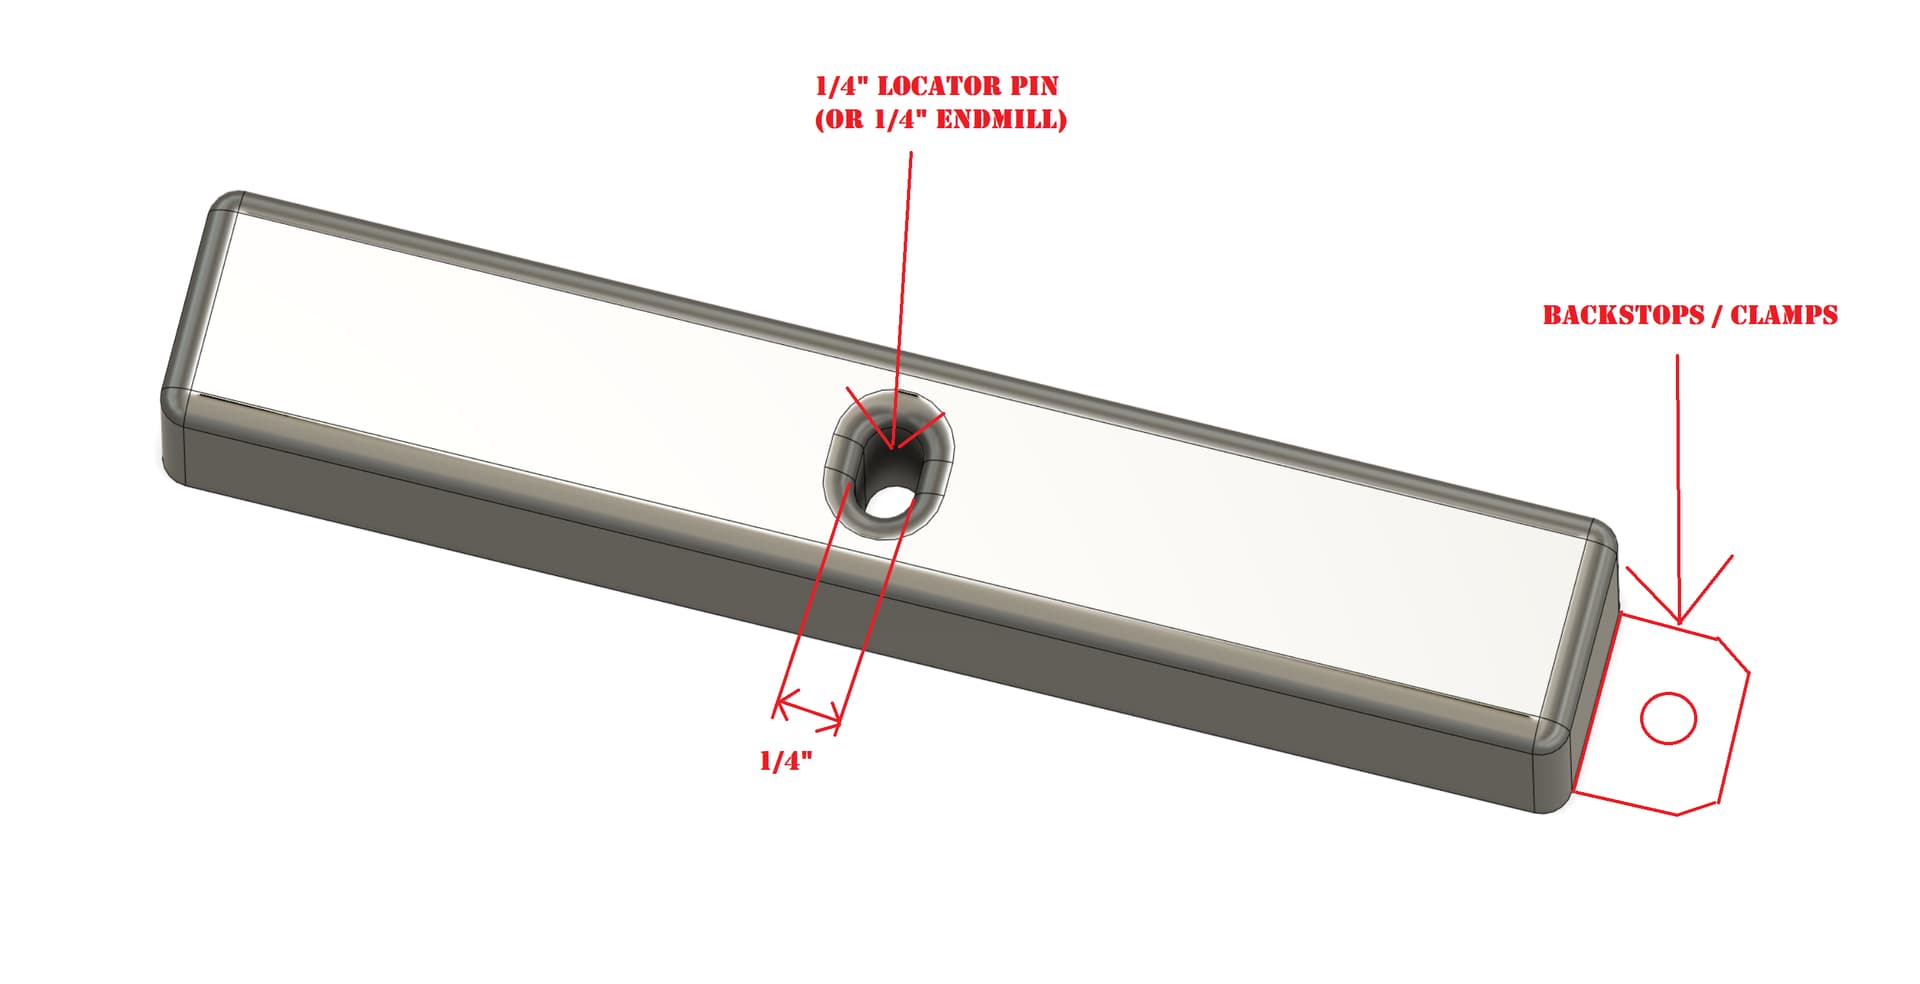
Not sure what machine you have but I have a Shapeoko Pro with the hybrid table so made myself a little jig which just fits in between the MDF slats sitting on the aluminum extrusion for the T-track system and use the 1/4" locator pin in the collet and jog the router on the X axis only to precisely position my backstops. Here’s a sketch of what my jig looks like.
Steps:
1 - Jog to a certain Y position close to where I want to secure my back stops/clamps that will become my reference that is perfectly parallel to my X-axis gantry.
2 - Jog on the X axis to line up the 1/4" locator pin with the t-slot to secure your first backstop/clamp
3 - Lower the Z-axis until the locator pin descends into the hole in the jig locking it into position
4 - Position your backstop/clamp up against the end of the jig and bolt it into place
5 - Now you need to jog on the X-axis only as so long as you do not make any movements in the Y-axis direction you’ll be able to get a reference line perfectly parallel with your X-axis gantry.
6 - Repeat 2, 3 and 4 lining up the 1/4" locator pin with other T-track slots and secure 2 or more of the backstops/clamps using this technique
7 - Once you have a row of backstops/clamps lined up using the machine you could then also make use of another clamp on the left or right as a stop block or align a square of some kind.
I prefer using this approach then just depending on the front edge of my table because if ever your frame is a bit out of square itself you may be a little off. I think using the machine itself in this way to set your backtops/clamps will likely provide your best parallel to the X axis gantry.
EDIT: I use the locator pin because it’s a full circle and doesn’t have void space (flutes) giving the best snug fit in the slot in the jig. I also made wider in the one direction so it’s easier to line up and drop the locator pin into the slot.
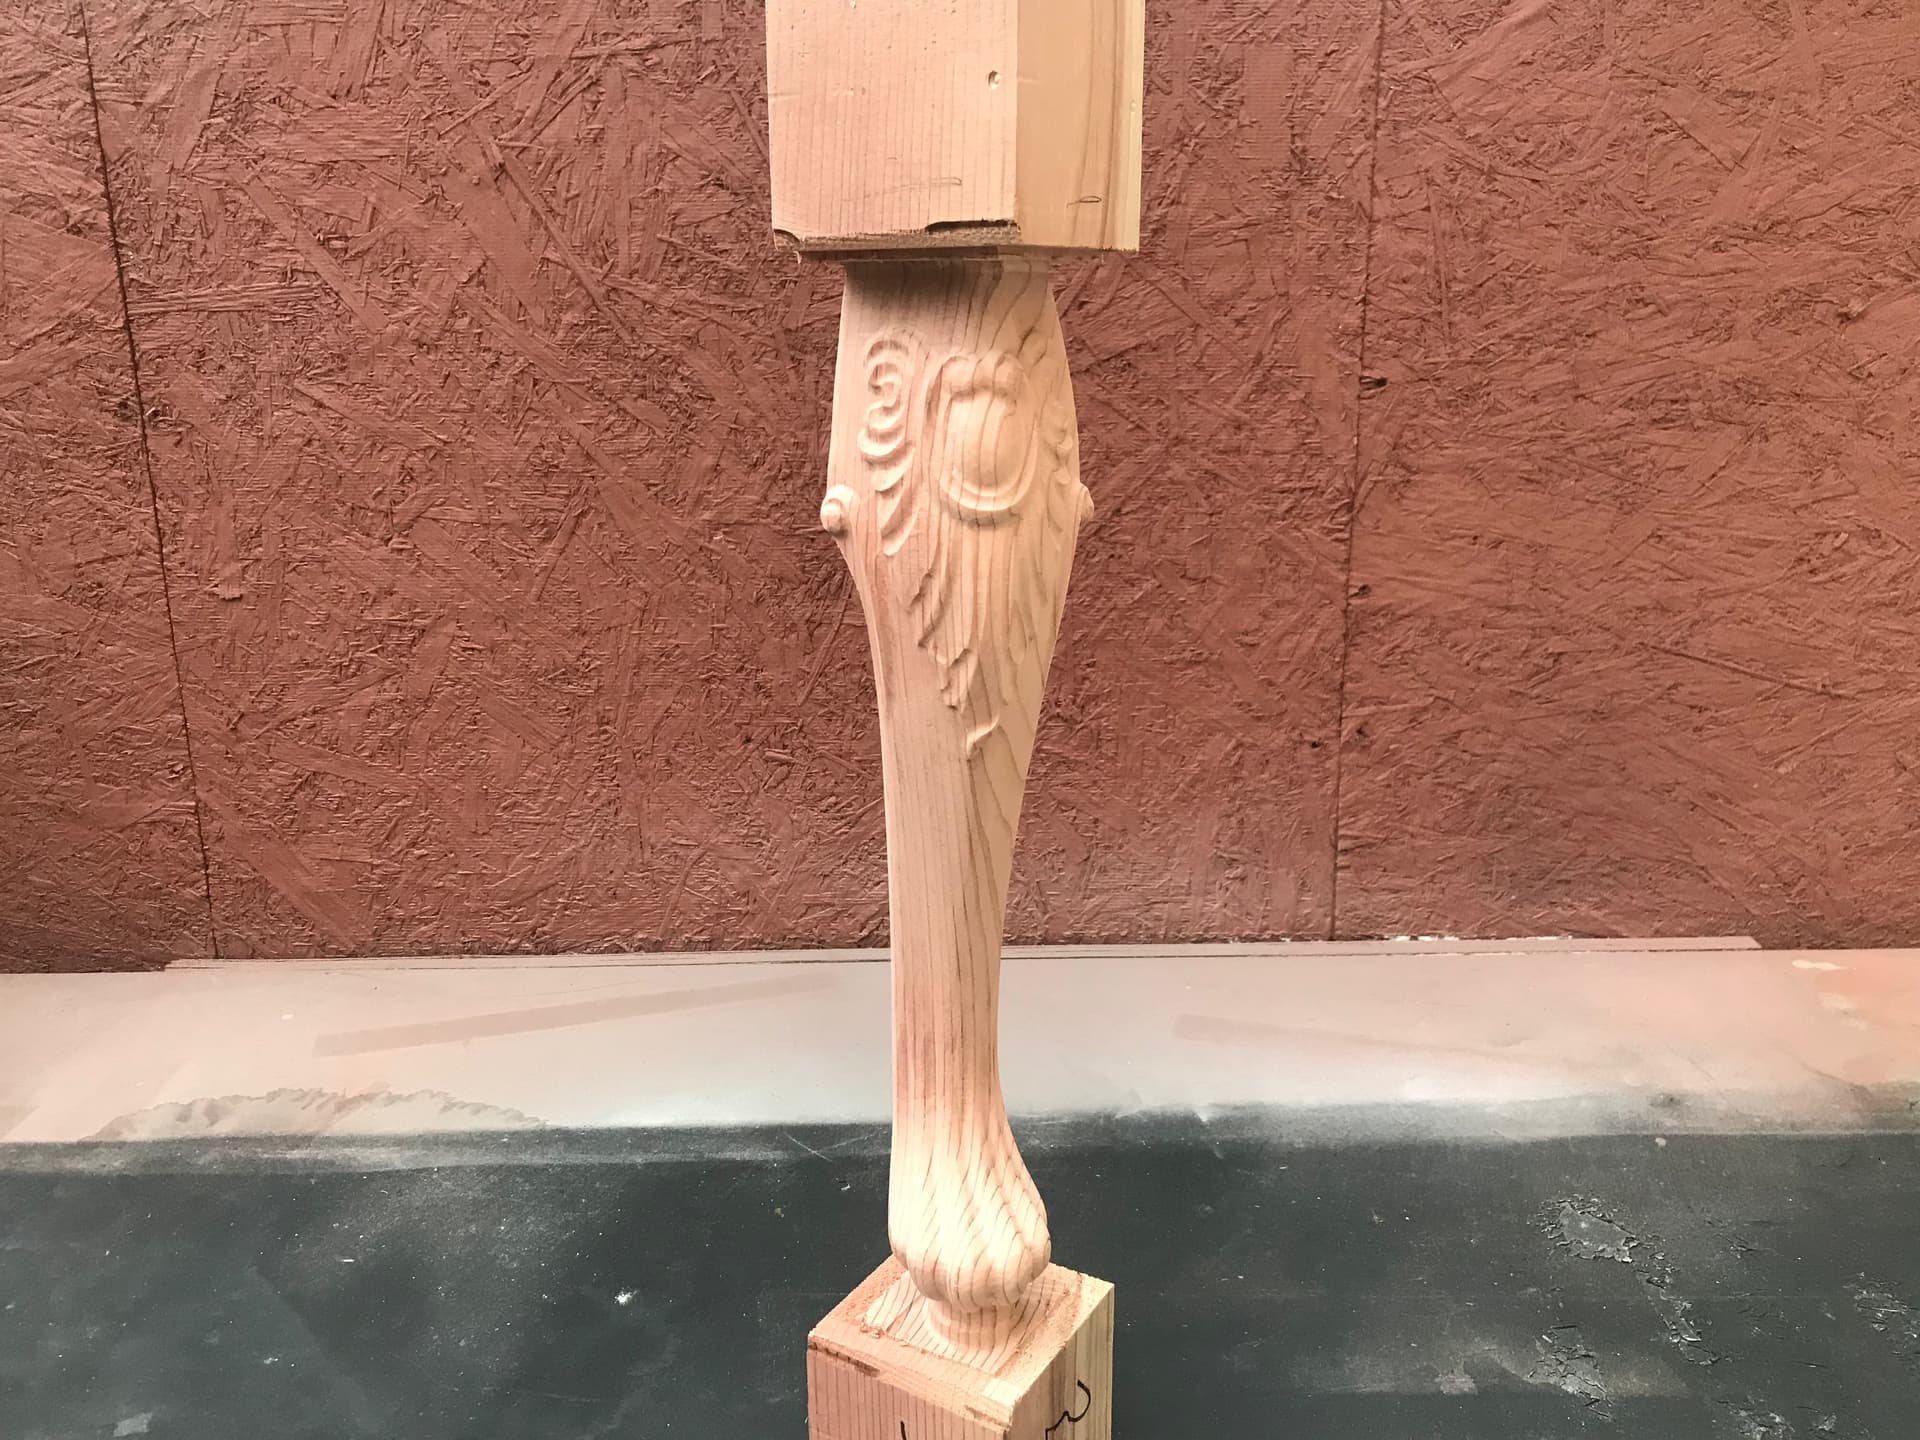
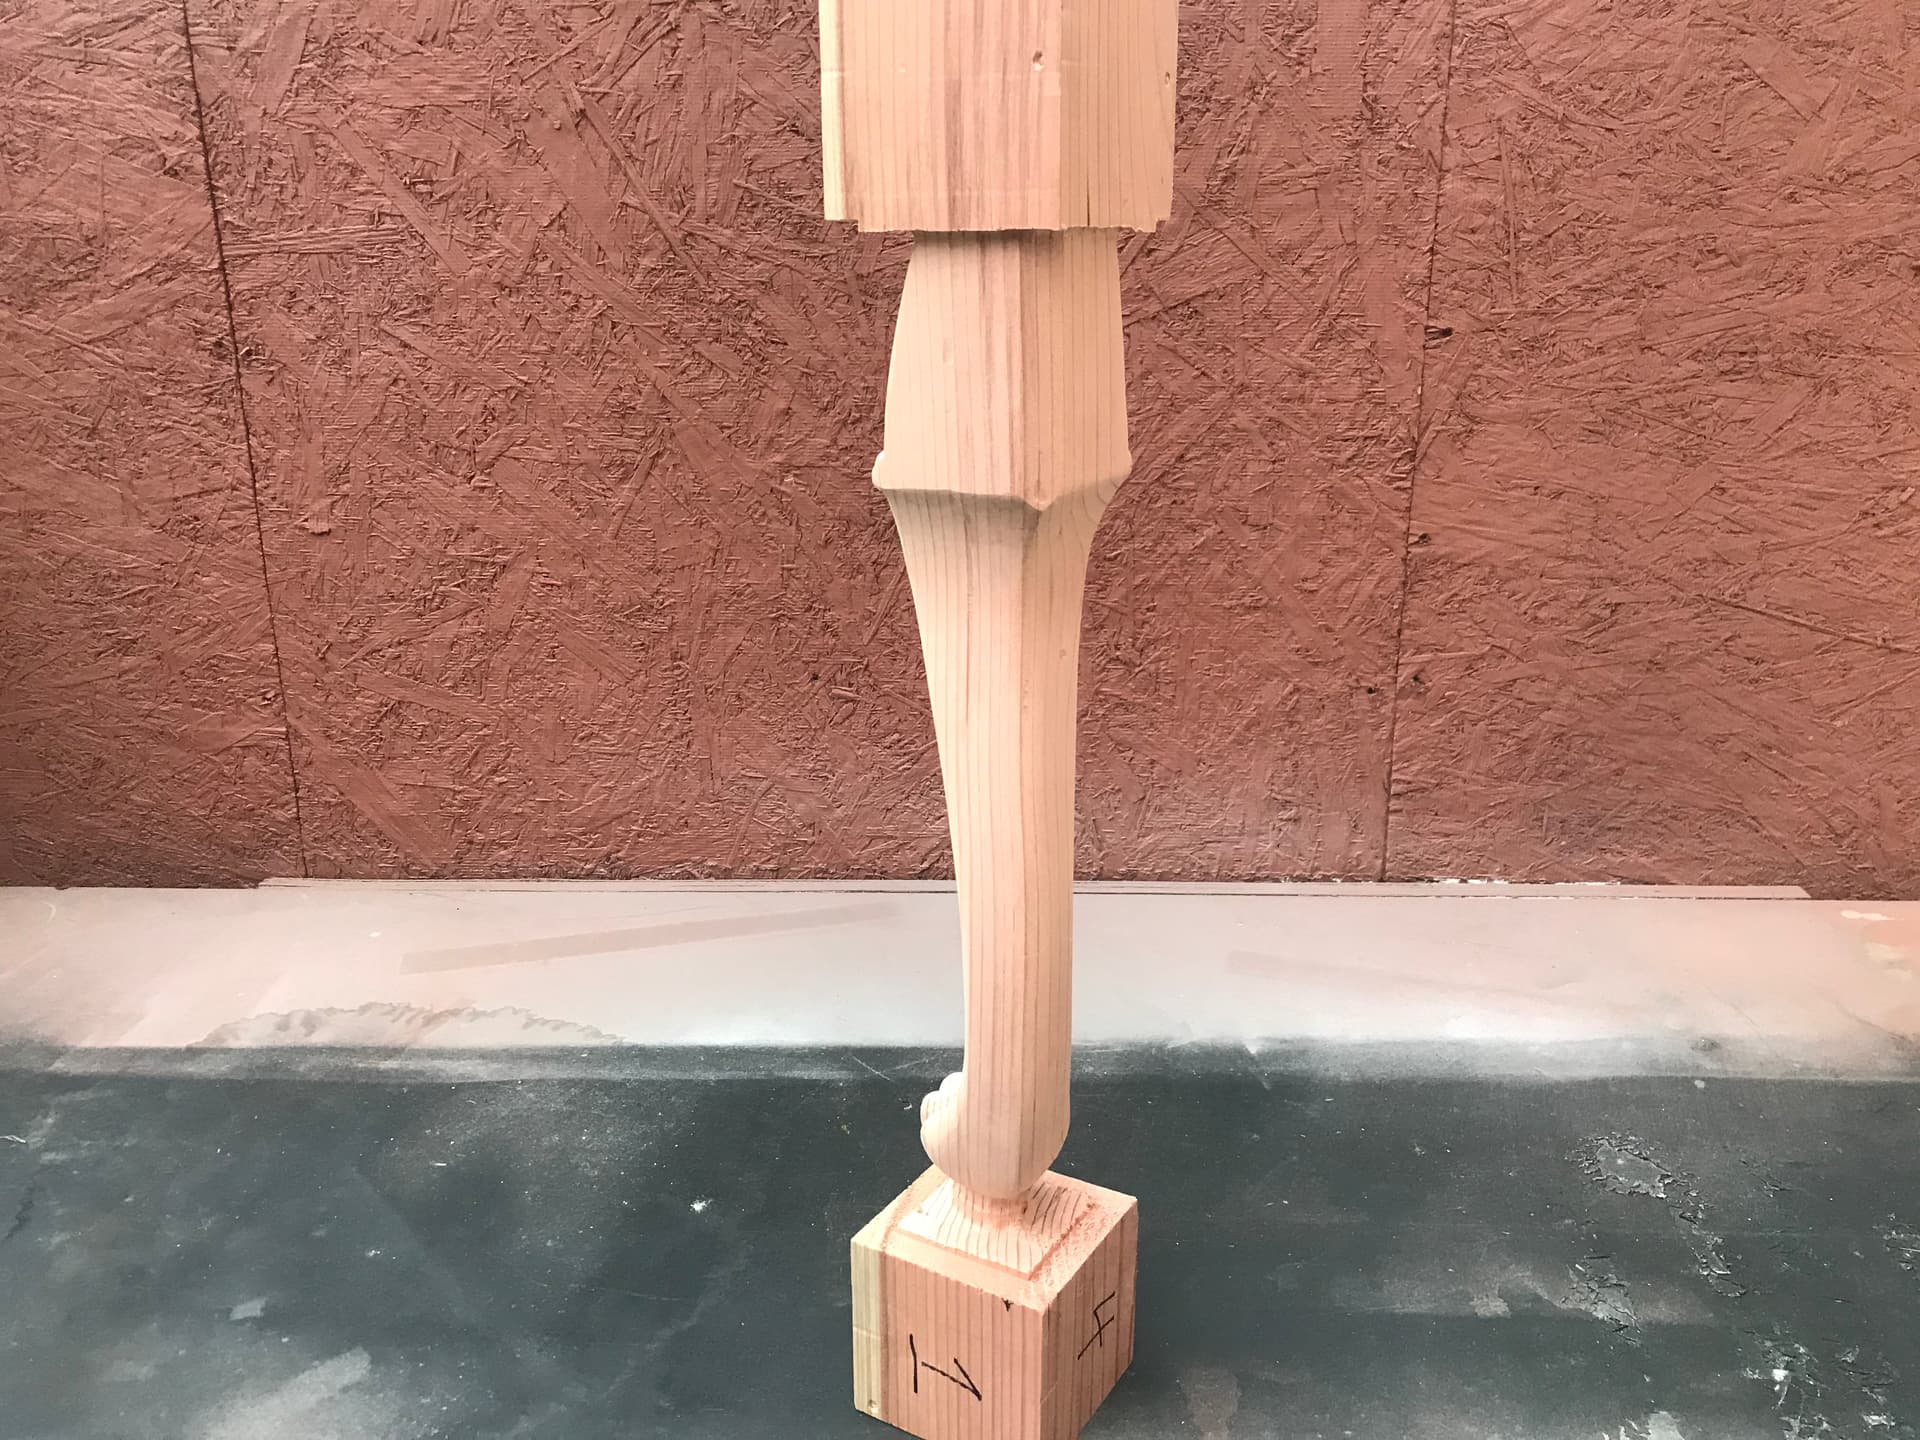
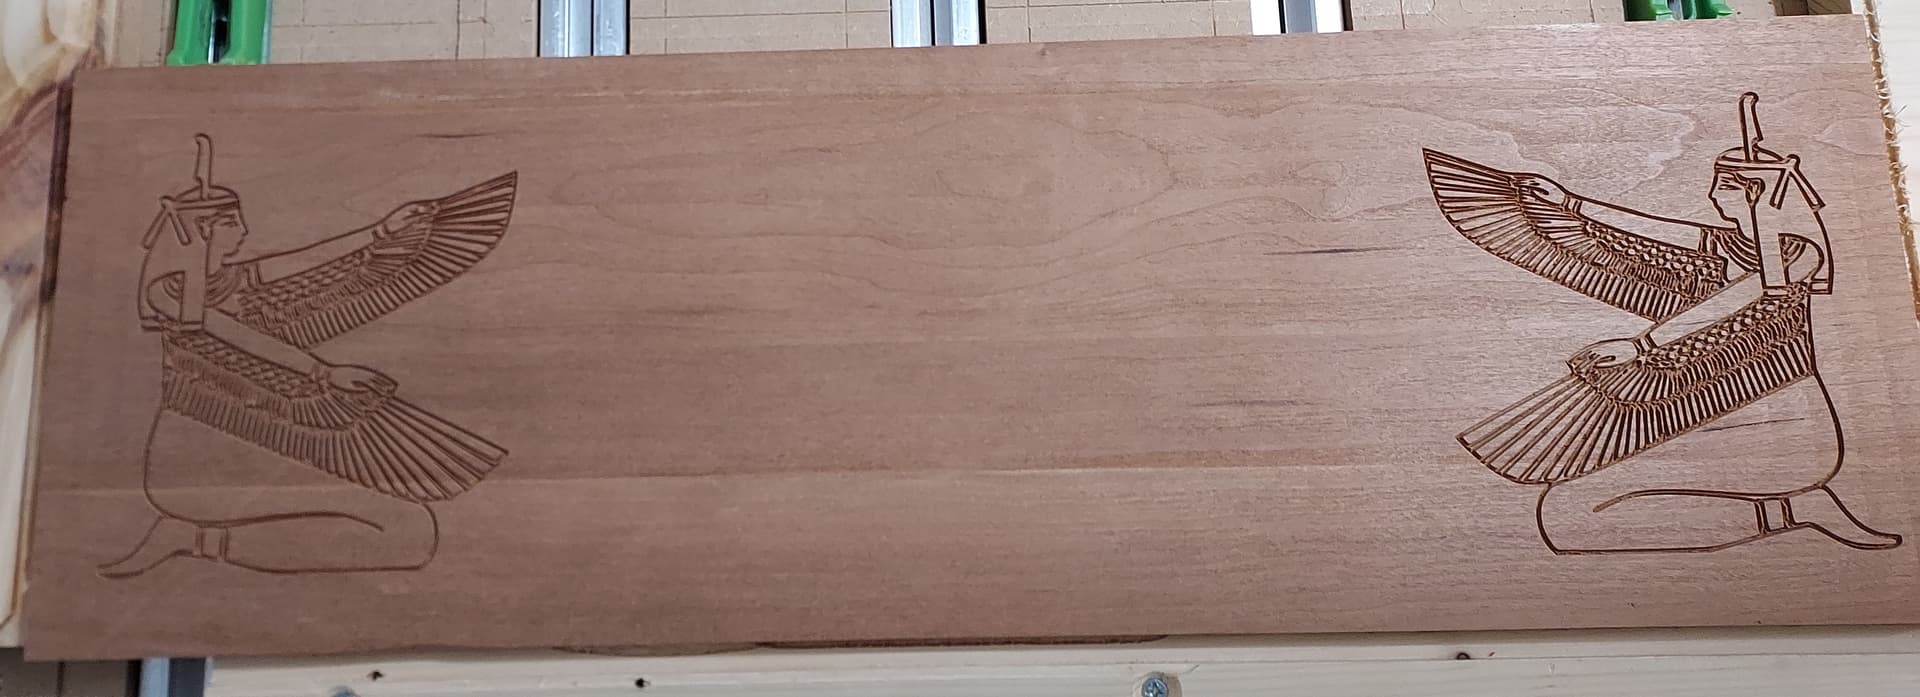
Finally got around to trying something I’ve been wanting to do for a few years. Took me 4 days, a day per side I suppose. This is a prototype in fencepost, still need some toolpathing refinement but I think I can make another without too much trouble. Will cut the end blocks off after sanding.
All cuts done with 1/4” ball mill, FOUR sides, no tool changes whoopee! Adaptive clear followed by finishing parallel. F360.
Will do walnut glue ups for final product.
I love this! What did you use for the software? It looks like something that might be beyond Carbide Create. Thanks for sharing this.
F360 = Fusion 360.
.
.
.
.
.
.
.
.
.
.
.
.
.
.
plus twenty more characters.
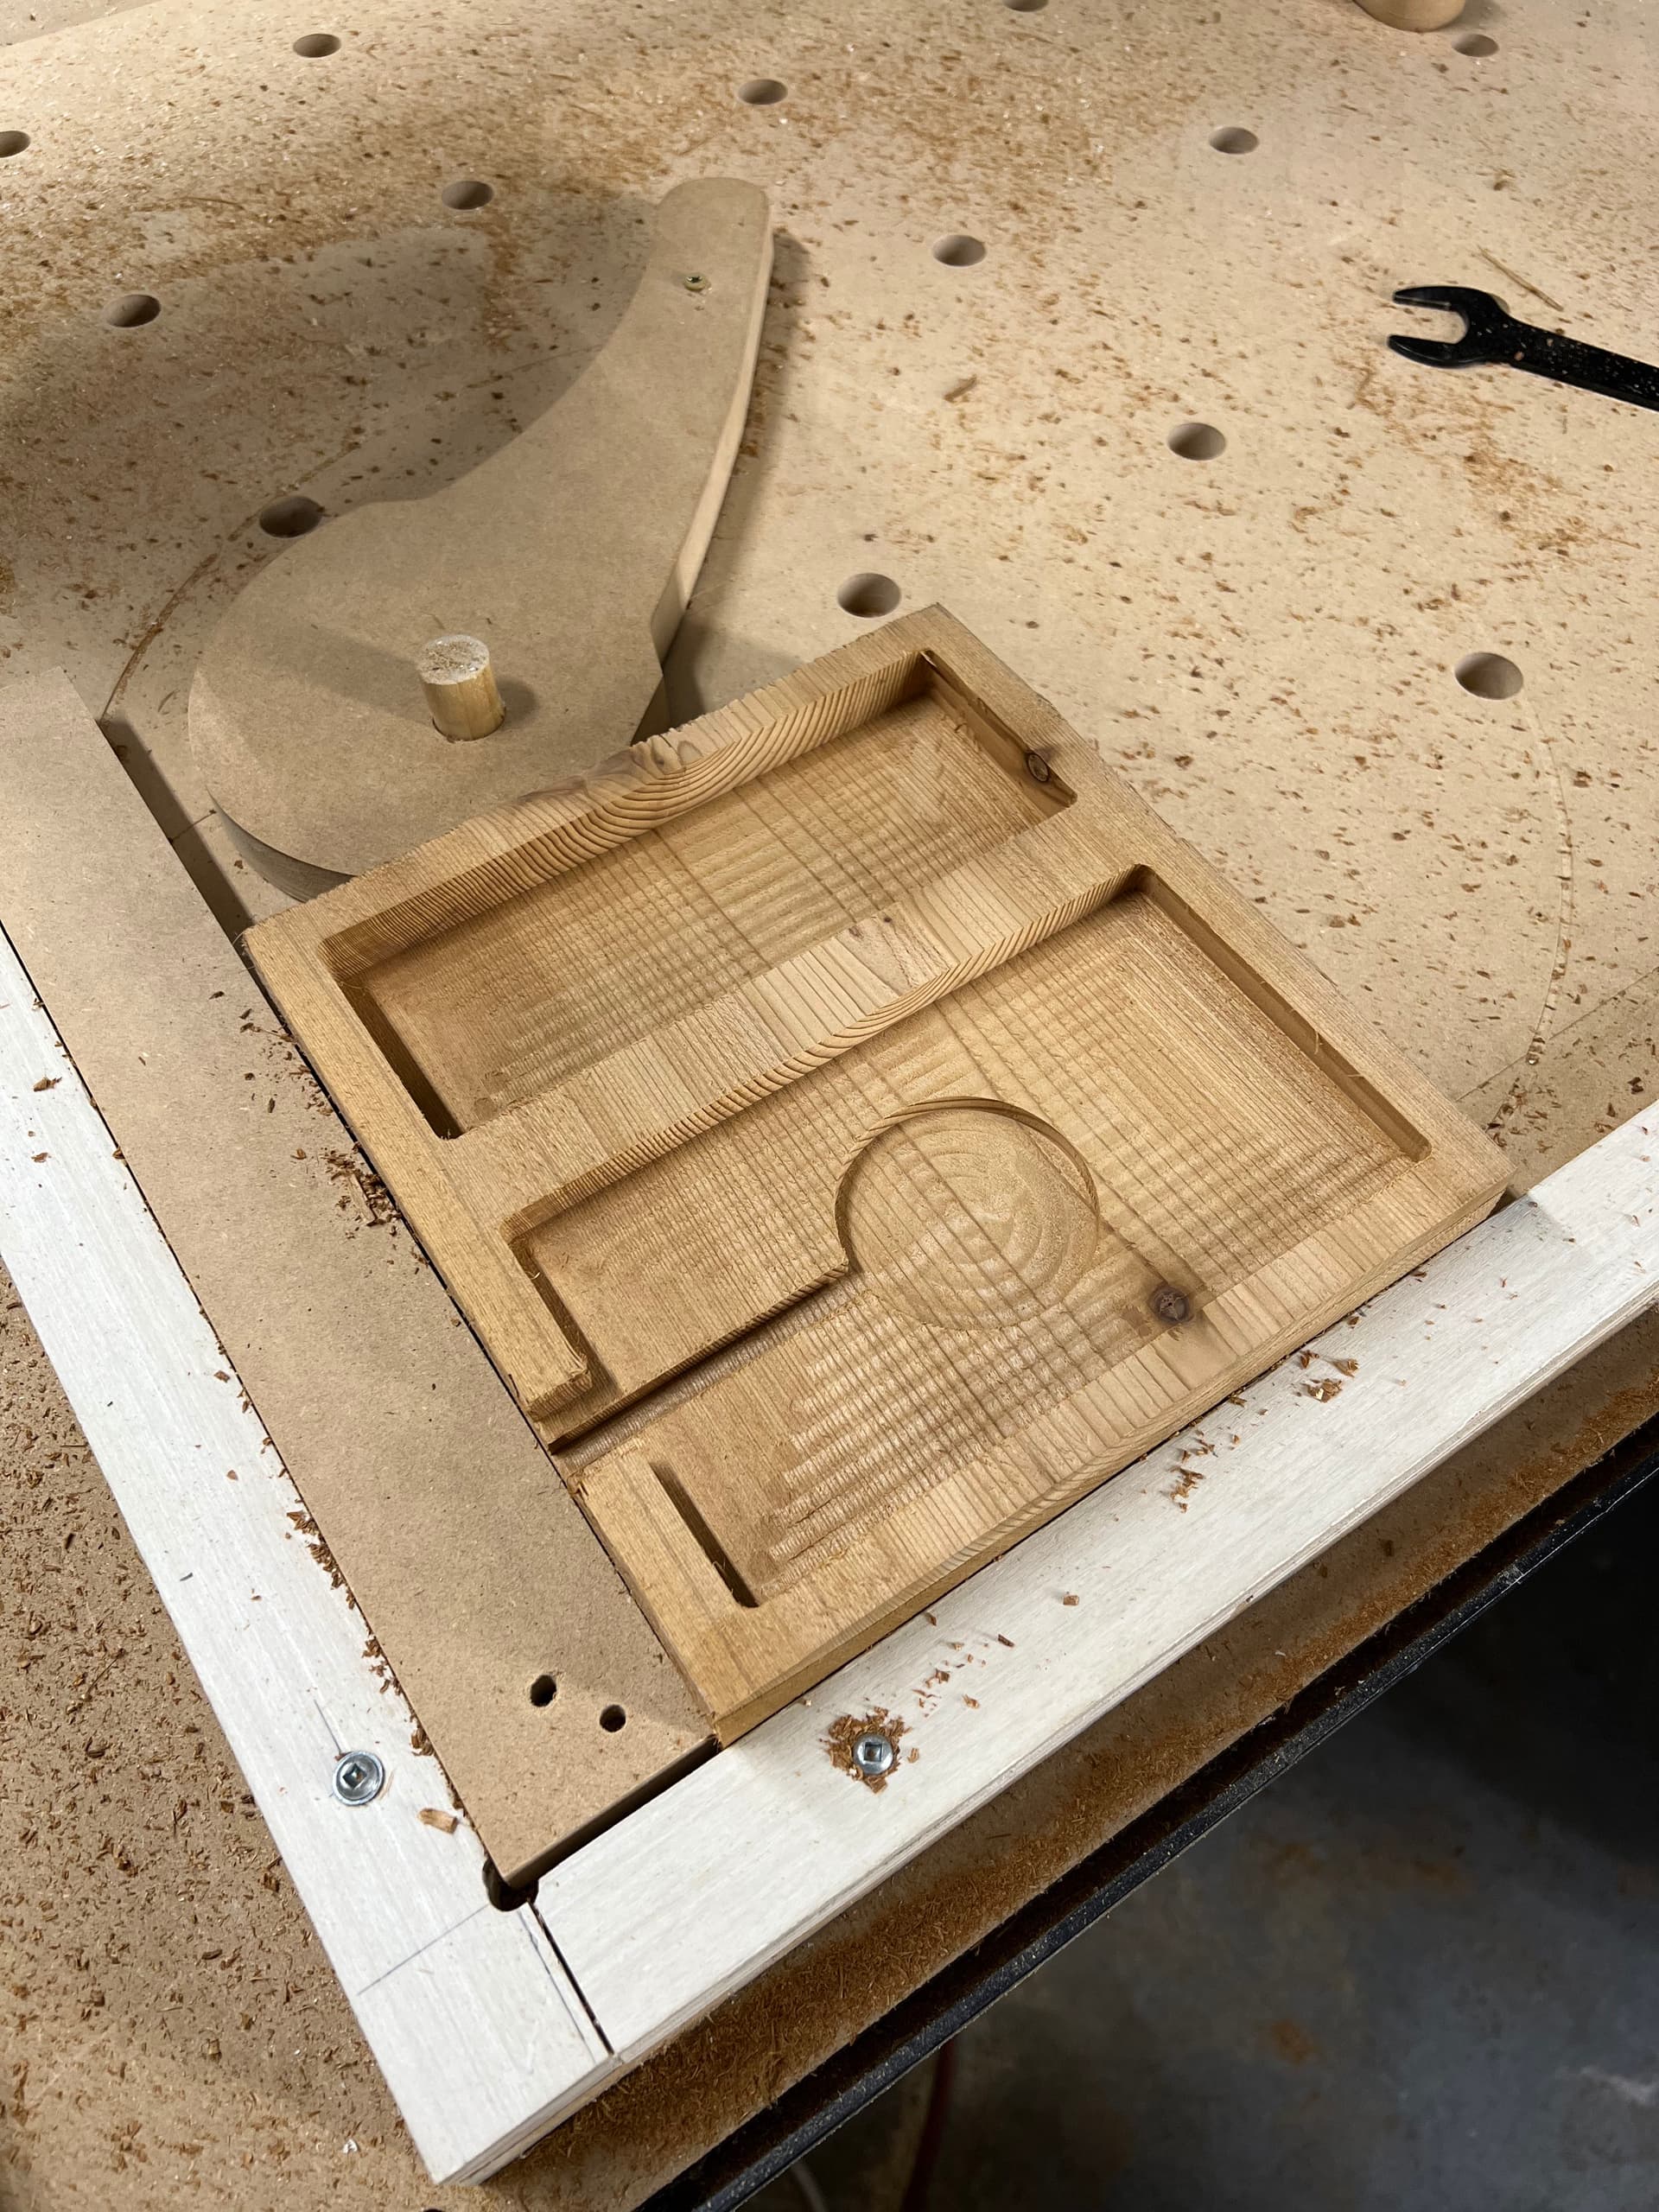
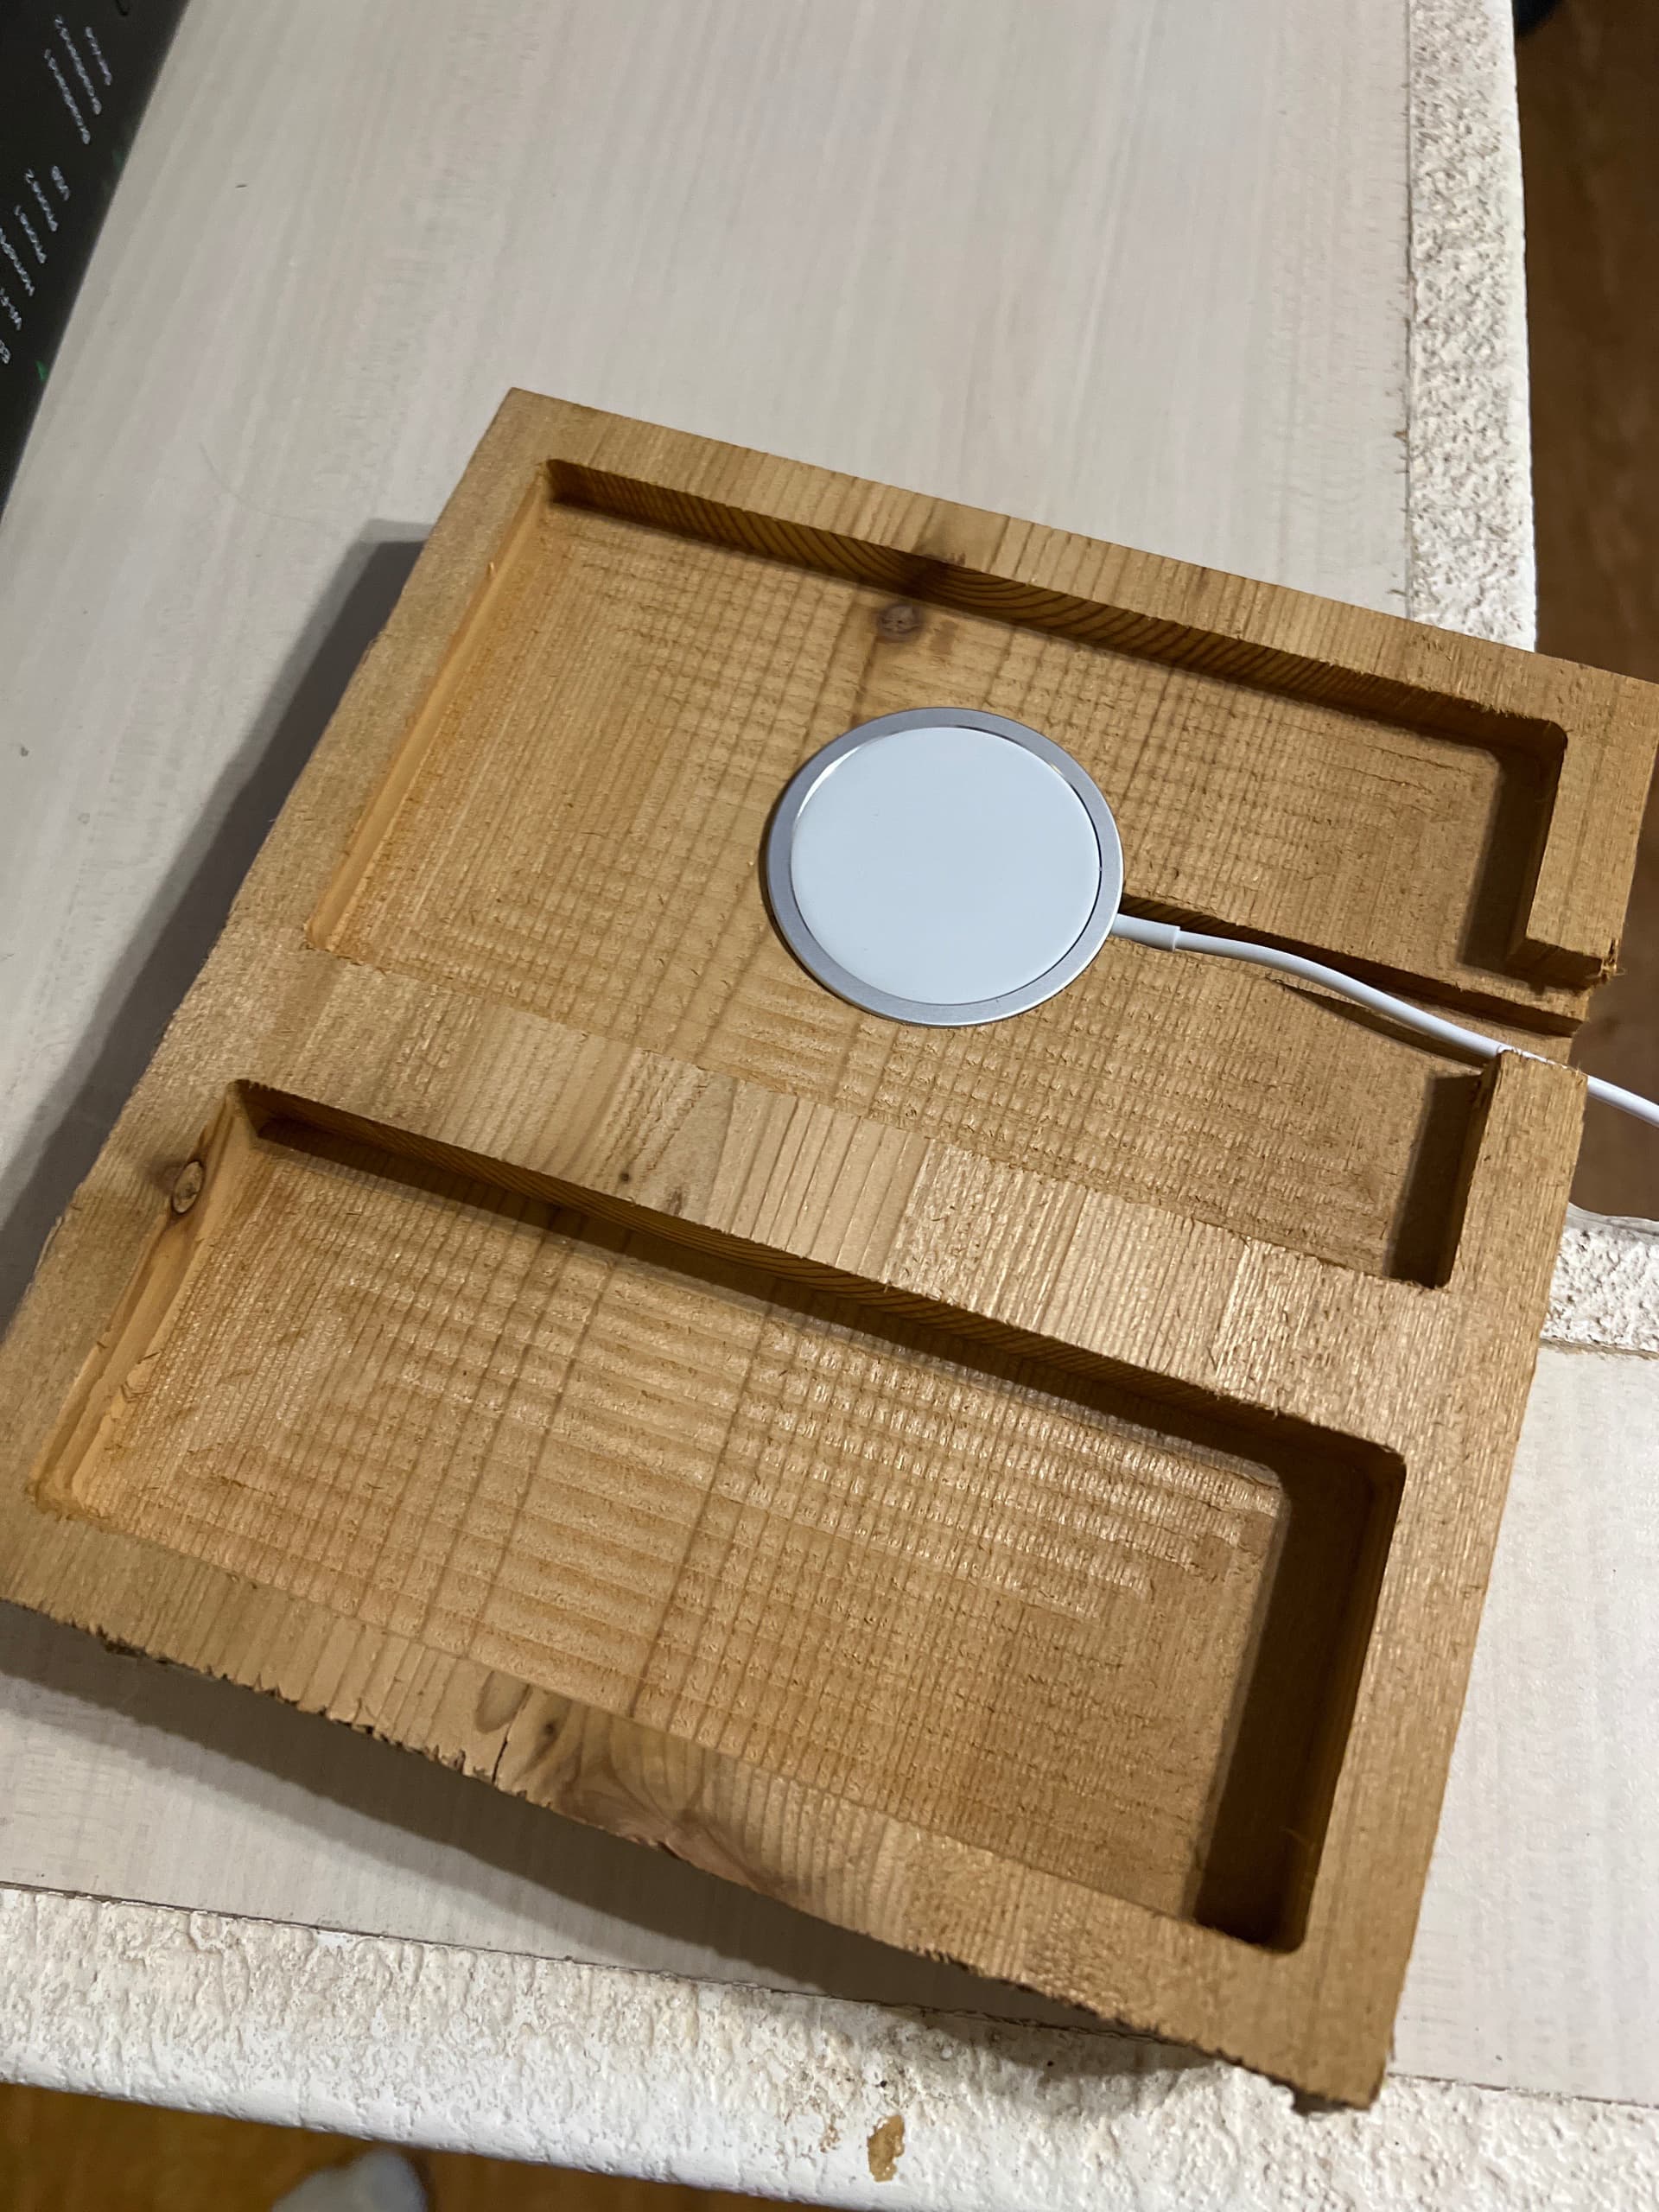
Not the prettiest thing, but made a little phone charging/storage tray! The center hole is for a MagSafe charging puck and it fits perfect.
I should have figured that out. Just not quite used to the shorthand used in the CNC world. thanks, Bill
I would guess it could be done in a version of Carbide Create? Maybe @WillAdams could comment? I believe STL’s can be imported to CC?
With a little help from @fenrus they can.
@Griff, looks like you’re going full- @RichCournoyer mode ? ![]()
Thank you so much! Will make sure to have a read and try it out!
Don’t I wish! The desk he built is a work of art. I’m just making a coffee table. Plus, as I recall he hand carved the legs etc…
Really appreciate the detailed explanation. I’ve tried reading it over a few times but can’t seem to really follow sorry. If you don’t mind, would be able to share a picture next time you have that set up? Thanks Patrick!
man you guys have been making some cool stuff!
Ive been pushing the HDM, 316 stainless, aluminum, oak, its a blast! The 1.5kw spindle can hit 3 cubic inches in 6061 pretty reliably
And in an effort to get better at the day job Youtubes

I’ve been looking for some HDM footage but no luck except for the announcement video. Looks like a super capable machine and looking forward to seeing what you make next.
Hey Vince, good to see you back. Outstanding hybrid/hybrid table!
And…what a well thought out and produced video - hats off!
OK, now that is just sick!!! I’m still new and learning. I know some people would just be ready to toss their machines in the trash after seeing amazing work like that. You just showed me the possibilities. Thanks for that.
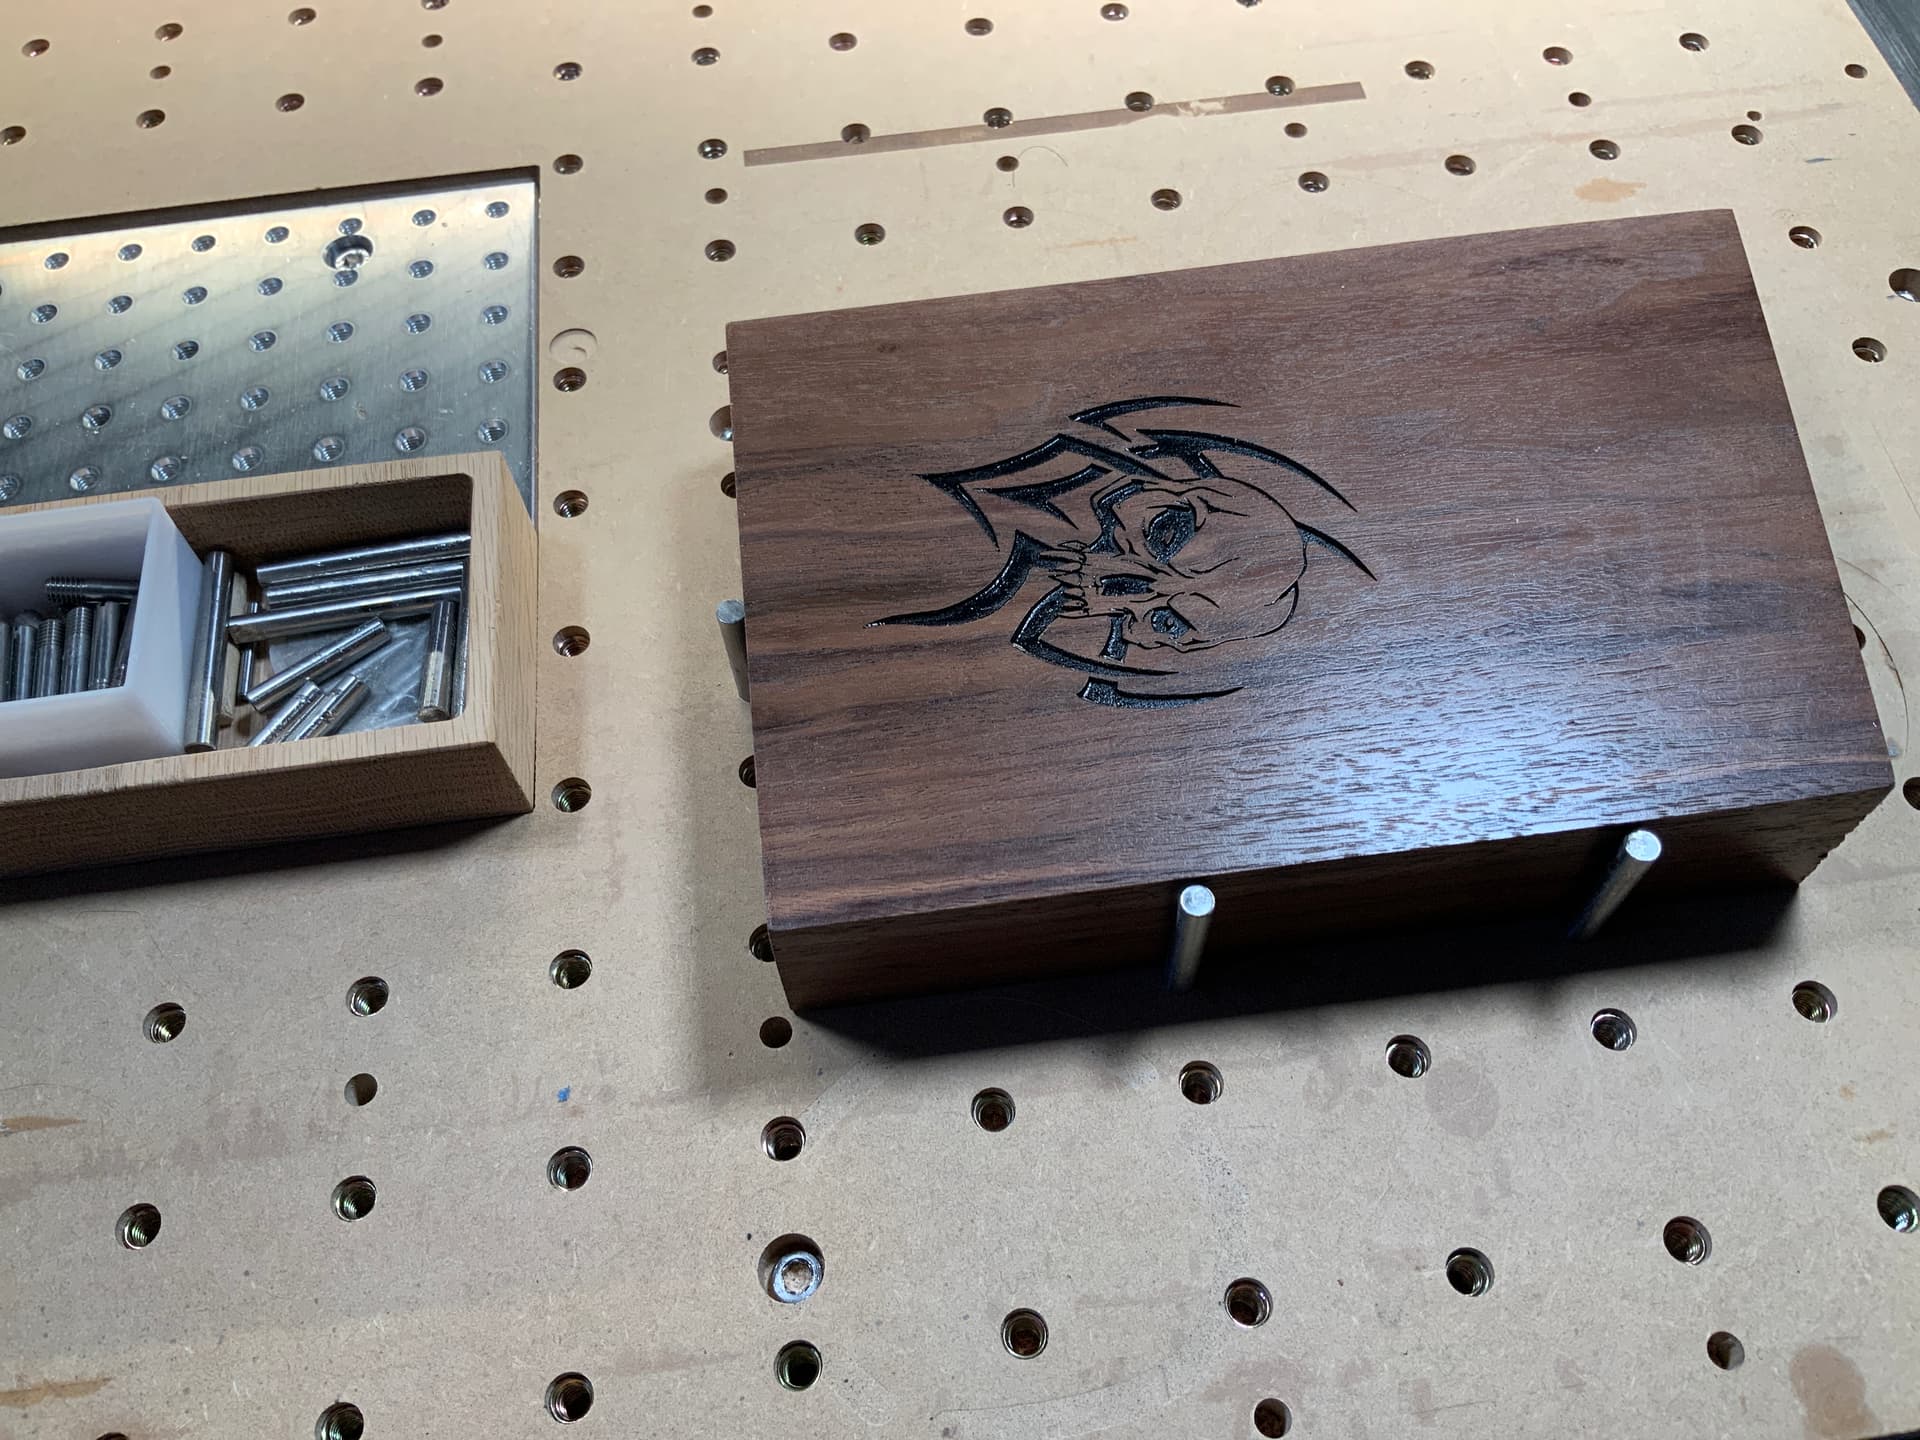
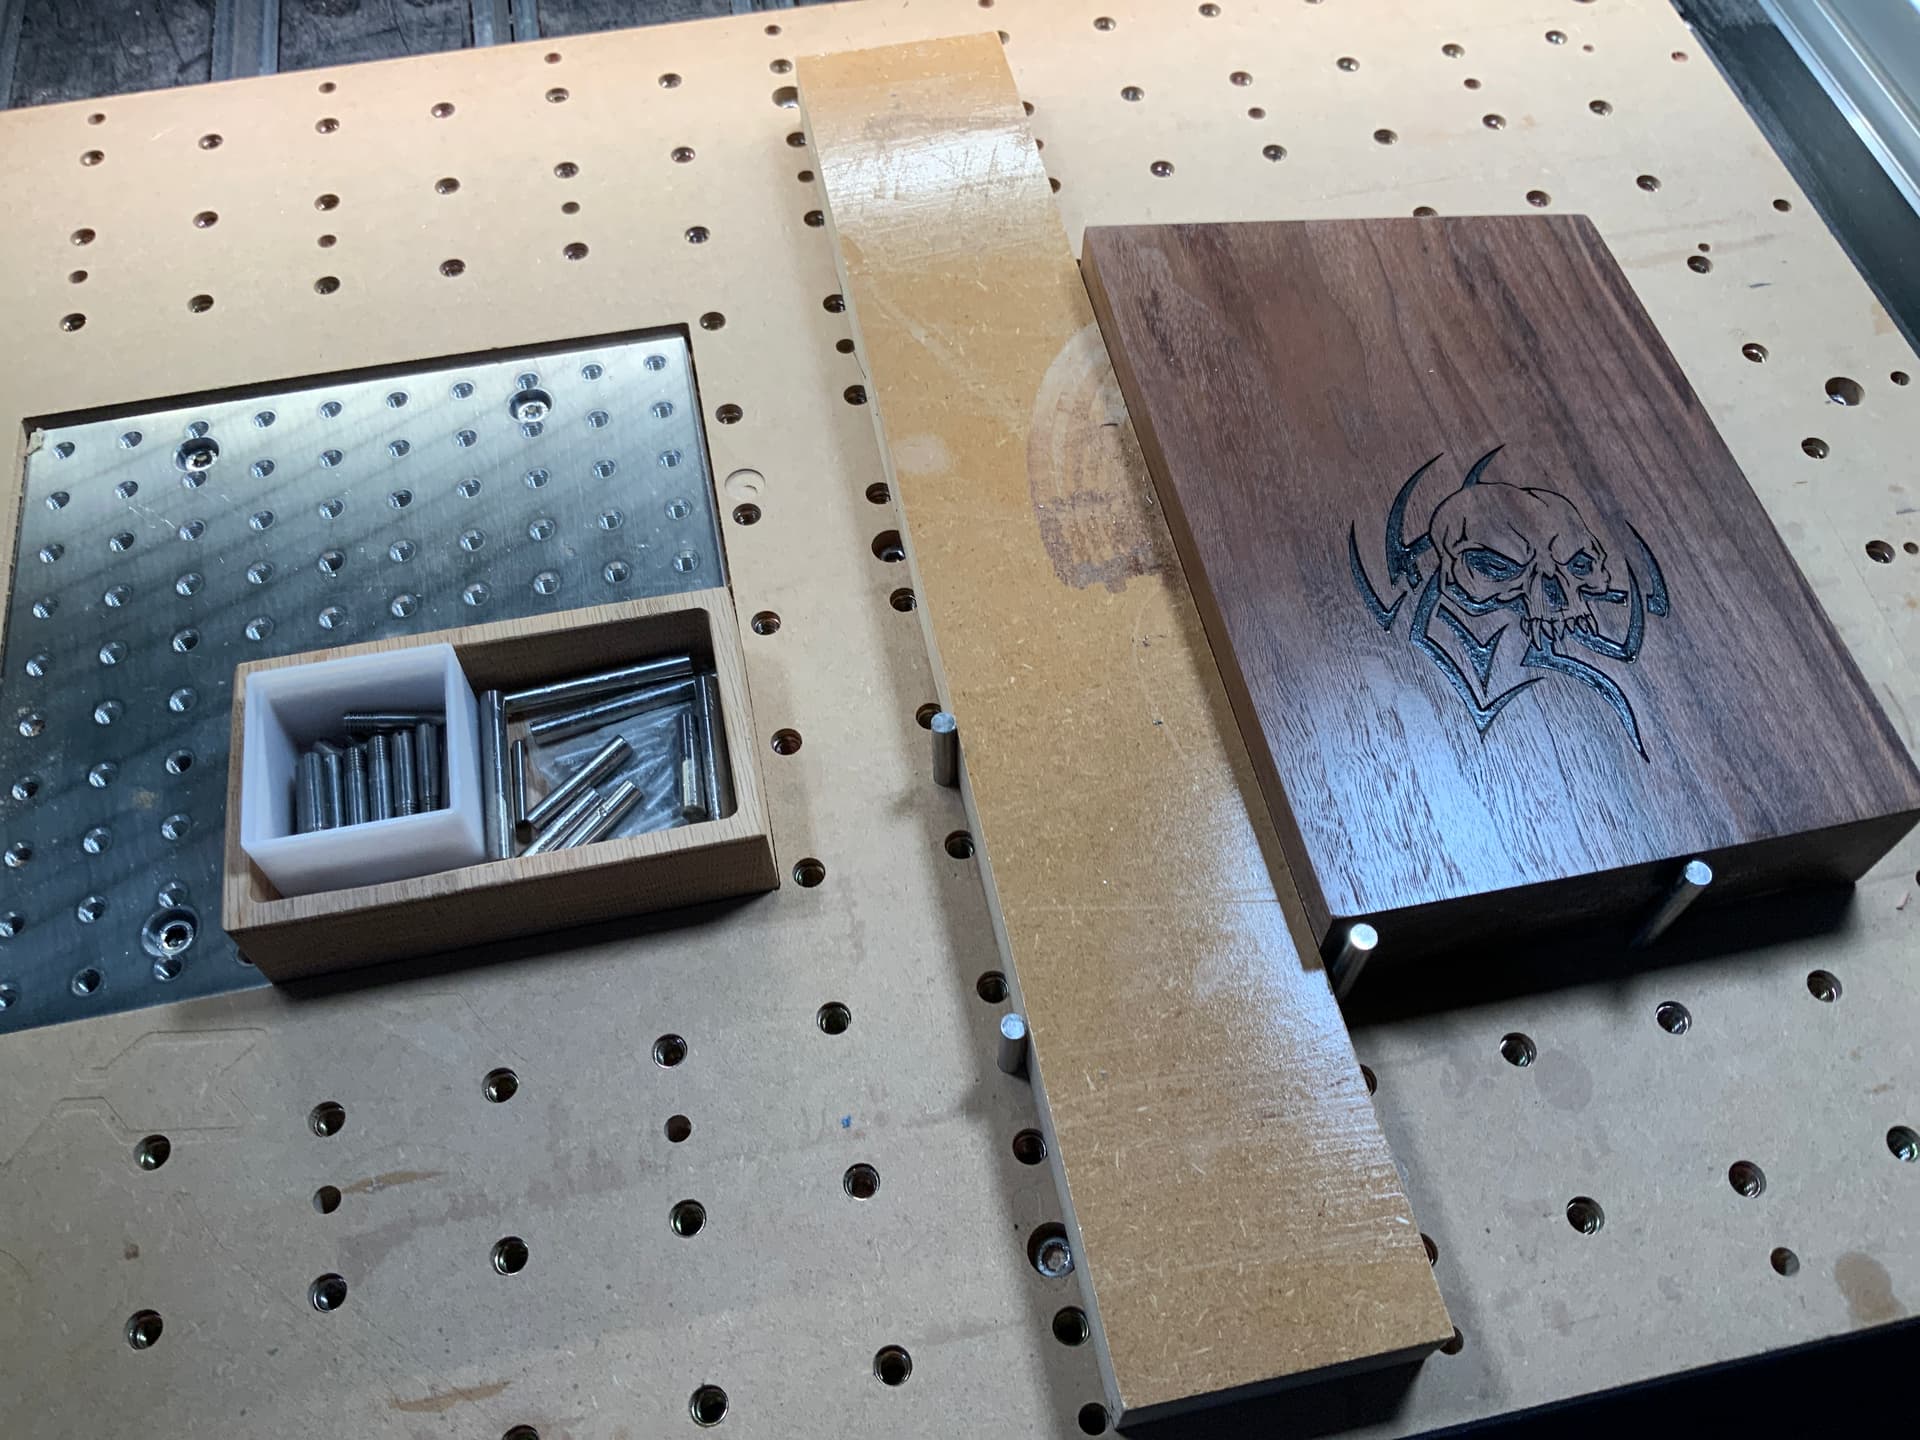
An alternative to @Caffein8ted excellent technique is boring index pin holes in your wasteboard.
The key is to bore the holes last, after the hybrid table slats/auxiliary waste board is/are fastened down. This ensures all the holes are perfectly square to the machines XY.
You can then index your stock directly against the pins, use spacers if needed, index a jig to the pins etc etc.
The index pin holes in the photo are widely spaced, 80mm I think, obviously you can bore any pattern/spacing you like. I can use the threaded insert holes as well with the threaded pins in the white box - but not for precise alignment since the inserts can be at slight angles in the waste board.
The pins can be had at McMaster-Carr.
Questions?
@Griff I’ve been thinking of doing this for a while. Any minute clearance in those holes for the dowel pins? Or match the pin diameter exactly?
Yes, a bit. I forget how much but I think you’re best off to experiment with a few holes to find the best fit. Your machine and your end mills will produce slightly different results then mine or anyone else’s for that matter.
Unless we both have Datron’s I suppose.