Oh I totally understand that, @Griff. I only print functional items with PLA for my house or shed, but nothing for my vehicles are printed in PLA. I really want to print some bird feeder related things for my wife from ASA, because it is immune to UV light - unlike ABS, but I can’t get over the price just to print some things for the birds. . .
EDIT: It seems the price for ASA has come down in the last few months since I last looked. Last time I looked, it was ~$60/kg.
I recently was using PETG for outdoor parts, have not tested them yet but found it difficult to print with. ASA requires a heated chamber? @Griff do you think I can get away with using a enclosed unit with that high of a bed temp? I have Adventurer 3’s and 4’s that are enclosed but no heated chambers… What printers are you guys using?
Griff
(Well crap, my hypometric precursor device is blown…)
877
My Prusa Mk3 is in an enclosure, no heat. Gets plenty hot with the door closed.
Not familiar with your printers so can’t comment.
One of many things I like about ASA is no need for bed goop for adhesion or removal. I use rafts more frequently to ensure no warping. Probably could be handled another way, I’m not a printer tweaker.
Prusa Mk3 as well, I like printing with PETG for the same reason - no bed adhesion enhancer needed. I can’t get PLA to stick reliably to either the smooth or textured PEI sheets.
I did just throw down the $200 down payment for the Prusa XL with 5 heads. Which comes (or can be ordered additionally, not sure yet) an accordion enclosure.
I use rafts on everything to prevent elephants foot. A well dialed in z gap gives you a nicer uniform finish then when squished into the bed as well.
I have looked at the Prusa’s but what stopped me was the long wait times to order.
That looks awesome, a great way to organize everything you need!
3 Likes
Griff
(Well crap, my hypometric precursor device is blown…)
882
What’s that?
Been so long since I used it I forget if it was a sticking or unsticking issue for me.
I pre ordered an XL too. Debatable whether I’ll go through with it.
1 Like
Griff
(Well crap, my hypometric precursor device is blown…)
883
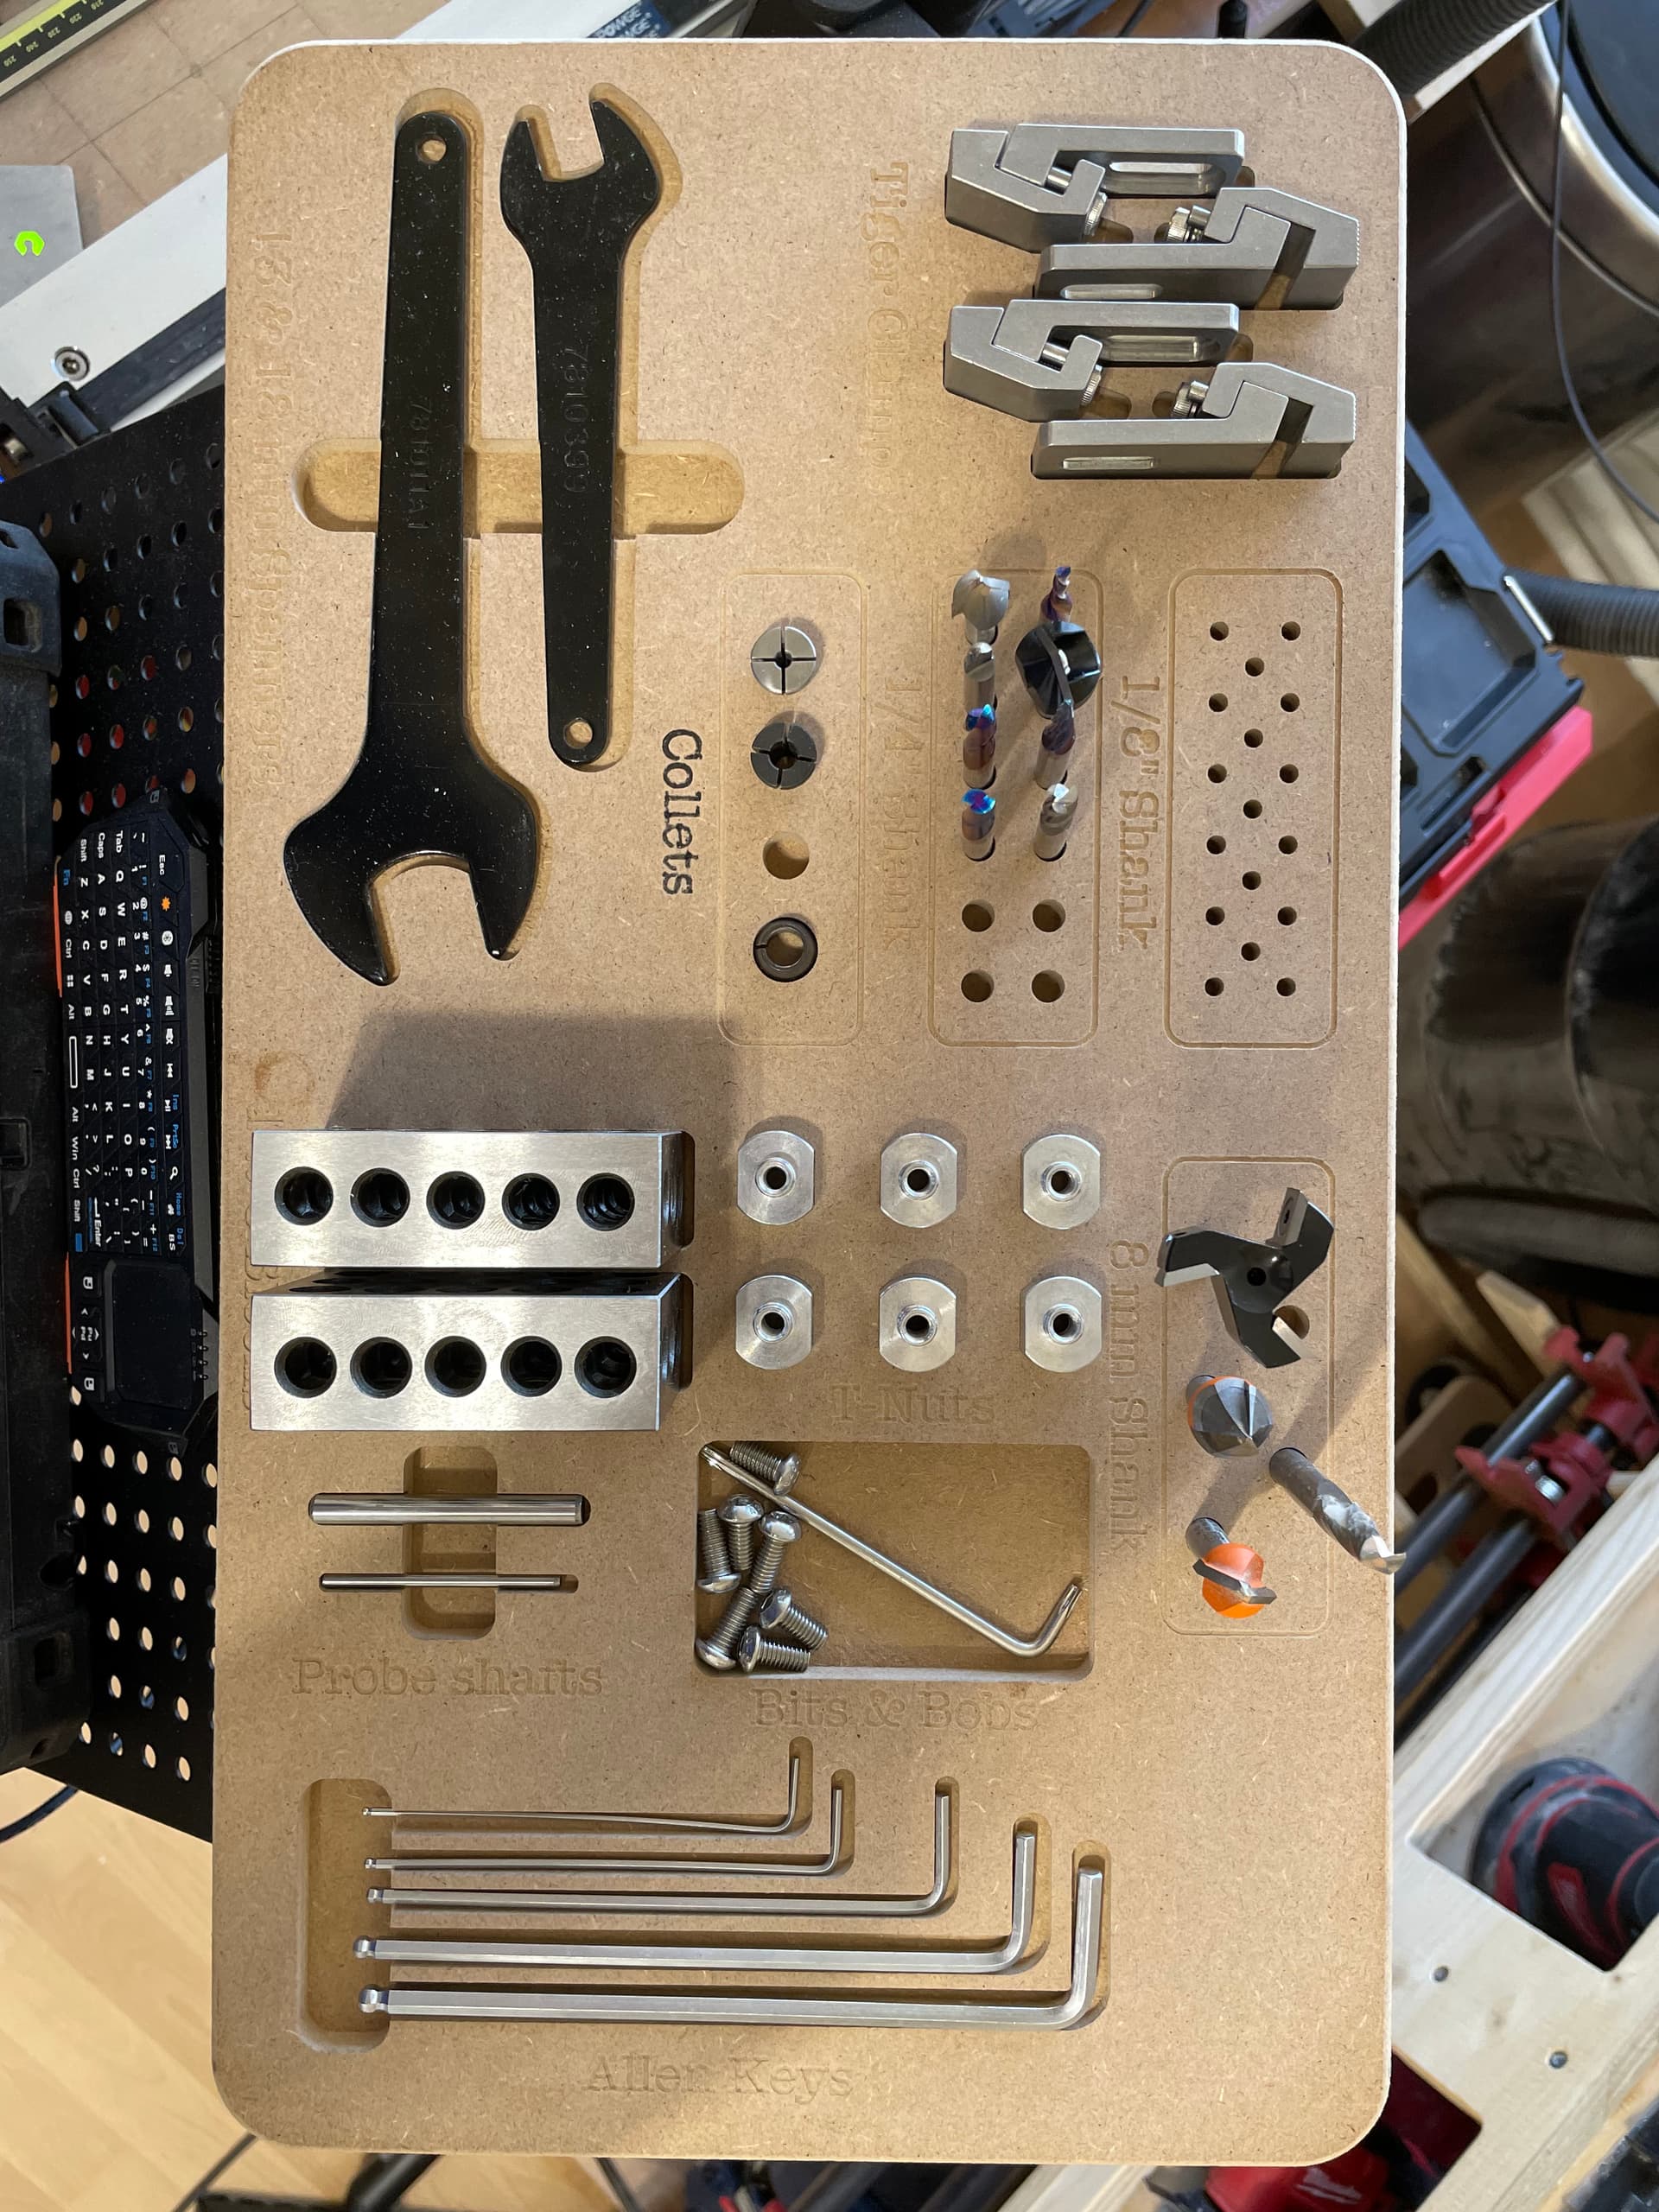
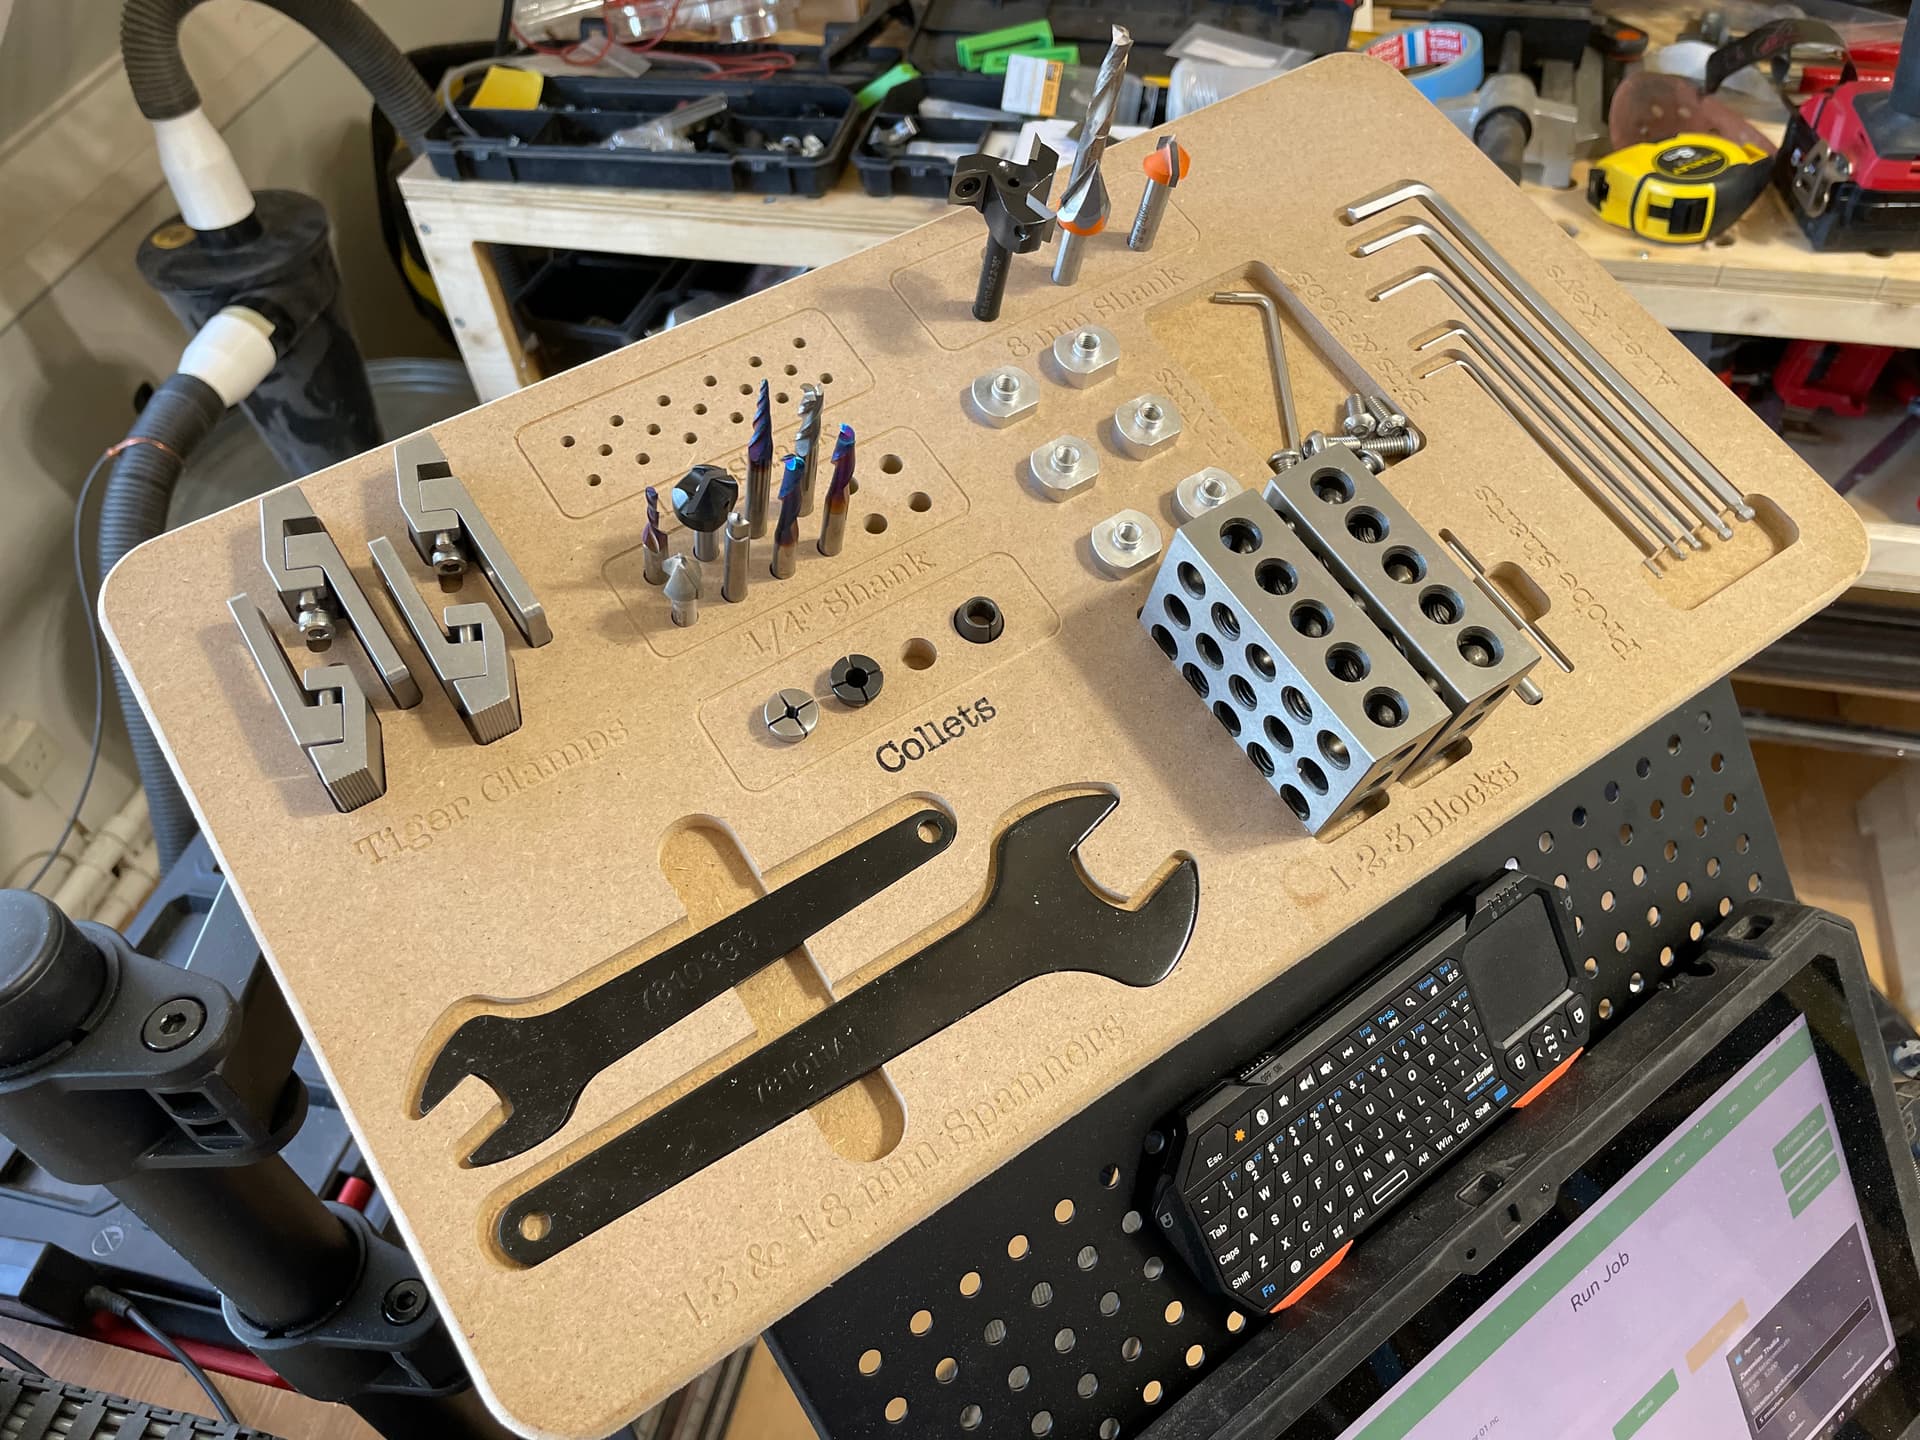
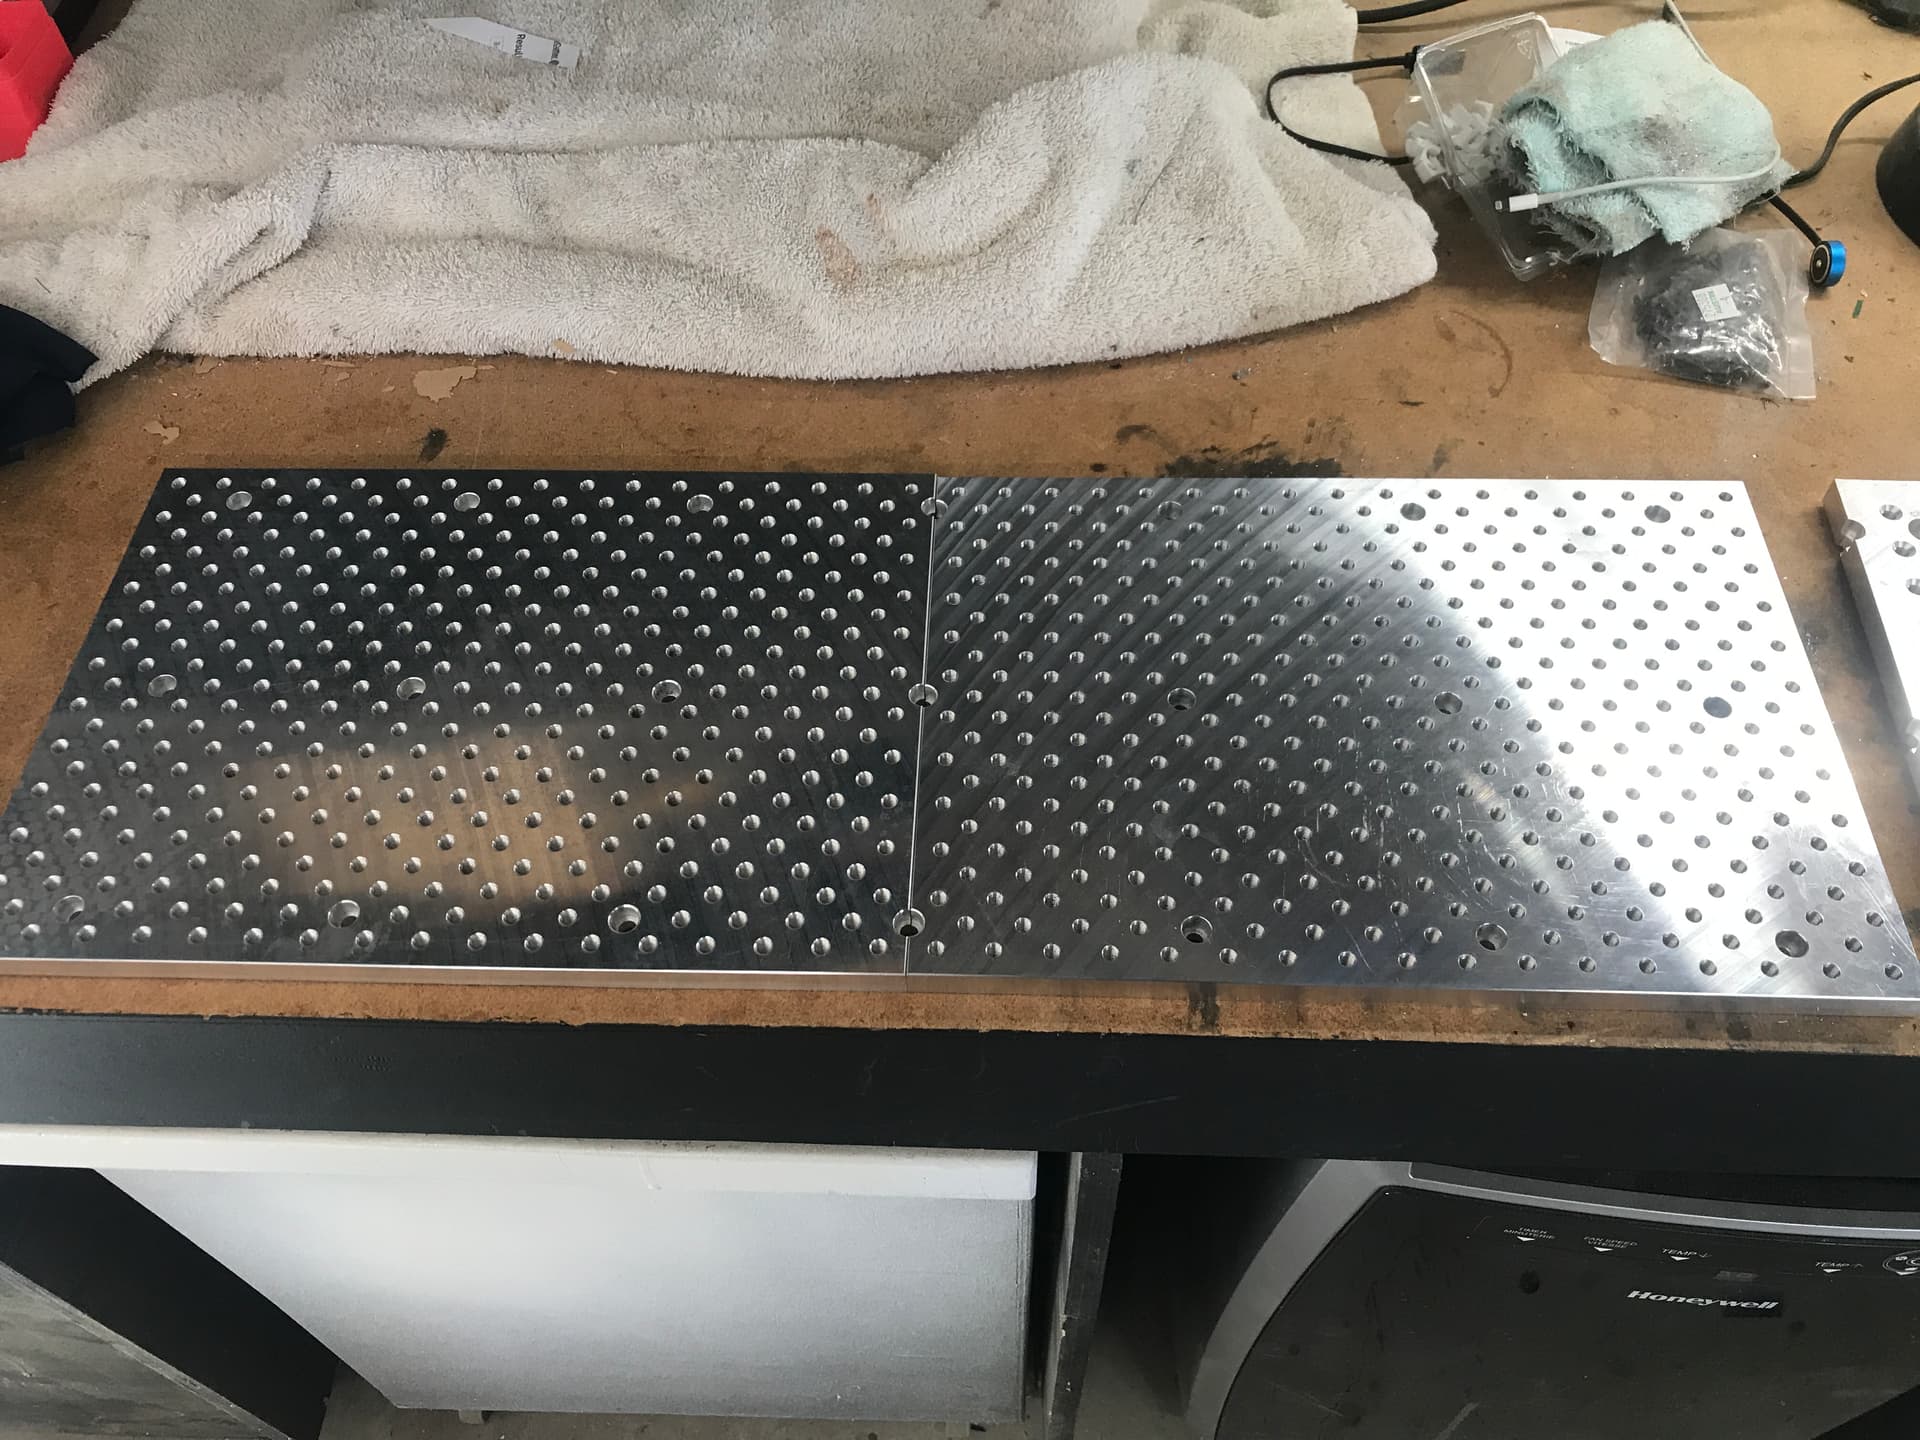
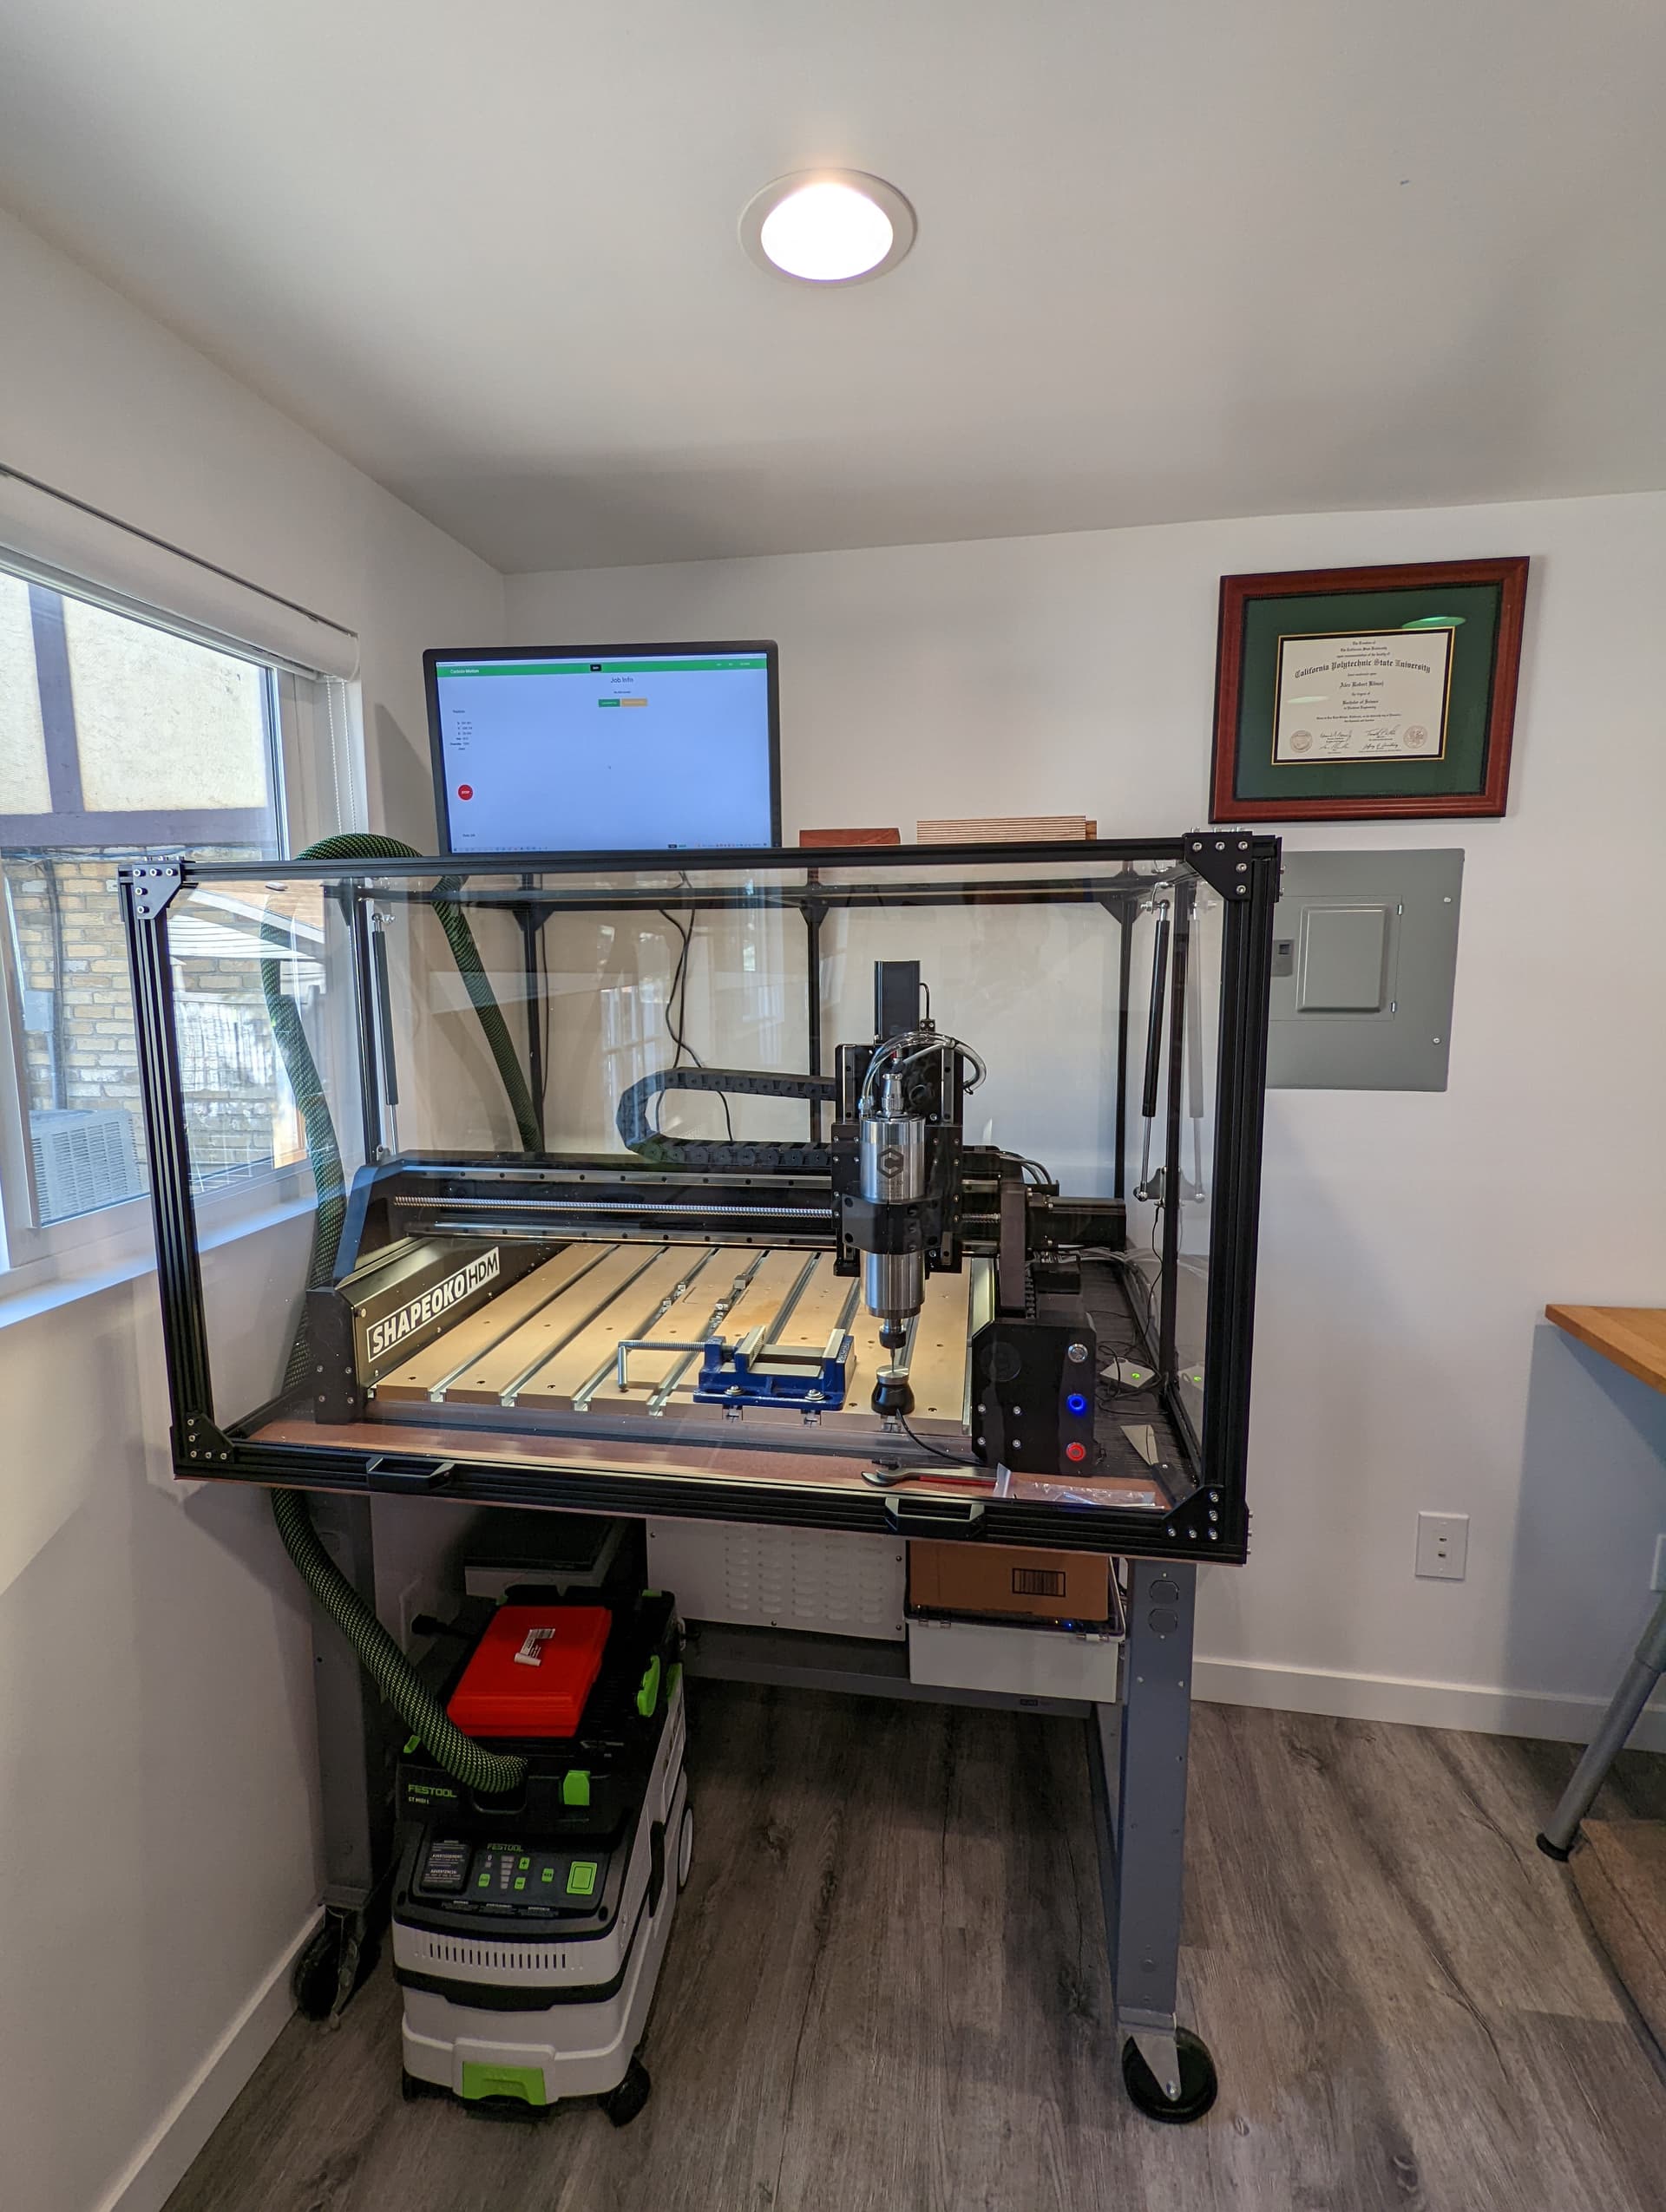
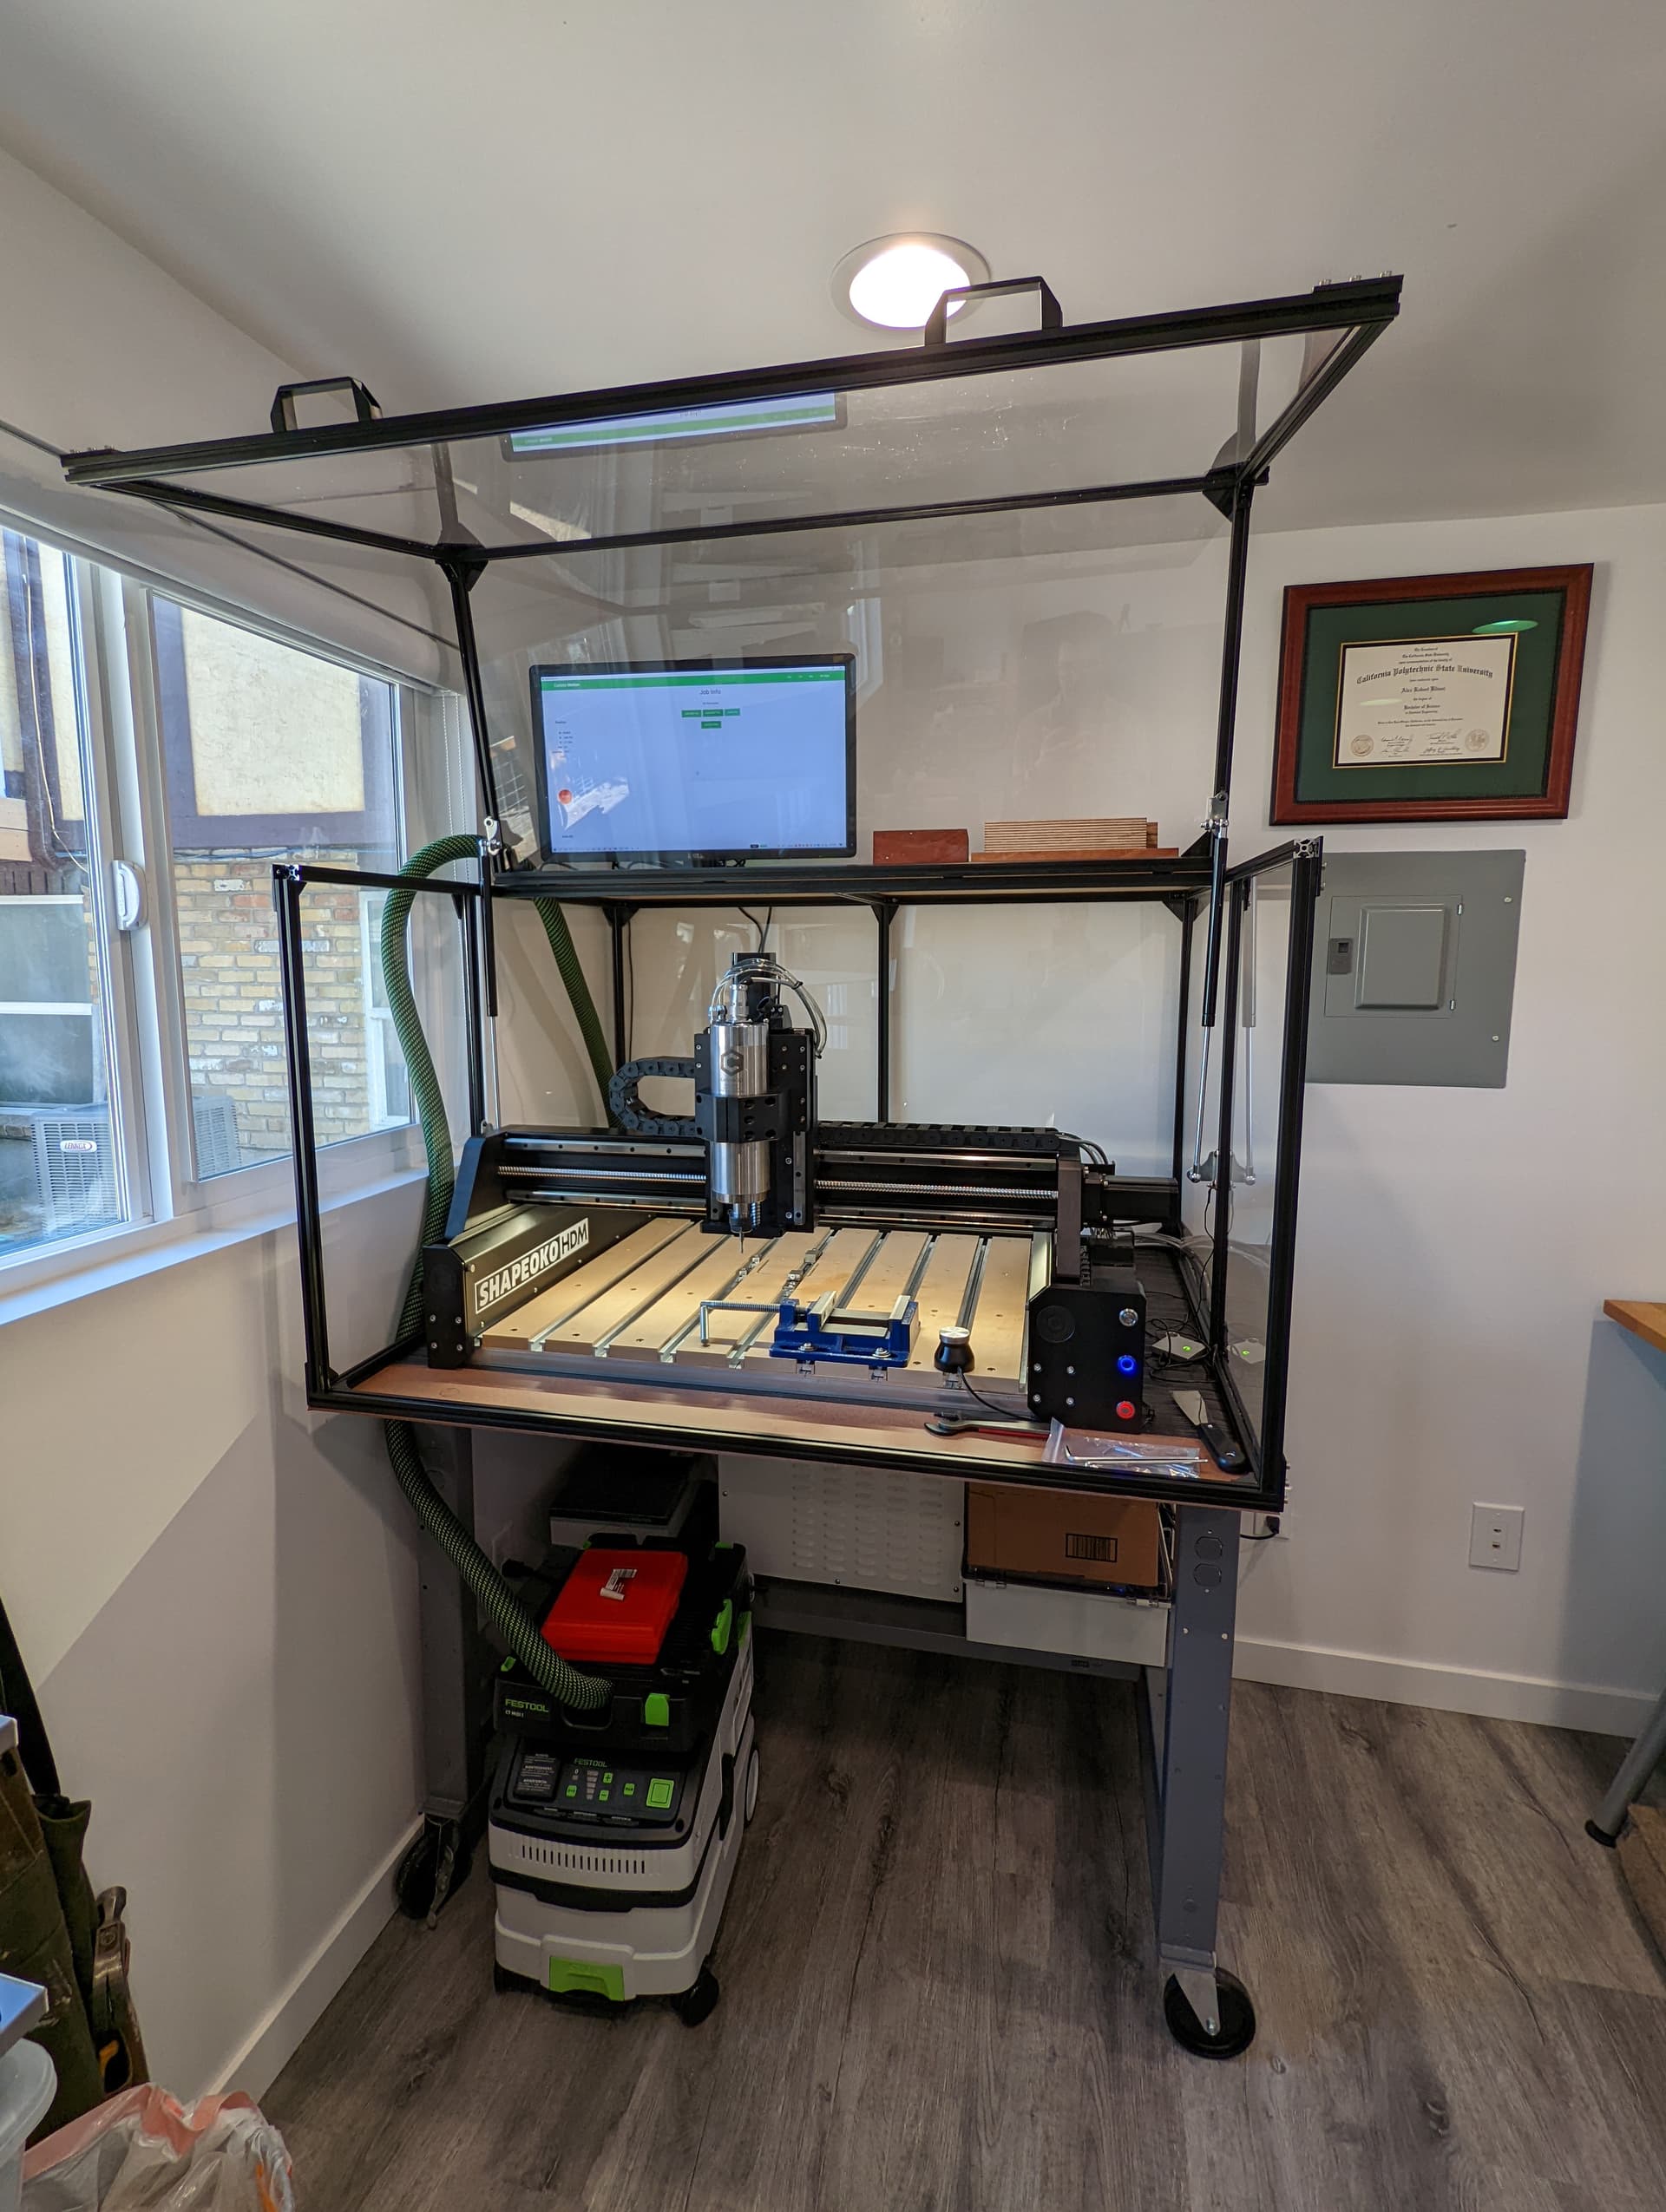
Still plugging away on the HDM fixture plates when time permits.
Finishing up number 3 thread-milling at present. 10k, 715mm/min, ~380 holes in 44 minutes. Only have one thread mill so not pushing. Mister not set up yet so I just squeegee a load of WD40 across all the holes.
Wow! @Griff Those look amazing!! What size and threads are they? I never thread milled before, its on the top of my list of things to learn.
Could you please link the thread mill you are using, and where to get the aluminum plates?
Also could you send me an example Fusion file to study?
Thank you!
Griff
(Well crap, my hypometric precursor device is blown…)
885
Thanks. For some twisted reason I decided to go metric, the holes are 6mm on 20mm centers to enable use of Saunders mod vise. Finished plates are 340mmx240mm. Doubled up on holes because, why not?
ATP (5083) plates from Midwest Steel, .005” flatness spec if I recall correctly.
I’ll send you a Fusion file as long as you promise not to laugh. F360 is very much a tertiary interest to me, I keep trying to get serious about it but…
And…boring 400 holes doesn’t compare to the creativity of your work.
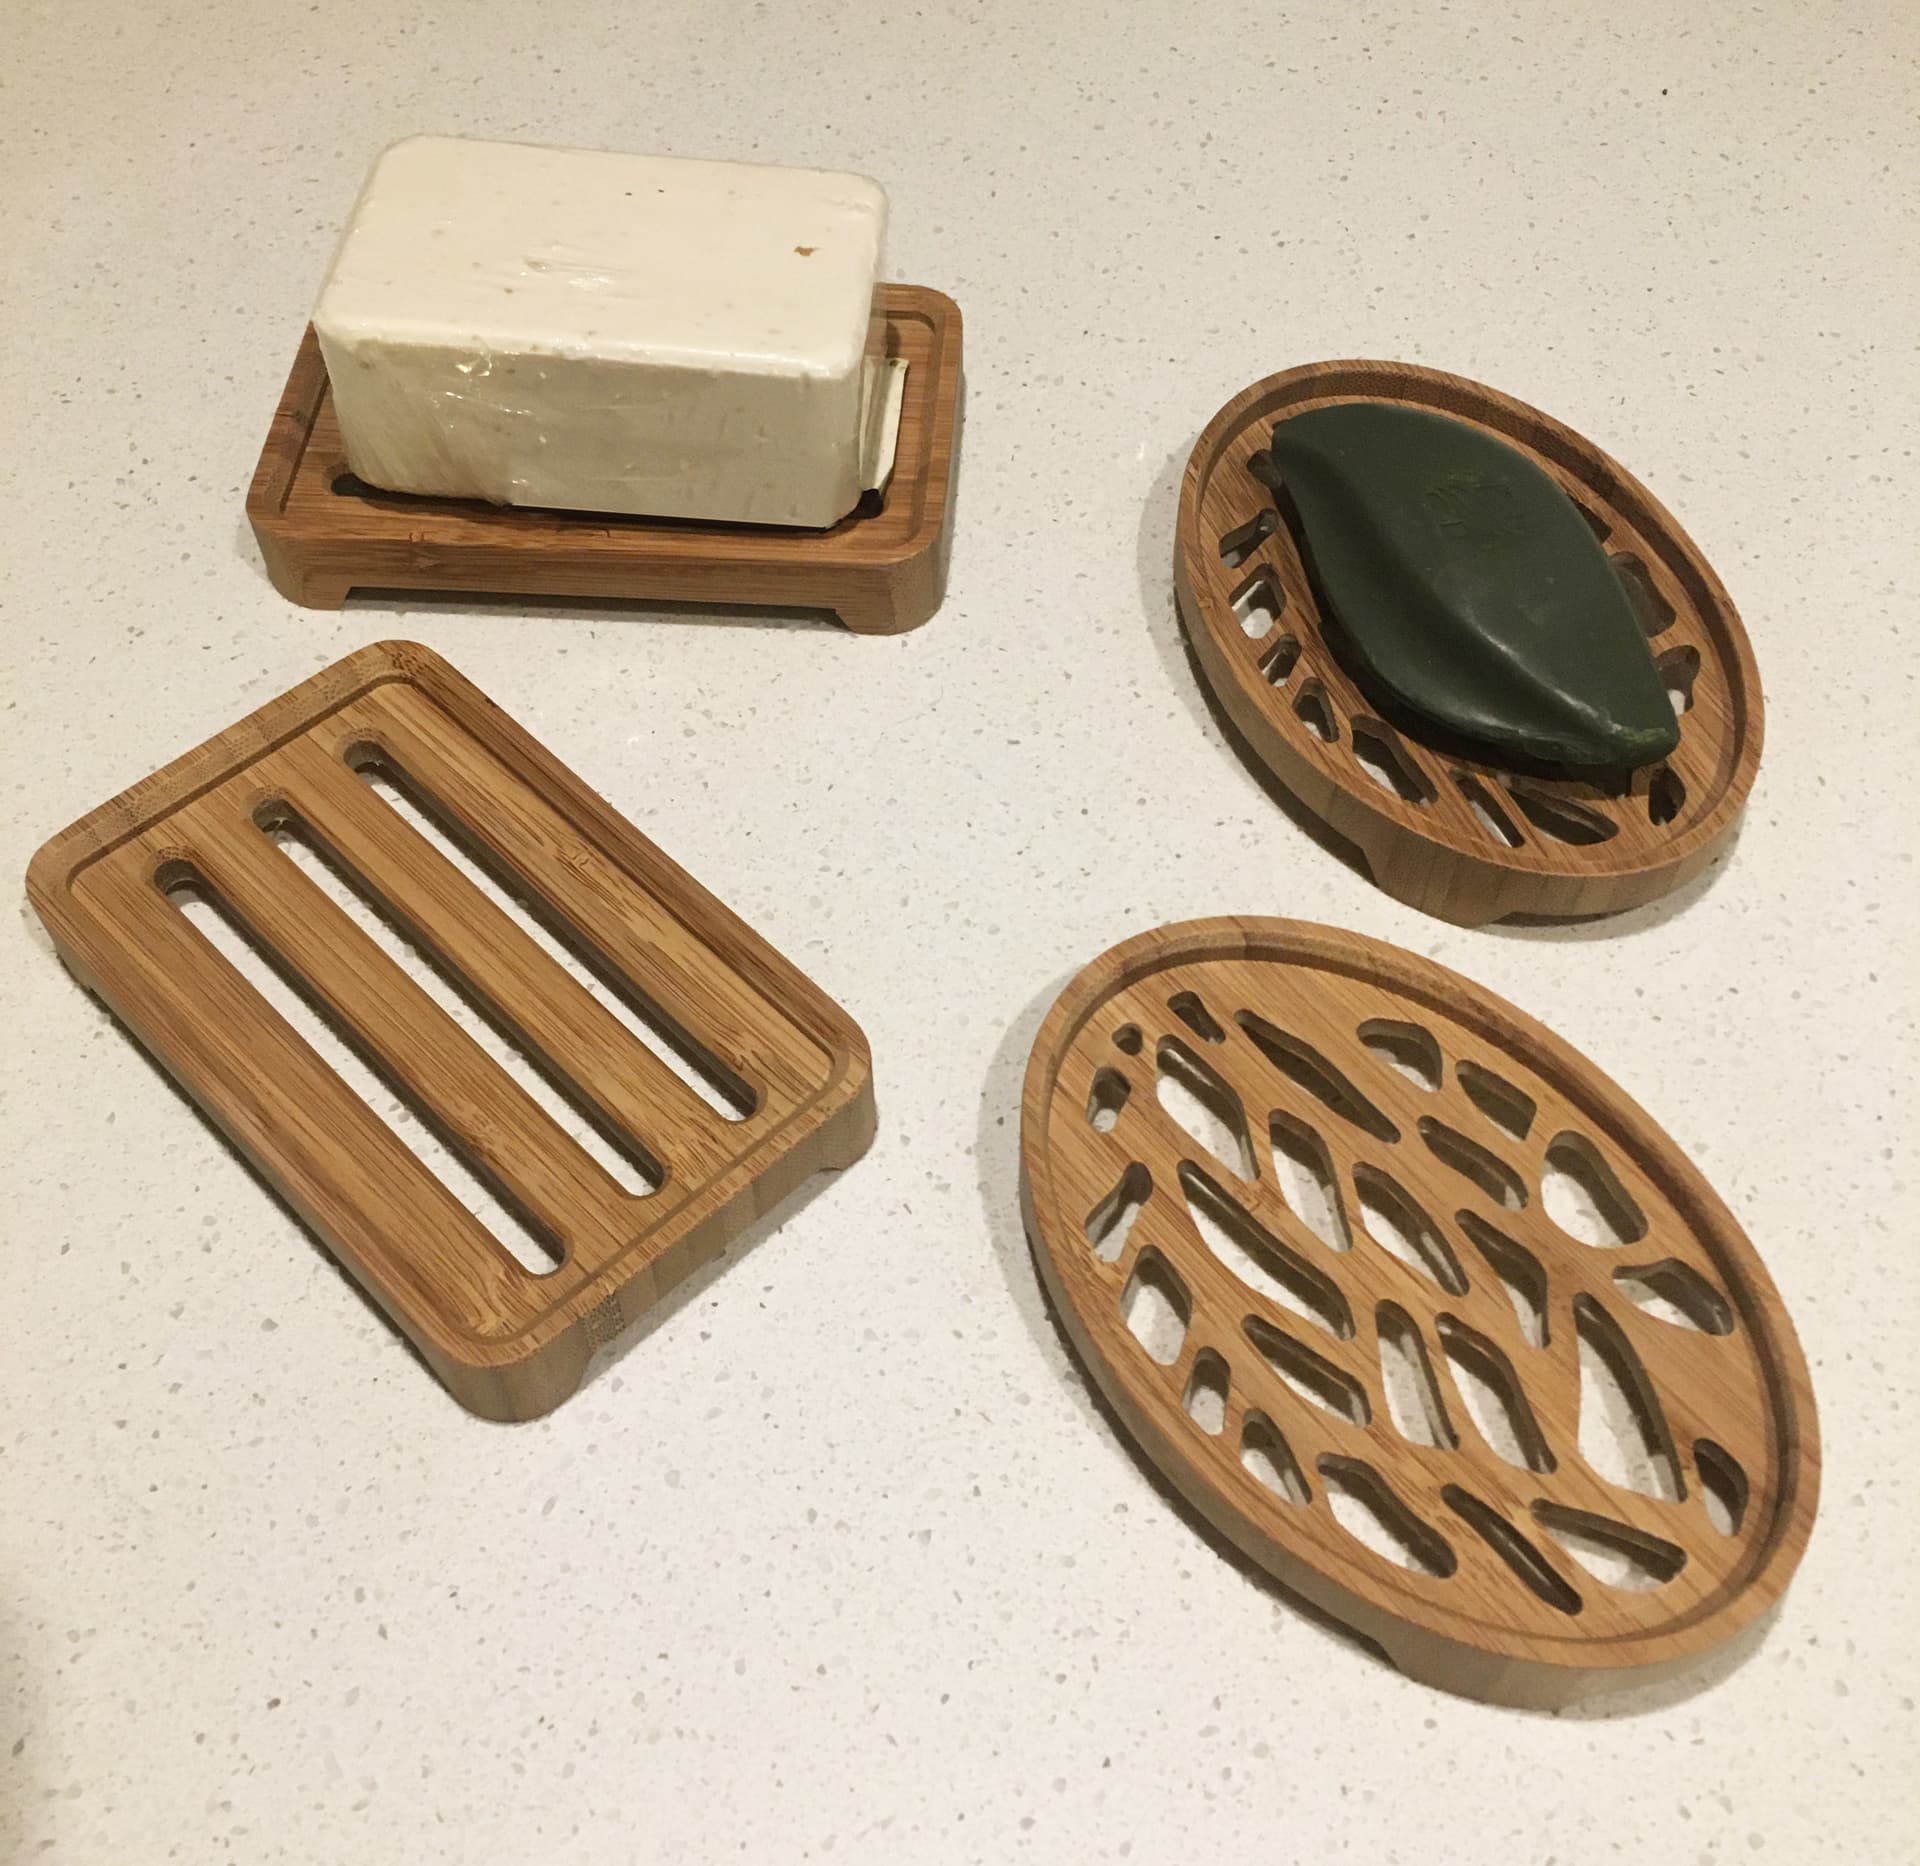
Have been making a bunch of these double sided soap dishes from amber color solid bamboo. It’s dialed in almost 100% , the 60 deg. chamfer around the oval is extremely sensitive to the slightest
( .010 ) misalignment. I’m doing them 4 at a time. Finishing takes patience, using marine urethane.
It seems that every time I add ‘free complexity’ to my designs and machine complex holes it comes as a surprise to me that I have to spend ages on fiddly sanding
What feels like ages ago, I experimented with using the machine to move a sanding pad across a piece. That was overkill and not worth the time for sanding flat surfaces, however I recently re-discovered that I have a whole bunch of Dremel sanding thingies that could be mounted in a router/spindle, and driven by the machine to go and sand all the nooks and crannies of a complex design. Similar to how one would use a chamfer tool, but for sanding edges/inner walls. Since I’ve had my share of manual sanding for two or three generations, I’ll probably look into this next time I get a chance!