I now keep a high quality compression bit just for finishing passes and a couple of smaller dia. regular upcuts to do the finish passes on the more complex shapes, I don’t use them for roughing out, sharp bits minimise the sanding as you say.
I also have a growing pile of slightly tapered pieces of plywood which I can wrap sandpaper around to get clean flat sanded edges in oddly shaped gaps.
They look great! If you have thin sheets of bamboo like the dollar tree cutting boards something you can also do is layer one board on the bottom then tape the edges and pour a 1/4" layer of epoxy. Surface the cured epoxy perfectly flat and then coat the second board with epoxy and sandwich them together.
When you cut the same design the feet and top accent ring will be bamboo but the middle strainer section will be epoxy or vice versa. If you don’t like using epoxy 5mm acrylic would be easier to work with.
Griff
(Well crap, my hypometric precursor device is blown…)
897
Facing, almost as boring as sanding…until HDM!
Bumped max feeds to 7000 to try to add some excitement to facing. And yes, I know C3D, I’ve most likely voided my warranty. Don’t try this at home kids!
Griff
(Well crap, my hypometric precursor device is blown…)
904
Clever idea, I shall be making some of these. Appreciate the inspiration.
It’ll be nice to get back to wood again (been making a lot of aluminum glitter lately) also, my wife will be more then happy to endure a few wood chips and a bit of dust tracked in rather then tinker bell dust.
AZ, how can you expect to publish something in a public forum and expect it to be “confidential?” You can have intellectual property that belongs to you, but not this way.
6 Likes
Griff
(Well crap, my hypometric precursor device is blown…)
907
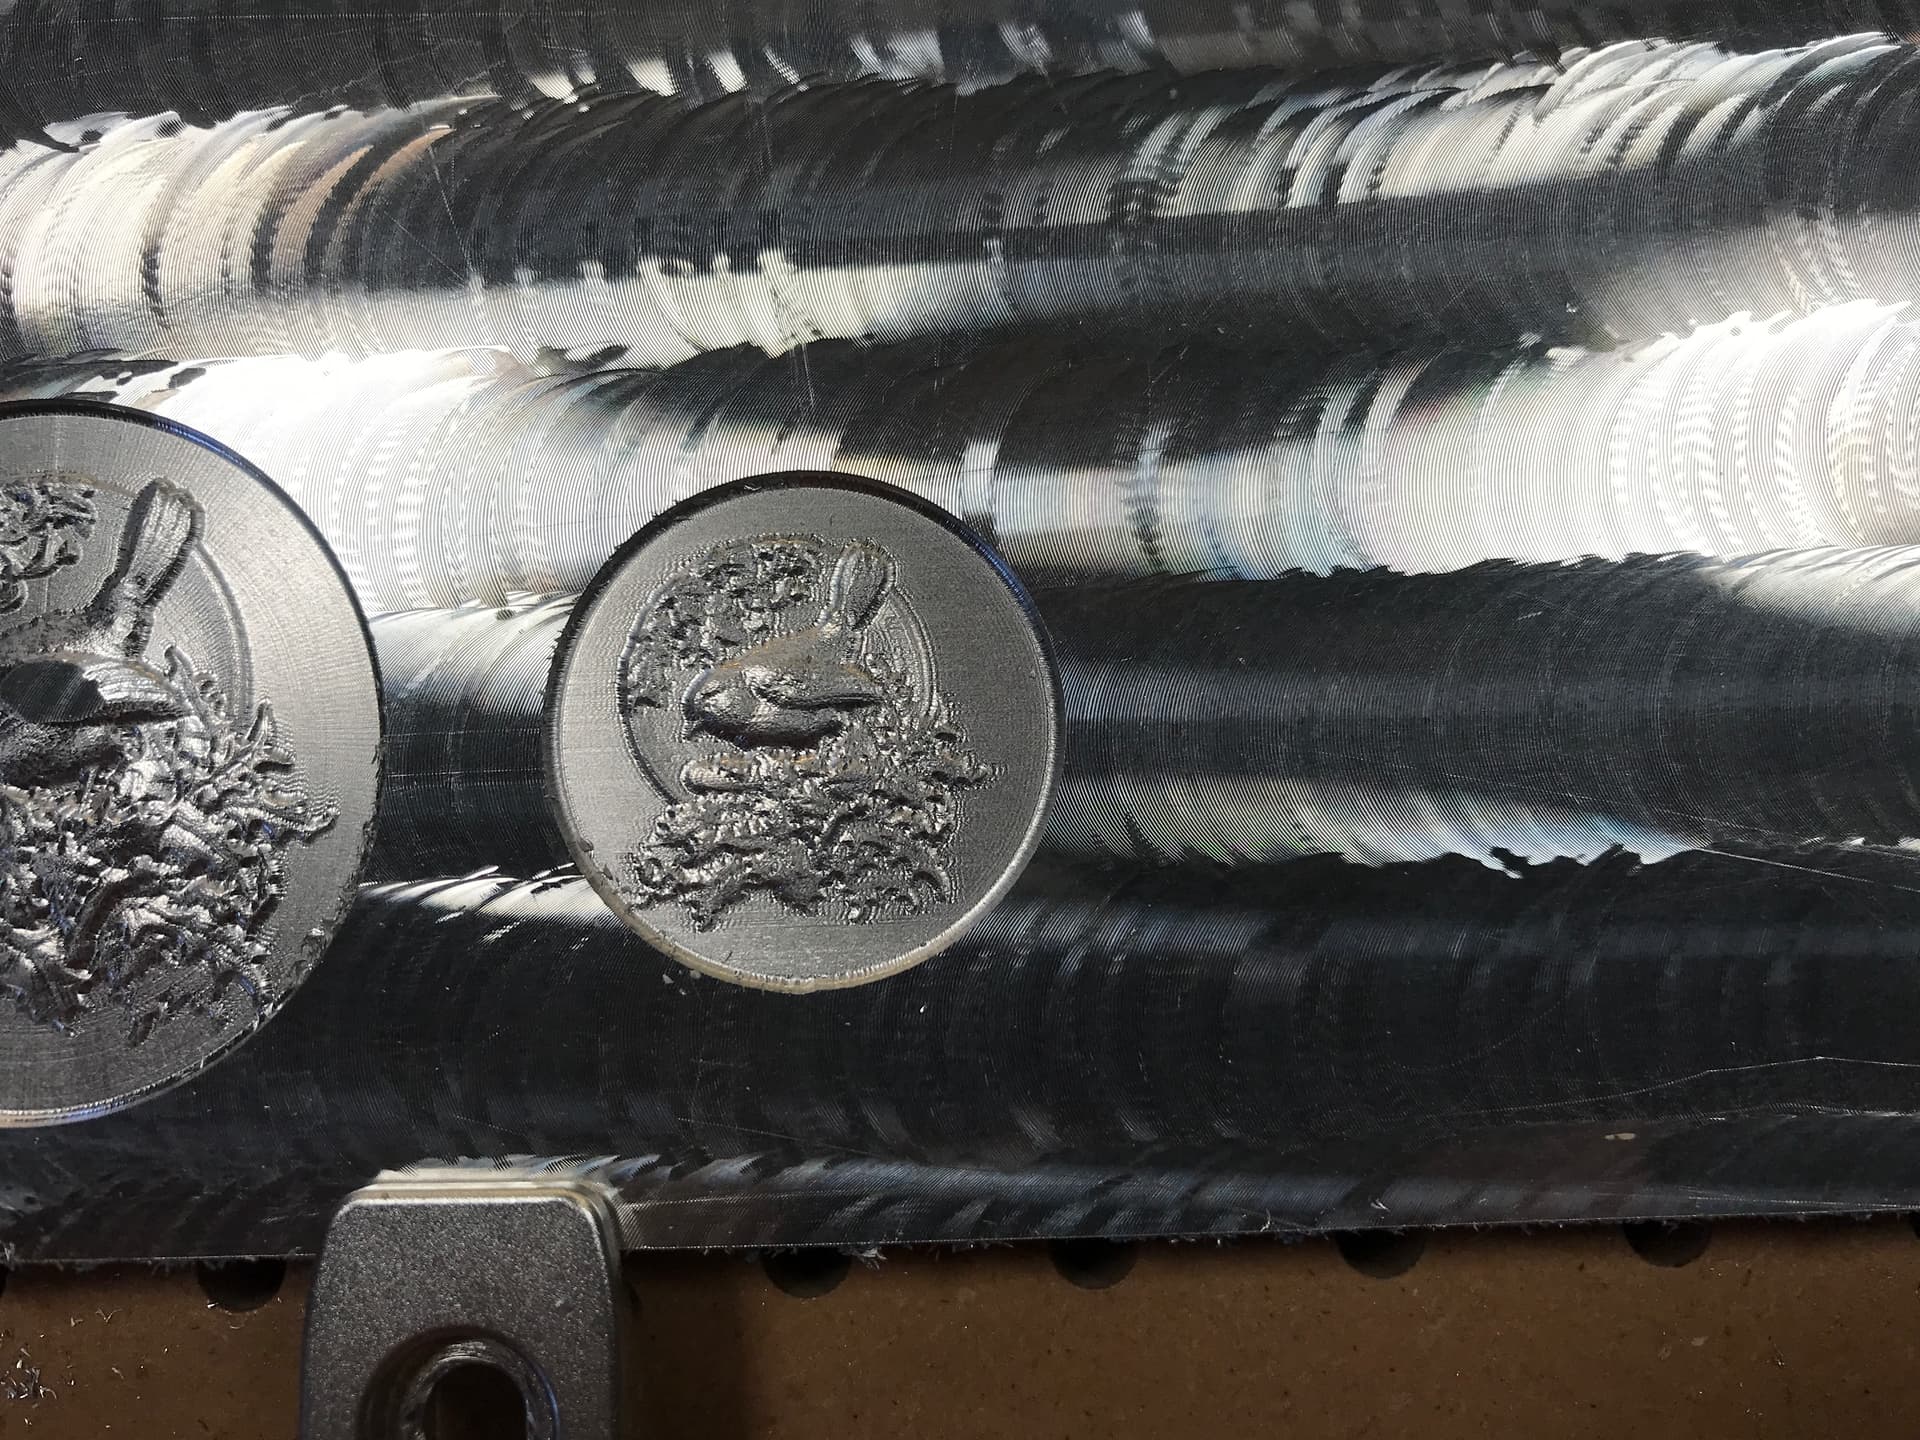
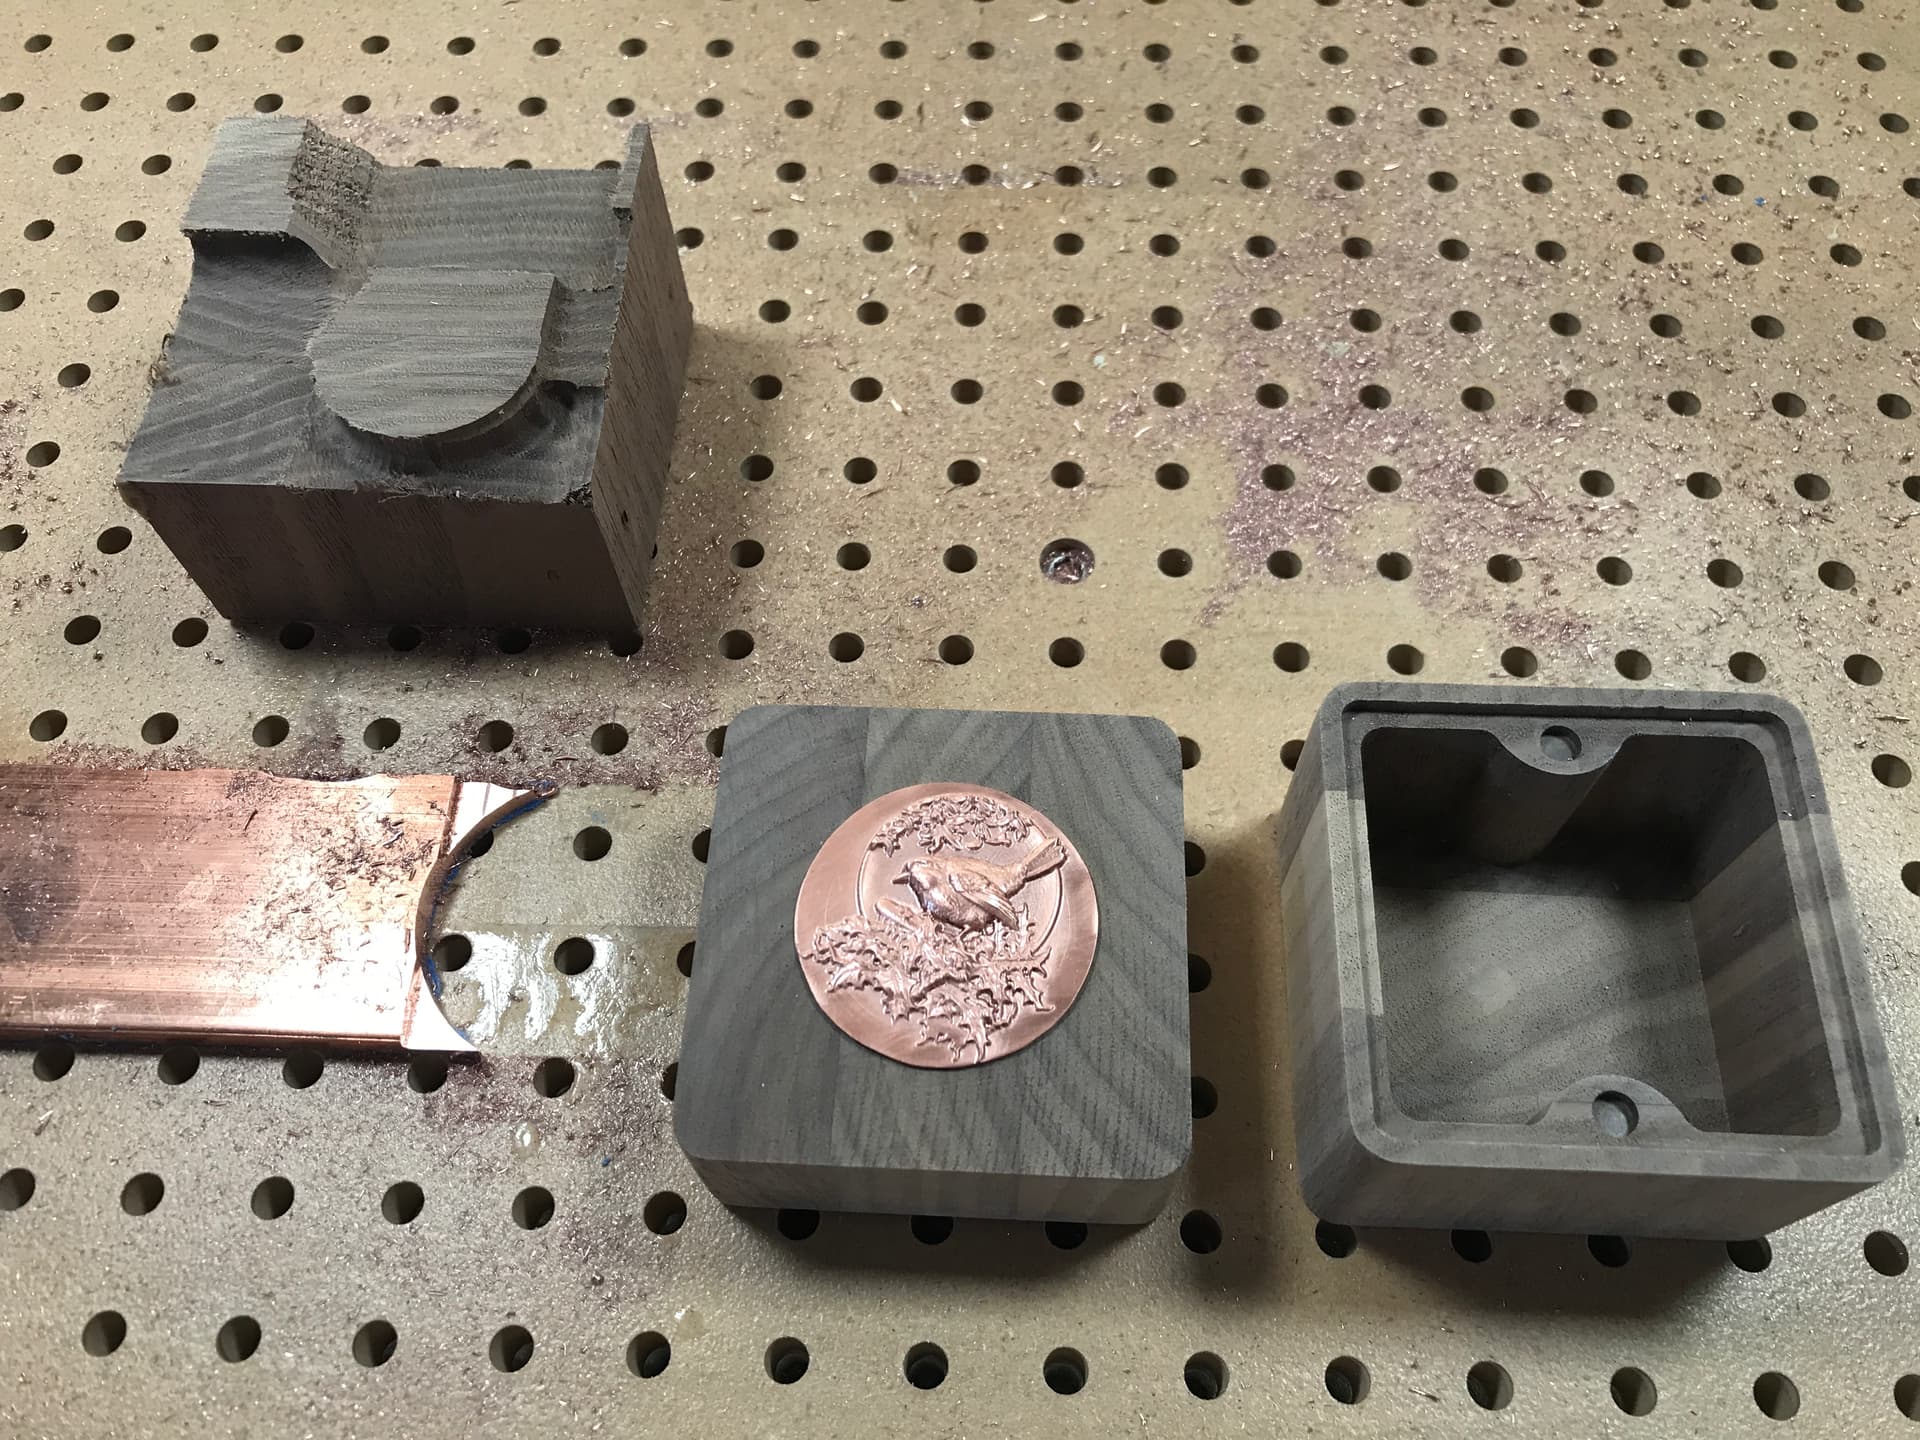
Messing with birds today on the HDM.
Going to eventually do some copper inlays for some boxes. Just practicing now.
The cut in the video is with 2 flute tapered ball, 1mm tip, V-Carve Pro 3D Finish tool path, .0016” stepover, 100 ipm, 24k.
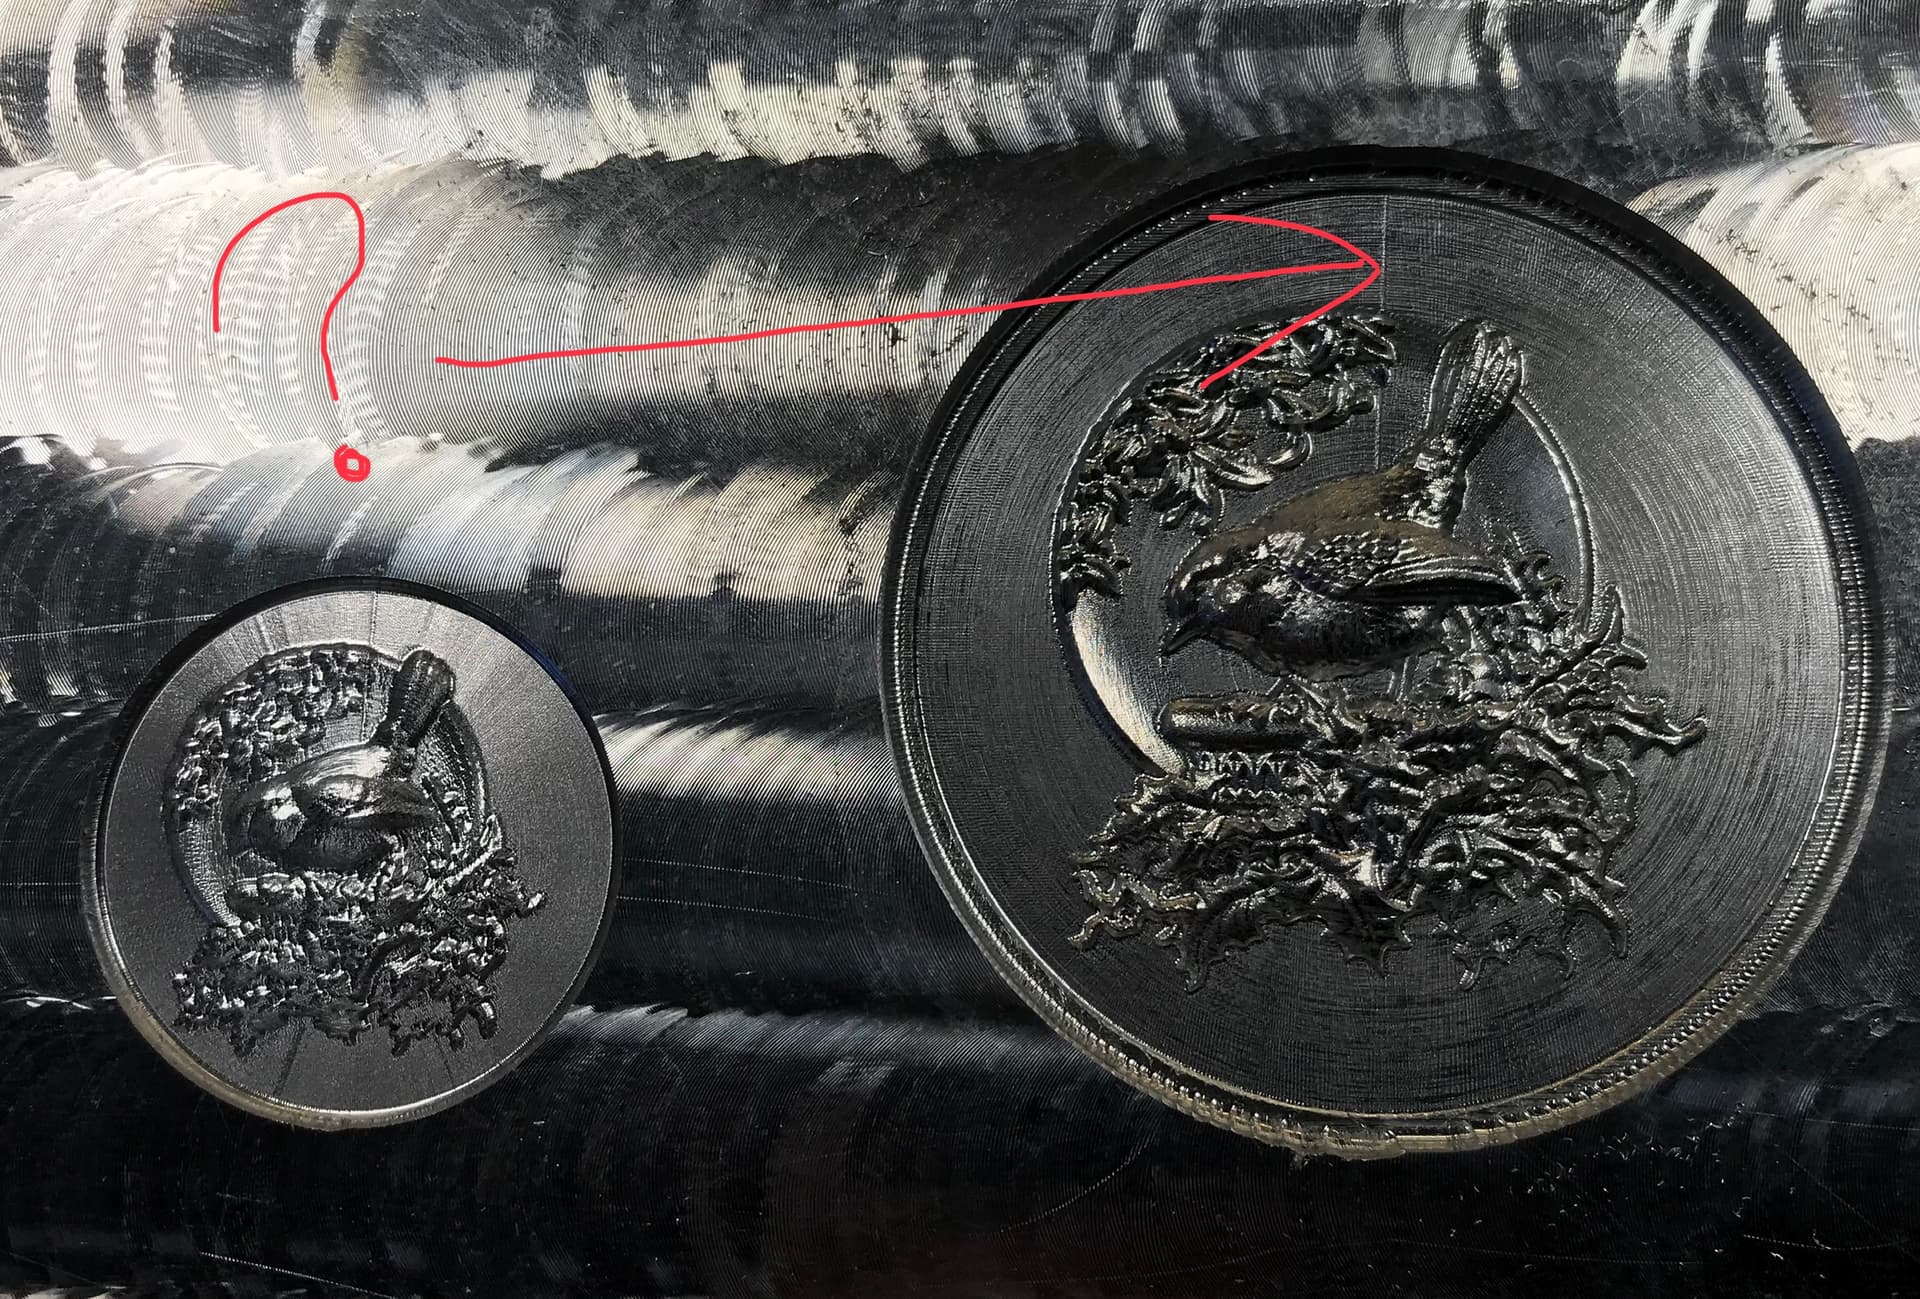
And no, I did not face the stock with the HDM, work done years ago with a decidedly untrammed SO3.
Not too bad, I’ll see if I can clean it up a bit with a tapered .25mm mill I’ve not tried yet.
It’s interesting how much worse the piece looks in the pic then to the naked eye.
EDIT
Sneaking up on something acceptable. Can someone tell me the cause of the vertical line? G-code attached. EDIT - Problem solved, a V-Carve thing, needed to add “stepover retract” to toolpath.
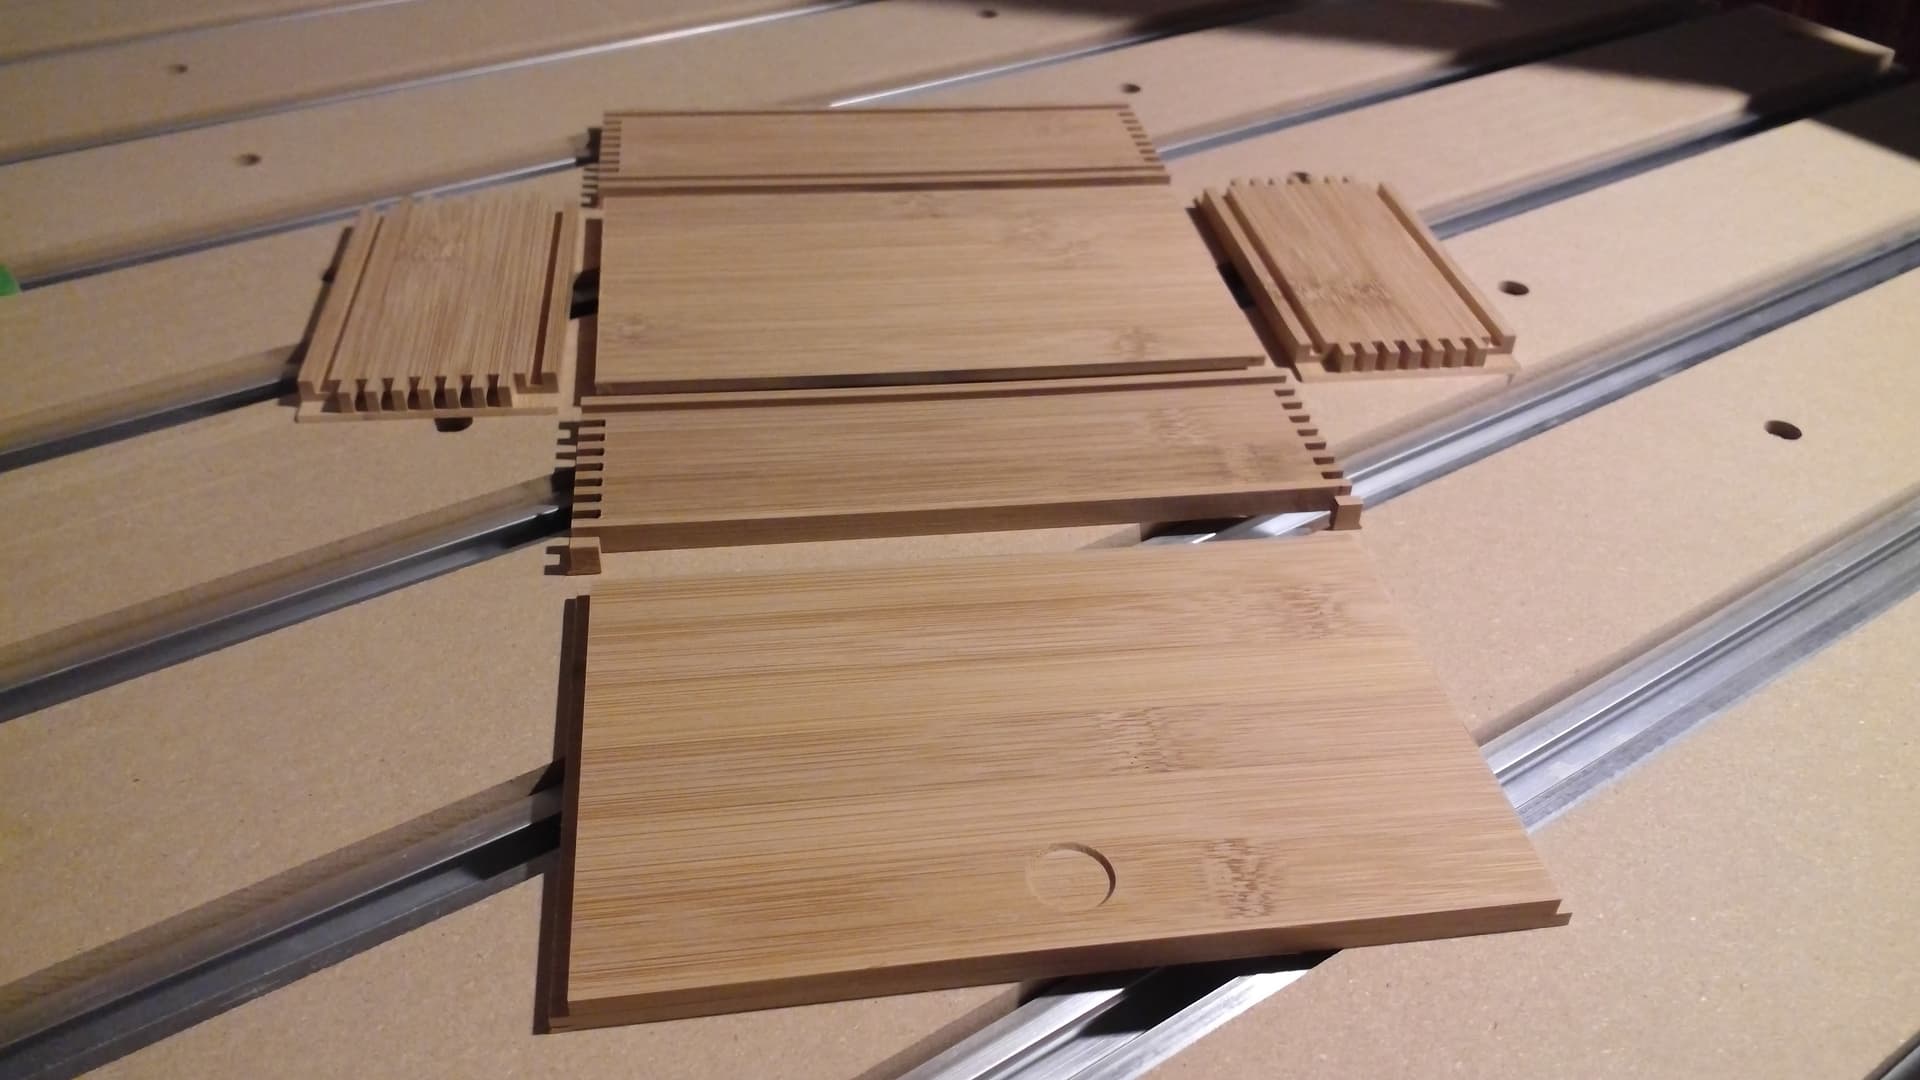
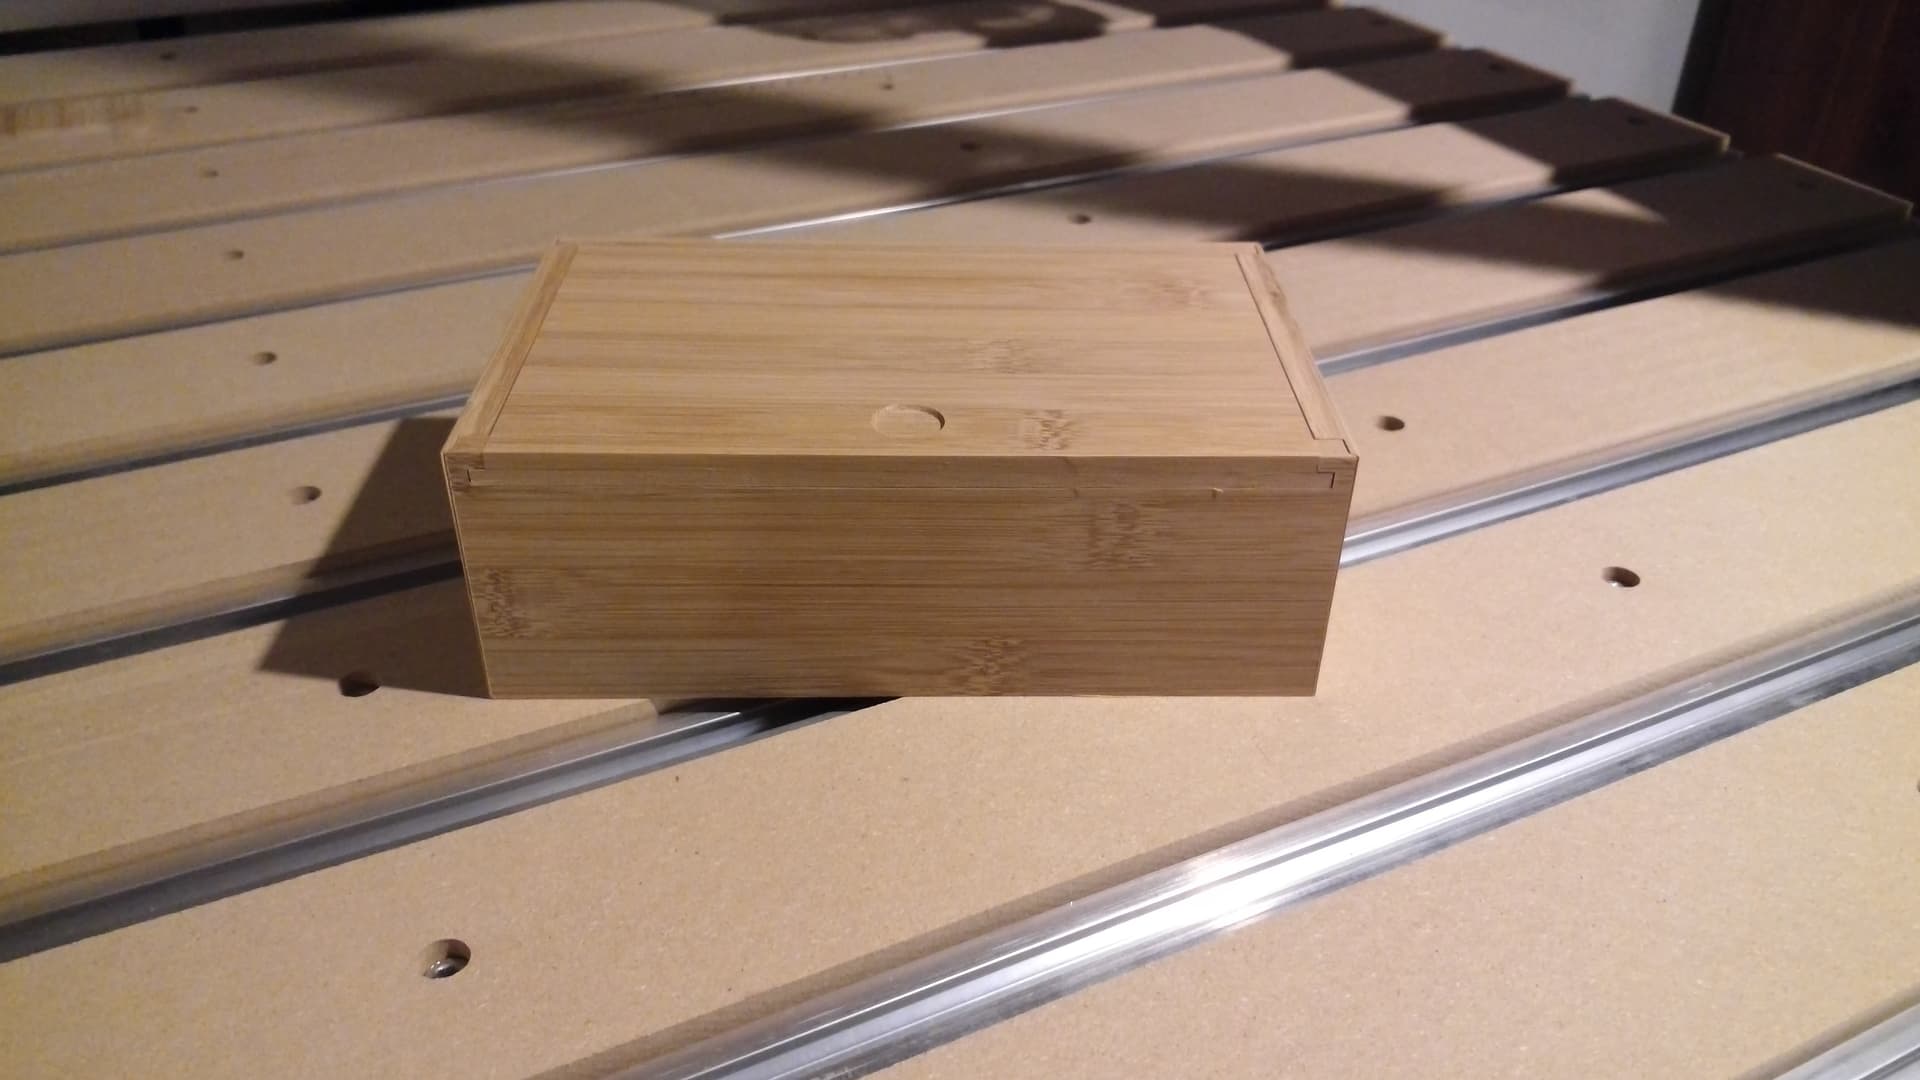
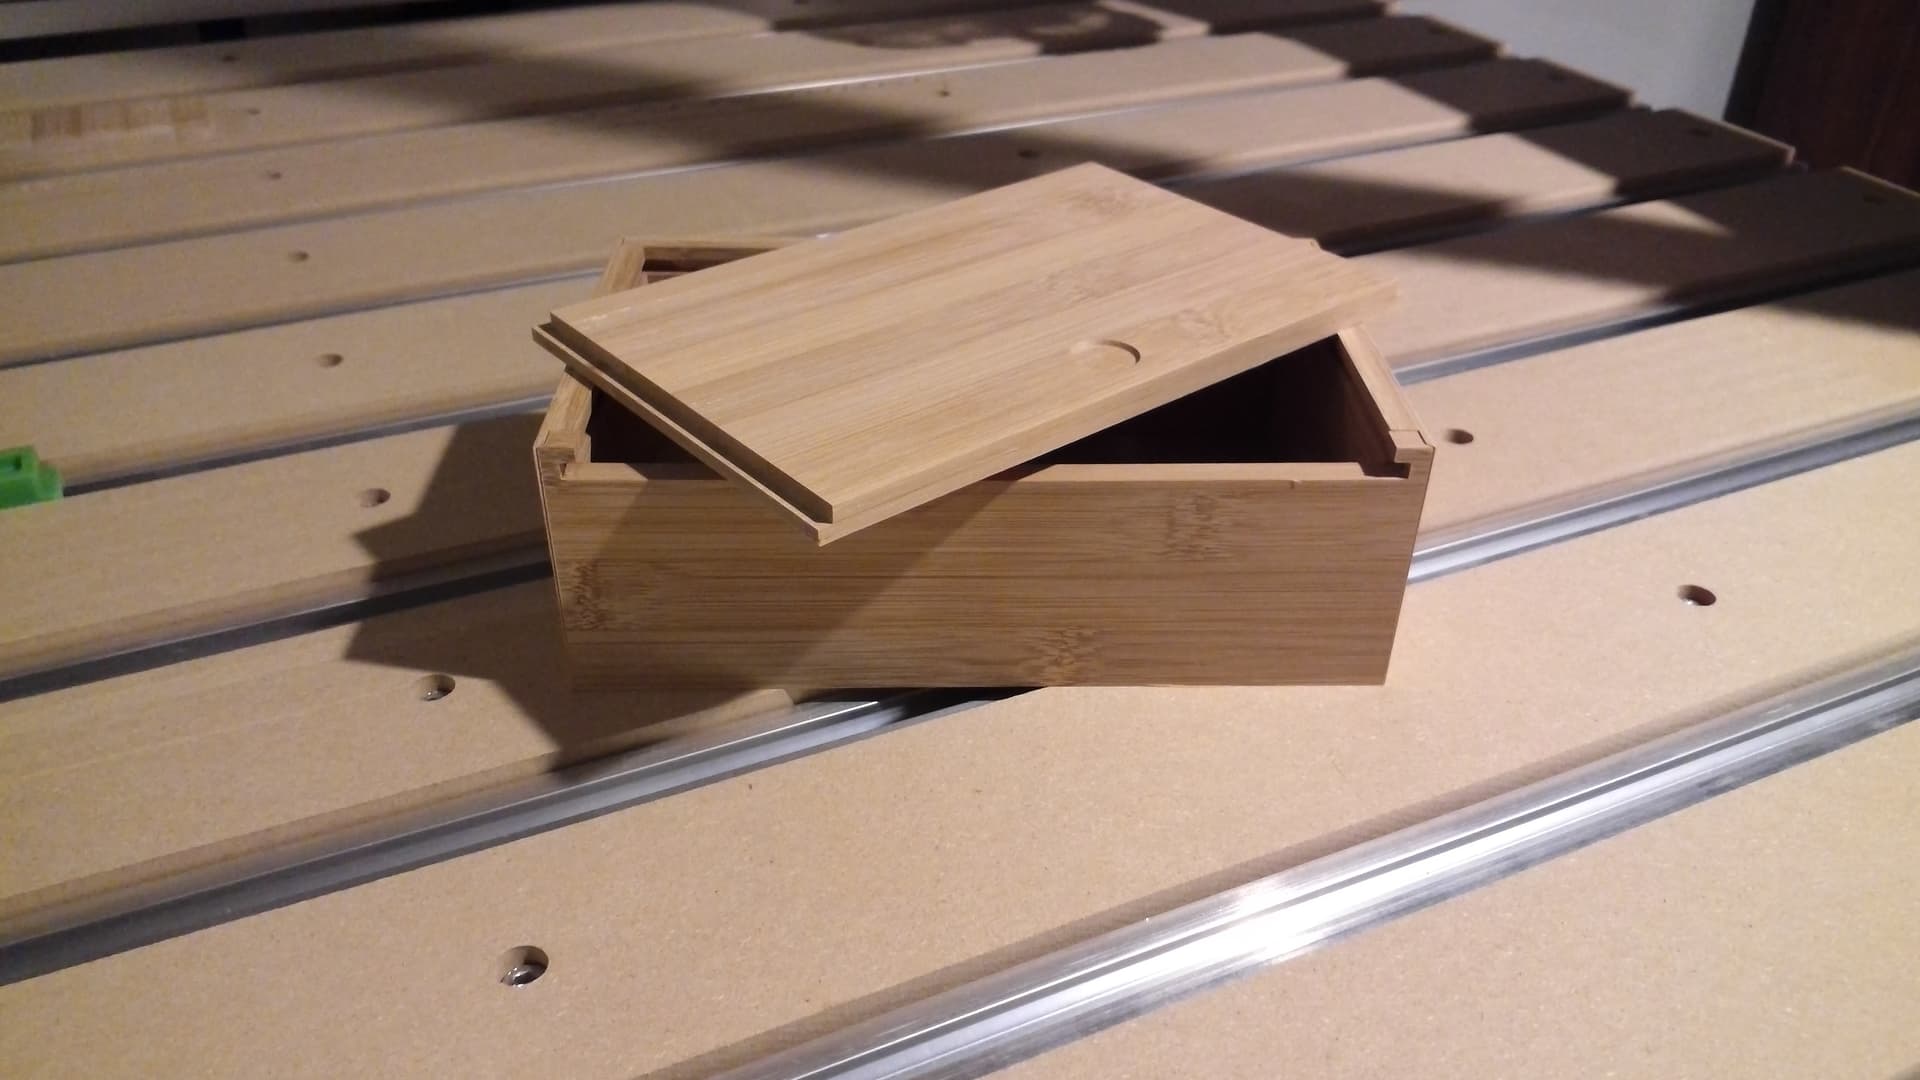
Progressing…made a parametric box from a file provided by Magnetic box - parametric model. Plan is to inlay the bird into the top. Box was made from walnut glueup cut offs from some coffee table legs. I use scraps whenever I can.
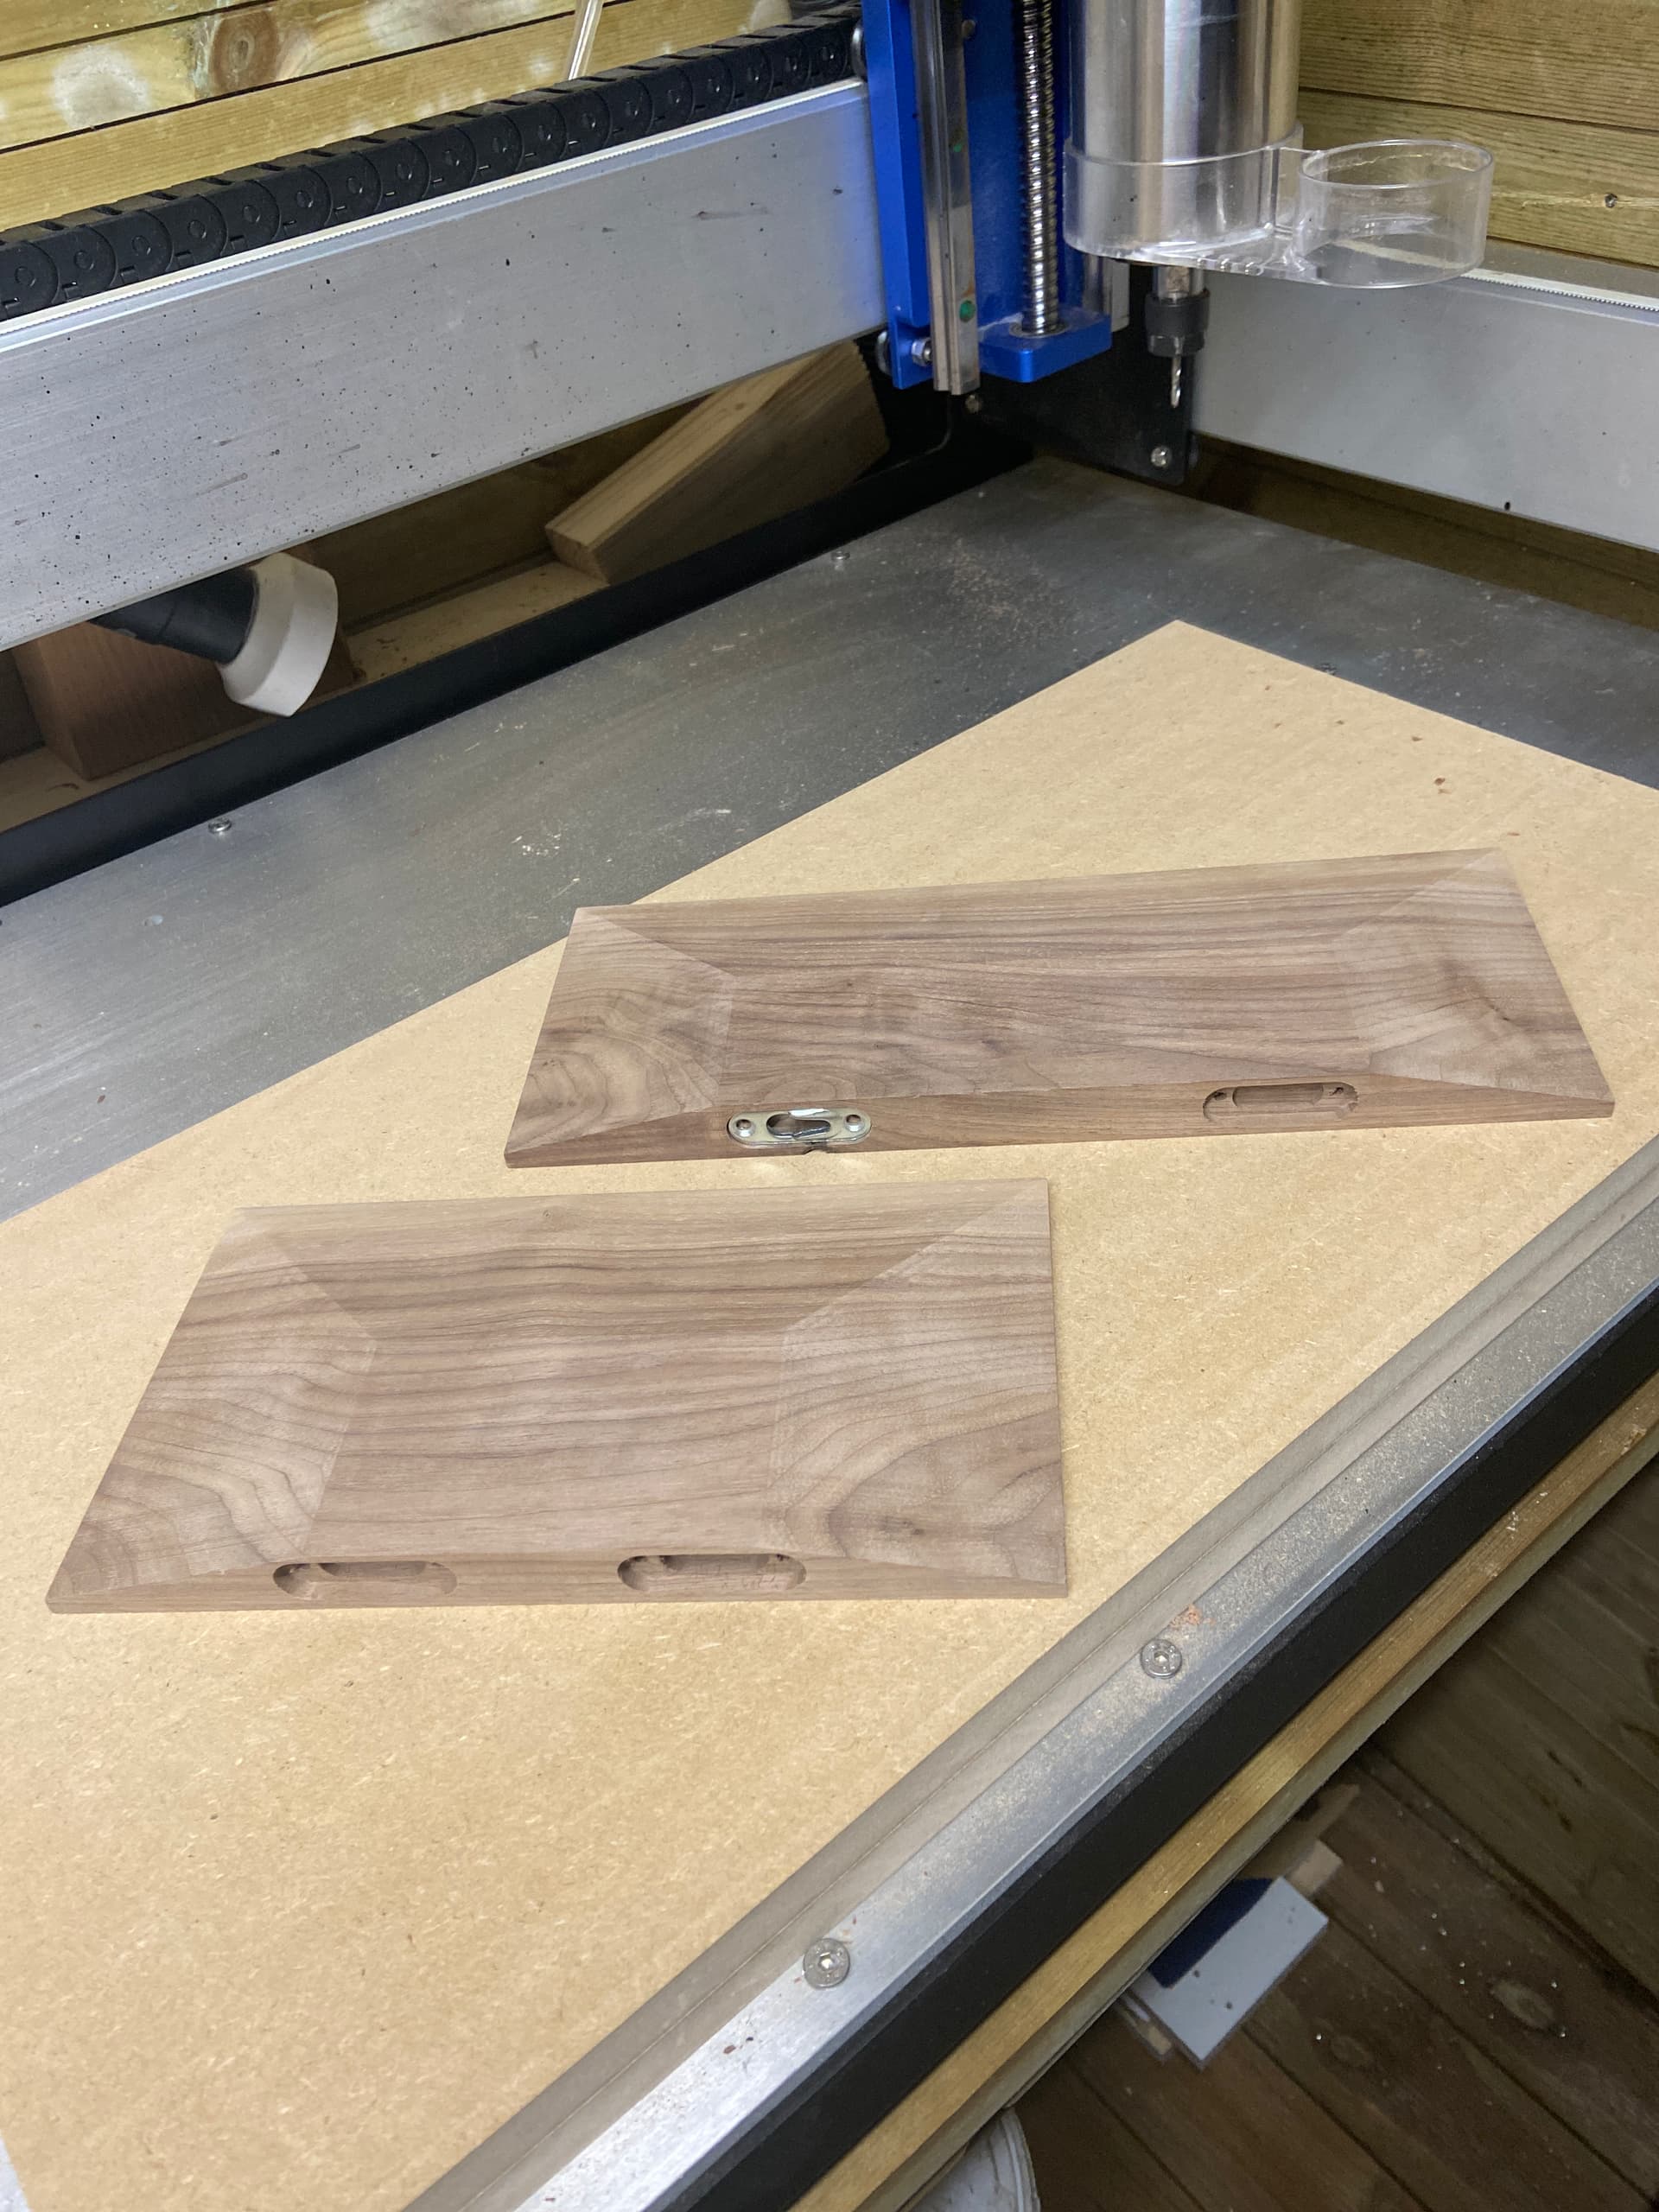
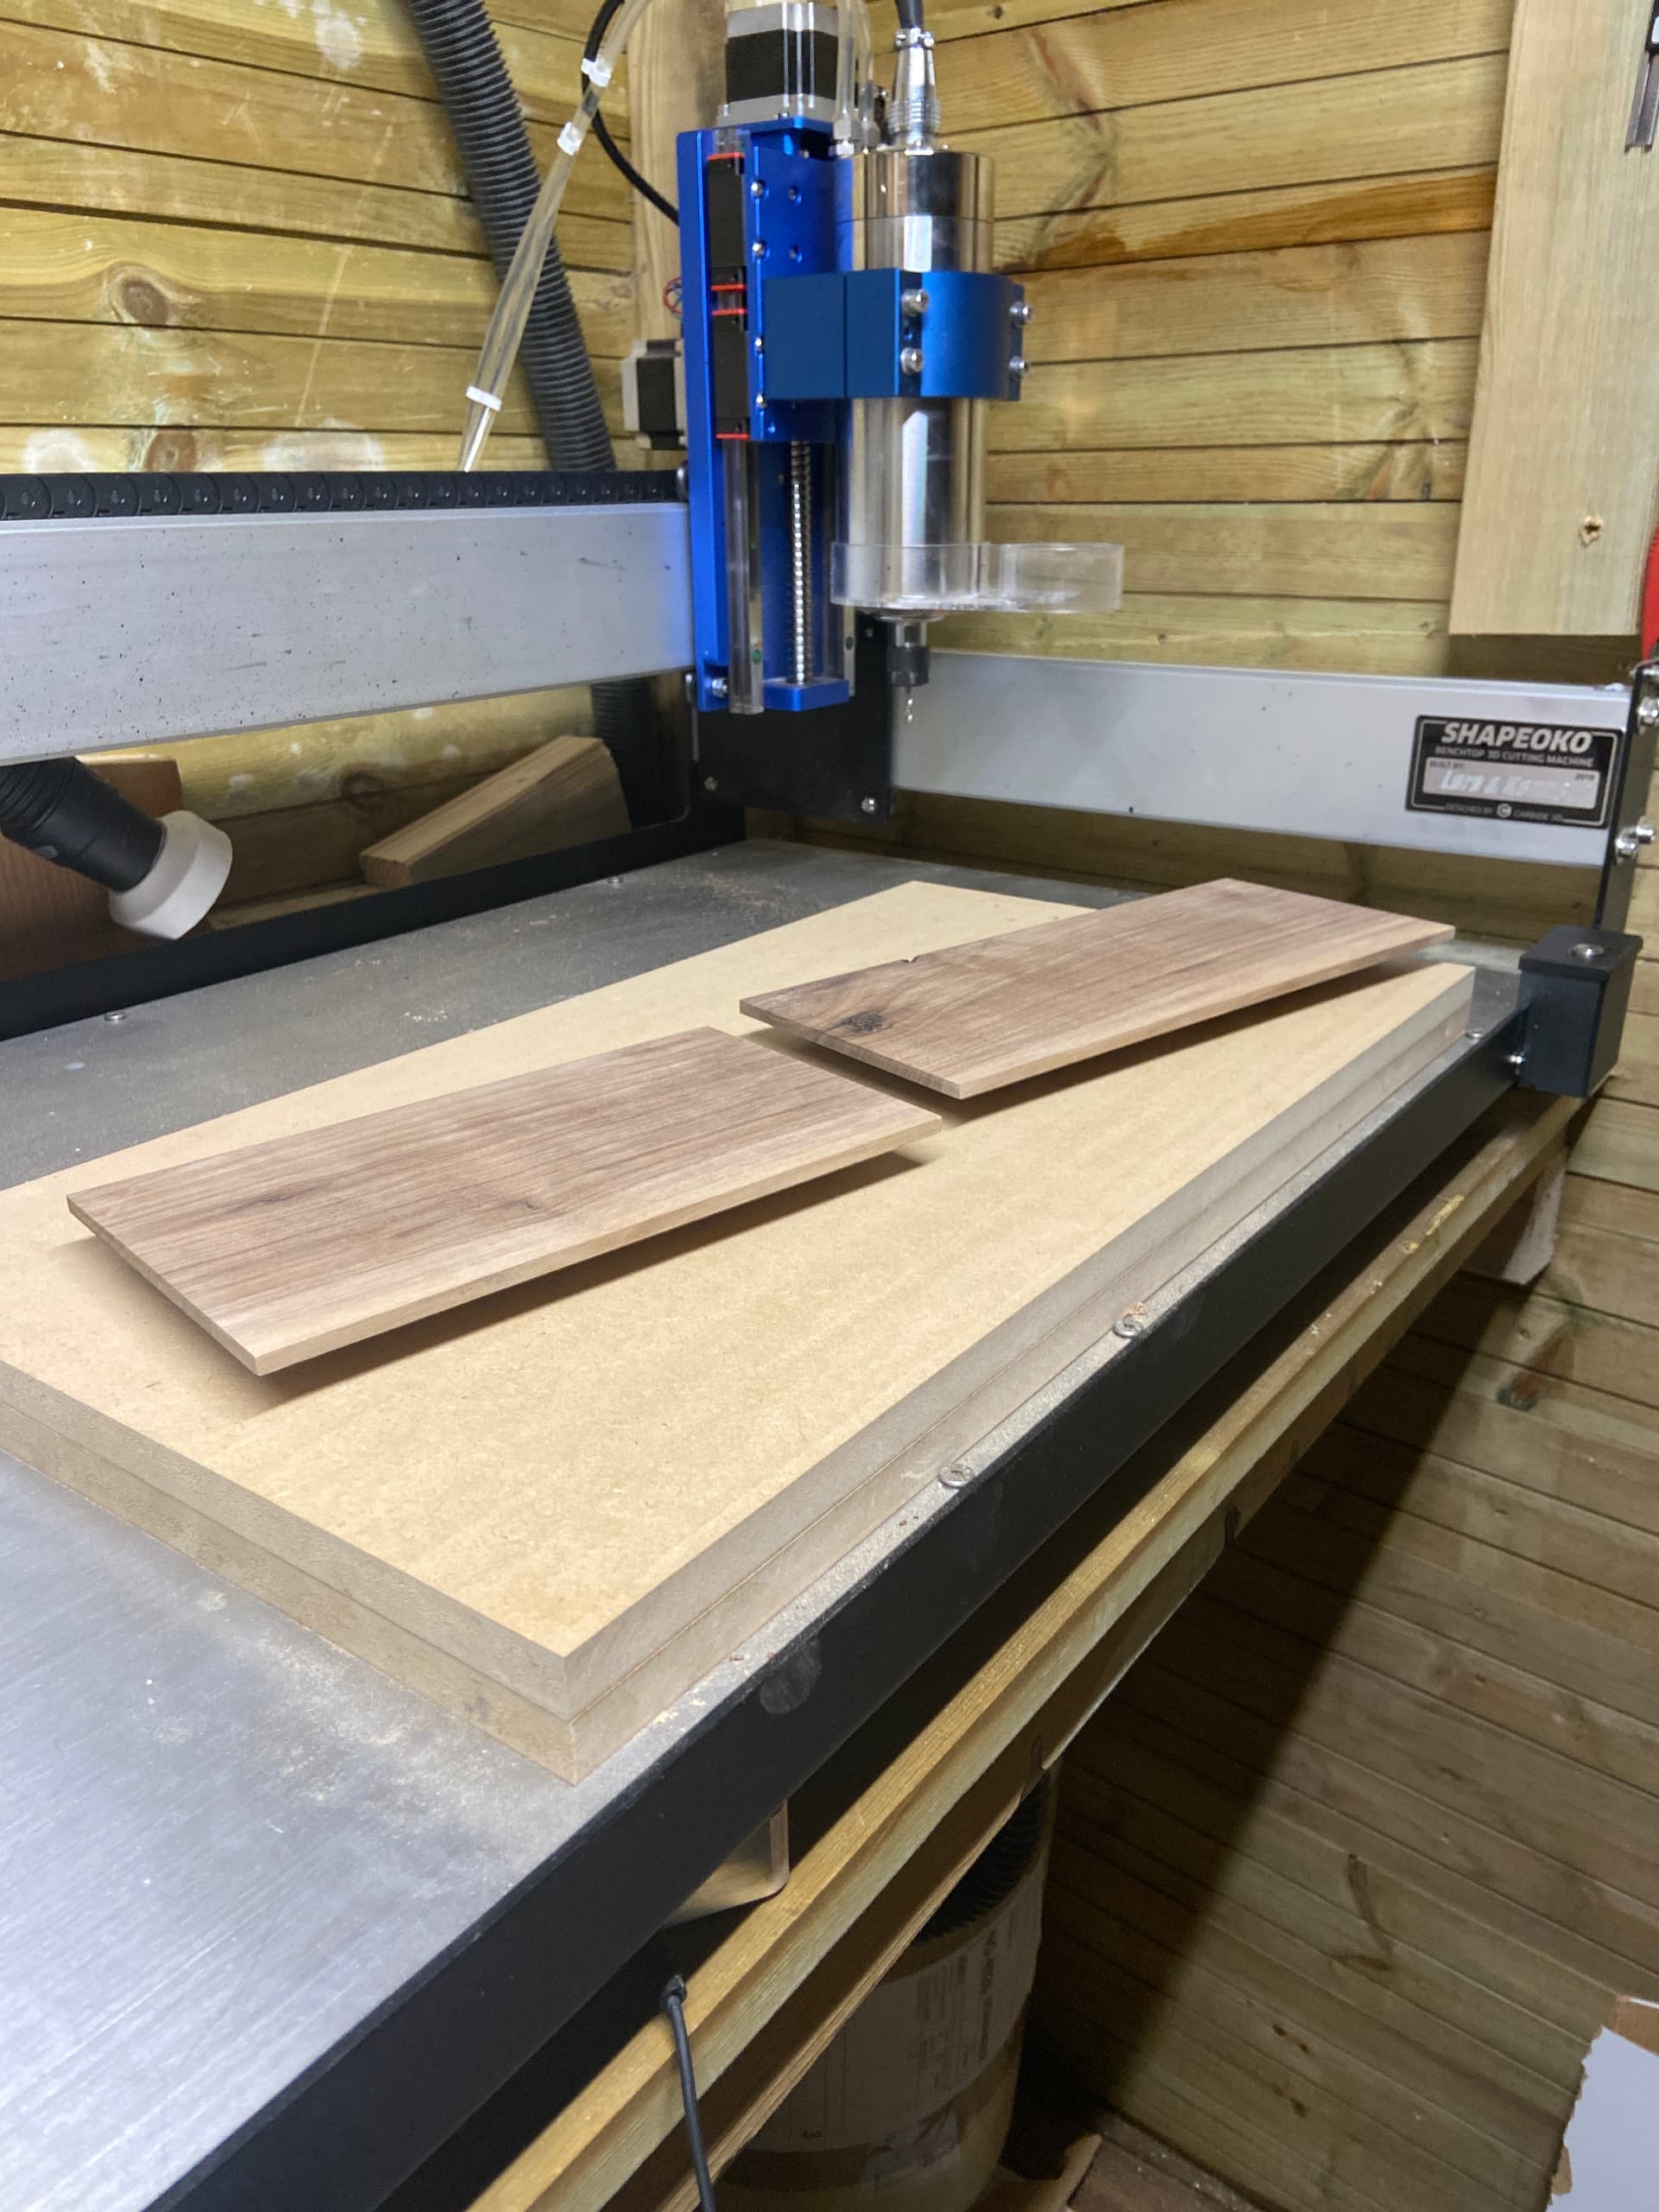
I have made the last two shelves in a series of 3 to hang in my living room.
All 3 made from one piece of walnut that was 60 x 20 x 5cm
They are designed in fusion and after flattening one side, I flip it and run one adaptive clearing with a 8mm 4 flute, then two parallel jobs with the #202 before I apply oil and hang them on the wall.
BTW, camera work is tough with the HDM due to the underside light…really need to add a spindle light ring to help things out. Sorry for the focus in parts of the vid
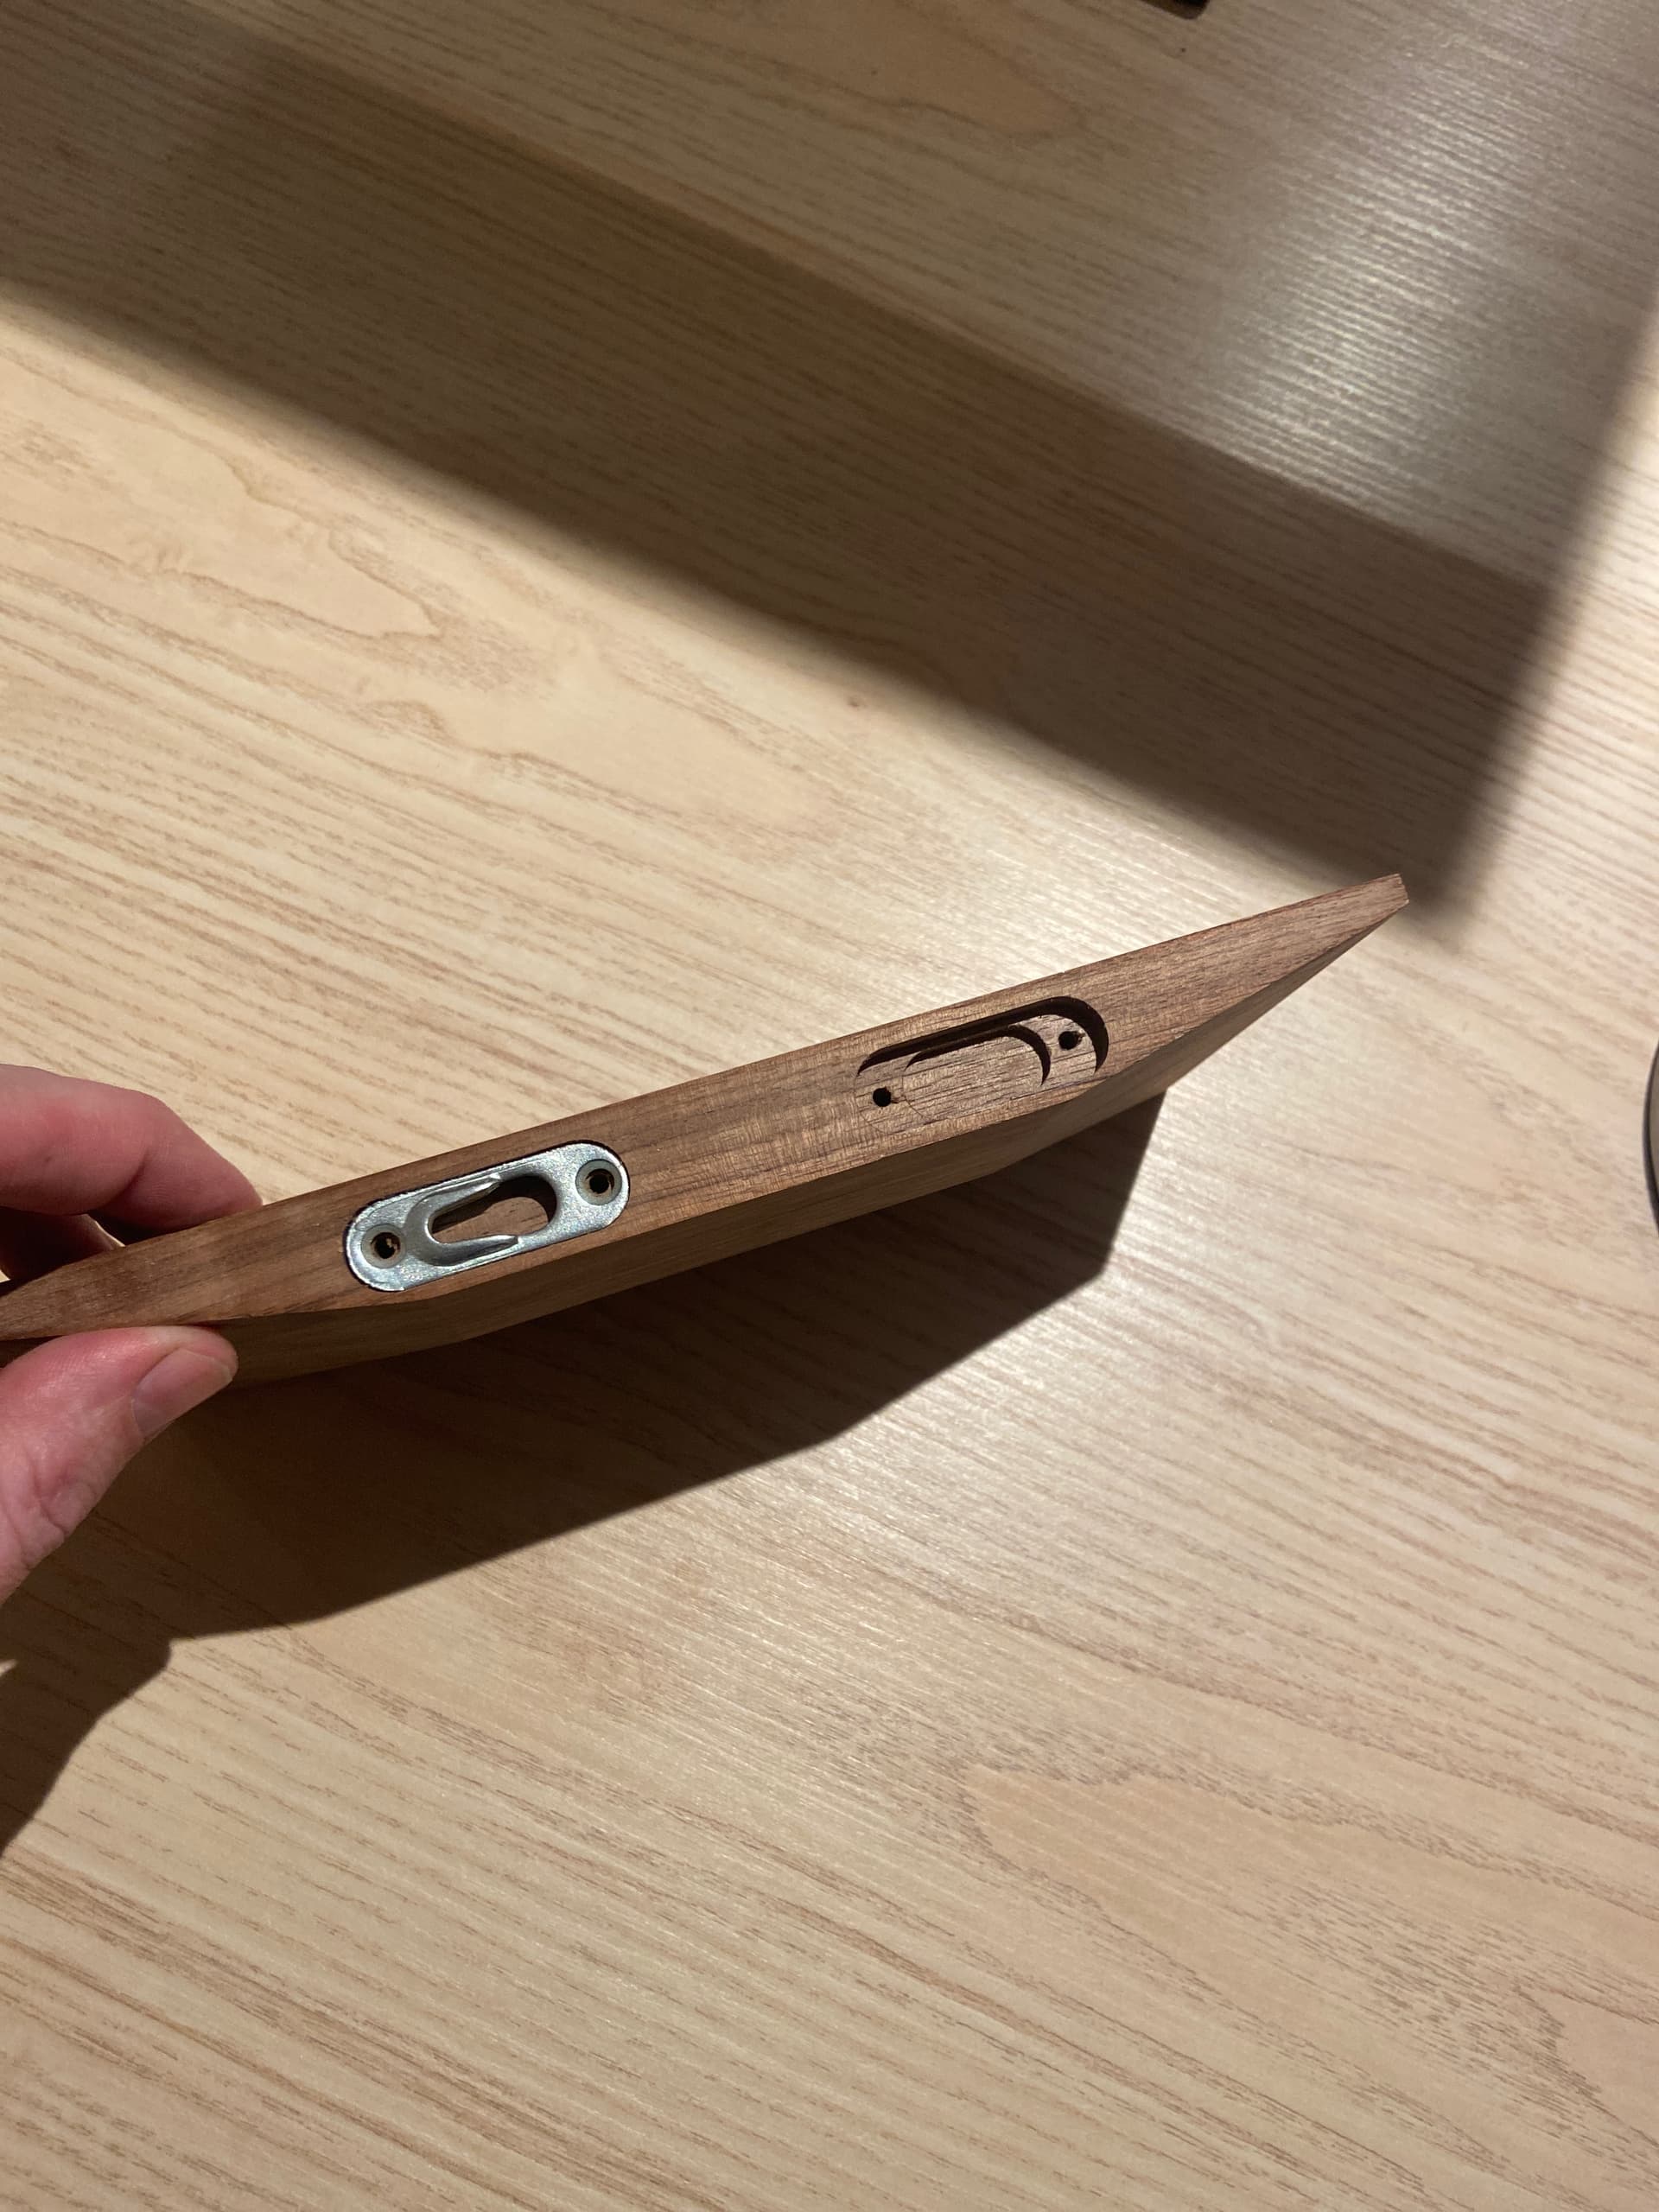
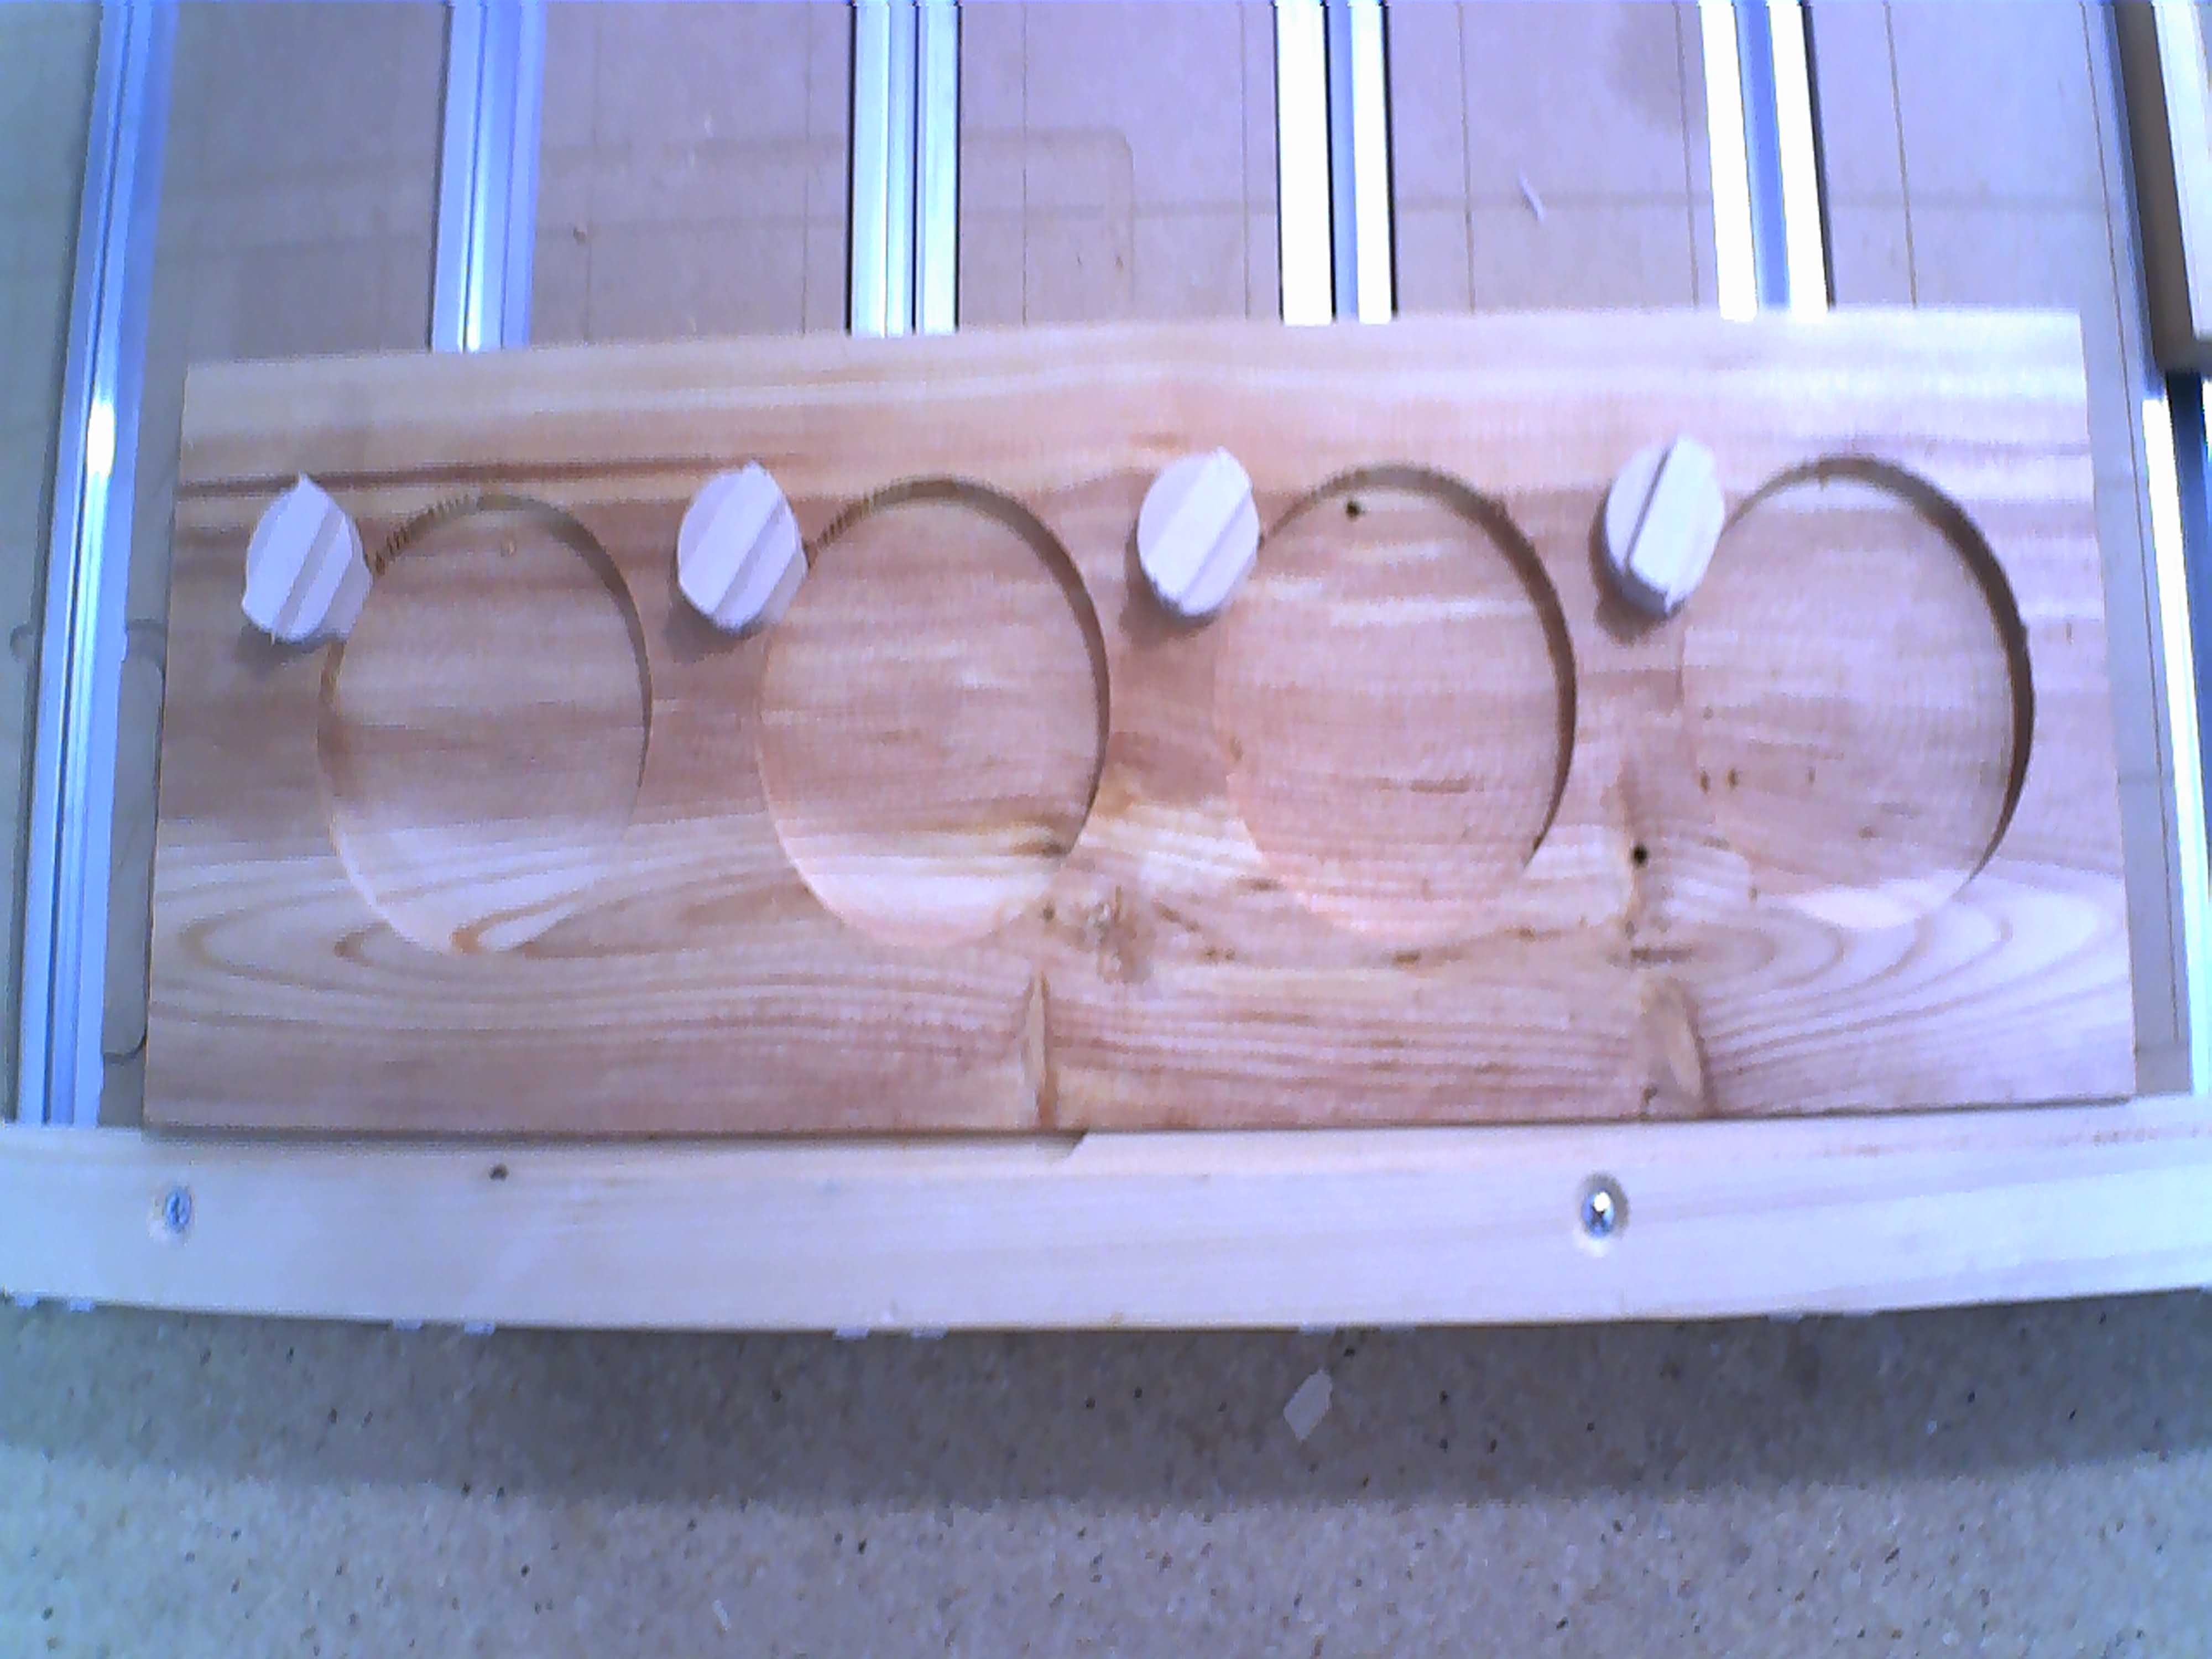
Thanks! I use these pieces with some 35mm screws into the shelf.
I ordered another kind from abroad that can take higher loads, but I could not wait anymore for them to arrive so I went with these.
Clamped the wood on the front of the machine and machined the pockets with #102 and manually drilled the holes for the screws.
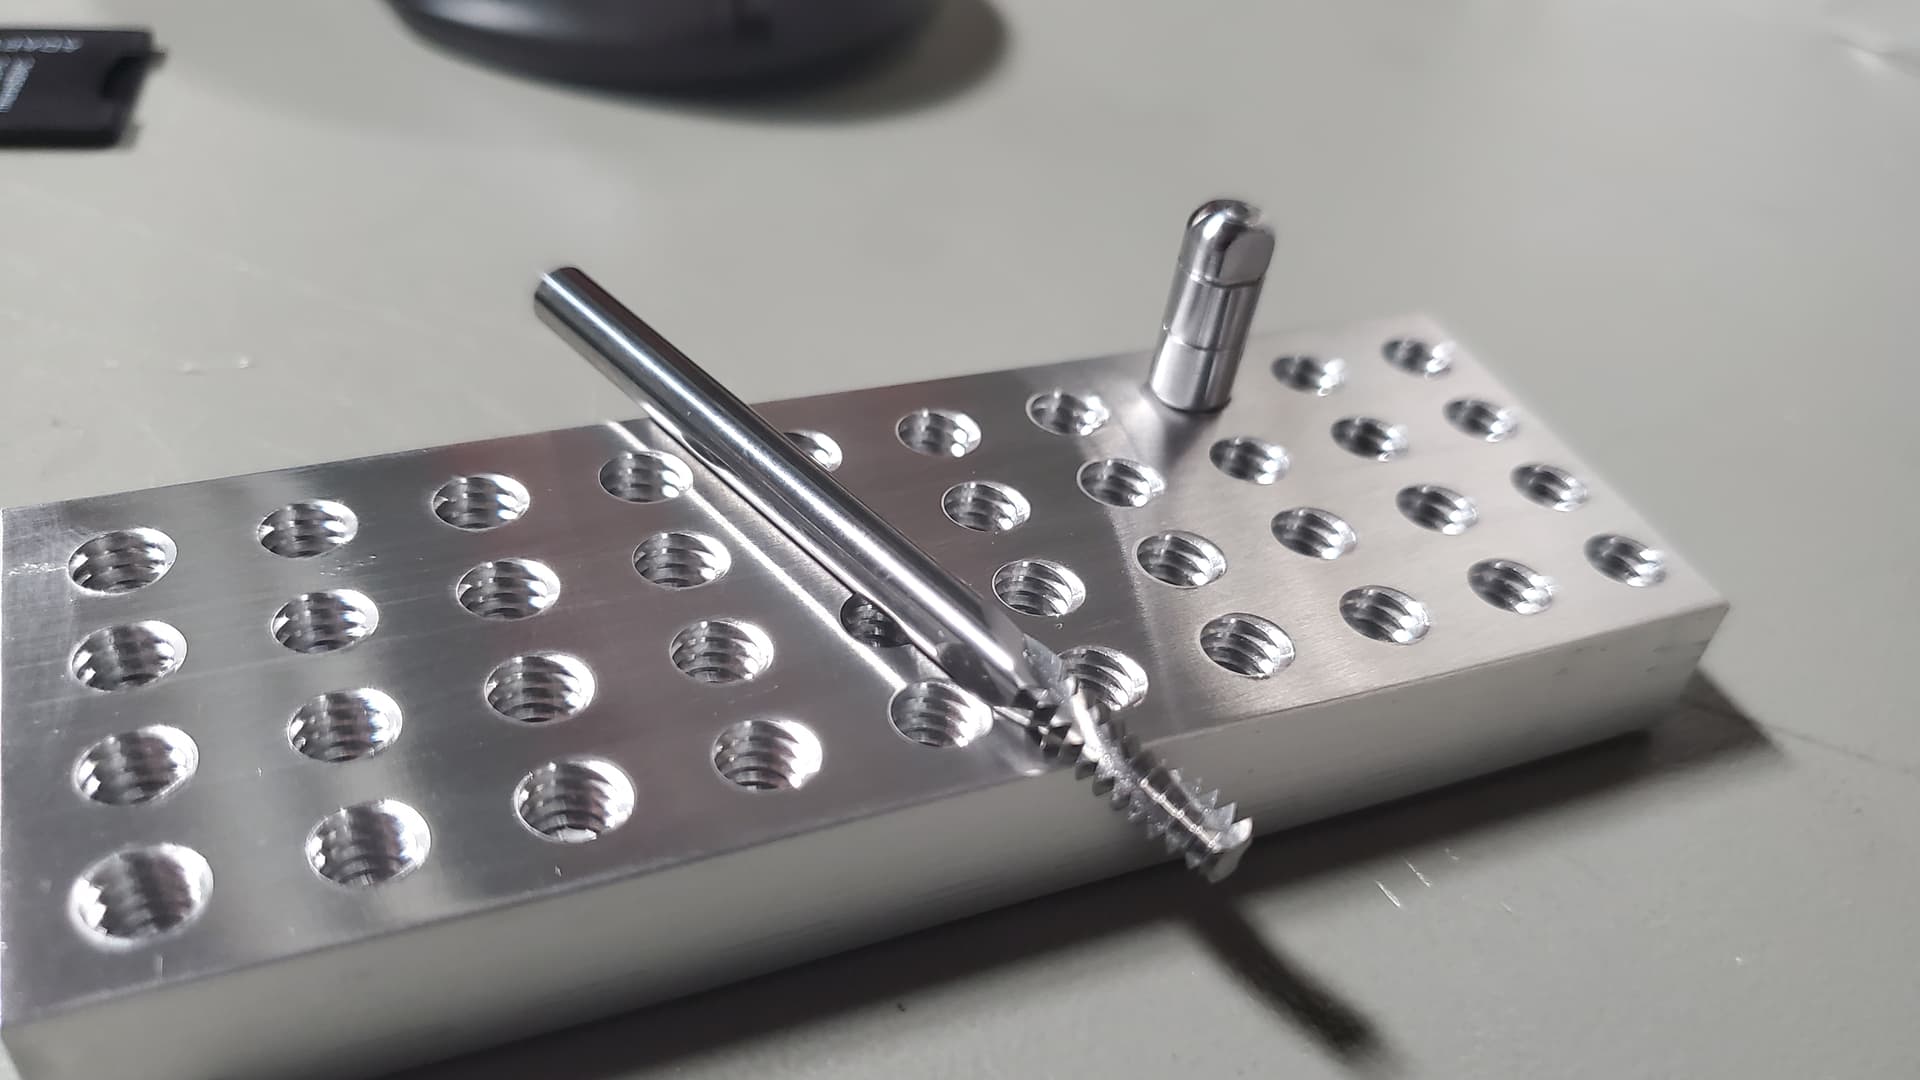
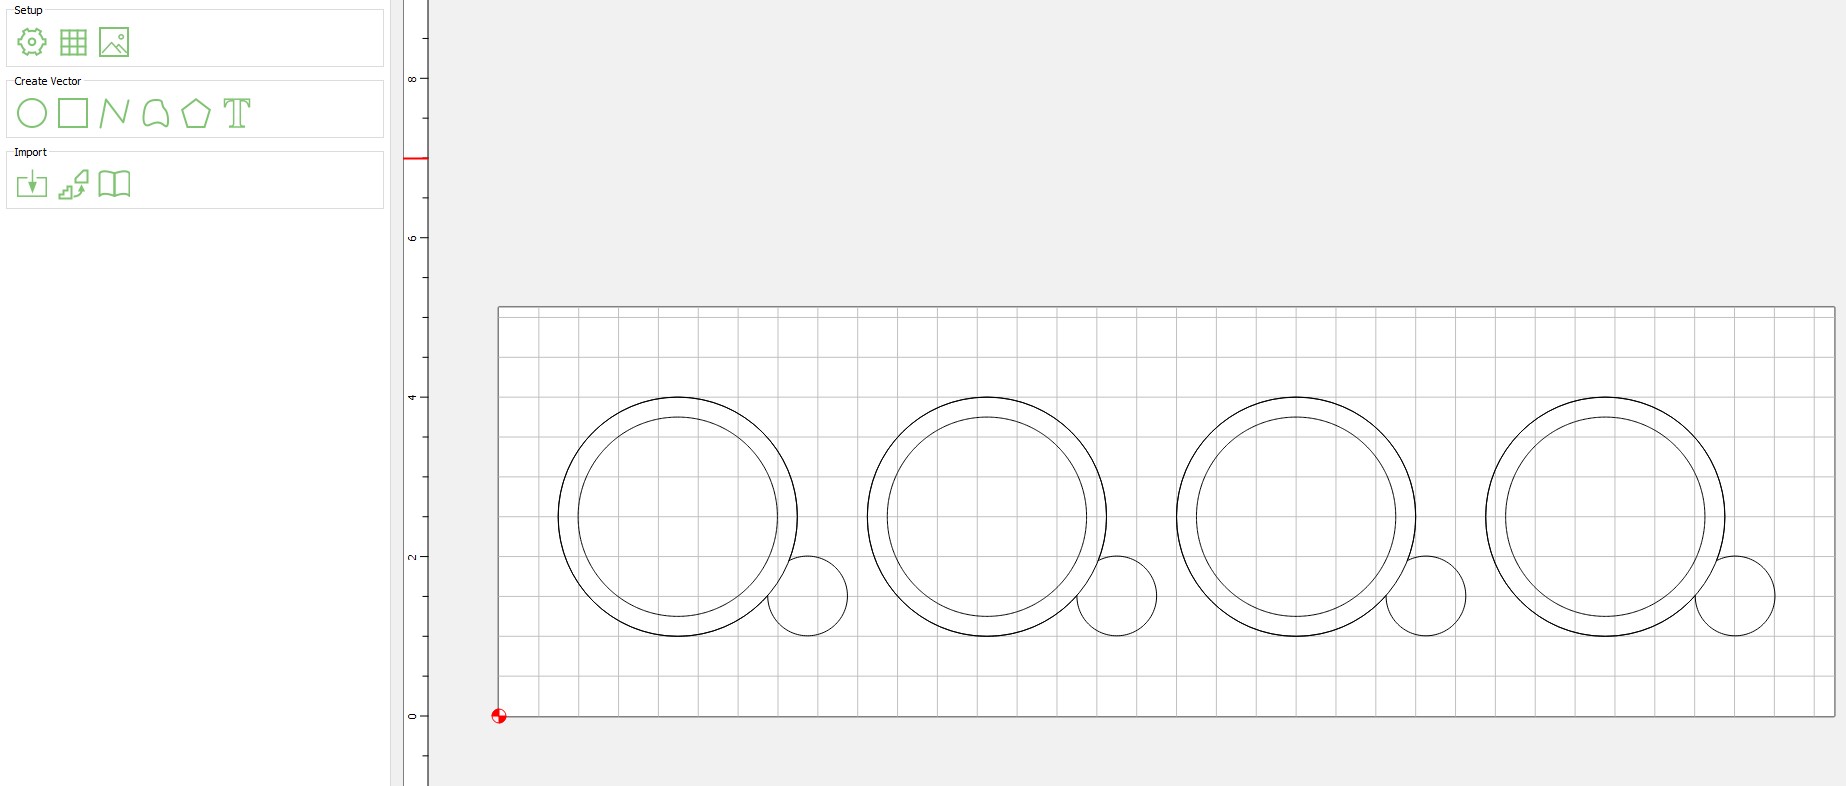
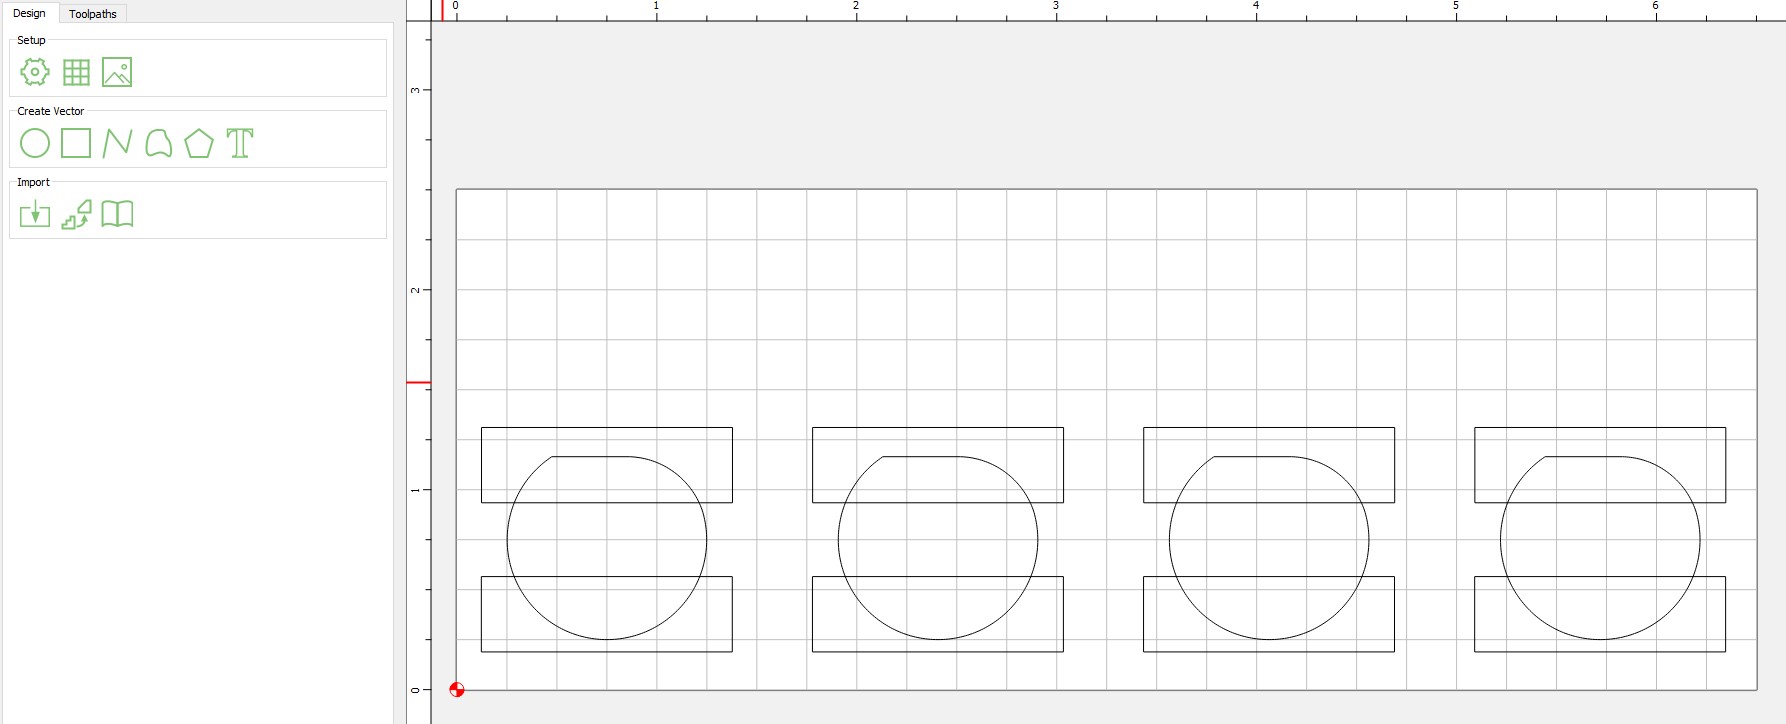
Today I finished a test run of a 3-inch circular jig to run discs like coasters or the like.
I had started to use a cam to lock it in place with a pin, but decided to go a non-pin route.
Jig;