What would I have done differently? A lot, but then most of my projects are learning experiences.
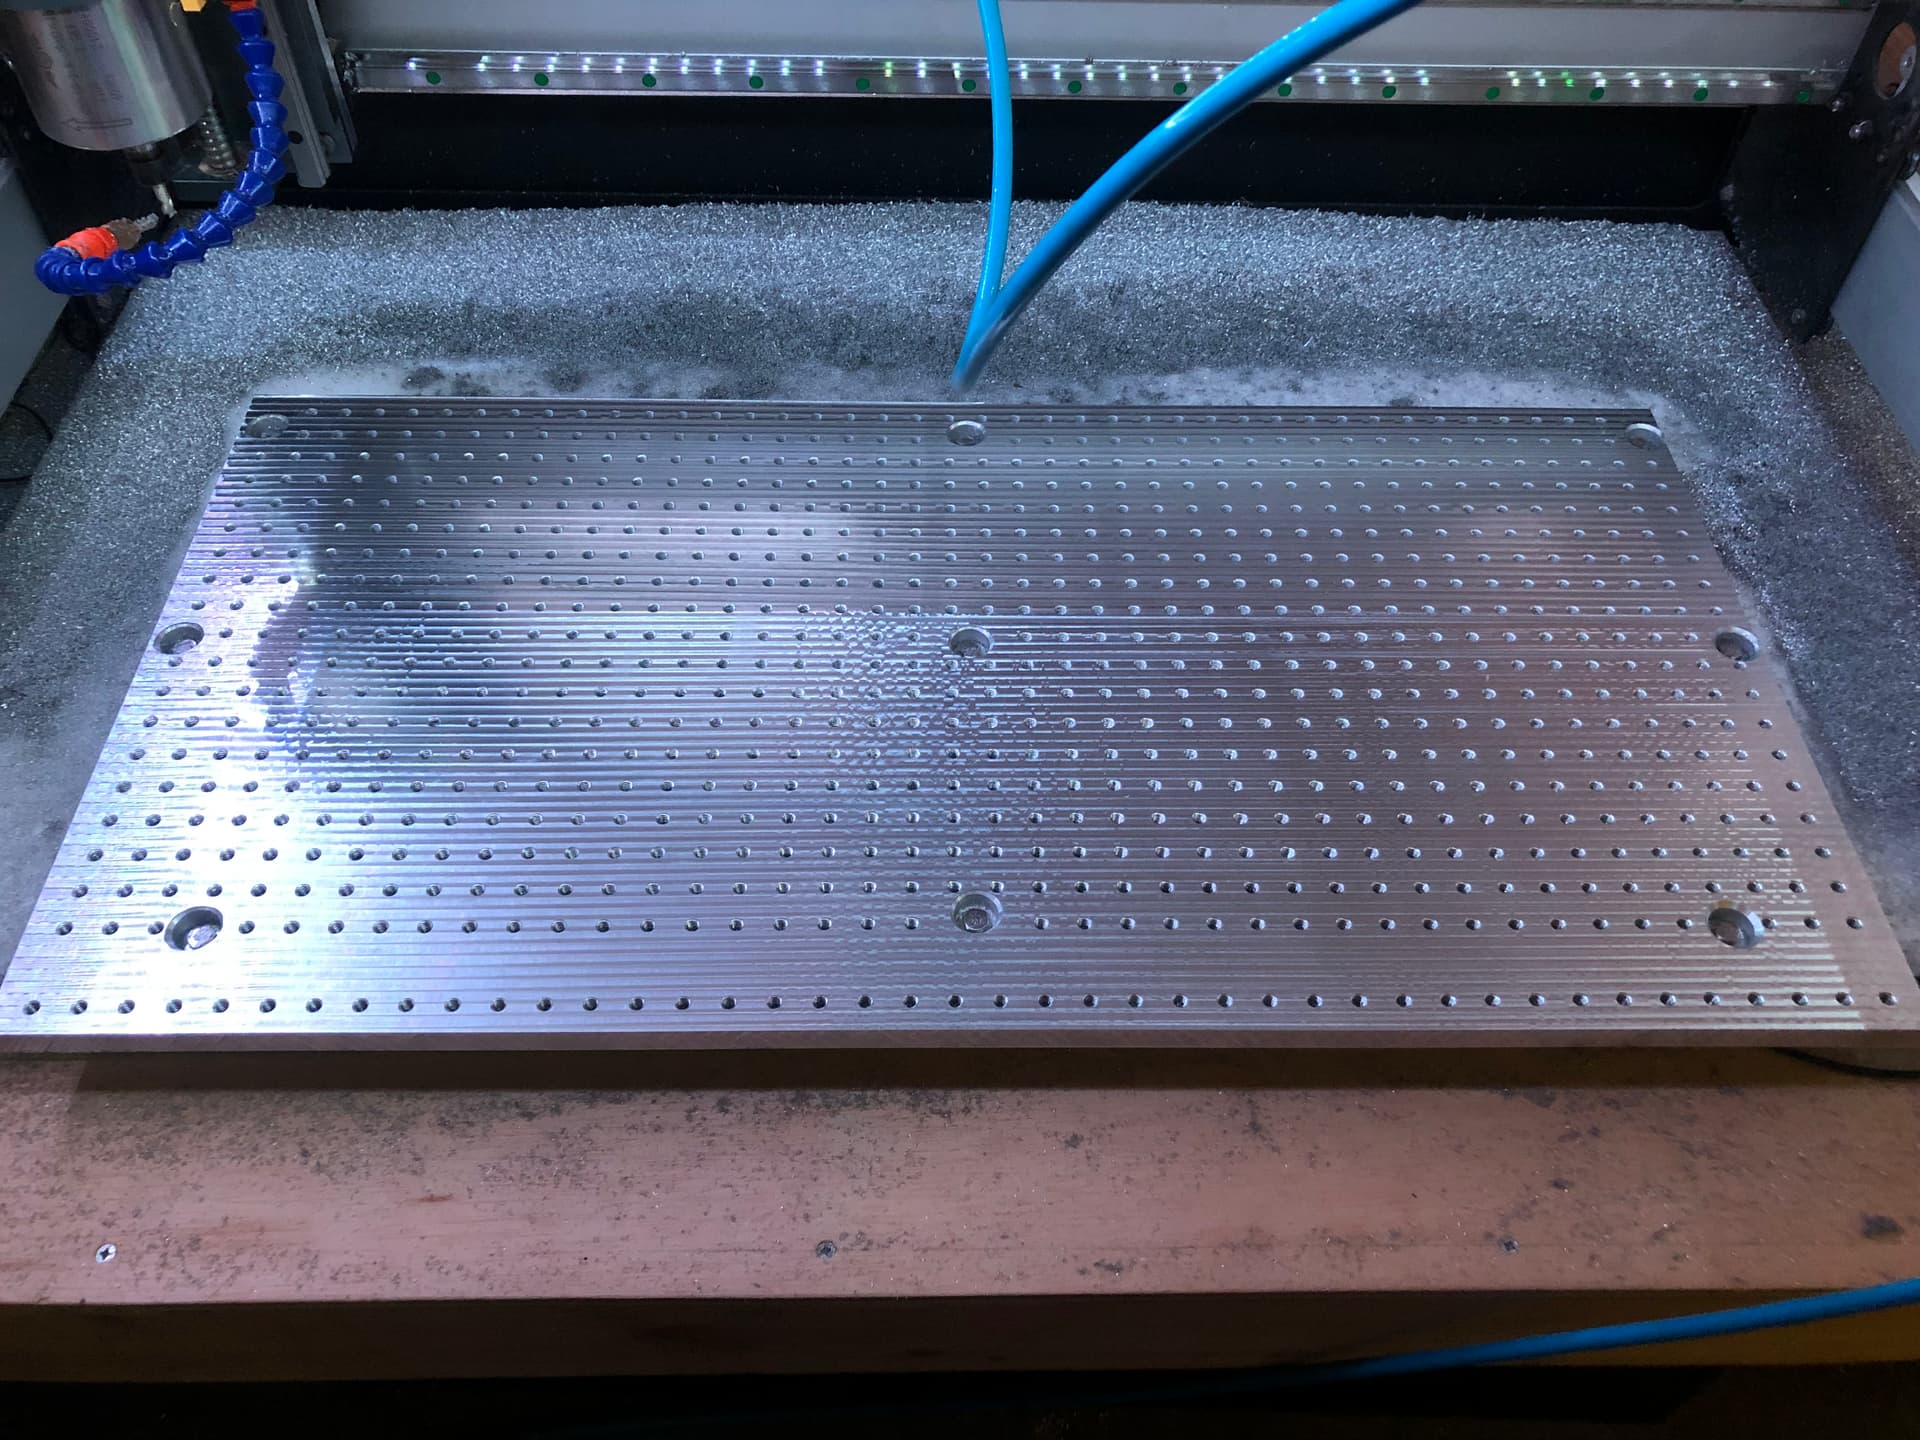
First and foremost, a single piece of ATP5 instead of 4. The 4 evolved from the fact that I had one on hand and figured it’d be cake to just do three more and fit ‘em up. Not. At least for this aspiring machinist.
Also, thicker, at least 5/8” maybe 7/8”, add some mass to the machine.
Next, countersink the anchor bolts deeper.
Finally, chamfer after facing. You will note I surfaced all my chamfers away. It turns out ATP5 may be reasonably flat but thickness can vary by several thousandths from plate to plate.
Not sure if this is a question for me Johnny? but I haven’t seen any other metal casters post here.
Up until the end of last year my preferred moulding sand had been Petrobond. As it was unavailable when I went to re-order I switched to Bentomix, still an oil bonded sand but much finer, it gives far superior results, much more detail and an almost polished surface.
This also depends on what “stock” you use for your melt. Mine is 100% alloy wheels which are cut up to fit in the crucible. Some people use beer/soda cans which give a hopeless finish, and create lots of dross. I tried them. Once!
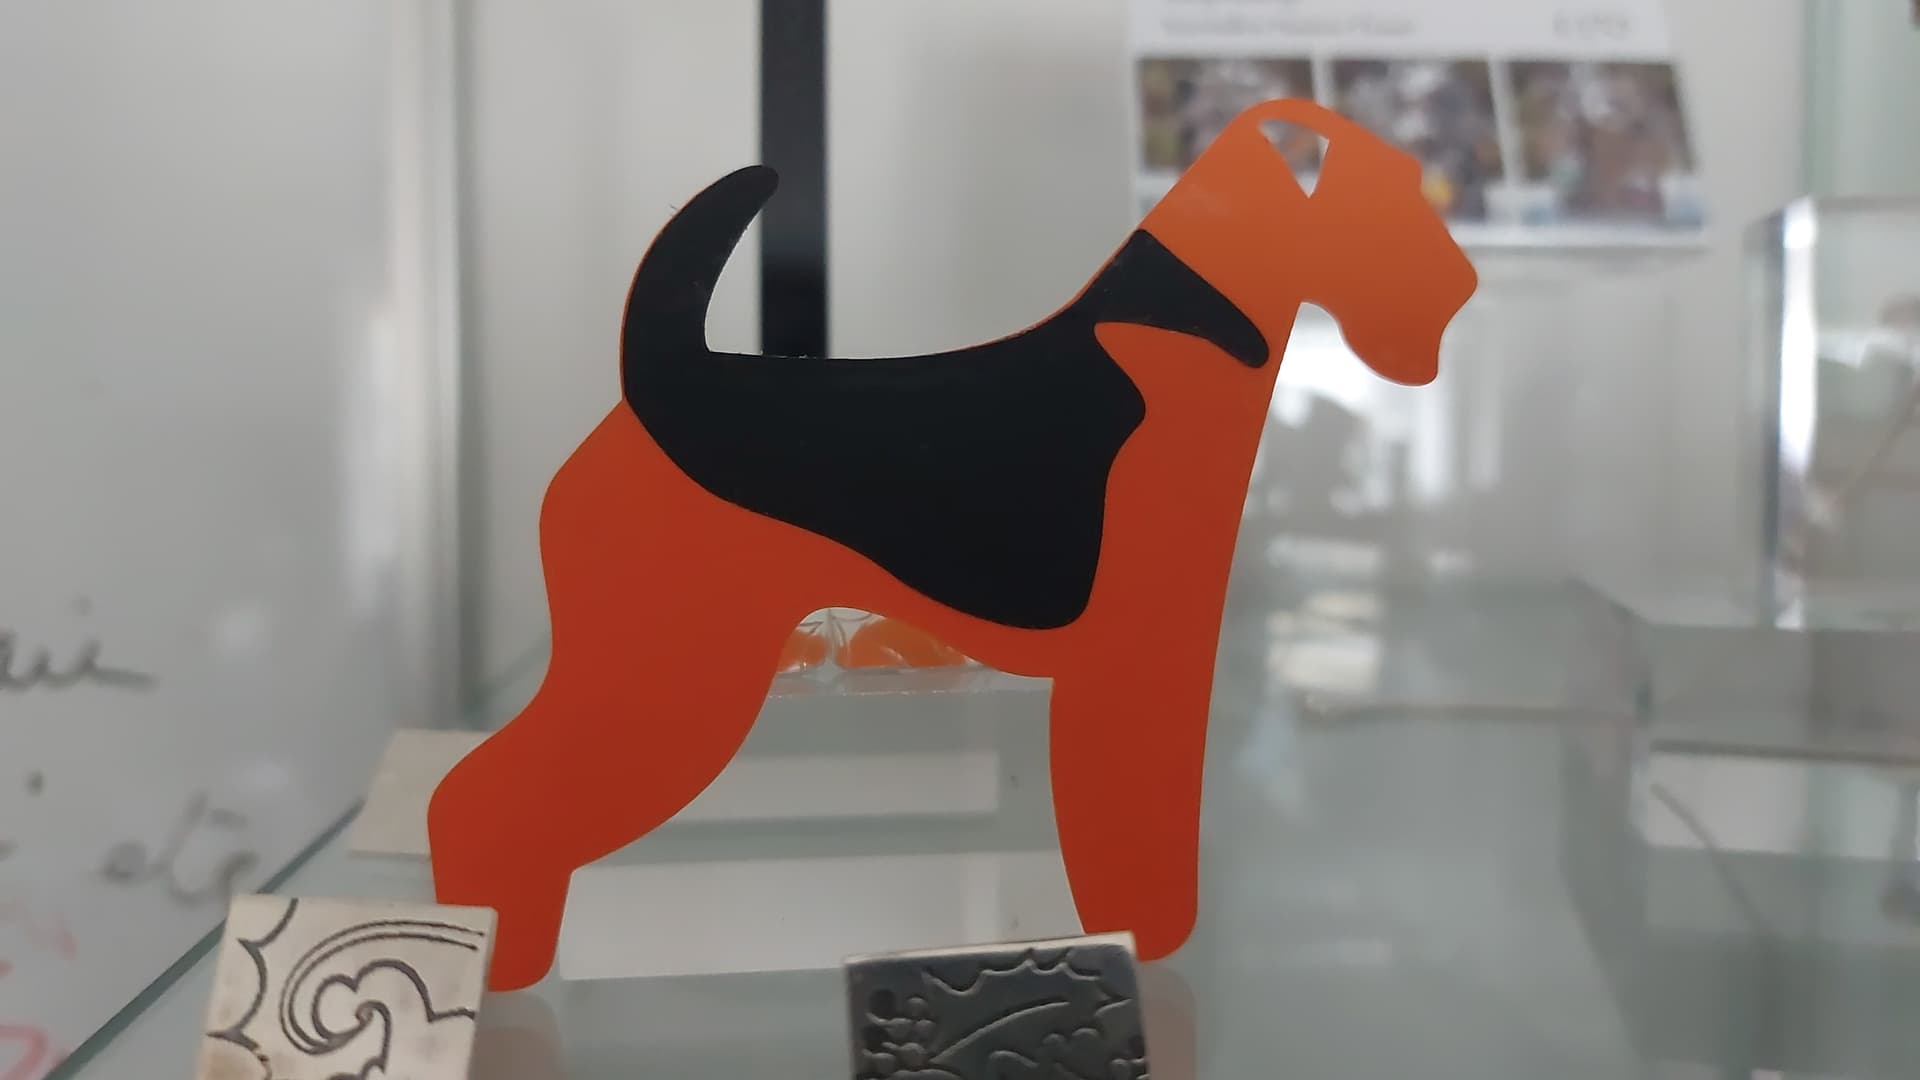
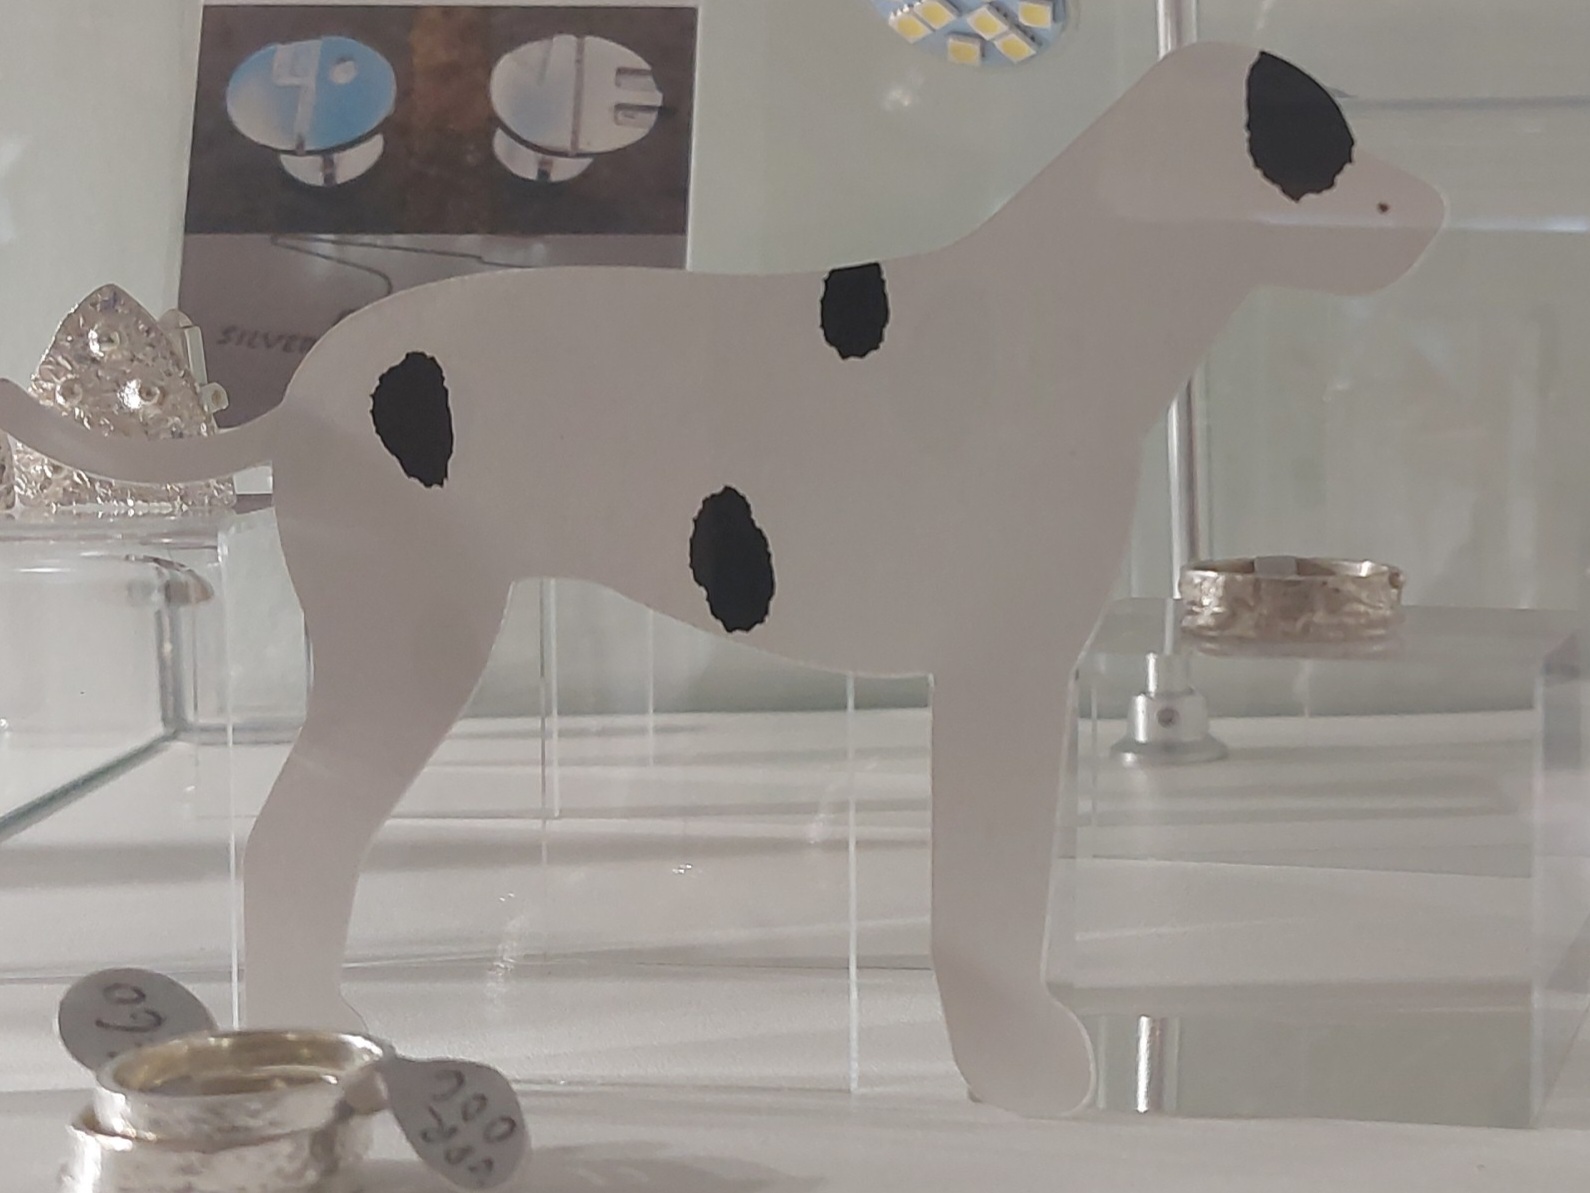
Behind the spotty dog above you will see two cufflinks cast from silver. The molds were routed from jewellers wax, cast and polished. I need to check what casting material wax used
I wish I could help Johnny but my casting is limited to Aluminium, Bronze, Brass & Copper.
Copper is a real pain to get right as the molten metal absorbs oxygen, which it gives off as it solidifies, if you don’t get it right you end up with the casting having a “cauliflower head”.
Having said this; I am more than happy to try casting Gold, should anyone wish to donate some…
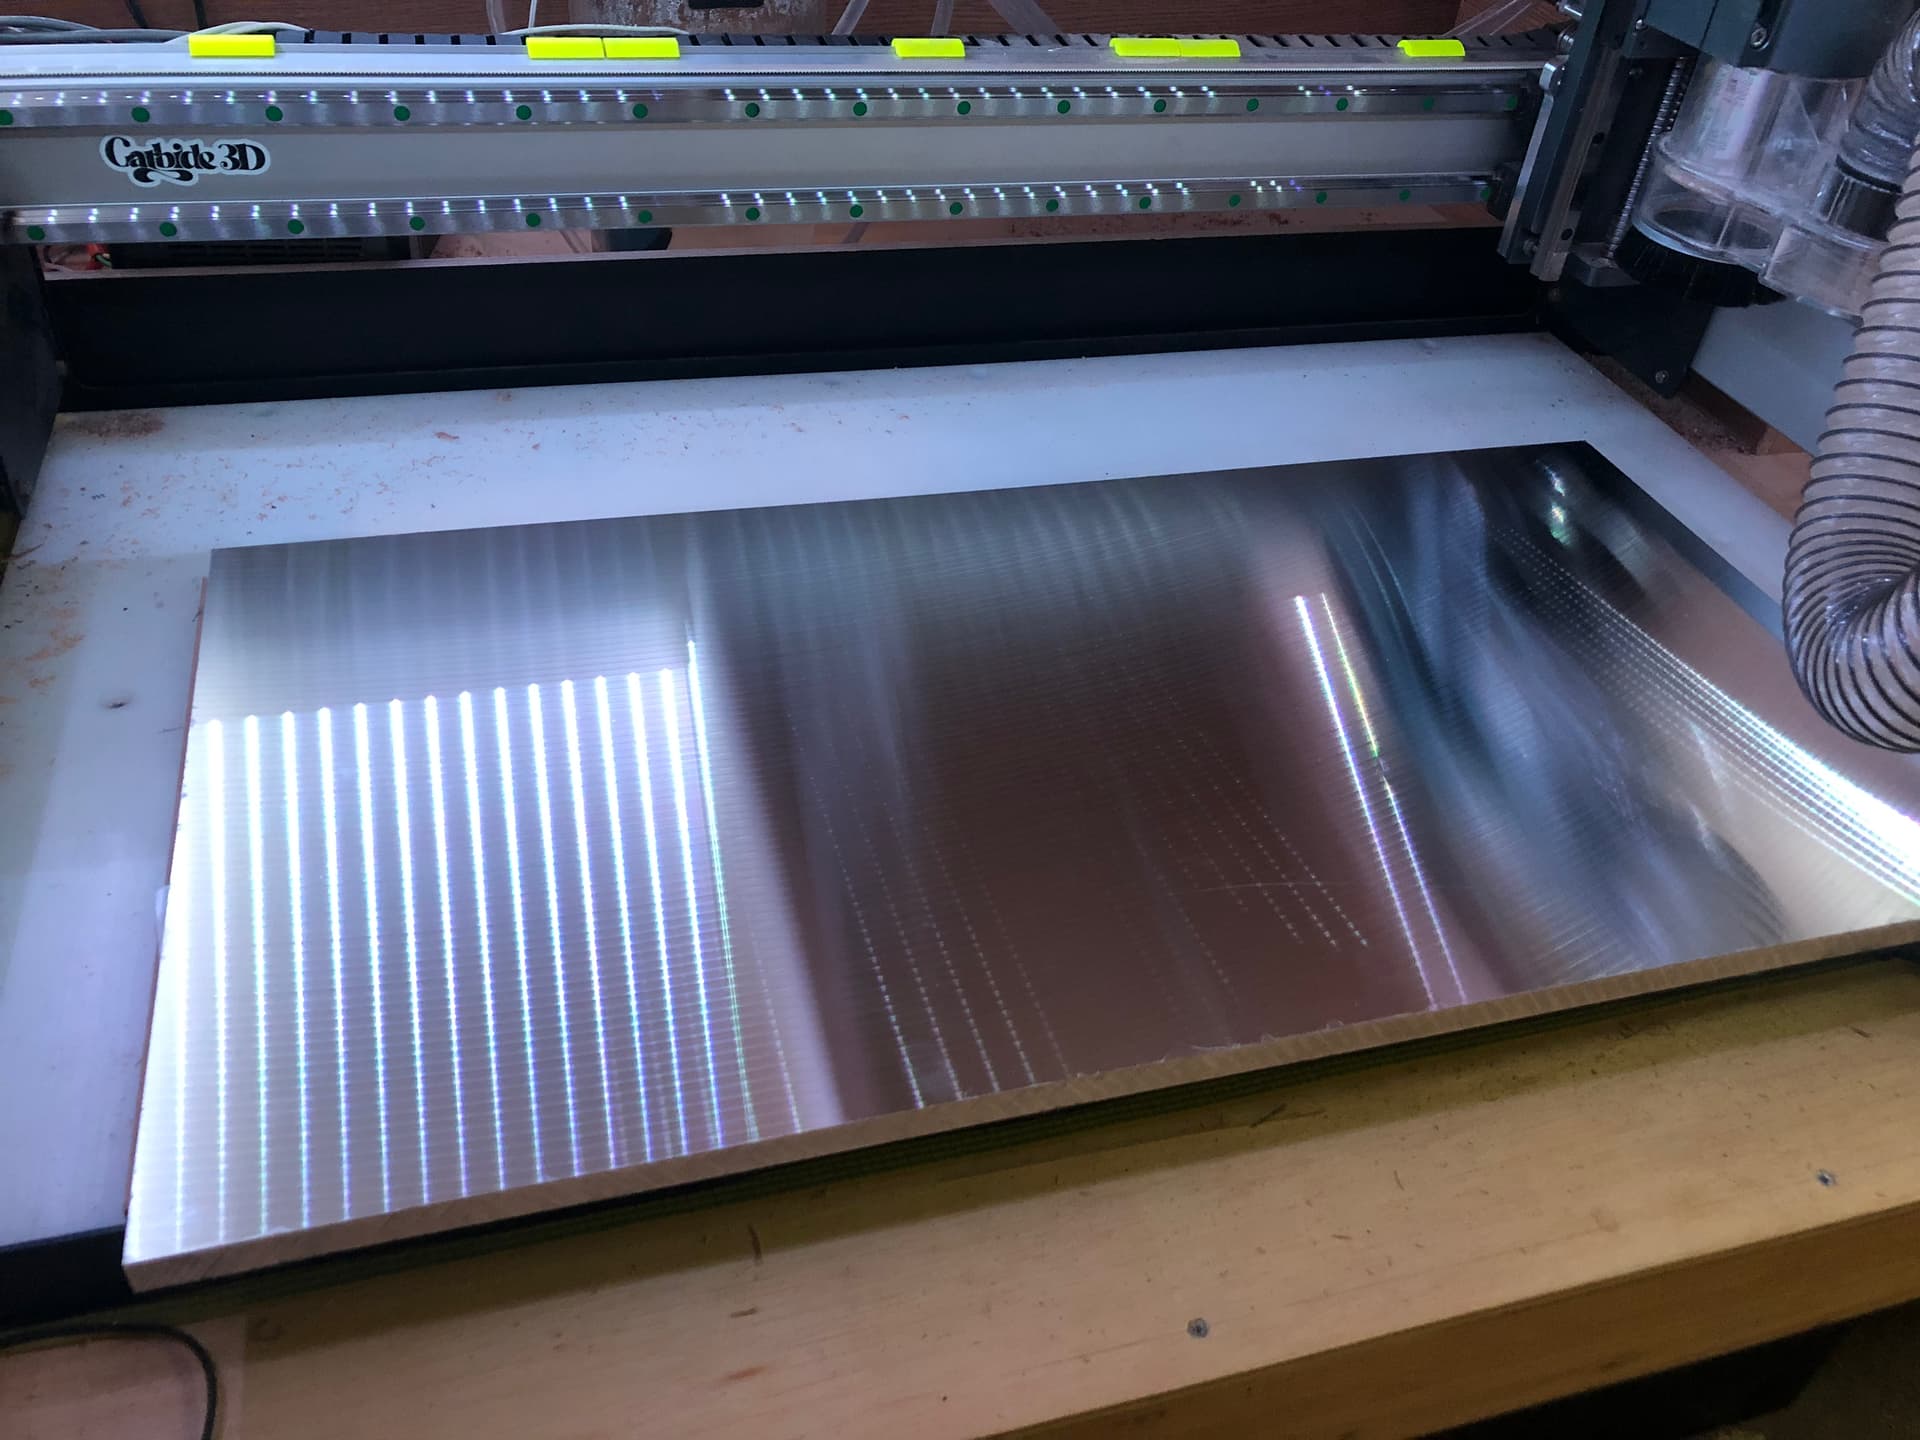
That looks very nice Griff, congratulations! How flat is it? Will you shim it if necessary?
Griff
(Well crap, my hypometric precursor device is blown…)
983
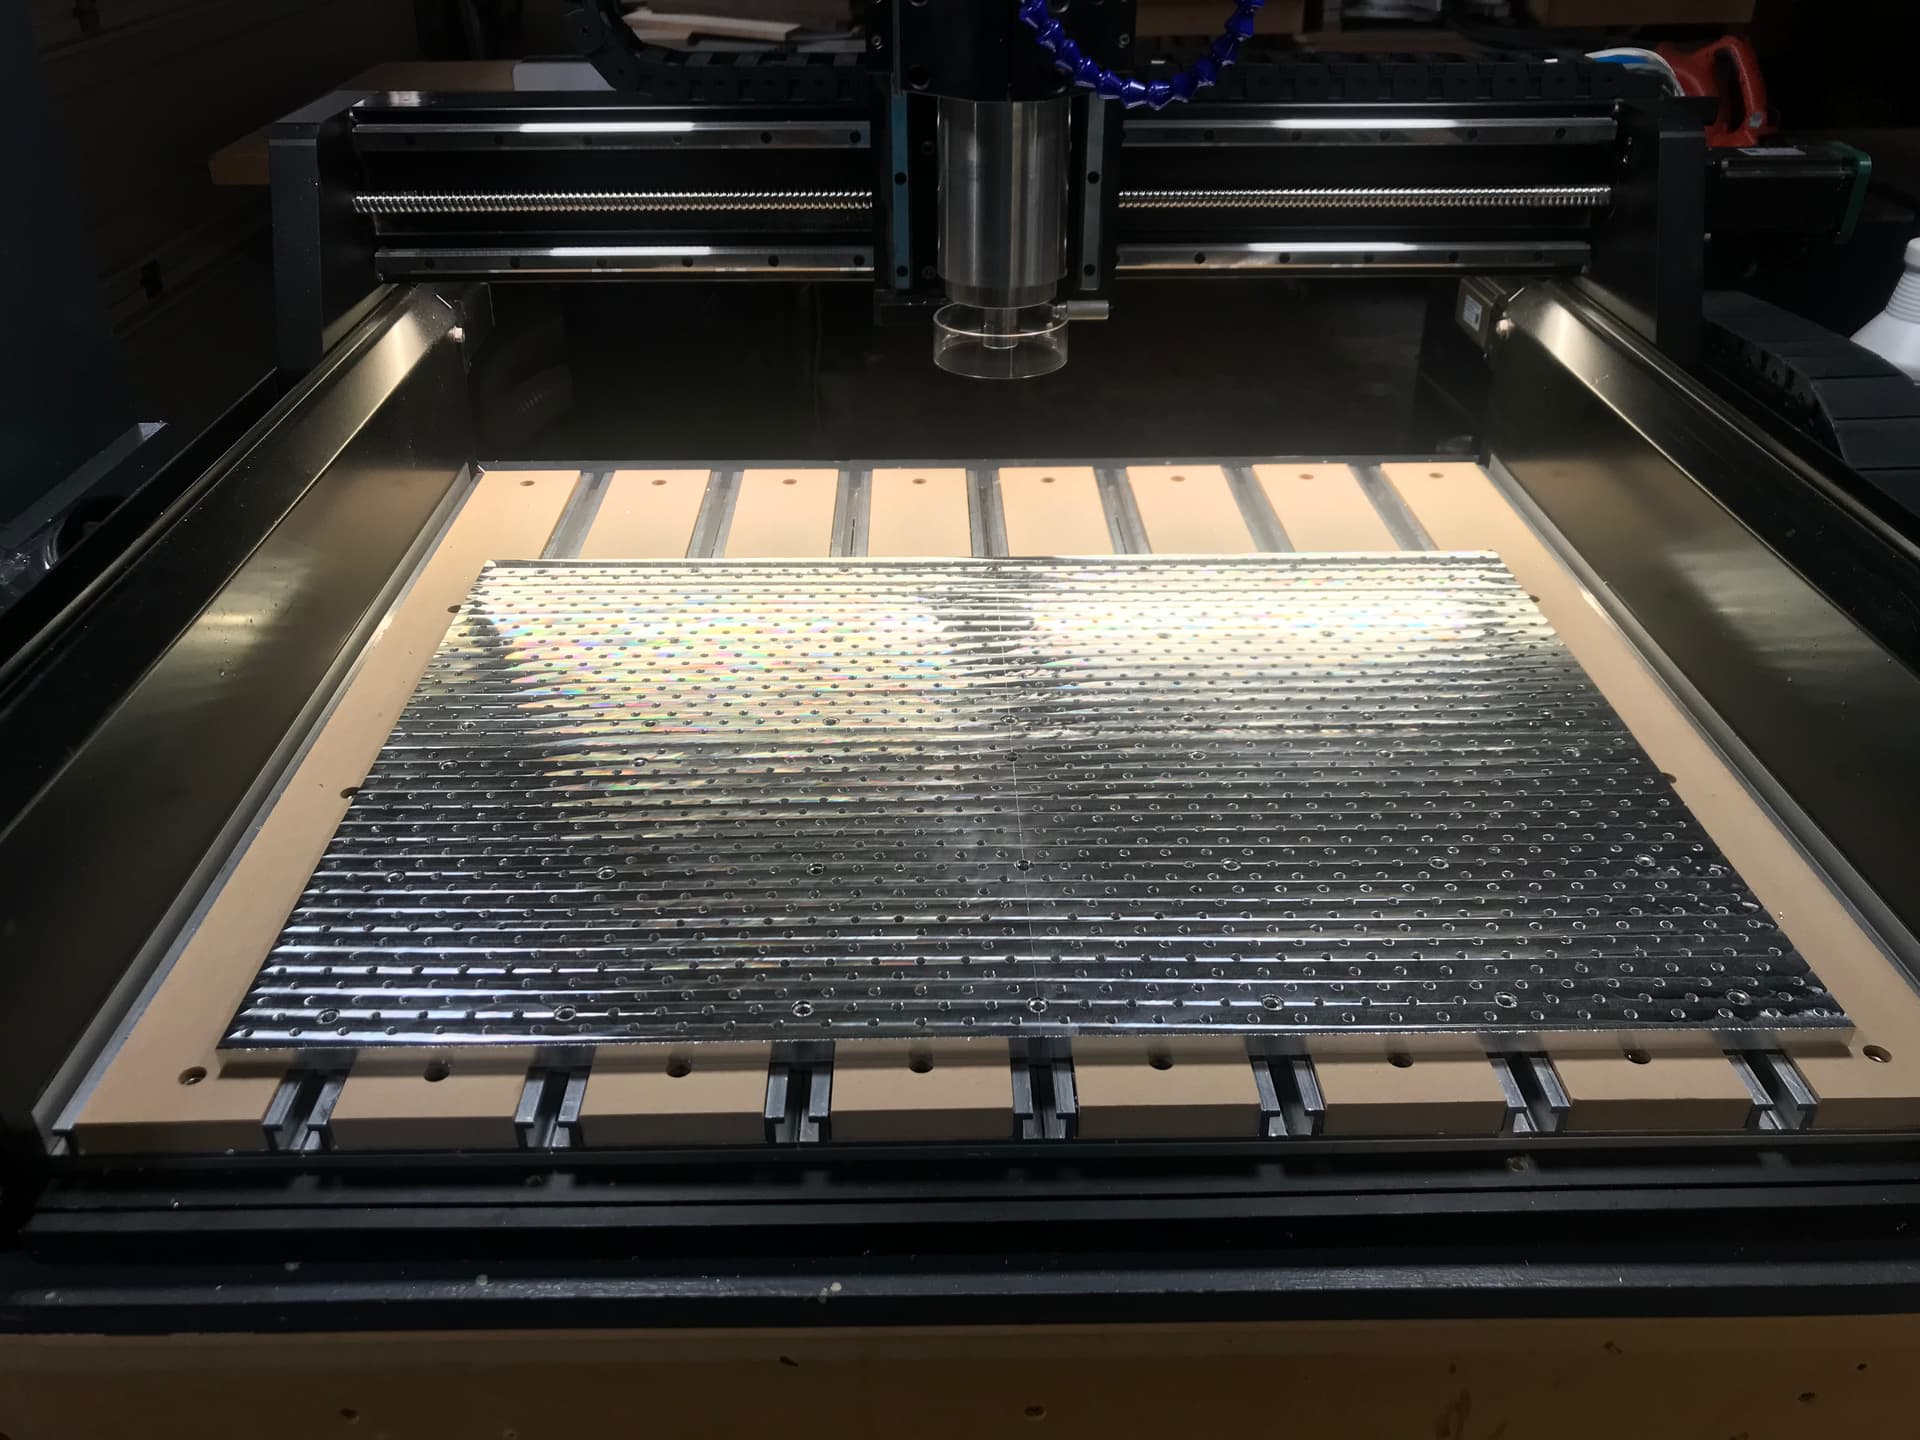
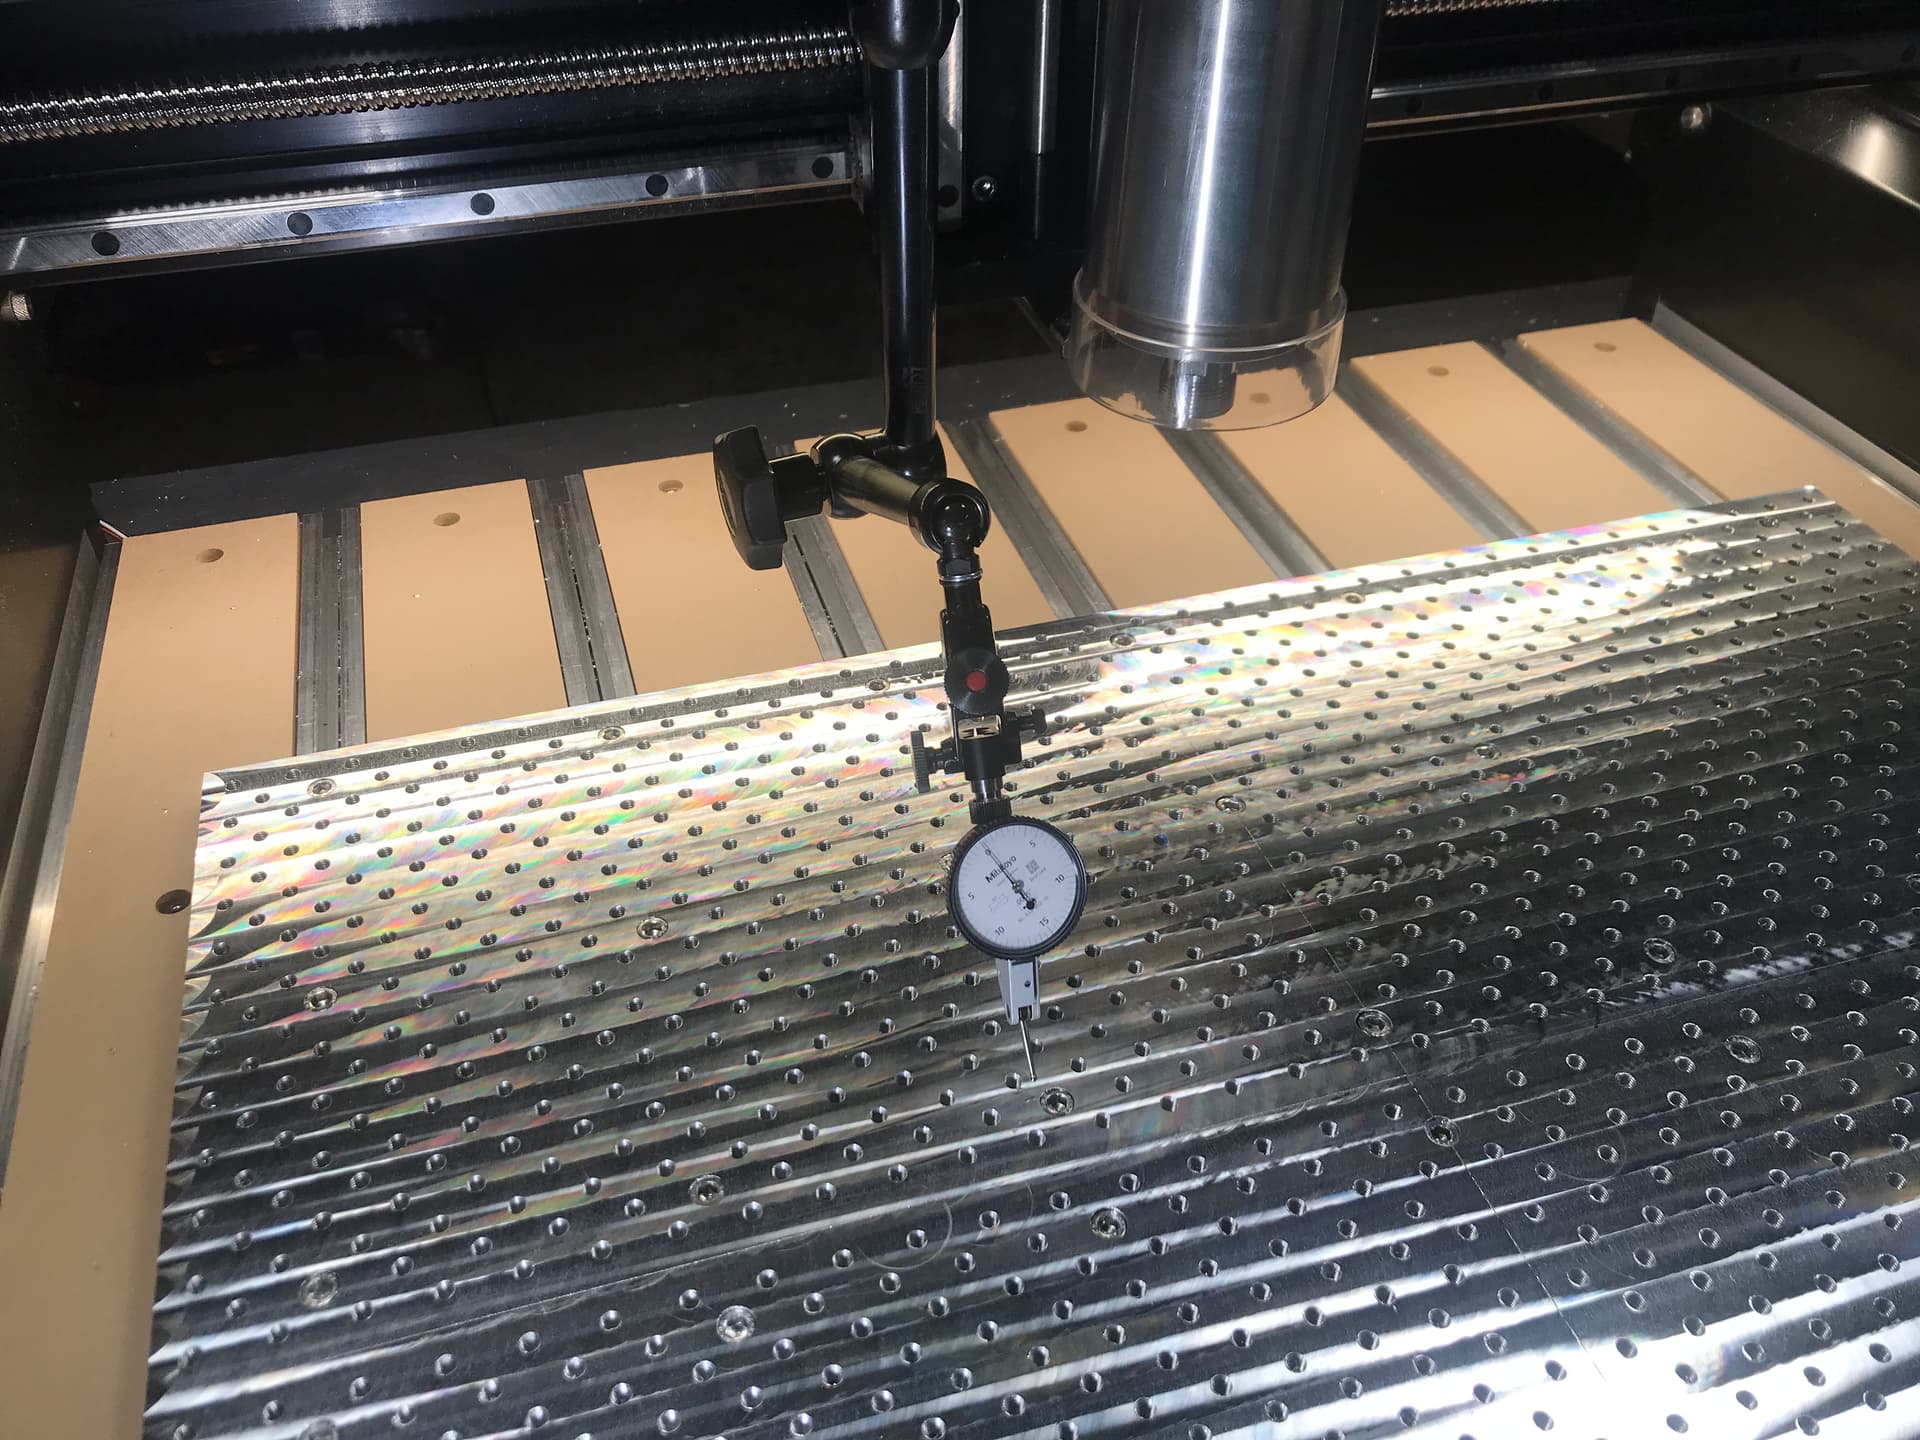
Surprisingly, in the areas I’ve tested so far - in X over a 500mm span, varies from 0 to +1.5 thou. In Y over a 250mm span, varies from 0 to +2.5 thou.
Some sweet spots maybe 200mm square at half a thou. And, no hiccups passing over a joint line between plates.
I’m pretty pleased. Will be mapping as much of the plate as I can given the constraints imposed by the gage arm.
@CNCInspiration EDIT: I skimmed a few more thou off in 1 thou bites at a slower speed. Now within a consistent thou front to back and 1.5 thou right to left.
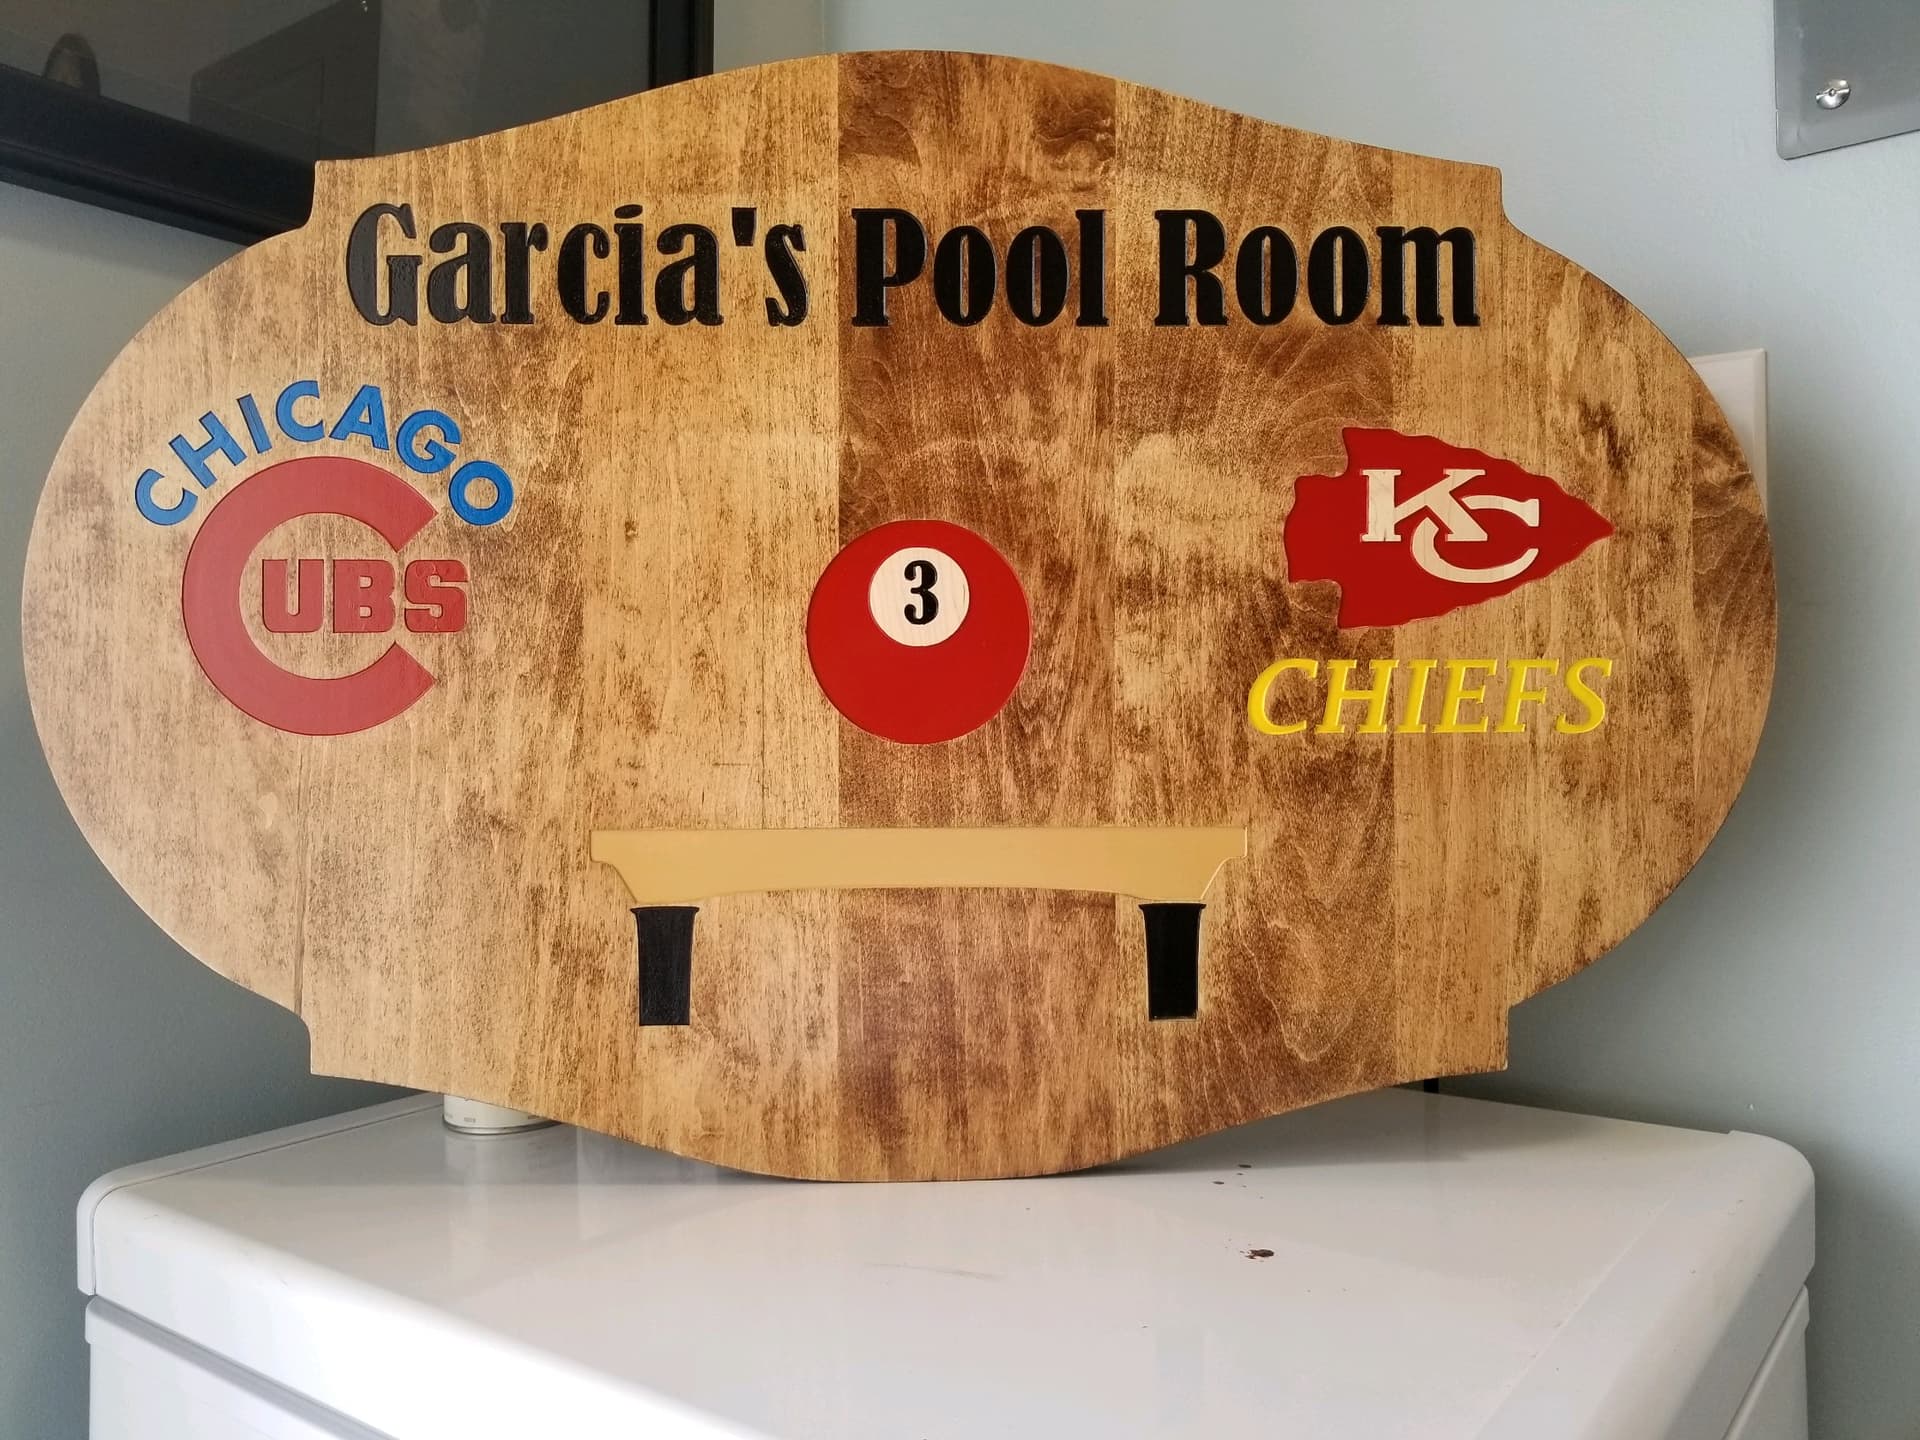
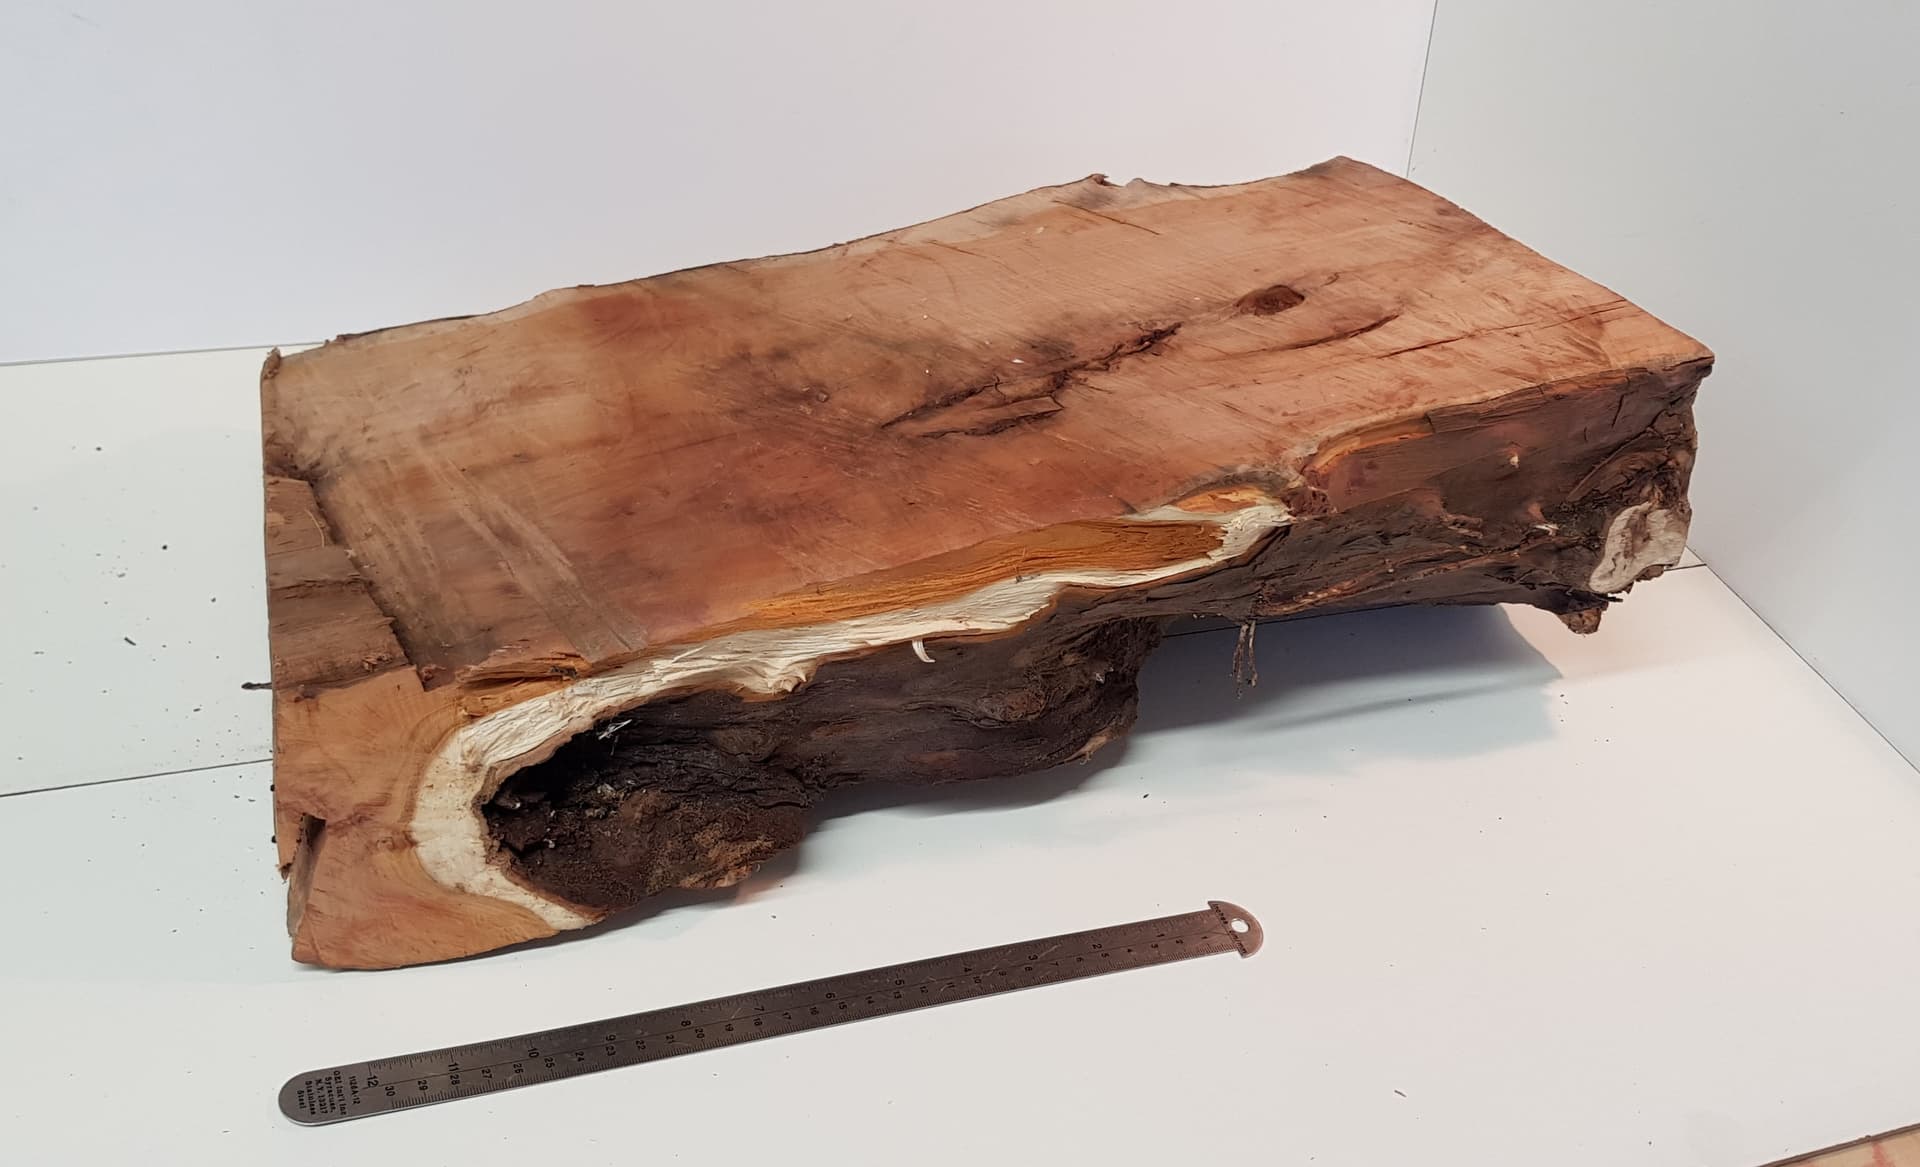
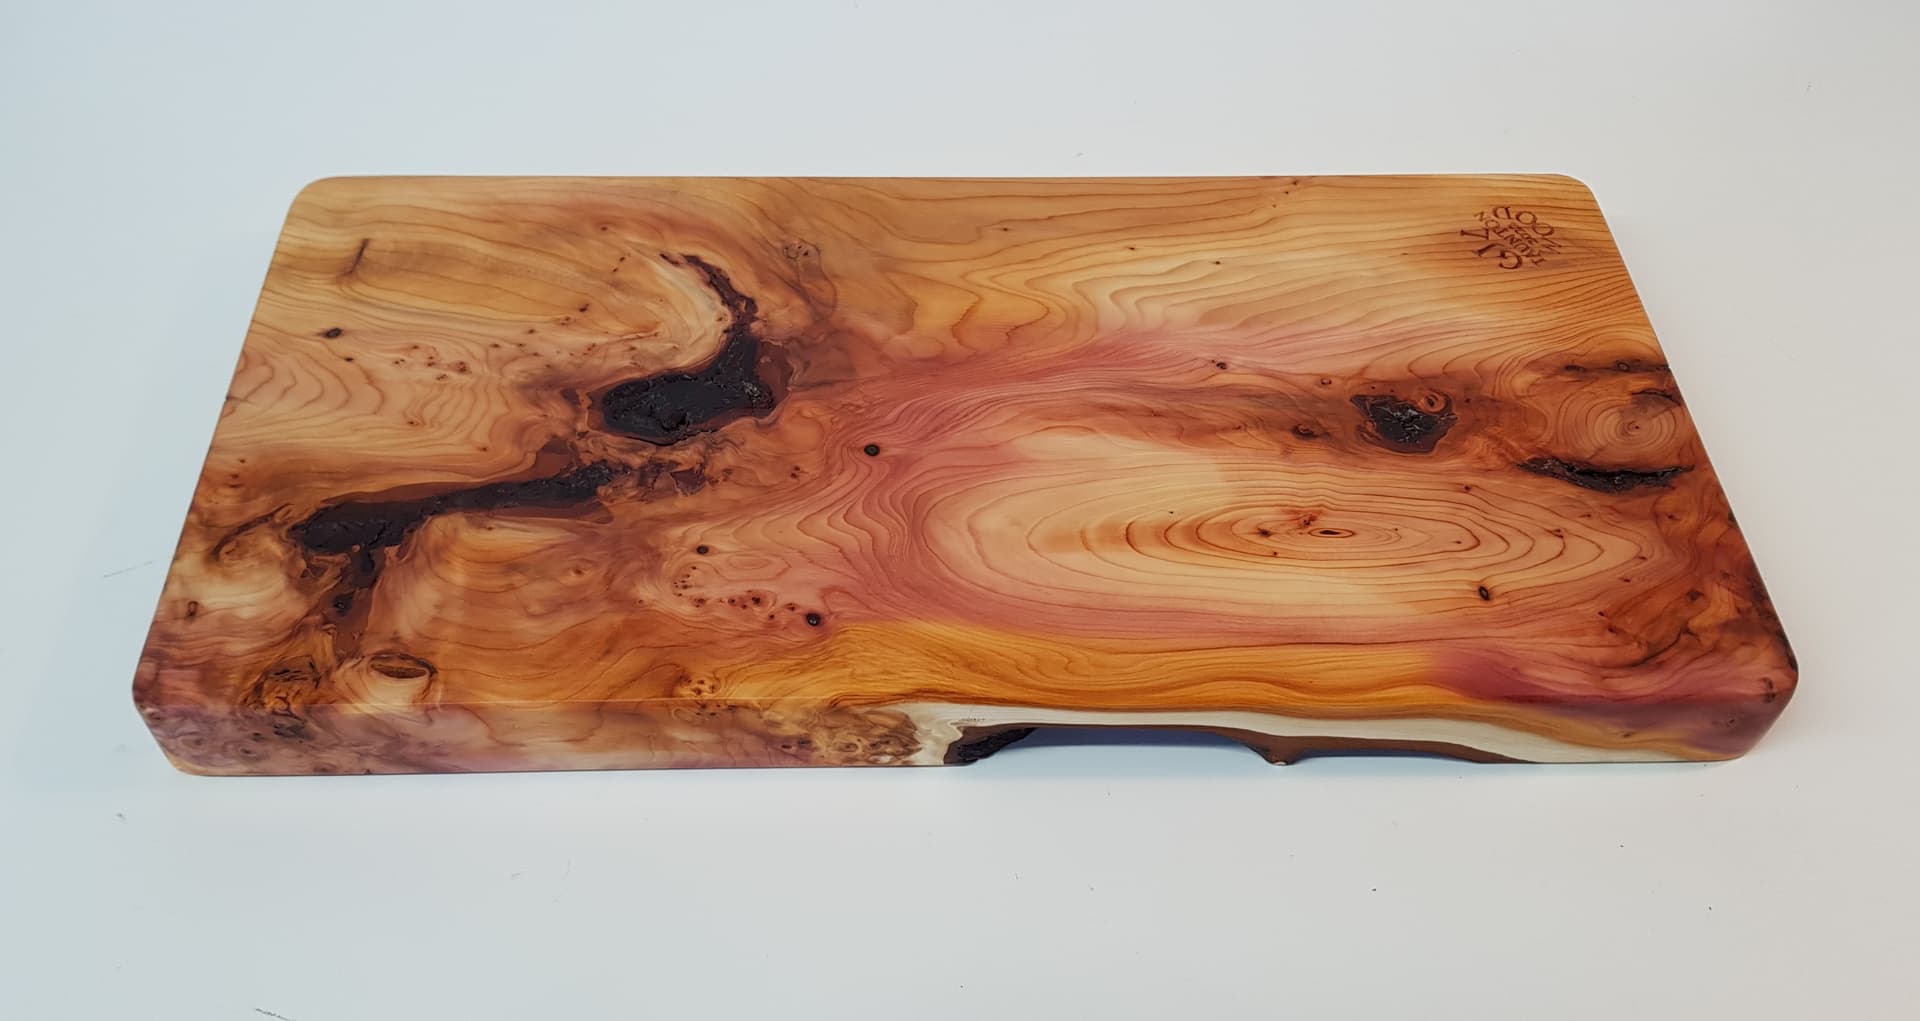
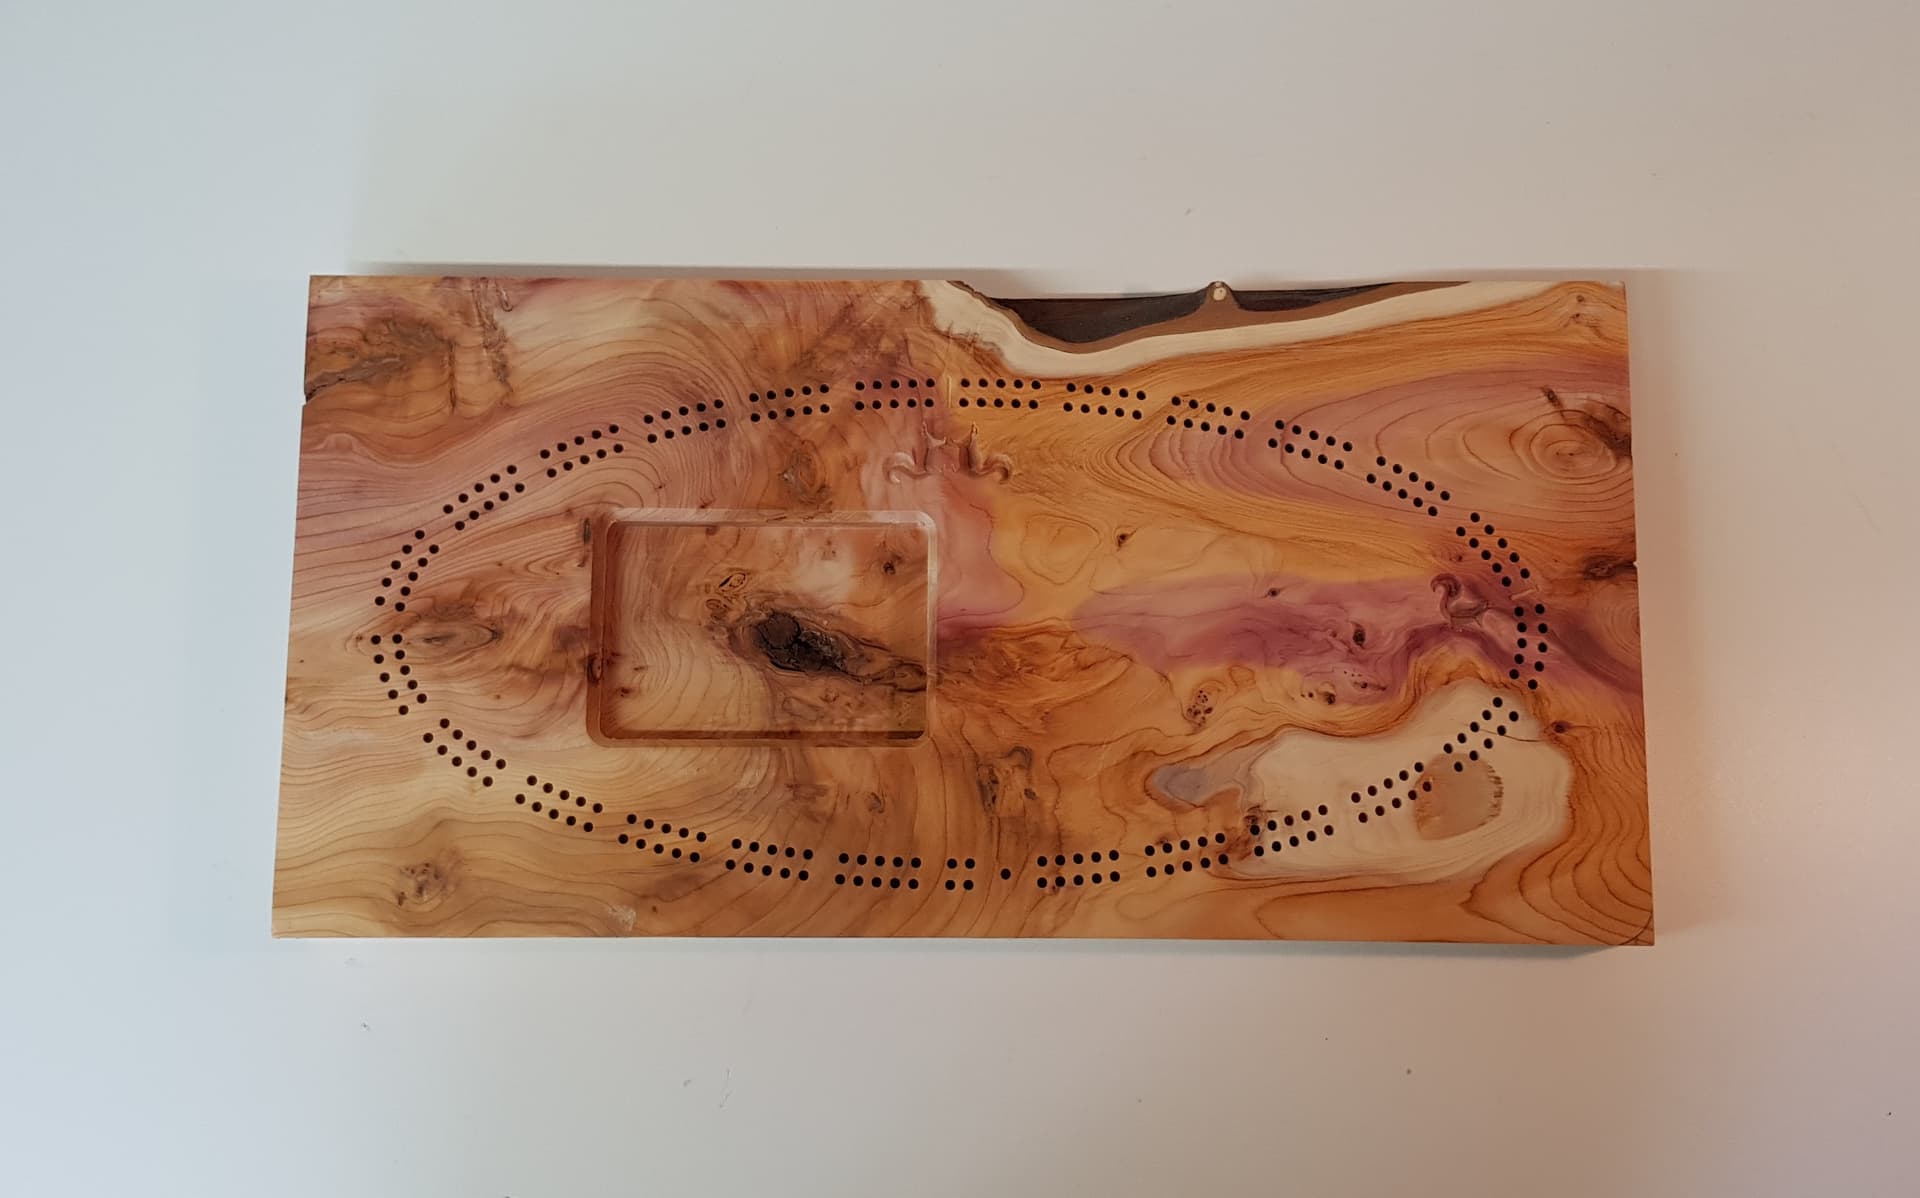
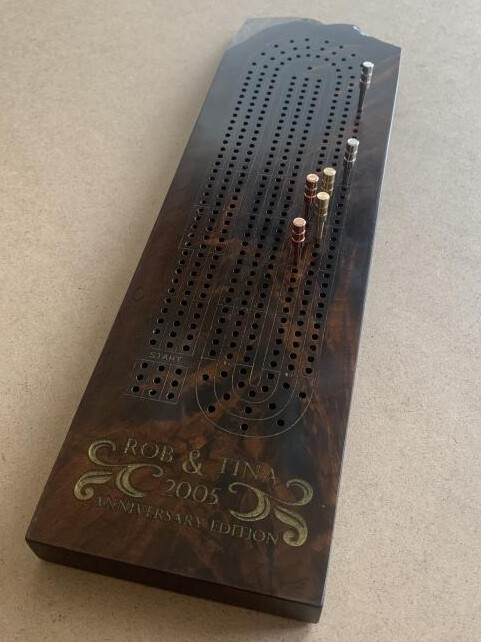
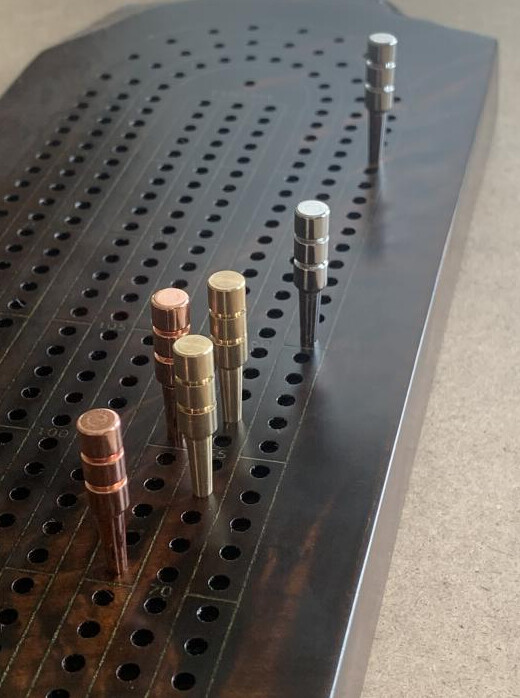
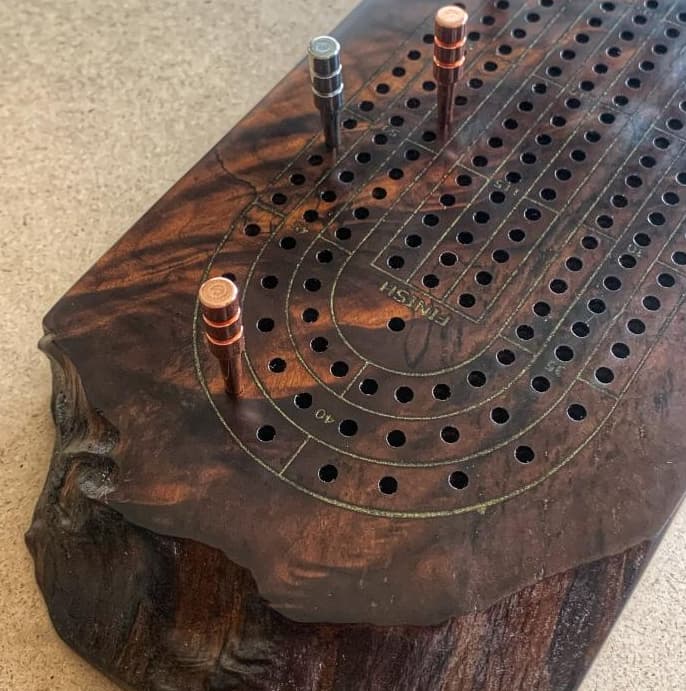
Made this for a friend. I think next time I may try epoxy. It’s made of Maple, stained and finished. Starting to get a better understanding of the machine
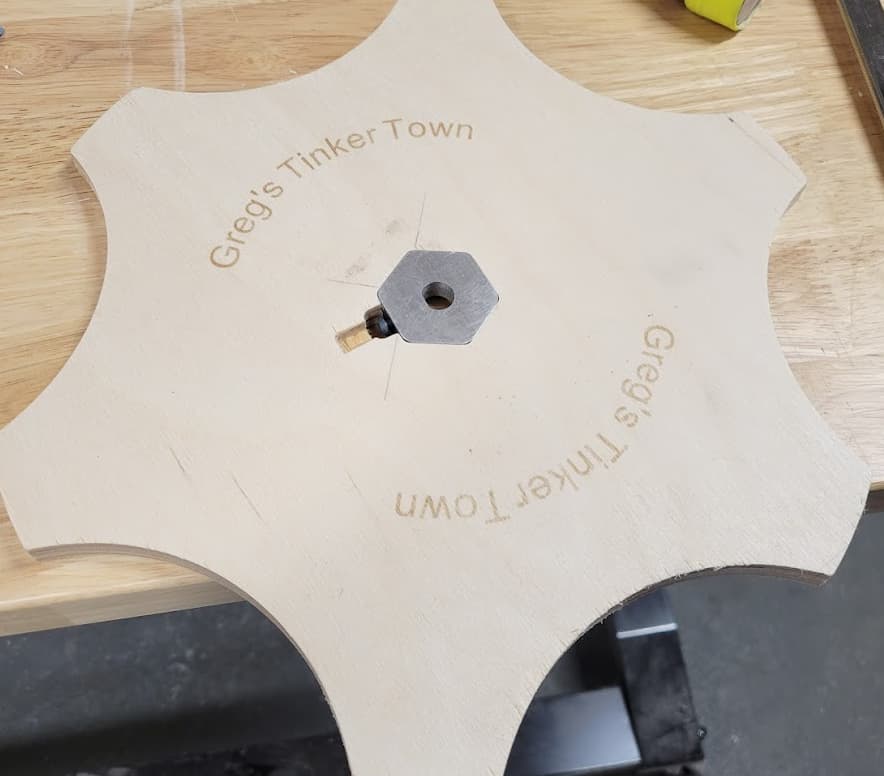
I wanted to replace the arm on my dust collector, as it requires access around the entire canister filter. I have it in a corner, so that’s not possible.
Initially I did a simple cog with 12mm plywood, but it only took a few spins for the wood to “strip” on the D-shaped metal post.
I cut out a section from 10mm aluminium, and drilled/tapped a set screw to go on the flat part of the shaft. I hammered this into the plywood. The perimeter of the aluminium part and wood part are identical in F360, so I’m pretty happy with the tolerances! Works great.
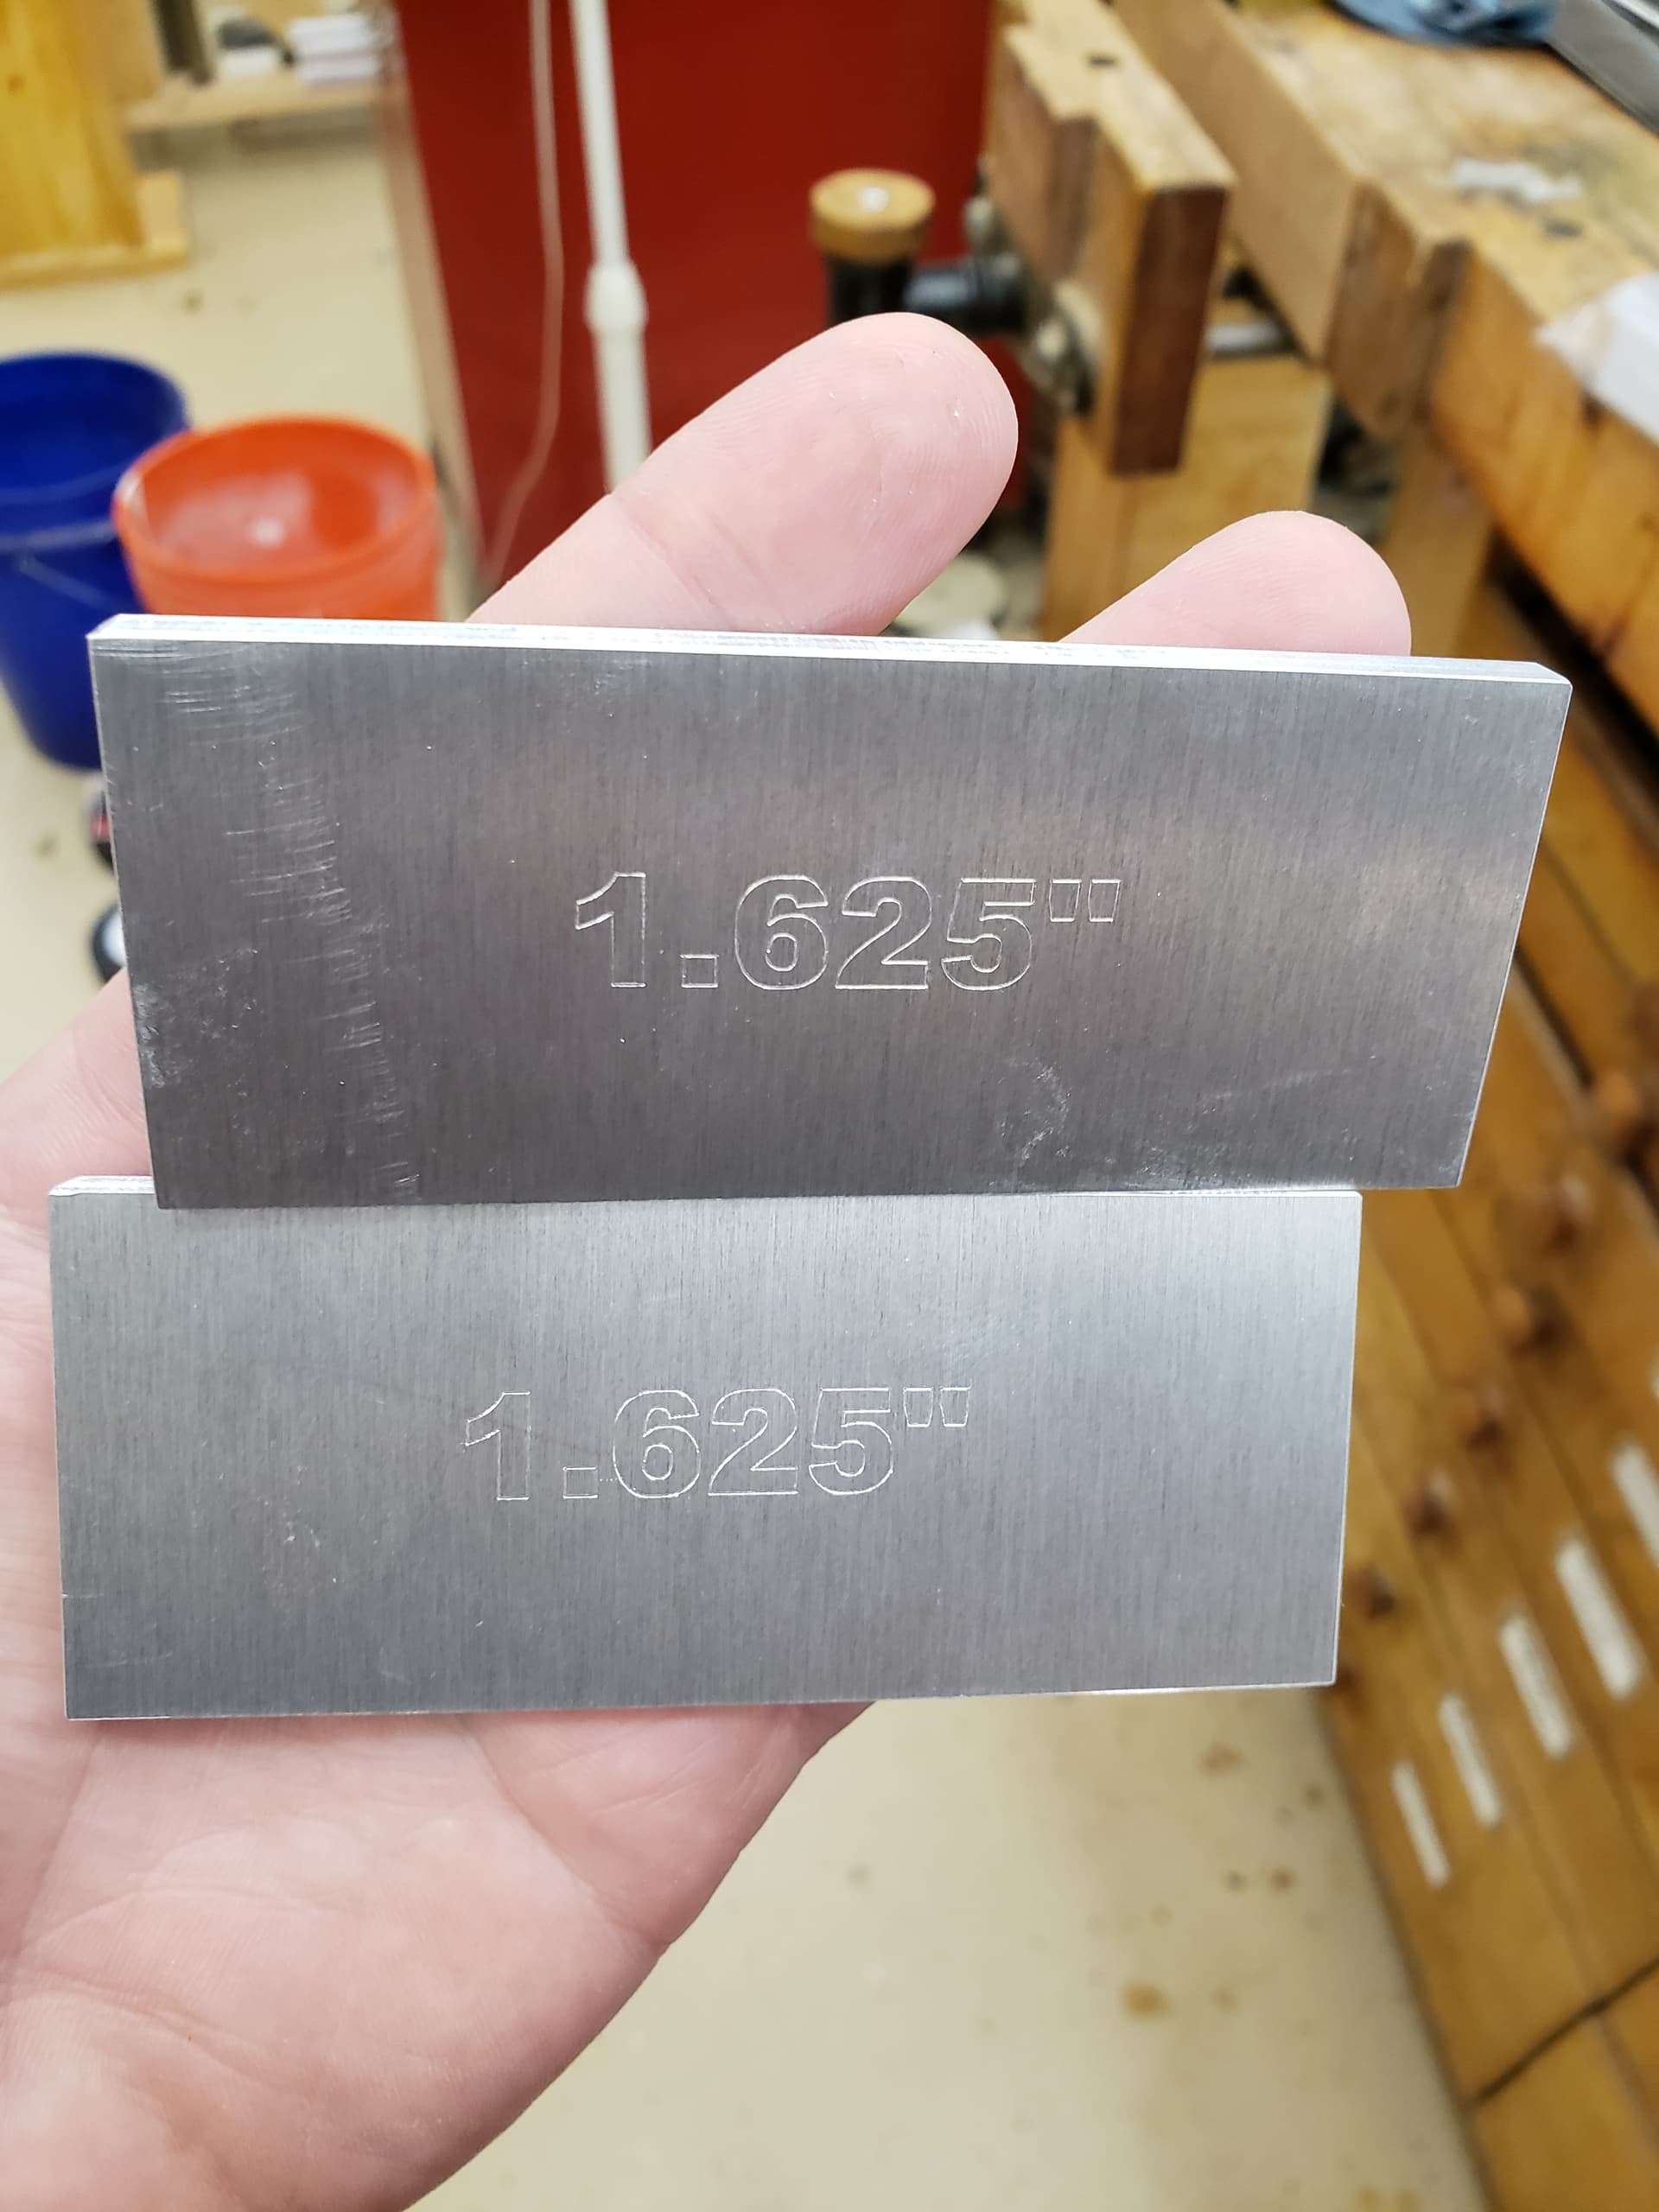
A pair of parallels for my low profile vise cut out of a 12x12" plate. Still working on my aluminum settings, but I am improving. The lettering was done with the 120deg MC Etcher. My first time using it. Great results!
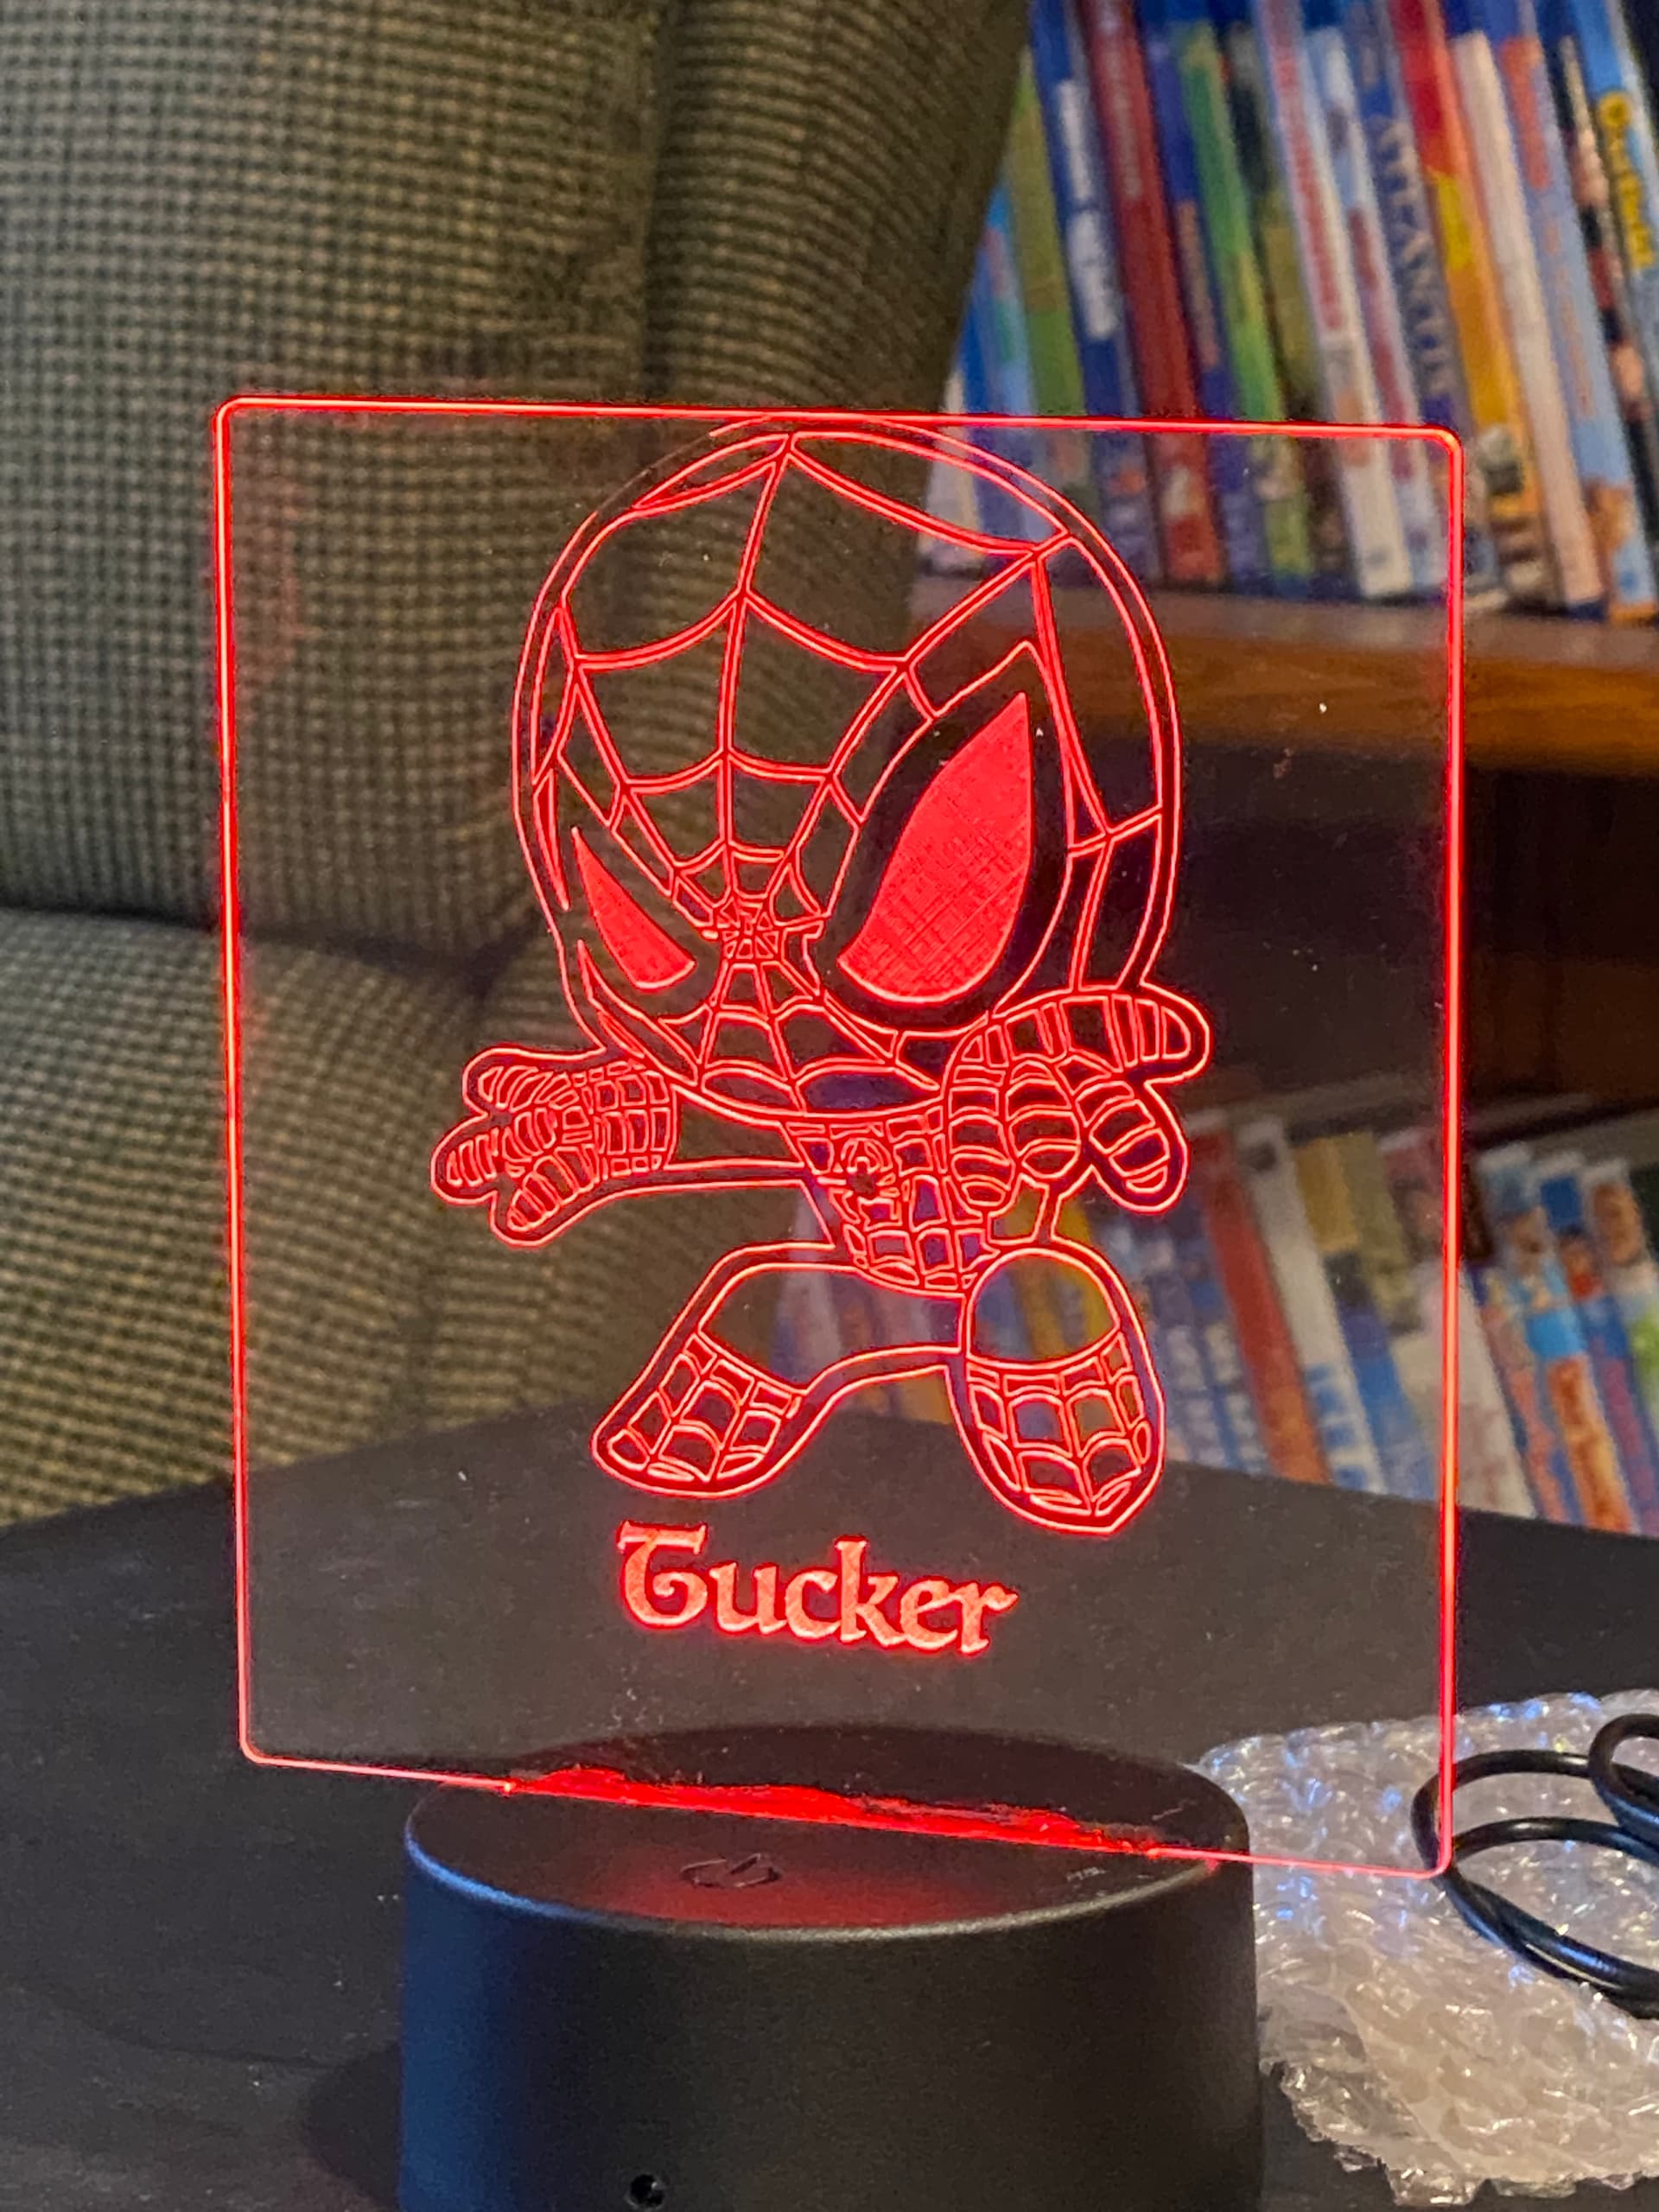
I made an LED light for my son. Had fun using teh MC Escher drag bit. They weren’t kidding in the tutorial that adjustments may need to be made because the thickness of the plastic isn’t uniform.
(This is also my very first post so I hope this works!)