What did you cut on your Shapeoko/ Nomad today?

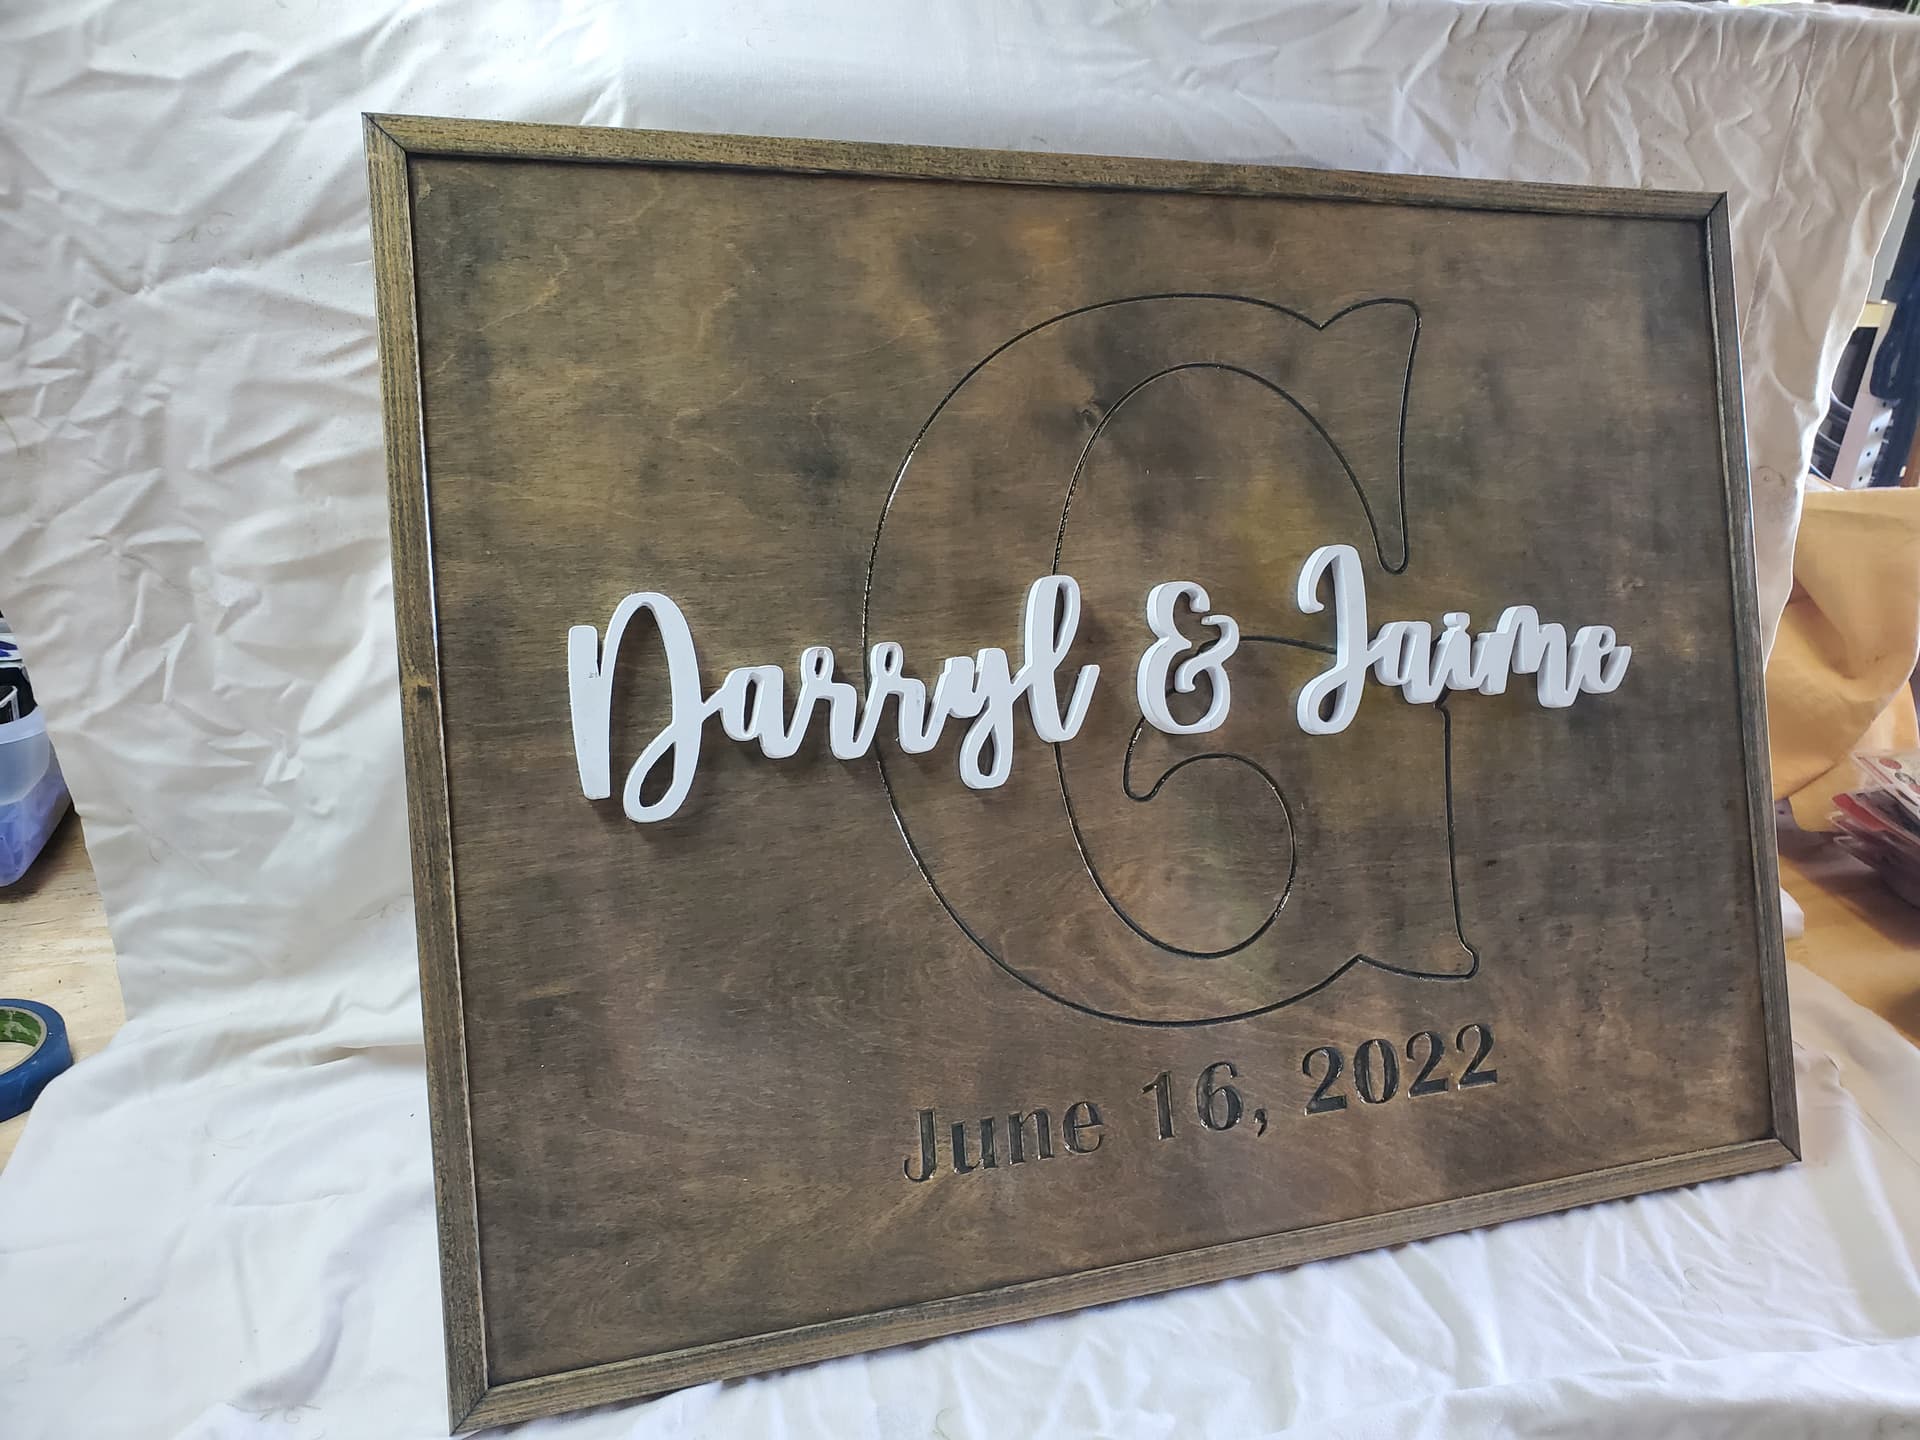
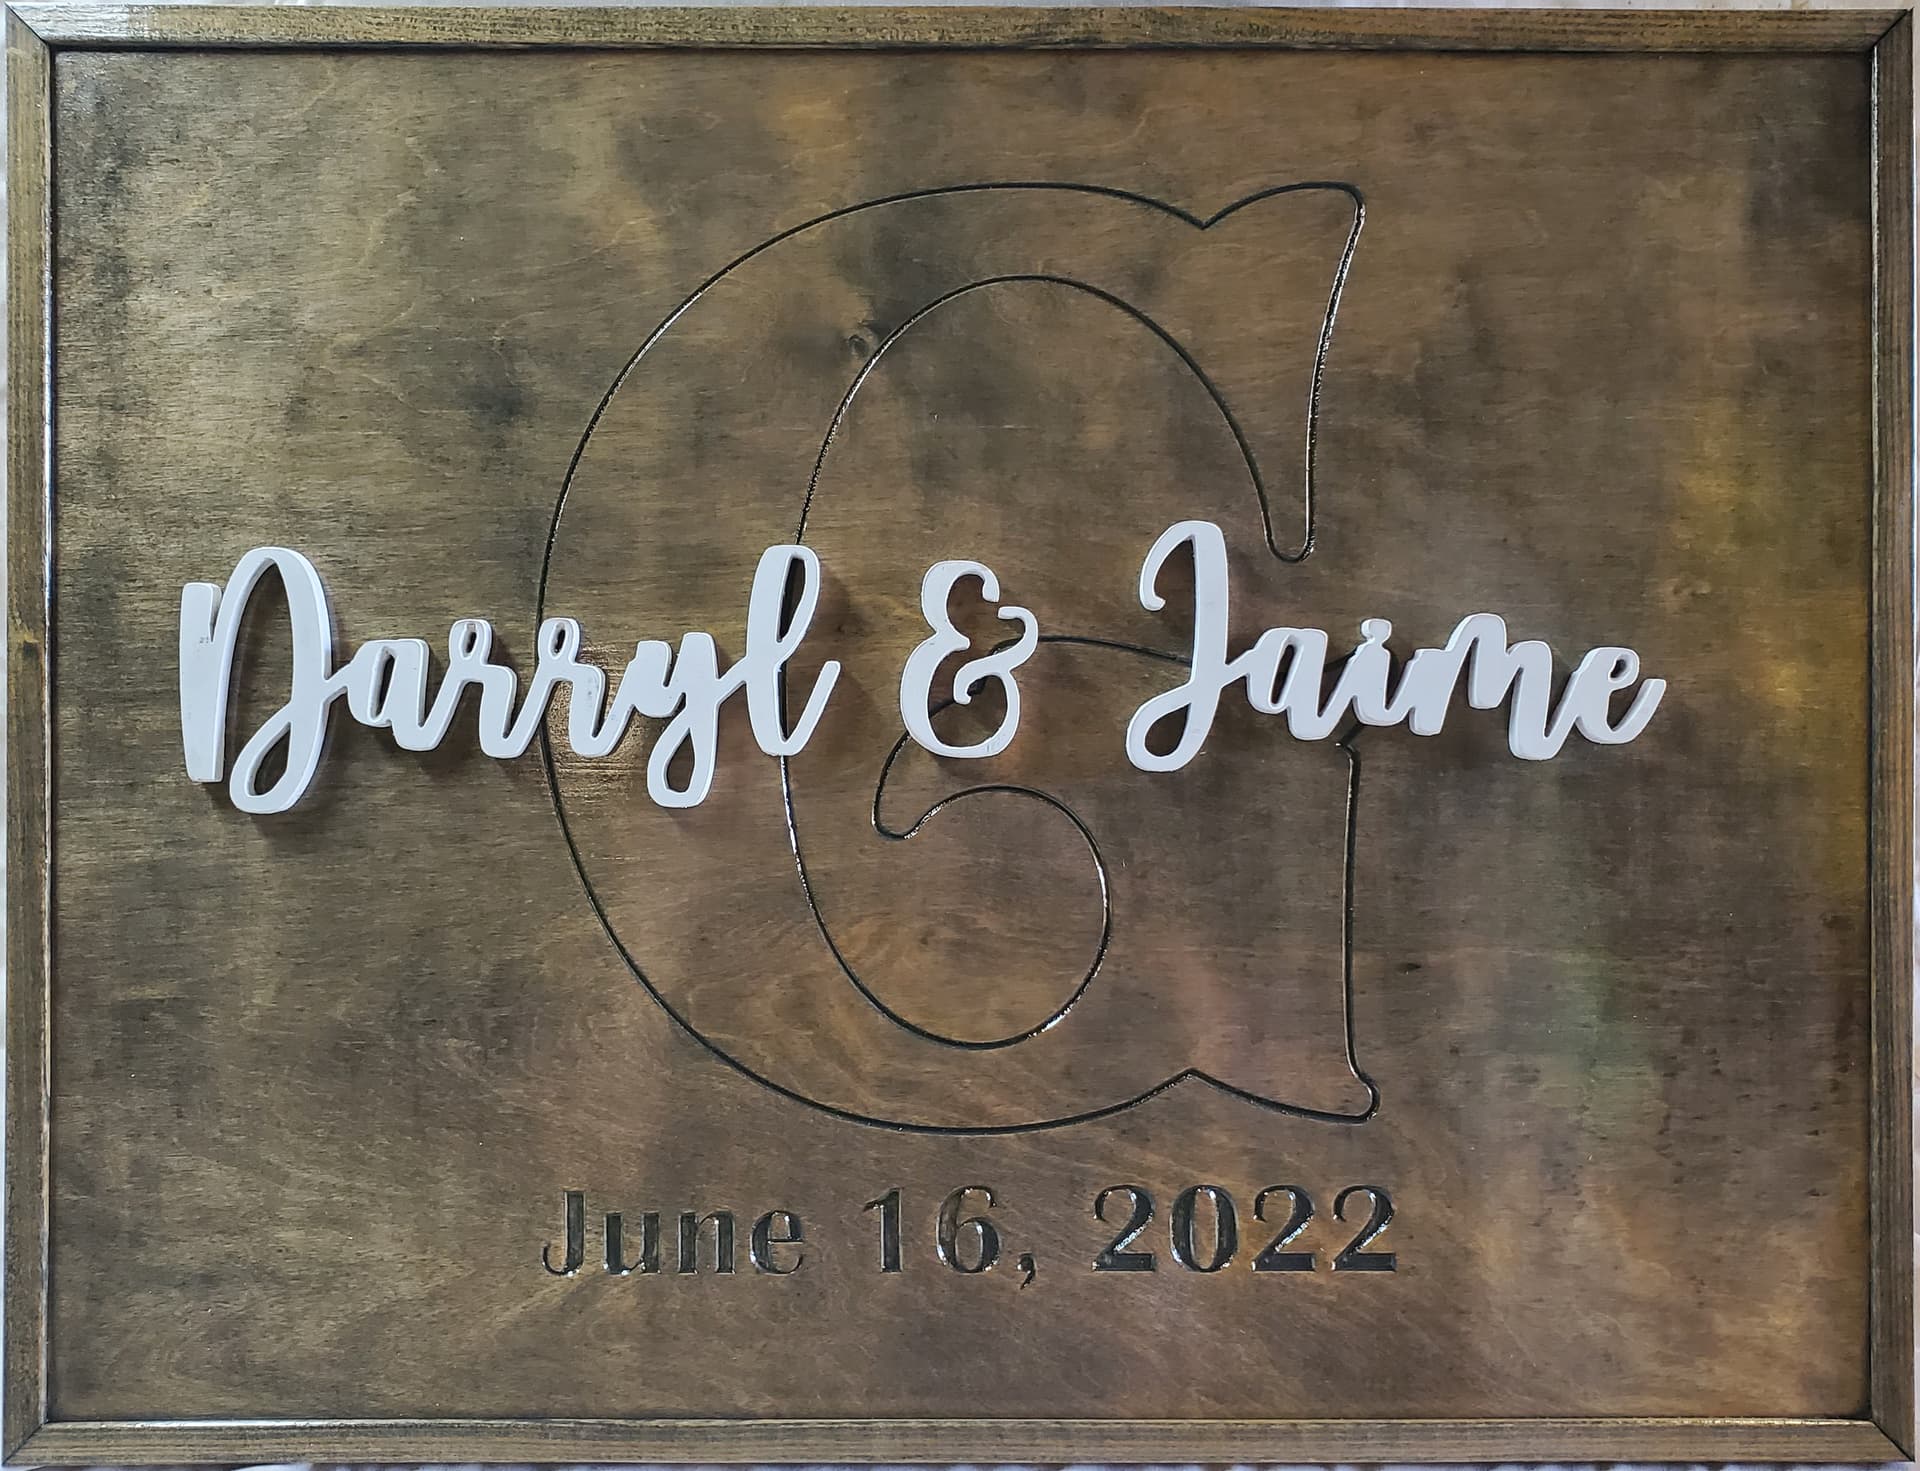
I think your V carve needs work I can’t read the most important parts…JK I am sure they will love it but you might need to epoxy fill it or it will get packed with dirt.

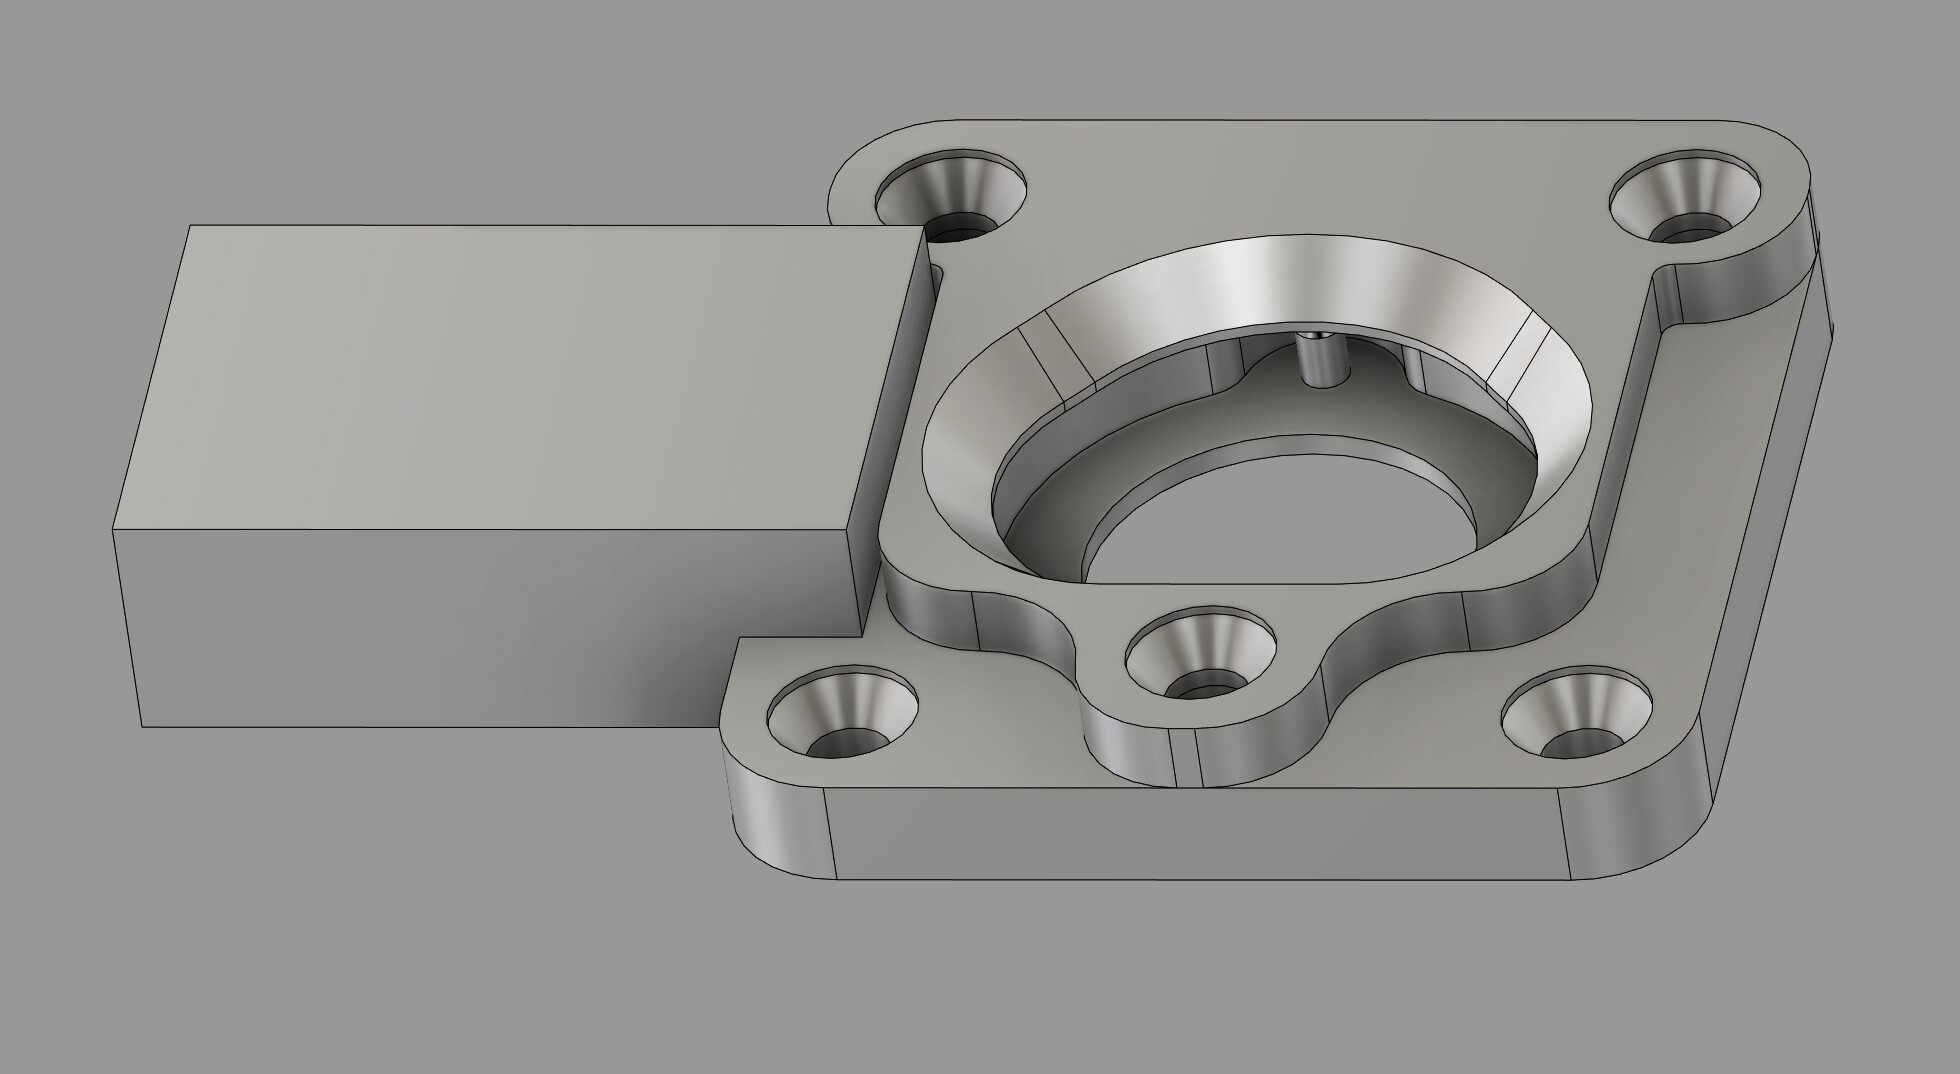
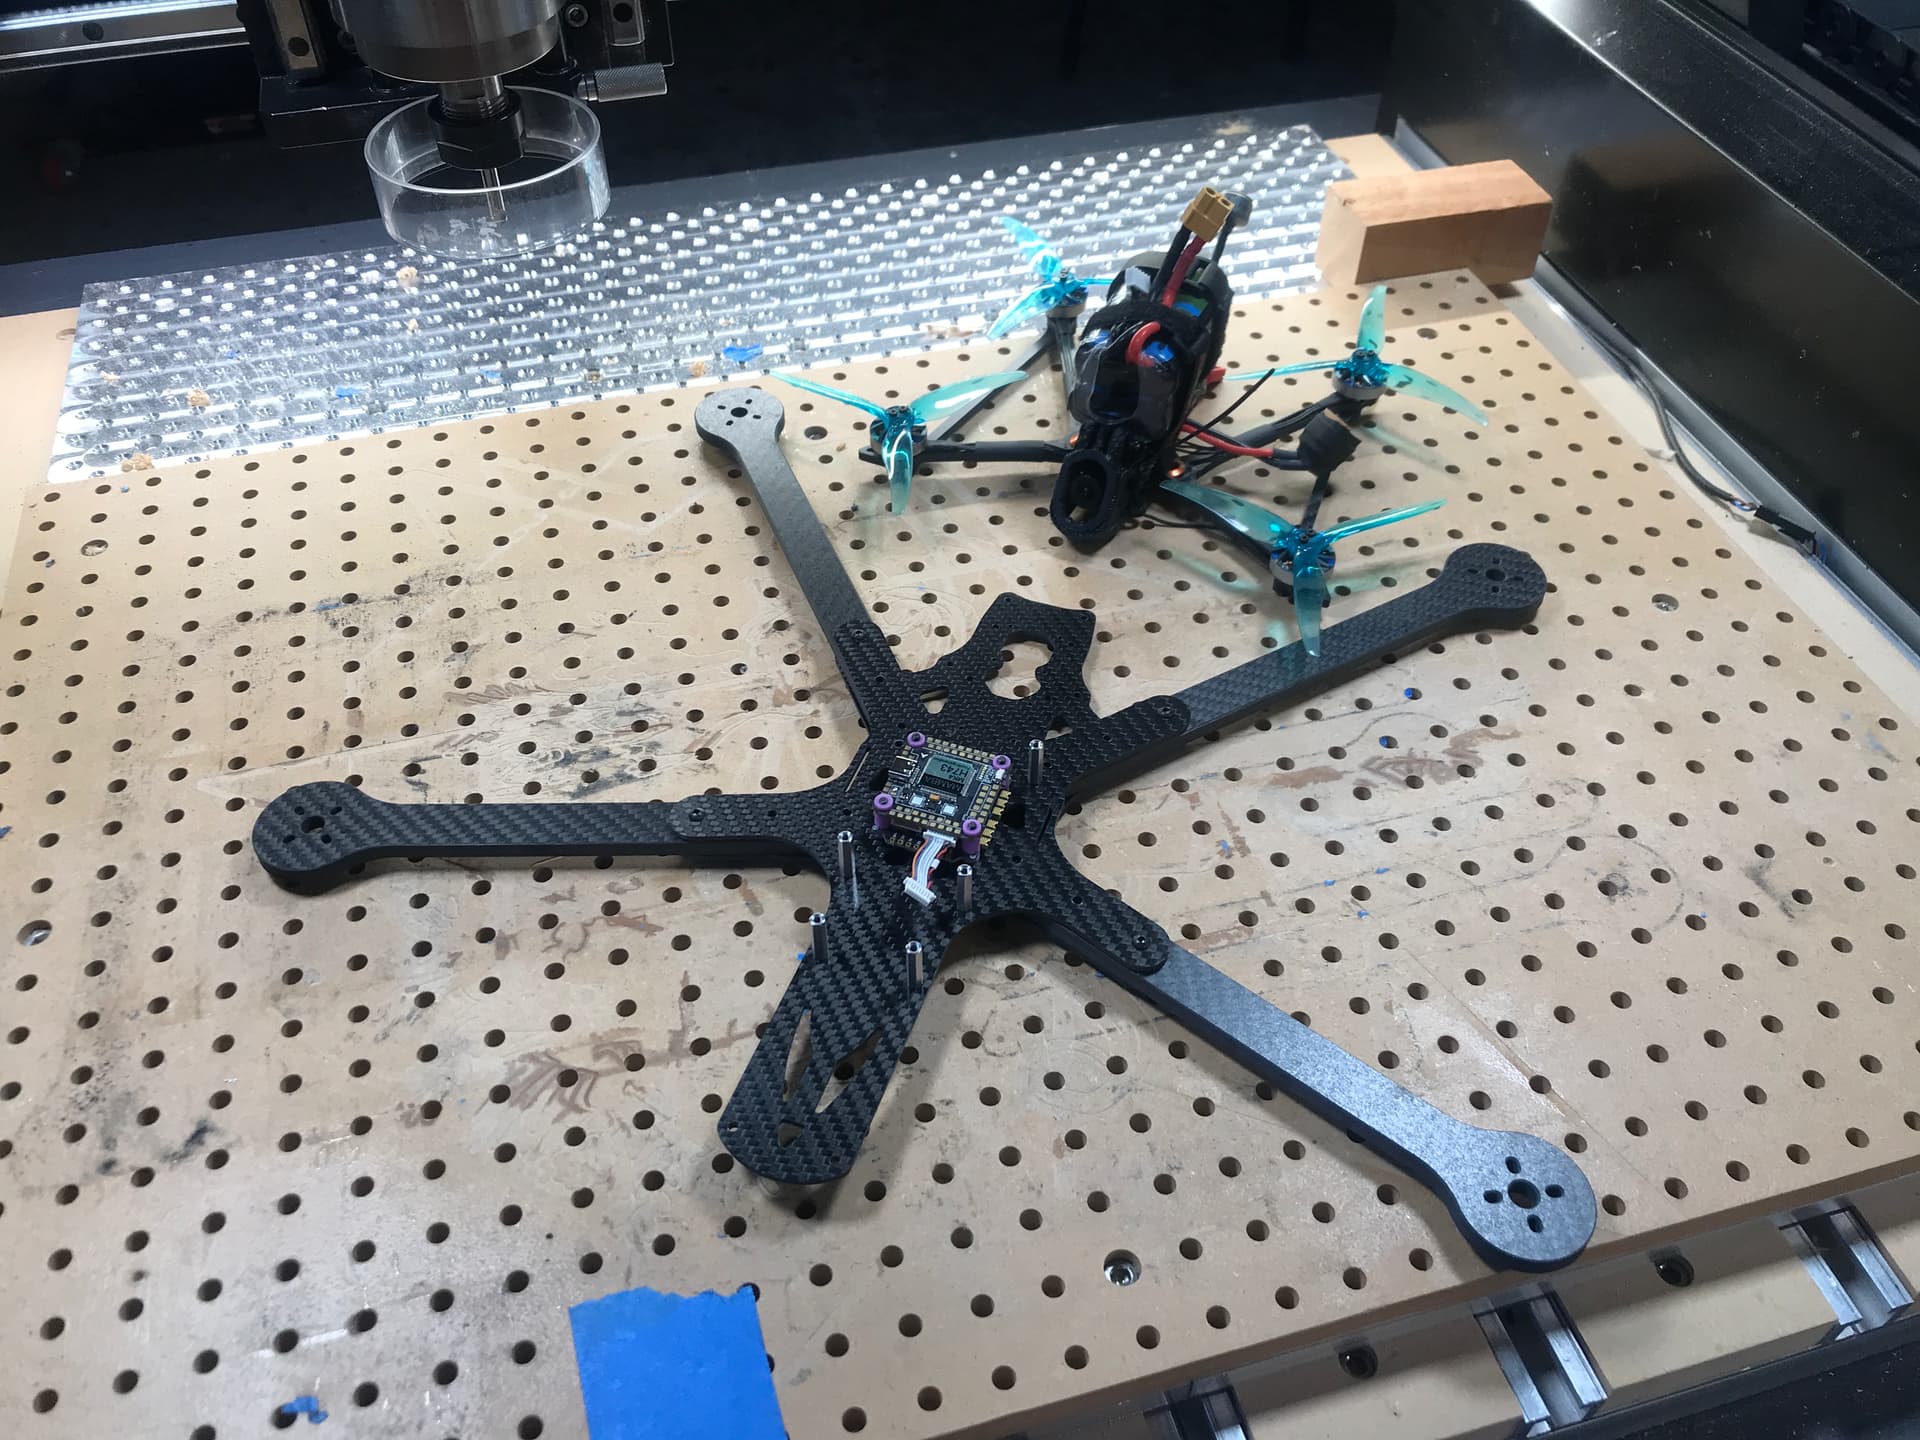
I like the extra block for setting the WCS. 3d printing alignment jigs and light work holding is real time saver.

1 Like

What do your feeds and speeds look like for this?

Would love to see more of this electric ukulele build!

1 Like

Super cool! Would you be willing to share the STL for your jig? looks really well done

1 Like

Follow-up and completion of the project (at long last…)

Inlays cut from black Valcromat,

how they look once glued in their vcarved pocket but before surfacing the backing,

how they look after surfacing, leaving 2mm above the surface (which was painted grey and coated BEFORE, so there was no room for any mishap)

And the finished piece of furniture:

It does not show on that picture but I really like the raised effect, I’ll keep that technique in mind for future projects.

28 Likes

Me too…looks awesome!

3 Likes

Hi Nick,
I am posting a link to the the fusion 360 files instead, as all 3d Printers, CNC machines and even 123 blocks are a little different, I am sure you will need to slightly adjust sizes for a perfect fit.
When I am sizing parts for precision fit I usually cut out a little section, for instance the square area that the 123 block fits in, I cut out a .15 inch thick frame to test fit, that only takes a few minutes to print. That way I do not have to print the whole part to check fitment and is easy and fast to track down a perfect fit. Once I am sure its right I just cut and paste it back into the model.

Also the jig is sized for 5/16 flat head socket cap screws, that are spaced 1.5 inches apart.
This is a odd size that fits an Ohio Diesel aluminum spoilboard, not sure if your current setup uses that size. If you need help adjusting bolt down sizes to your spoilboard or anything else regarding these pieces just send me a message, I will be more then happy to help.

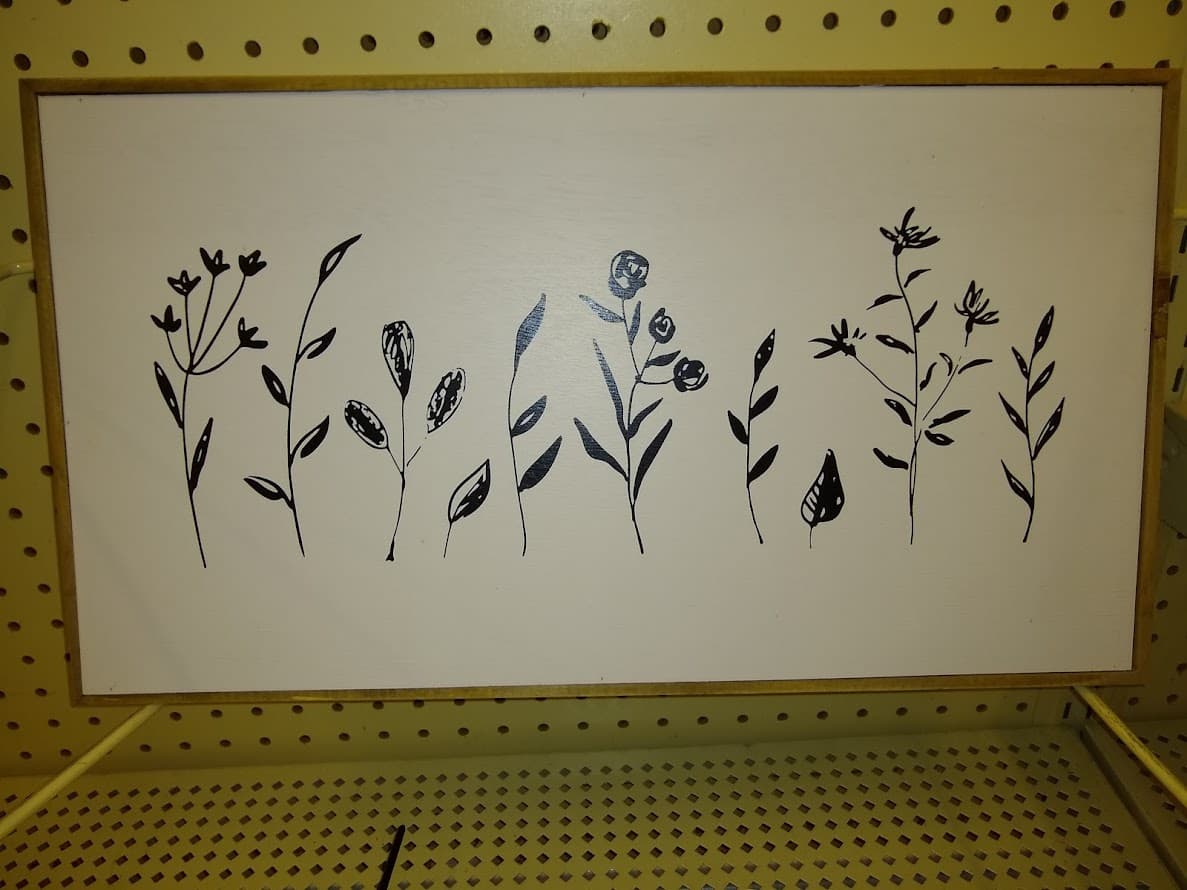
I left a blank tag in there if anyone wants to make one.

Click here for Fusion 360 link


9 Likes

Max,

This is even better. Truly appreciate you sharing a file like this and even leaving a blank dog tag! Thank you

-Nick

1 Like

I found this picture at Hobby Lobby. I took a picture so I could carve the image. Some day, some day.

I like your work Julien

6 Likes

Good morning,
I completed a few projects the past weeks.

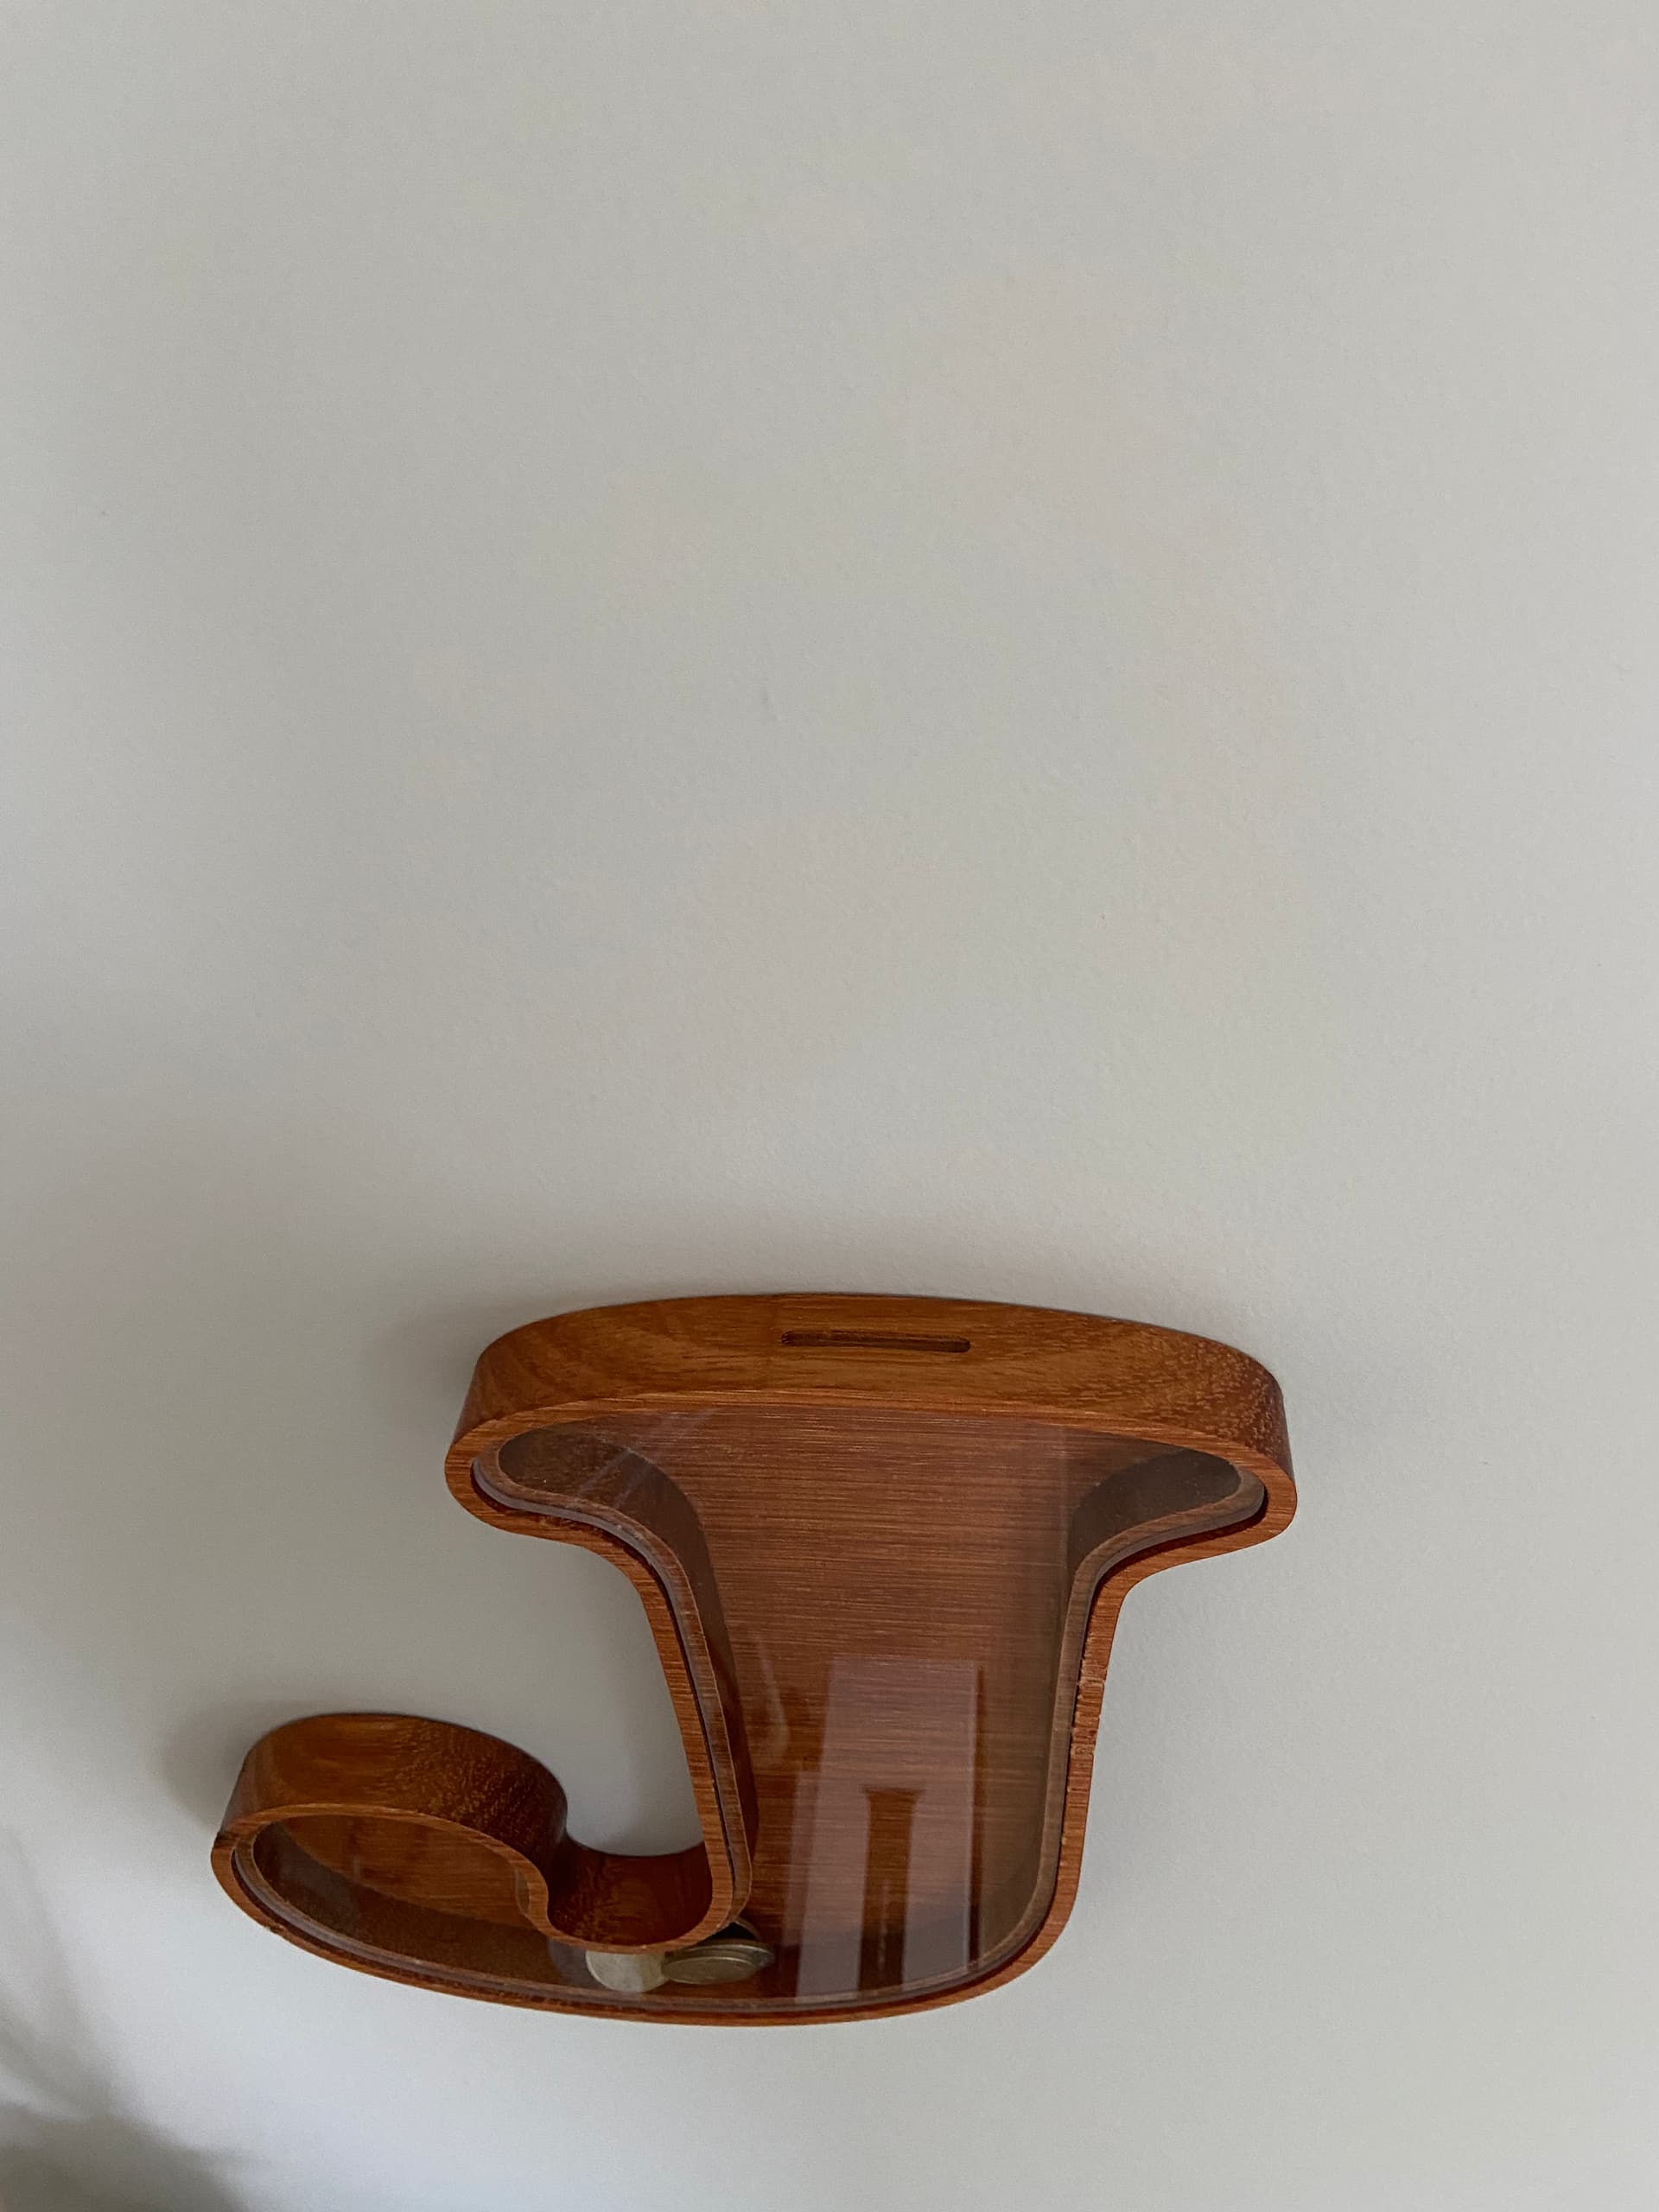
This first one is for a newly married bride & groom. This project was left out with white paint pens so the guests could write little messages to them.

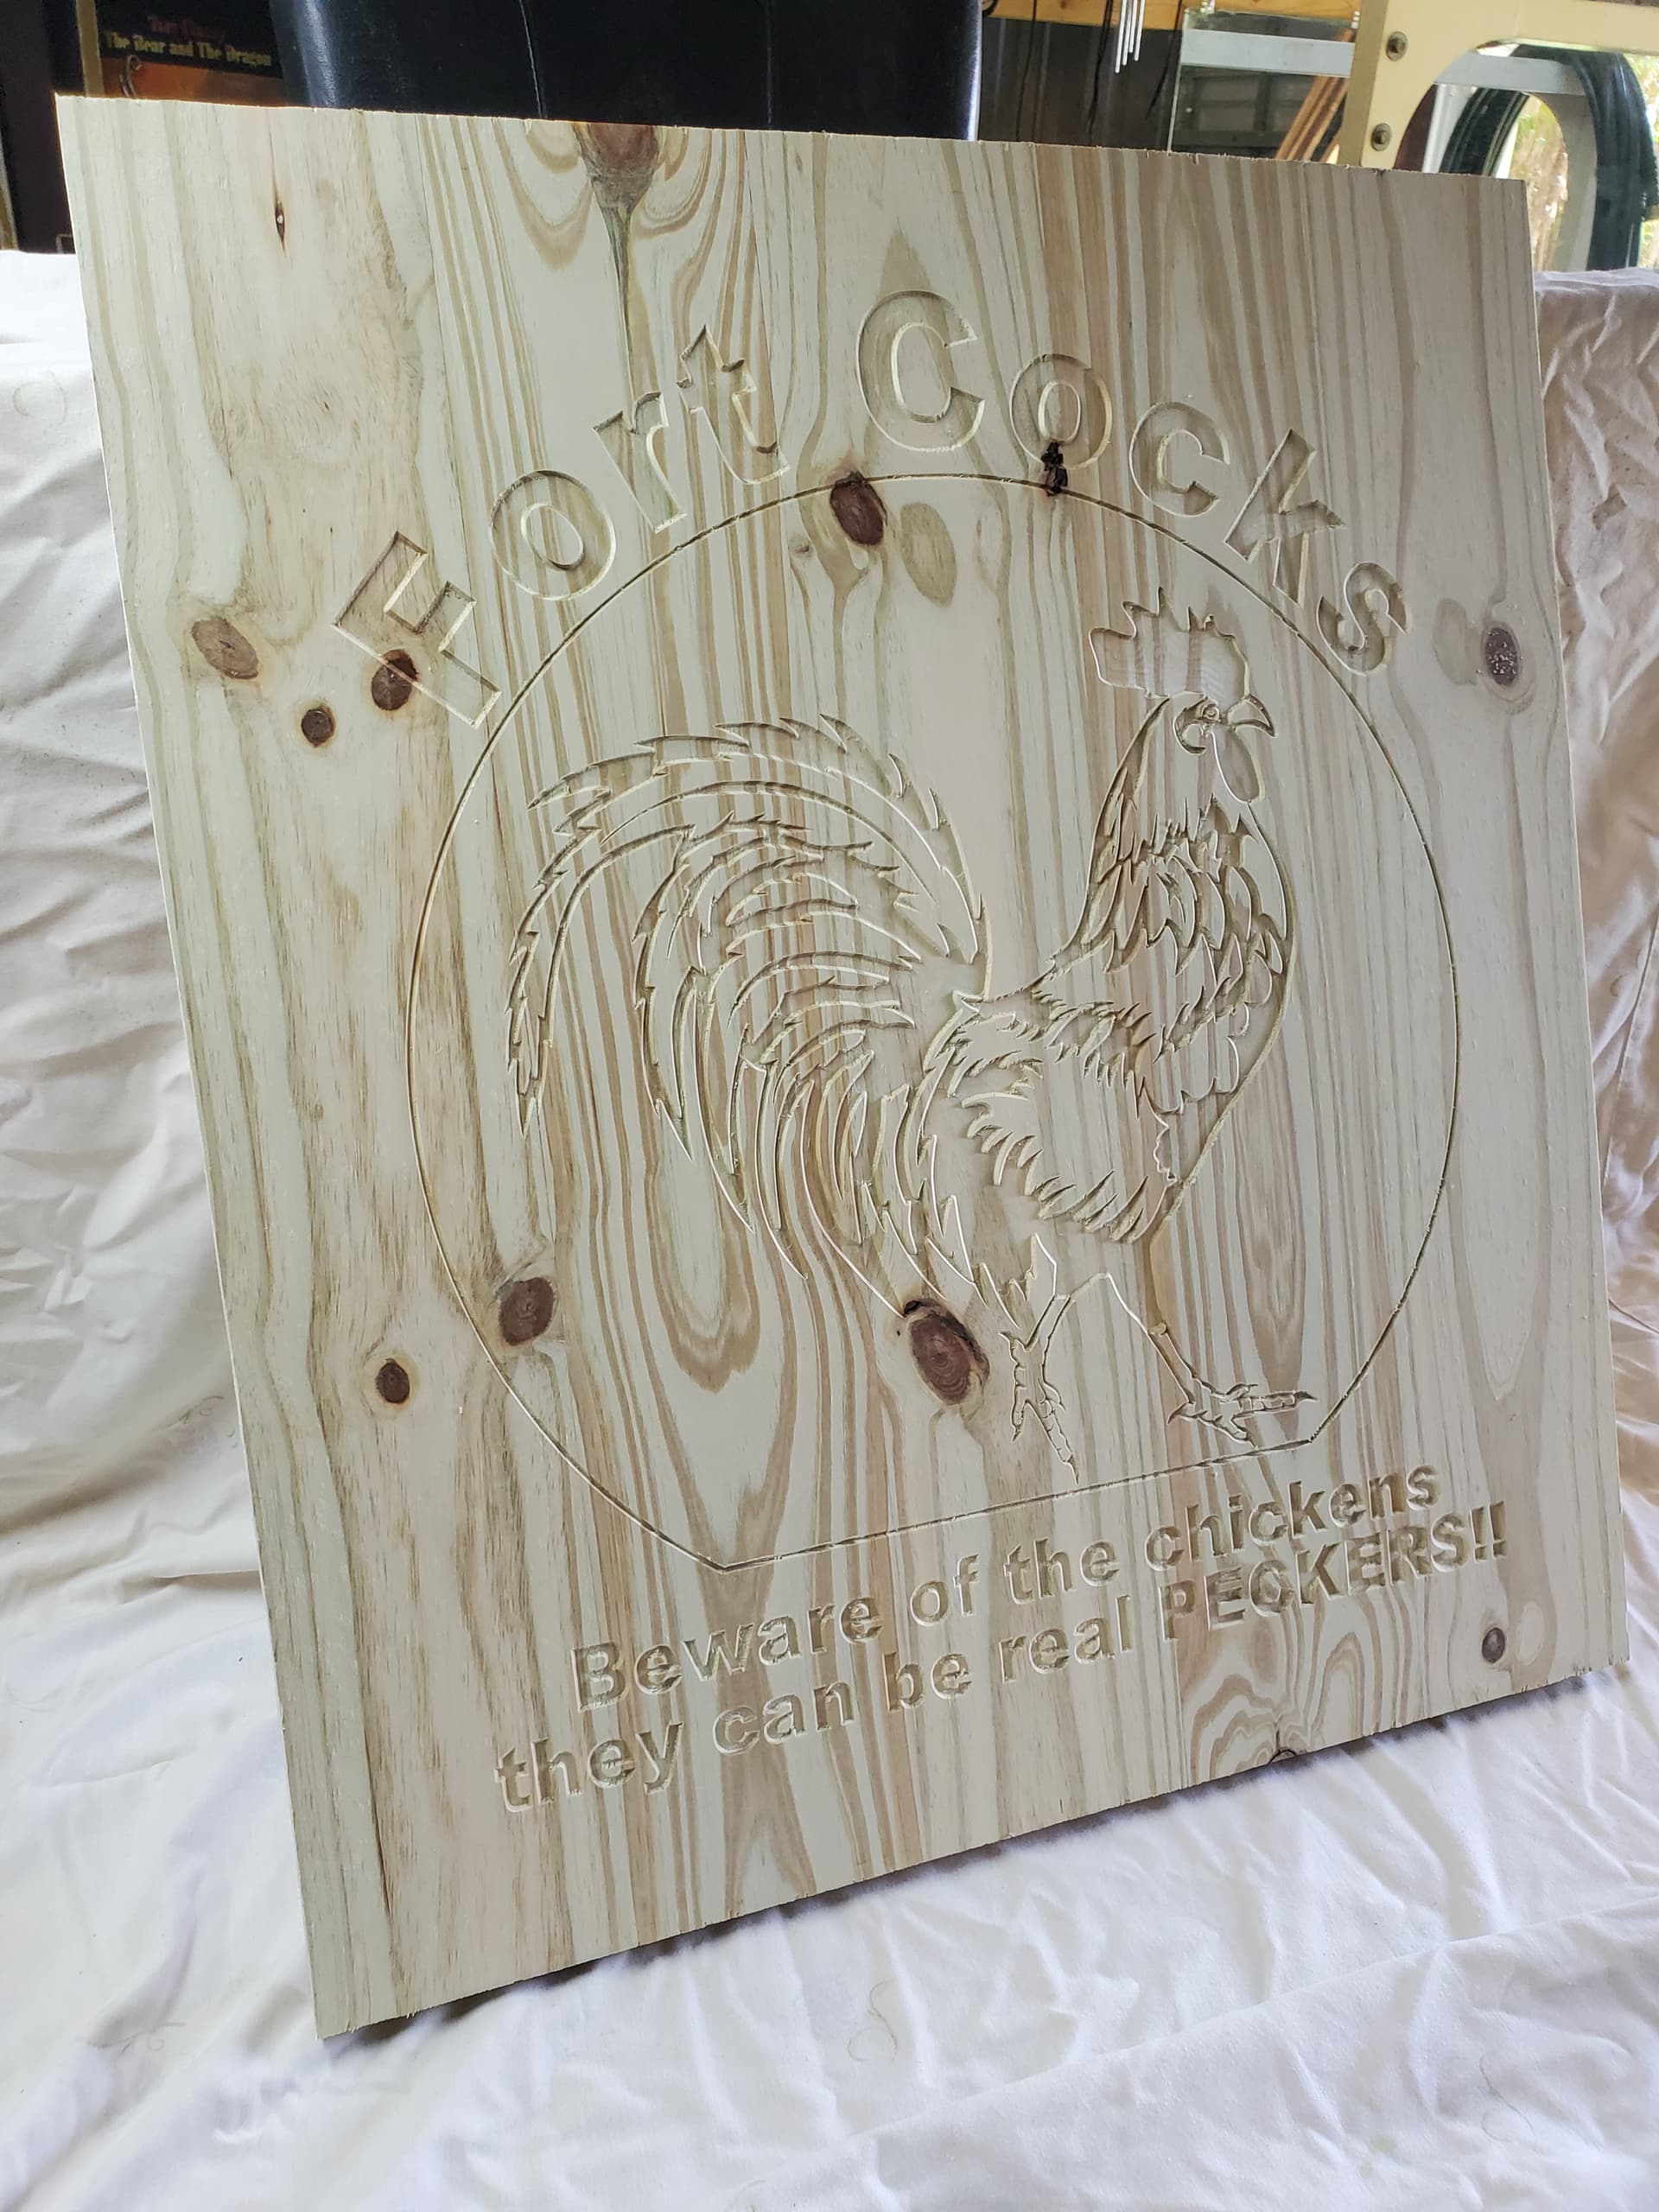
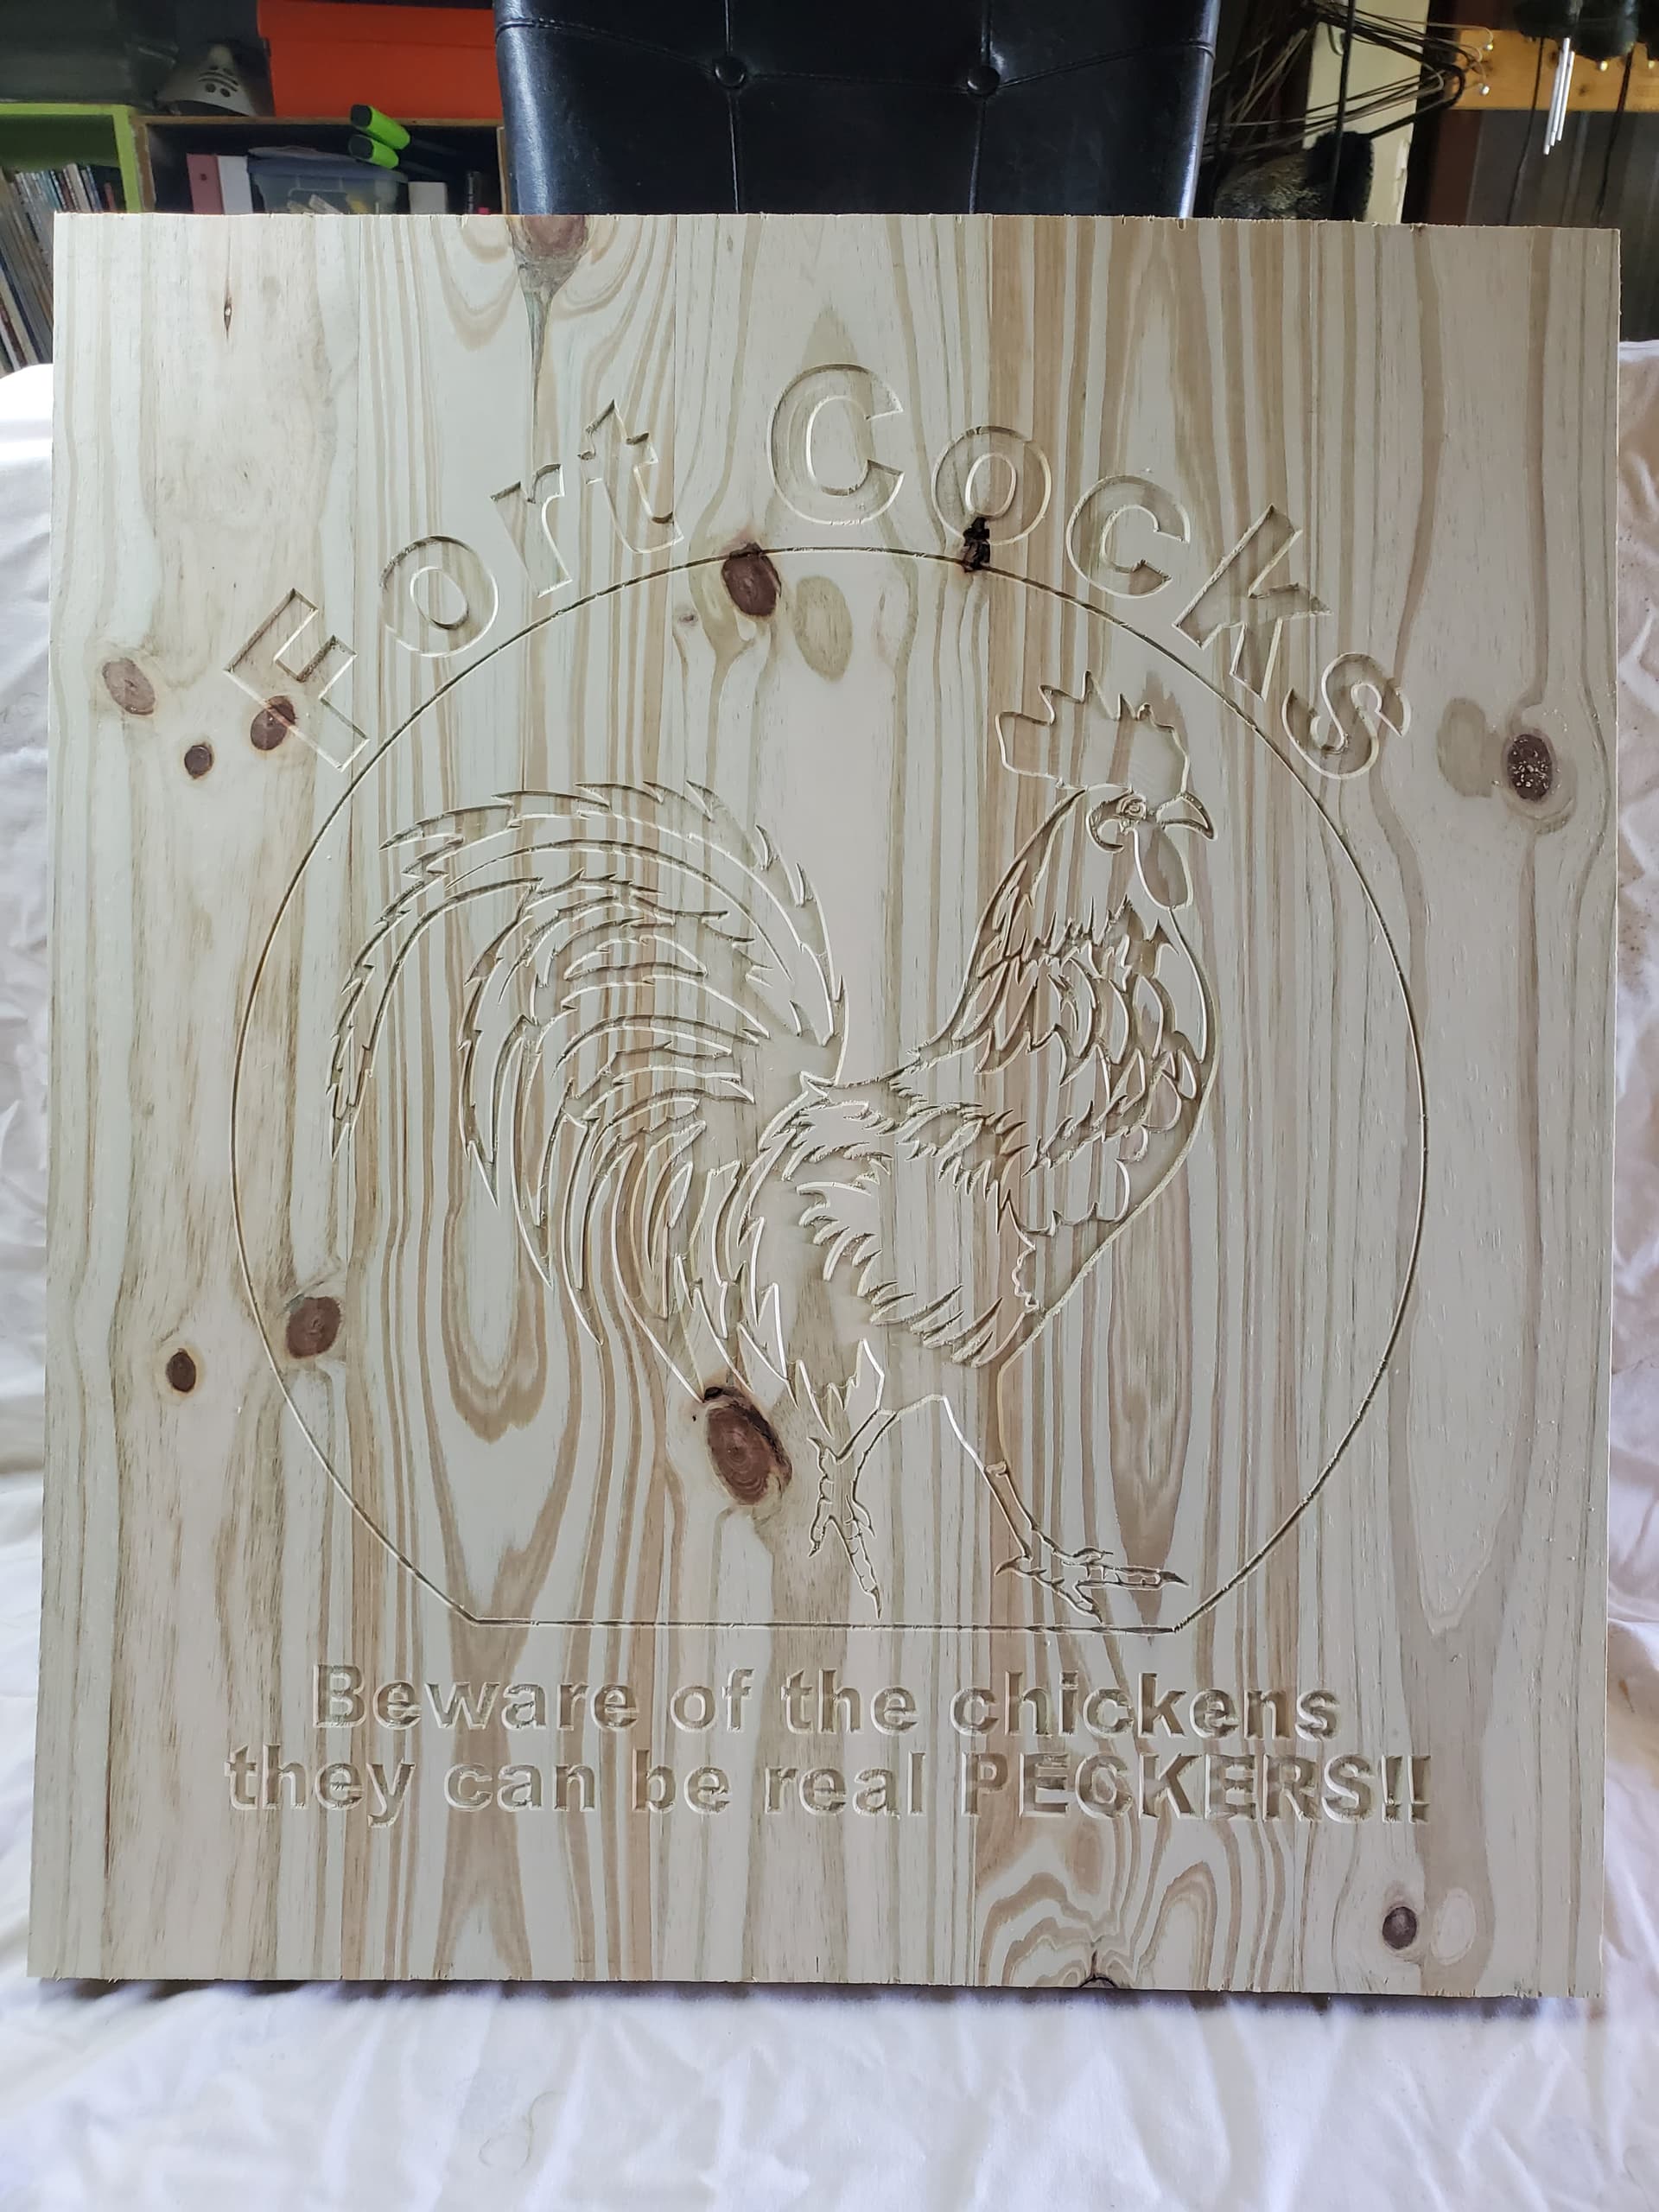
This next project was for a chicken coop. A little tongue in cheek humor. I thought it was actually pretty funny.

It is treated lumber to be weather resistant. And she wanted it left natural so she could do an aging process to it. I wasn’t a big fan of cutting treated wood. When looking closely at it, there seems to be a bit of tearout where the V bit cut through.

11 Likes

I used my Shapeoko to modify my Shapeoko. Cut the Y-Axis cover holes into slots.

4 Likes

I made a Piggybank for my son Johan.
Drawn in fusion, and made from two boards of redwood that was glued together.


23 Likes

Excellent Job! What method of hanging the bank did you use? Always on the lookout for new interesting solutions.

Back to my roots in the quad world, a modern Big 10 Inch. (Props that is.)
A 5 inch for a sense of scale.

The new digital goggles make FPV fun again.

14 Likes

Topo of Salt Lake Valley and the Wasatch mountains. Done on the HDM.

24 Likes

I made two tiny keyholes on the back of it close to the edges.

Finally getting hang of v carving and finishing process down. Love this machine. Anything is possible.

17 Likes

Ah, come on! More photos, please.


Lol :joy:

11 Likes

How big is it and how long did it take to cut?