About 20 minutes for bulk material removal and maybe an hour for the two parallel passes with the ball endmill.
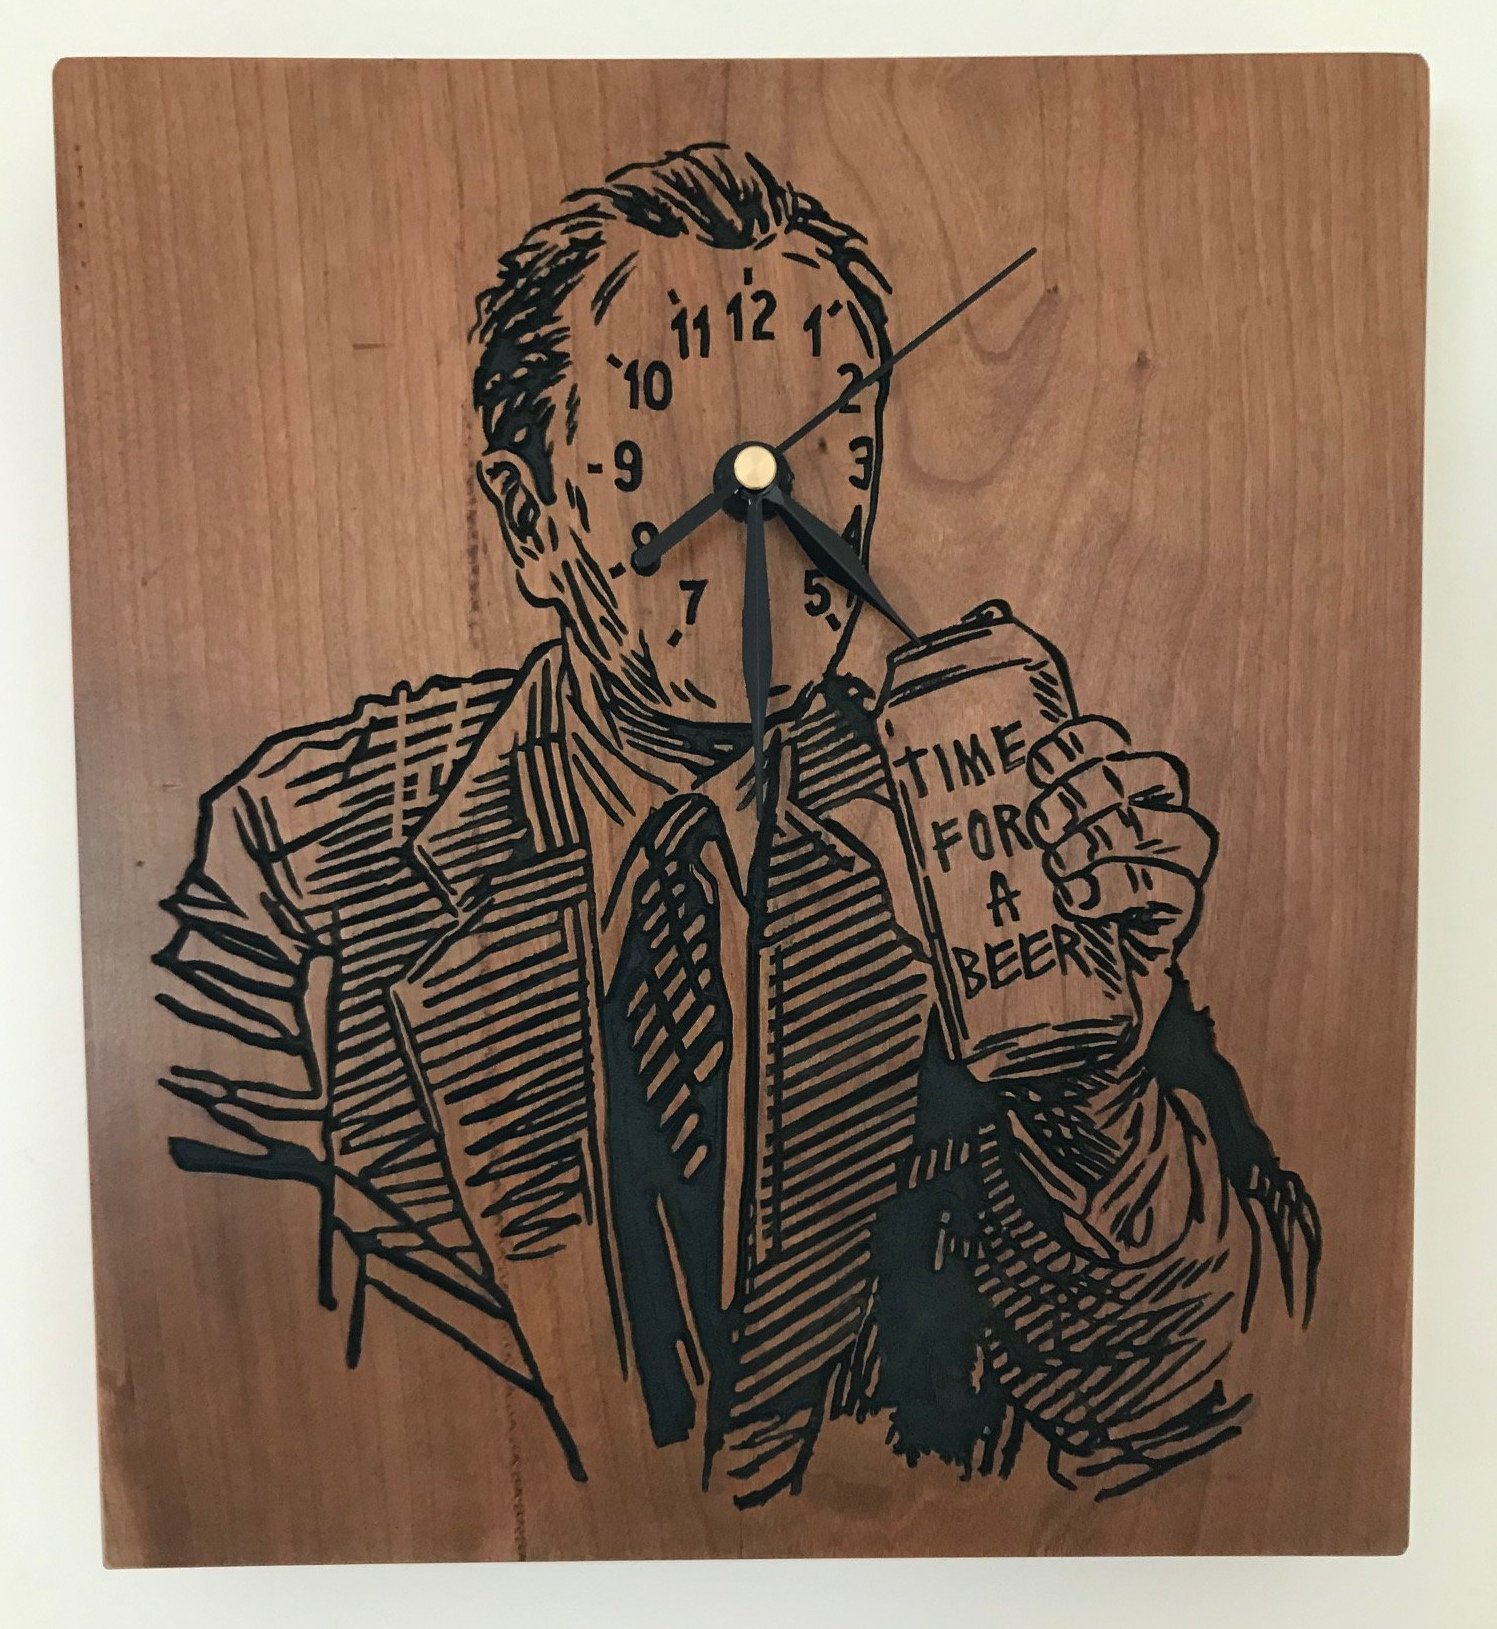
Everything in Texas is bigger. Even the clocks. ![]()
For those of you that make clocks you always need to synchronize them when assembling. When mounting the clock mechanism make sure it fits tightly so it will not move when adjusting the time with the little wheel. Place your hour hand on the clock exactly at the 12 o’clock position or as close as you can and then use the wheel on the back of the clock to move the hour hand exactly to 12. Then mount your minute hand and if you have one the second hand right at the 12 o’clock position. This will make sure your hour and minute hand line up. After getting your hands mounted rotate the hands with the wheel on the back and stop at 3, 6, 9 and again at 12 to see if the hands line up perfectly.
Most of the battery operated clocks the hour hand is on a geared shaft and is usually captured so do not manually move the hour hands without risk of damaging your clock mechanism. The minute hand is usually mounted with a slip connection so it is safe to manually move the minute hand. However look at your hand mounting shafts to make sure this is true before moving hands manually. The second hand does not usually move with the hour and minute hand when setting using the wheel on the back of the clock body. So manually insert the second hand when the hour and minute hands are set exactly to 12 so when the second hand sweeps around it will line up with the hour hand on the hour times.
After synchronizing your hands move your hands about a minute ahead of the current time and using your cell phone wait for the minute to change to your set time and insert your battery. The battery will run out eventually and a lot of the little battery clocks will start running faster when the battery is low. You would think that it would run slower but for some reason it starts to run faster.
5 Likes
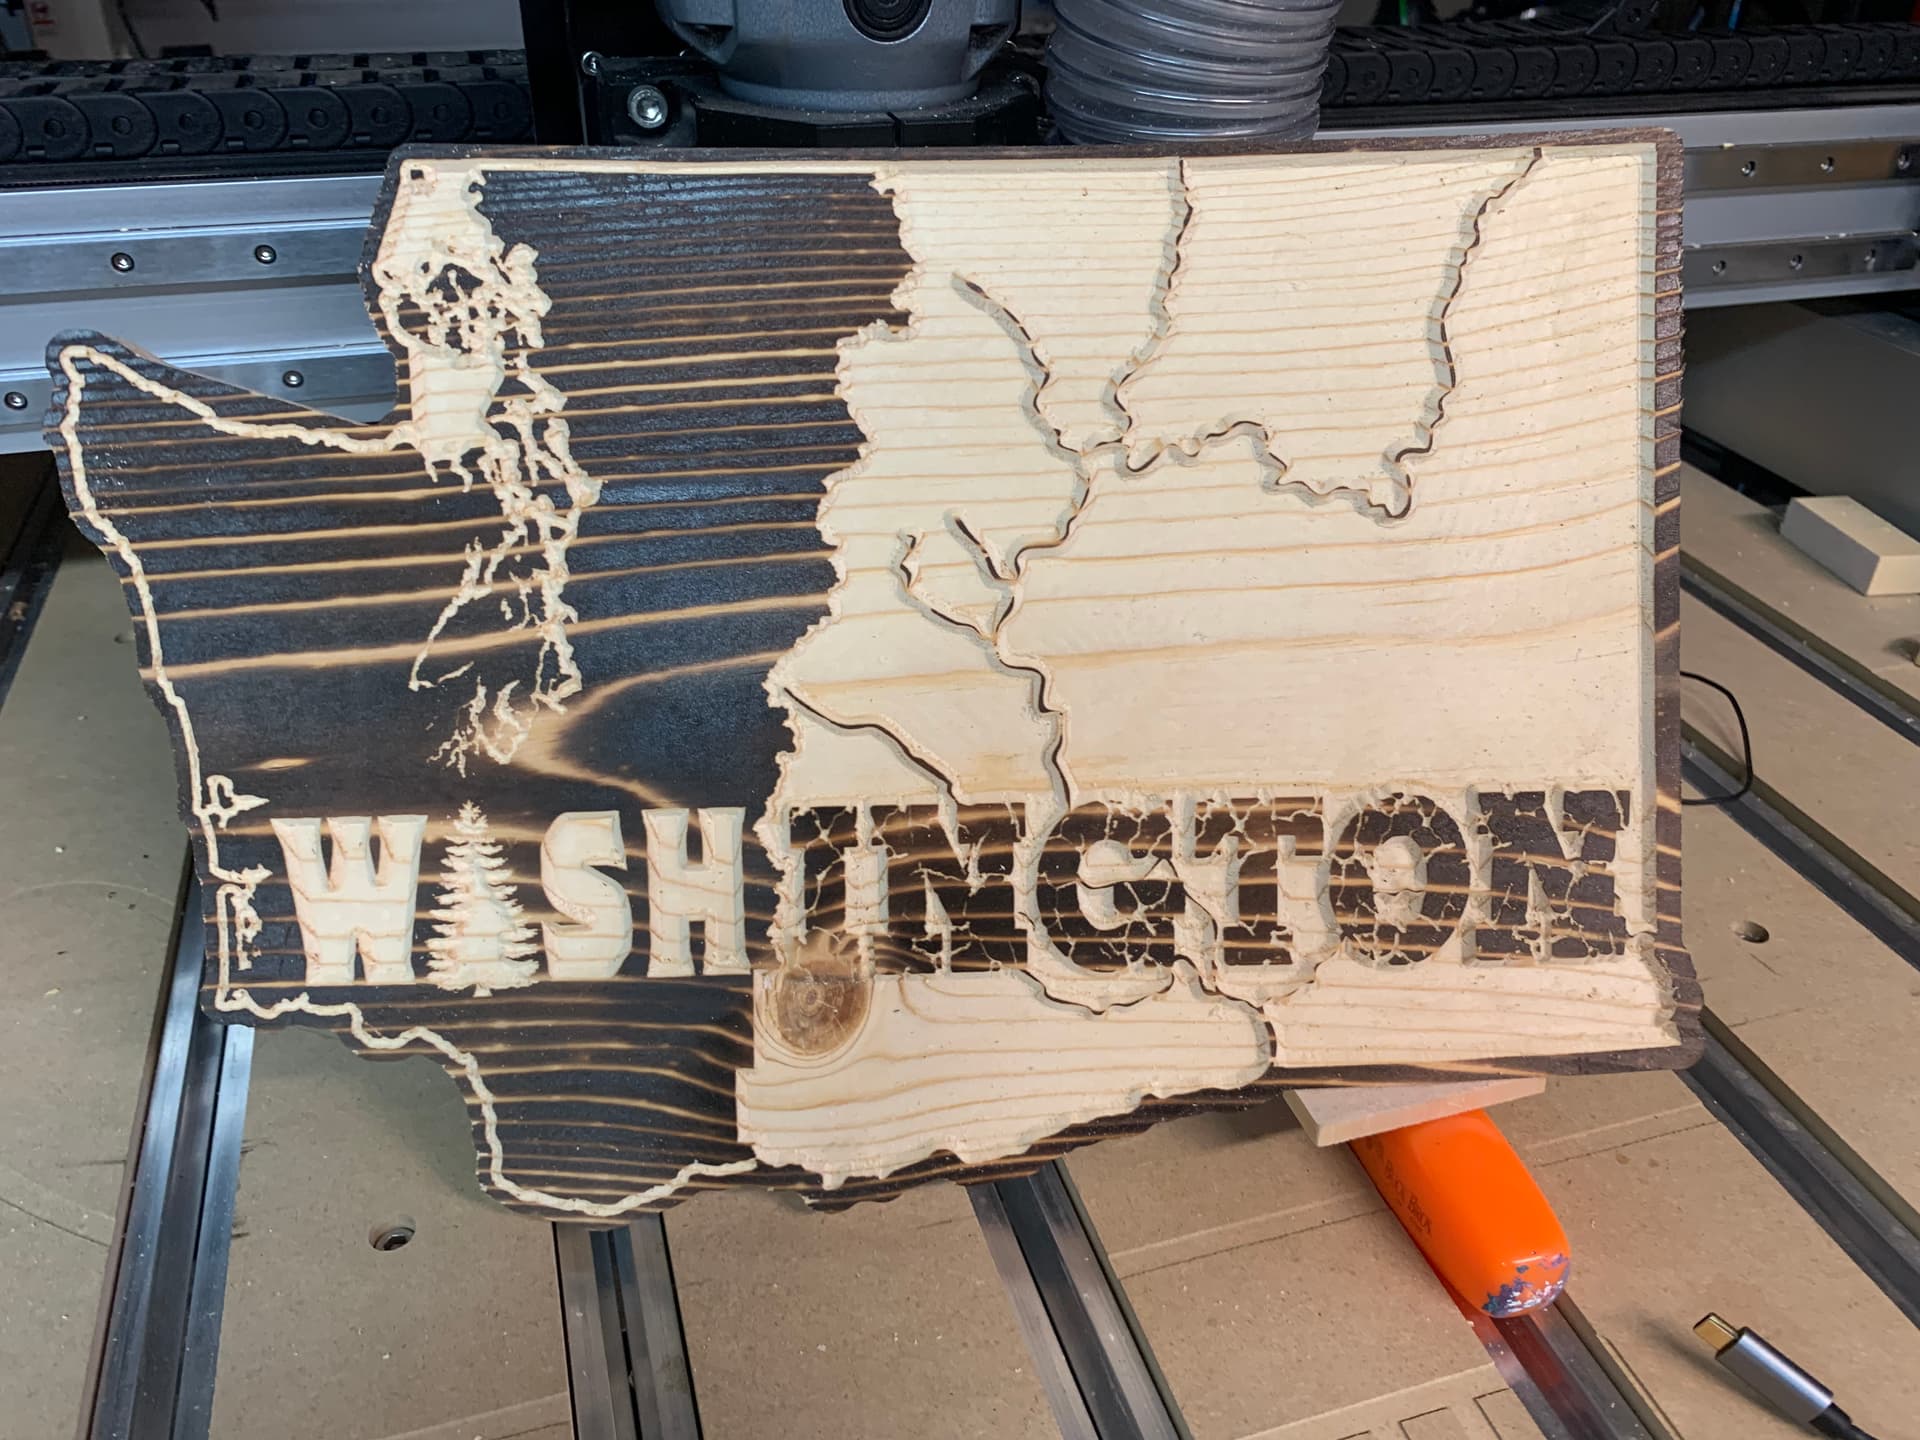
Not the most exciting subject, but was playing around with color & texture. Color is by Bernzomatic, texture was v-carving the ‘rock-on’ font, interwoven with eastern washington rivers. Will make the river paths wider next time, but overall fairly happy with the attempt.
11 Likes
So Pretty…
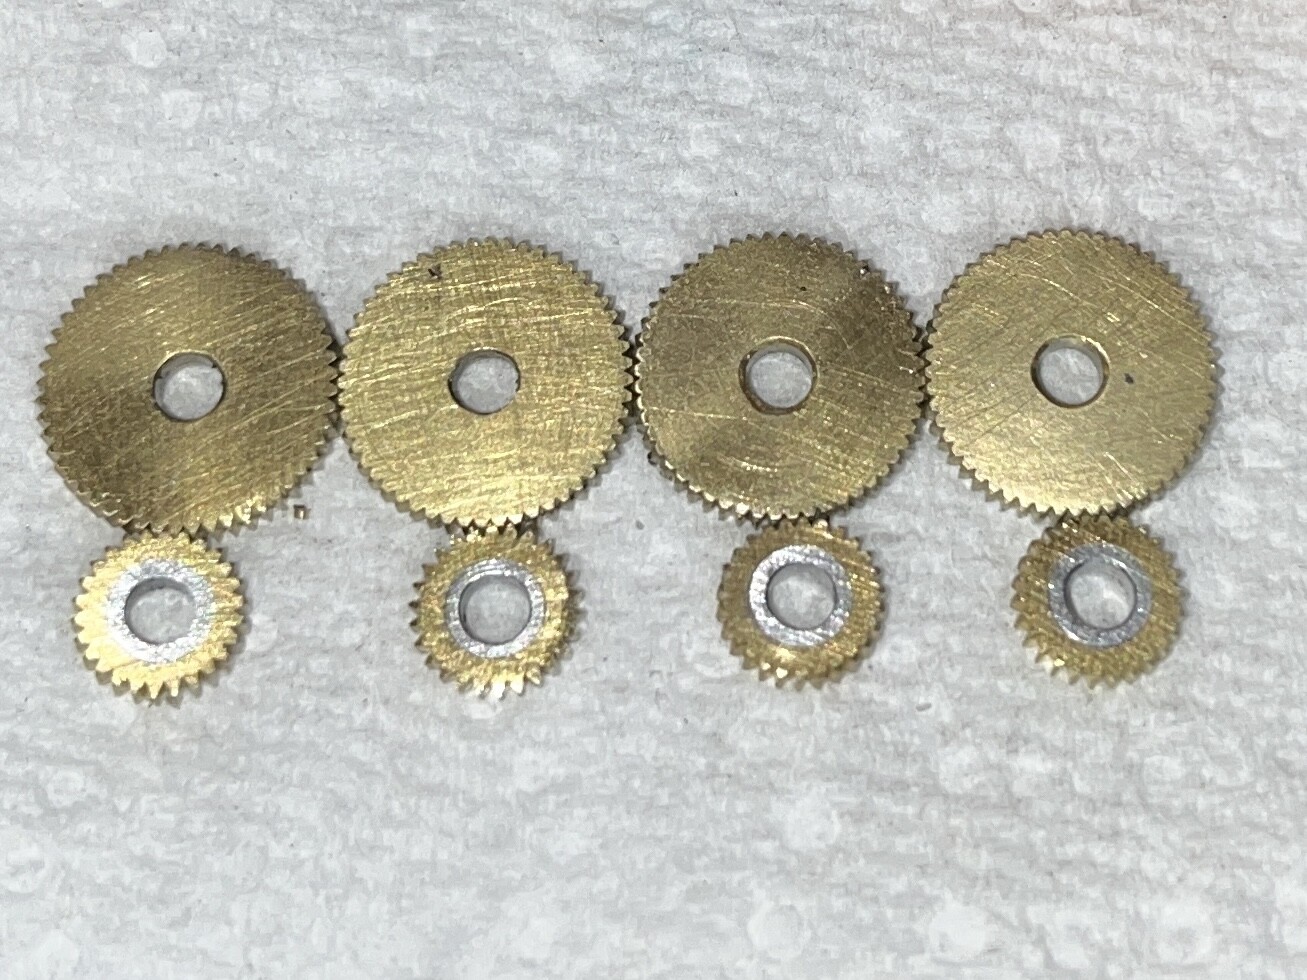
Gears…I made some tiny gears…I think I’m the first to make bears on a 4th axis (or Index head) SIze(s): 0.575 OD 52 Tooth (Cam) gear, and a 0.330" OD 26 Tooth Crankshaft gear.
Boring movie here: (Oh year, I’m milling so that can’t be boring…(Machinist (bad) joke))
https://www.instagram.com/p/CfW3LuNJQEF/
Photo of the completed setup parts. (On a setup fixture)
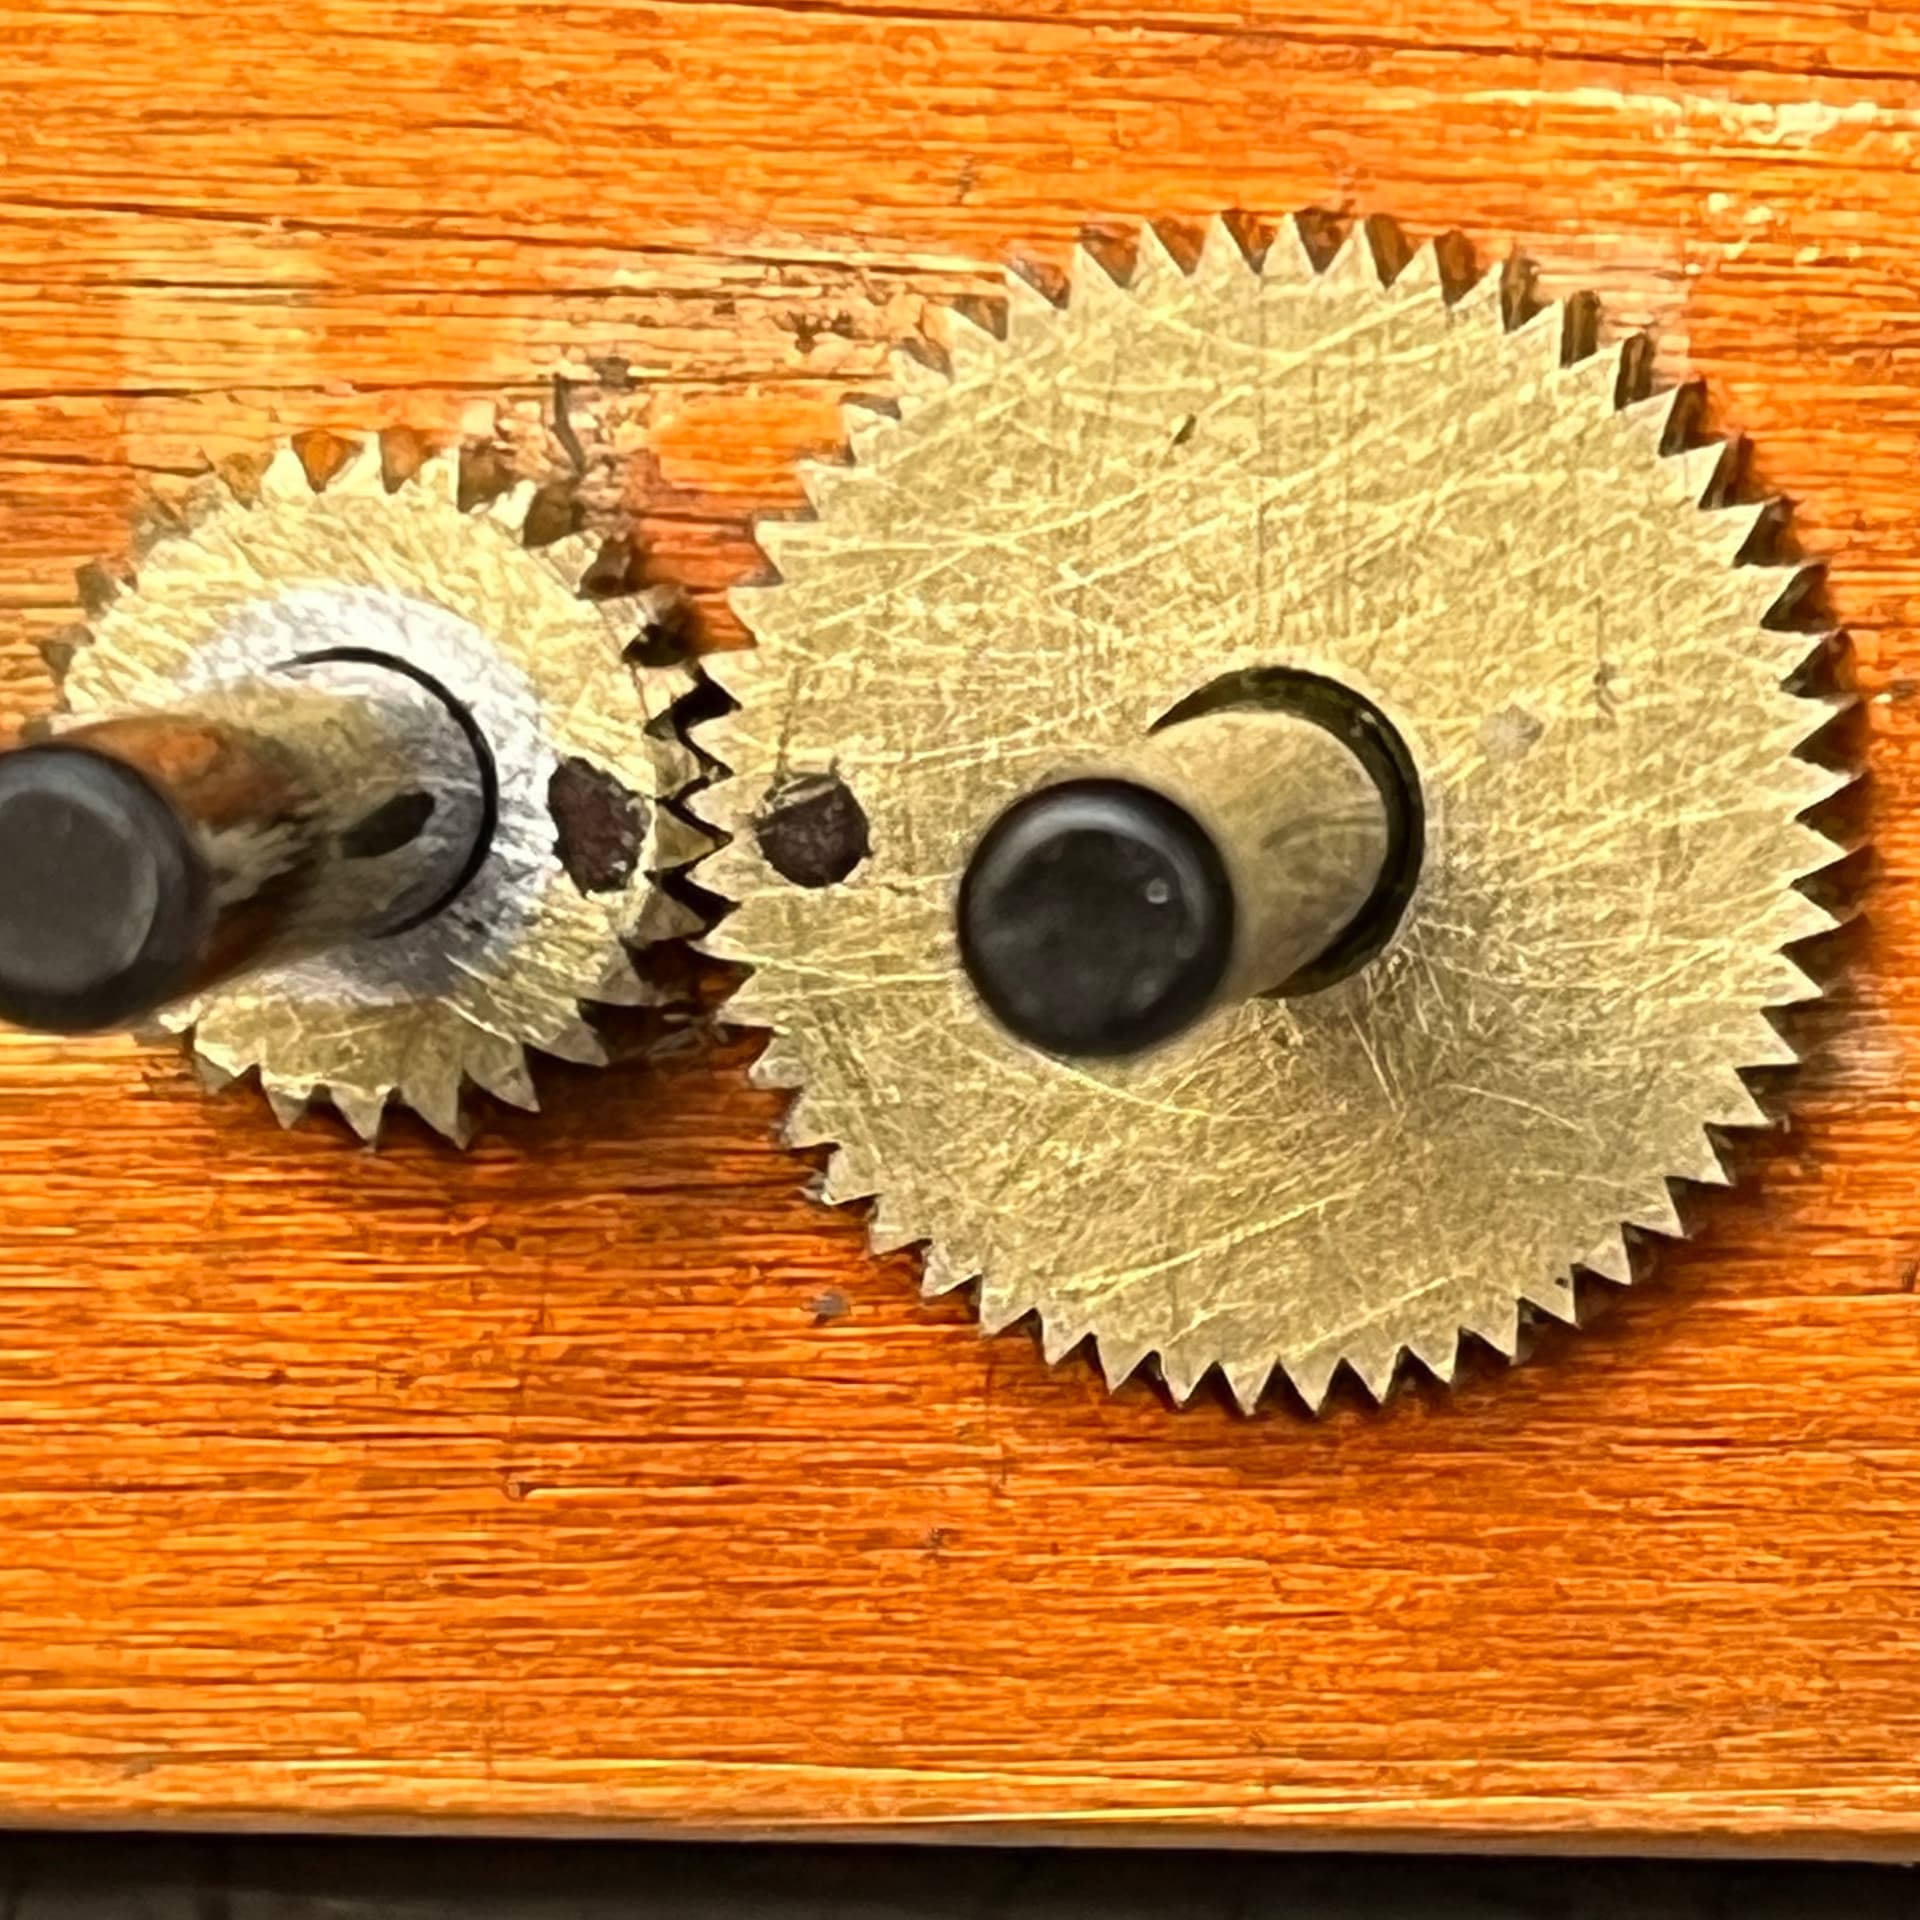
That’s a wrap (except for some polishing) and timing marks (crankshaft to camshaft valve timing). Sigh 320 grit looks so scratchy here.
14 Likes
Rich you are so boring. ![]()
My home state. Can see my house.
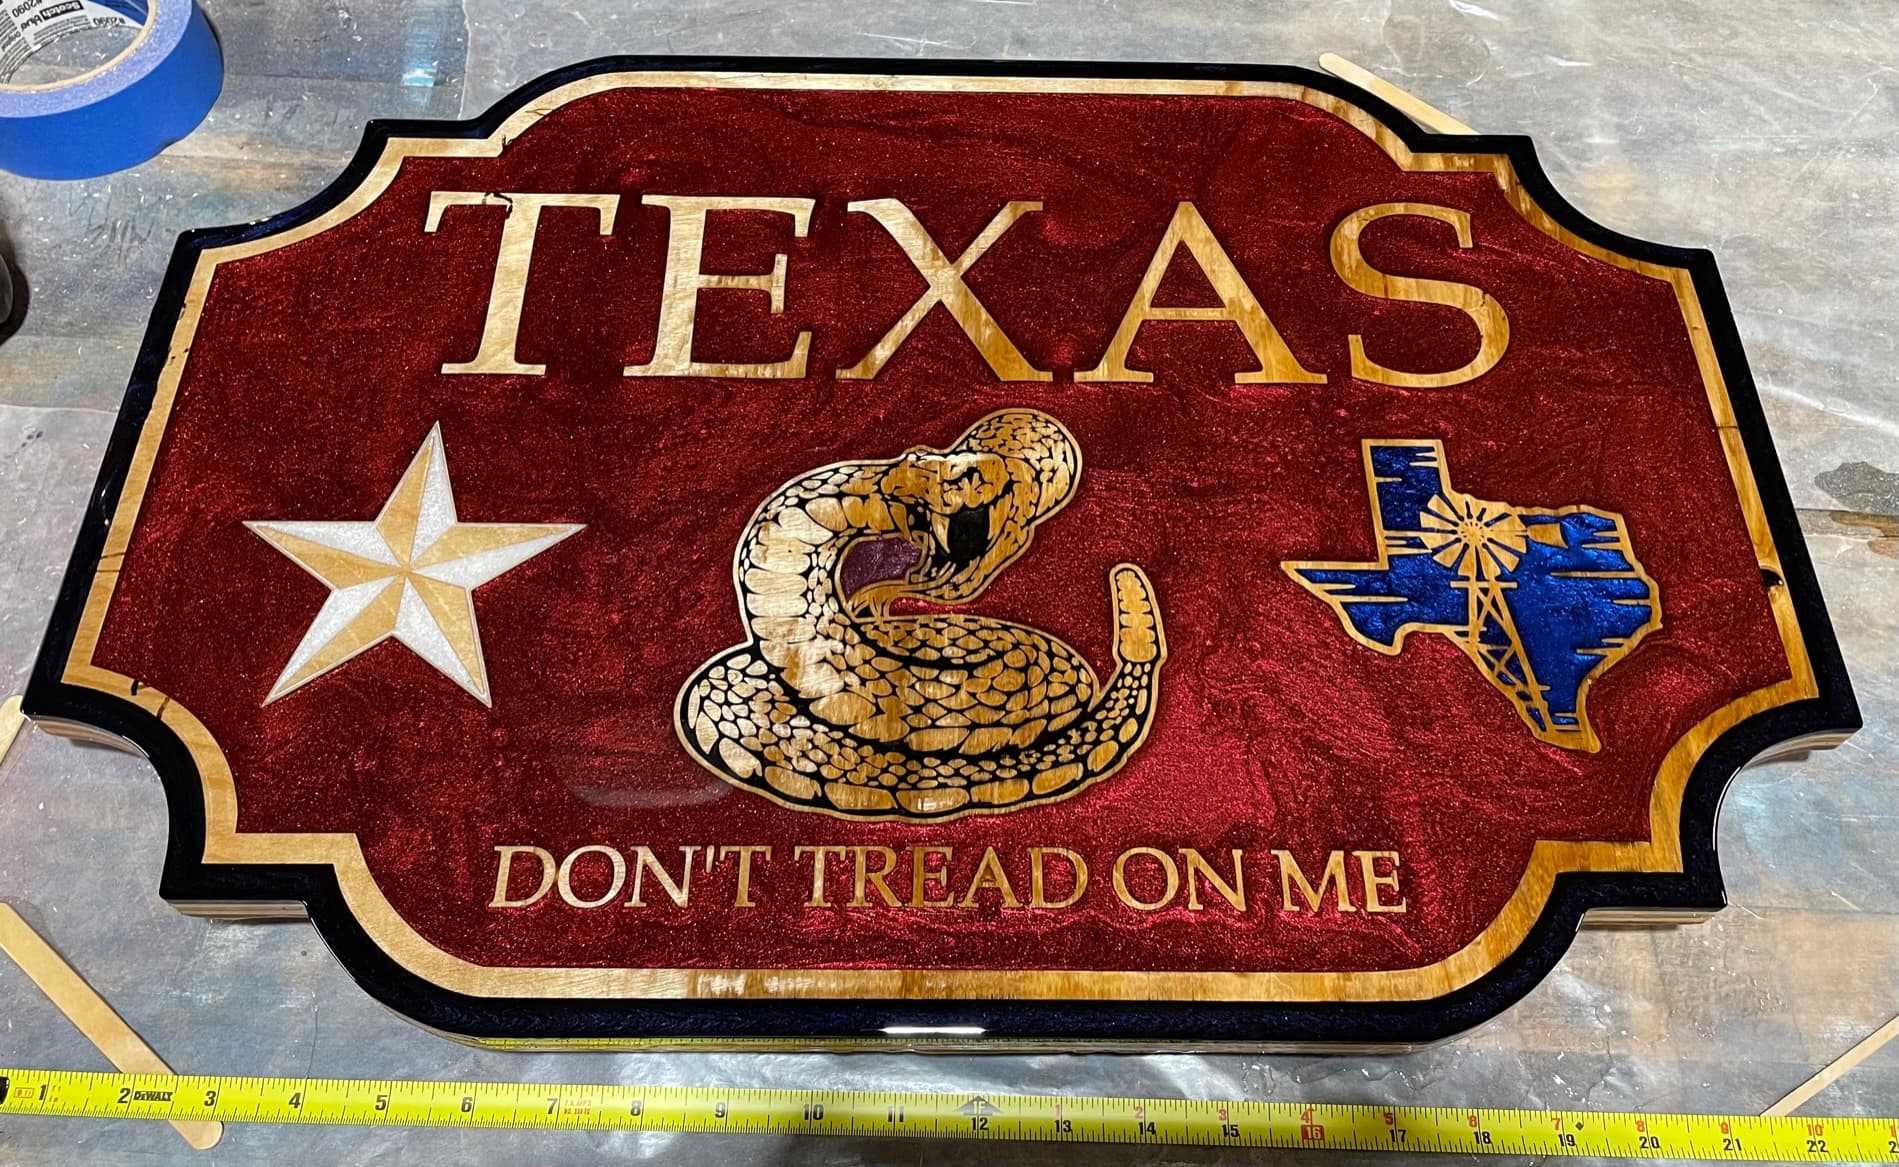
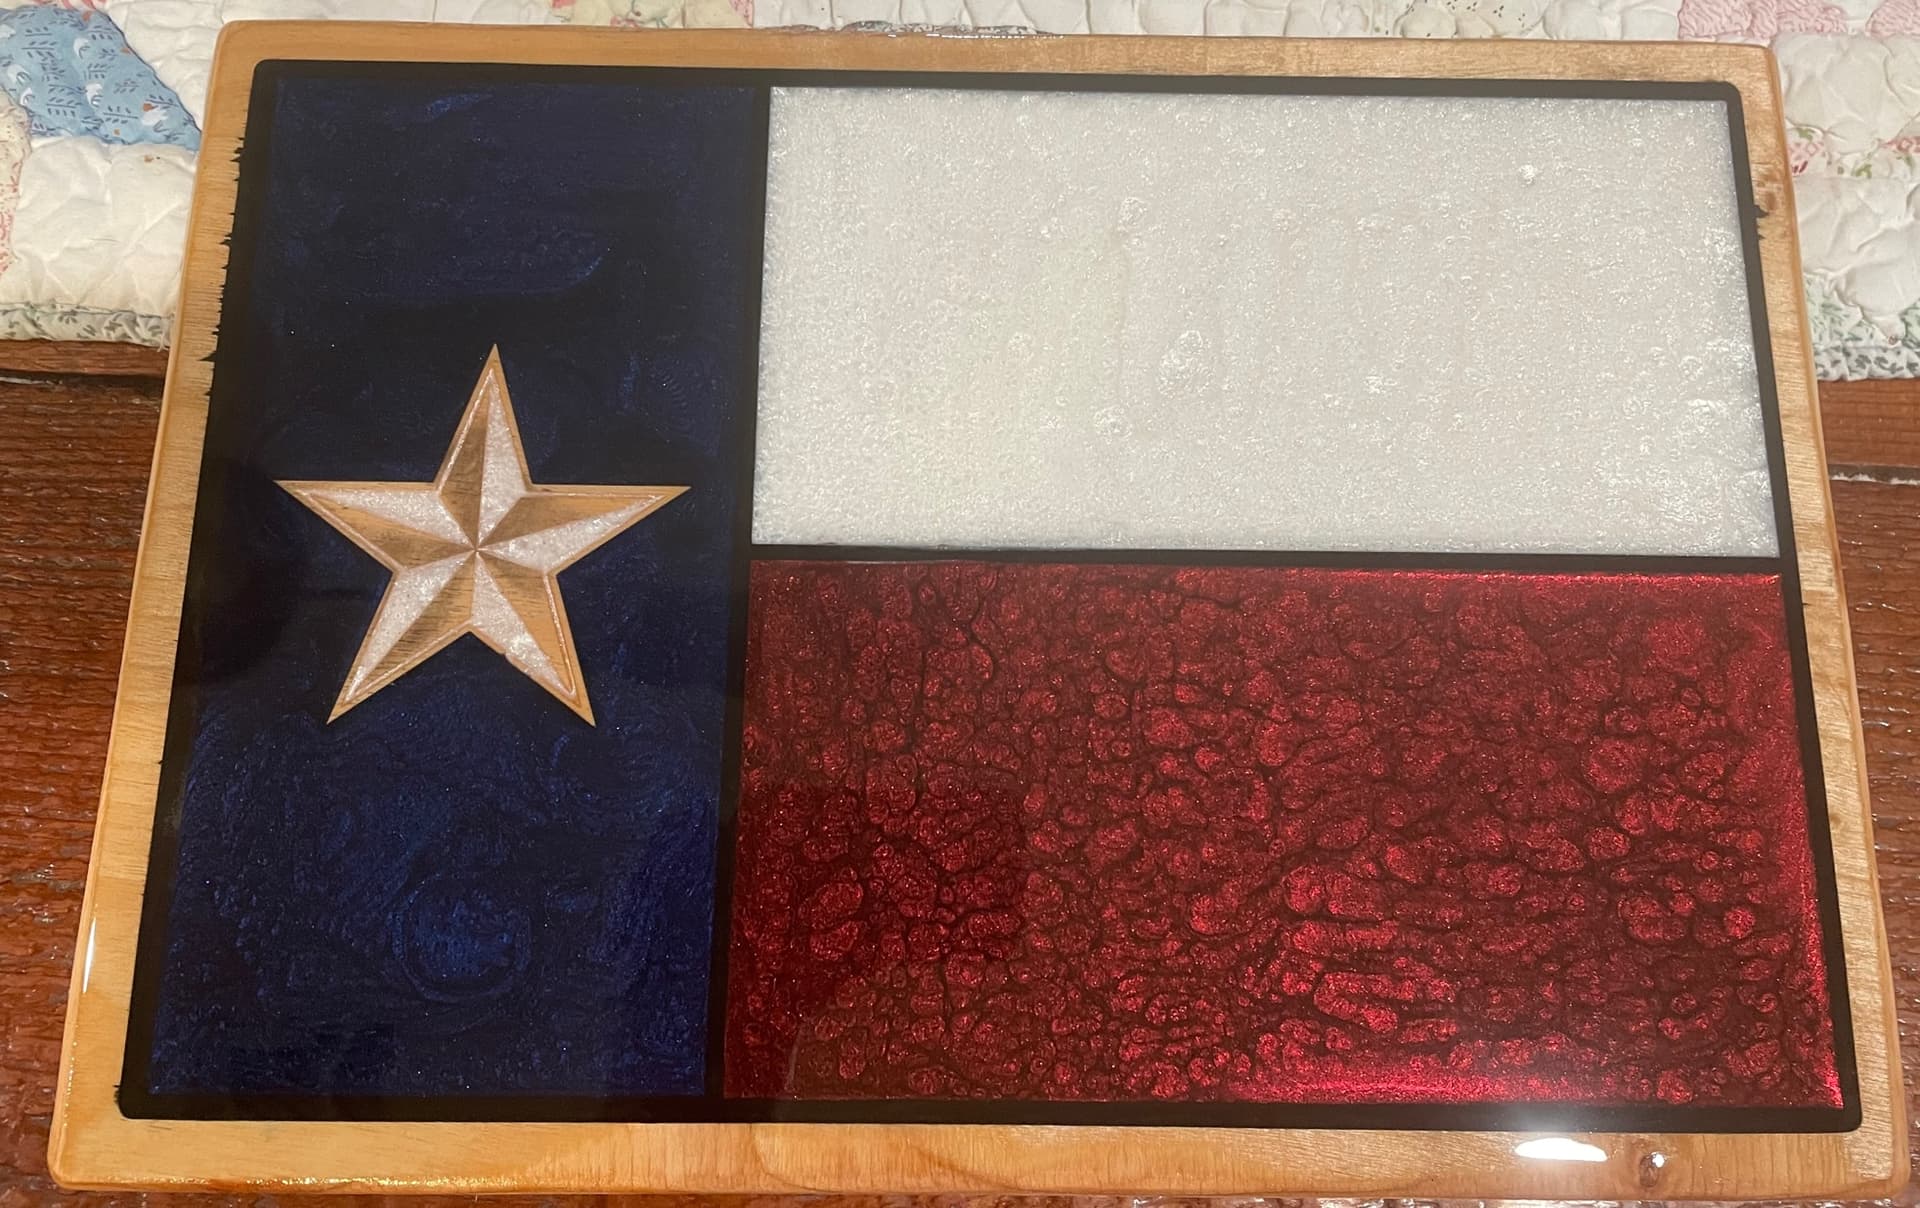
Still loving the Pro XXL. I did have to mill a whole sign off of the deck due to Epoxy leakage through voids in the plywood and a nail hole but even that was a bit fun.
20 Likes
I like your subject matter. Dont Mess with Texas.
1 Like
Next on the Camshaft adventure are the intake and exhaust lobes.
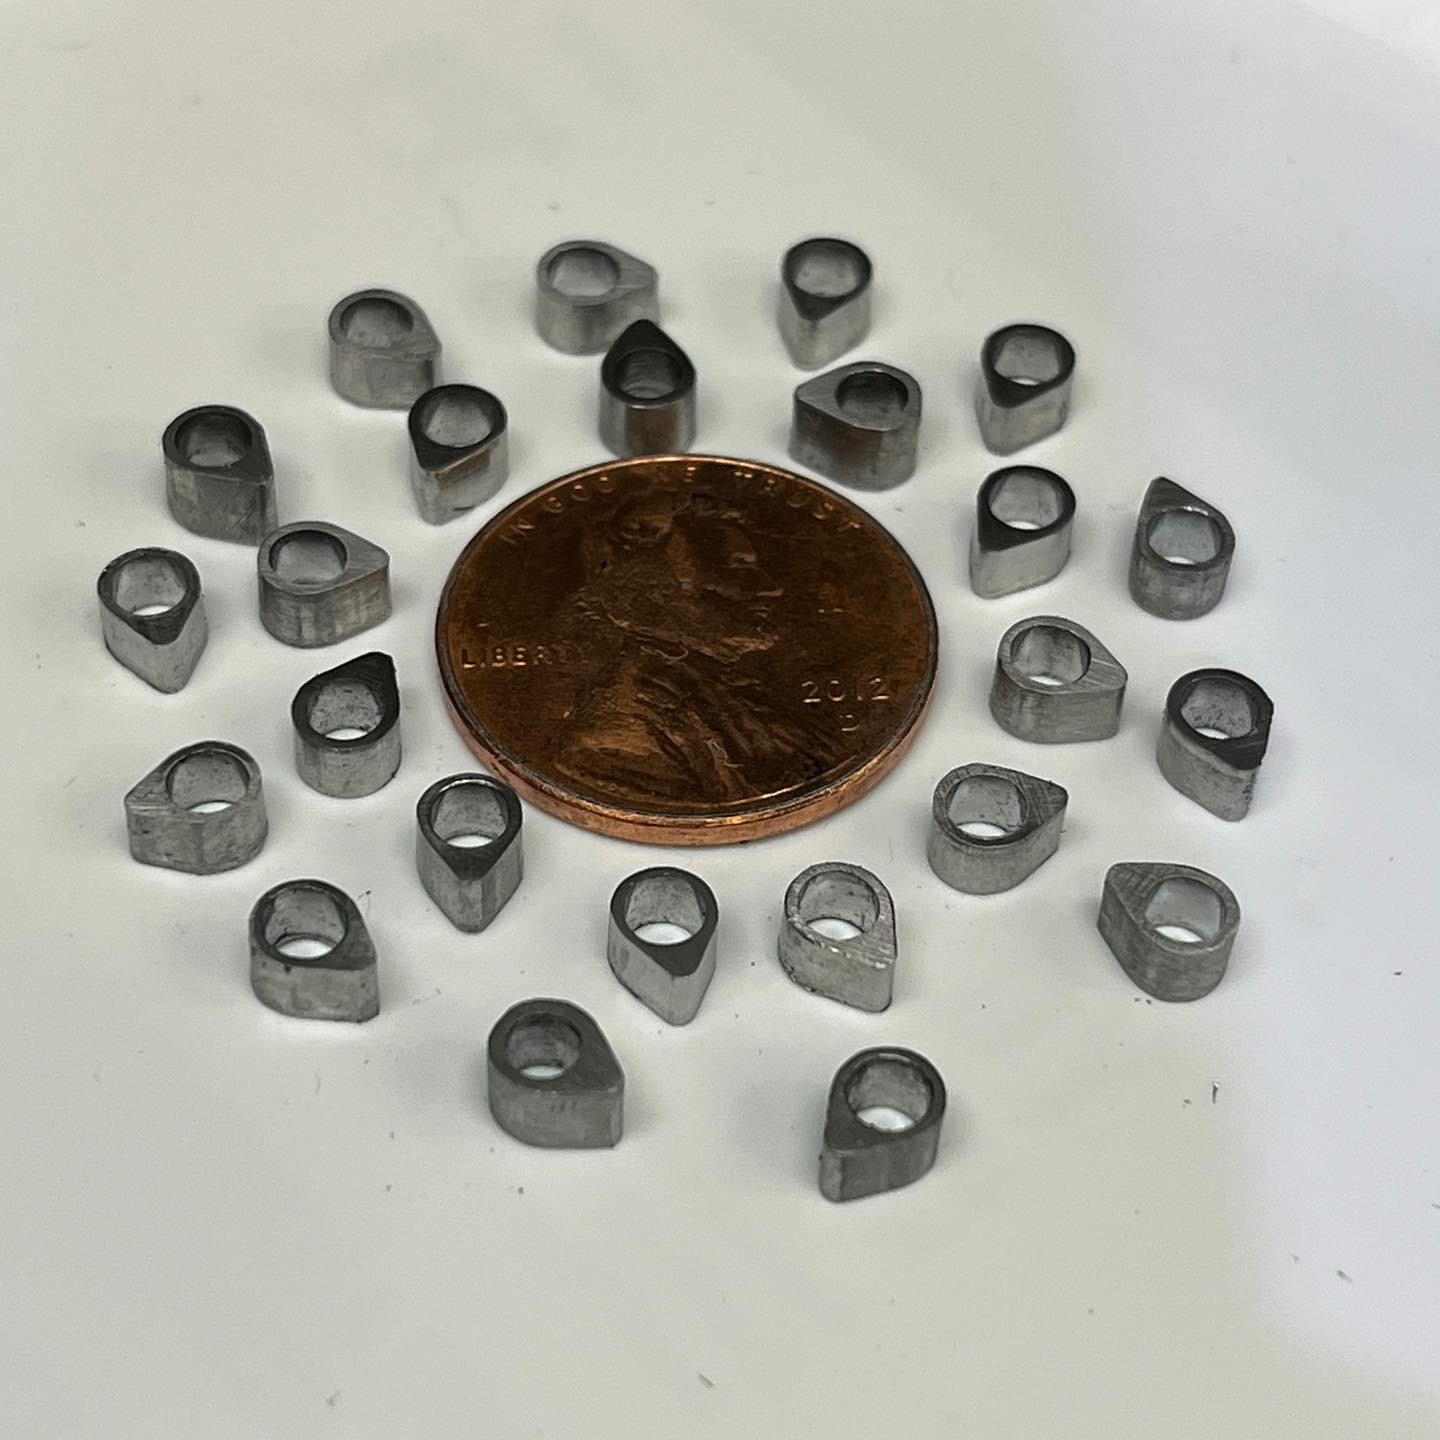
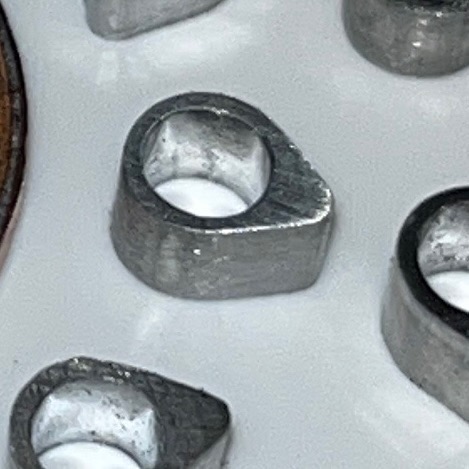
Cam Lobes, with 0.079” lift (intake (I) and exhaust (E)).
Material is A2. I was surprised how hard it is compared to O1 and W1 tool steel. Cutter is my trusty 2mm ($1.99) coated end mill. Job ran for 2 days (10 min cycle). Cutter is still in great shape!
These parts will be heated to (some) 50Rc and some at 62 Rc. (As well as every number in between)
Bored are at 0.118 and will be reamed to 0.1250 (I) and 0.1285” (E) and pressed fit onto the Cam Shaft.
I expect to break a bunch until I find the right combo (hardness and press fit). I need 8.
10 Likes
Rich, that photo with the penny has to be a classic for your without a picture, you didn’t do it.
Curious, can you tell me what speed and DOC you used with that 2mm bit?
Thanks

Would you be okay sharing that file? Great sign!
I don’t have a problem sharing the file, but it is in Vectric v-carve pro.
If you don’t have that then google “never ever give up” and you will find the image, the badge is the Ukraine national symbol, also on line. The rest is just text.
I think the latest CC makes arching text a lot easier. I used to find it a nightmare. (One of the reasons I opted to buy Vectric).
1 Like
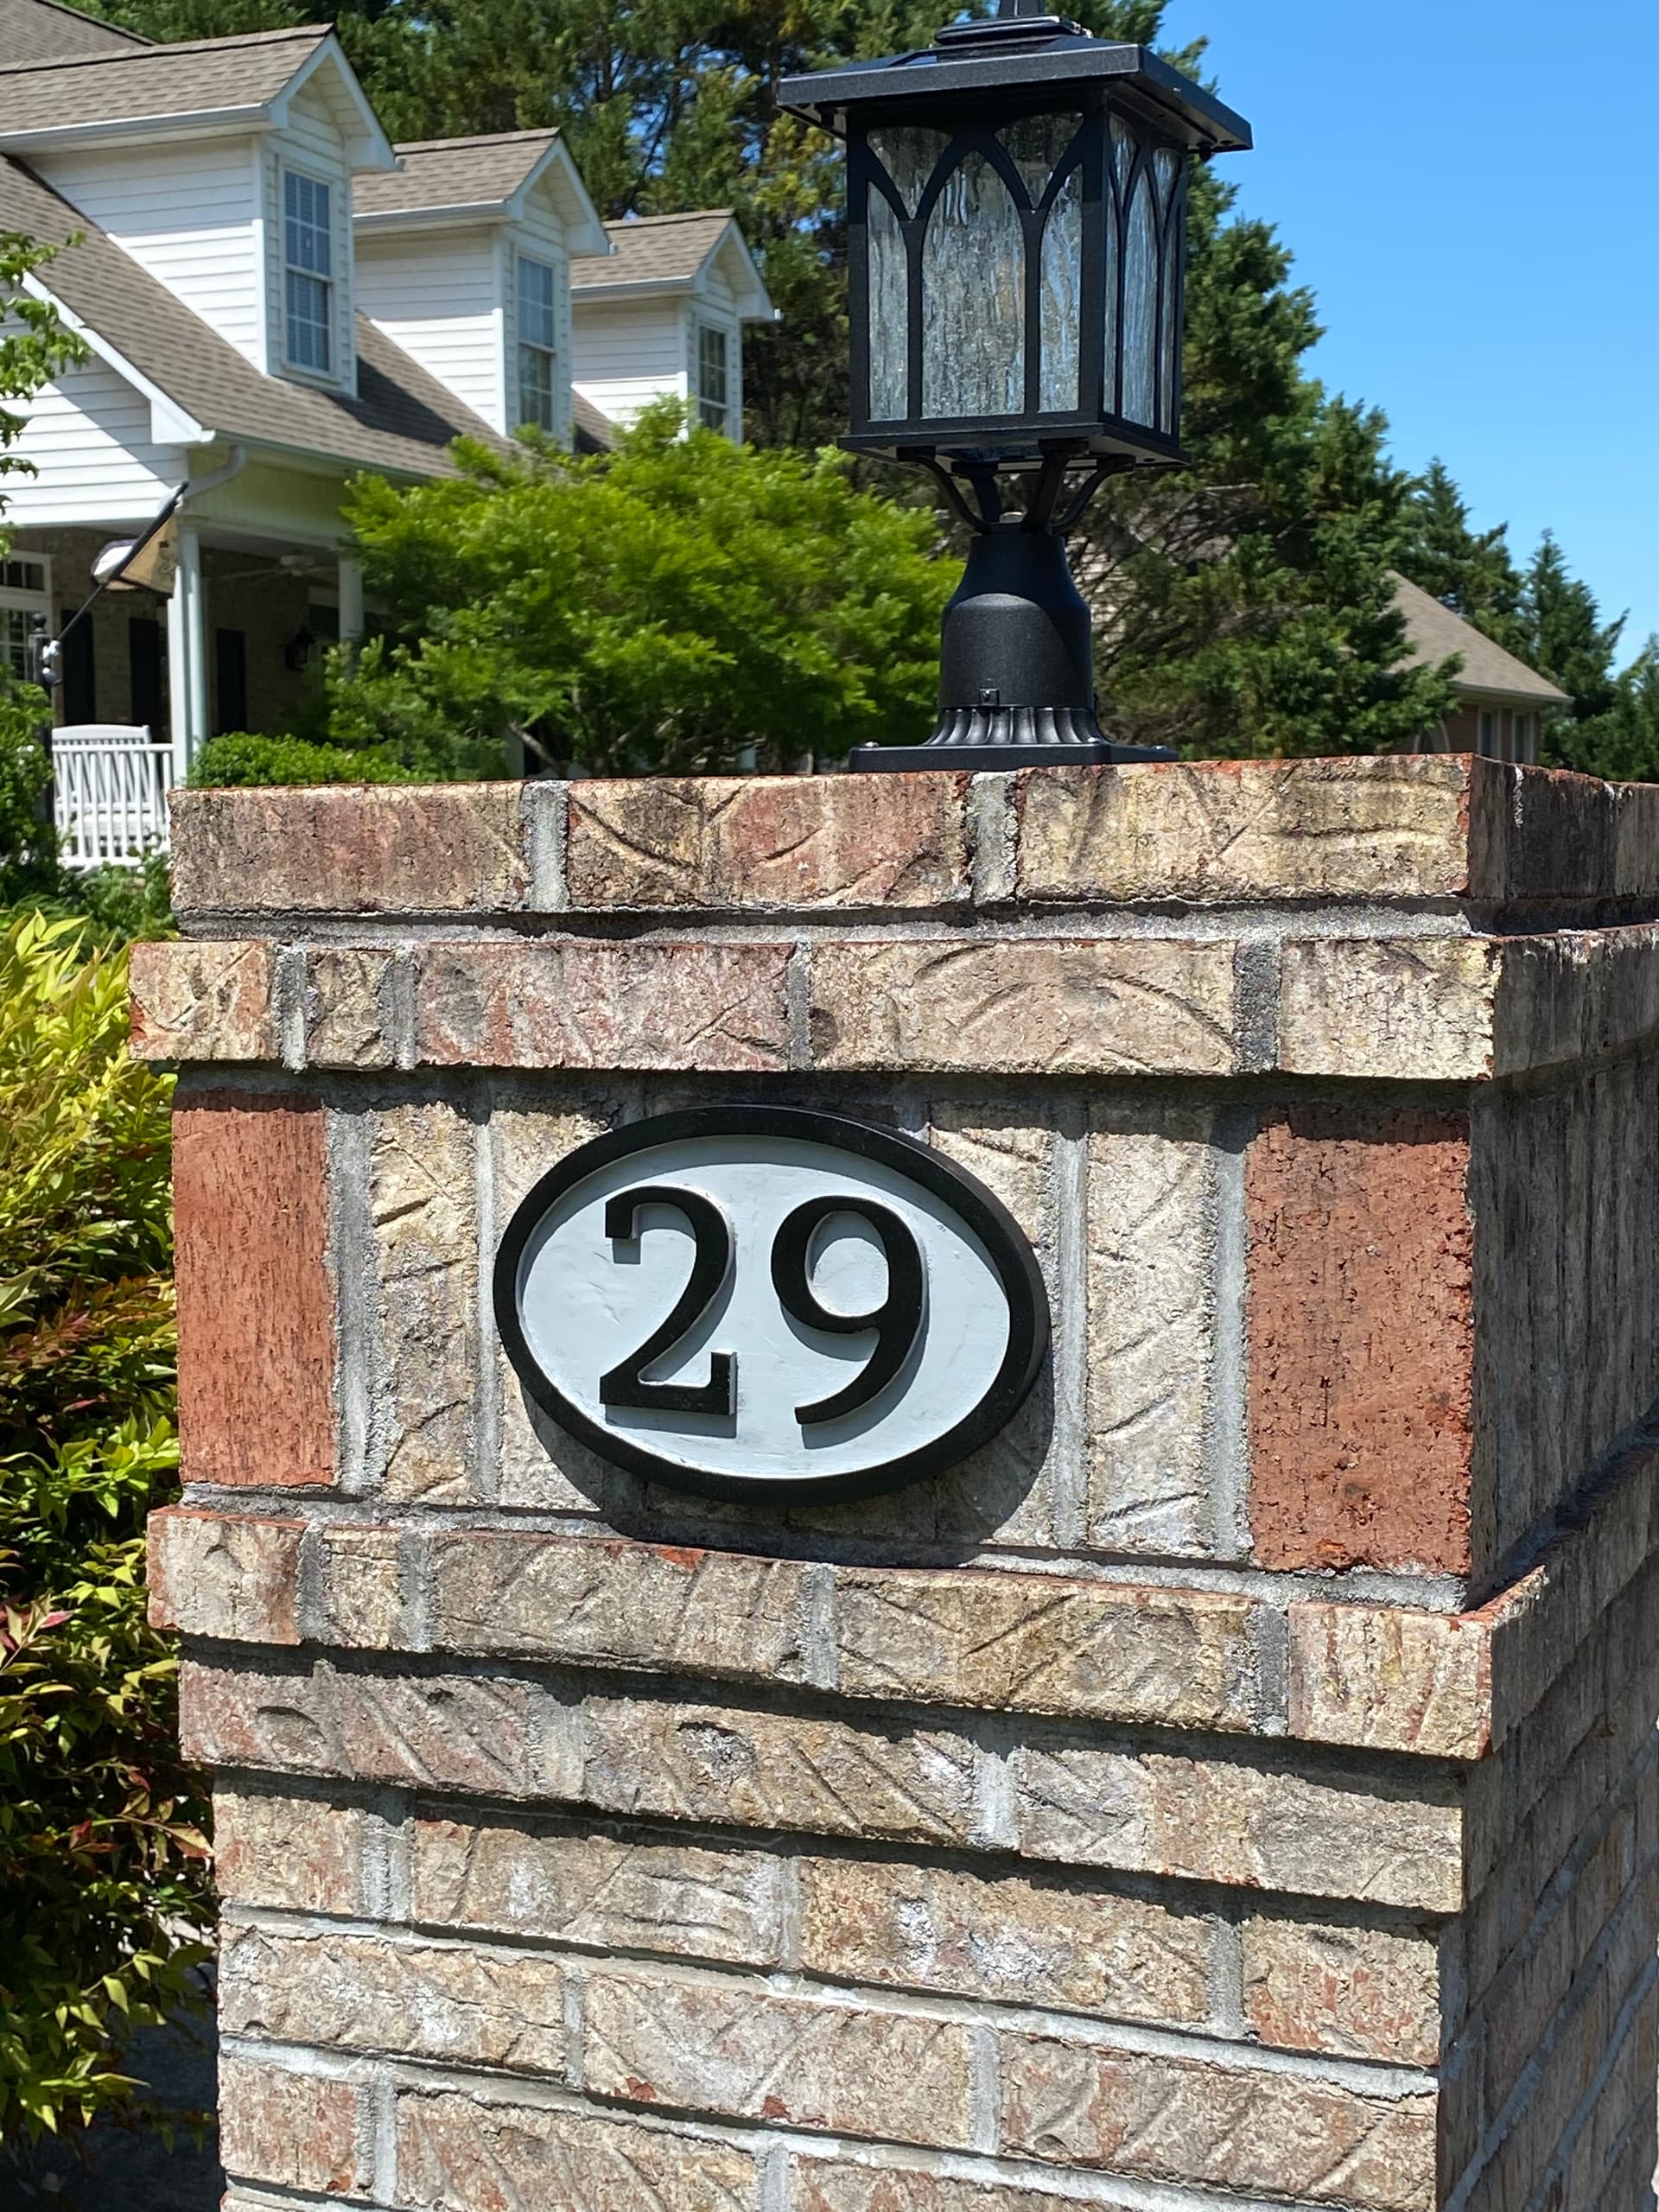
House numbers for our brick columns at the end of the driveway.
Unfortunately, one of them is destroyed because a distracted teen driver hit one of the brick columns and knocked it into the middle of the driveway, totaled her car but she was okay.
6 Likes
I love goooooooold (errr… brass)
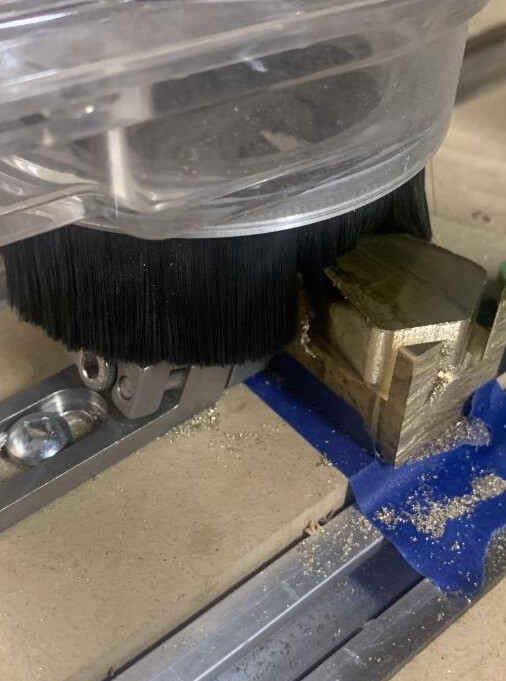
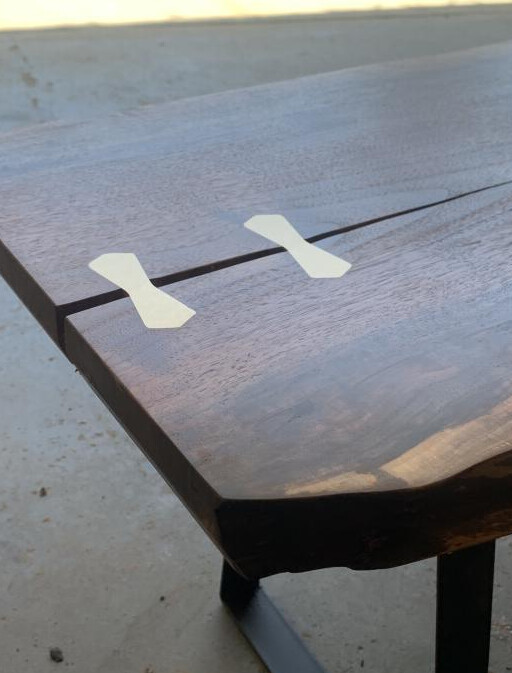
Simple bowtie design file I can use for the brass bowtie and the stock pocket. They slid together fantastic.

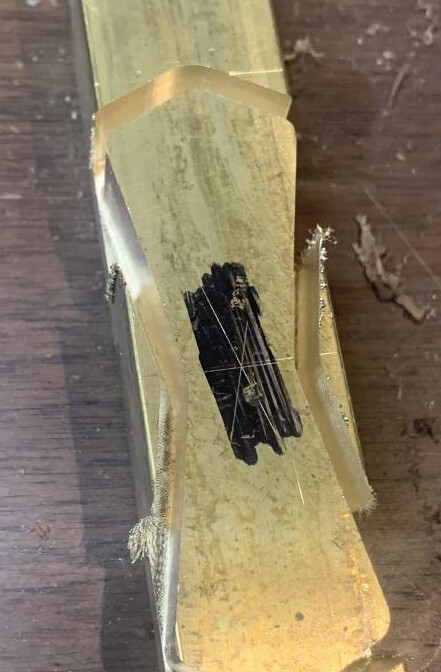
bit didn’t have the reach, so I finished it up with an angle grinder for the bottom of them.
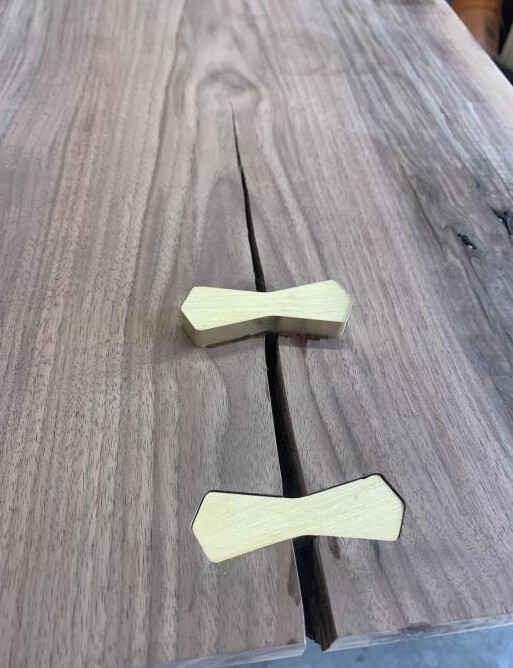
1" thick brass bowties in this walnut slab. Wife requested a coffee table.
23 Likes
That’s a winner…great look!
Those look good. Did you cut the mortise with the cnc?
Another solution for your reach would to make the bowtie smaller in height and put the two on top and two on the bottom.
I did use the shapeoko to cut the mortises as well yes, so it was all designed with radiused corners to allow the bits to do what they needed to do to just slide together. I considered using thinner brass stock (1/4") and laminating it to some wood for a nice thcik bowtie but opted for the material I had on the bench (1" square bar)
1 Like