@Dabot not sure what im looking at? is this a shape cut on cnc and then painted? Very neat but some details of your project would be cool as id like to make something like you did but for daughters baby room and more baby room-ish designs ![]()
It looks too me to be poured epoxy, With the base material painted black, and masked off before cutting and pouring.
Hmm I’m not a huge fan of epoxy stuff but this looks nice. Would really make baby room art pop. Thanks for the info
It would make baby room pop art that would make a baby cry if they woke up in the middle of the night and saw that hanging on the wall. Most people want their baby to sleep all night long.
The project is very nice but I dont think I would put it in a baby’s room.
De Los Muertos (Day of the Dead) is coming up November 1-2 so the art work is ready.
What is the meaning of de los Muertos?
What is Day of the Dead? Día de los Muertos, or Day of the Dead, is a celebration of life and death. While the holiday originated in Mexico, it is celebrated all over Latin America with colorful calaveras (skulls) and calacas (skeletons).
I mean the process he used not the art work. Lol
Bits? Workholding? Feeds? Speeds? etc.
A ‘What did I cut Yesterday’ insight, and a question about chatter - hence the full cut/tool narrative:
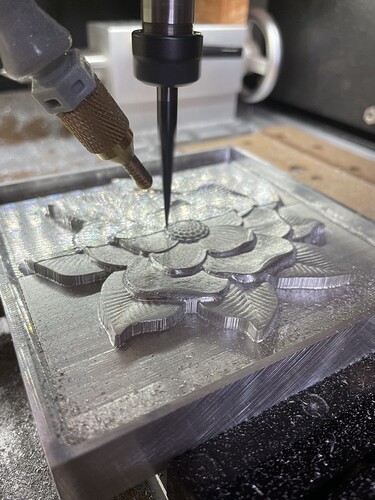
Experimenting with Aluminium speeds and feeds. SO3XL with HDZ and 1.5kW VFD spindle. Rennie Tools 3-flute 6mm up-cut cutter with variable helix flute length and DLC coating
Stock is 6082T6 123mmx123mm x 20mm thick, held in an Inception low-profile CNC vice.
For the 3D roughing cut, I used WOC: 3mm, DOC: 0.25mm, Feed: 2030 mm/min, Plunge: 200 mm/min, RPM: 13,500. Misted alcohol sprayed throughout cutting. Toolpaths from Vectrics VCarve. Very little ‘noise’ or chatter from the cutter - a very smooth cut, nicely formed if small chips, and good surface finish.
For the next cut, Ball Nose roughing cut, I used a Rennie uncoated 2-flute 1/4" up-cut. WOC 15% or 0.95mm, DOC: 0.2mm, Feed: 1000mm/min, plunge: 100 mm/min, RPM 13,500. Alcohol misting. A slightly more ‘noisy’ cut from listening to the tool, despite the amount of material being removed being much less than the 6mm cutter had to achieve. Perhaps some chatter in the noise.
For the finishing cut, 6mm Tapered Ball Nose with 0.5mm tip, Rennie up-cut 2-flute, non-coated. WOC 10% or 0.05mm, DOC 0.15mm, Feed: 1000 mm/min, plunge 100 mm/min, RPM 24,000. Alcohol misting. Again a slightly noisy cut, very small chips but not (I think) dust so it was ‘cutting’. Where the previous 1/4" BN had left uncut material the TBN had to cope with sudden increases in DOC which it did, but started to pick up fused-on material that periodically left marks on the cut surface - I slowed the feed rate to 60% (600 mm/min) and it seemed to stop having the issue. Not a feeds and speeds issue per-se, more the issue of hitting the remnant material from the prior cut.
Having completed the 3D carving, I wanted to trim down the wall height and the amount of chatter for this cut increased dramatically. No video of this, had my hand on the panic stop button just in case…
Cutter: the same 6mm Rennie 3-flute with DLC, WOC 3mm, DOC 0.25mm climb-cut, Feed: 2030 mm/min, plunge 200 mm/min with radius entry paths, RPM 13,500. Alcohol mist. The chatter was almost at the level of me stopping the cut, chips were less well formed than the 3D roughing cut but surface finish was reasonable. Chatter was more pronounced on Y movements, less so on X but both directions were chattering. The walls are 2.8mm wide, so within the single 3mm cut and thus very similar cutting to the 3D roughing by WOC/DOC. So why the hugely increased chatter?
Any chance it might be been the relatively thin (2.8mm) walls left by the roughing cut, resonating/vibrating due to the cutting forces? It seems like the pocket part is about 10mm deep or so you were cutting the top of a 10mm tall by 2.8mm wide ridge, I have no idea whether that could induce a level of flex at the top of the wall that would be enough to end up in a significant vibration (chatter)
Thanks @Julien. I did wonder whether the wall itself might have been flexing, as you observe too. The ‘pocket’ was approx 8mm deep prior to this trimming of the wall, so 8x2.5mm. It’s possible.
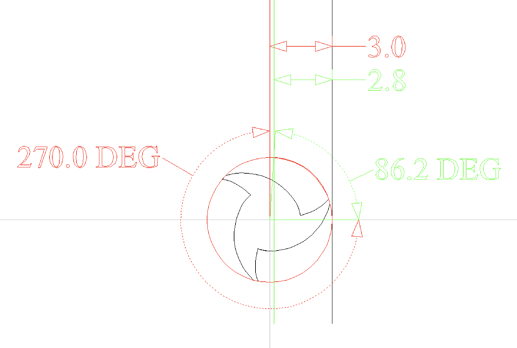
I also wondered if the shape of the cut arc might have been different. Thinking of taking a slice away from a solid at 3mm WOC means the cutting edge was engaged for about 90deg of arc for a 6mm cutter, whereas cutting away a wall narrower than 3mm reduces this;
…but only by likely 4deg. Not significant to my mind.
I can’t think of any other cutter engagement/geometry/WOC factors that might be different between the cuts, so perhaps wall flex is the root cause.
I would be interested in any other comments that either support the ‘wall resonance’ idea discussed, or other factors that people have experience of - for example: machine flex (SO3XL gantry is wide…), Vee-Wheel flex (although they are ‘just pinch tight’), belt tension (ditto are audio-tone tuned and checked prior to this job starting), MDF bed to which the Inception vice is bolted and side-clamped with Carbide clamps, my choice of WOC versus DOC, etc
It’s all a fantastic learning exercise. That was the point of this job in the first place… the Magnolia flower STL file was just a ‘nice thing’ to use.
Milled a mold pocket to pour epoxy (white), Once cured I milled it flat, engraved the design and cut out the shape. I then hand painted the non-black colors and rolled on the black. Once dried I mixed and flooded it with clear epoxy. These are about 8" tall and each took 2.5 hrs on the mill.
Impressive. Very impressive. Thanks for the explanation!
What is your formula for white epoxy. What pigment and epoxy are you using.
I use transtint black and brown for epoxy inlay but want to try white. My formula is 2/2 oz for total of 4 oz and 10 drops black transtint alcohol based tint. Makes a solid black color.
I used HTVRONT White mica powder - amazon. I am not very detailed on the mix ratios. The skulls had a lot of the pigment. 3-4 of the spoons that come with the mica powder per 8 oz of mixed epoxy.
Have you thought of including the glow-in-the-dark pigments with the color pigments?
Could be in interesting result.
The only bad think about glow in the dark stuff is it glows when new but eventually fades and no longer glows. Plus when it stops glowing the color will shift and may make your project look weird due to the color changes.
I assumed the glow would eventually fade, but didn’t think about it altering the regular daylight colors.
Good to know! Thanks!
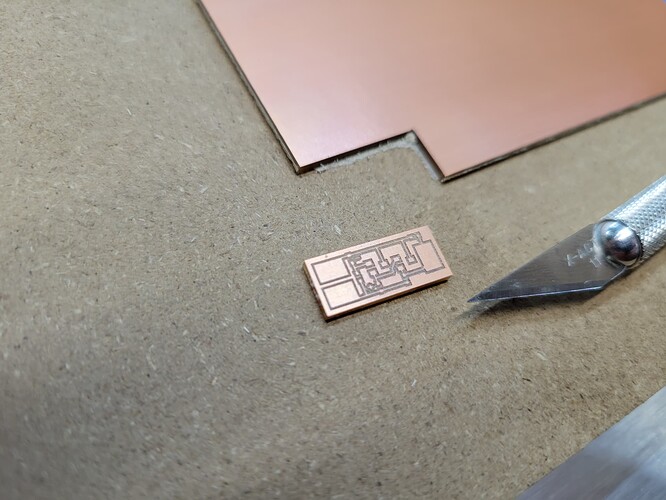
#502 etch, #122 cutout, copper.carbide3d.com generated code, painters tape and super glue, cut on a Nomad
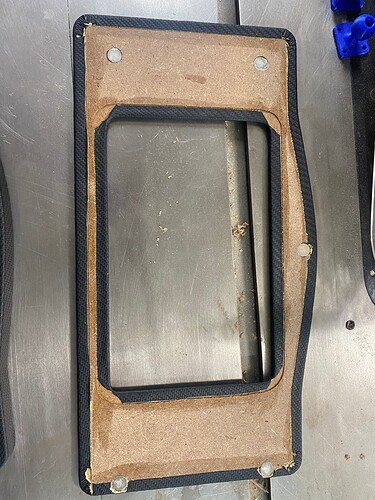
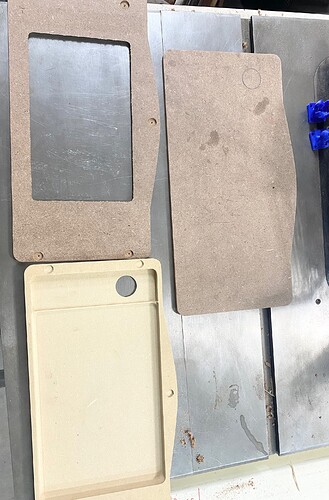
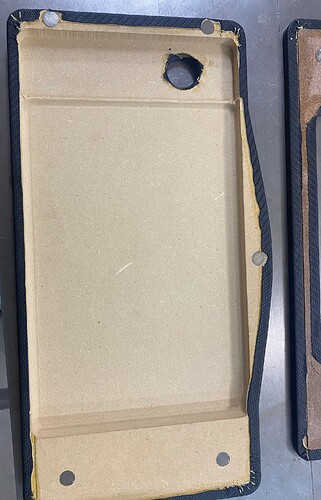
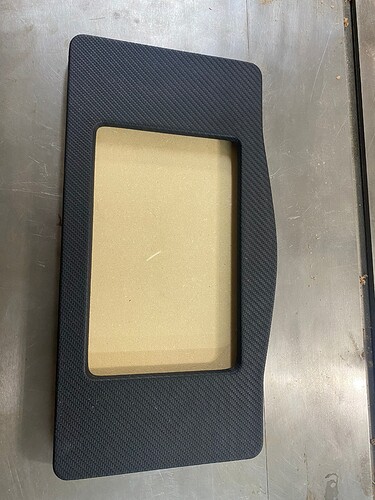
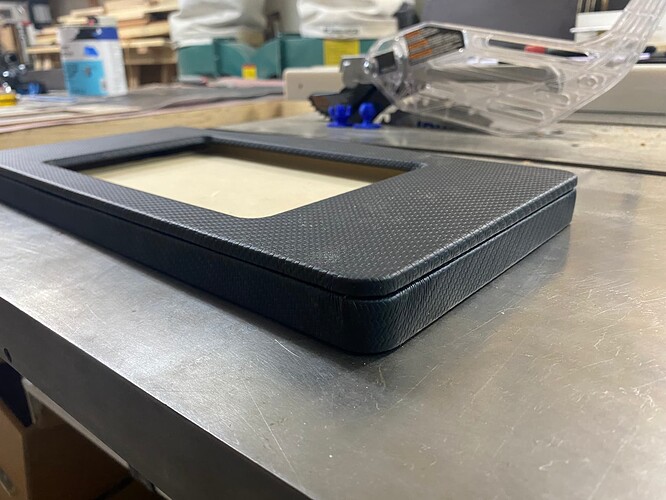
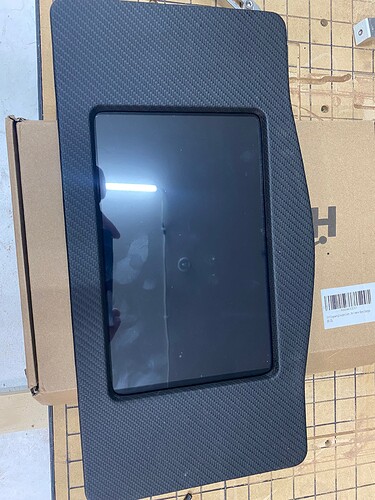
Made a “box” for my Fusion5 tablet. I want to give it a controller look and feel when it’s all said and done. Simple design in fusion and then wrapped it in carbon fiber vinyl. The bottom has tight tolerances so the tablet is pressure fit and very snug. I also used strong mags to secure the top and that makes it super easy to pop it open and remove the tablet if needed. I will follow up with more pics once I mount it in its final location.
