I found a website to generate stls from a given map area. Then I scaled the Z axis to make the mountains more prominent.
1 Like
For more detail on doing geography see:
1 Like
How cool is that ! Awesome job !
1 Like
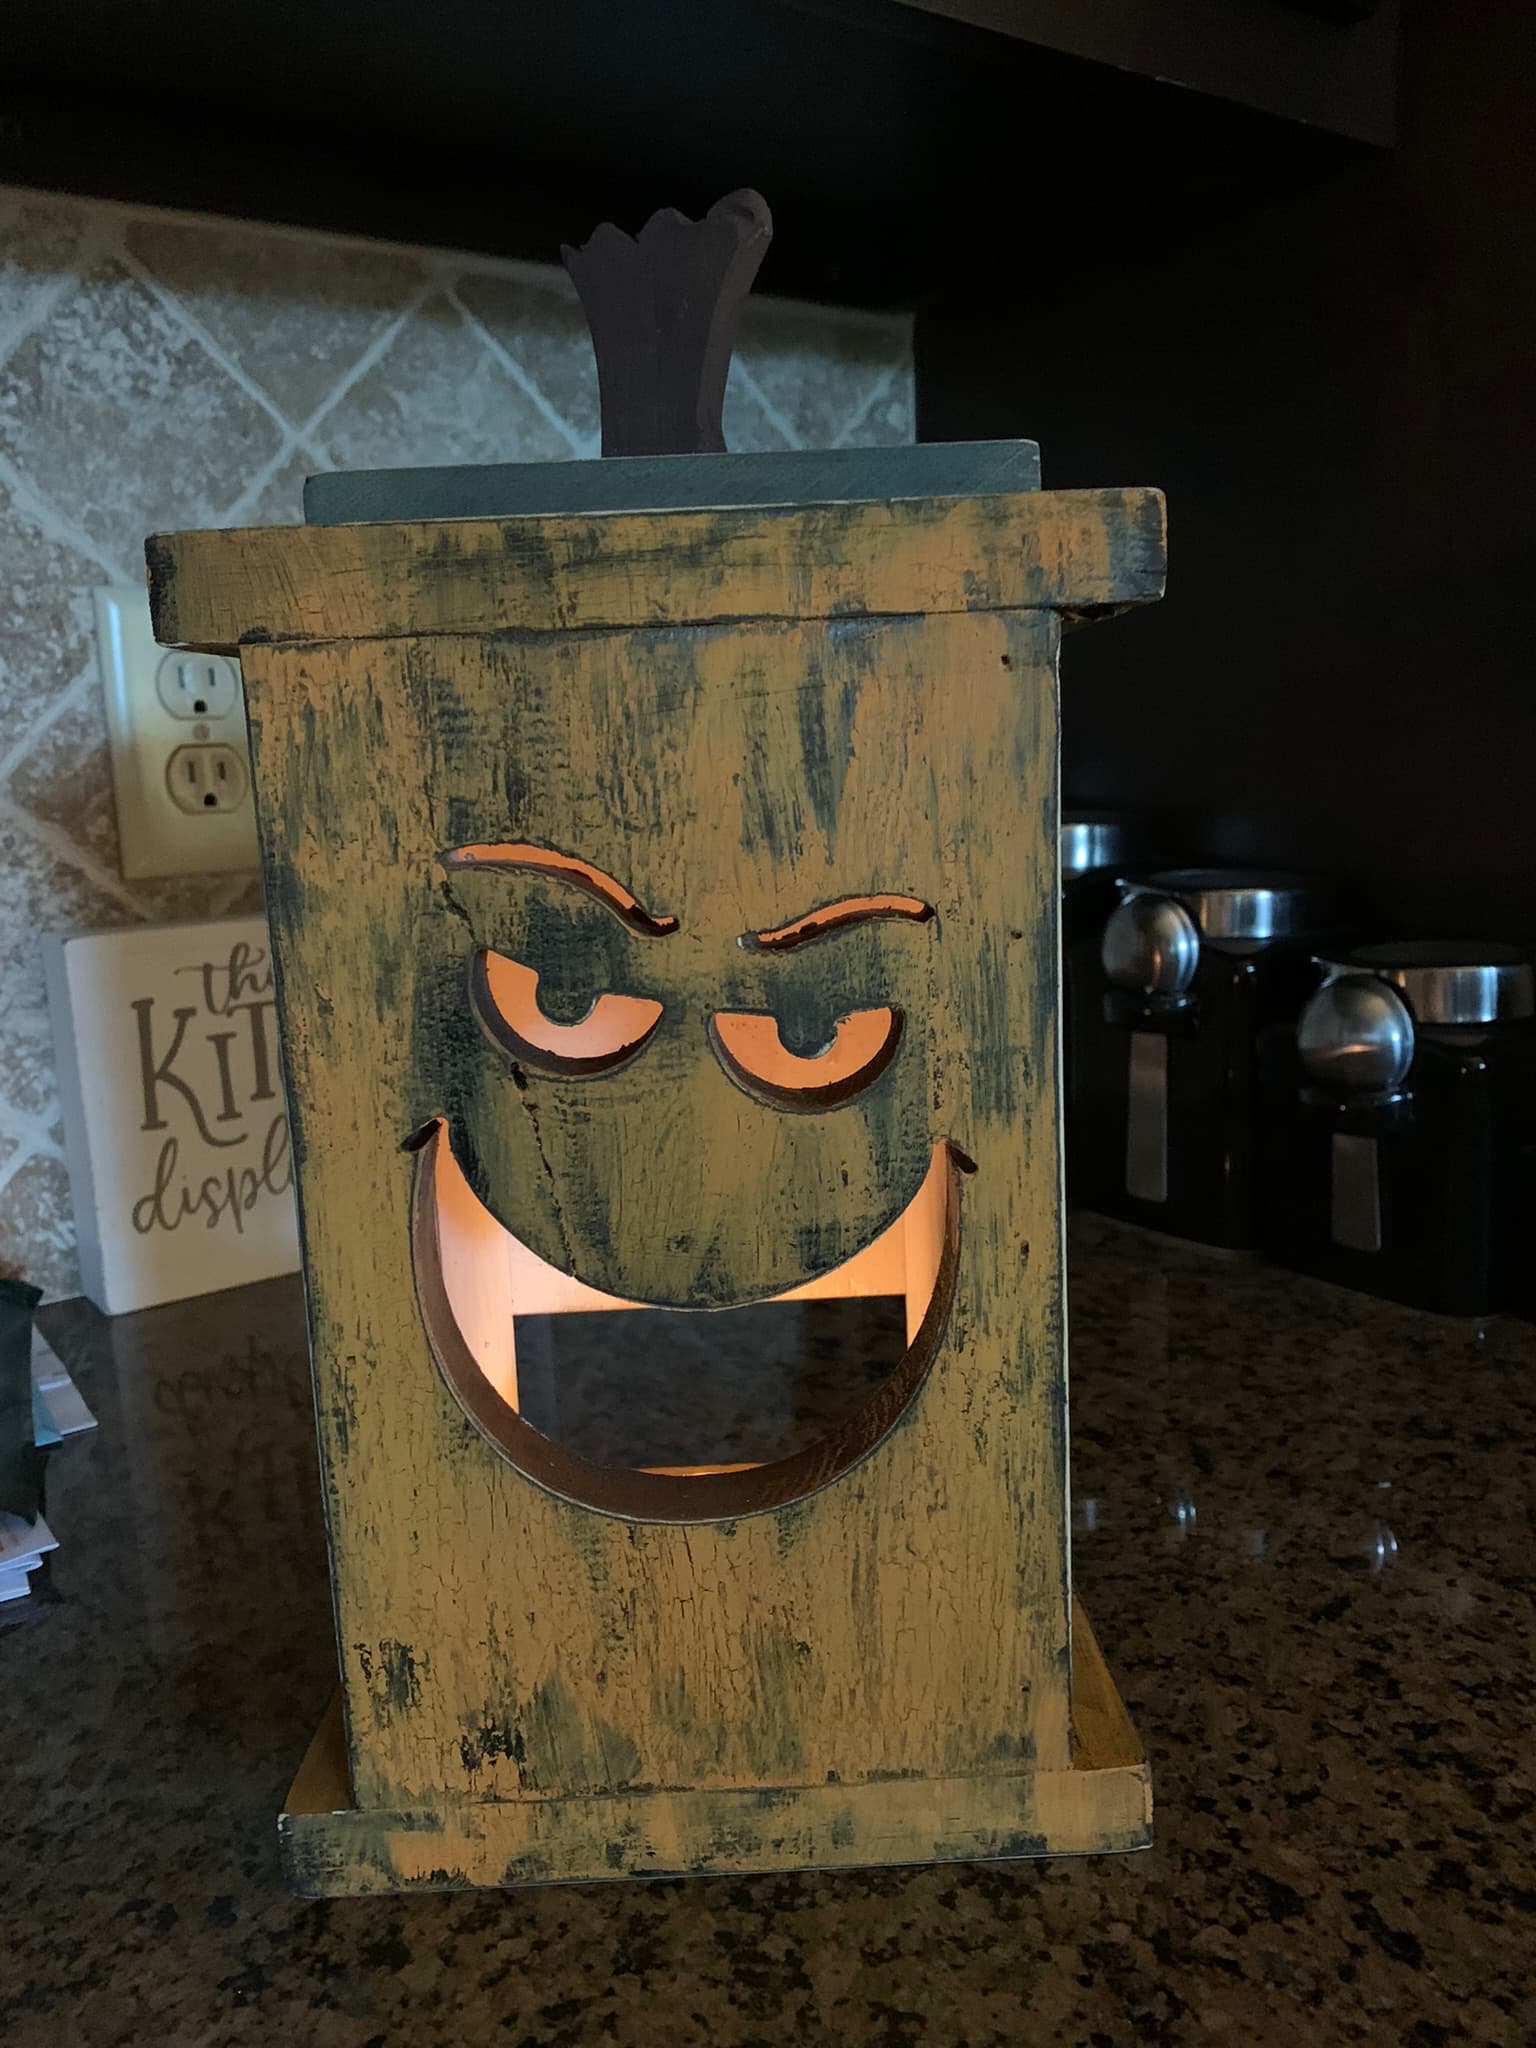
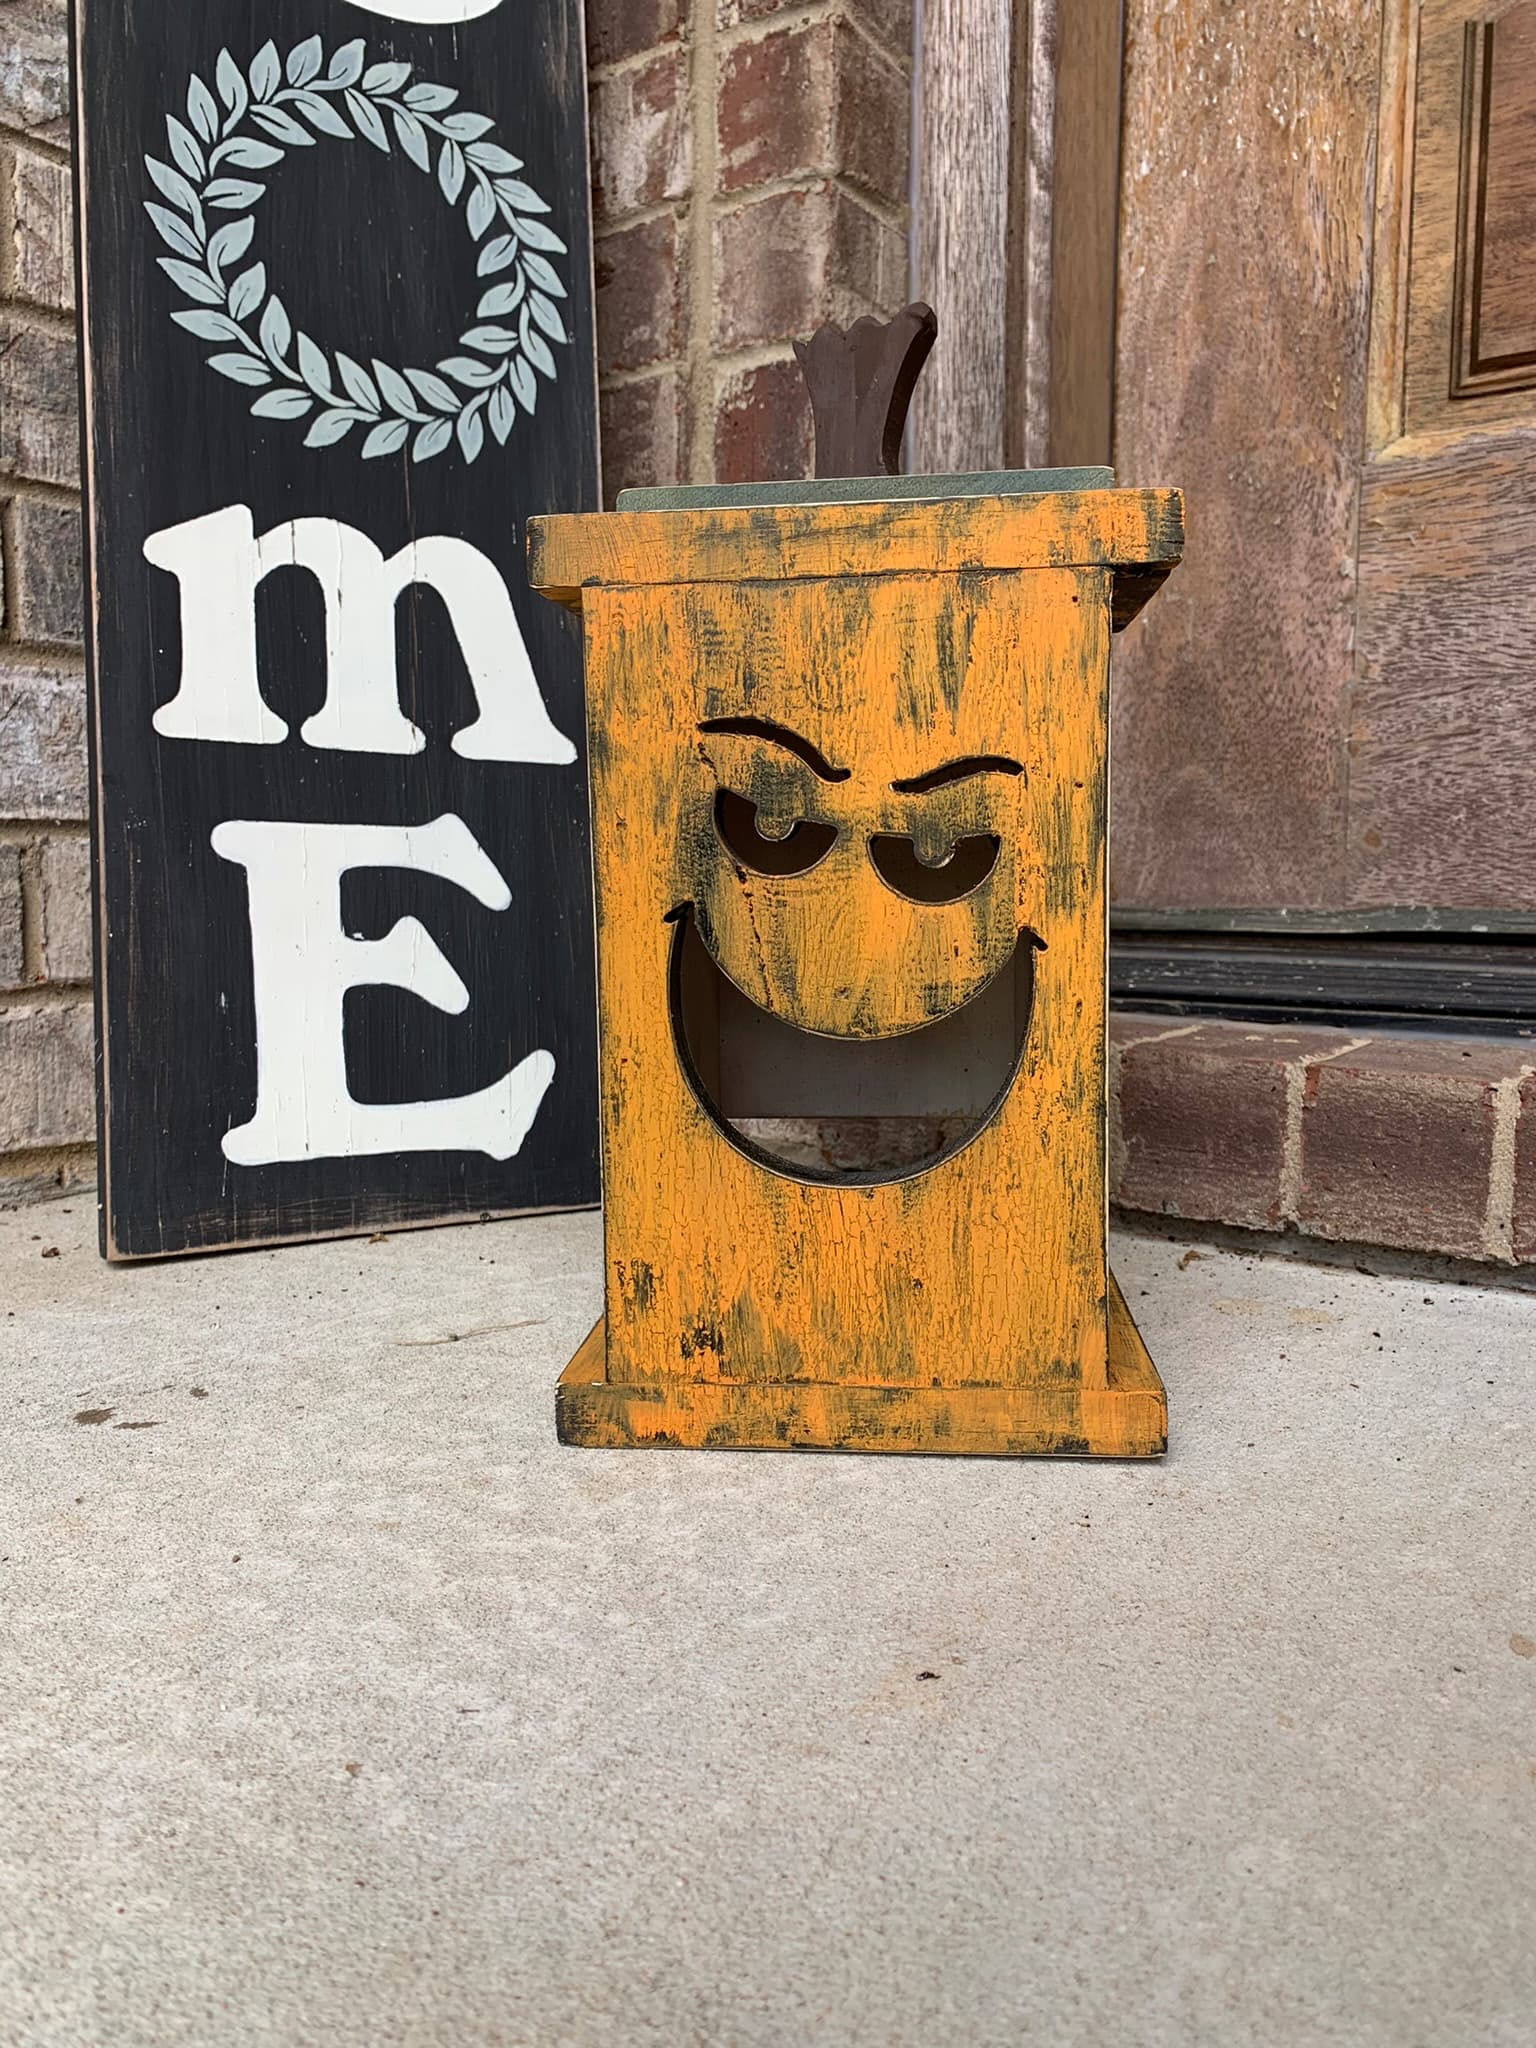
I finally got this pumpkin out of my head and cut and together ! I used crackle under the coat of orange paint to give it an old rugged look. Planning on making more! Fun project
18 Likes
I saw the link when I first looked and now I can’t find where you bought the plans?
Also, can you mention about the builds, were the plans okay & would you recommend?
Most of the work done on your shapeoko?
Very cool and inspirational.
Thanks,
Pete
Nice—makes sense! I’ve been wanting to do this kind of fillet/round over on my Shapeoko instead of my router table, to reduce the amount of post processing.
Have you (or anyone else) tried doing this on the machine? If so, what’s the best way to do it?
I believe I’ve seen a ball nose end mill be used, but I’m wondering if that might take too much time and if if actually is faster on the router table. Or has anyone (successfully) used a round over bit in their CNC?
Plans are very well done. Plus if you have any questions you can just ask. Link to Clayton’s site Wooden Gear Clock Plans by Clayton Boyer
All cut on cnc very simple projects
1 Like
Oops, I didn’t read the post correctly.
I’m so stupid I thought he was asking me for plans ha ha
Awesome! I didn’t think the 1/8” would get those corners—sweet!
oh cool, thanks! And thanks @WillAdams for more details on that!
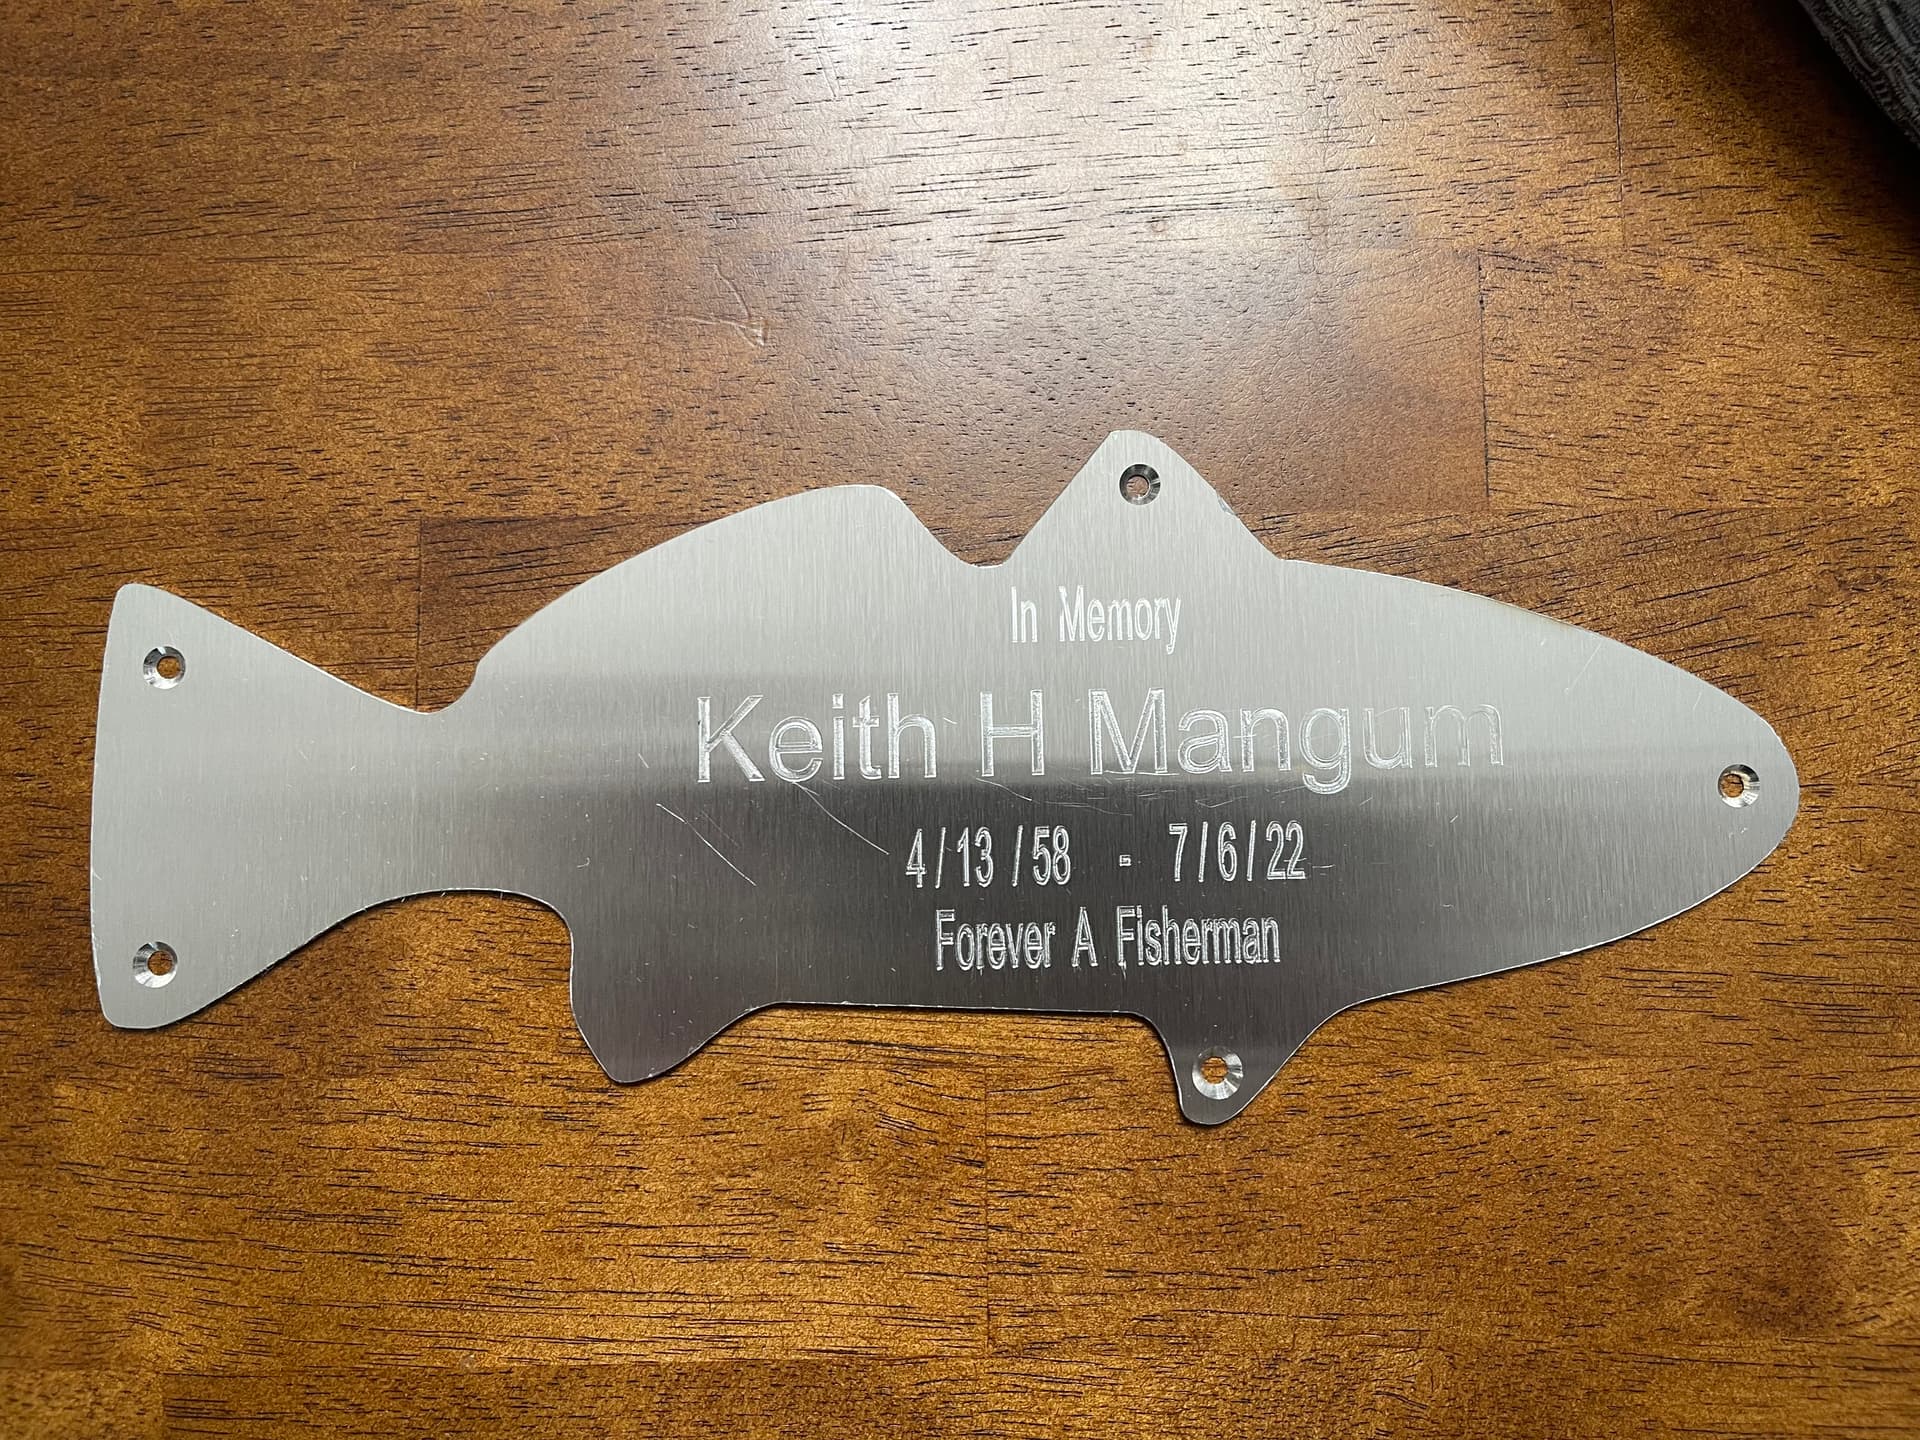
My Brother-In-Law passed a few weeks ago and we were discussing getting a Memorial Plaque and having it placed on a pier bench on his favorite fishing pier. After talking to the pier staff about the recommended plaque materials for the salt environment and some studying on my own I decided to try my hand with 316 Stainless 16 Gauge. I was skeptical whether my Shapeoko 3 XXL and Dewalt router were up for the task. After a trial attempt on a test piece and adjusting I was able to make this. Need to try and figure out a way to get the shallow scratches out. I believe these were caused by very fine chips after the cut while i was hand cleaning the burs off the edges. This was my first project using any kind of metal.
14 Likes
That is a nice memorial for a fisherman. The scratches will likely get worse when you try to take them out. Unless you sand blast the surface or something like that you will likely make them worse. Since it is an outdoor bench at the ocean I would leave them alone. People are going to sit on the bench and over time the plaque will get scratched and weathered. The birds will not be respectful of your brother inlaw so keep that in mind.
The plaque looks good and better left alone. Makers are always critical of their own work.
What were your bits and your F&S to cut the SS?
If you decide to remake the plaque maybe cover it with blue painters tape or oramask and/or adhesive backed shelf paper. I would put screw holes at the rear fin locations as well. That will keep them from bowing out and possible catching someone’s shirt causing your plague to get damaged.
My wood shop is very busy. The new CNC machine sits in the corner waiting for something to do. As it happens, a few chotchkey items have floated through for practice and I welcome the challenge. I have grown better with it as times goes on.
8 Likes
I’ve had very good luck in the past using the 90 degree MC Etcher on stainless steel. I couldn’t tell you the alloy number on the material I used. I used a light air blast during the engraving process to keep the grooves clear.
1 Like
Thanks for the feed back. Wife agreed that it will see worse once mounted and to leave it like it is.
I used Yonico 36310-SC 1/8-Inch Dia. 3 Flute Low Helix Downcut Spiral End Mill CNC Router Bit 1/4-Inch Shank, Yonico Upcut Router Bits Spiral 2 Flute Solid Carbide CNC End Mill 1/8-Inch Dia. 1/4-Inch Shank 31210-SC and HUHAO CNC Router Bits 1/4 Inch Shank V Groove Coated Carbide Cutting Tool 90 Degree 3/4 Cut Dia for Wood. All 3 bits were purchased on Amazon.
The 1/8 bits were set to
.3 mm Pass Depth
1.2 mm Stepover
3389 rpm Spindle Speed (router was set to 1 (16000 rpm))
150 mm Feed Rate
240 mm Plunge Rate
V-Bit
.2 mm Pass Depth
.12 mm Final Pass Stepover
1.2 mm Clearance Pass Stepover
3389 rpm Spindle Speed (router was set to 1 (16000 rpm))
120 mm Feed Rate
200 mm Plunge Rate
Software Vectric Vcarve
1st Job was to cut the 5 mounting holes and 6 hold down holes outside the cutout (the outside hold down holes were created because the cut out jobs were causing some movement on the trial run).
2nd Job was the engraving and countersink cuts for the mounting holes.
3rd to 6th Jobs The cutout was done in 4 separate depth cut jobs to allow metal cooling each job consisting of 5 different levels. The last pass was set to cut 3 mm below bottom to help reduce burs.
The 7th job was a debur and soften the sharp edge with a dremel tool.
Hope this will help others to get started.
1 Like
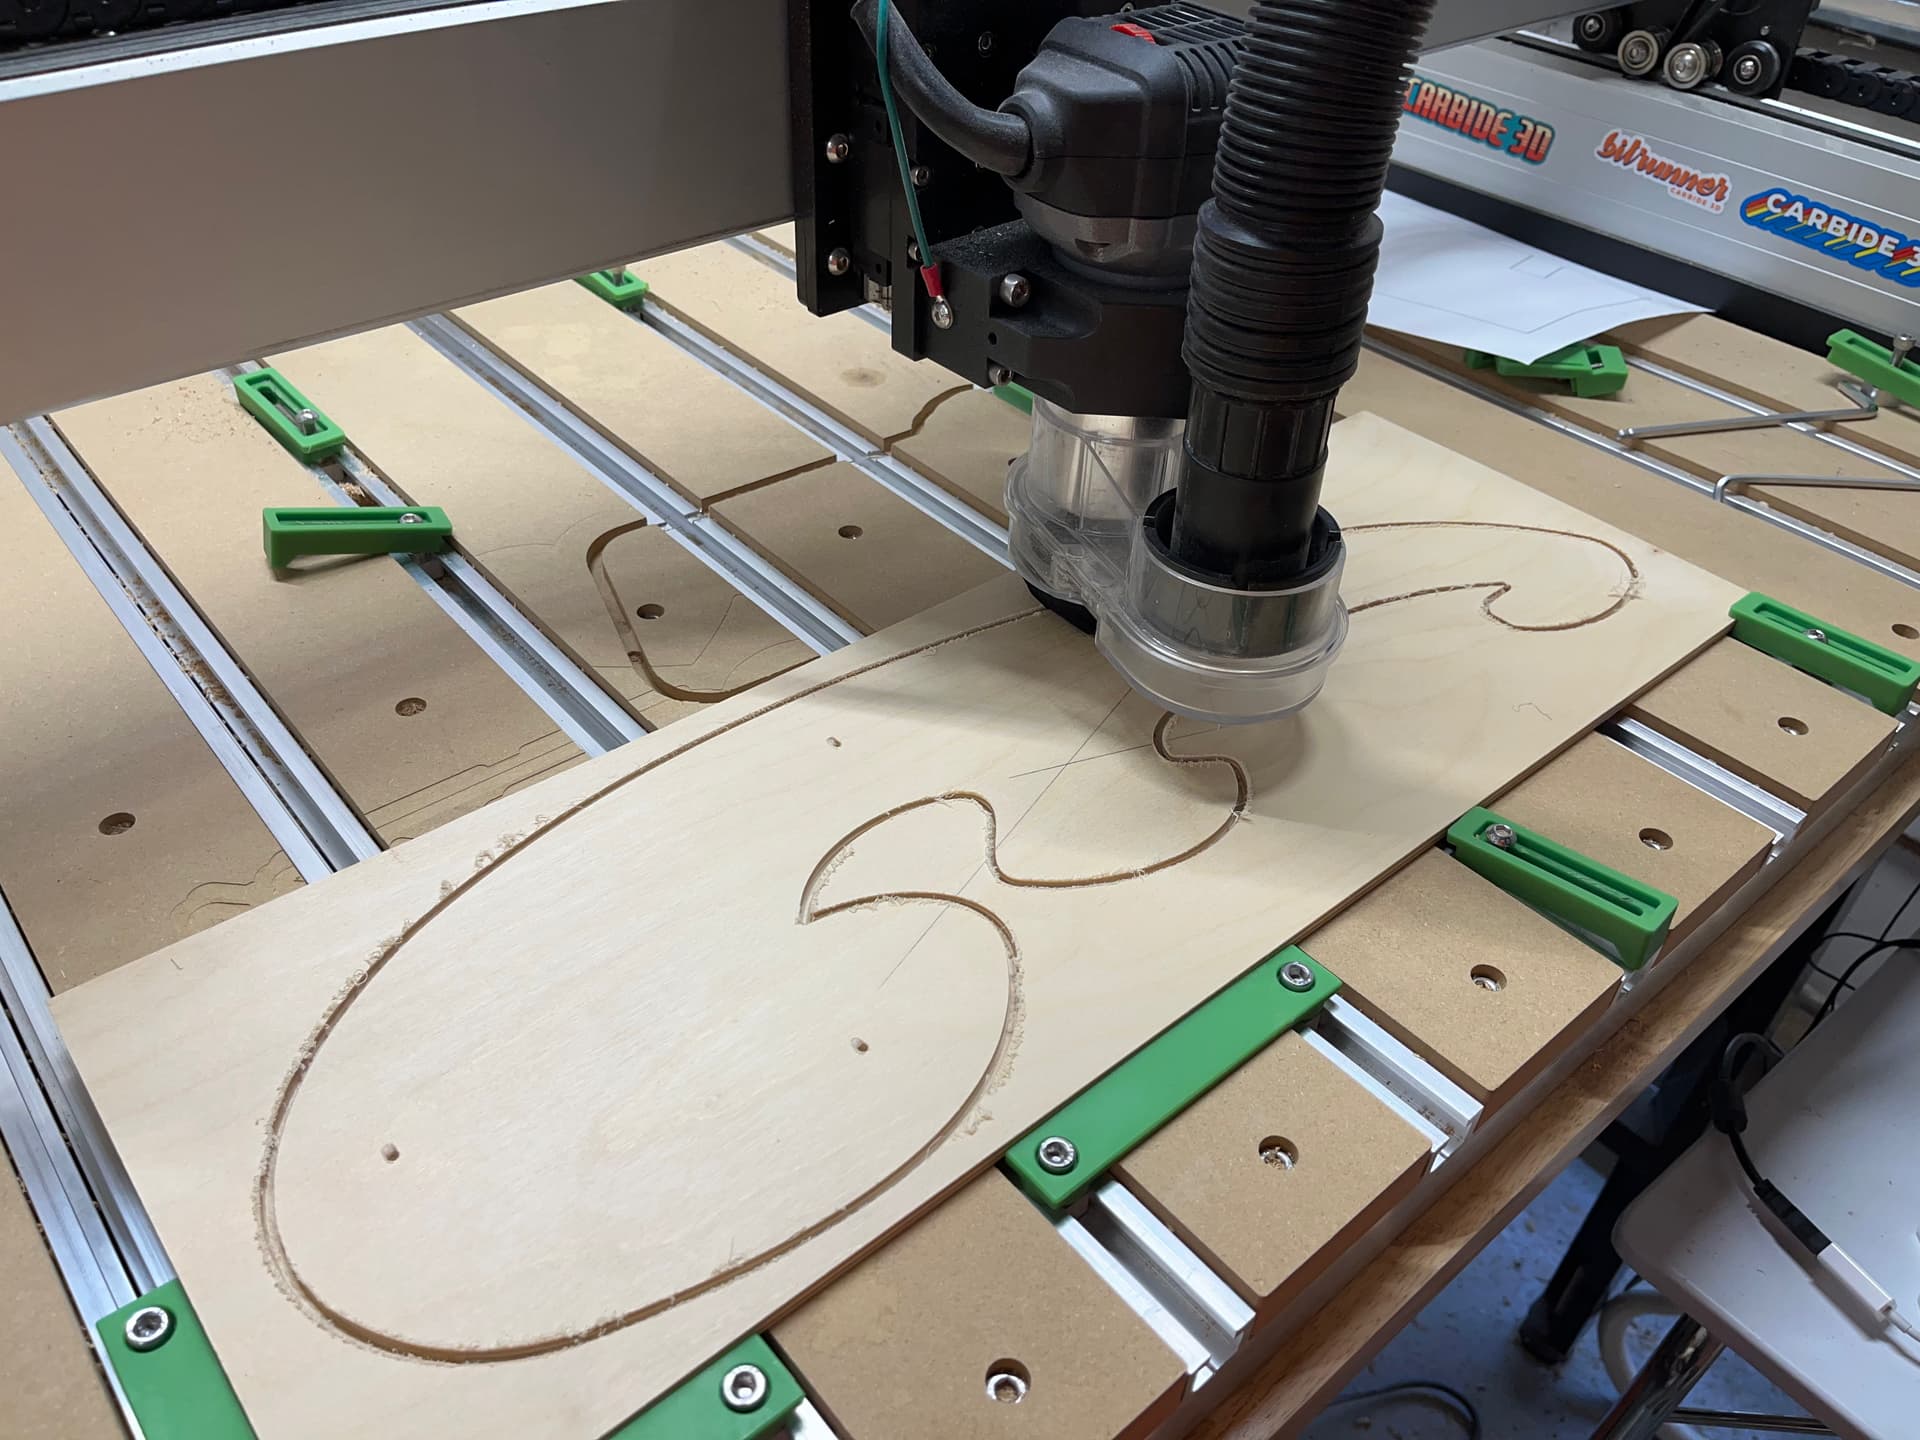
Based on Kevin Barnett’s video a few weeks ago on making shop tools, I decided a large format French Curve would help with a few current furniture builds. I am always walking around the shop looking for a can or jar to draw curves. The 22"x7.5" French Curve is perfect for the shop and I have not seen the larger sizes in many years. The file will be posted to CutRocket shortly.

16 Likes
I use my Shapeoko to make all kinds of utility items for the shop. I use a product called Top Saver that keeps your cast iron from rusting. It left it sitting on the end of my tablesaw fence and it was always getting knocked off. I made a little 3"x3" block of wood with a pocket cut the size of the bottle. This keeps the bottle from hitting the floor and breaking the nozzle. I have made my Incra Miter Gauge fence with the Shapeoko. I have made jigs to cut bow ties for large slabs of cracked wood. Some of the slabs are too big to put on the Shapeoko. I have made a pocket to keep my Jet Air Cleaner Remote in on the side of a cabinet. I was always looking for the remote. On and Onn…
1 Like
Great idea Michael. Perhaps I can offer a tip.
When I am cutting all the way through the material, either profile cut or pocket cut, I put a piece of 1/8" (3mm) hardboard on the bed of my machine. This is perfectly flat and saves cutting into your base board. Both the item to be cut and the sacrificial hardboard are clamped/glued together as one.
My base board is only 3/4" ply, no fancy rails, but it saves me having to resurface the base board and the hardboard can be re-used a couple of times before getting thrown out.
1 Like