Dan,
Could you be so kind and share the .svg file of St Louis skyline?
Thanks
Russell Lee
wrider72@hotmail.com
Dan,
Could you be so kind and share the .svg file of St Louis skyline?
Thanks
Russell Lee
wrider72@hotmail.com
Yes, Have some glow in the dard pigment for next time. Will post results.
Wednesday while shopping I stepped around to see prices on Ball Pint Jars. Looked through the shelves also and saw that Ball now has wooden tops very similar to these made in walnut.
Was there supposed to be a picture?
No, I didn’t have a camera. Posted just to note that Ball was making some wooden lids.
This statement, in my mind thought there was supposed to be a picture. No problem, it wasn’t the first time I mis-read something and will not be the last, I’m sure. ![]()
Well, along with my poor usage of words.
I should have said like those above, meaning what was shown in the posting. And actually I did find a graphic of those on-line.
Clean!
While I don’t use my Shapeoko for PCB milling, I do use an older LPKF Protomat. Most of the time I leave rubout disabled when generating the gcode. Maybe for small areas. But if there is a large area (anything larger than maybe a square centimeter) I leave the copper during the milling than then with a broad, flat soldering tip and about 700F temperature setting I rest the tip on the area I want to void. After a few seconds I can use an x-acto knife or fine tip tweezers and peel up the copper. Repeat as needed.
Generally found this to be faster than mechanical rubout for large areas.
I made a 2 x 8 board


Learnings from this project (2x8 stealth box):
John
I like to surf and our local surf shop is awesome. I shop there all the time, we love that it’s locally owned.
The owner “Bird” hosts surf movies inside his shop. It’s a totally cool experience.
I wanted to give him something as a token of my appreciation. He has two locations in San Diego.
Almost looks like a chocolate bar.
That’s a great box by the way. I love the hidden in plain sight.
Looks nice! What is the material that you used?
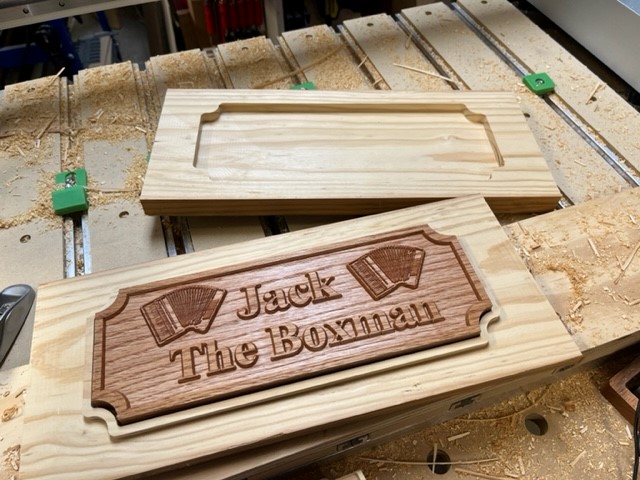
I am making a Letters to Santa Mailbox. I carved the front and back doors on my Shapeoko 3.
I will spray paint the box Red and the back and front Green. I will mask off a box around the lettering and use Rub and Buff Gold to highlight the lettering. I could have spray painted the colors and carved with oramask but the gold was an idea that went off in my head while cutting the front and back.
Edit:
Here is an update after painting. Not finished but close.
I decided to make version 2 and here is the Rub and Buff treatment with Gold Leaf.
The back door is still pending. This is part of a 2x4 challenge and the back door is made of fir and is warped. I took the hand plane to the door and will paint it tomorrow along with the base and get it assembled Monday after paint drys.
I used Pine. 1 x 12 24" long. I cut one and flipped the piece to cut the other. Then Used a chop saw to cut them to size.
I made some clamp racks which I’ve been sorely needing for some time, but wasn’t happy with anything available on the market. The closest I found were some sold by Lee Valley, but they were designed to be shipped flat and assembled. Since I’d be gluing mine up I could save a bit of material. These are designed to fit neatly into a 302x302mm square which is what you get if you cut a piece of 4x8 plywood into 32 equal squares.
I can get five 1/2" pipe clamps on one rack.
Do you guys have a wood shop class in your curriculum?