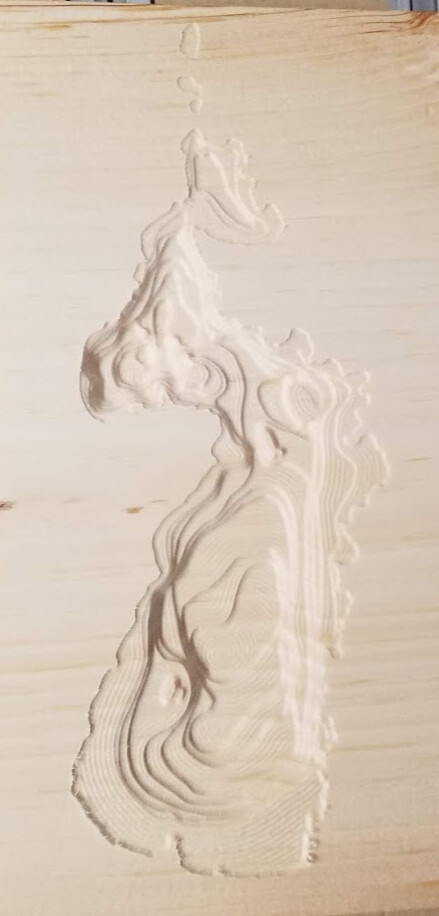
Test piece of pine for a lake.

17 Likes
Where did you get the graphics to create the depths?
That looks great, especially for pine, did you use a down cut bit?
The fur in the bottom left of image 2 suggests not but i cant believe how clean the rest of it is.
1 Like
It was 1/4" ball upcut and then 1/8" ball upcut.
Just googled and saw 1/4" ball downcut exists from Amana 
I wonder if I could/should do the initial 1/4" roughing with a regular flat endmill? Cleaning up the bottom depths might be nice, although in the context of a lake, it might also kind of be nice after epoxy is in
It occurred to me the other day, I haven’t posted on here in ages! There’s been a whole heap of other work, but the Shapeoko has been running in the background most days for the past few weeks.
We’ve just started assembling our first housing with entirely in-house framework
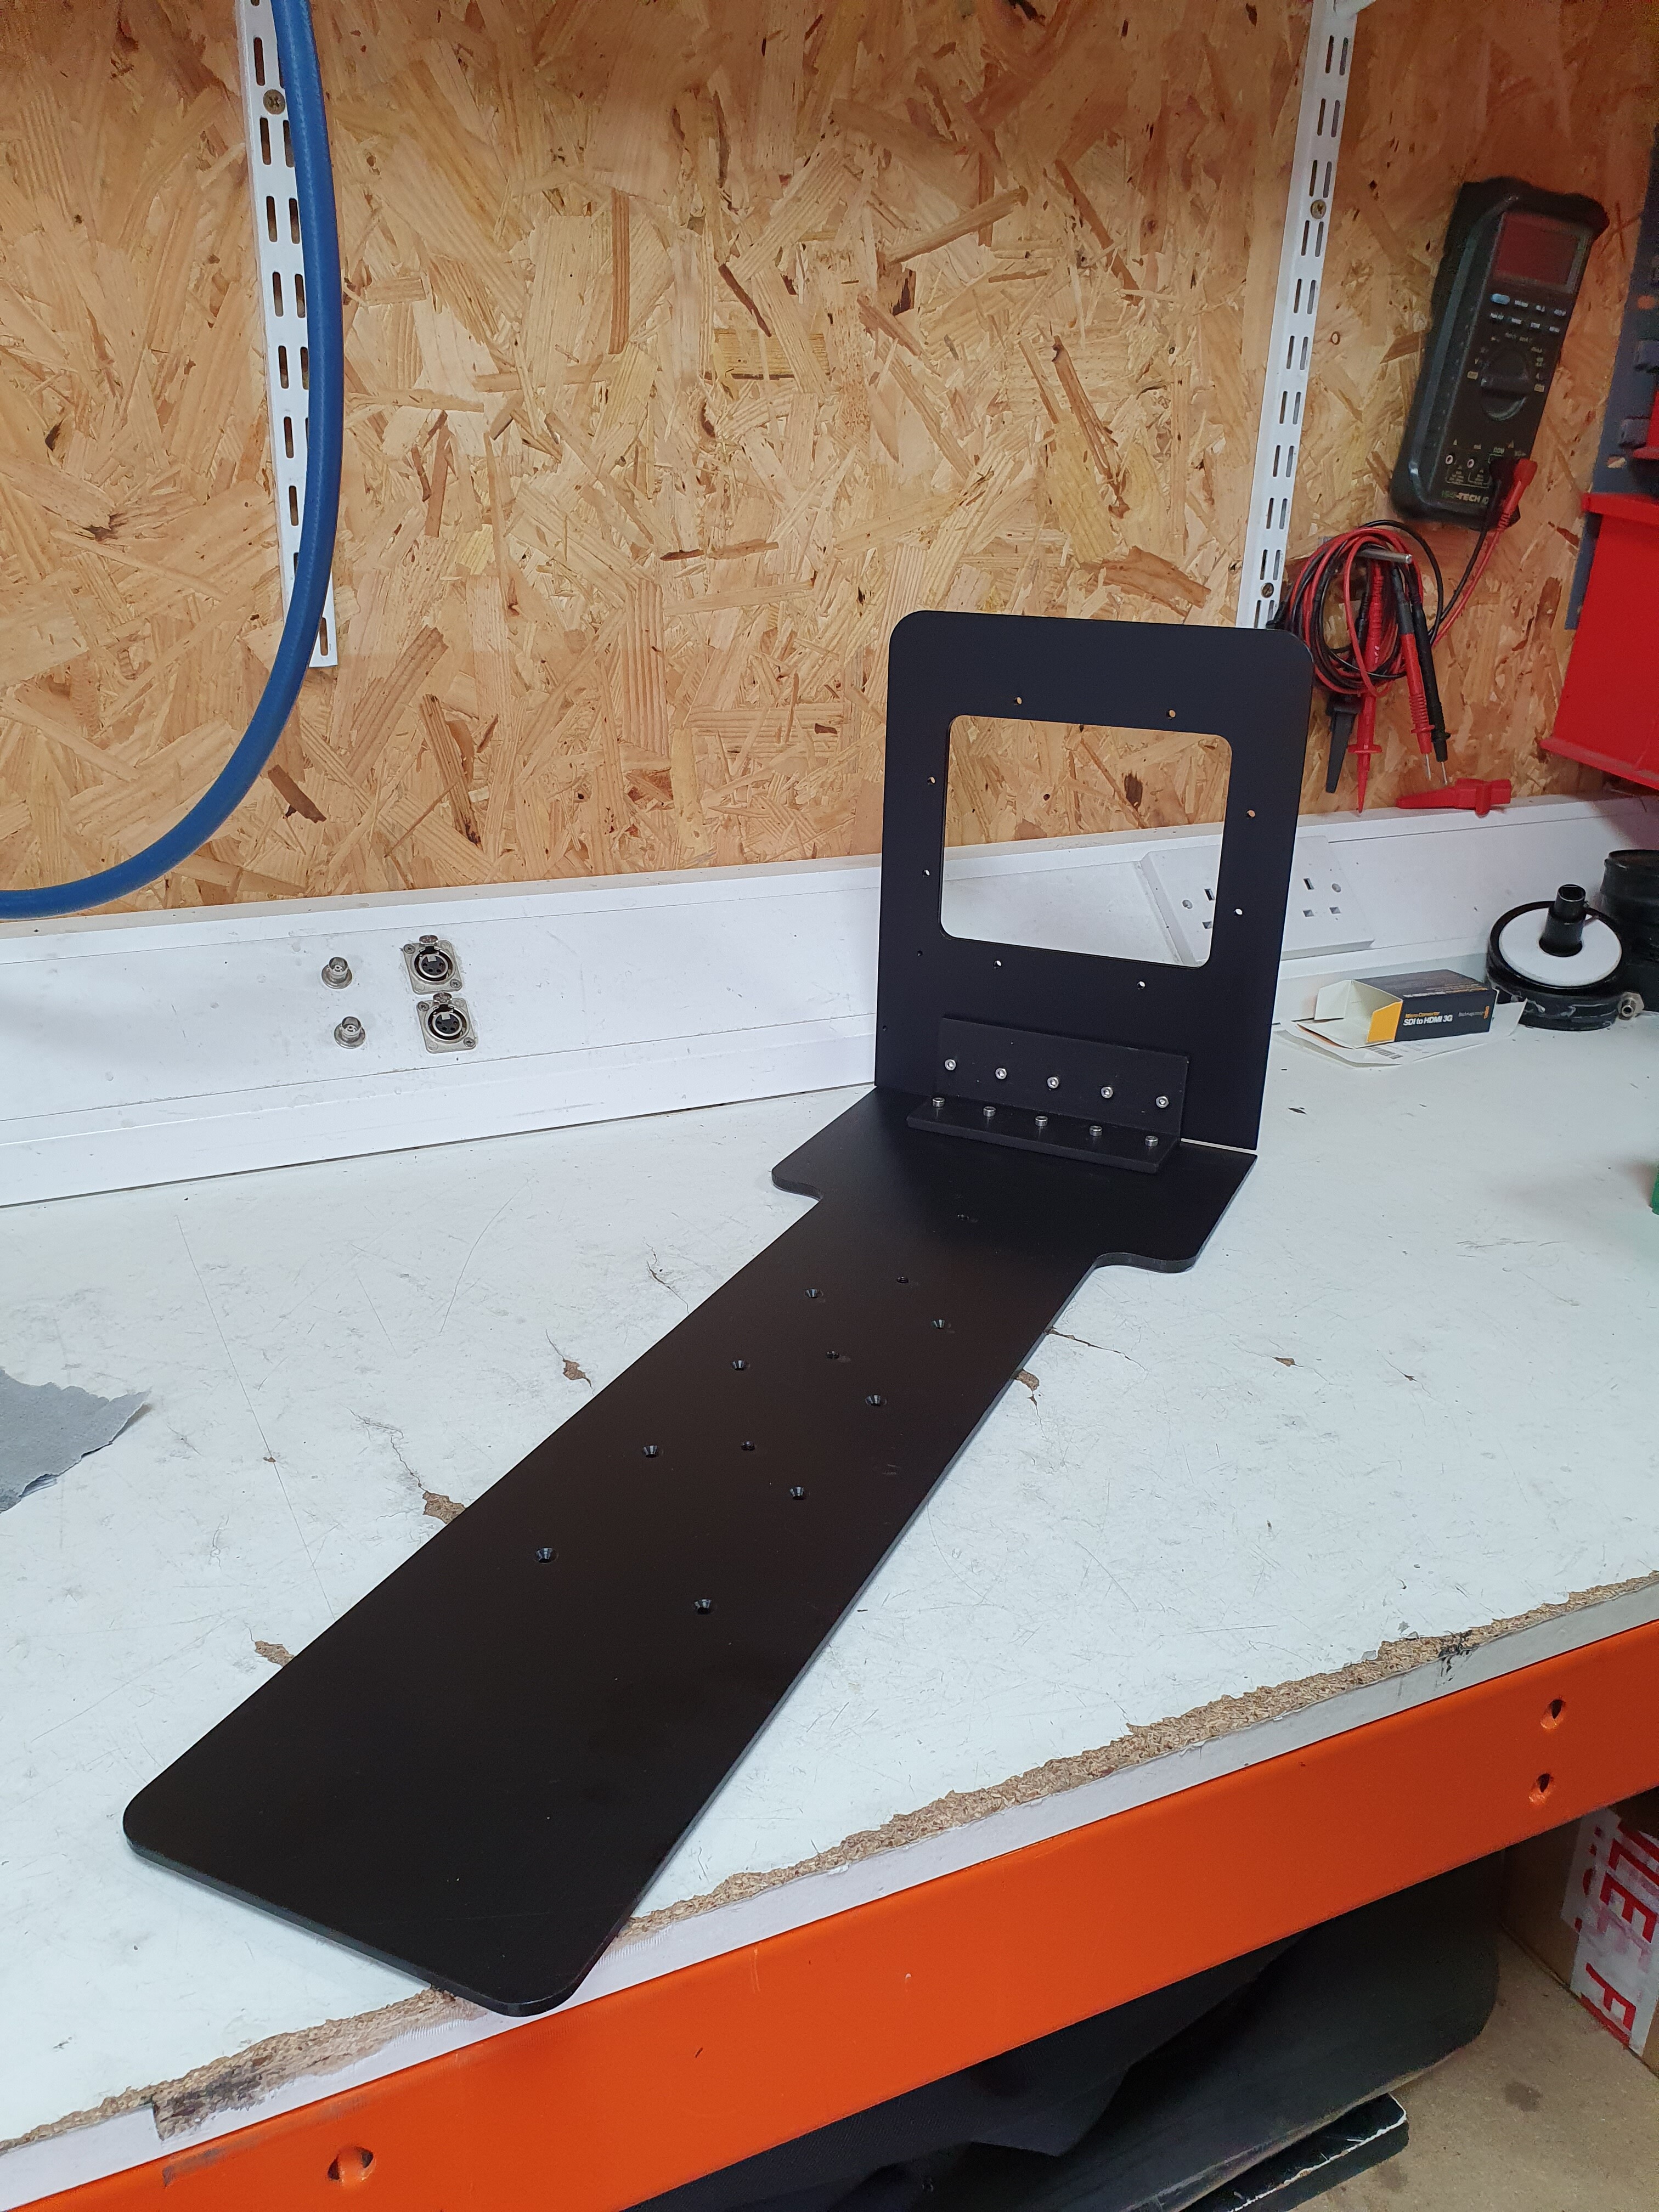

And, for the most part, the machine has been absolutely flawless. I think we’ve got the feeds and speeds dialled in pretty well. They’re not right on the edge of what’s possible, but they seem comfortable.
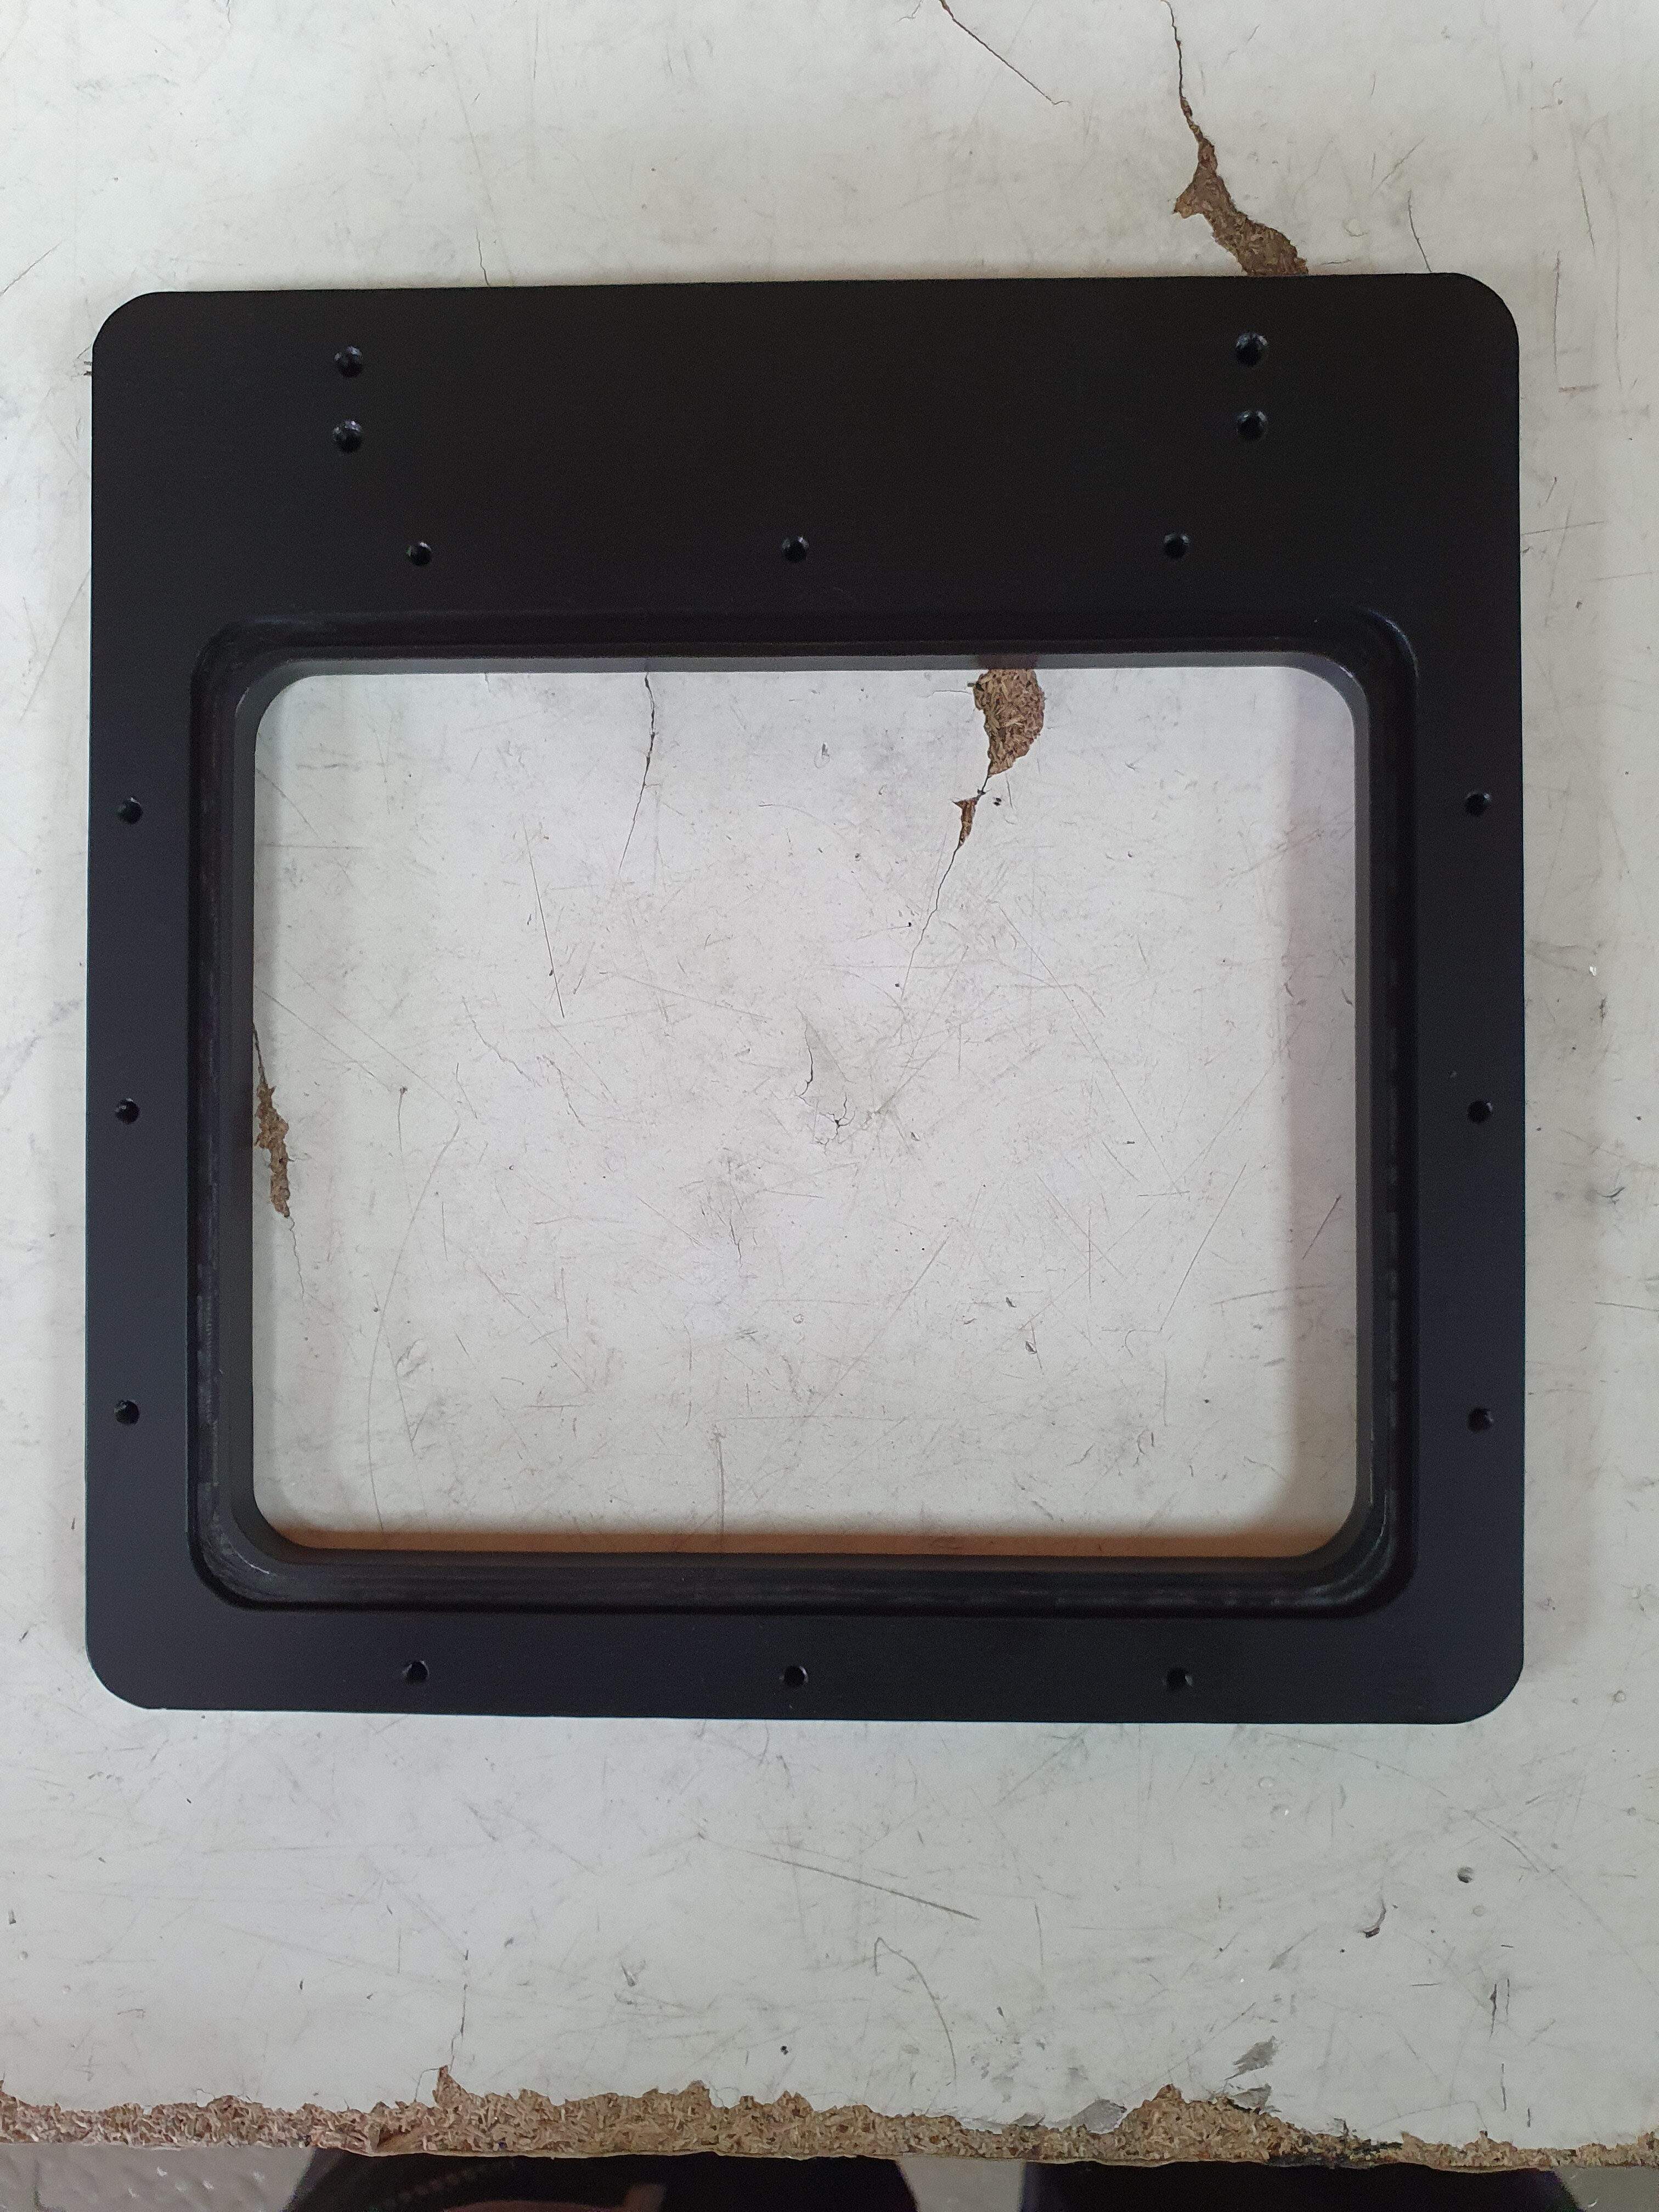
The long flat parts along the bottom (Inner base plates), we’ve made three of. The vertical parts (Inner front ports) we’ve made 6 of, and 6 outer front ports which look like this:
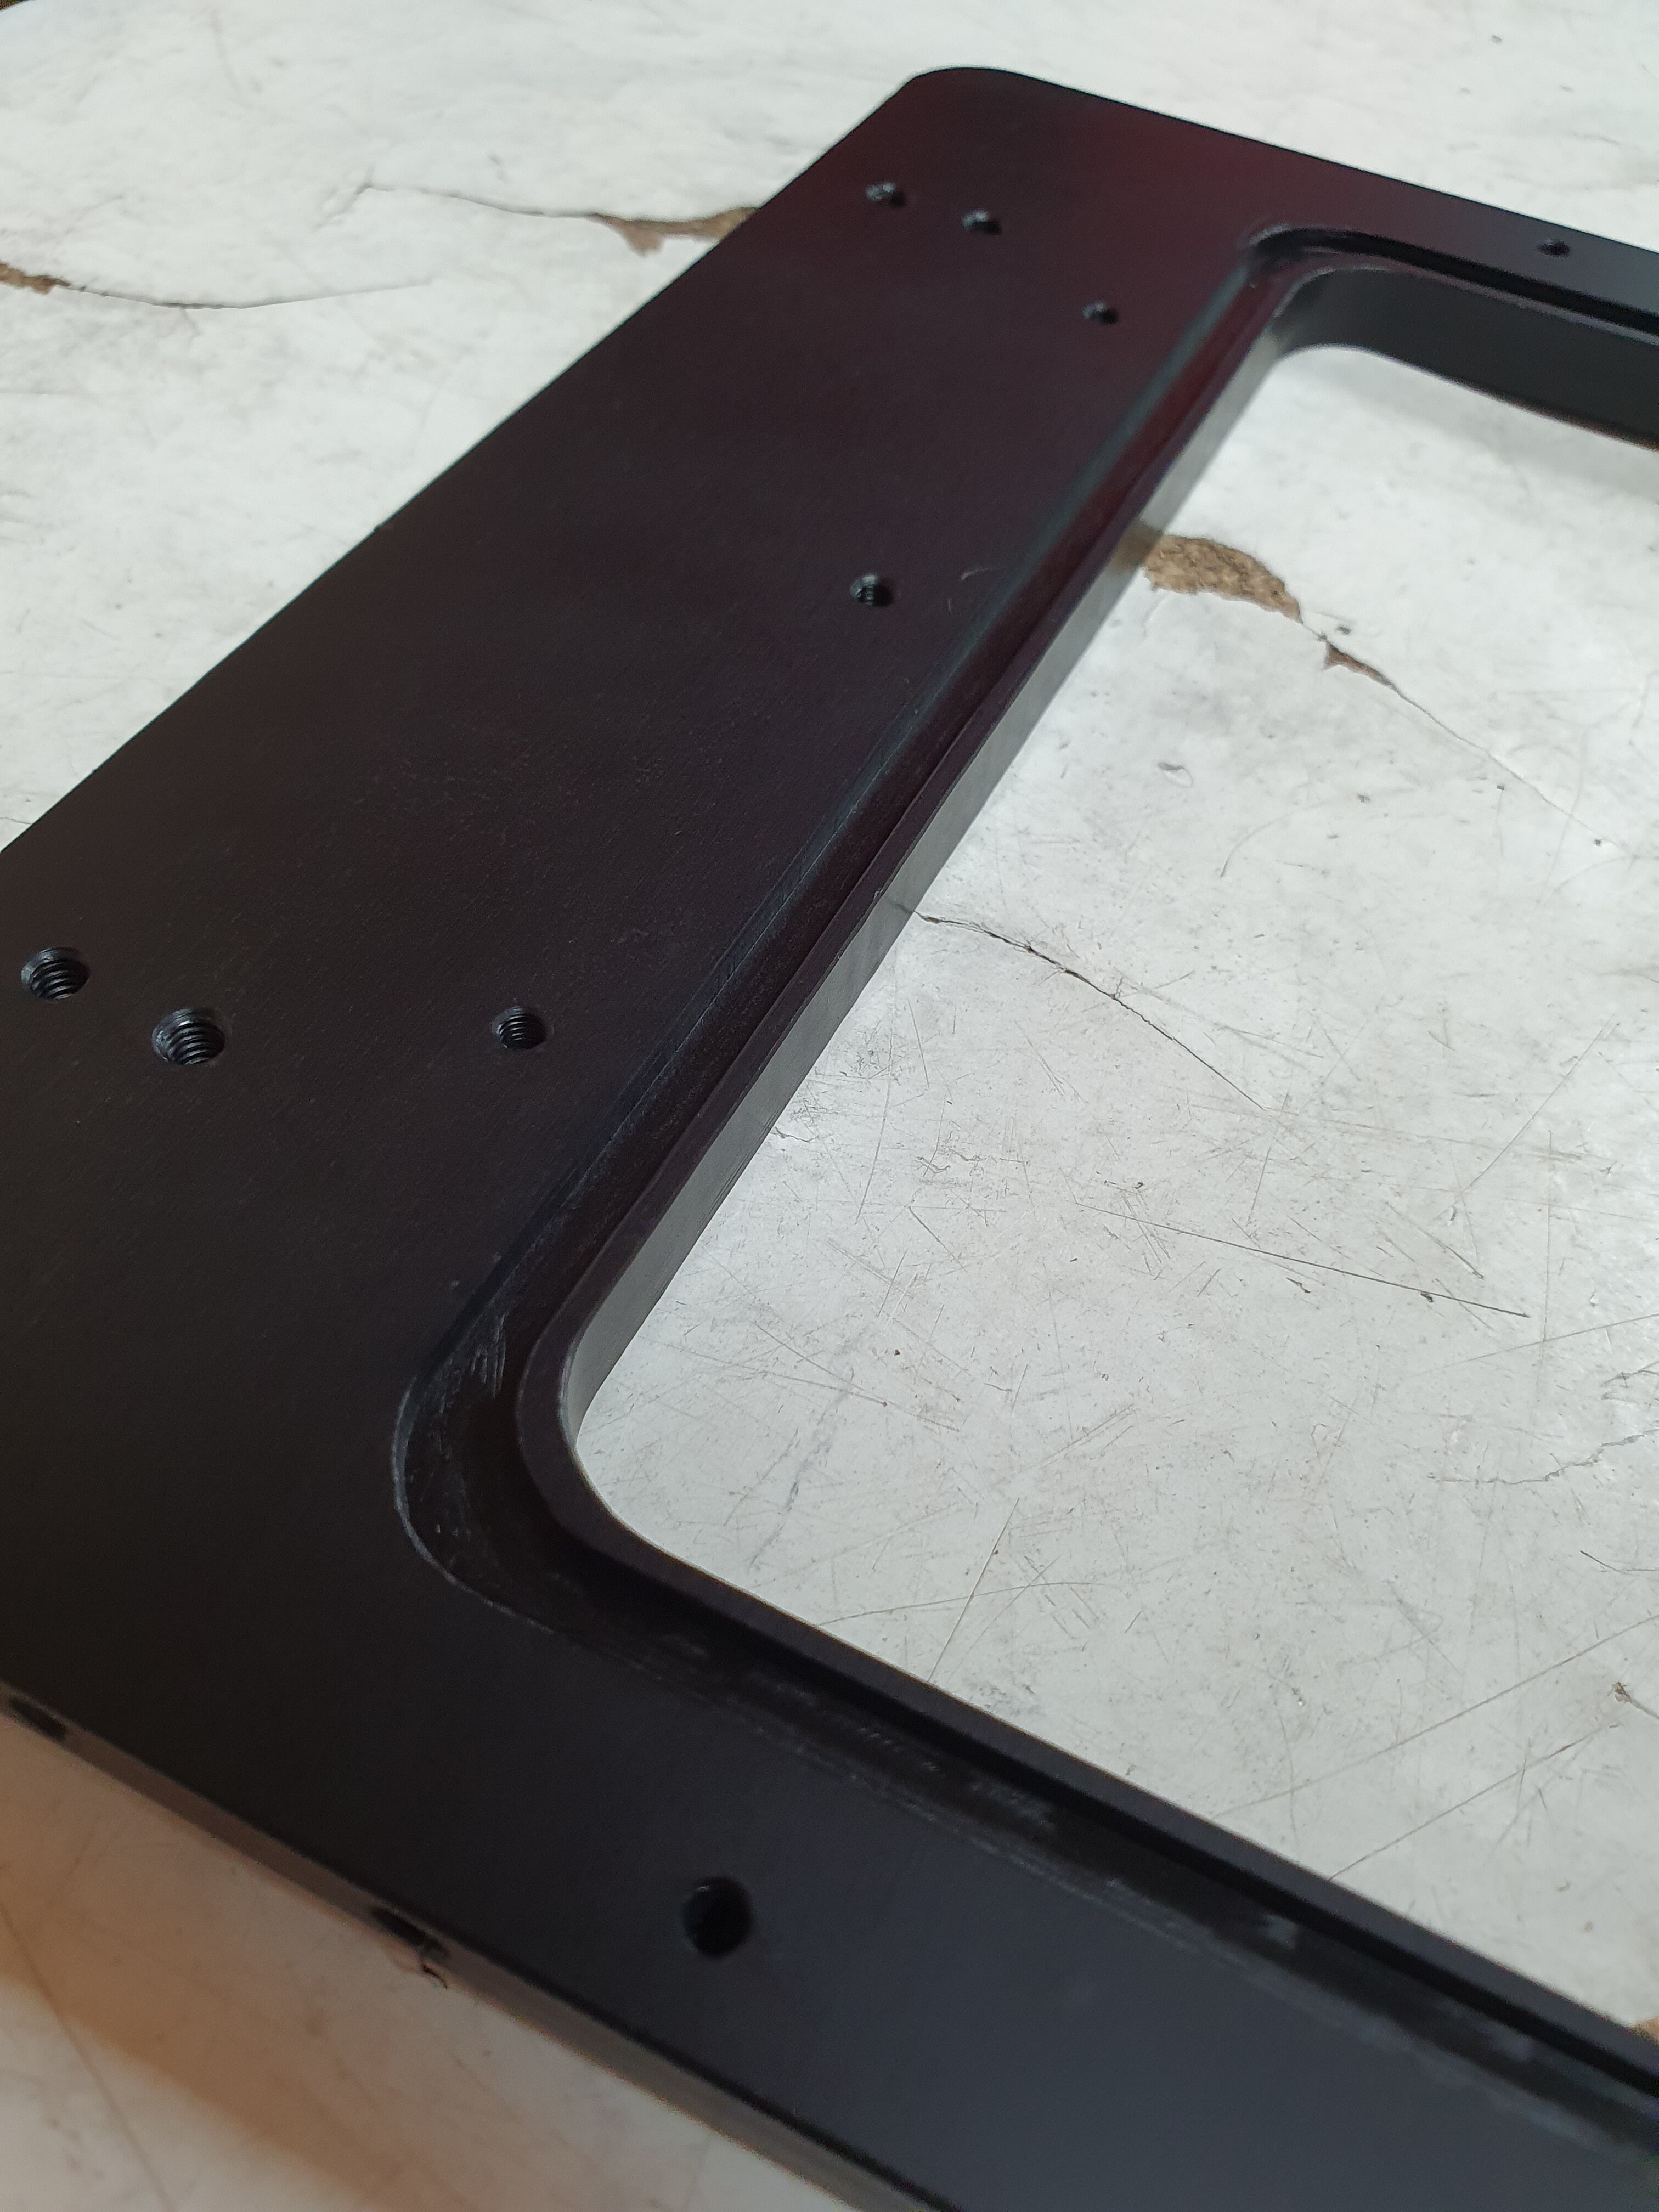
A little awkward for fixturing on those with no through holes, but we got a system sorted
The parts are being cut with a 6mm 2 flute slot drill from Gühring, for the very important reason that it was in a sale… I didn’t realise that it was TiAlN coated until it showed up, but it seems to work alright on aluminium.
I might see if I can get an uncoated one at some point, and maybe a 3 flute uncoated to see if they work any better or yield better wall finishes. The current finishes require a little 240 grit emery paper to become presentable.
Probably the best tool for the machine I’ve found has been these drills:
https://www.mscdirect.co.uk/AEC-10003D/SEARCH:KEYWORD/product.html (UK site)
https://www.mscdirect.com/product/details/61695706 (I think the US equivalent)
Which are carbide drills, but with 6mm shanks, for cutting diameter between 3 and 6mm in 0.1mm increments. This means we can drill holes using the standard Makita router and collets
We have a 3.3mm (M4 tap size) 4mm (M4 clearance) and 5mm (M6 tap size). They are not cheap, but I think they’ve justified themselves.
I know you’re not meant to use a TiAlN coated tool on aluminium, but they work just fine. They’re practically silent in the cut under the noise of the router.
For 2.5mm holes (M3 tap size) I found a 2.5mm carbide slot drill with a 6mm shank, which works well enough to put the holes in. It’s a bit noisier than the drills, but that’s probably expected.
The only thing non-standard part of the machine is the table. That was replaced with a piece of 6mm tooling plate we happened to have, which has 75mm×16mm (3"x5/8") flat bars screwed into the top. The bars have a step milled into both sides, and are spaced to accept 3/8-16 T slot hardware. You can see it in this picture of a random aluminium part:
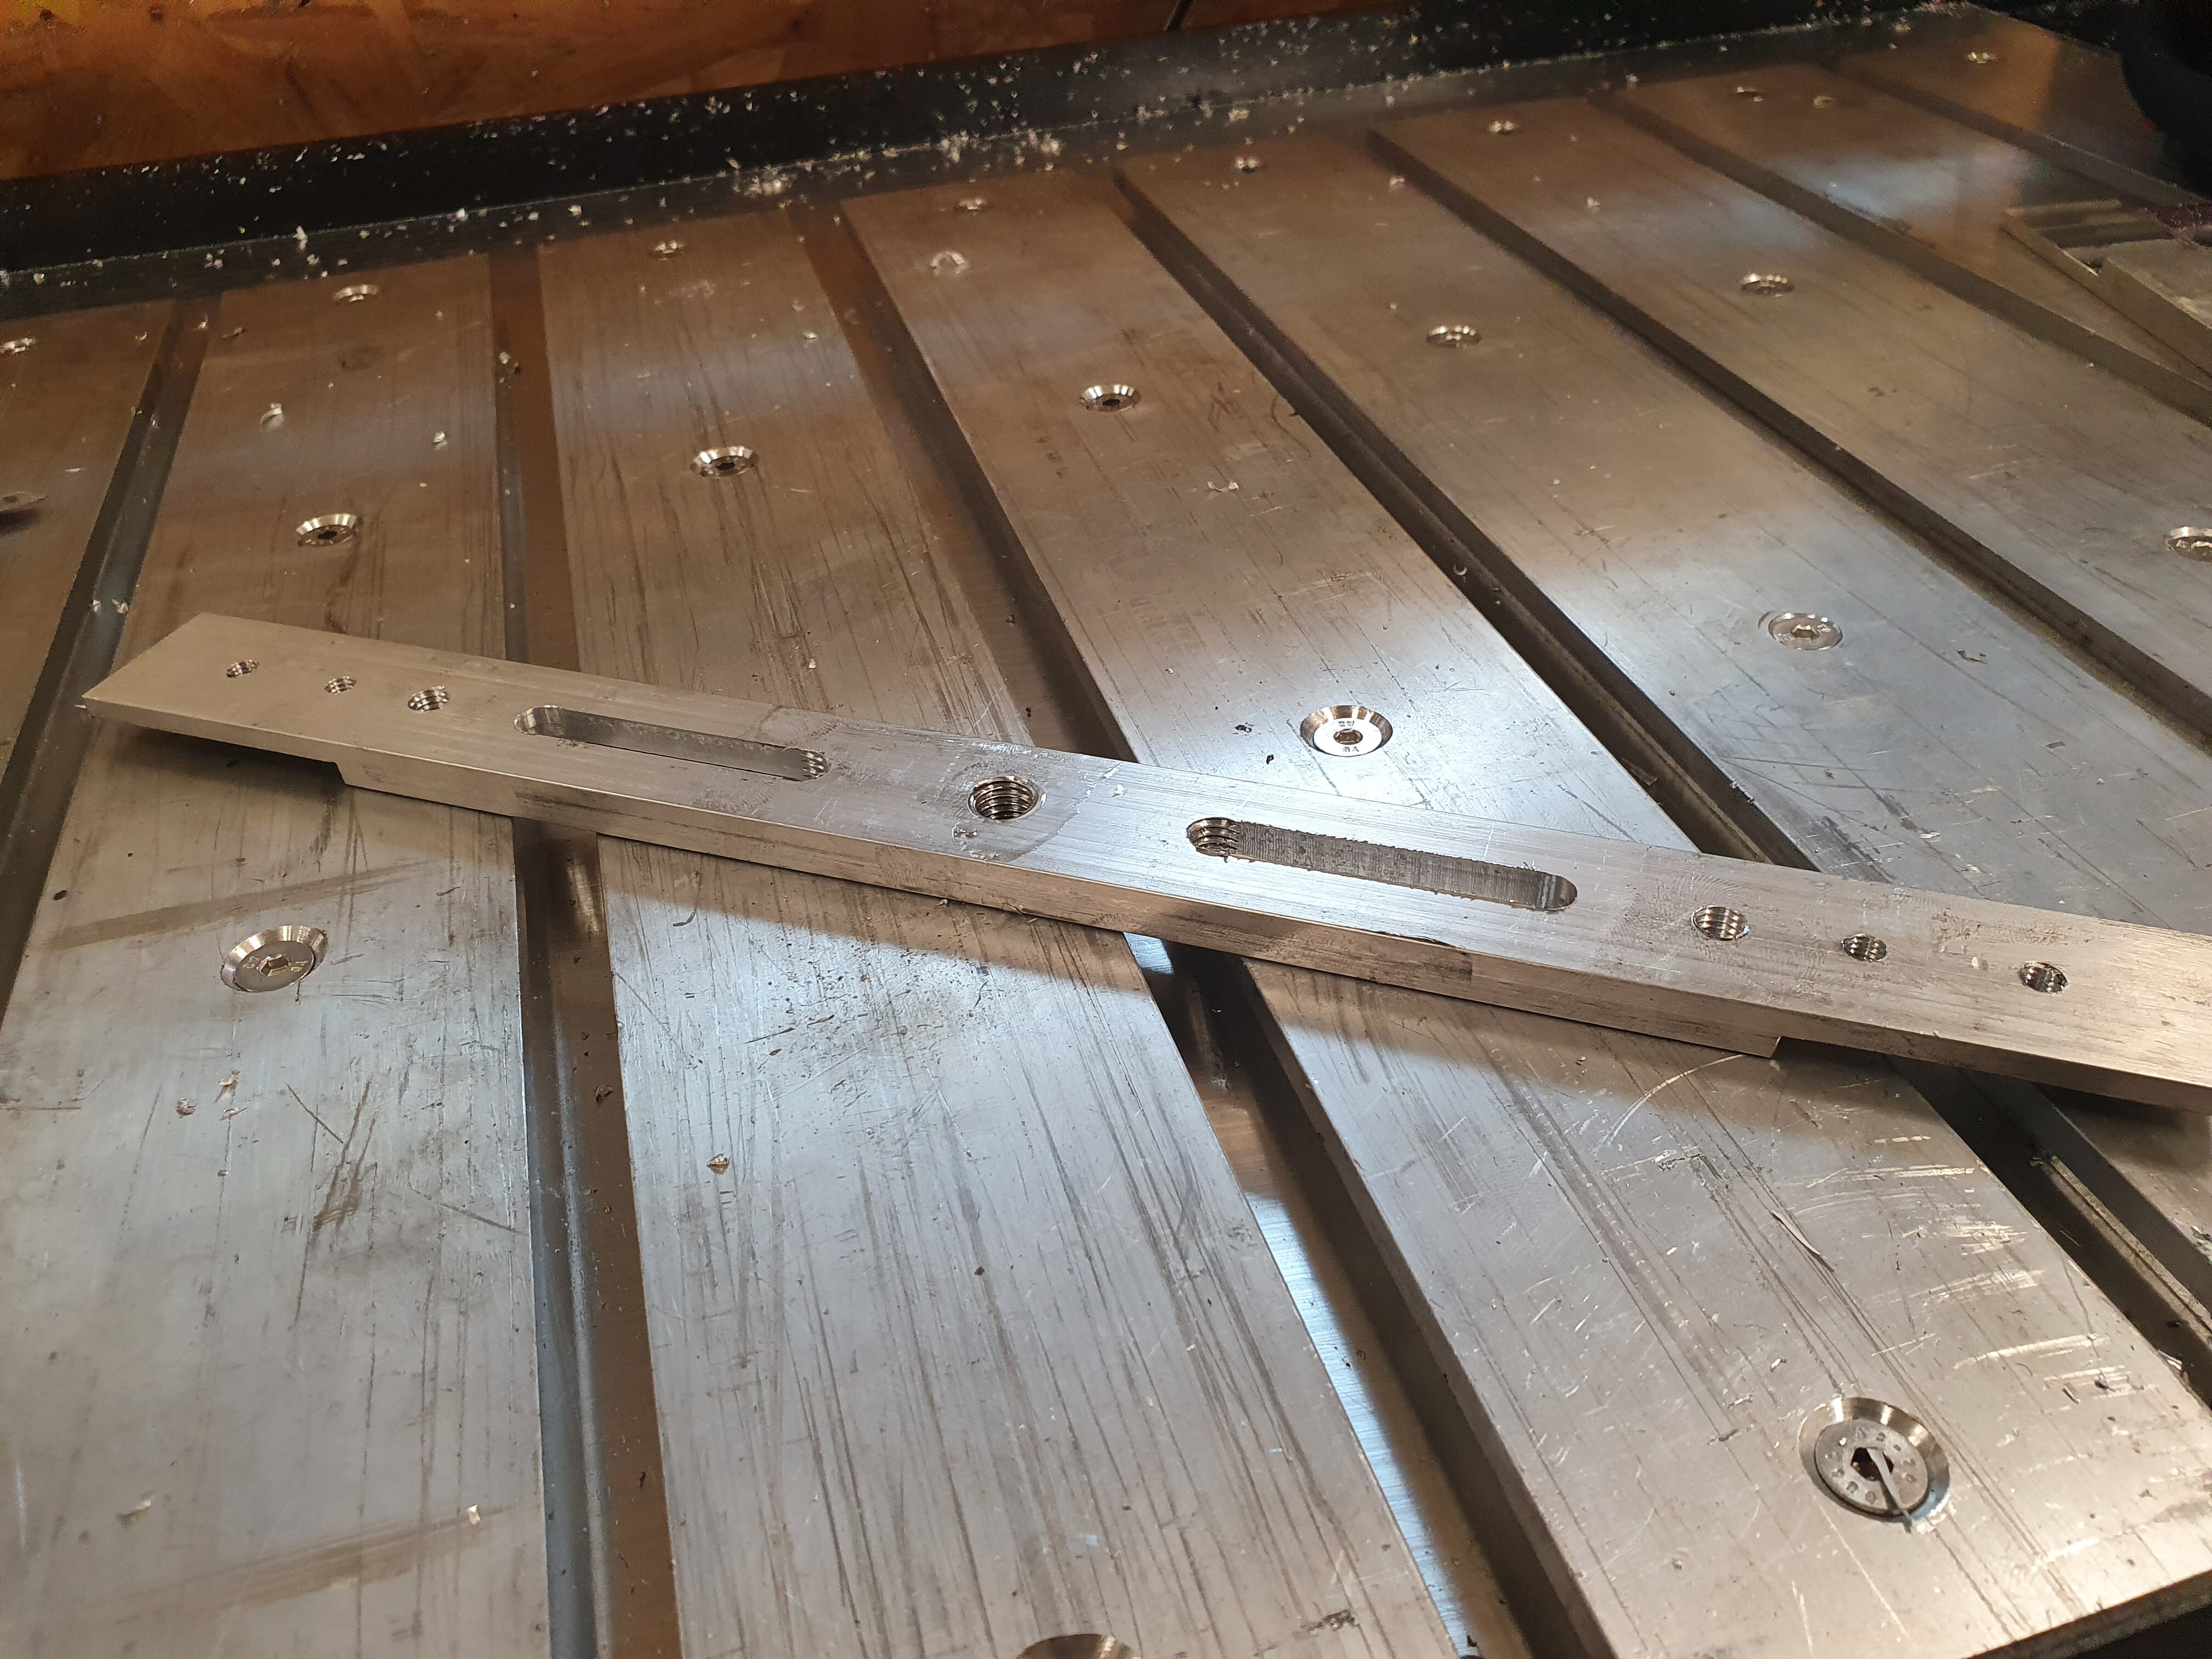
I am aware that it isn’t very flat, and probably could do with surfacing on the machine somehow. It works well enough for what we need currently, so maybe it’s an idea for some other time.
Edit: After posting this seems like a rather large wall of text. Apologies if it was a little difficult to read
12 Likes
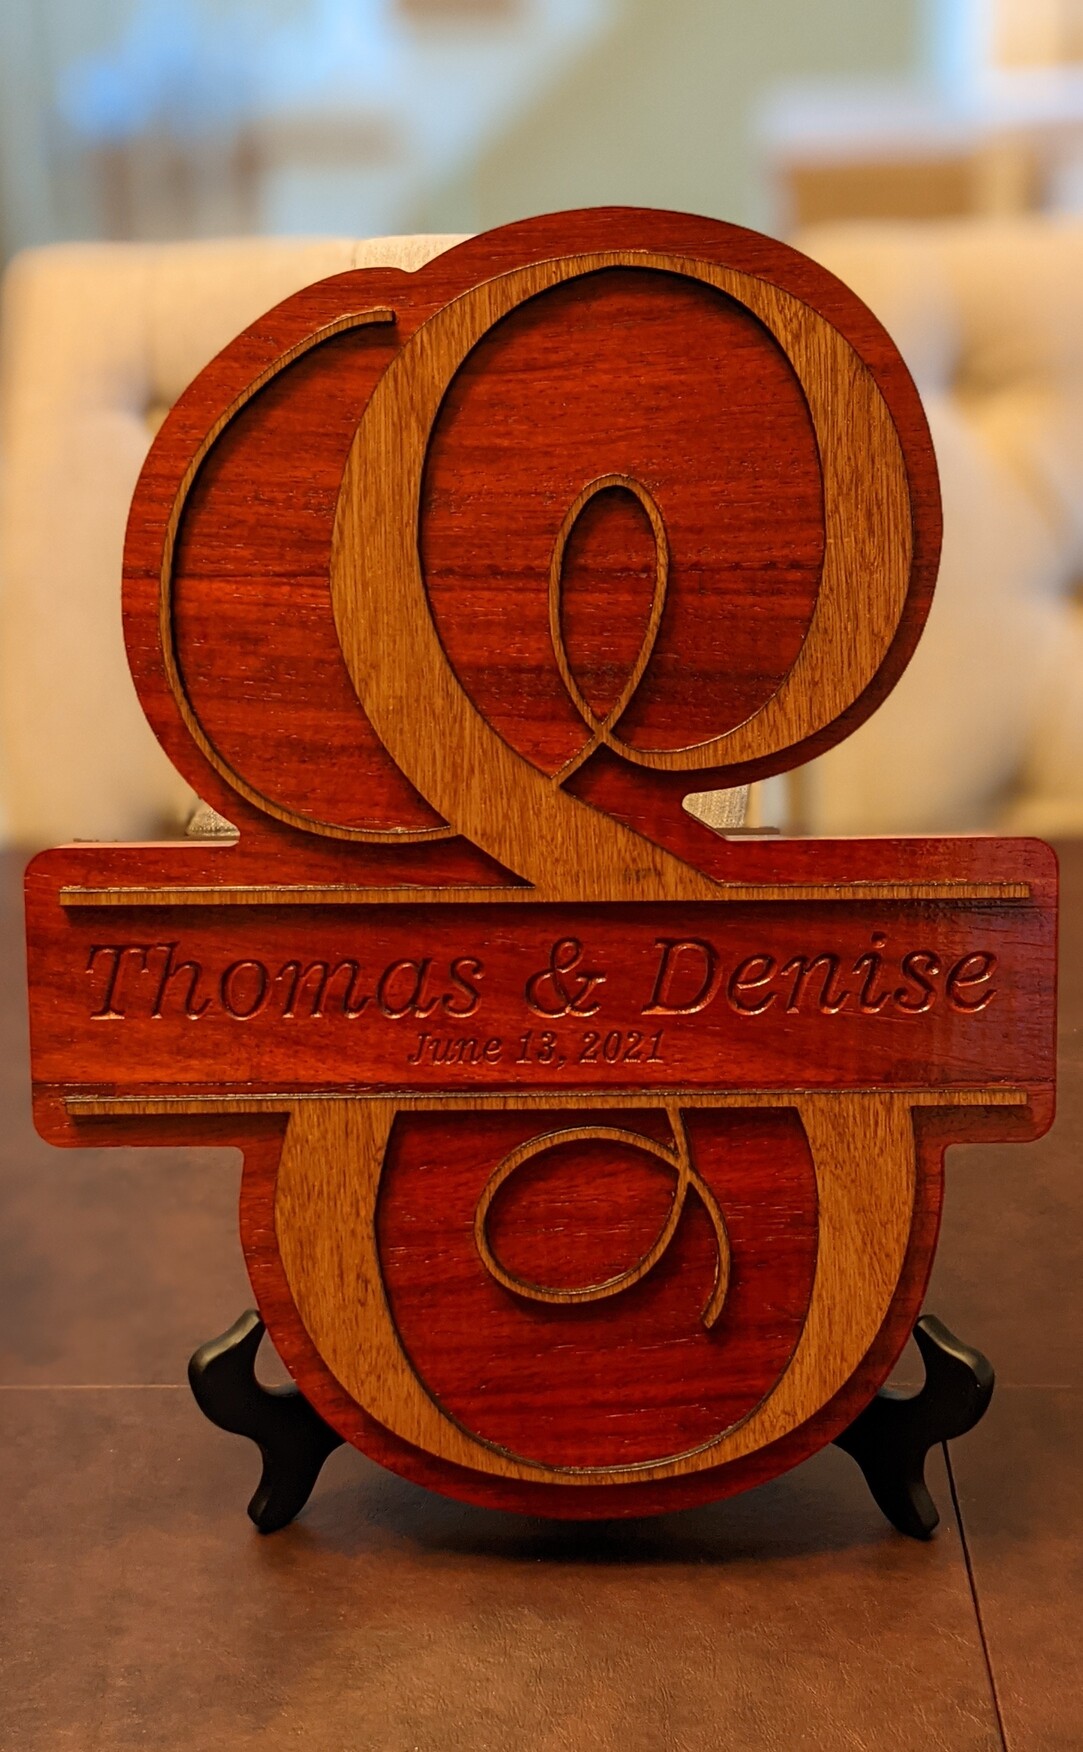
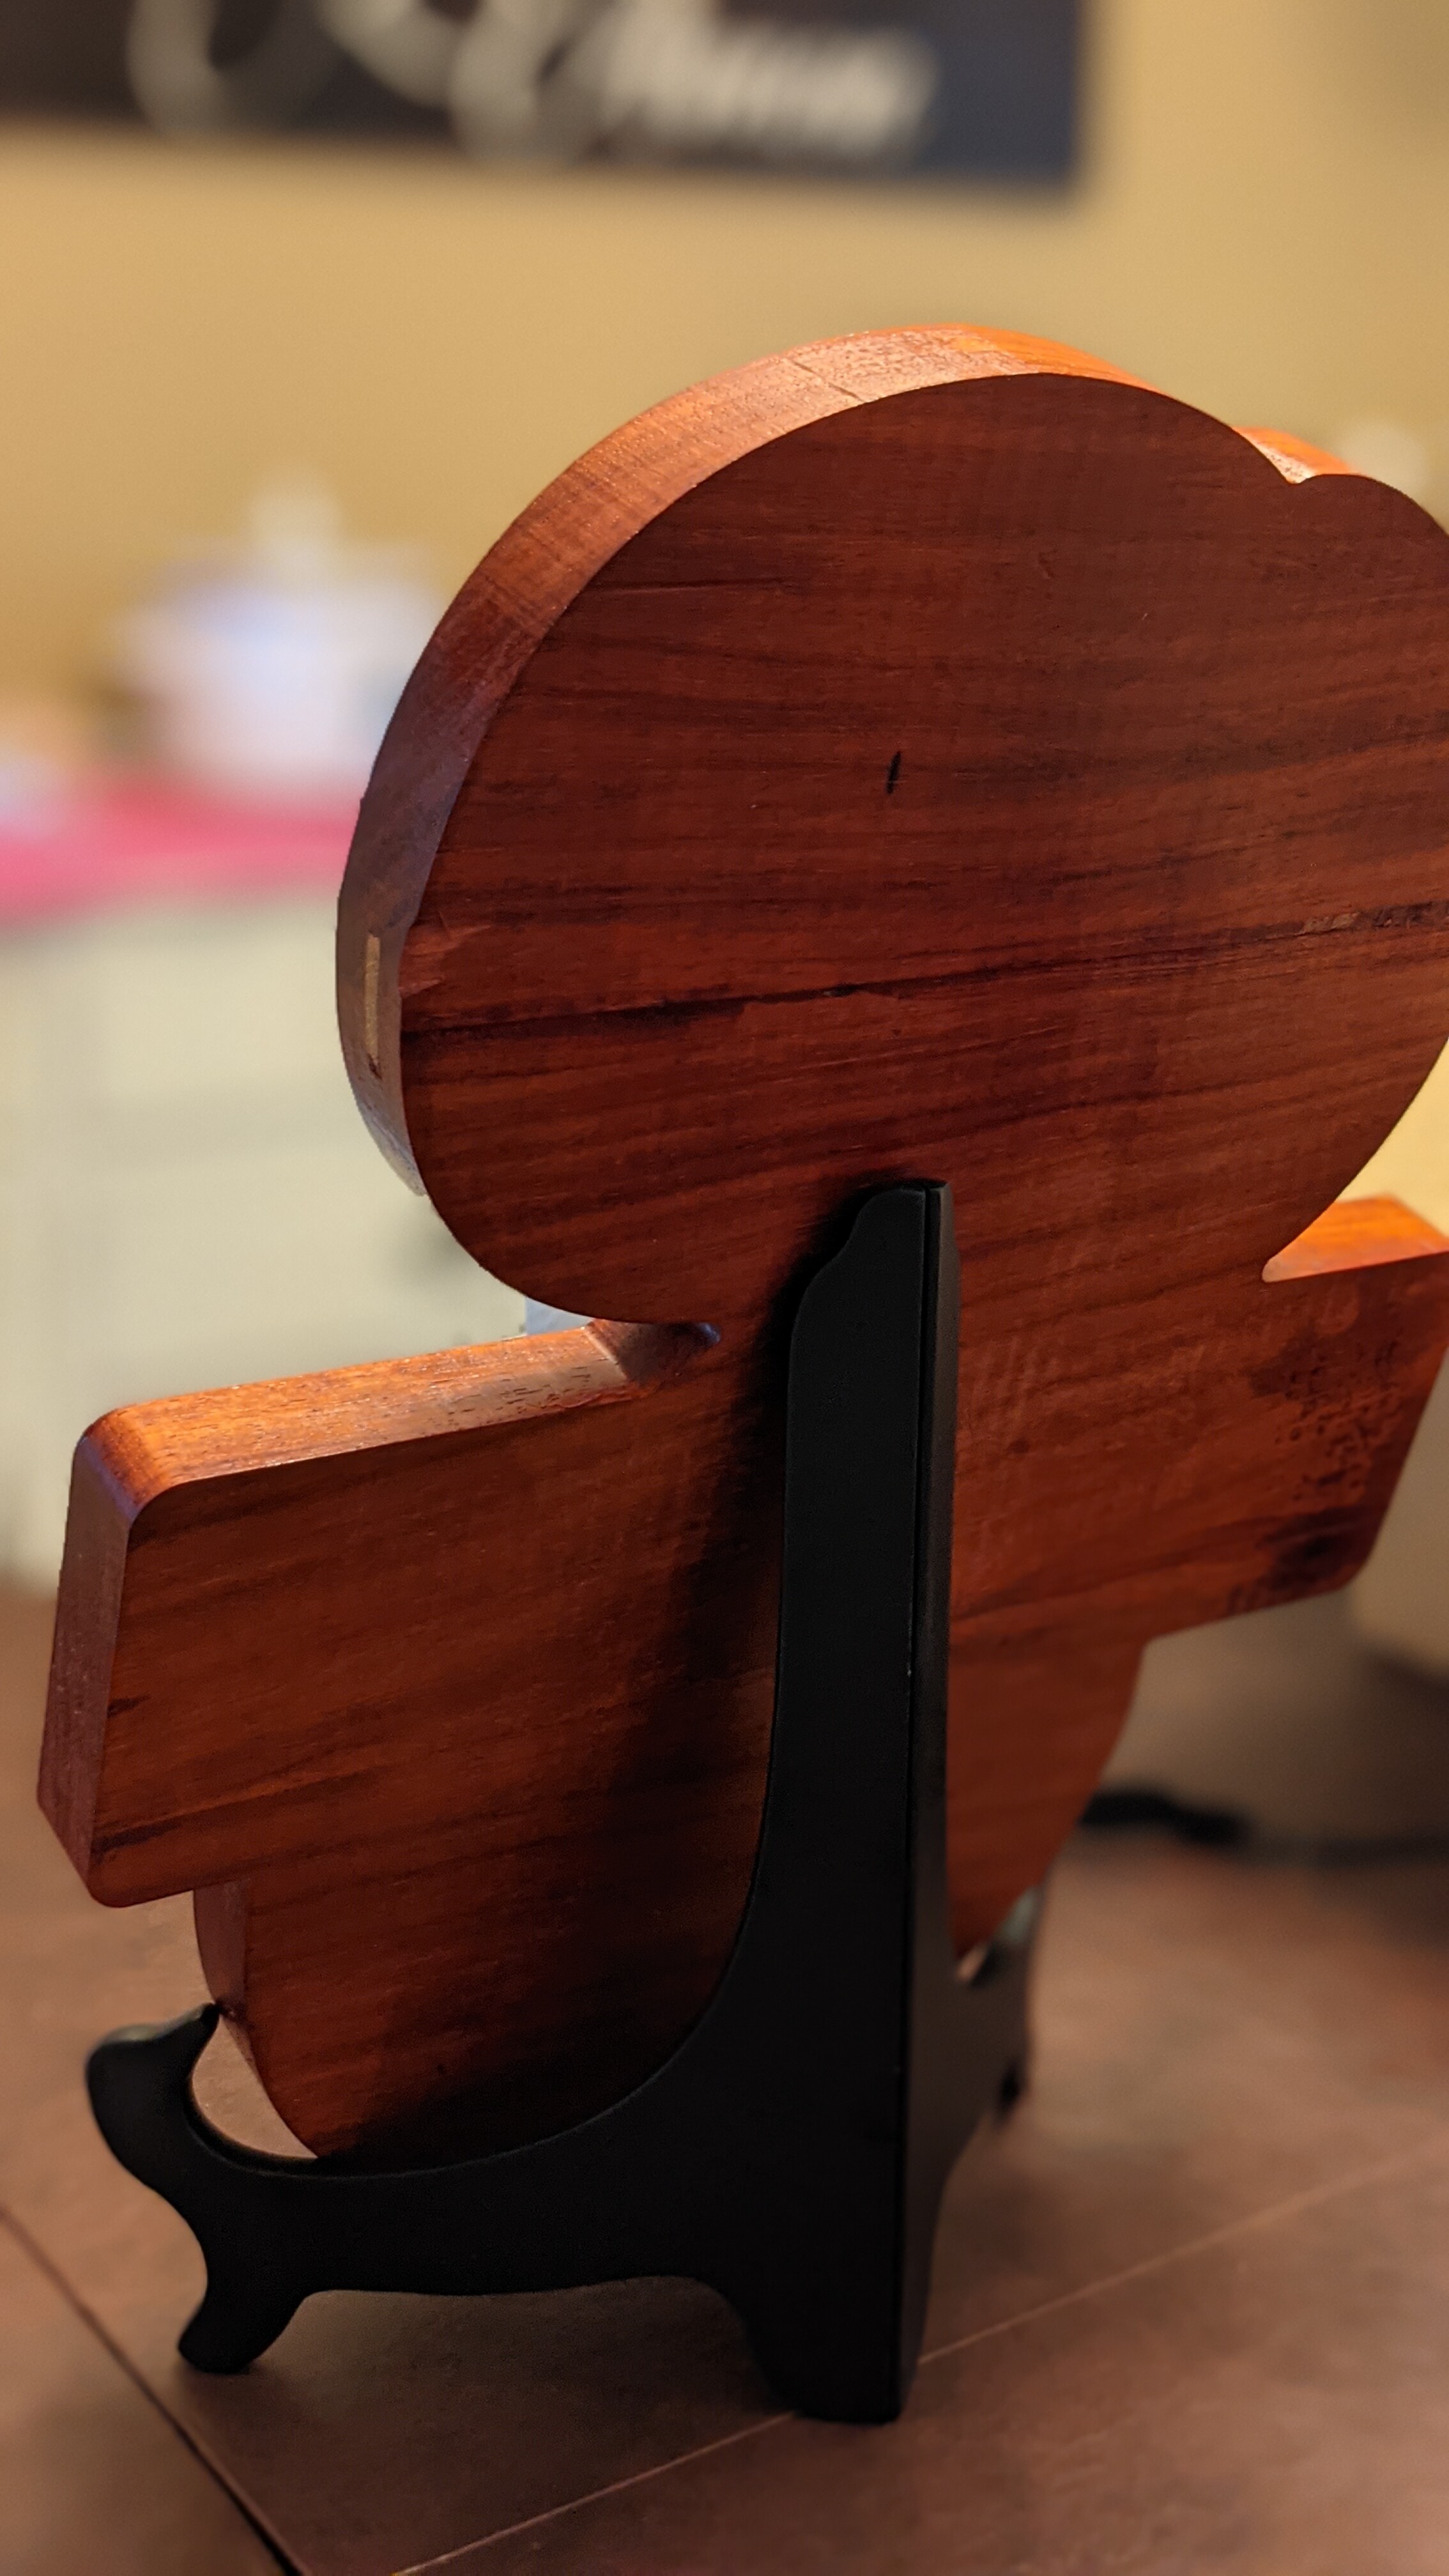
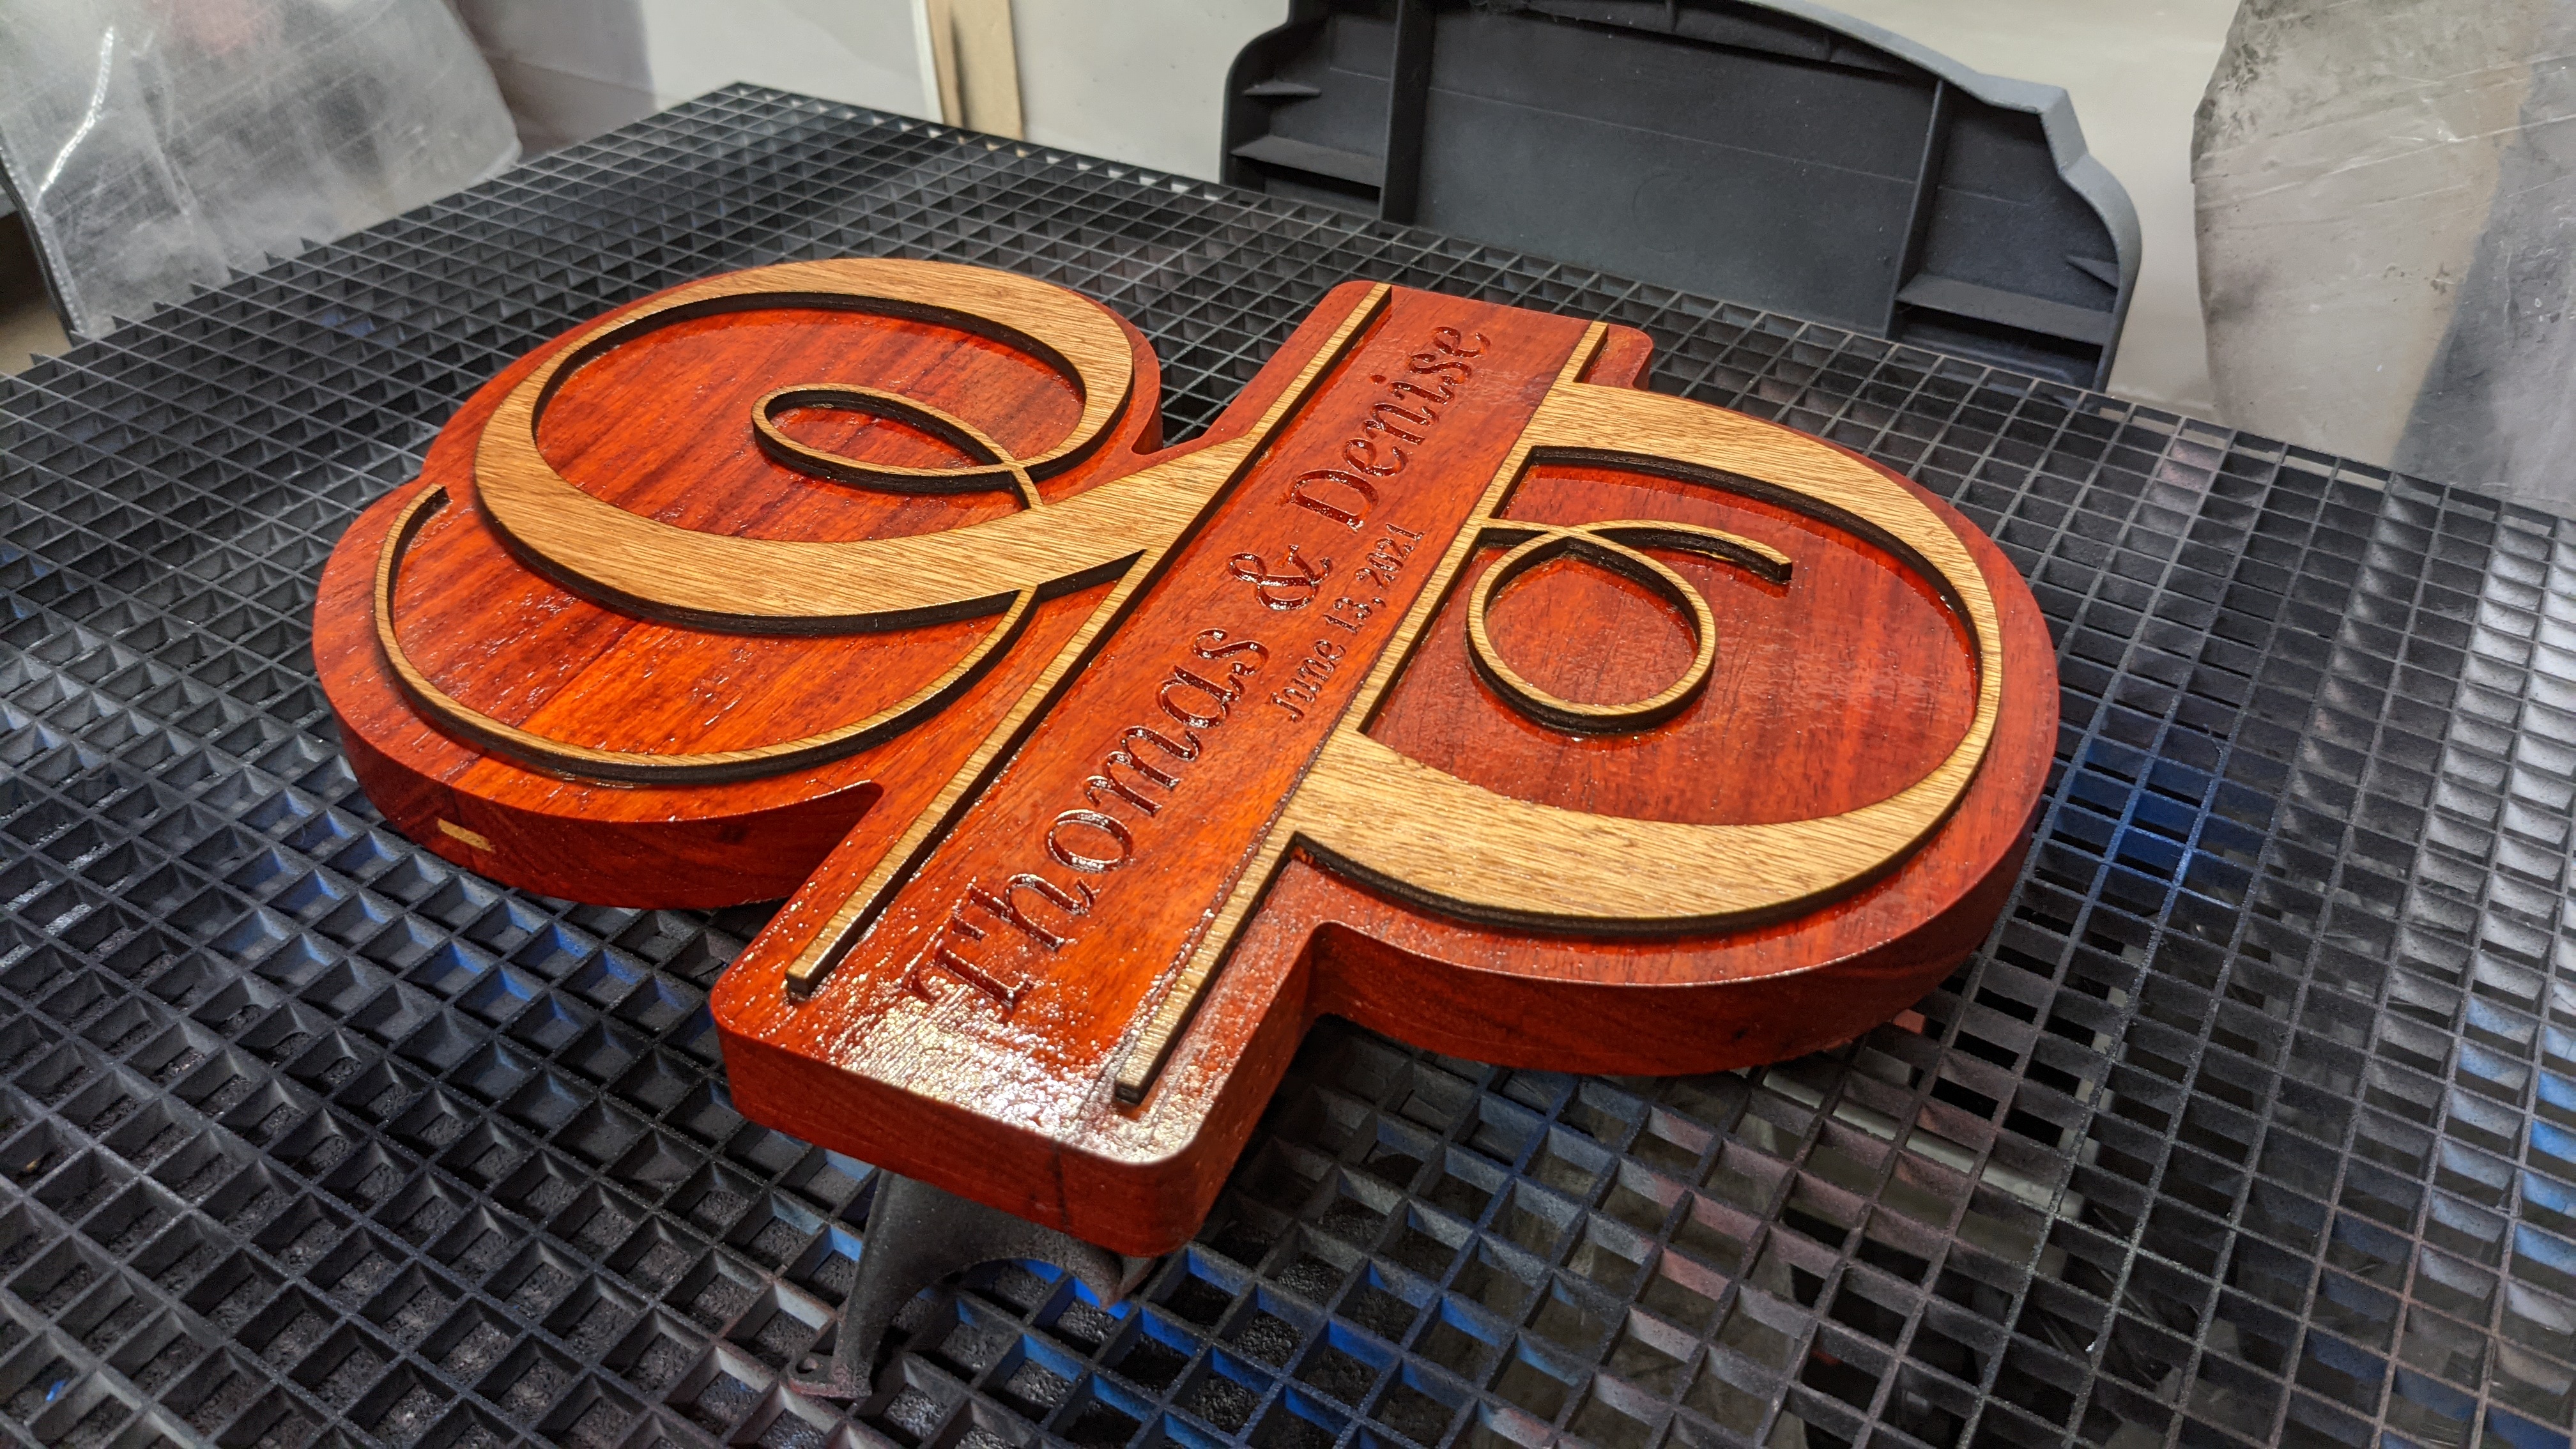
Family wedding today, came in just in time with this build from scratch last night. Used the image trace tool in CC to vectorize my design, then exported the front as SVG for laser cutting. The back is solid paduak, used a biscuit joiner for the first time to make the 13*17" blank. It’s a heavy beast at 1.7kg and ~3cm thick. I couldn’t find a nice hanger locally but a plate stand also seemed like a good option.
Cutting and engraving time was 26min using stock hardwood feeds and speeds on a #201 and 90deg vee. Doing projects like this last minute is only possible (at least in a low stress manner) when you have reliable hardware like Shapeoko.
For those more experienced, should I fret over wood movement worries? The front is luaun plywood but I’m not sure how much the back will expand and contract. They were stored together for months in my shop so at least the starting point should be good.
22 Likes
Dust collection arm for under $20.
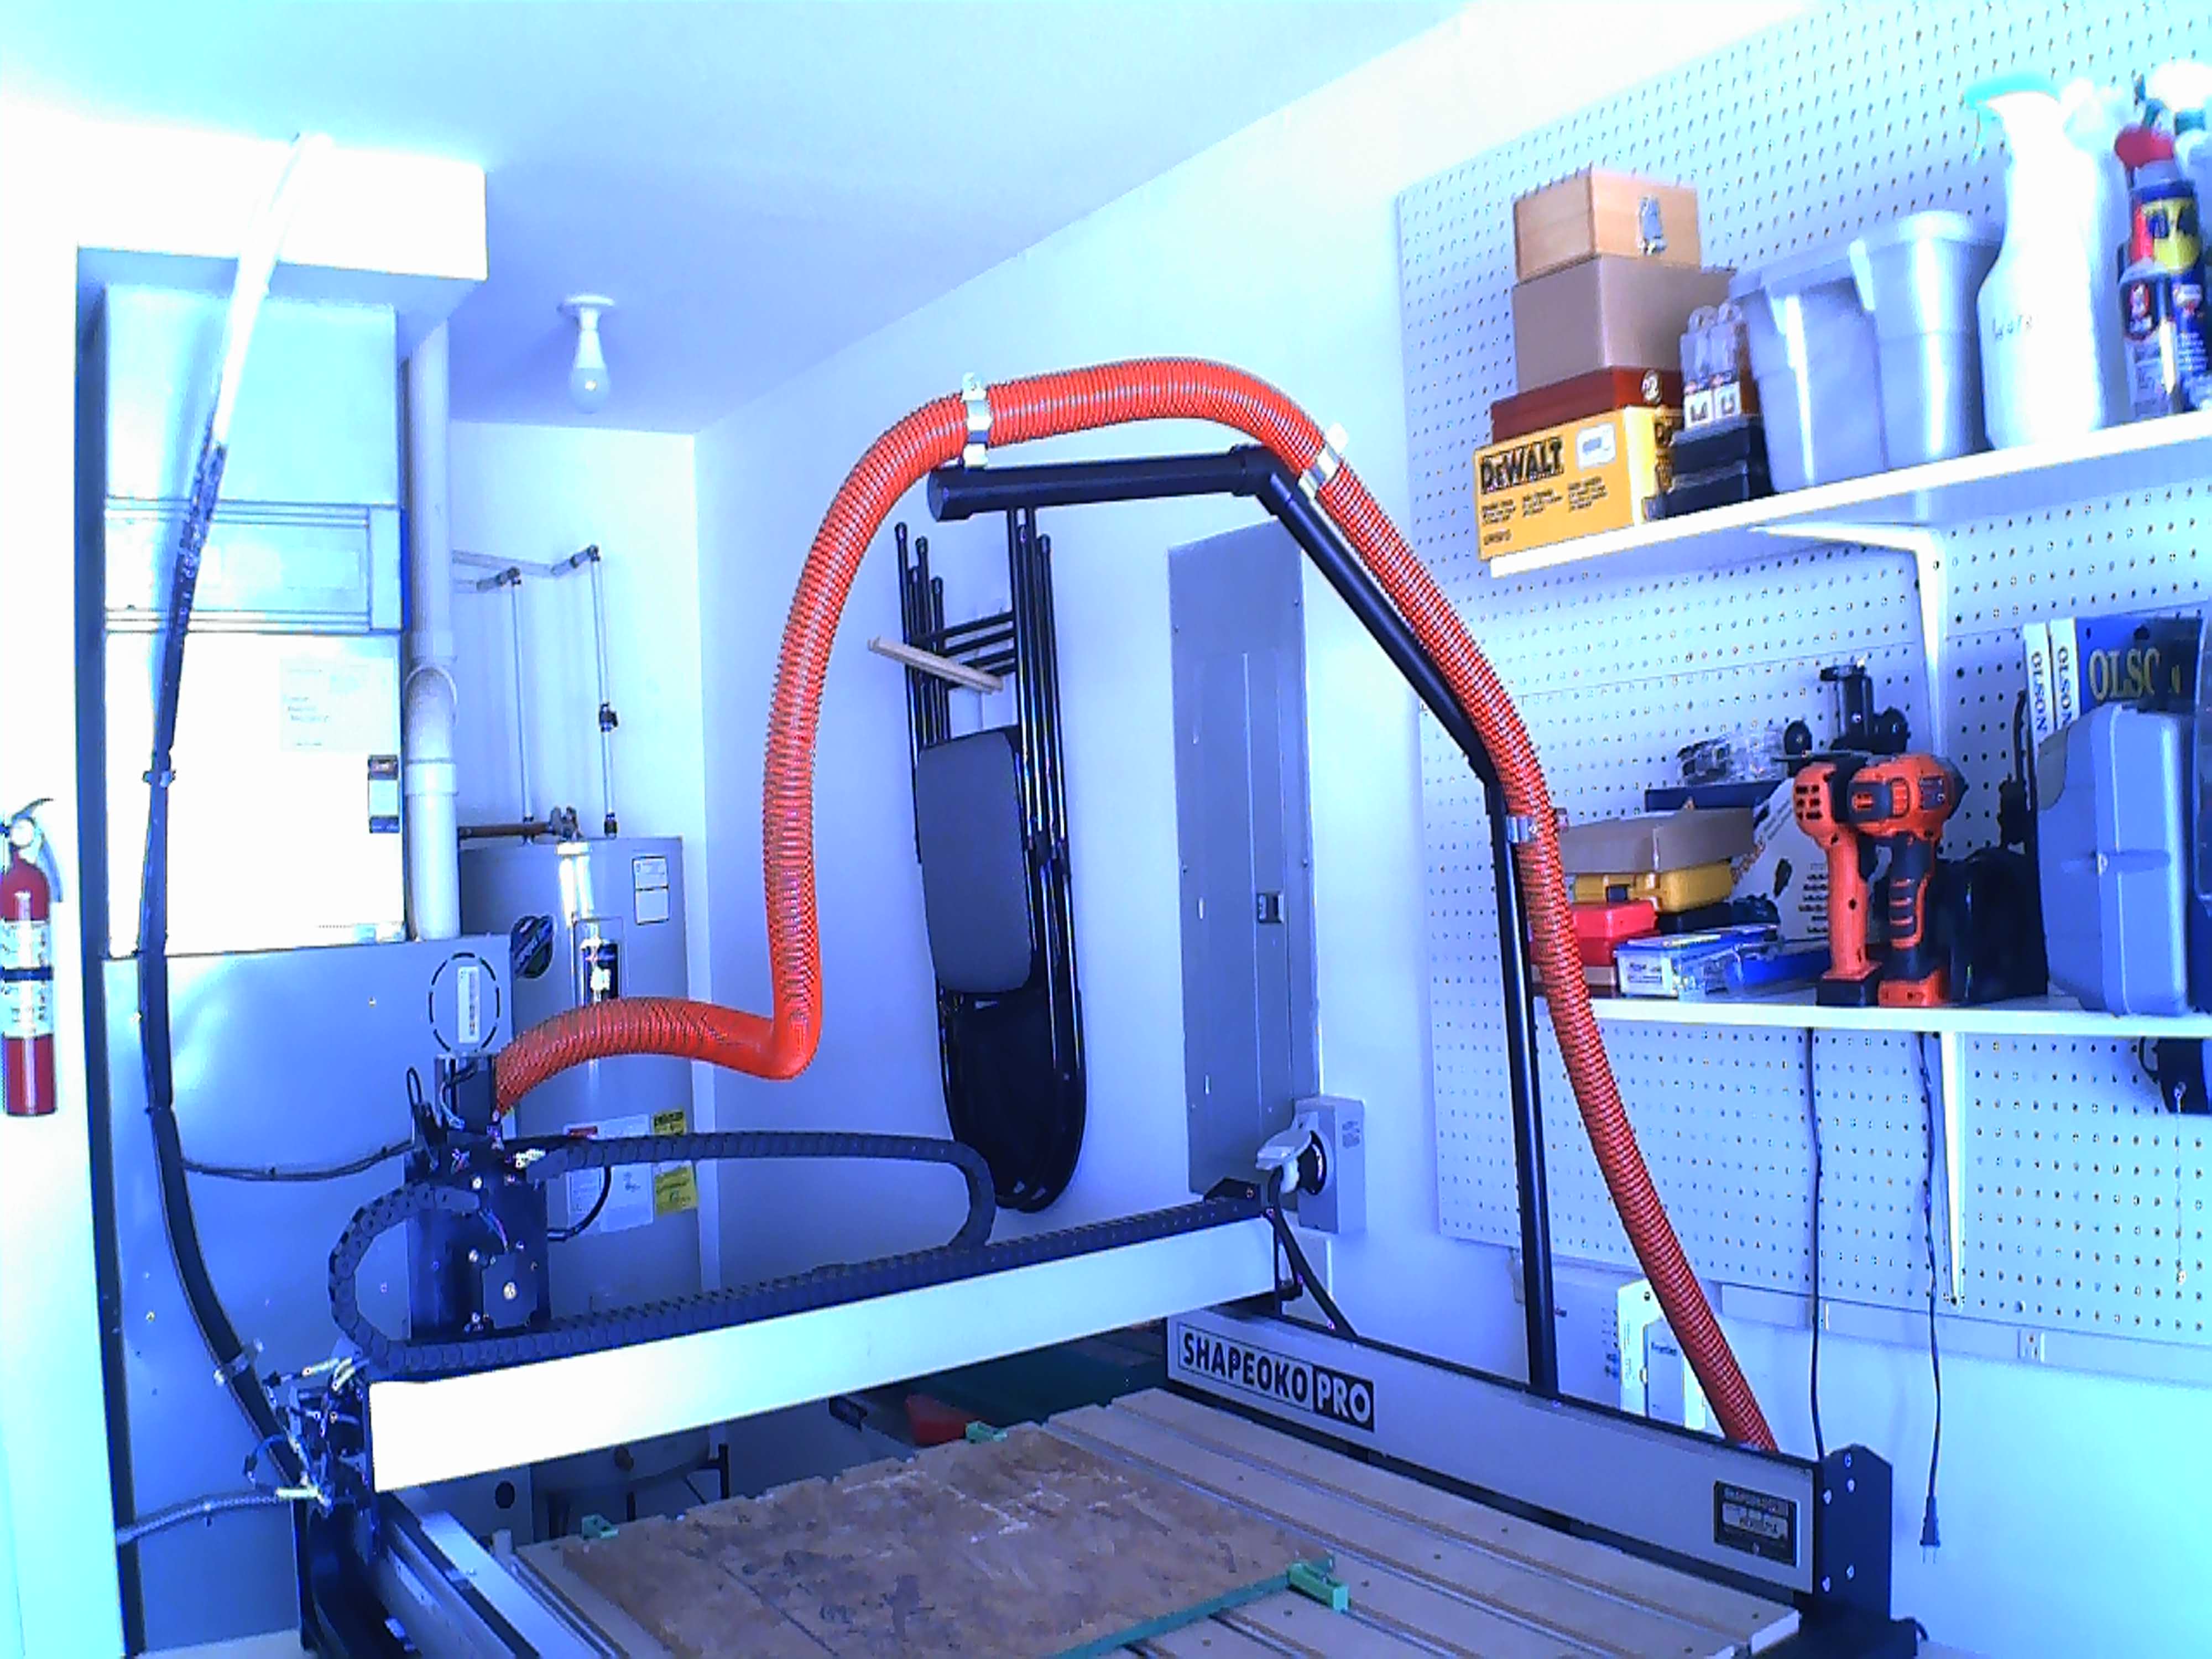
Made for my Shapeoko Pro XXL not on it. Well sort of it is on it.

11 Likes
60" solid core 1 1/4" PVC cut in half the one half also cut in half. 2 45 degree elbows, 3 conduit mounting brackets and two U-brackets mounted to the table. Sanded, cemented and painted. Conduit mounting brackets screwed to the PVC which holds the Vac-Hose.
Turned out pretty good if I may say so myself.
1 Like
I was going to use wood but my wife recommended the PVC to which I agreed would look better than the scrap I have laying around.

Very Nice Work…I hope one day to do create something as nice.
Robert
2 Likes
your shop is soo clean and organized, I would never even try taking a picture
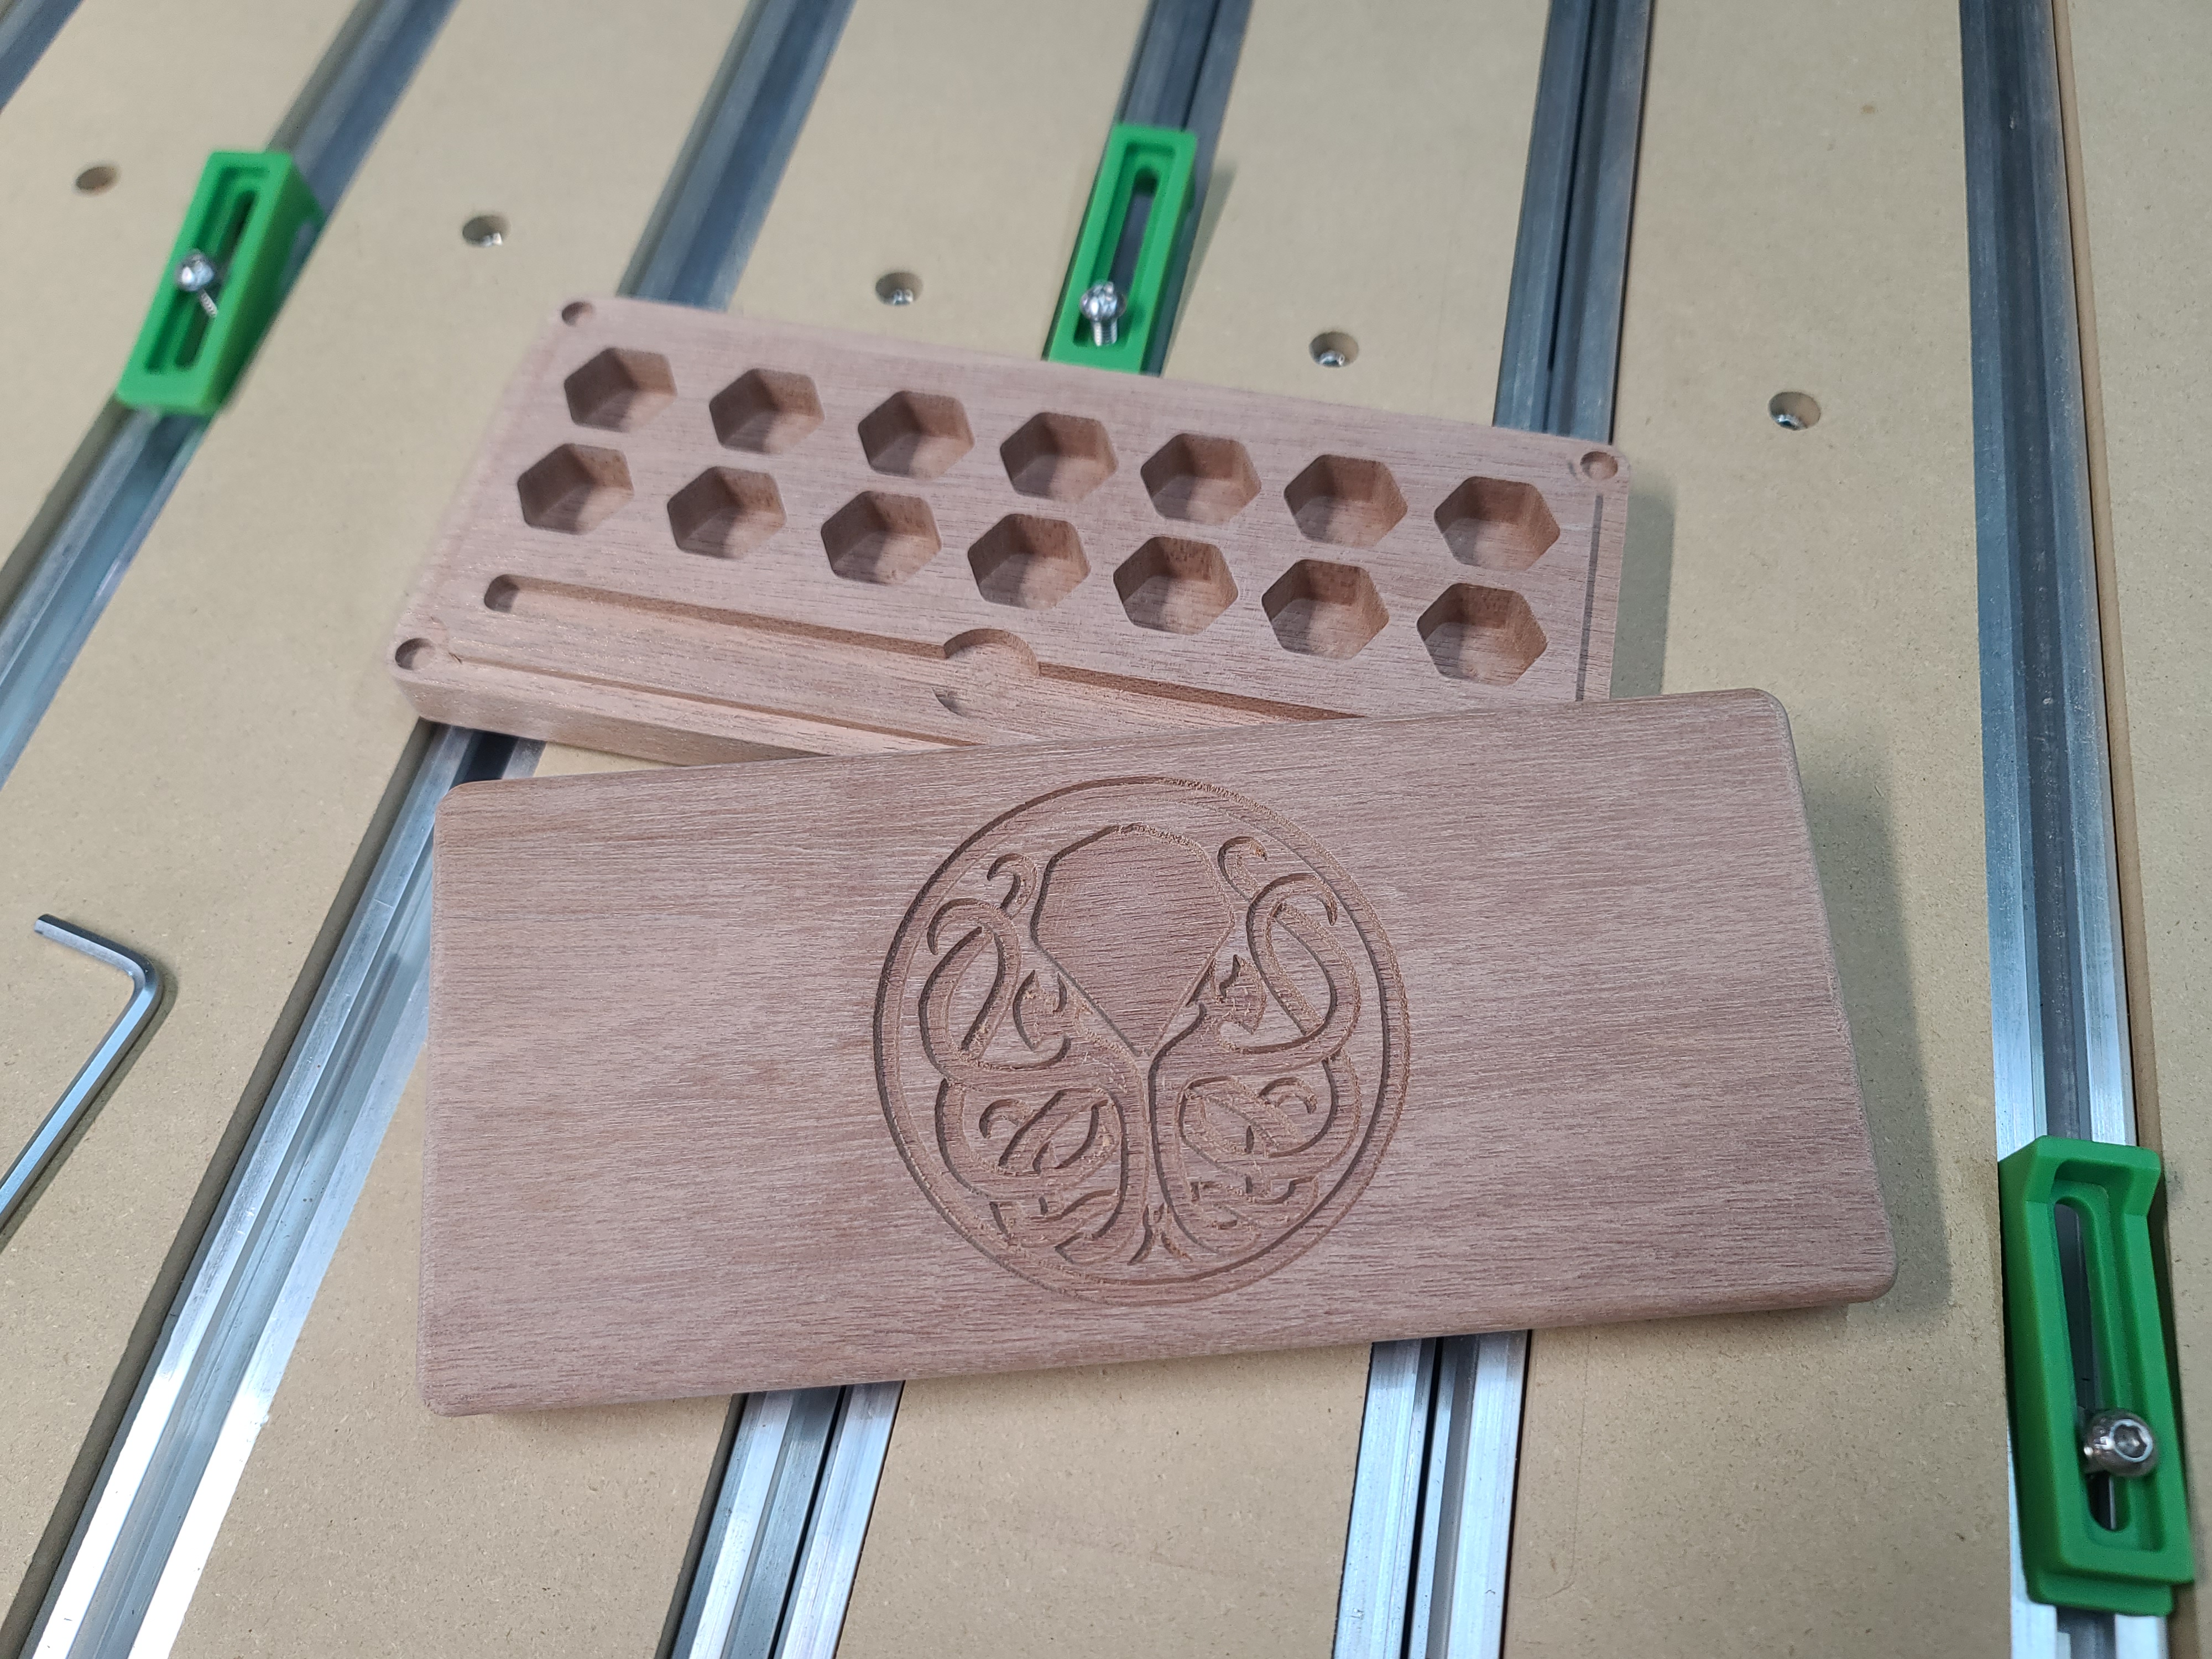
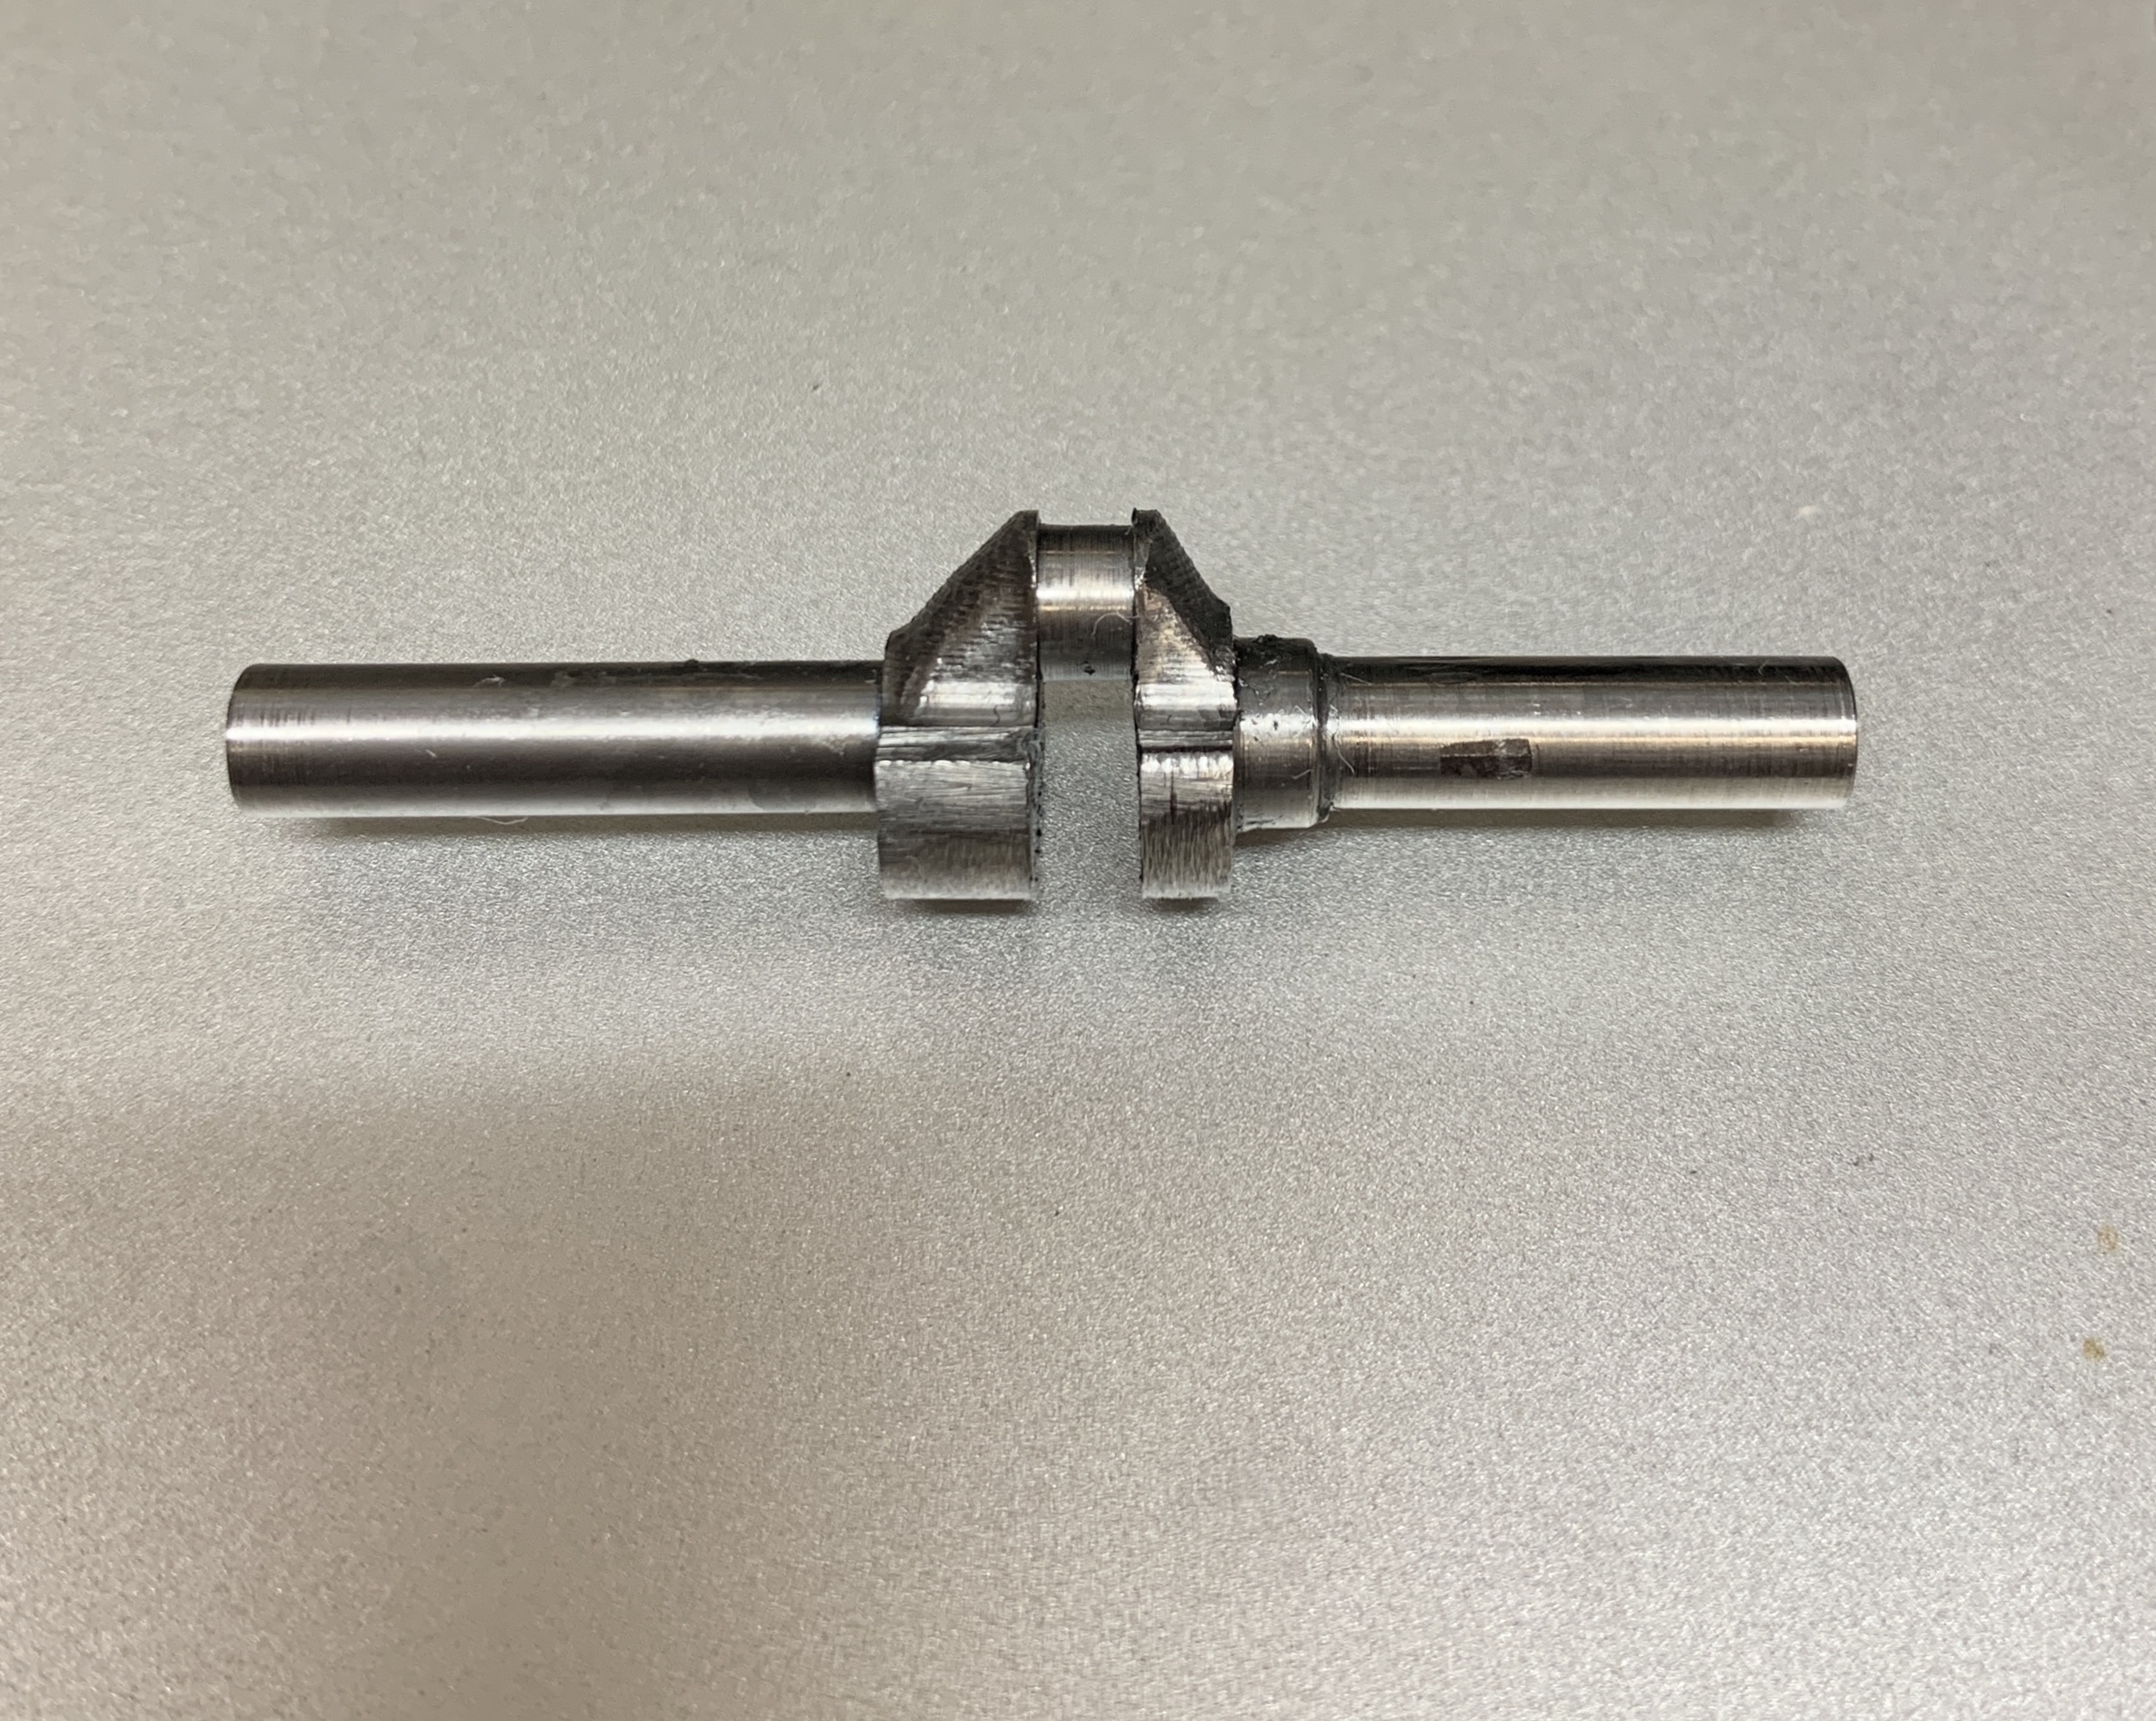
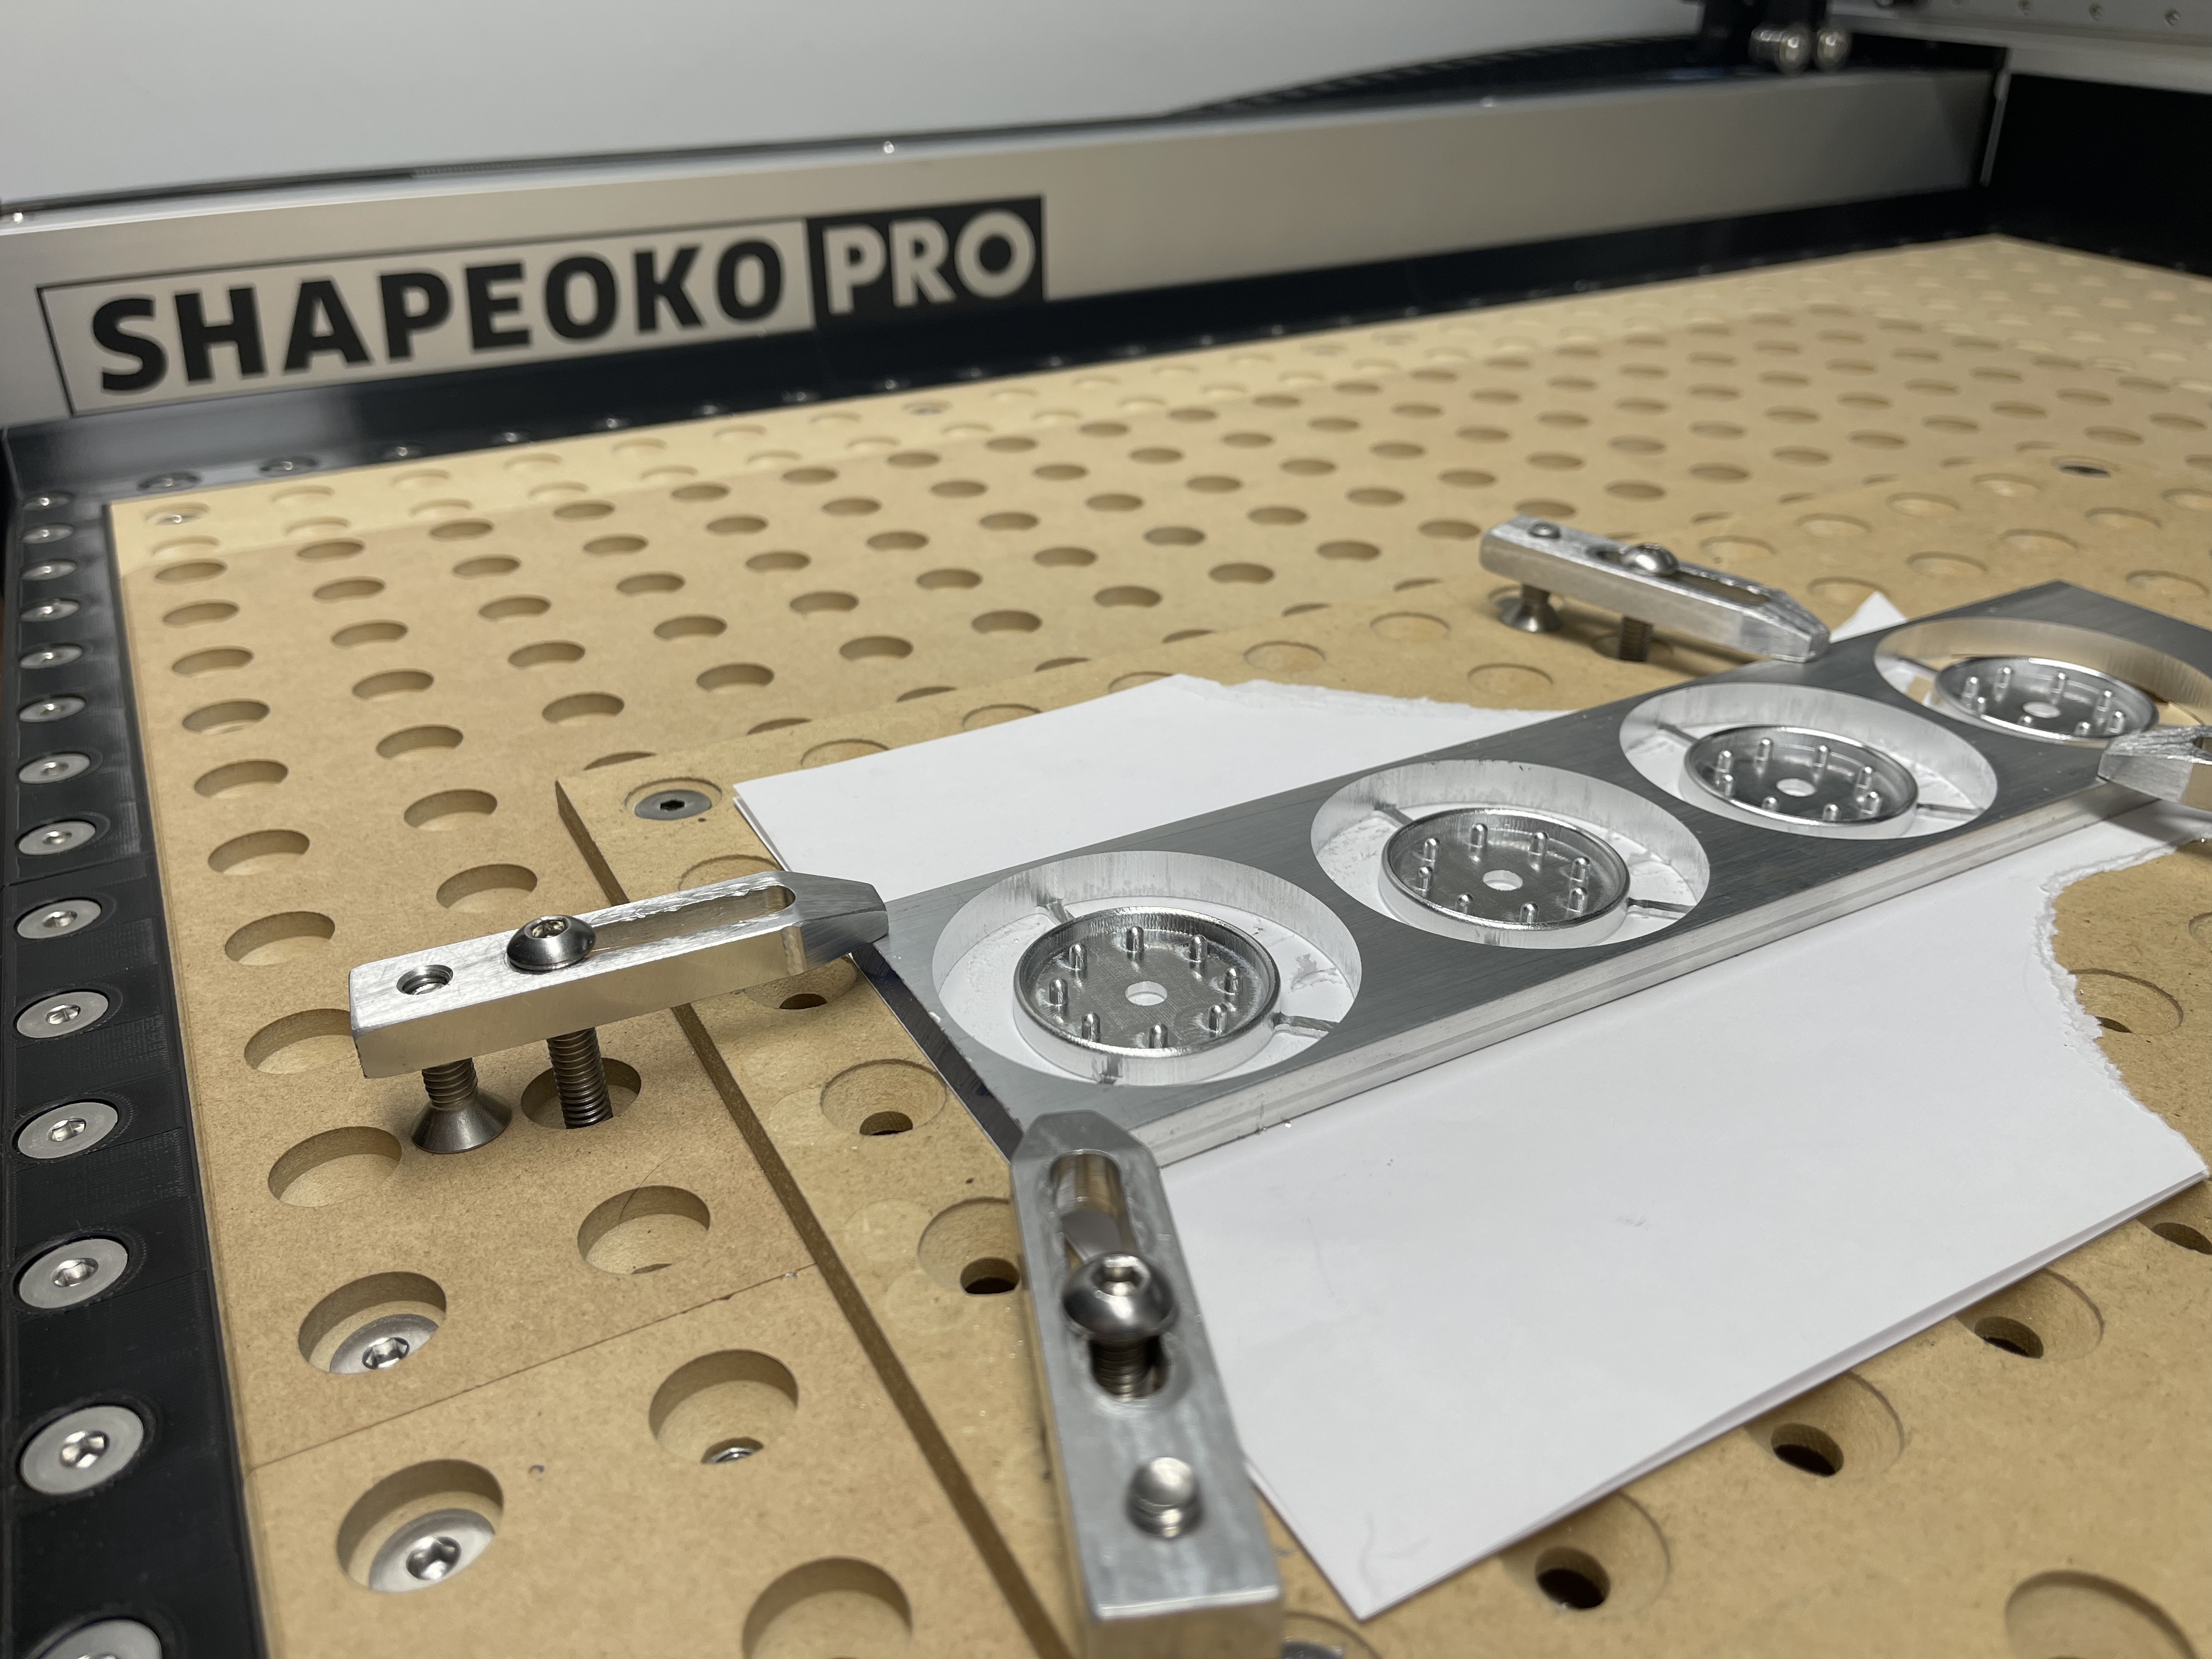
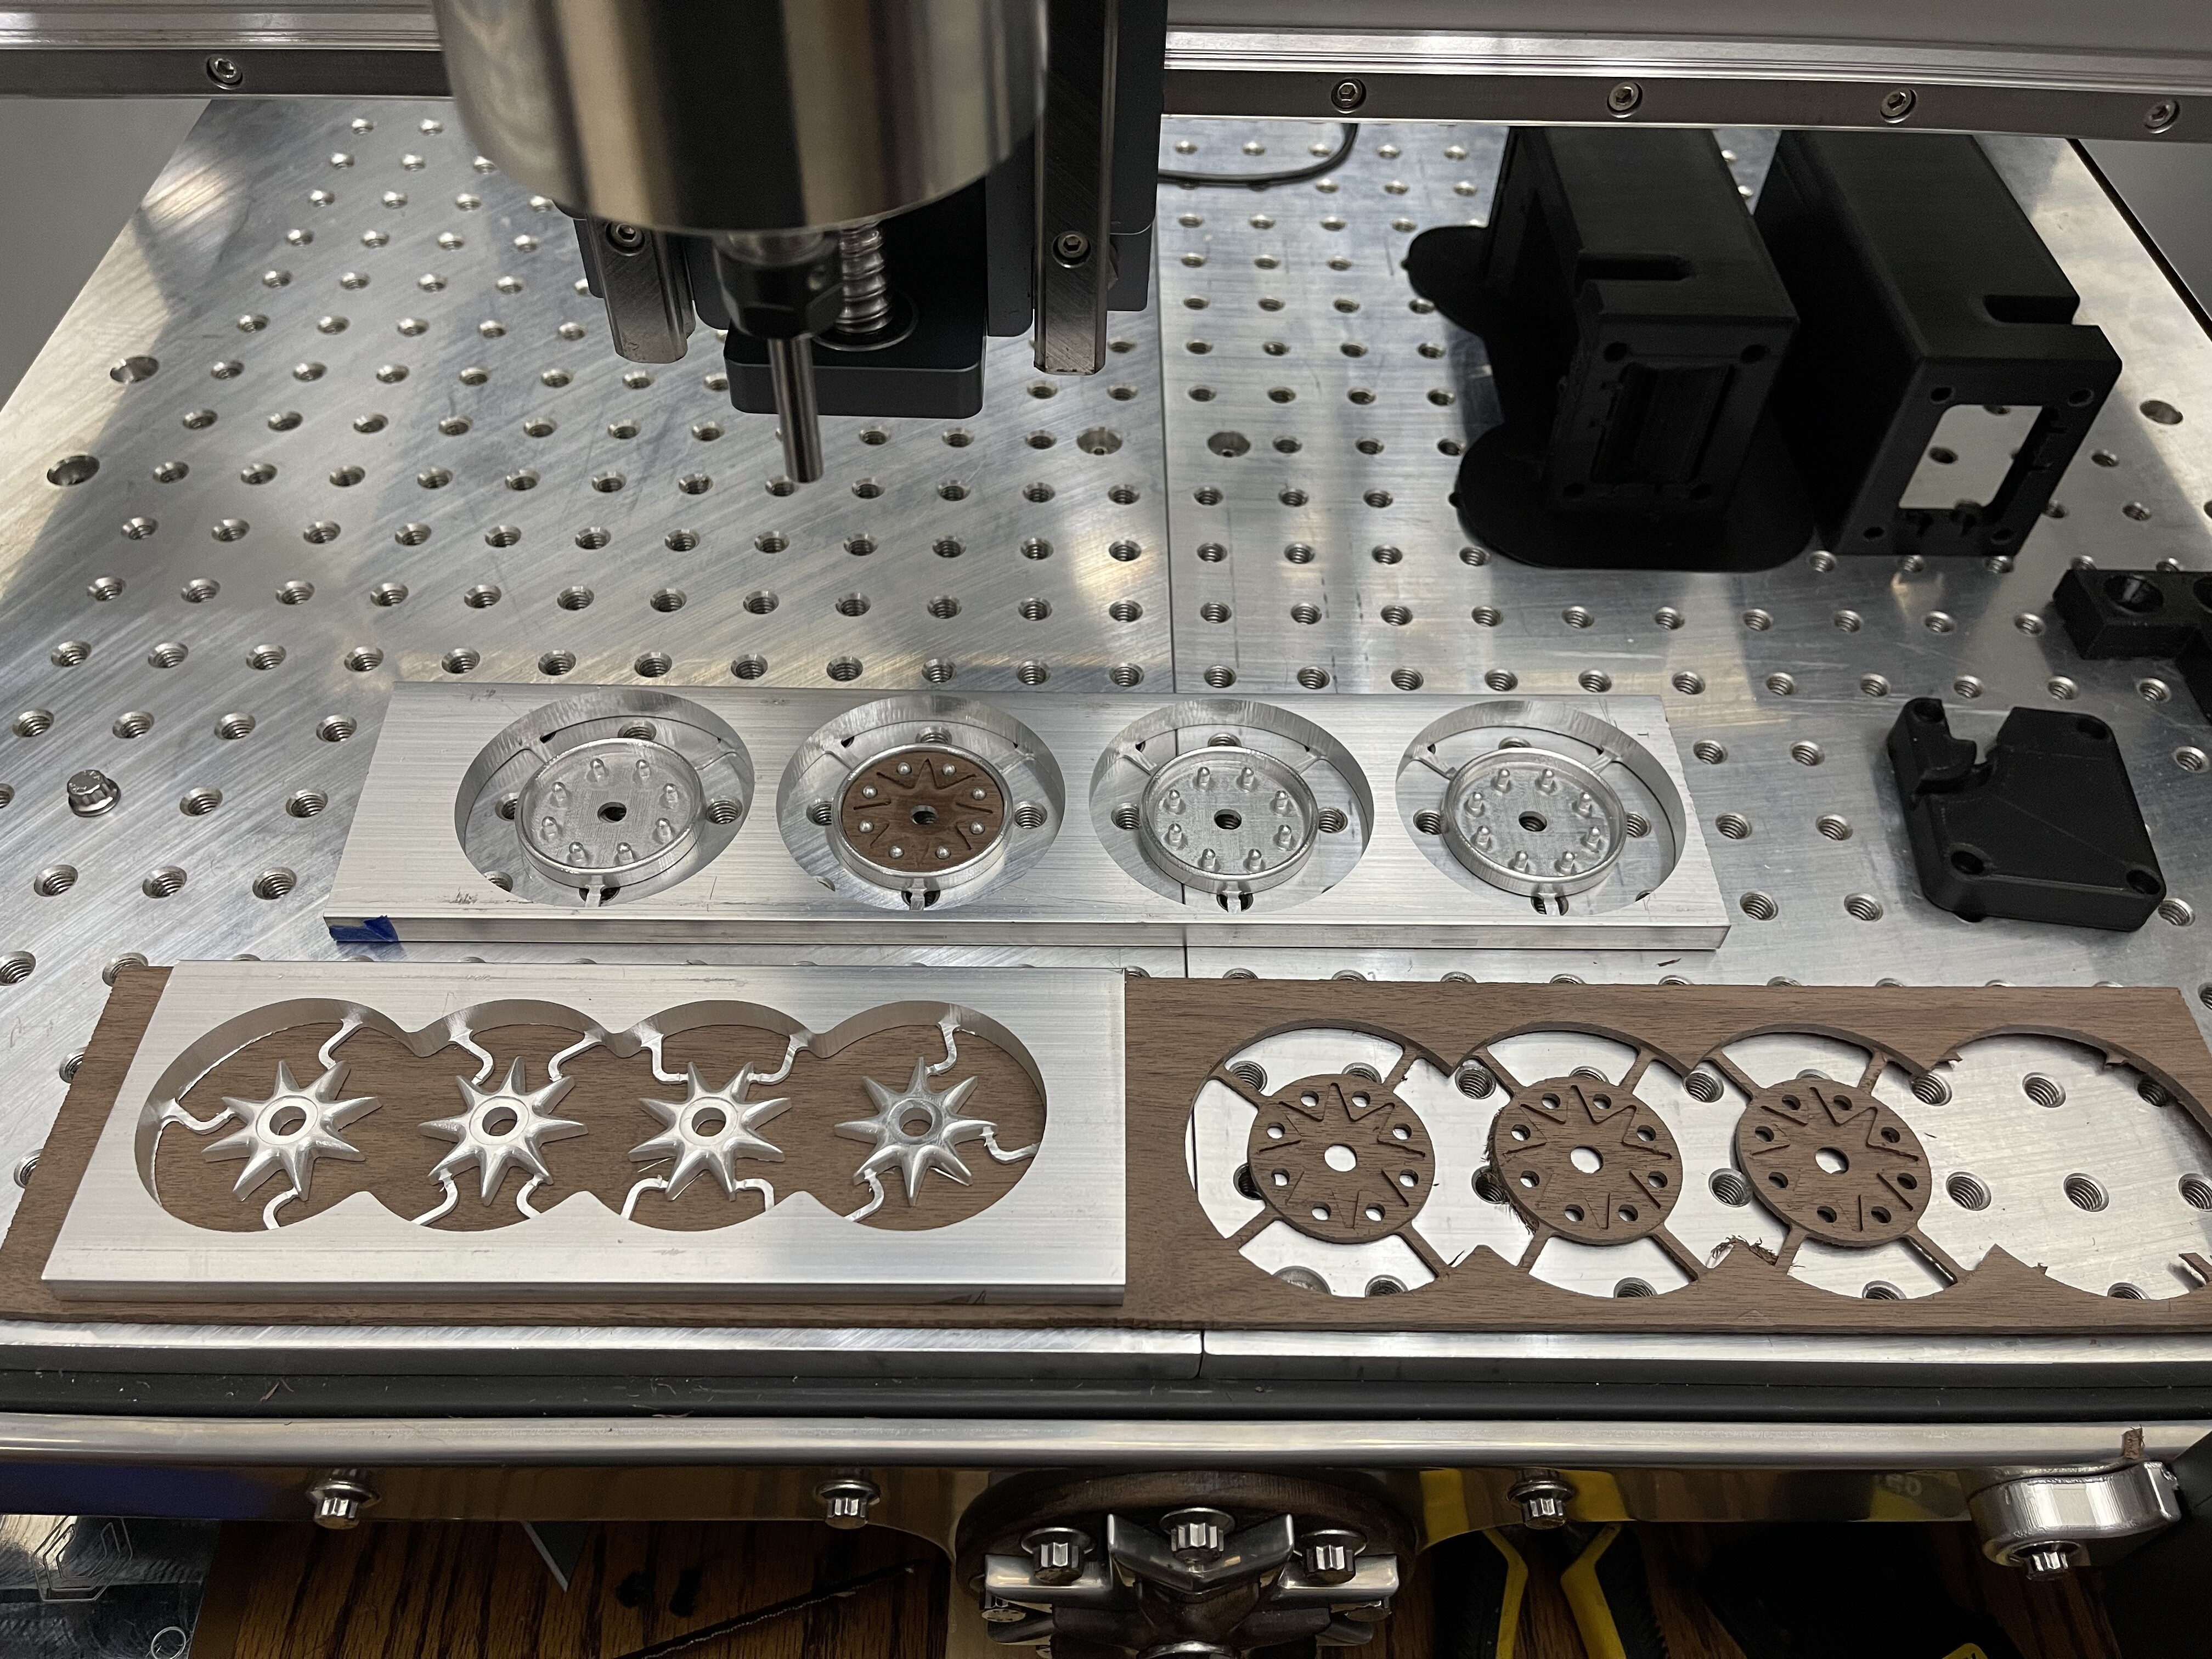
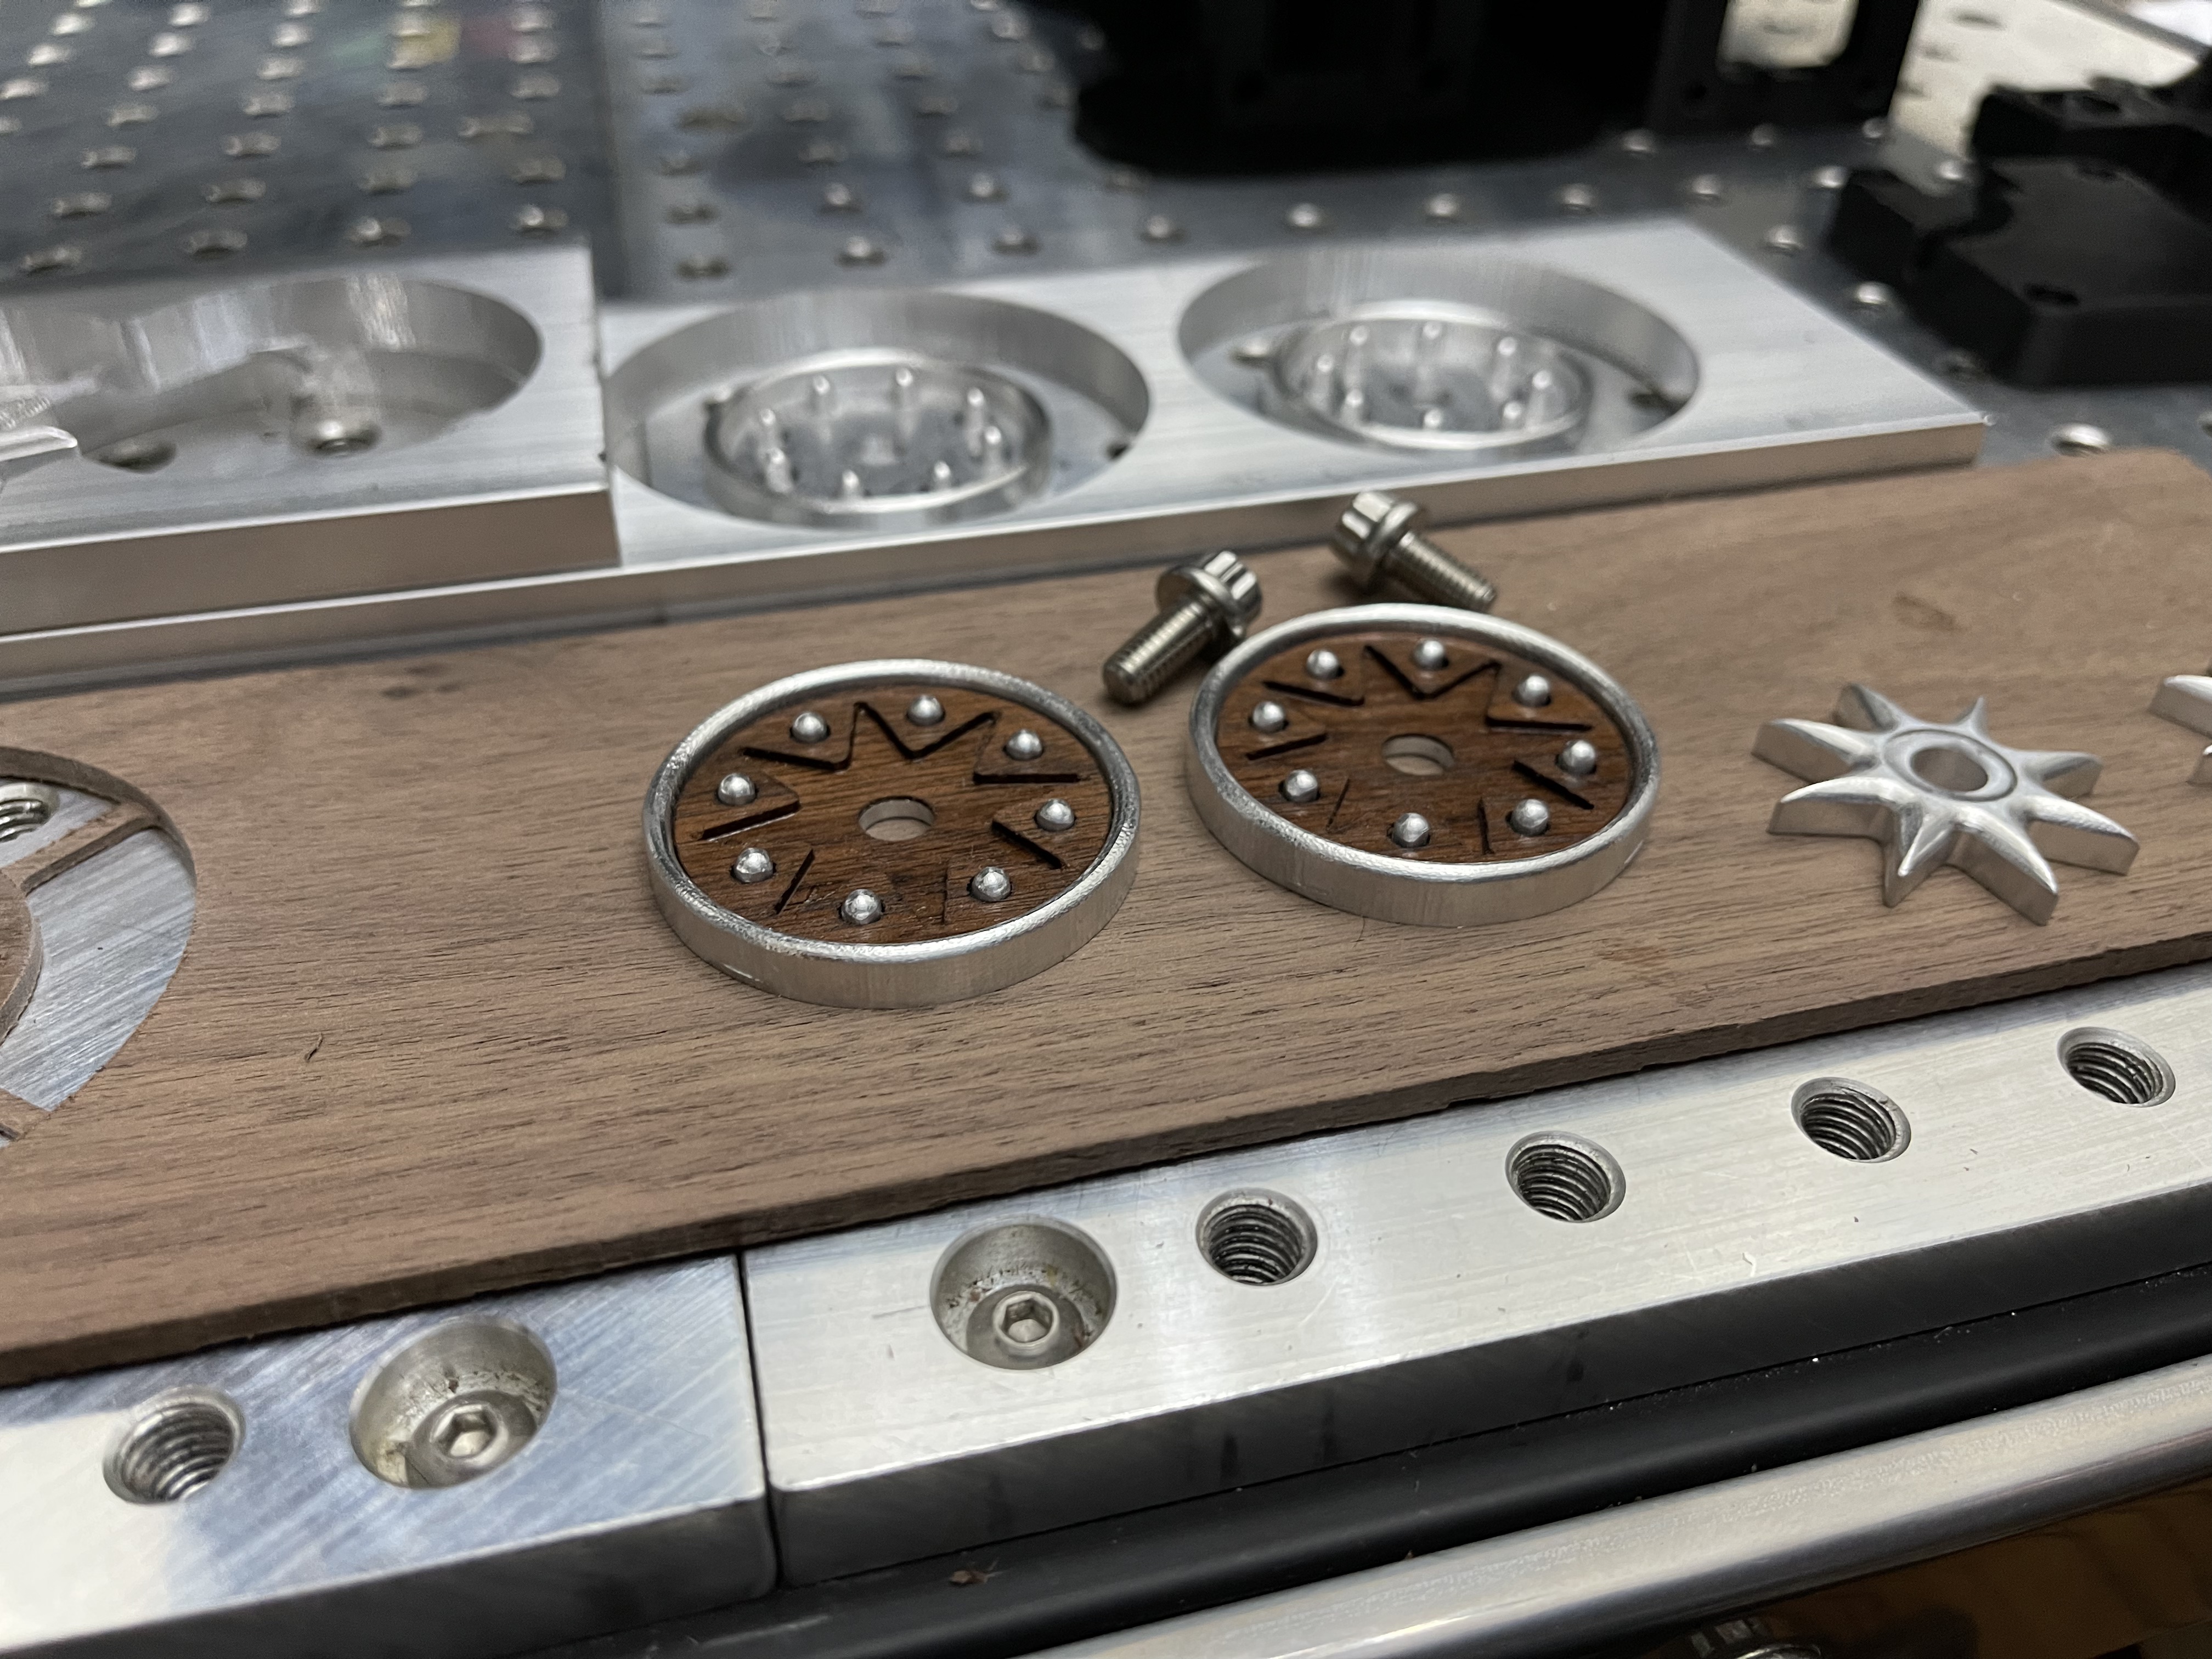
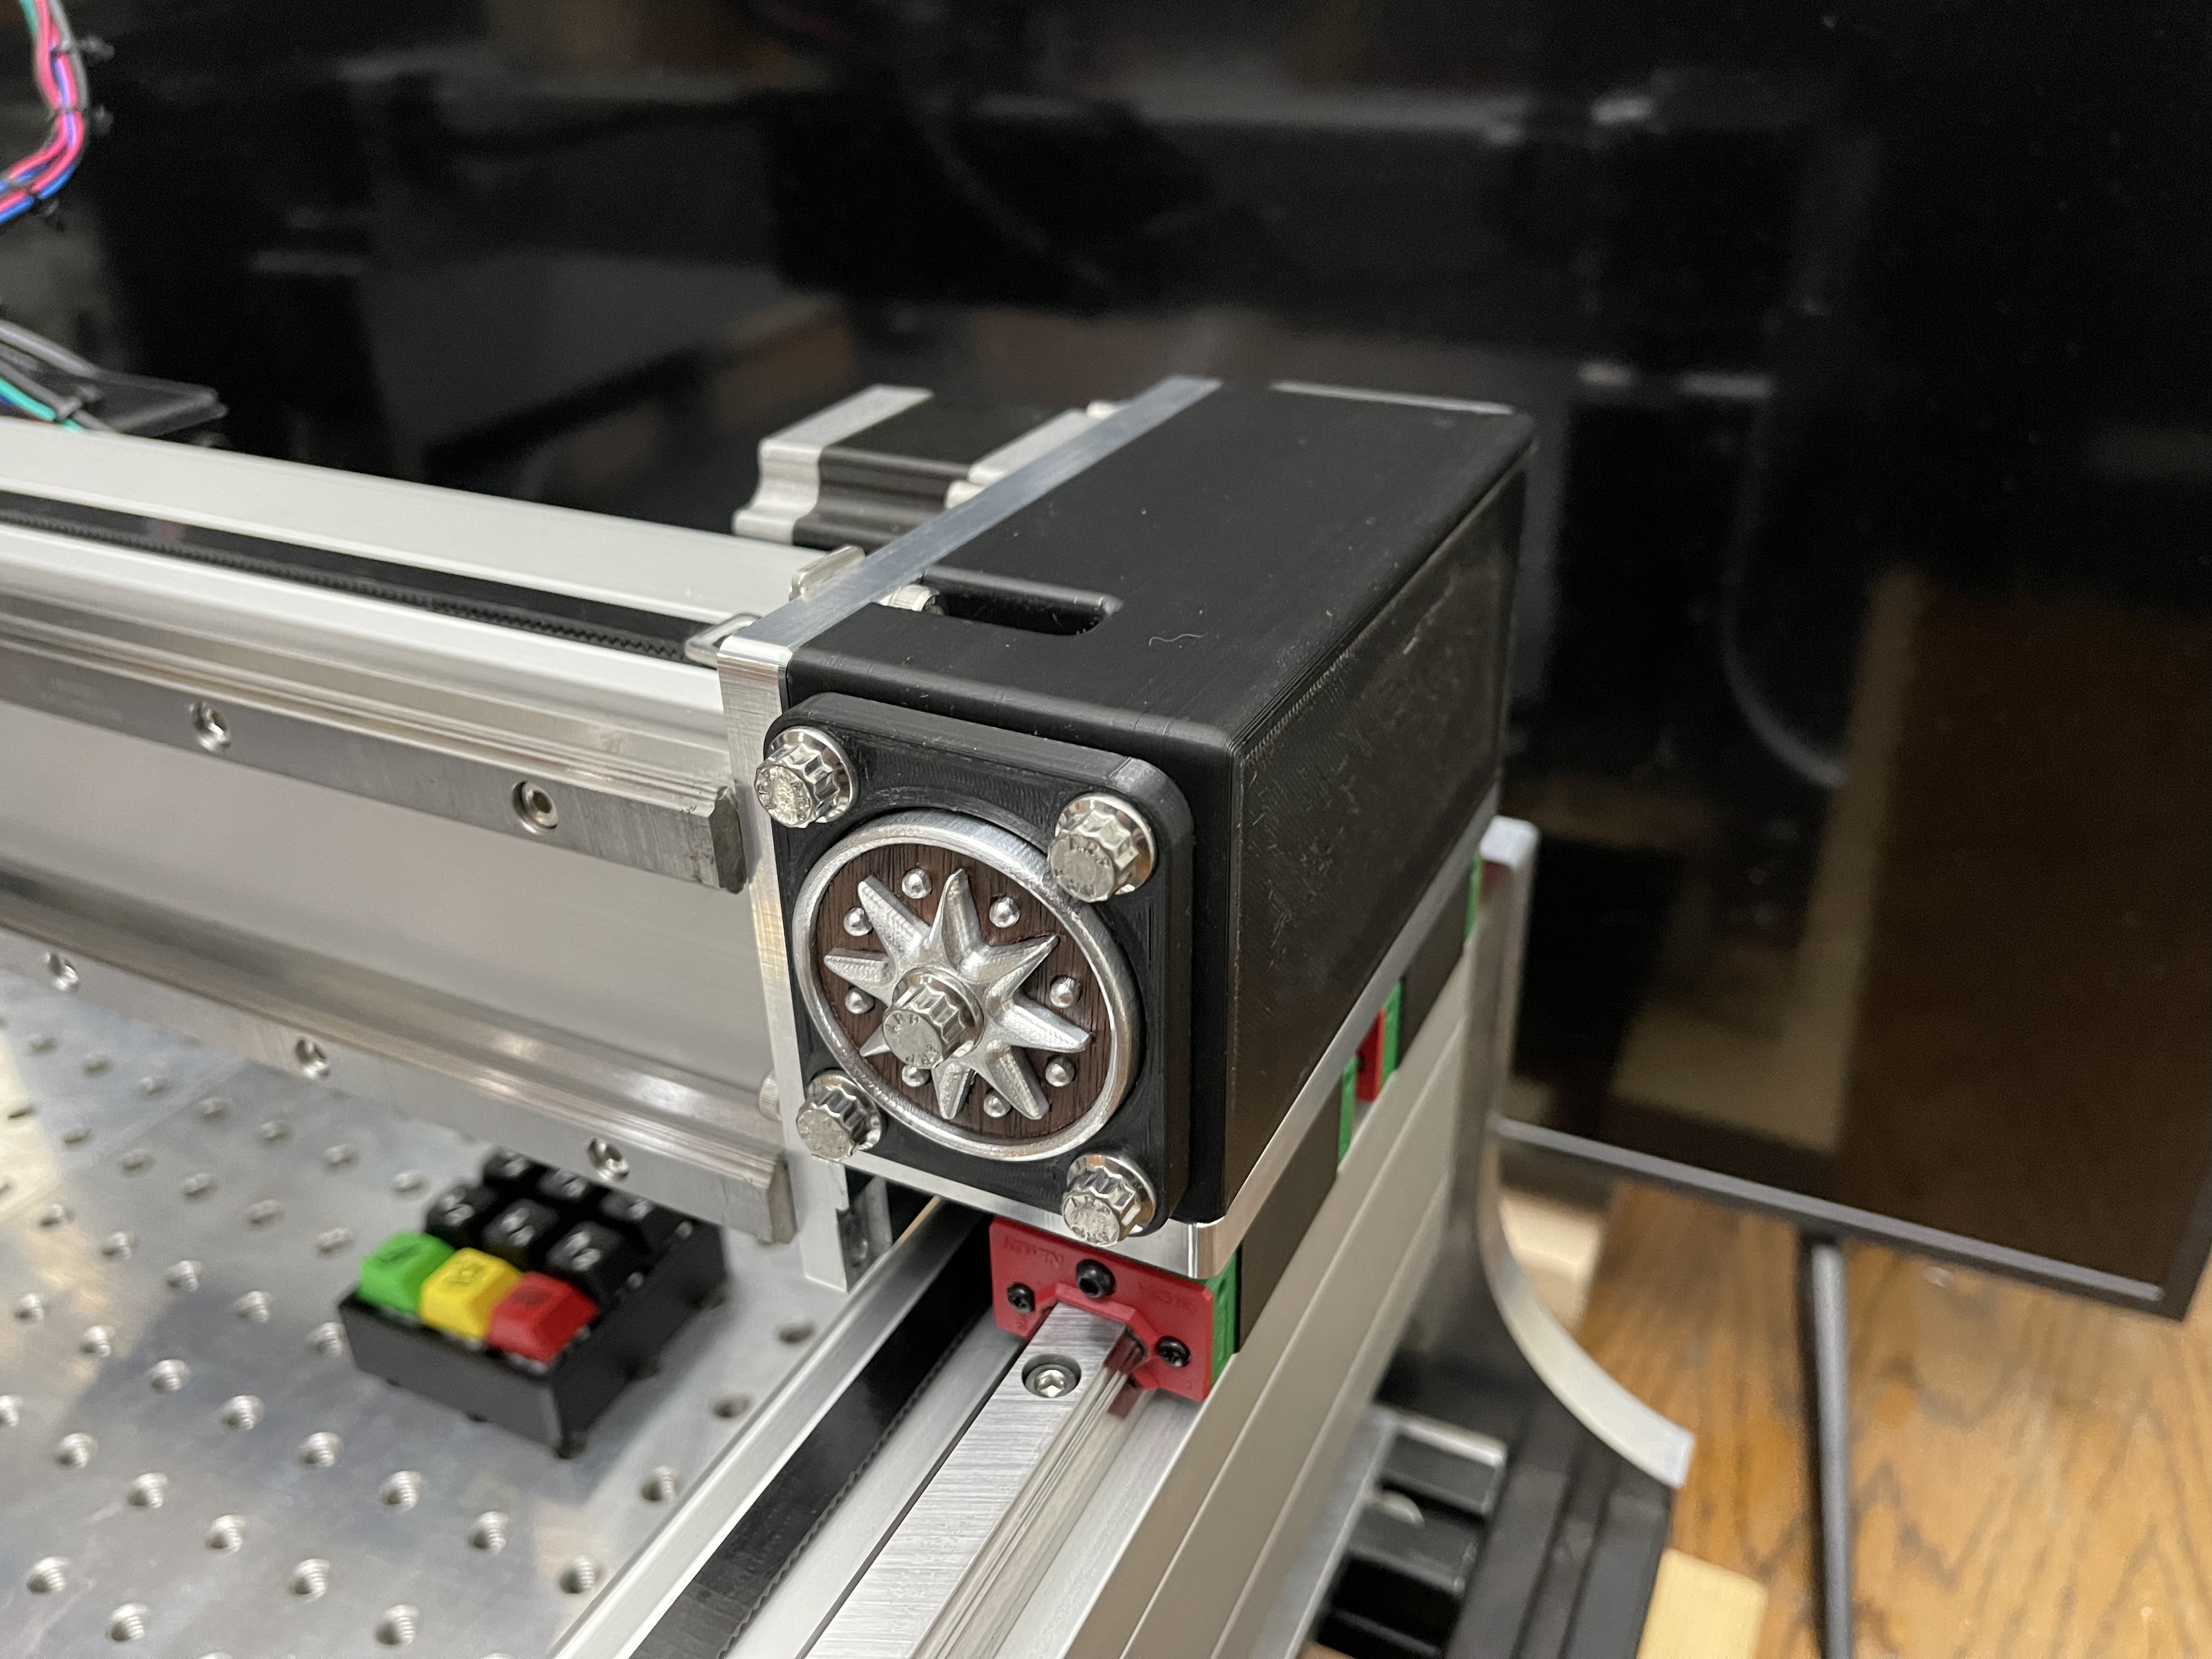
Finally finished the mini (but 100% to scale) crankshafts…now on to the next part Side Engine Cover. Finished the program this morning. Five (5) tools, One program with five operations, two sided machining, (I’ll use the 4th- axis), and of course my favorite Tool Length (Bit…cough cough) Sensor.
Material is 5/8" dia, O1 Tool Steel (annealed). Two cutters used were 0.125 Flat (Square) and Ball End Mills, that I resharpened after 2 hours of cutting. No cutters broke (yay), and while it wasn’t difficult to cut tool steel on the Shapeoko, it was time consuming. Feed: 5 ipm, DOC 0.005" Total (combined) CNC cutting time: 8 hours, Rough left, rough right, mill tapers, and mill slot) Cutting fluid: Soluble Oil 10:1
PS The ends are 0.030" Oversize (and 0.001" left on the rod journal for polishing), which will get finished after I line ream the block and side cover crank bore (once everything is bolted together). (it has not been deburred) The little hub on the right, is where the steel timing gear will be pressed on. (Once I figure out how to make them
15 Likes
Thank you. It’s all due to my wife. 
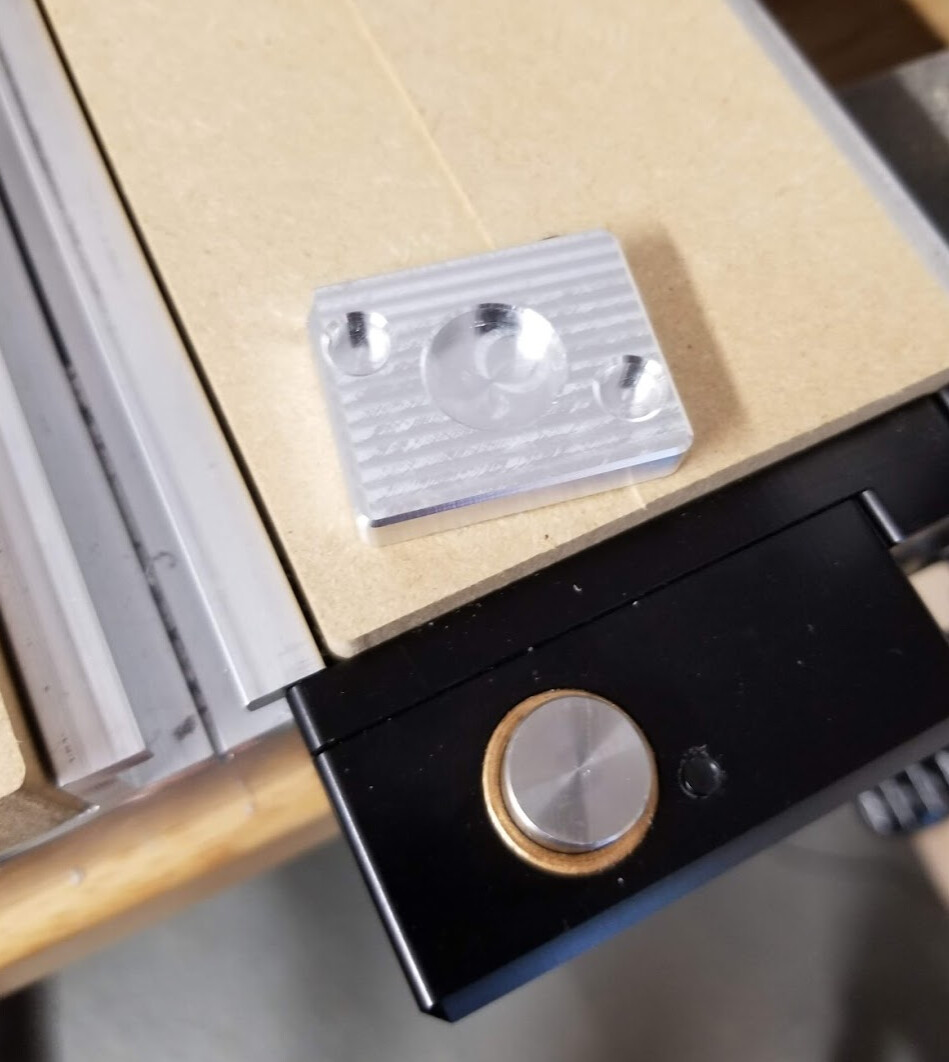
A “button” for the BitSetter… that had the cutouts for the LED in the wrong spot, oops I’ll do another one tomorrow.
Anyone managed to disassemble the bitsetter? There’s three 2mm hex-head screws I could not get cracked loose. Perhaps they need heat? Would have machined a whole new top button.
3 Likes
Nice! Do these fit on the Pro?
1 Like
Sorry no, this is a custom Shapeoko 3 standard size, and is mounted to a 3d printed pulley cover attached to the @DanStory rail kit.
1 Like
Wow, pretty! Are these cosmetic or functional or both?
1 Like